The Difference Between Sandpaper Grits for Painting Furniture
/#TuesdayTipsWithFallon
#TuesdayTipsWithFallon: When you paint furniture, one of the most important steps in the process is sanding. Please note, each piece is different and this is just an average guide to help you understand the difference between the sandpaper grits. I highly recommend purchasing an industrial strength sandpaper. If you try to go the cheap route you will end up spending more time changing out the paper rather than actually sanding, which will most likely cause you to spend more money in the end.
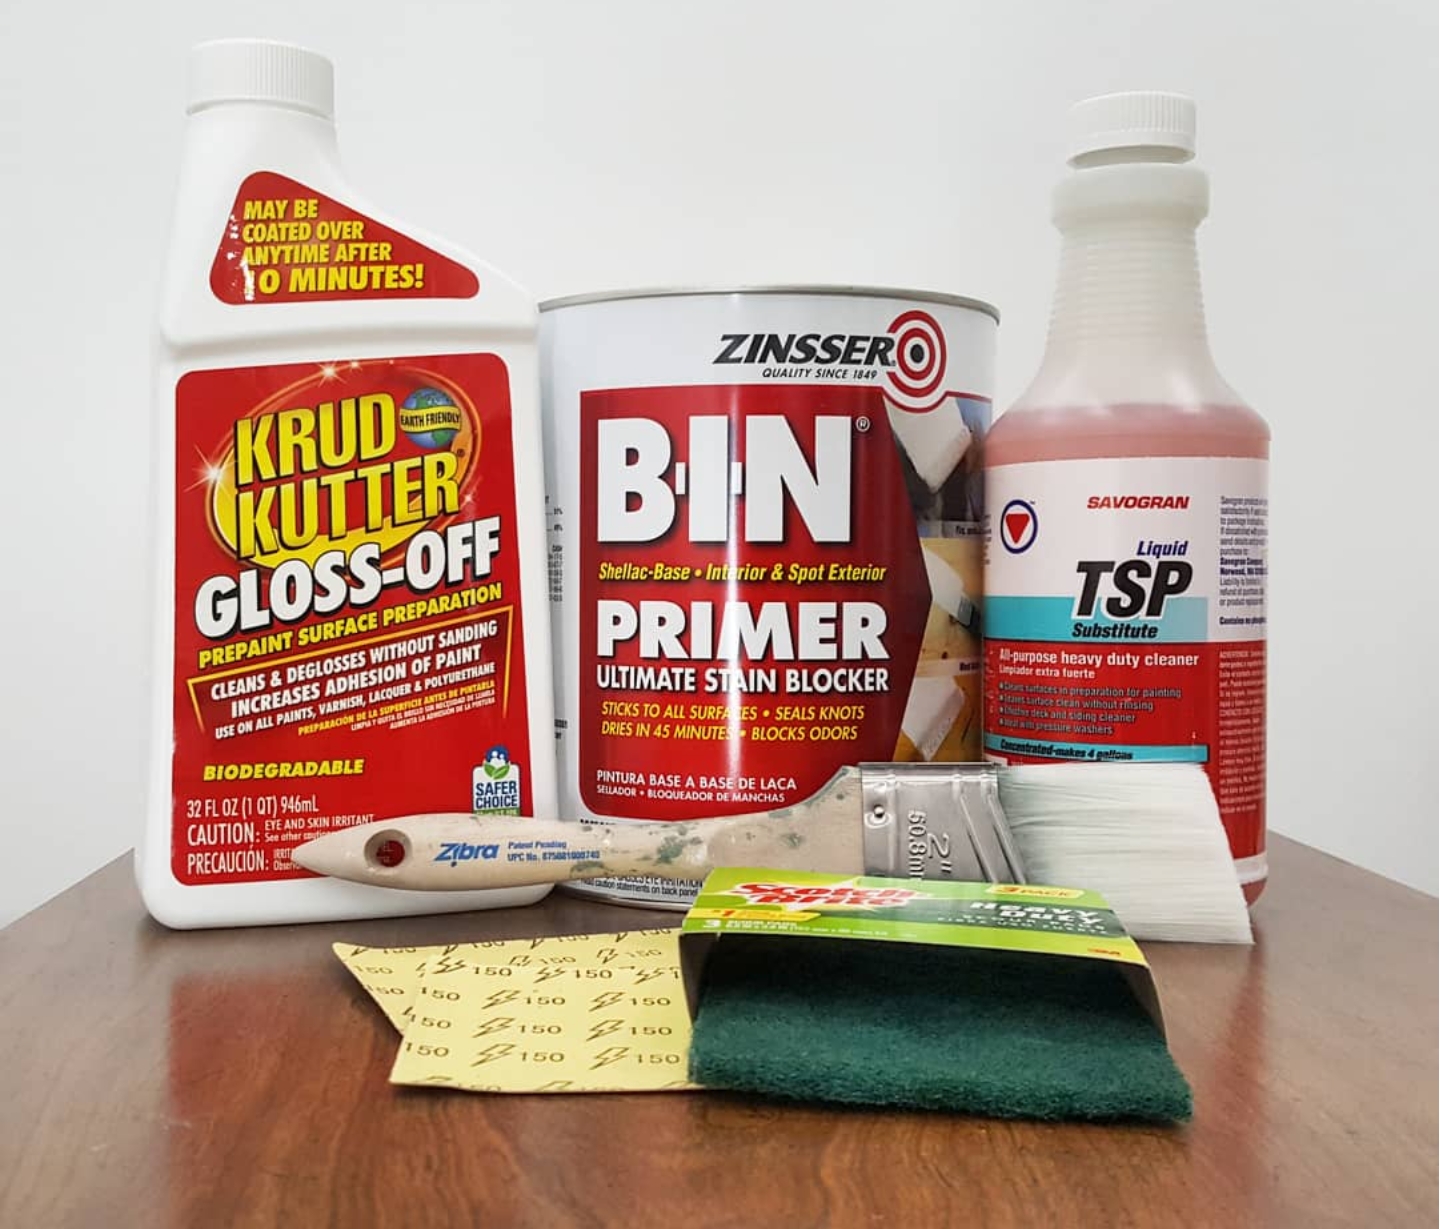
Click on the items below to see what I use:
Here is a breakdown of the sandpaper grits. The numbers are measured by grit size and the amount of grits/grains per square inch. Note, projects typically start with a coarse sandpaper, then move to a more fine sandpaper as the project evolves.
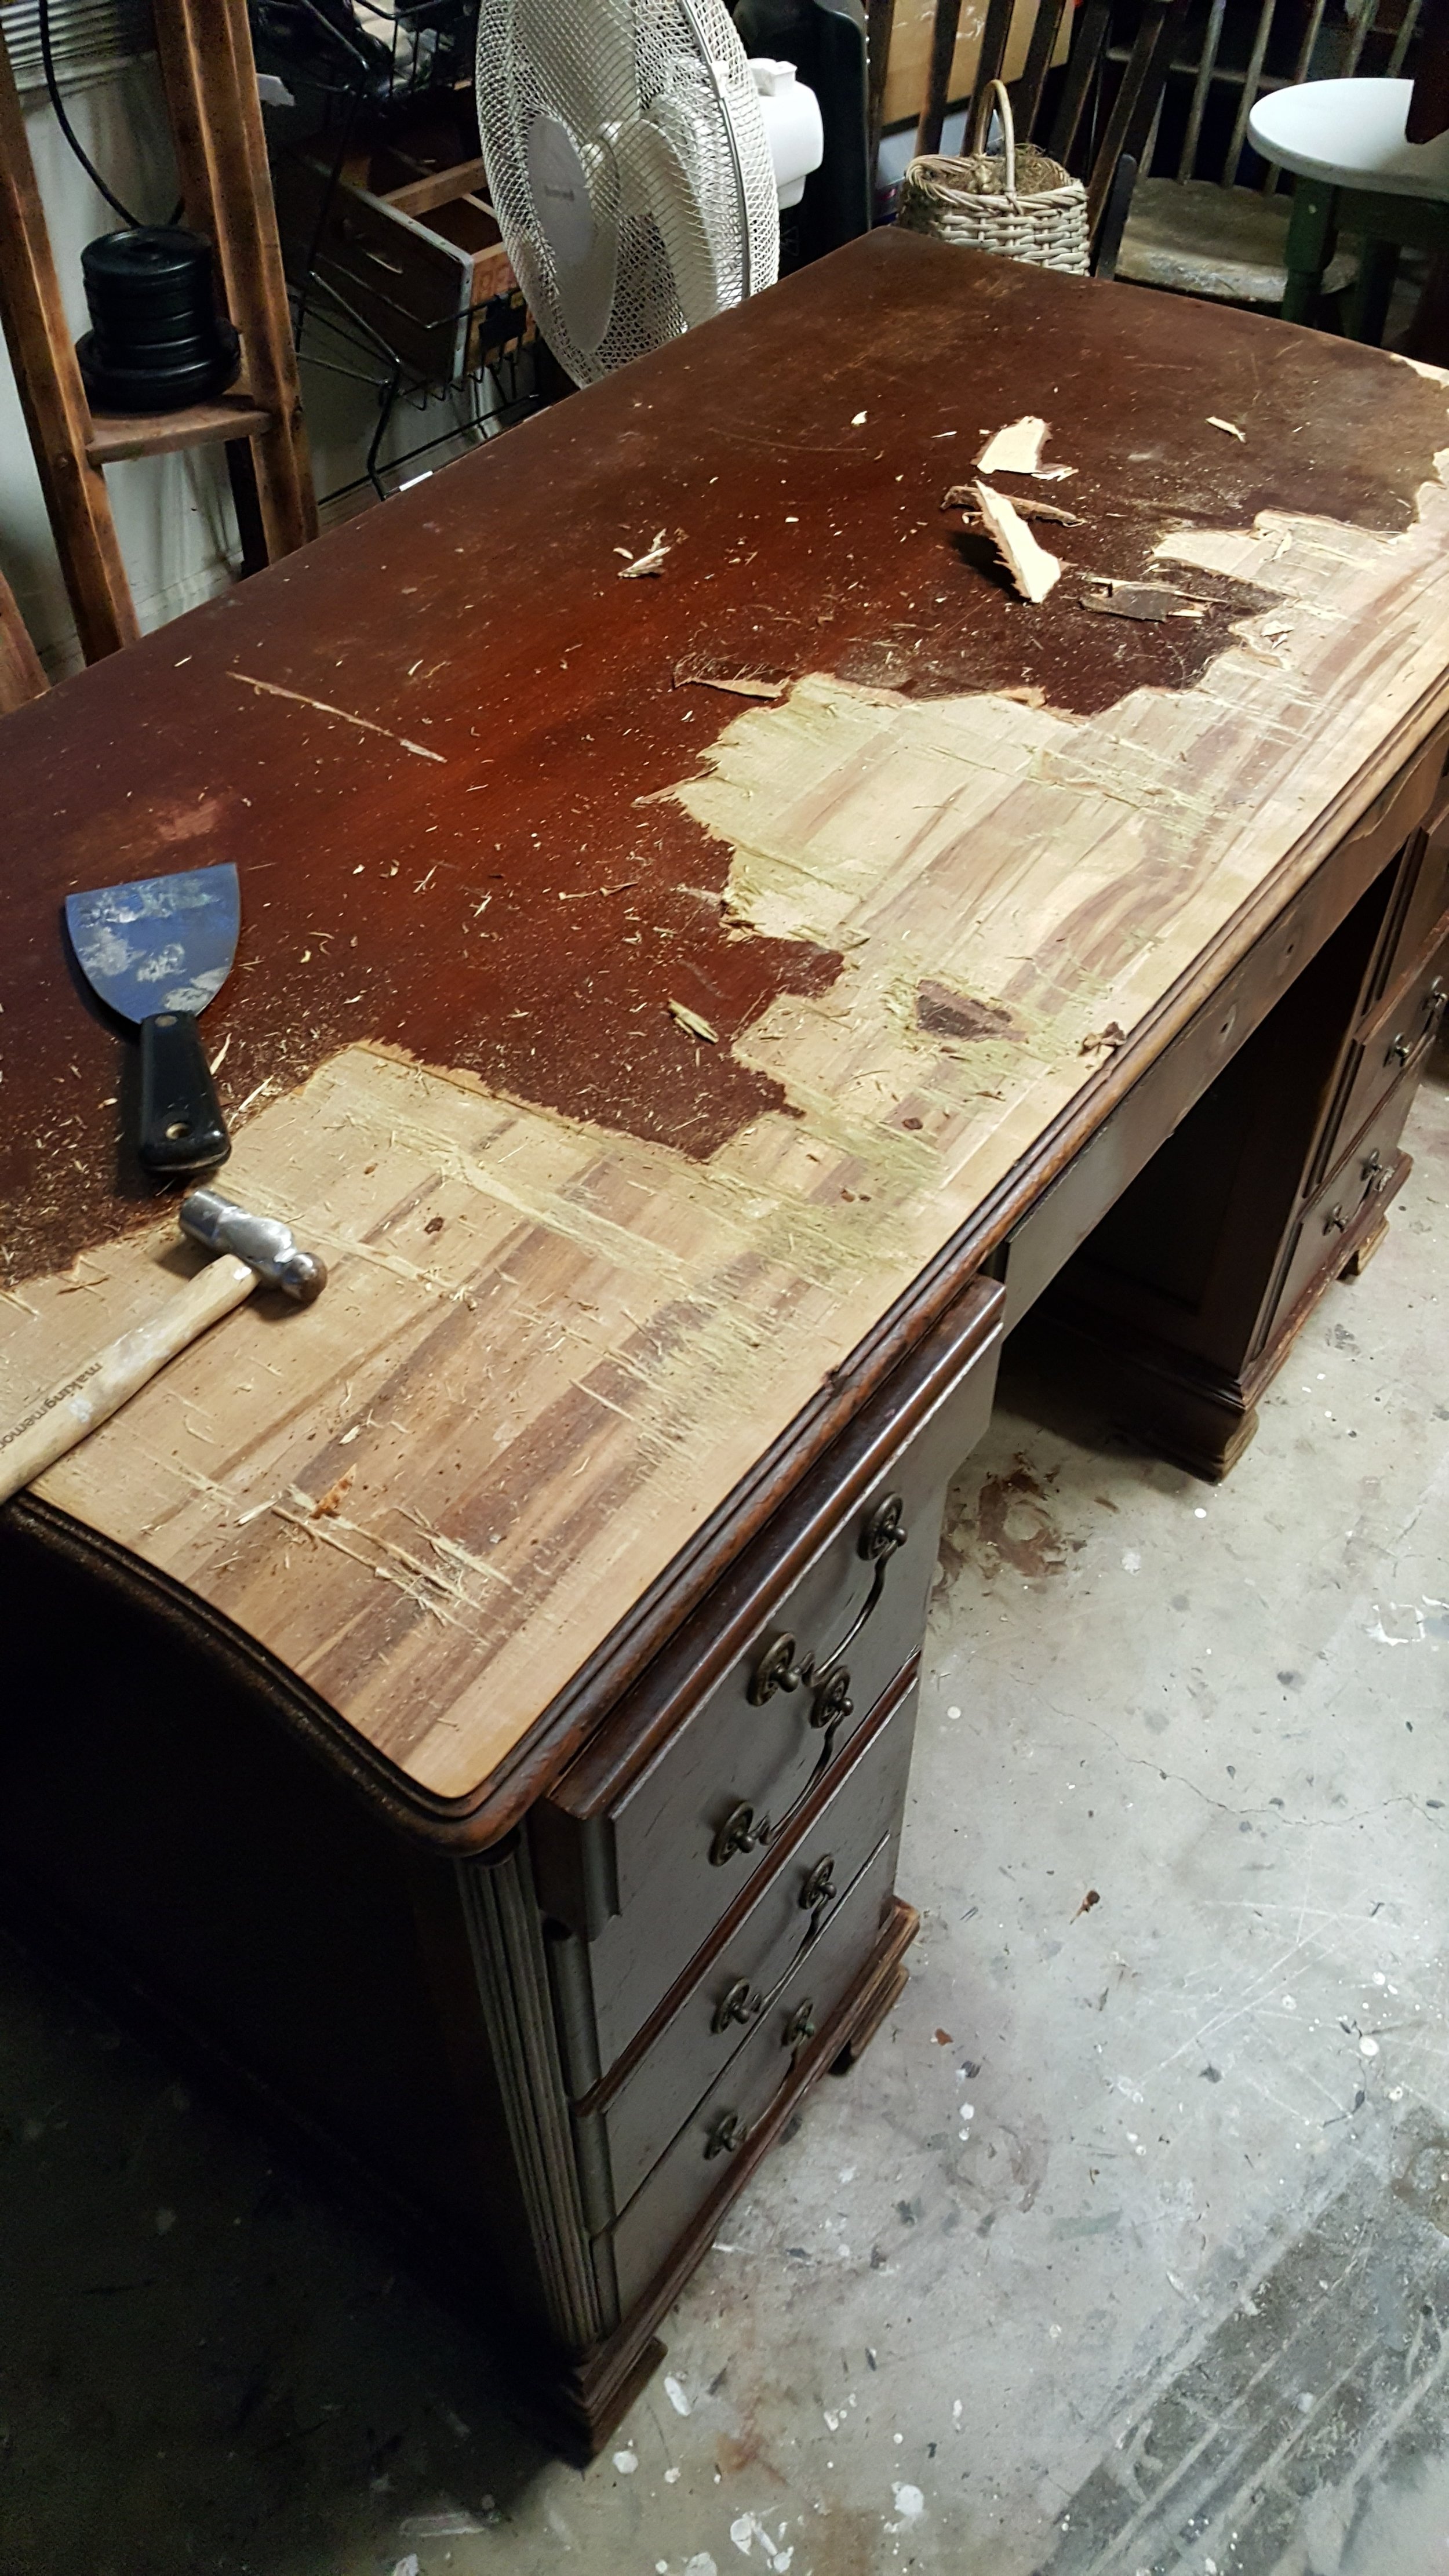
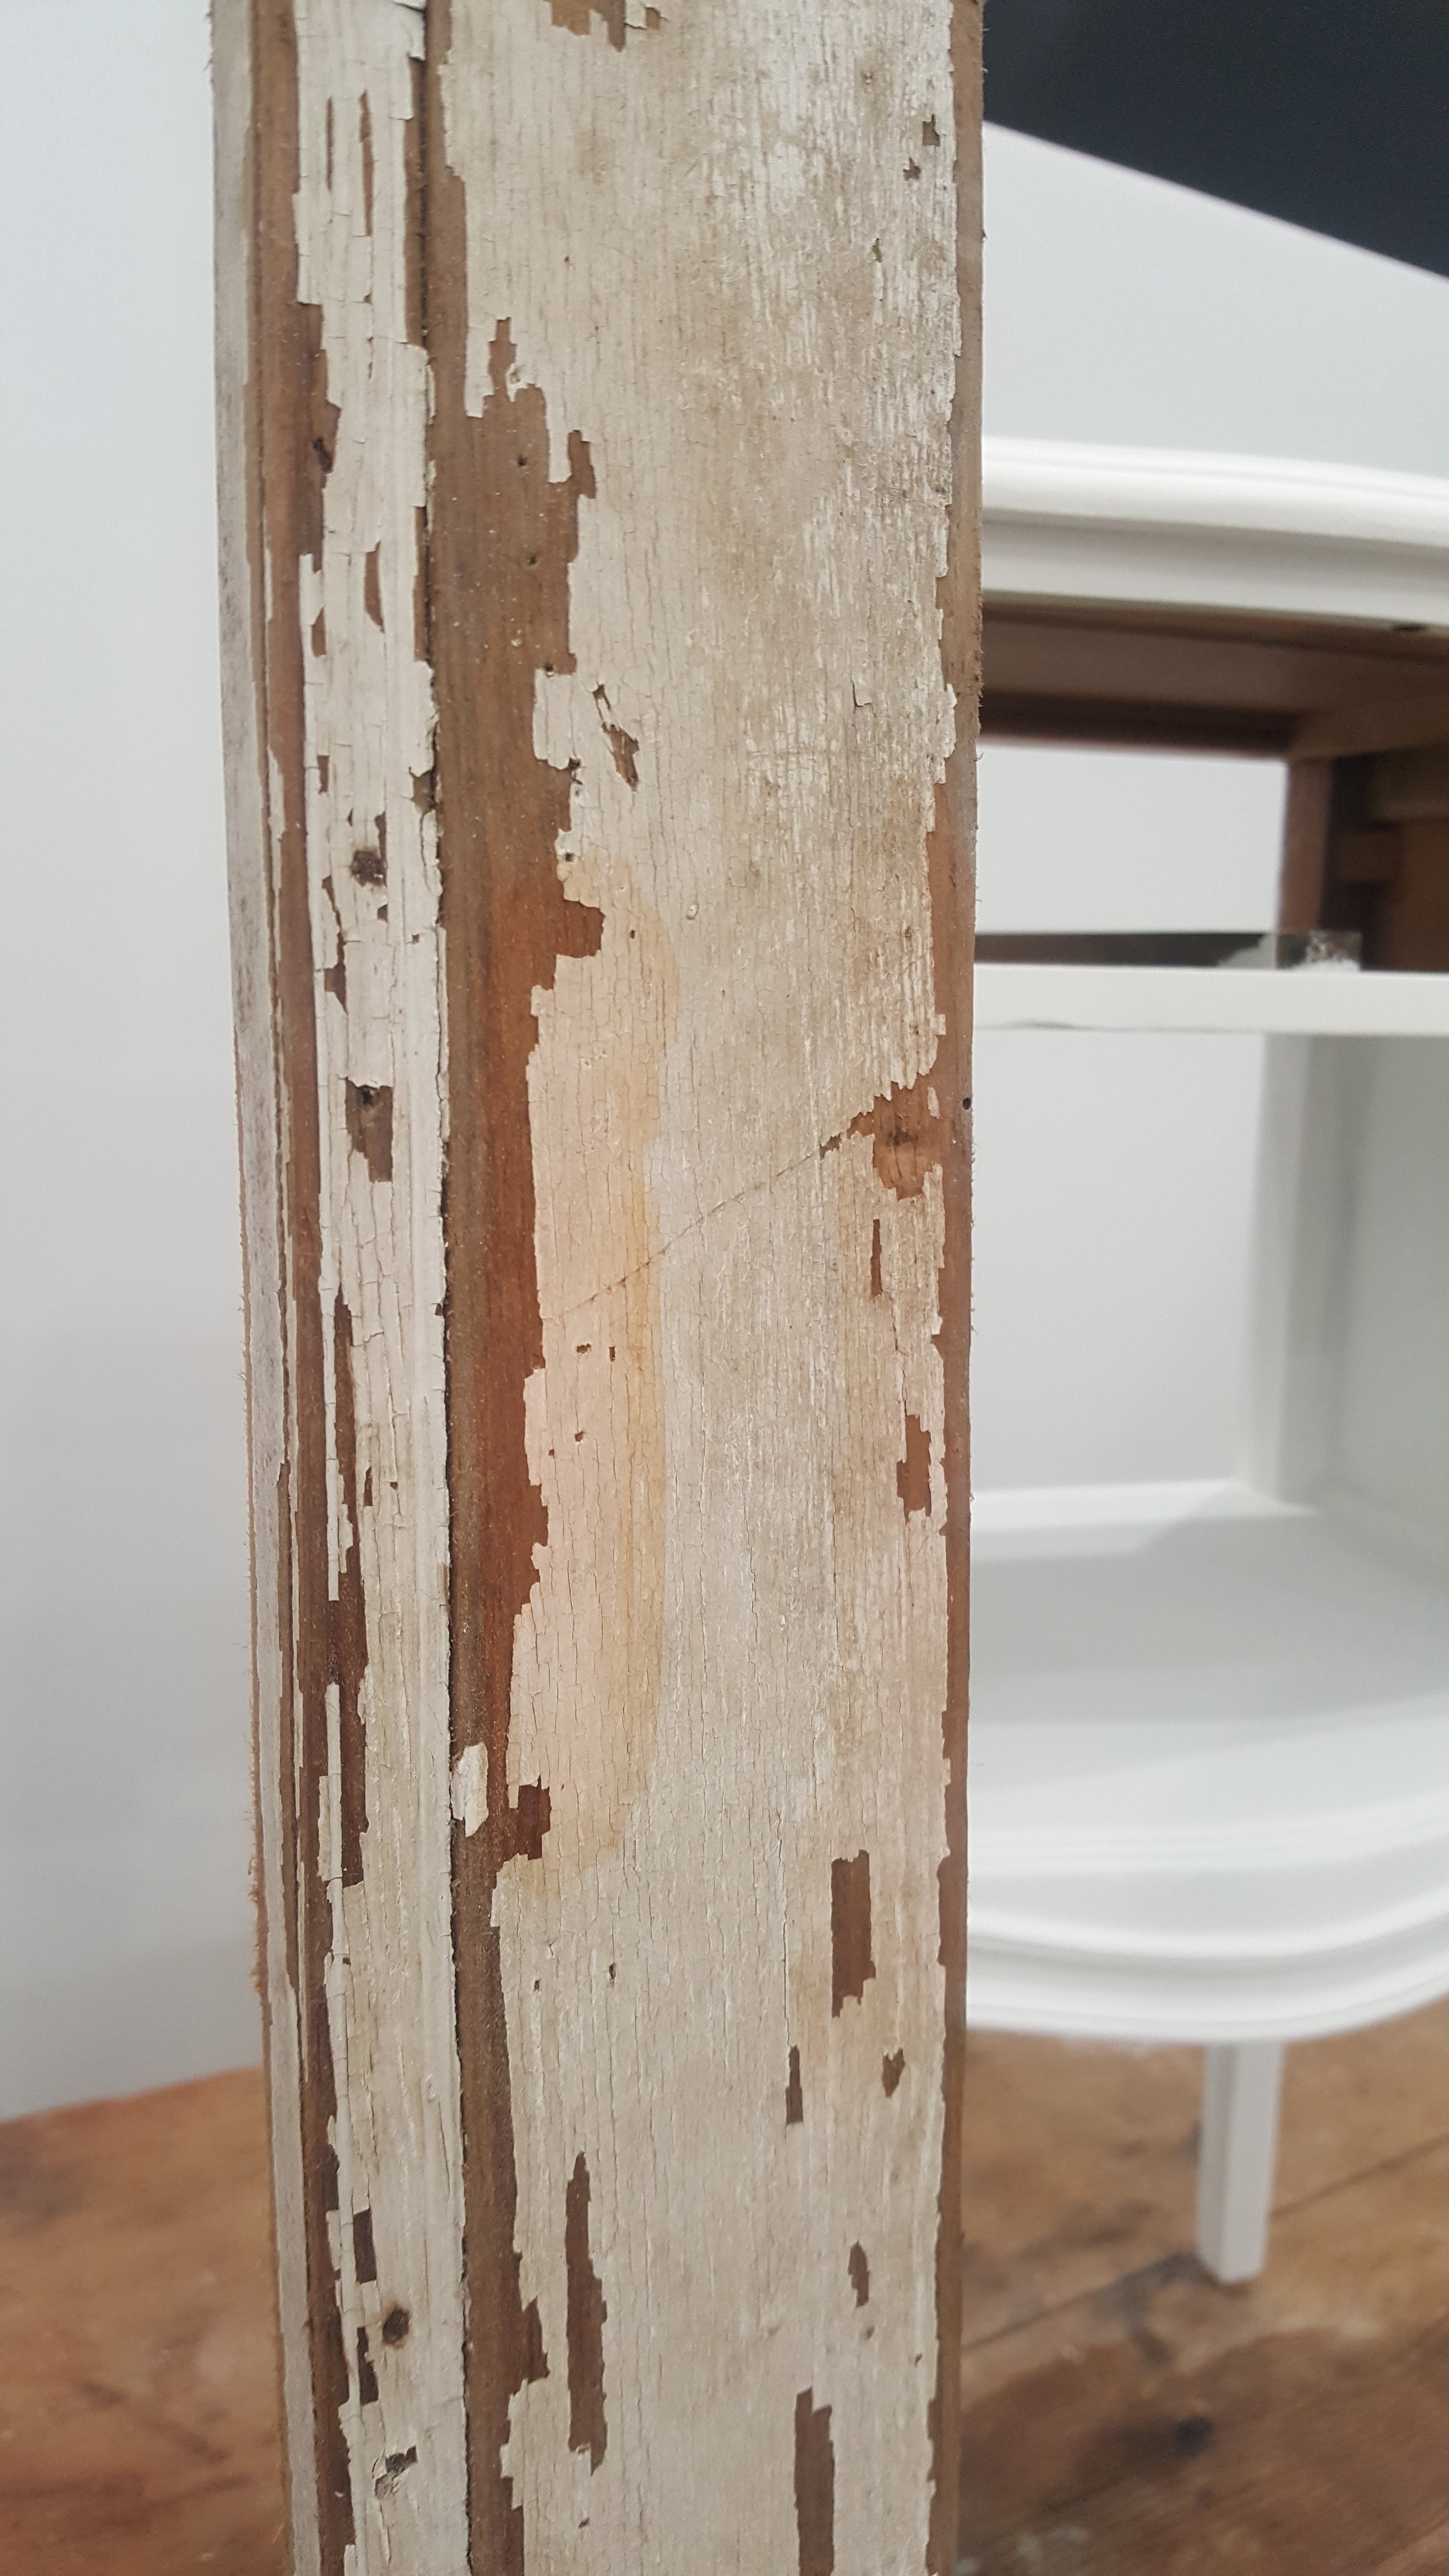
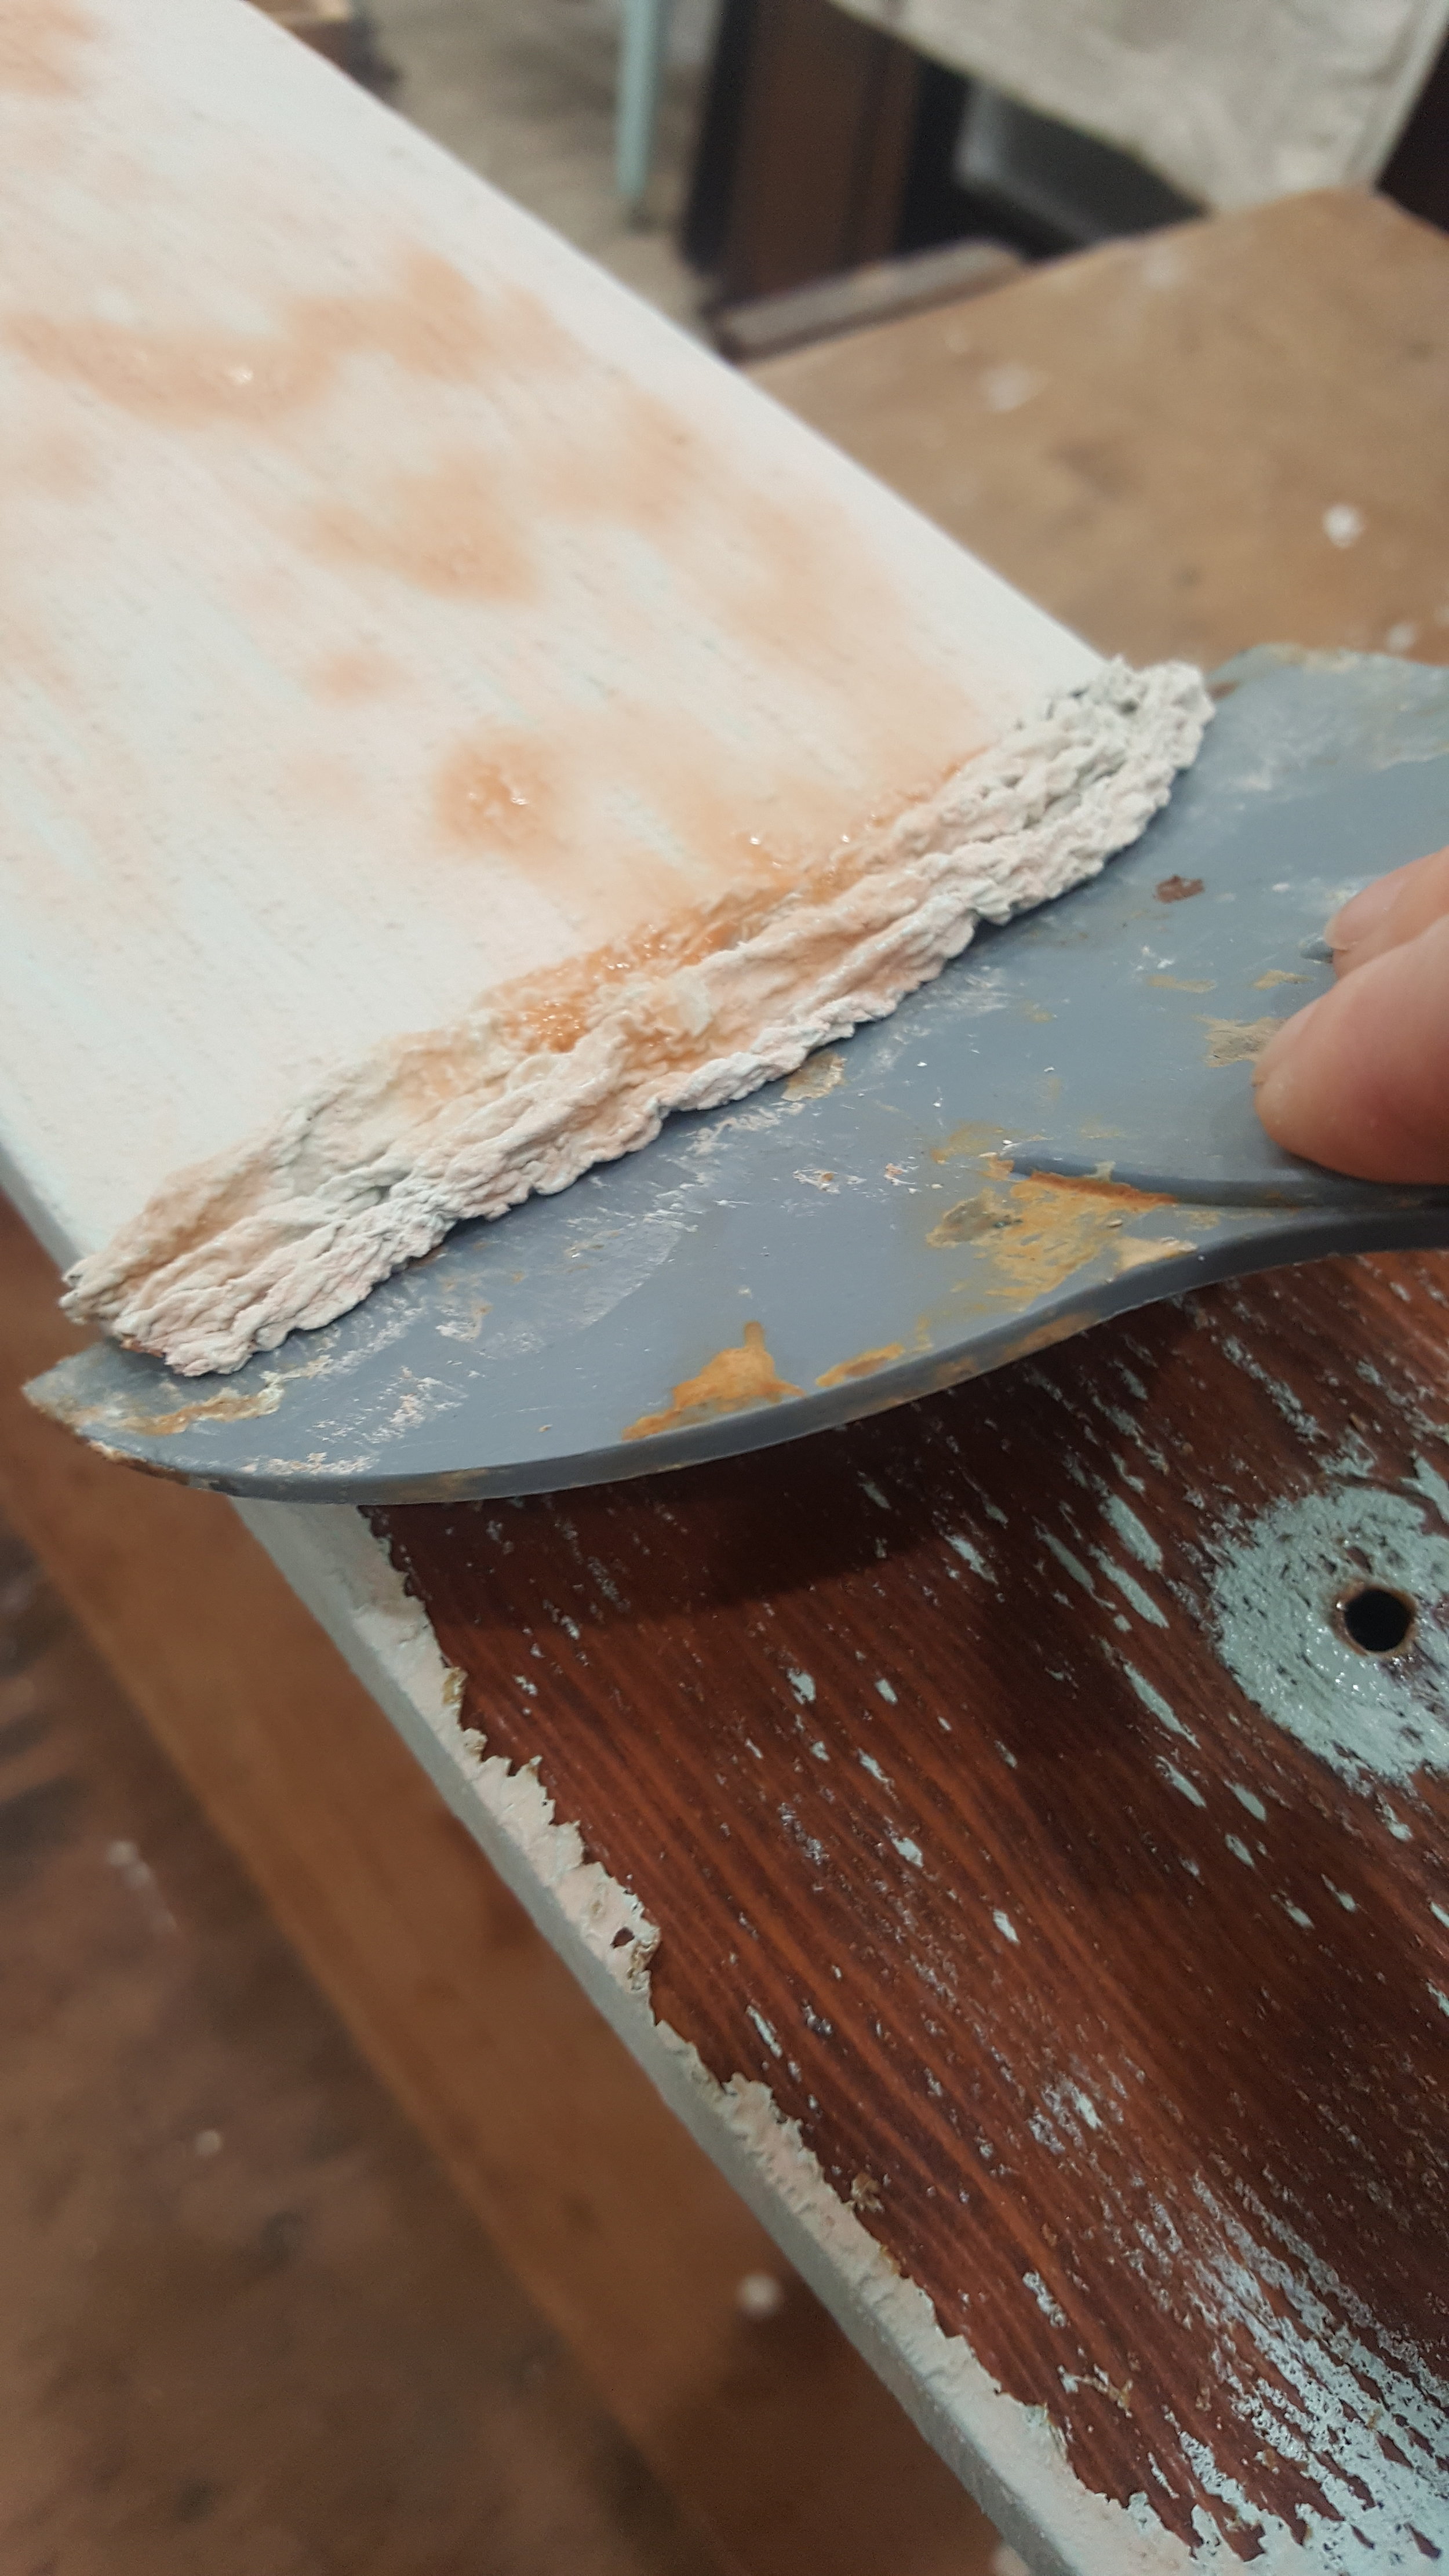
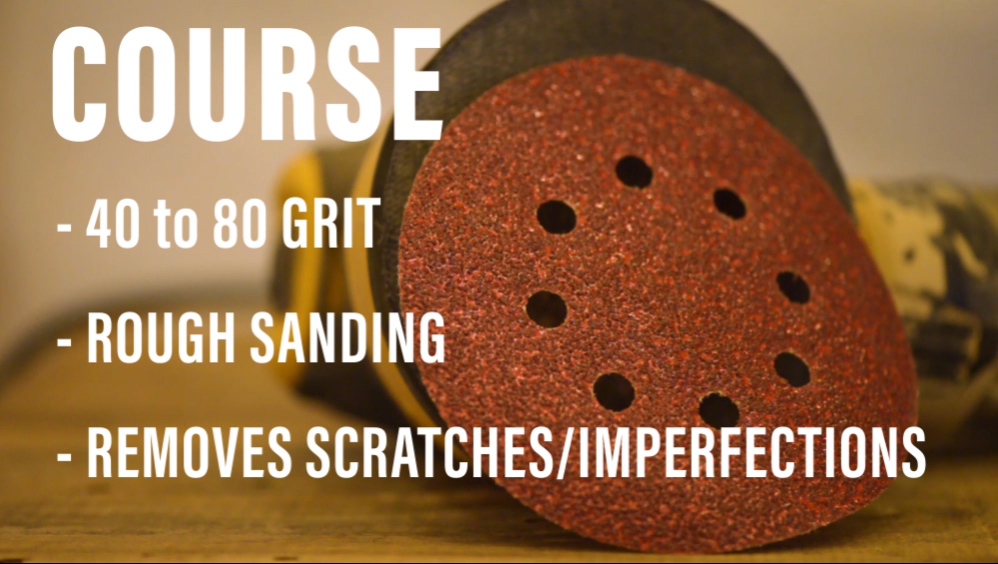
40 – 80 Grit: Coarse. 40 to 80 grit is used for heavy or rough sanding and to help remove scratches or imperfections. While it is okay to be abrasive, take your time when using a low-grit sandpaper because it may show noticeable scratches or swirls in the wood. I like to use low-grit for surfaces that have an old thick coat of paint/stain on them or when a surface has a lot of nicks and scratches. Please note, you DO NOT always need to start your project with this girt. As mentioned above, this is mainly used to remove old paint or scratches. If your piece is in great shape or has a thin sheet of veneer on it then it is not necessary to use this low of a grit, so just skip ahead to a 150-grit or perhaps a 220-grit if this is the case.
100 – 150 Grit: Medium. 100 – 150 gives the paint and/or stain enough to grip onto, without making the piece too smooth or too rough. When I am painting or staining a piece, I make sure not to go over 150 grit. This is just my personal experience, but once I start going higher than 150, it starts to seal the wood, making it more difficult for the wood to absorb the paint and/or stain.

180 - 220 Grit: Fine. 180 – 220 grit is primarily used for the sanding finish or to sand in-between coats. It is also great for distressing! There are instances where you can use 180 to 220-grit to rough up a piece in preparation for paint, but you do not typically use these grits until after your first coat. Most of the time I use 220 grit because it is a tad bit smoother. These are also great to help smooth out any scratches you may have caused from the previous low-grits you used, but make sure you do this before you start painting or staining.

320 – 400 Grit and Up: Extra Fine. 320- 400 grit and up. These higher-grits are used toward the end of a project when I am applying my top coat or sealer. I gently use a 400 grit piece of sandpaper or a sanding block and run it across the paint/stain to give it an ultra-smooth finish.

When using sandpaper make sure you always keep the pressure even so that your finish stays nice and level. You also want to make sure you sand with the grain of the wood, so you do not cause any unnecessary scratches or imperfections.
Thank you so much for stopping by for this weeks #TuesdayTipsWithFallon! Make sure you tune in every other Tuesday for a new tip! Look forward to seeing you then. Happy Sanding!!

Make sure you check out my other #TuesdayTips videos and blog post’s below!