How to Clean Your Existing Hardware for your Furniture
/#TuesdayTipsWithFallon
Welcome to my first #TuesdayTipsWithFallon! Every other Tuesday I will provide you with a short video and a written blog post with an educational tip to make the furniture painting process easier for you, I will also provide you with great information in my written tutorials that I provide for you on Monday’s called, #MondayMakeoversWithFallon, so don’t forget to check those out too! As I stated yesterday, I am self-taught, therefore I have spent countless hours and money experimenting over the years to figure out what works well and what doesn’t. That does not even include the long hours I have spent reading articles, information pamphlets and DIY books….and yes, this was before social media really took off, so I really had to learn the hard way. Lucky for you though, you don’t have to do that! You can tune in each week and learn something new without having to do all the things I did to get to where I am today!
Just so you know up front, I am going to include some affiliate links throughout my posts/blog. I hope that you will use my links so that I can continue to provide you with my knowledge at no cost to you!! Yes, this Momma has to put food on the table, but I sincerely want to provide you with as much great information as possible because I really do think it will be of value to you. So helping me in this area will help both of us!! Thank you in advance for this!
Check out the video and blog post below for my first #TuesdayTipsWithFallon!
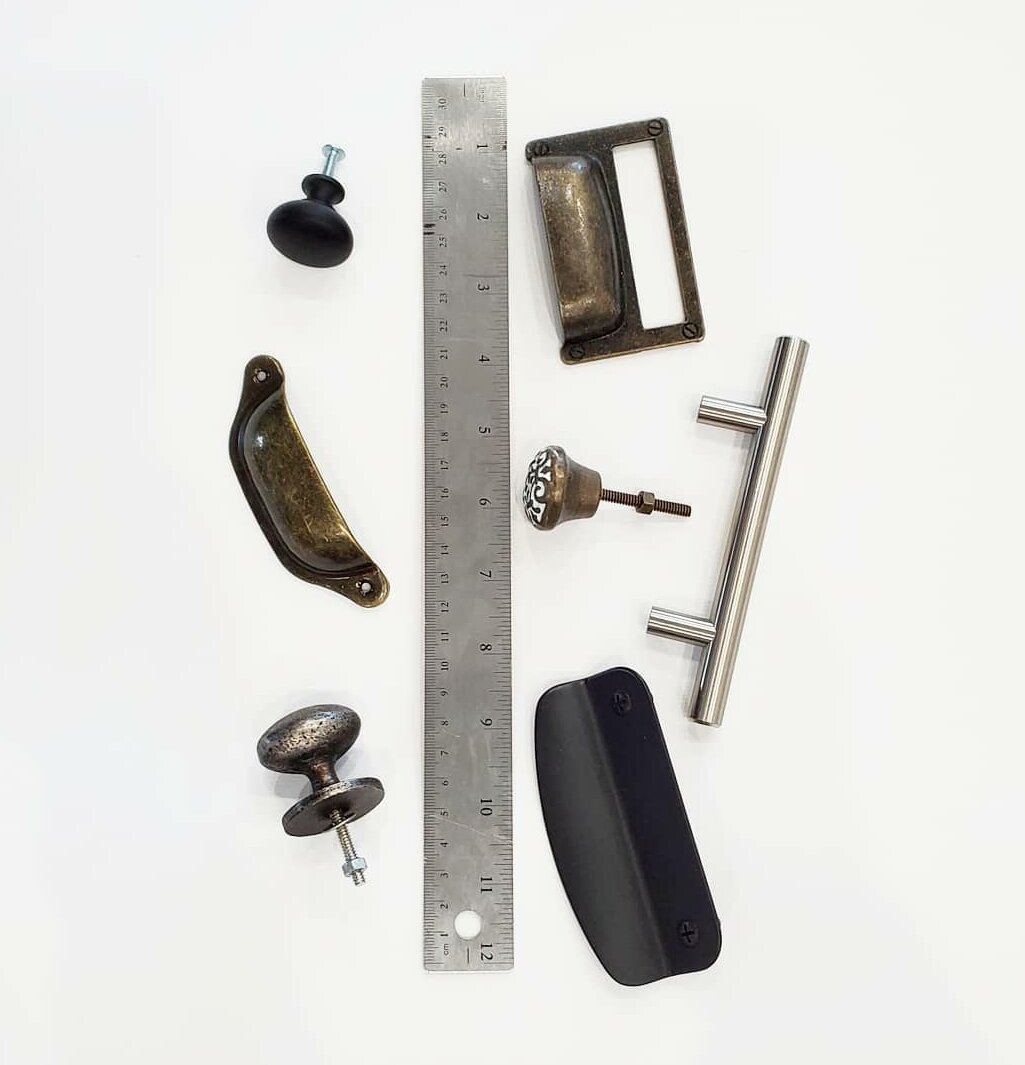
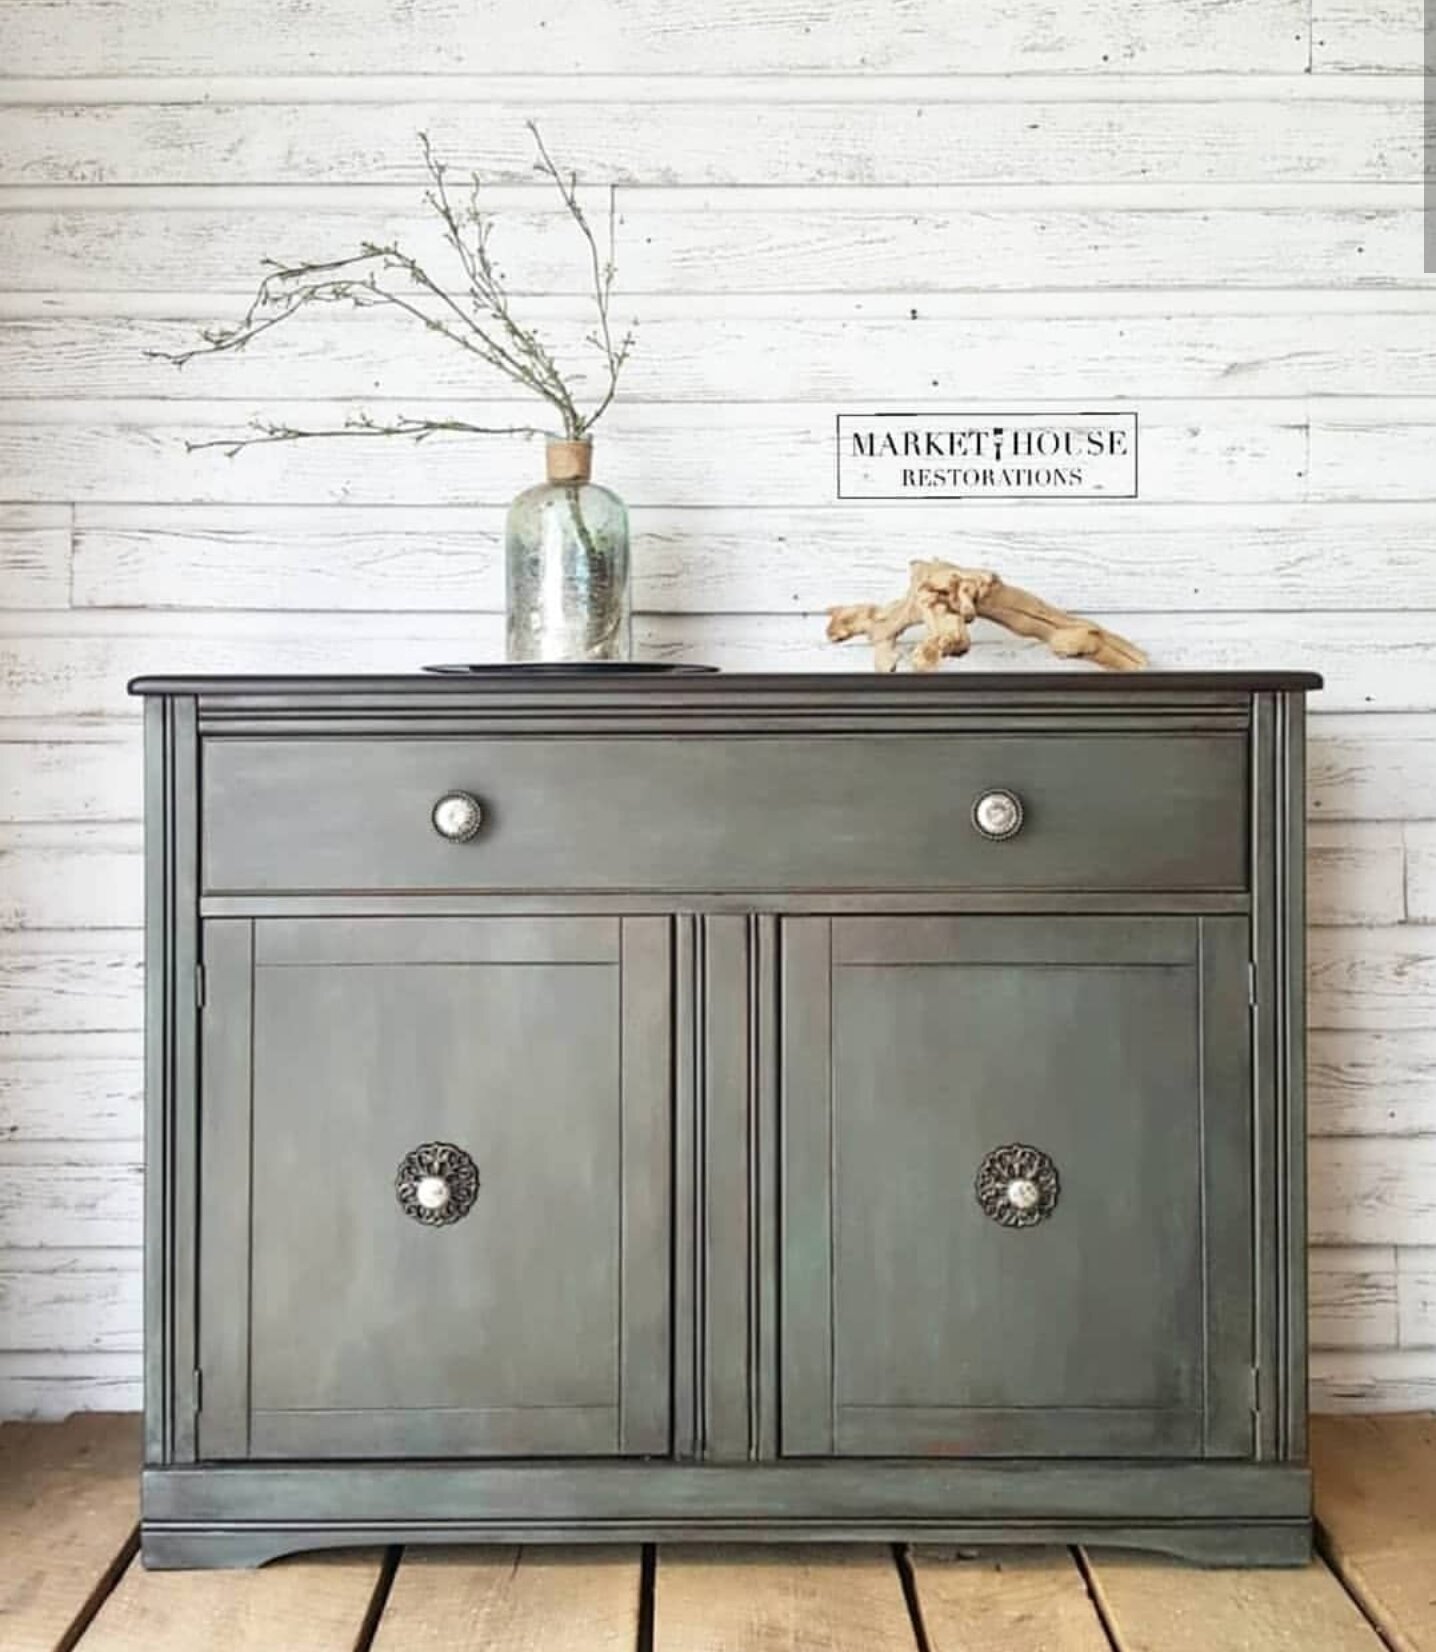
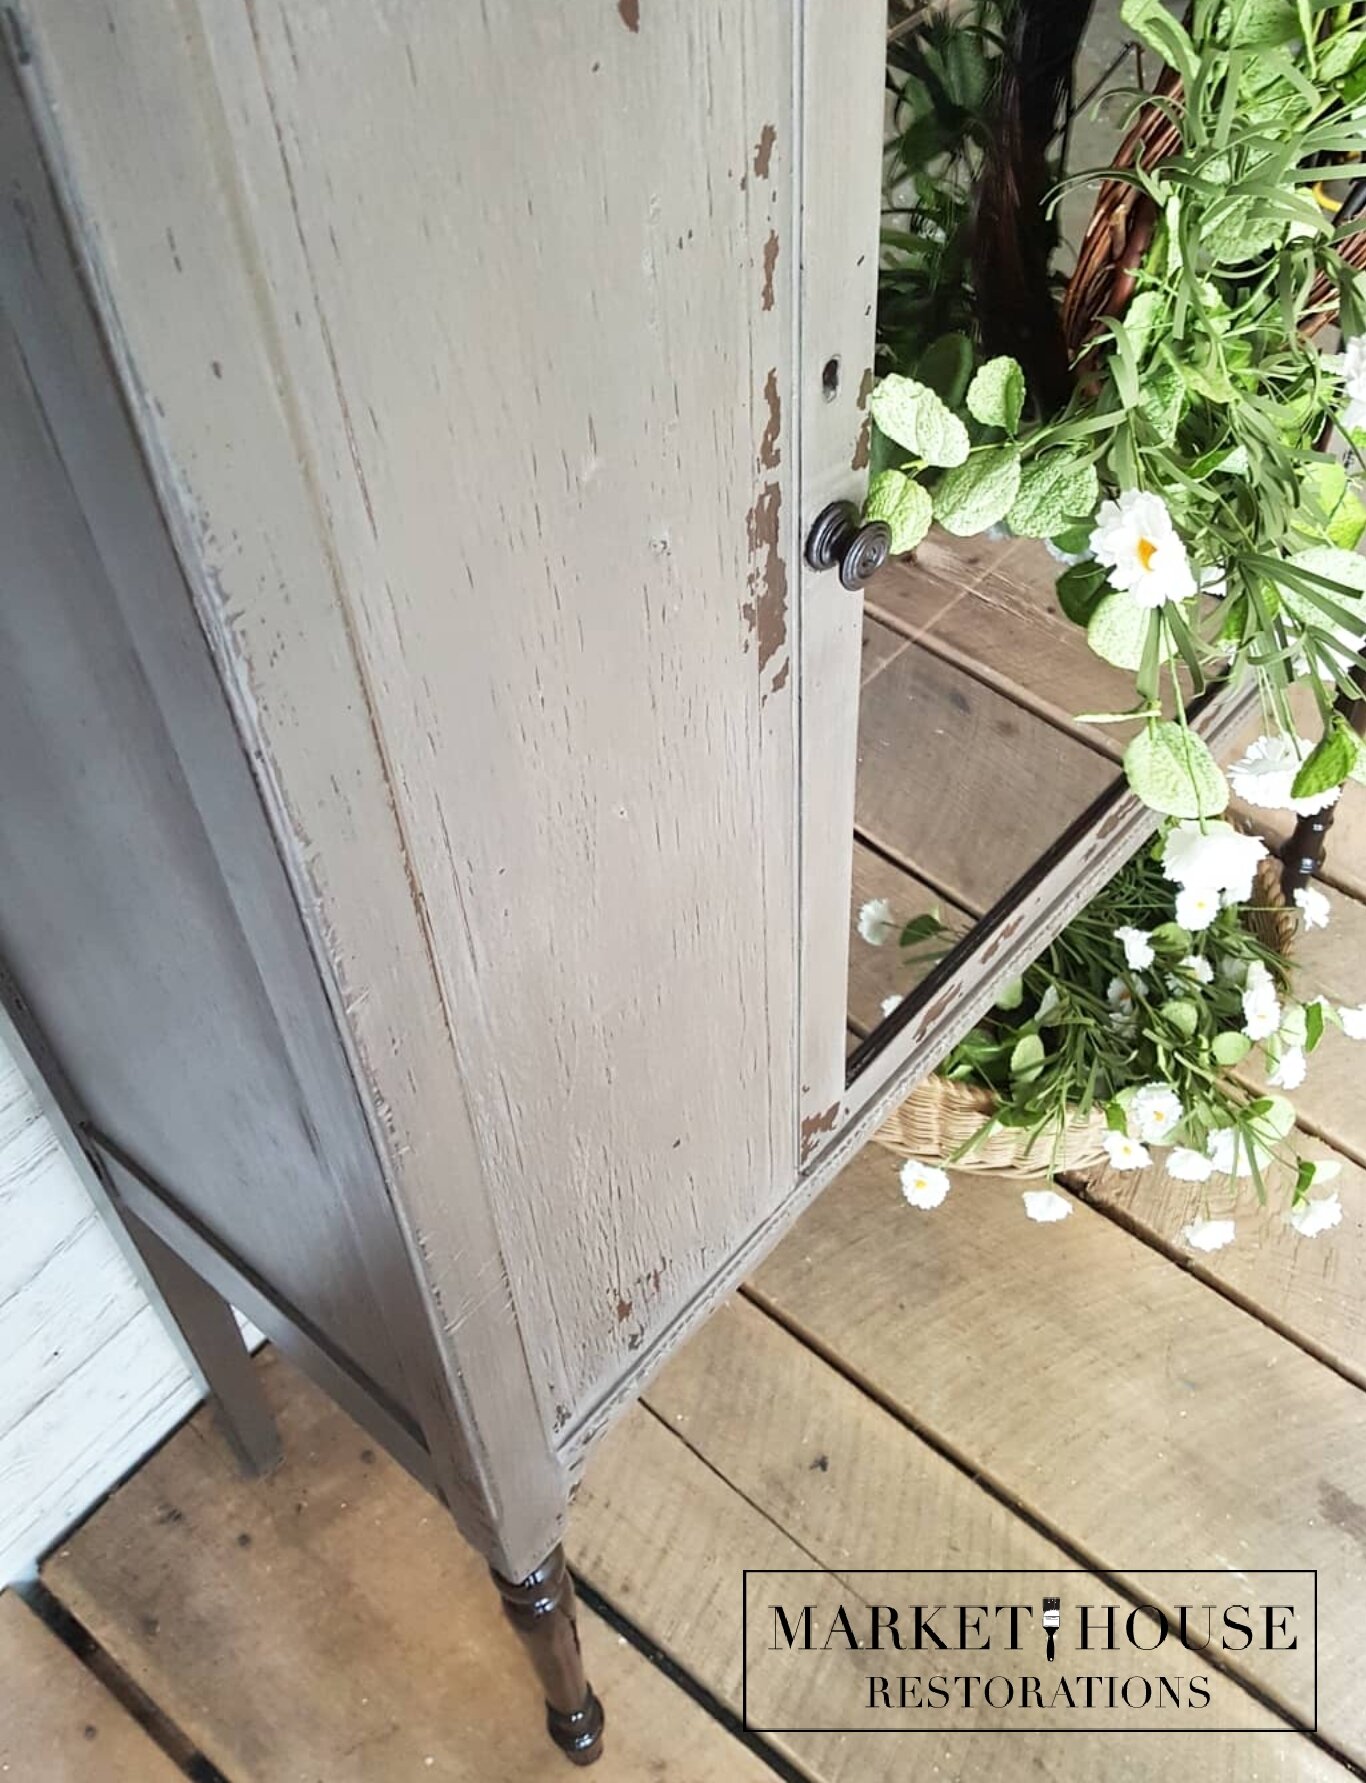
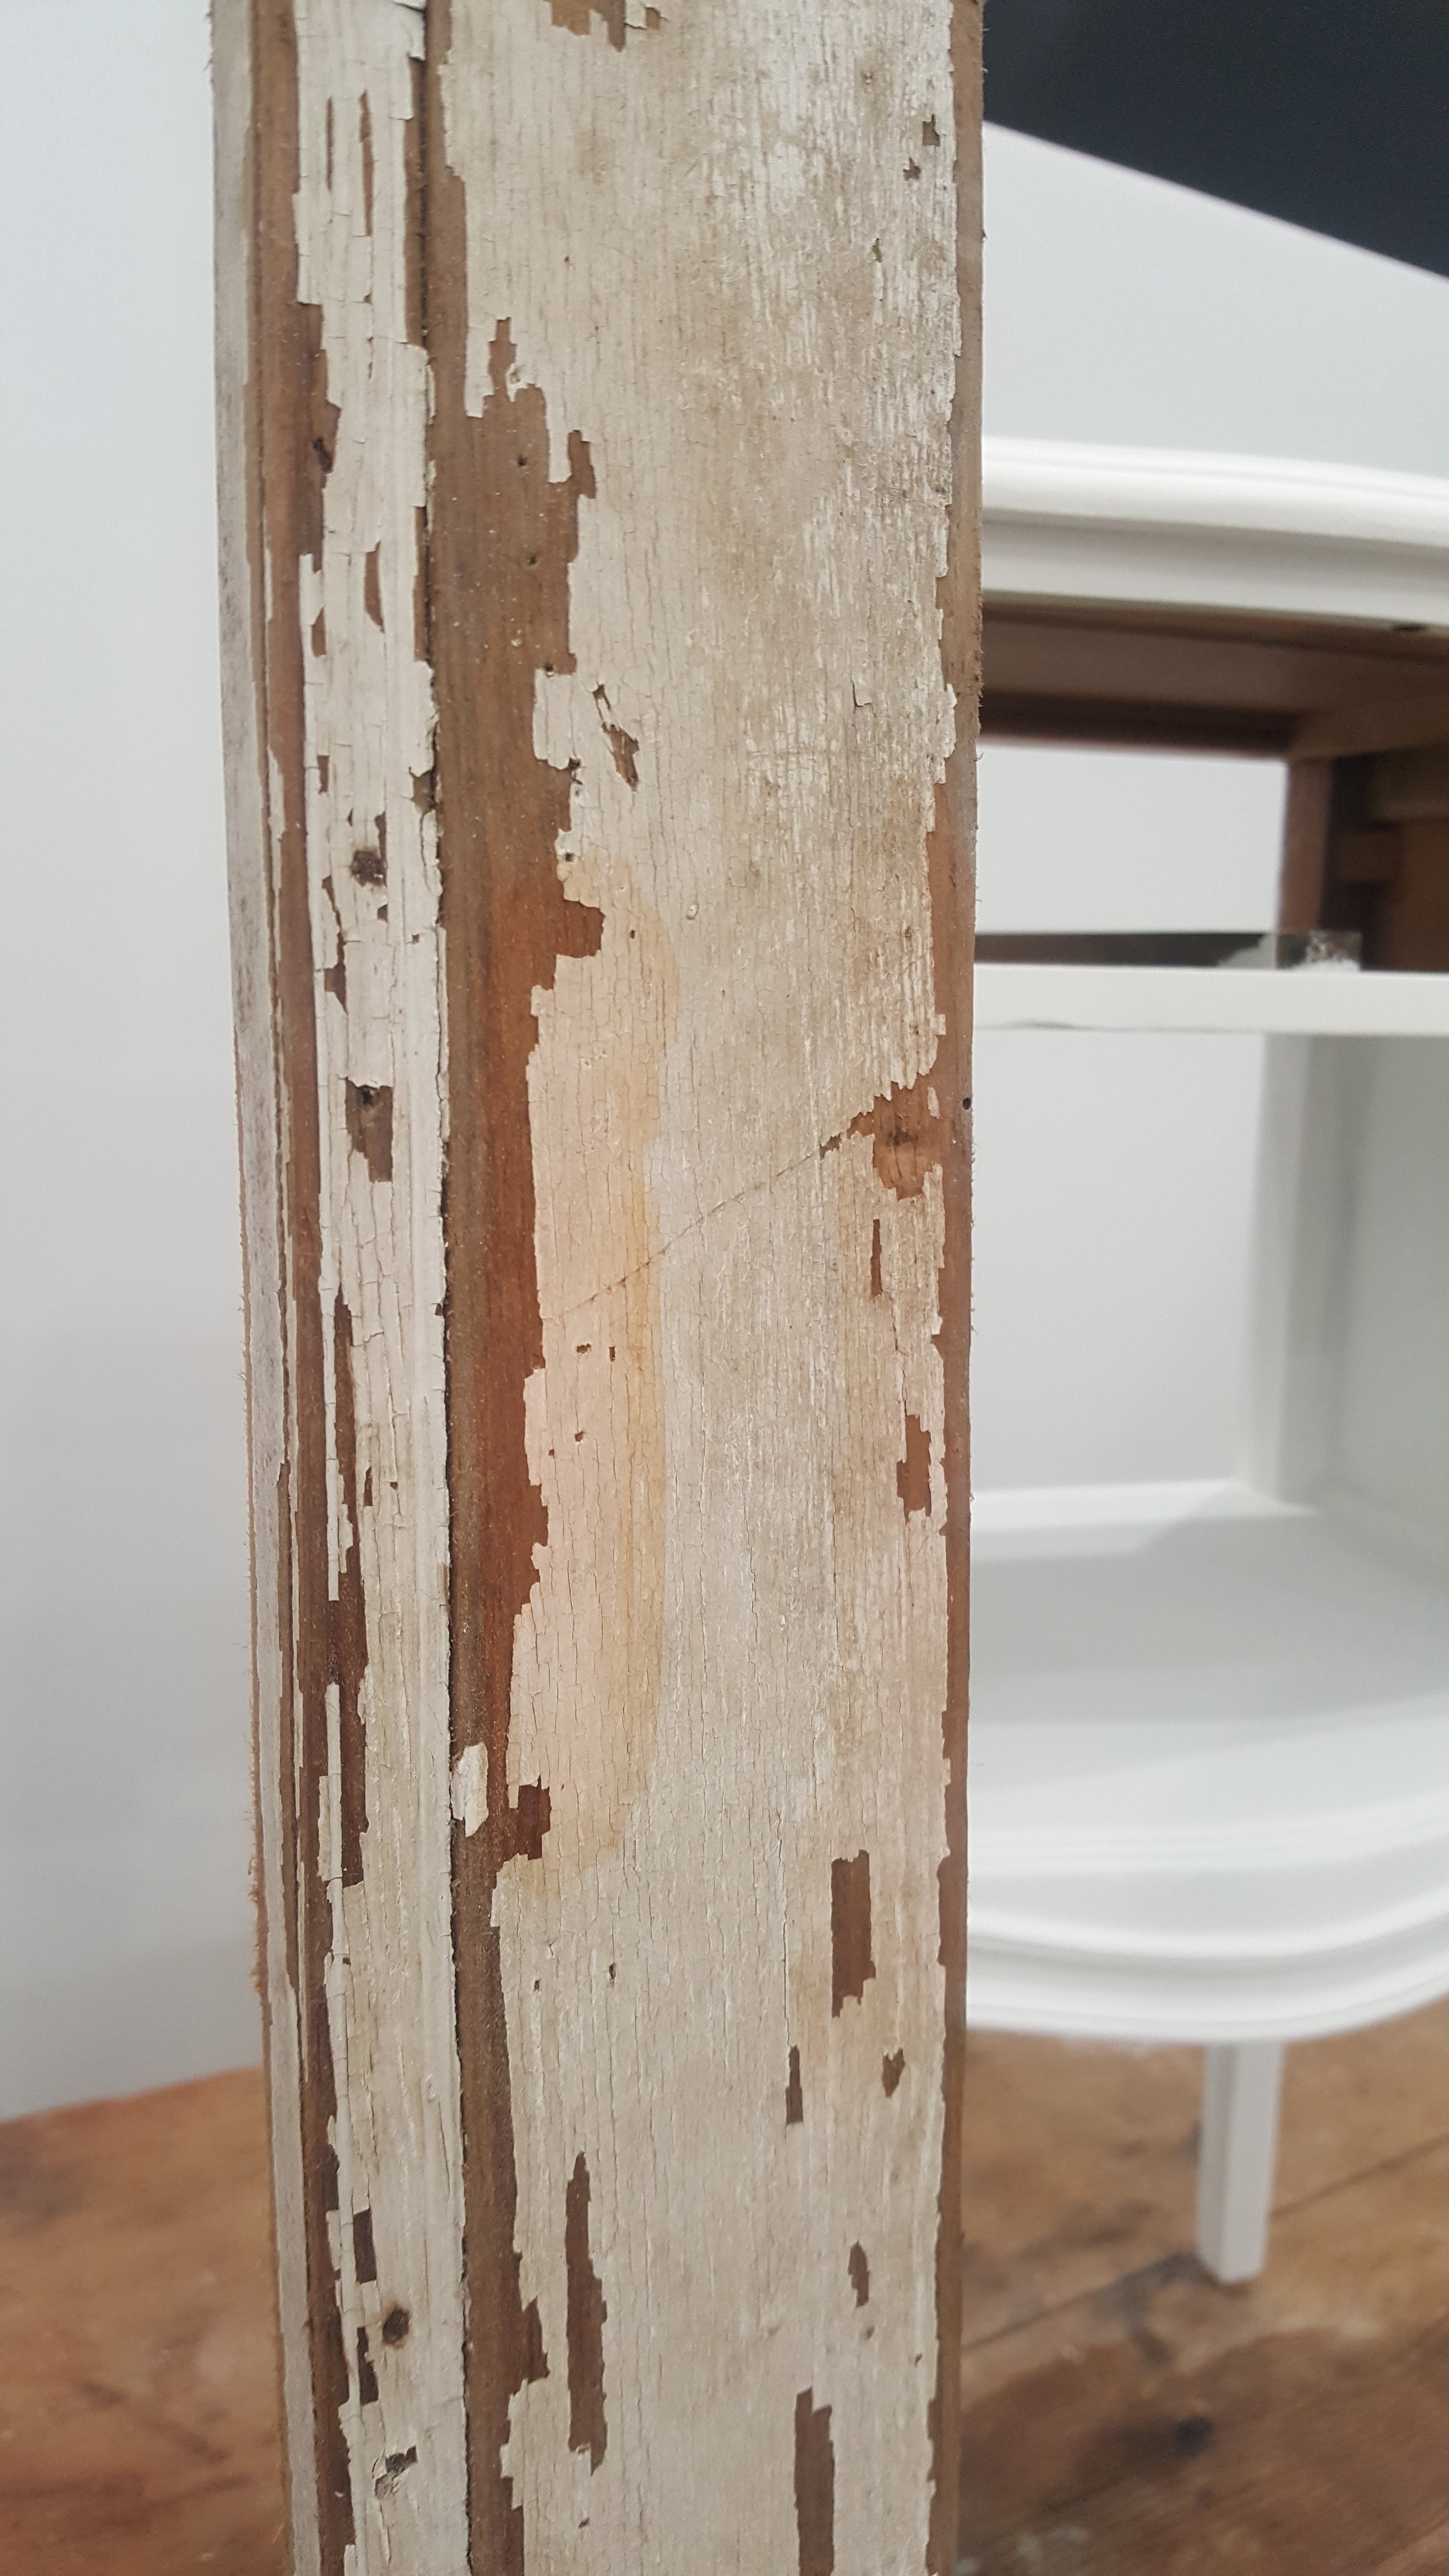
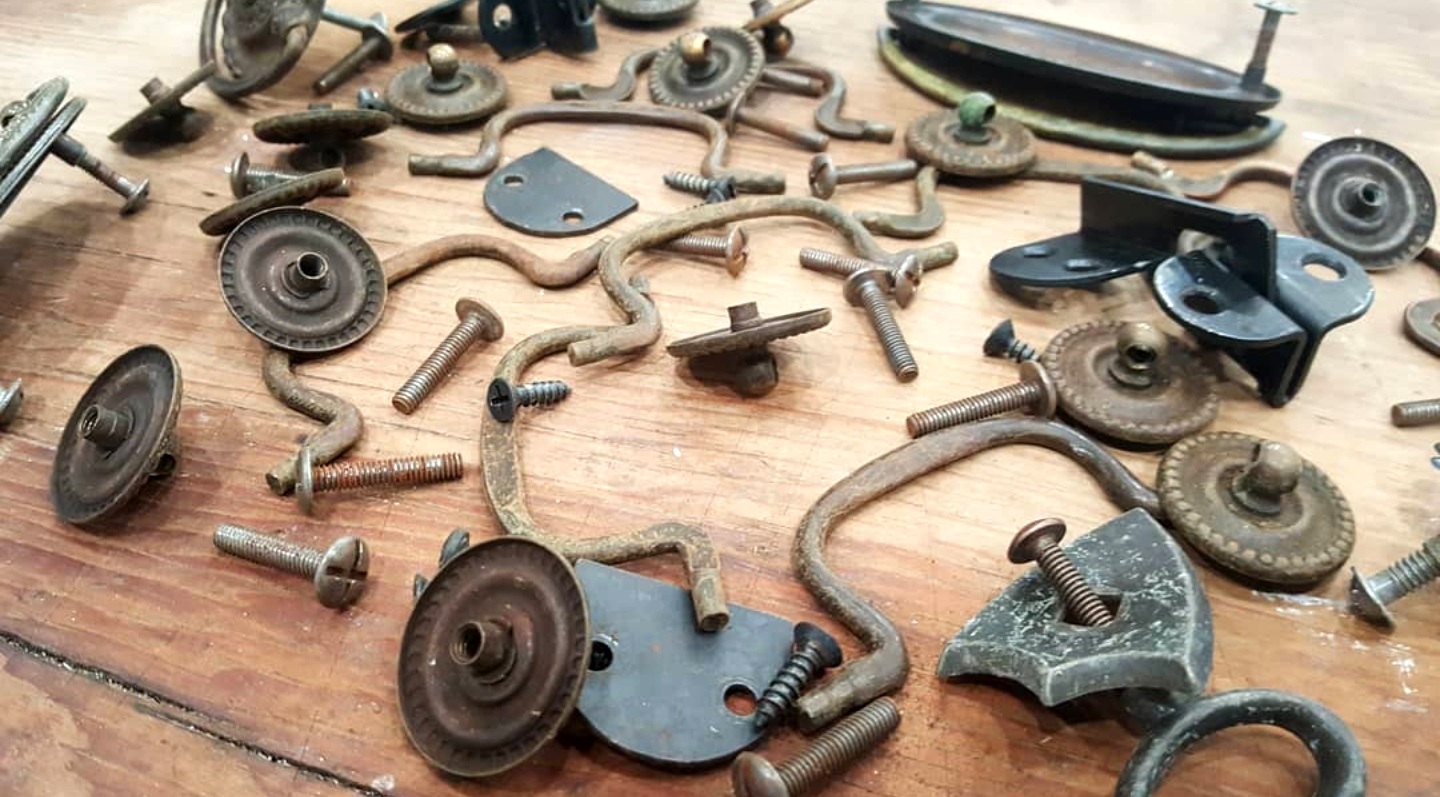
After you have restored or painted a piece of furniture sometimes it is best to keep the hardware that originally came with the piece. Here is a great way to clean and restore the hardware and make it look new again.
The main ingredient you will use to clean your hardware is Bar Keepers Friend. It’s main purpose to is clean hard non-porous surfaces such as pots and pans, as well as other kitchen item’s that may have gathered rust, tarnish, mineral deposits and/or stains over the years, but it can work on numerous other things too. I have used it on furniture handles, pulls, hinges, screws, wheels, etc. It just a great product to have on hand!
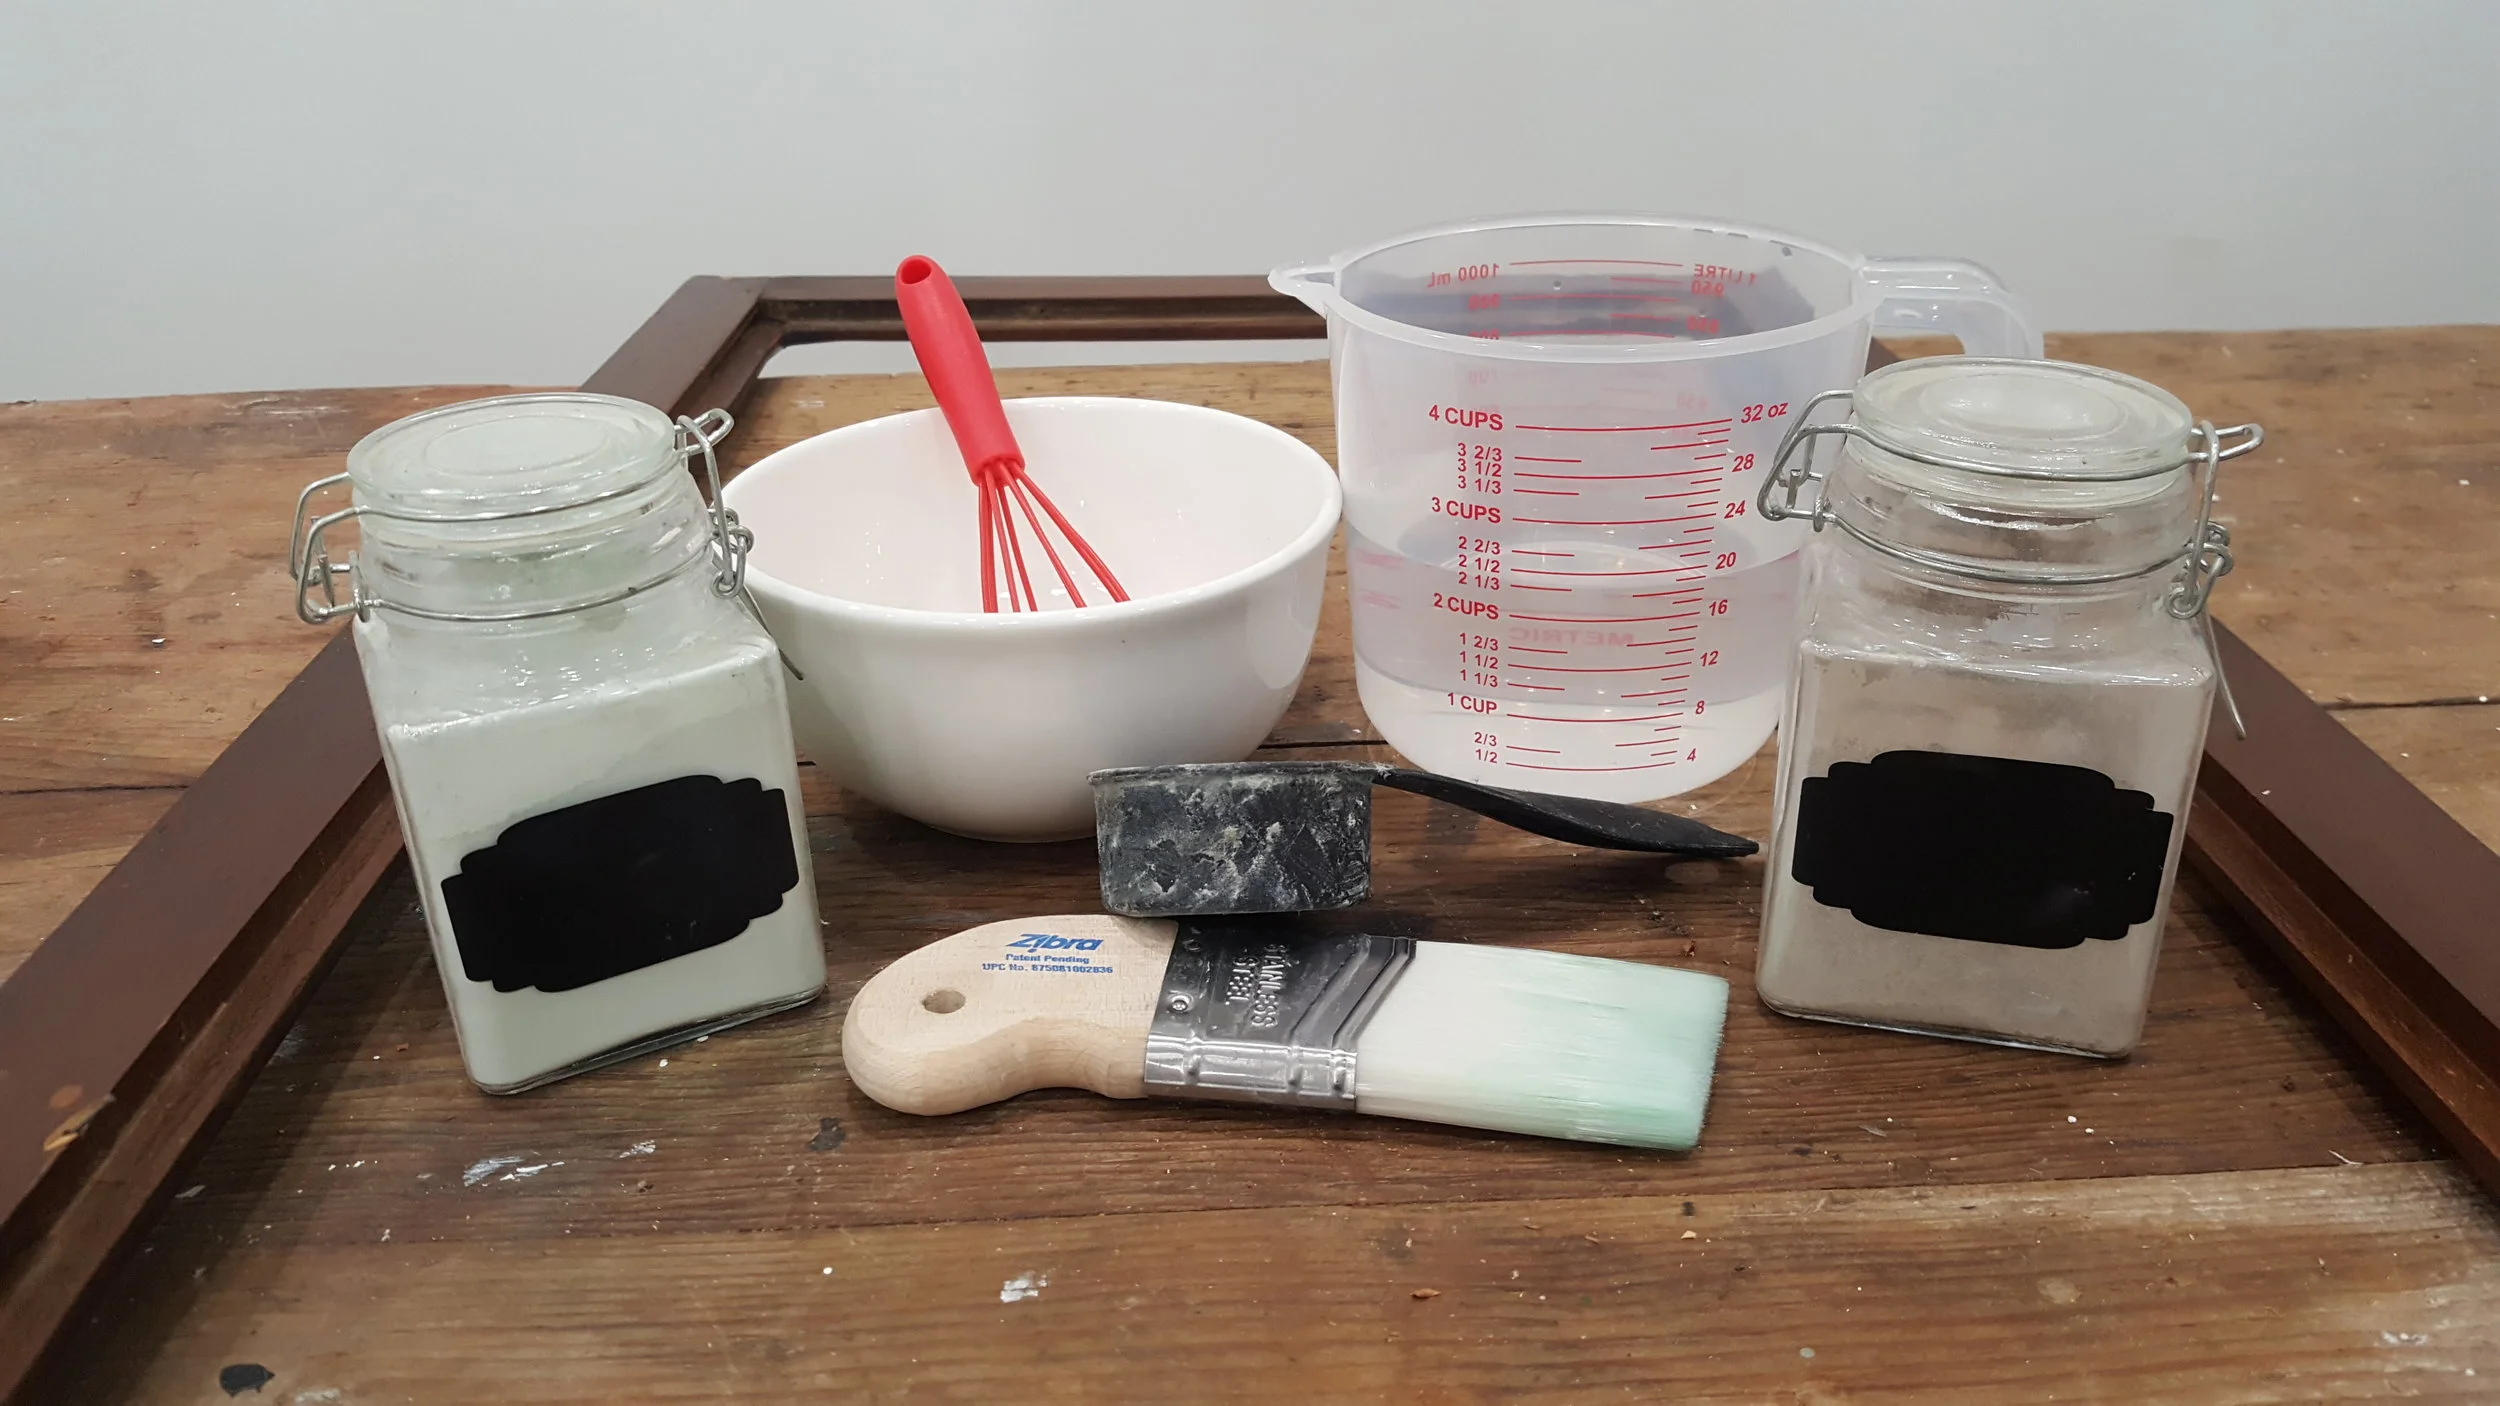
Materials Needed:
2. Small amount of water
3. Bowl (You can use a disposable if you have it on hand. If not, a bowl out of your kitchen cabinet will be fine. Just clean it well when you’re done.)
4. Spoon or Wisk (You can use a disposable if you have it on hand. If not, a spoon out of your kitchen will be fine. Just clean it well when you’re done.)
5. Chip Brush (Be prepared to throw this away when you are done cleaning your hardware)
6. Soft stripping pad OR Steel Wool, Grade #0000
7. Distilled White Vinegar (Optional)
8. Shop towel (Optional) or an old lent free t-shirt.
9. Old Barn Milk Paint Clear Wax or Natural Wax by Country Chic Paint (Make sure to use the code MarketHouse10 to receive 10% off of your Country Chic order!)
10. Rubber Gloves

Step 1: You will want to follow the directions on the back of the Bar Keepers Friend container. As you can see from the video, I do this so often that I just eyeball it now, but as you start out it may be easier for you to follow the exact directions. In this step you will need your bowl, spoon and water so you can make a paste with the Bar Keepers Friend.
Step 2: Take your Chip Brush and dip it into the Bar Keepers Friend paste. Take a generous amount and brush it onto your hardware. Let it sit for approximately 15 to 30 seconds.
Step 3: Take your soft stripping pad or steel wool and dip it into the paste and start scrubbing the hardware that you just brushed the paste onto in Step 2. You may want to use a toothbrush if you have a piece of hardware that has a lot of small crevices. This will help you clean out those tiny areas really well.
*Keep in mind, this is just my personal preference, it does not have to be super shinny and perfect (unless that is the look you are going for. I know you have worked your tail off to make your piece of furniture look updated and beautiful, but it is not a brand new piece of furniture. So, if you have super shiny and spotless hardware on it, then it may not flow well. Make sure it all ties together nicely!
Step 4: After you have completed Step 3, take your Distilled White Vinegar and pour it into a disposable cup. I pour enough in the cup to cover the piece of hardware. Drop the hardware into the vinegar and let it sit while you clean the other pieces of hardware. It can sit in the vinegar for a few seconds or a few minutes. Just do not keep it in the vinegar for over 30 minutes because the vinegar may start stripping the original finish. To make it simple for you, just make sure it gets completely covered in the vinegar and go from there.
*Please note, I want this to be as easy as possible for you, so if you do not have the vinegar on hand, then you can use water to clean it up. I just like to use vinegar because it cleans and sanitizes it all-in-one.
Step 5: Now that the hardware has been covered in the vinegar, you will want to take it out and dry it off. At this point you should be able to see the difference from the before-and-after! I like to use a shop towel, but you can use an old t-shirt or something that does not shed a lot, if you prefer.
As you can see from the video above, the difference is remarkable and I went through the process rather quickly! So, now what?
After the hardware is nice and dry you can polish it. I like to use a tiny amount of clear wax by Old Barn Milk Paint or Natural Wax by Country Chic Paint (Make sure to use the code MarketHouse10 to receive 10% off of your Country Chic order!) to shine it up and preserve the look. If you want to add a little color back to your hardware without painting it, Rub ‘N Buff is a nice option for this. If you decide you want to paint your hardware, I recommend using Rustoleum Spray Paint. You may wonder, why can not I just do this in the beginning anyway? Well, the same applies to the hardware as it does your furniture. You need to have a nice, clean base before you paint anything on it. If not, it may chip or scratch easily. So go ahead and clean it with the Bar Keepers Friend, make sure it is nice and dry and then apply your paint.
Again, thank you SO much for tuning in this week for my first #TuesdayTipsWithFallon. If you want to save this blog post, make sure you pin it to your Pinterest page and/or feel free to share it elsewhere. I look forward being with you every other week and don’t forget to tune in to my Facebook page tomorrow to read about my first #WomenInBusinessWednesday!! Thanks again!
Happy cleaning!!
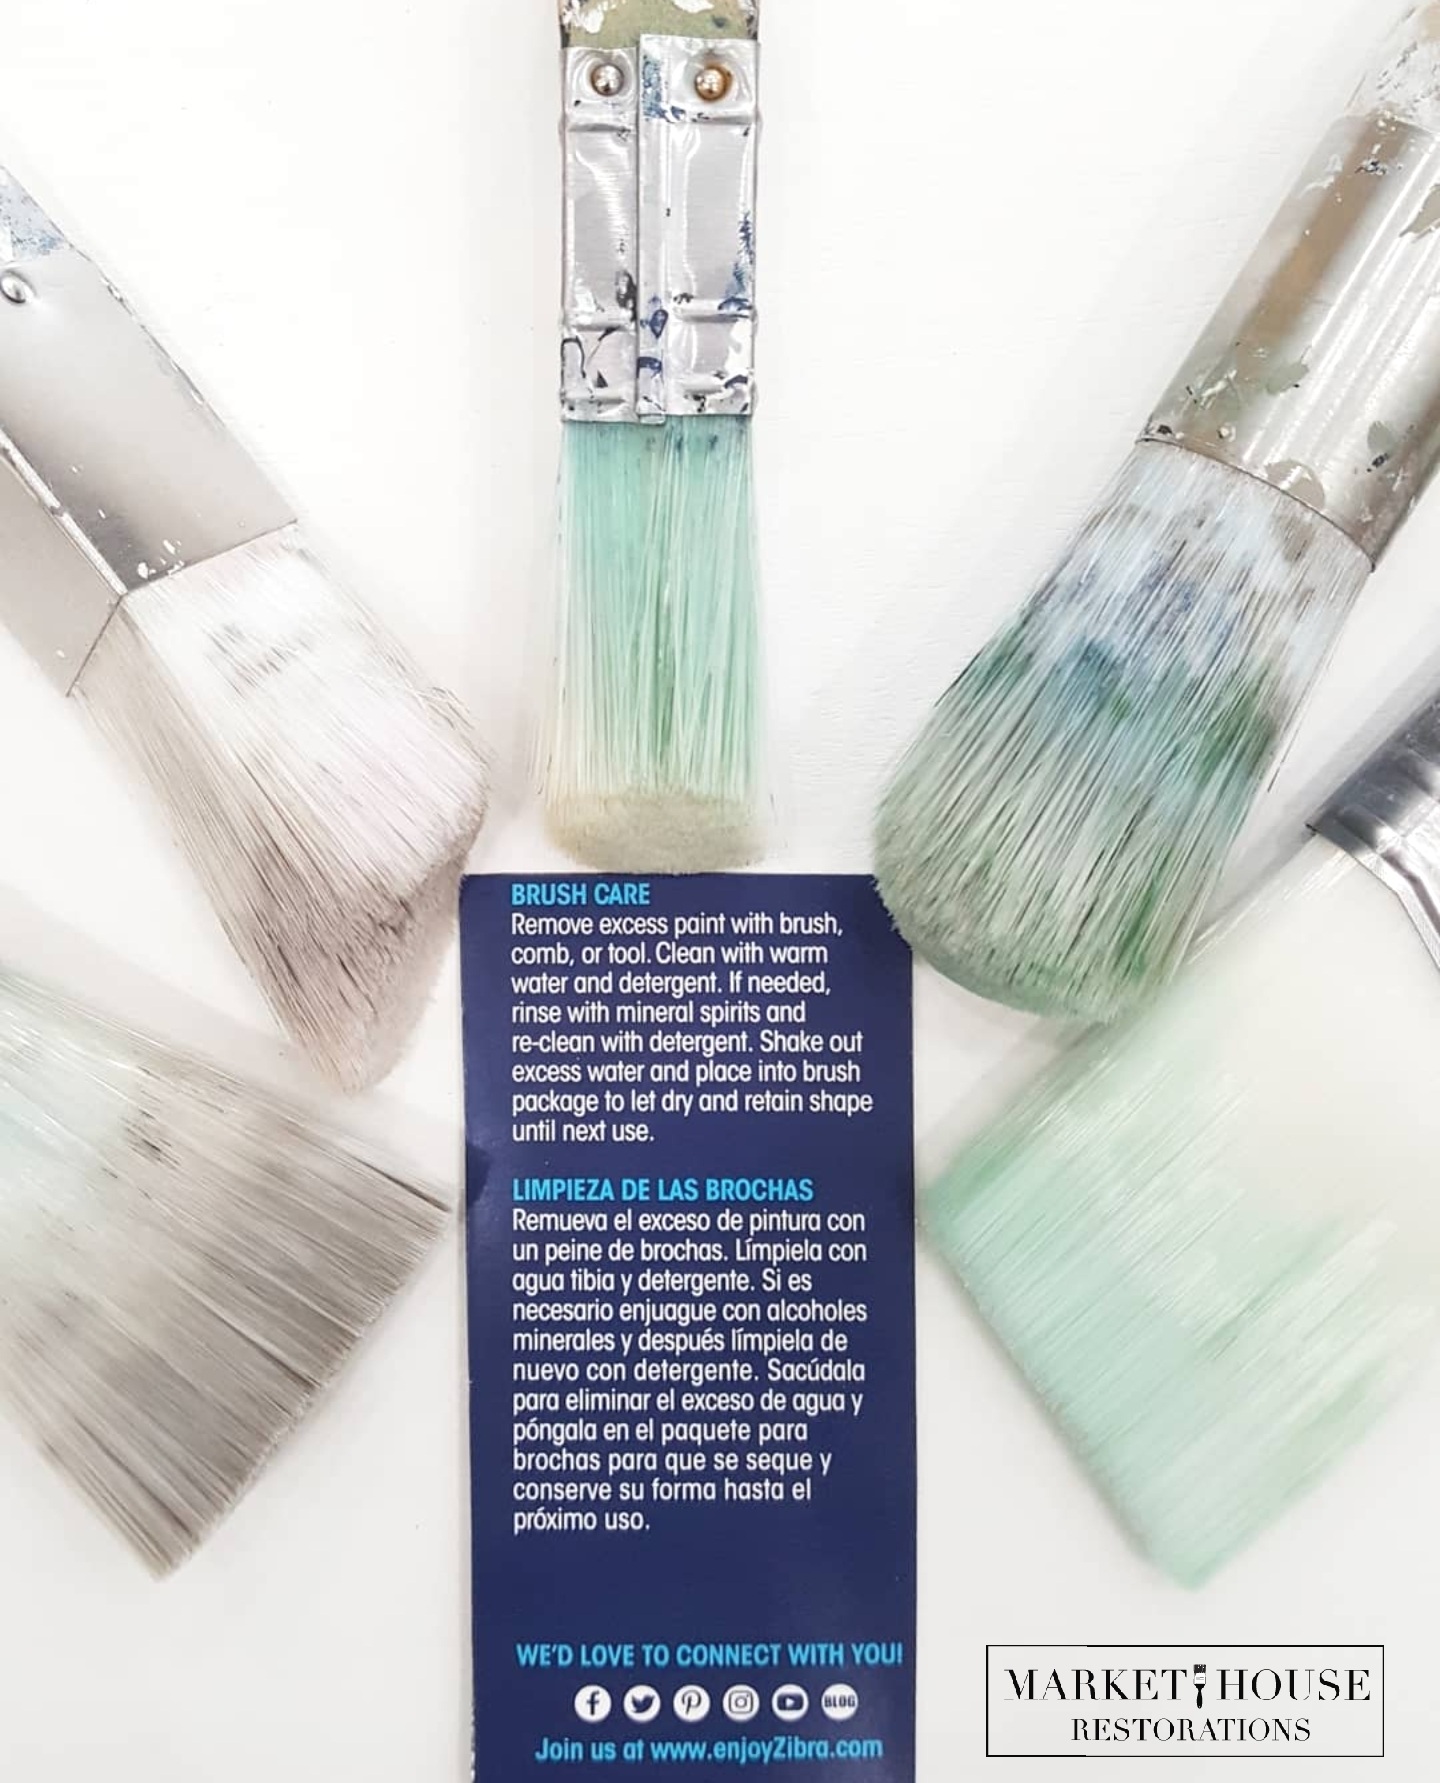
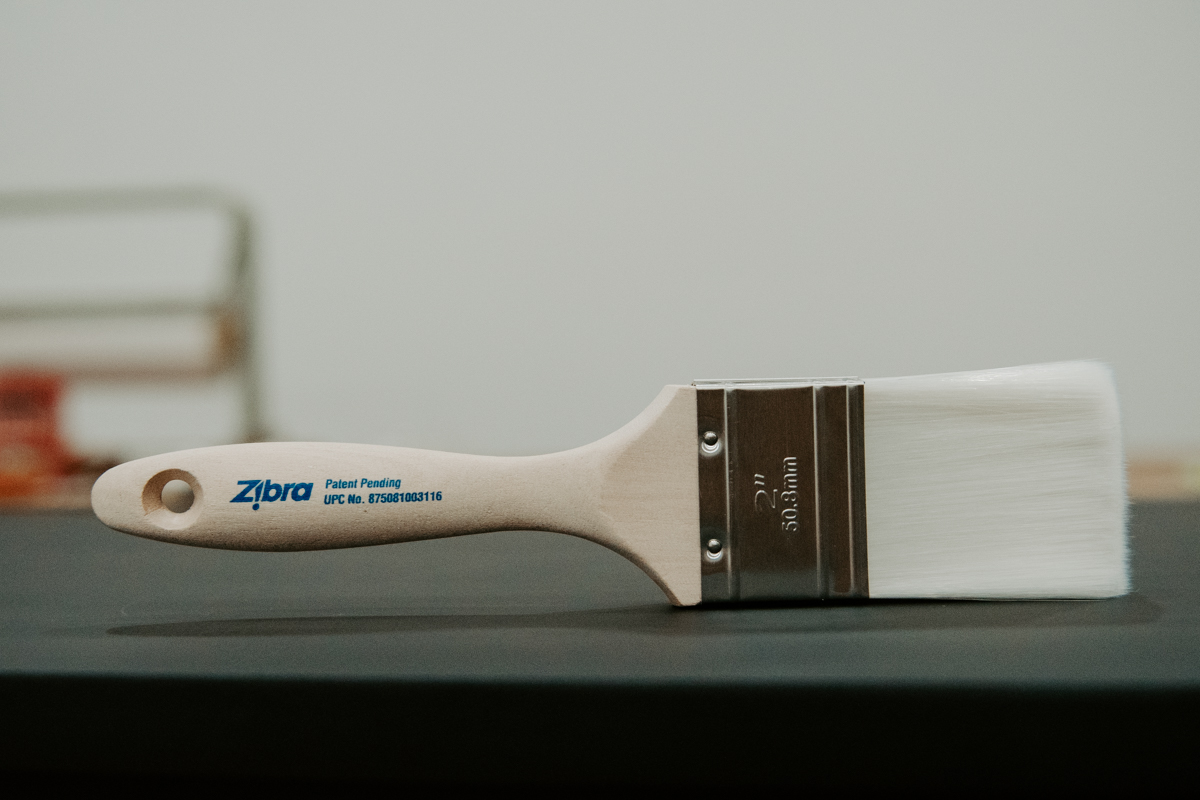
When the time comes to paint, make sure you check out my favorite brushes!!

Make sure you check out my other #TuesdayTips videos and blog post’s below!