DIY Bathroom Makeover with Painted Dresser Converted into a Vanity. #MondayMakeoversWithFallon
/


DIY BATHROOM MAKEOVER
I shared my DIY Bathroom Makeover process on my social media pages over the past couple of weeks and it was a fun change of pace! With that being said, I thought I would put all of the videos in one place (this blog post) incase someone wanted to go back and watch the whole process. To the right (if you are on the desktop site) you will find the video of Phase 1 where I explain my plans for the space. In the videos below that you will find:
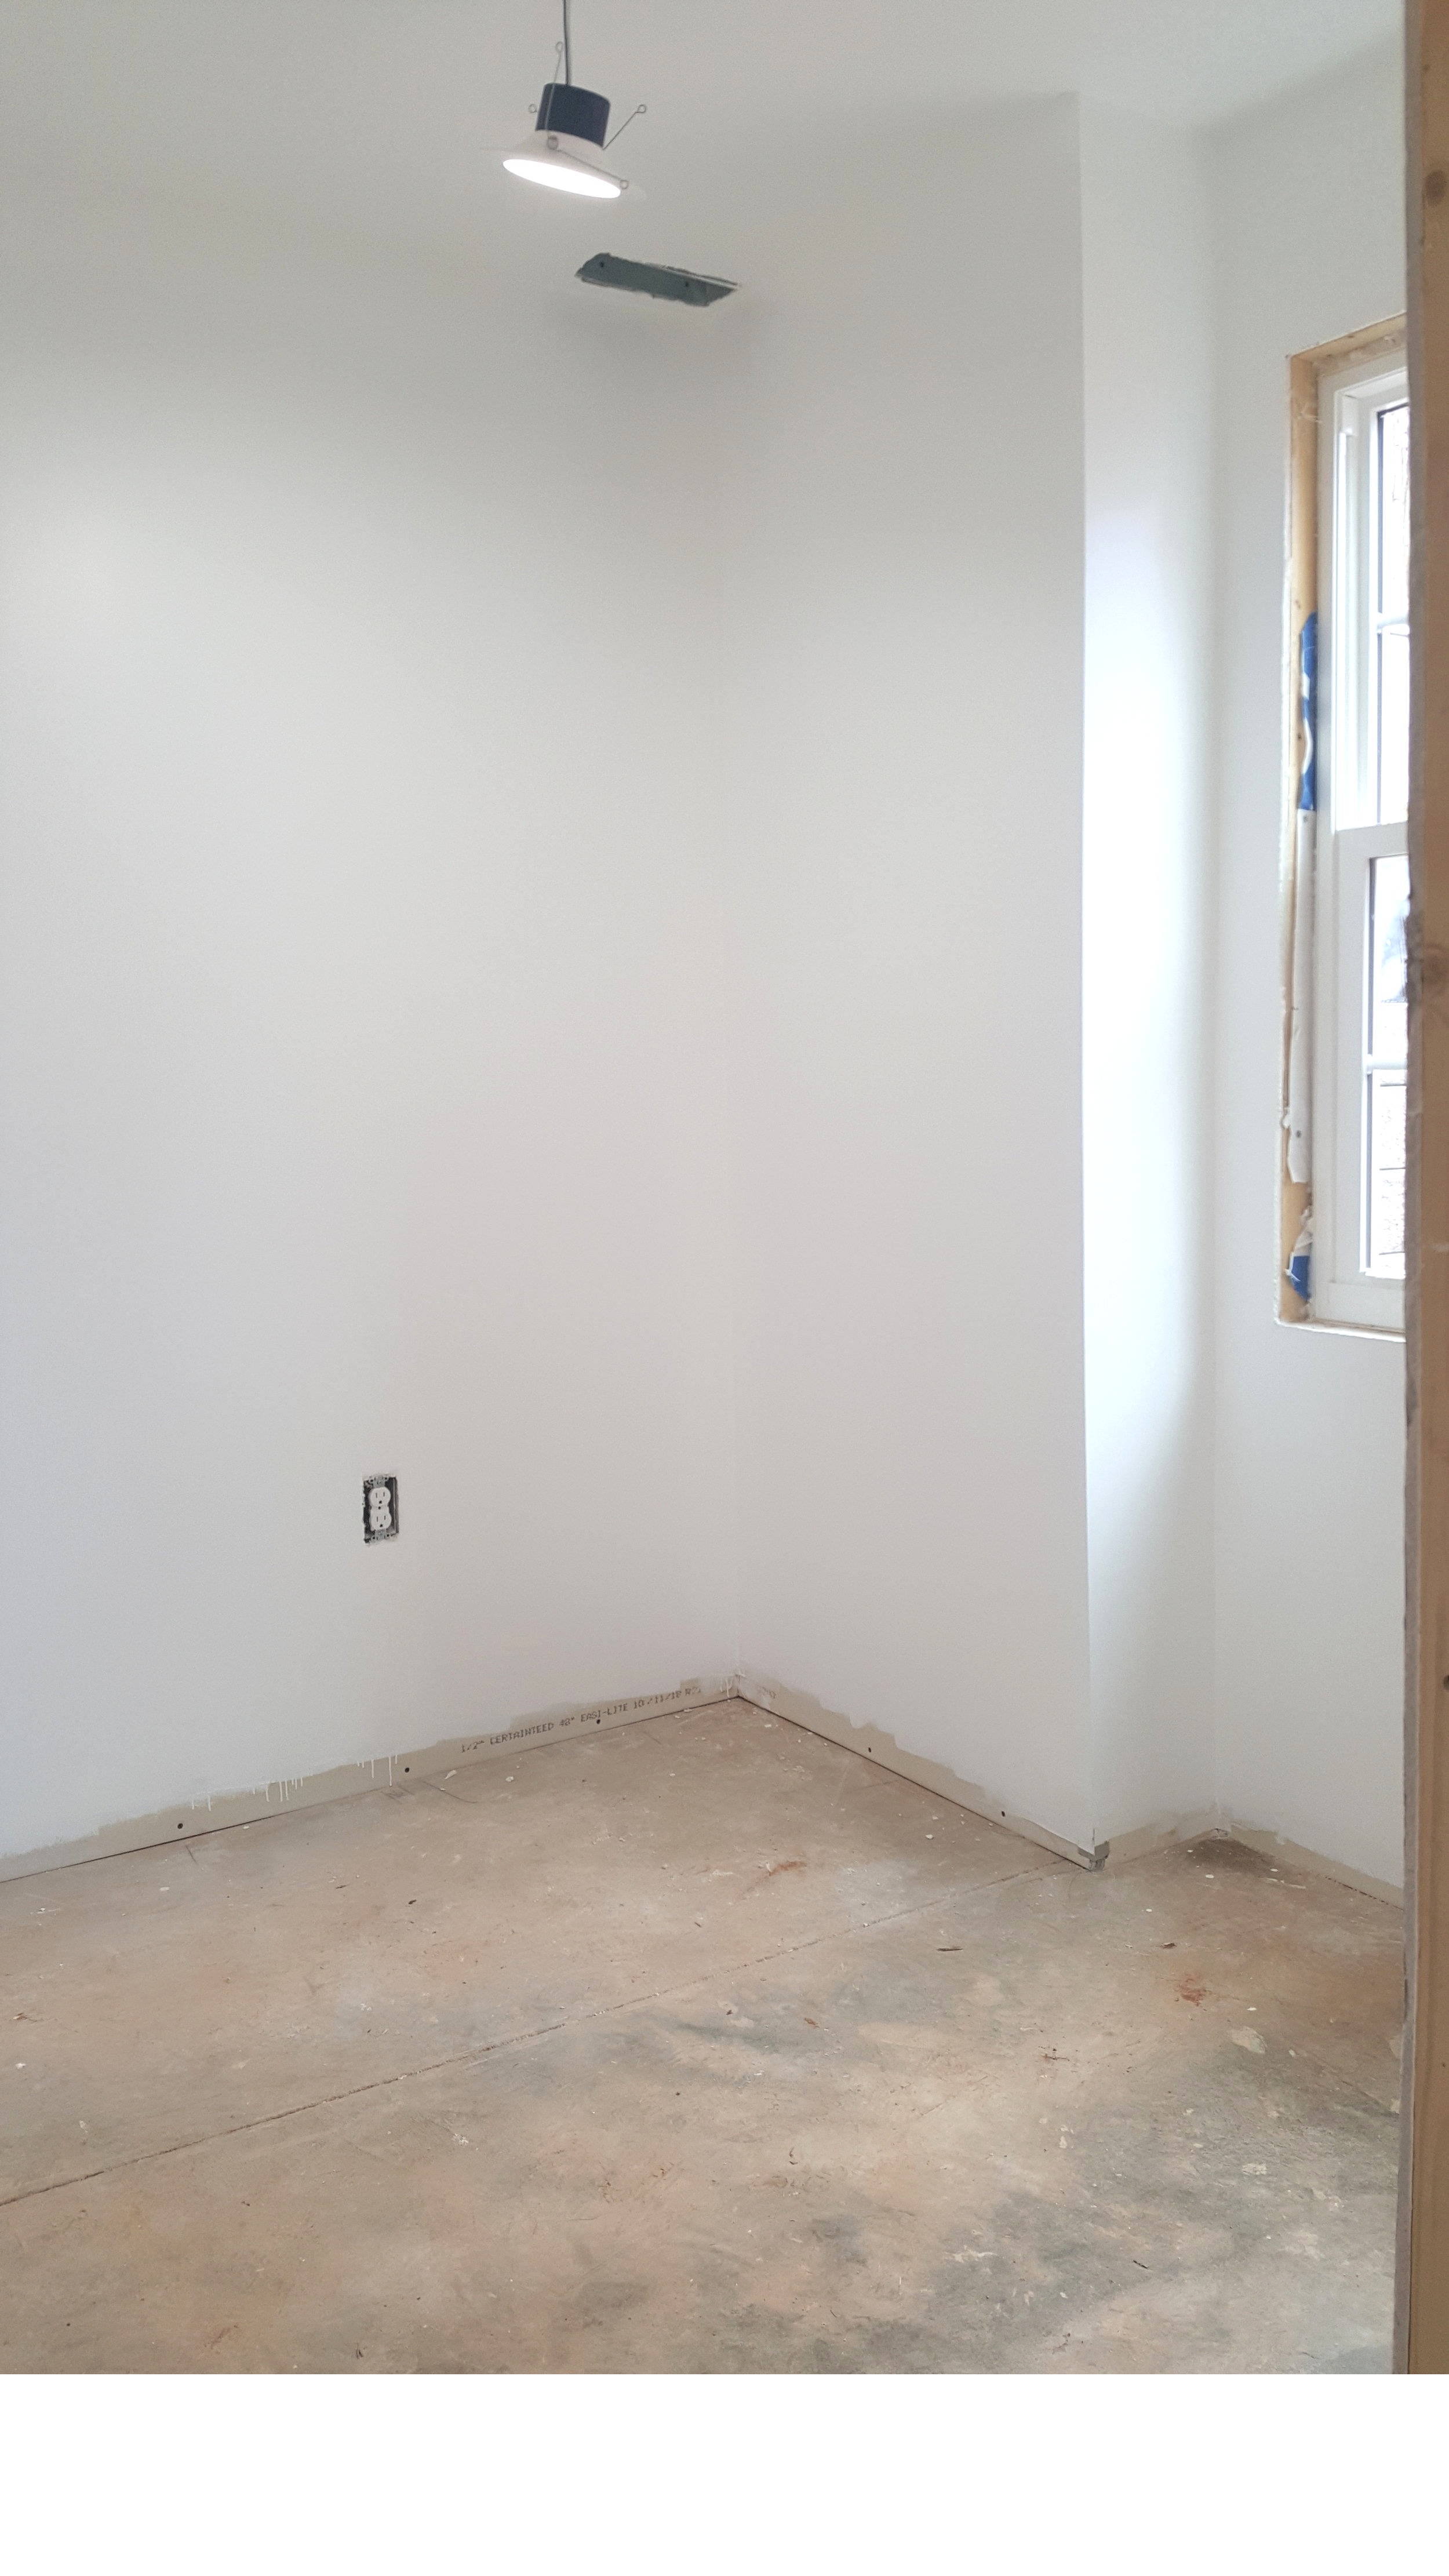
Phase 2: Prepping the bathroom for paint
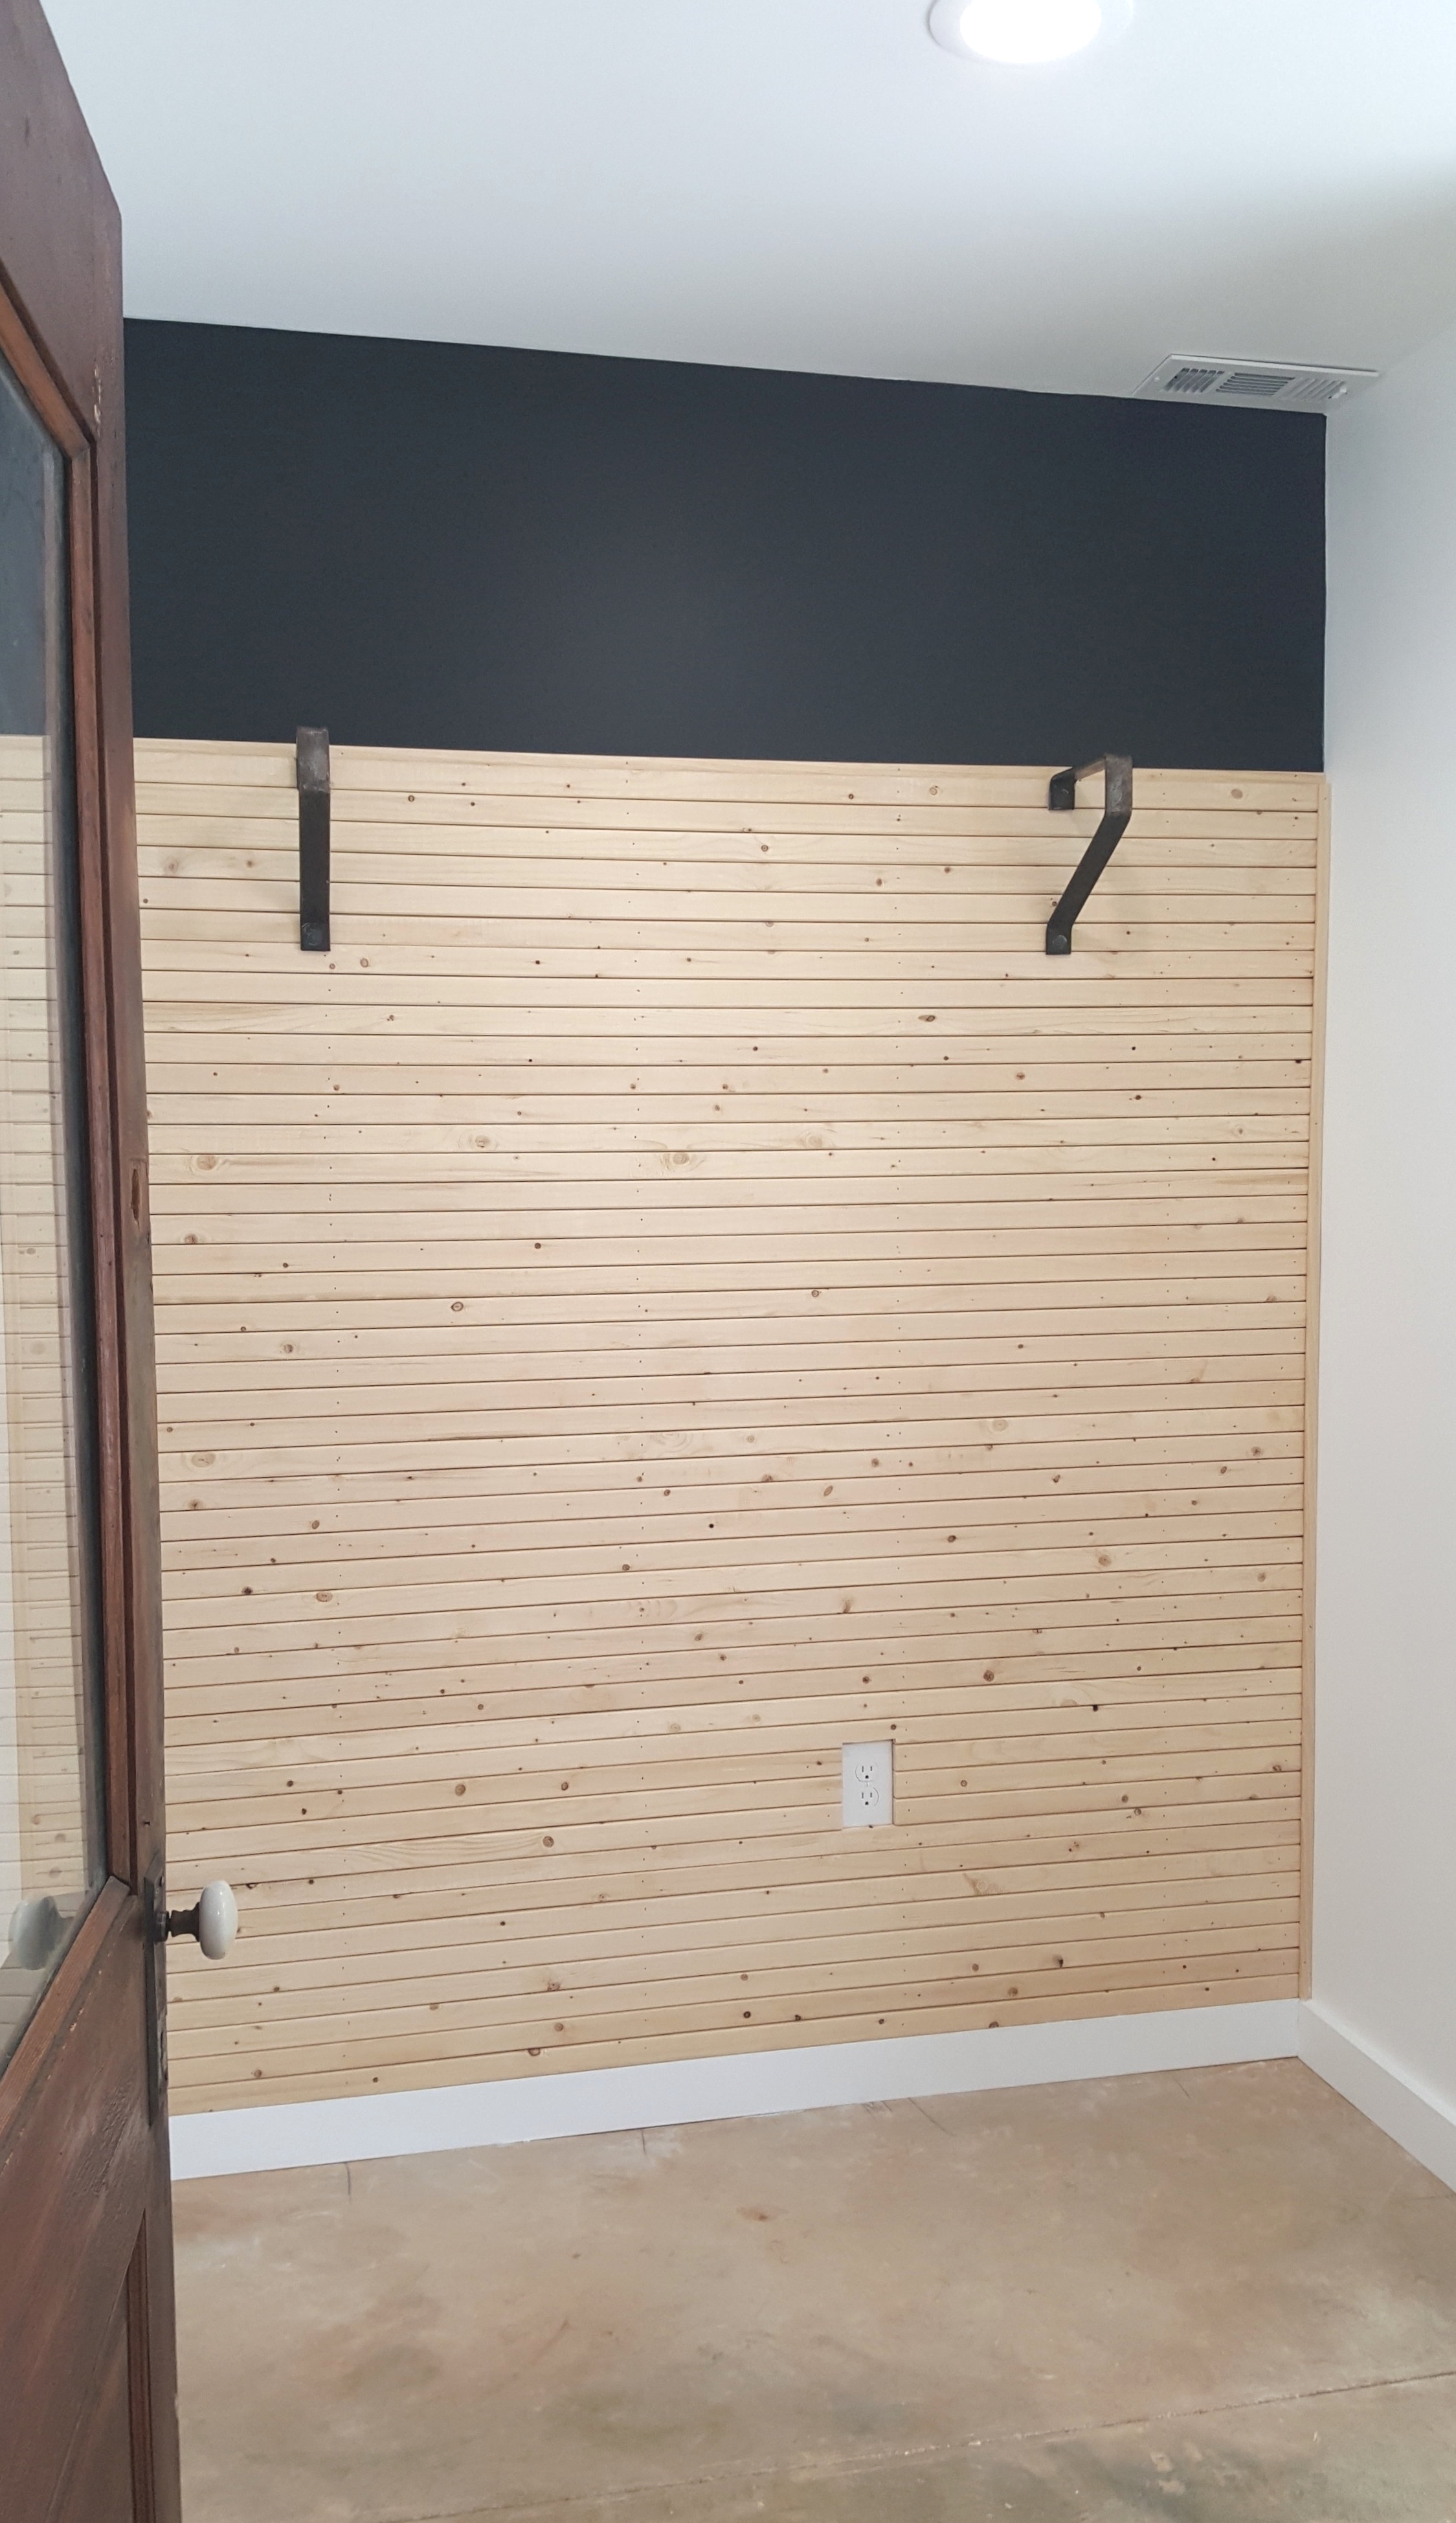
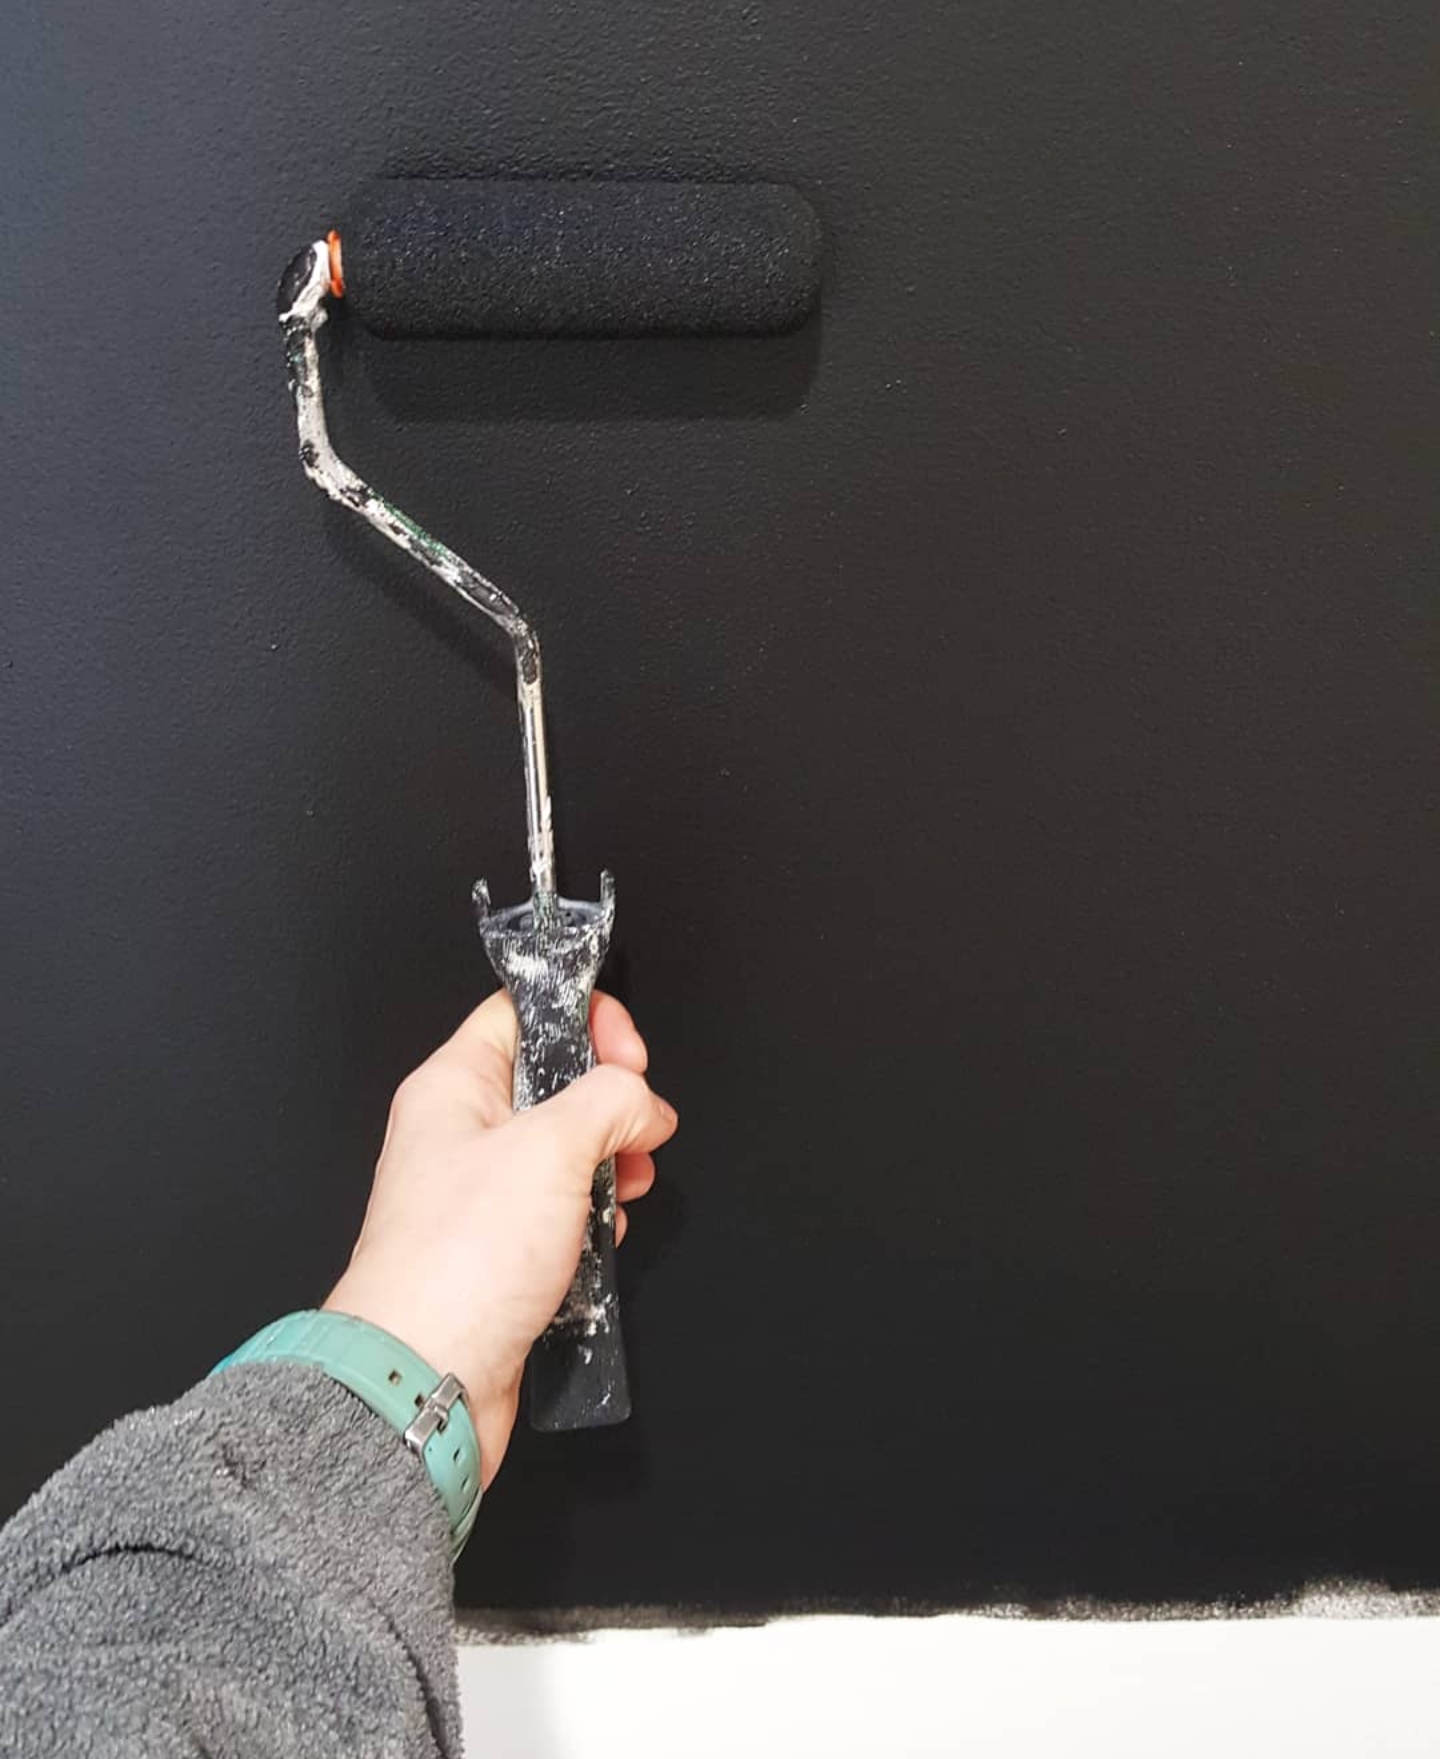
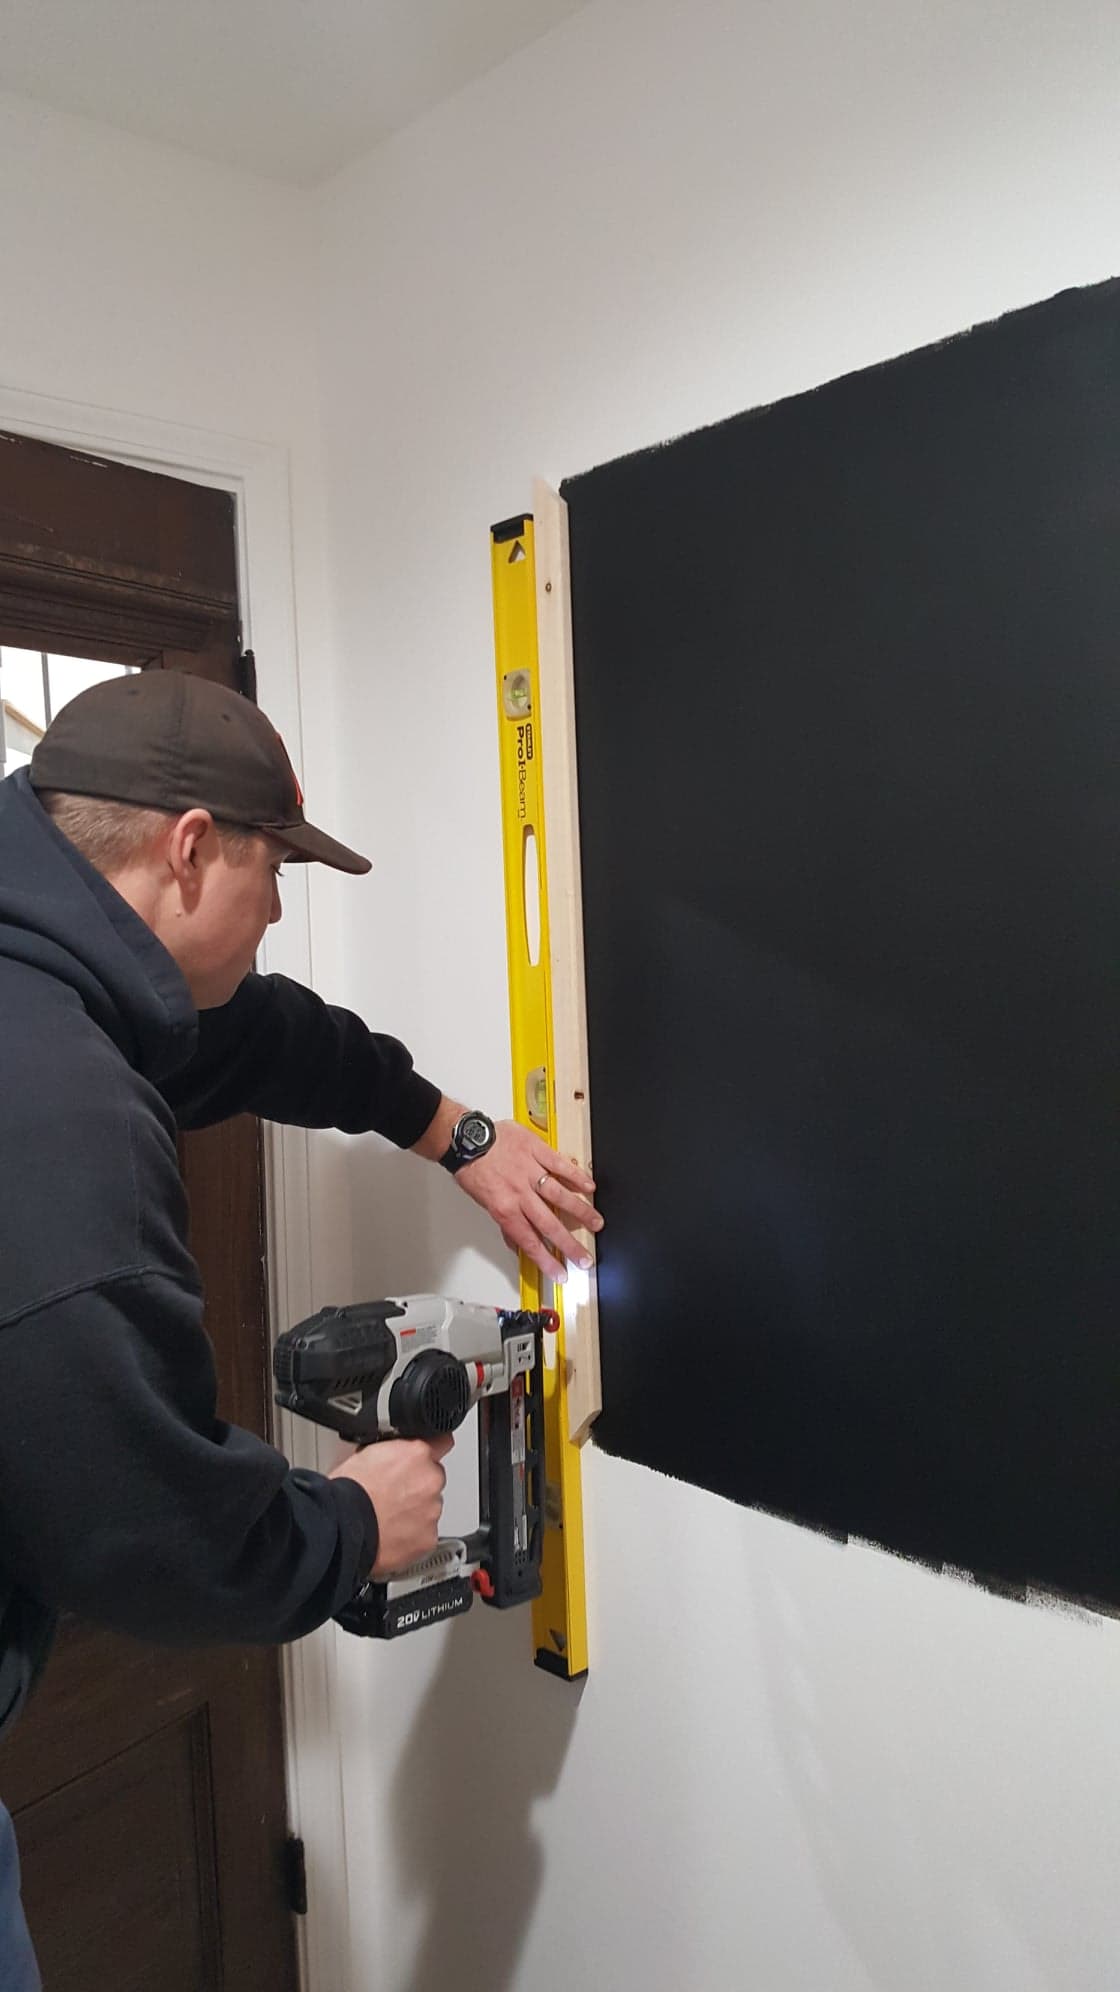
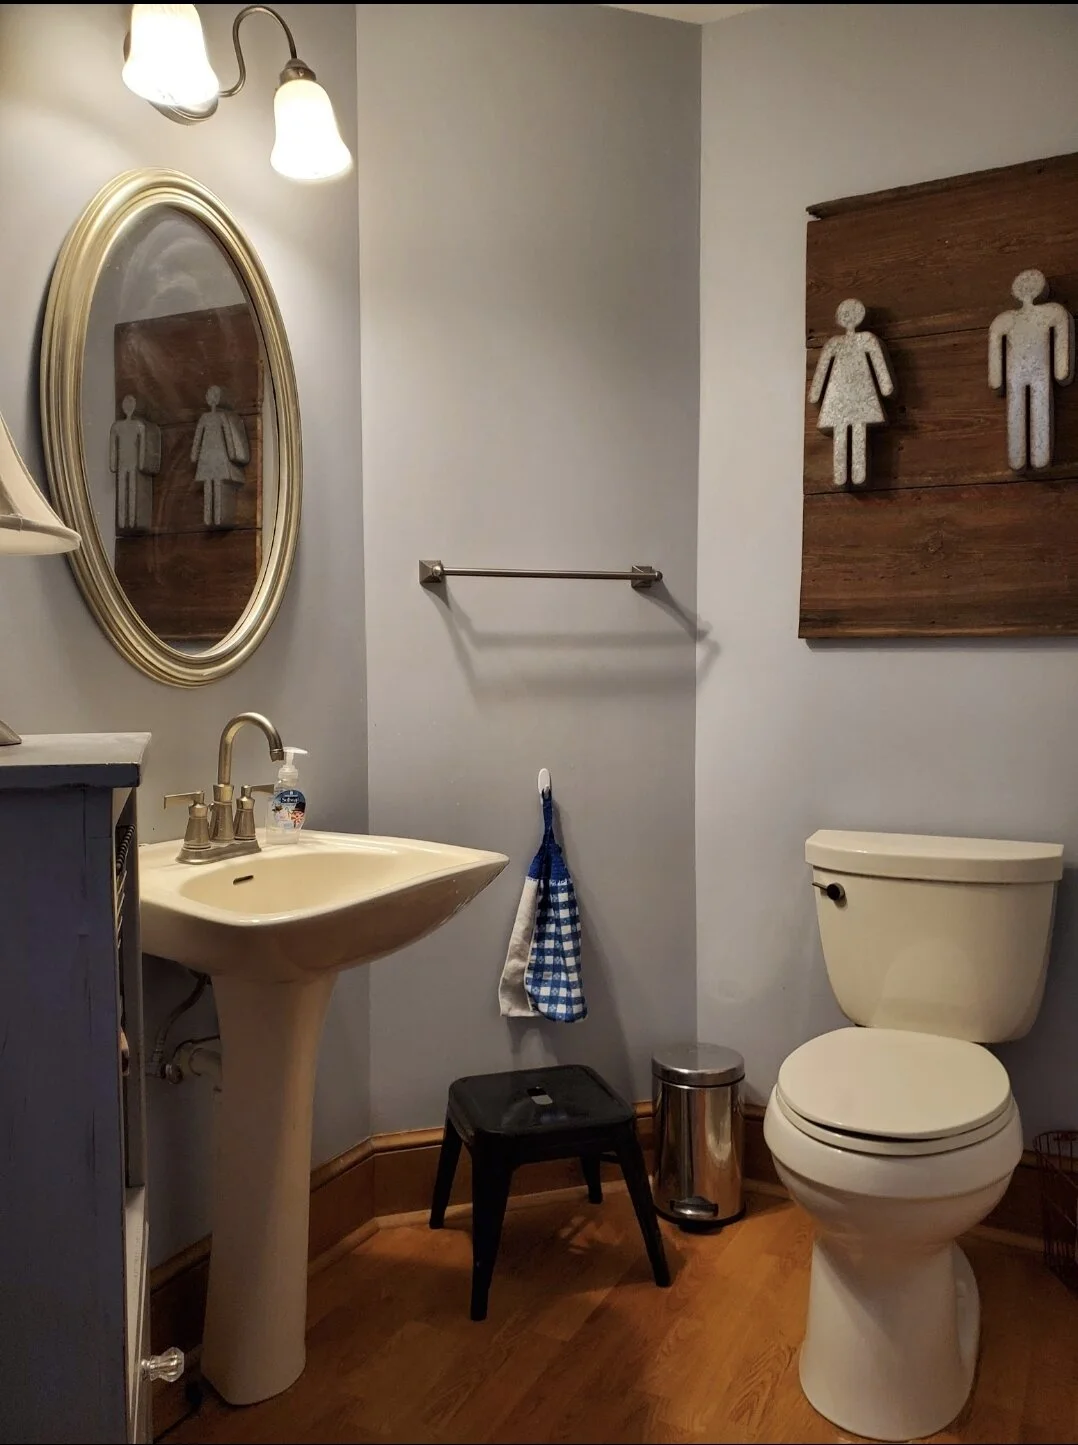
Phase 3: Painting the walls and trim
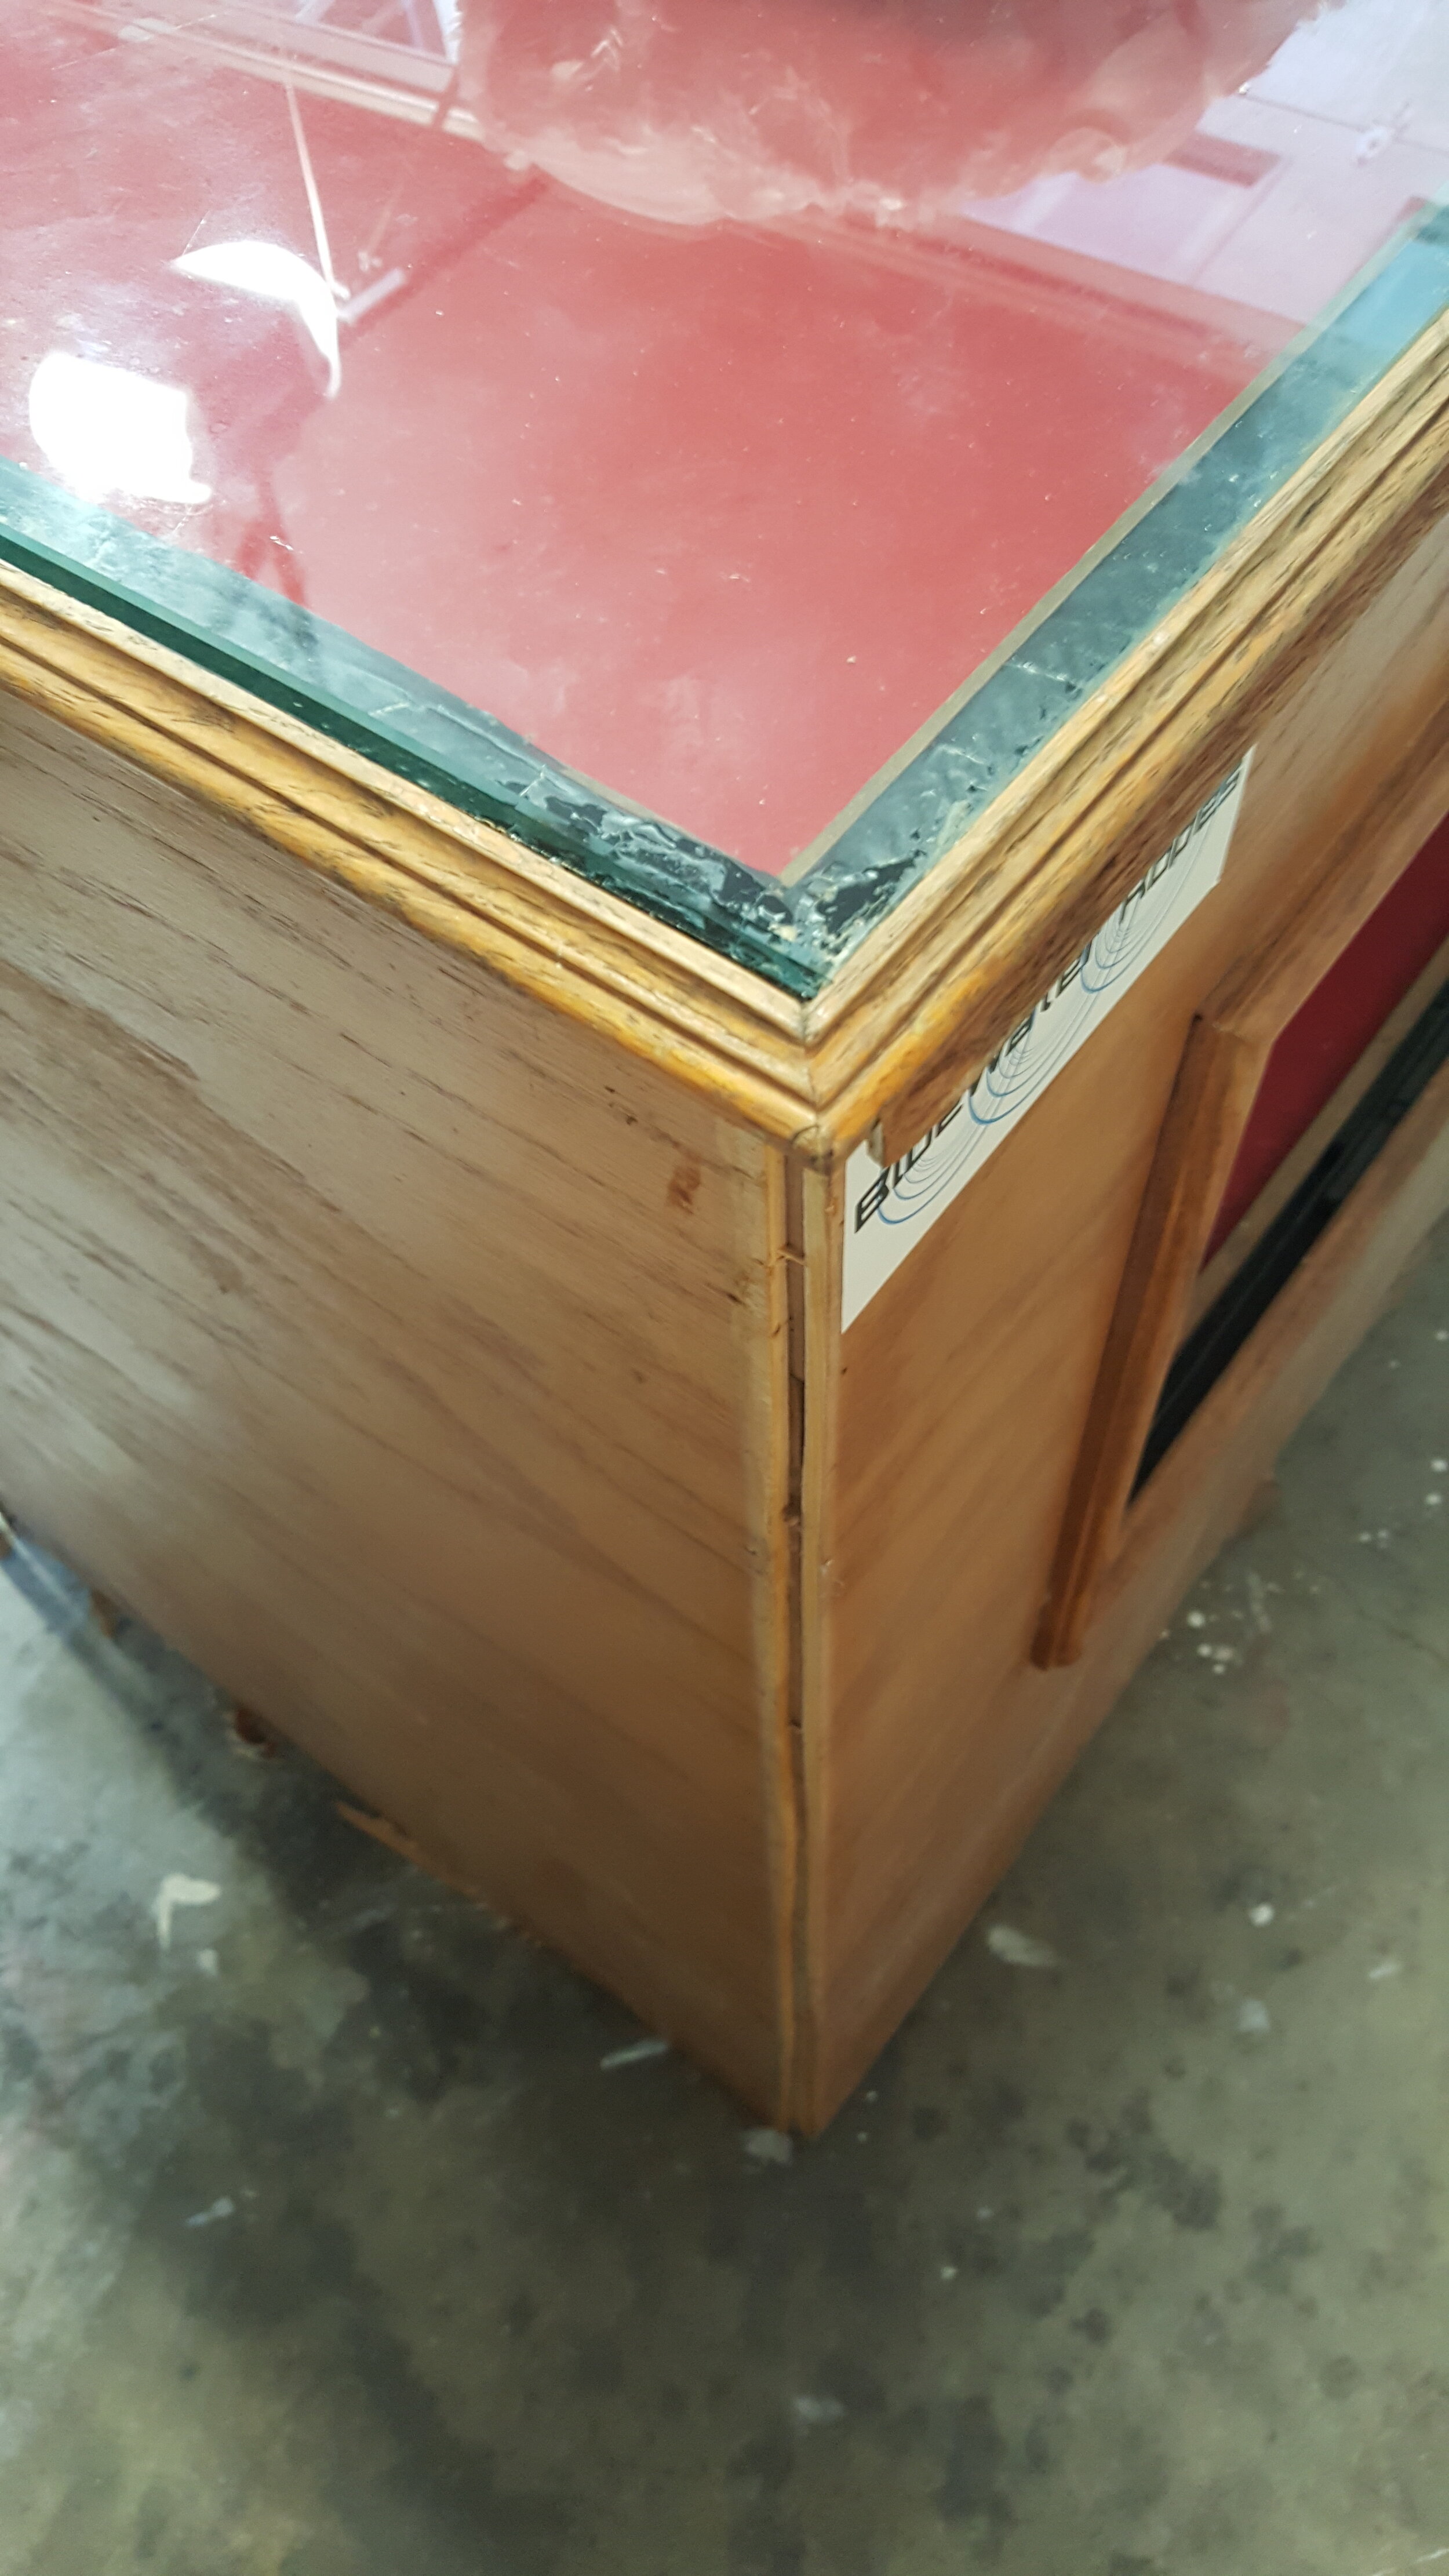
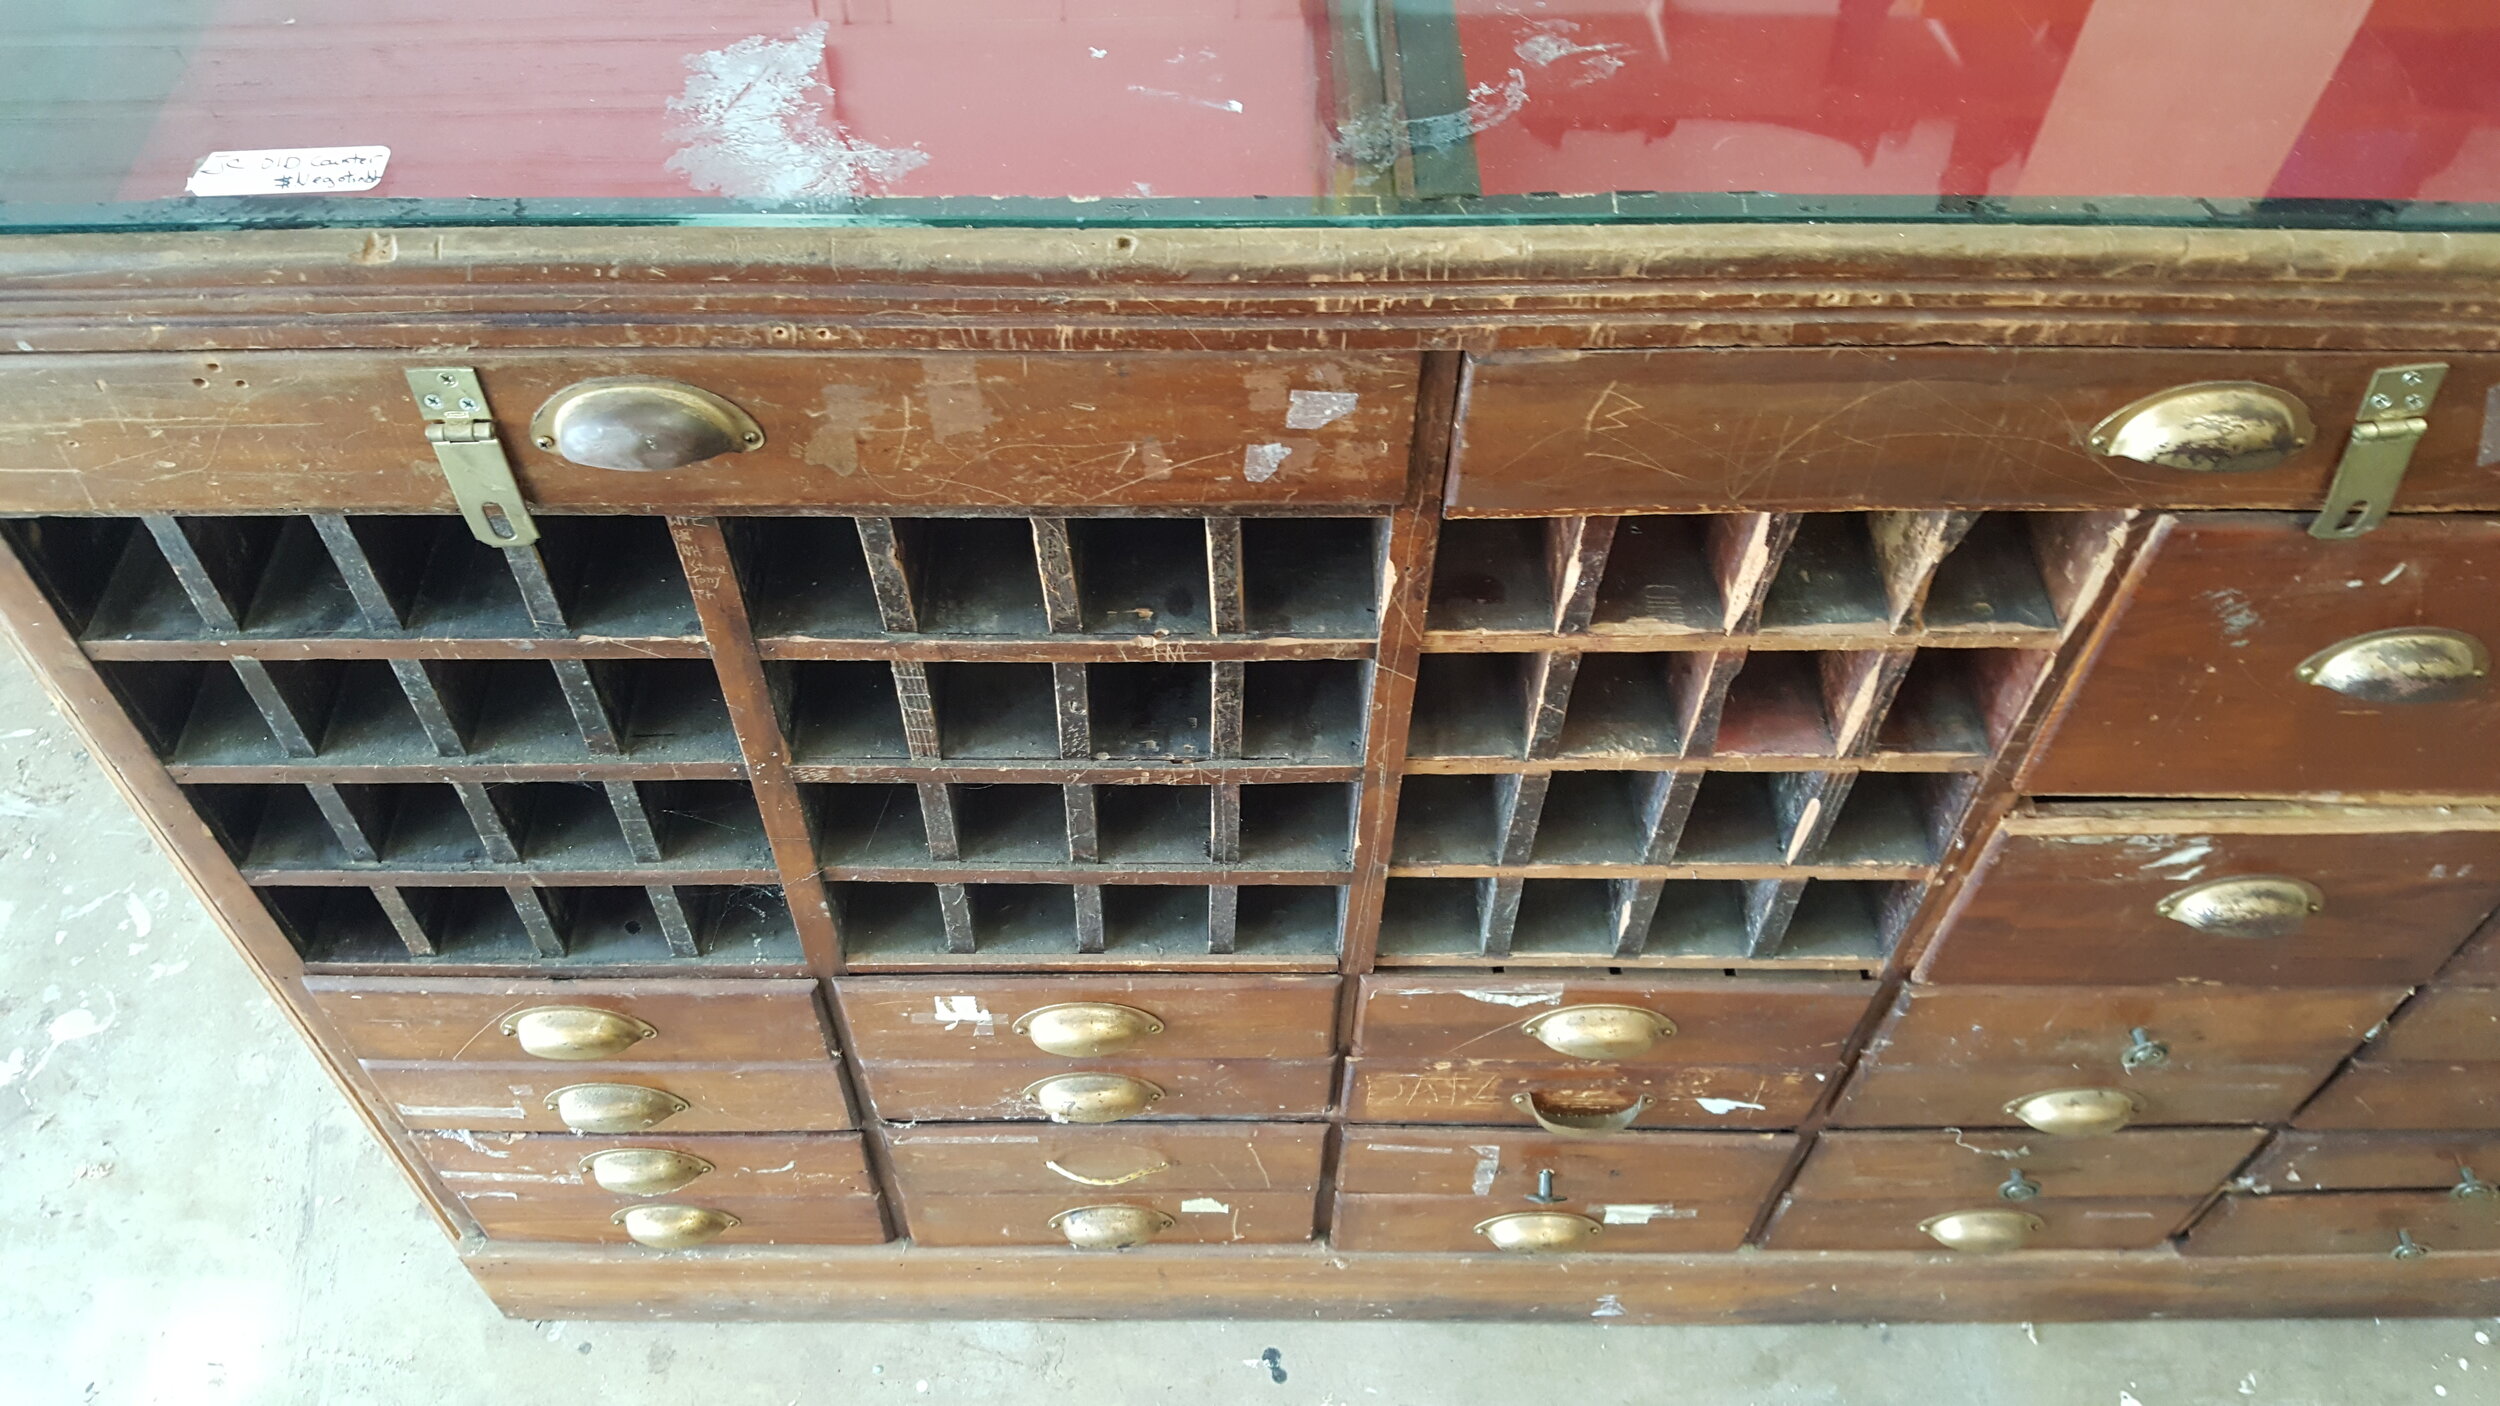
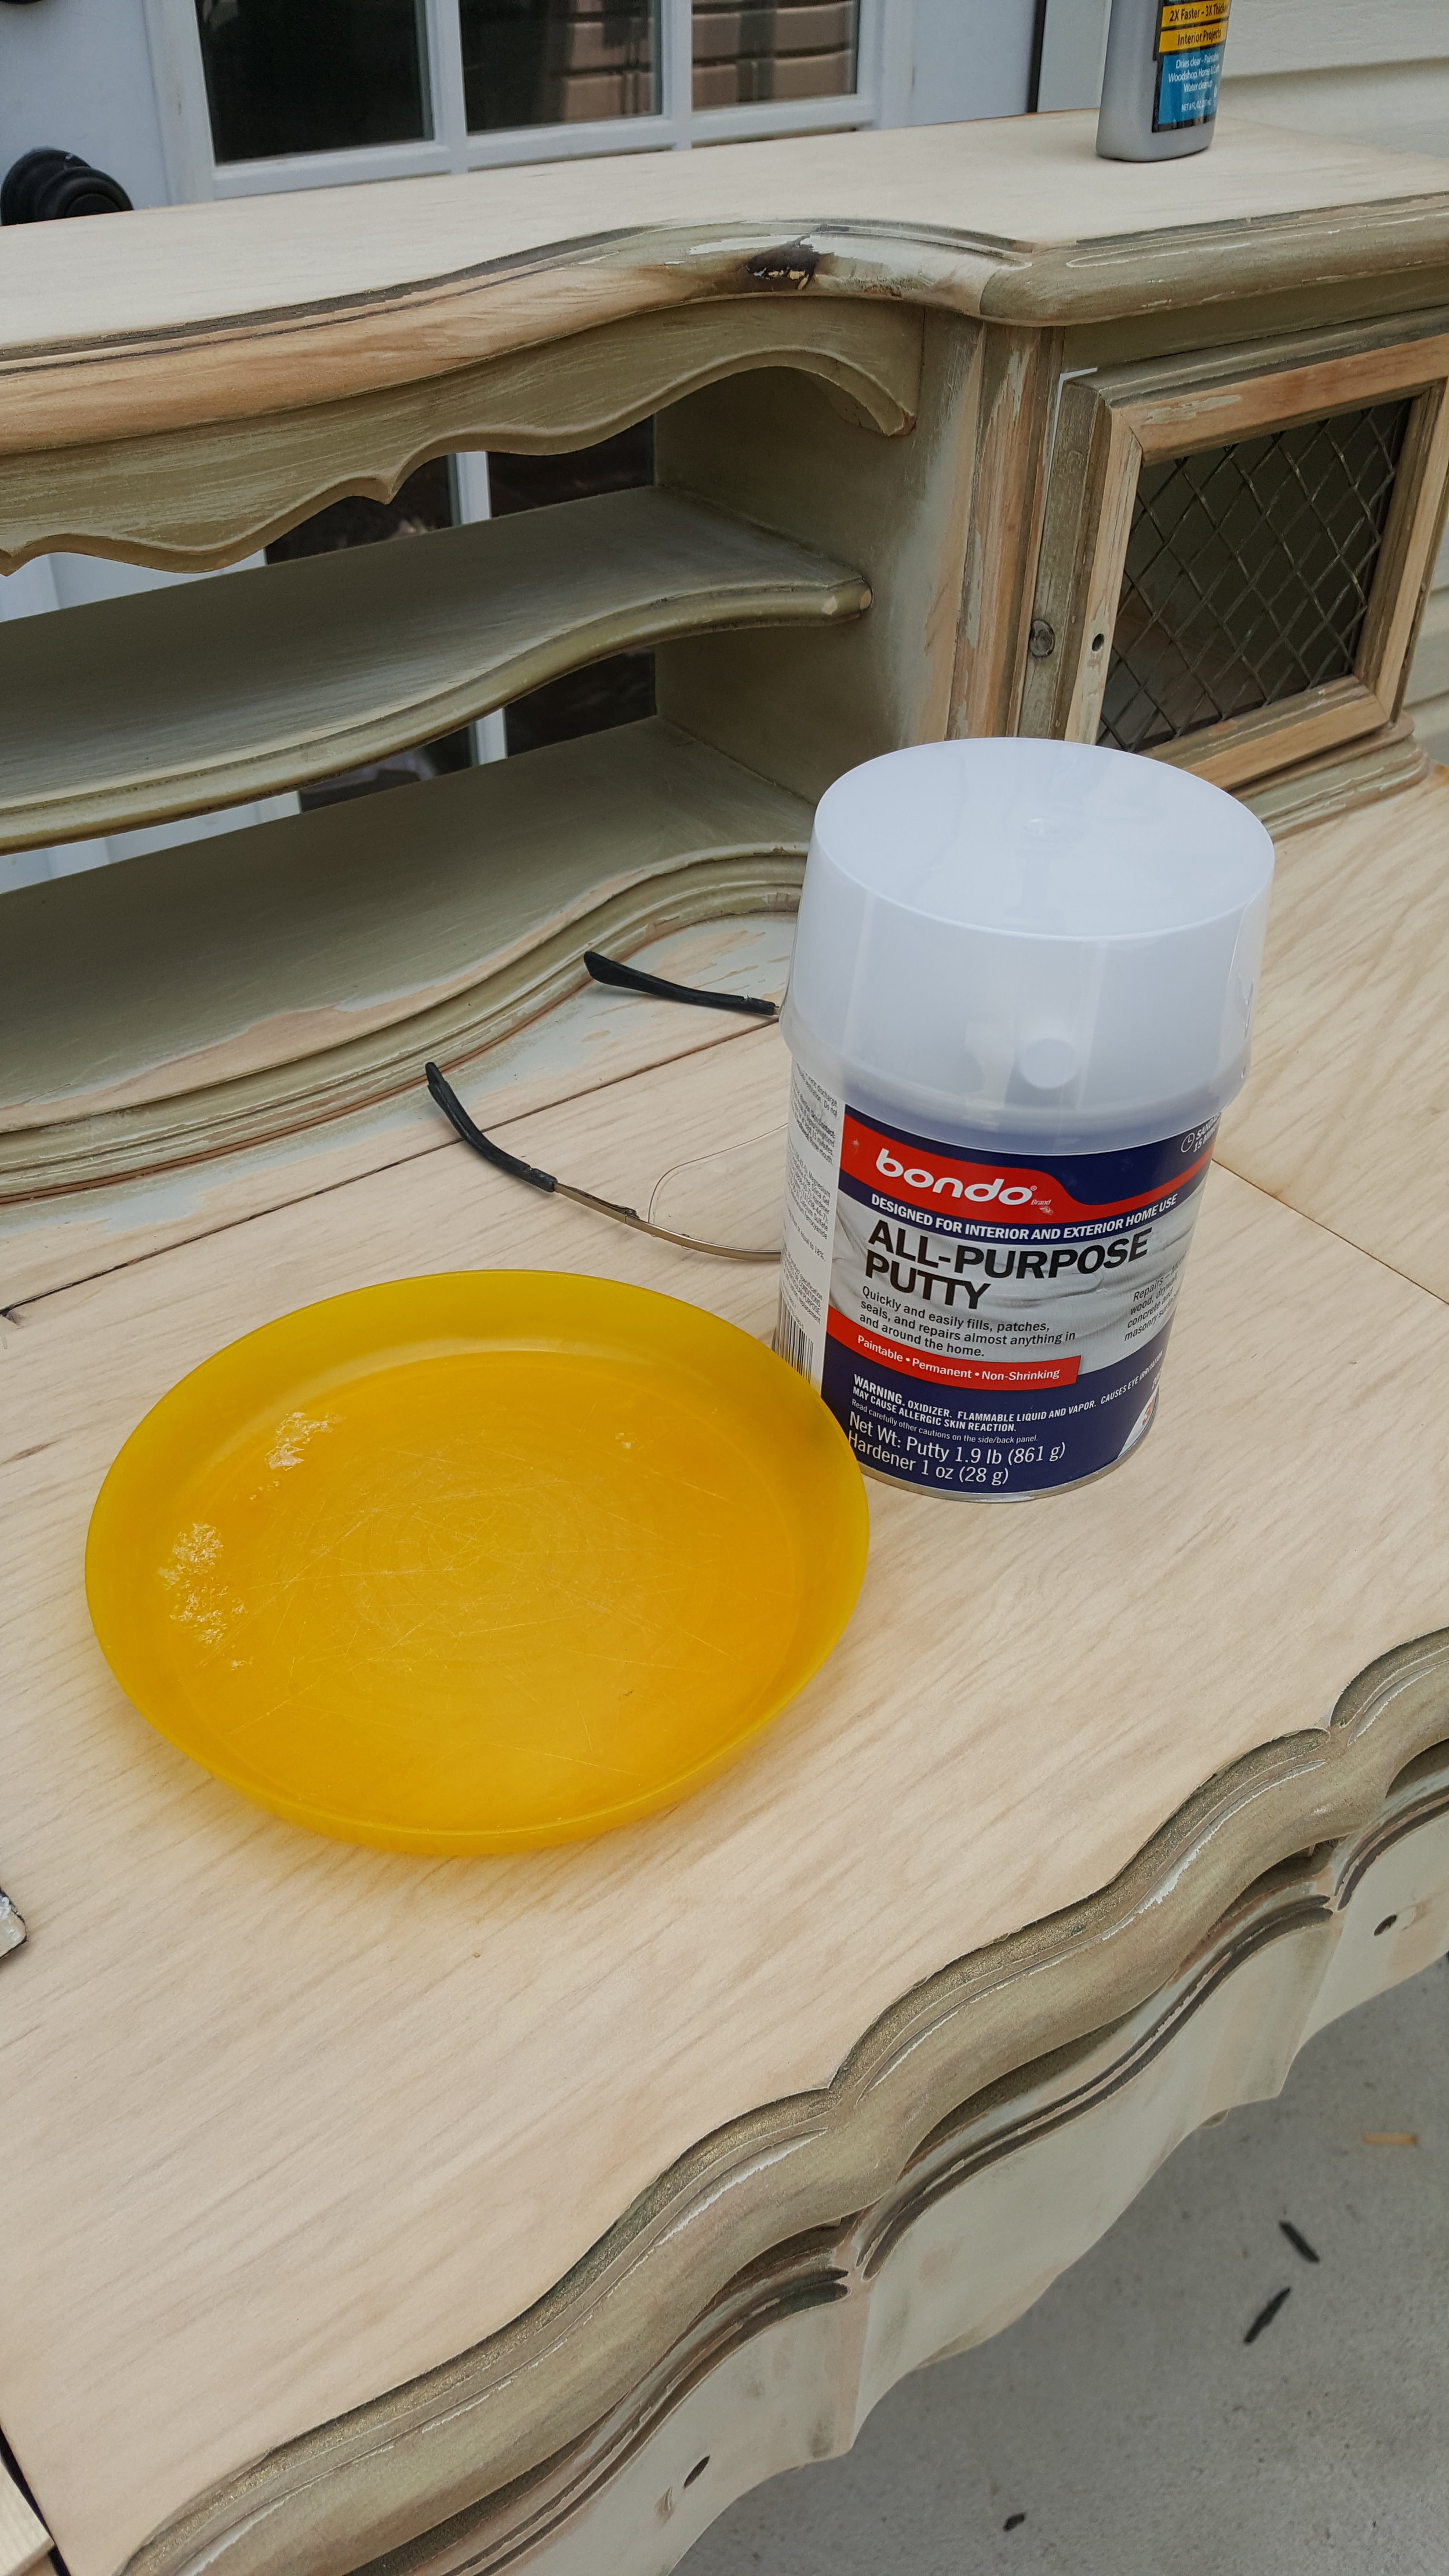
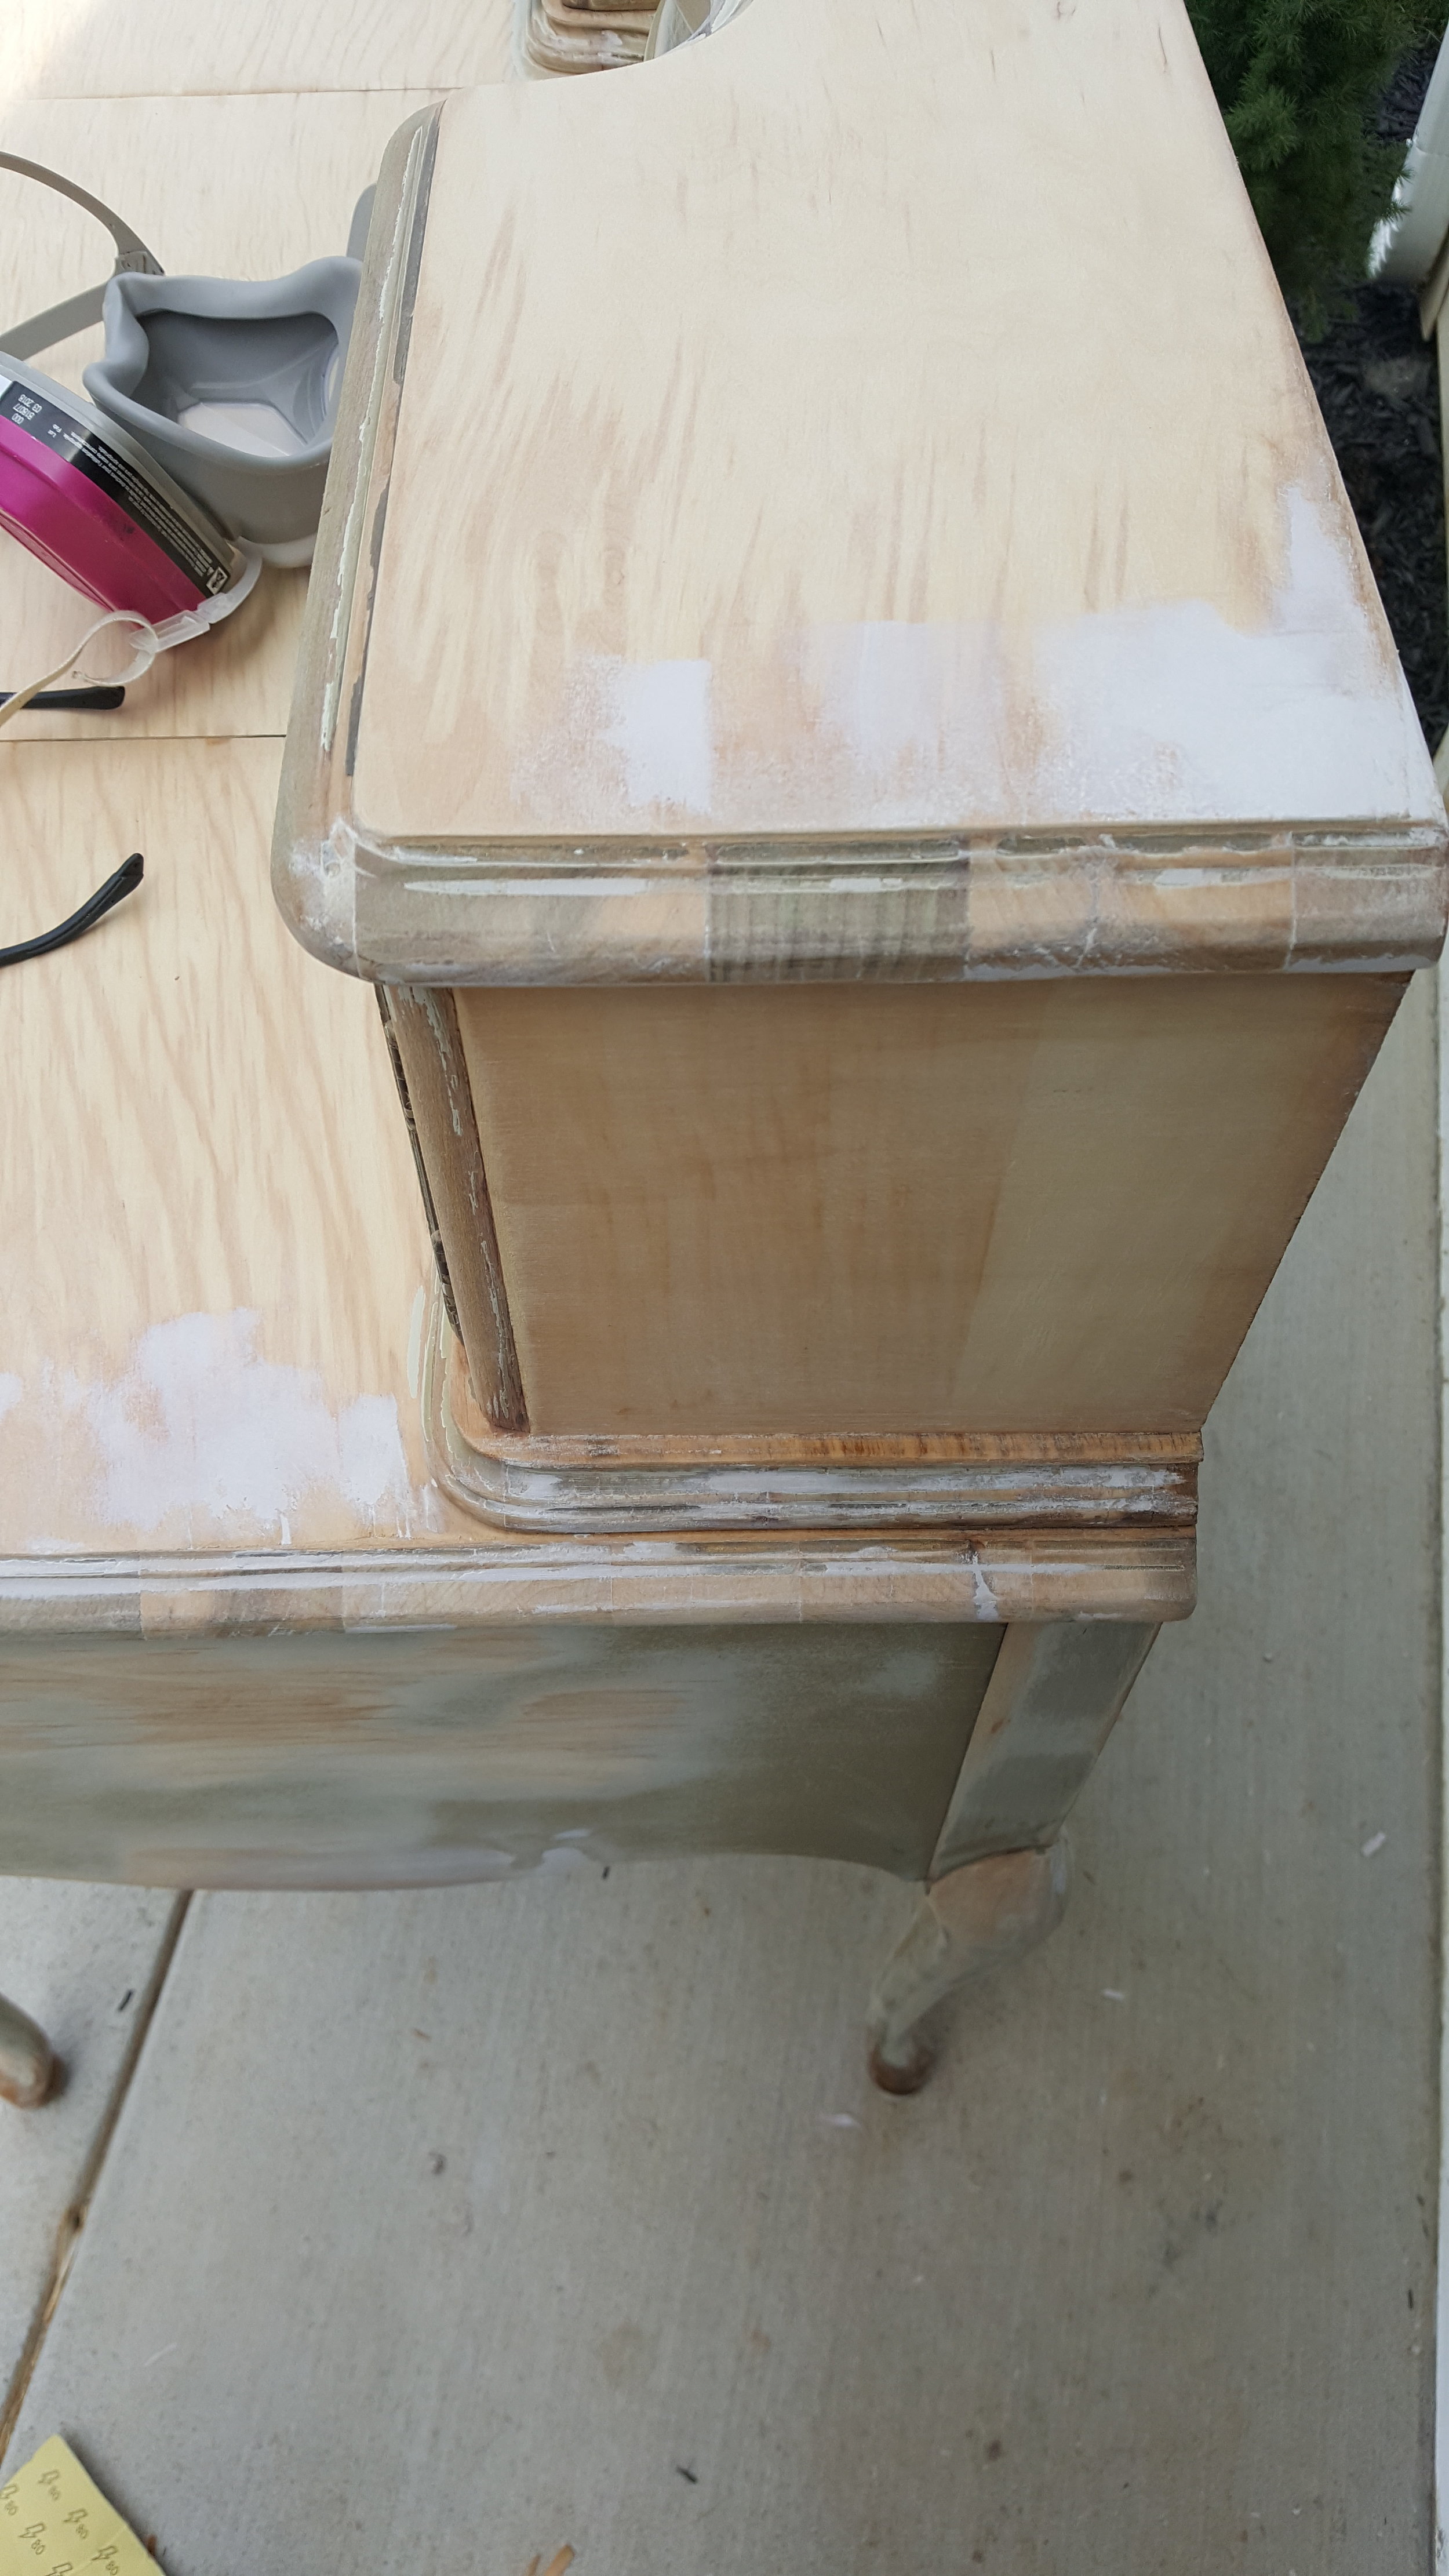
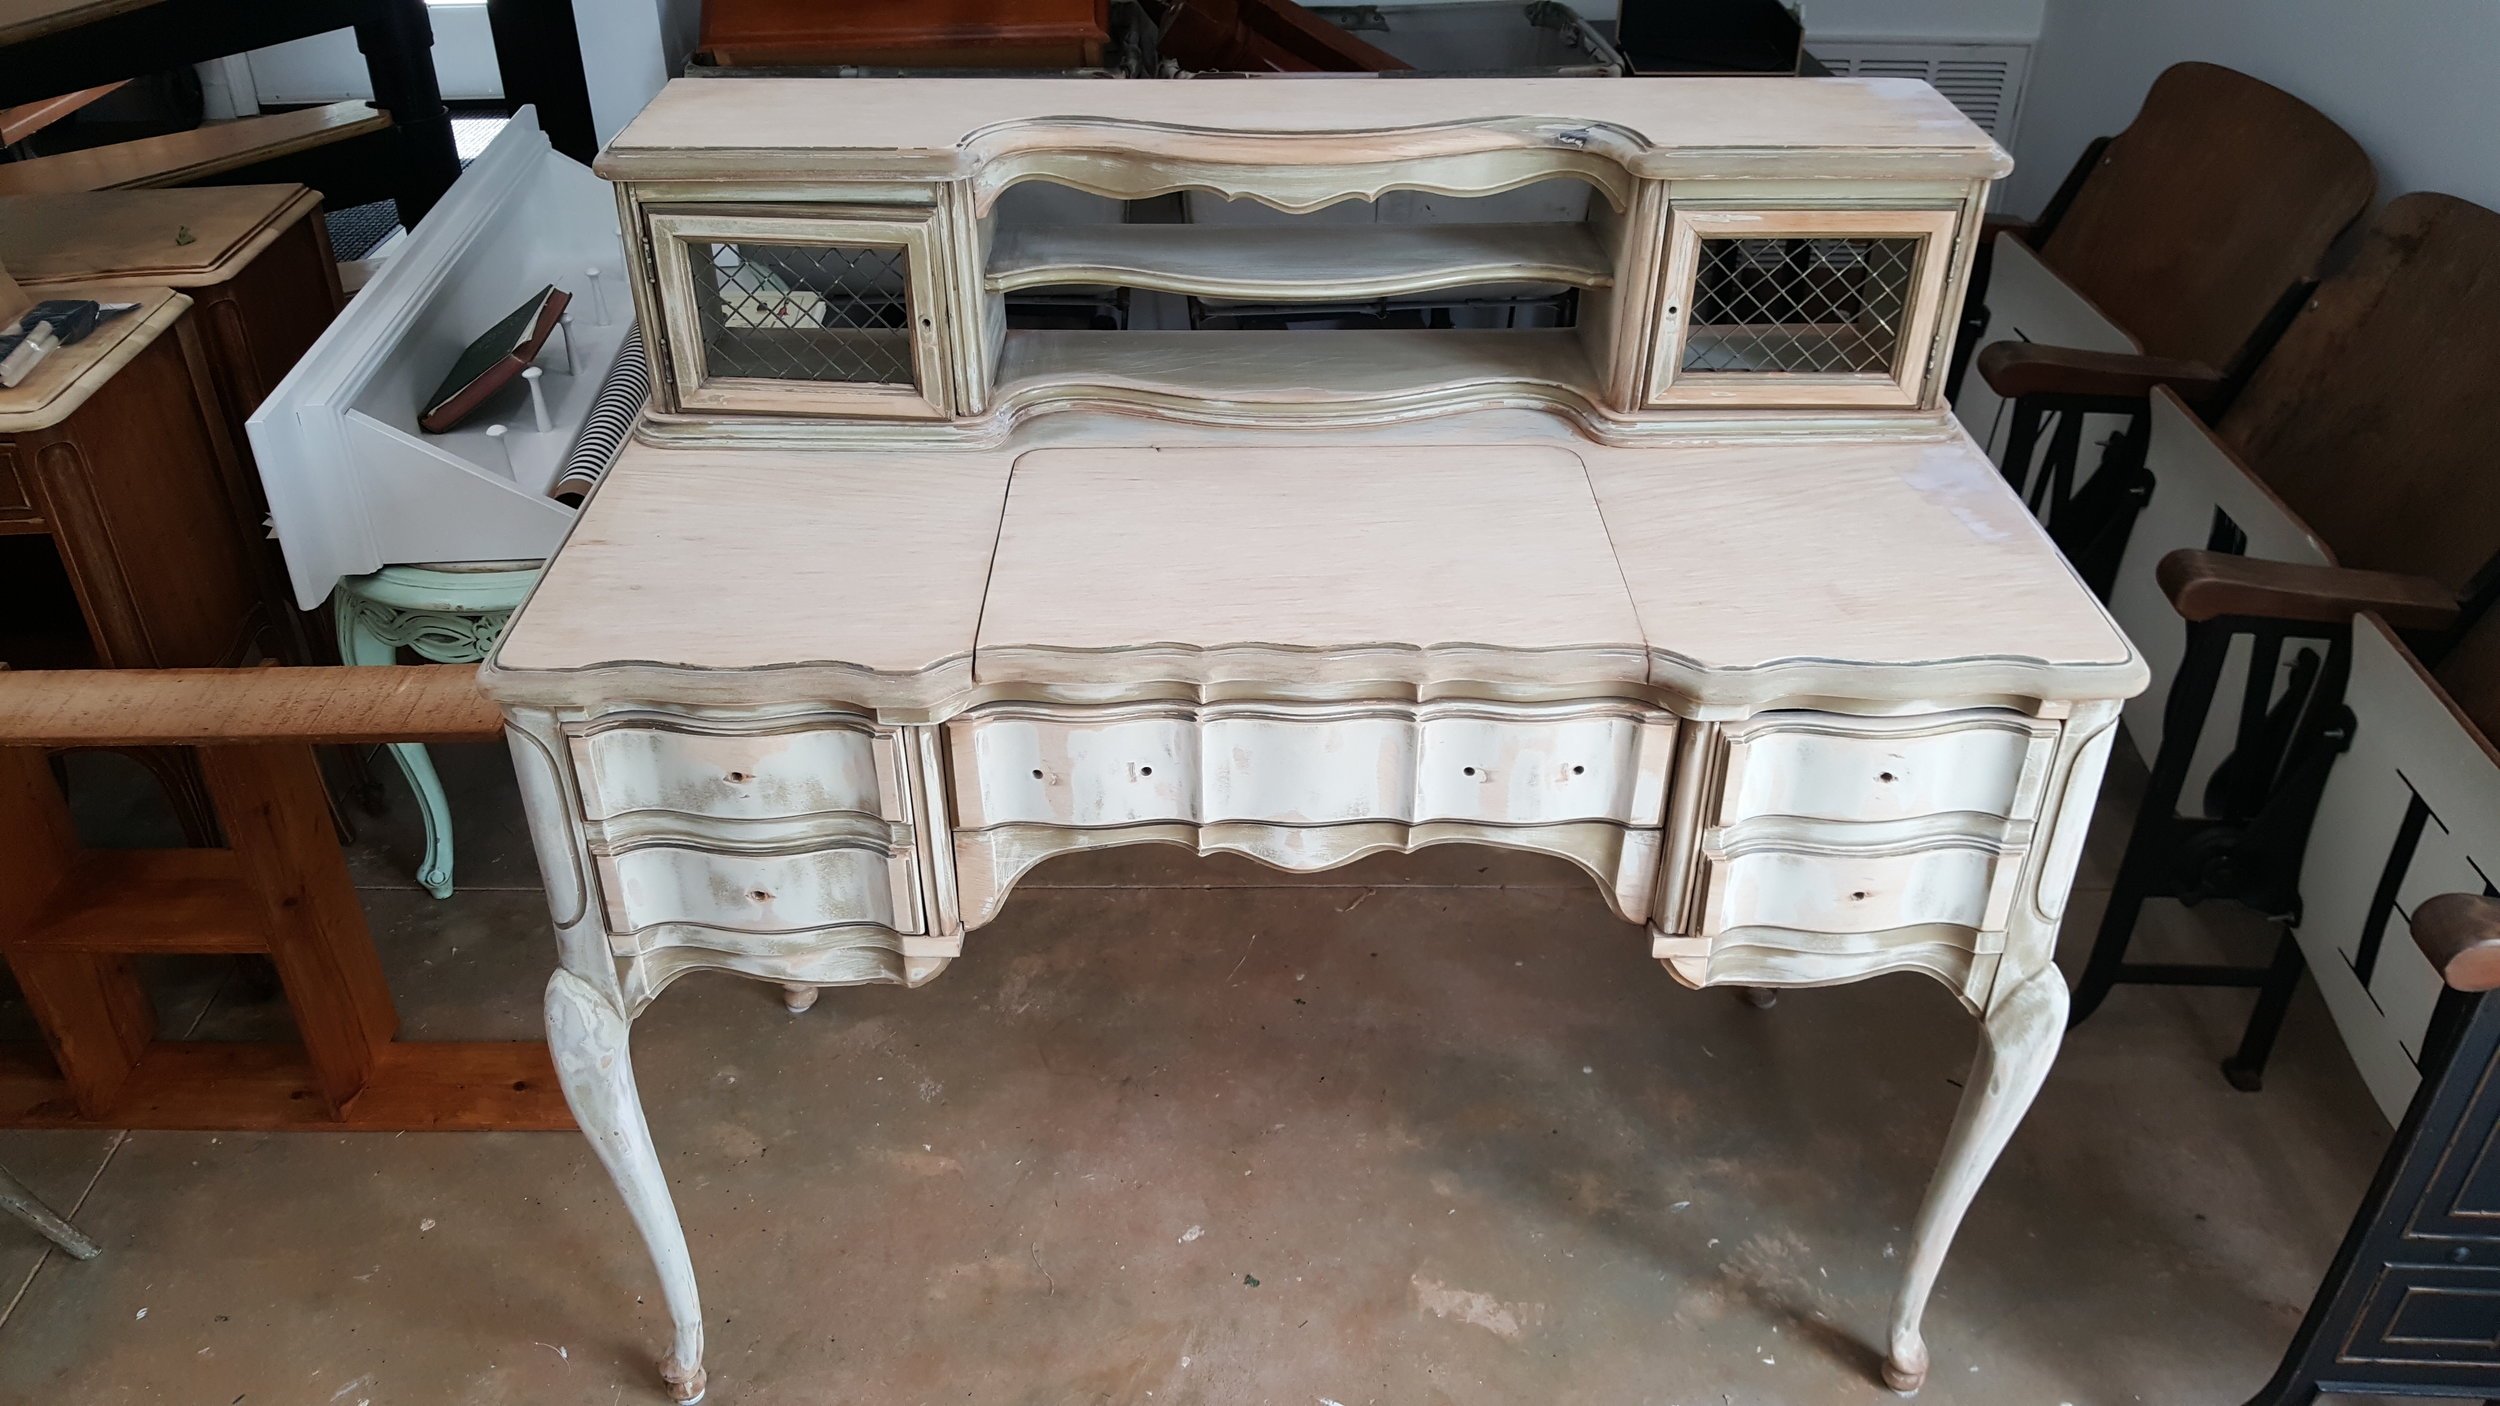
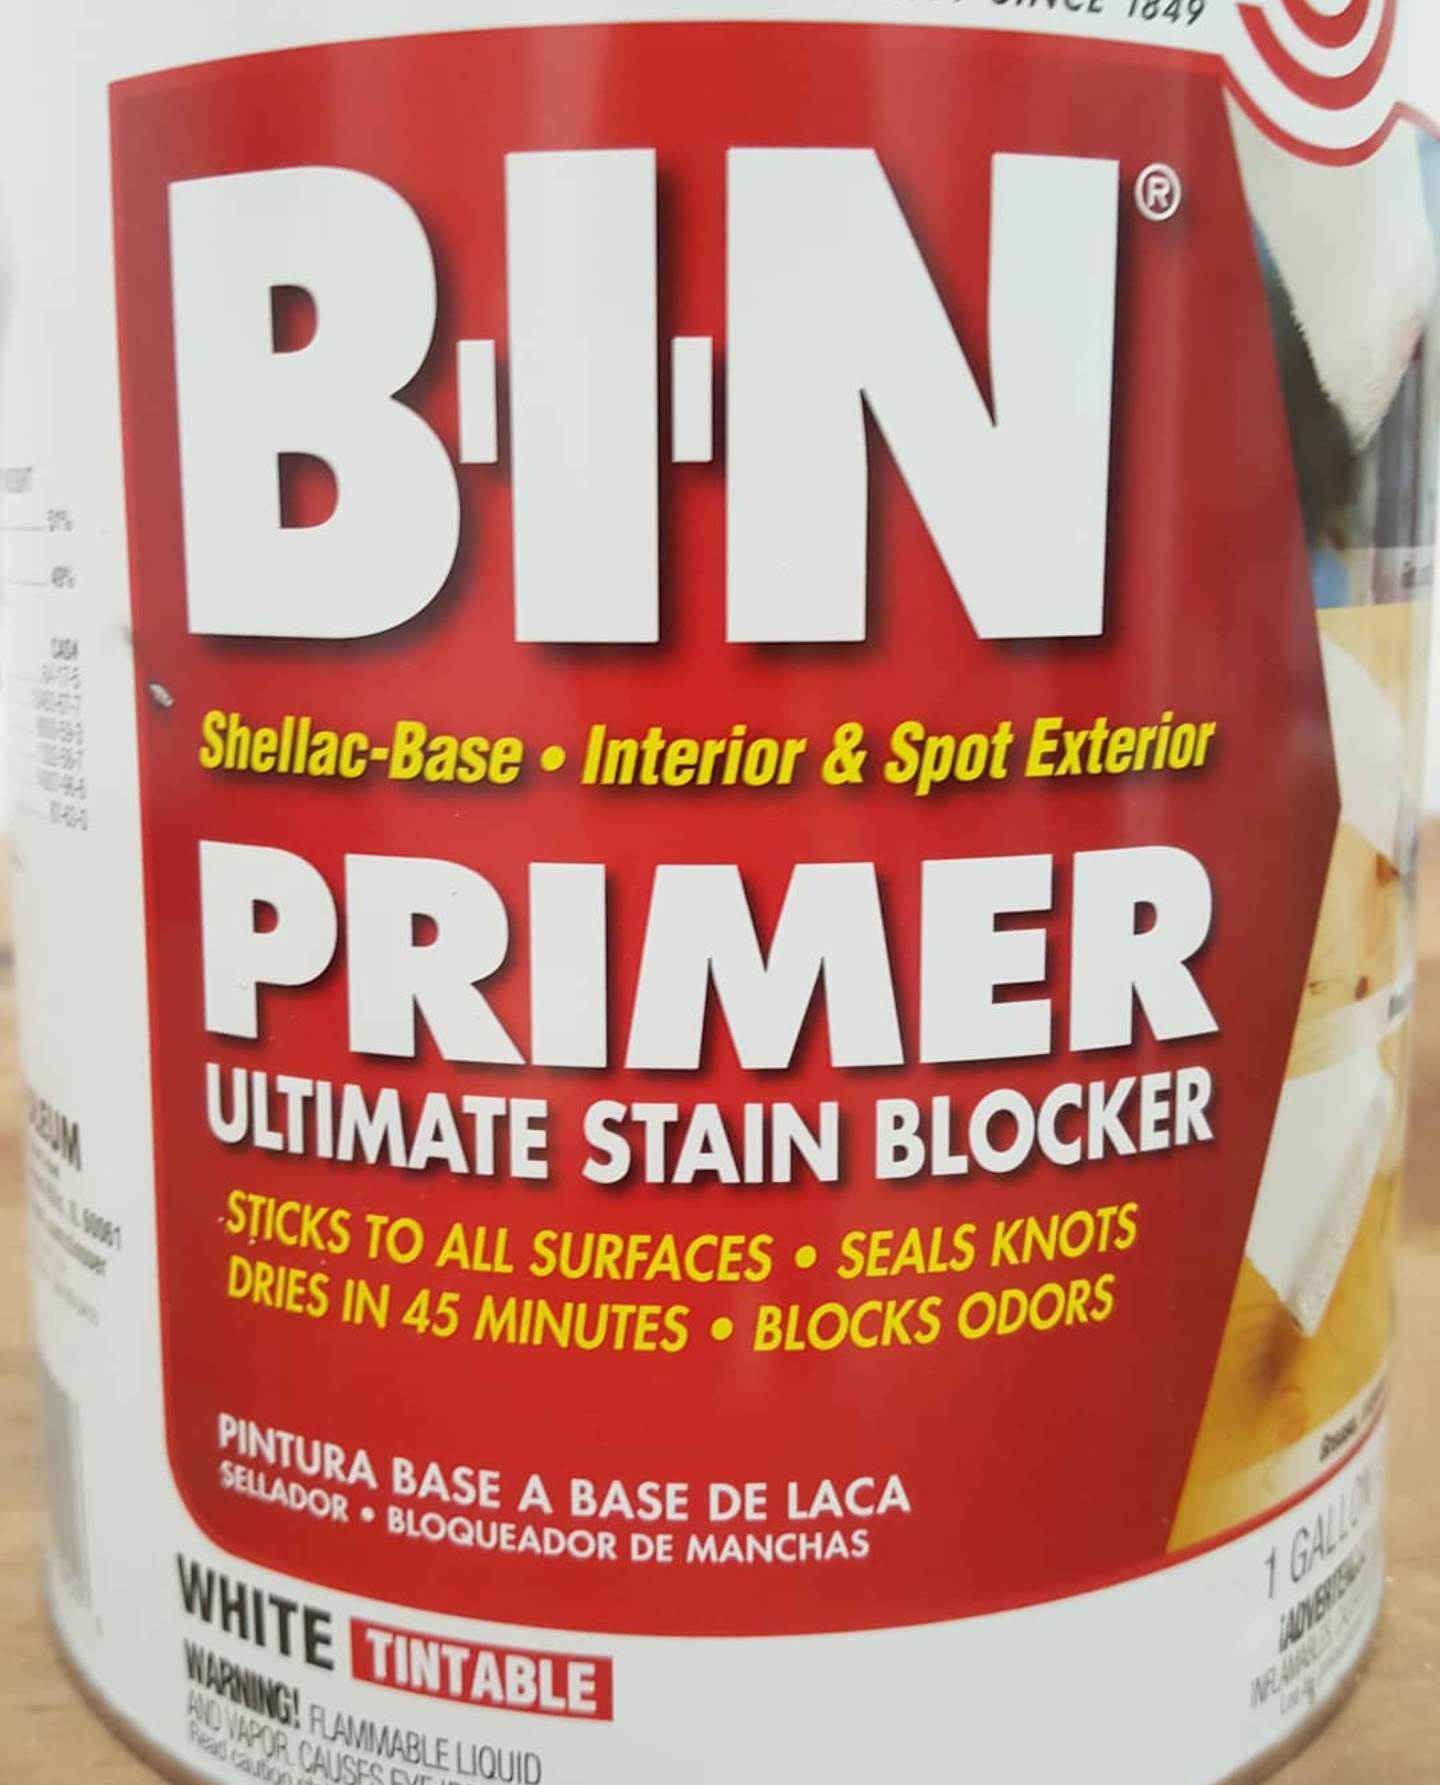
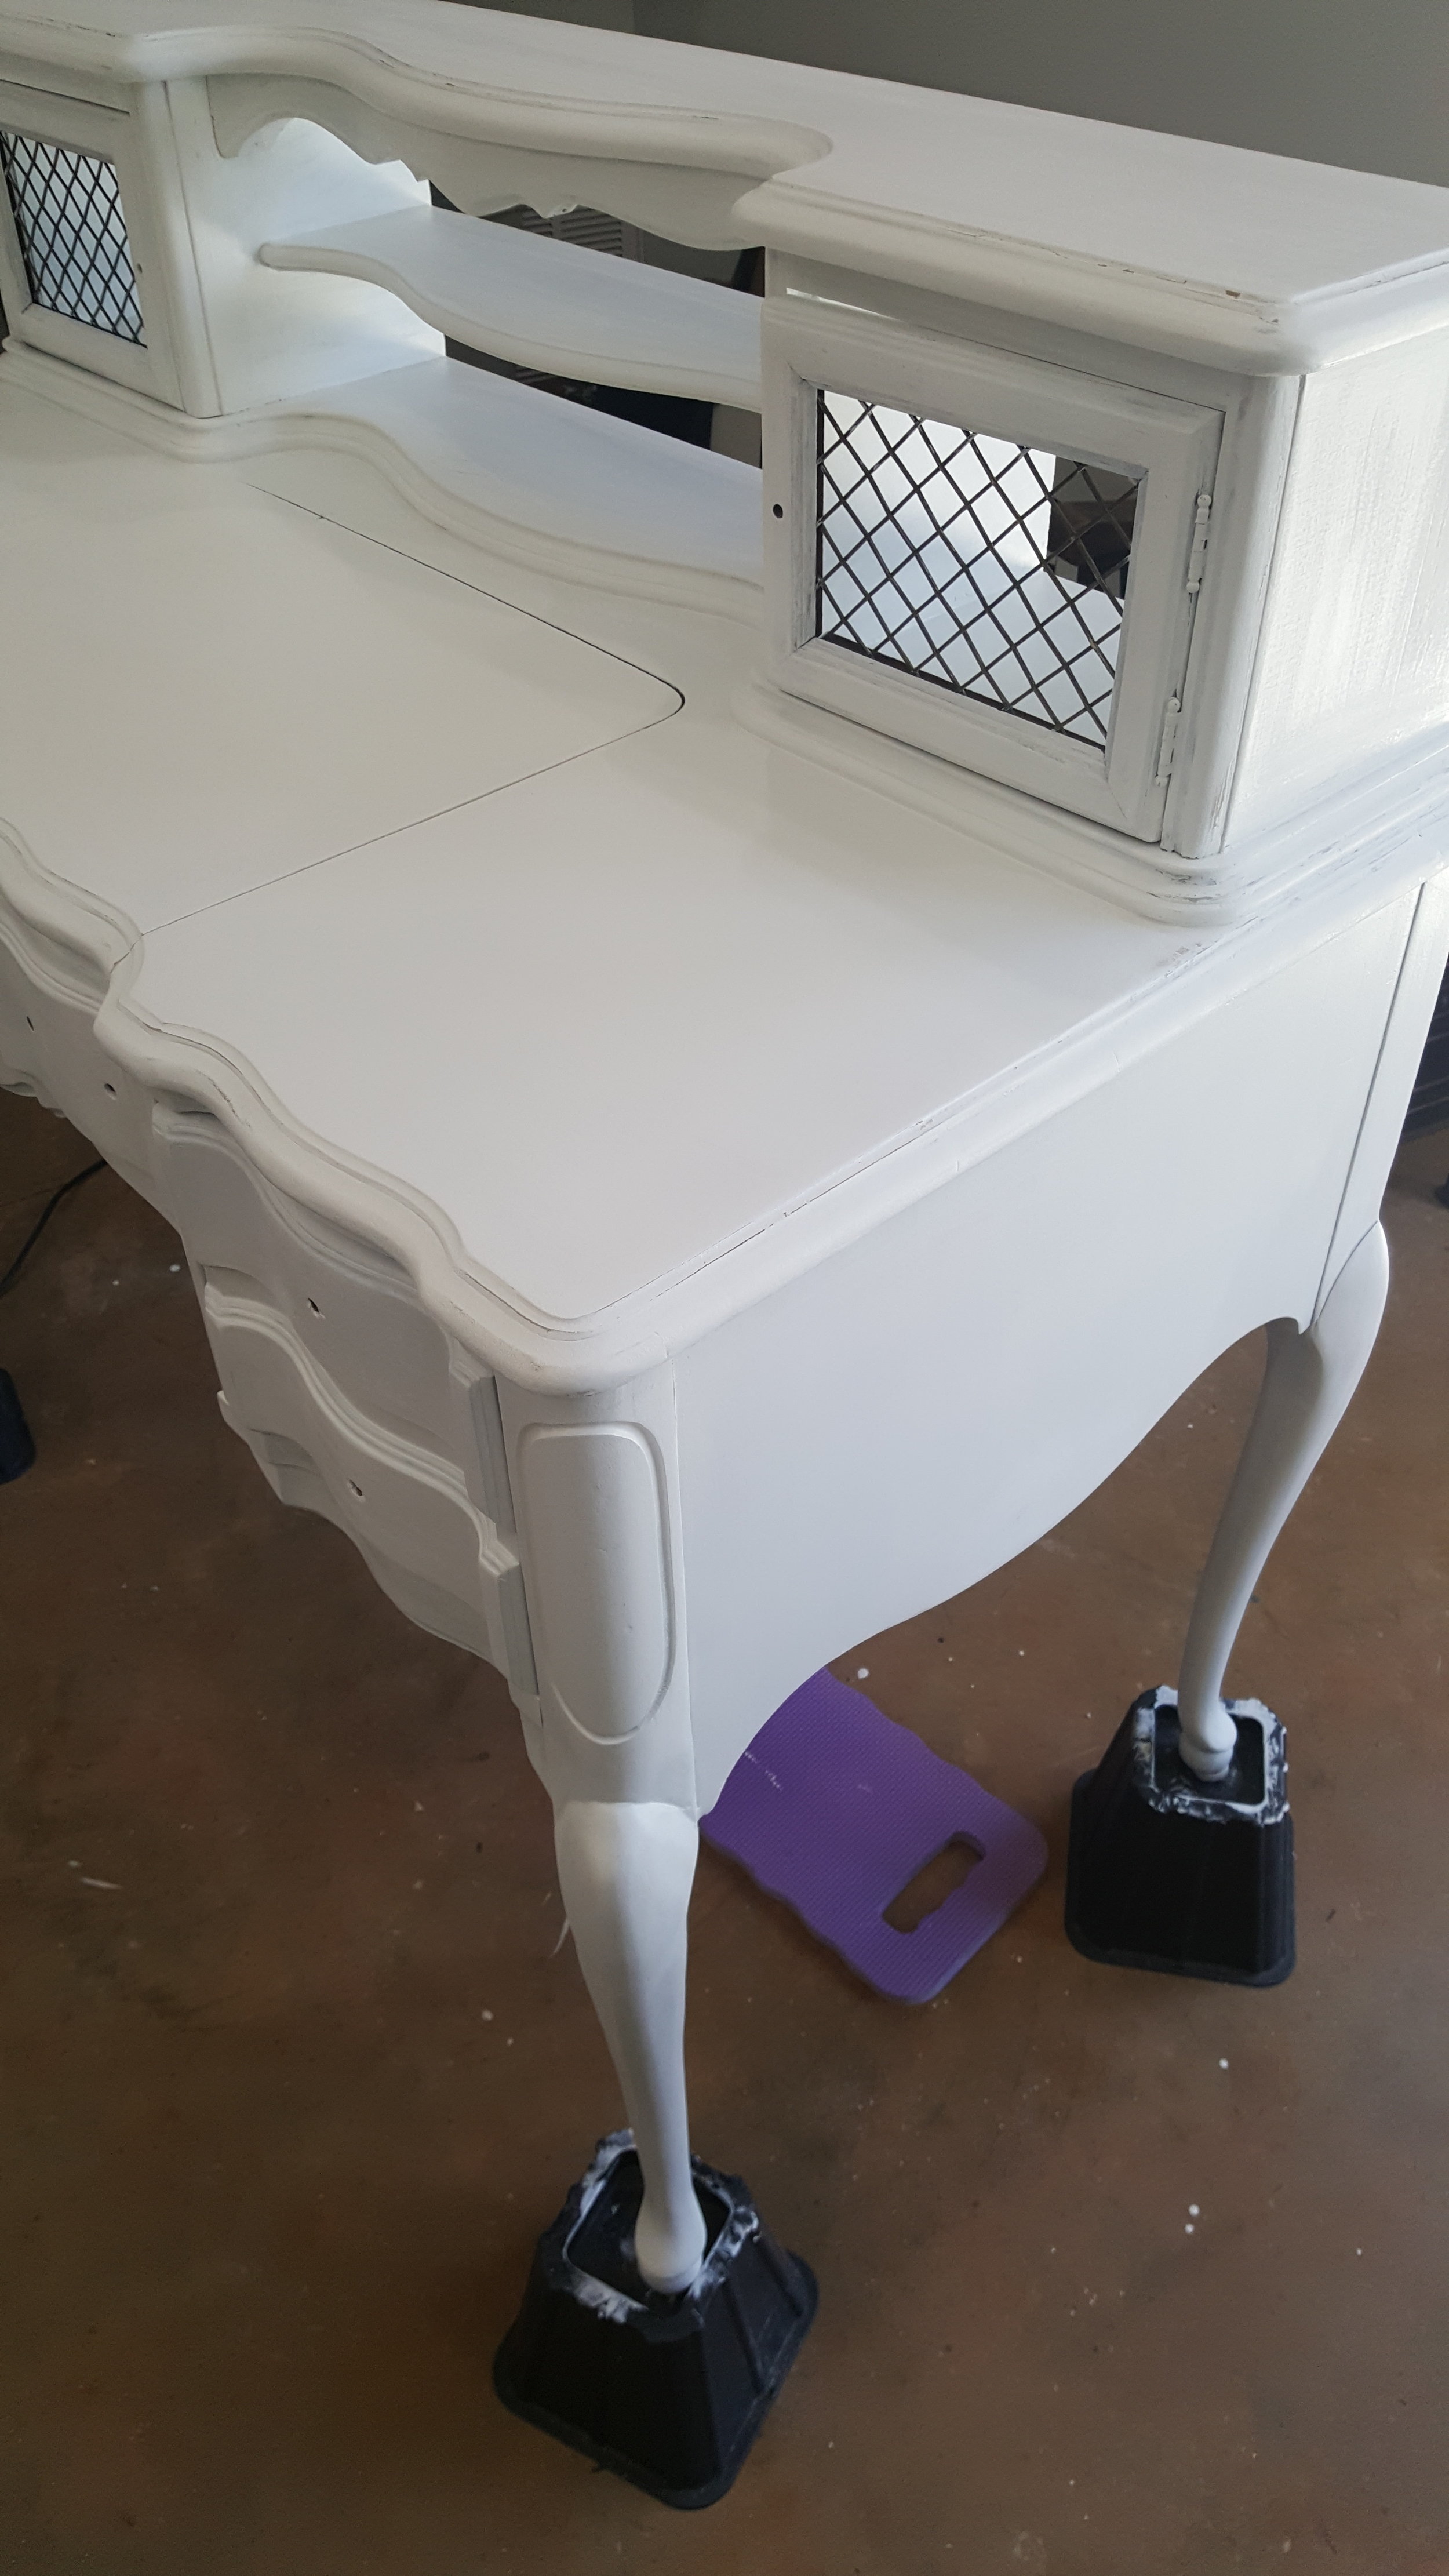
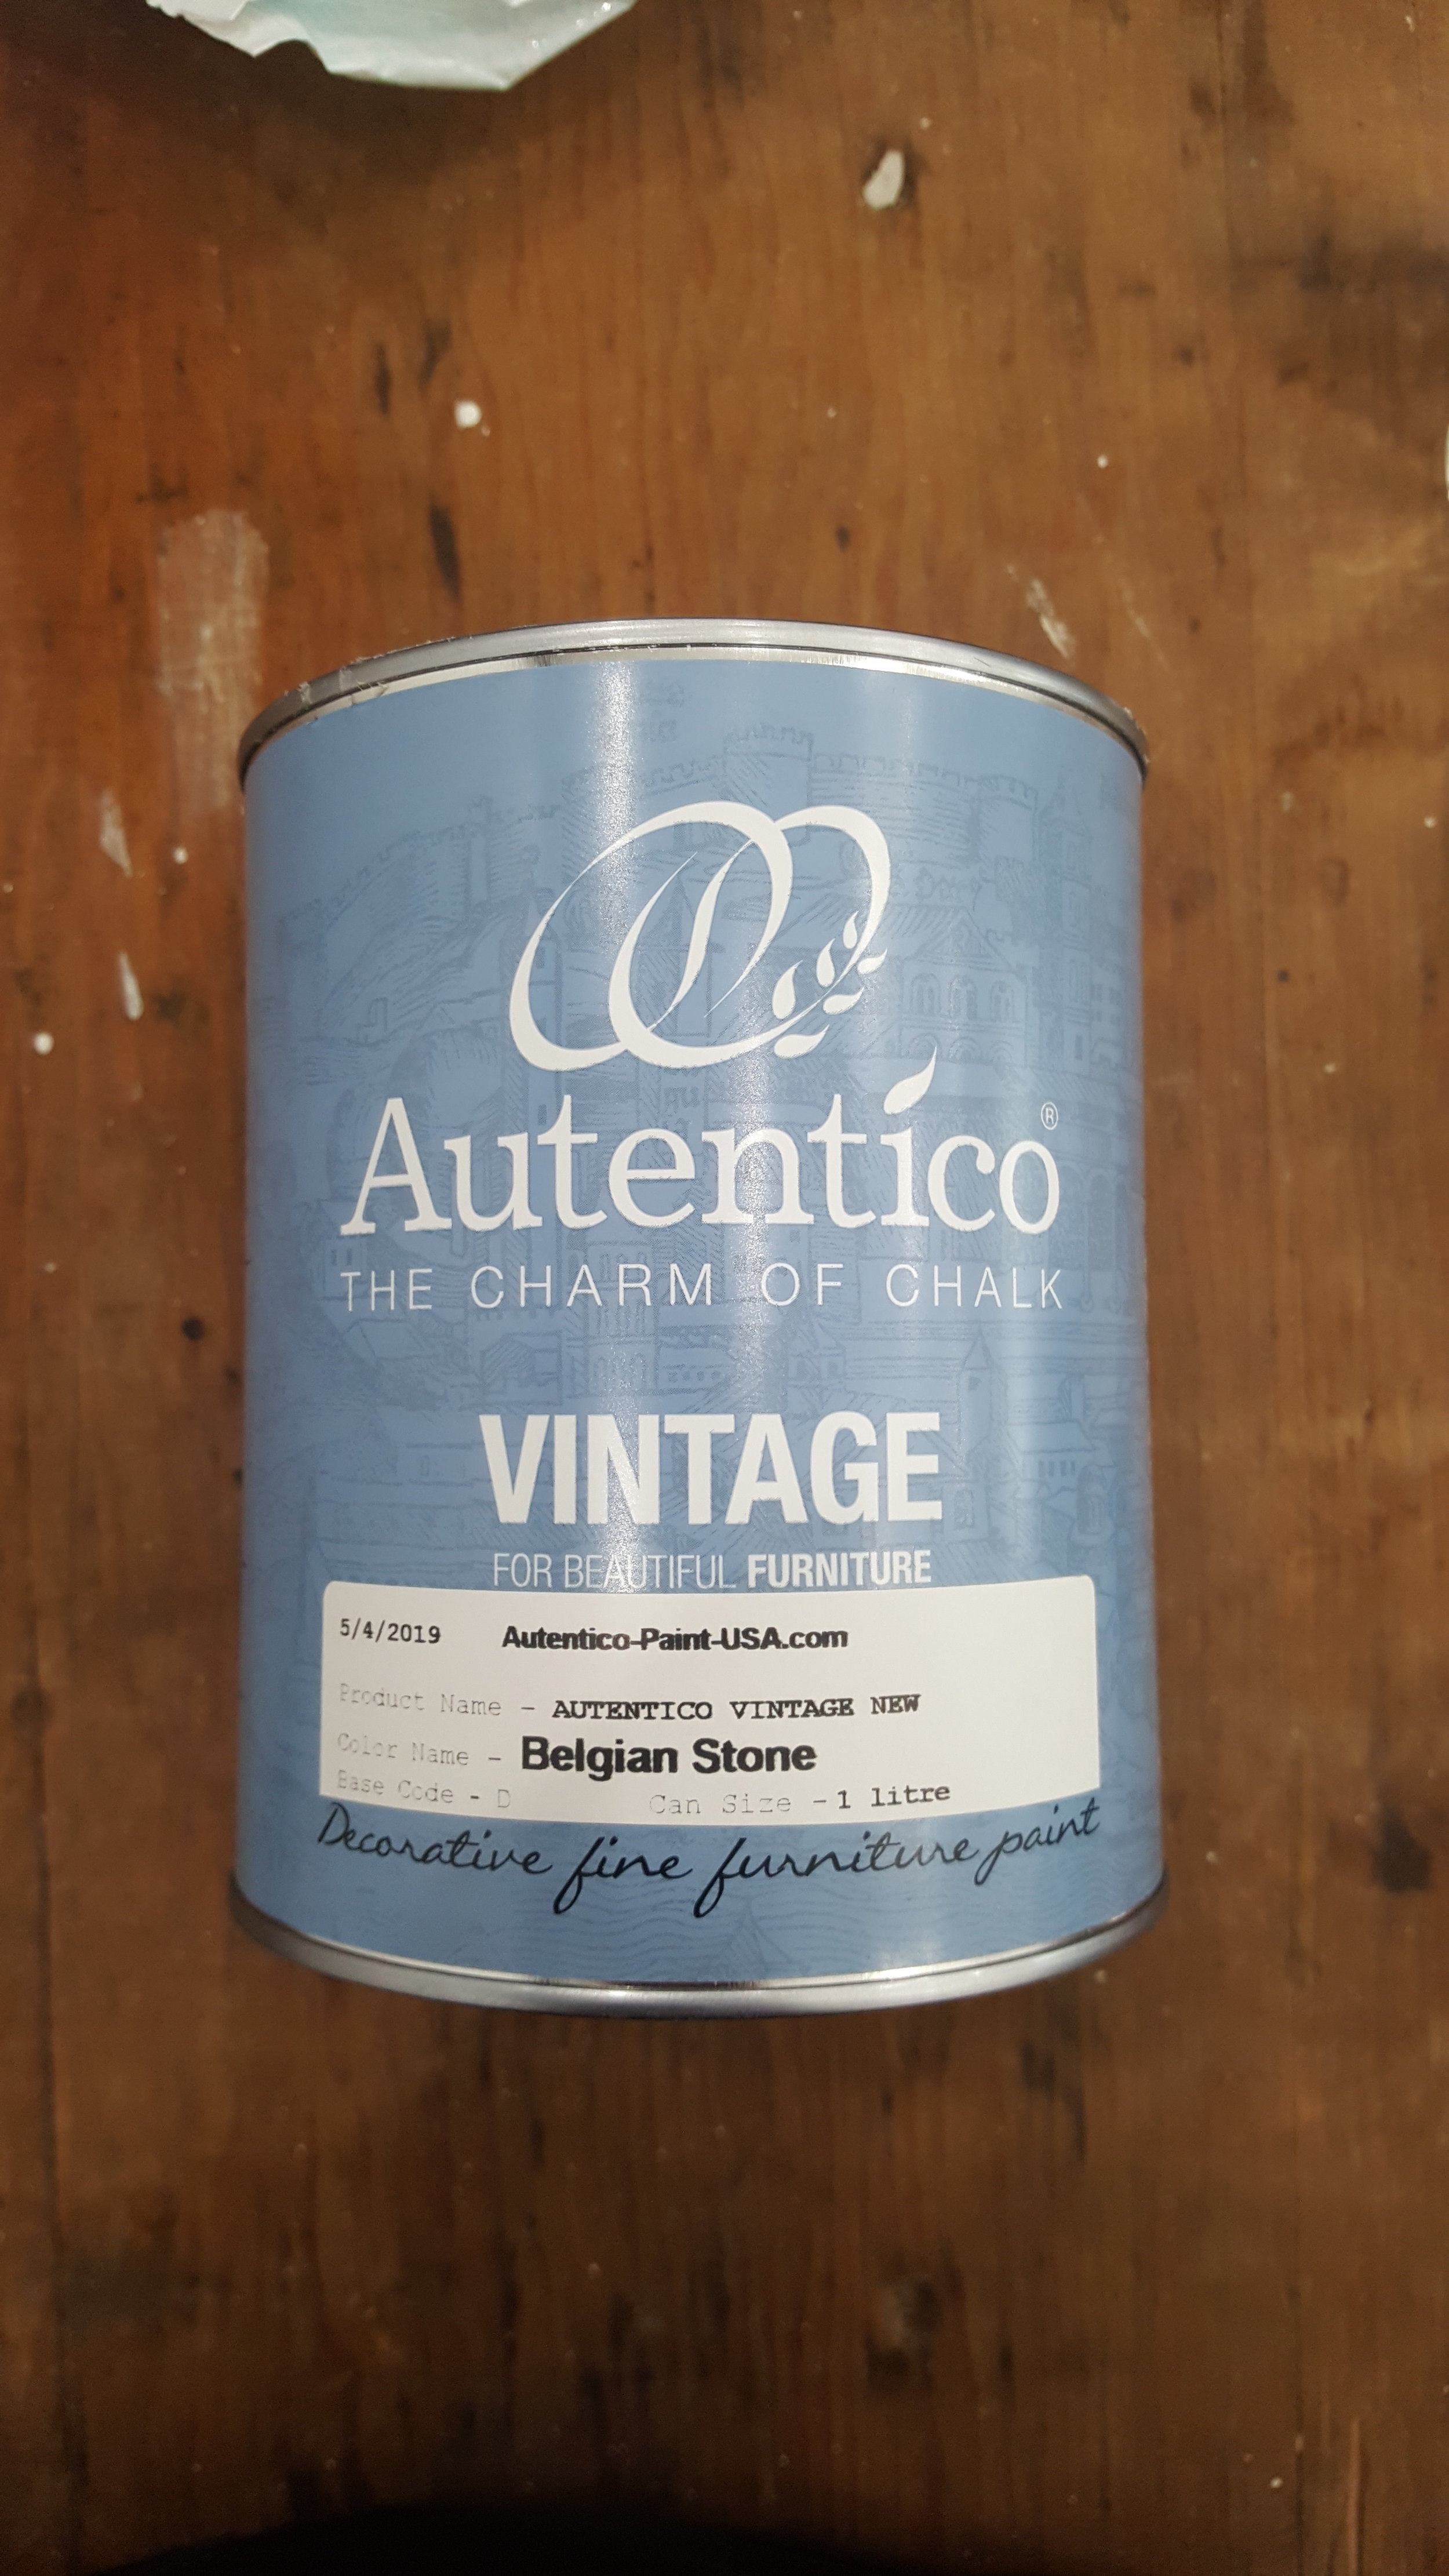
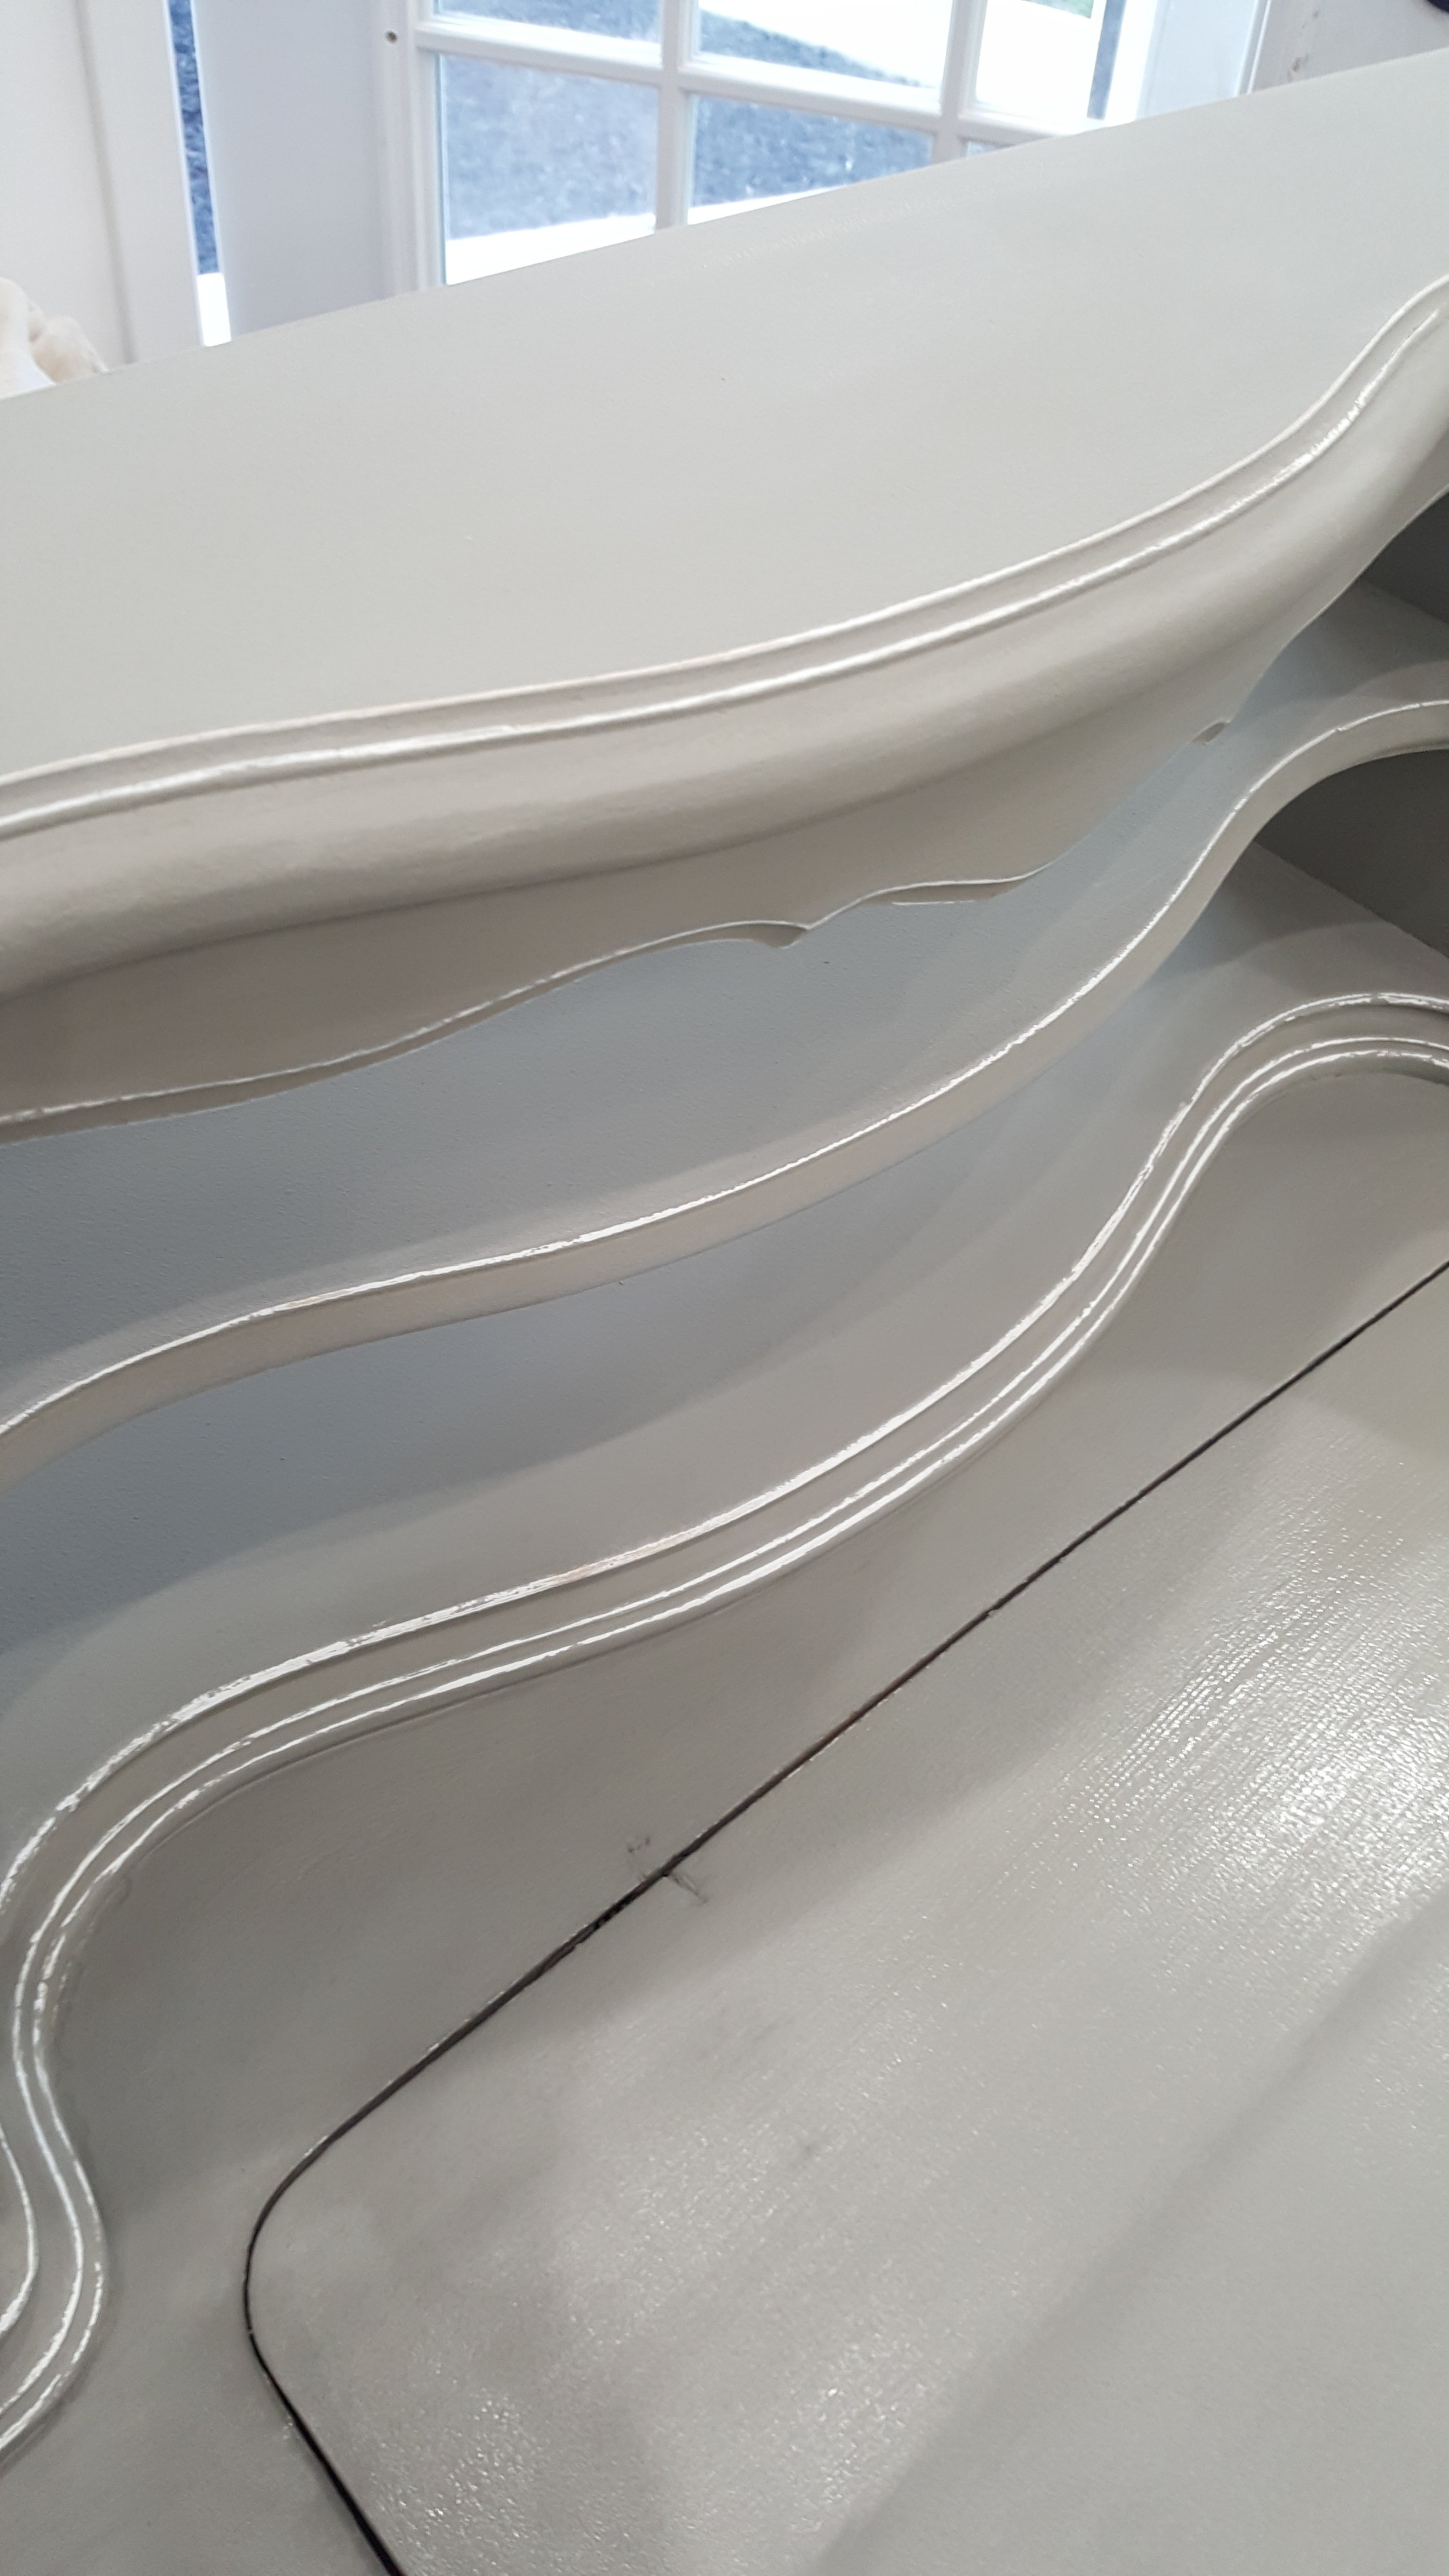
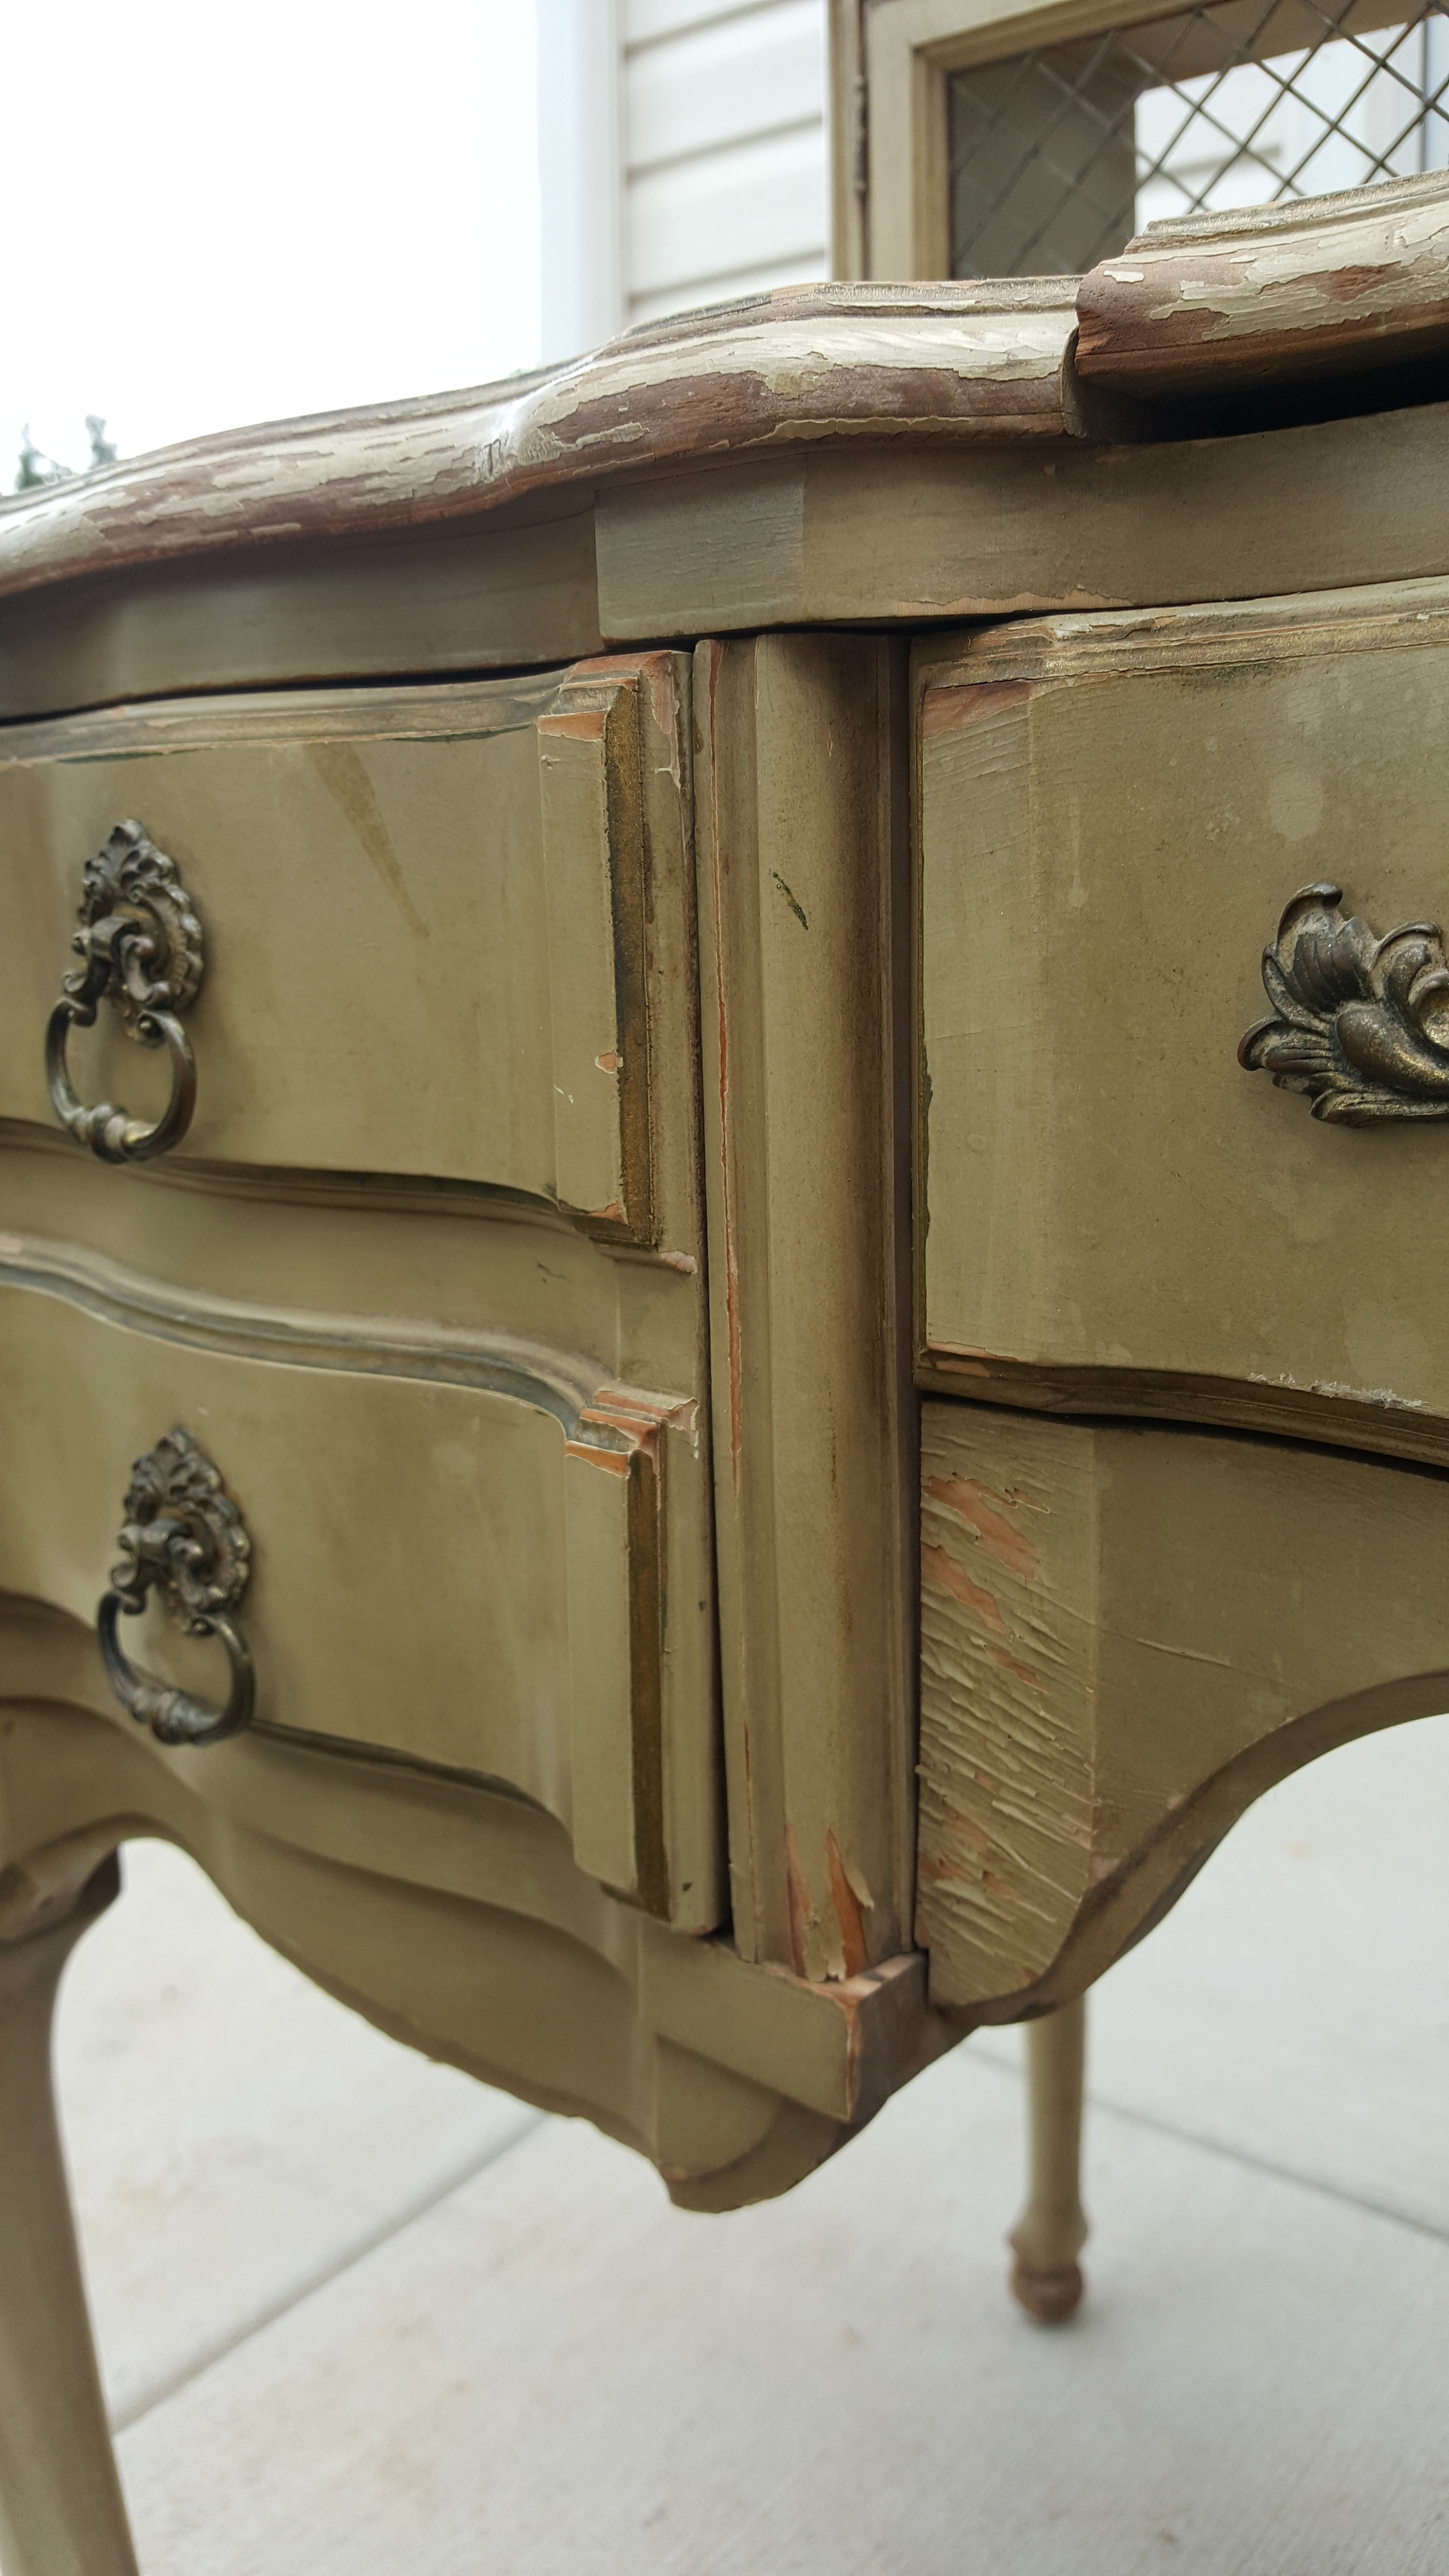
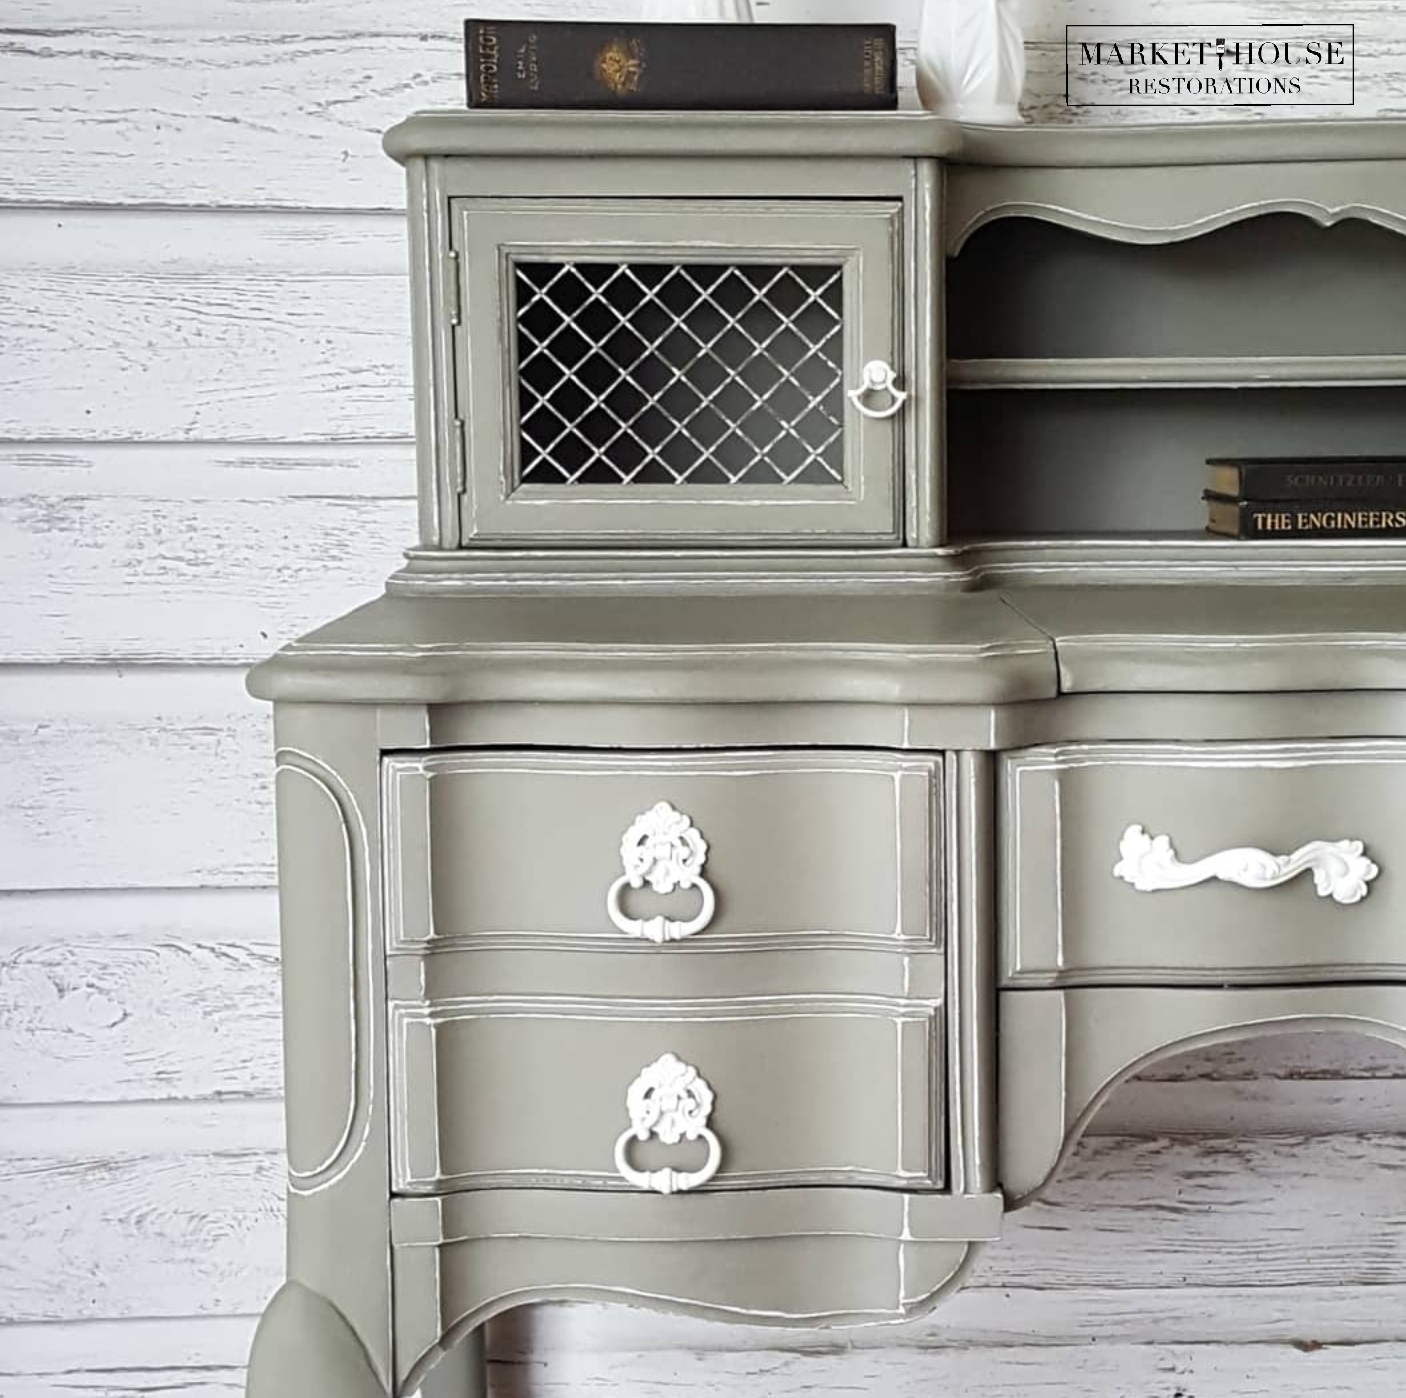
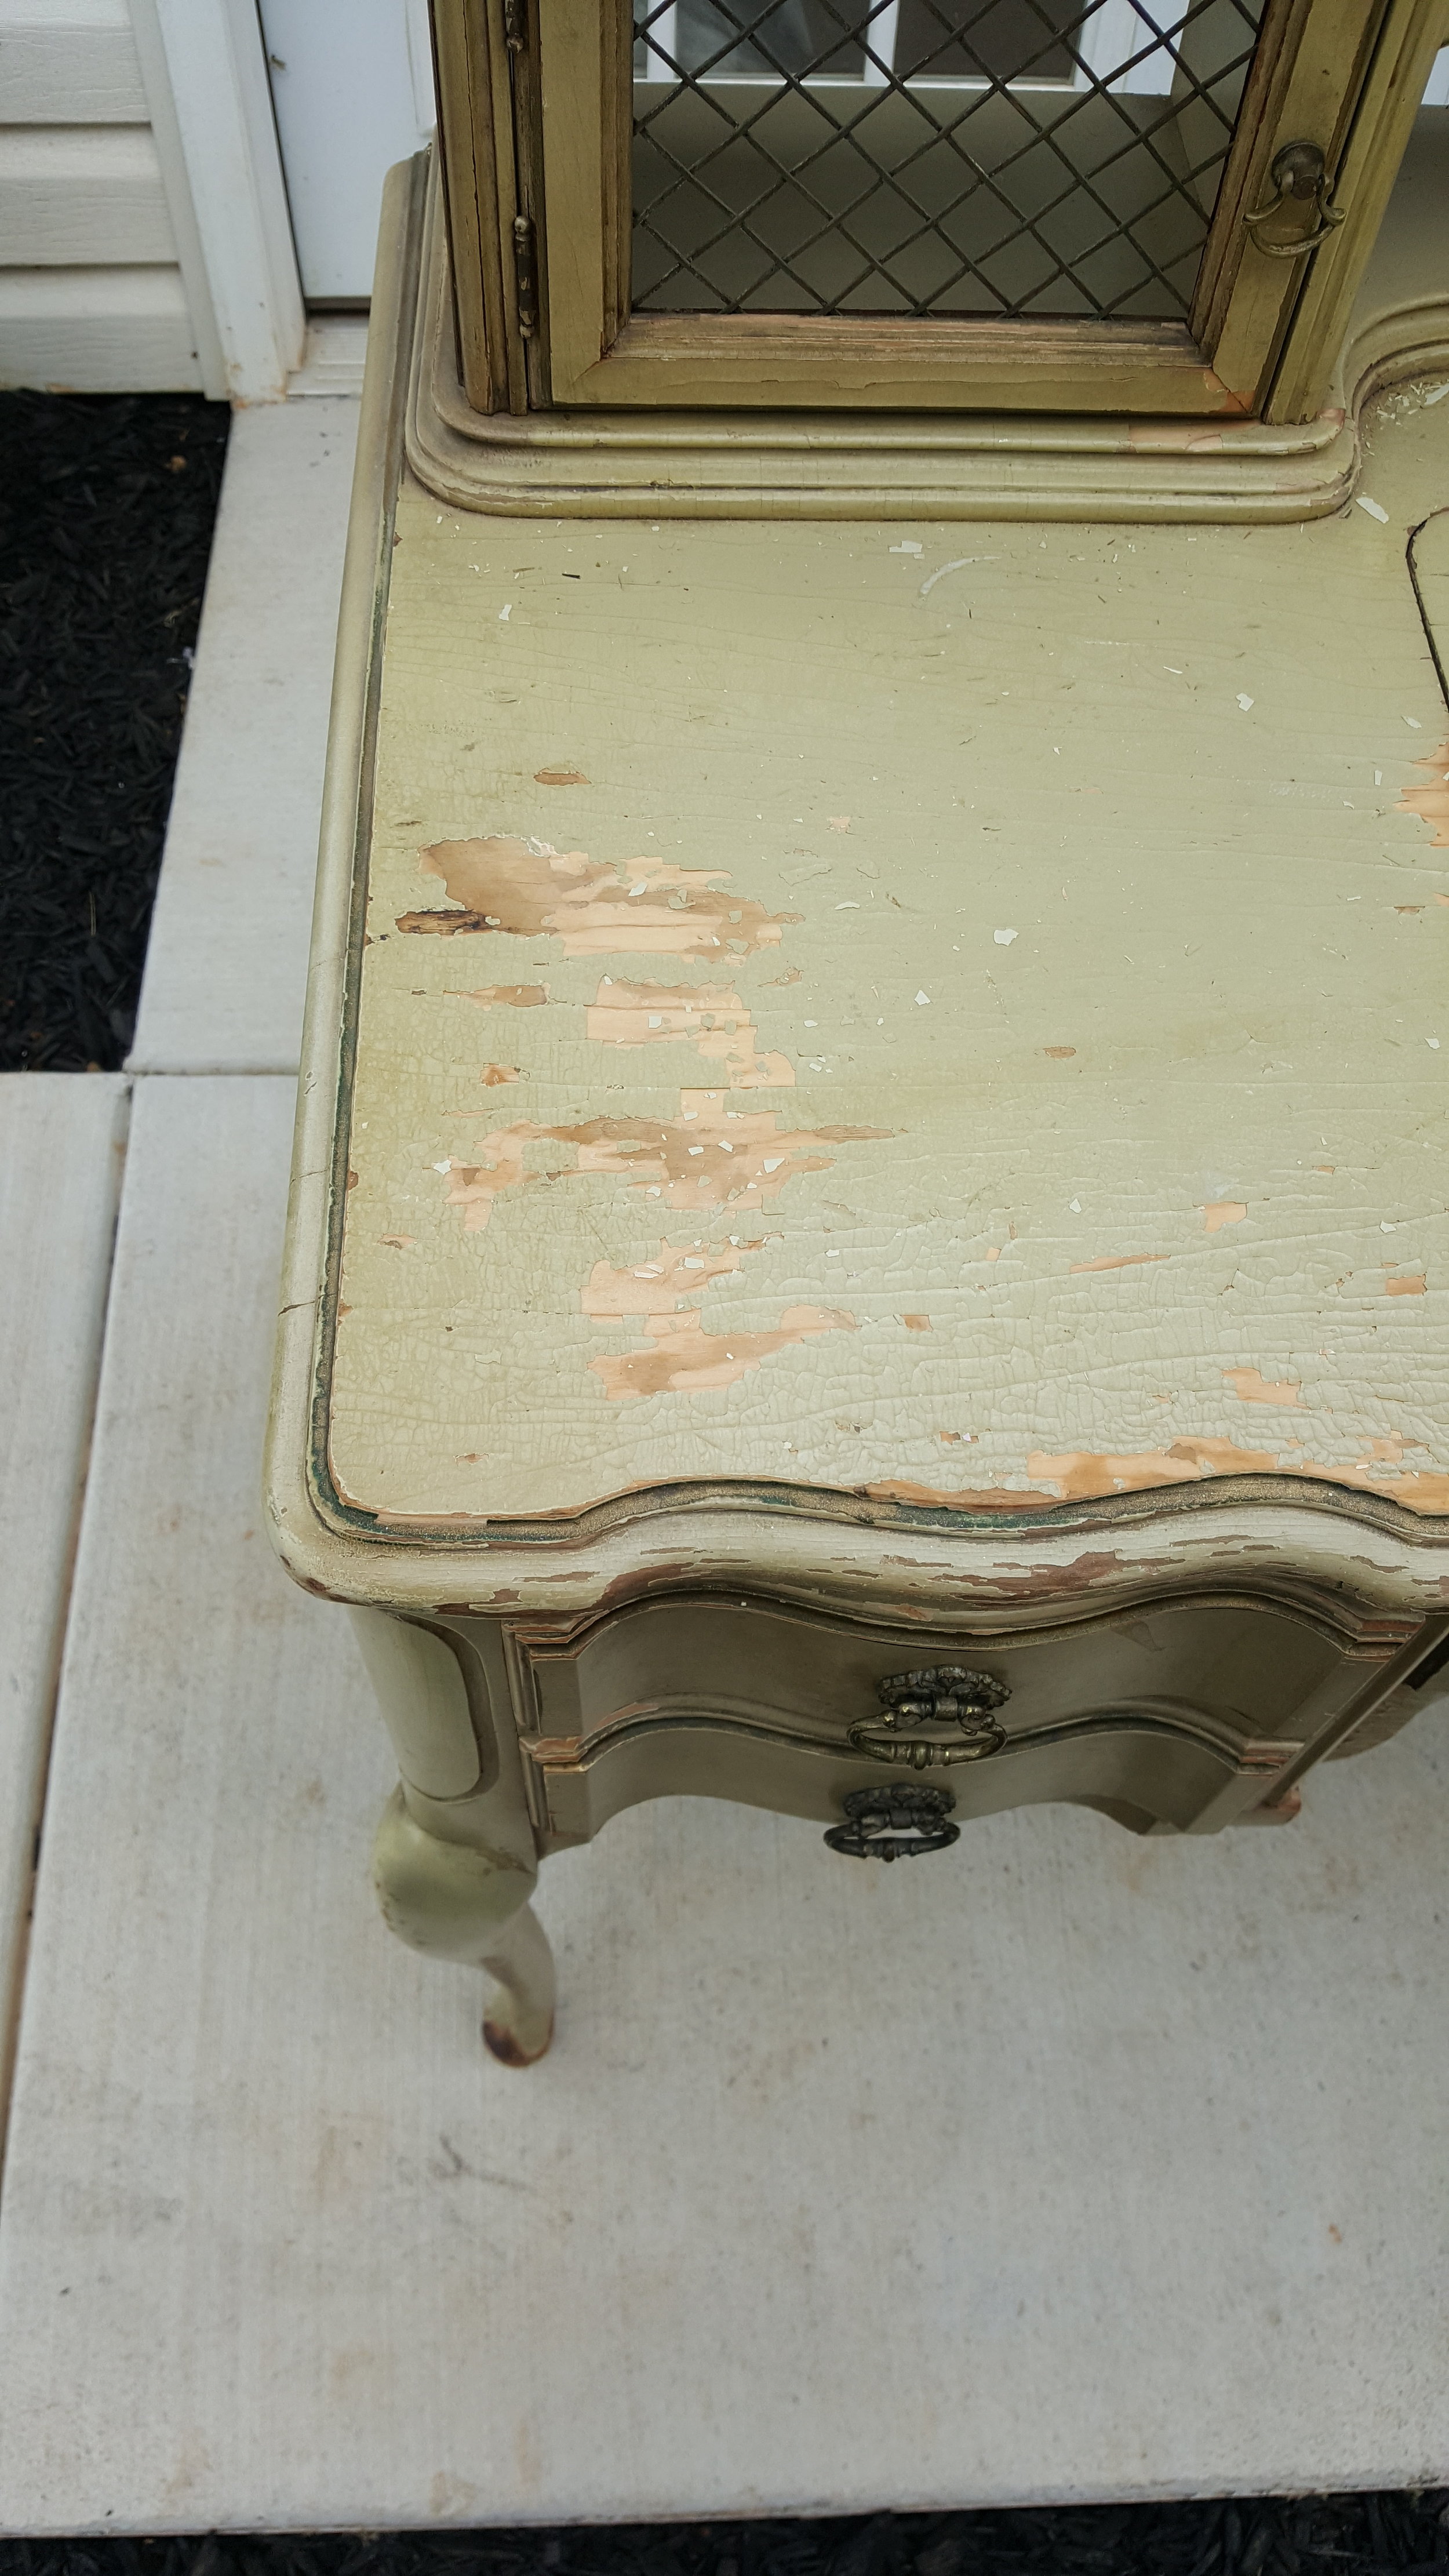
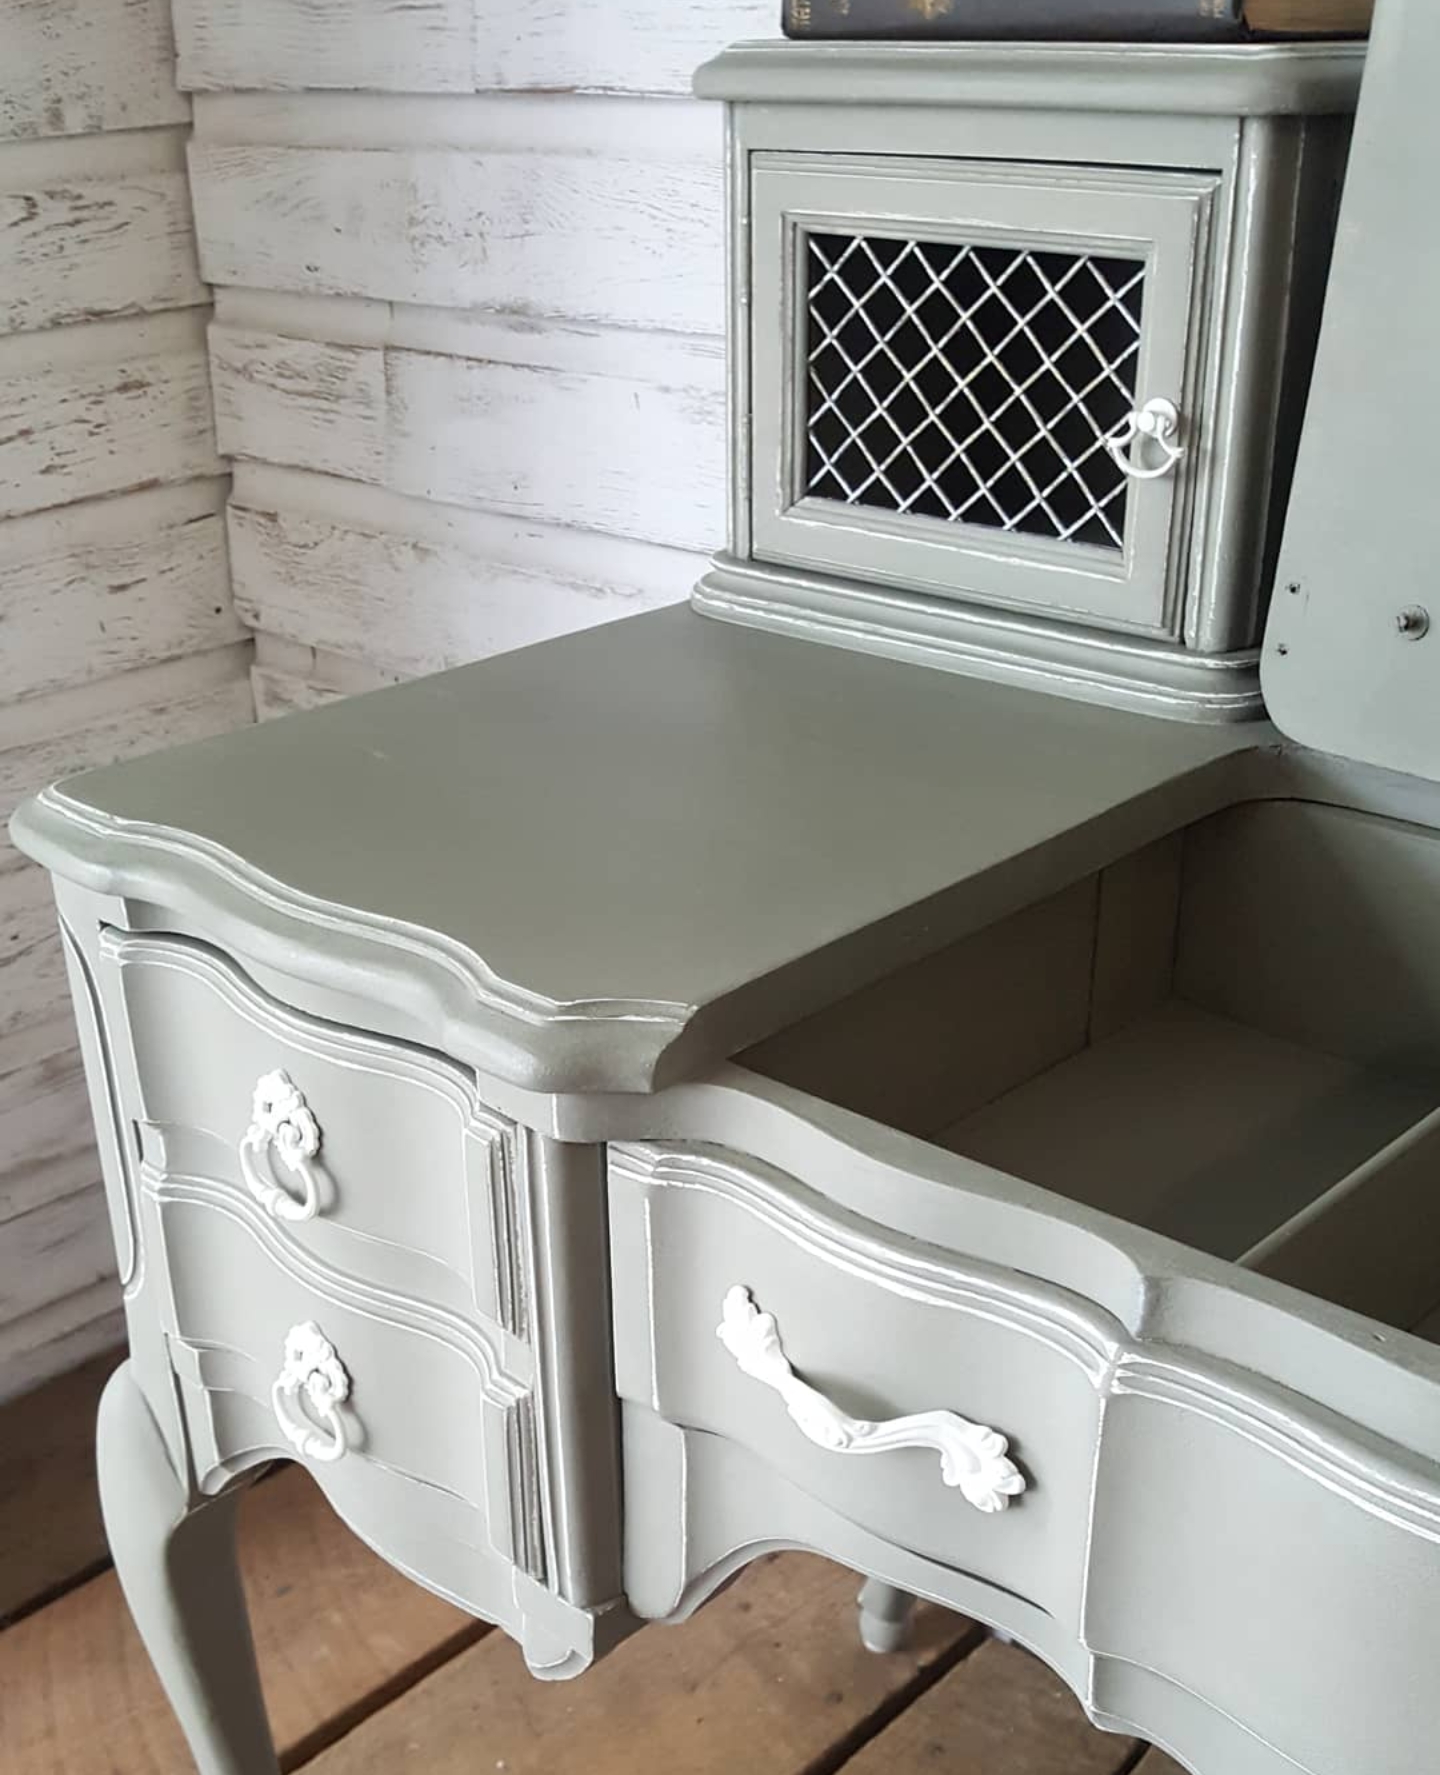
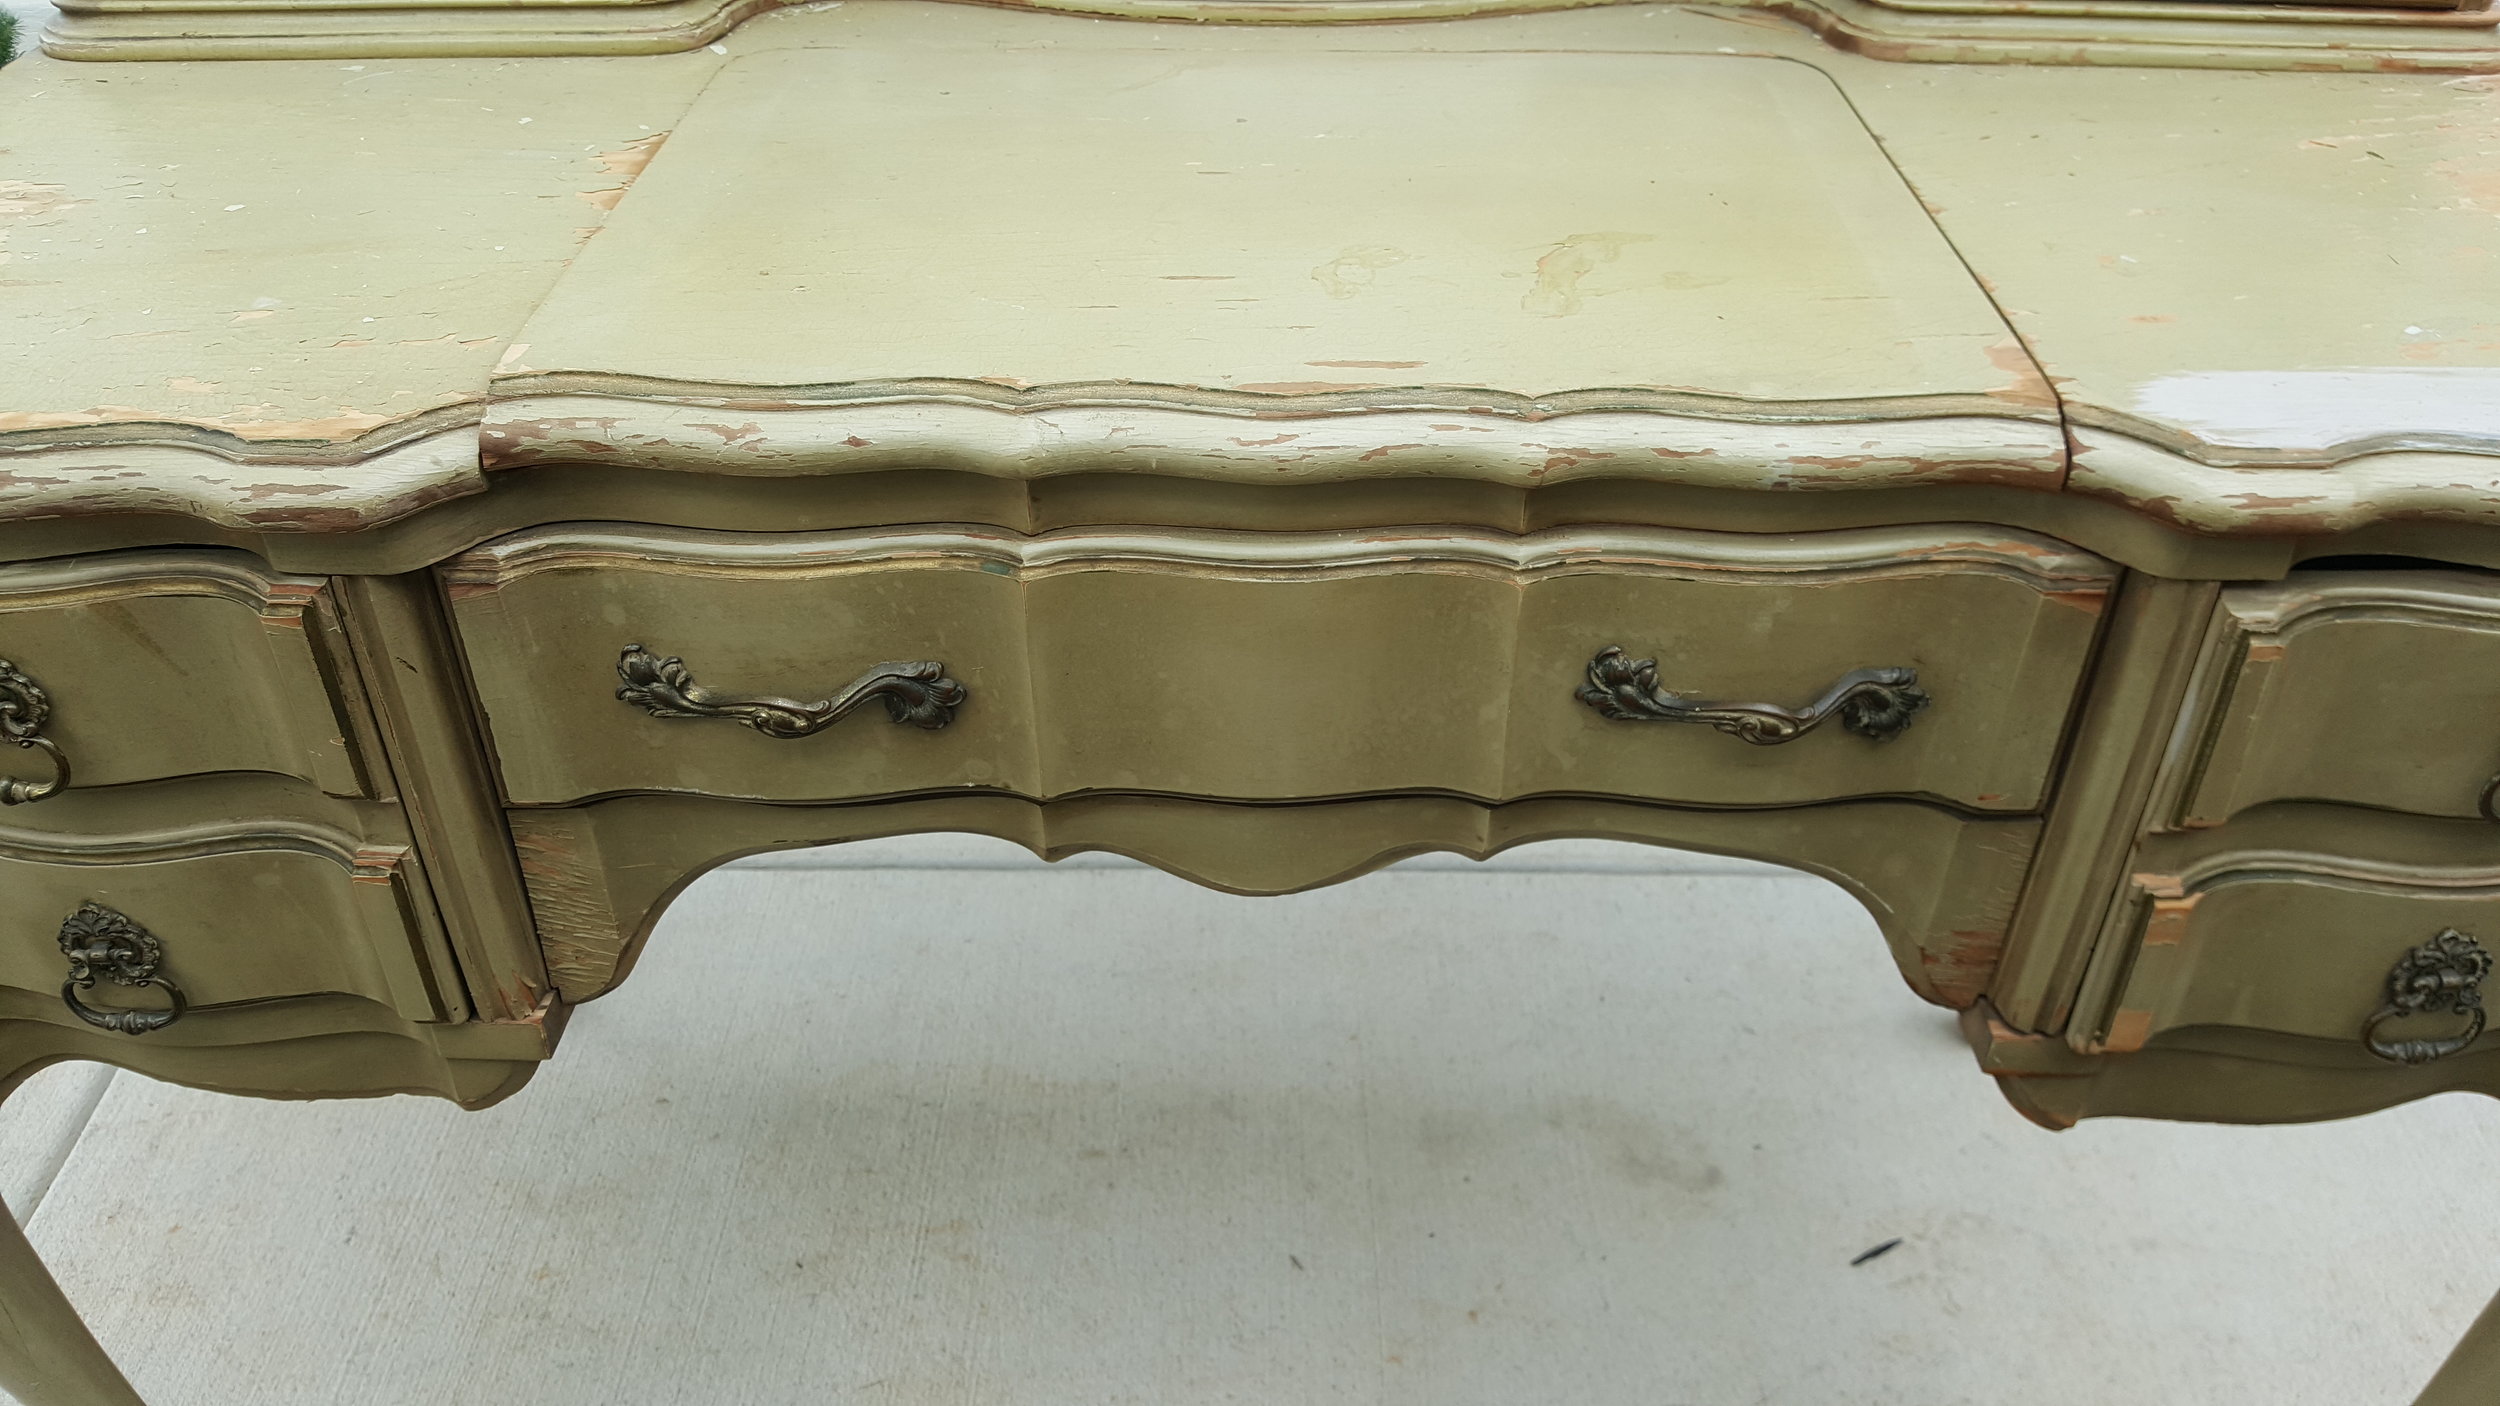
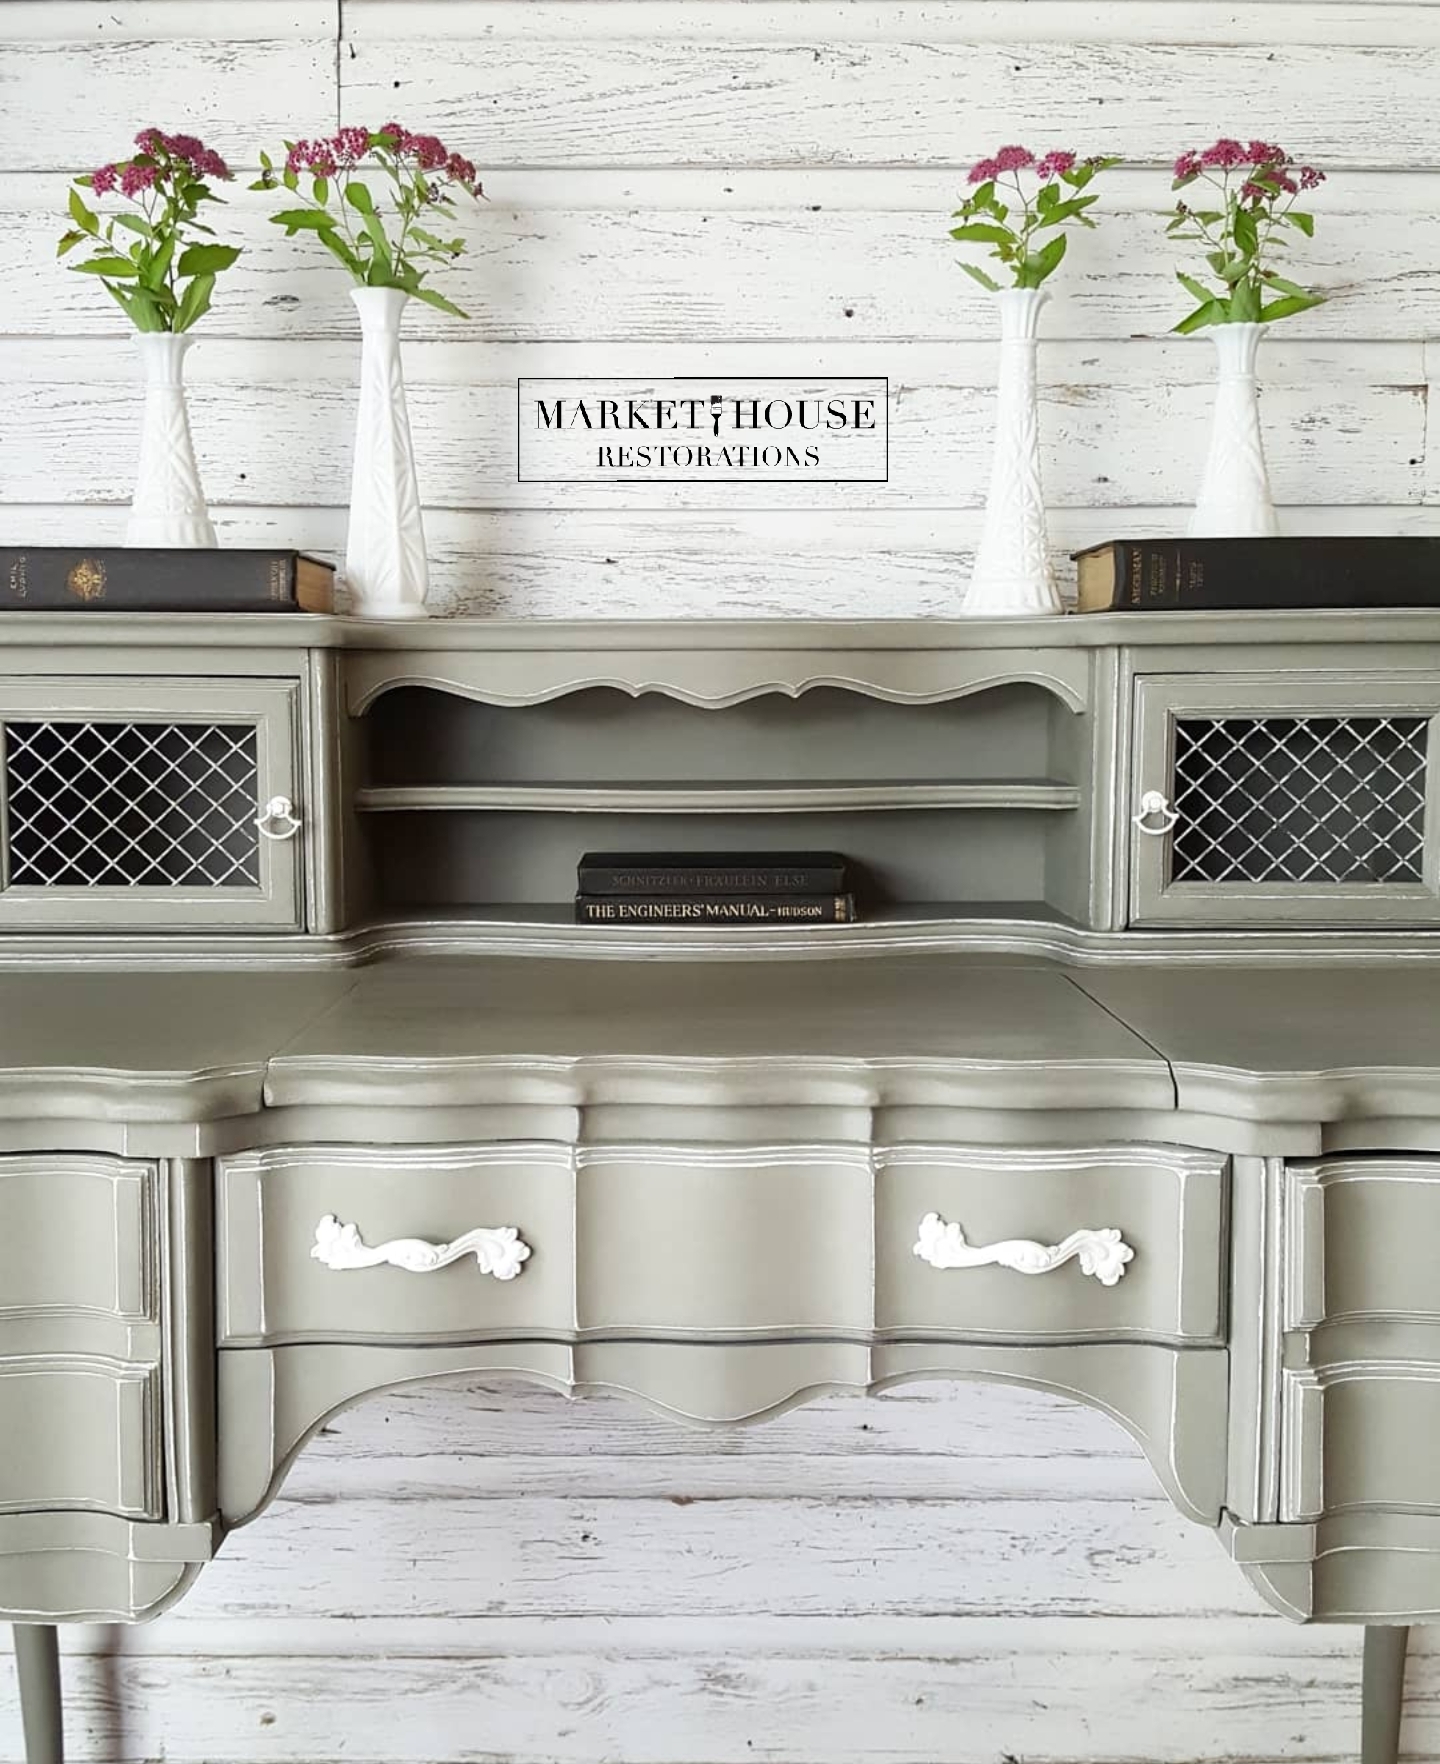
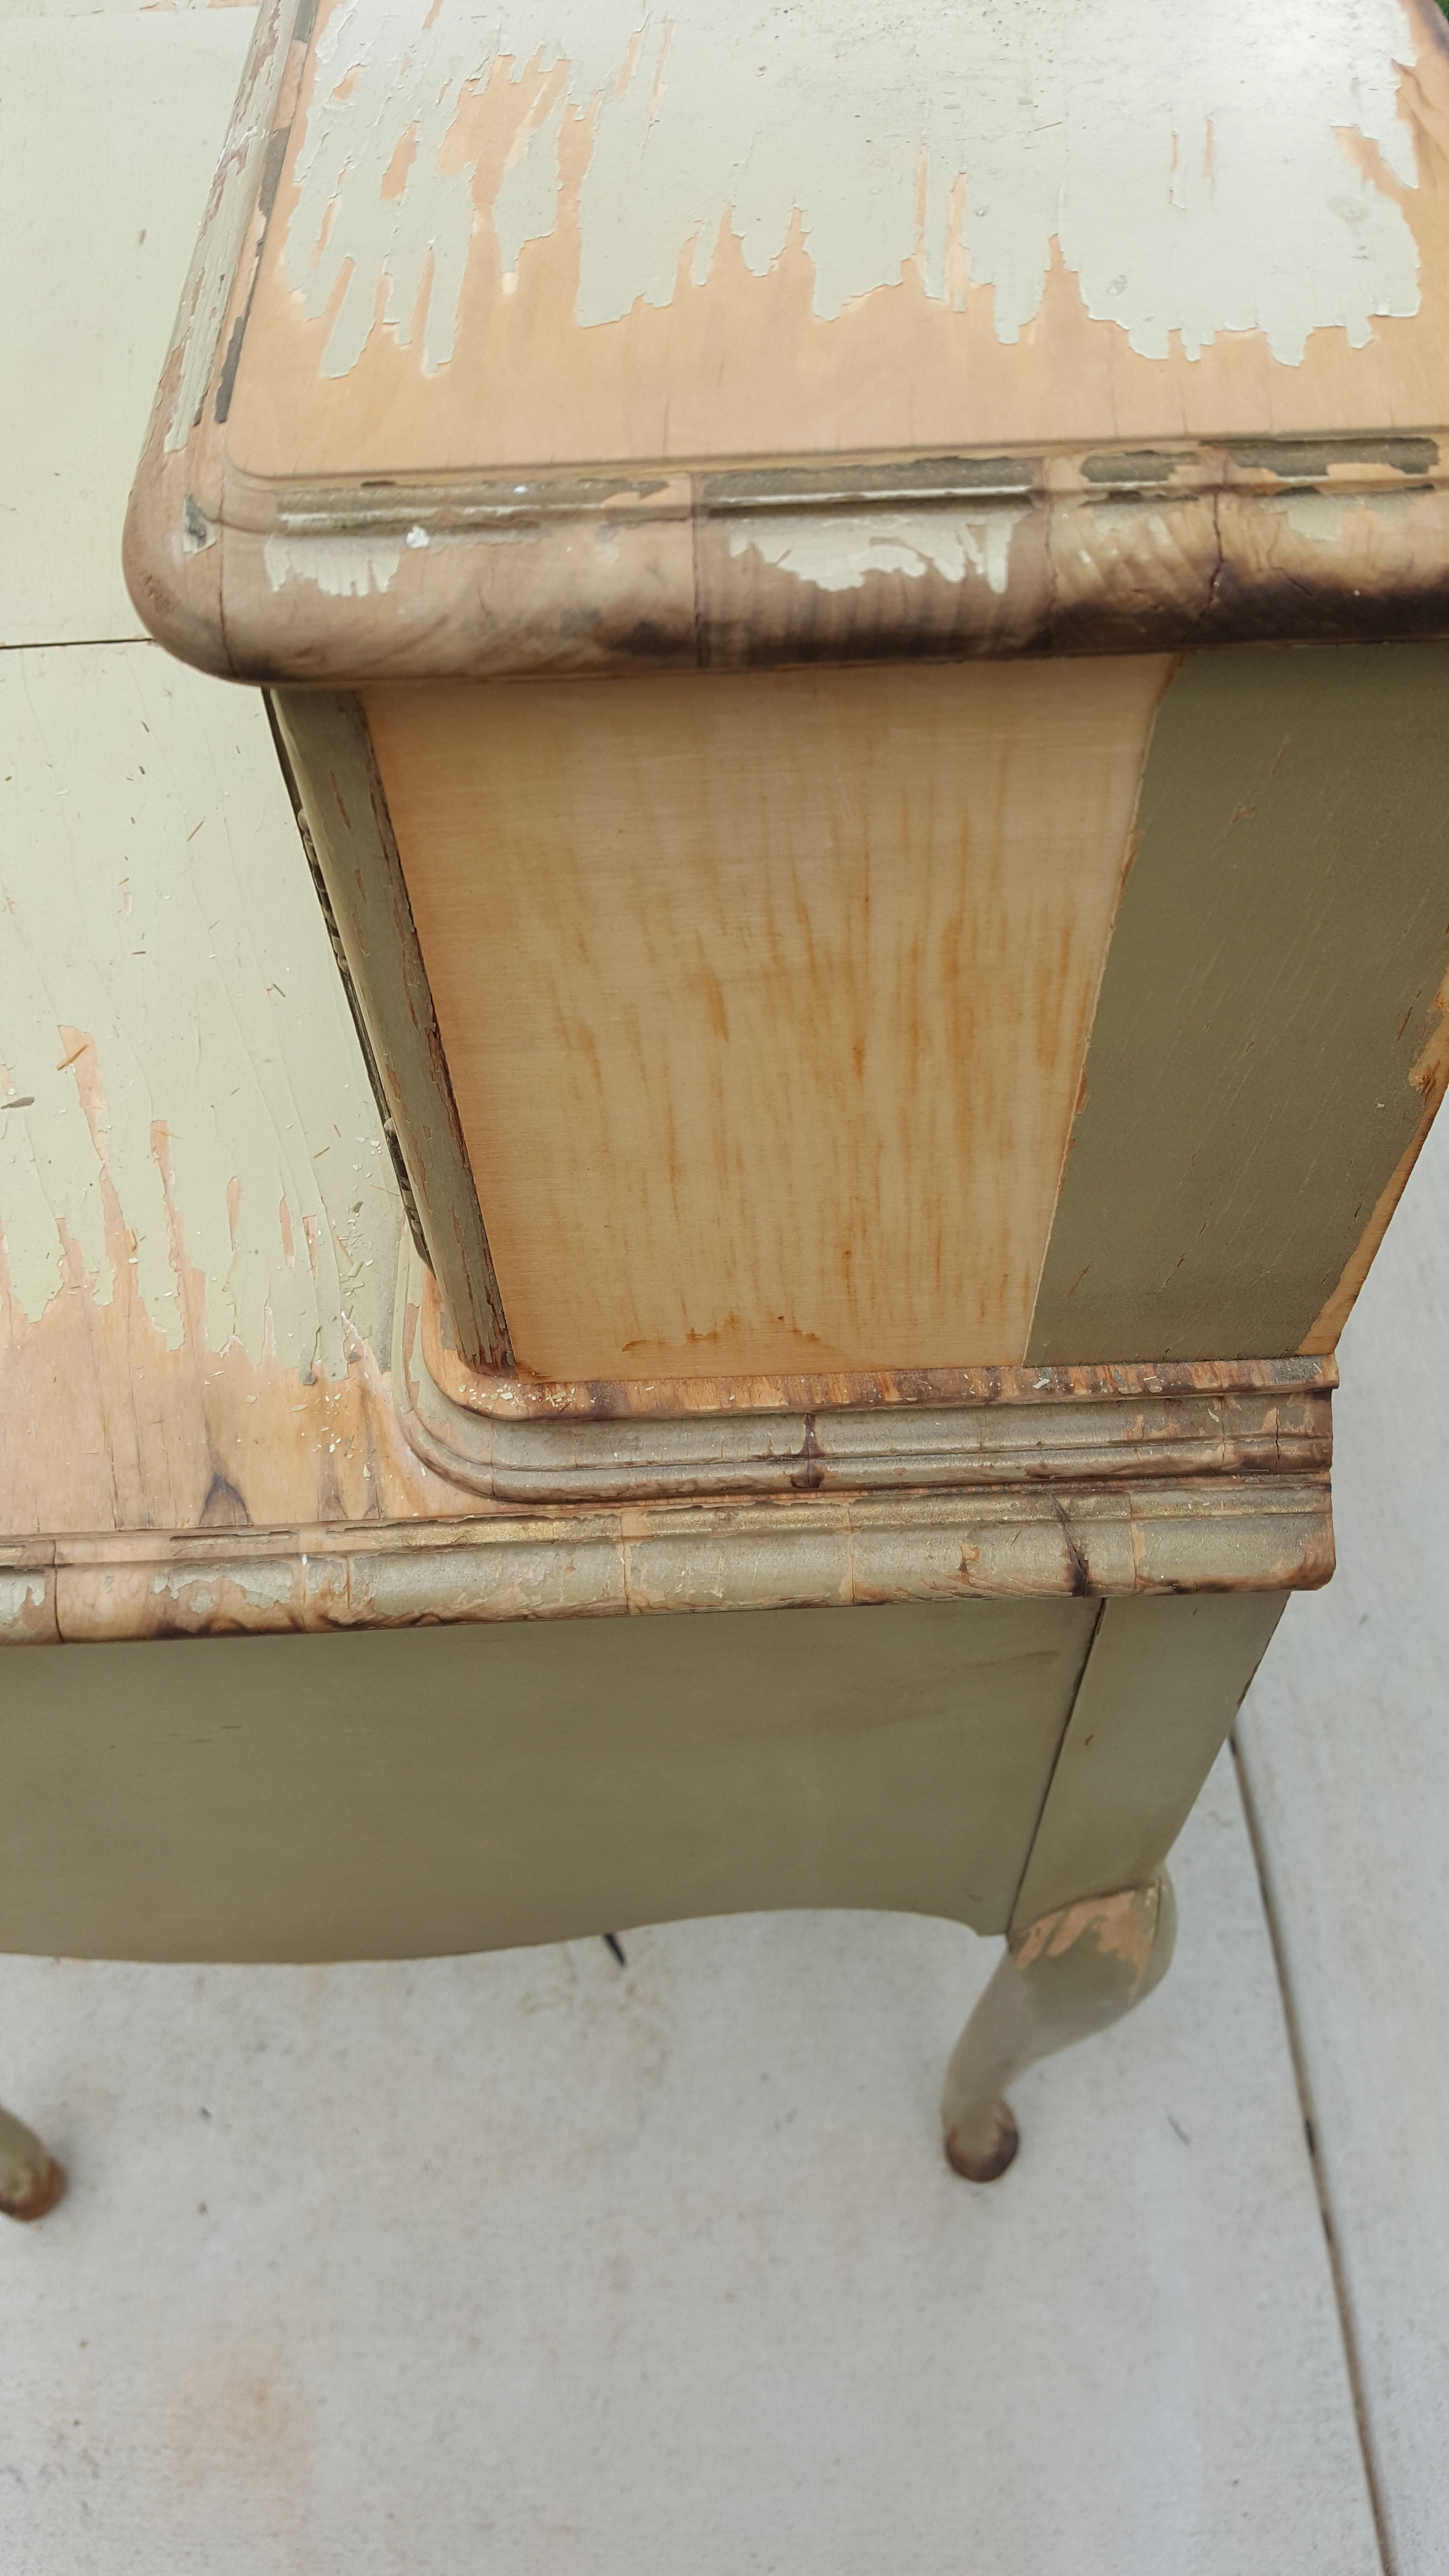
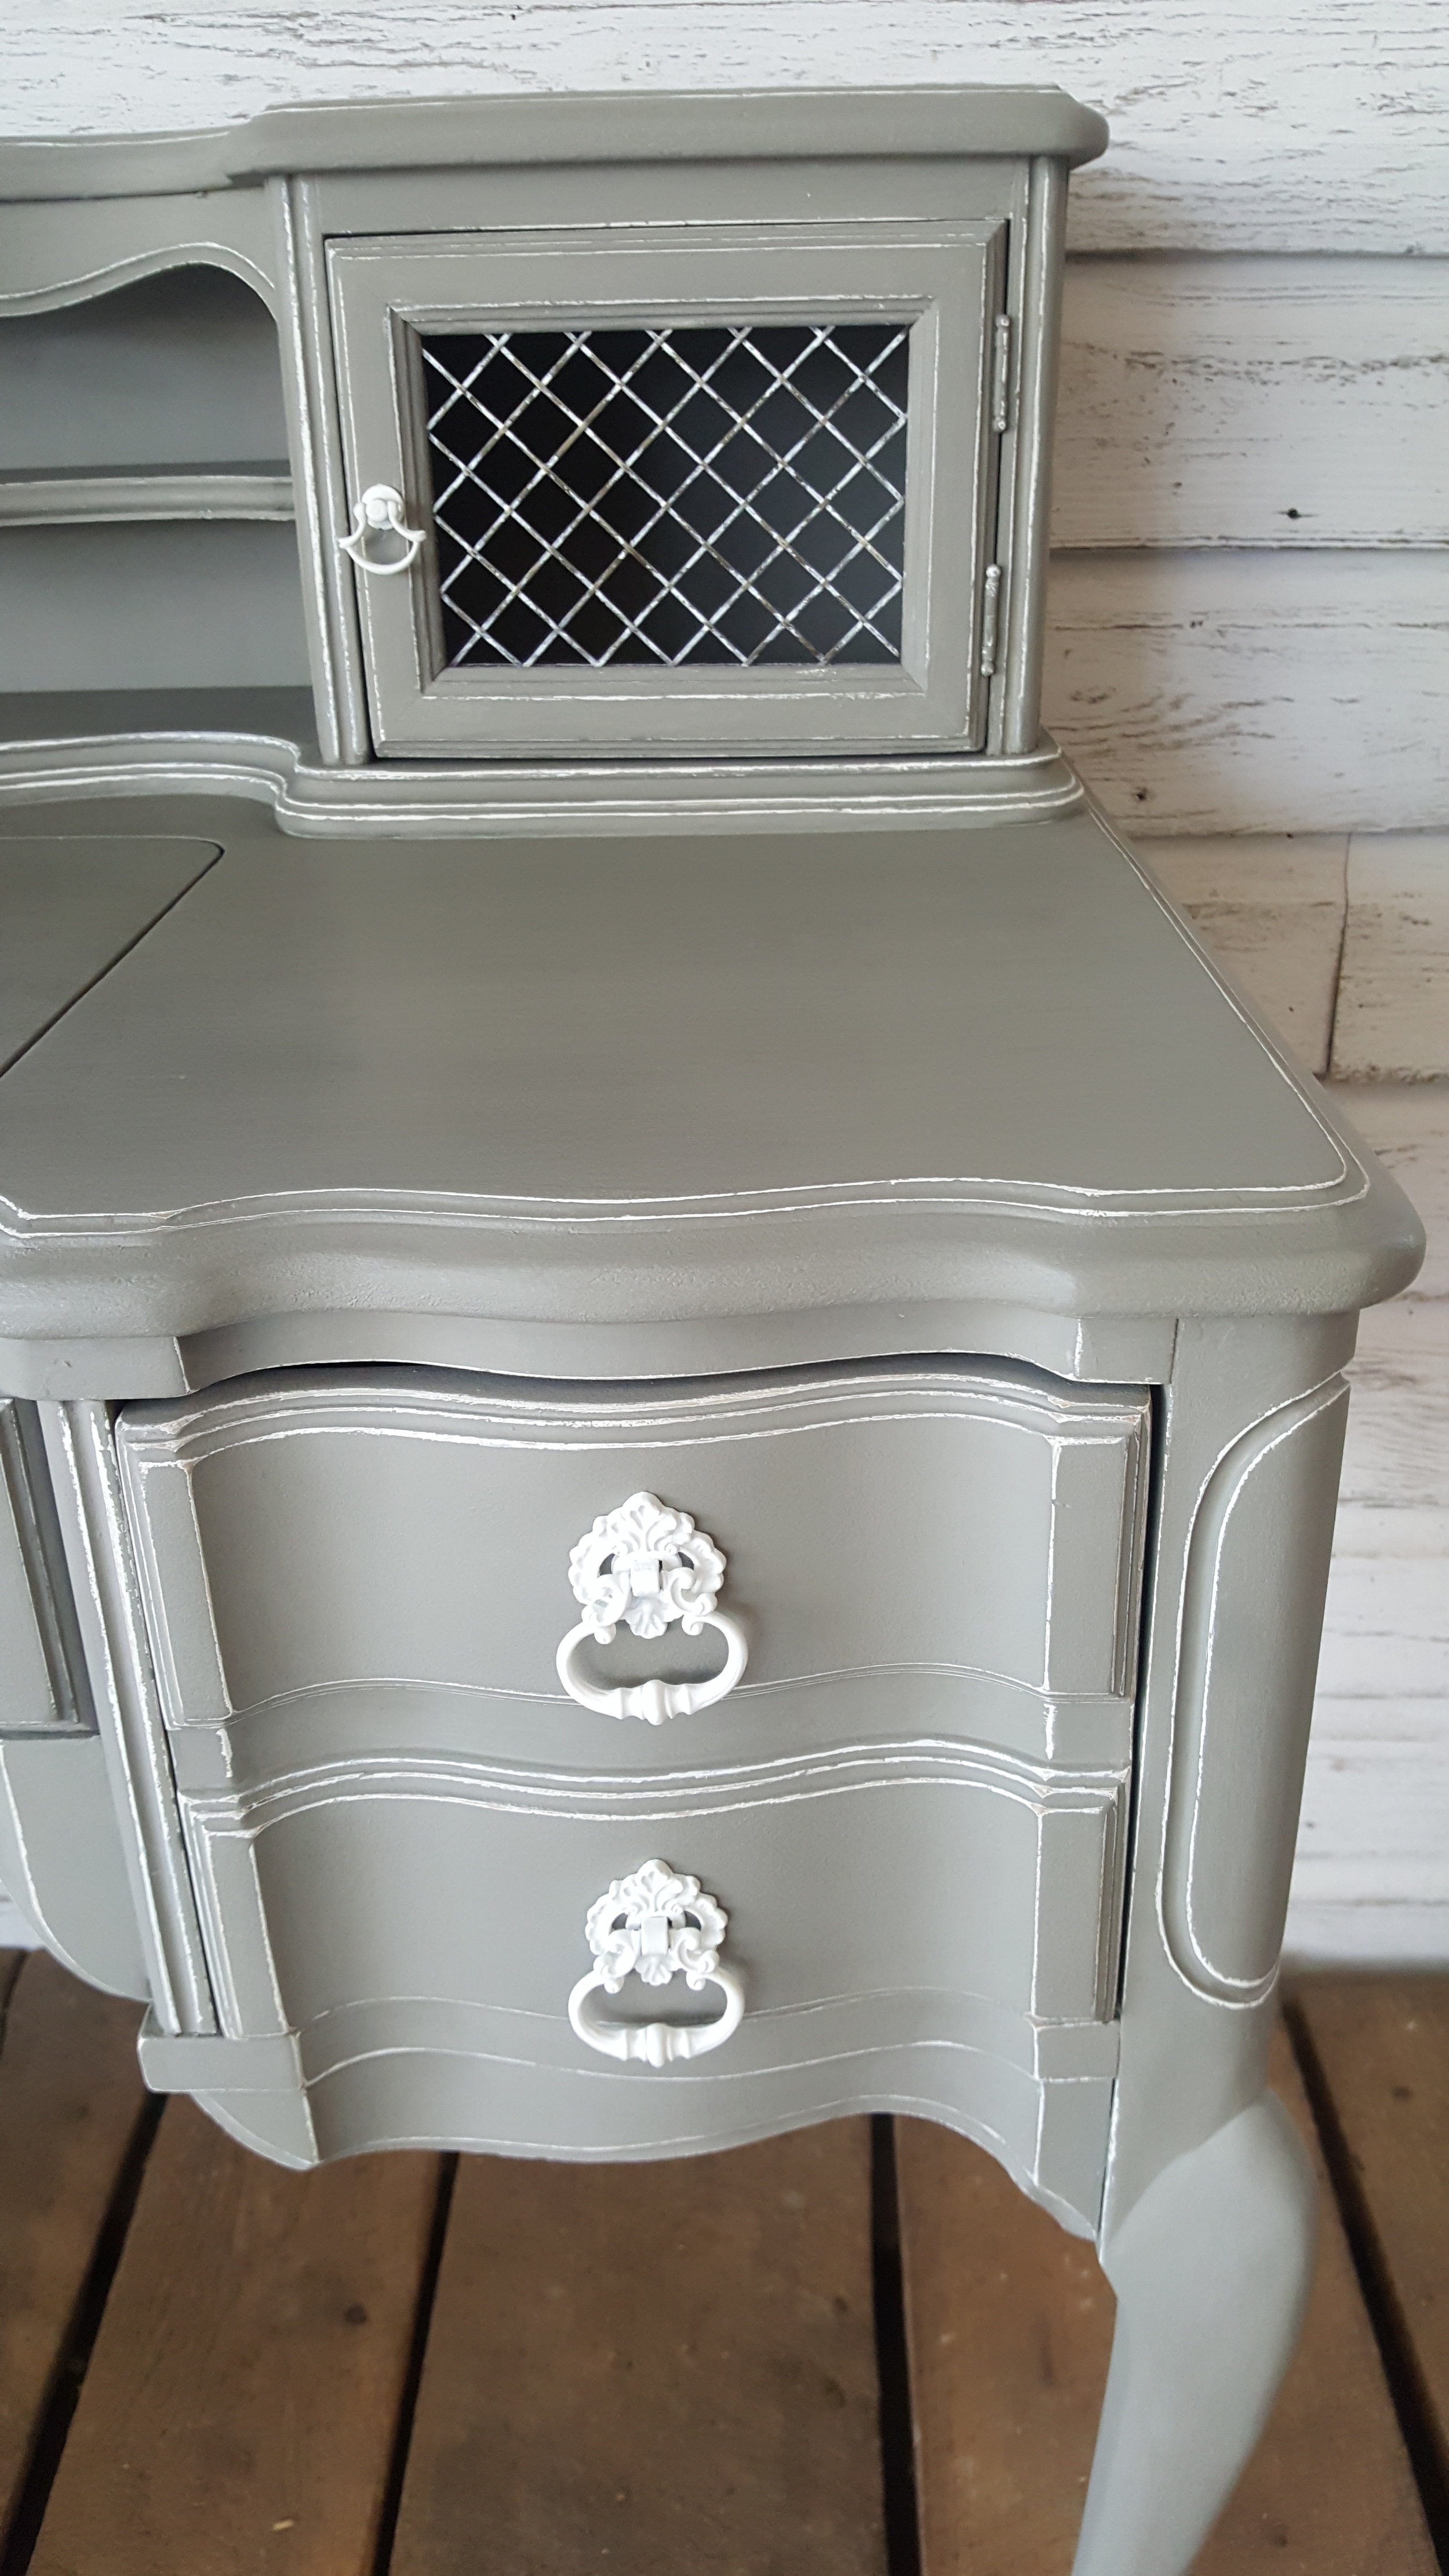
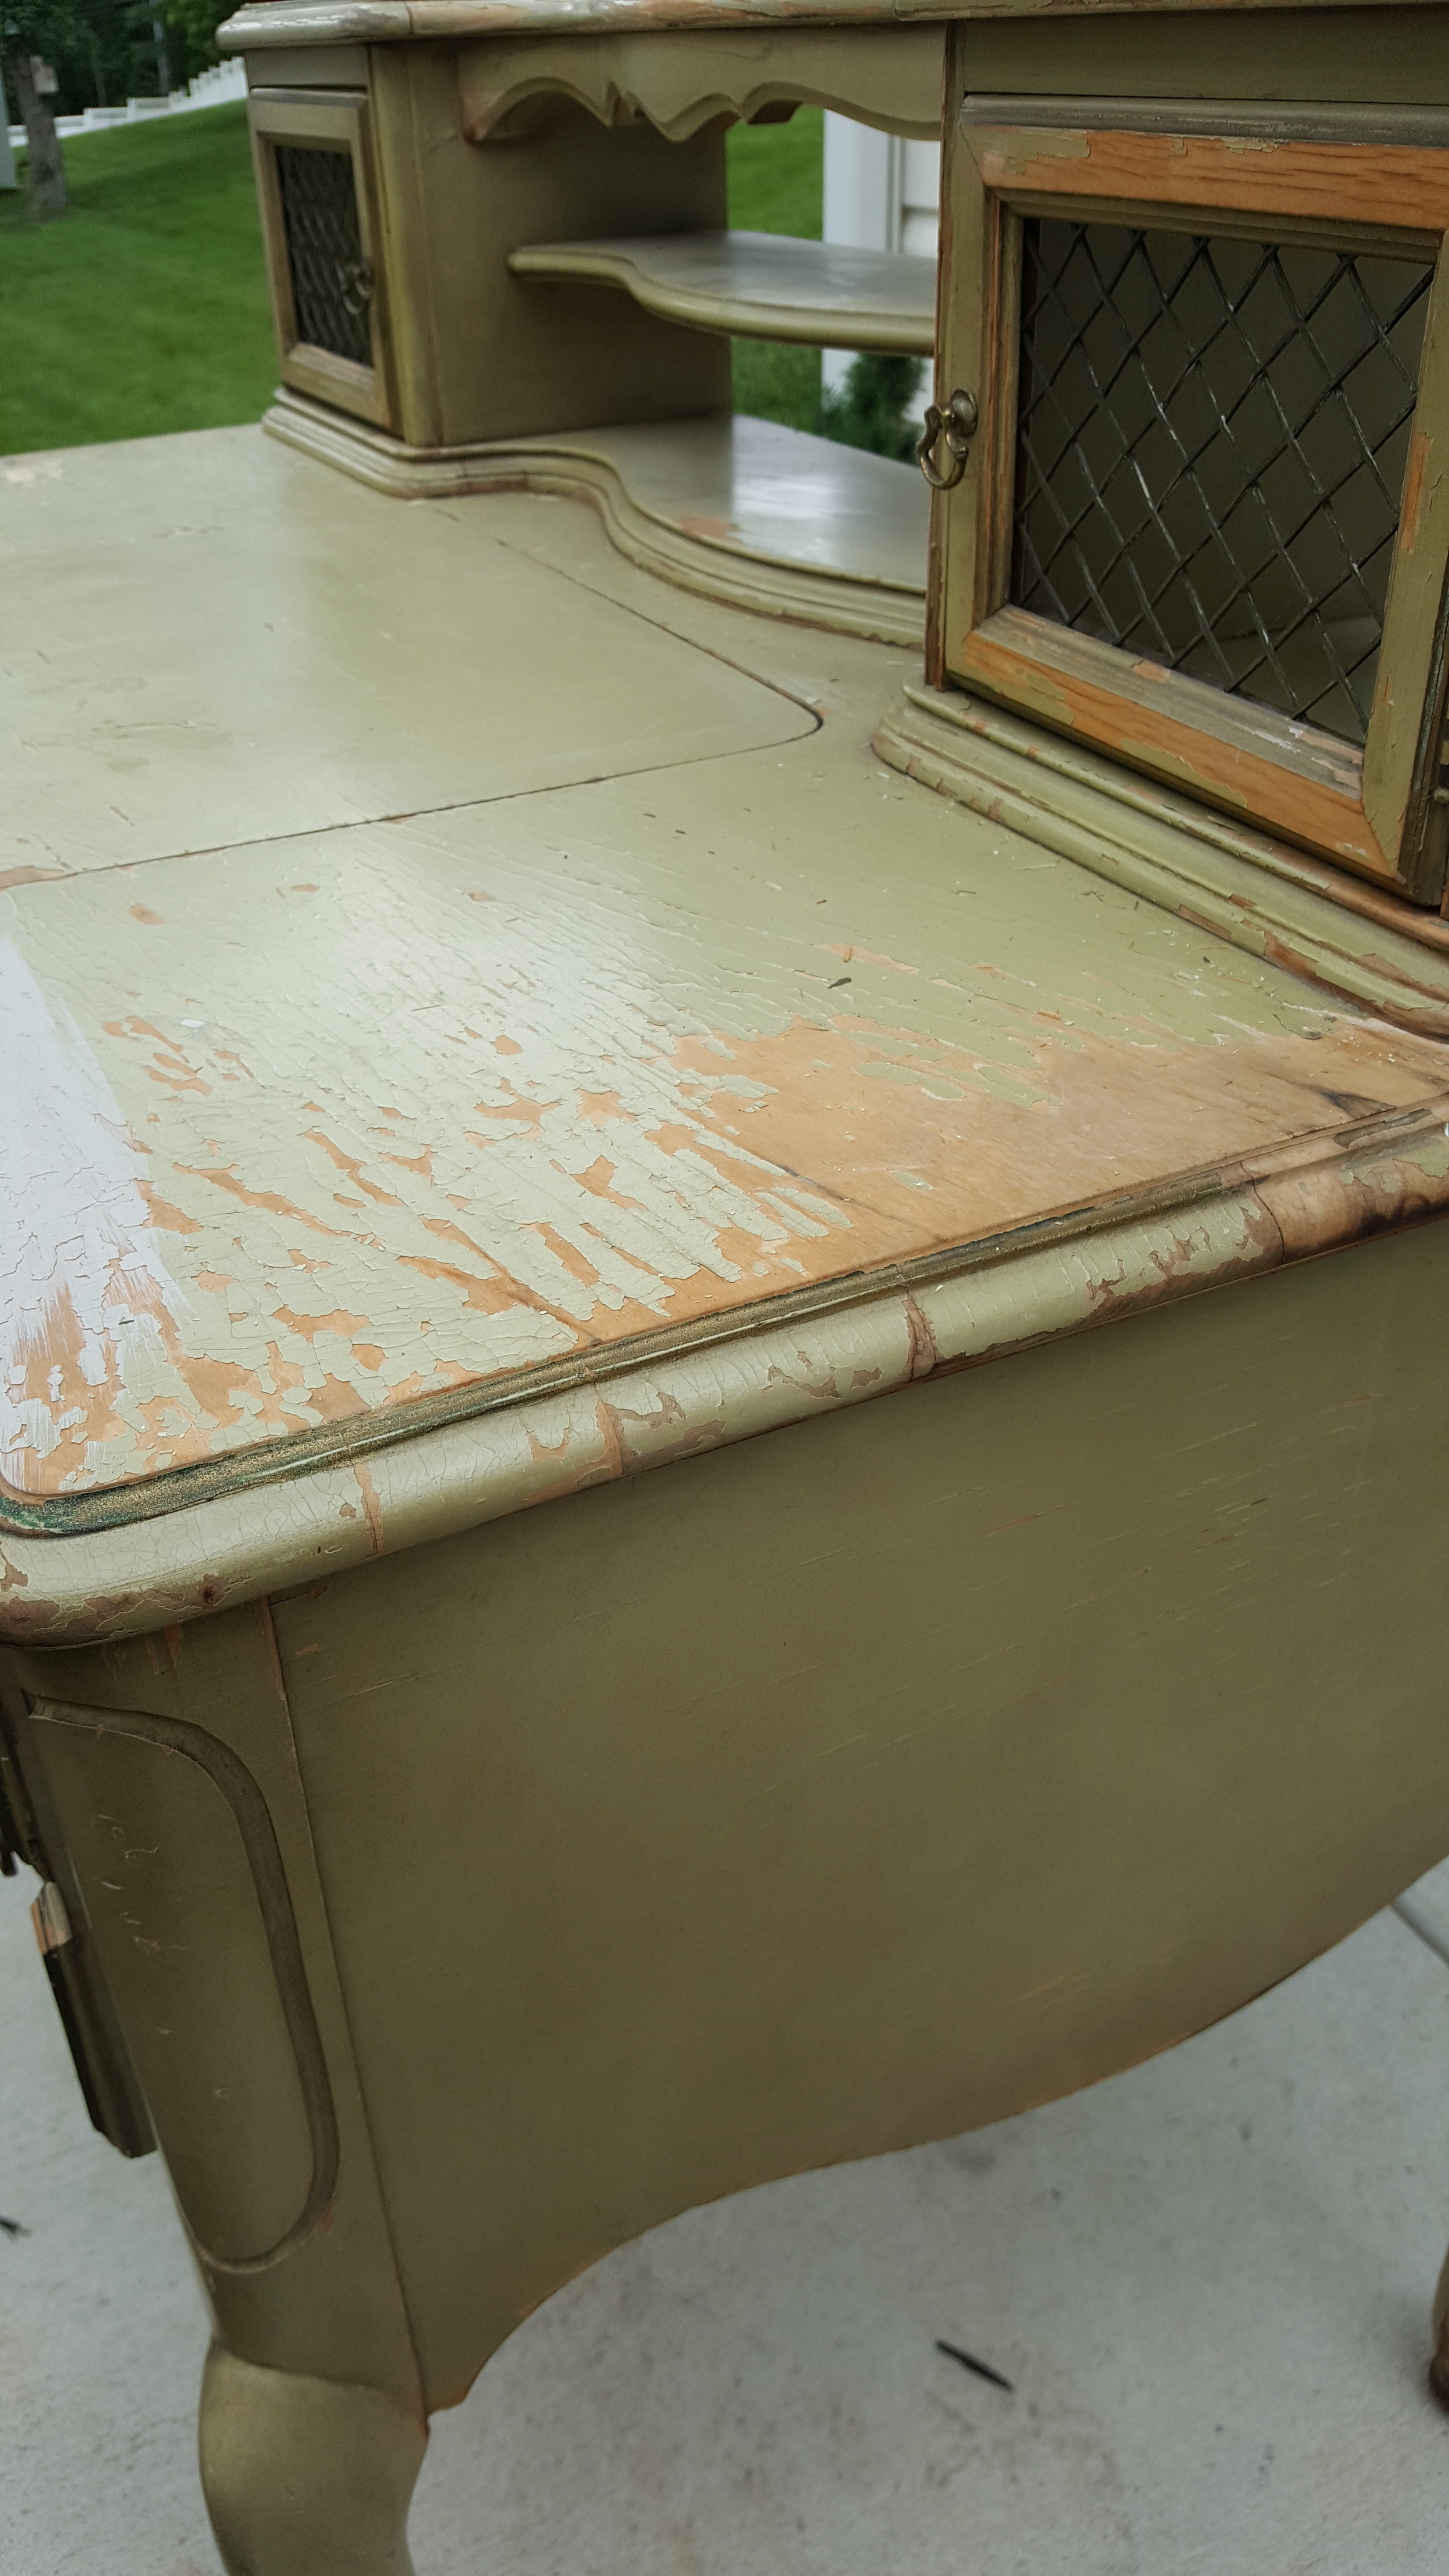
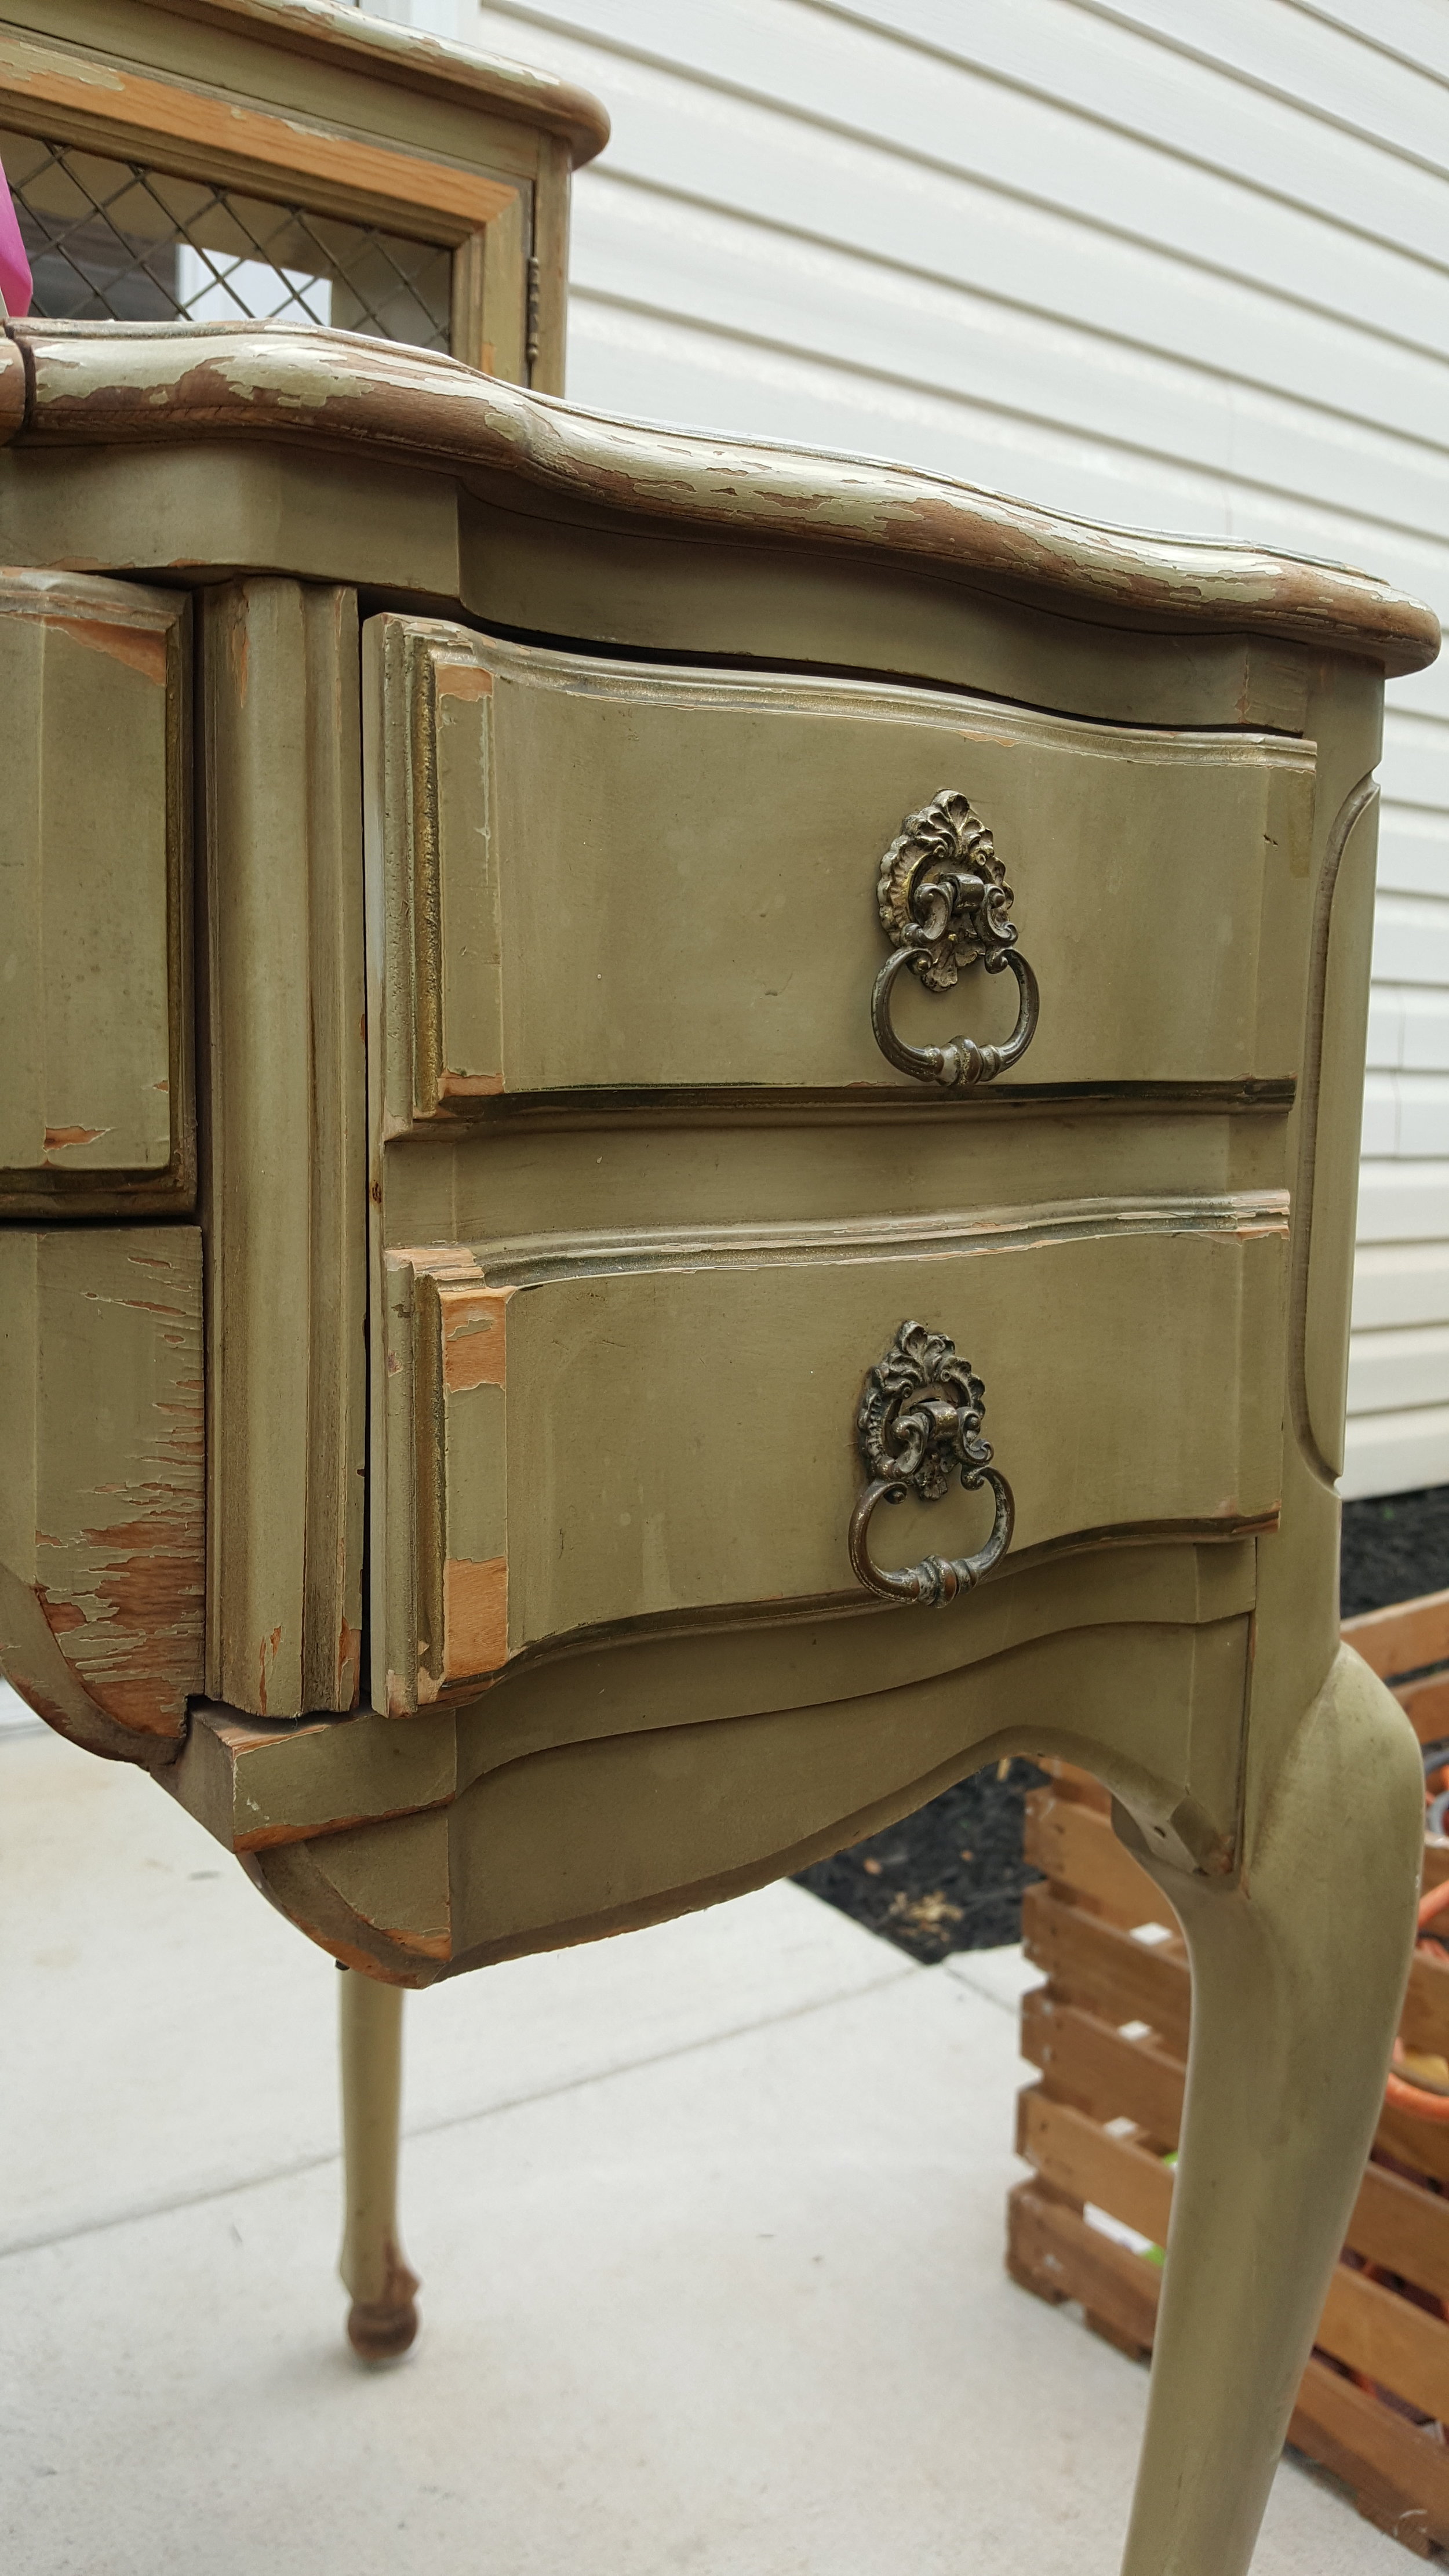
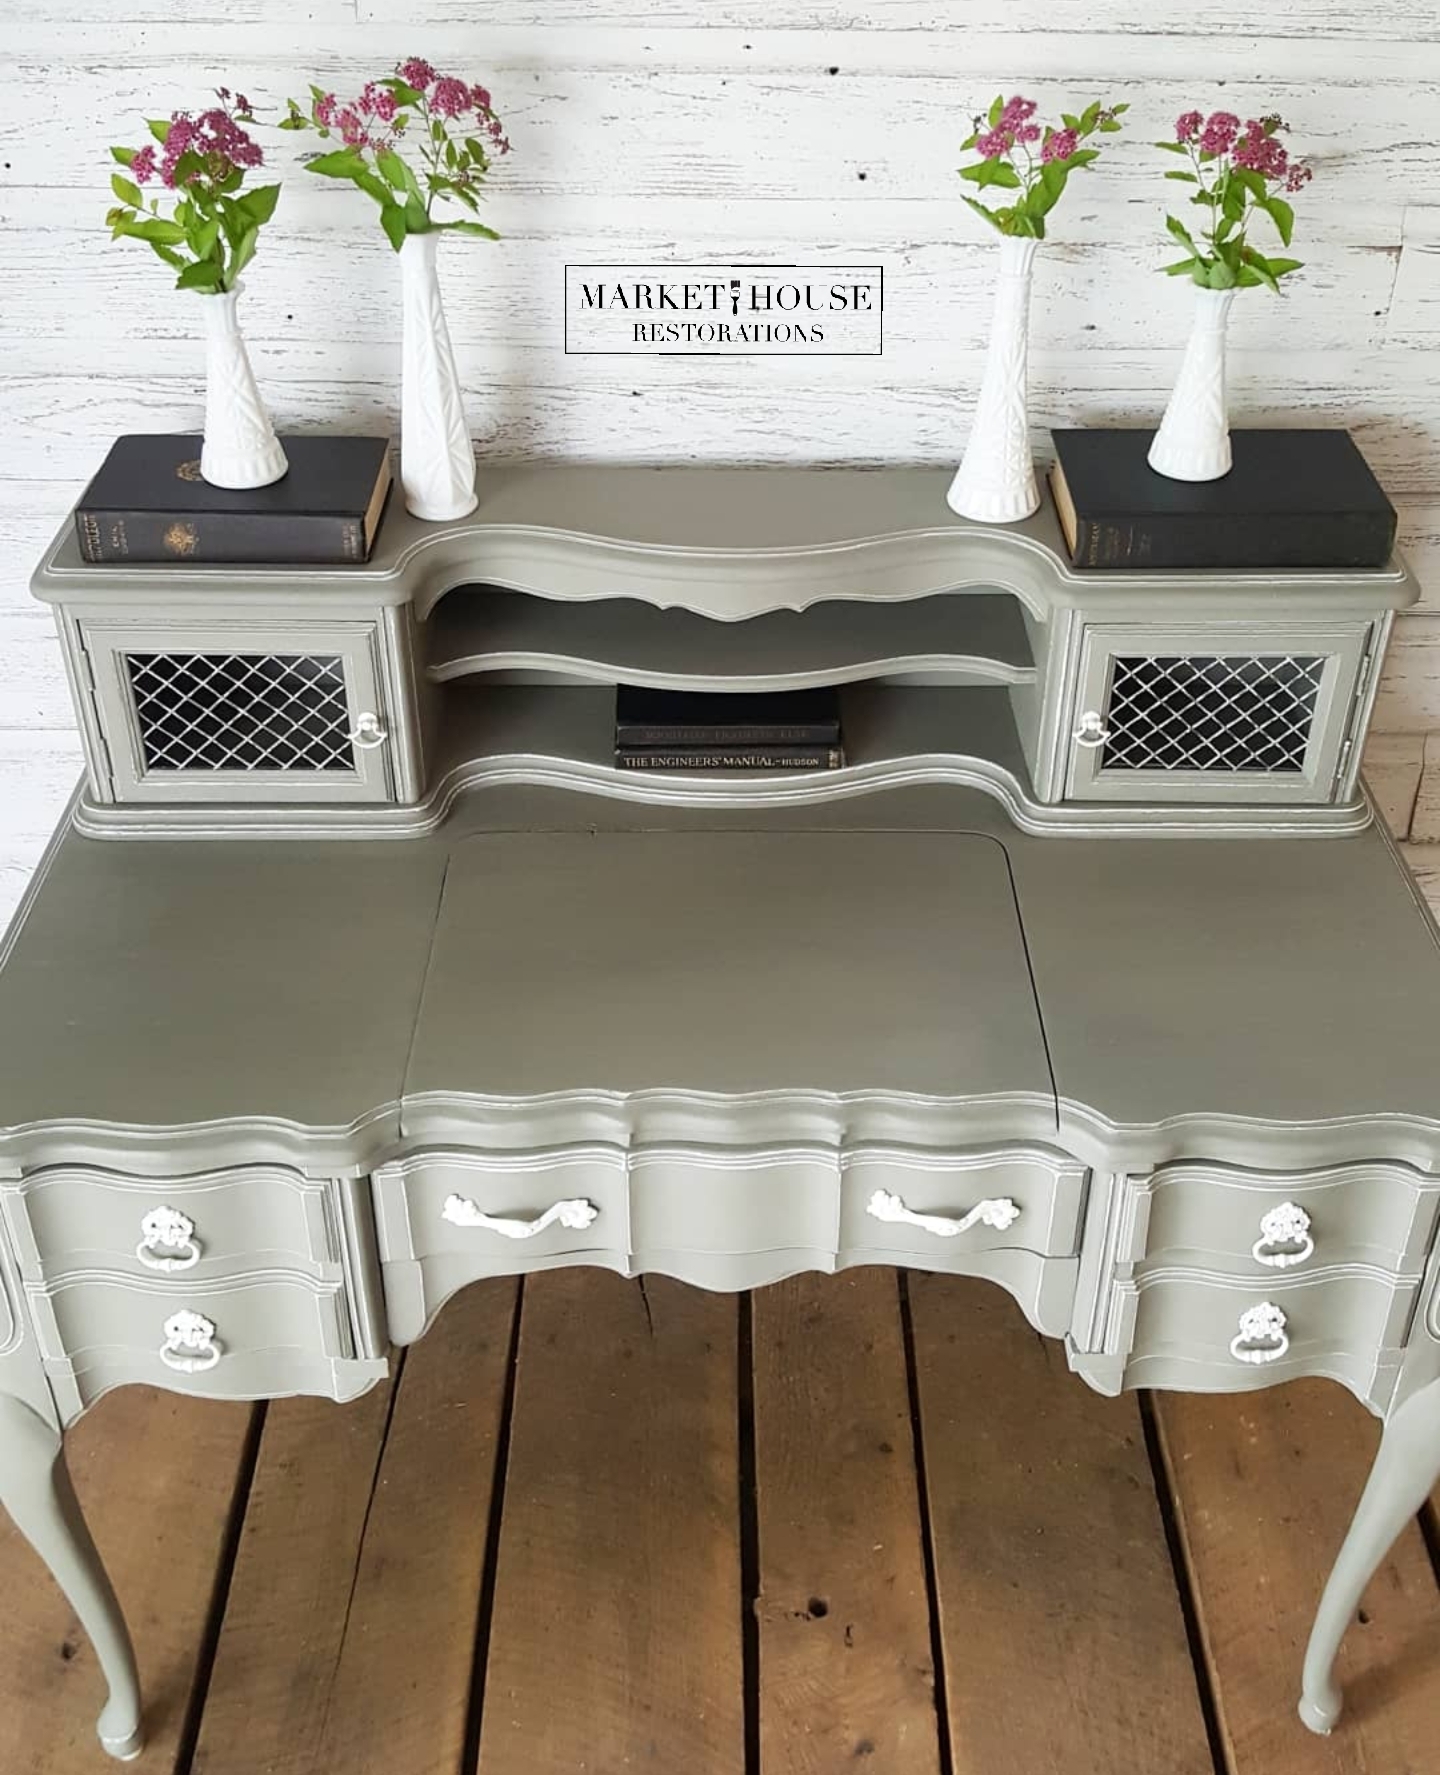
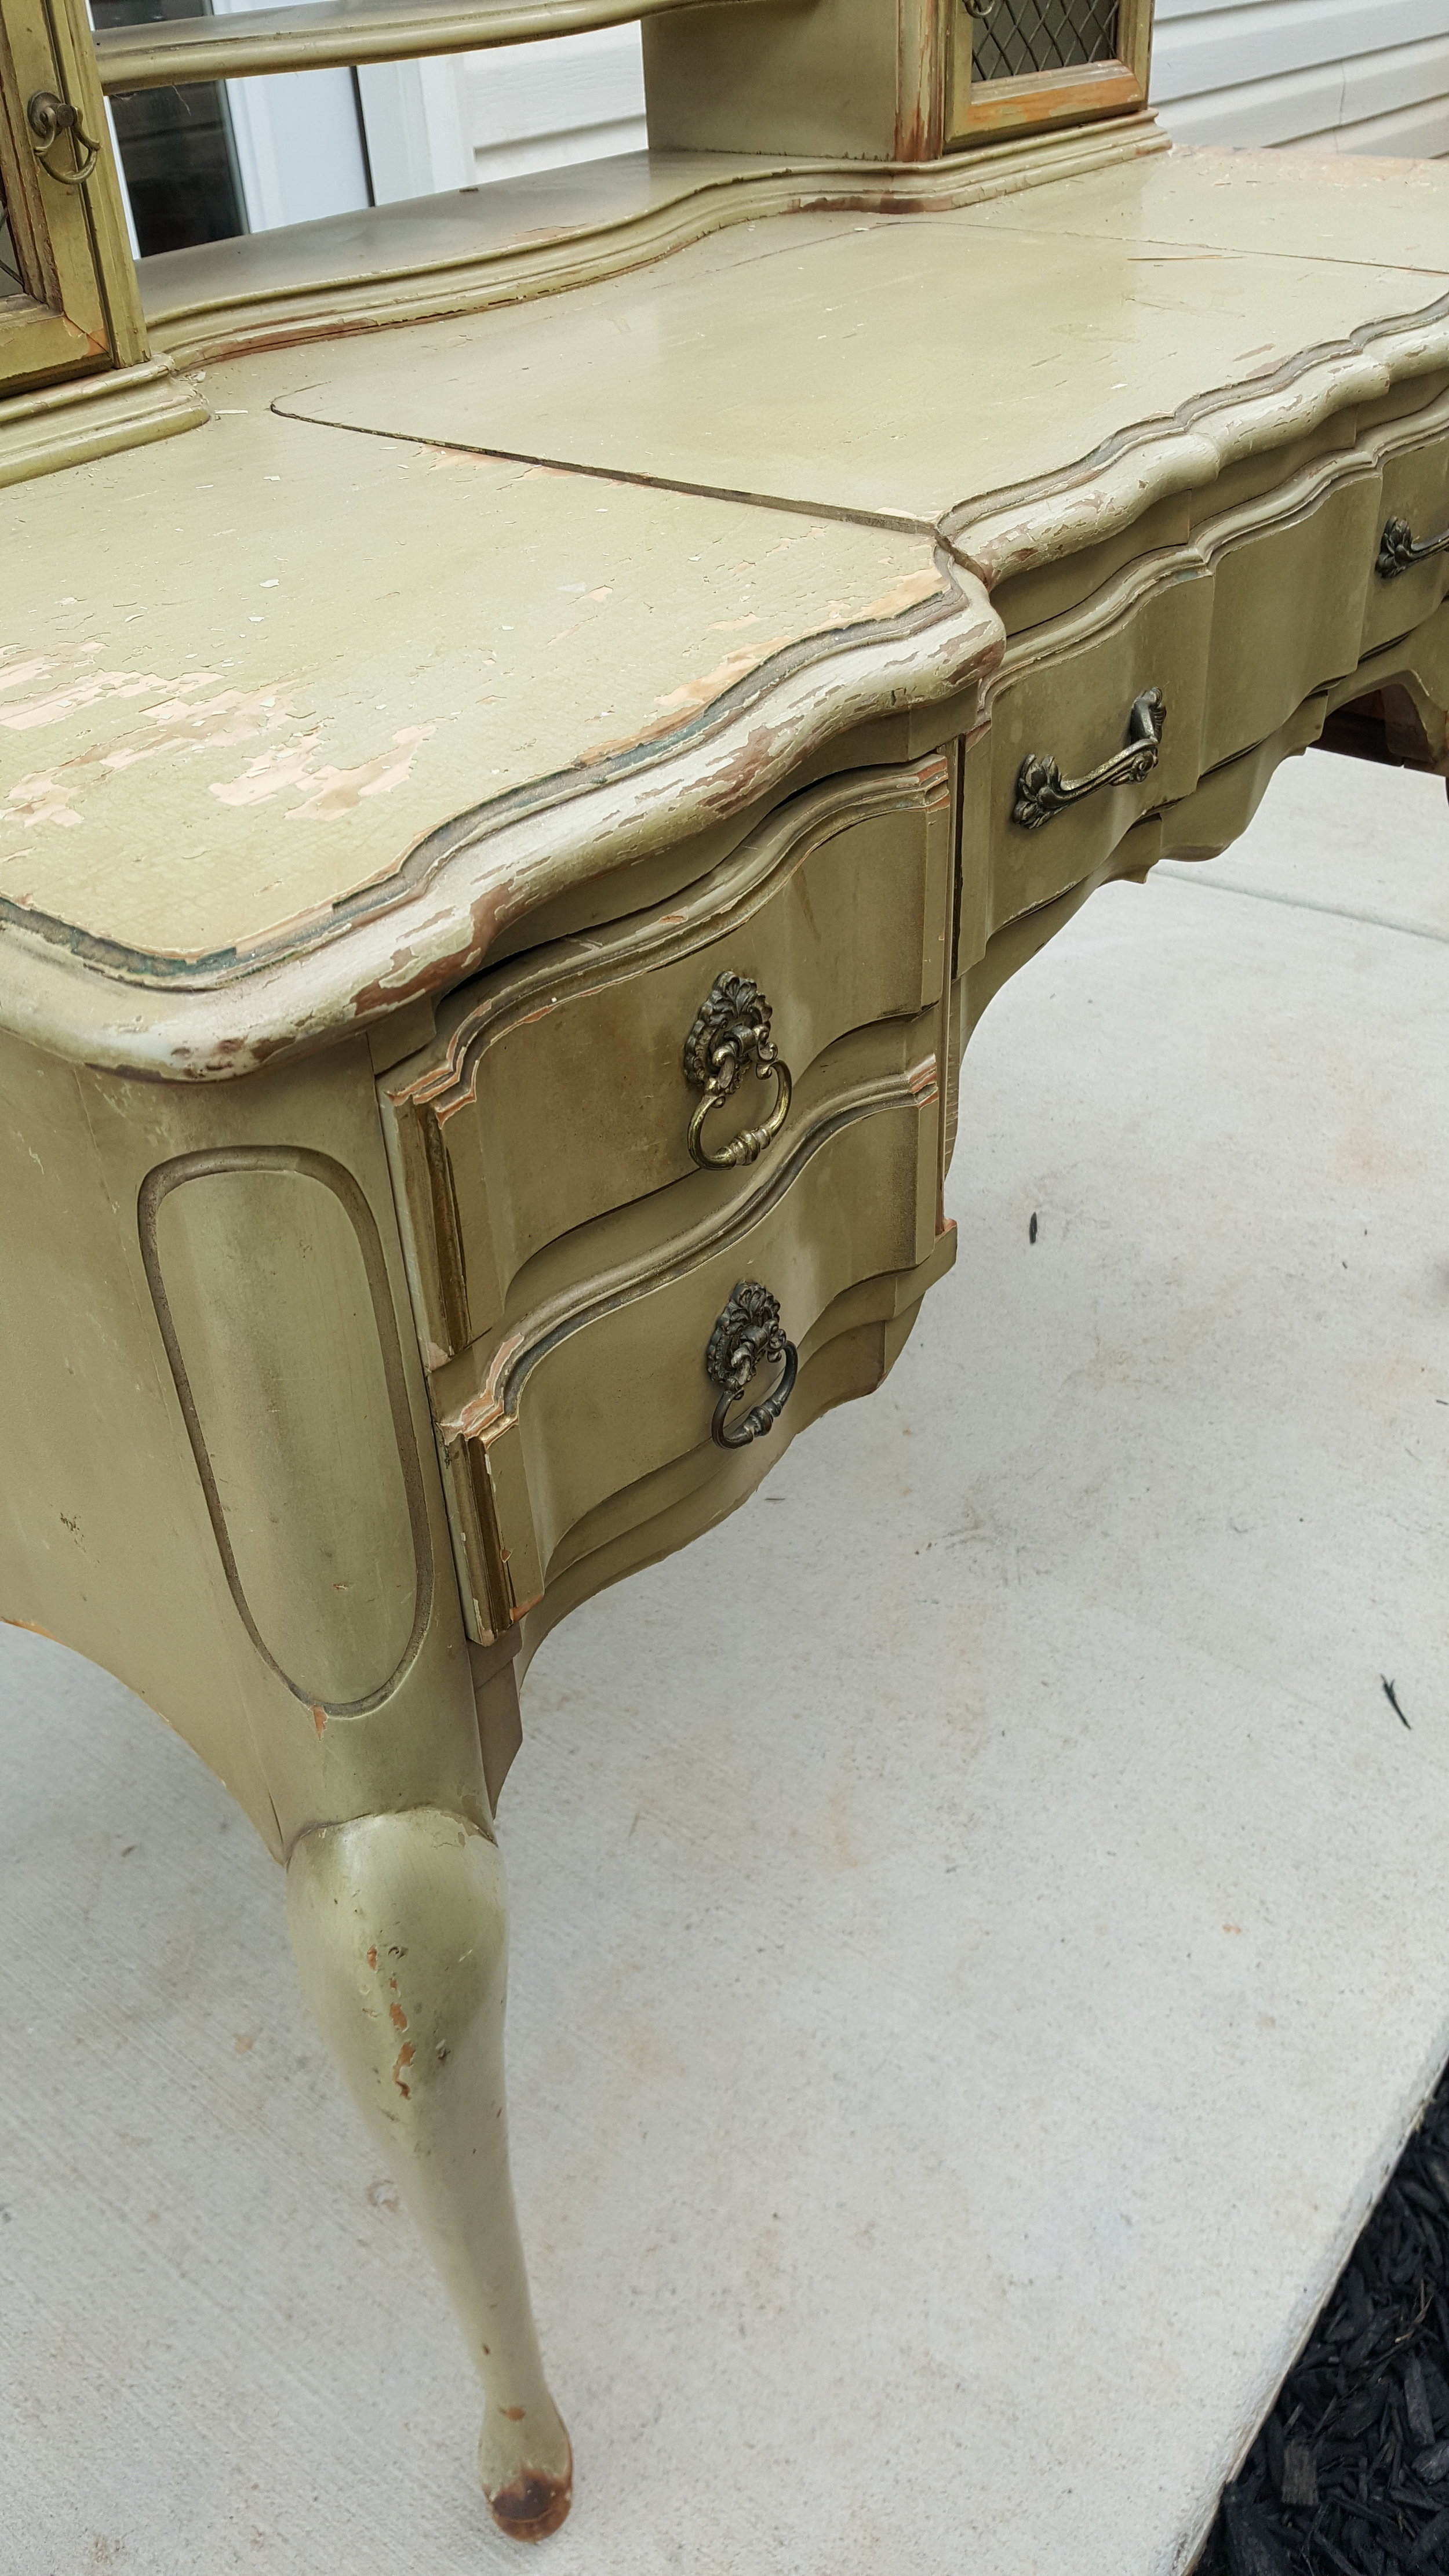
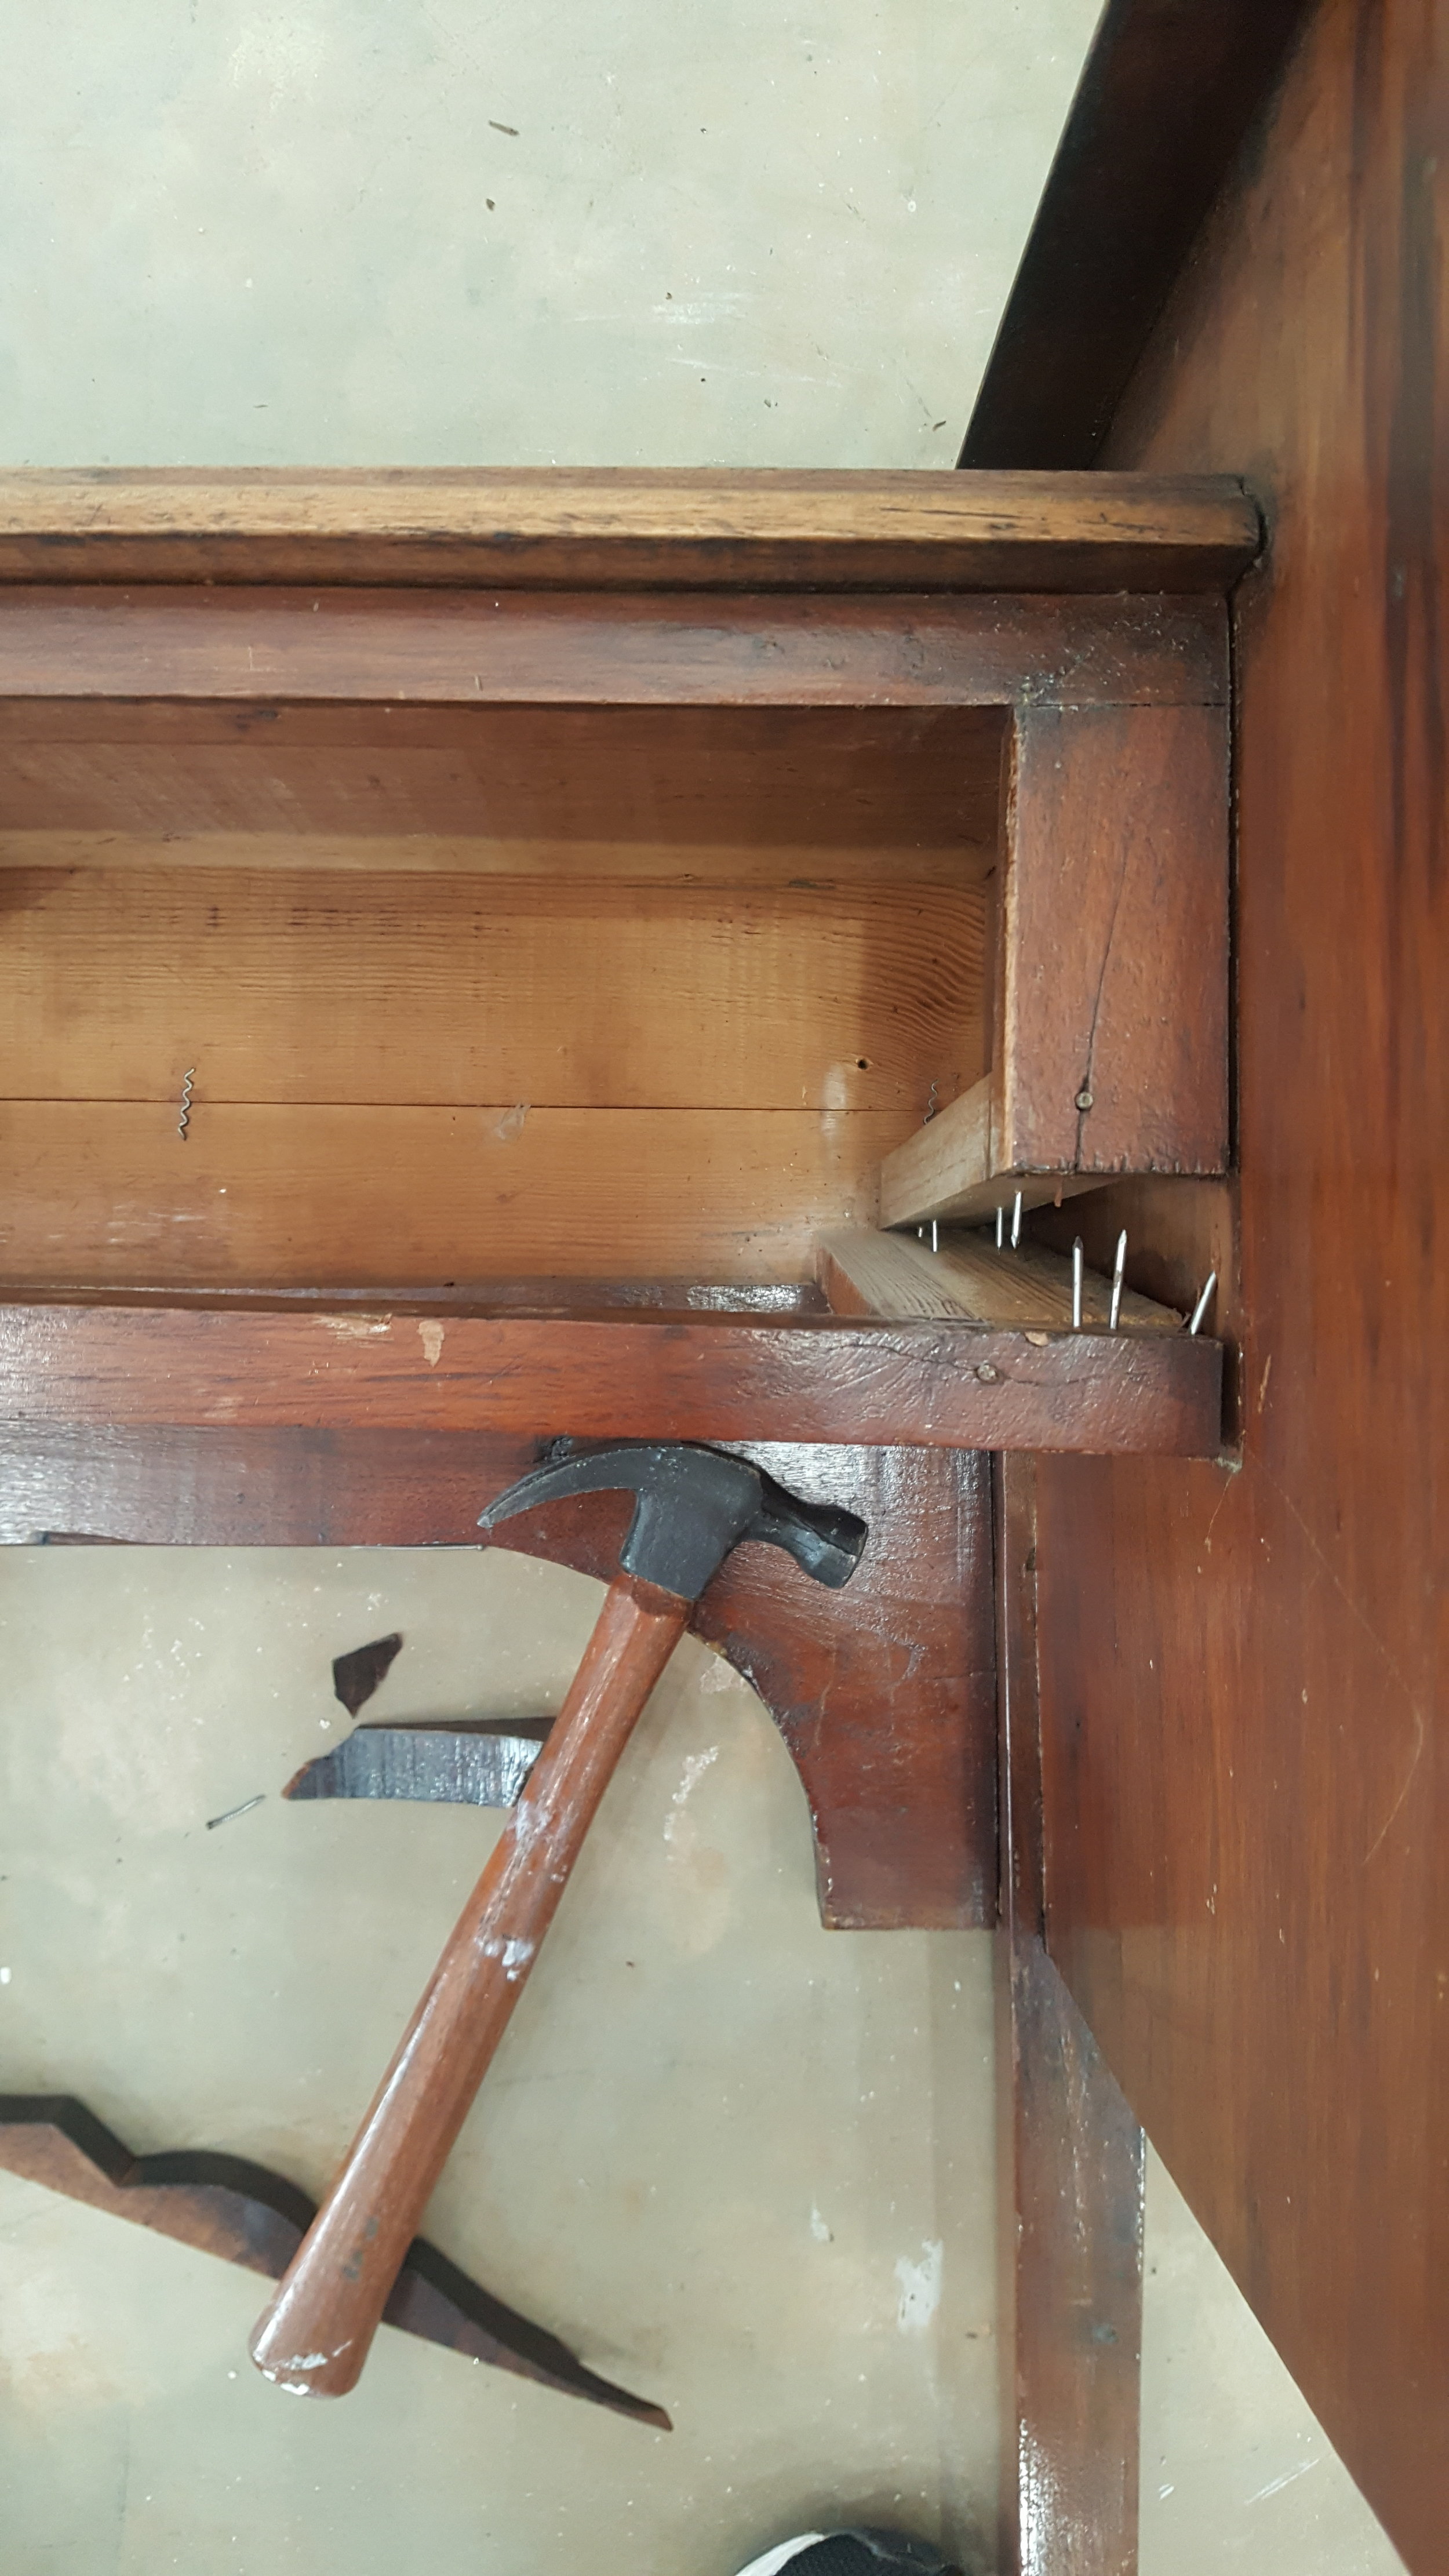
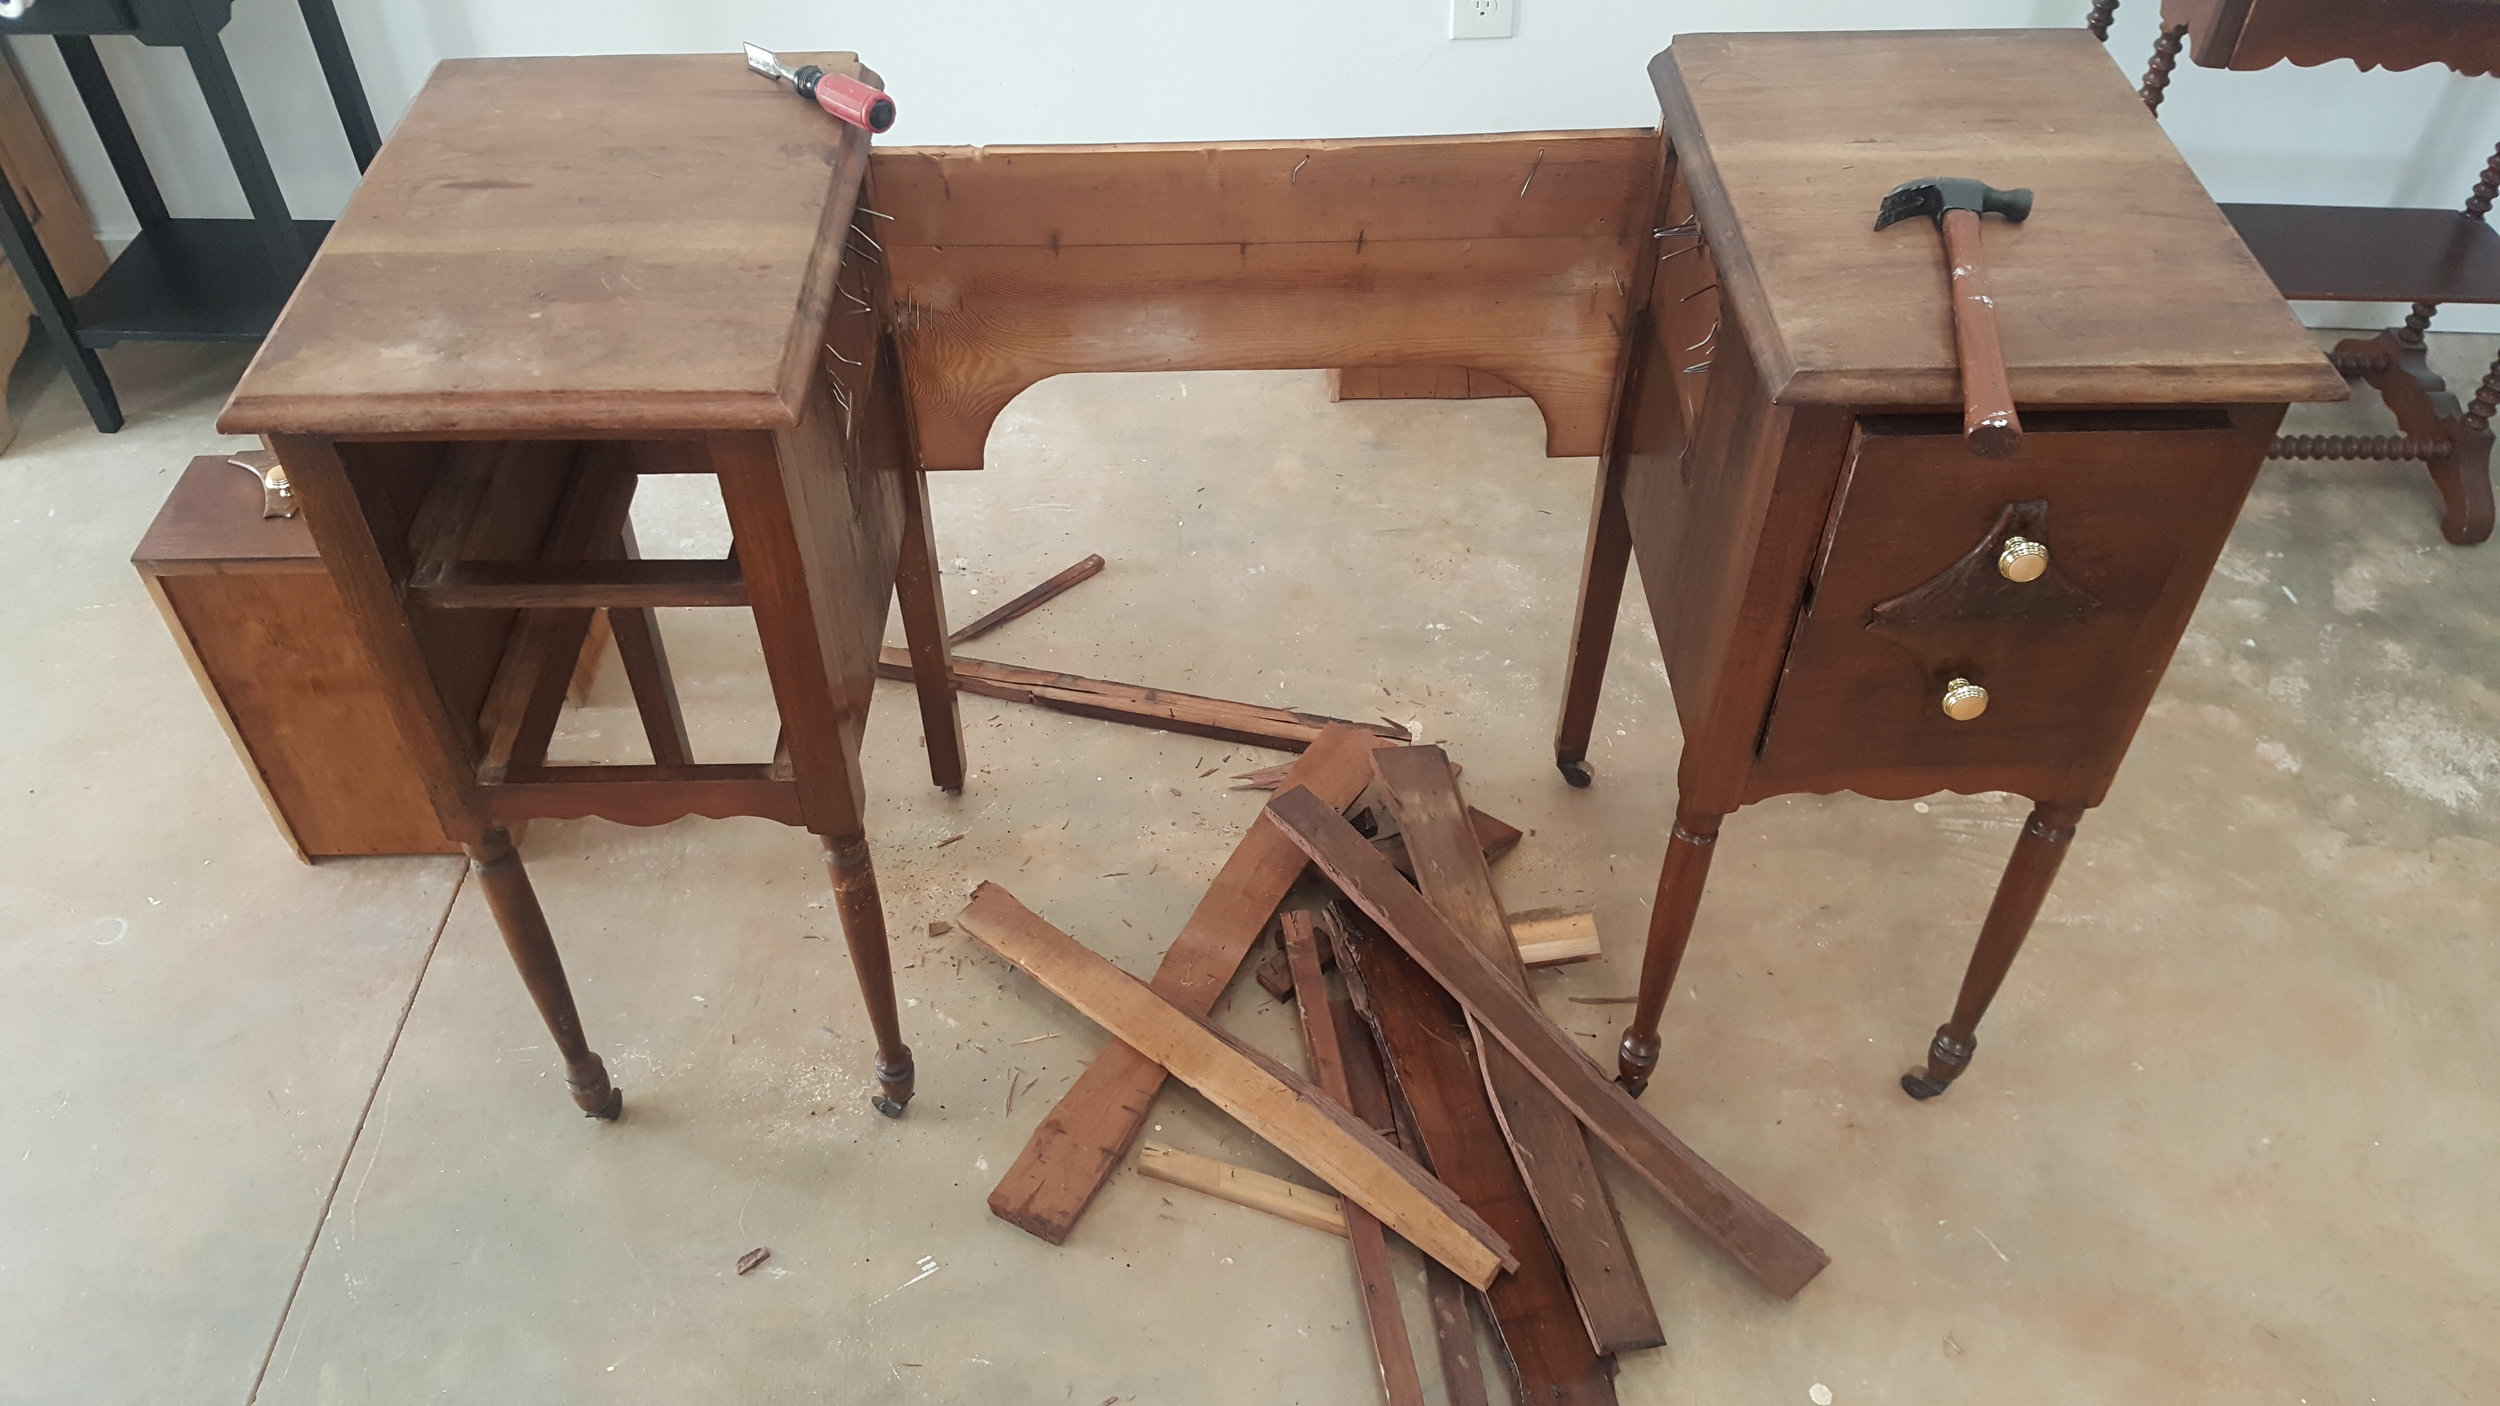
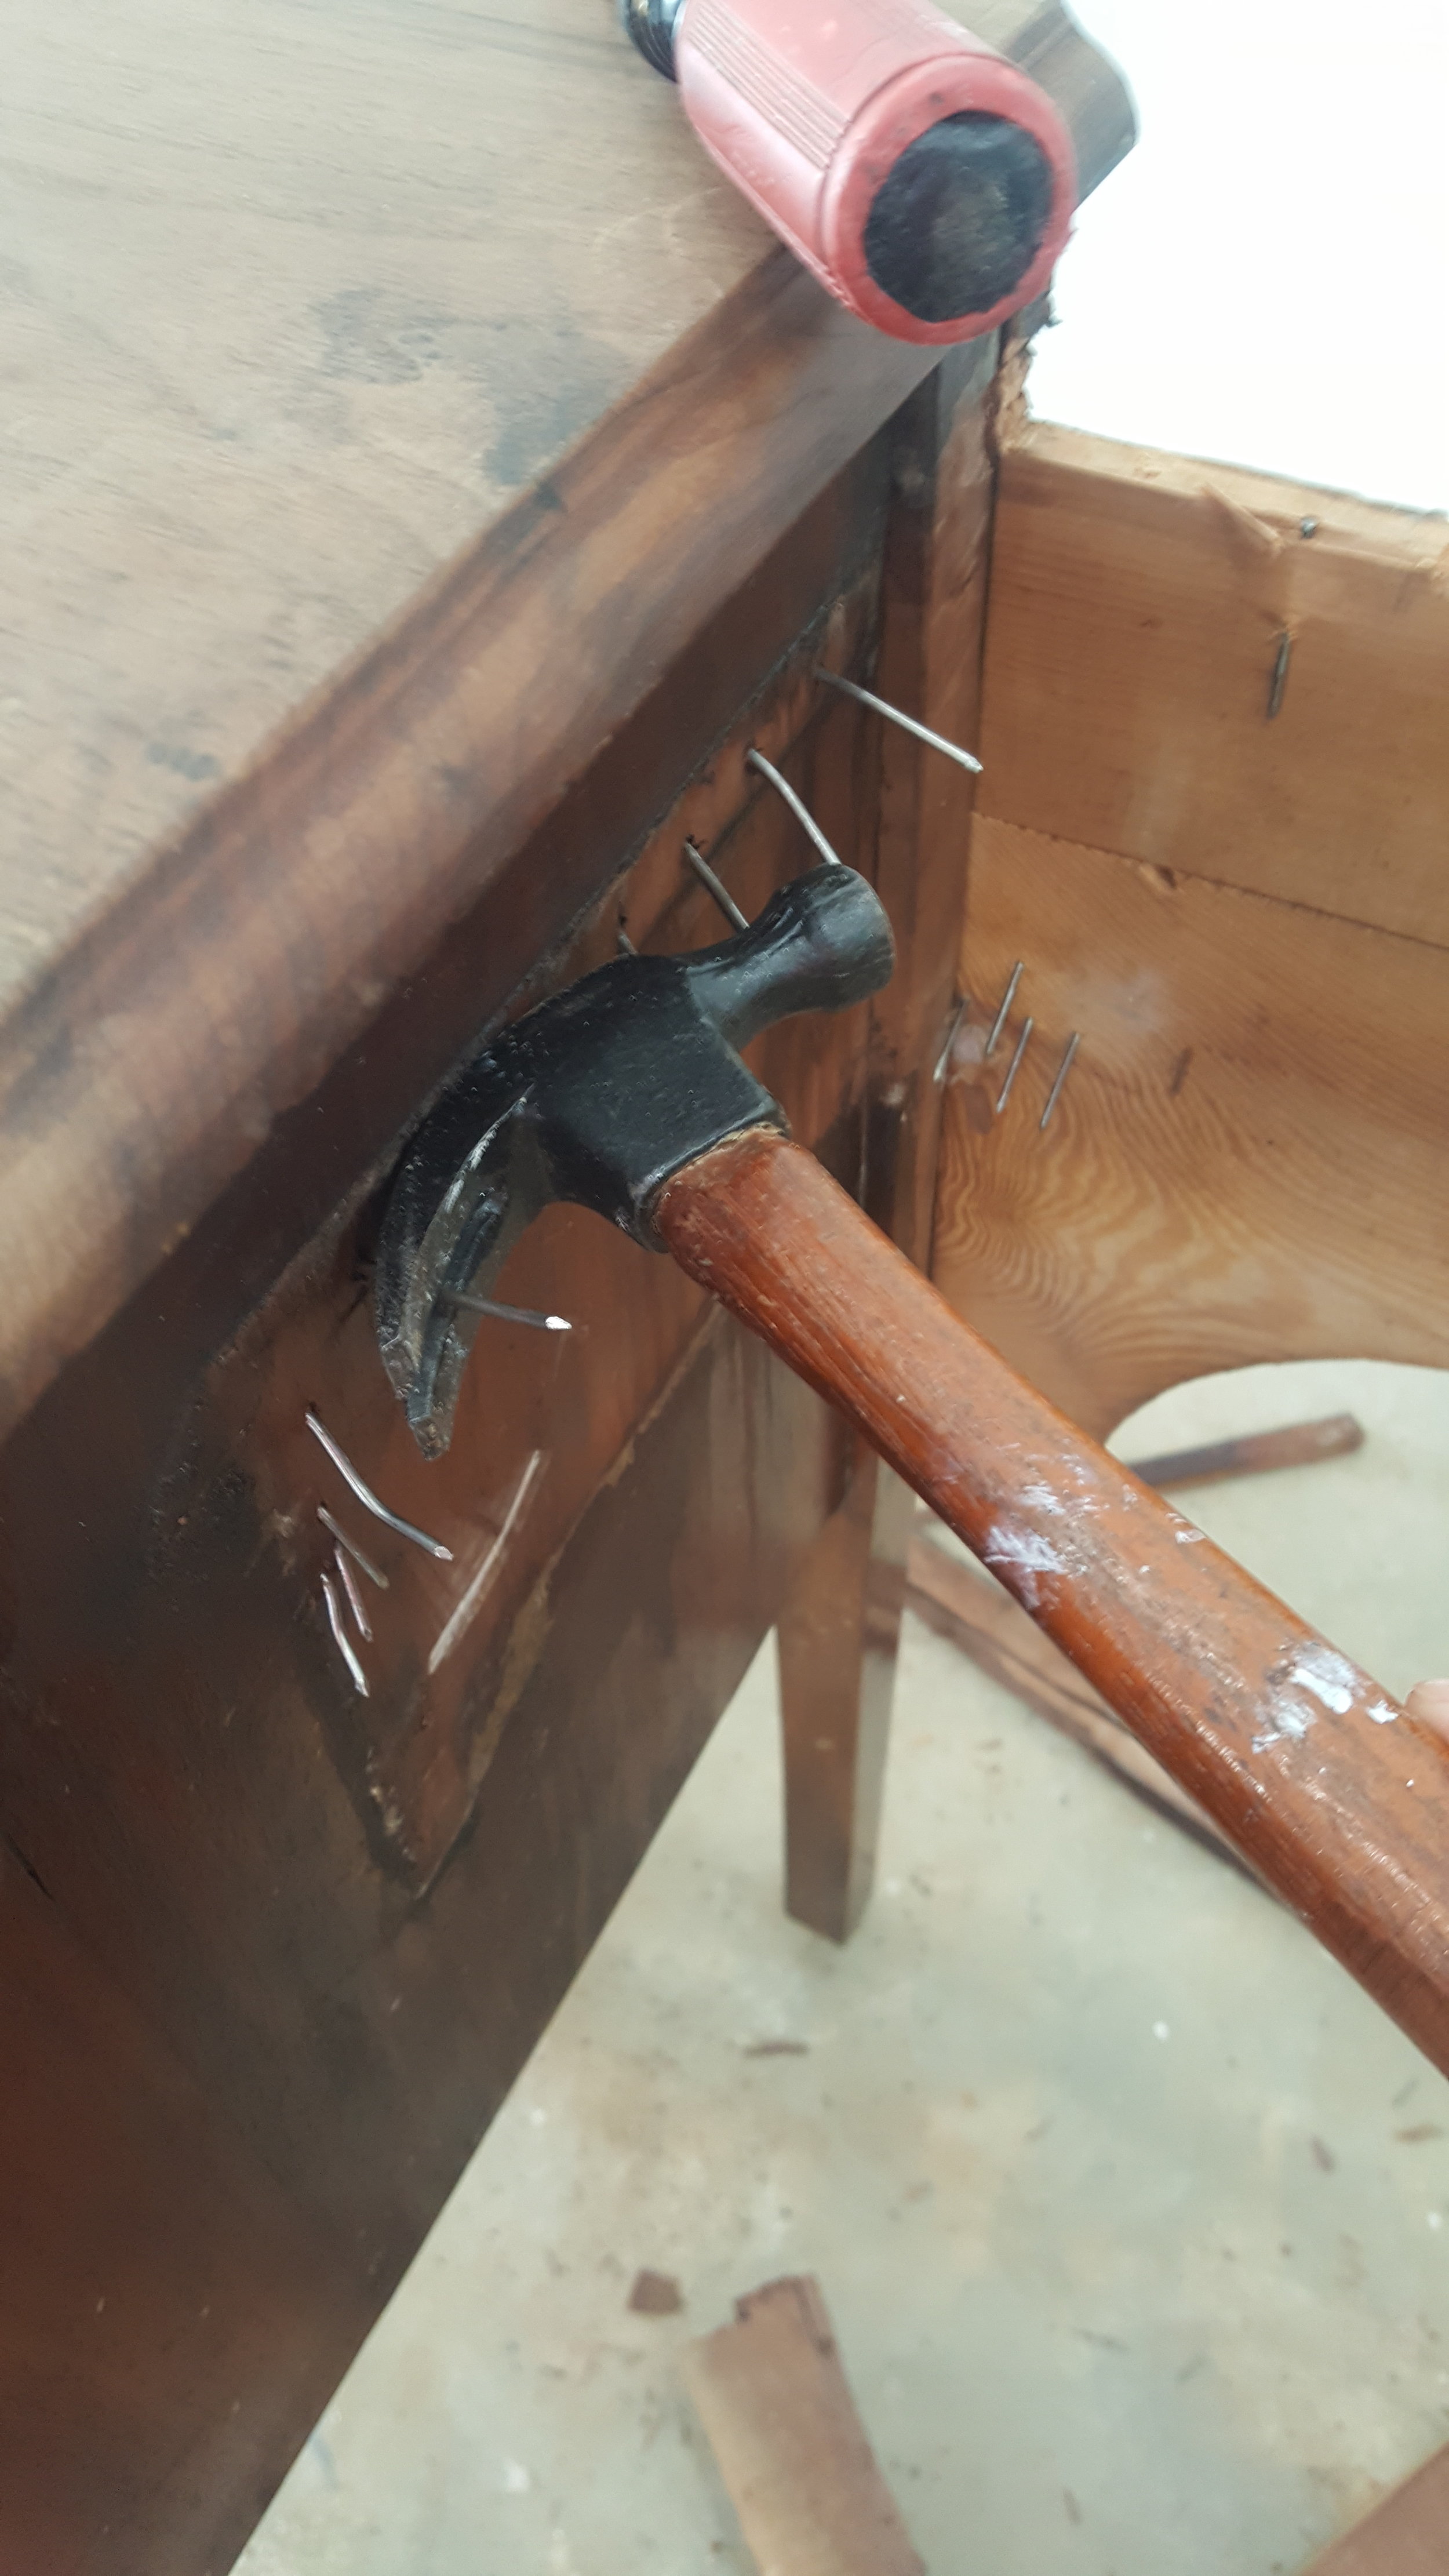
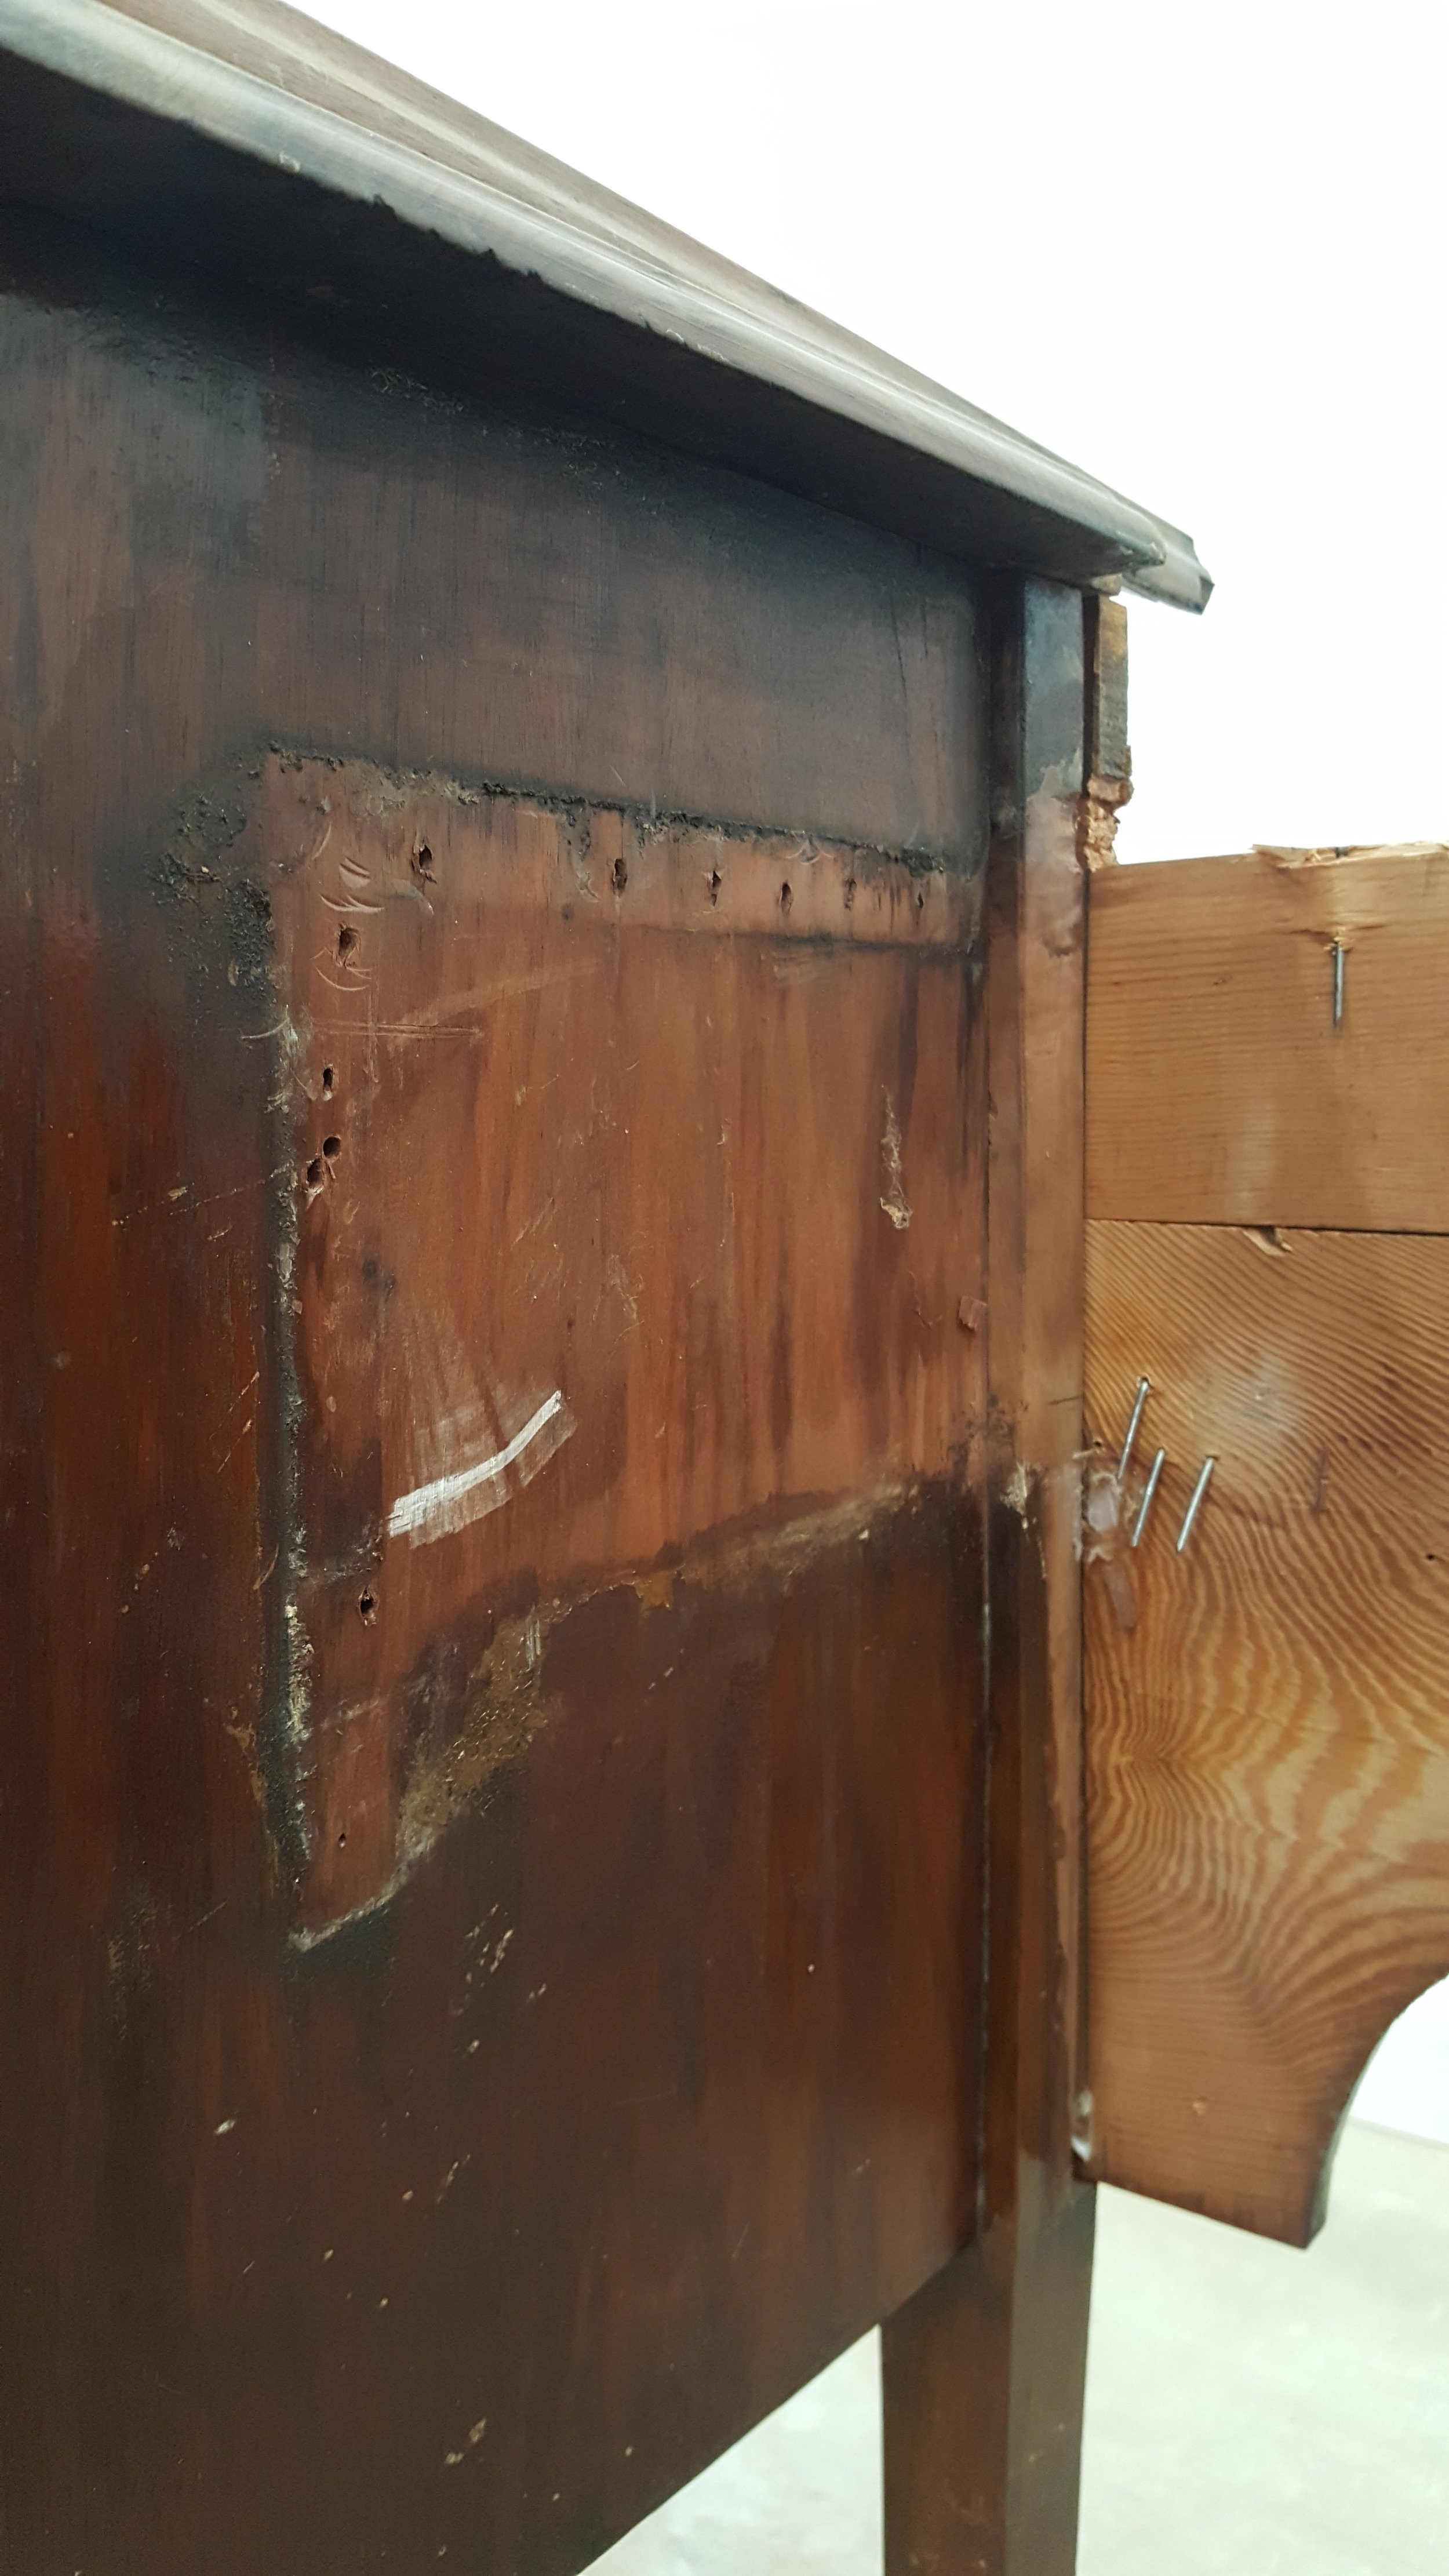
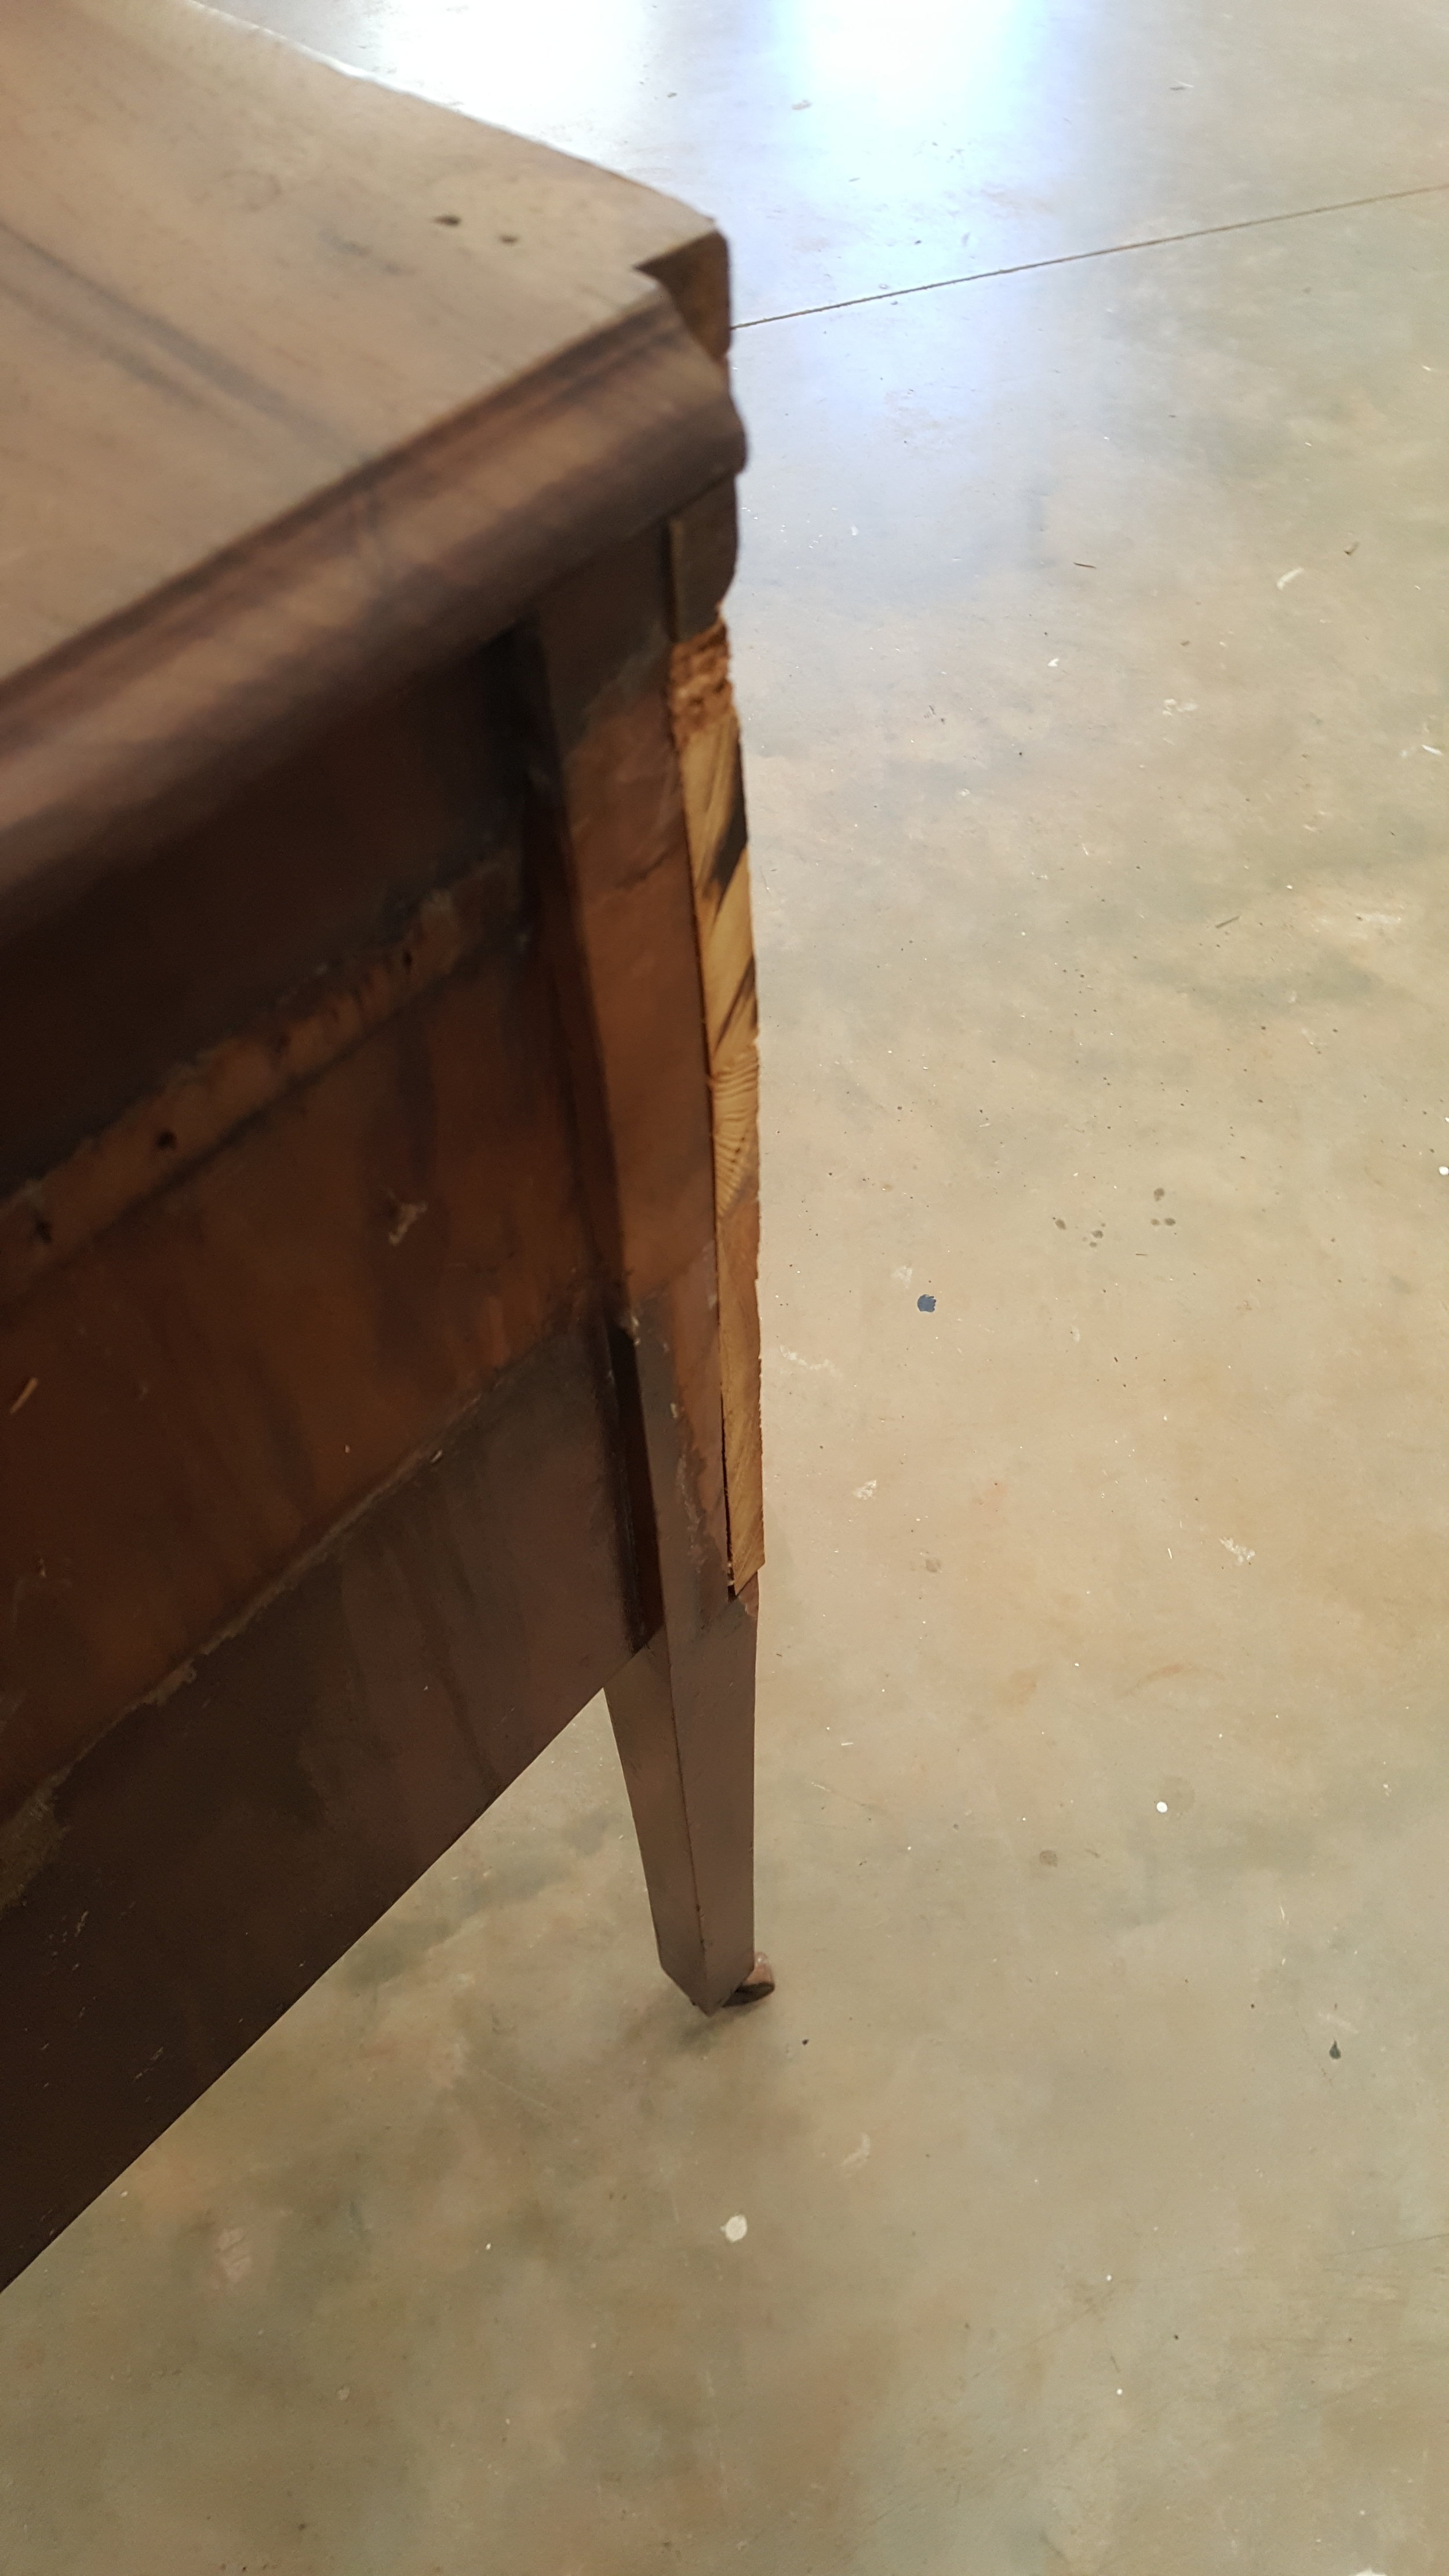
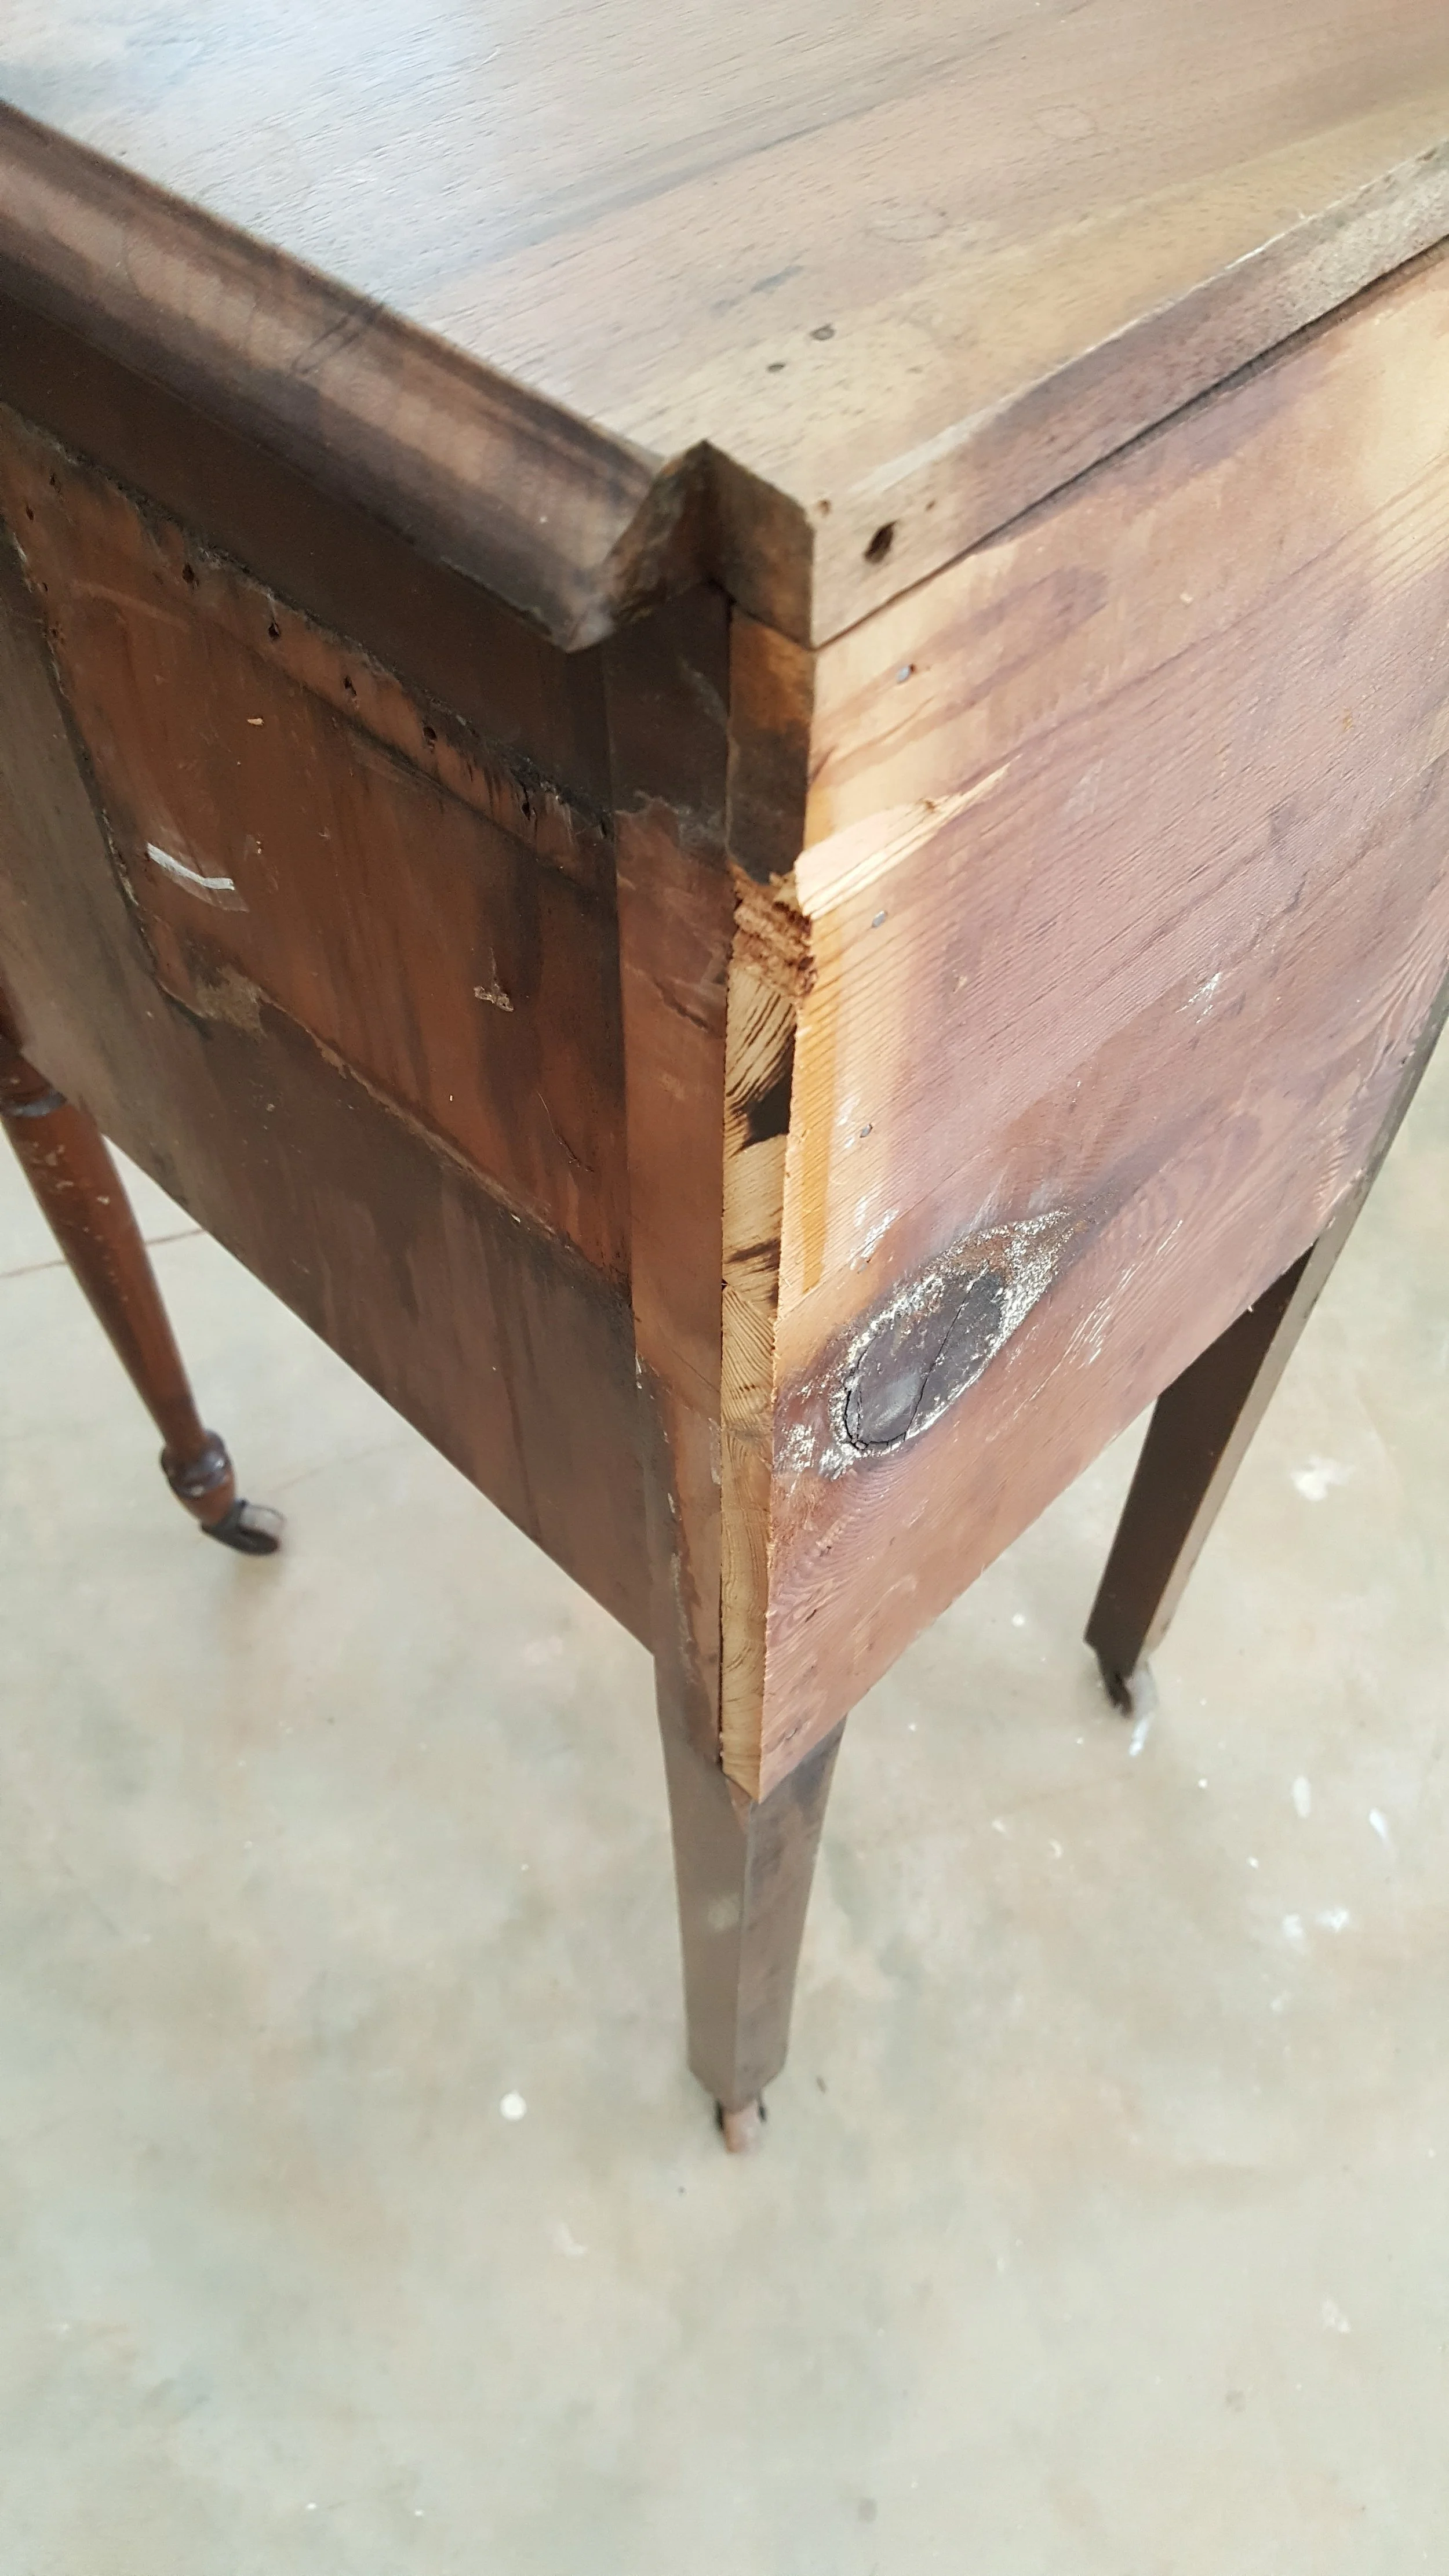
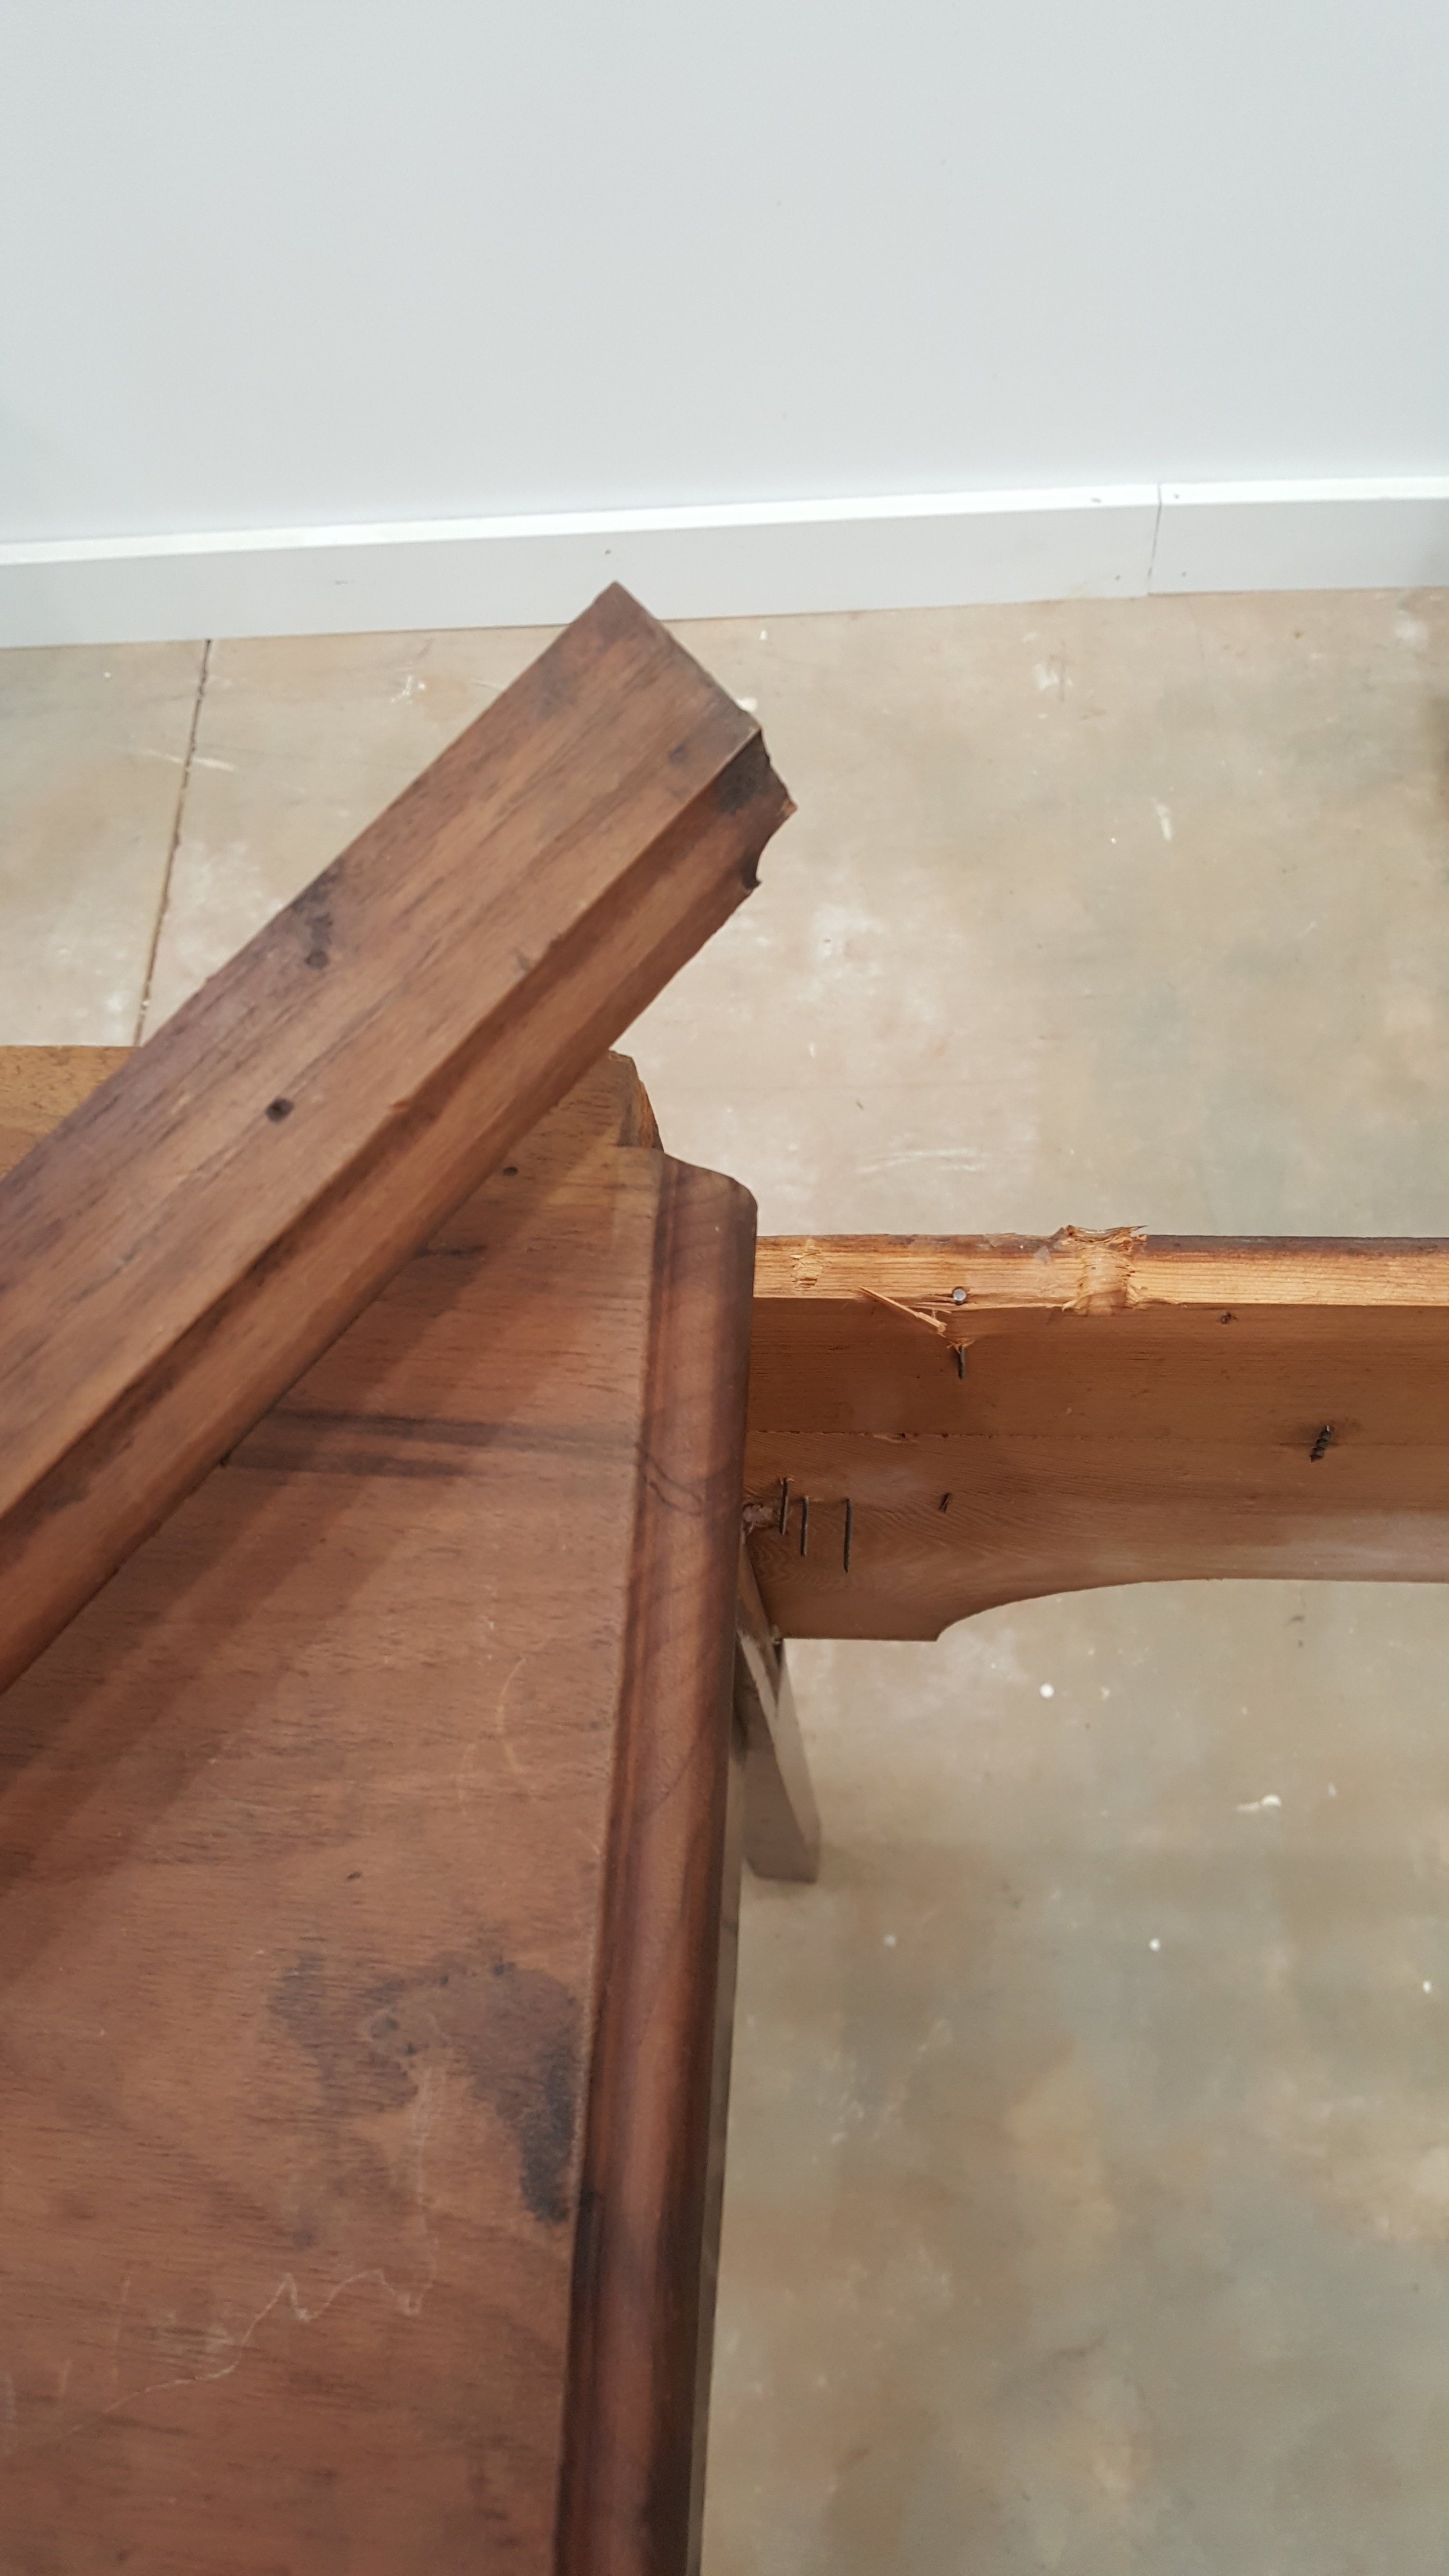
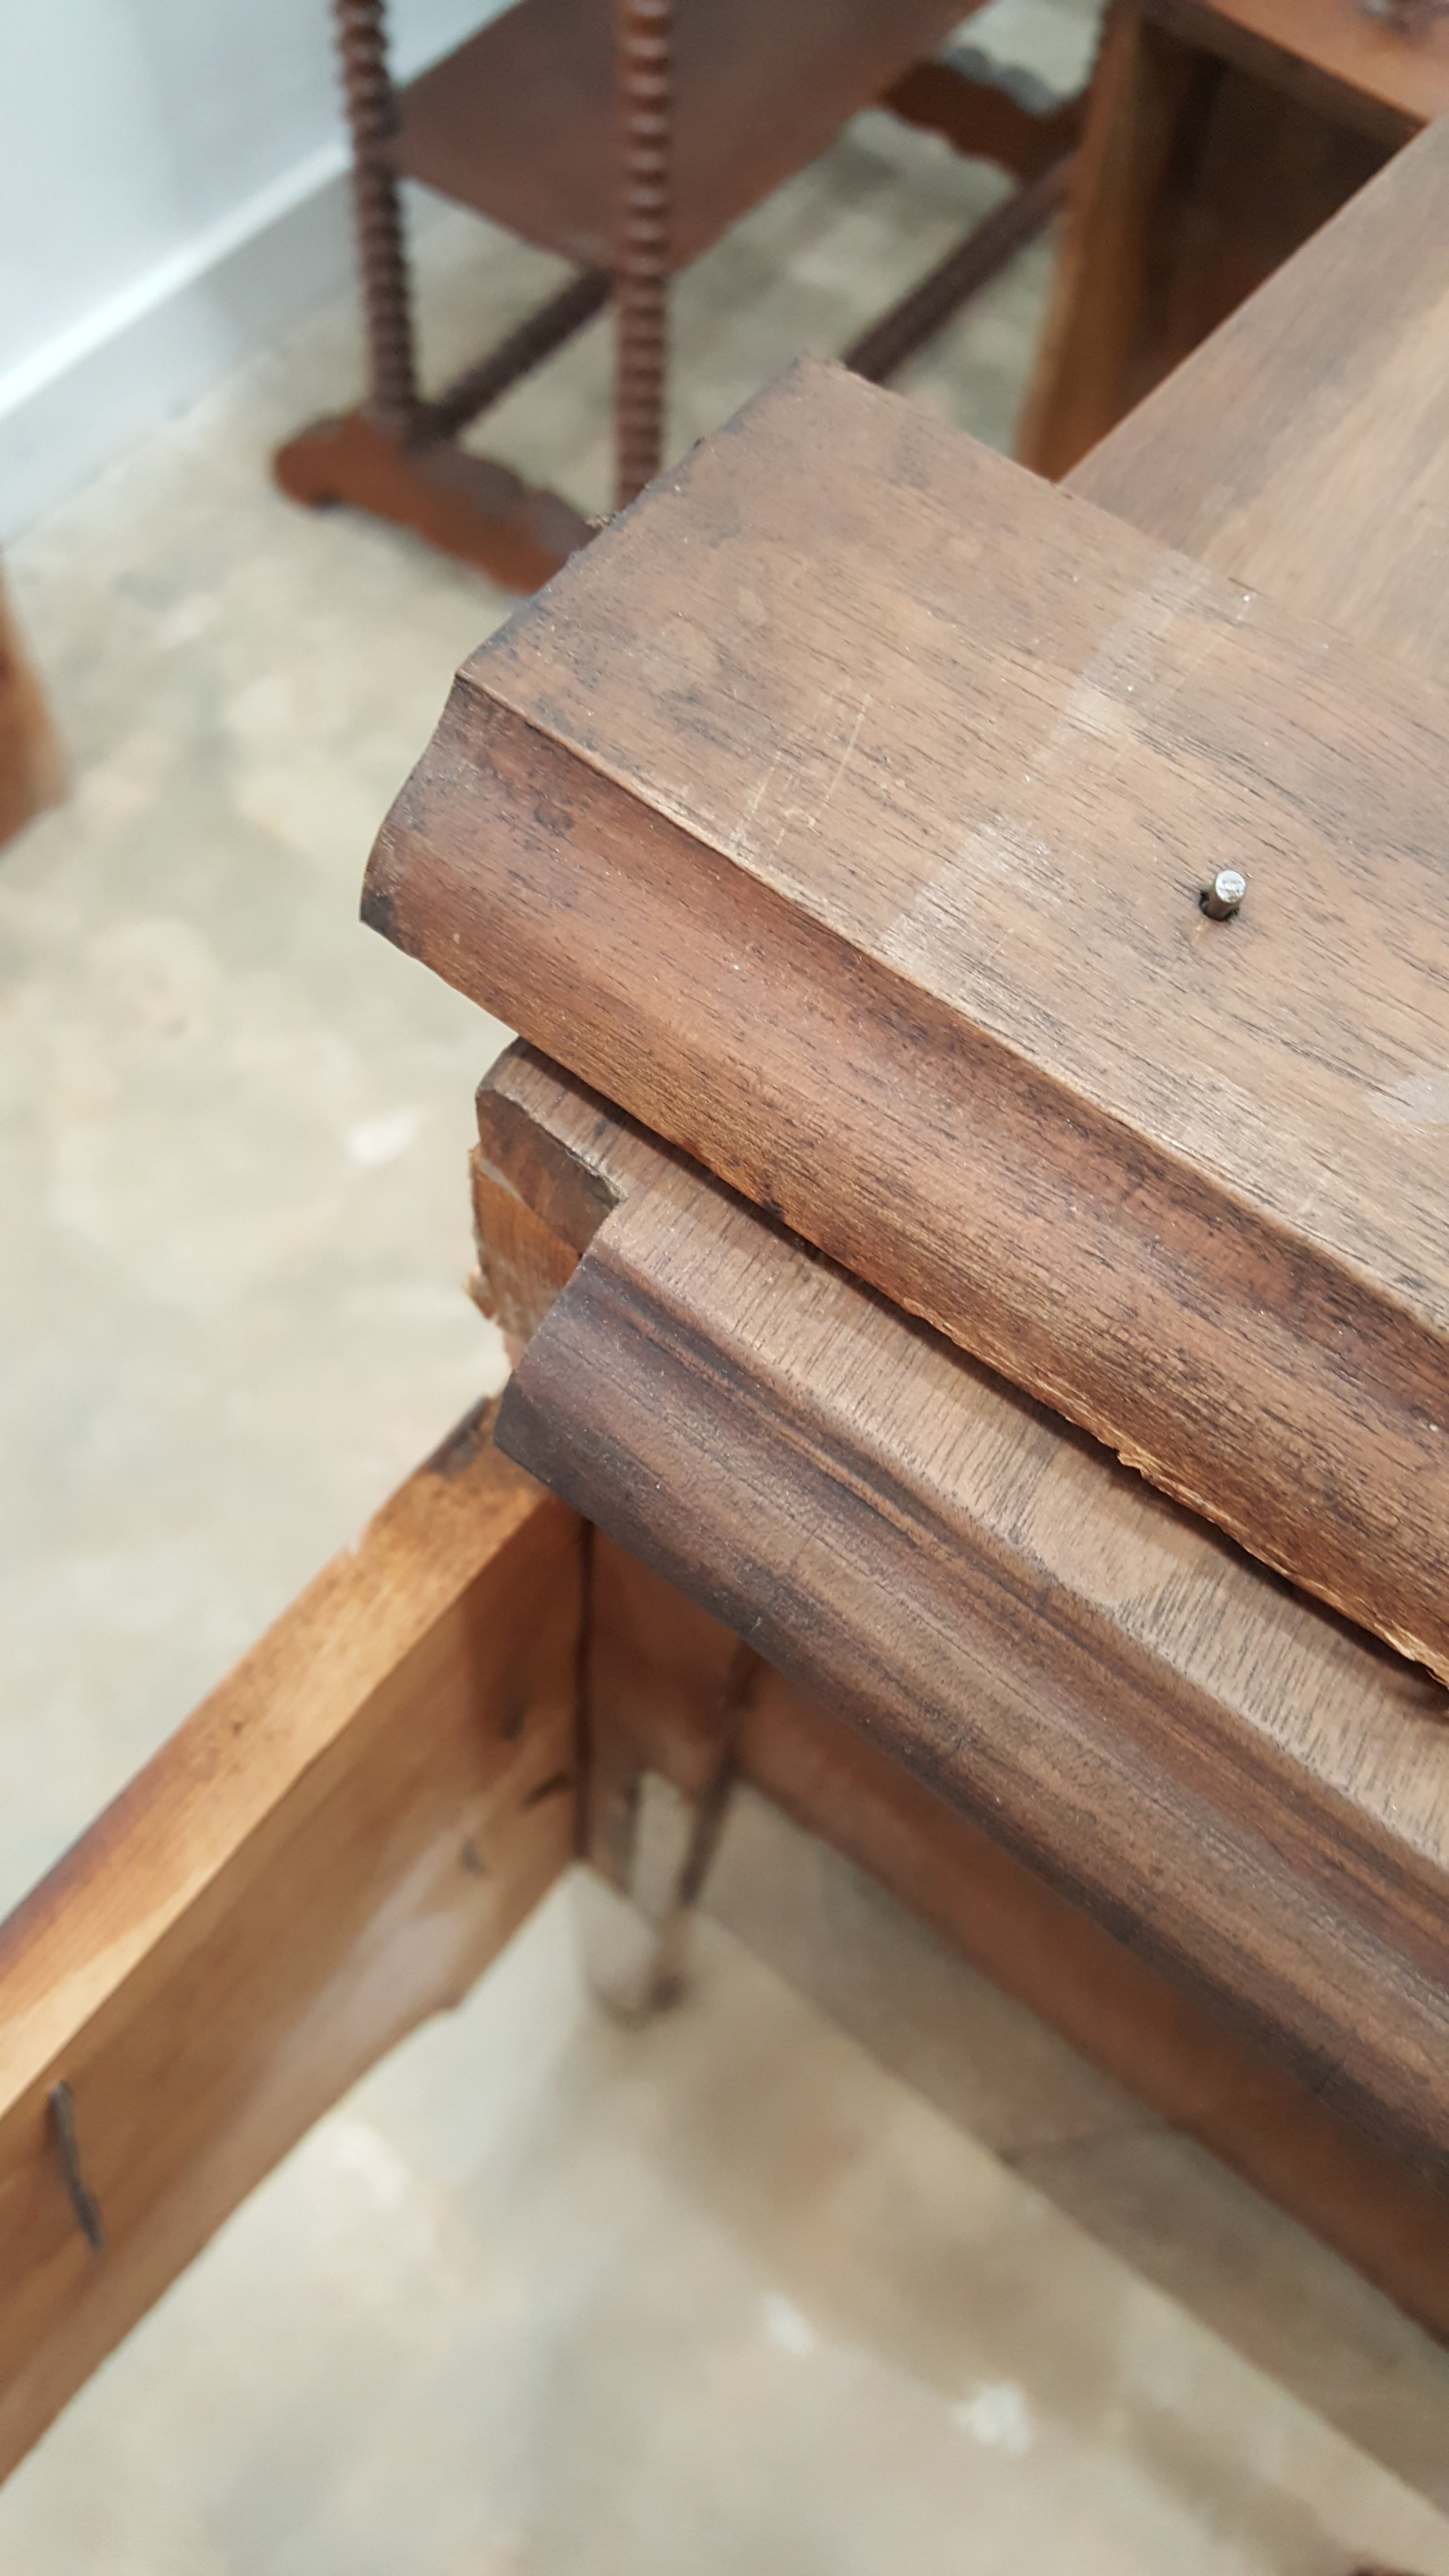
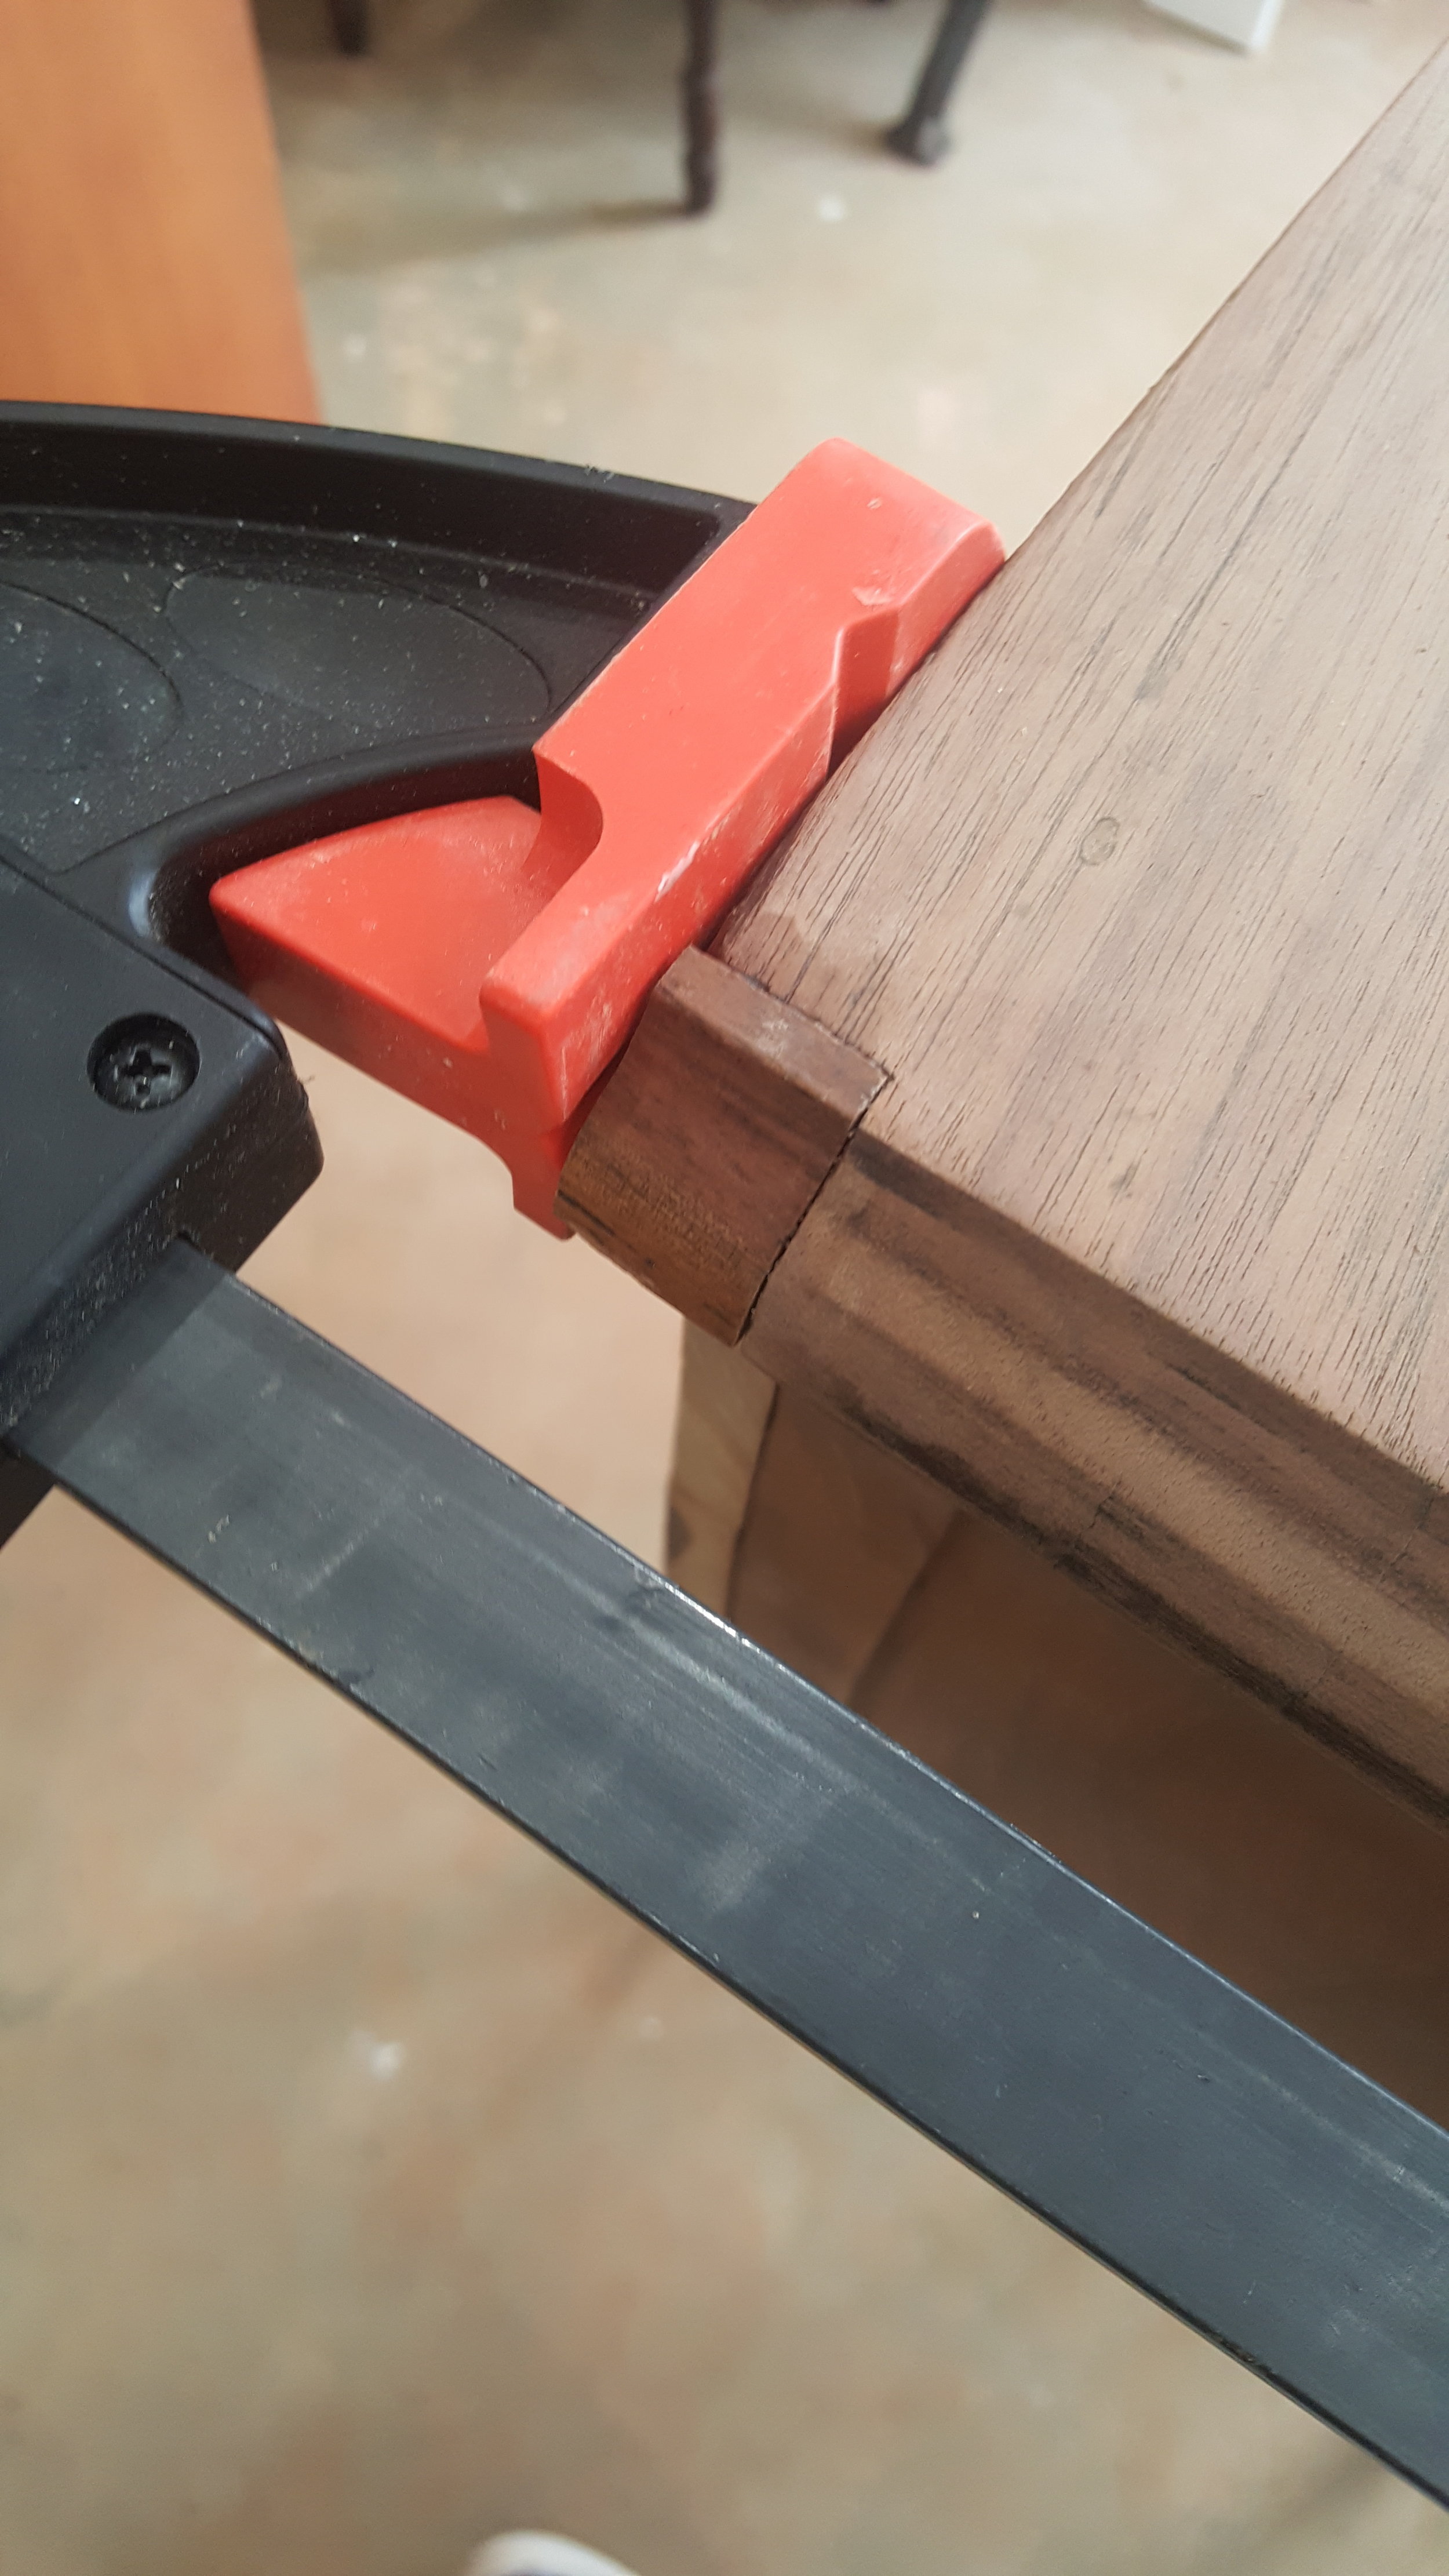
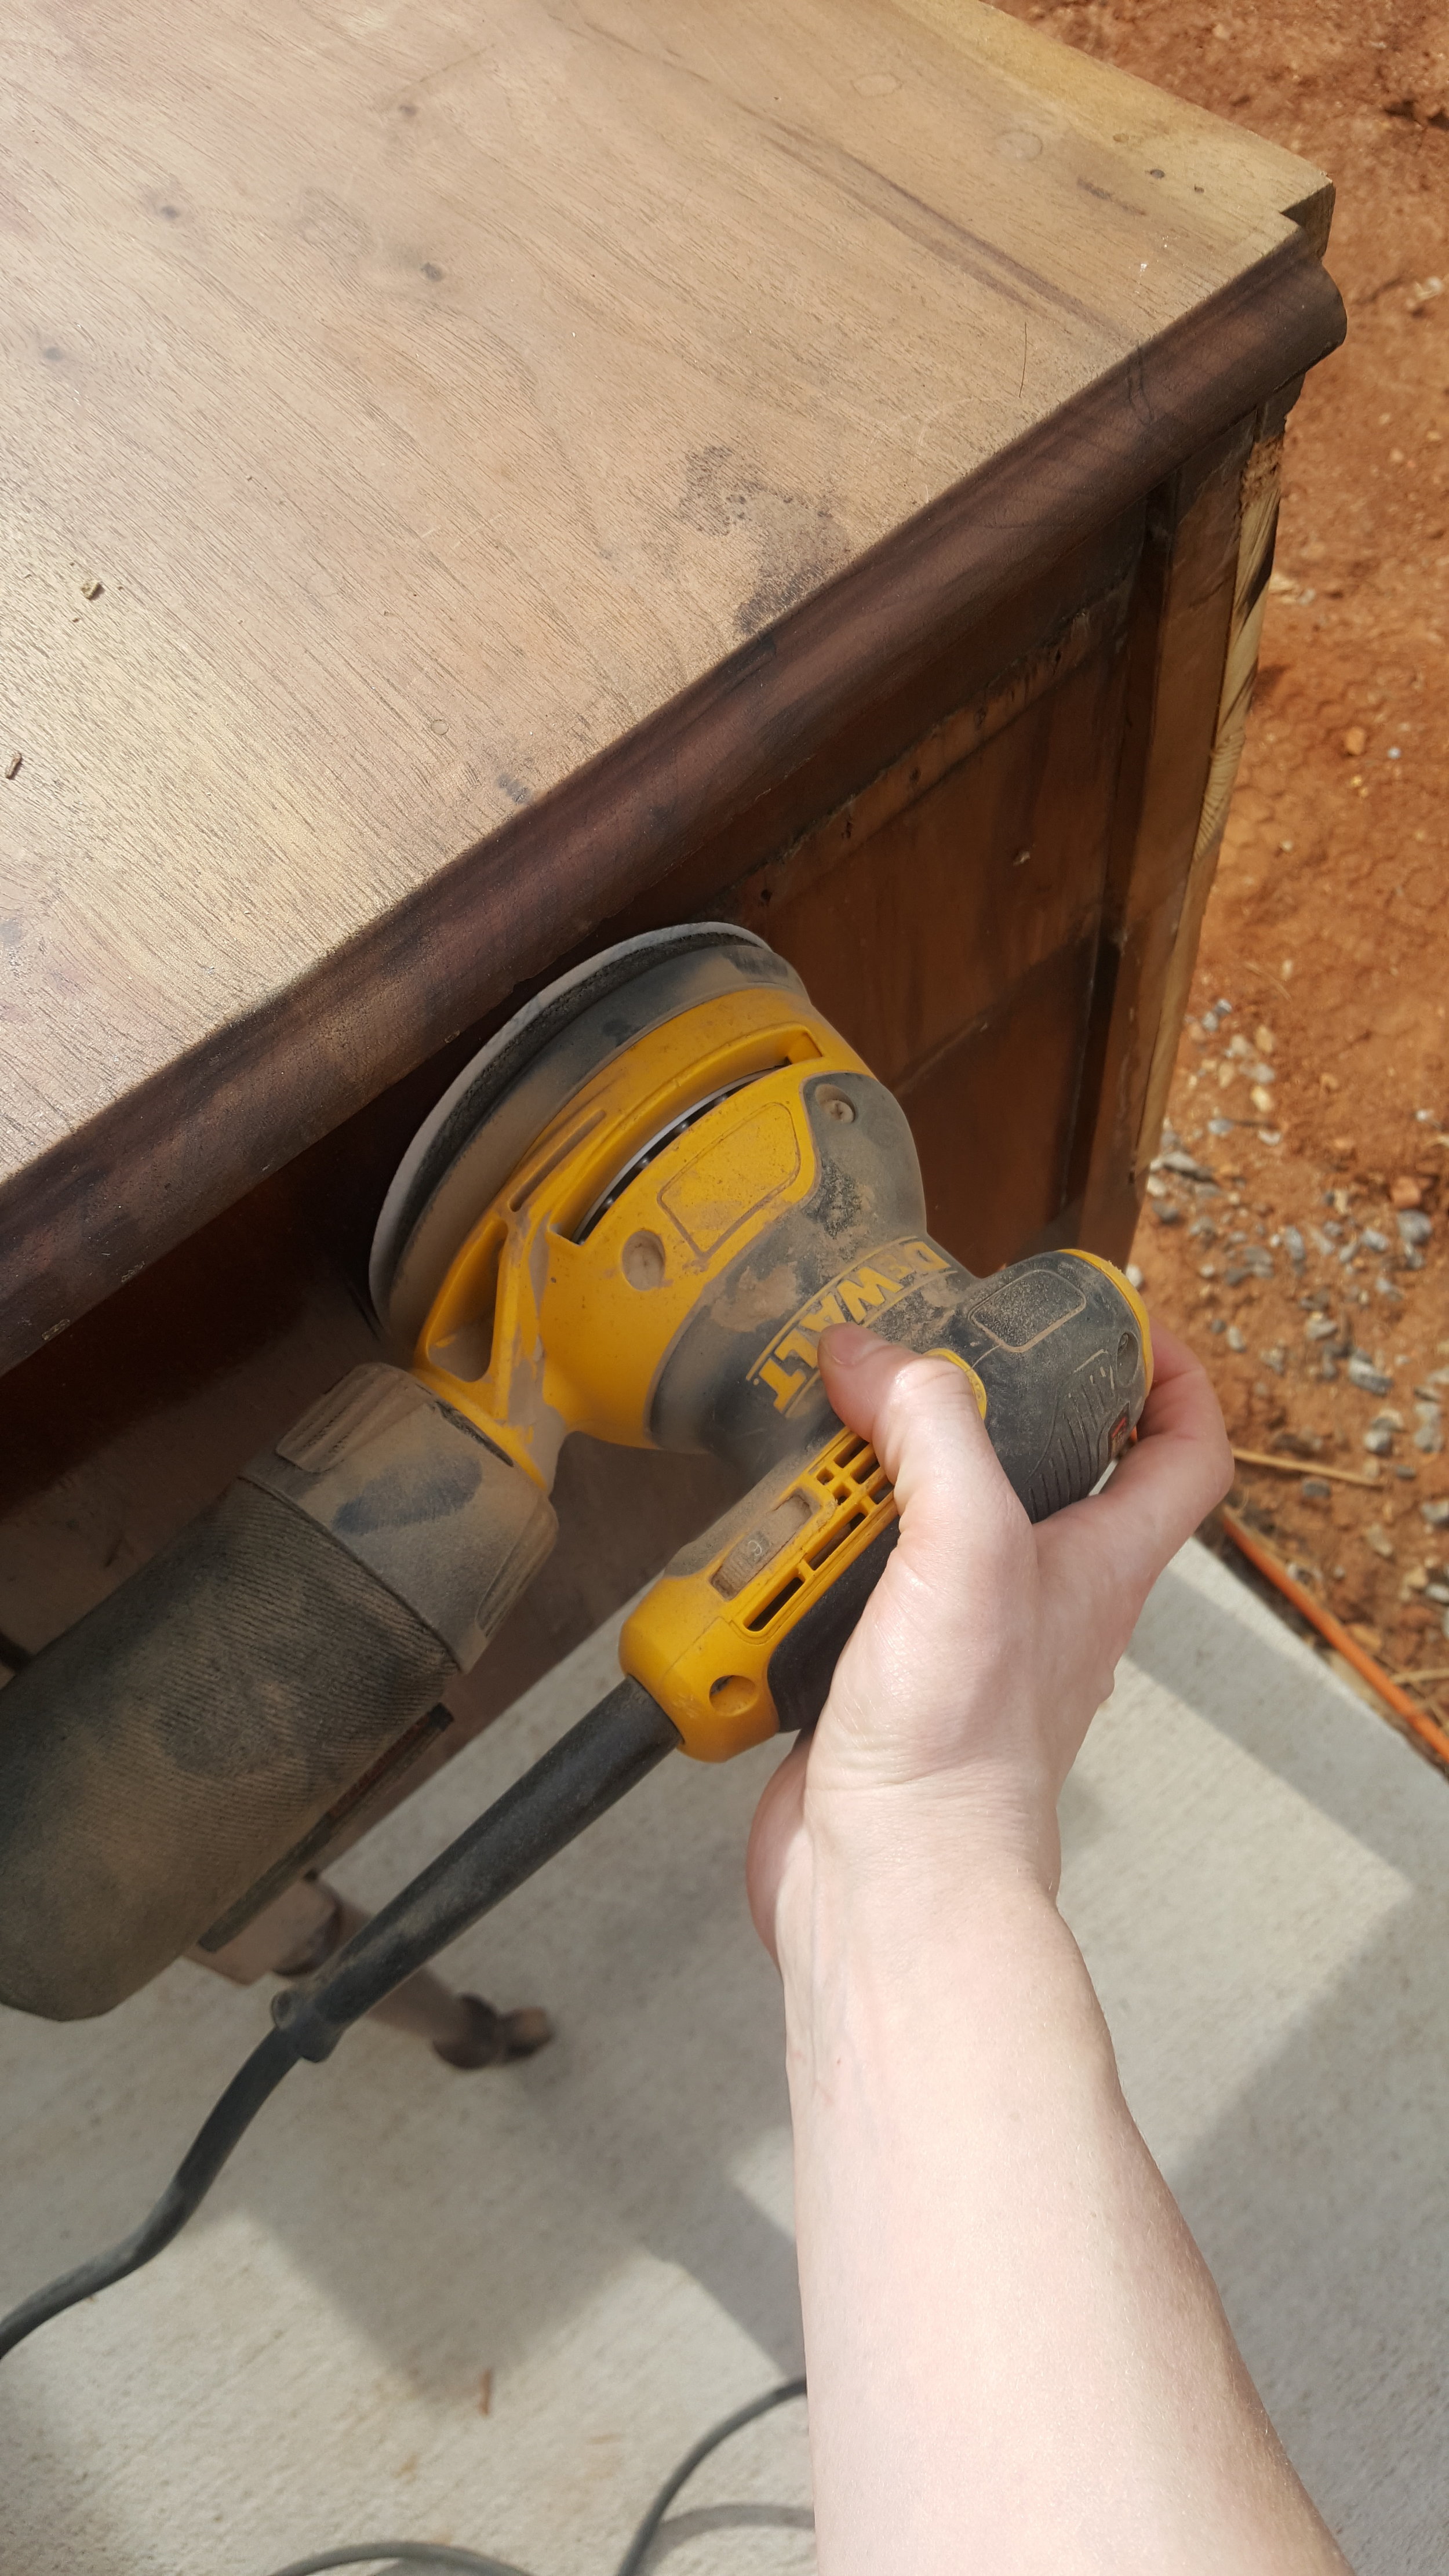
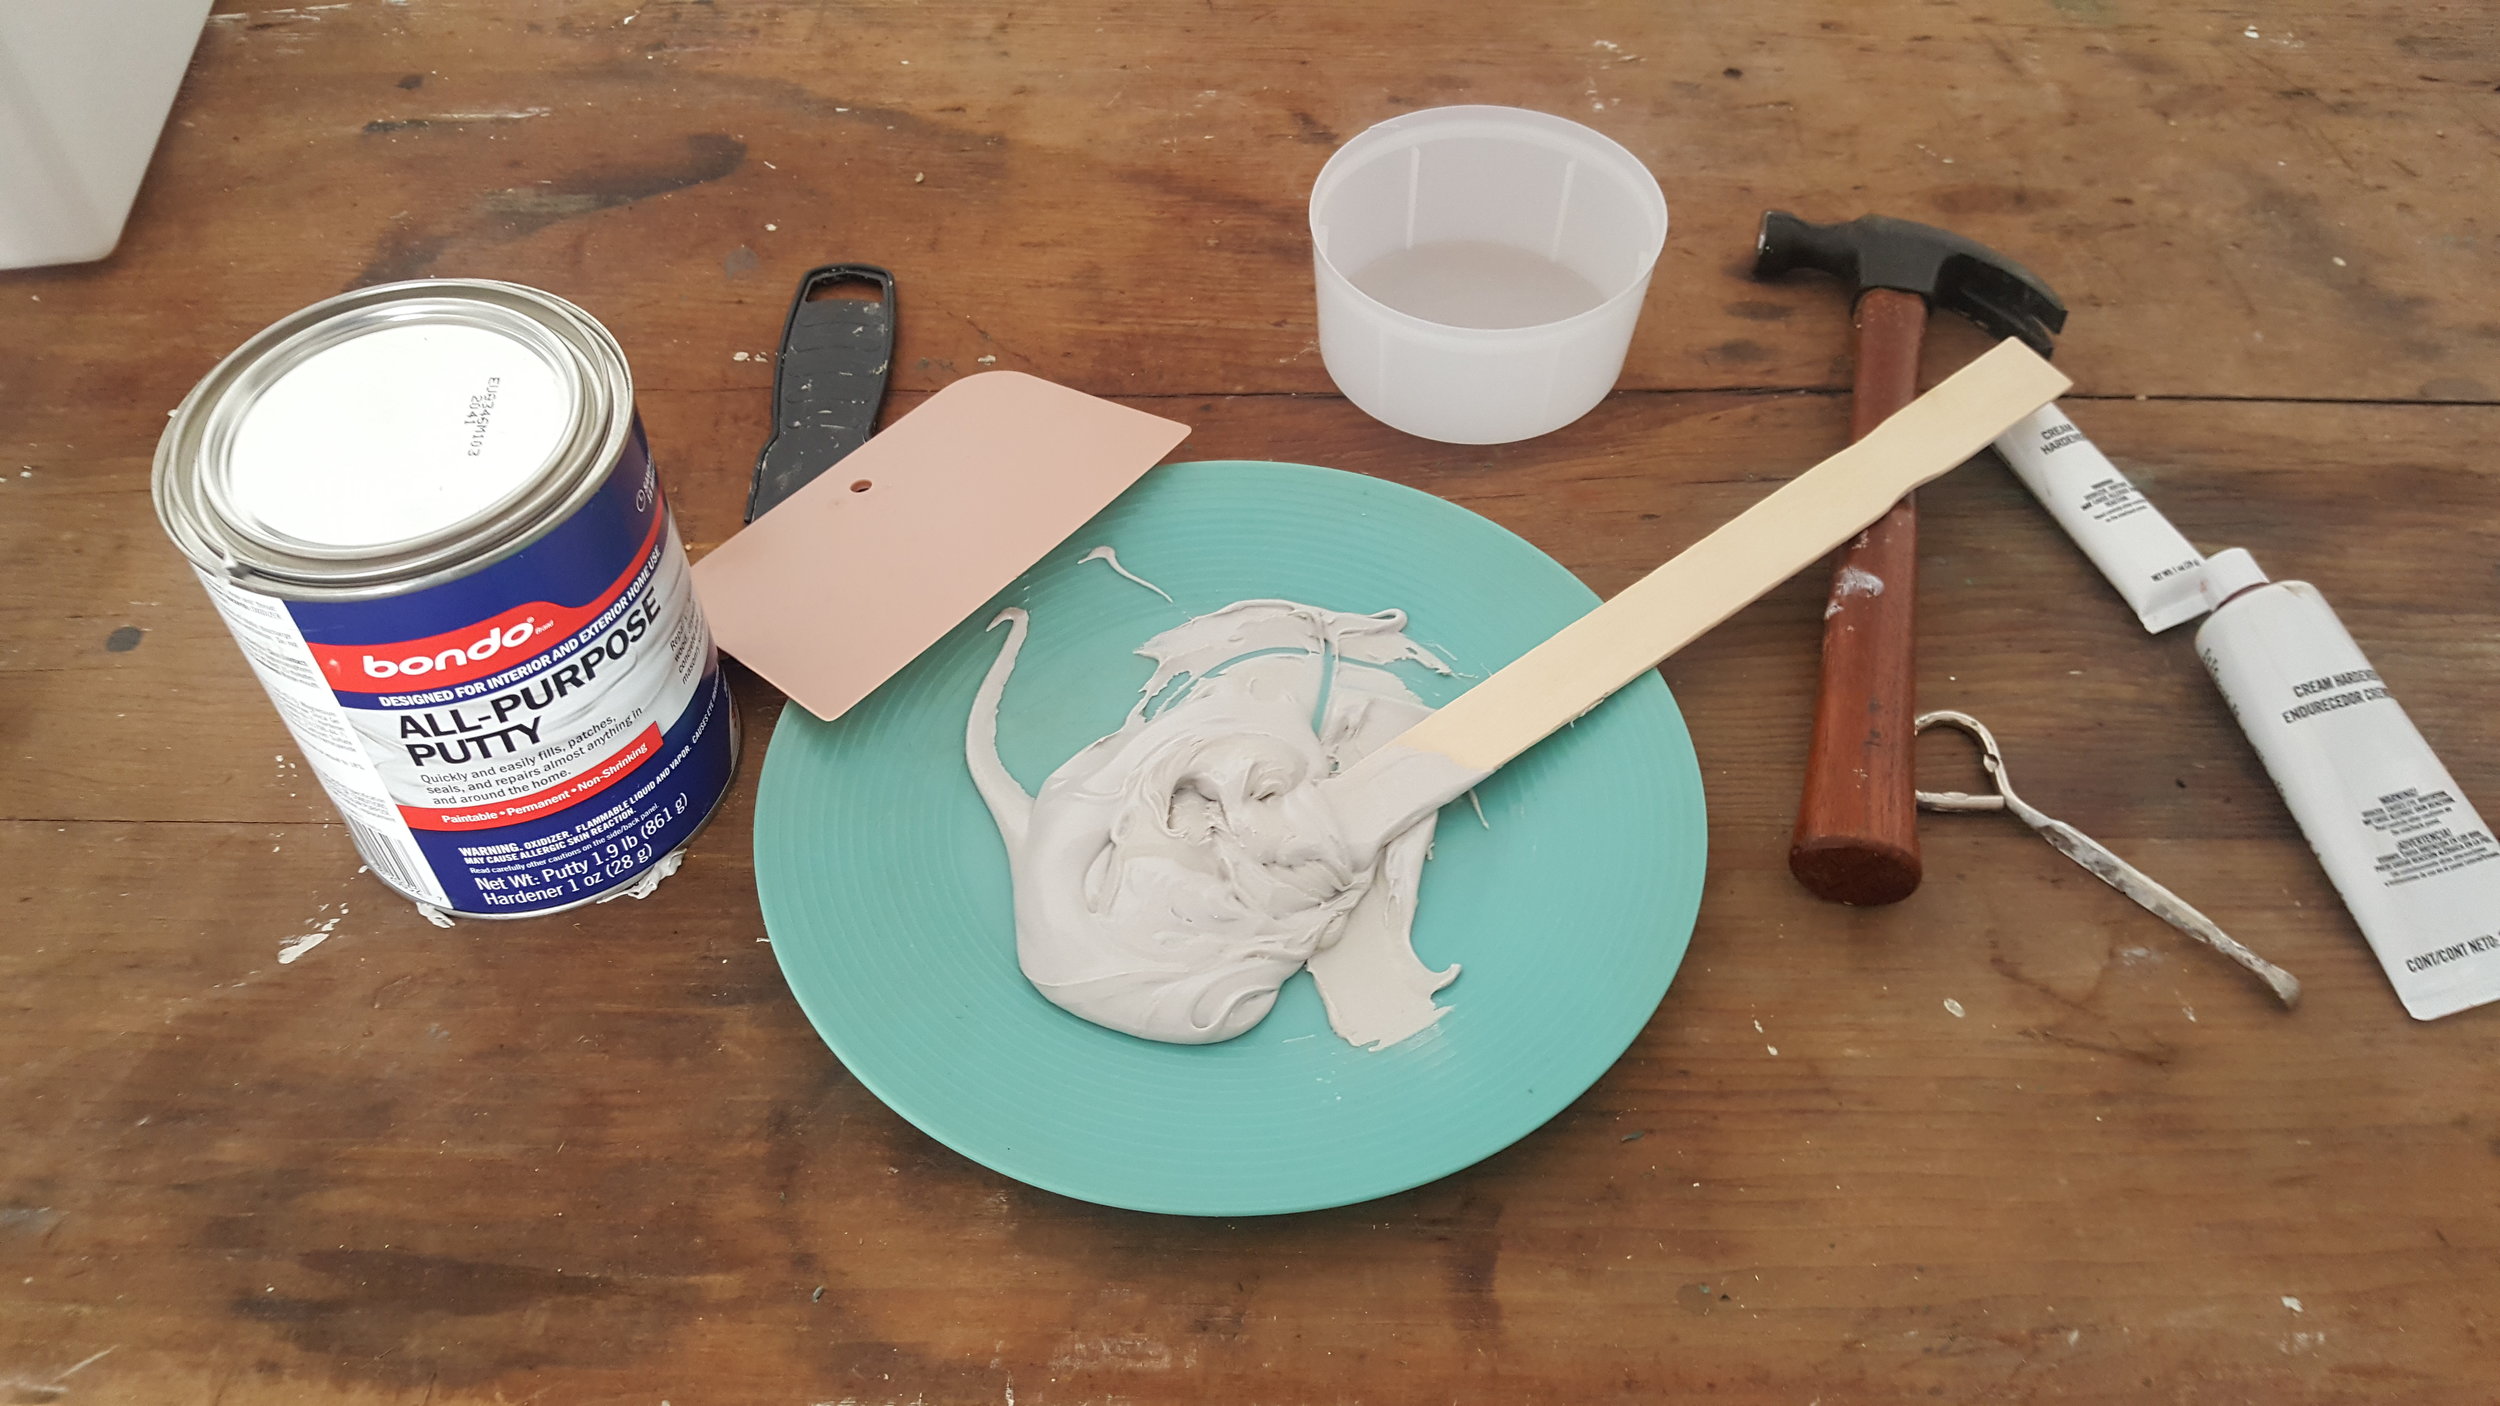
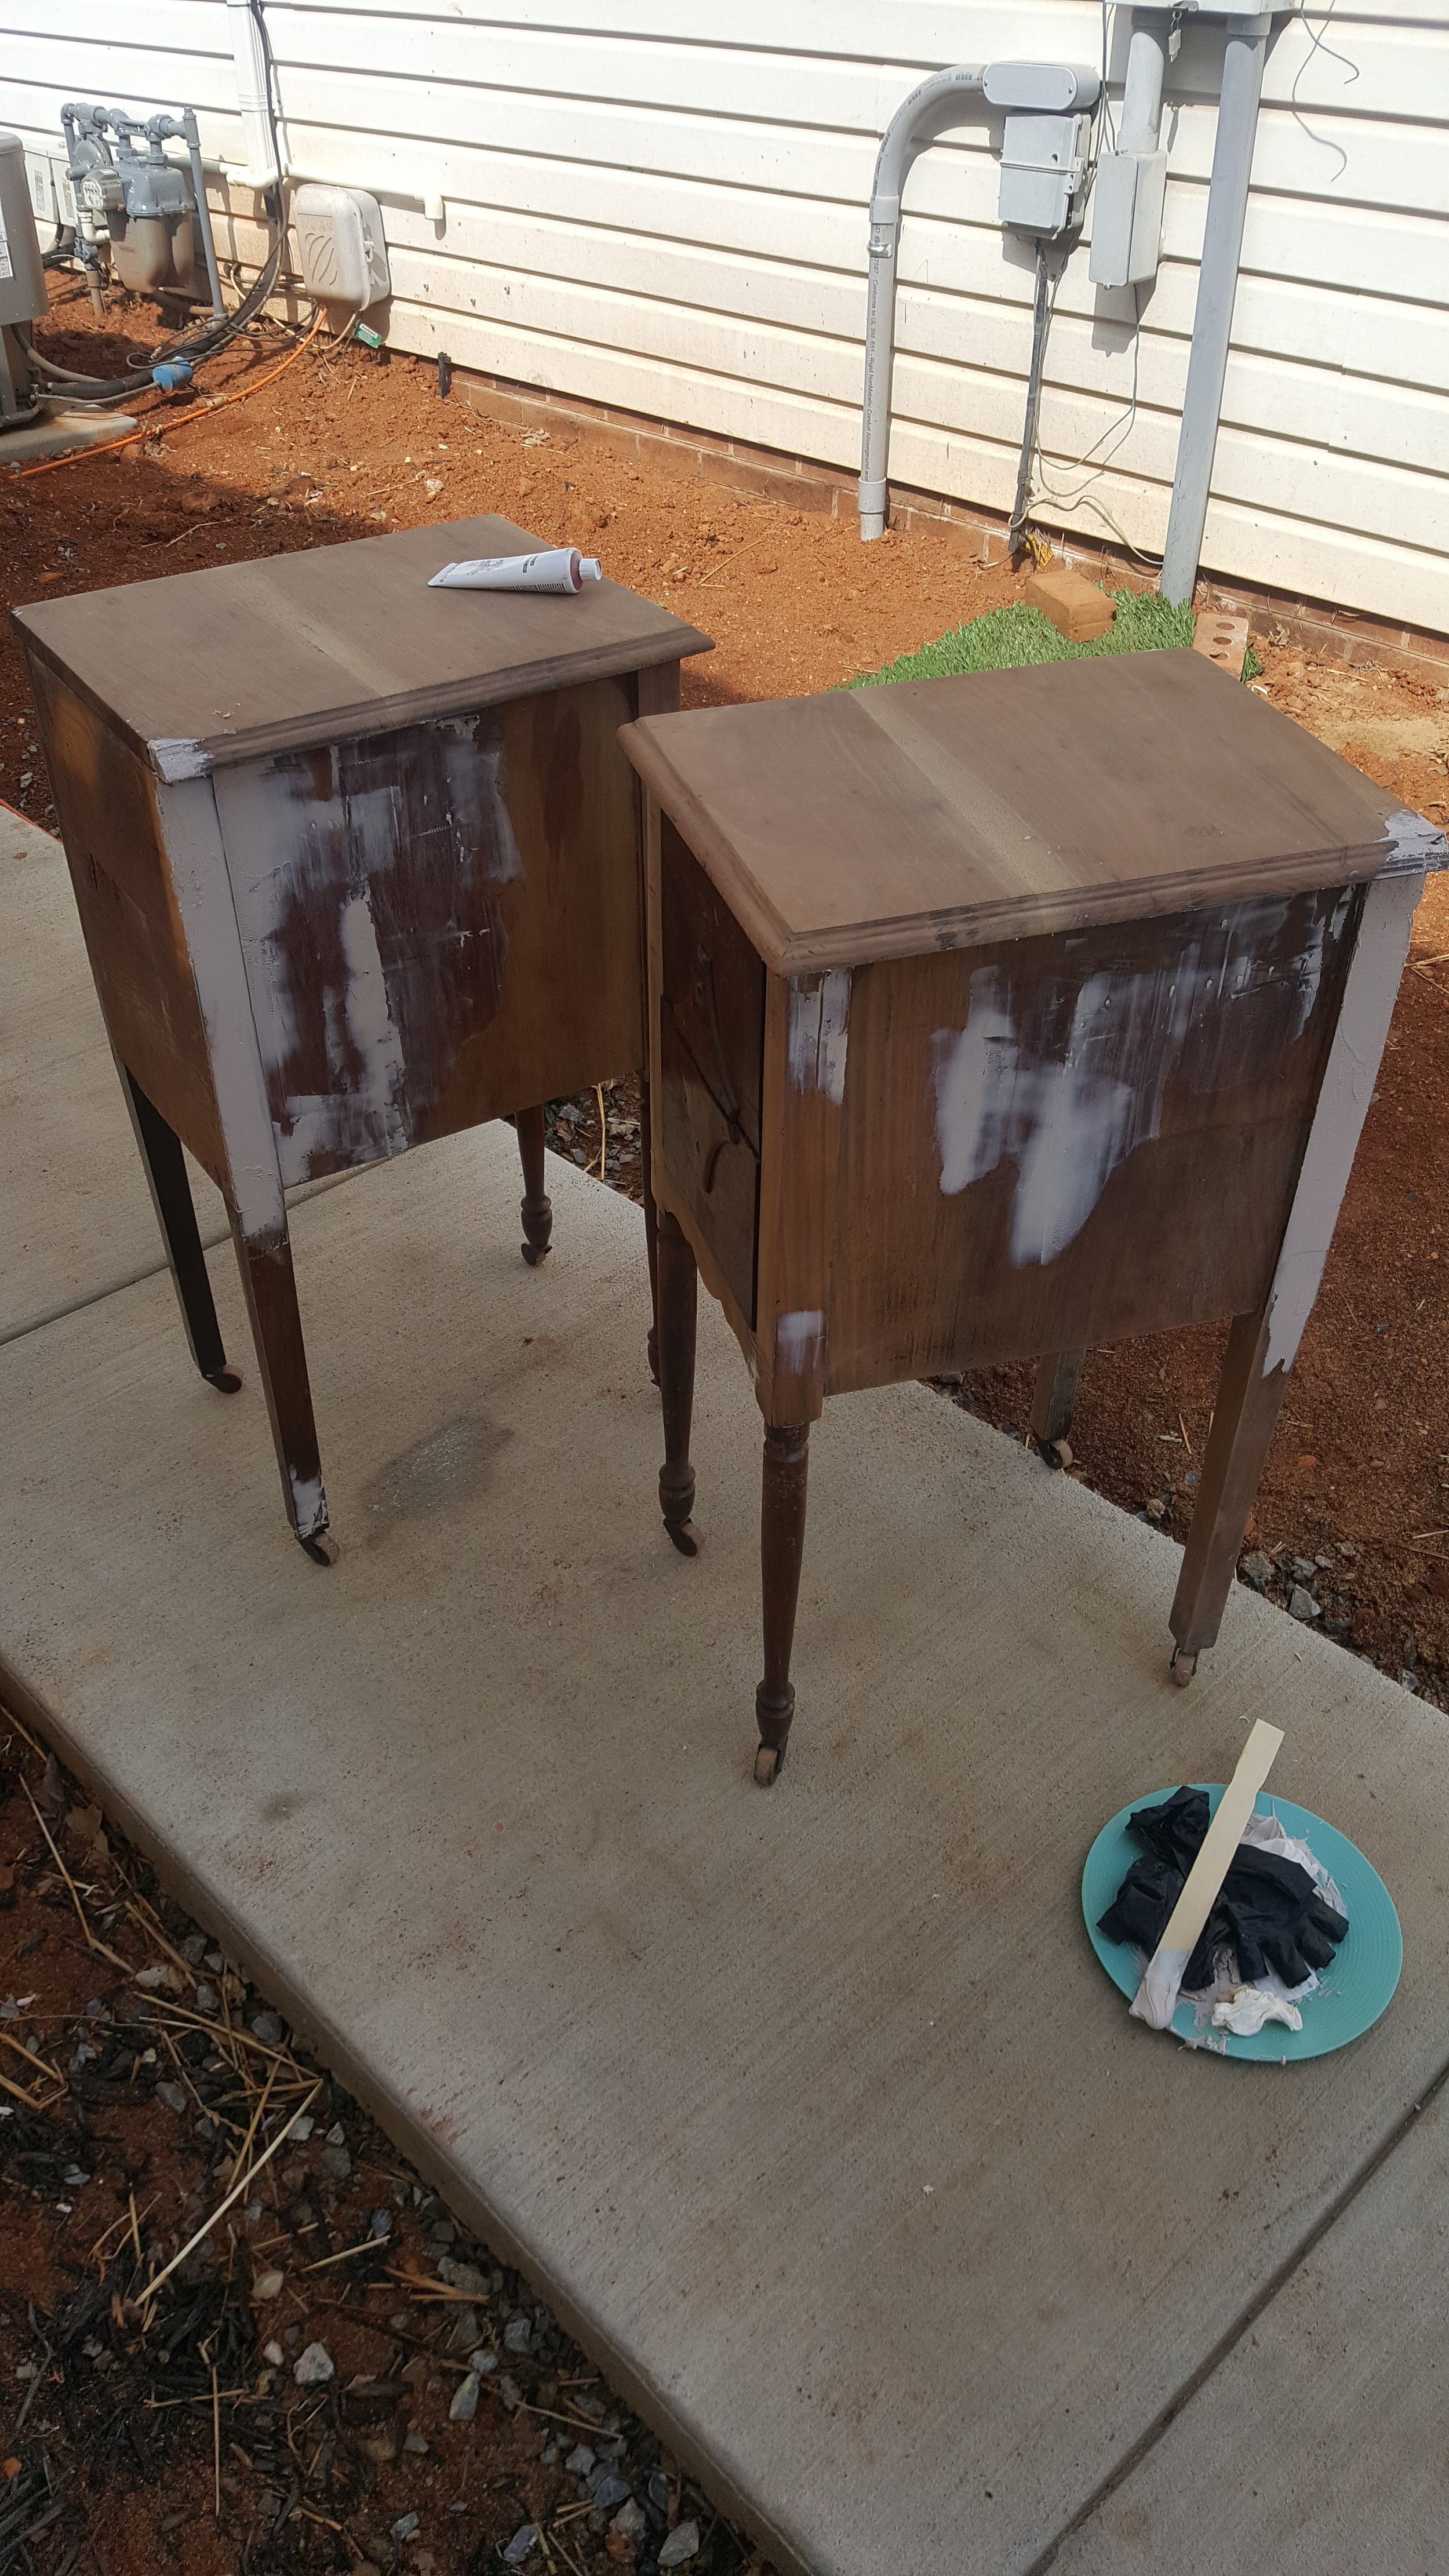
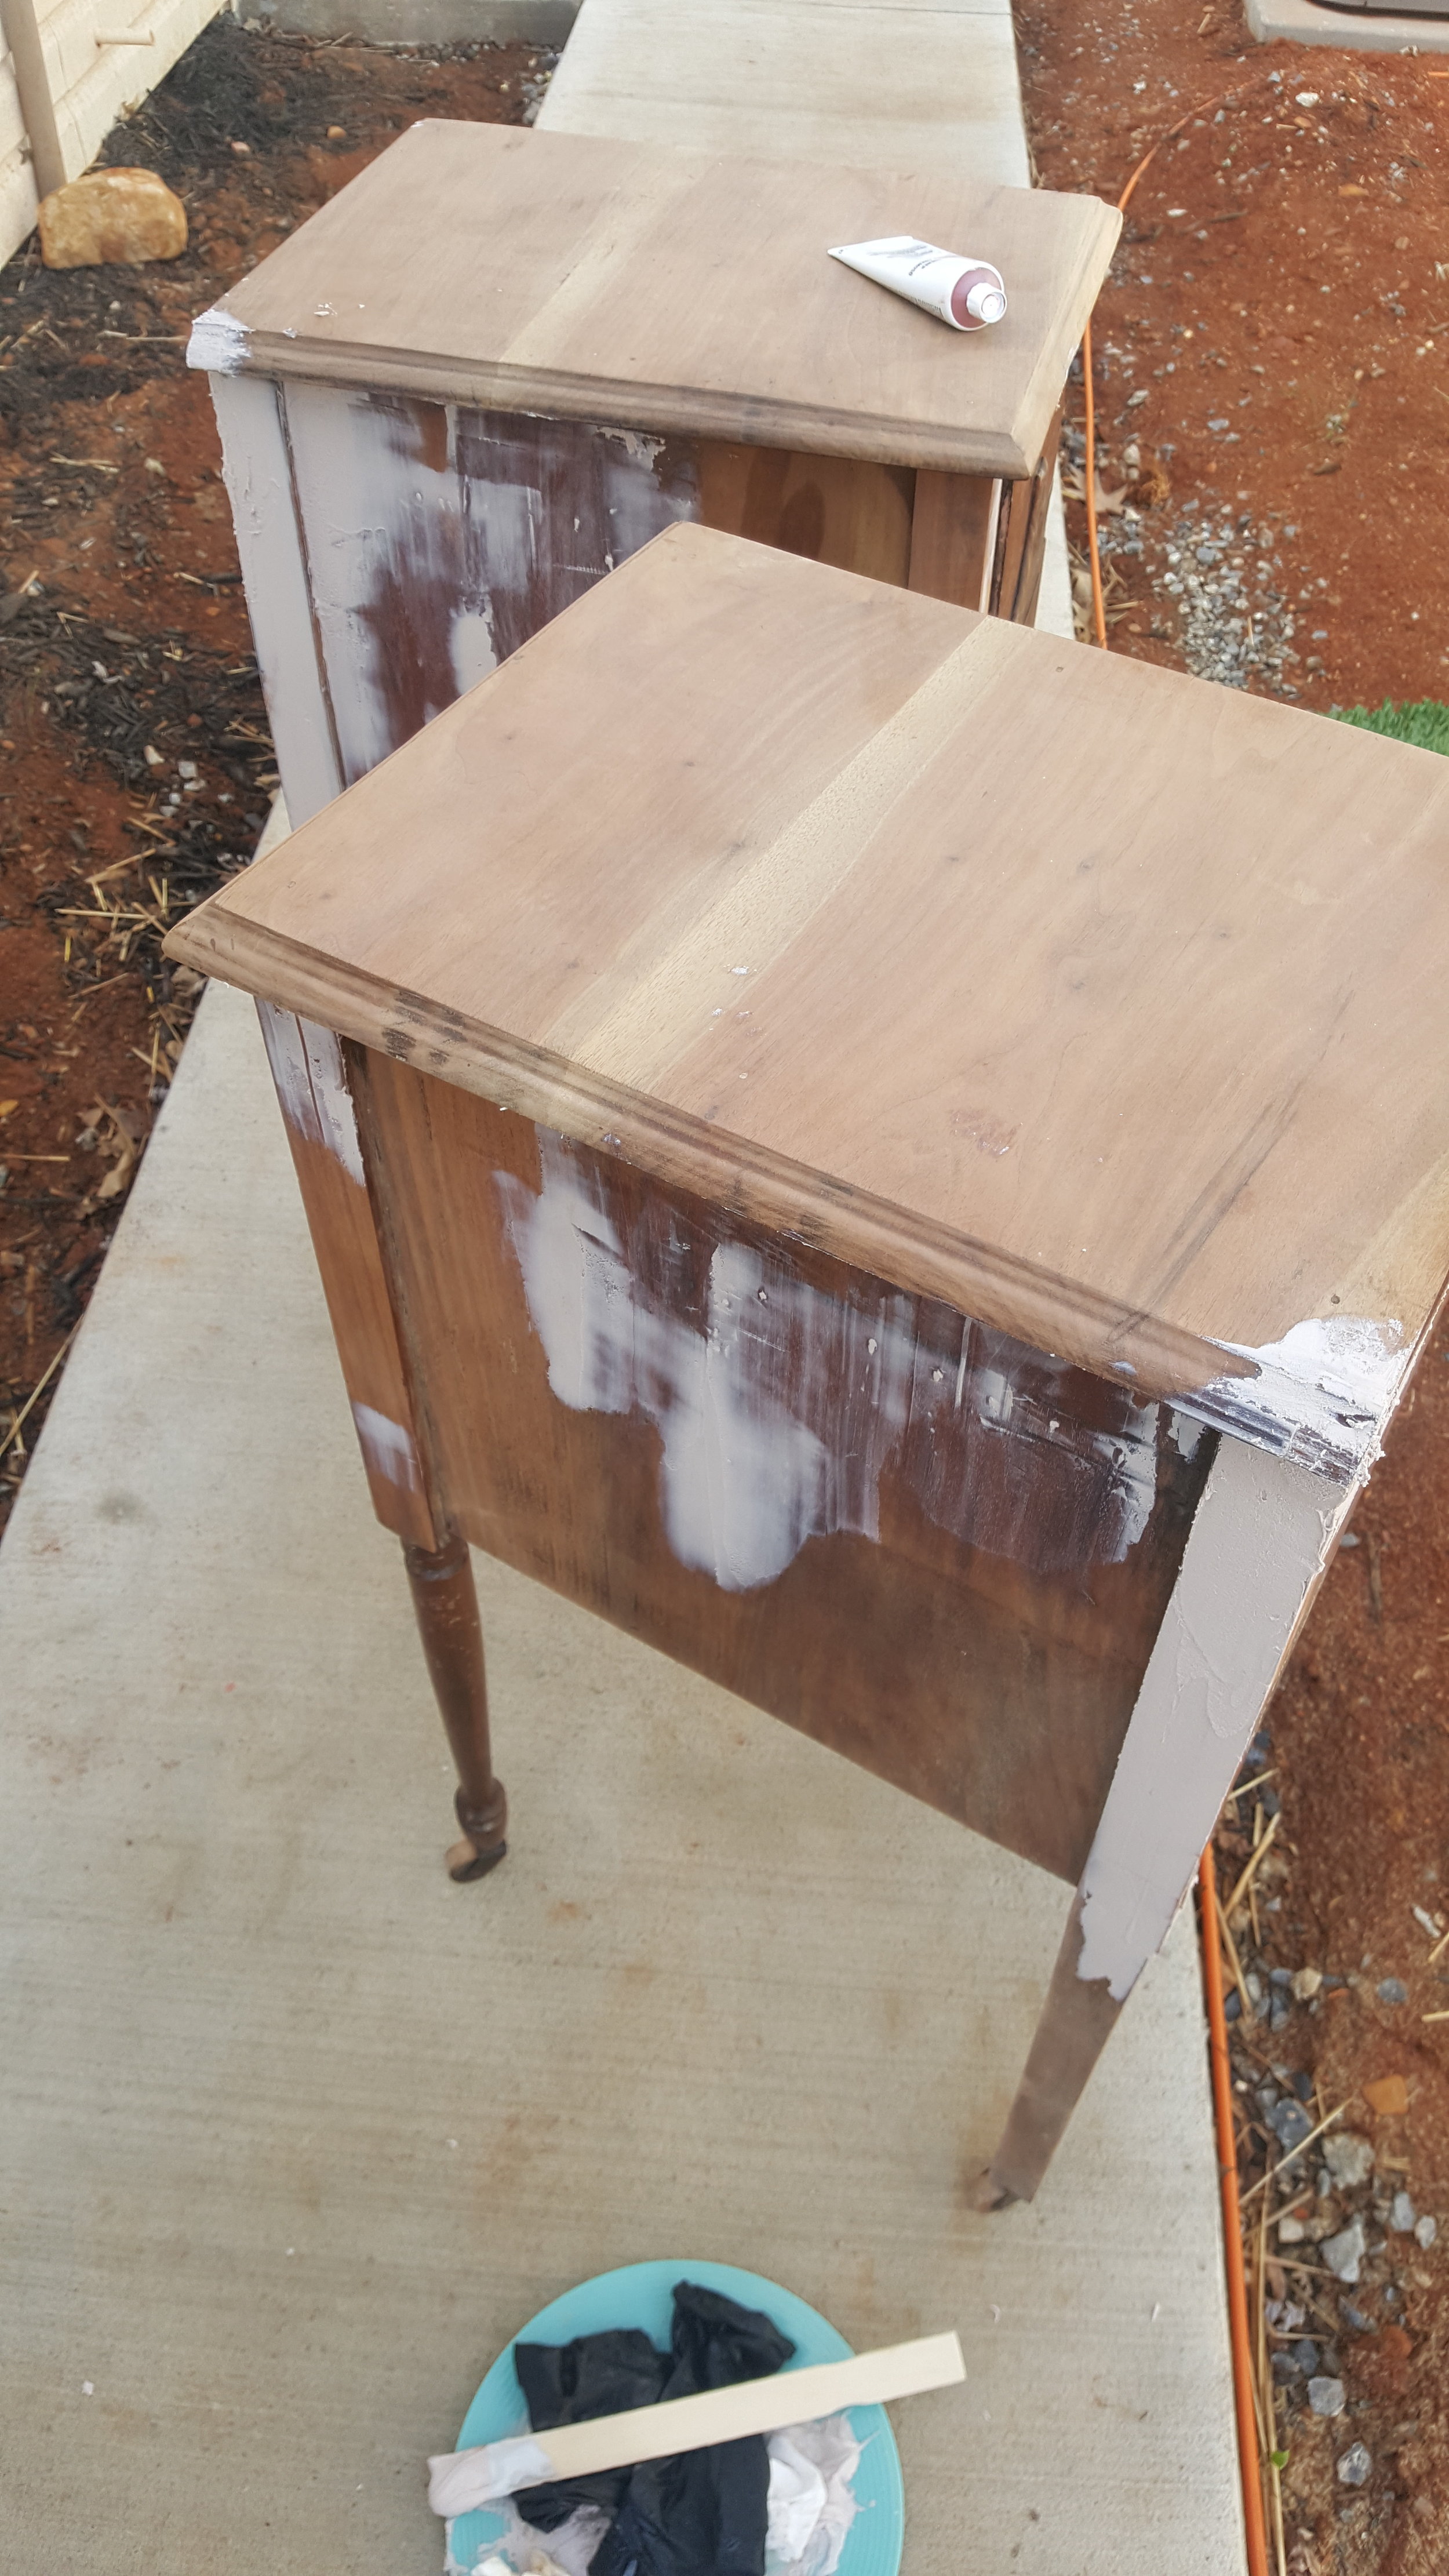
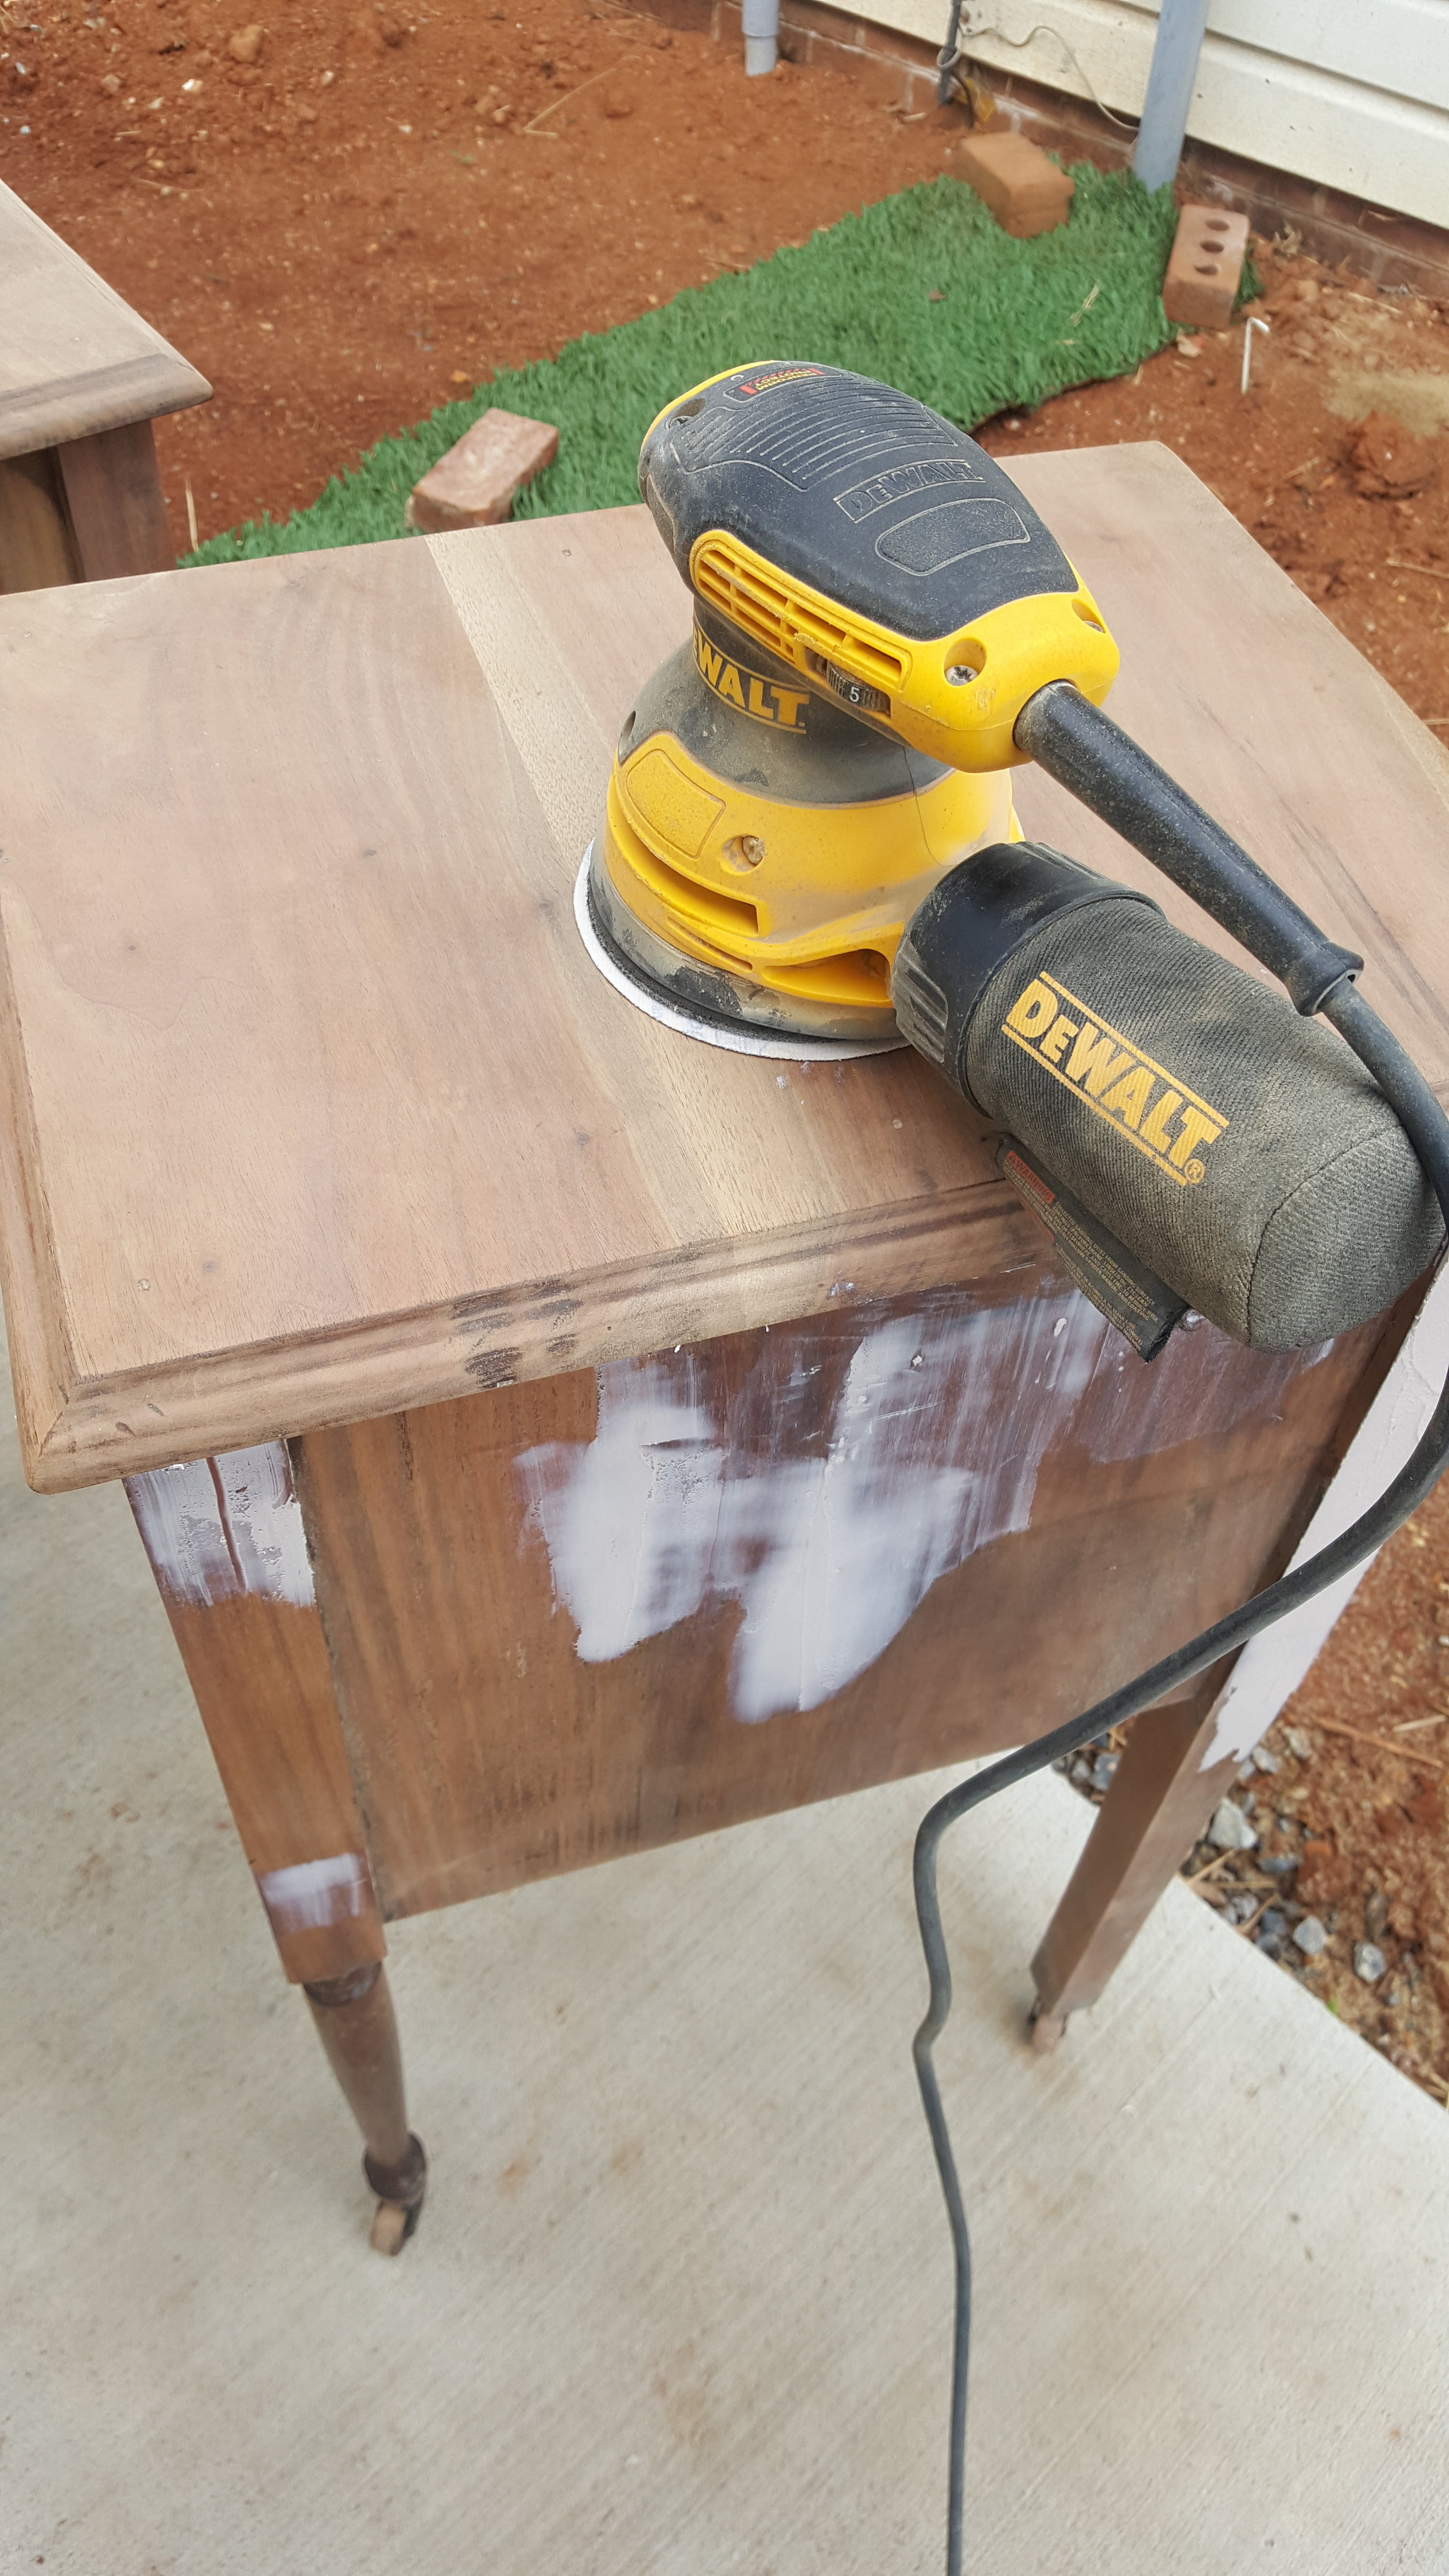
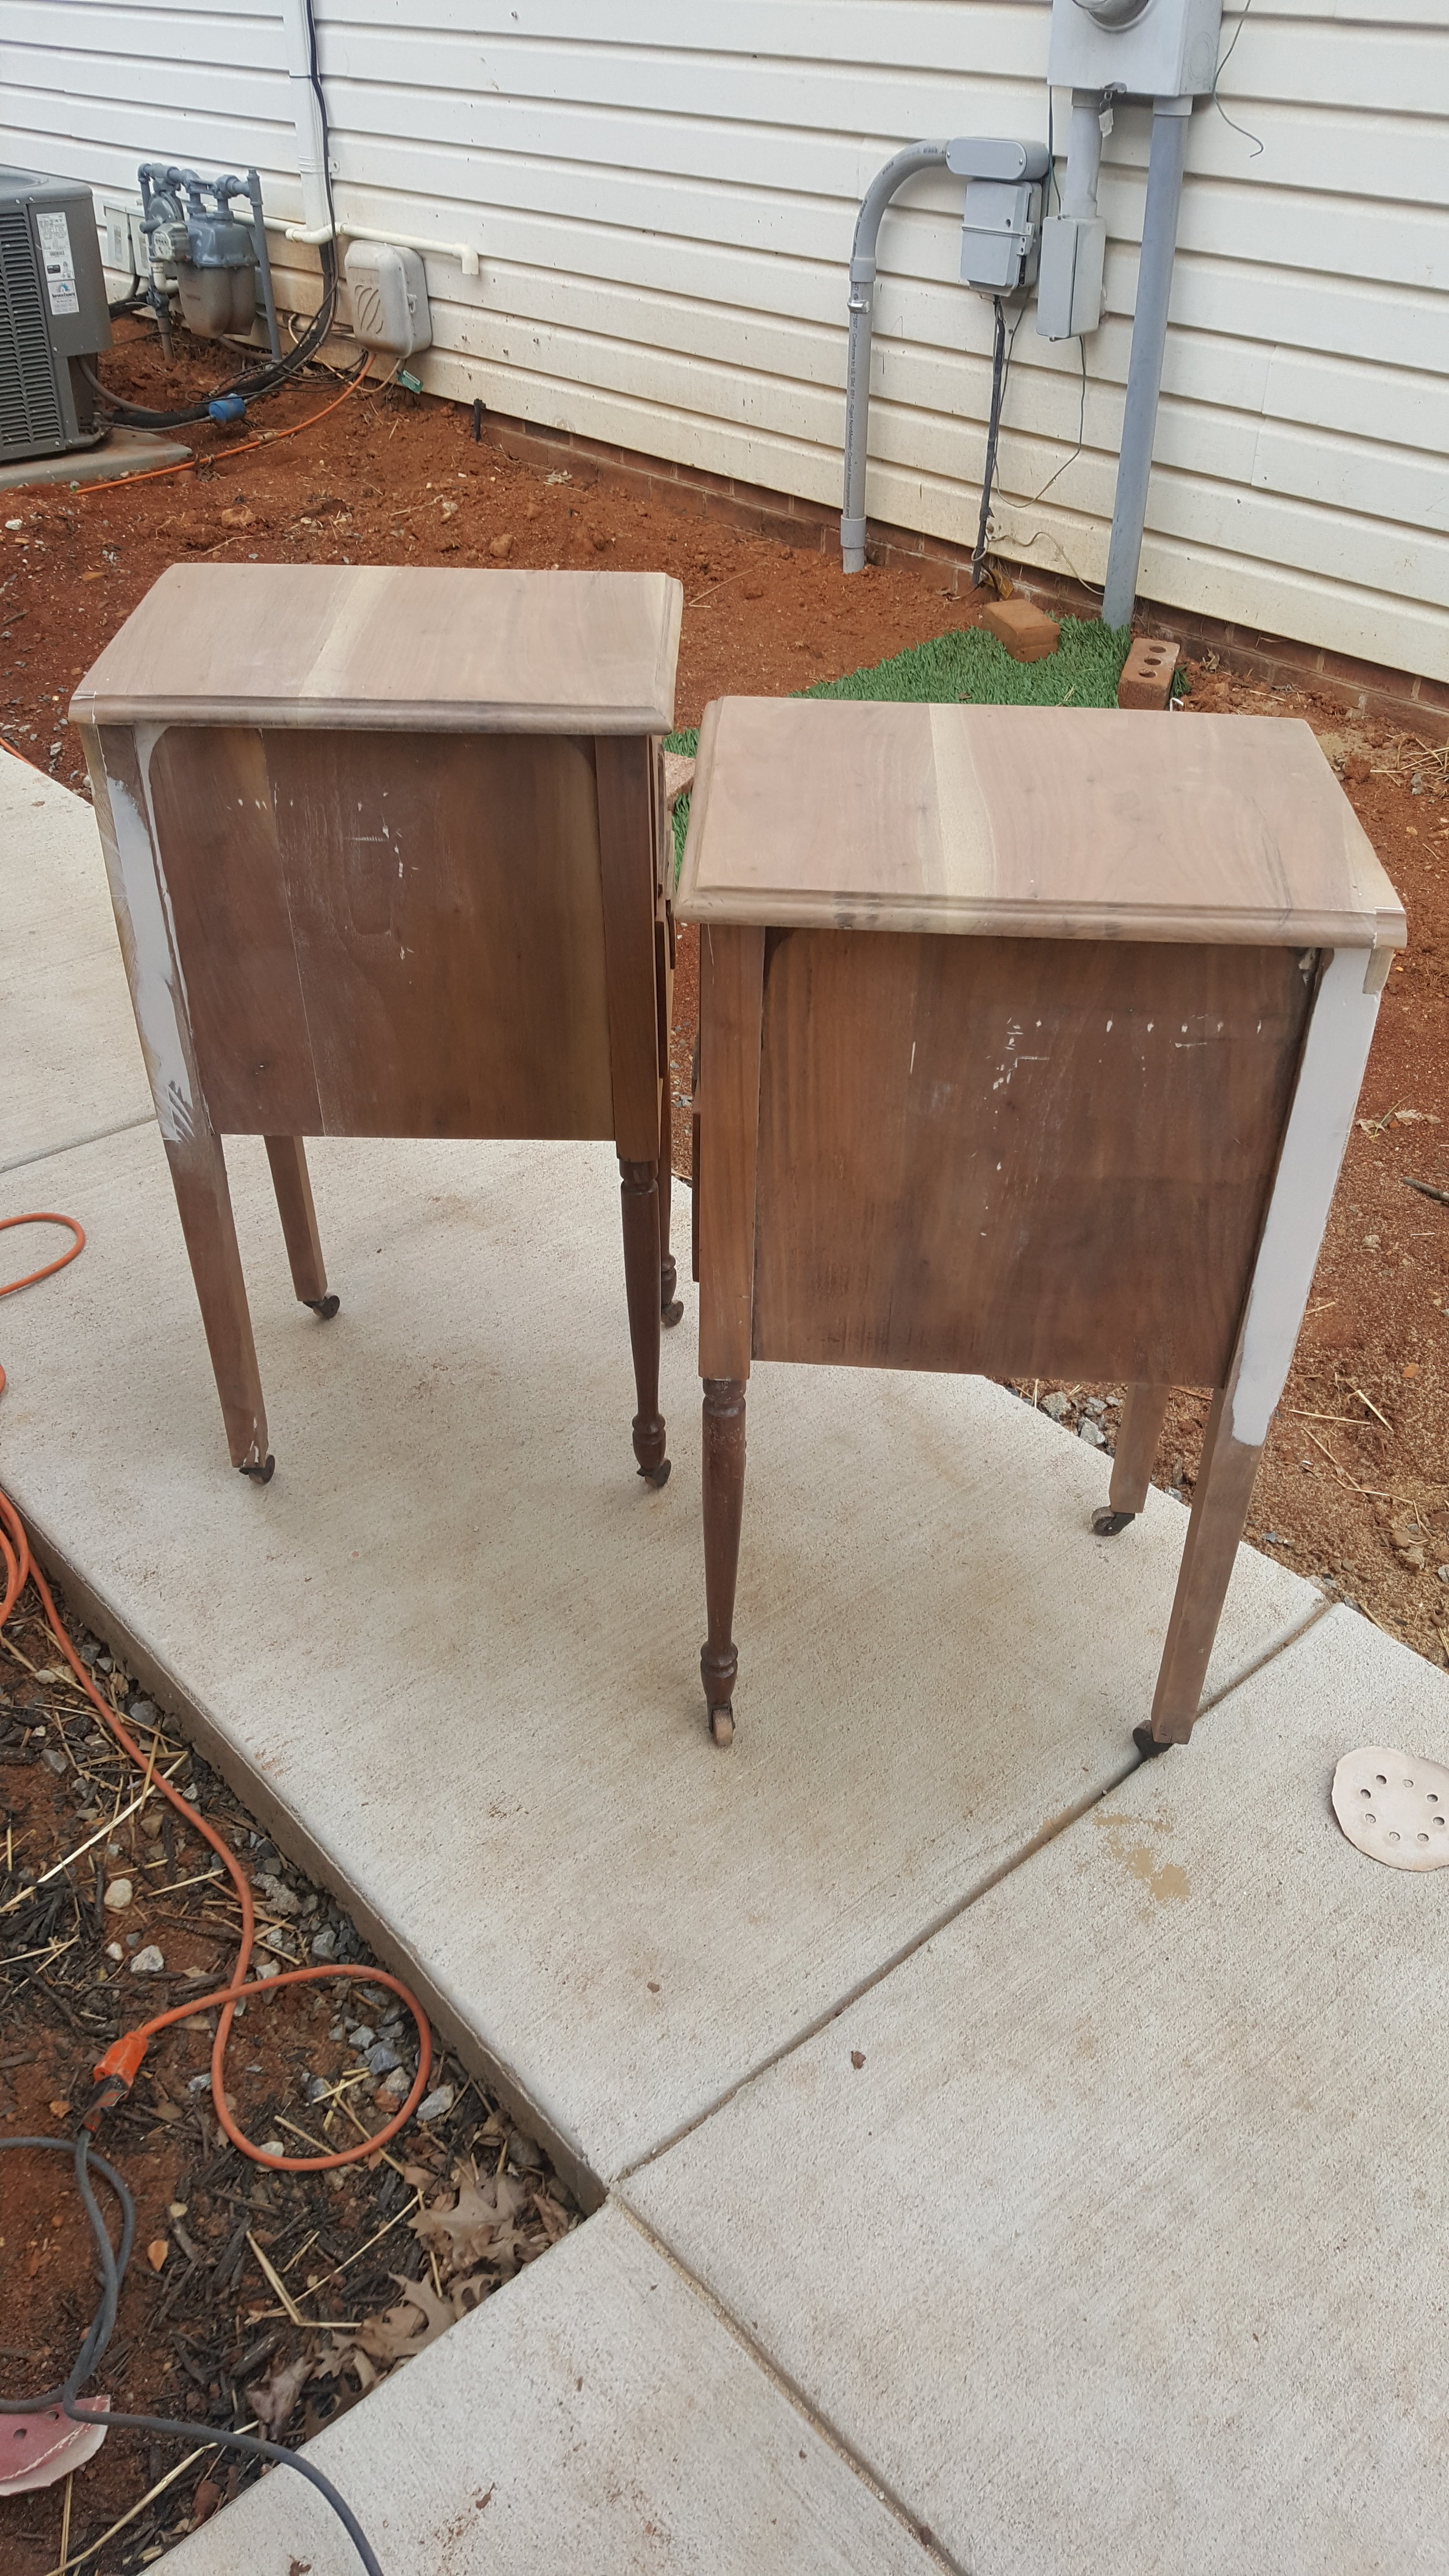
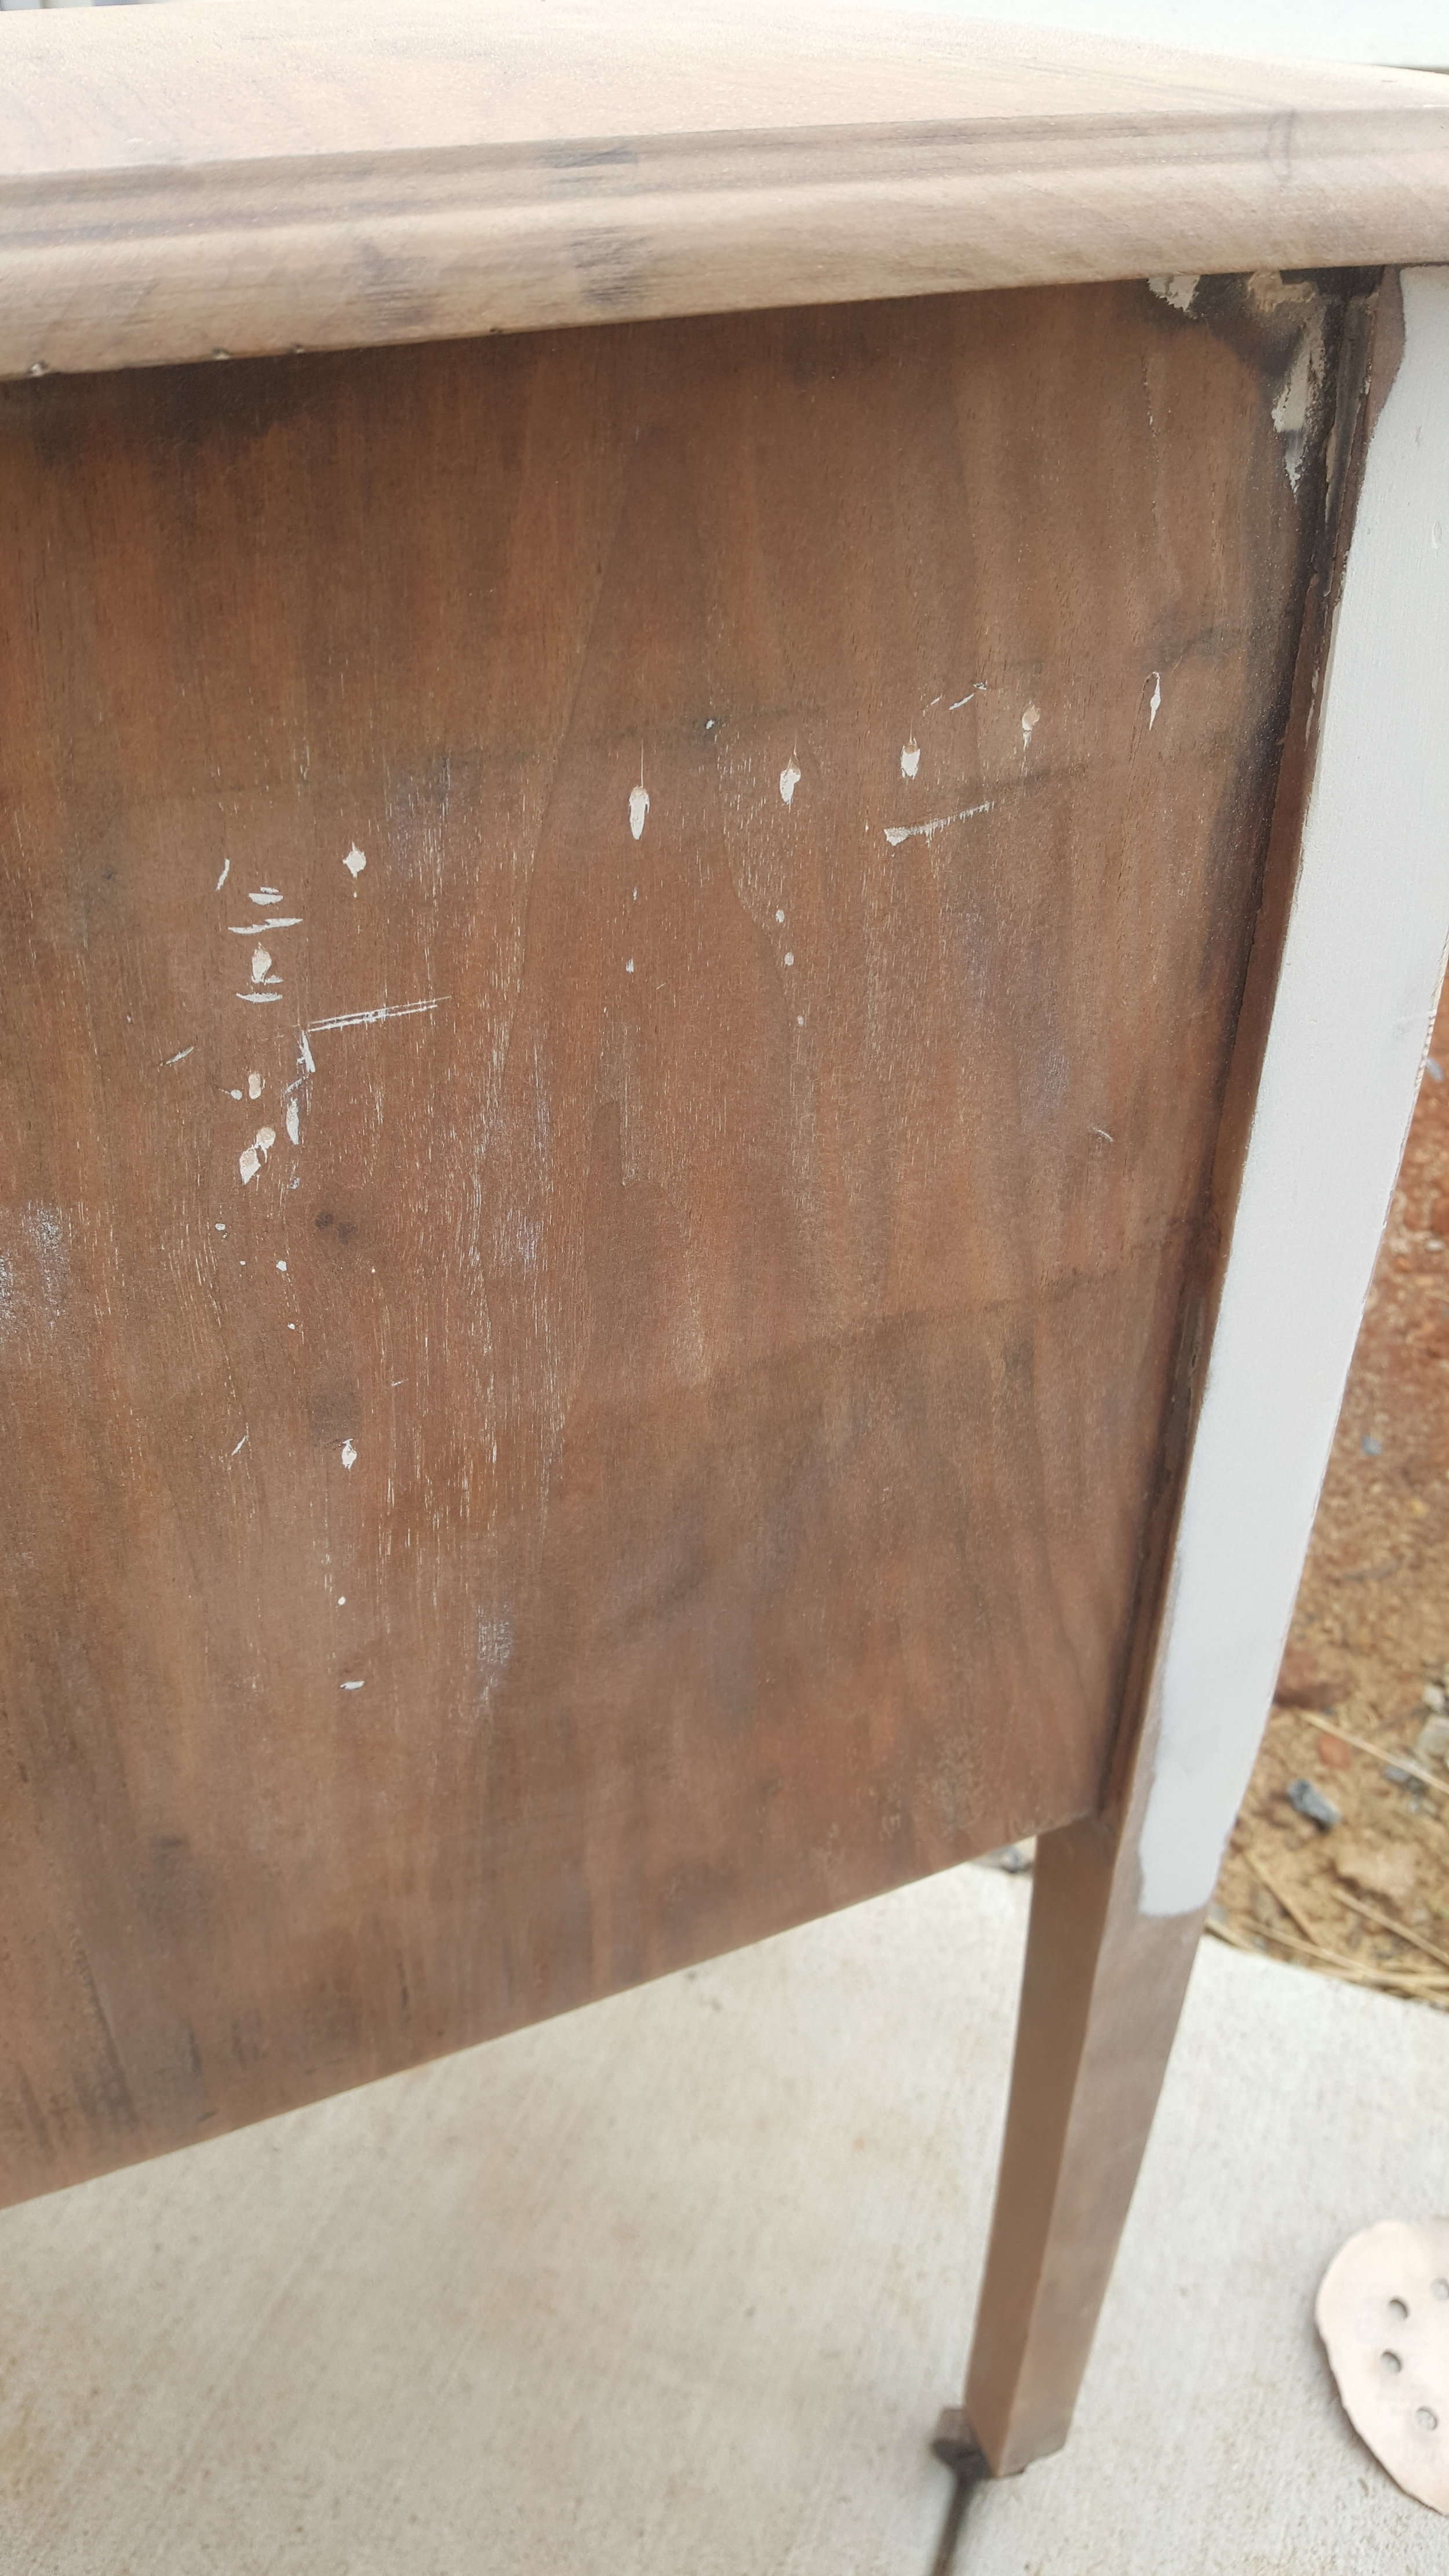
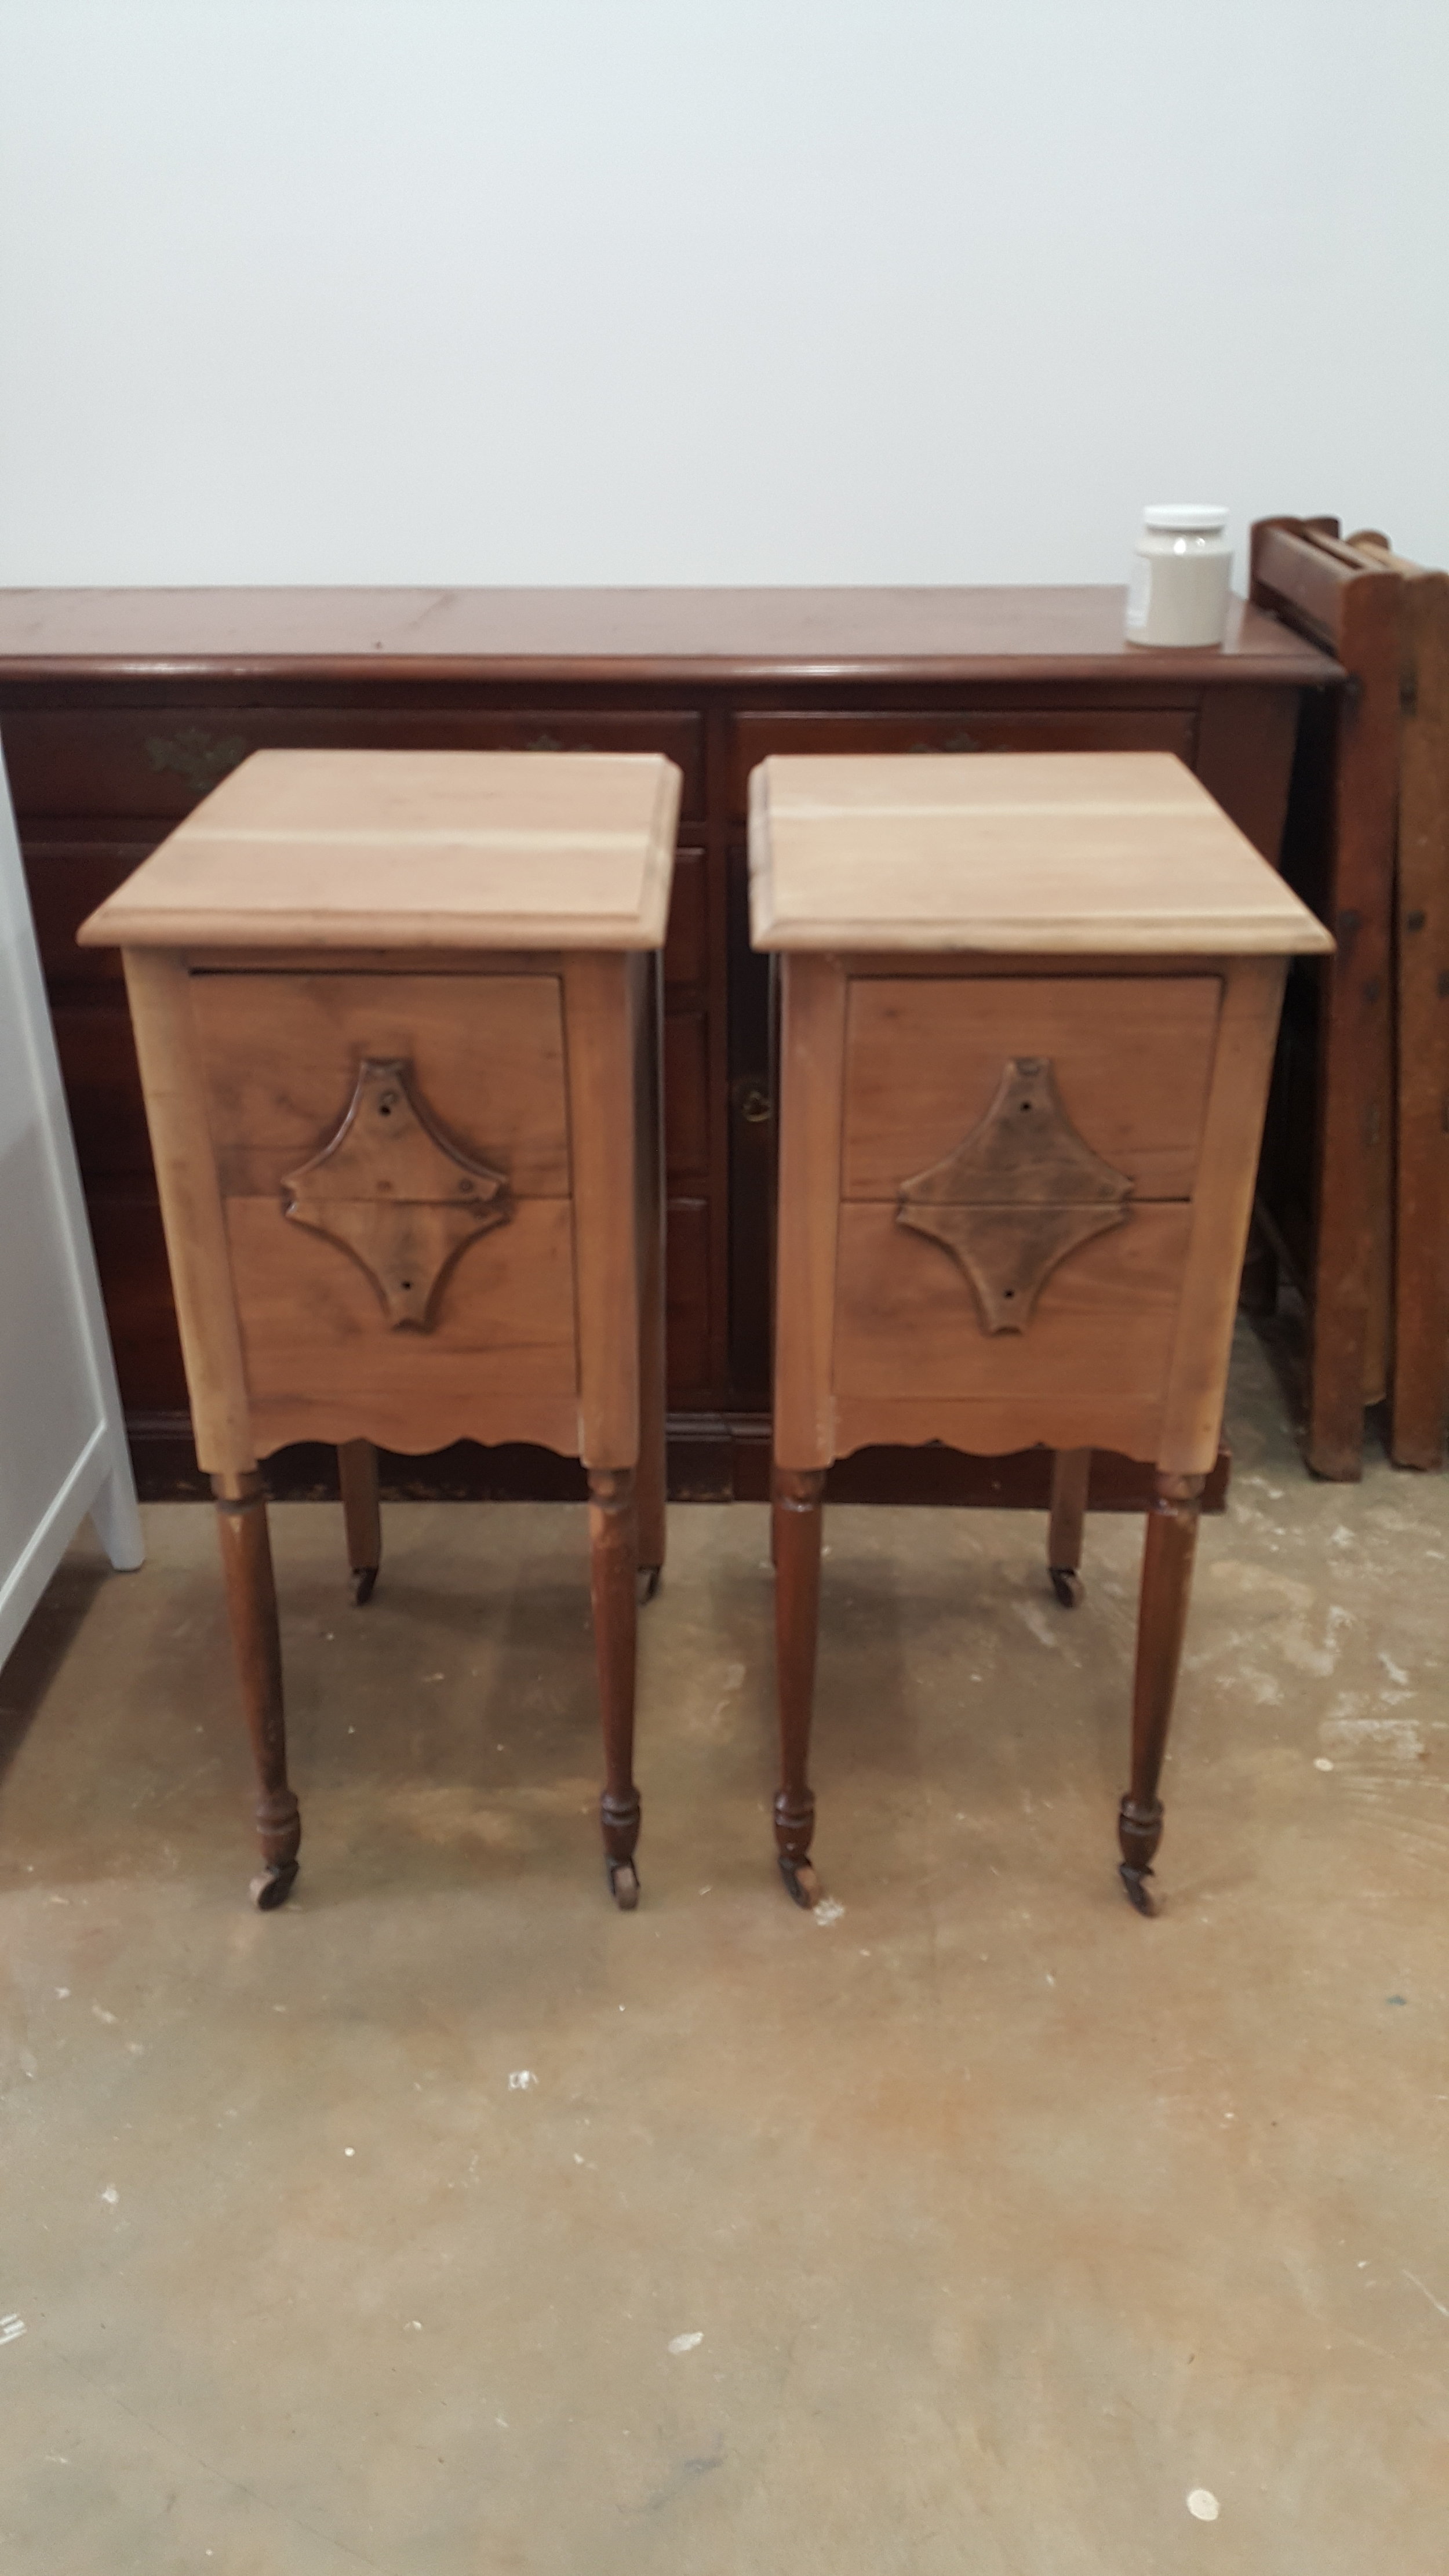
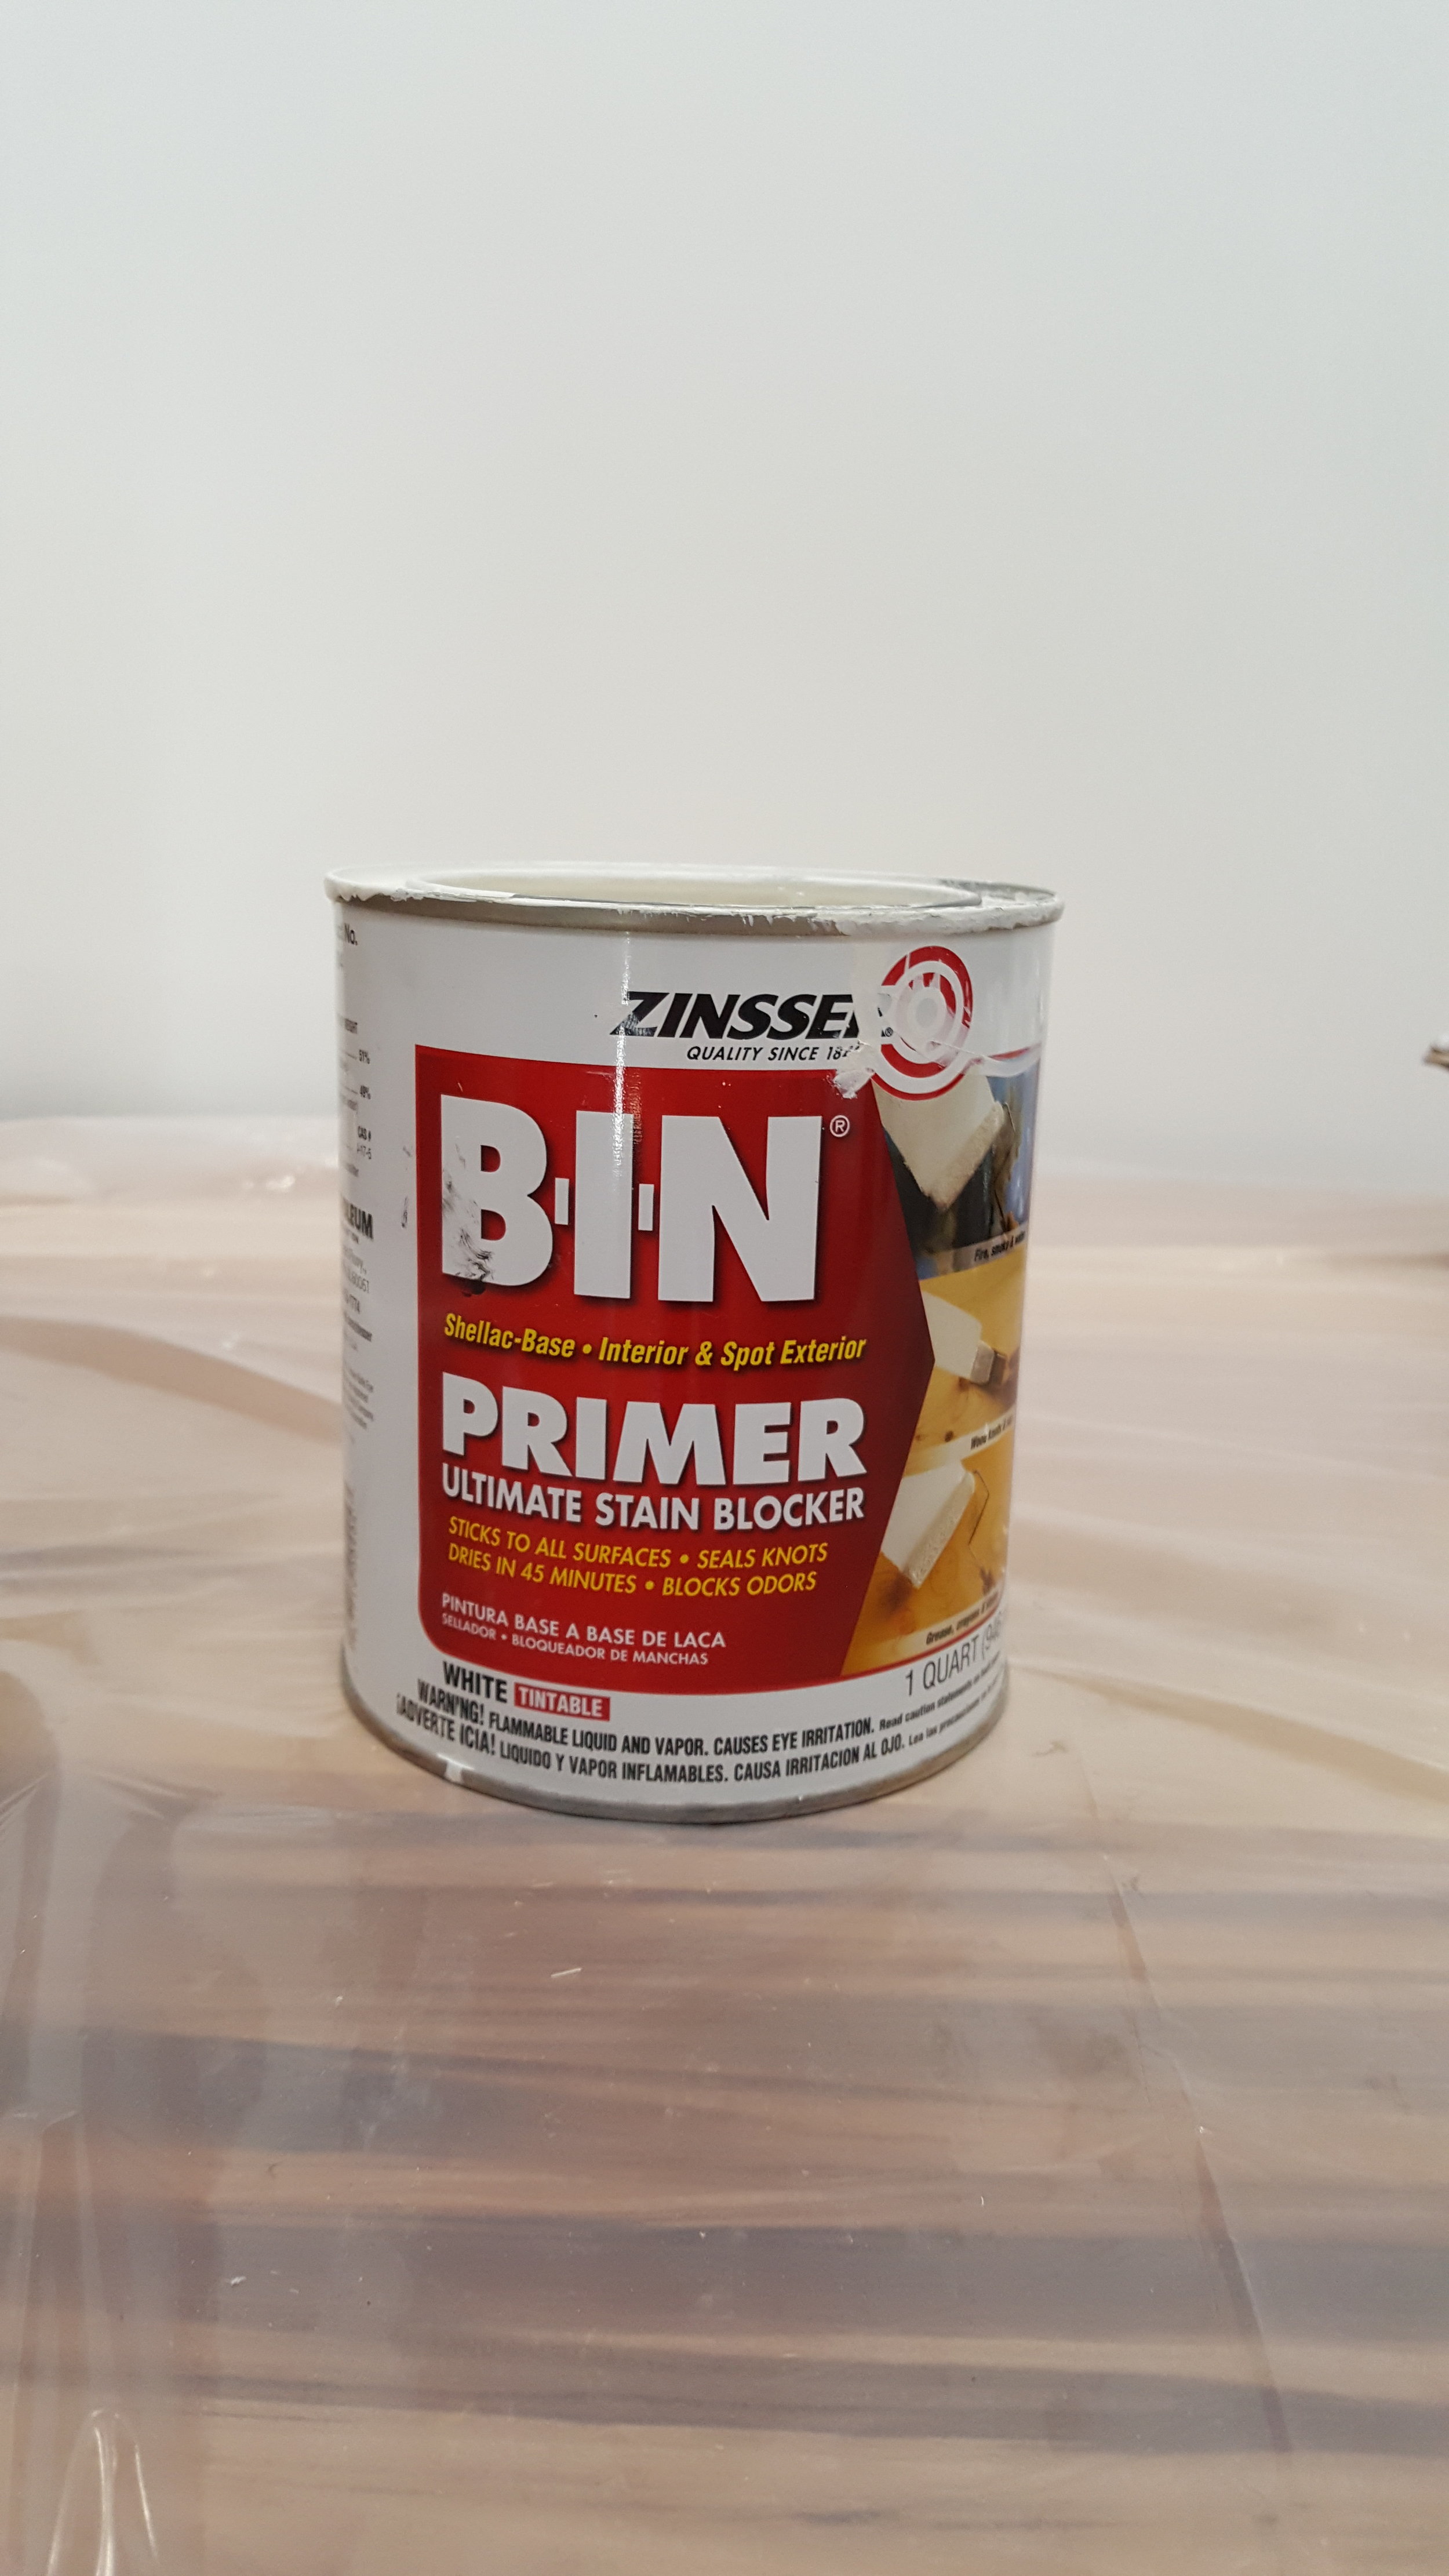
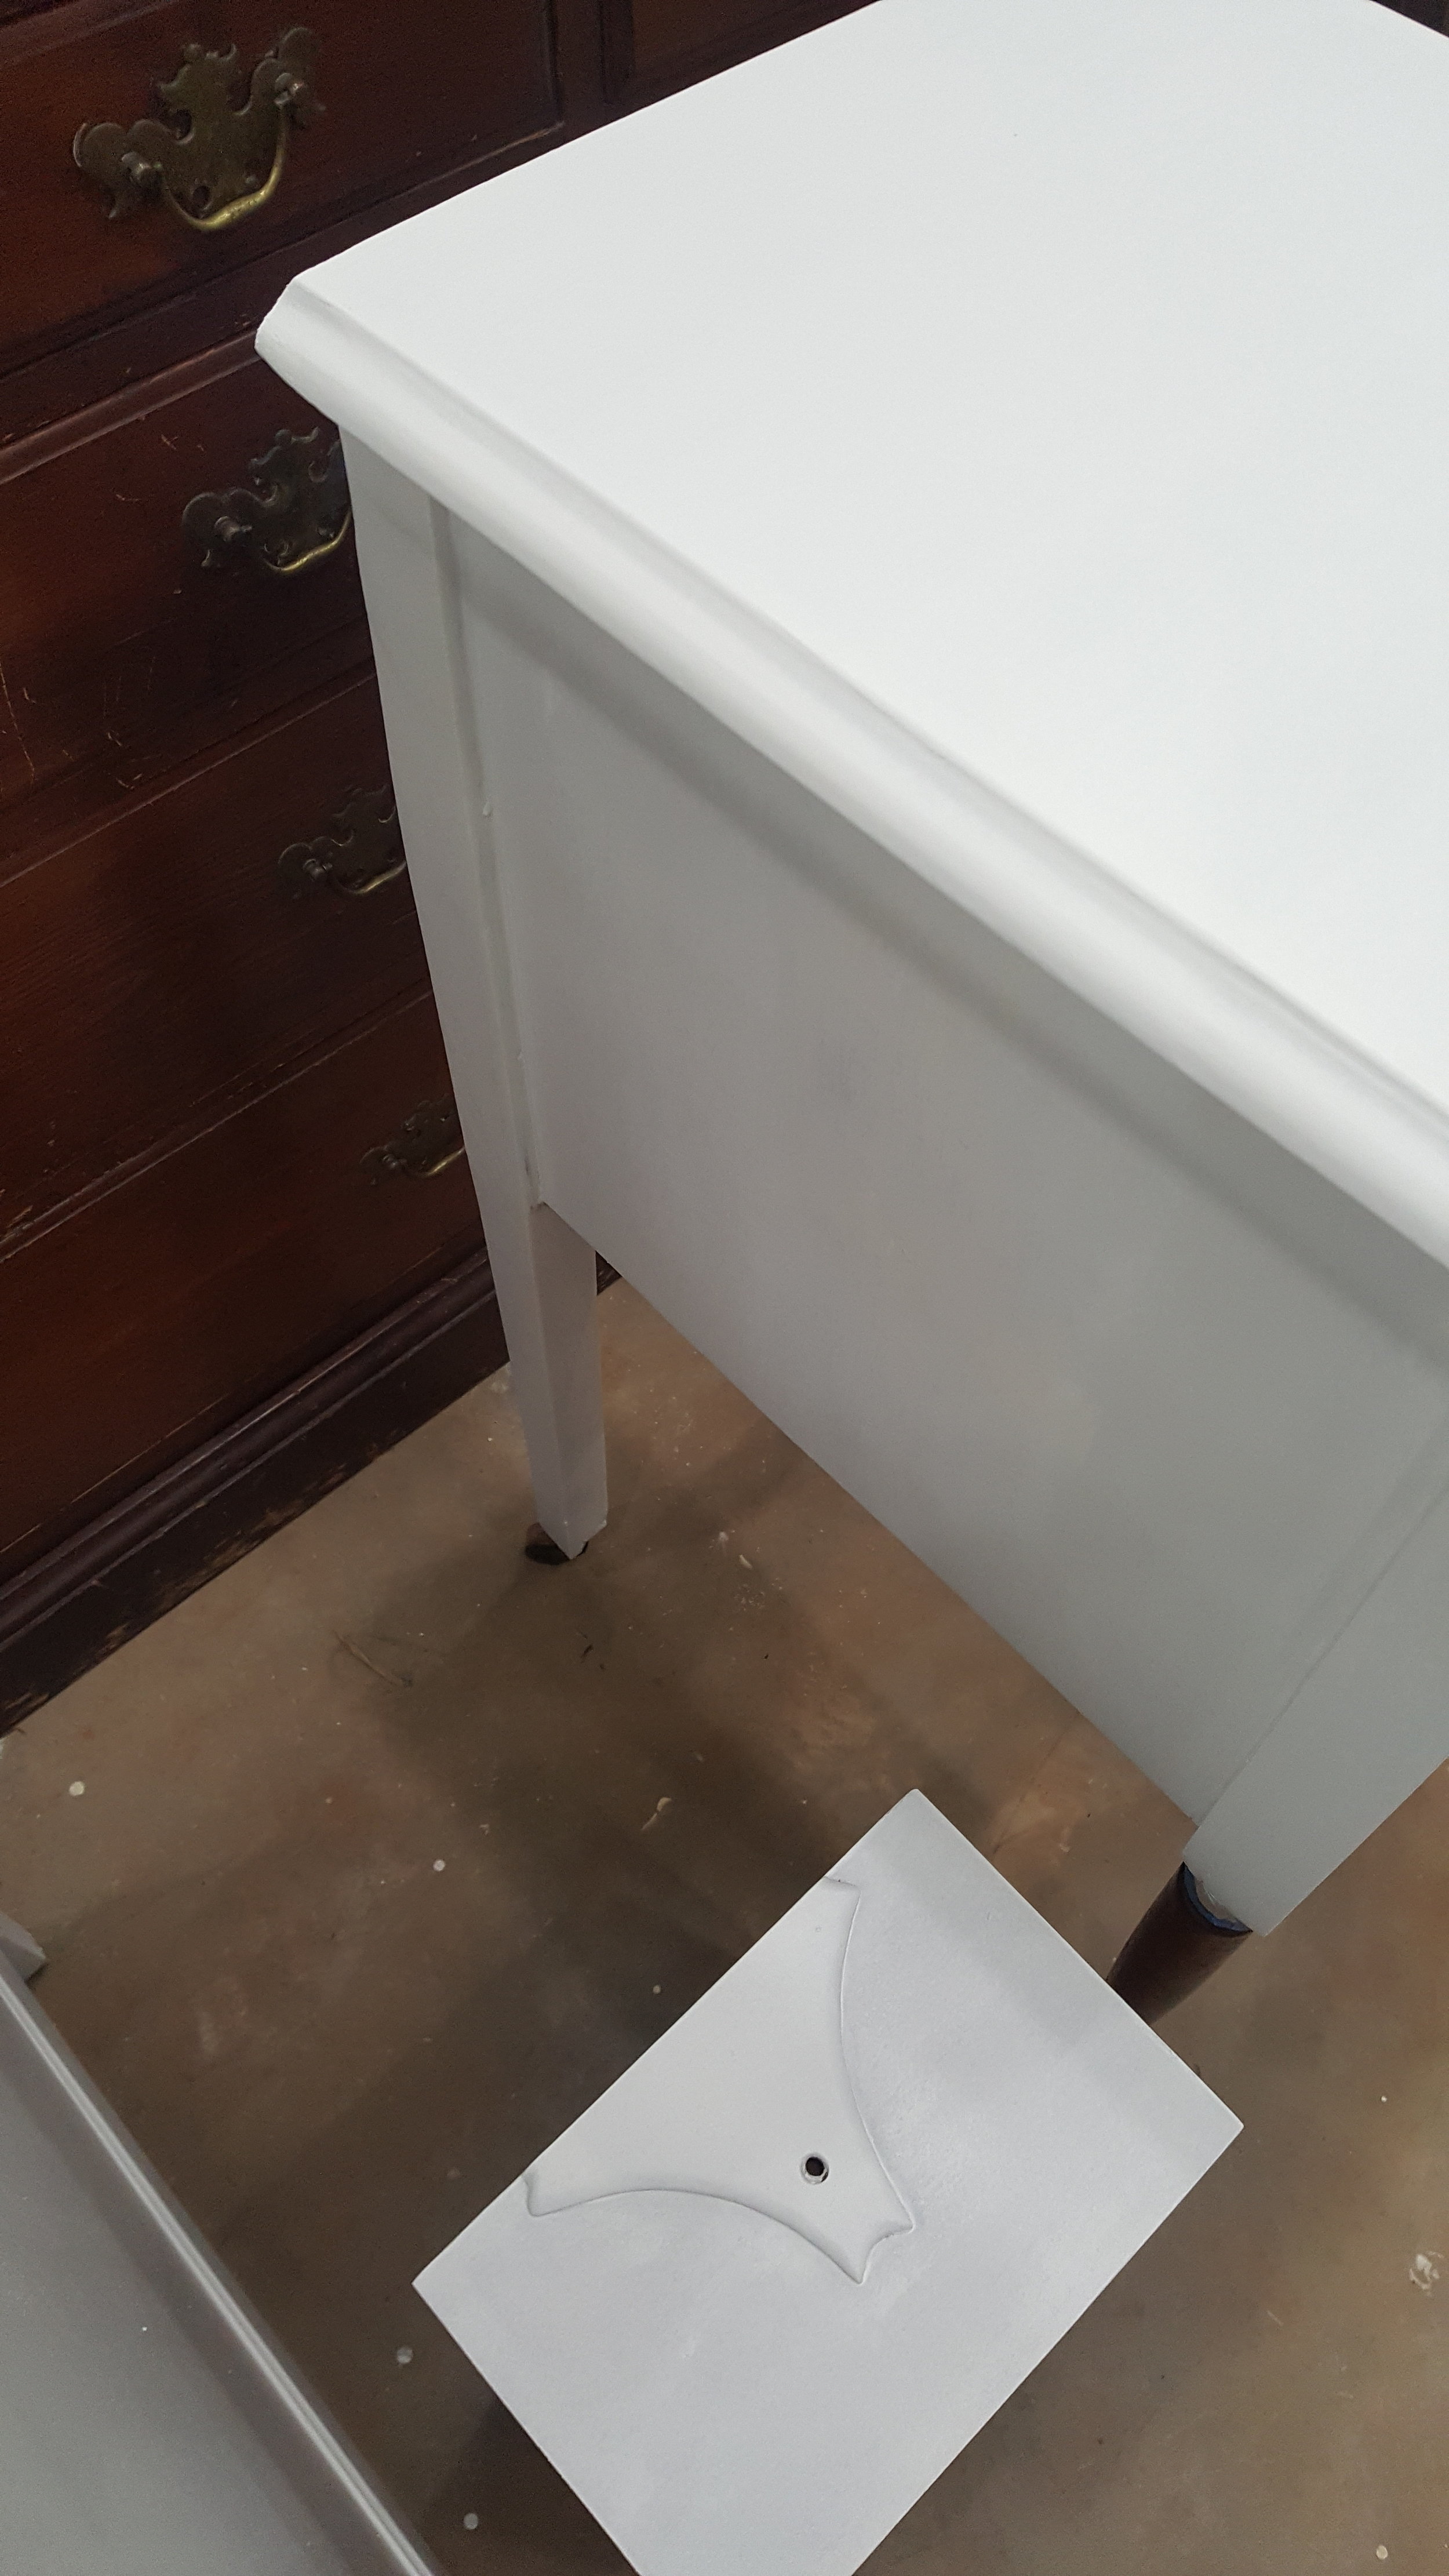
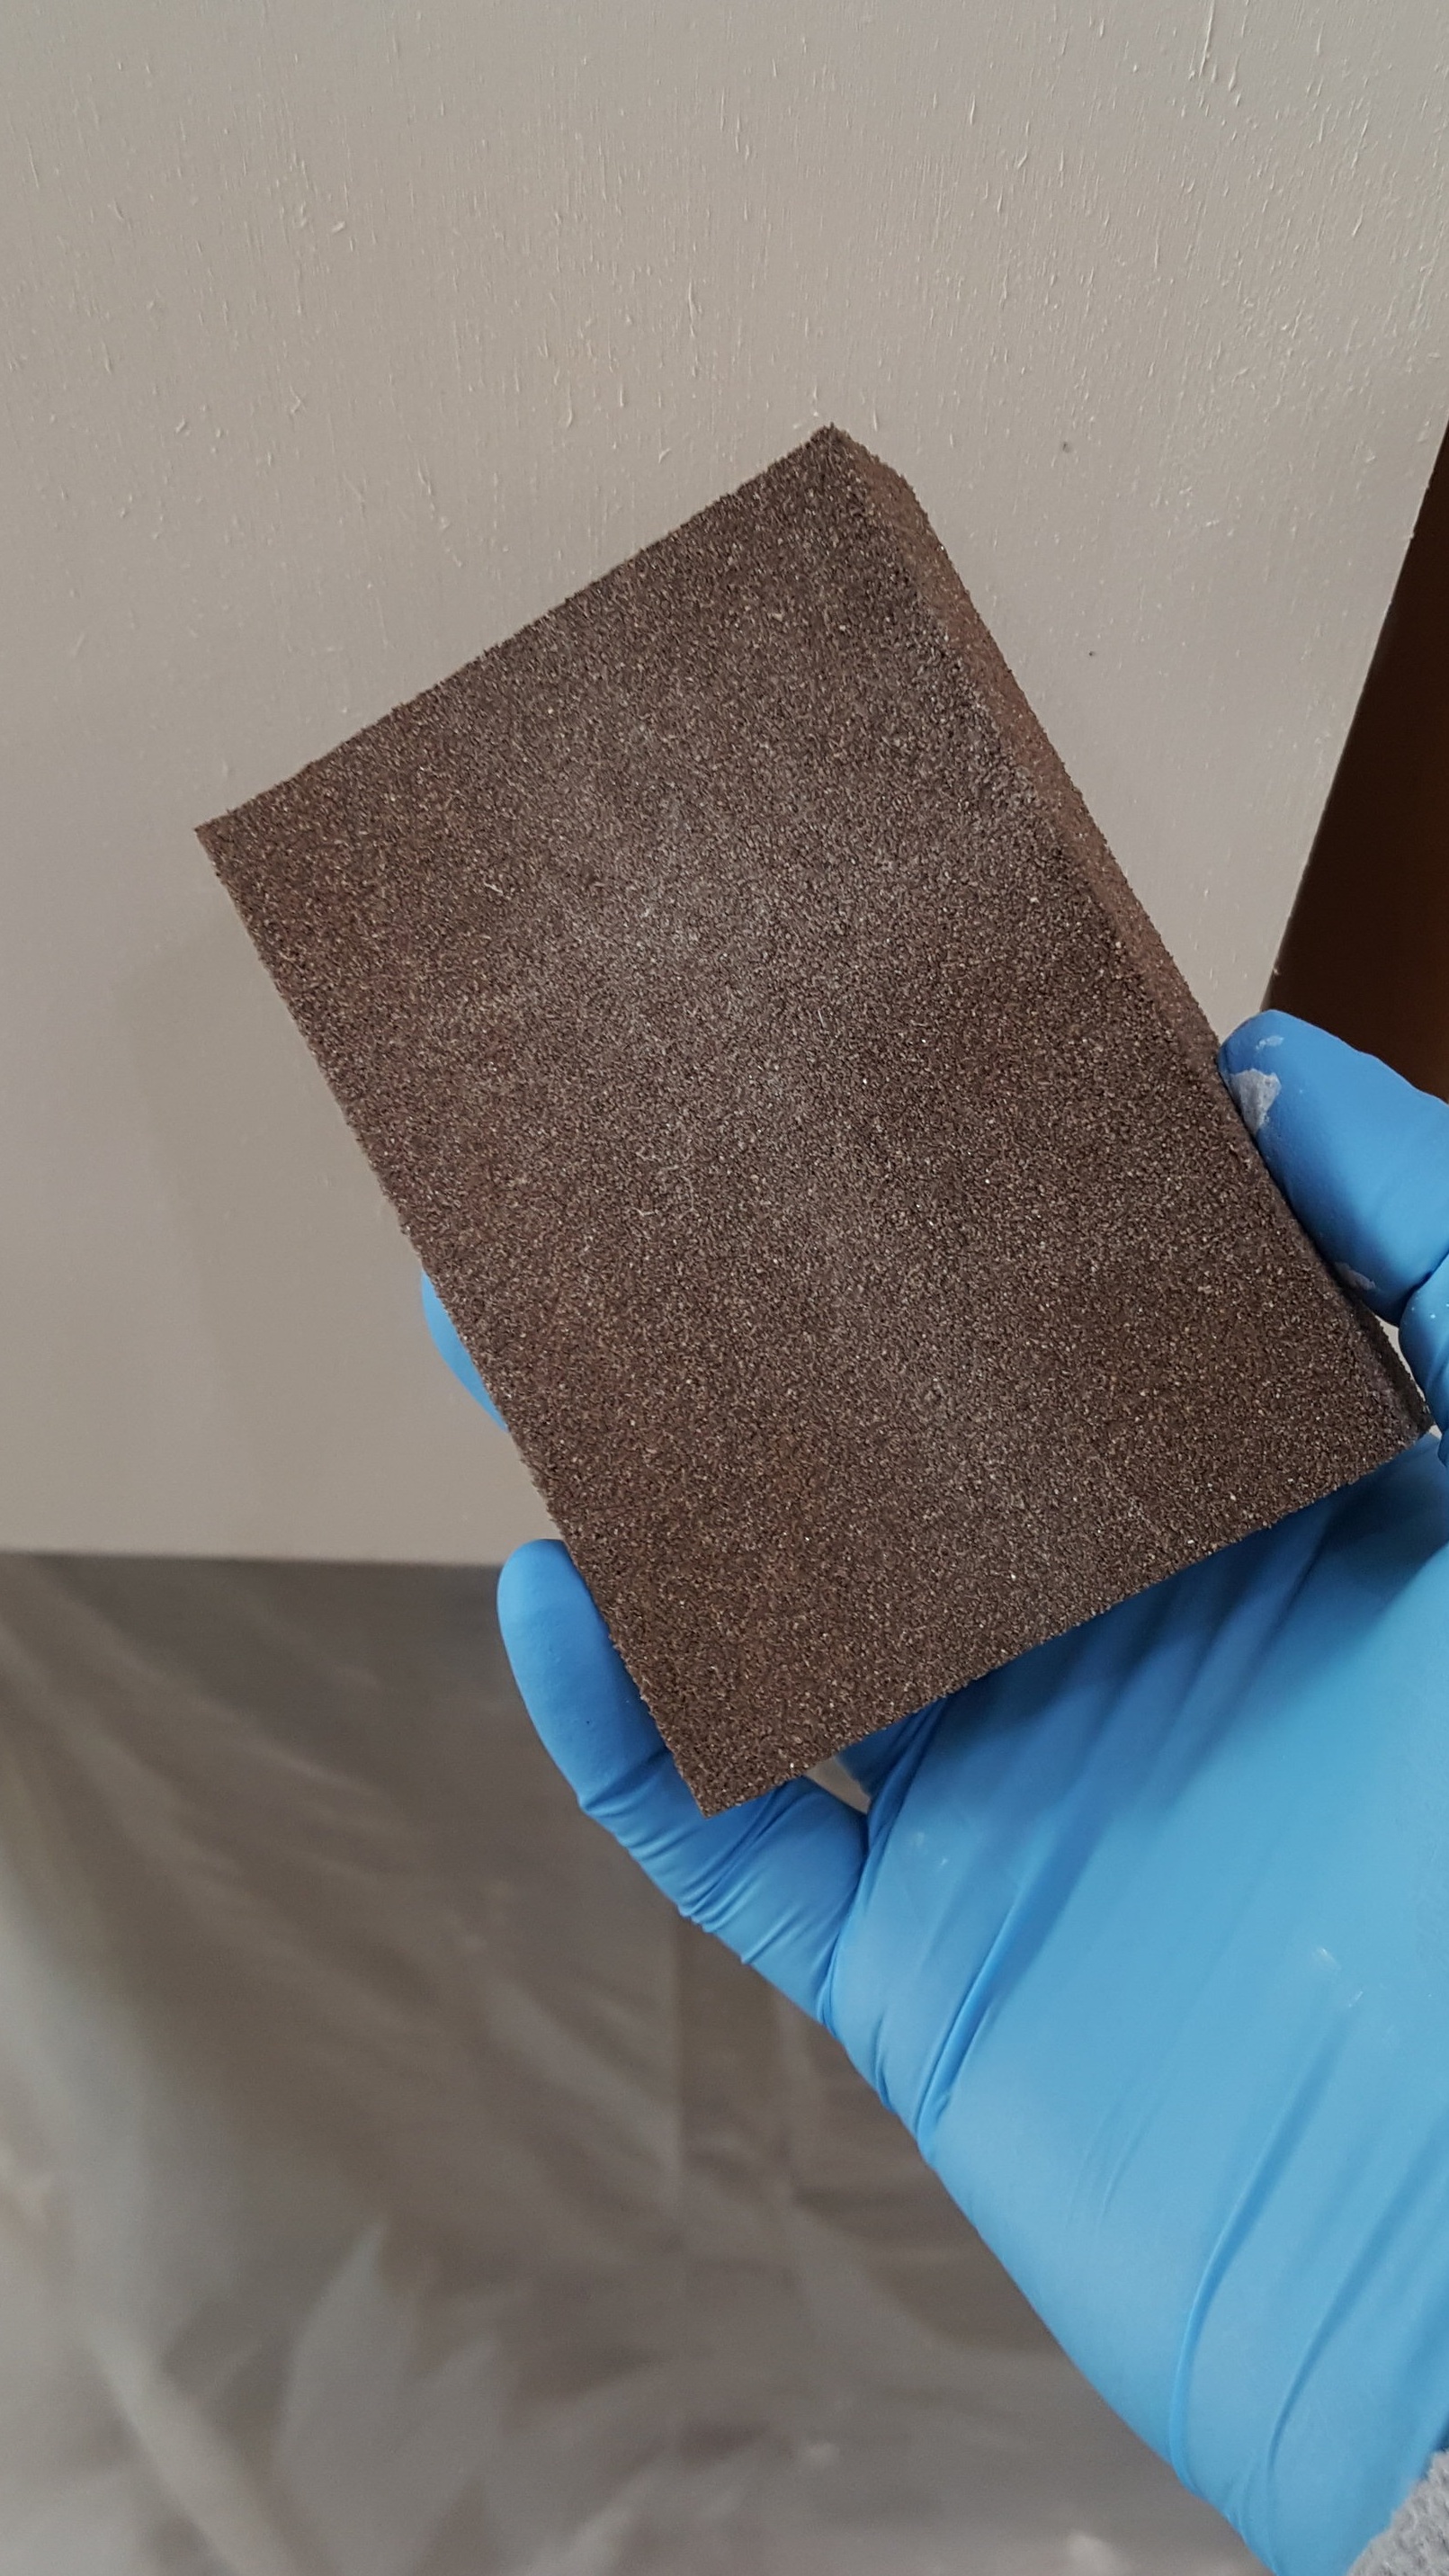
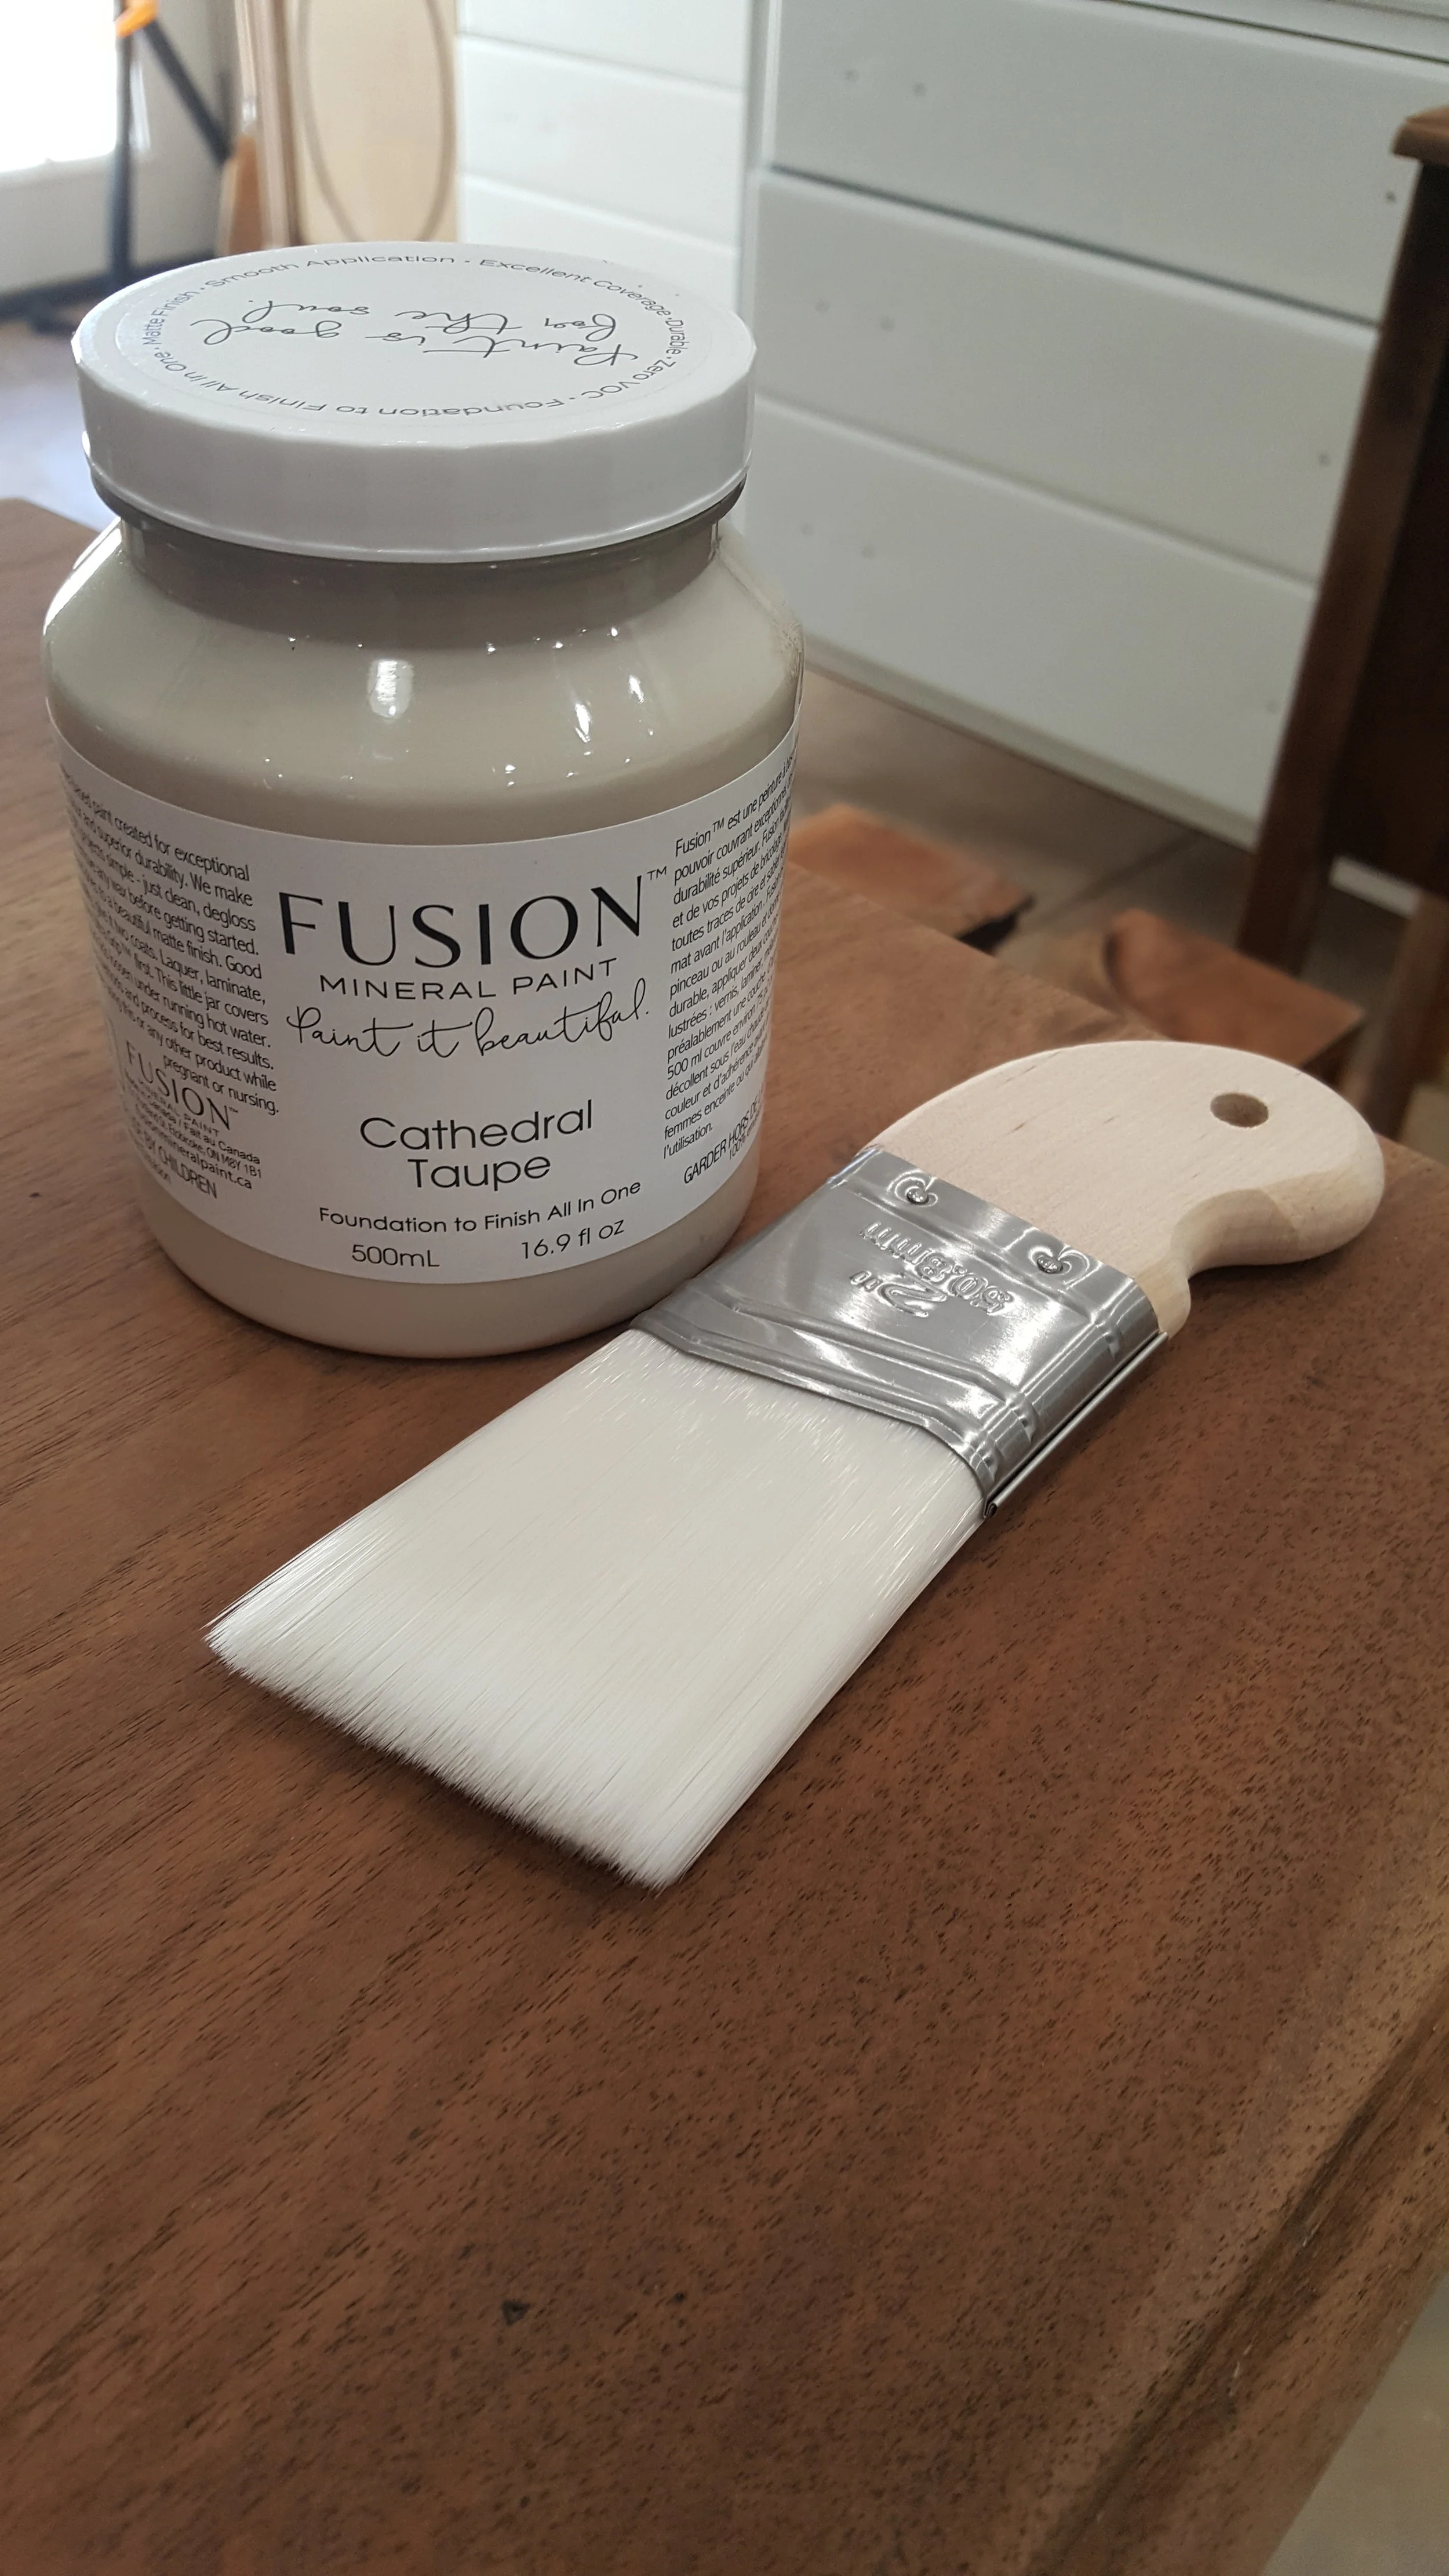
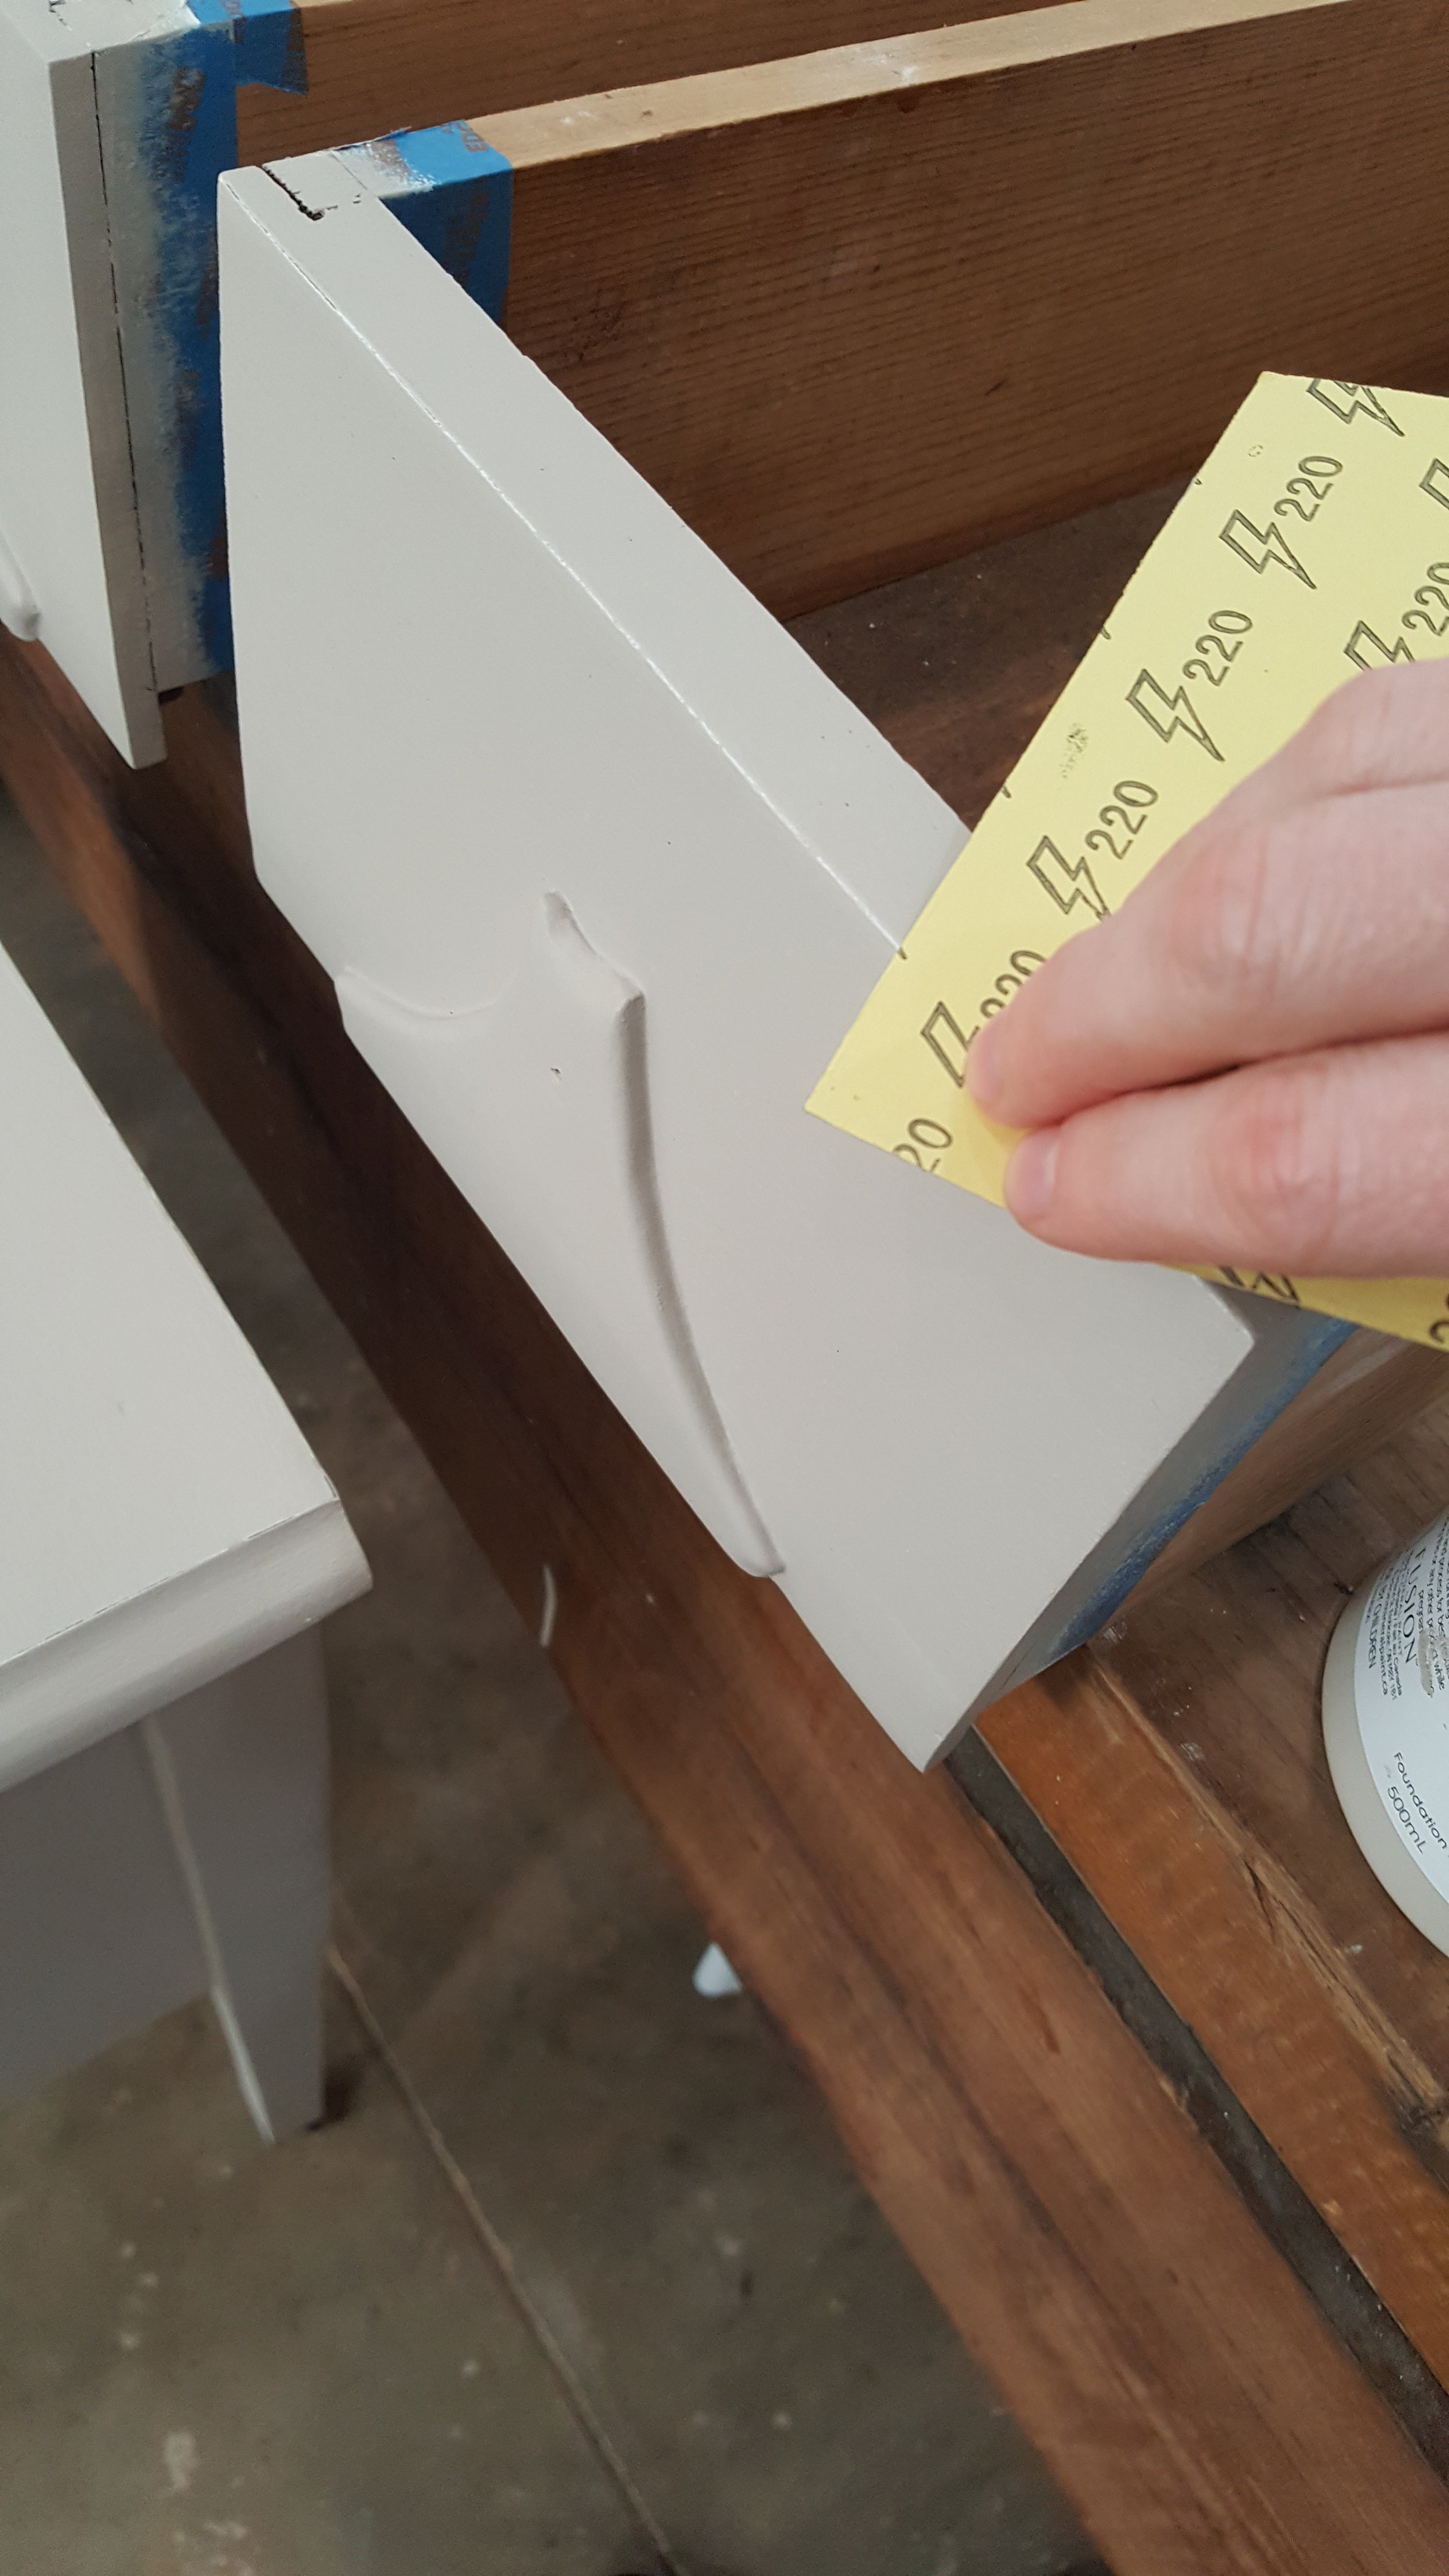
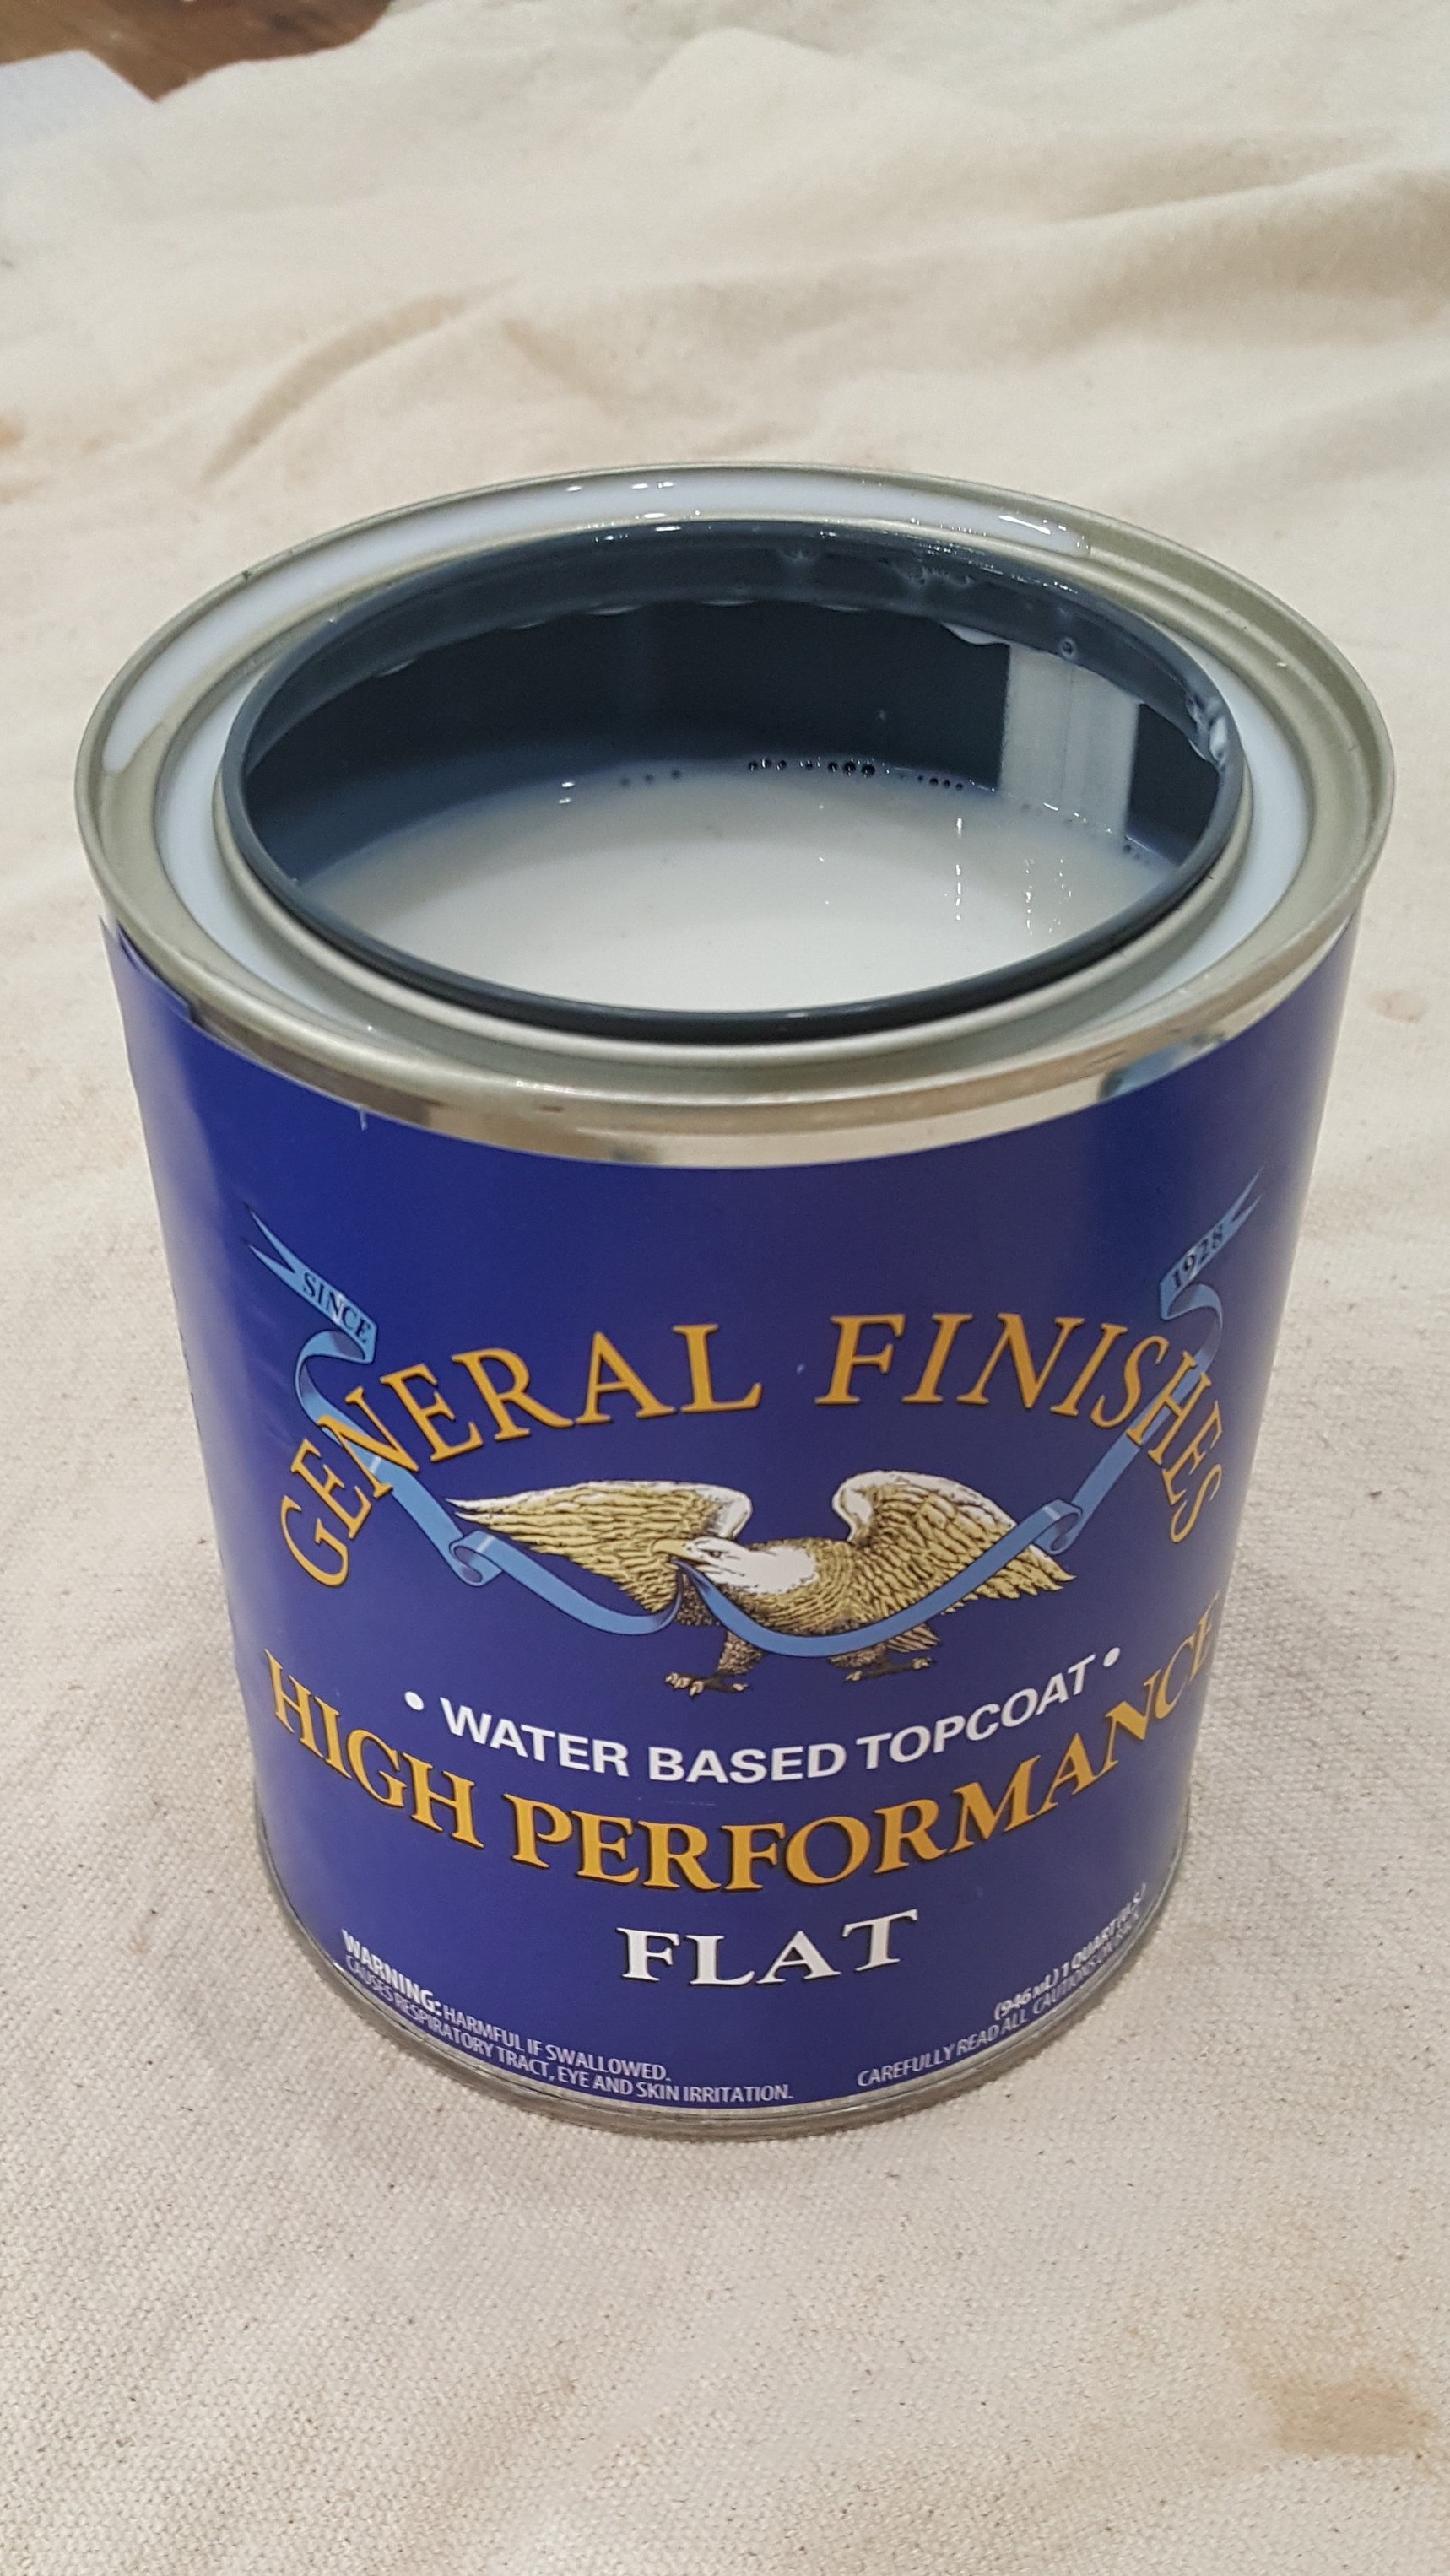
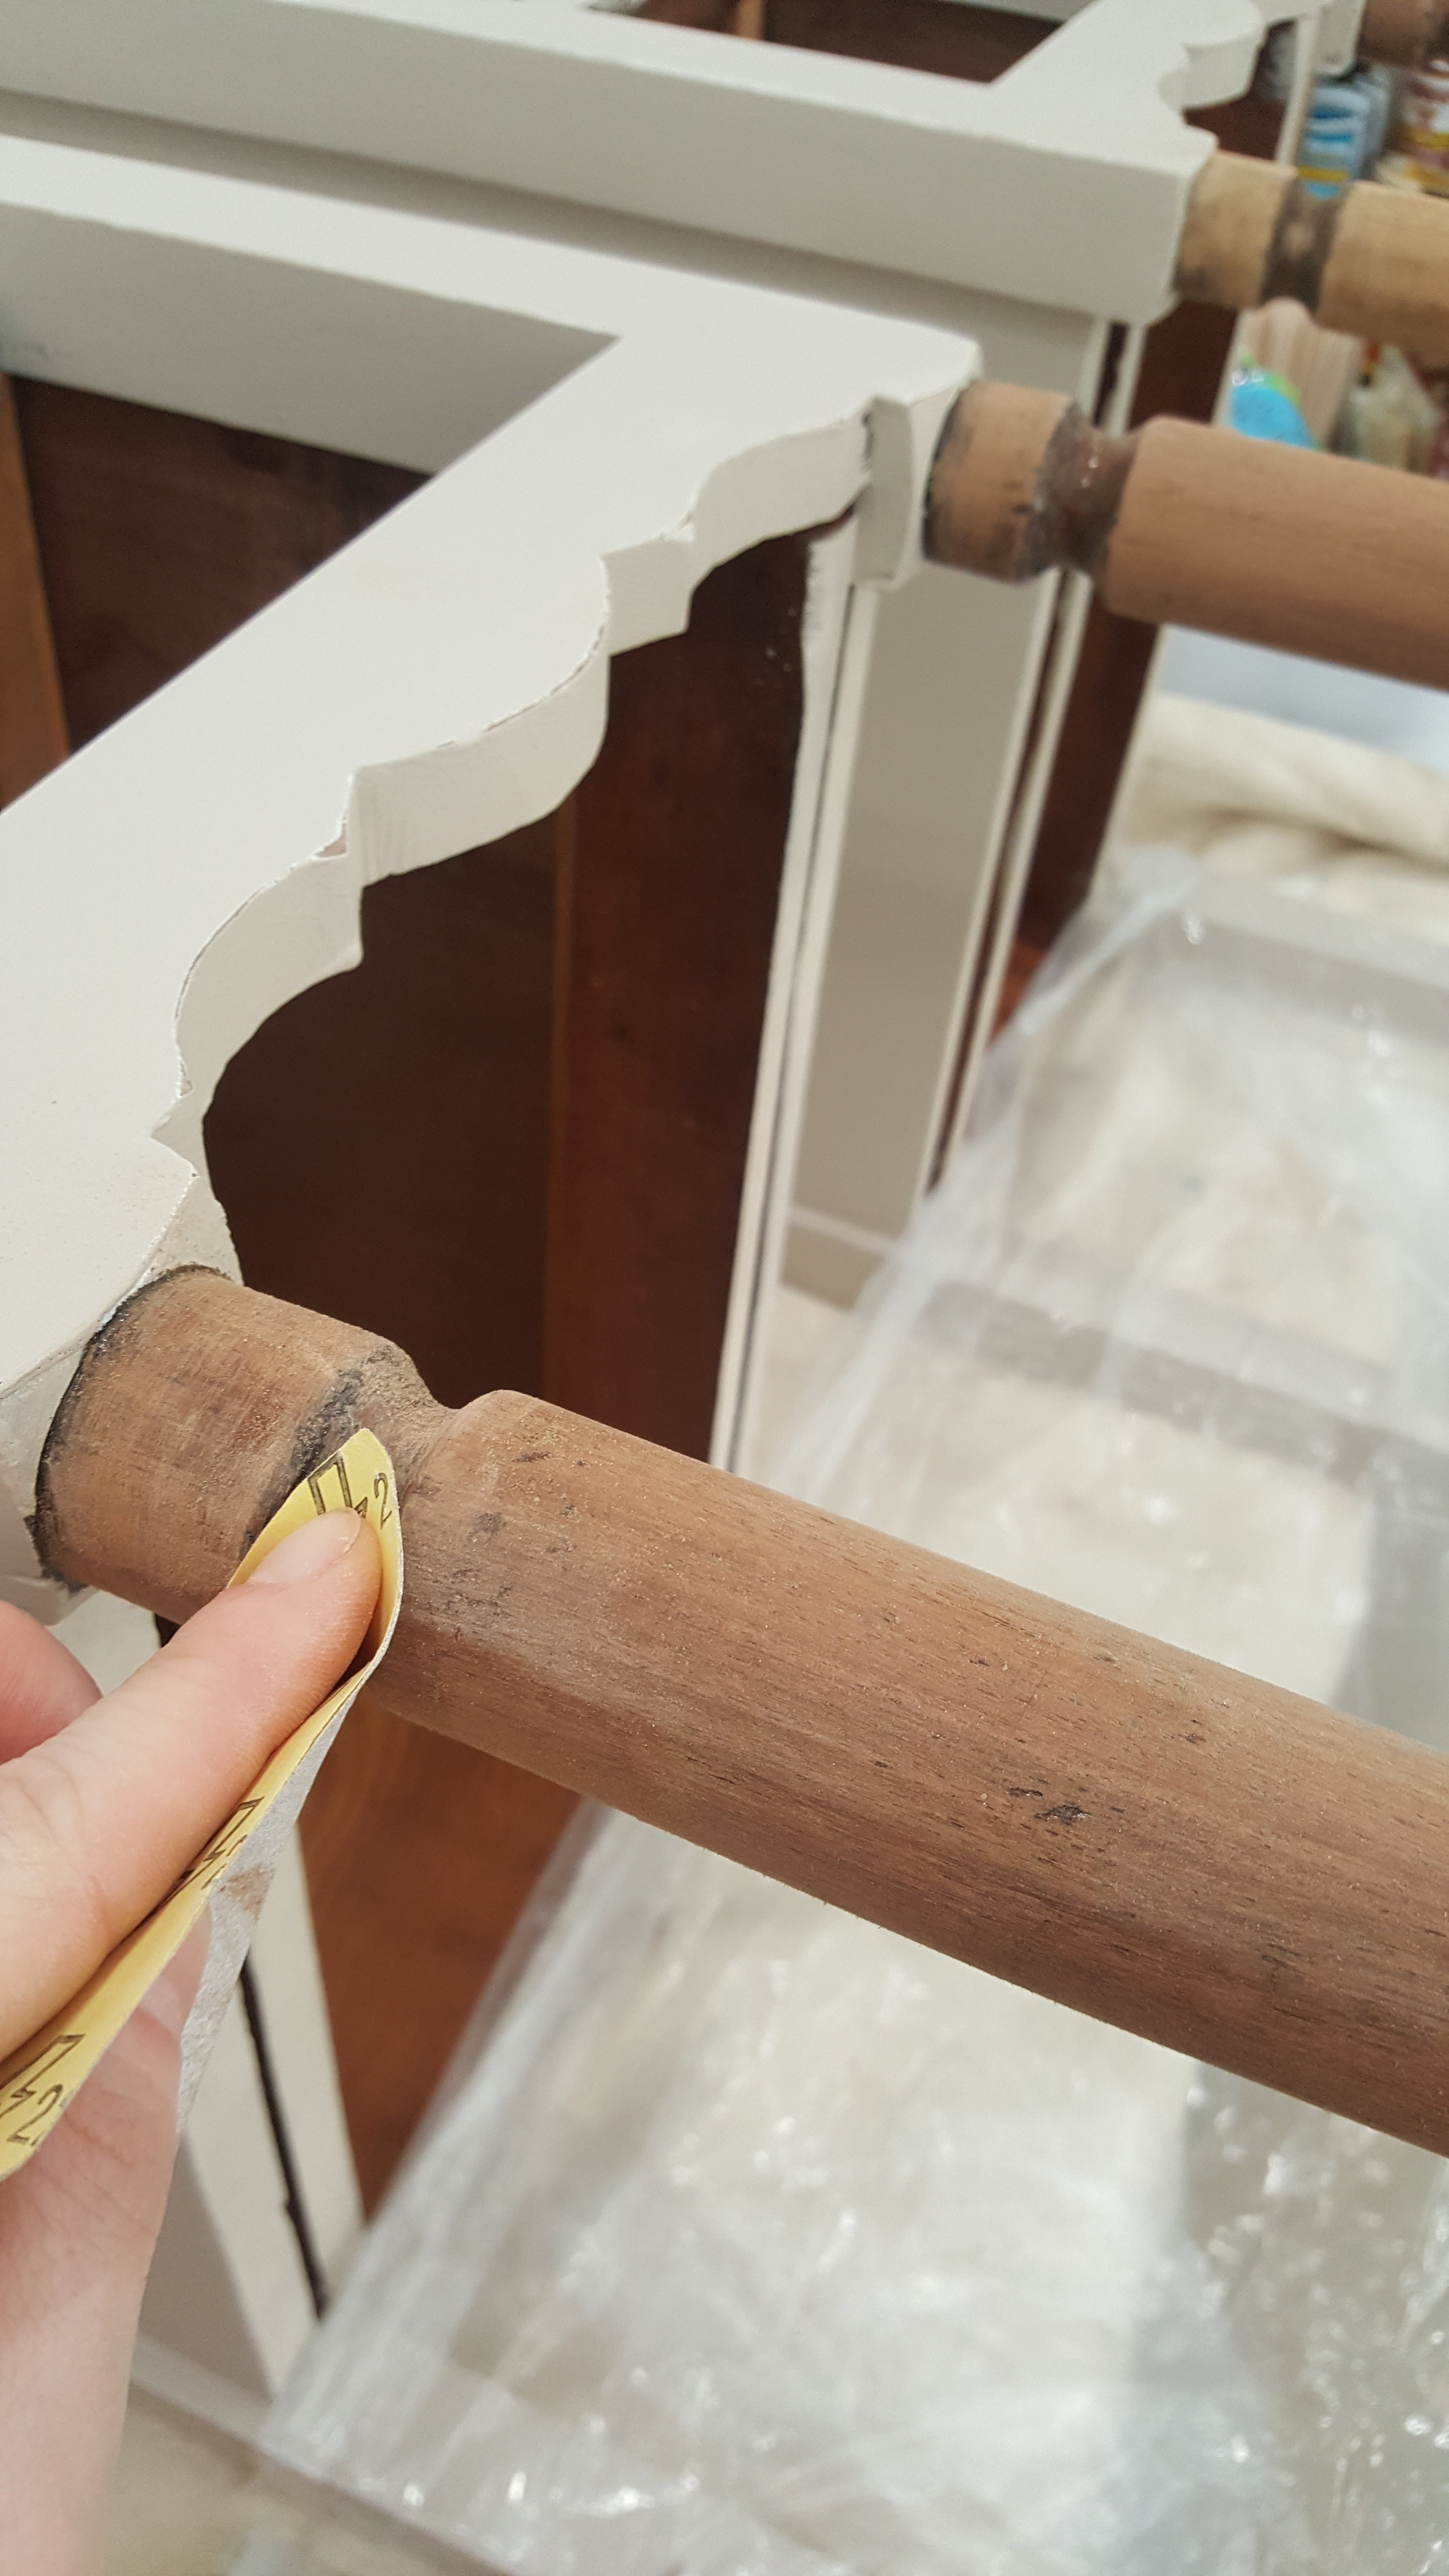
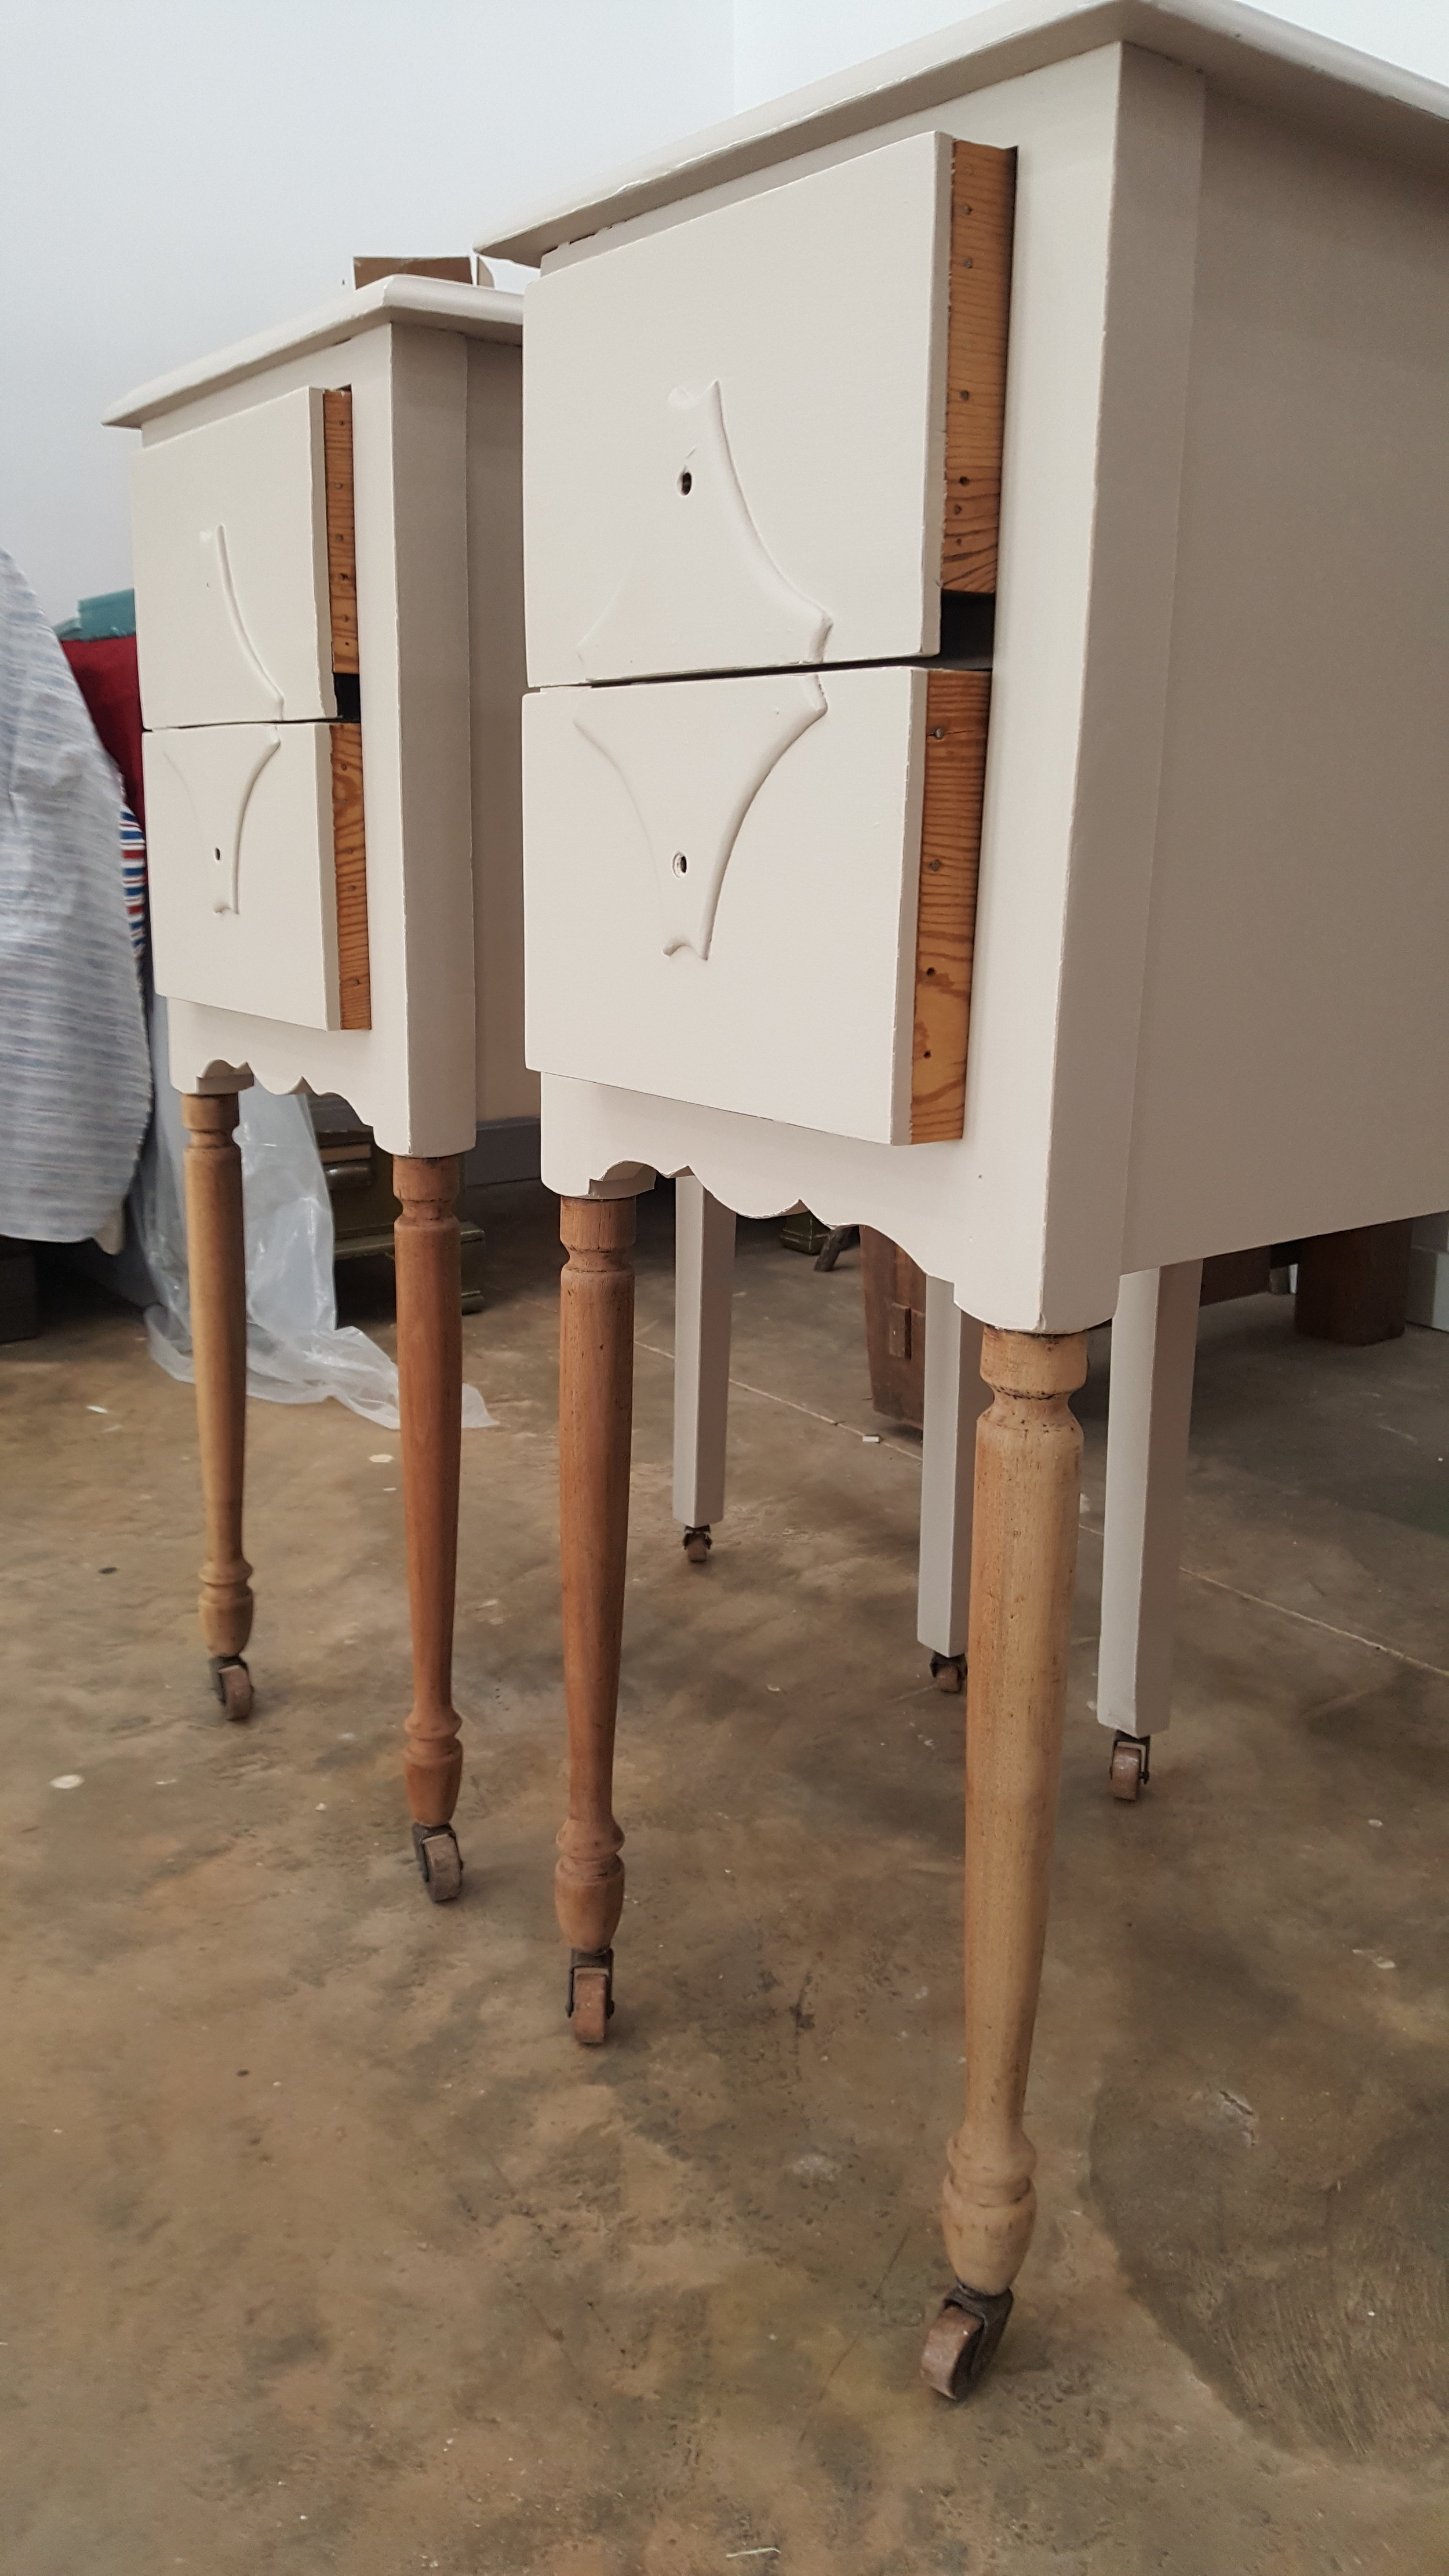
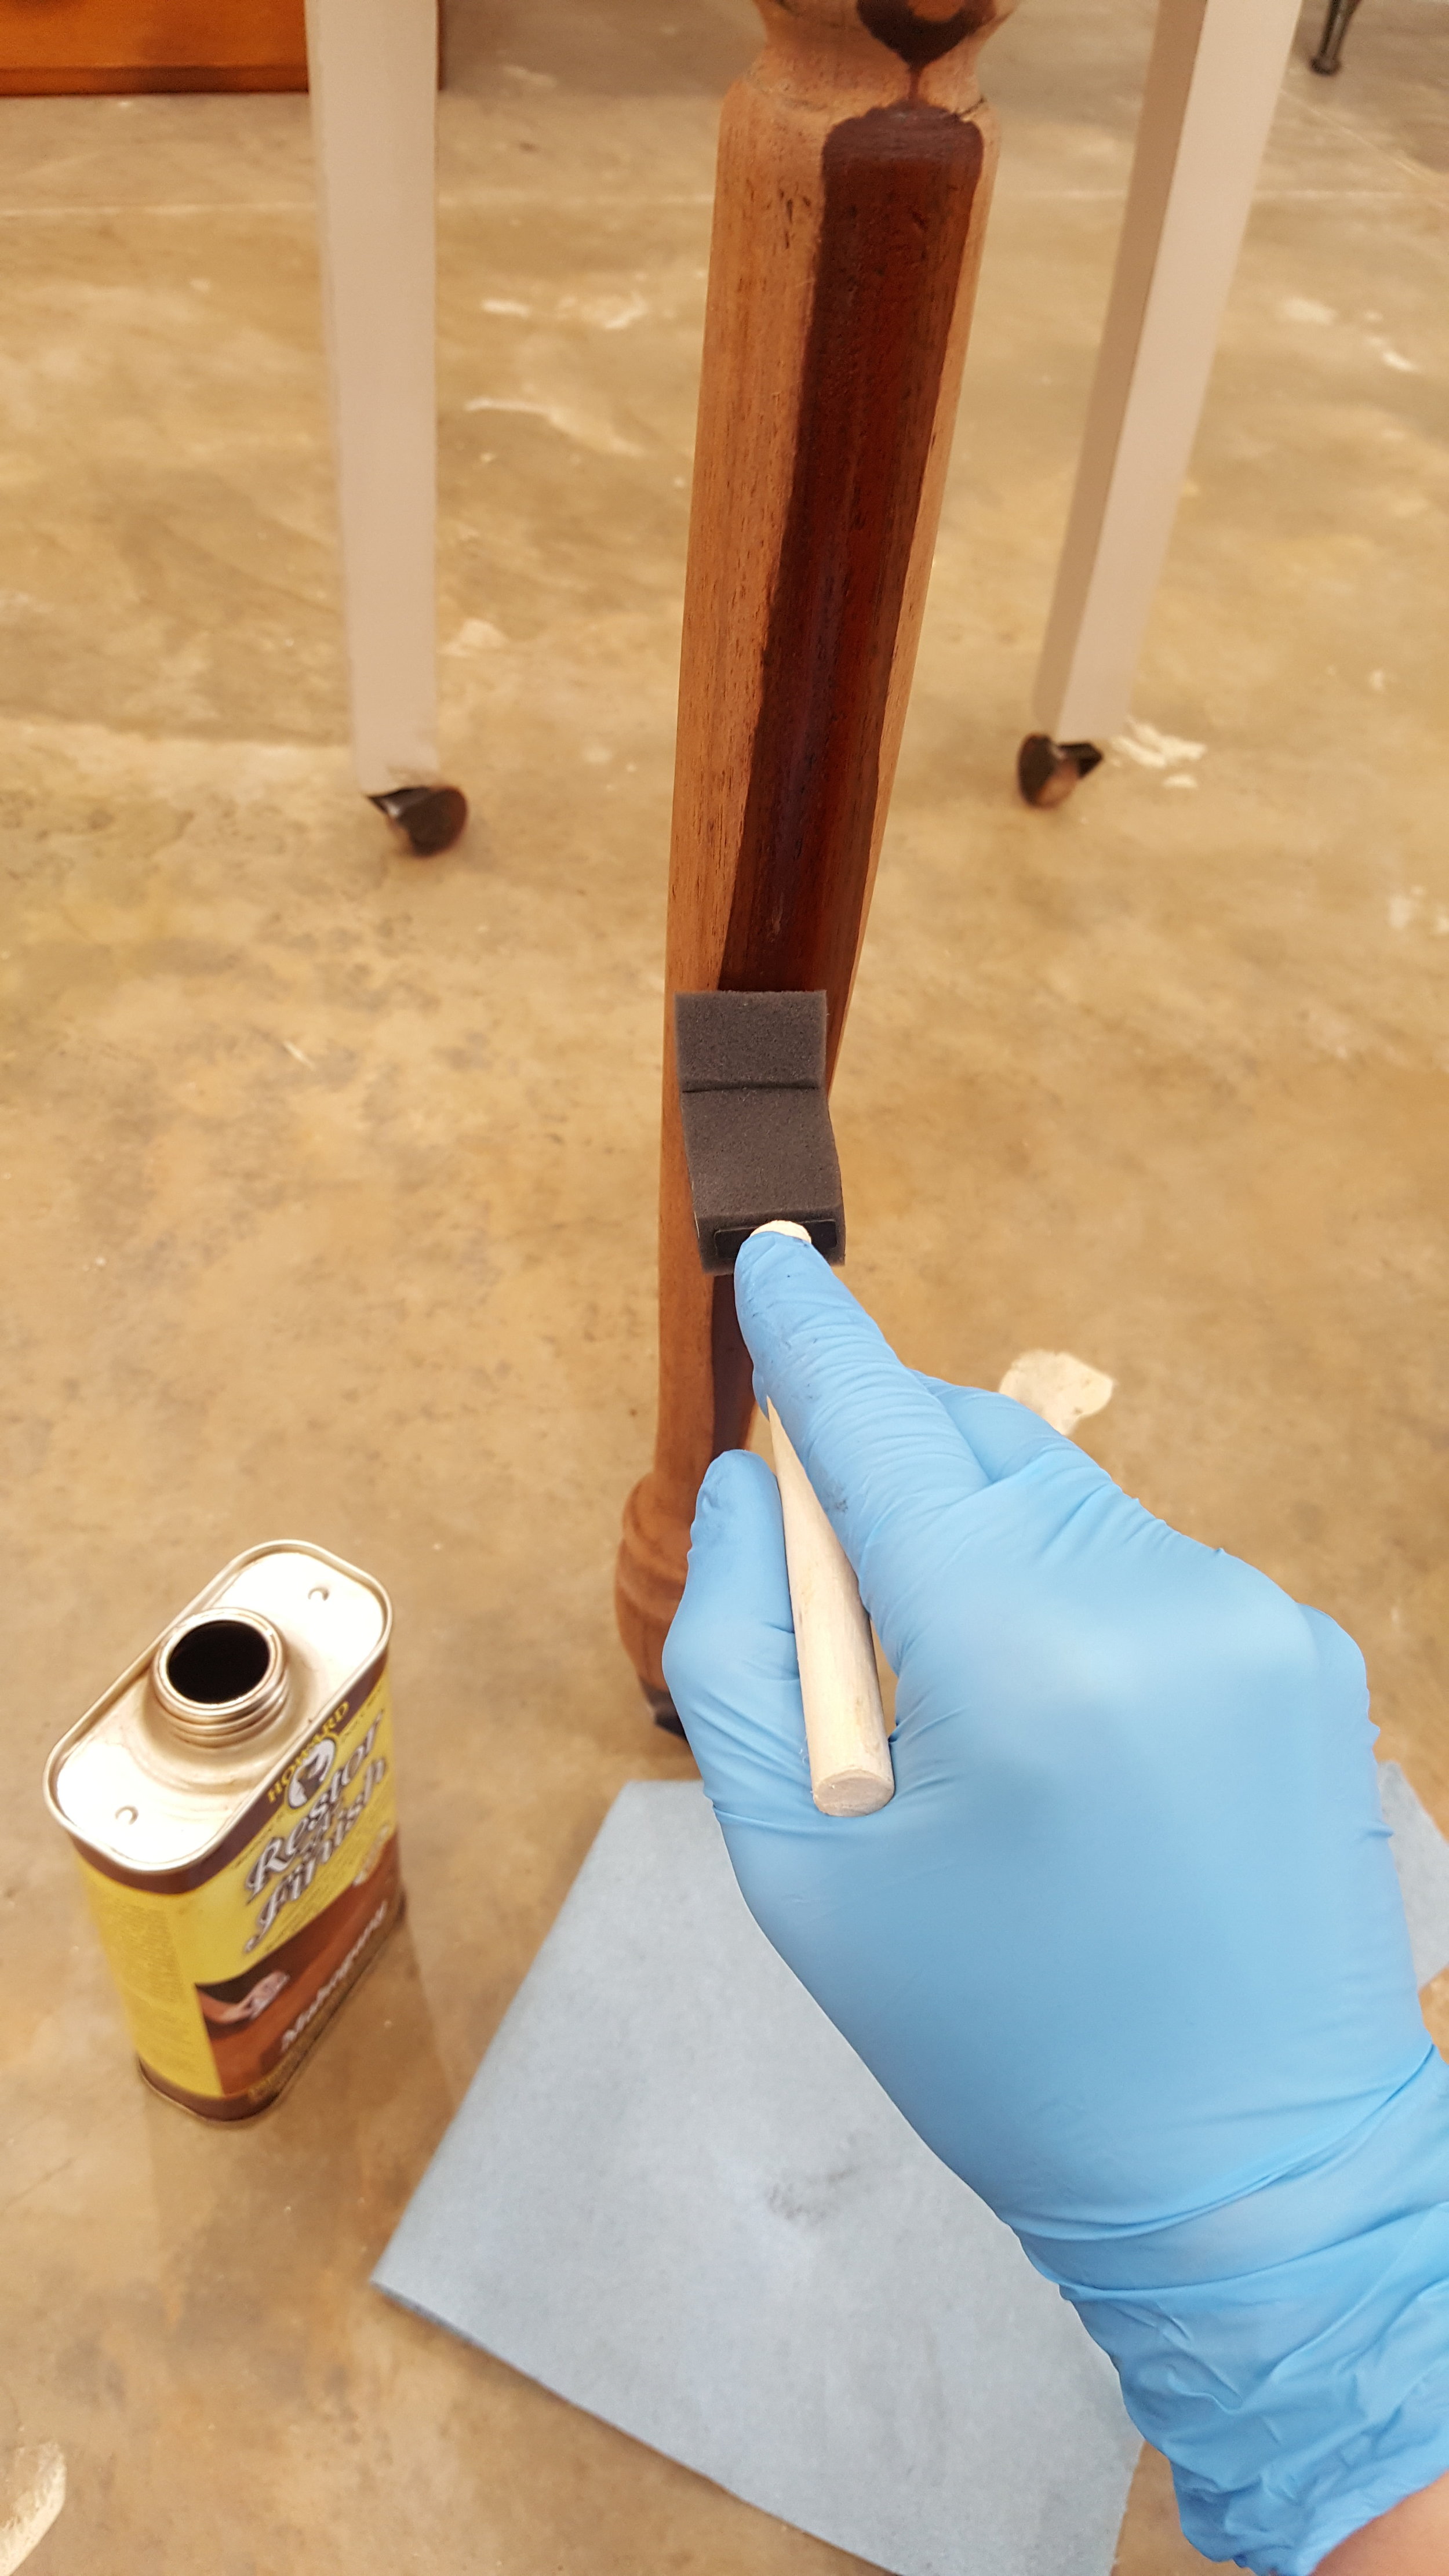
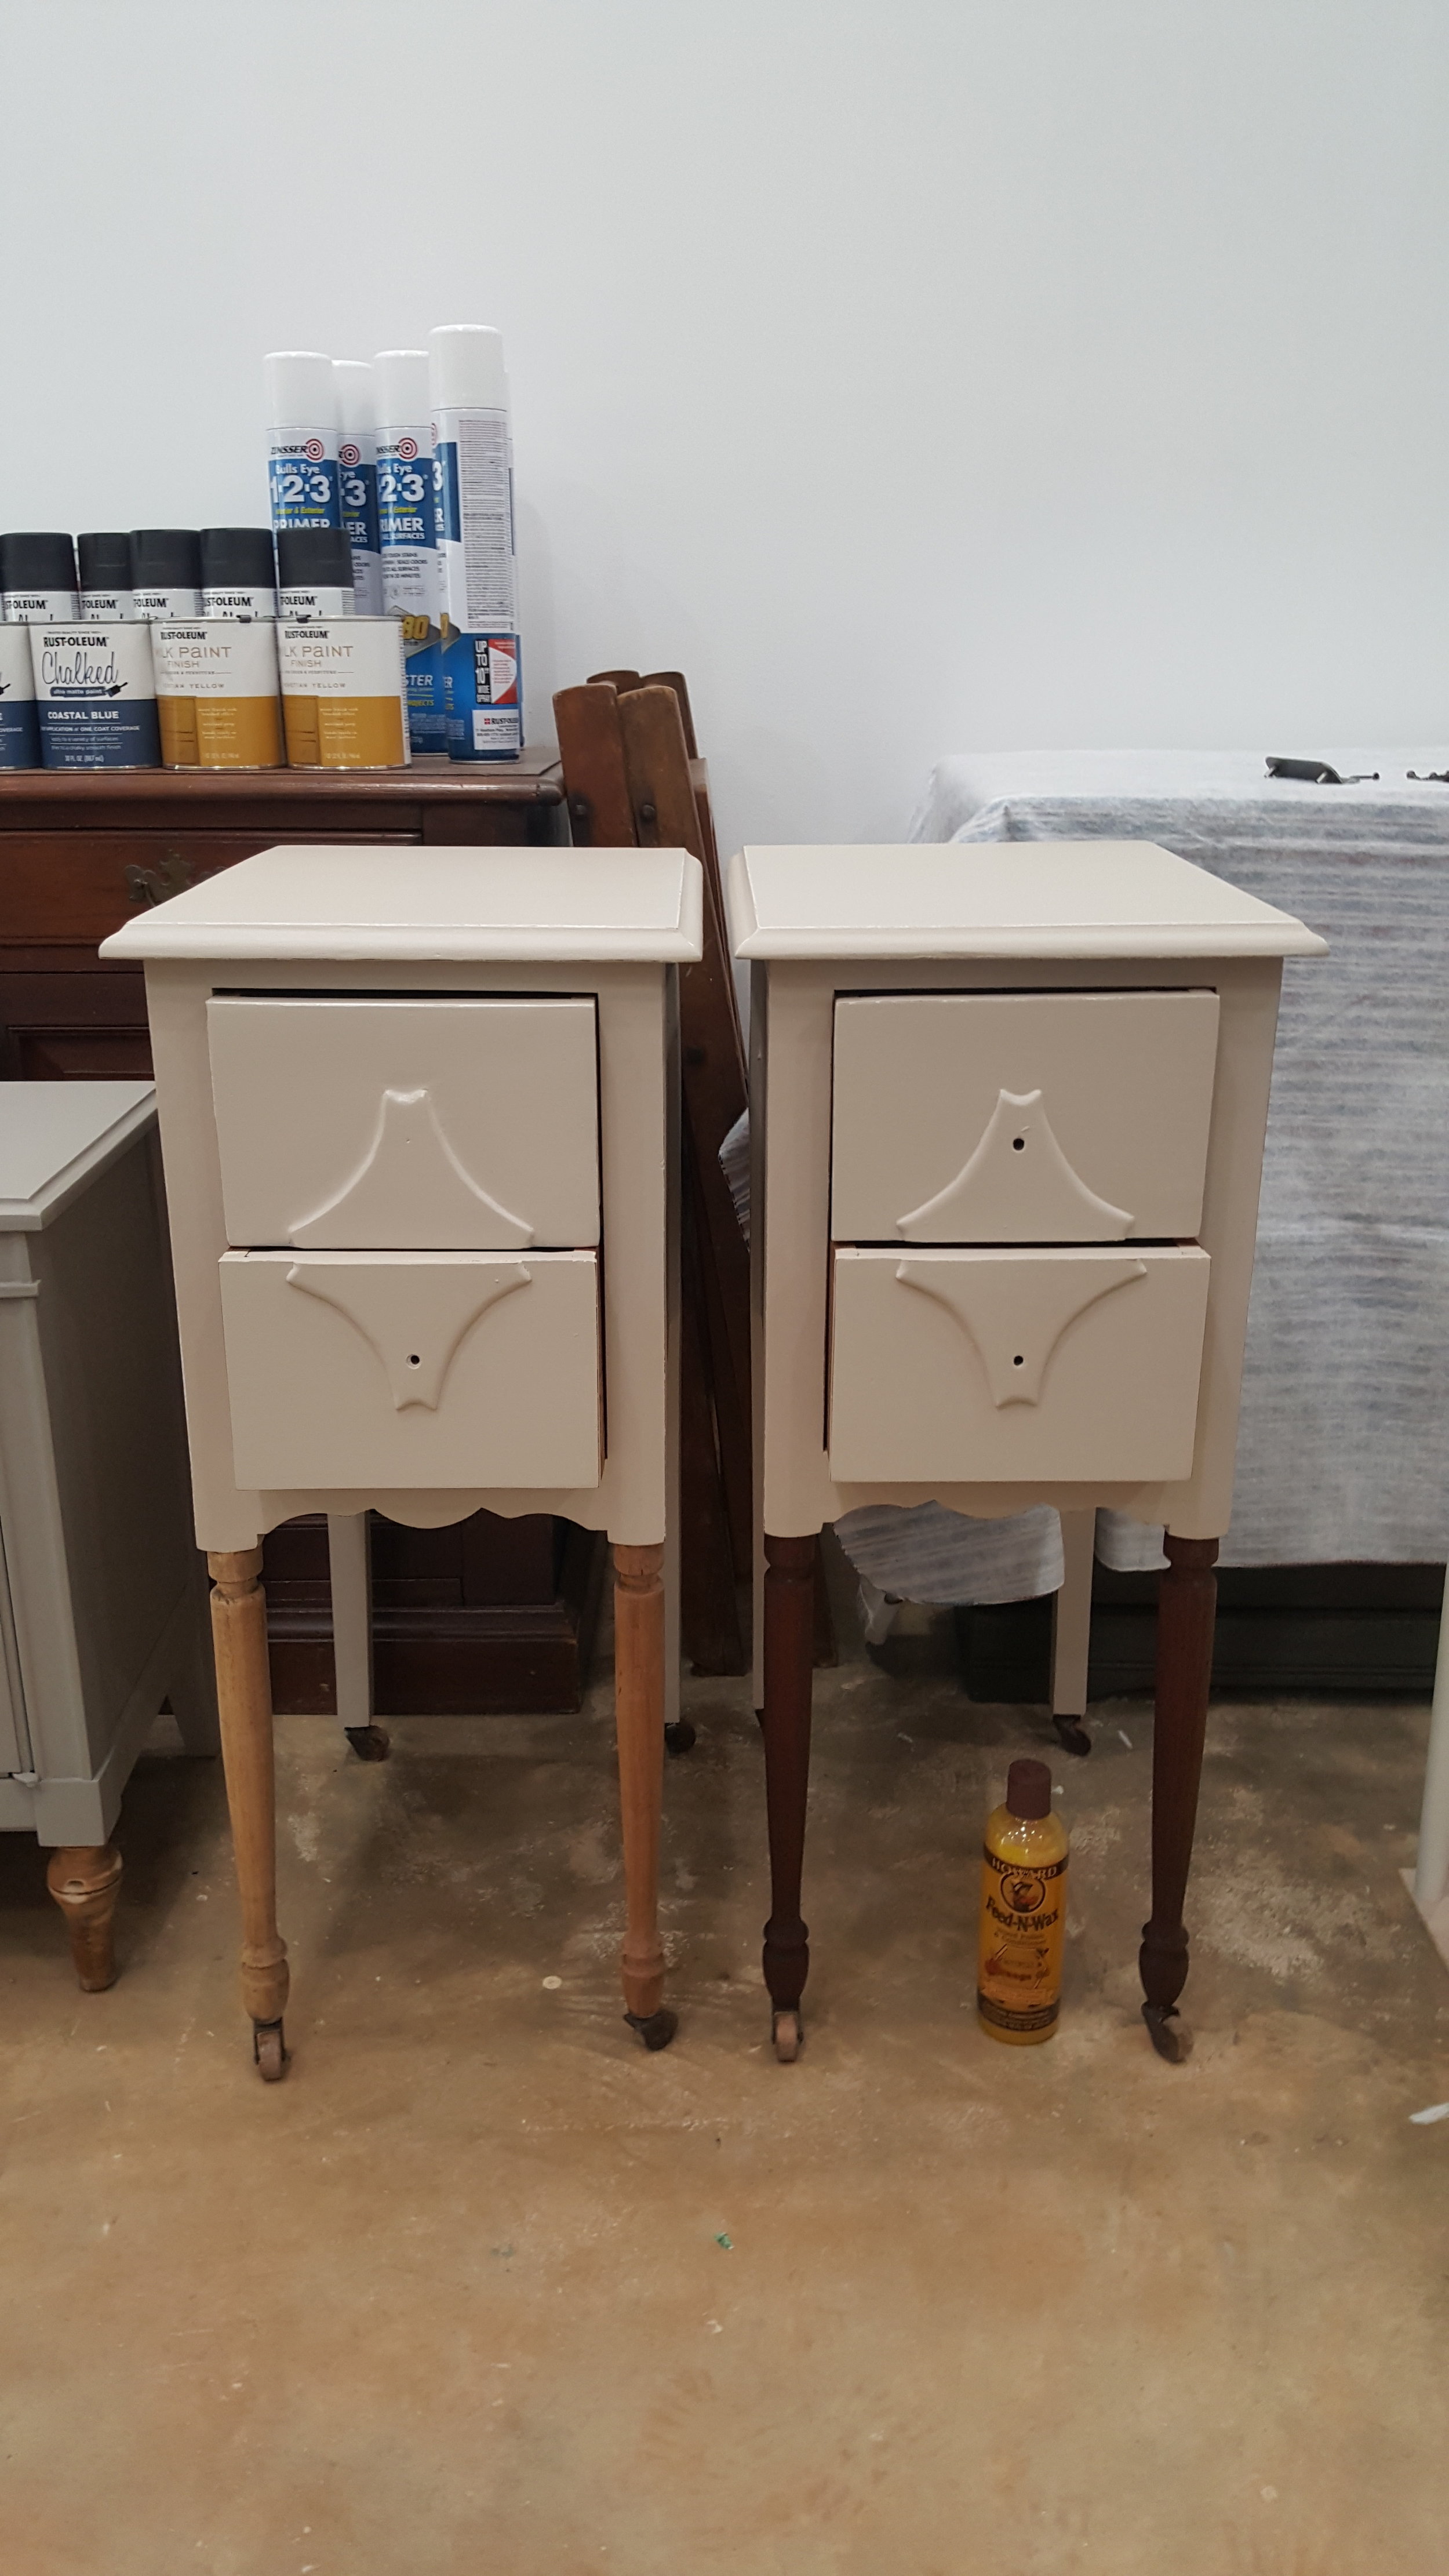
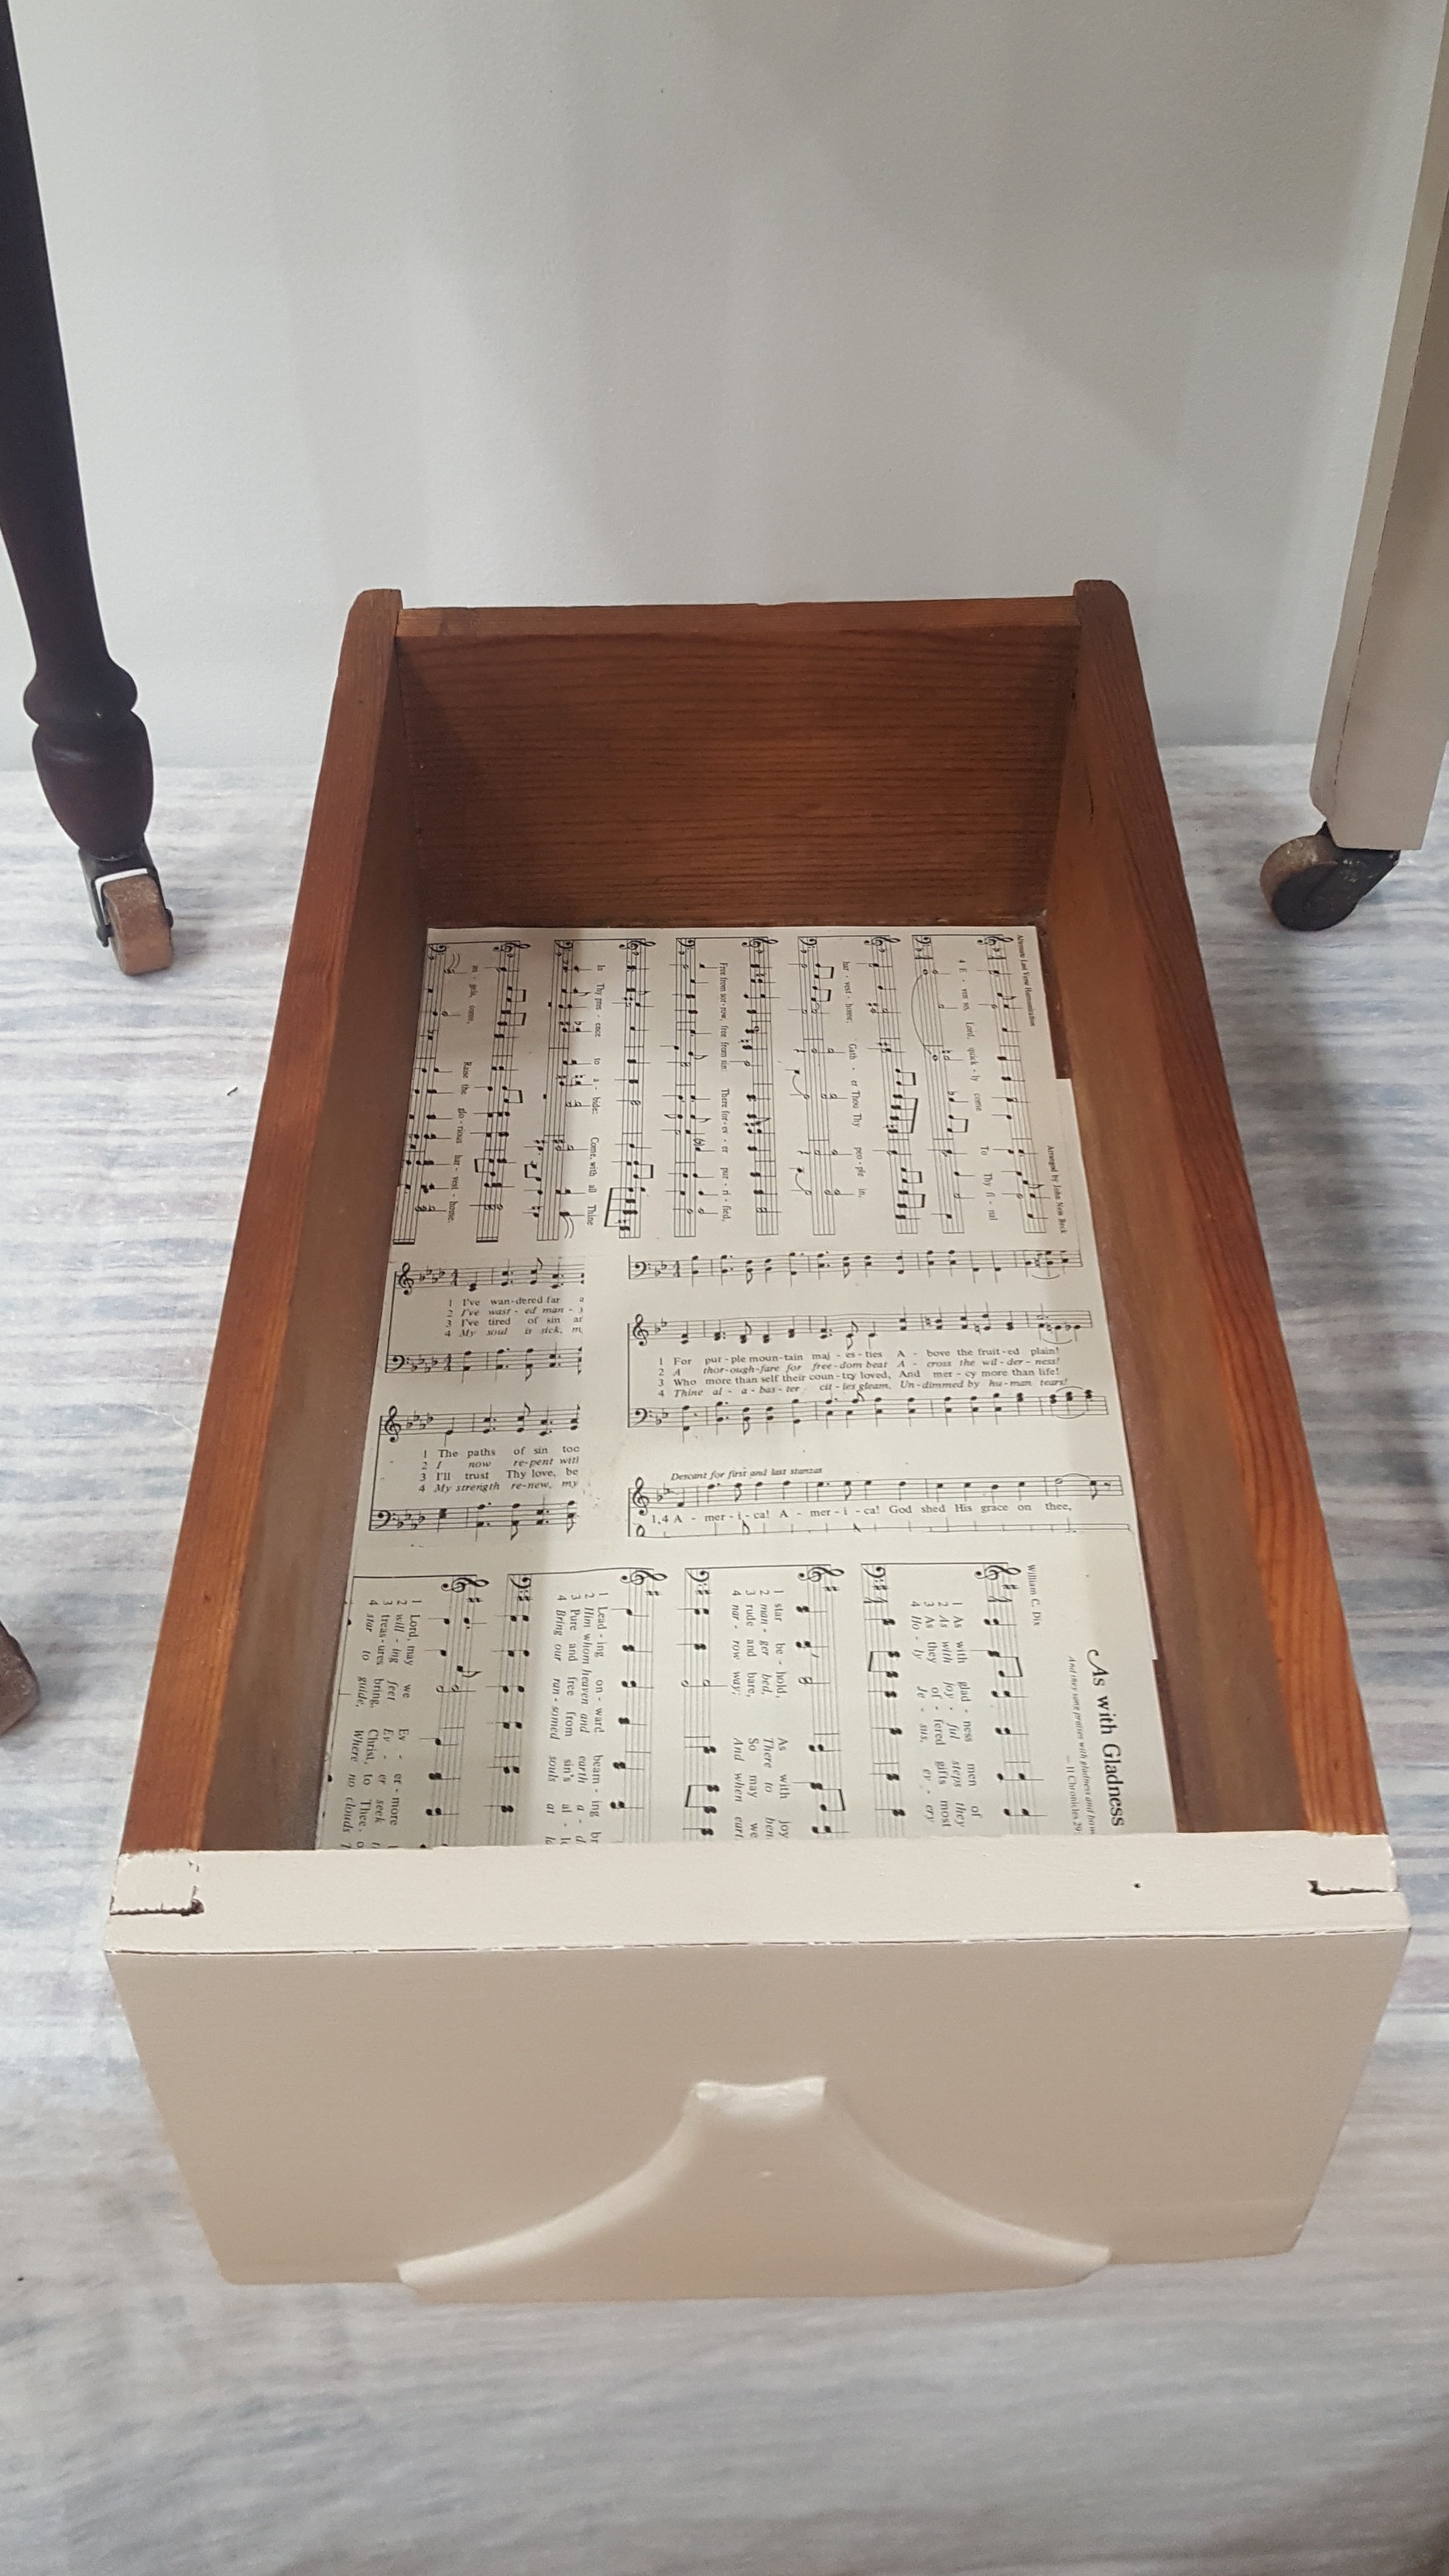
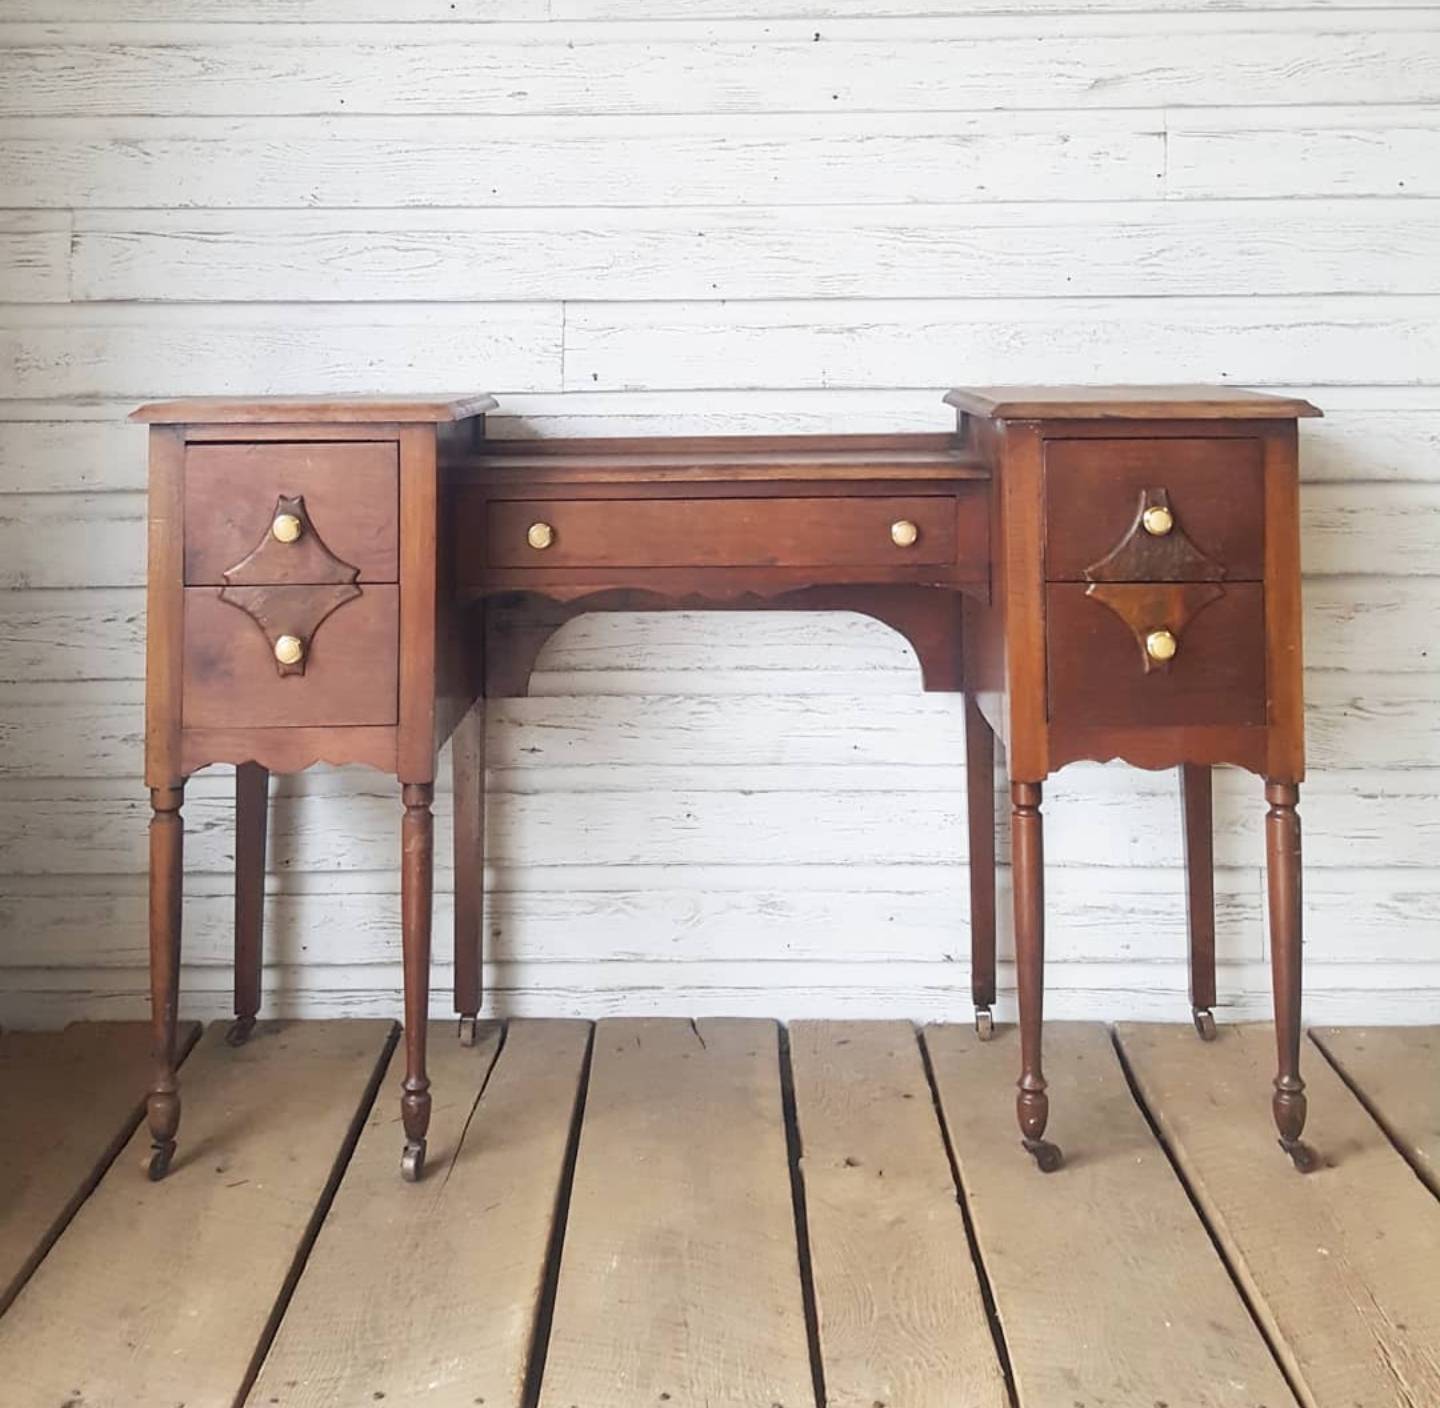
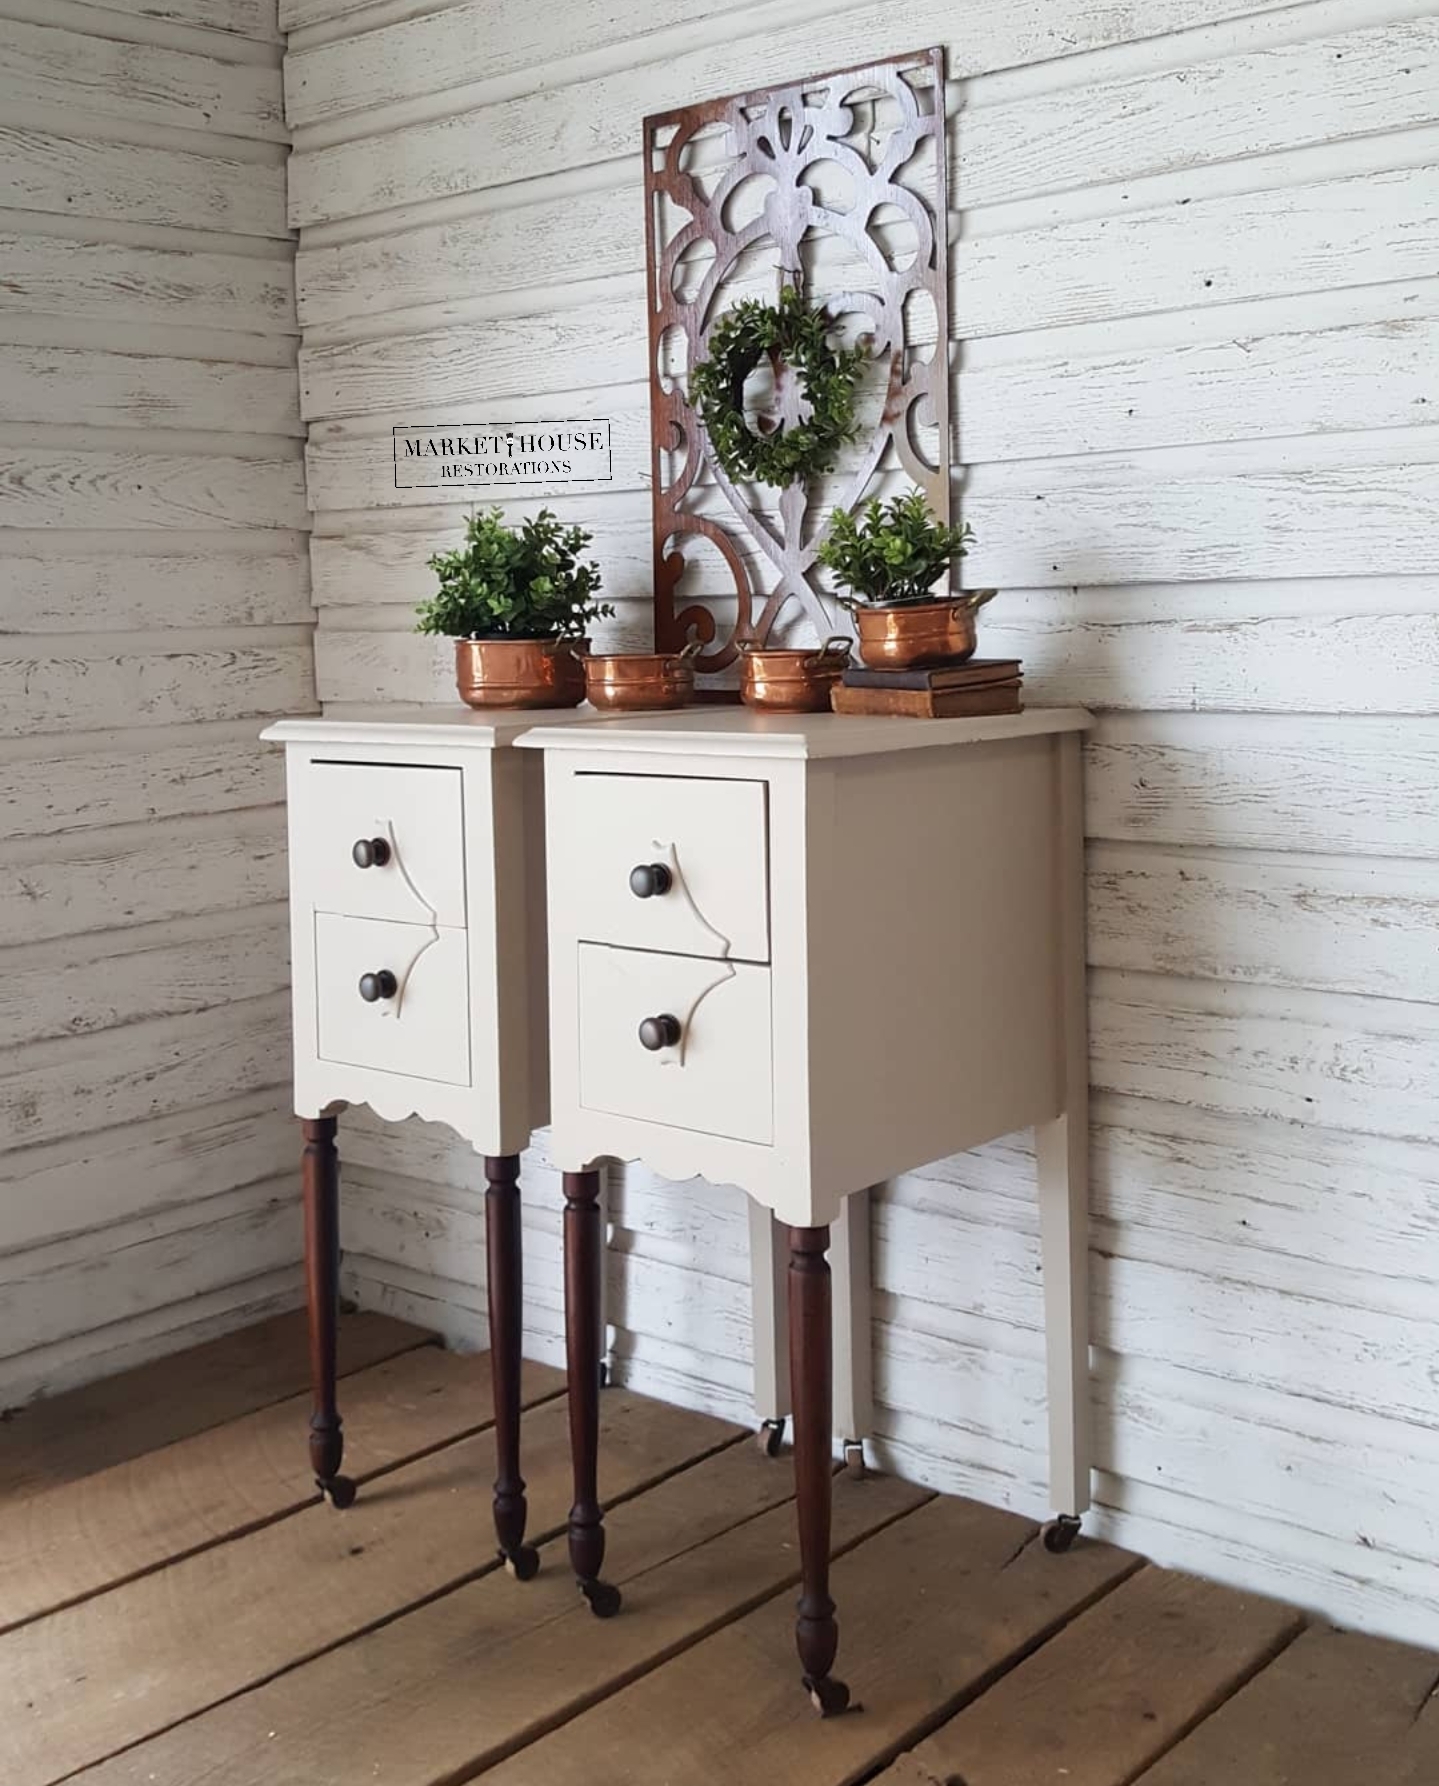
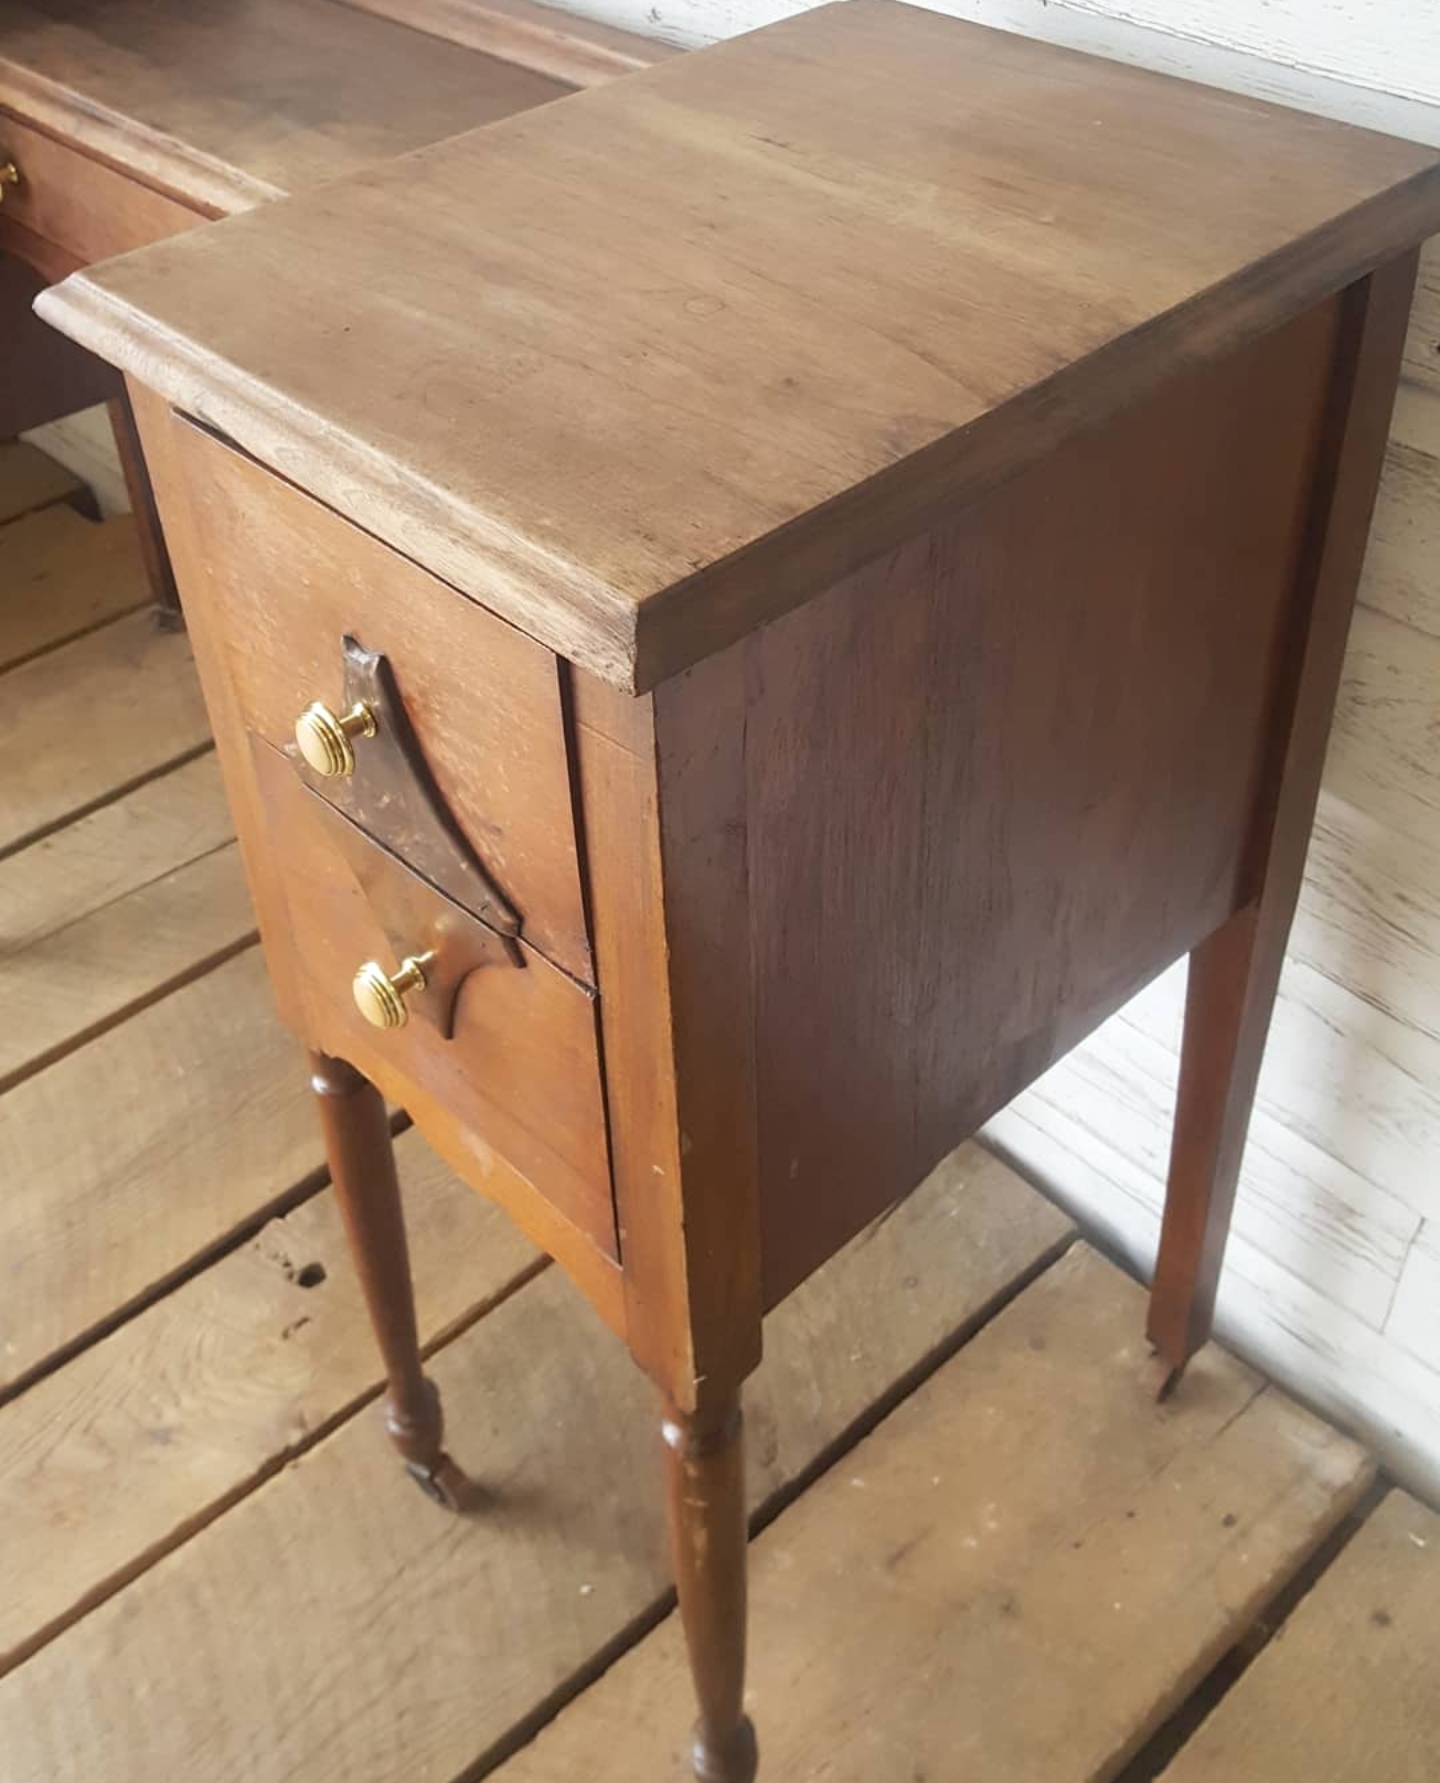
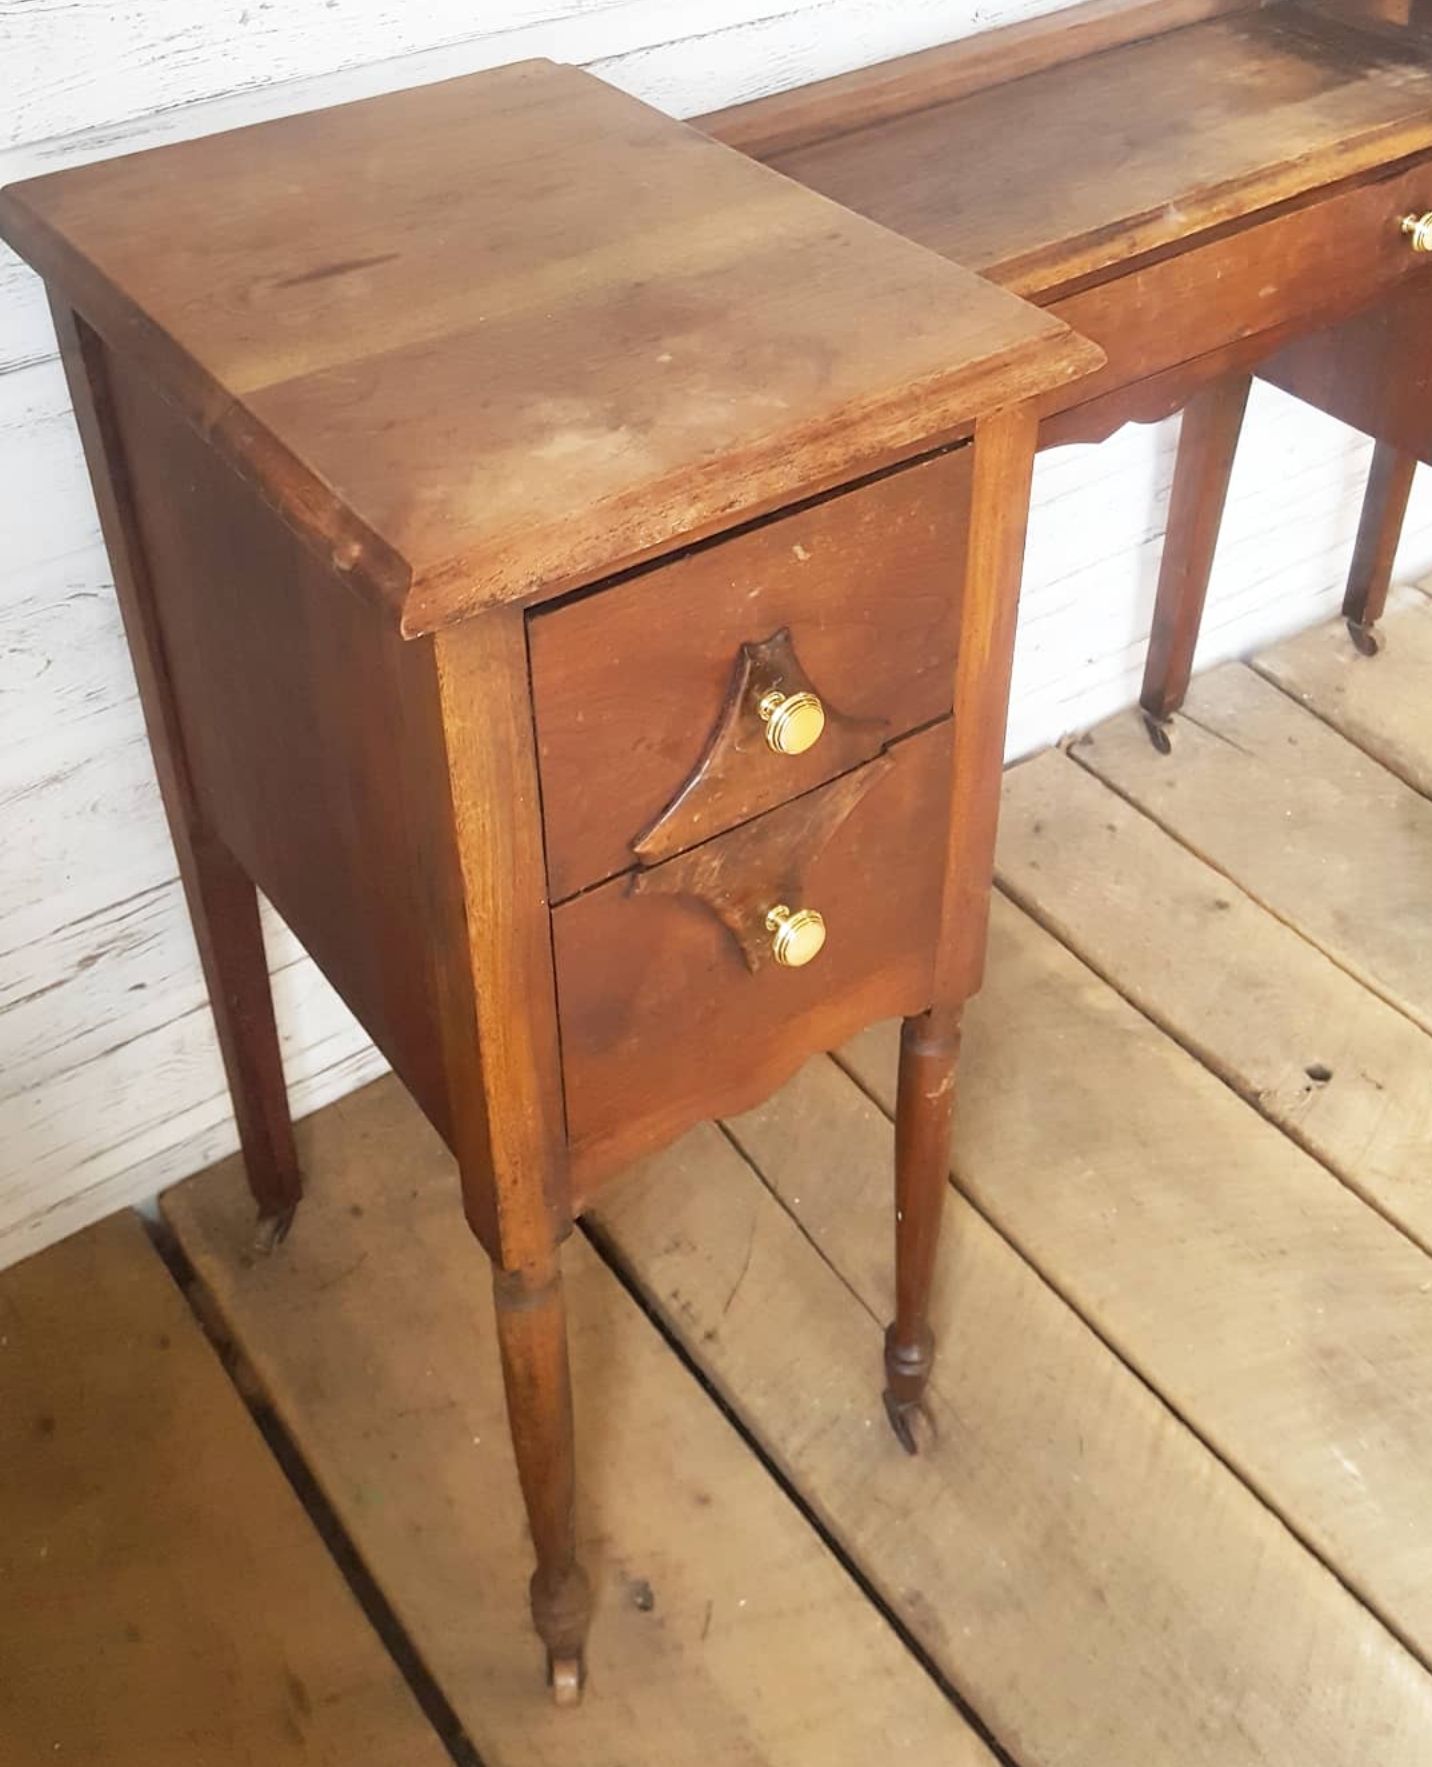
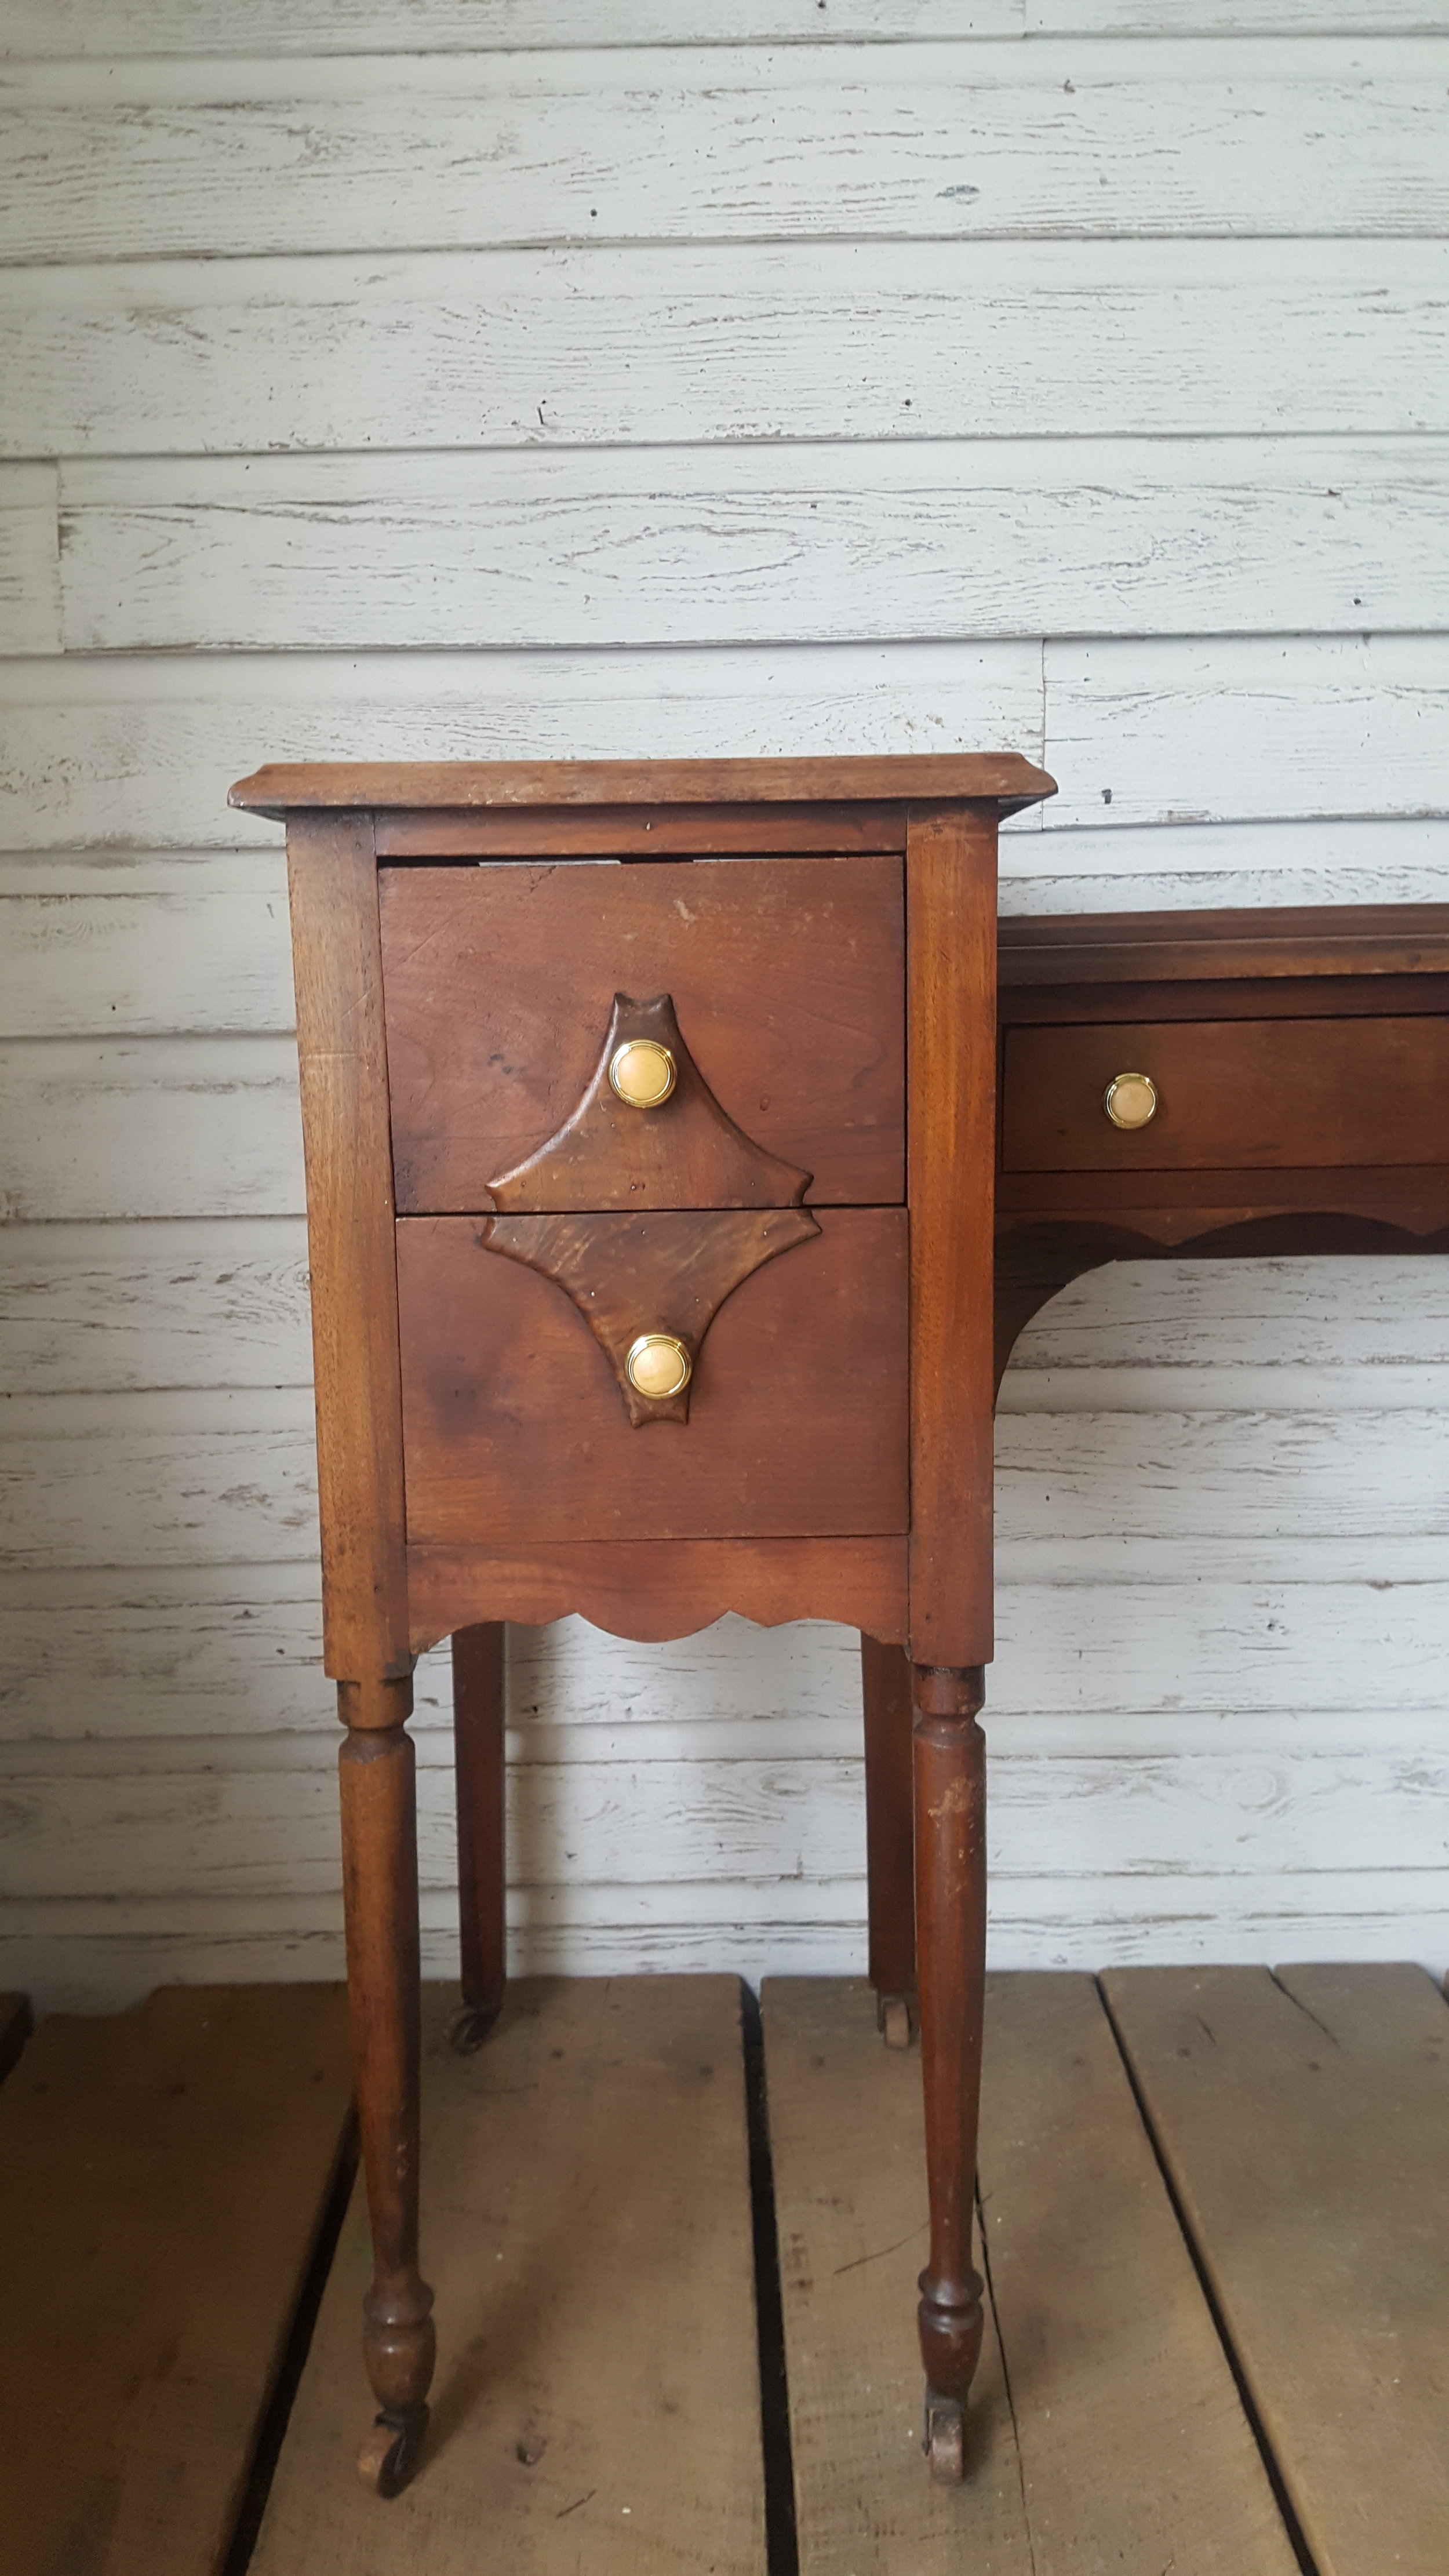
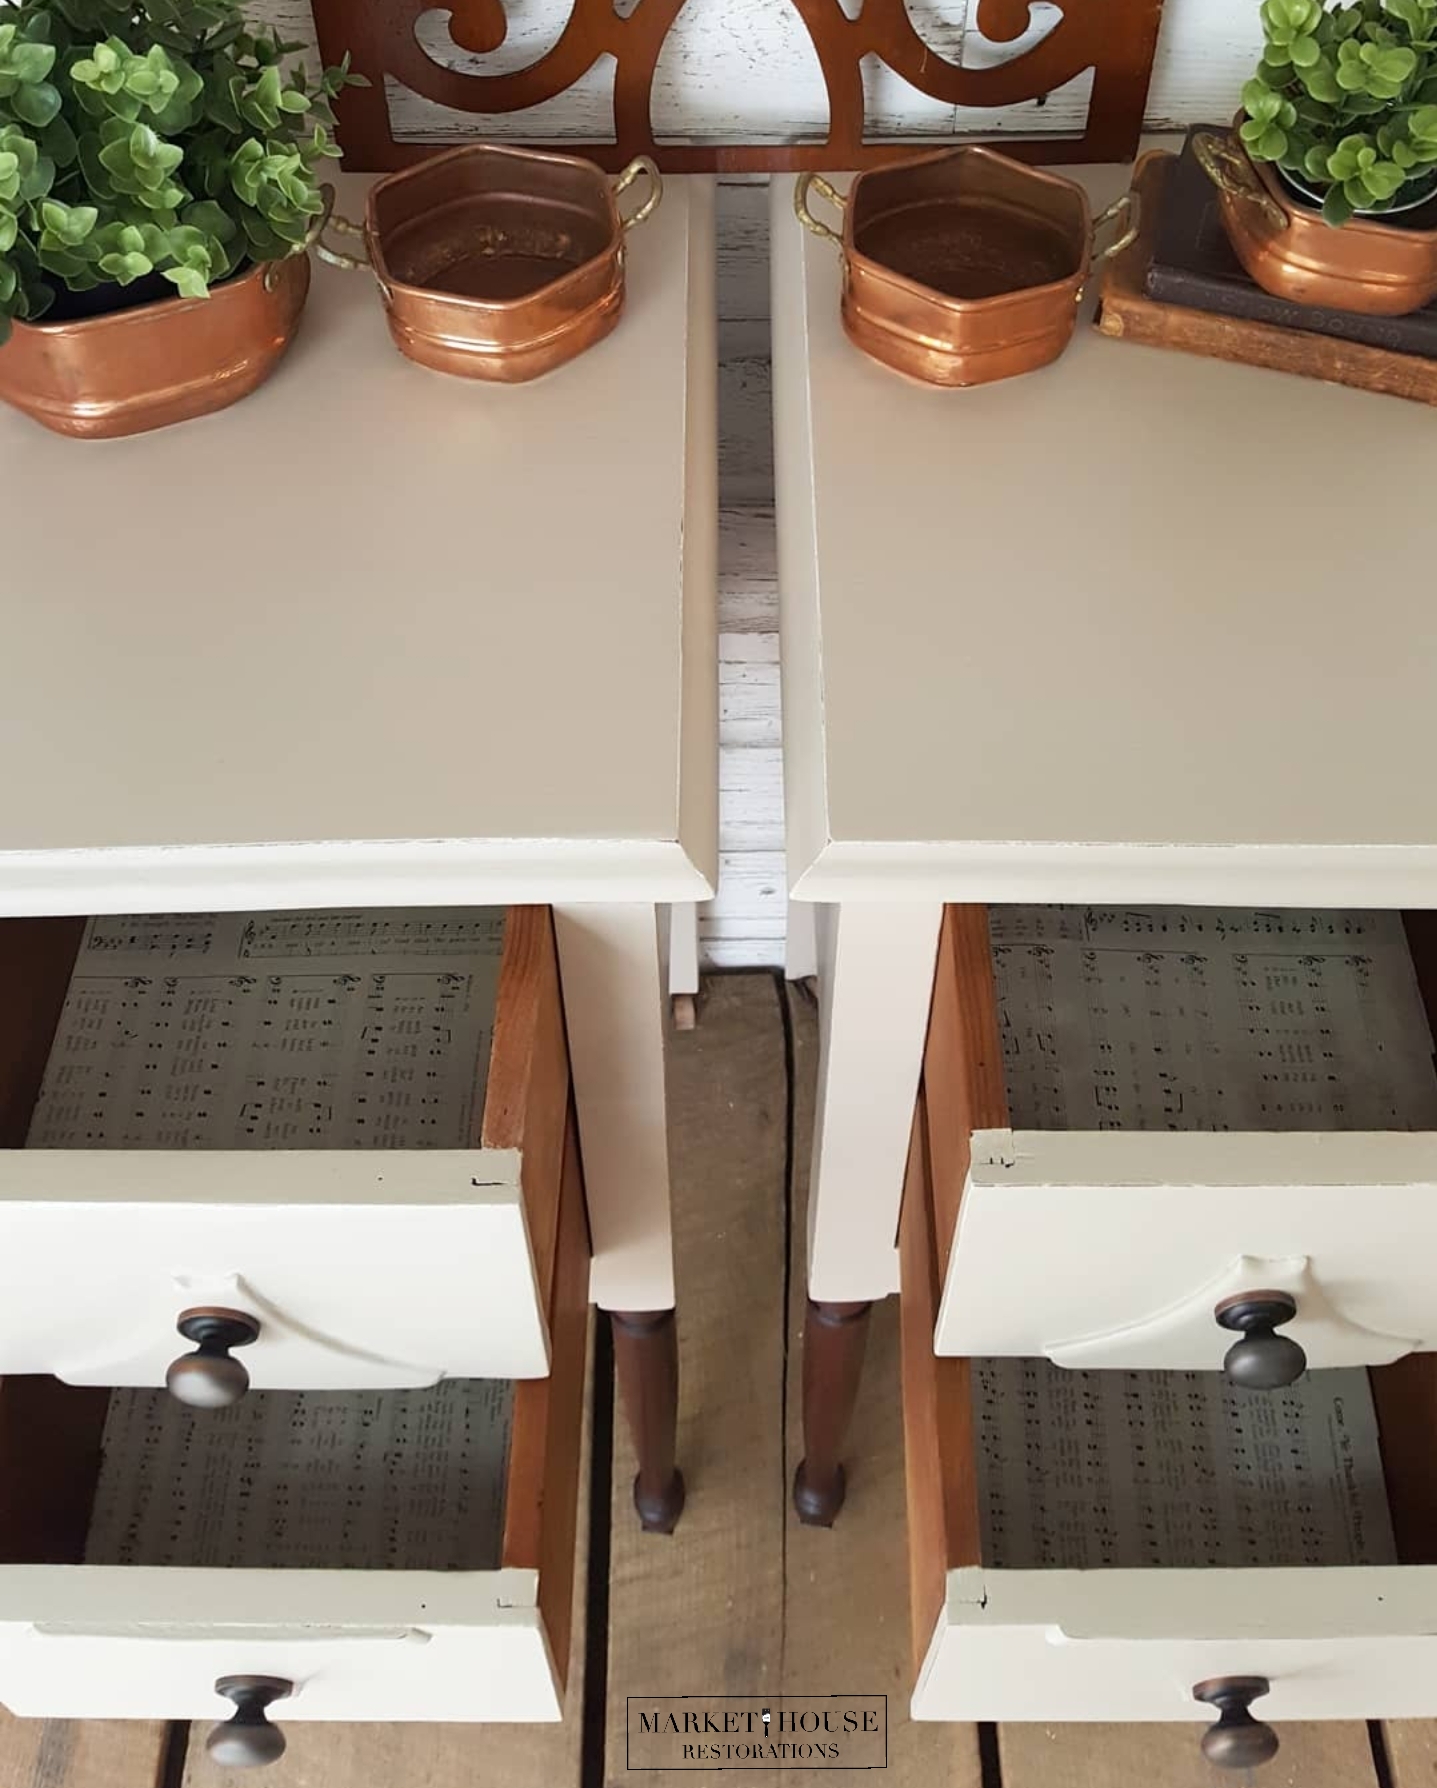
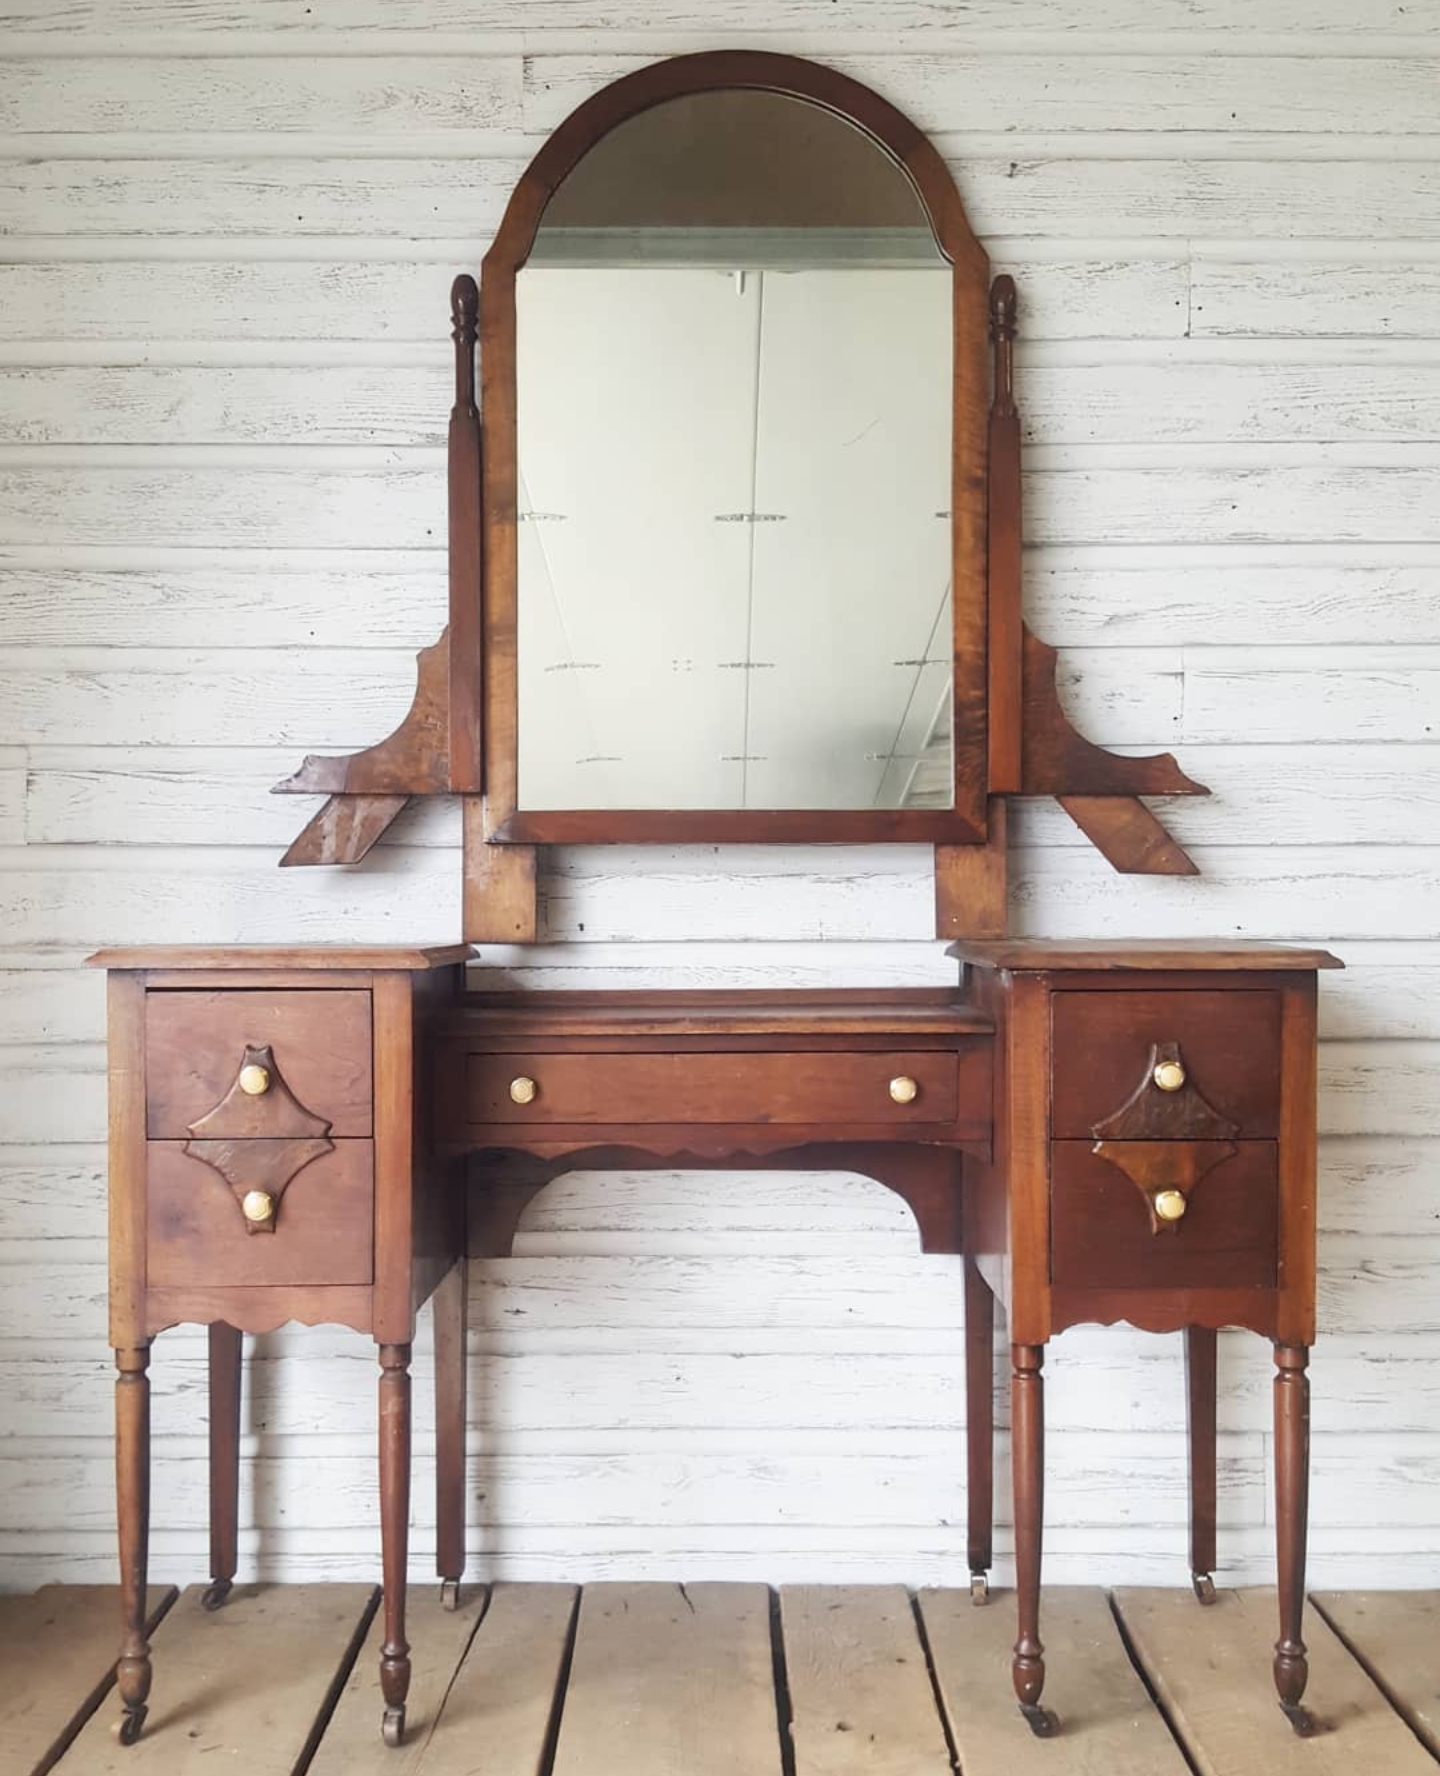
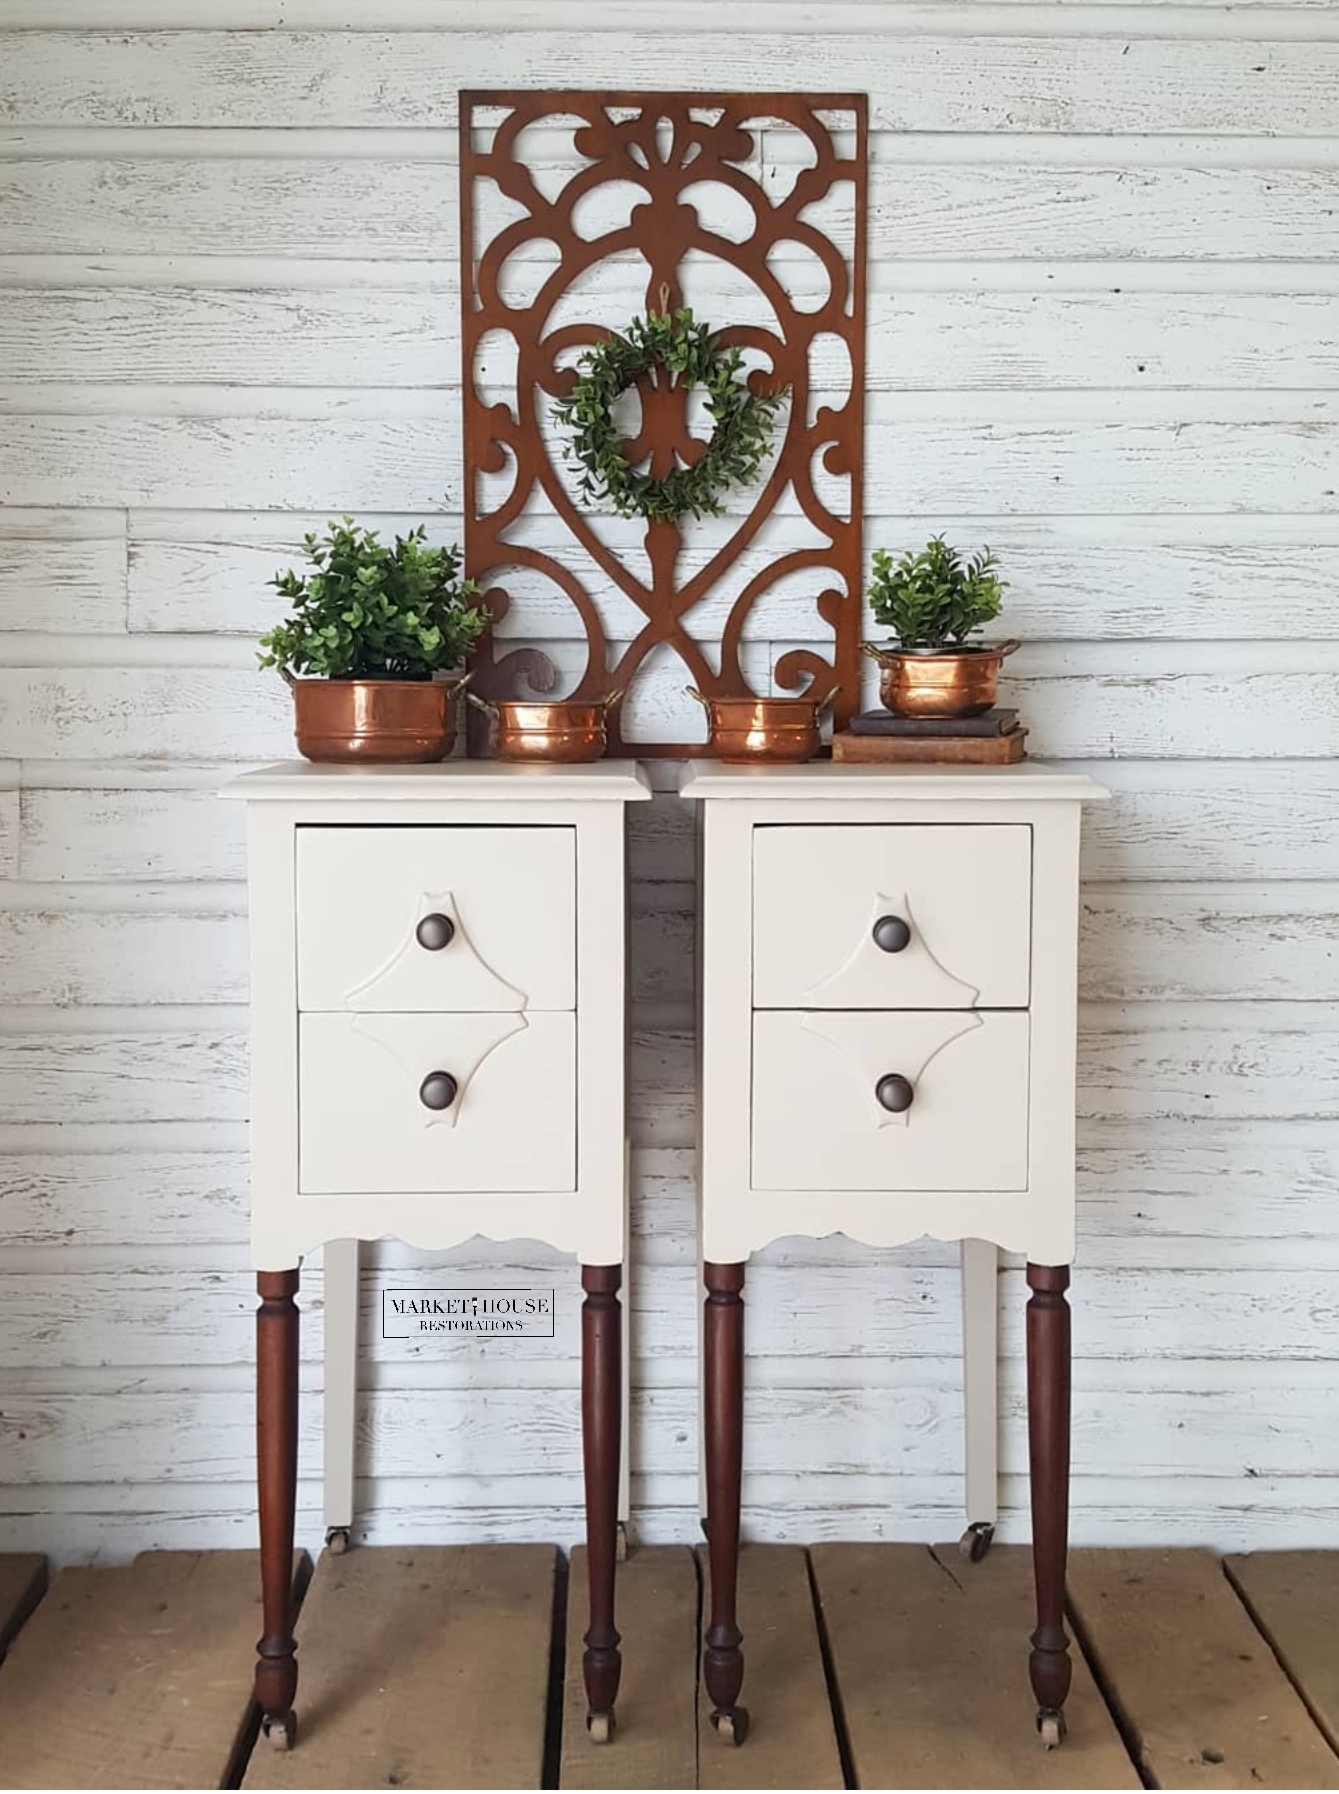
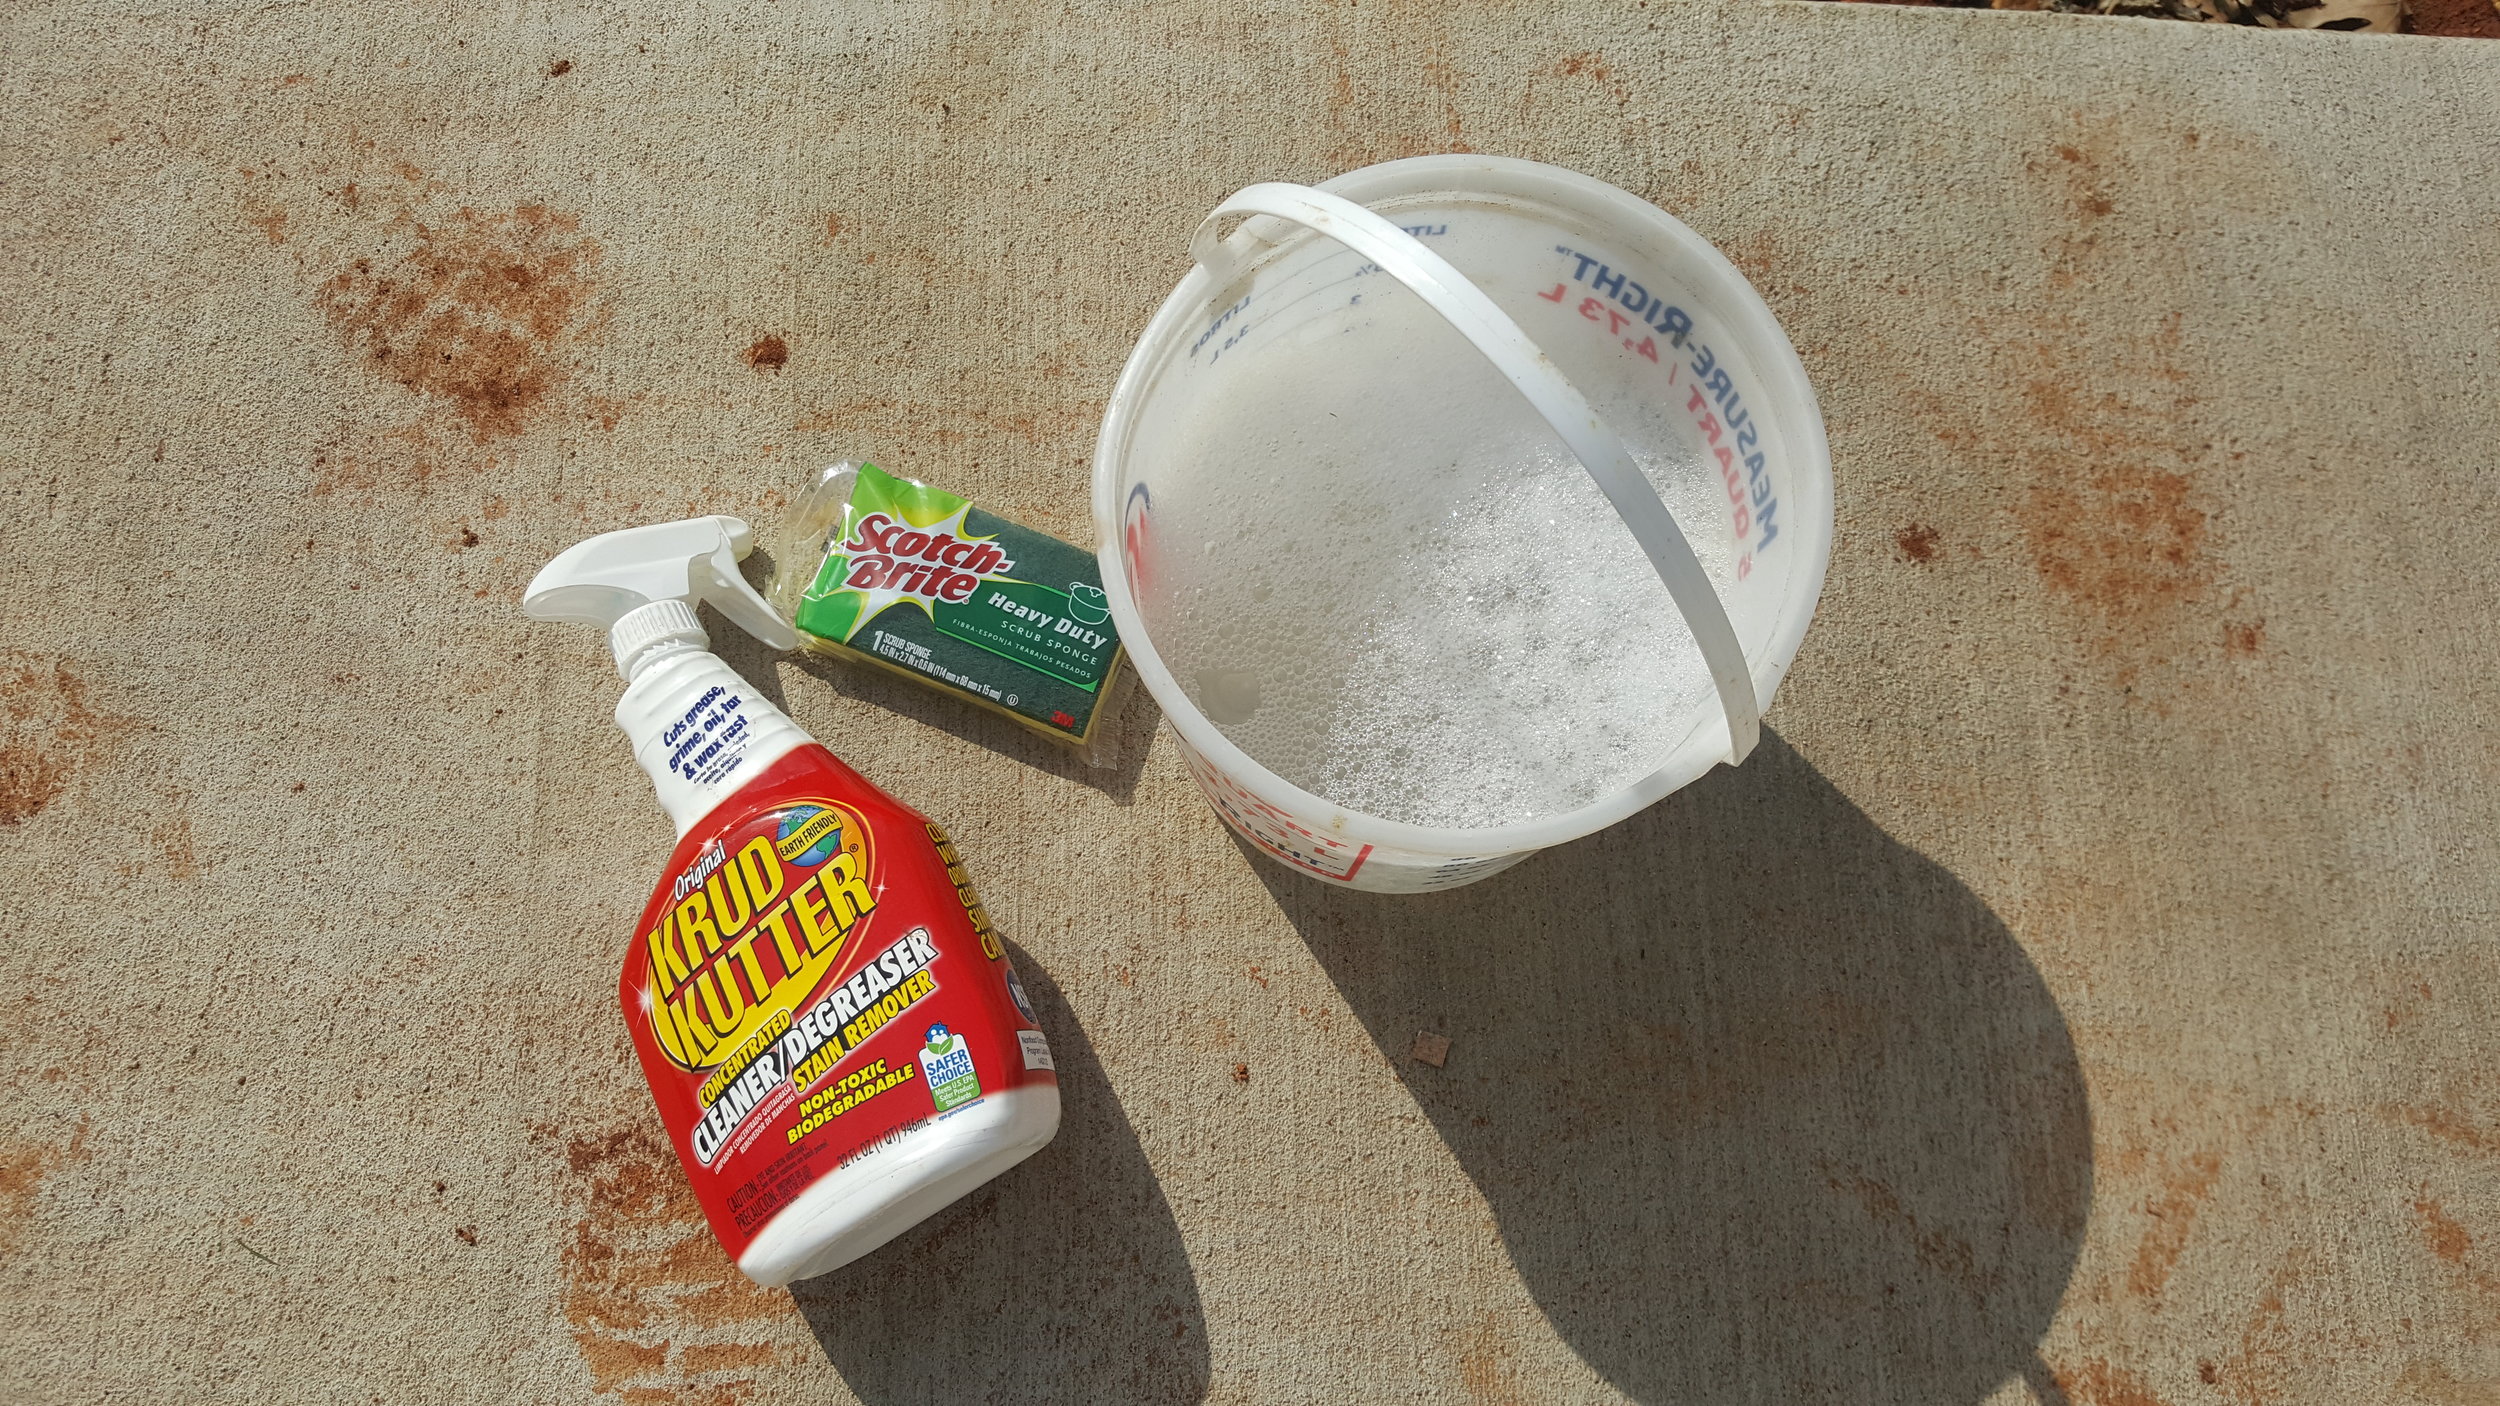
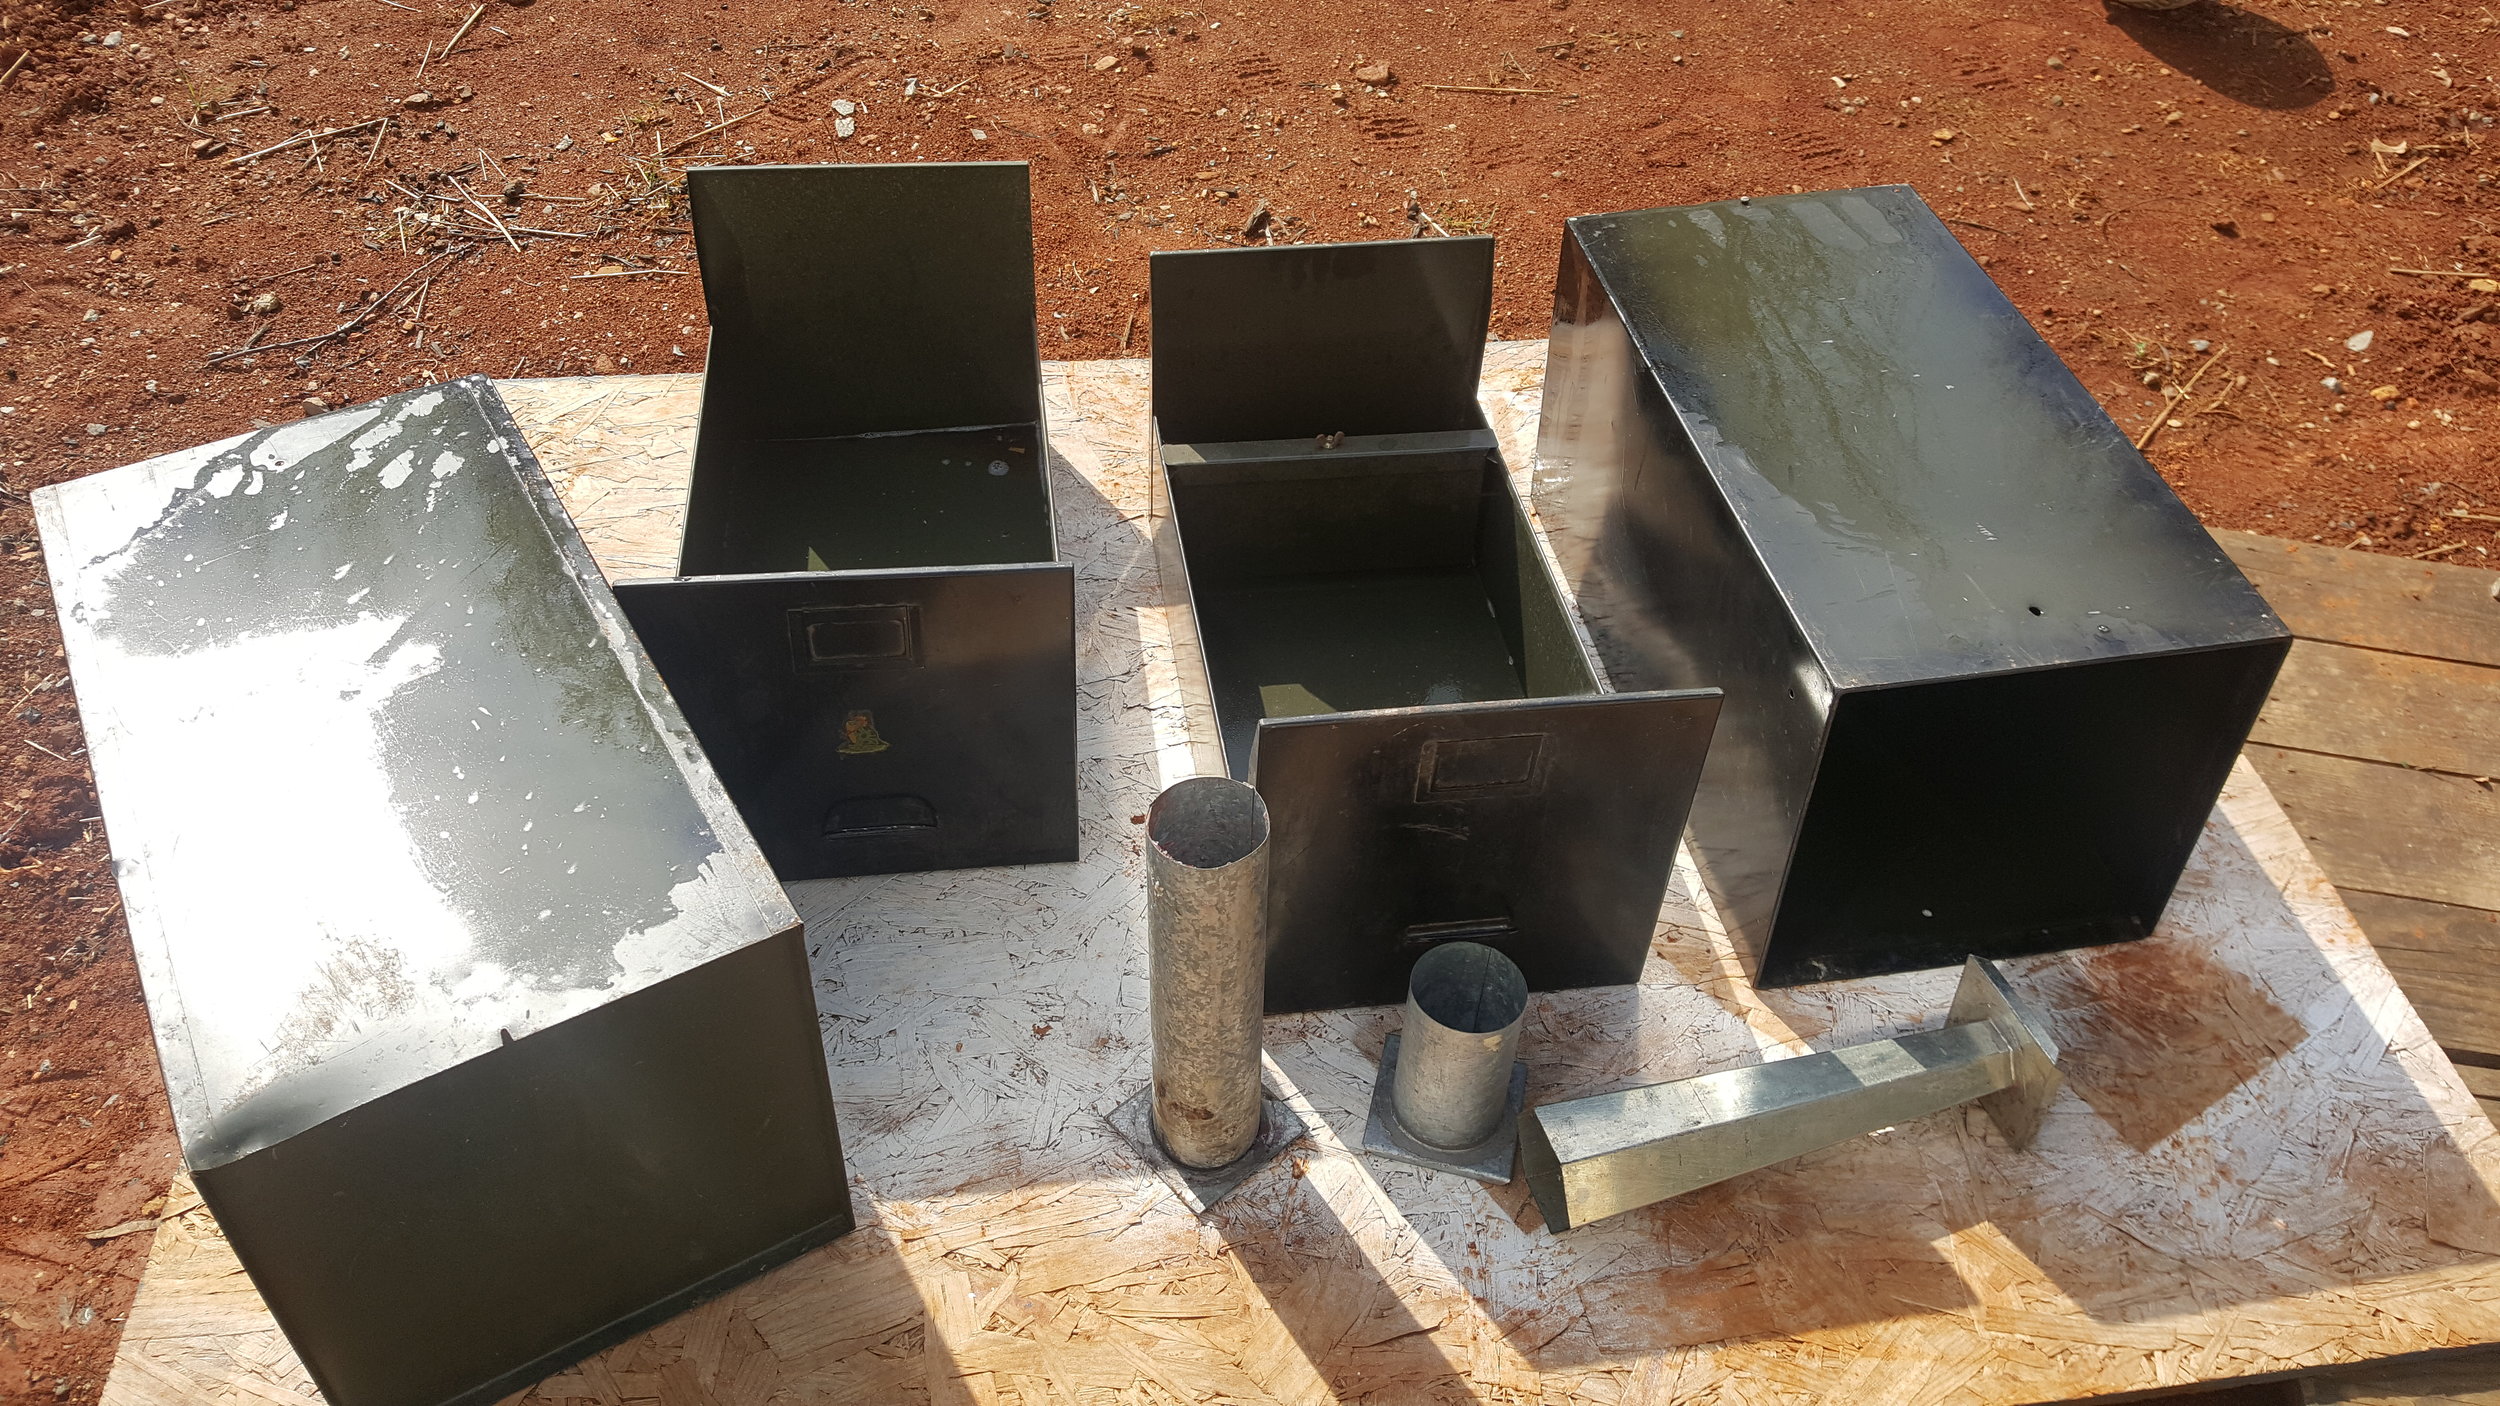
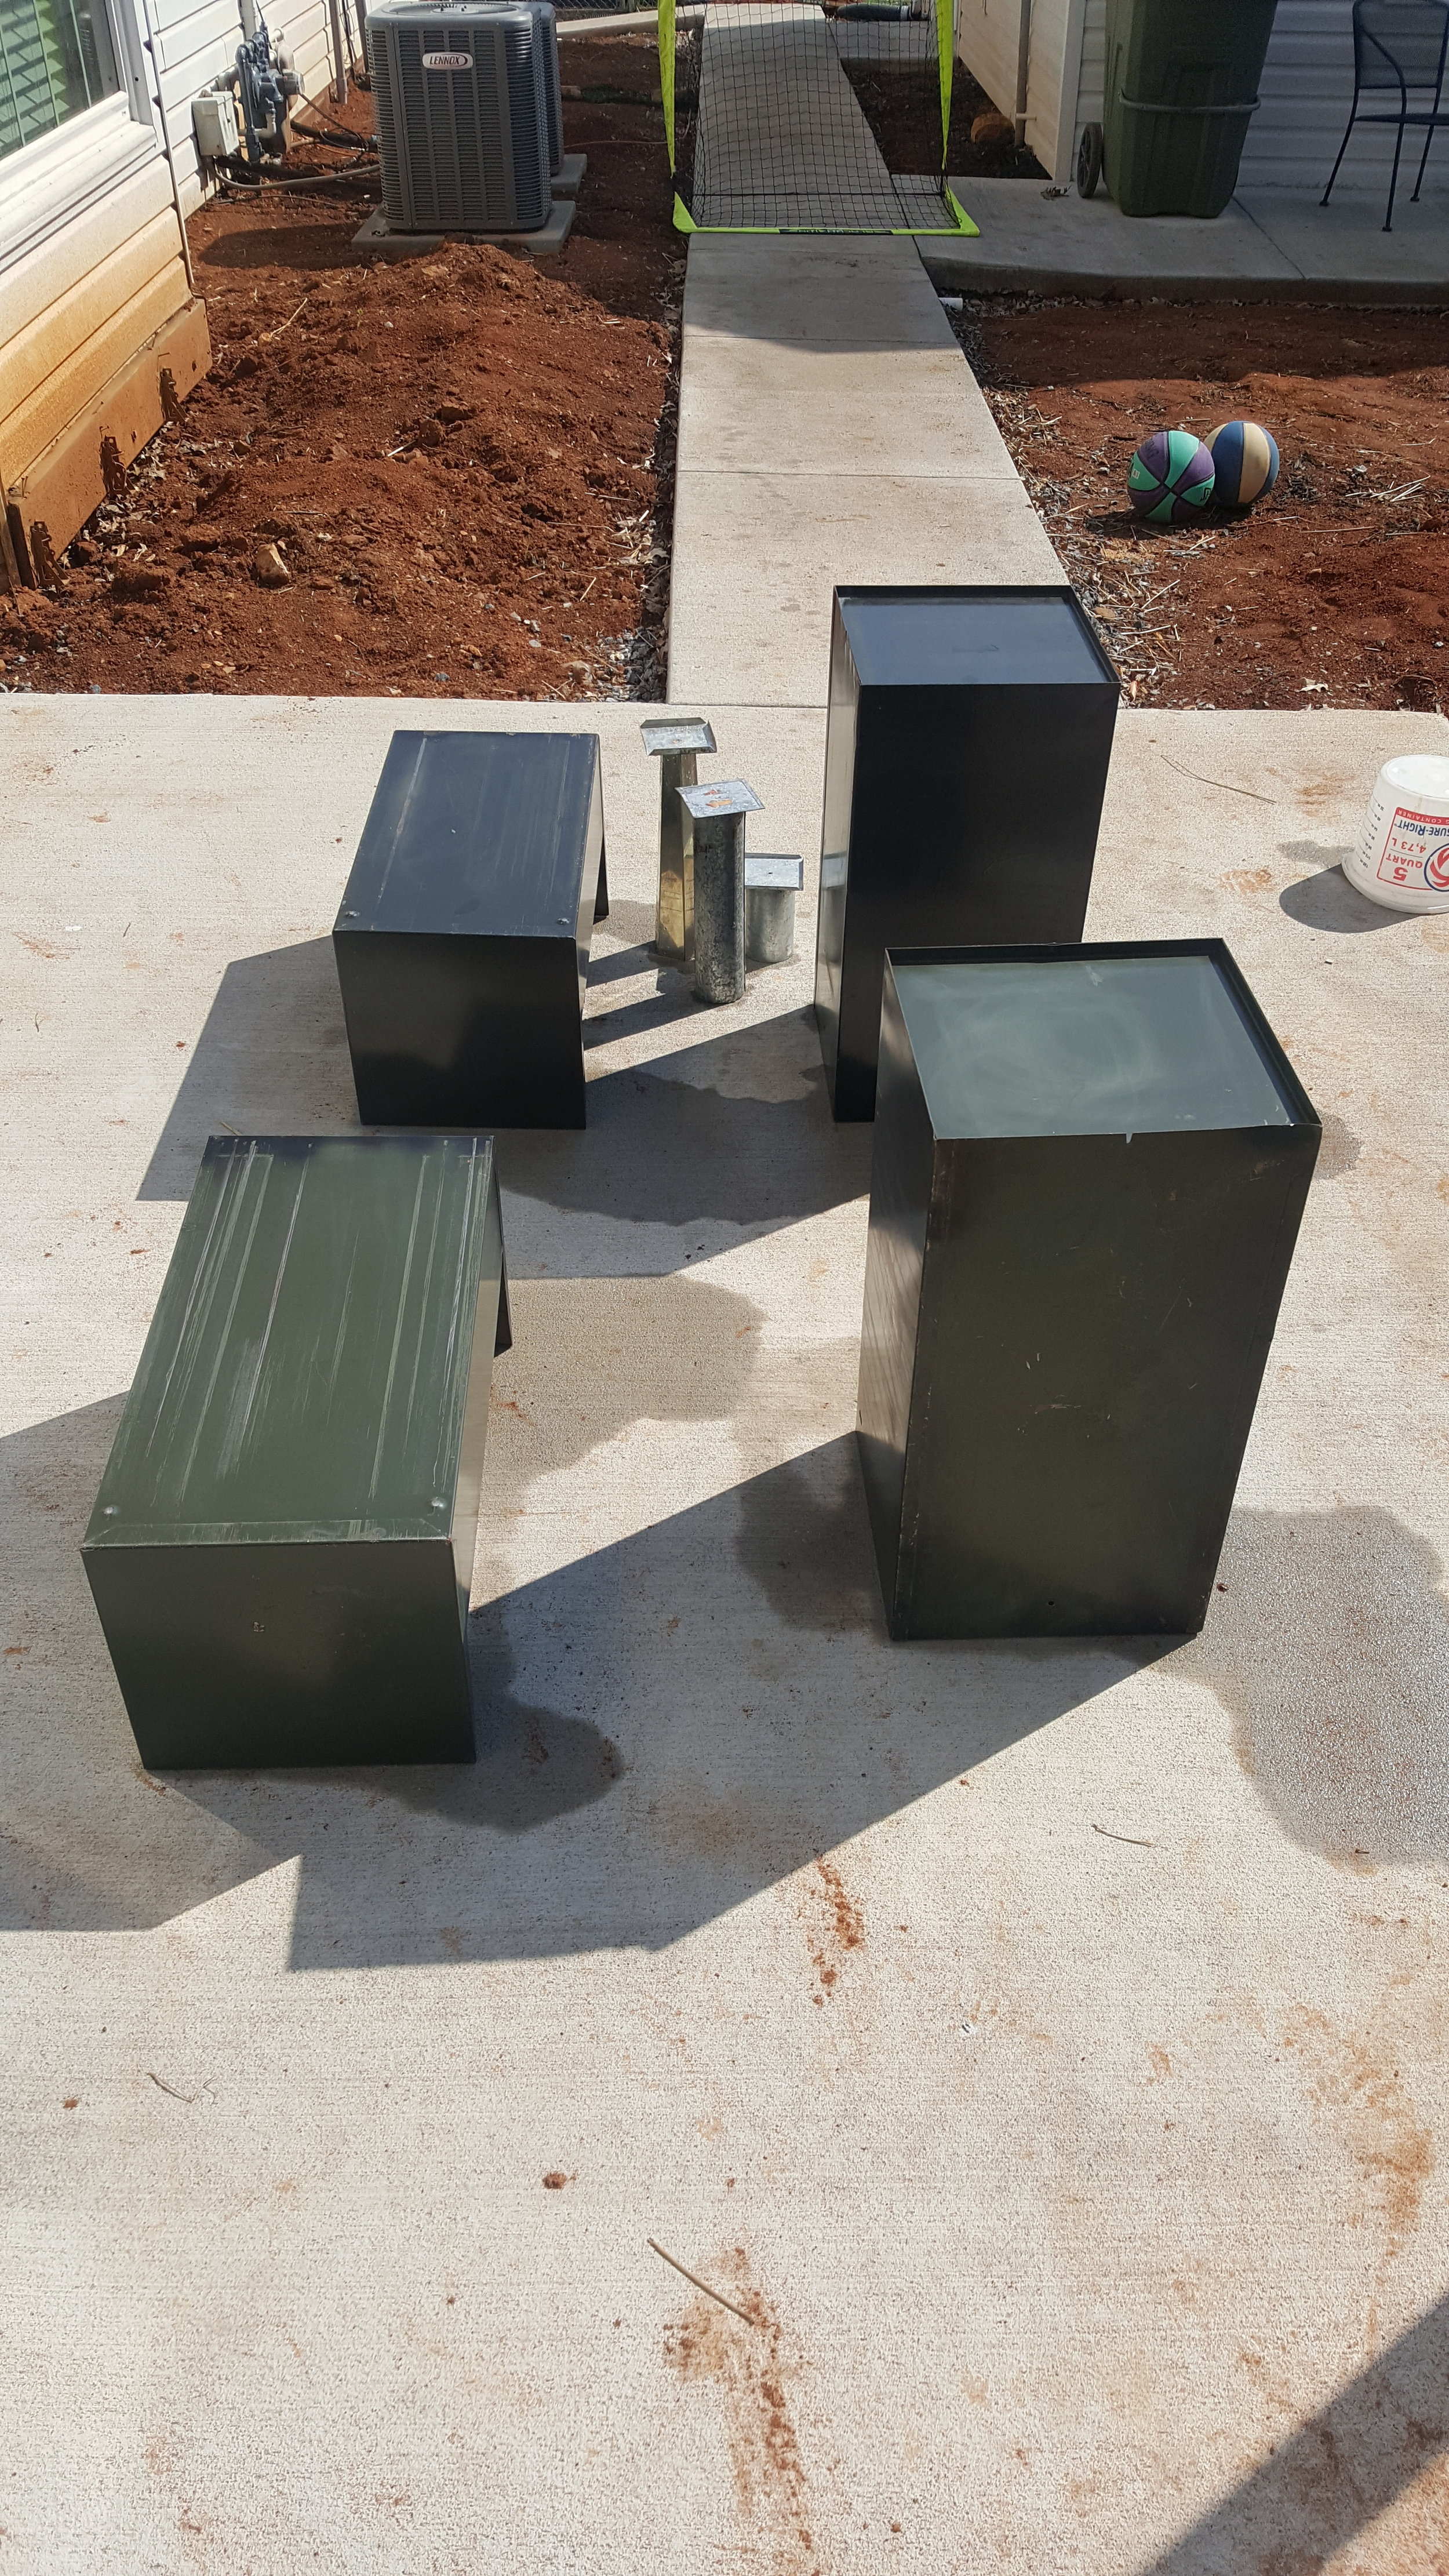
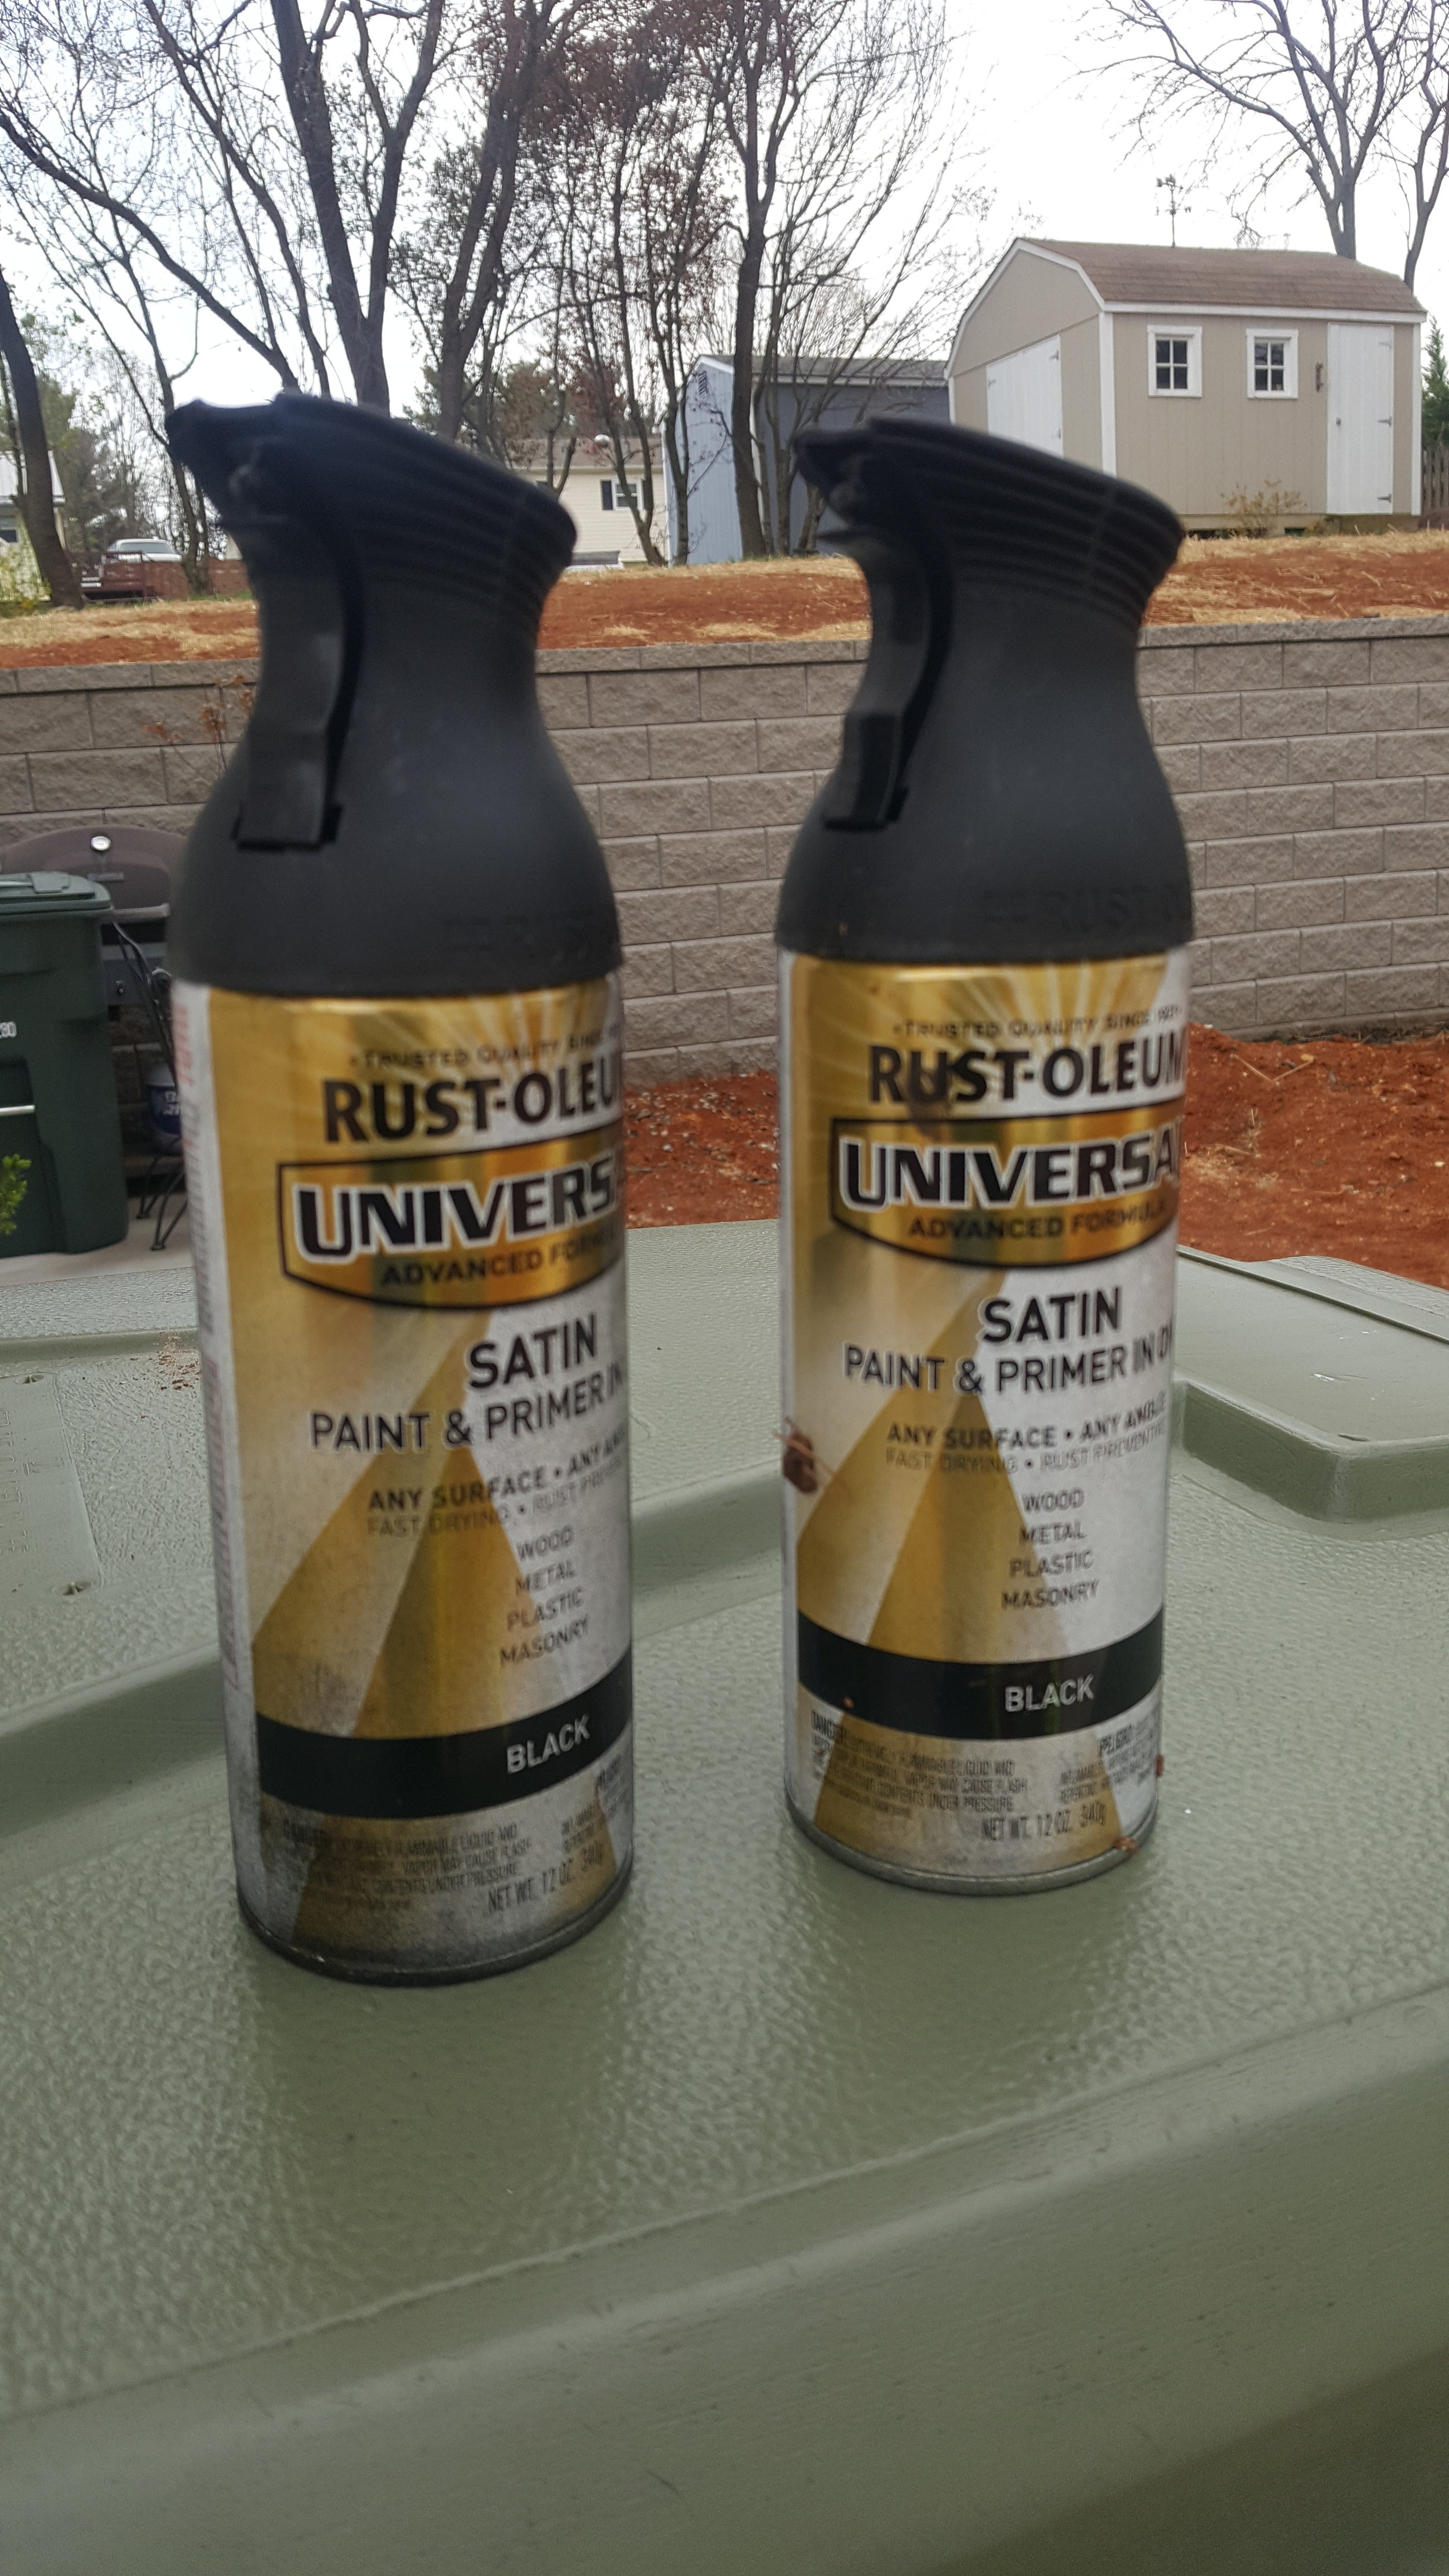
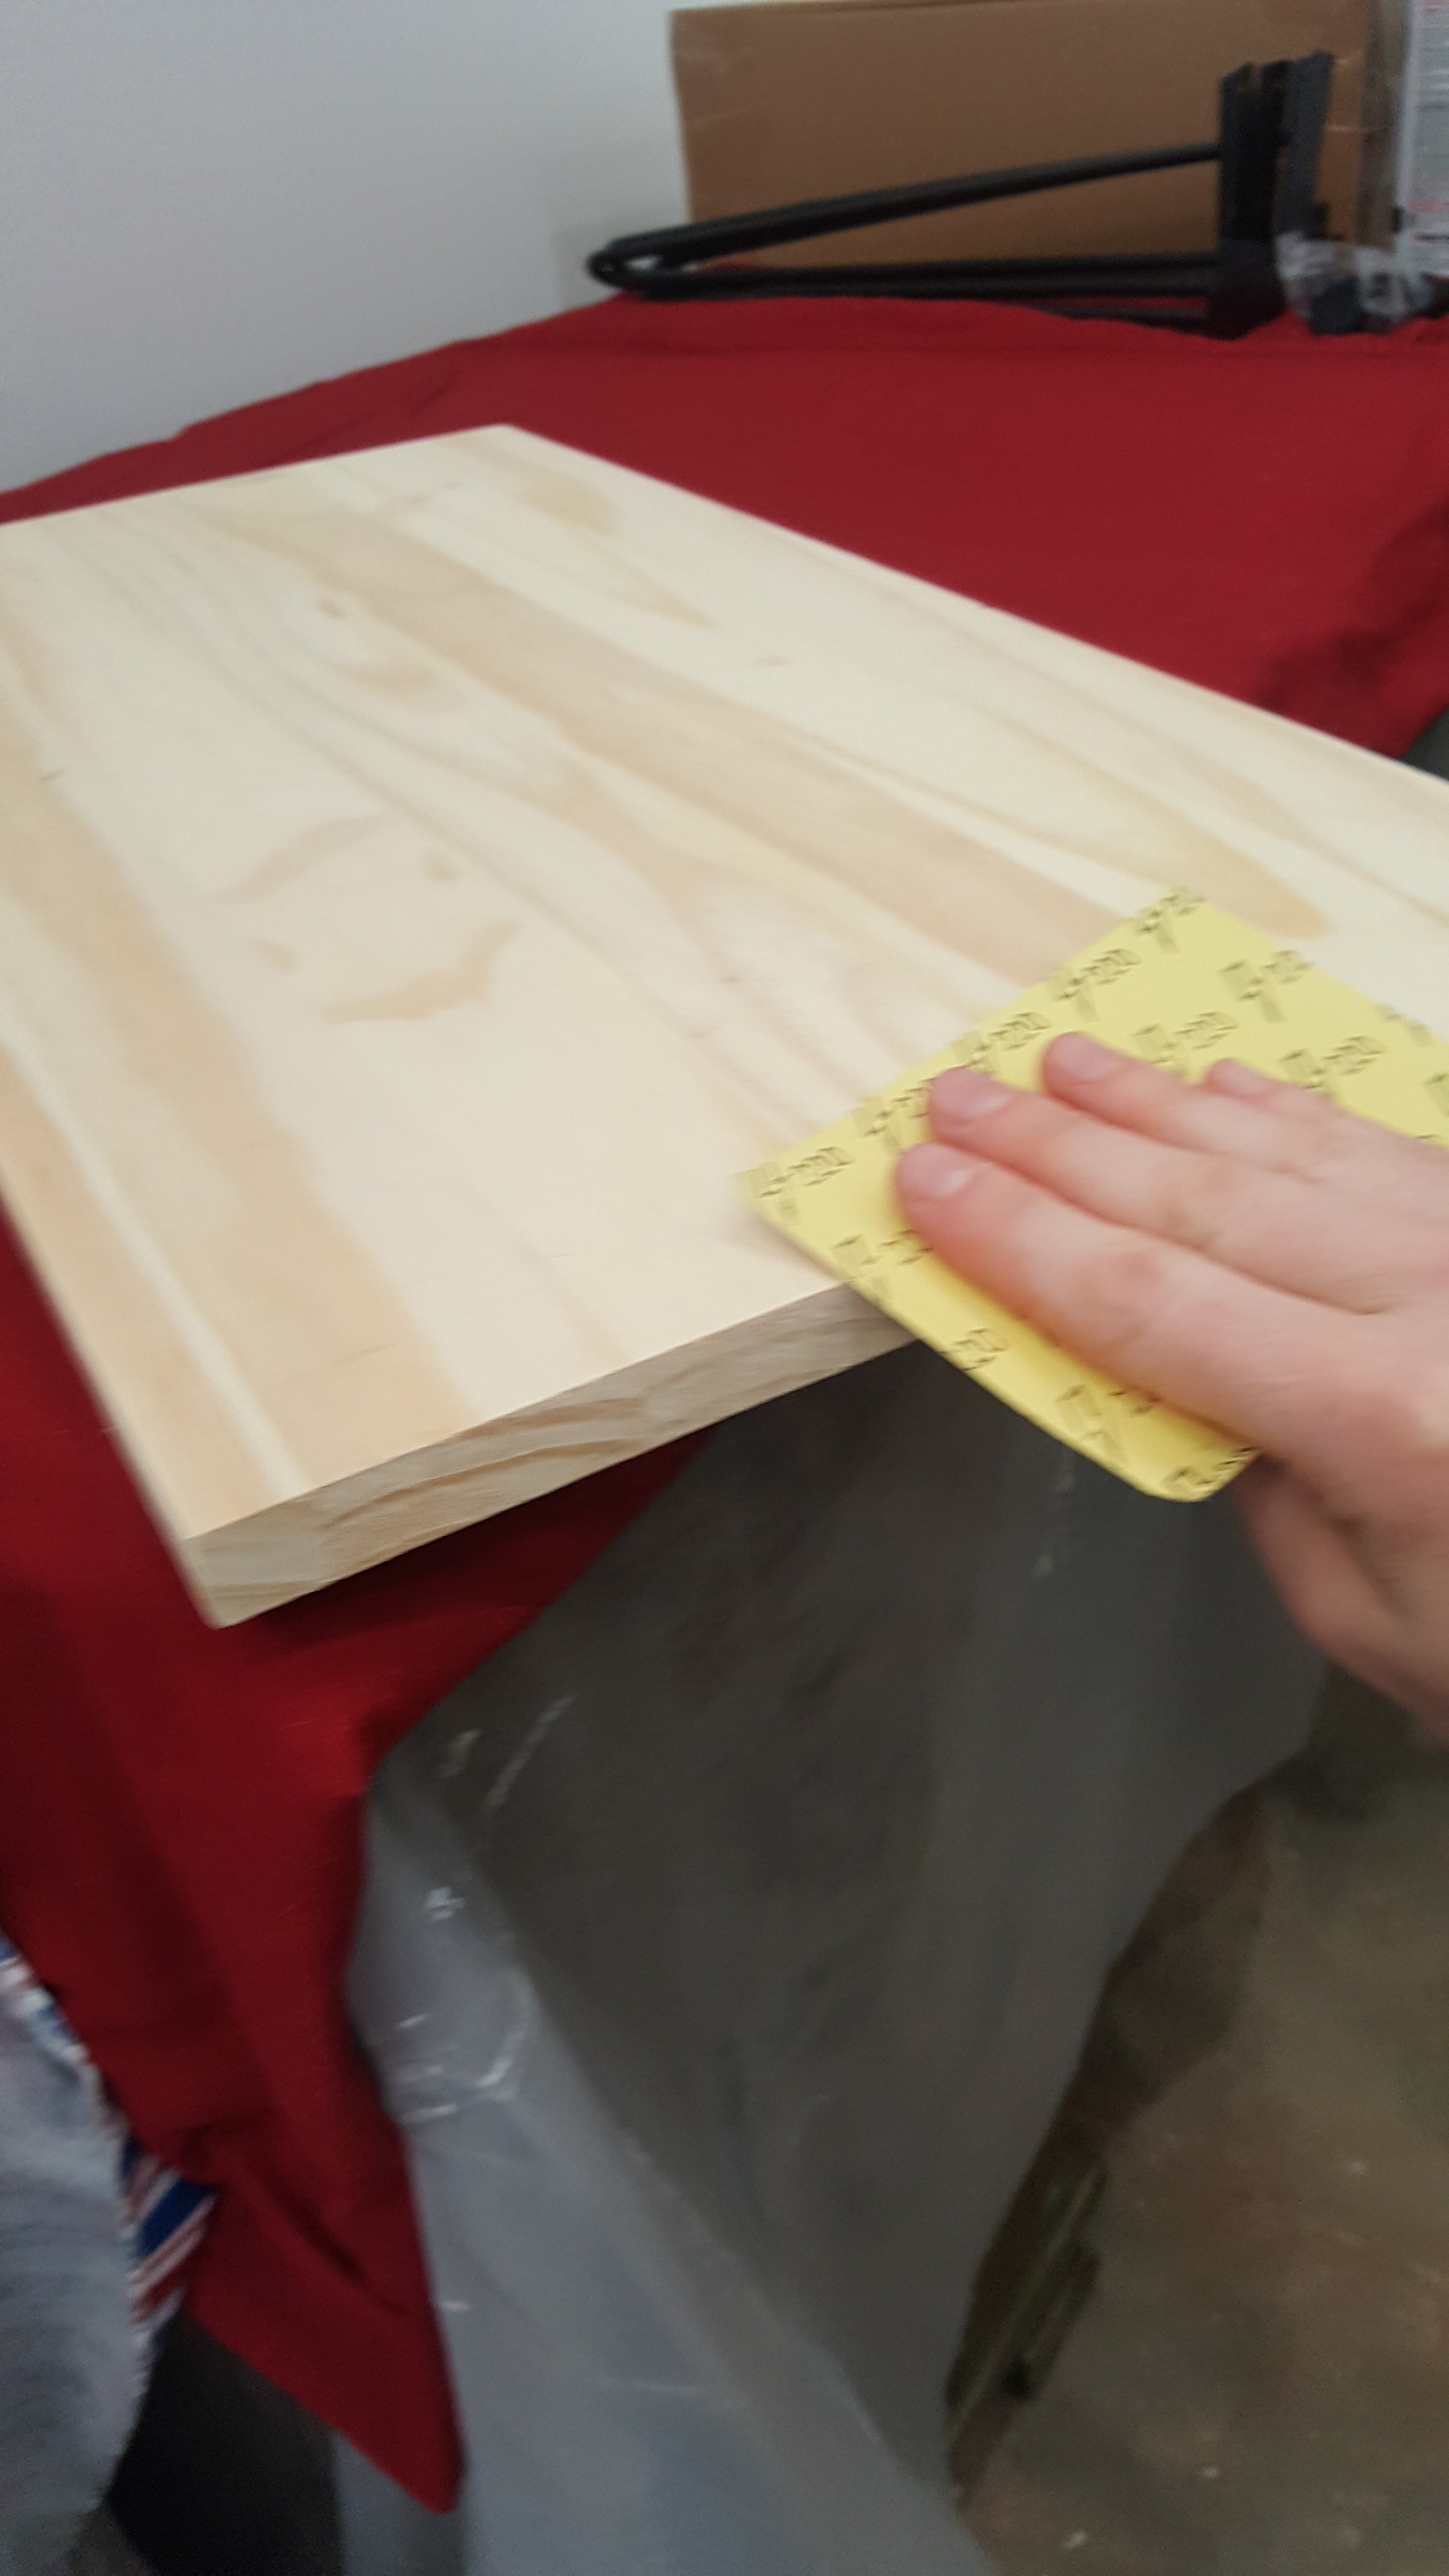
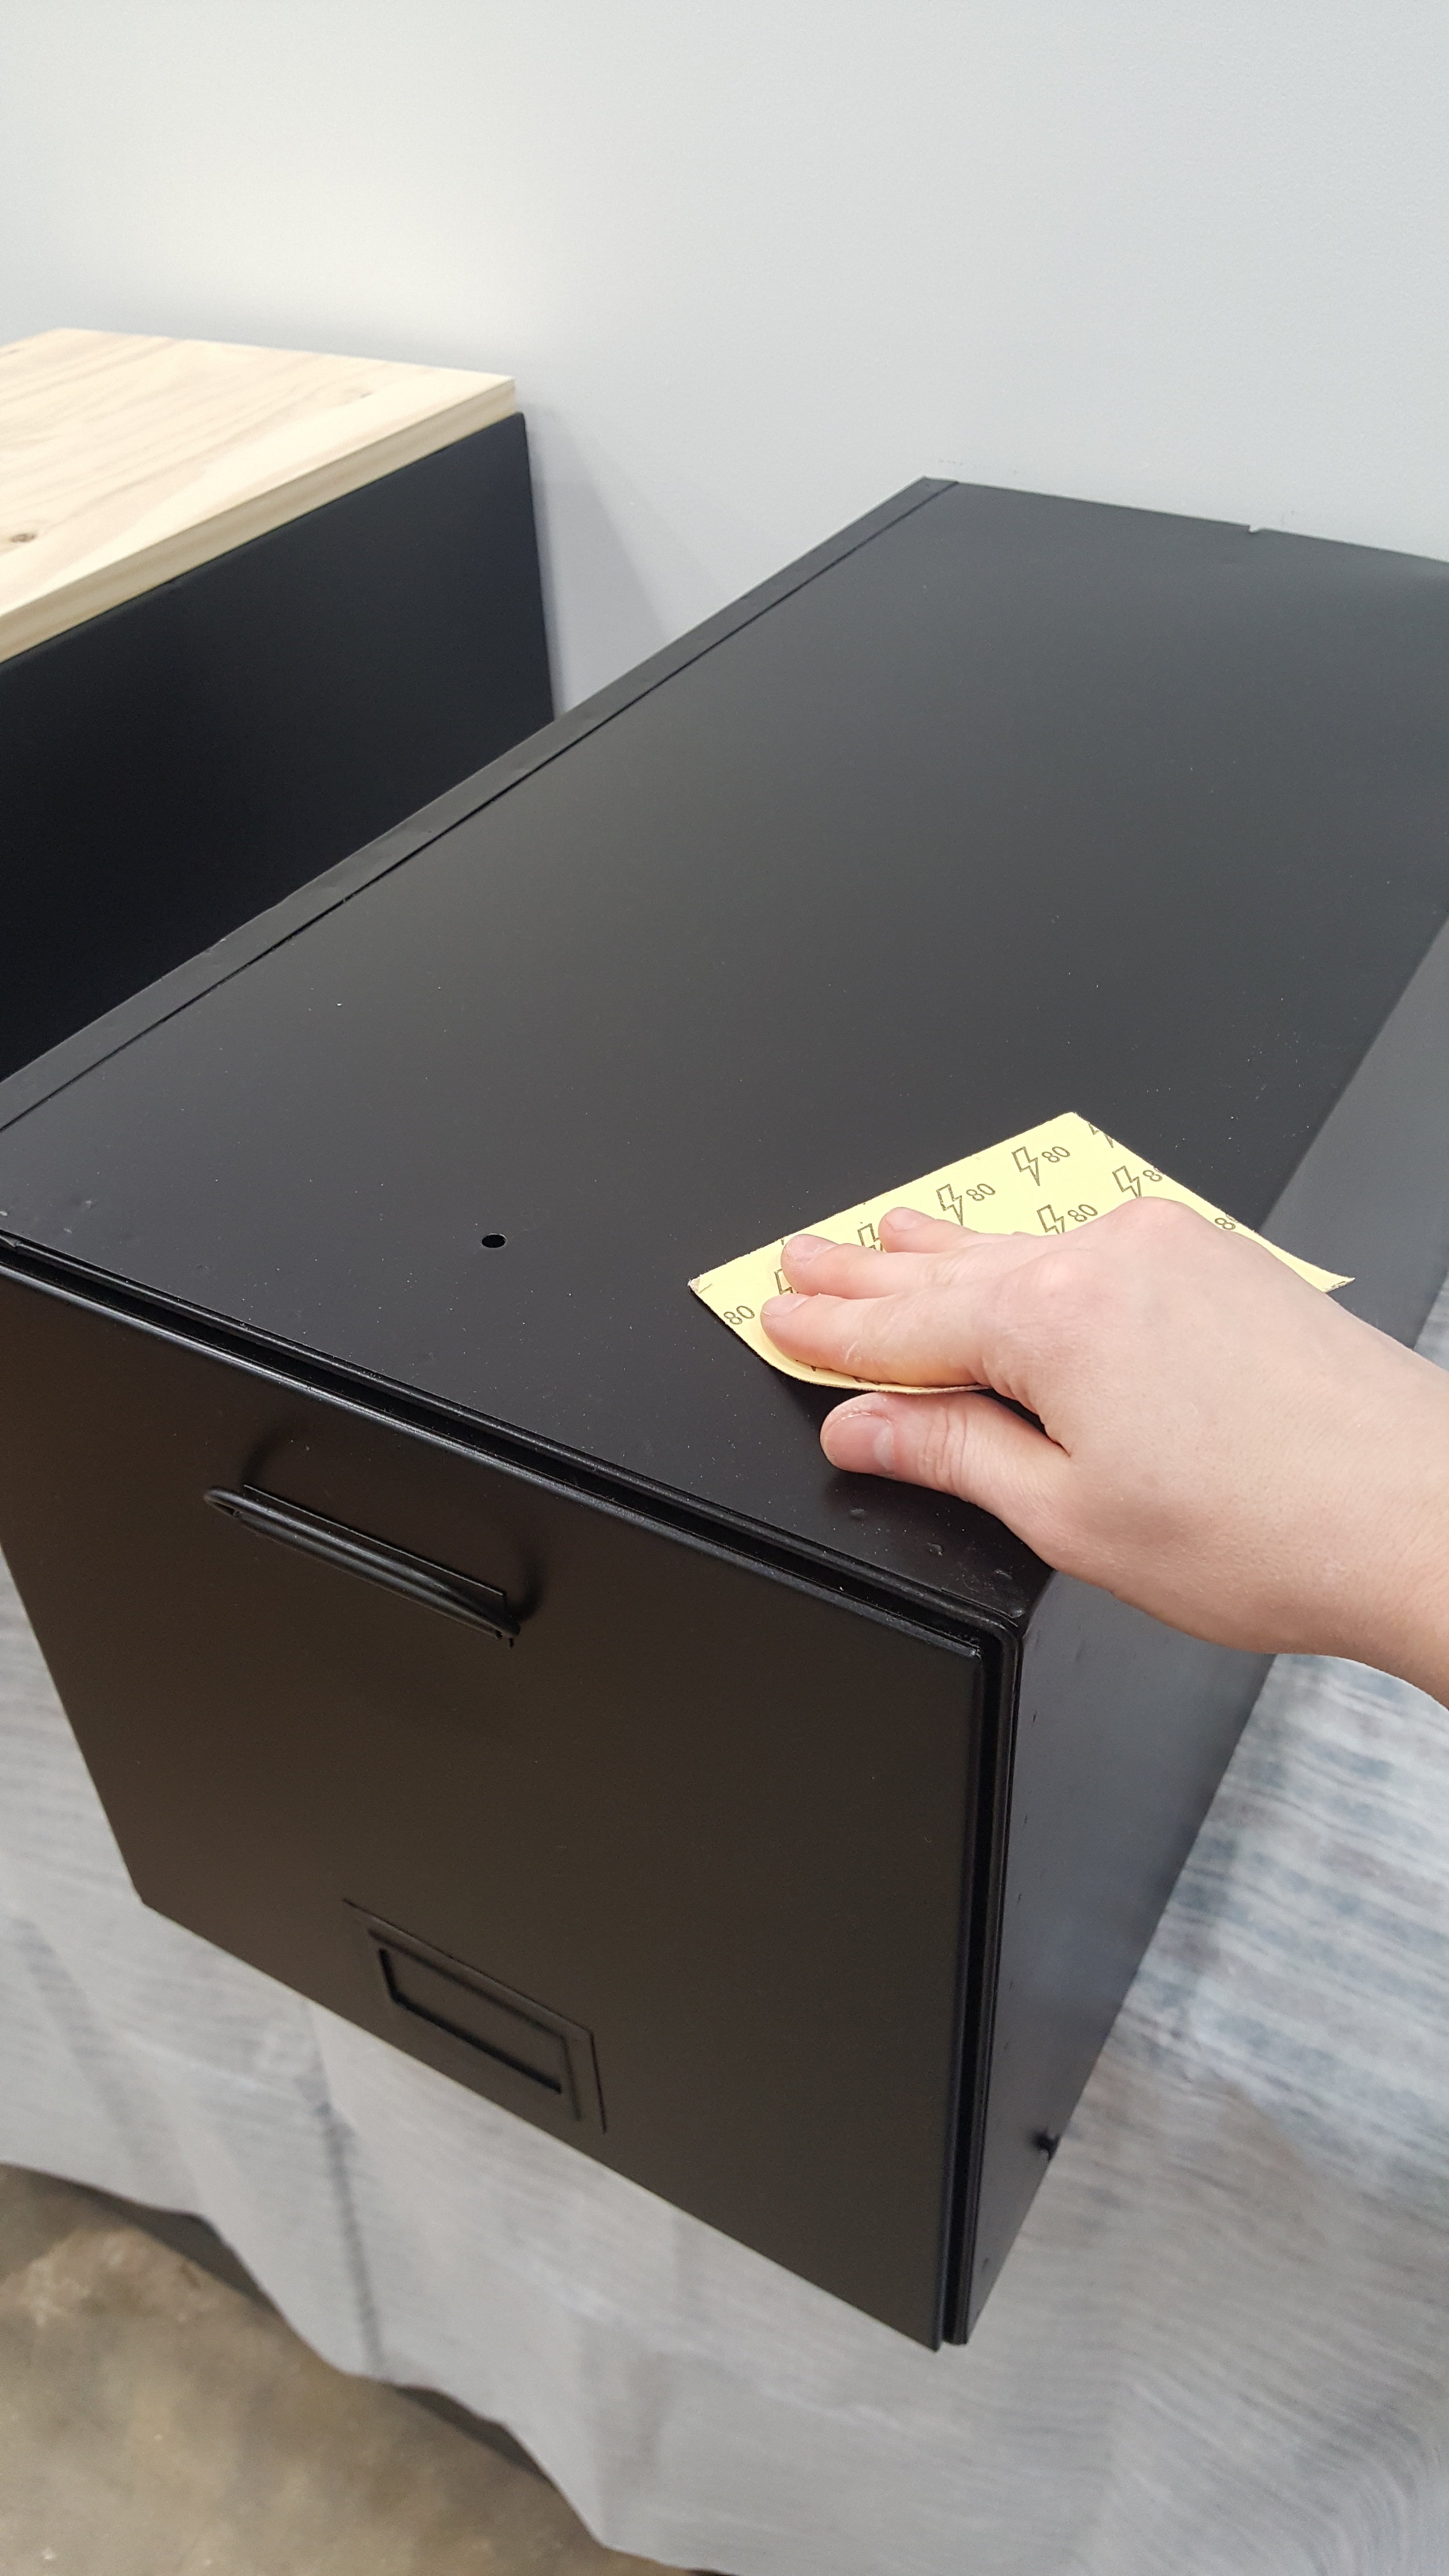
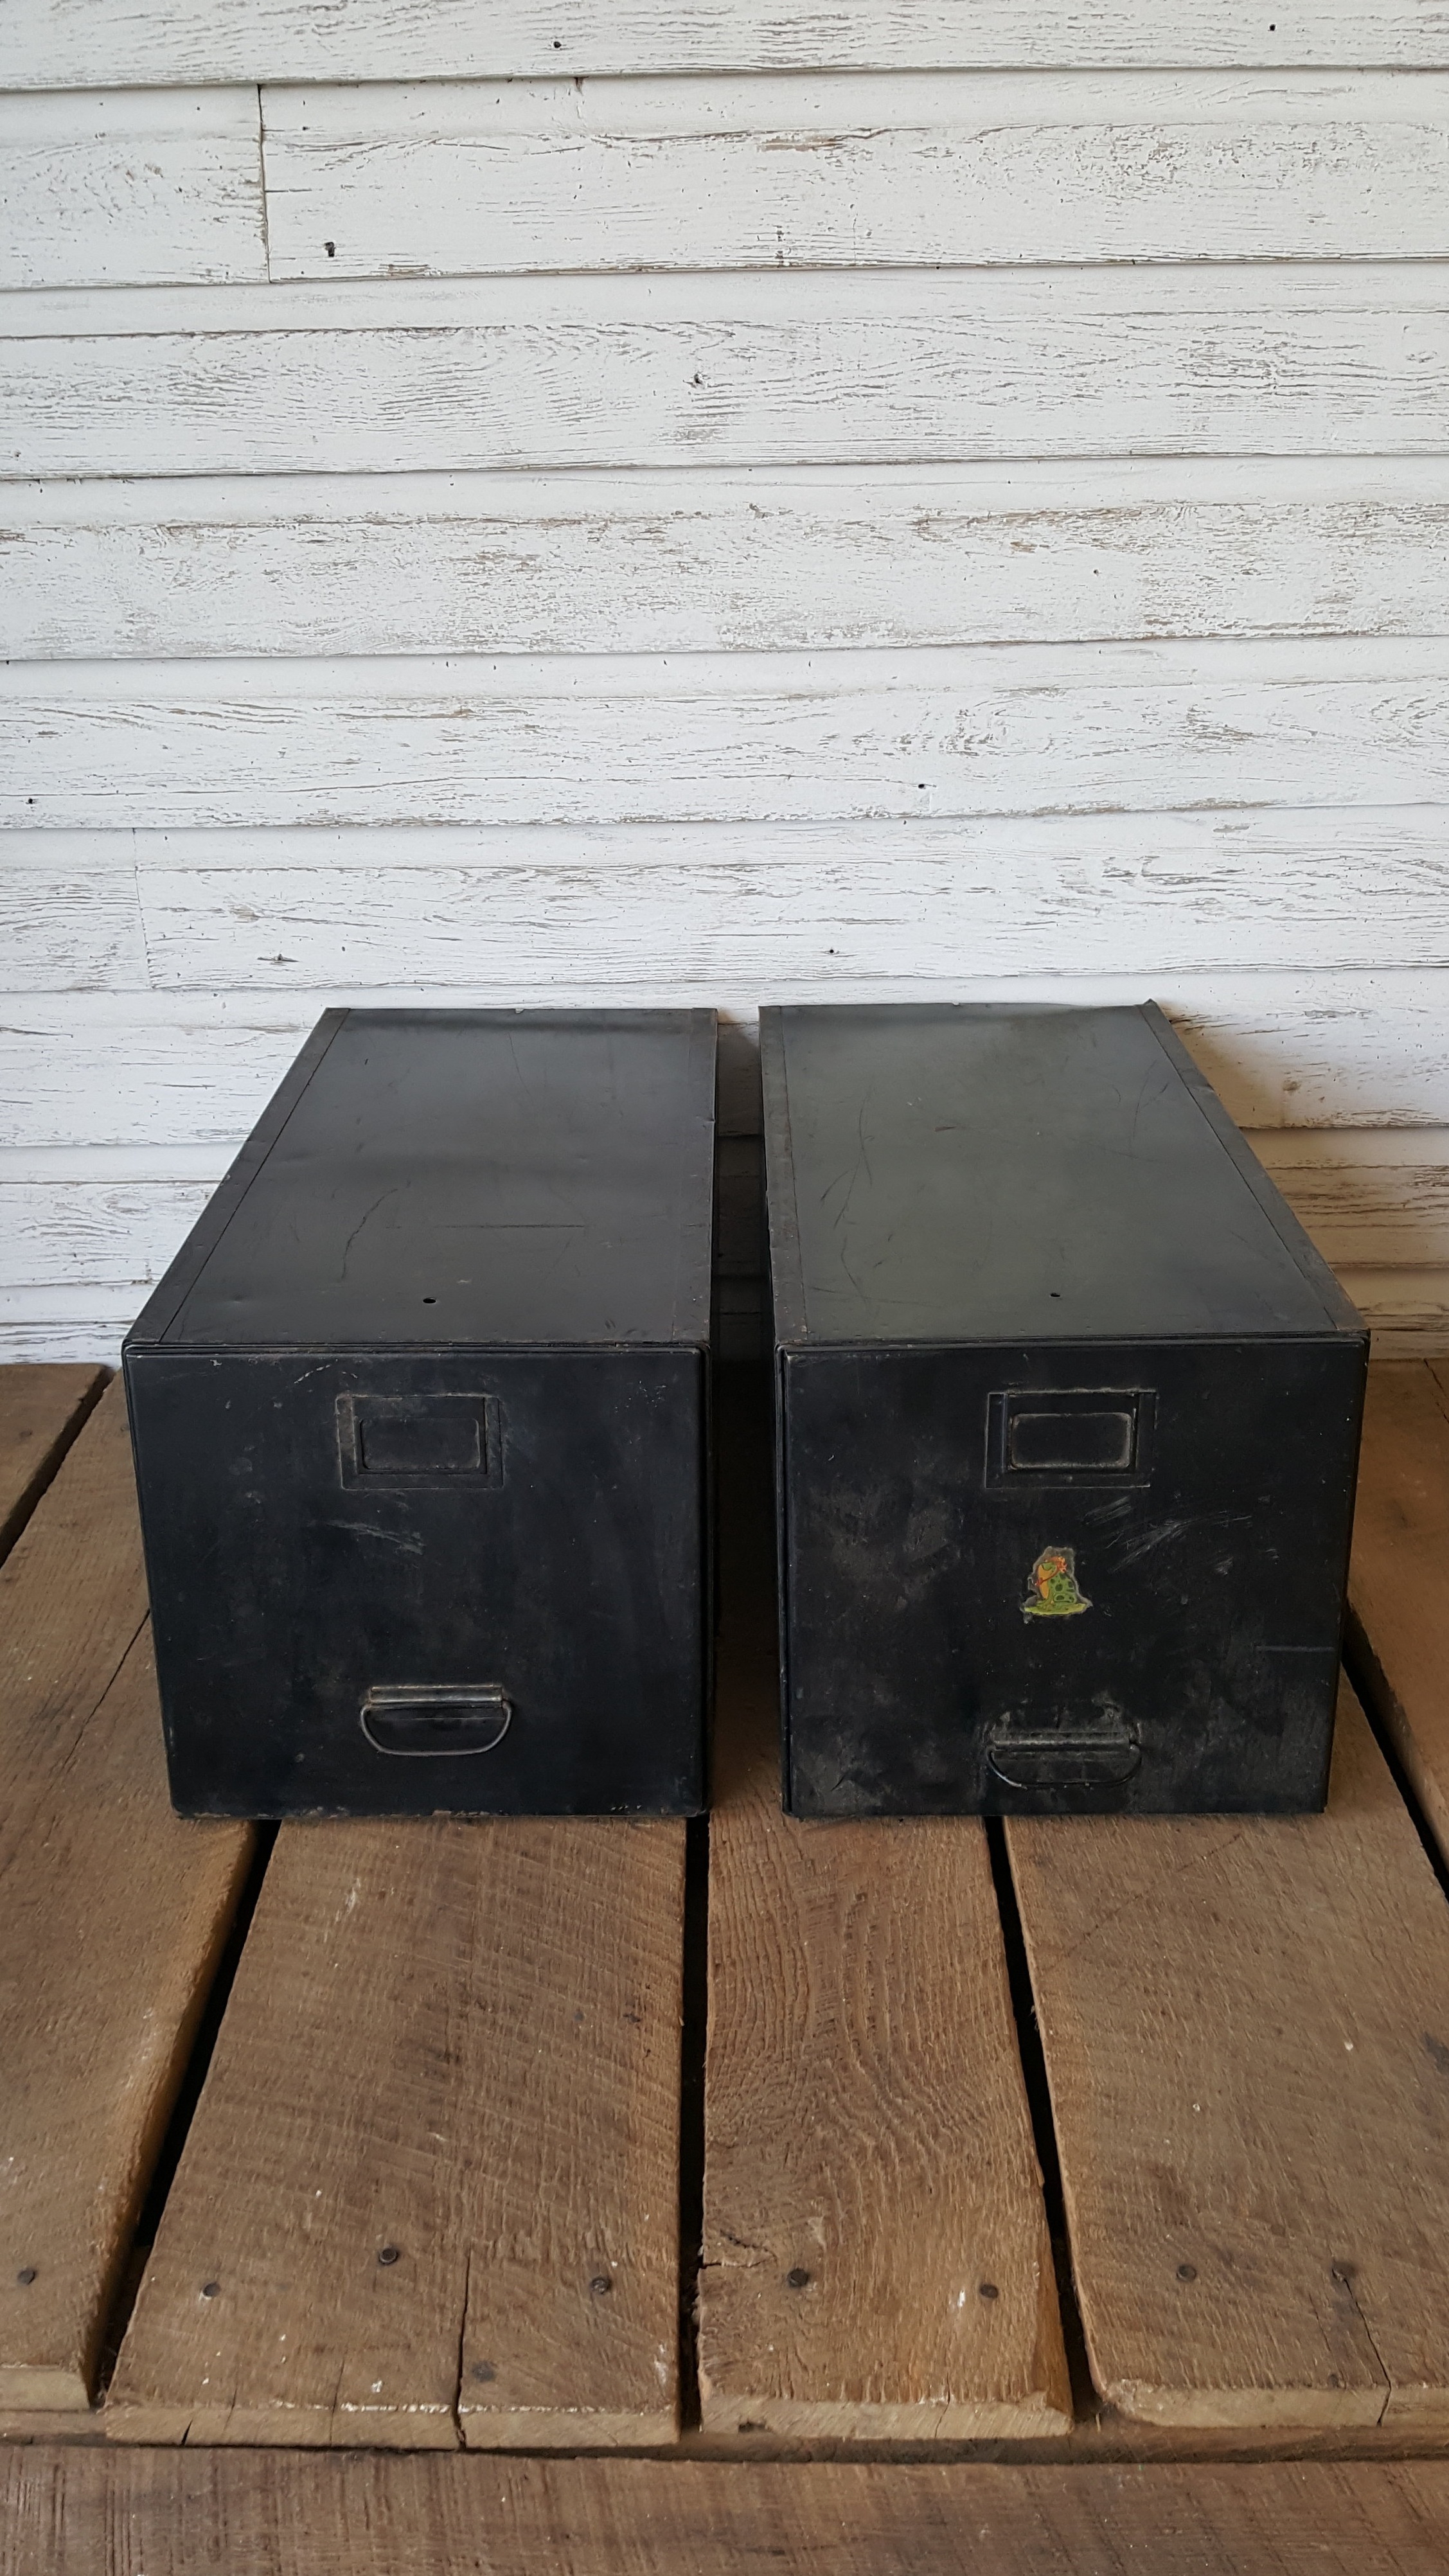
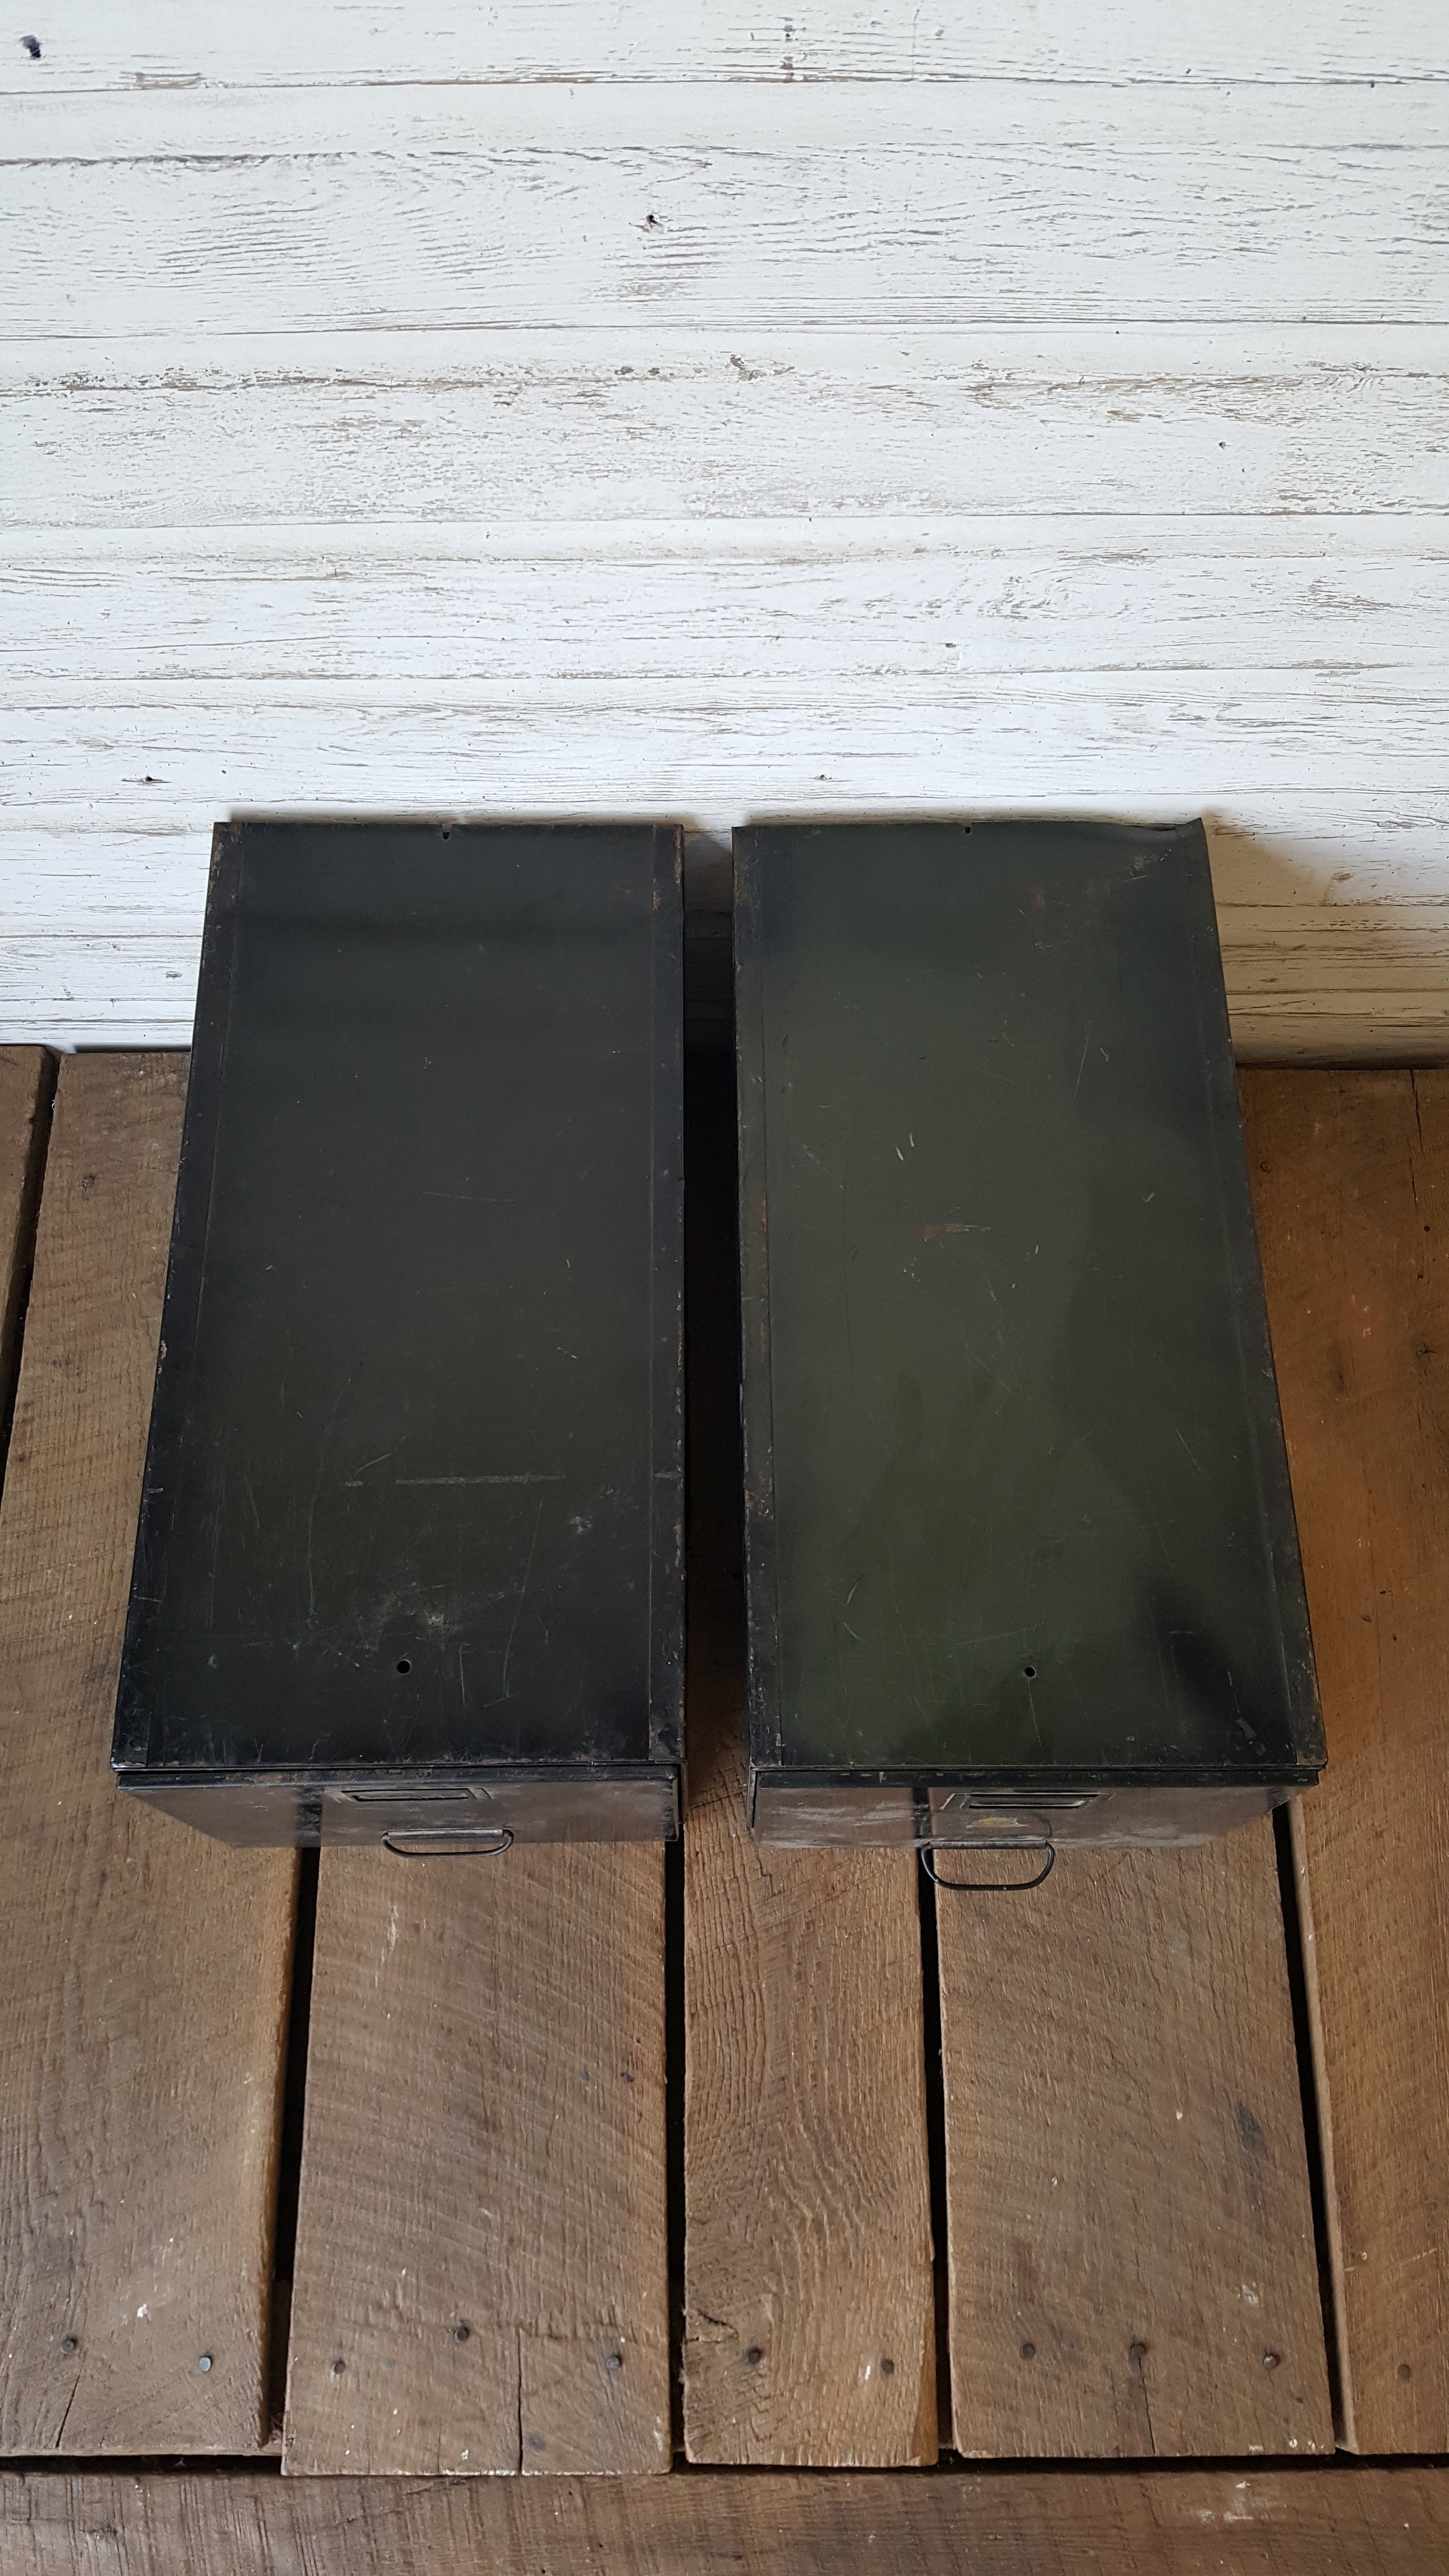
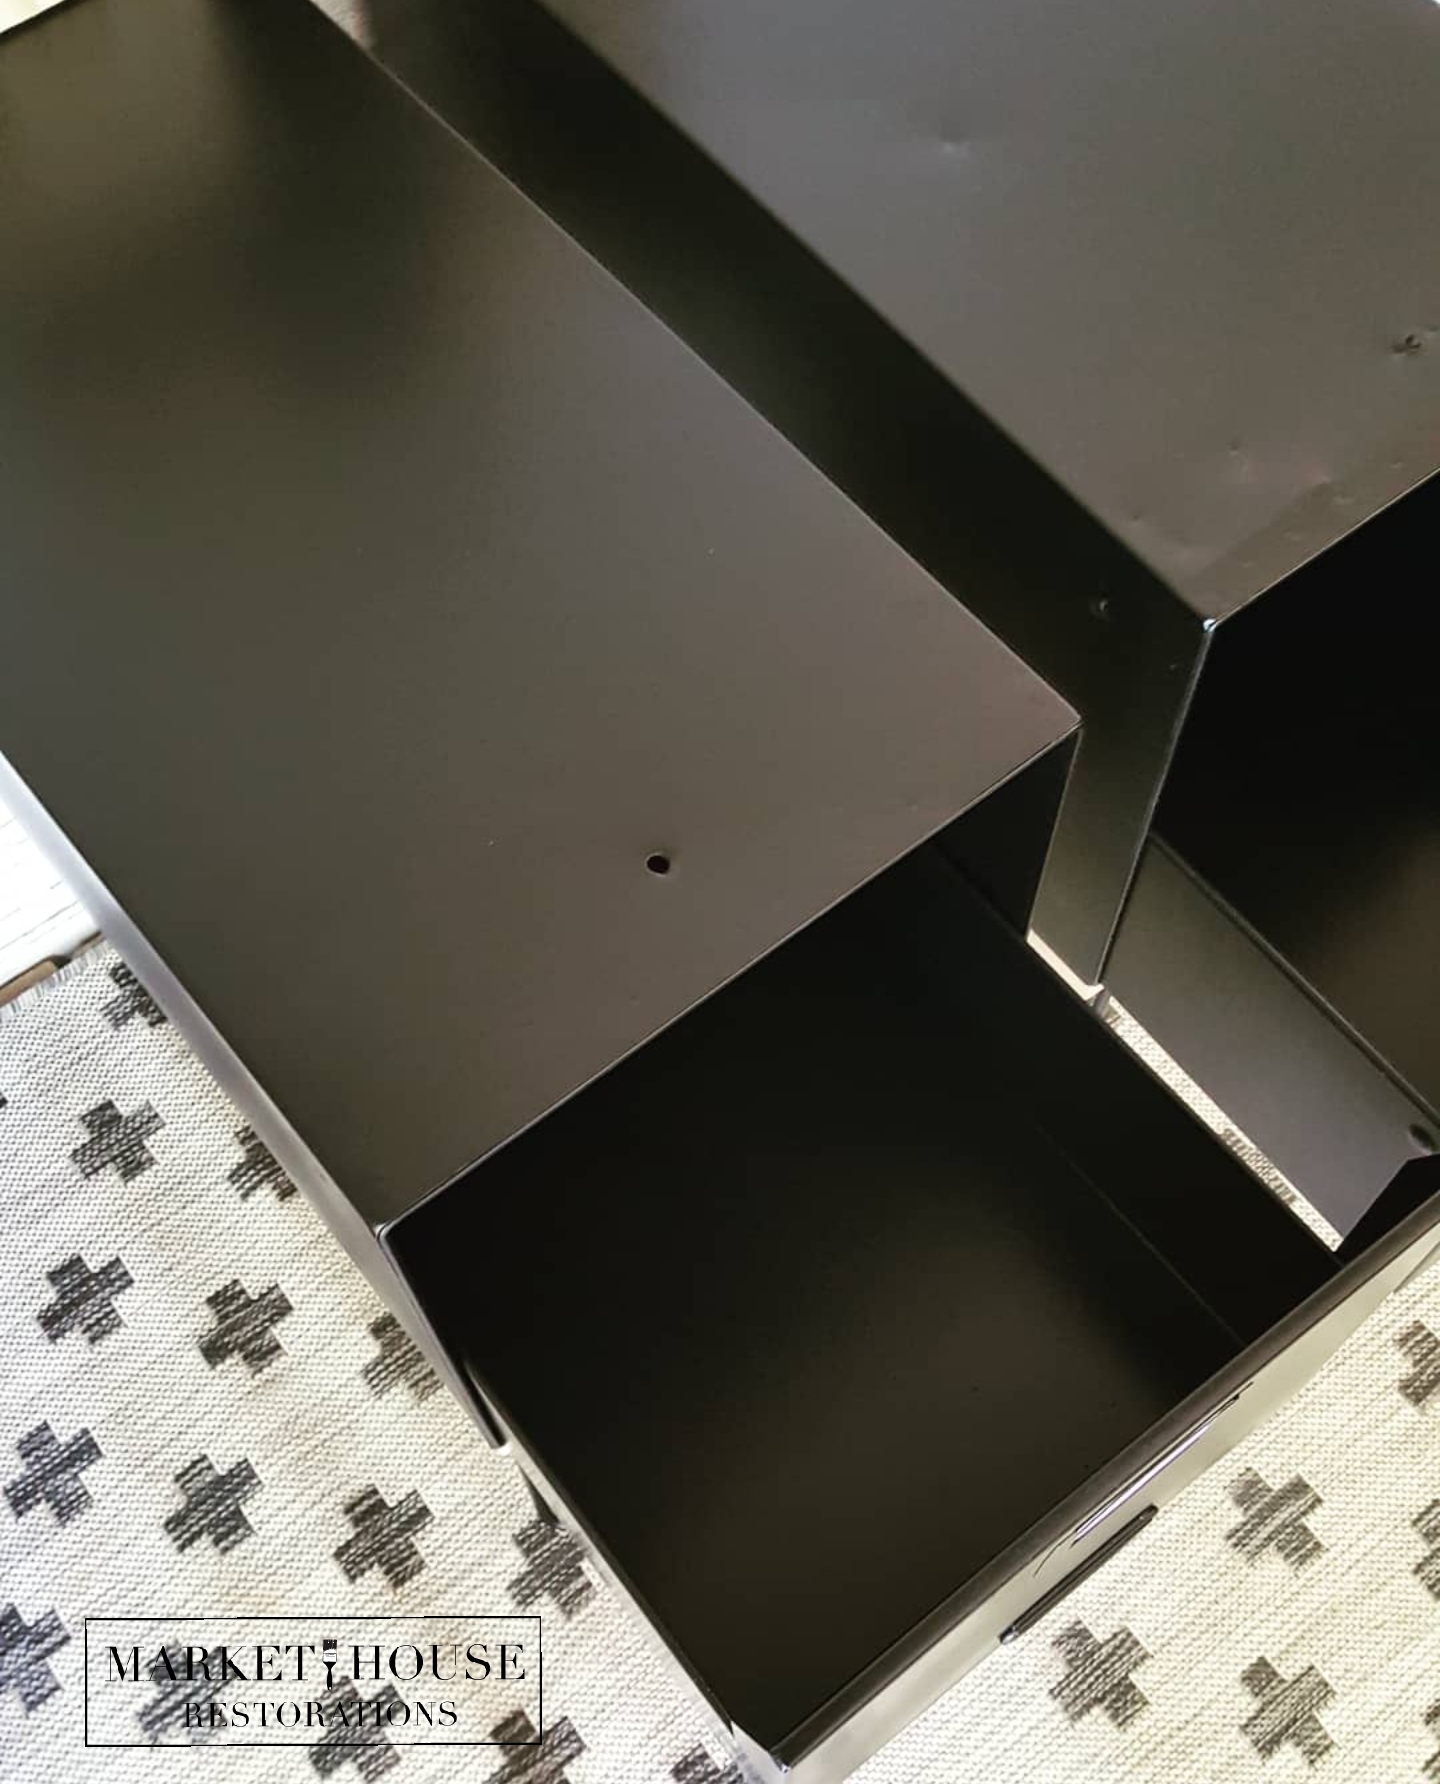
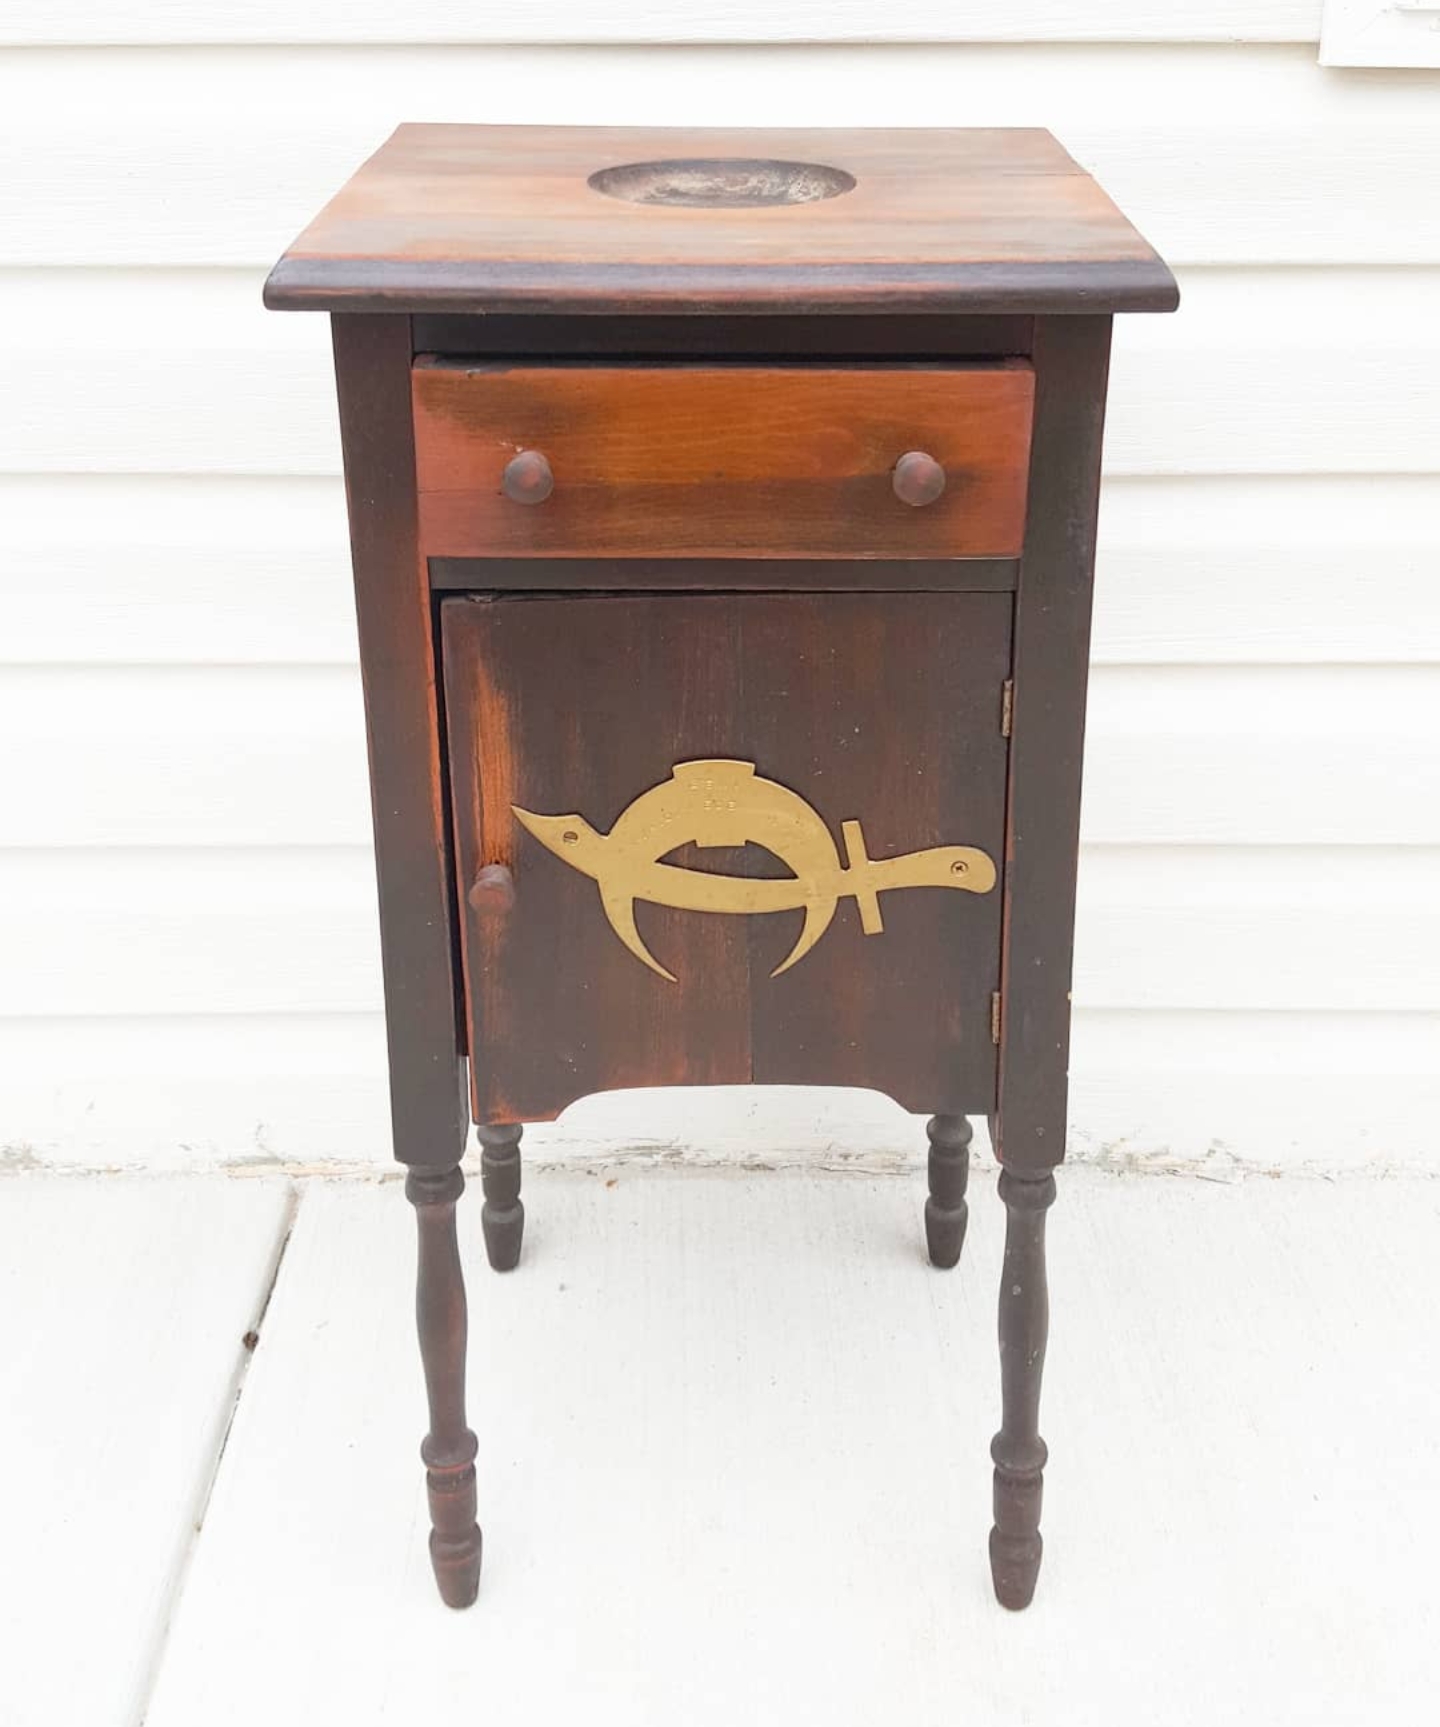
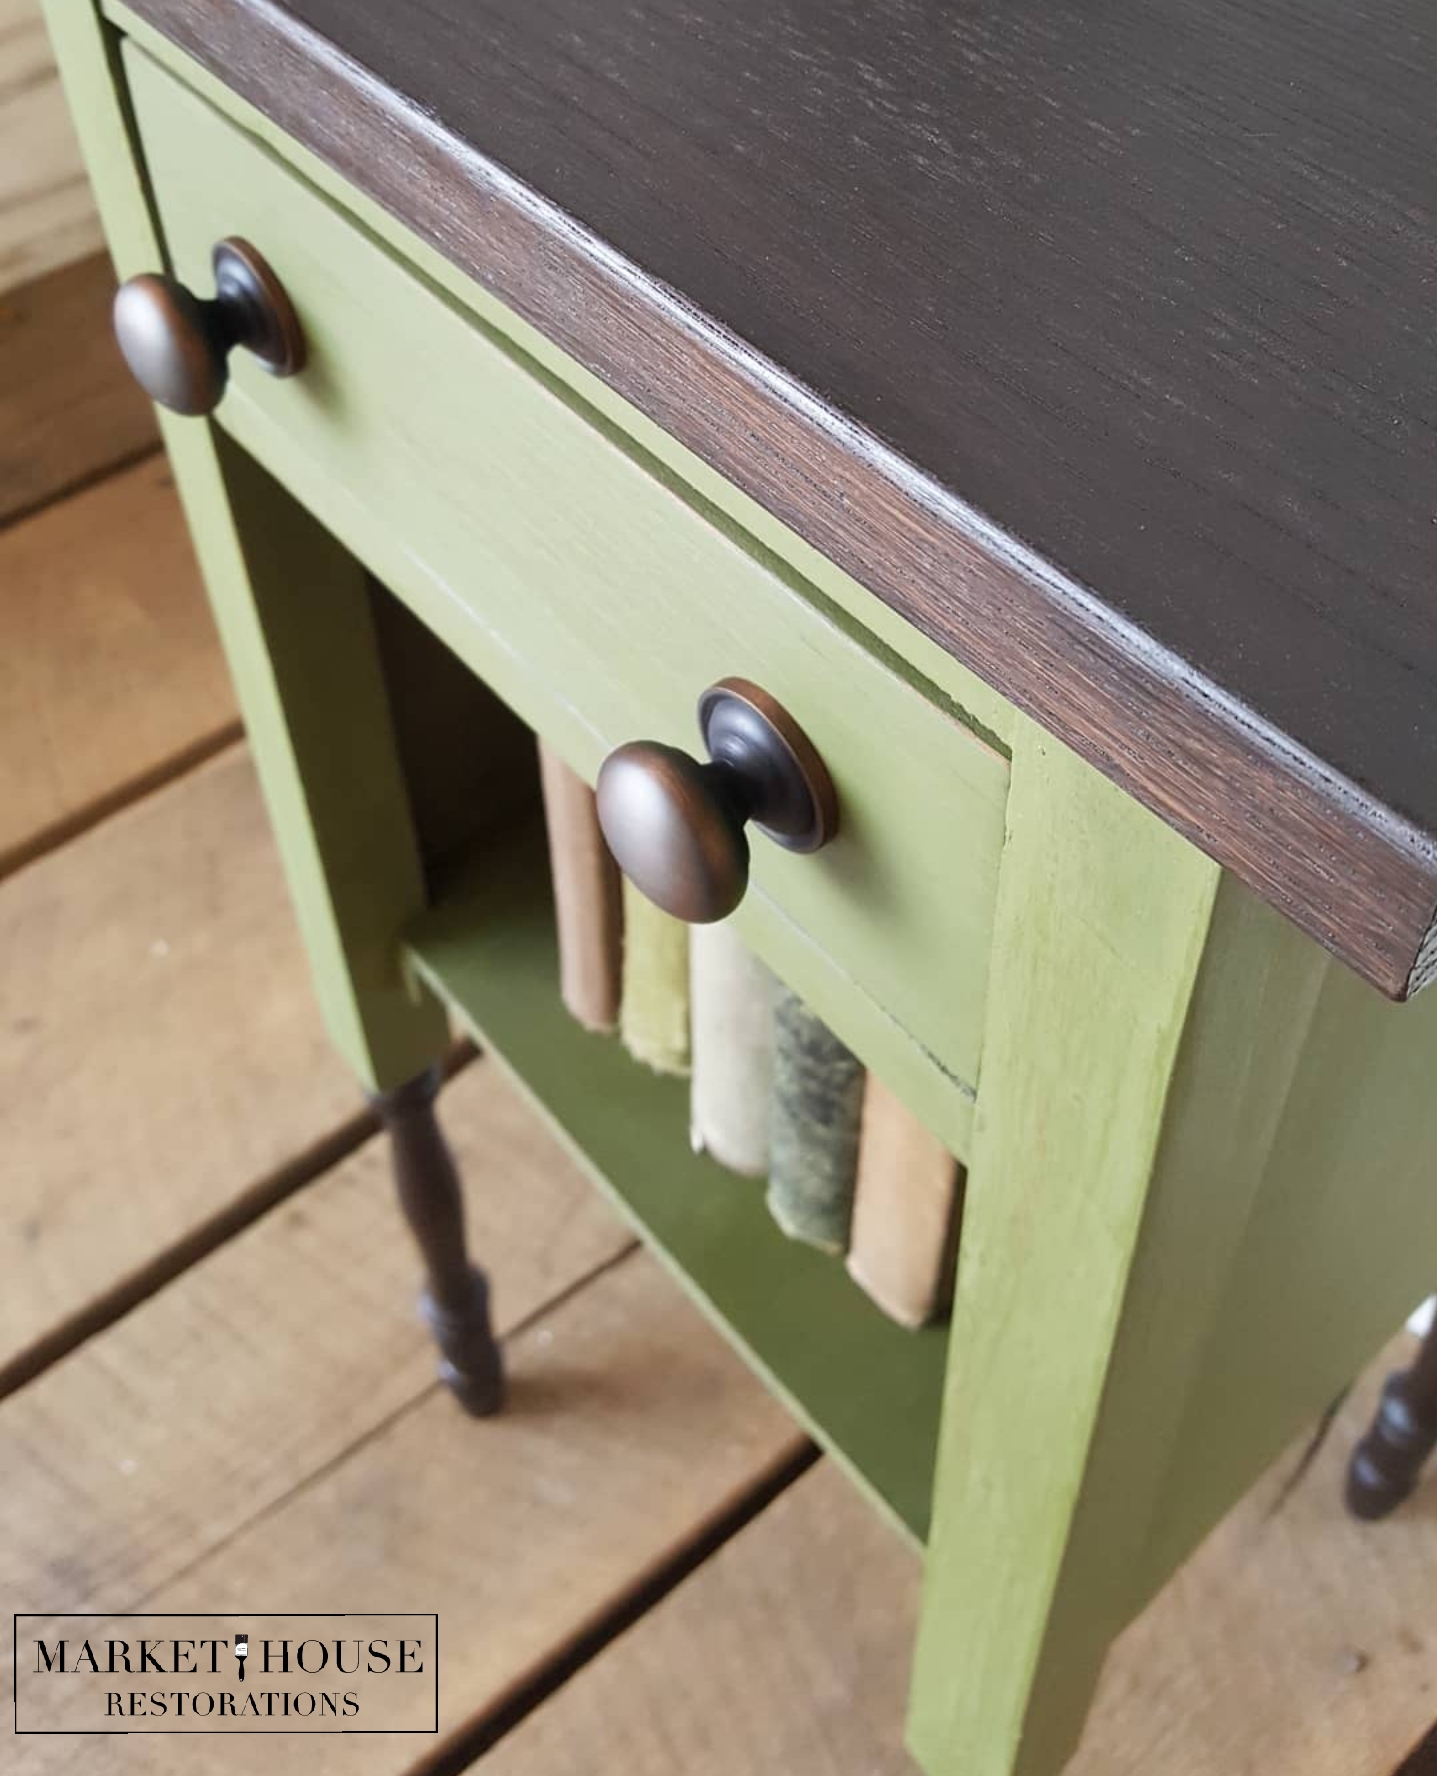
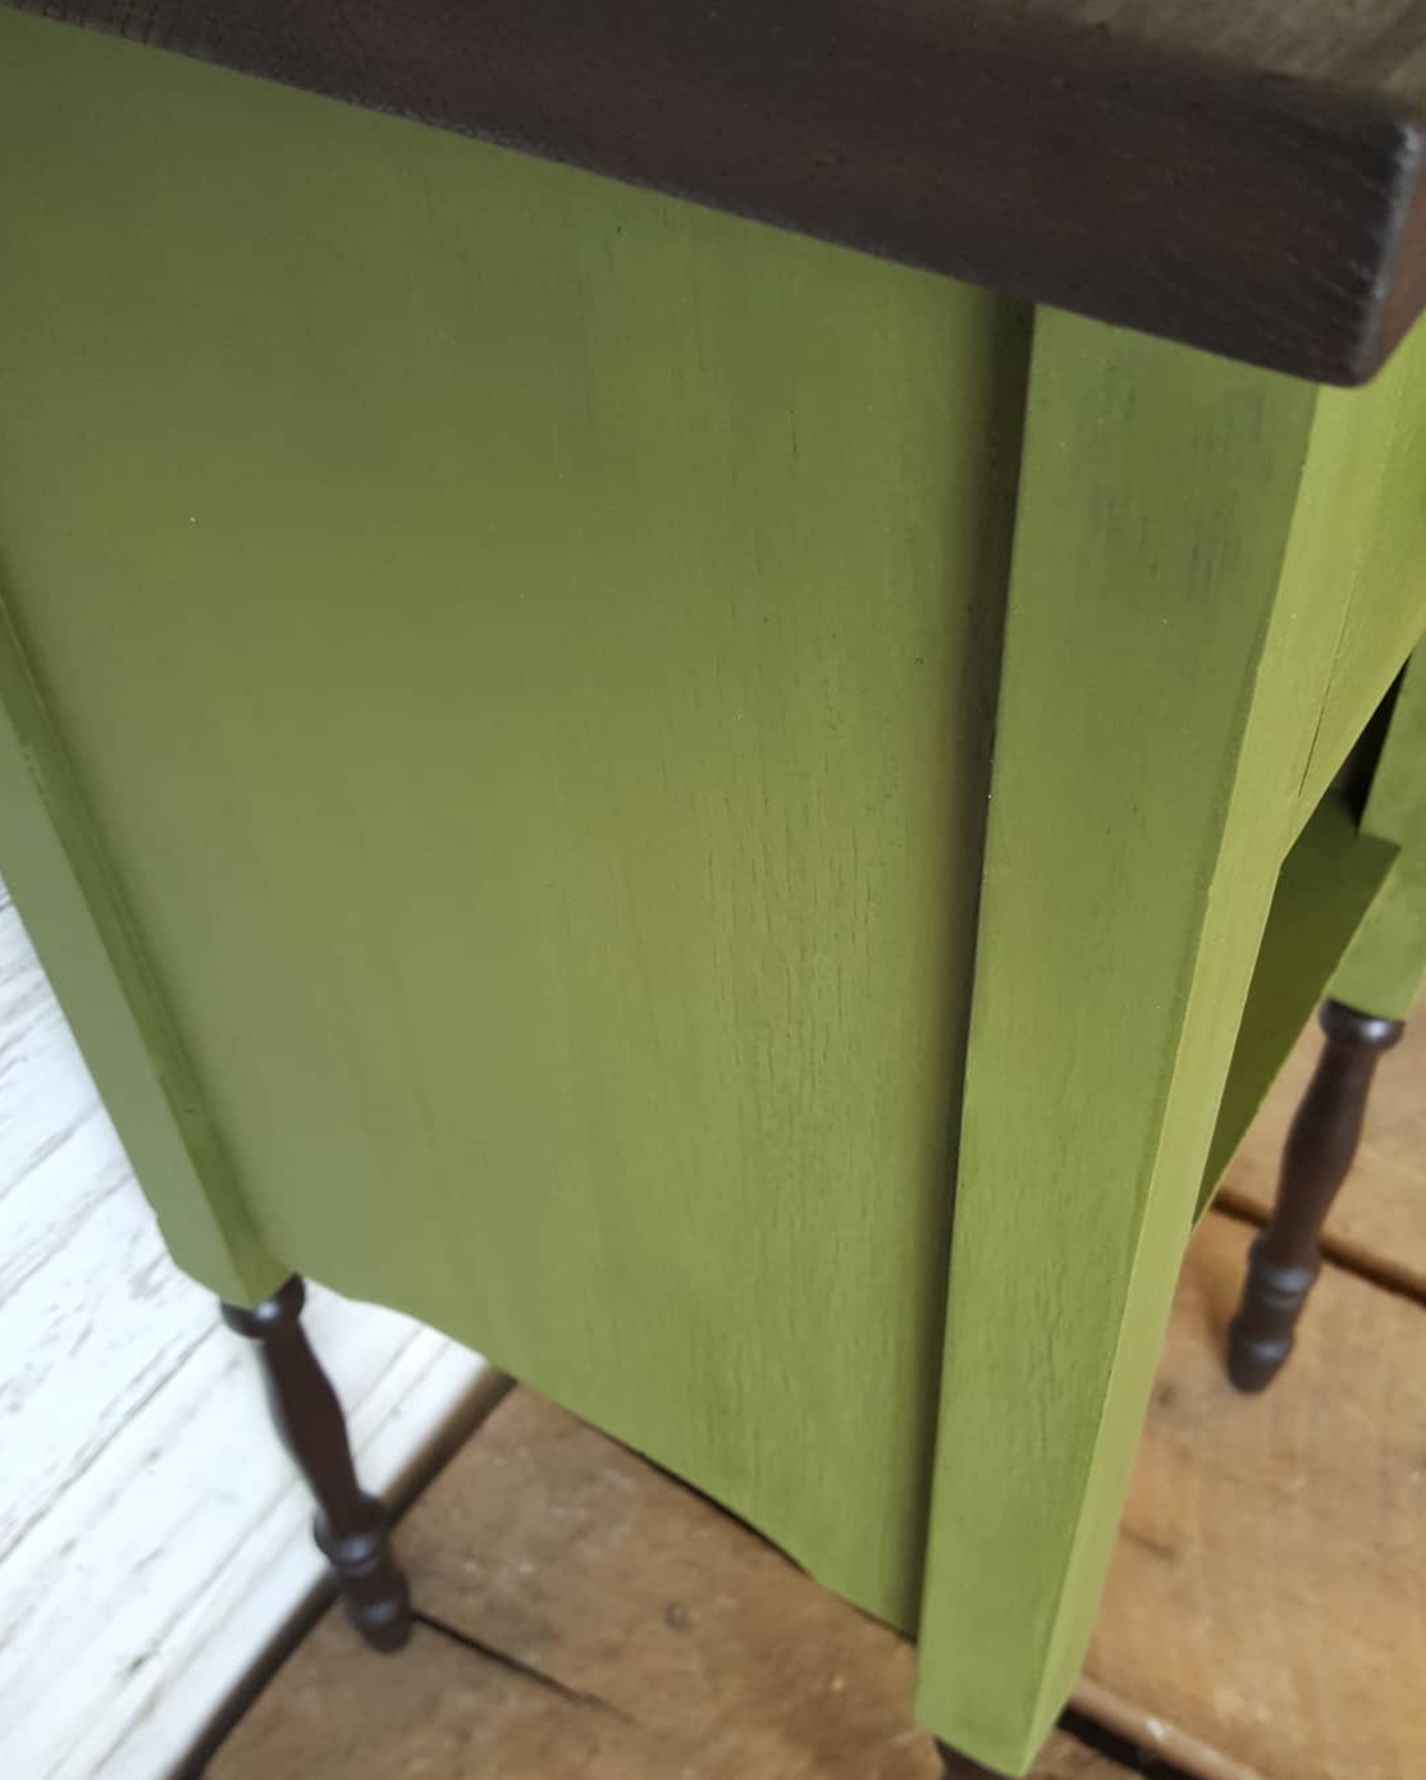
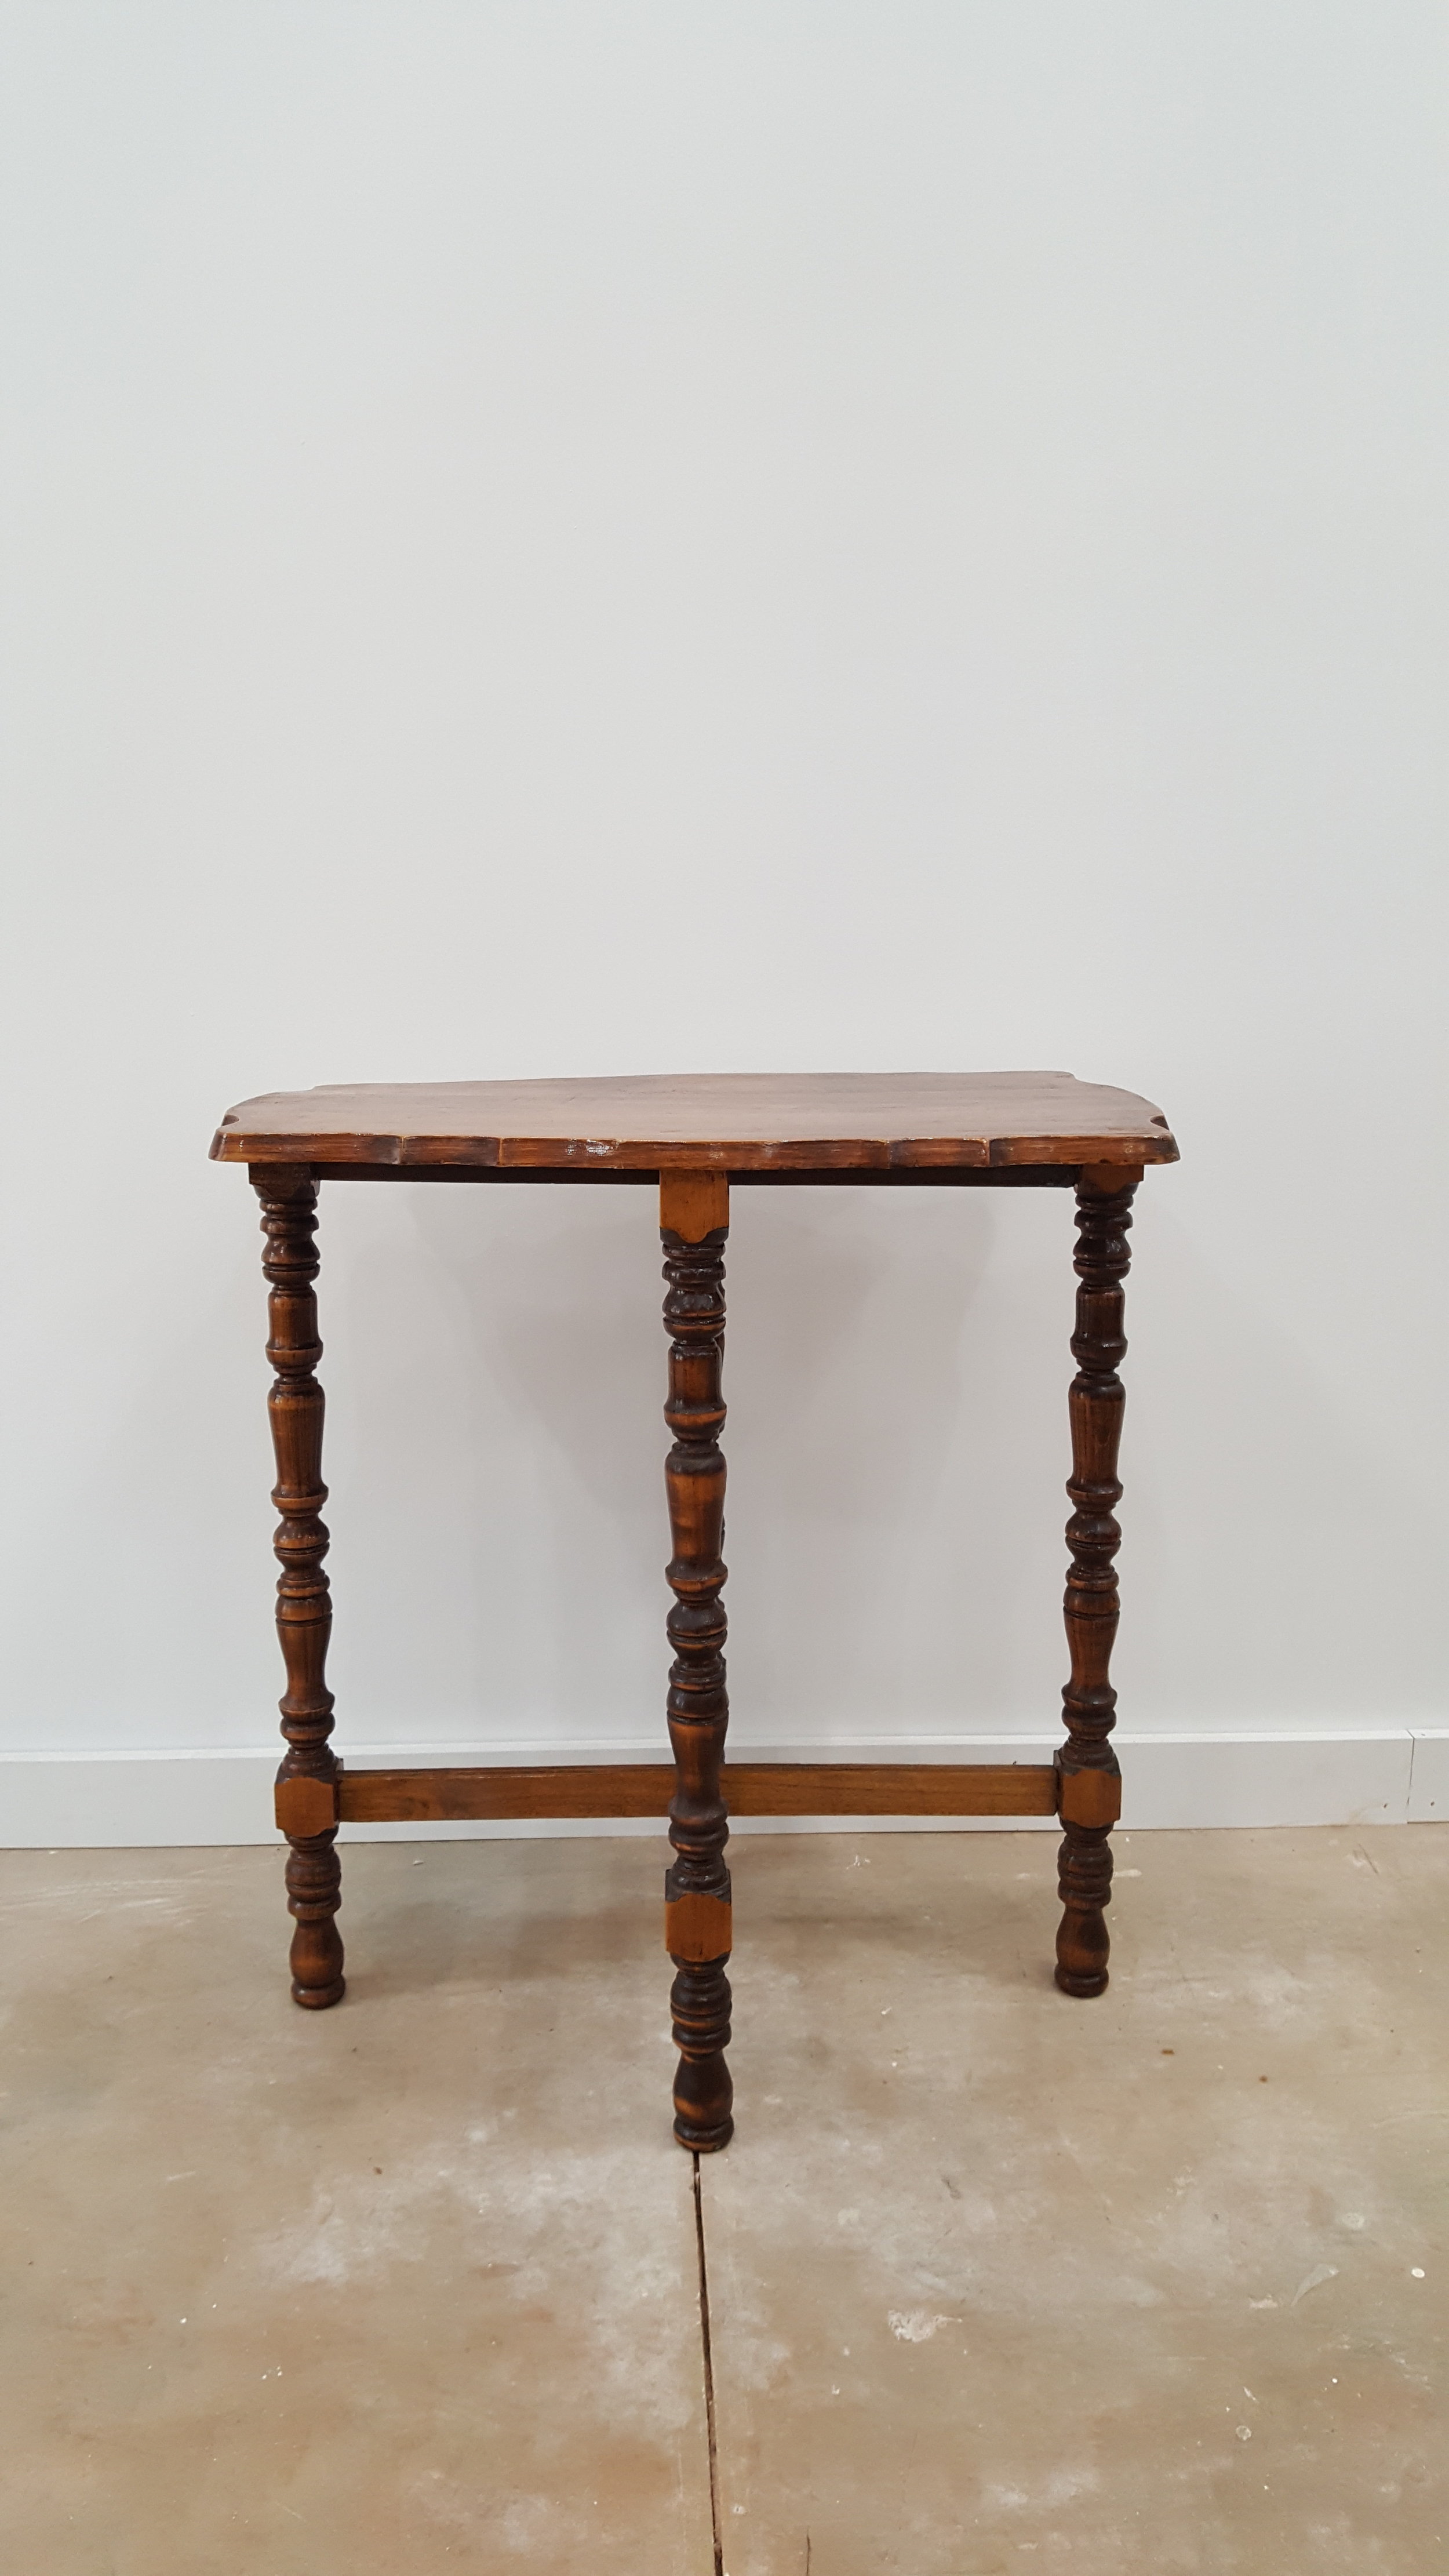
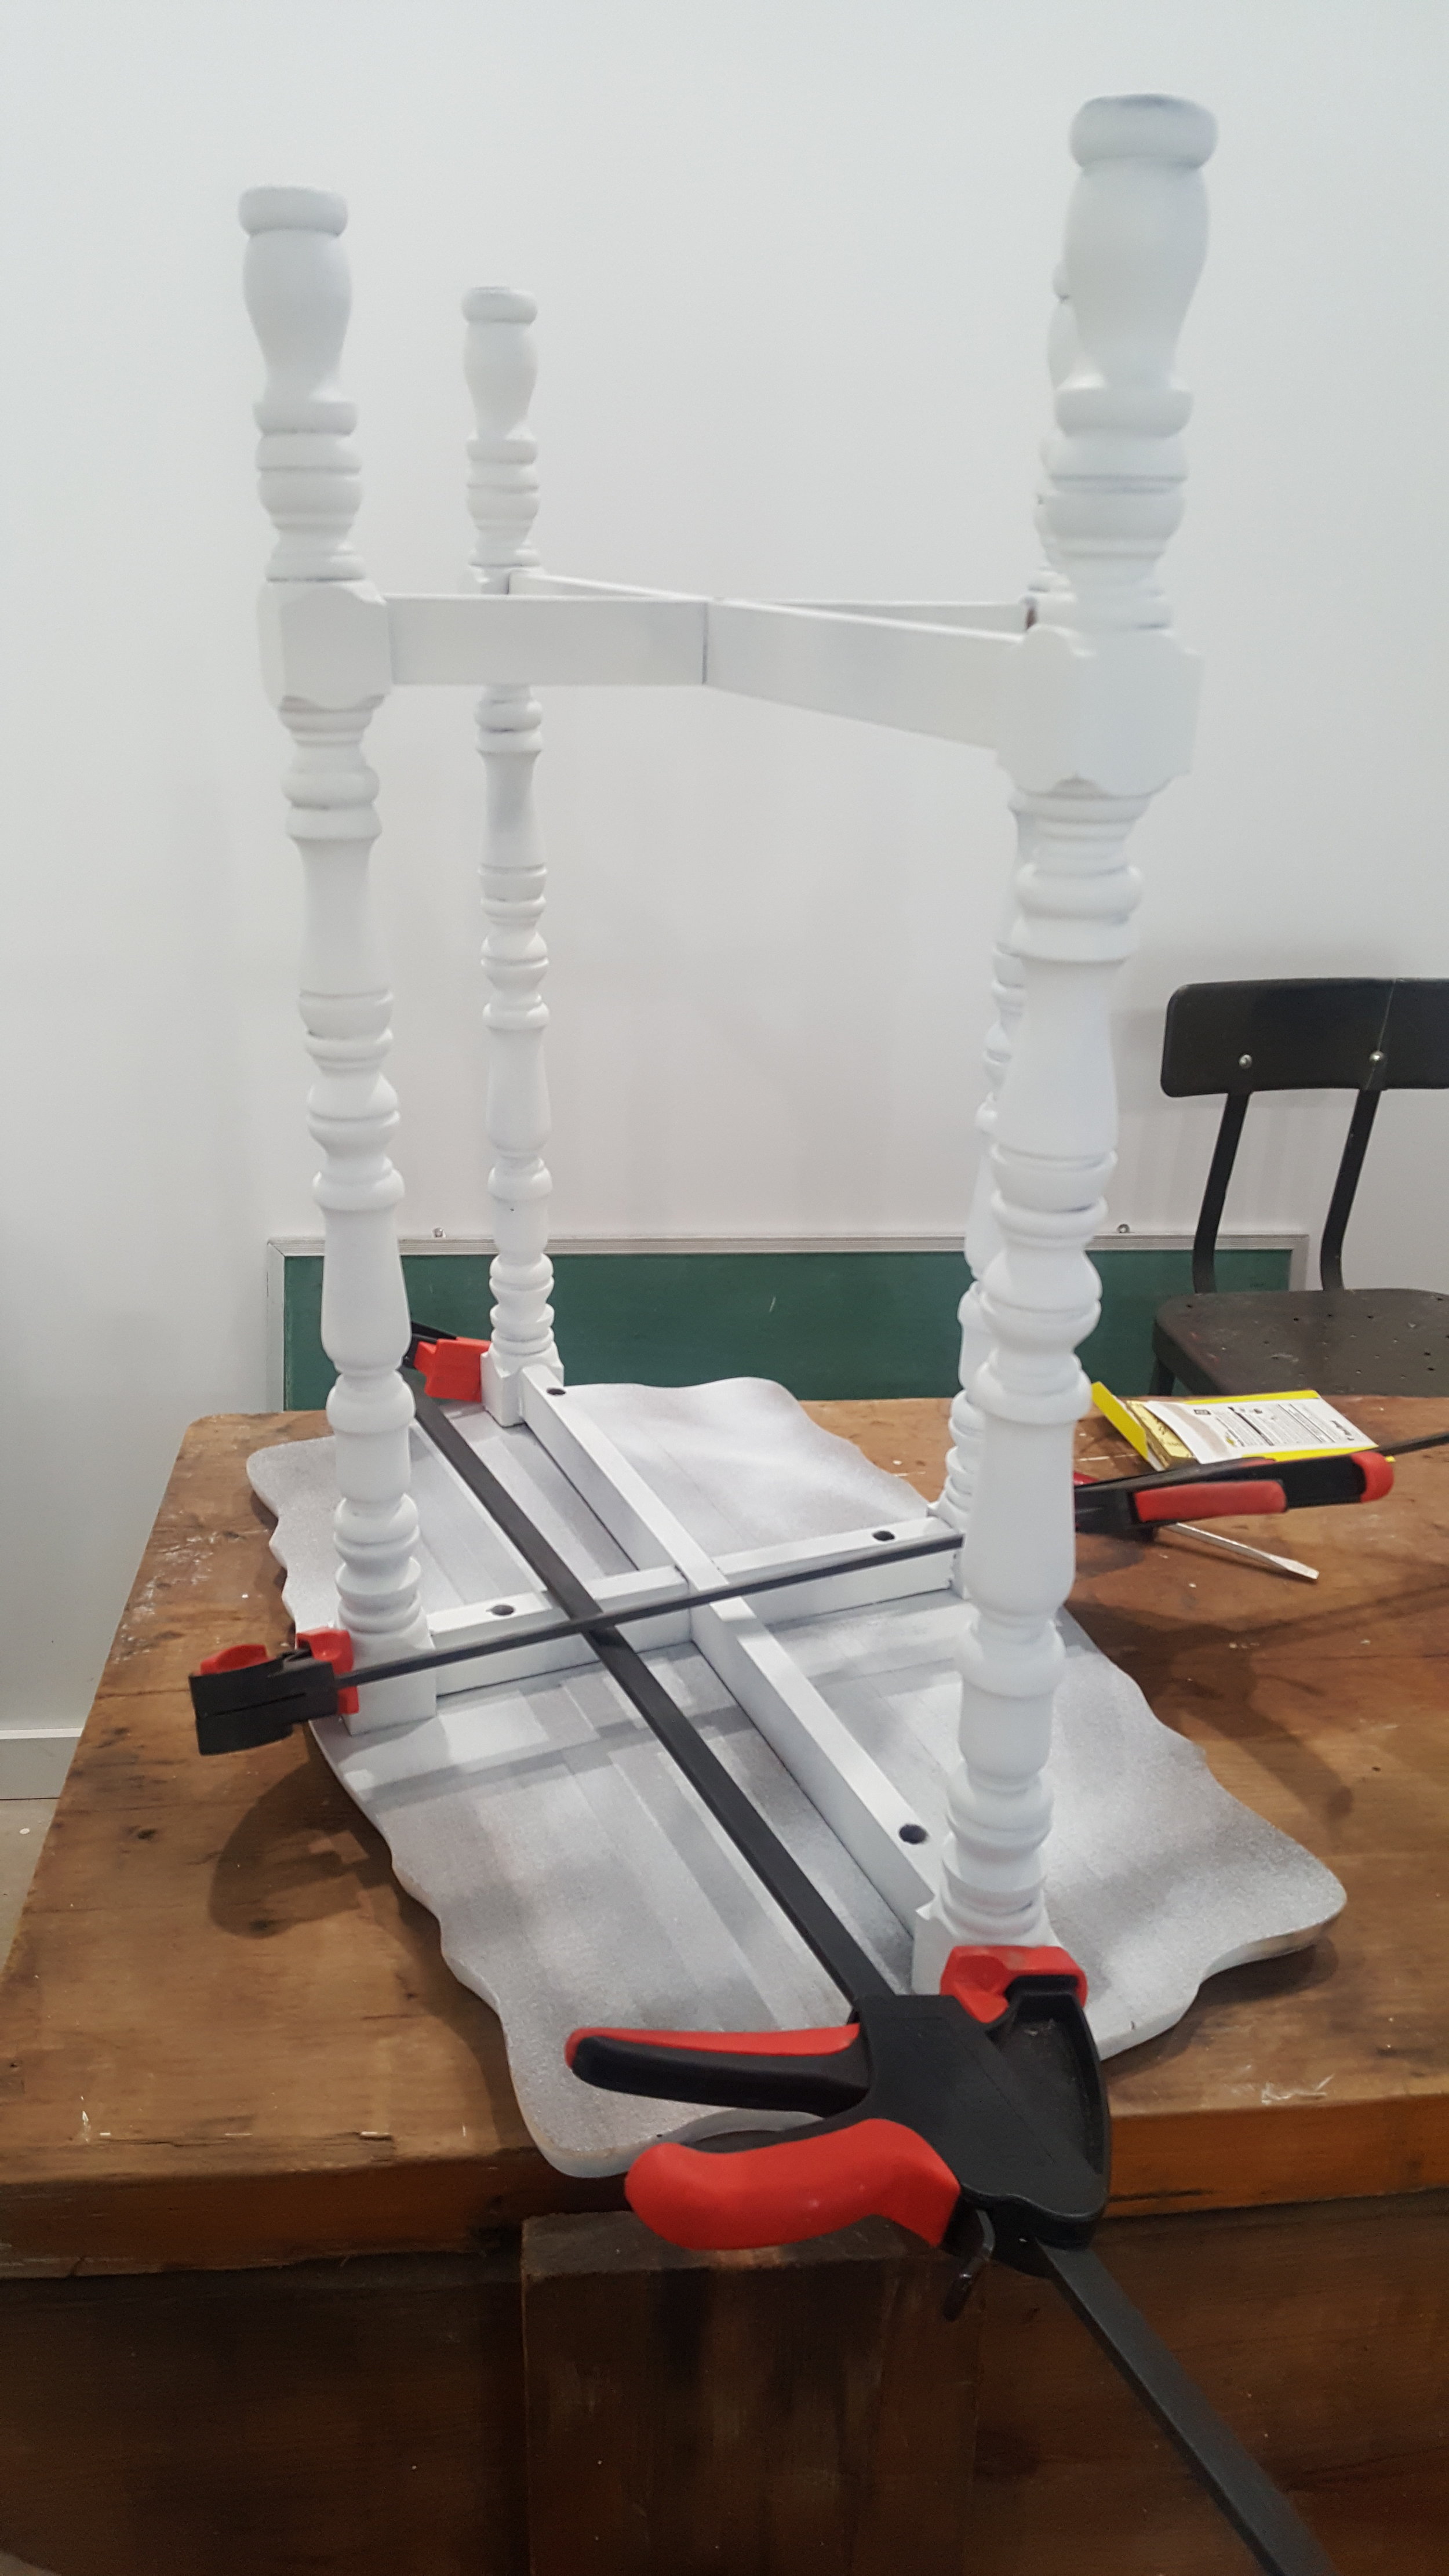
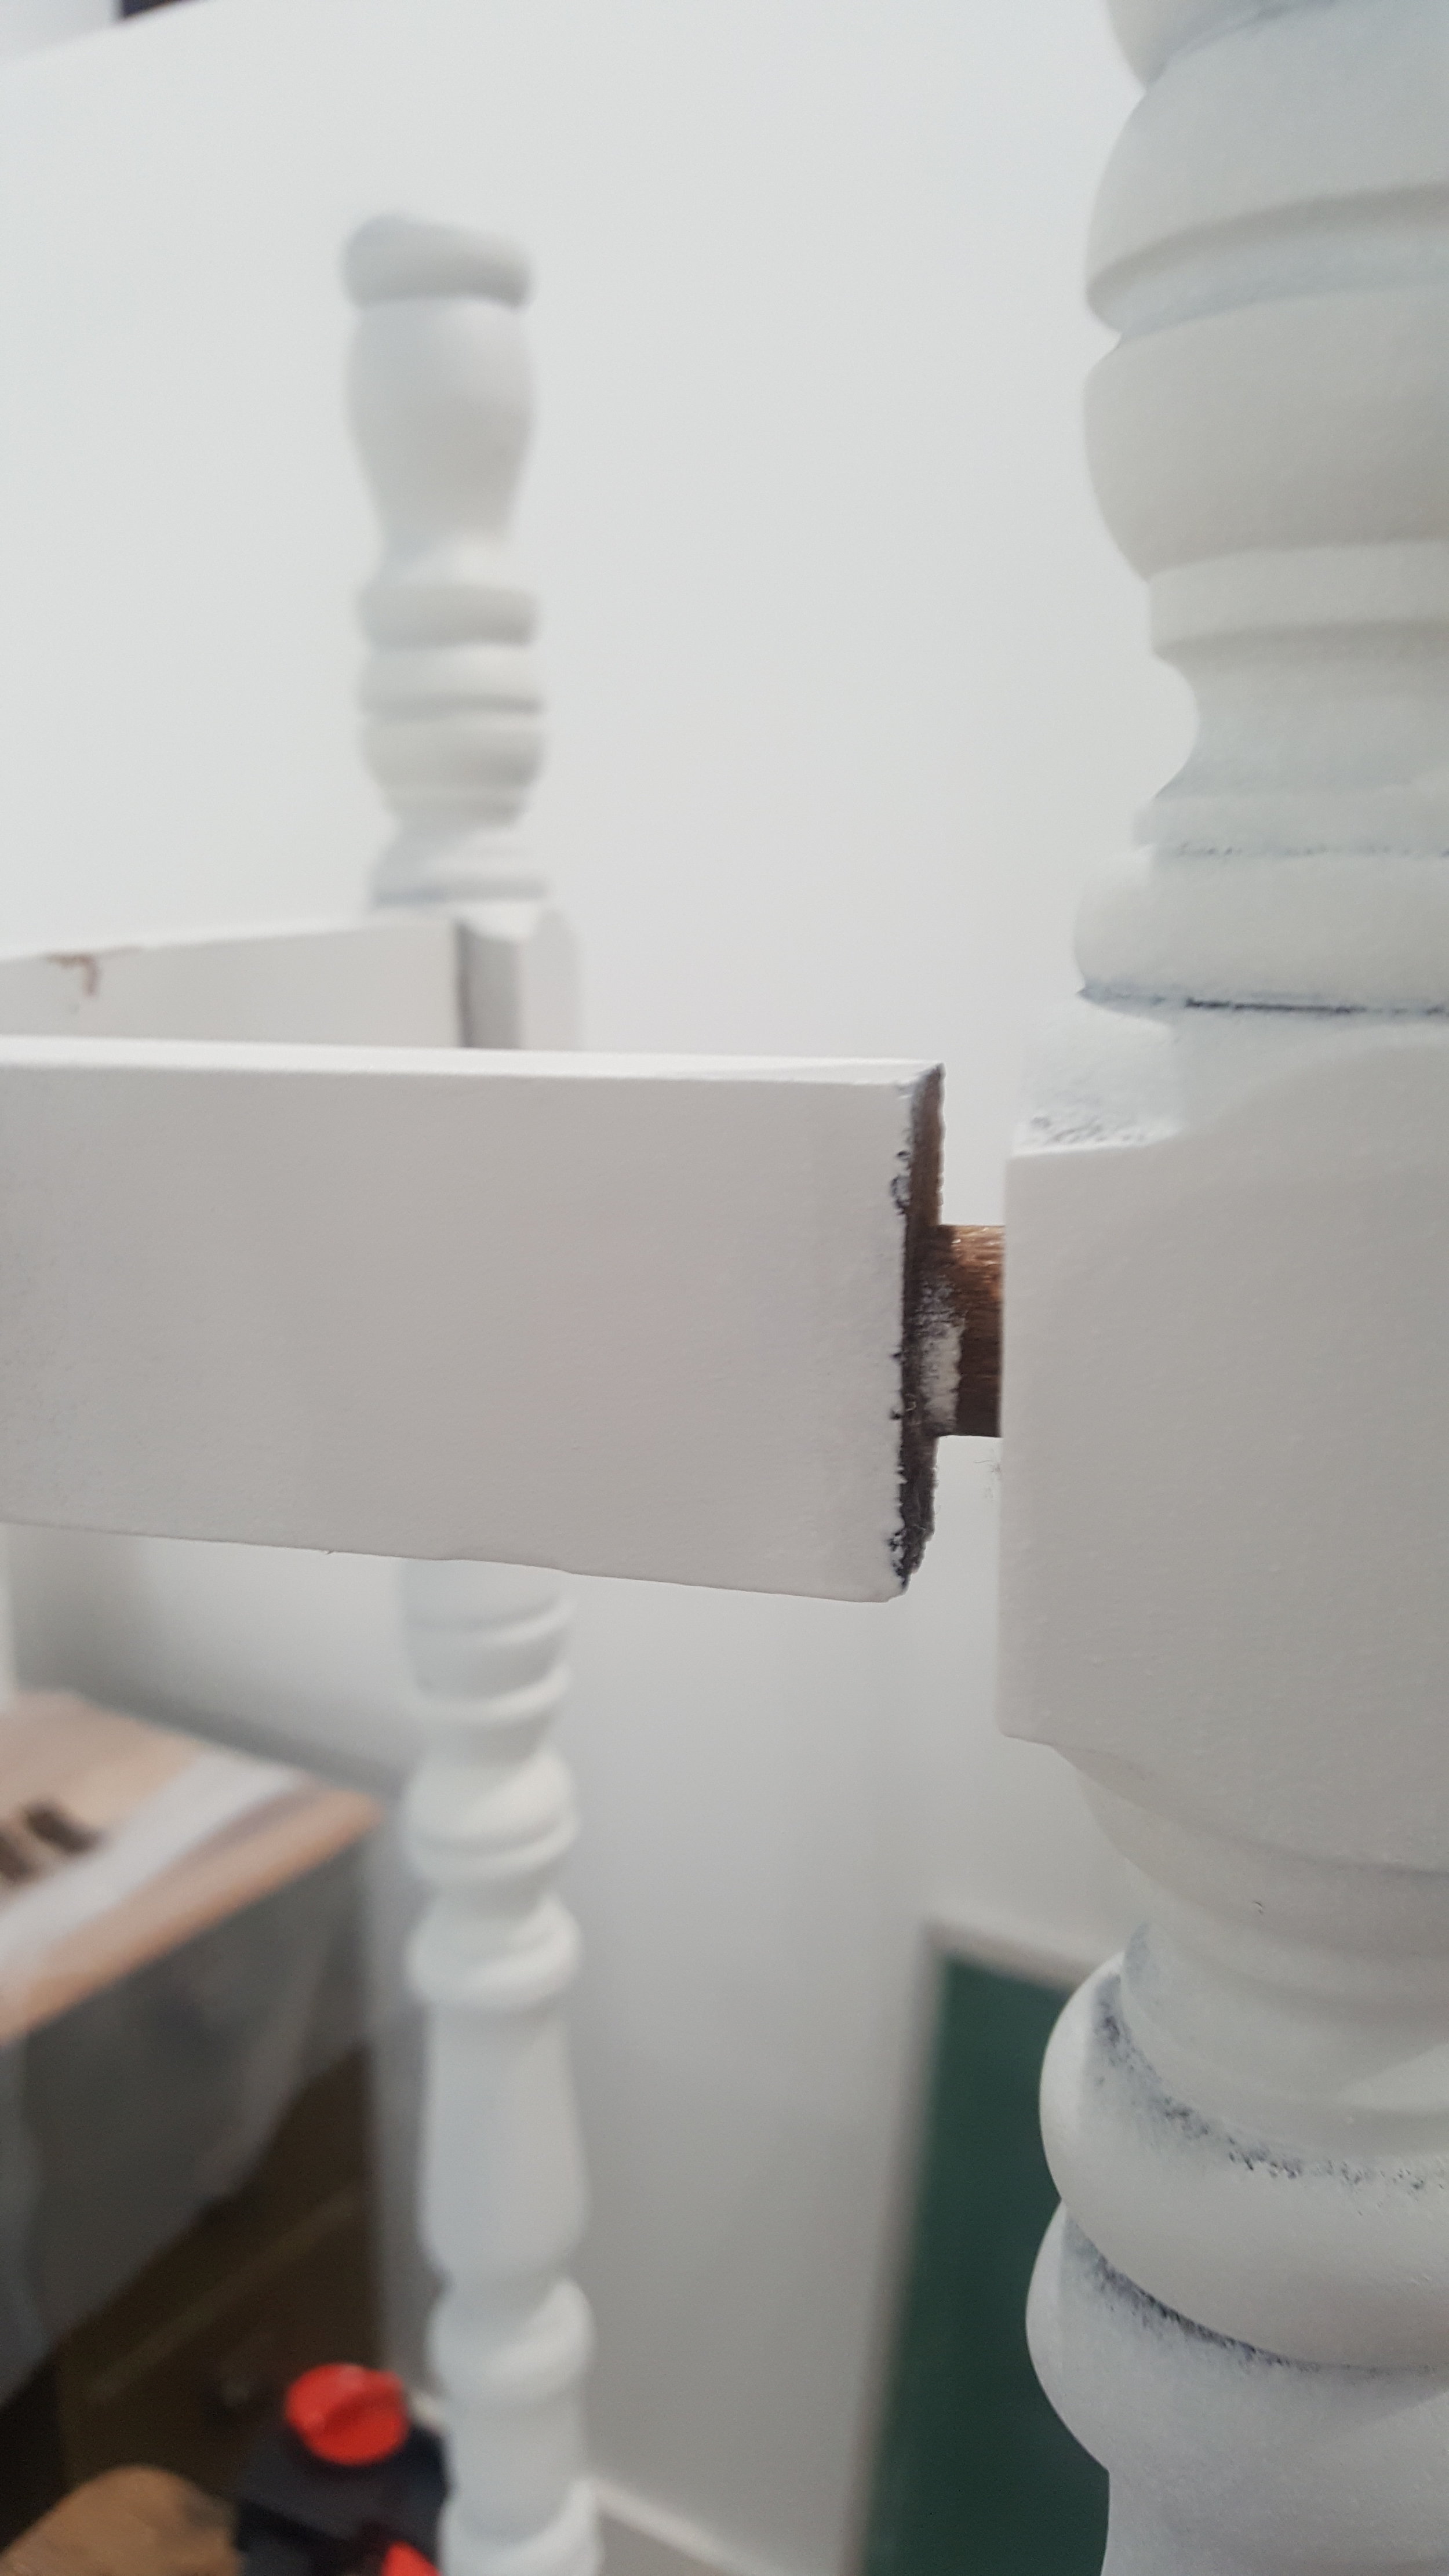
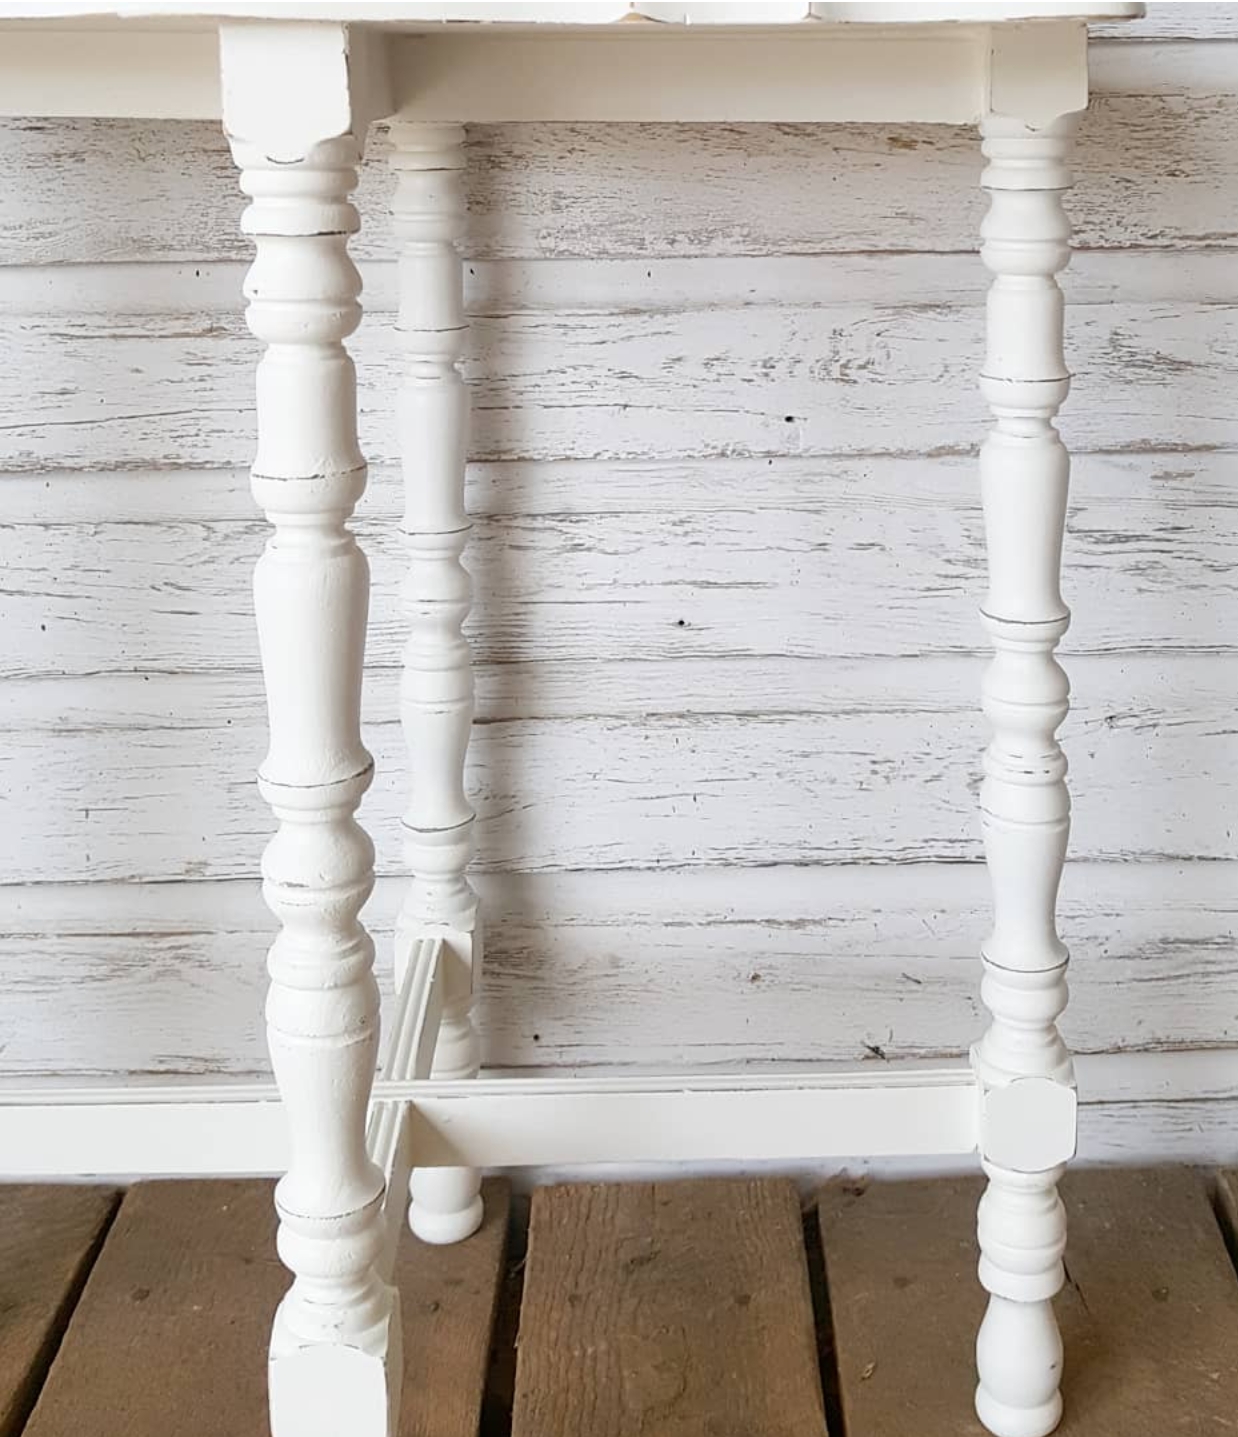
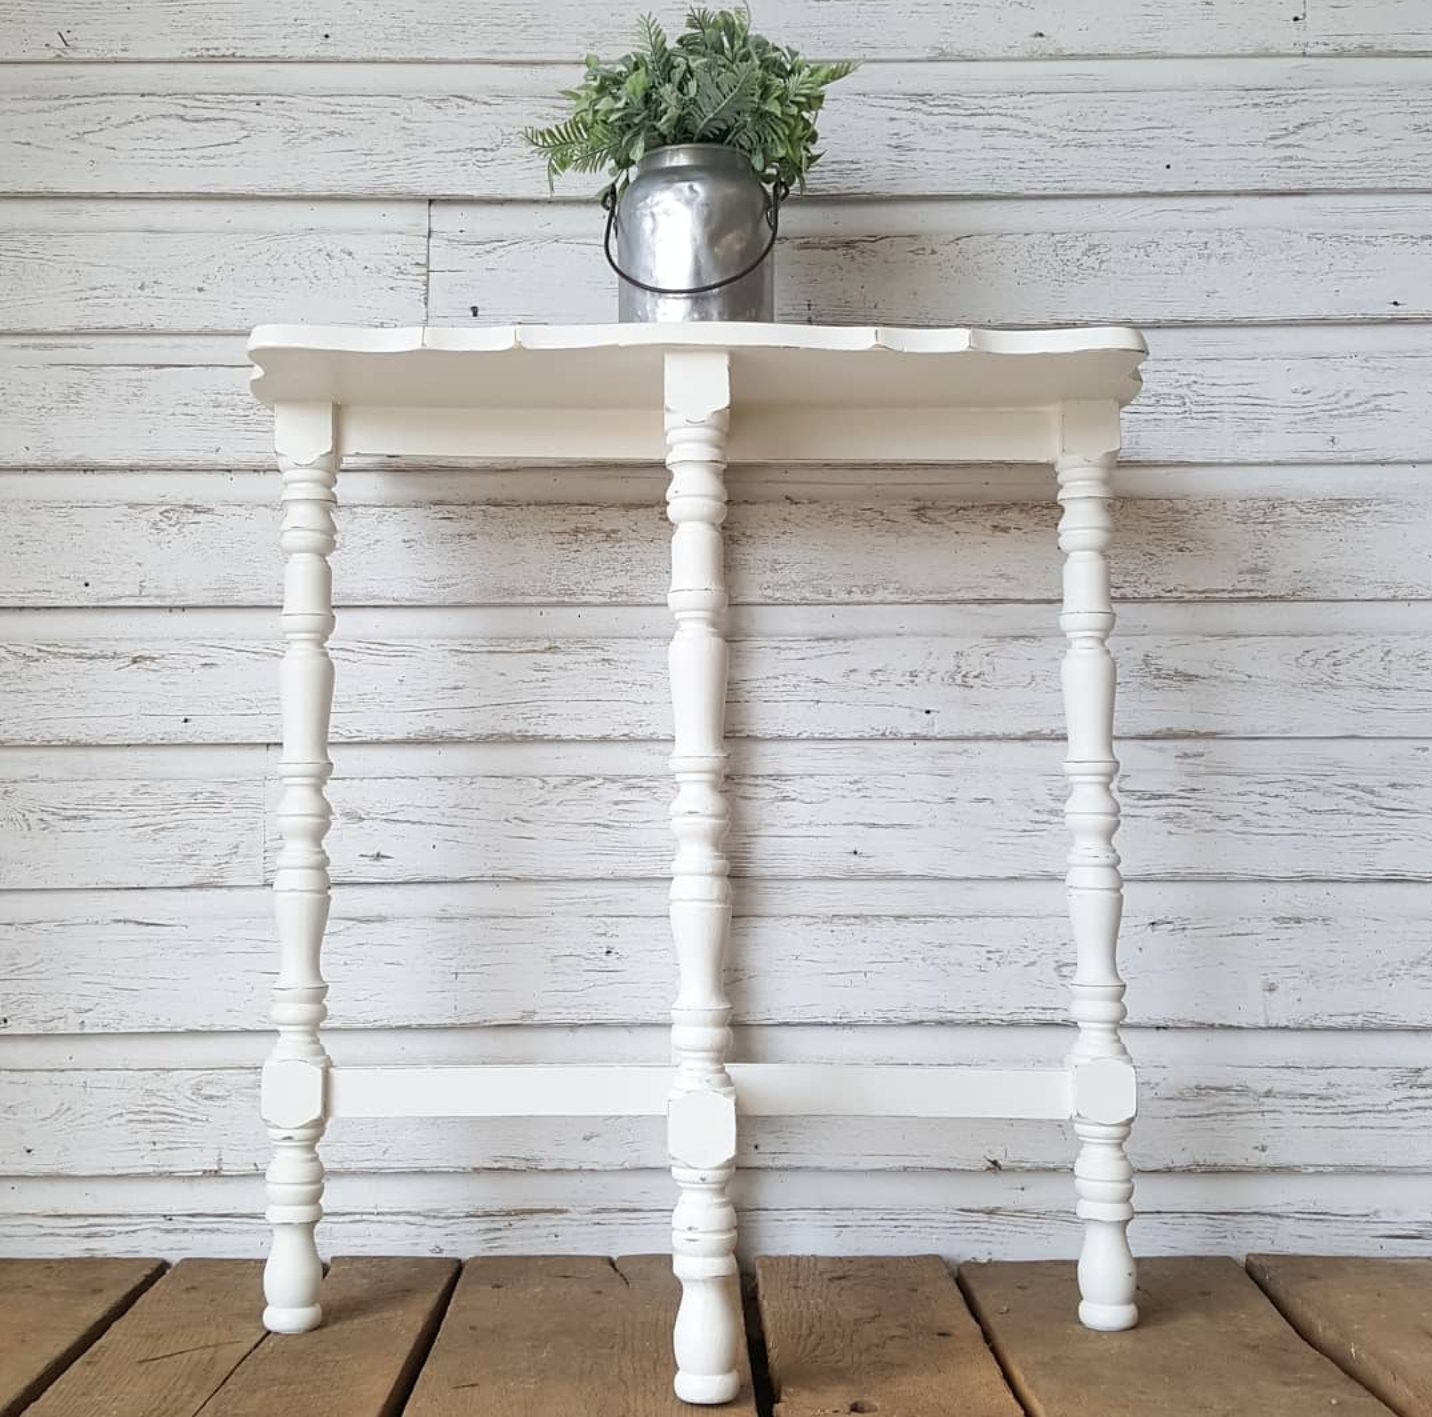
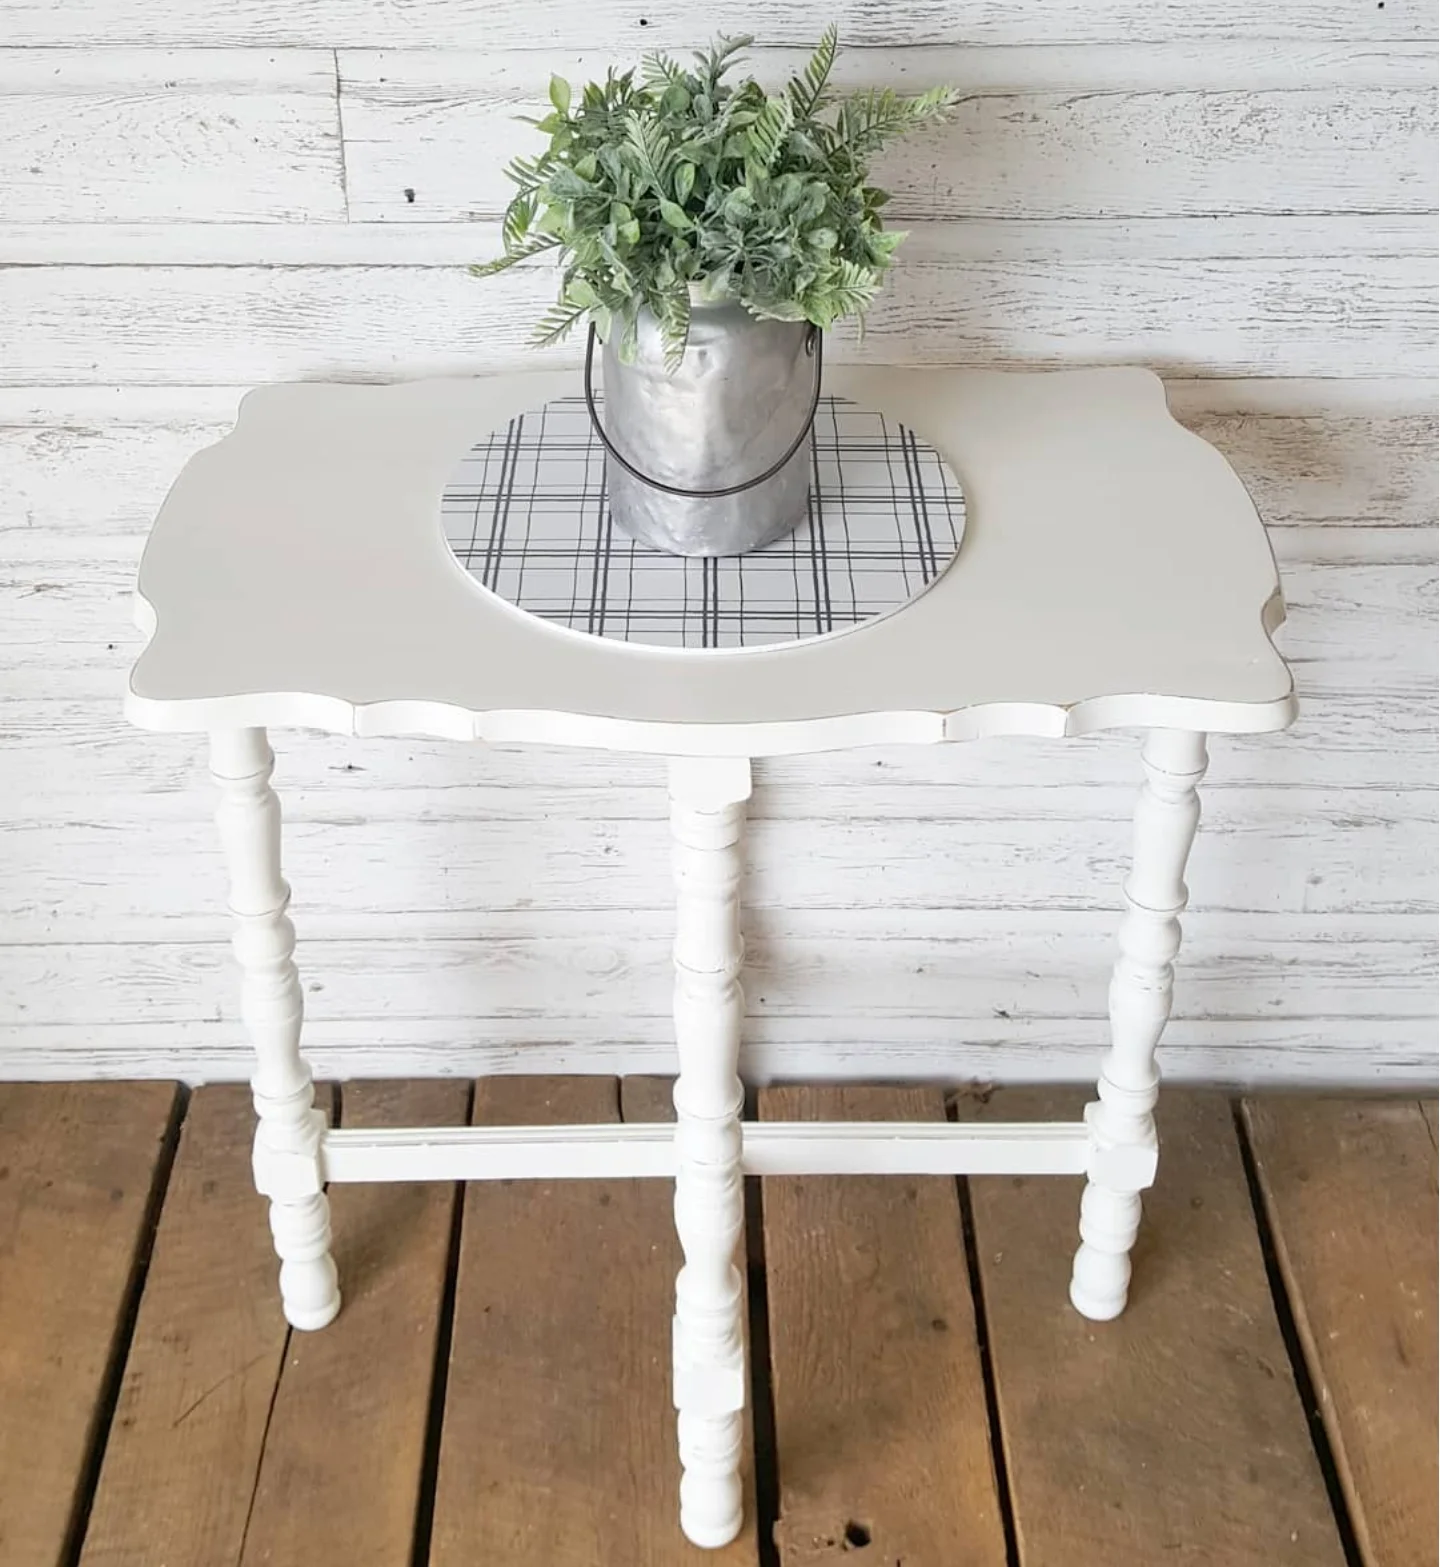
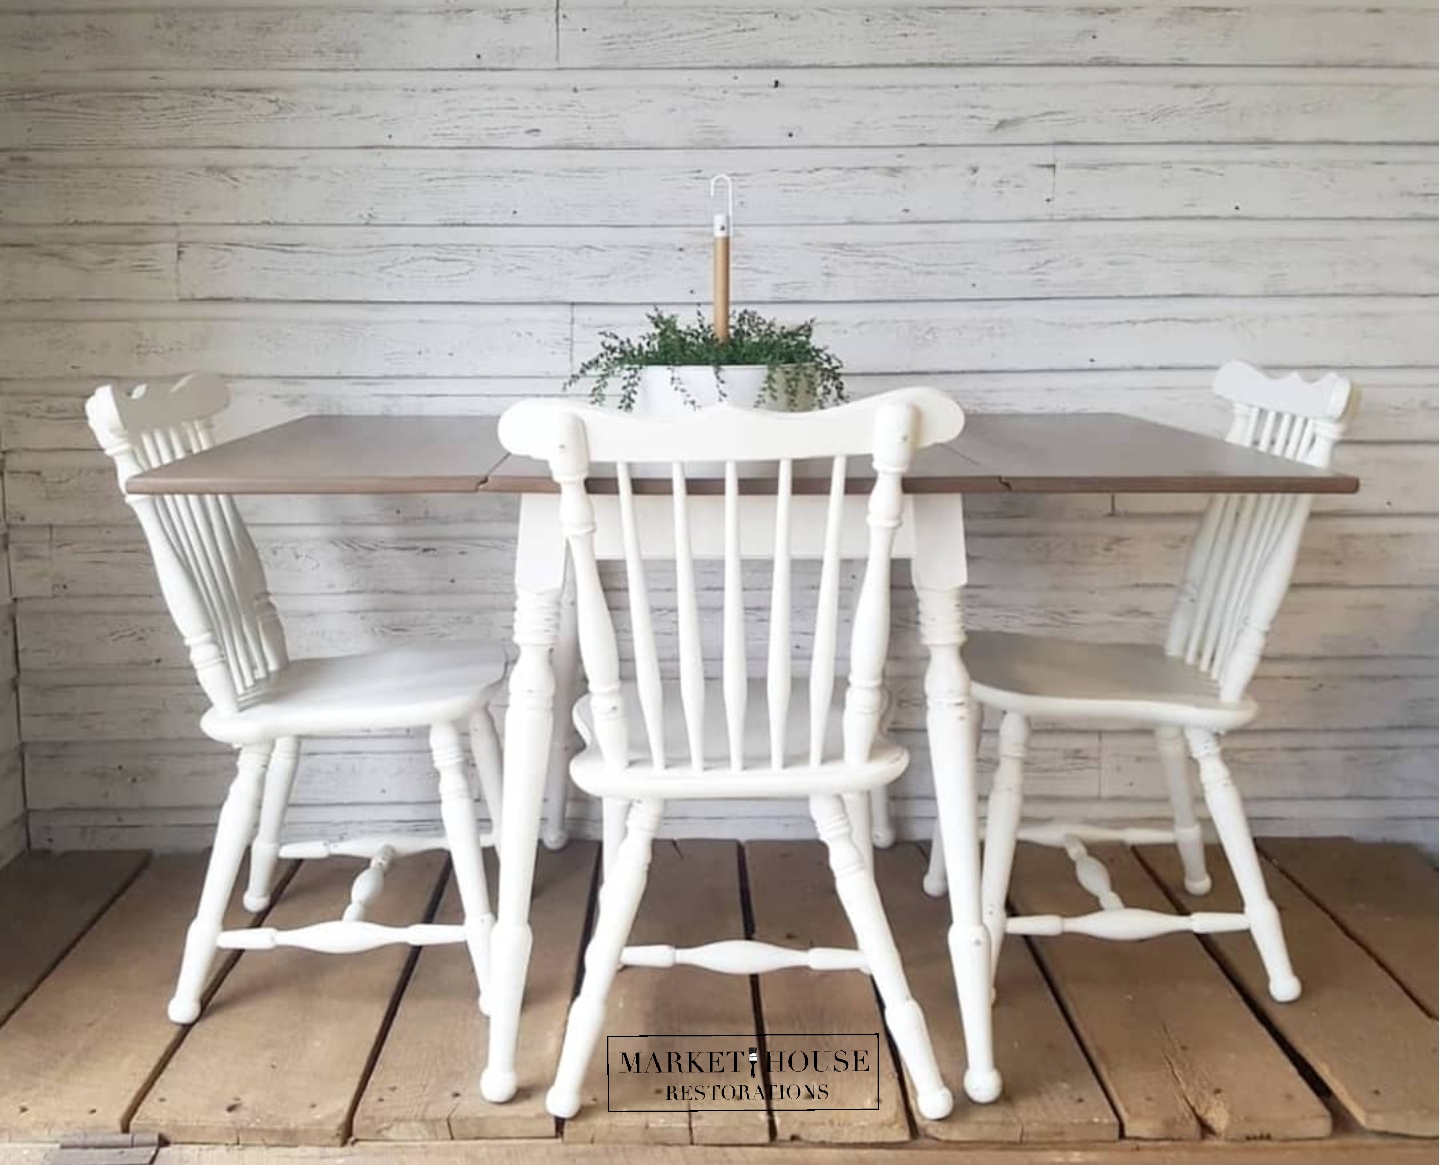
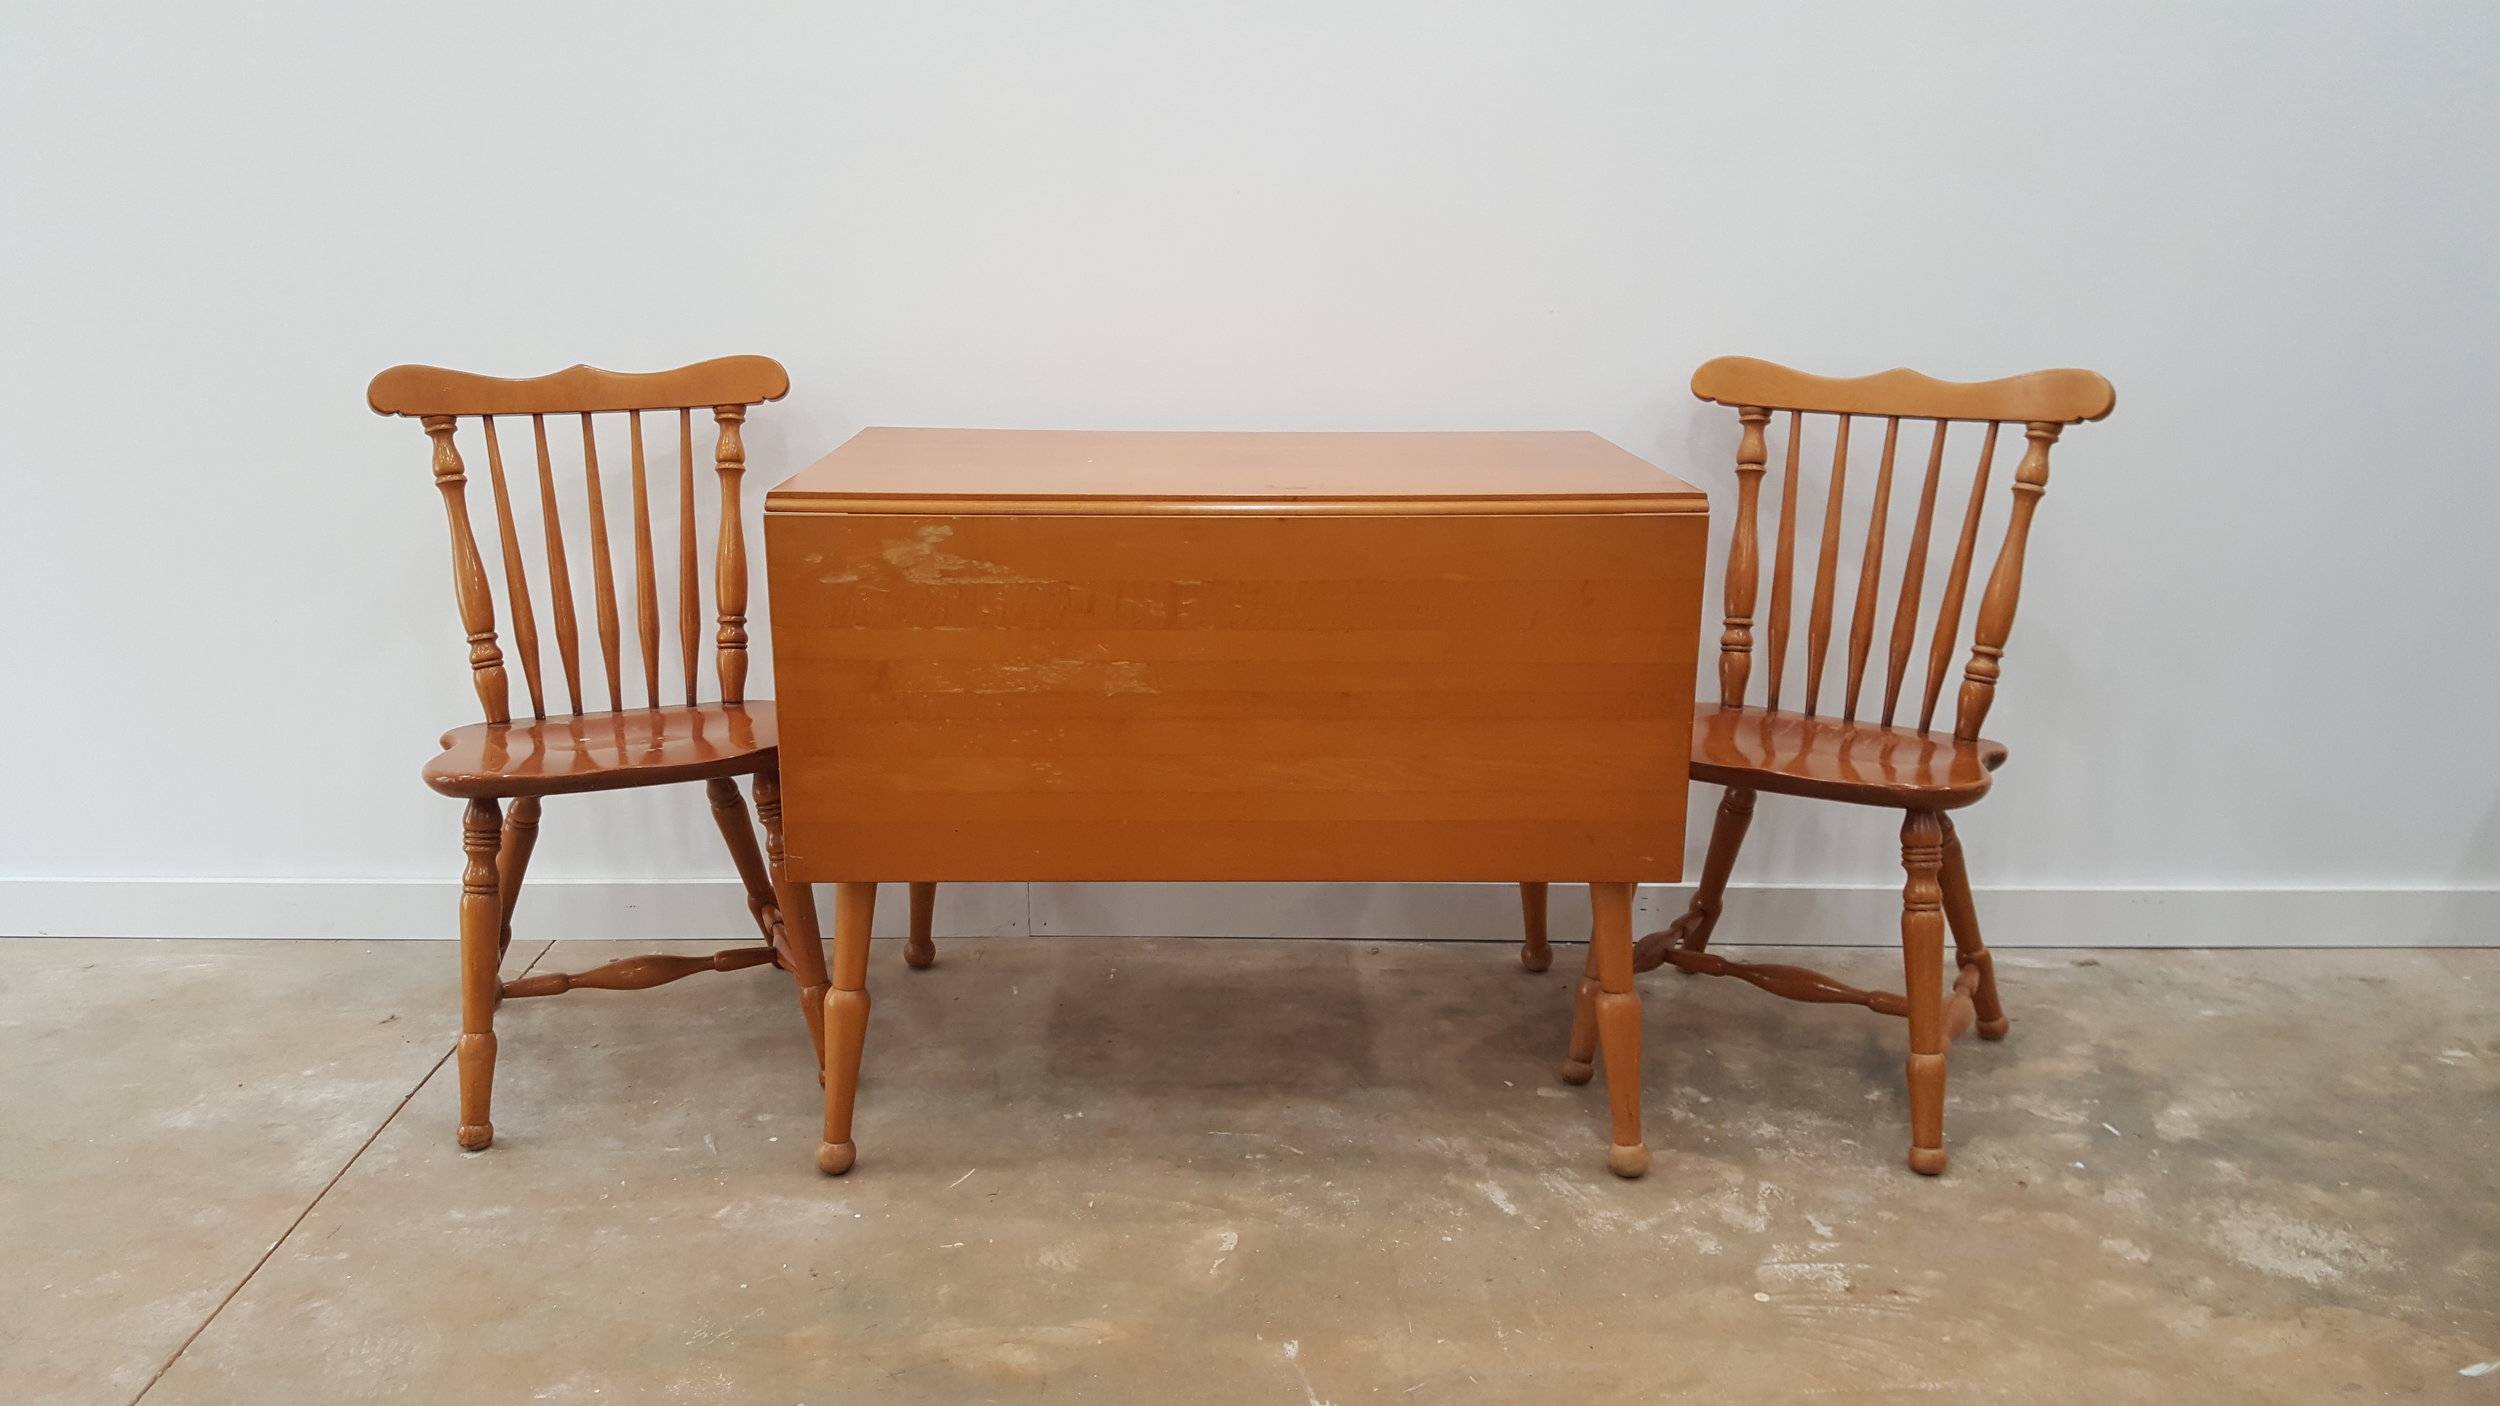
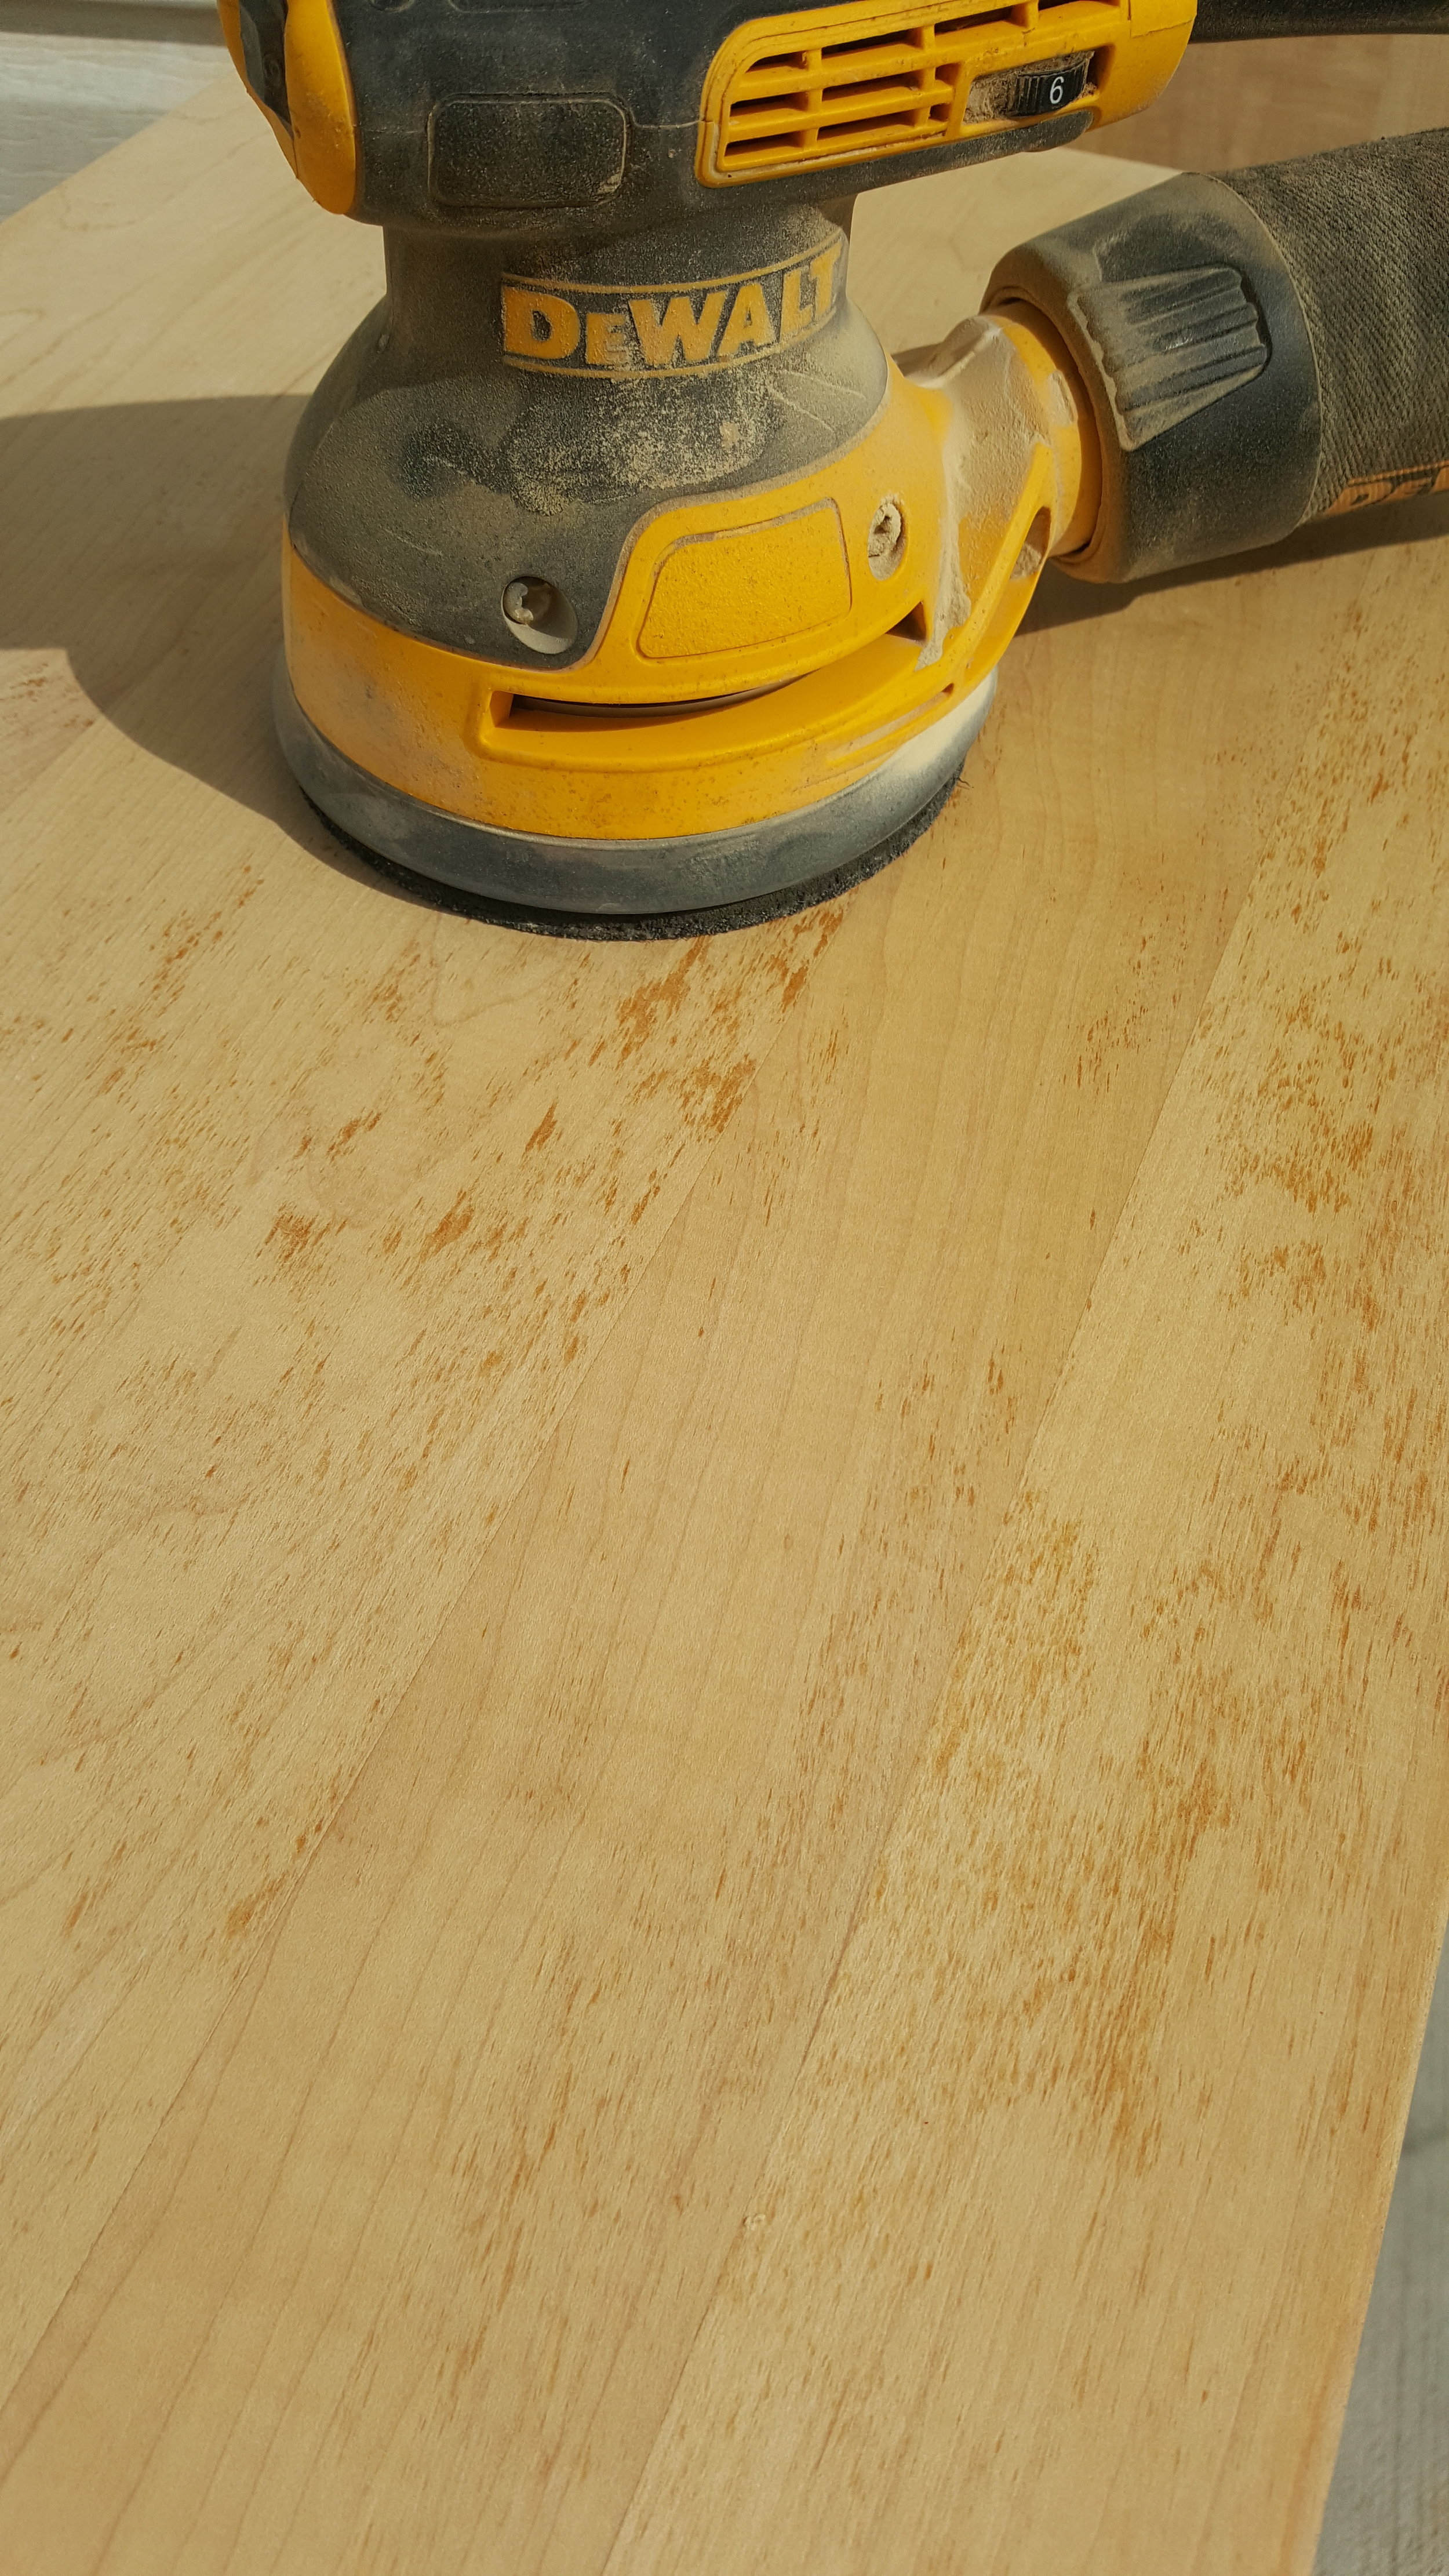
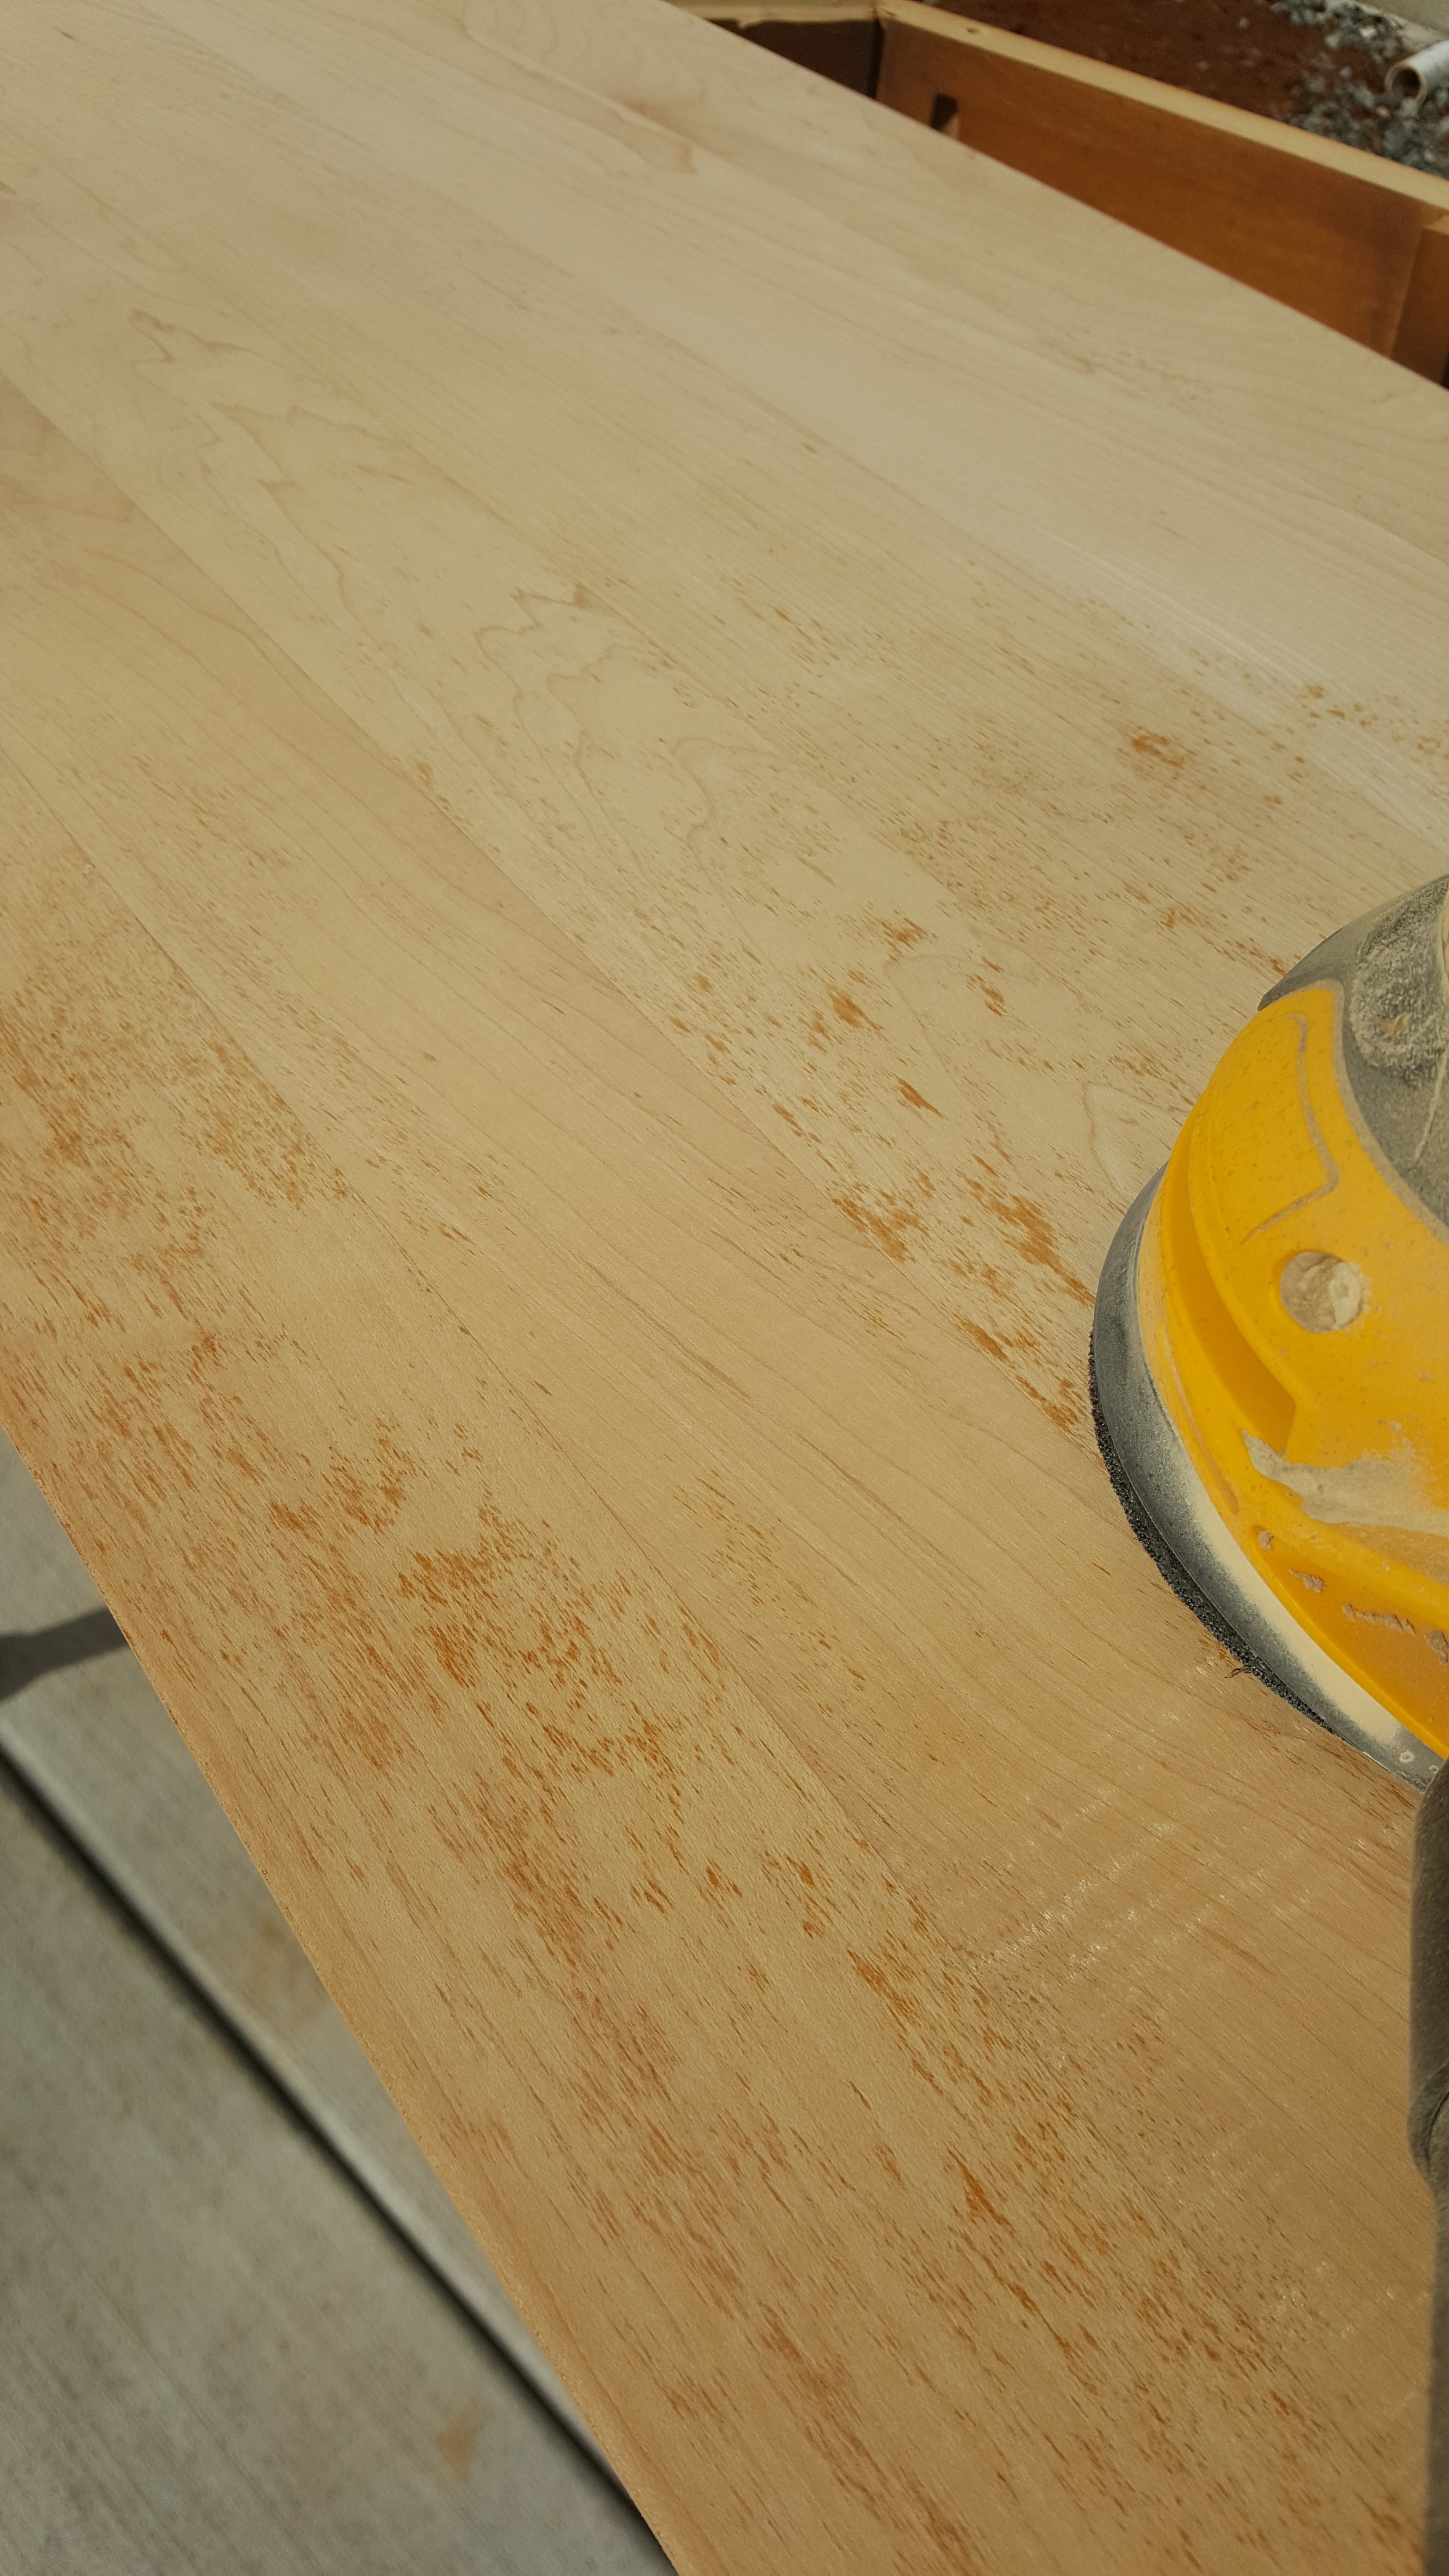
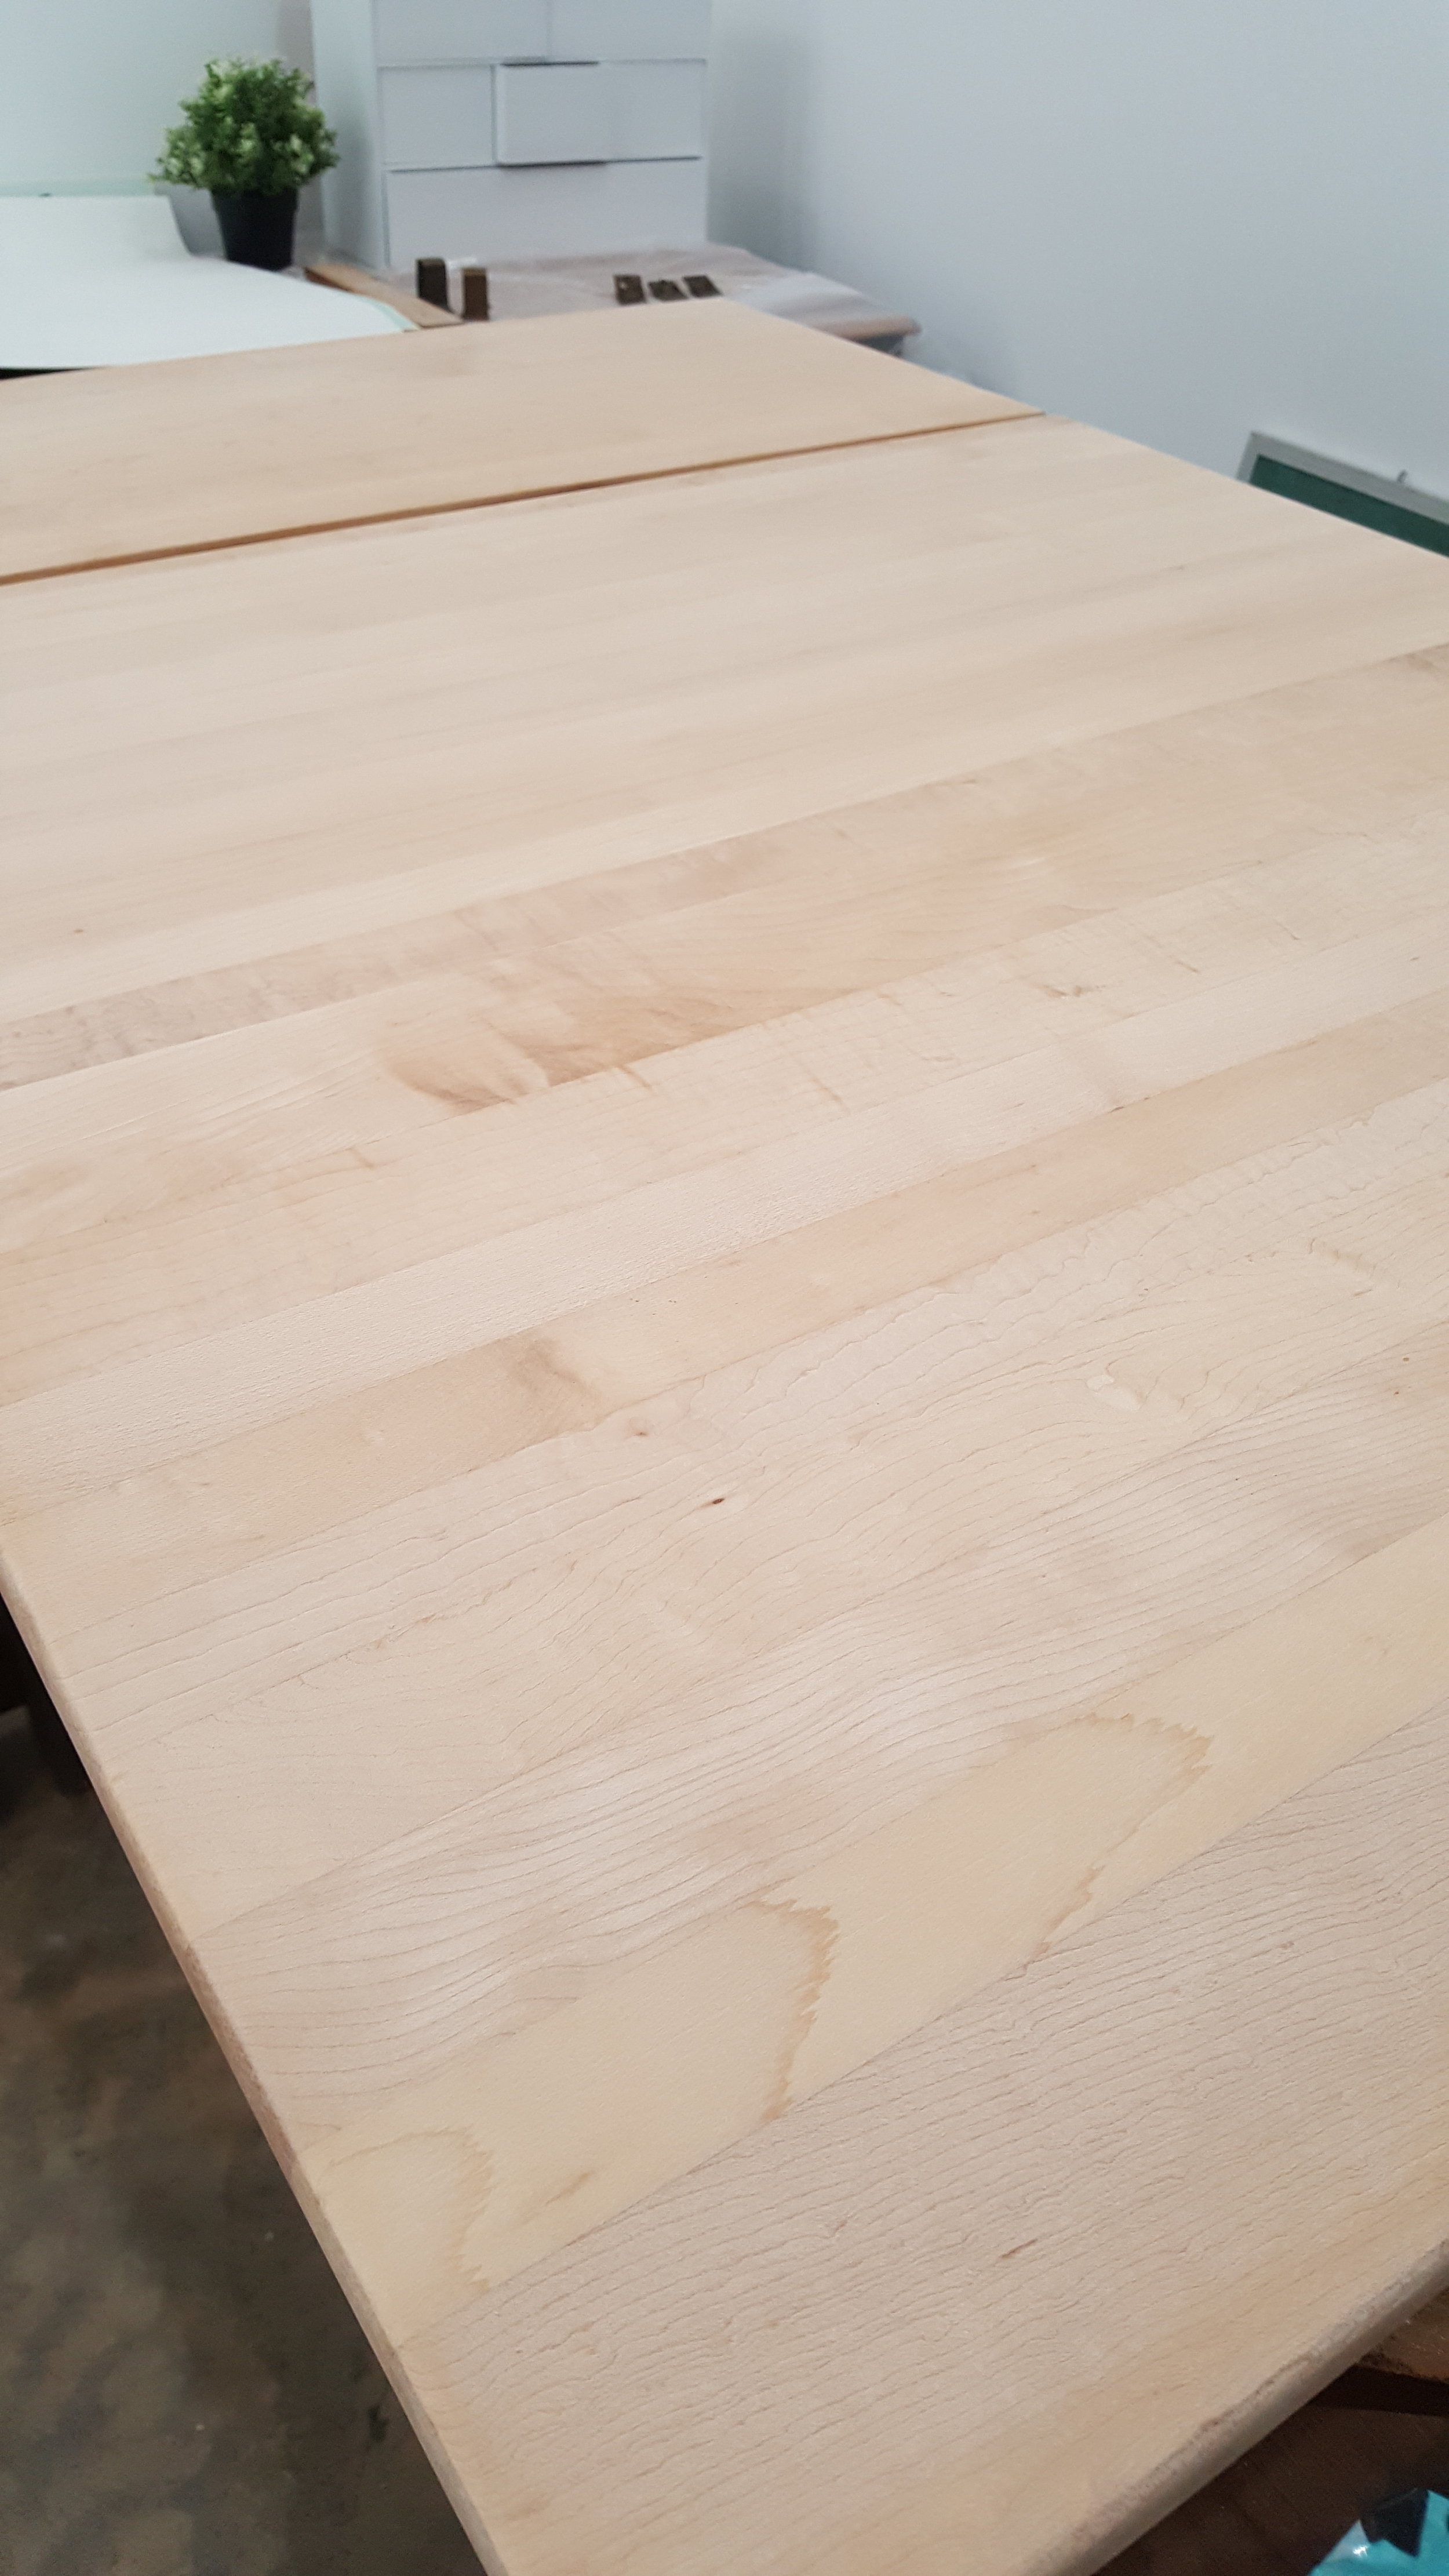
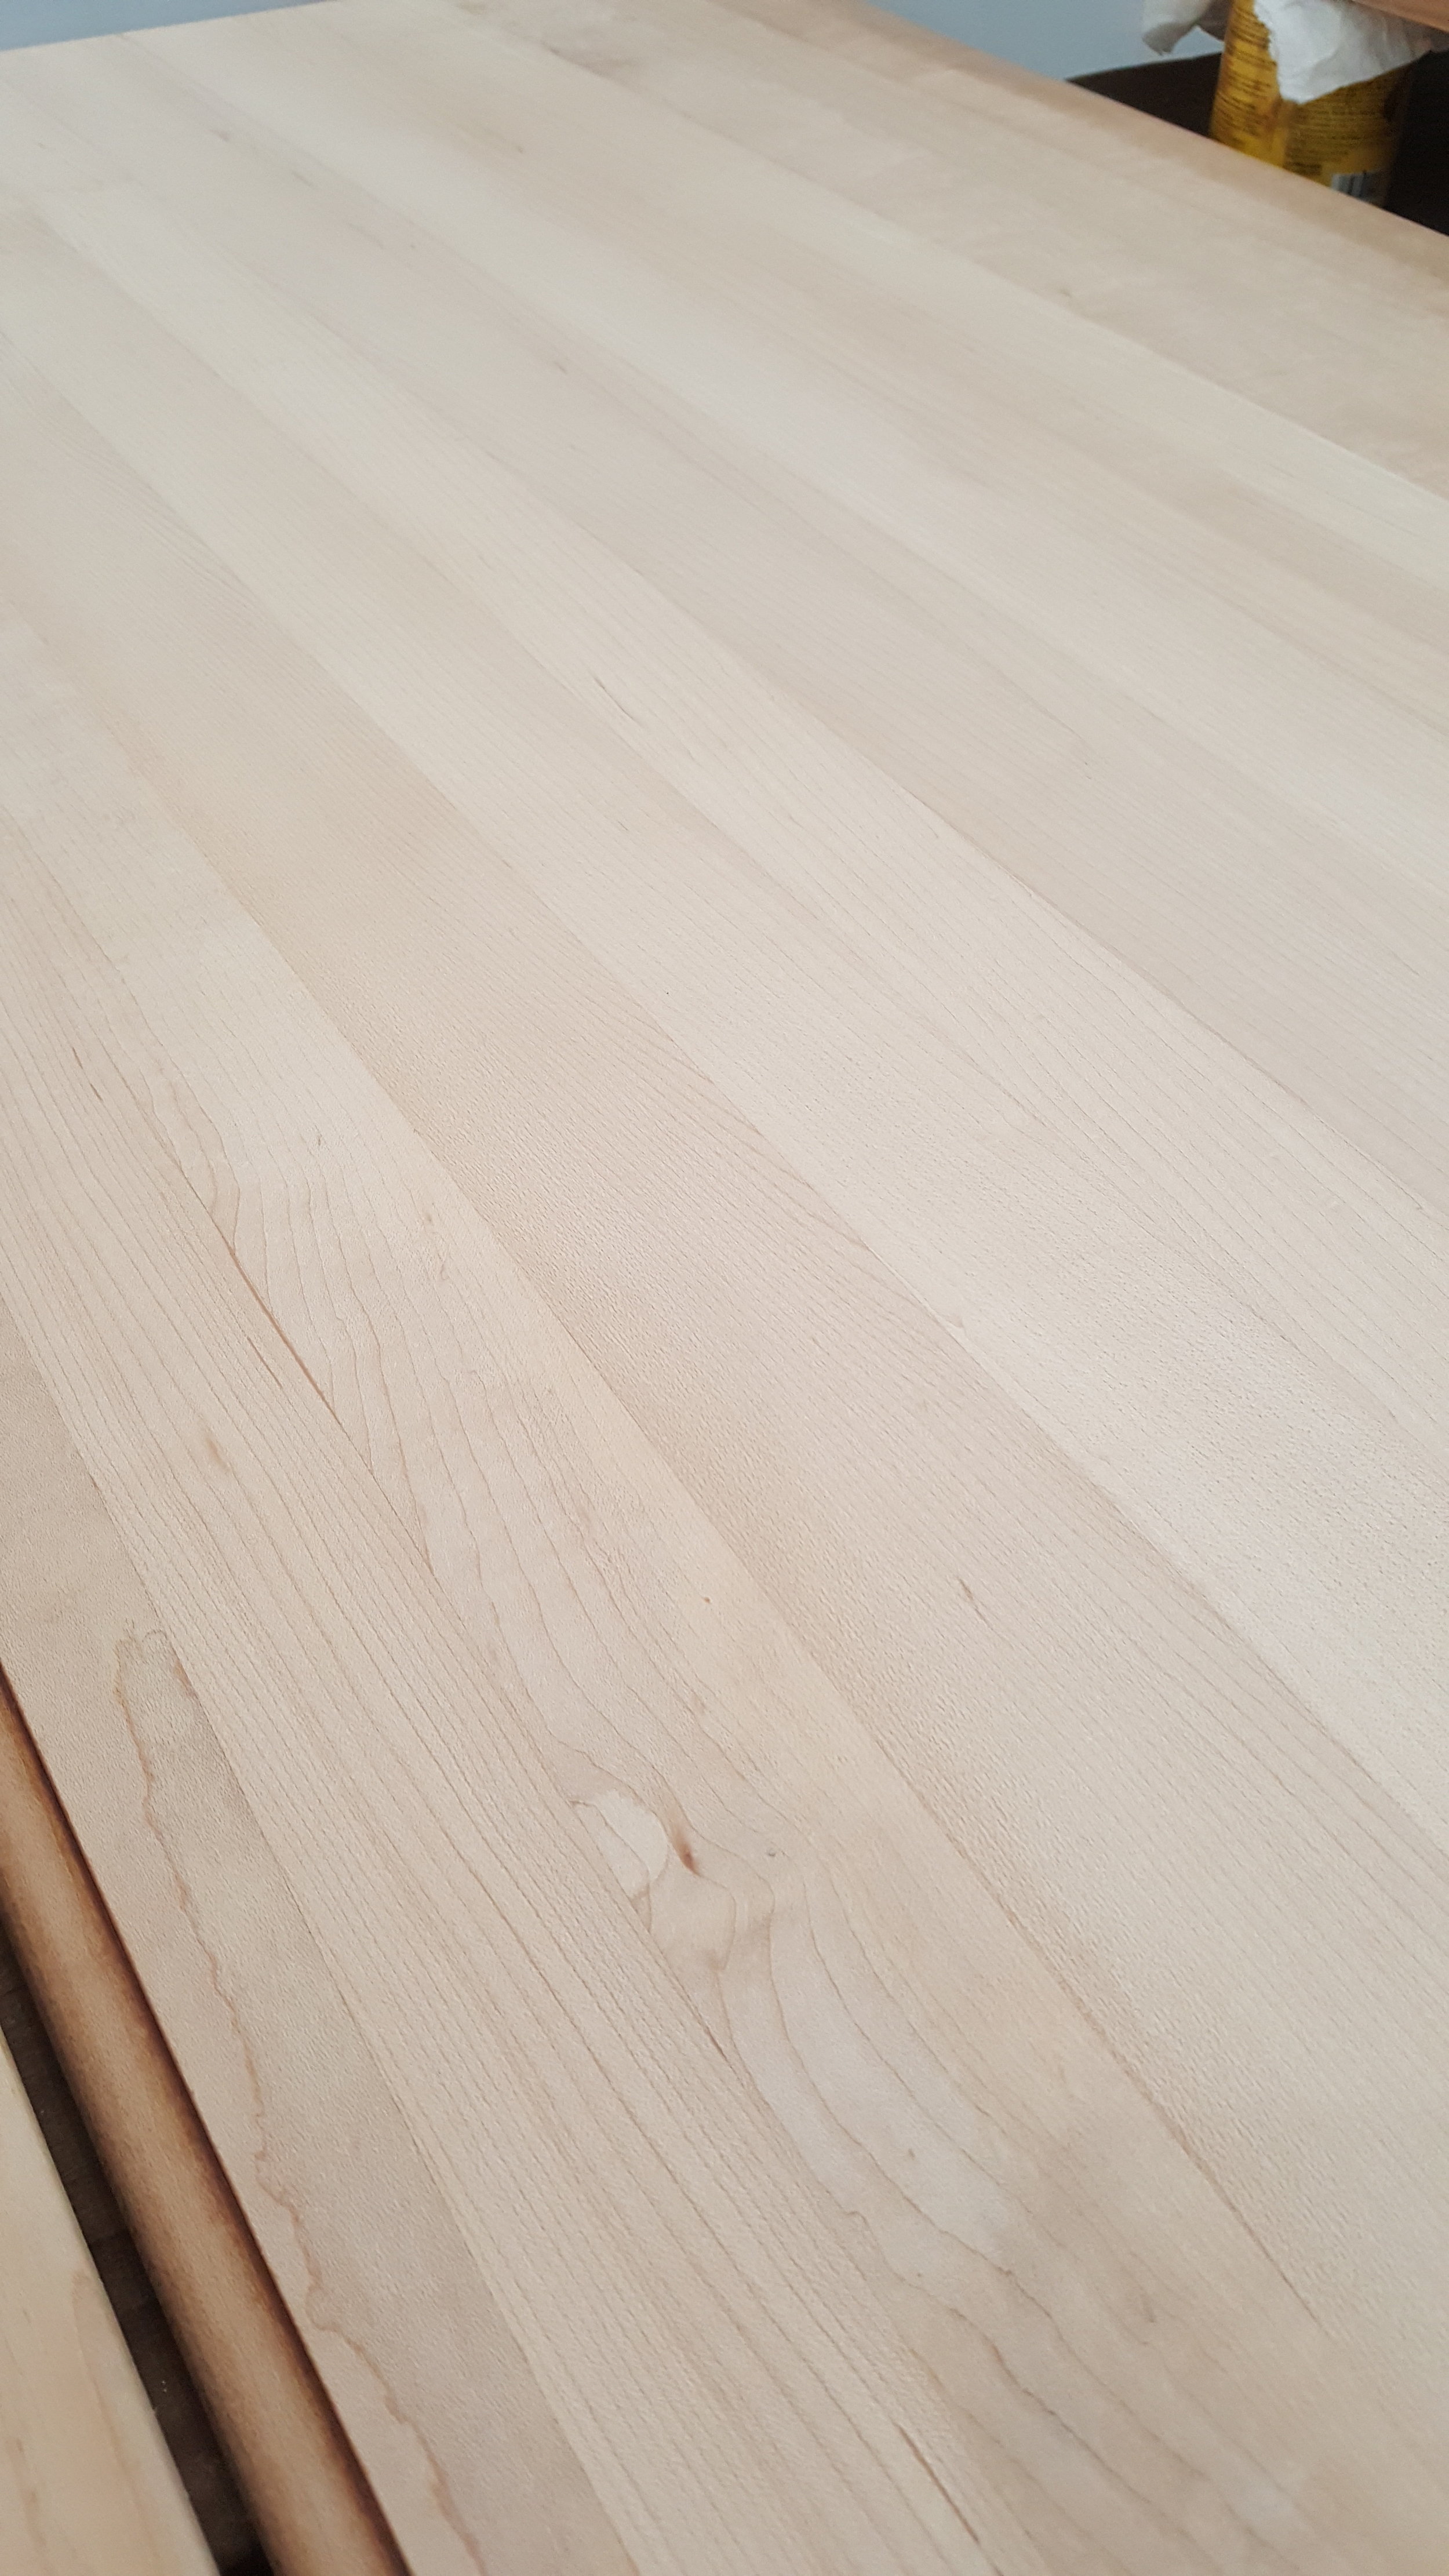
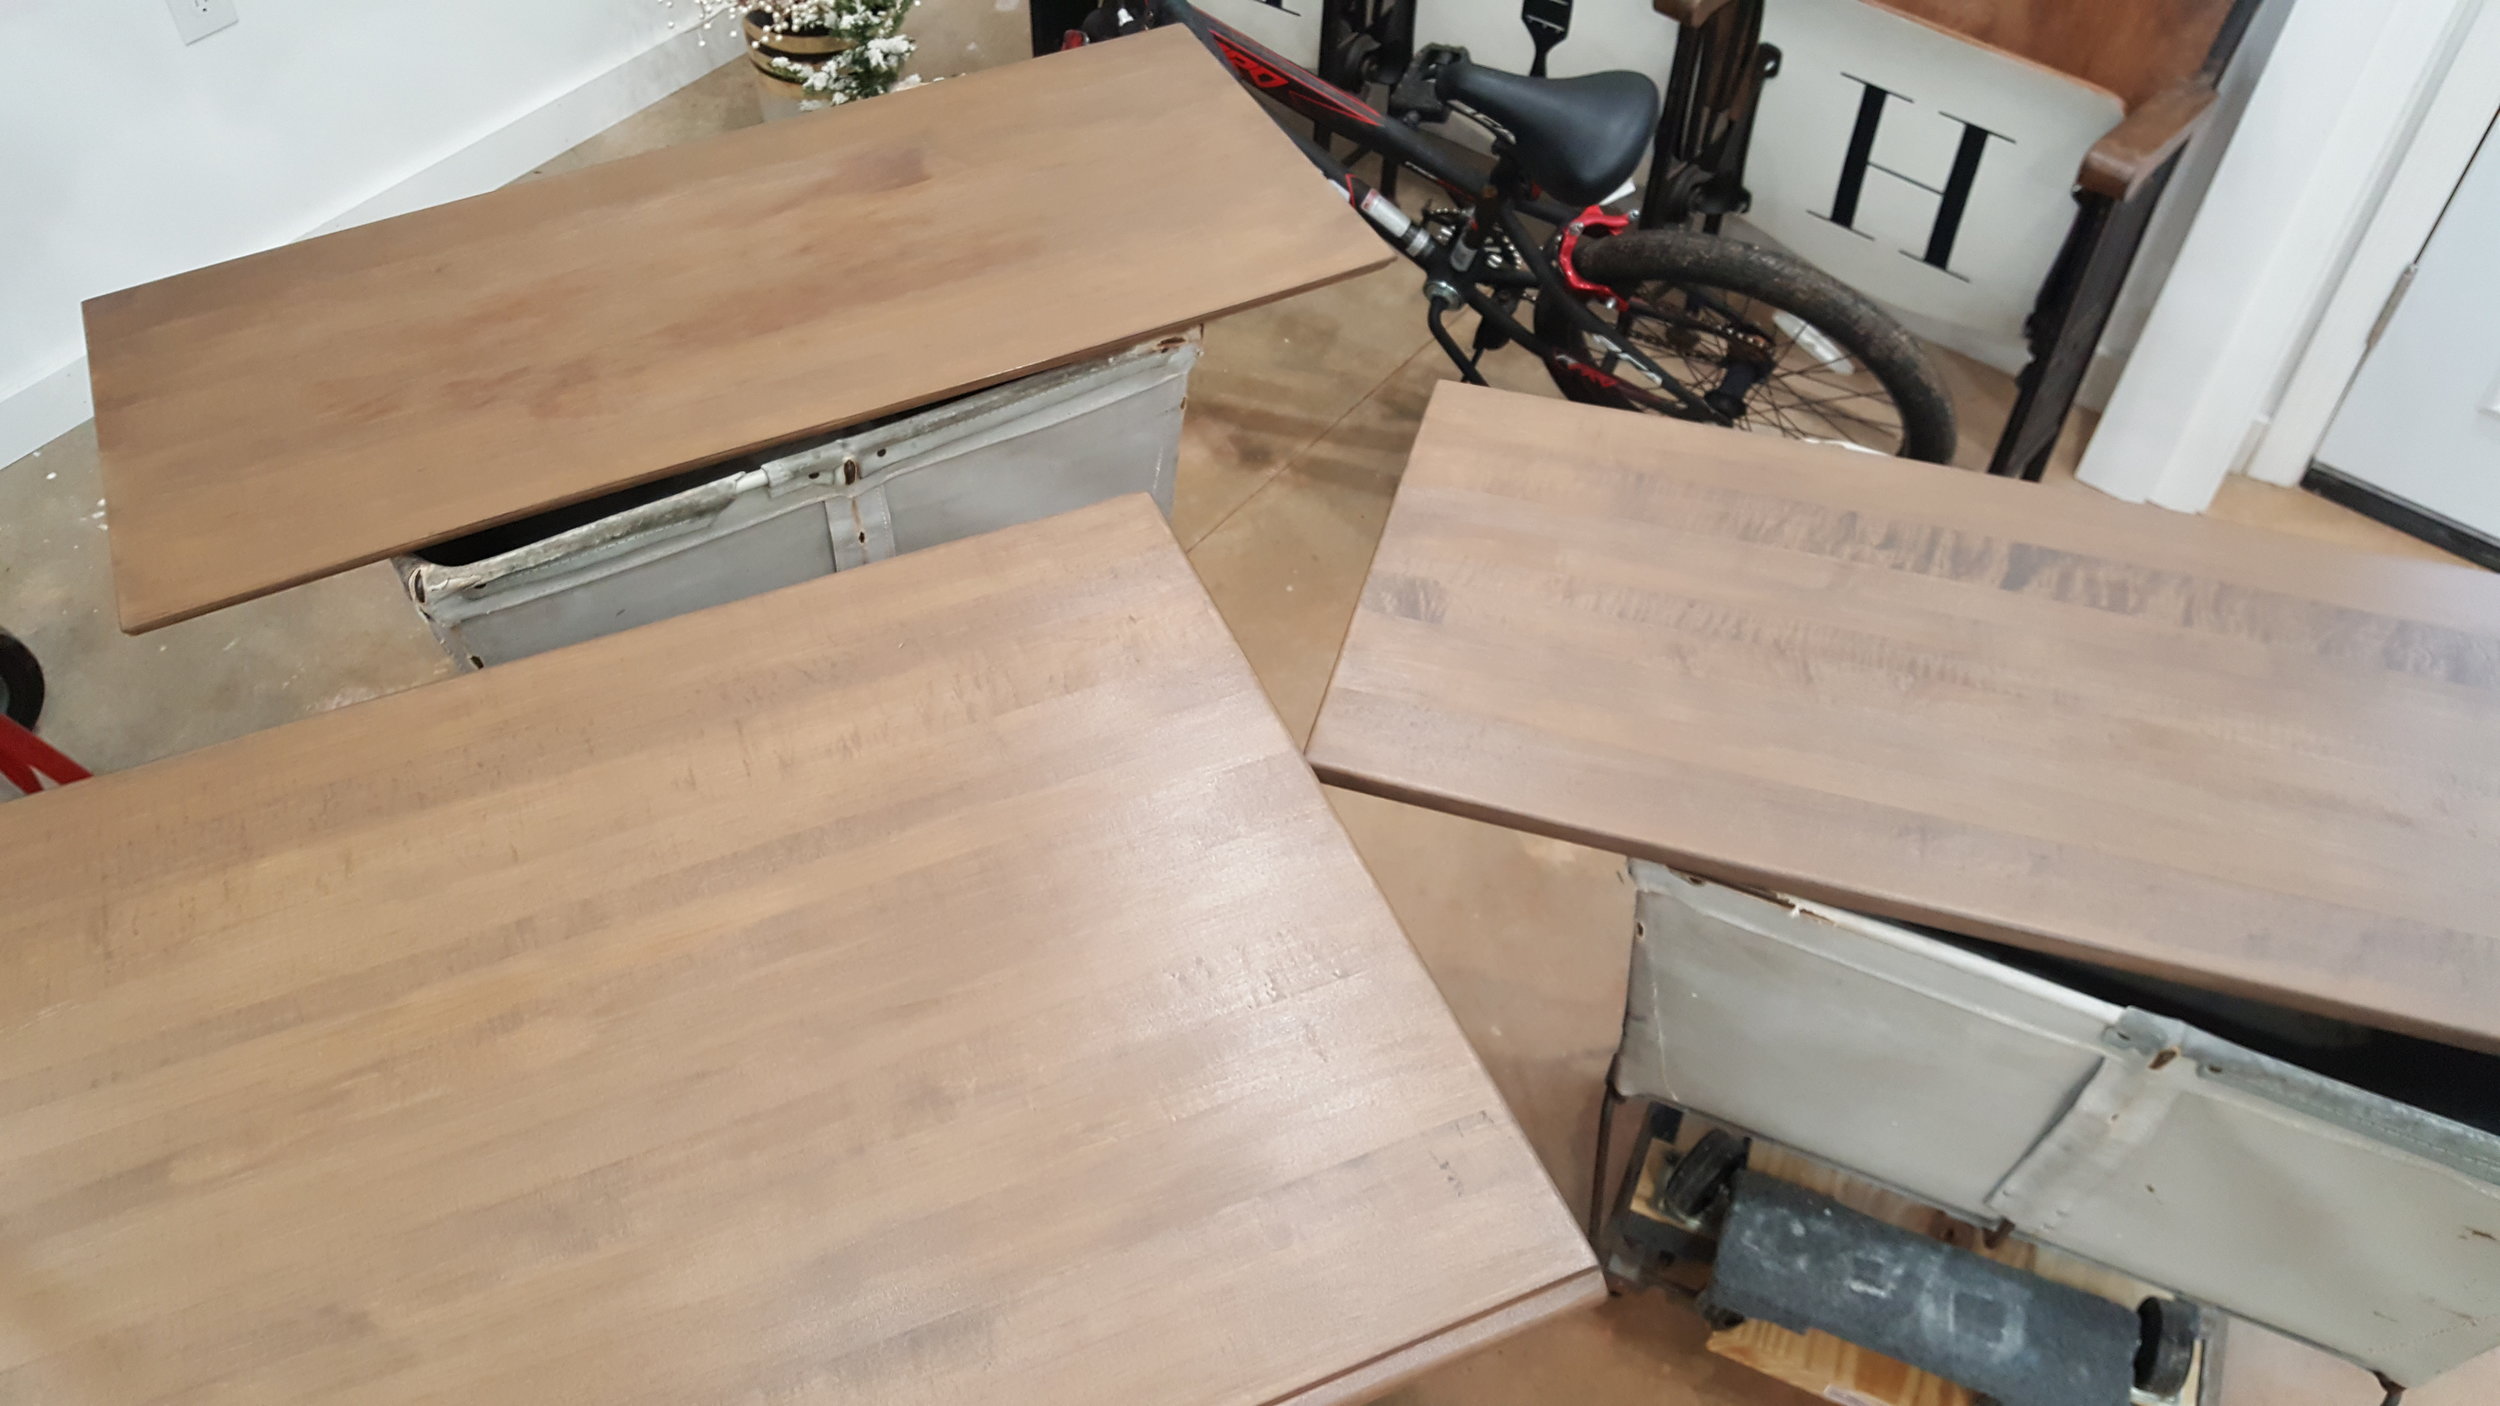
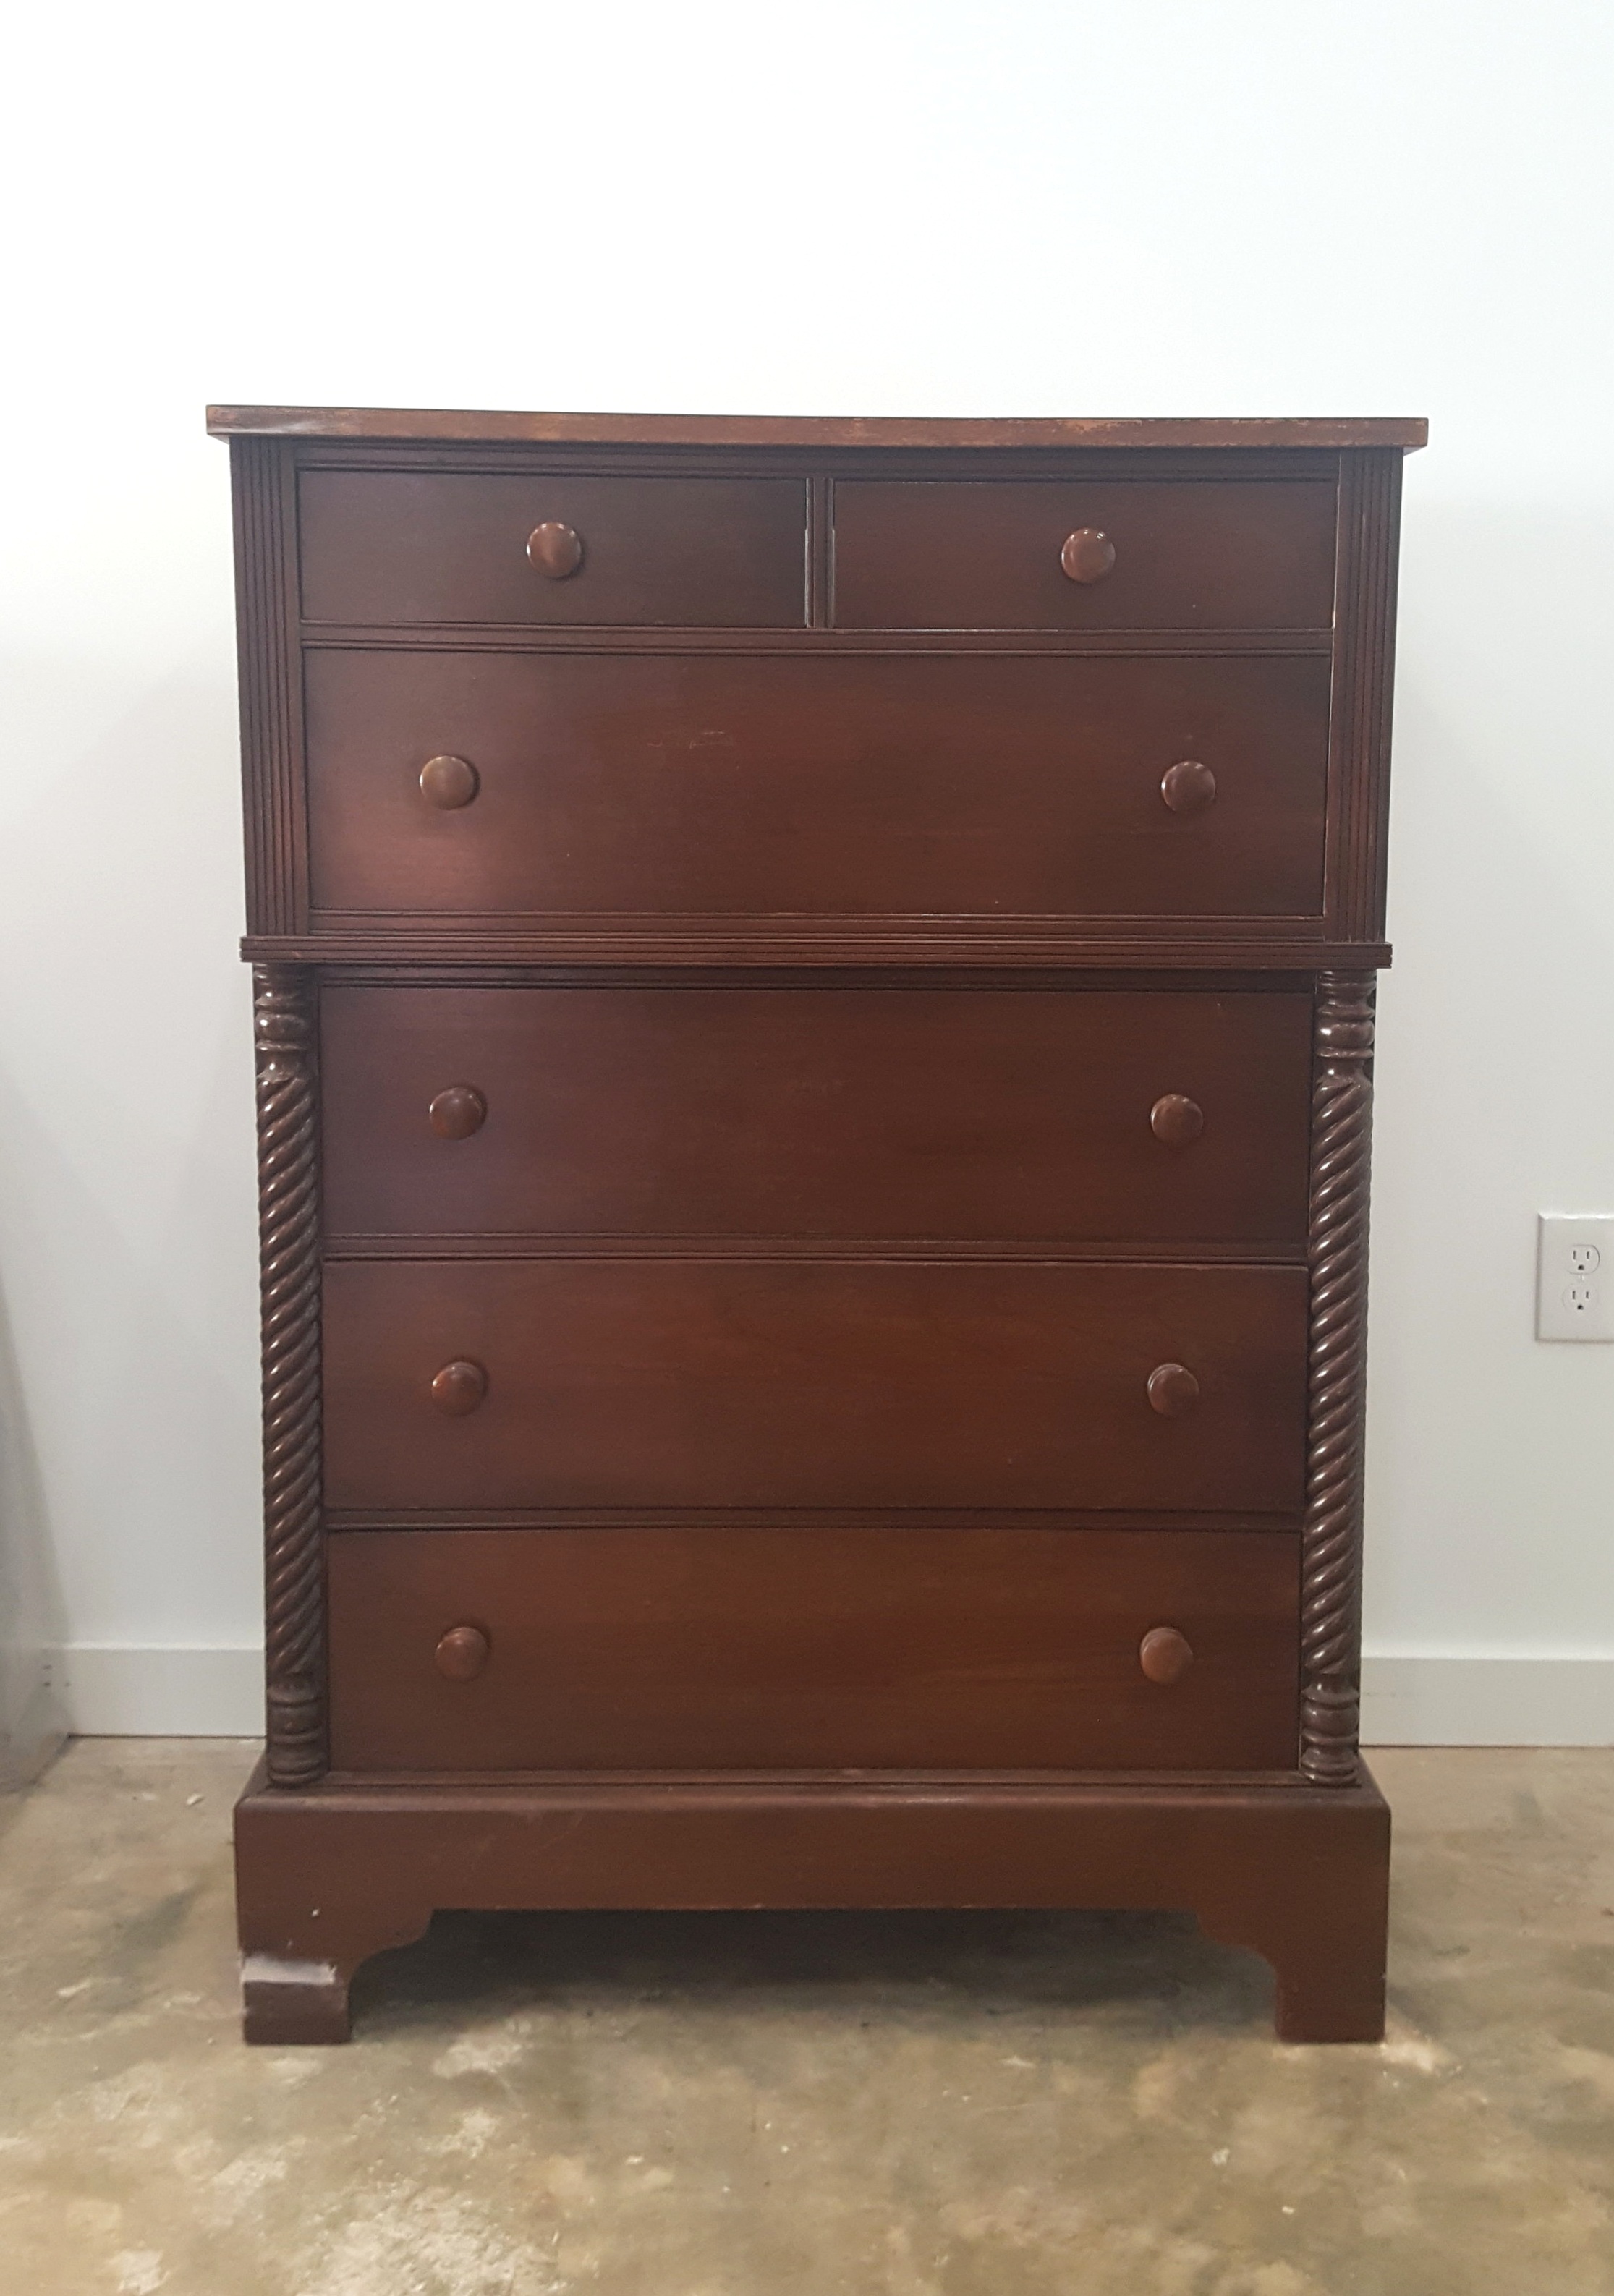
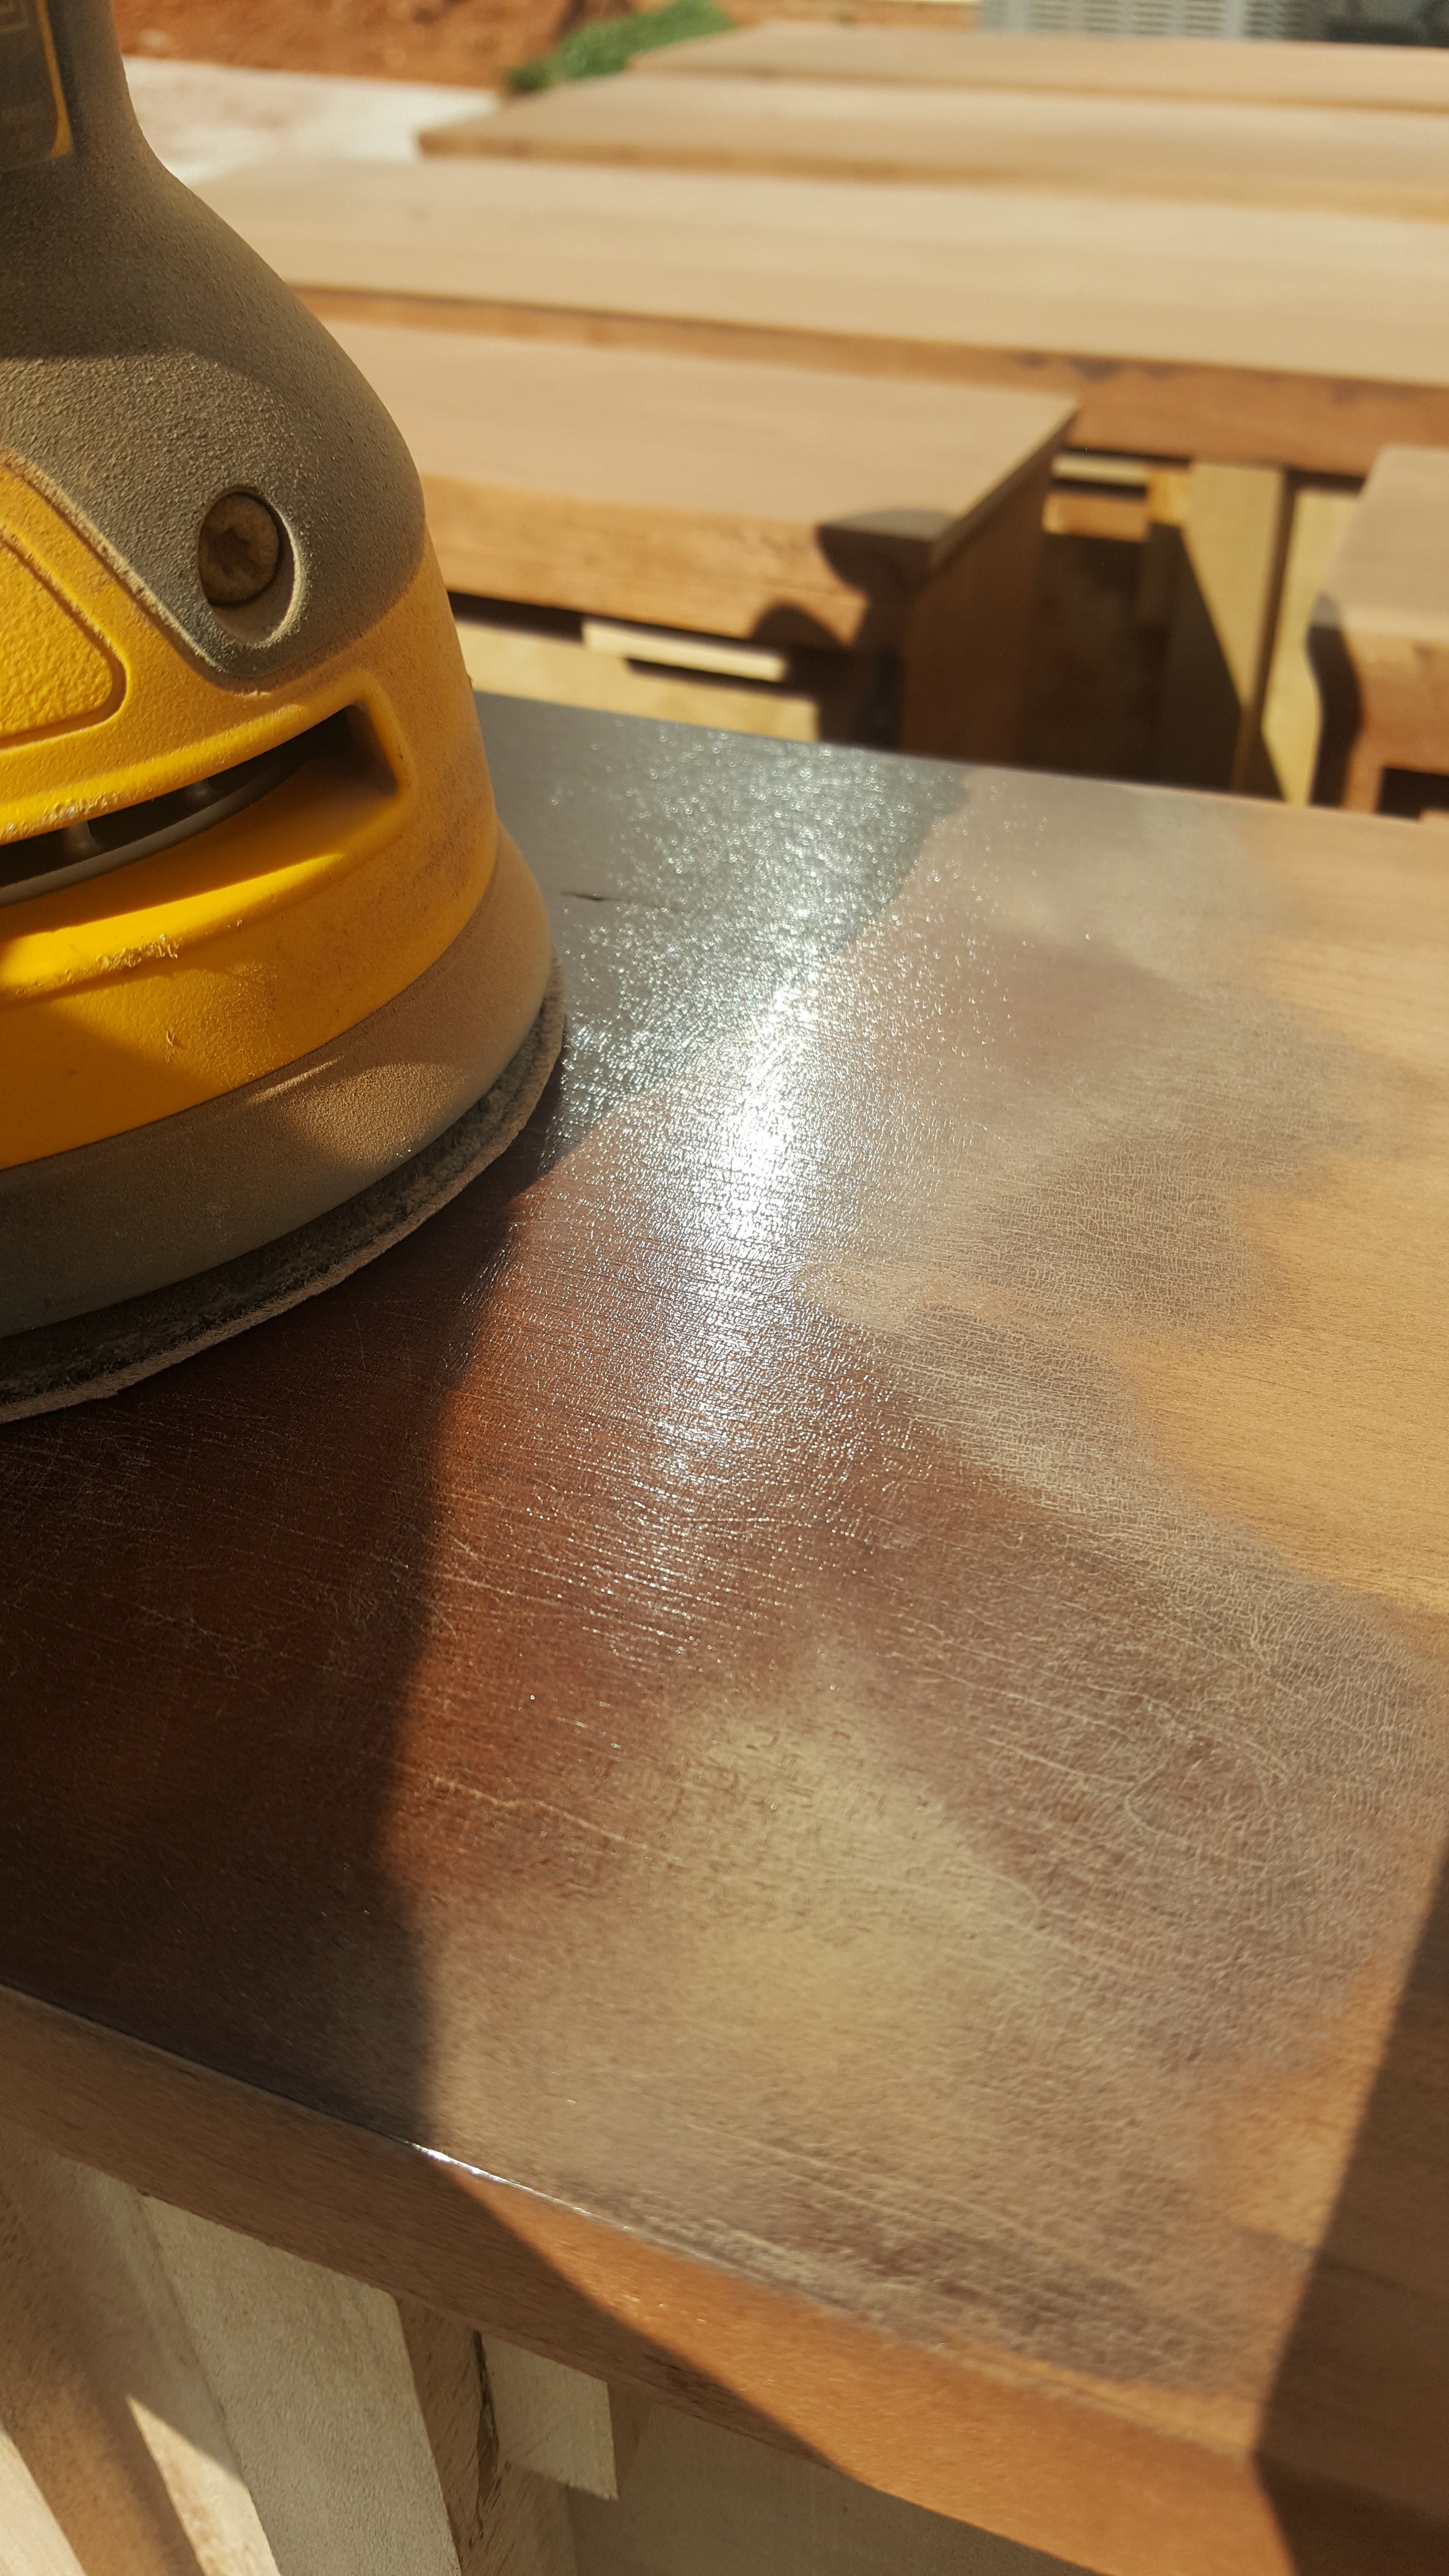
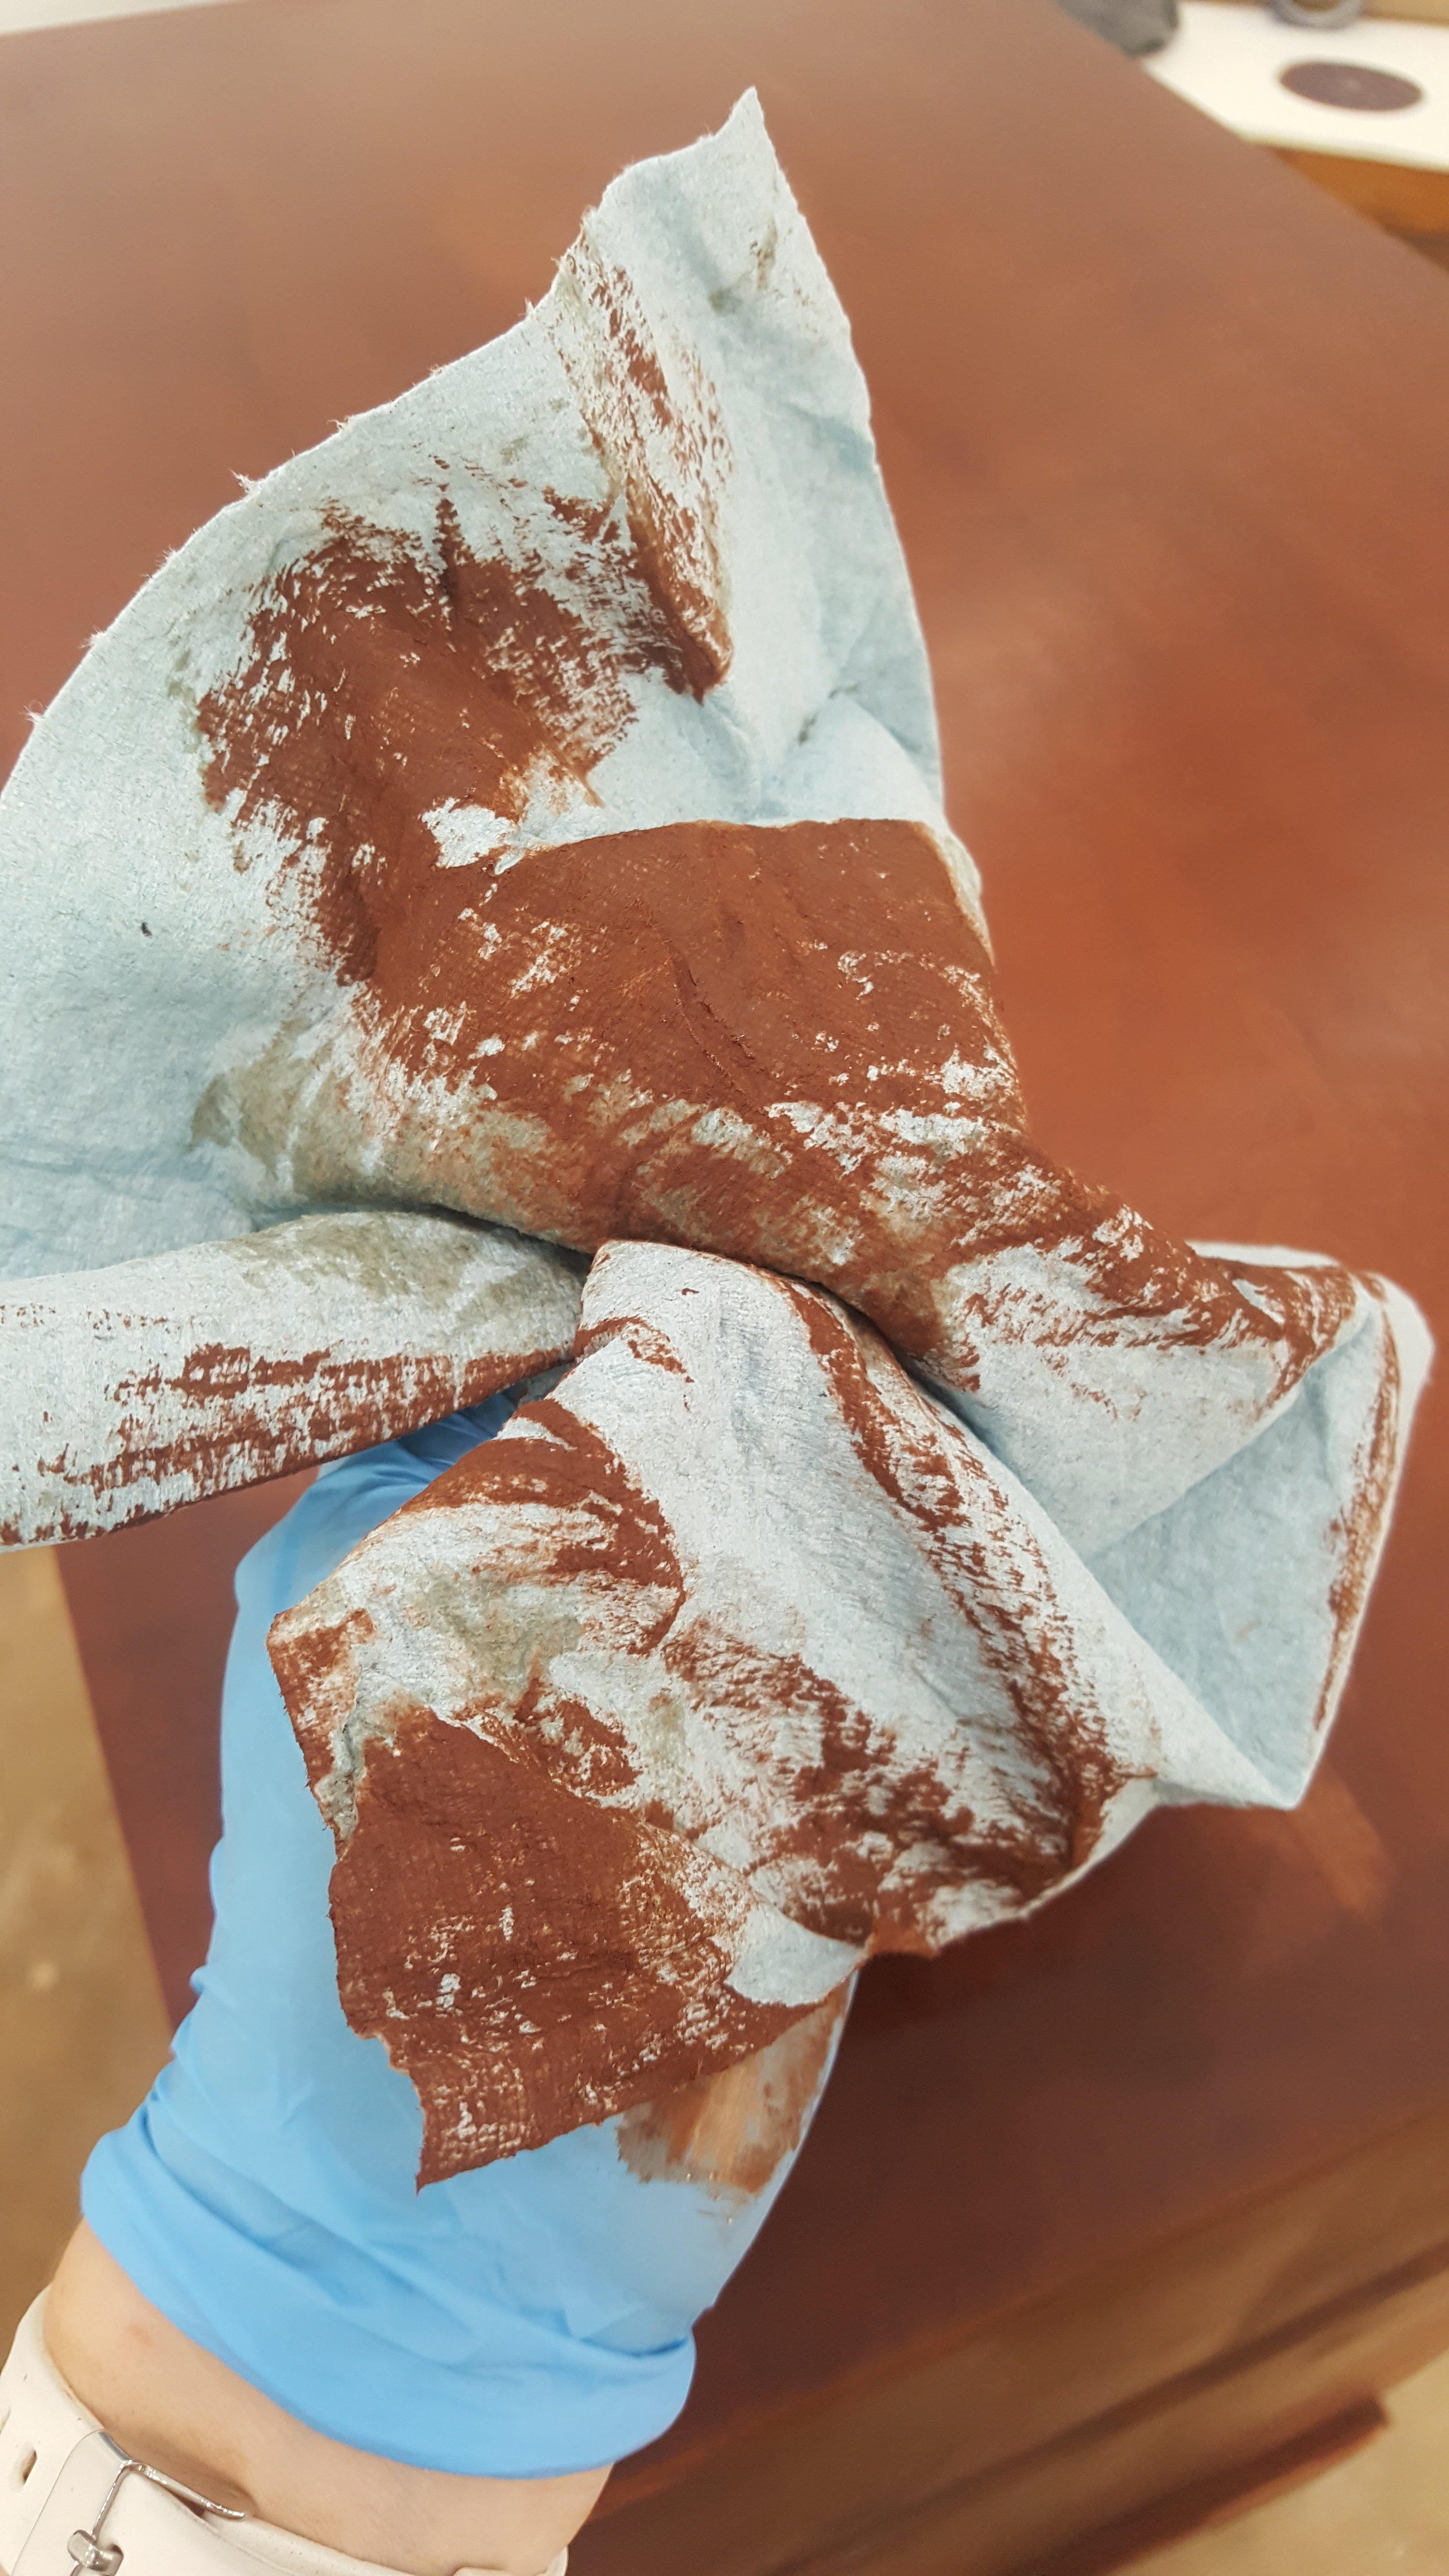
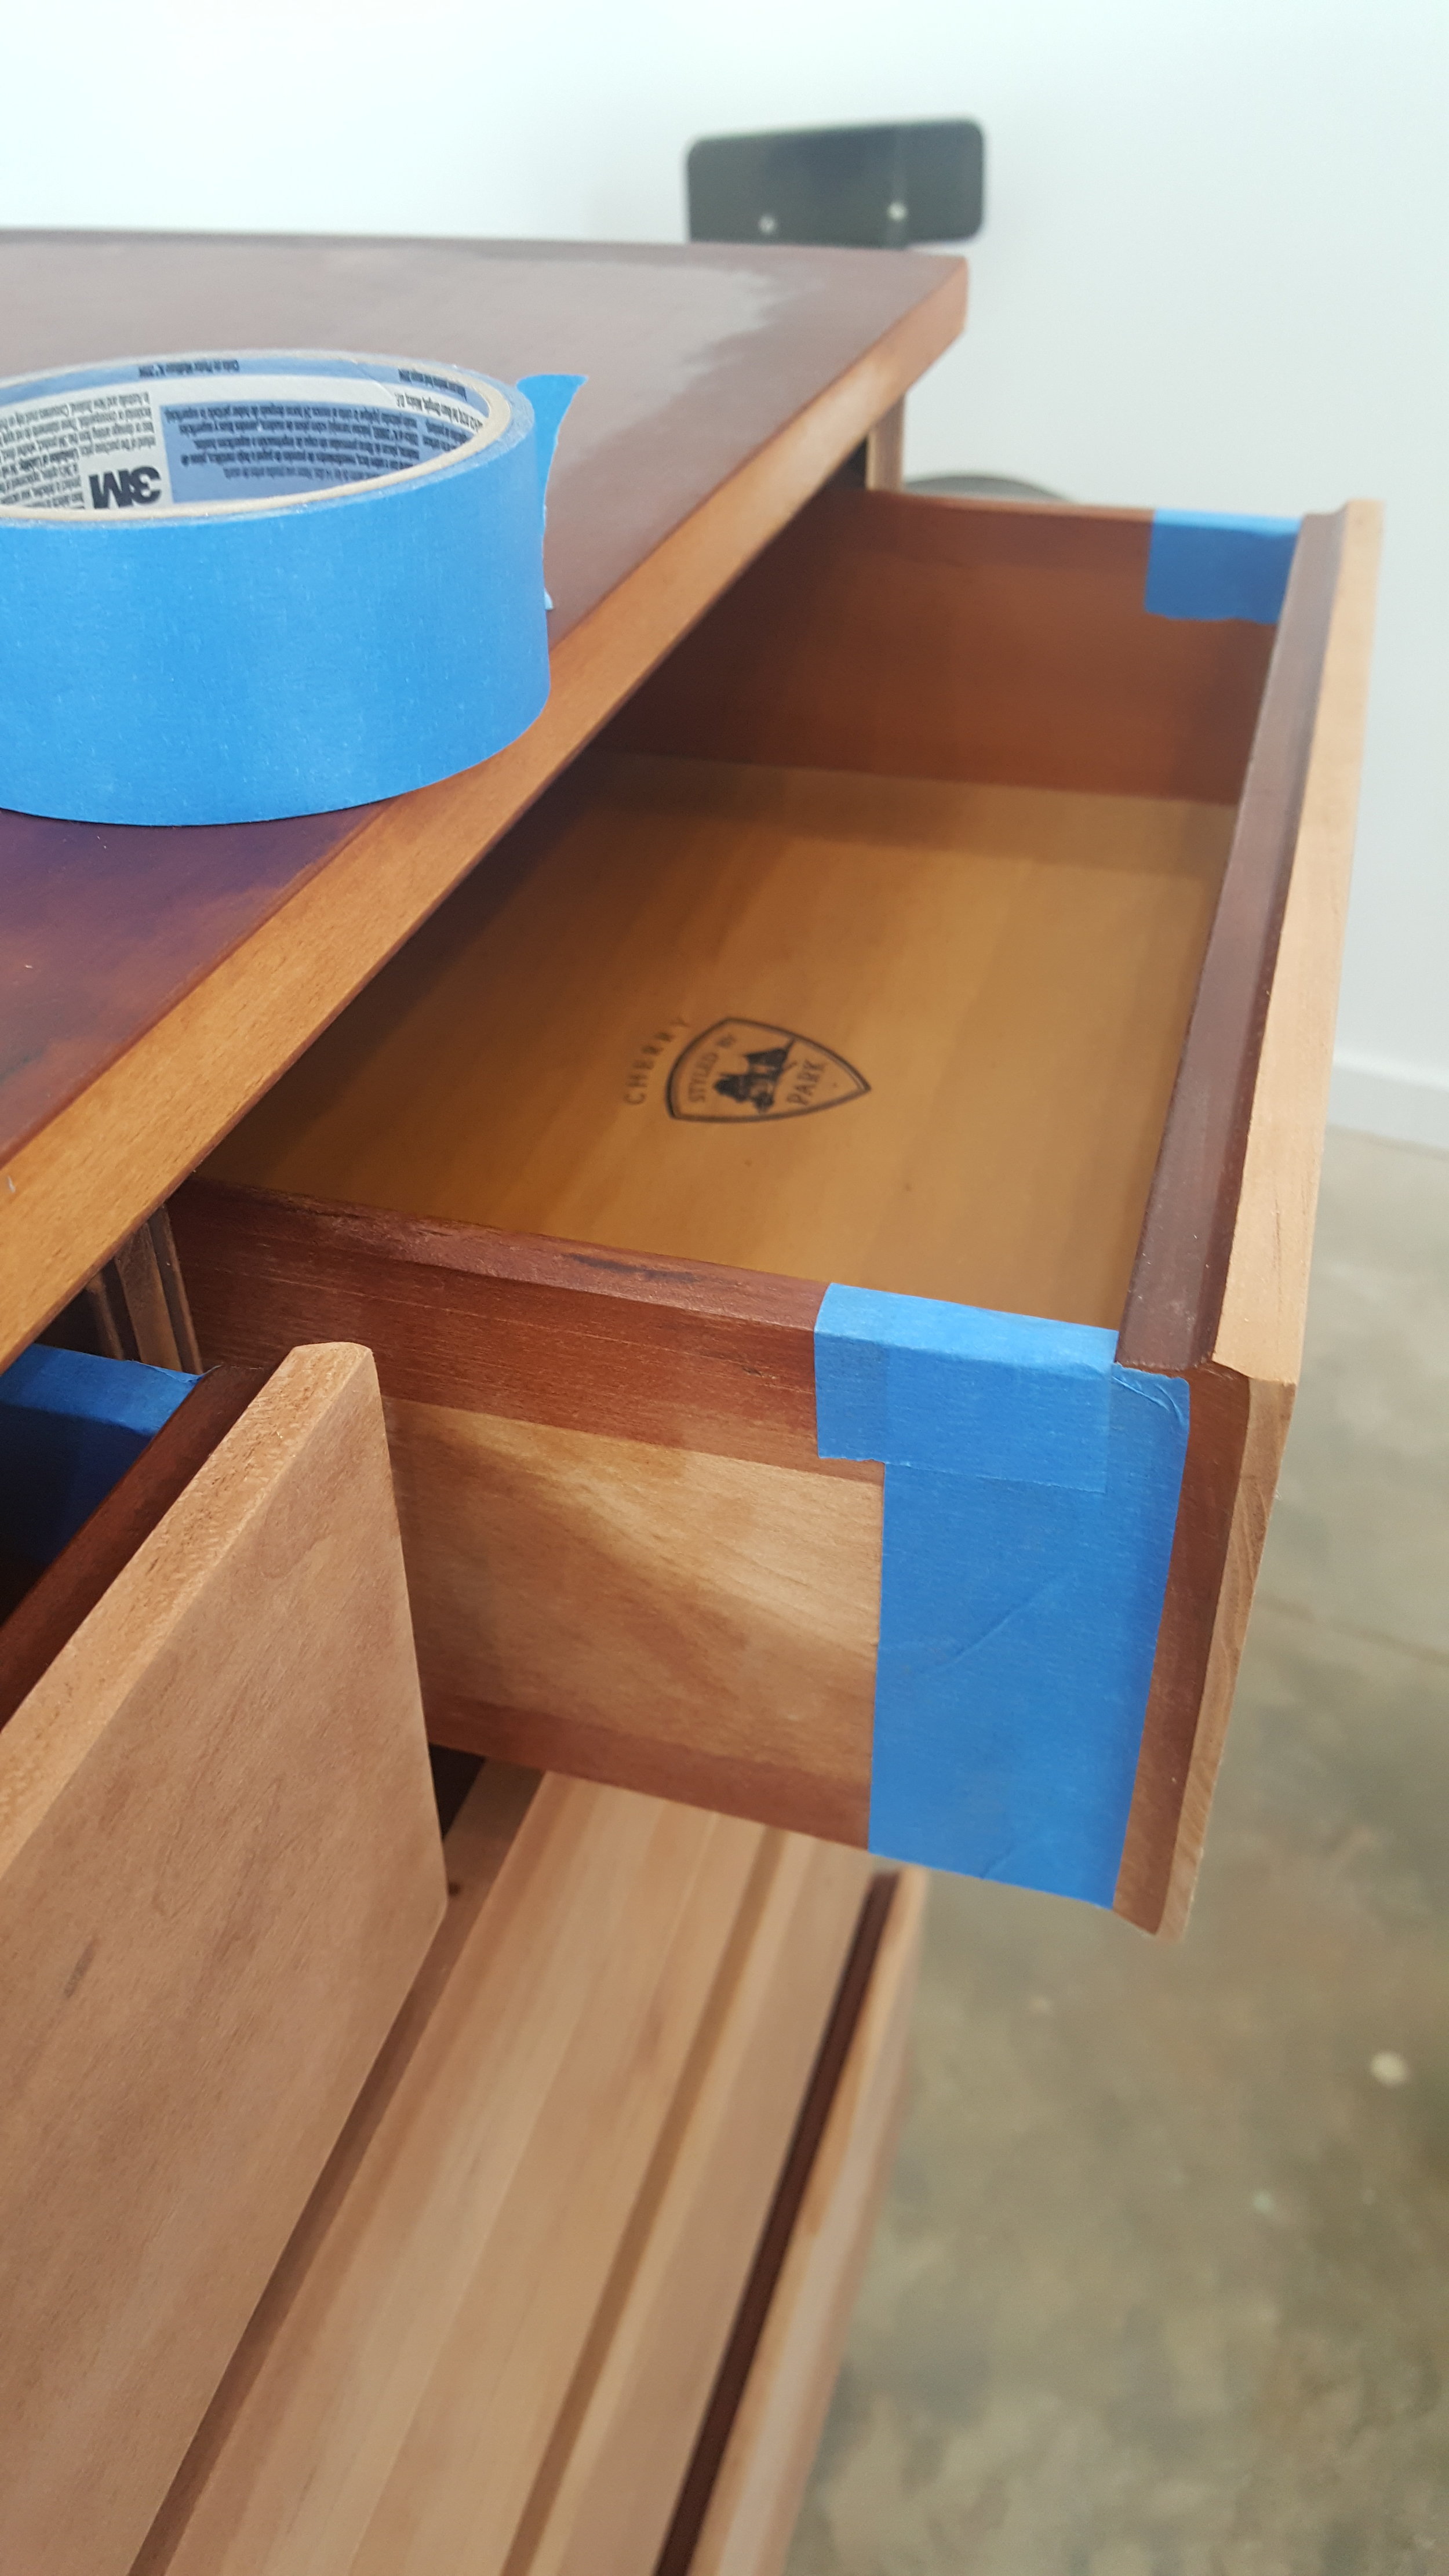
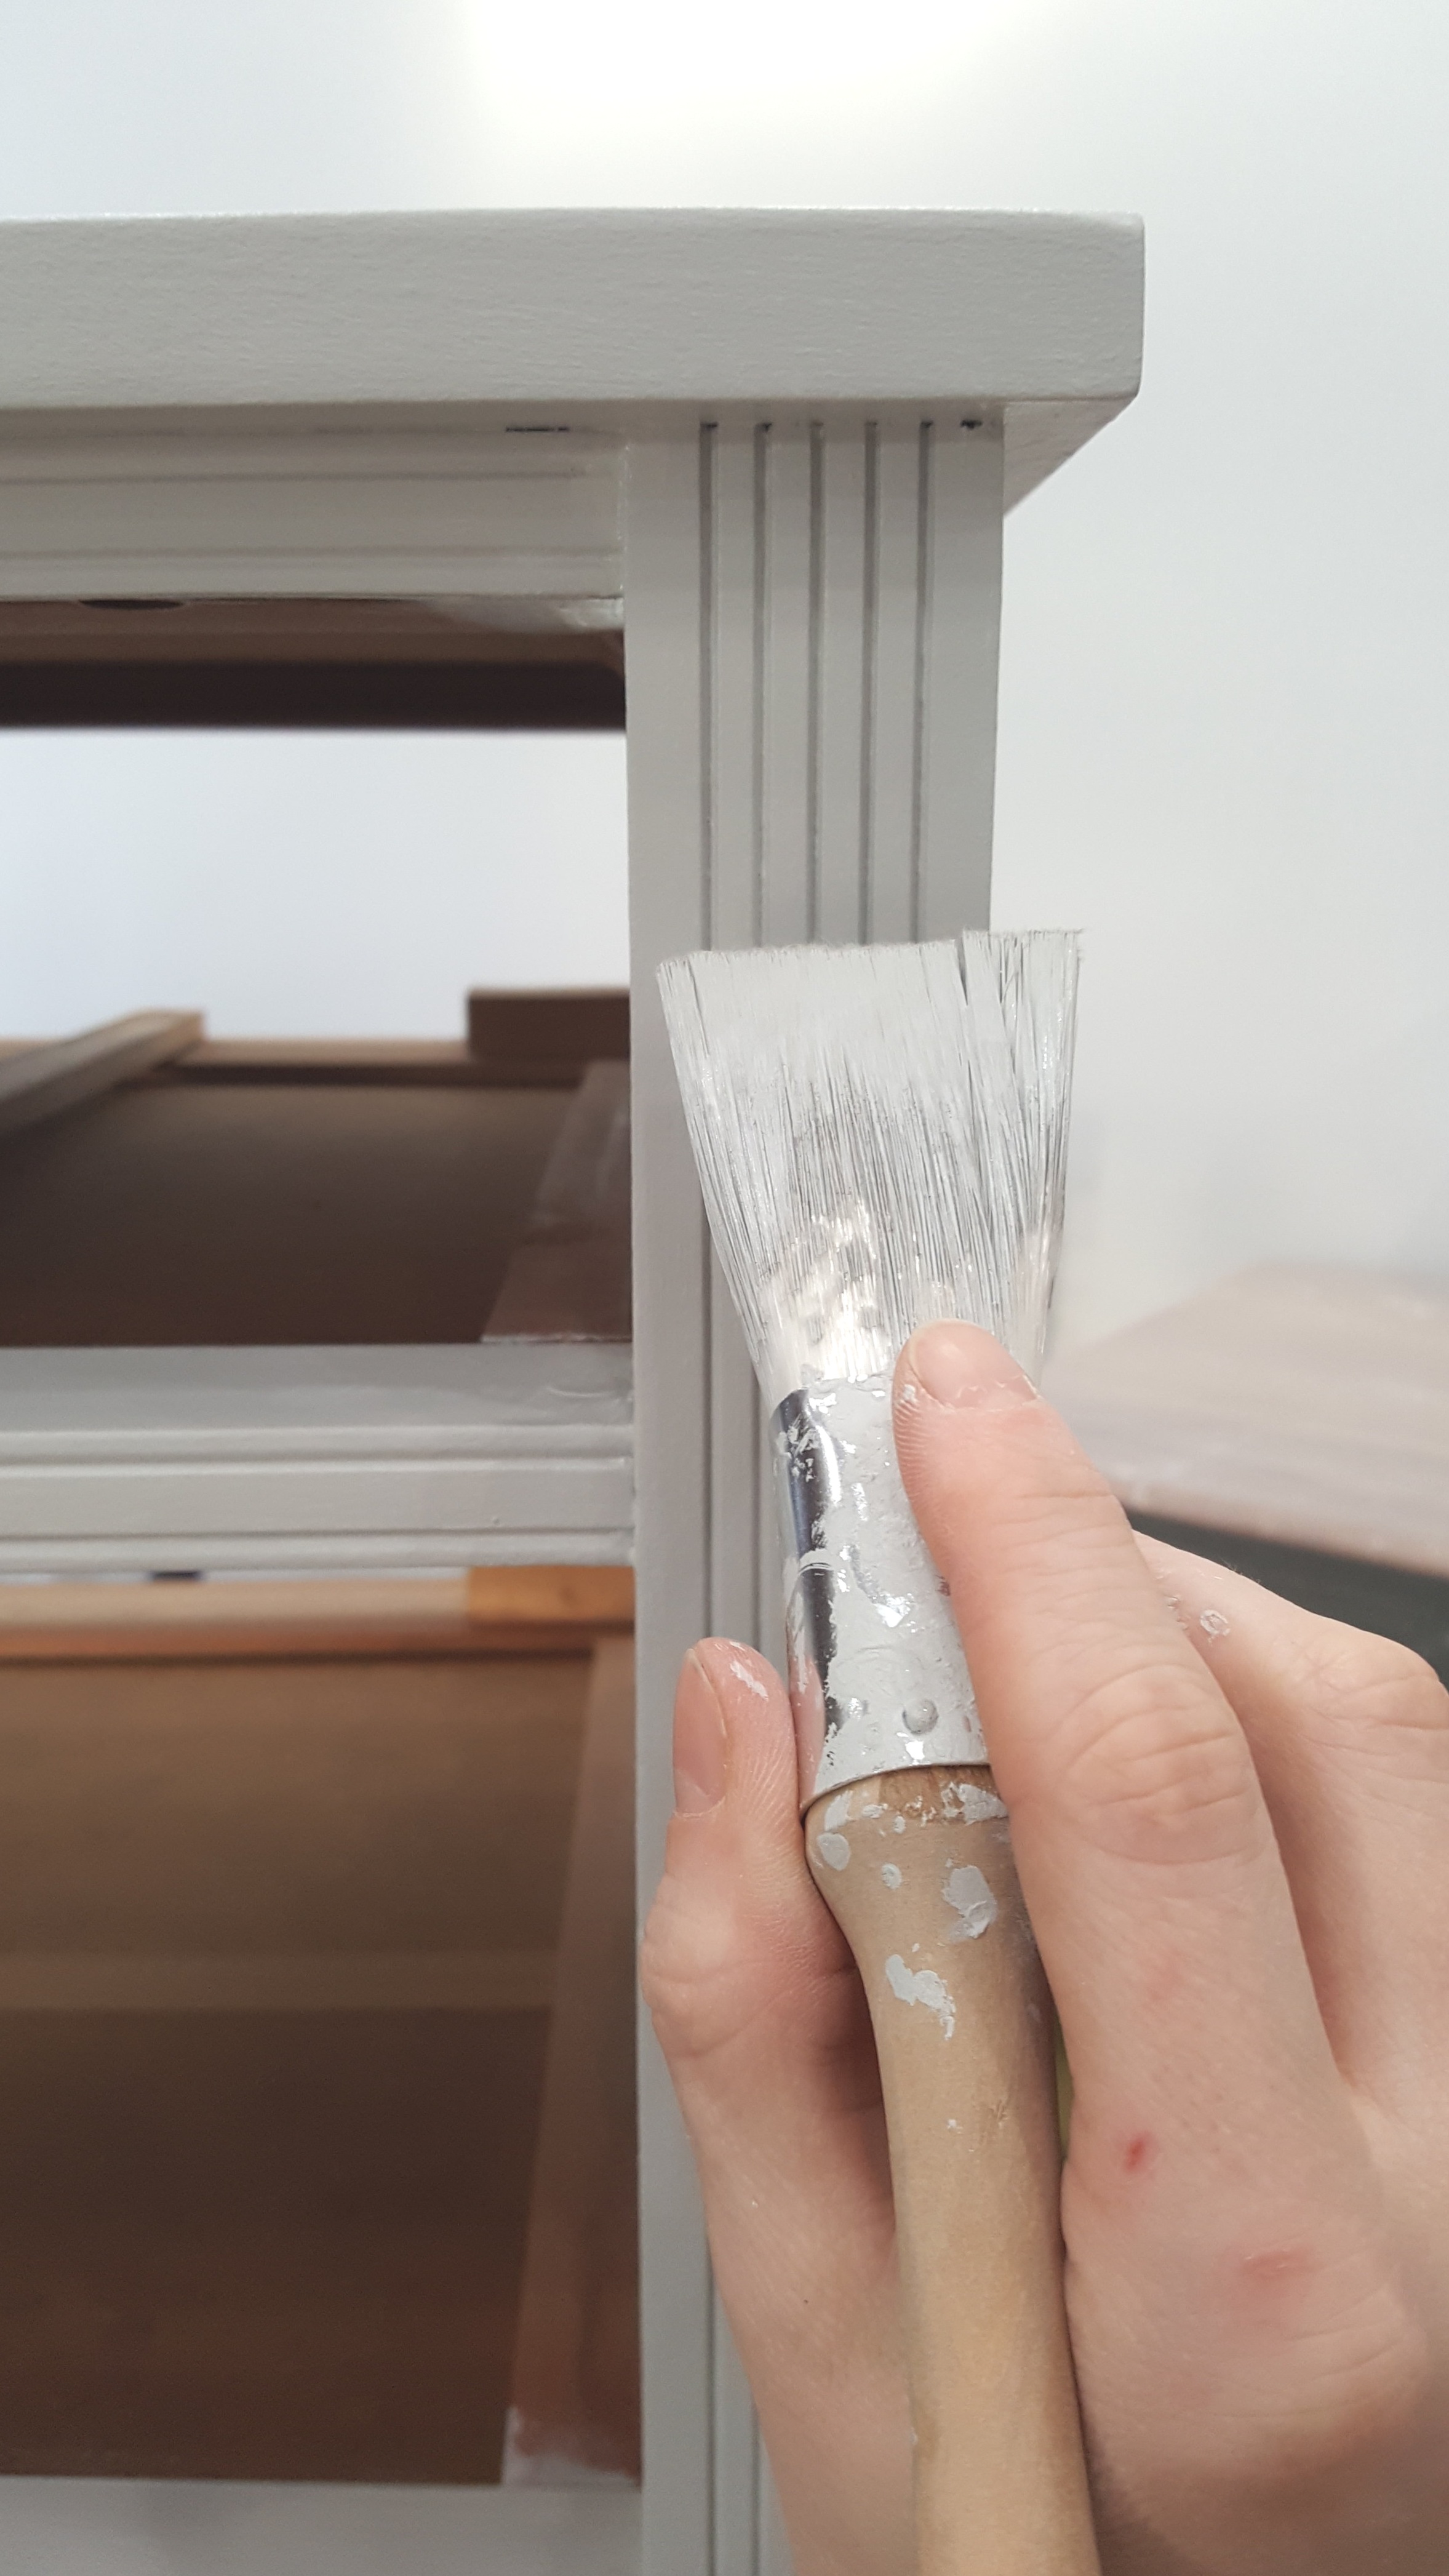
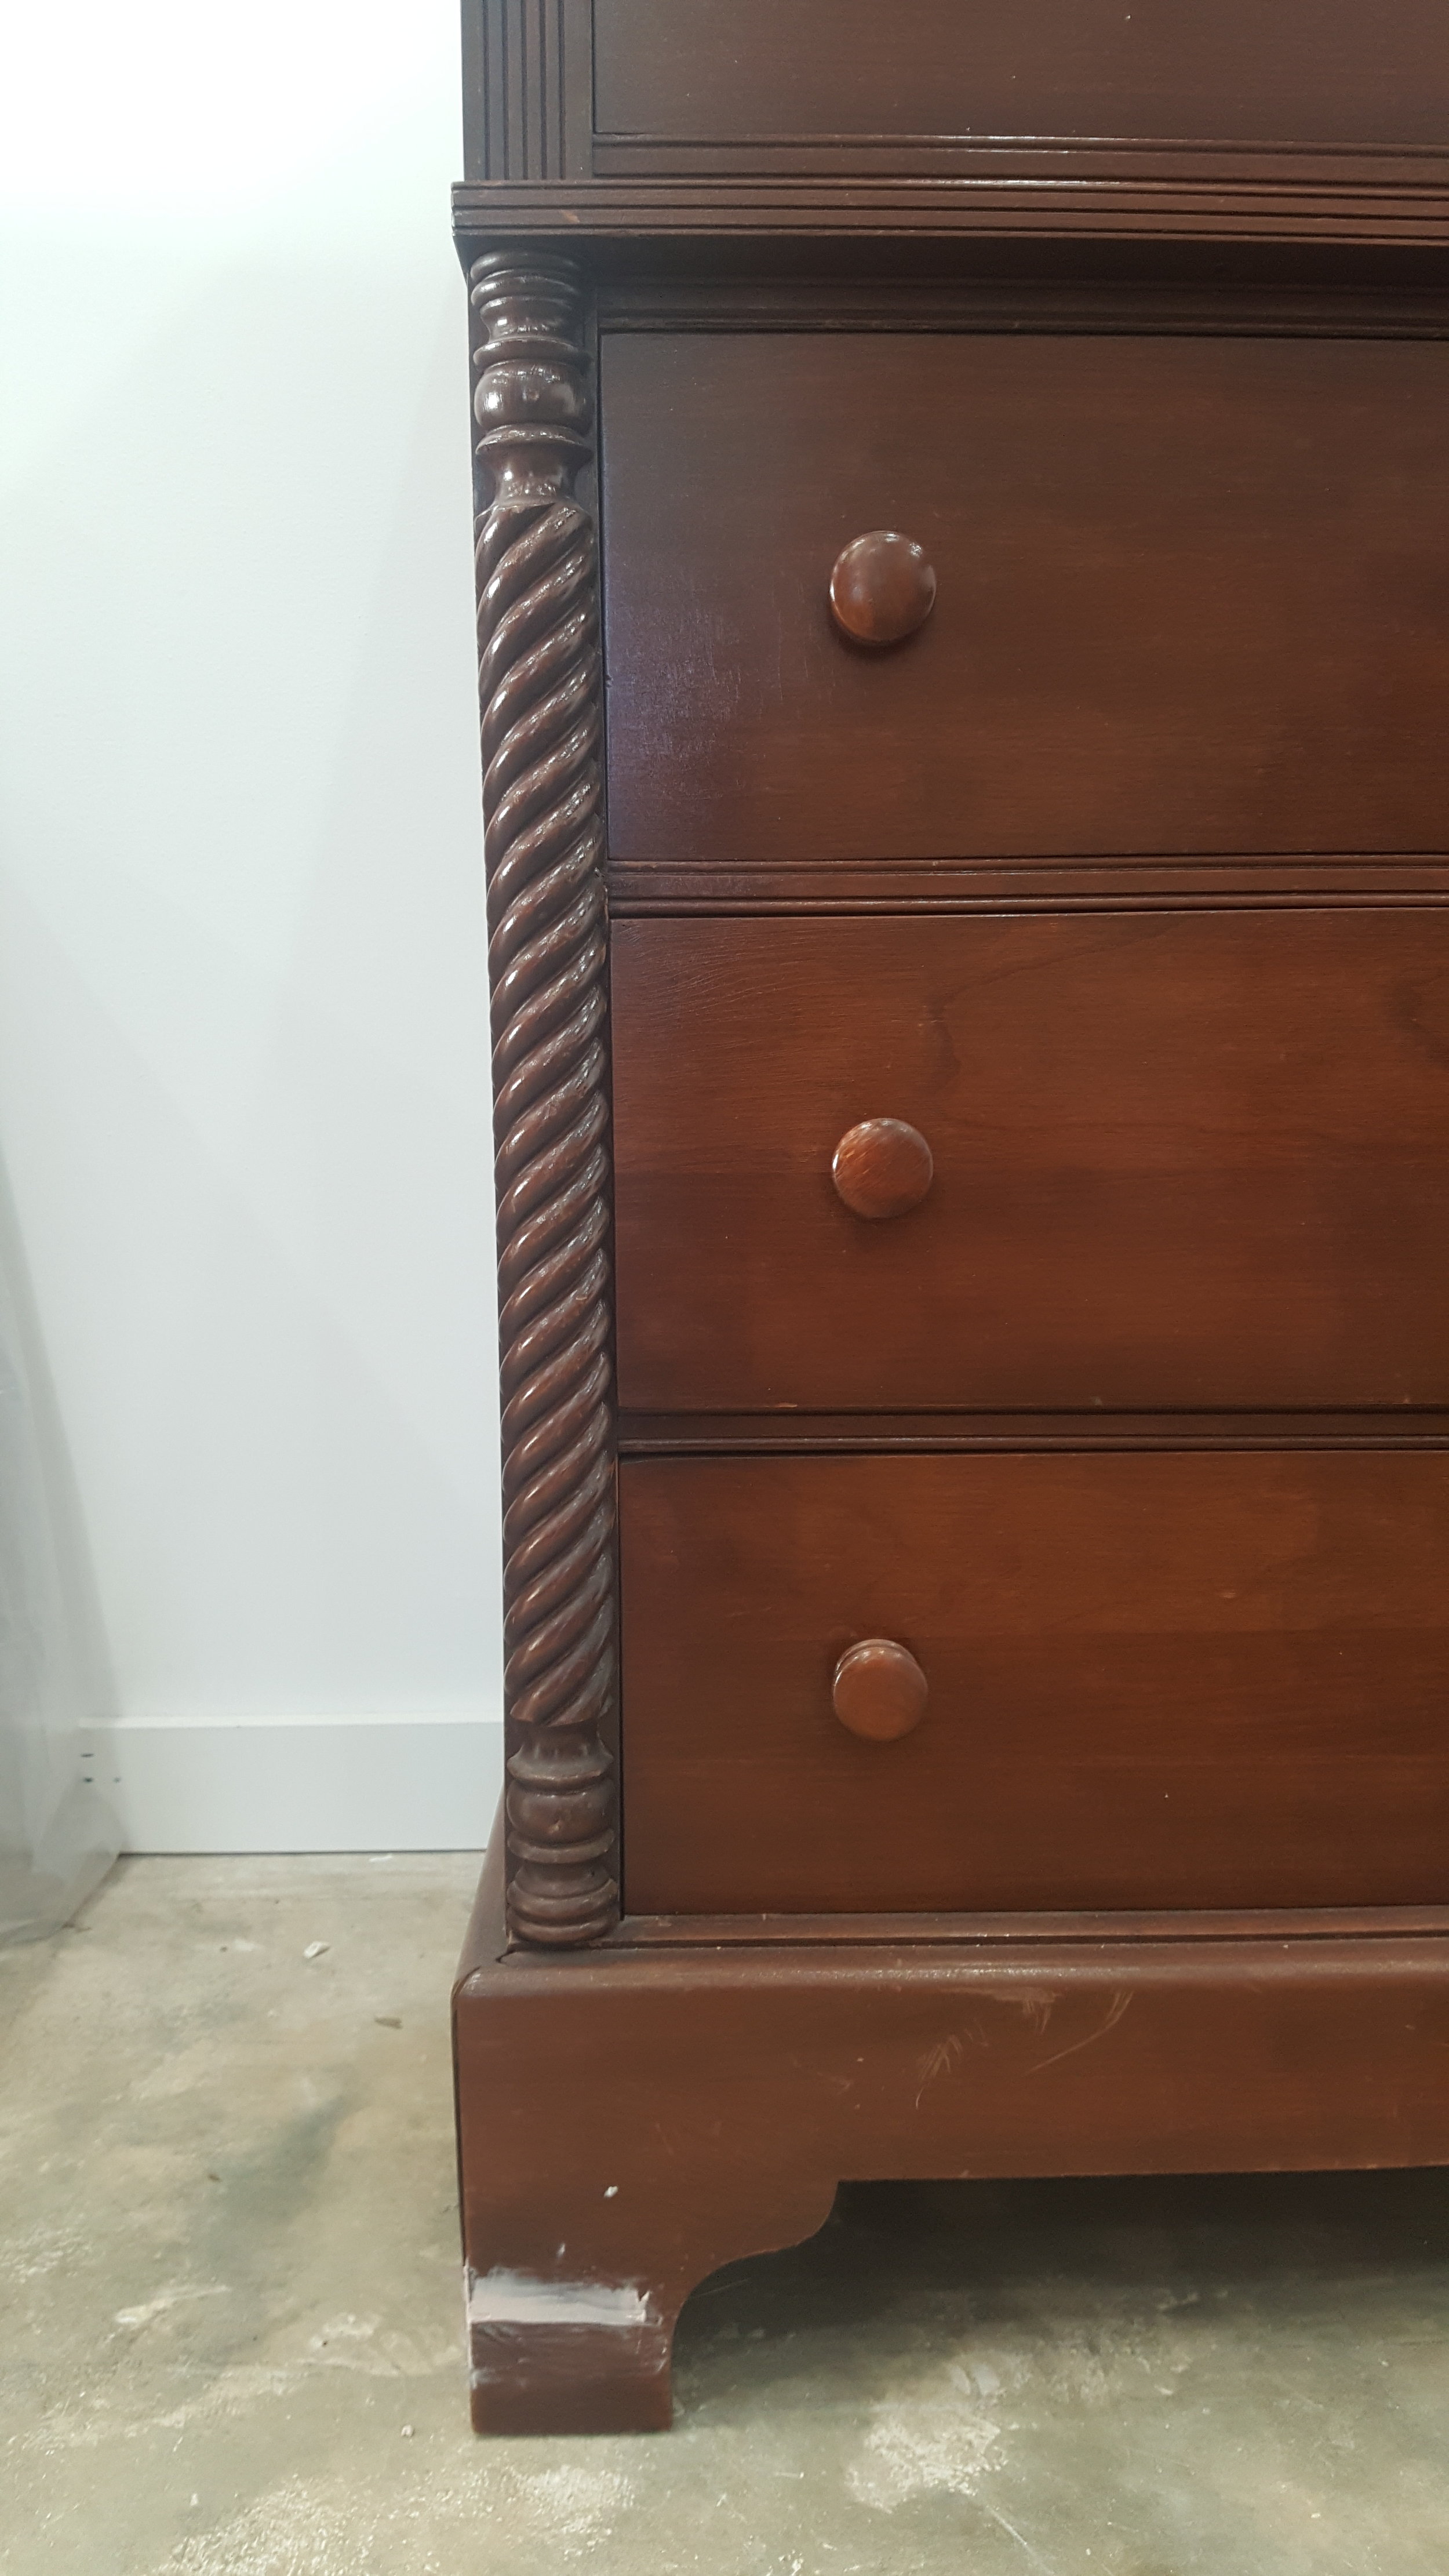
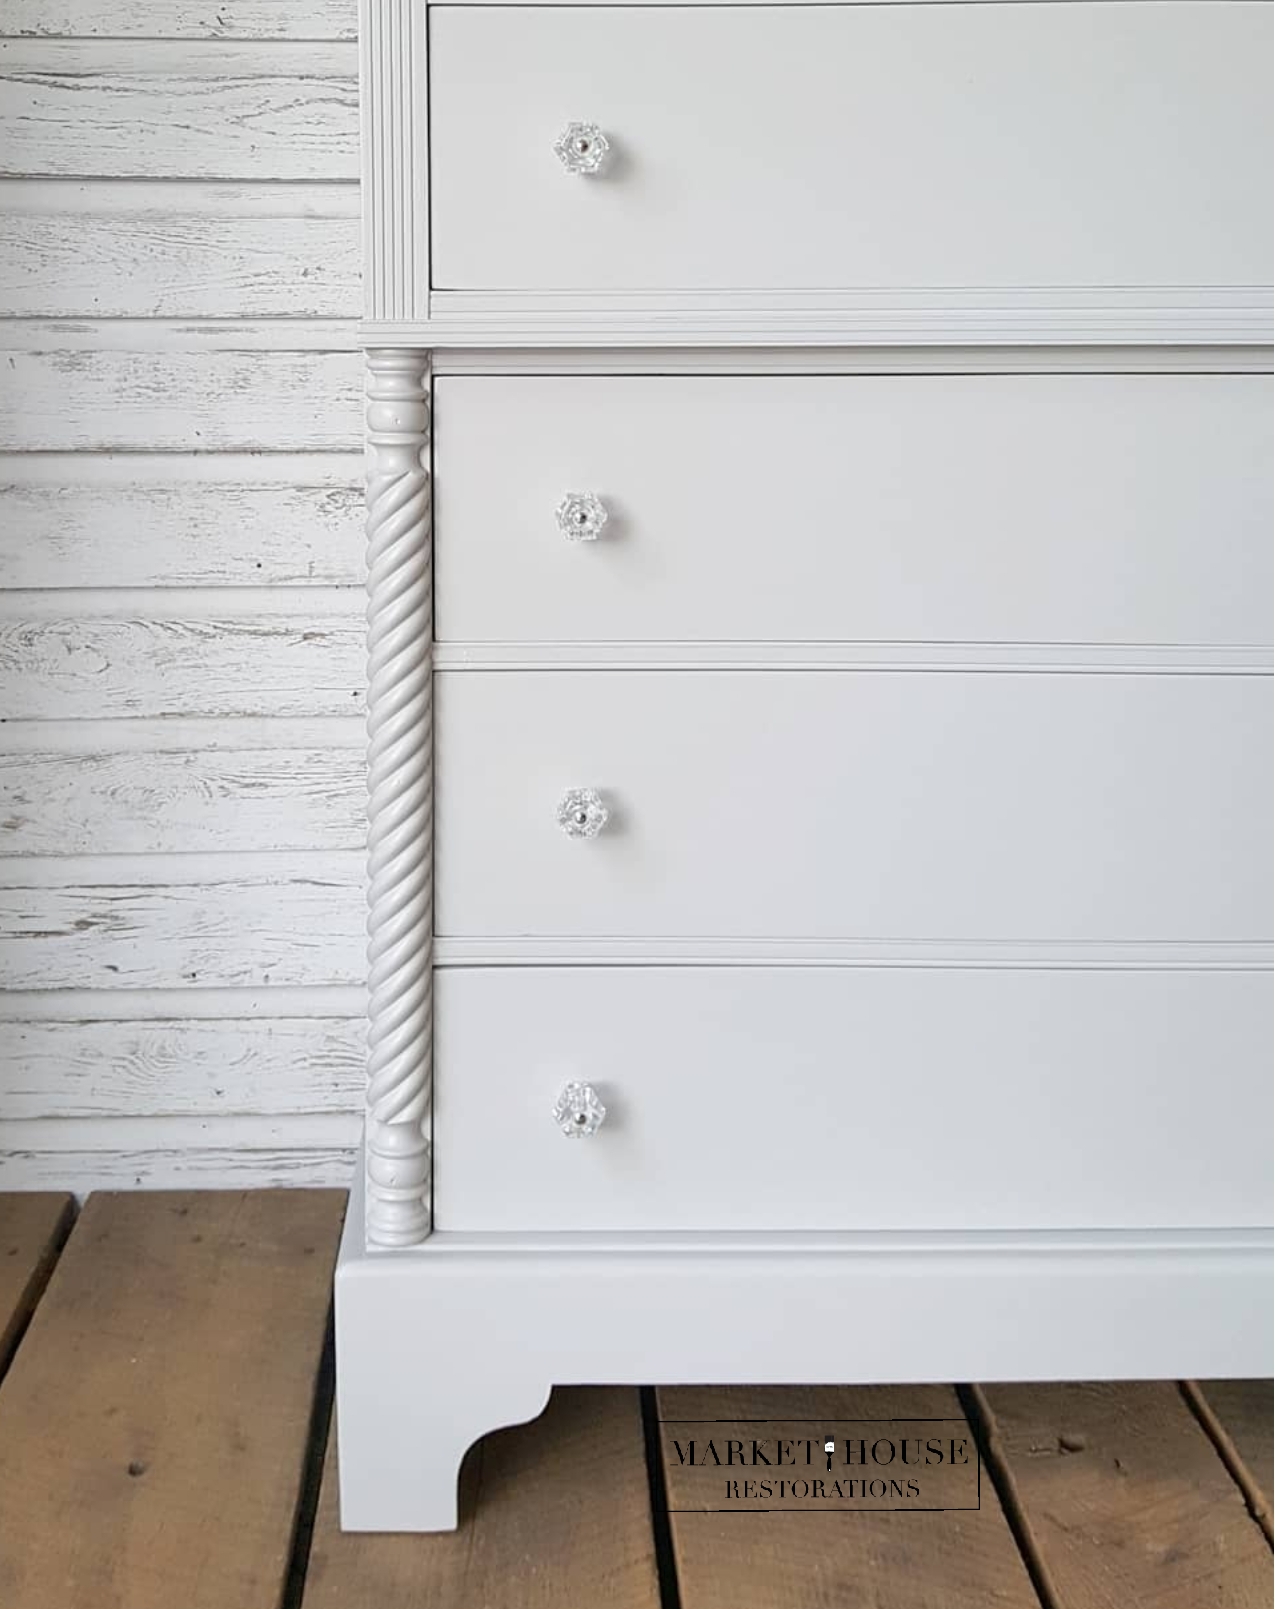
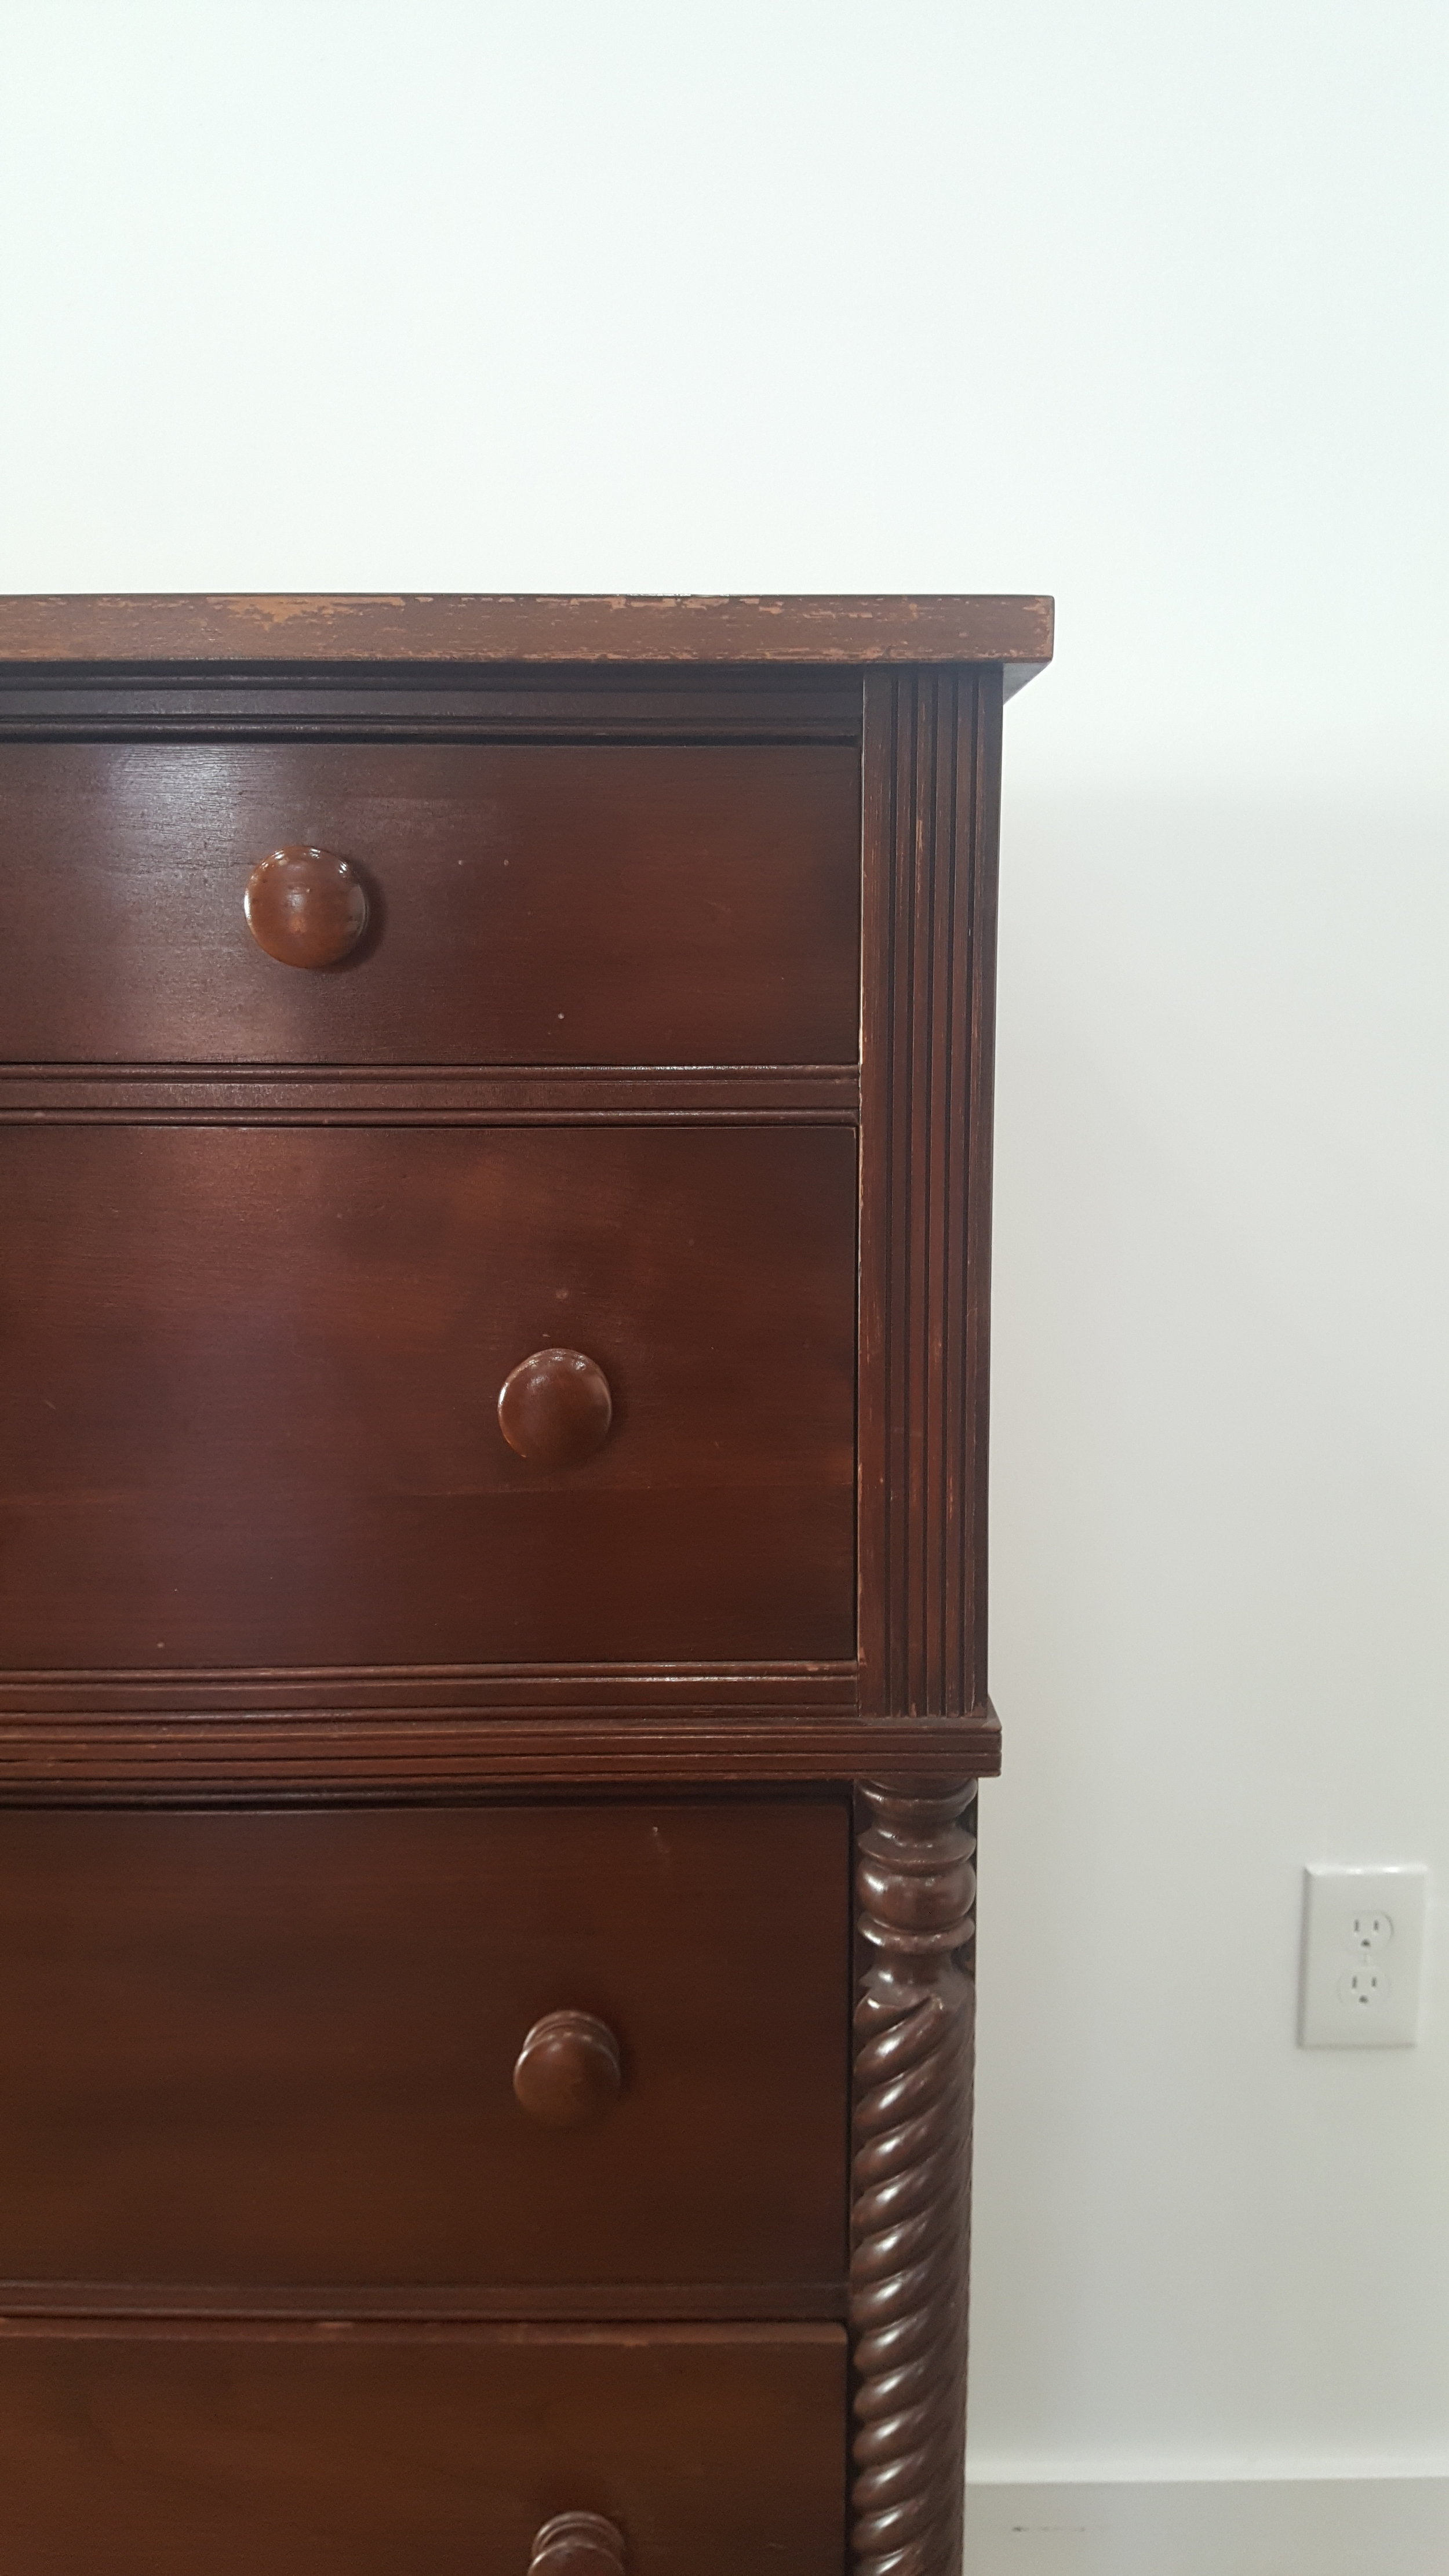
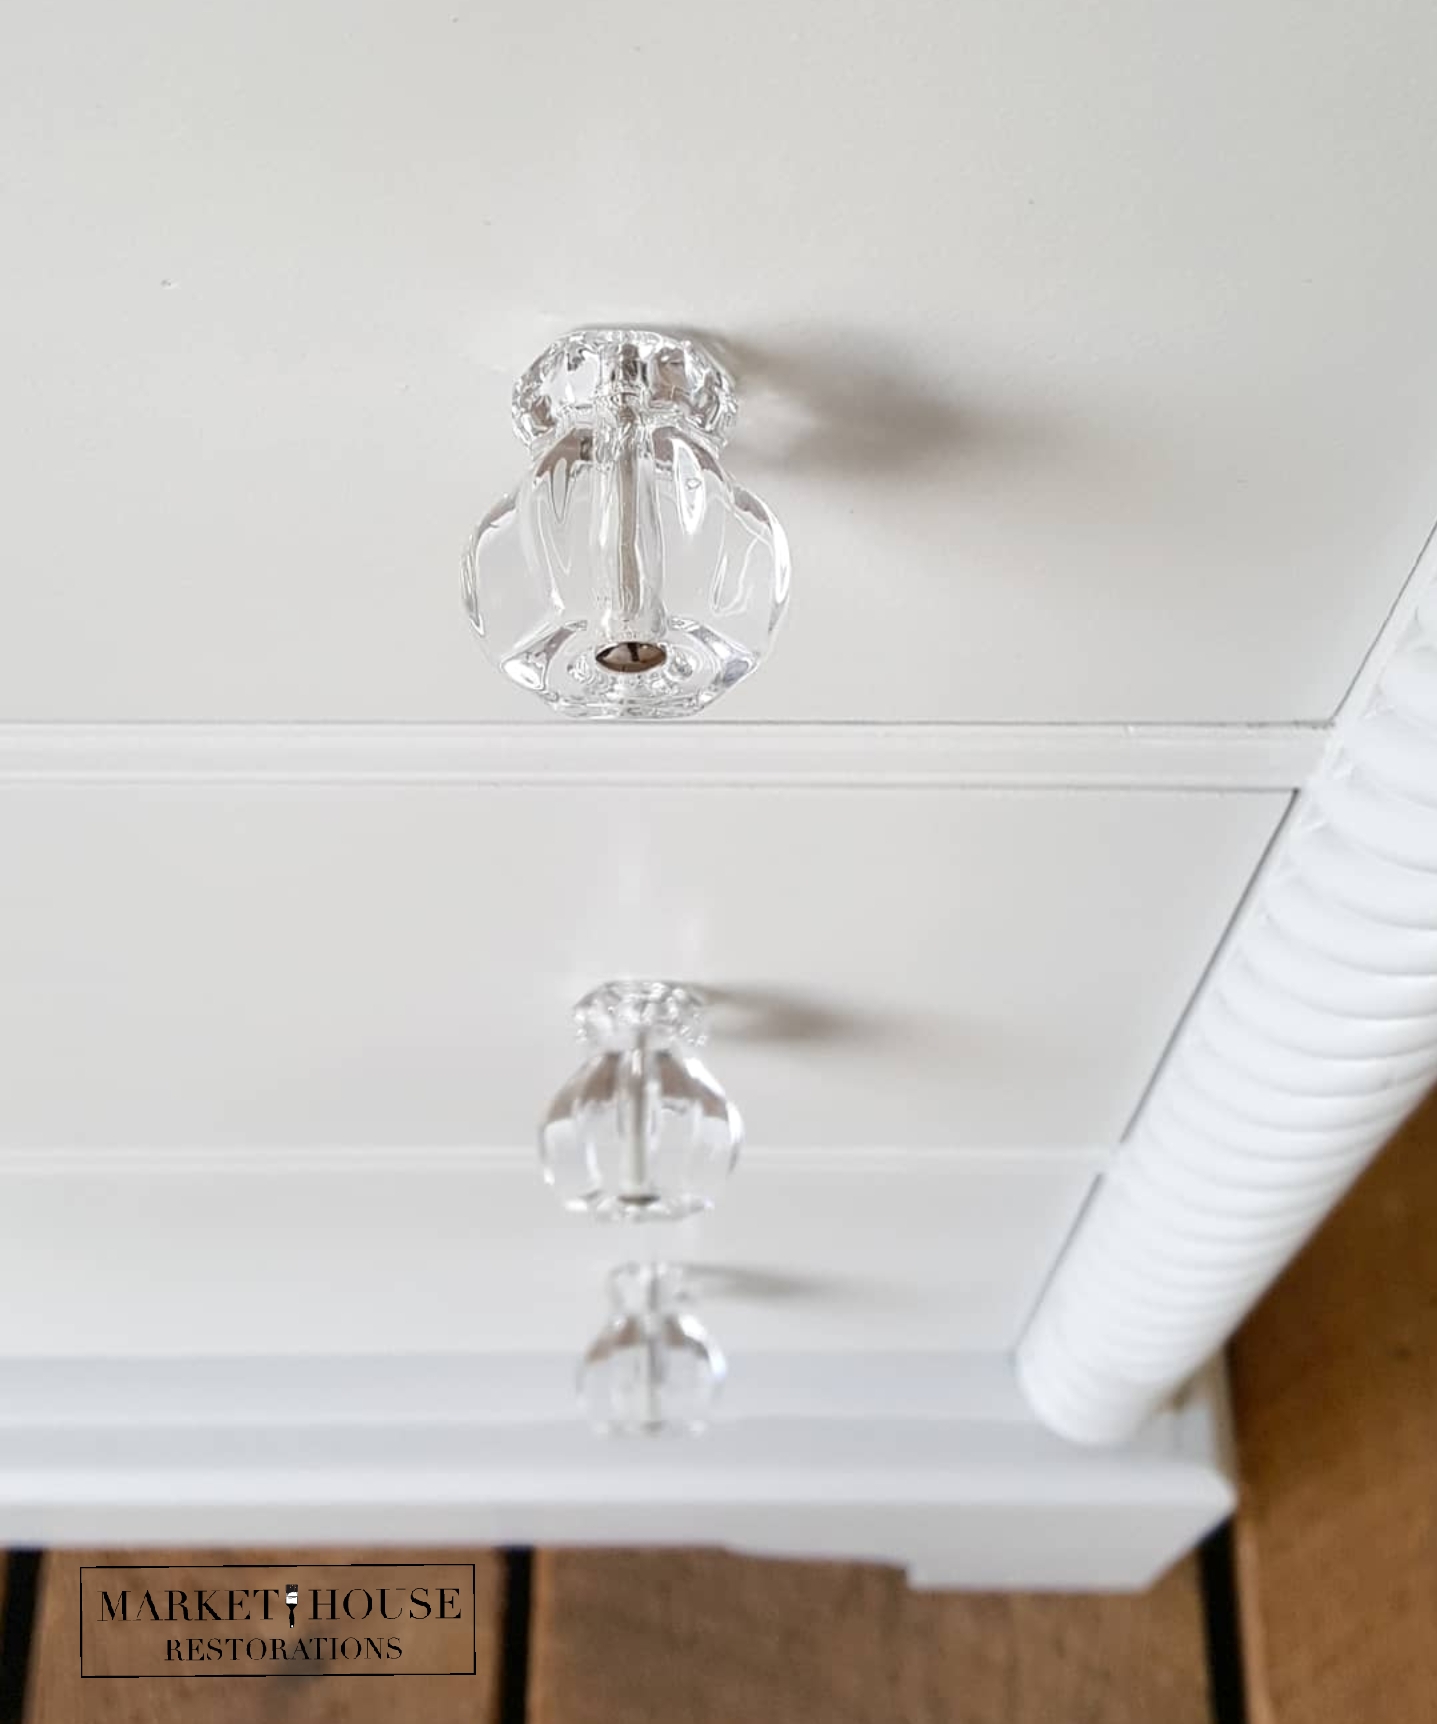
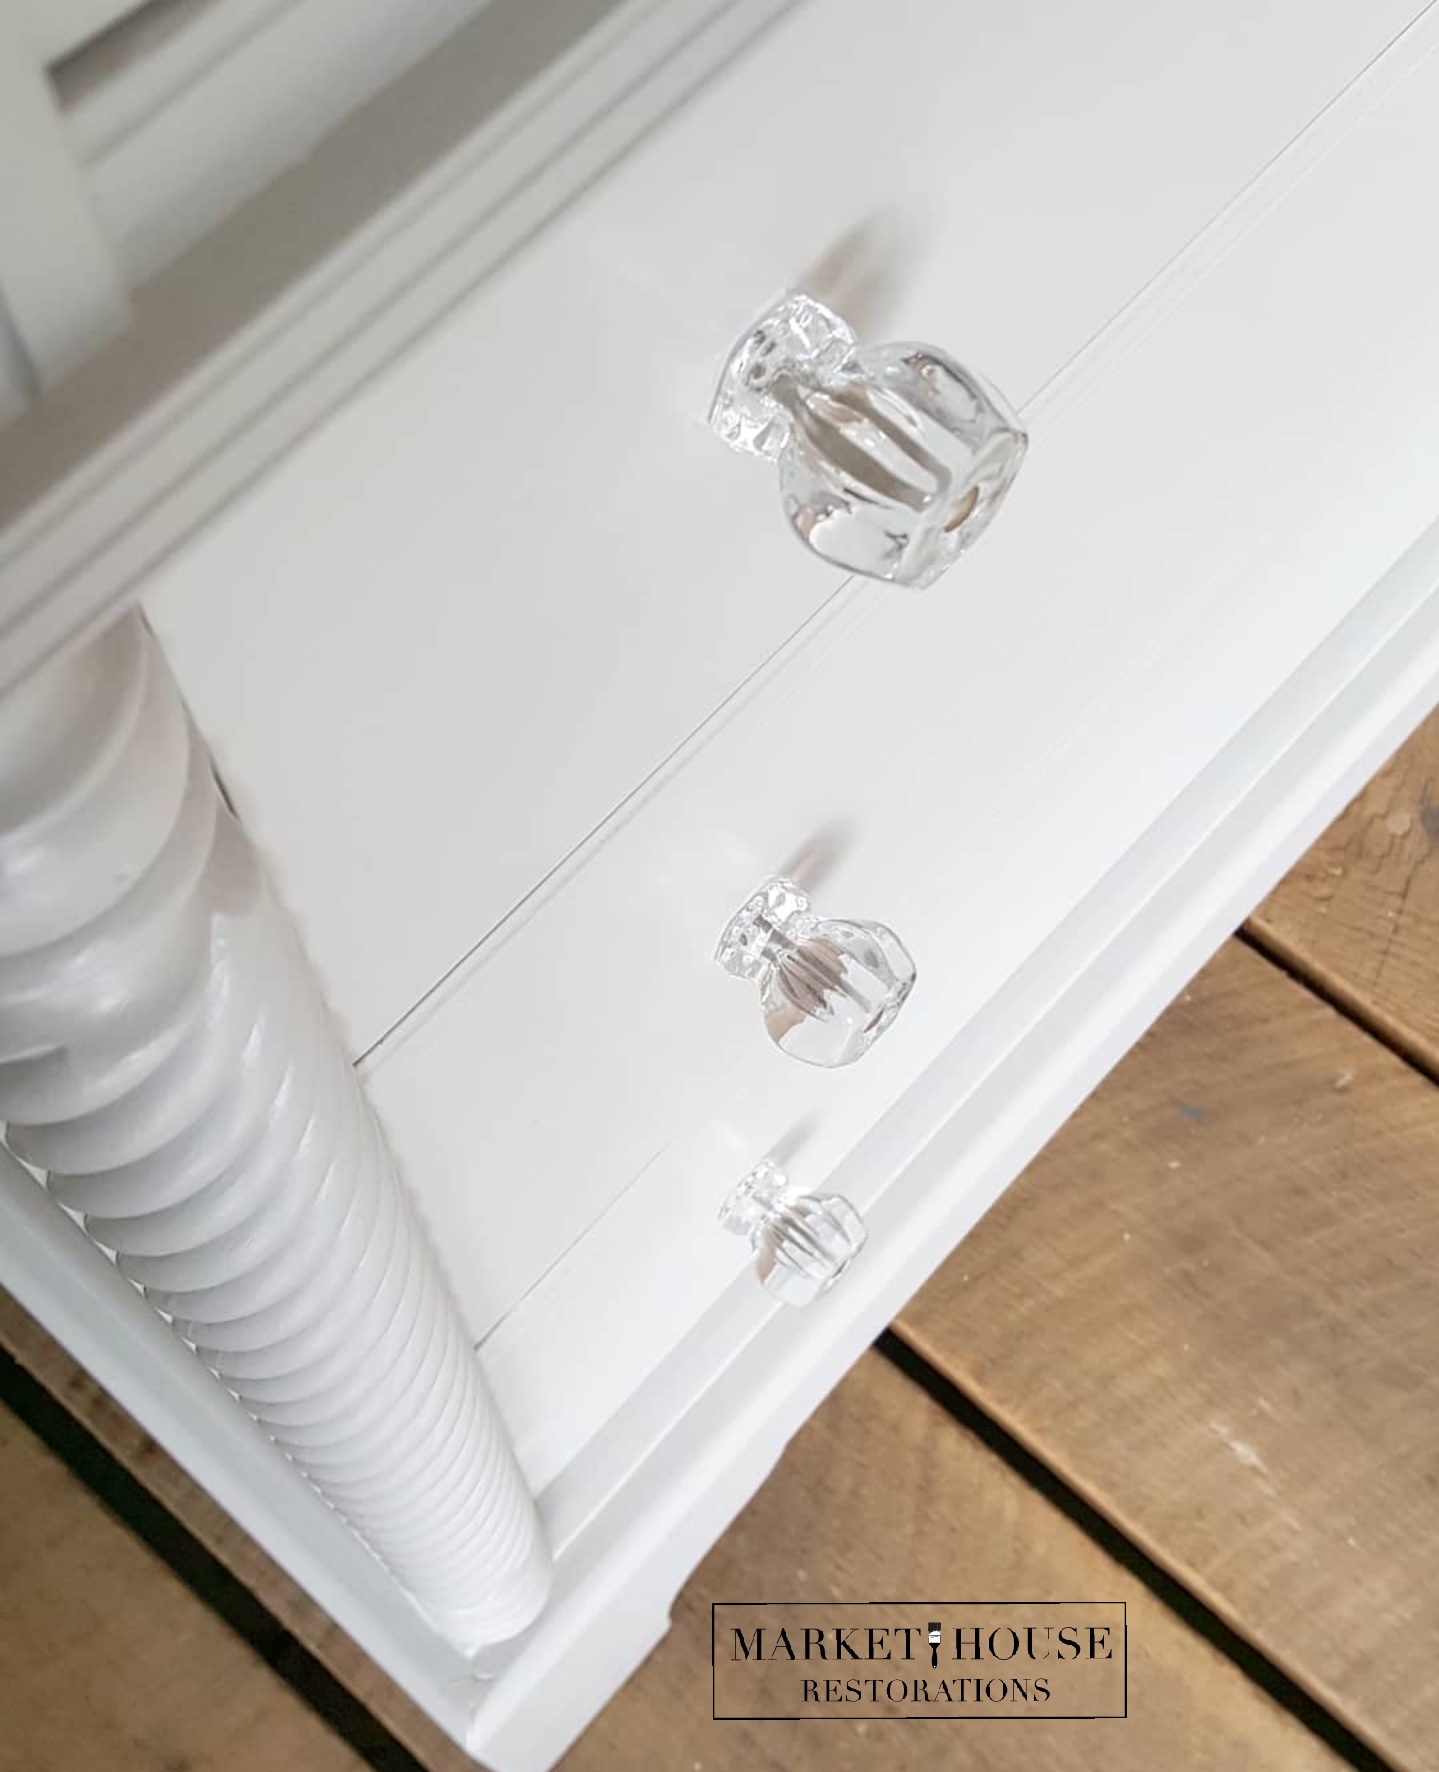
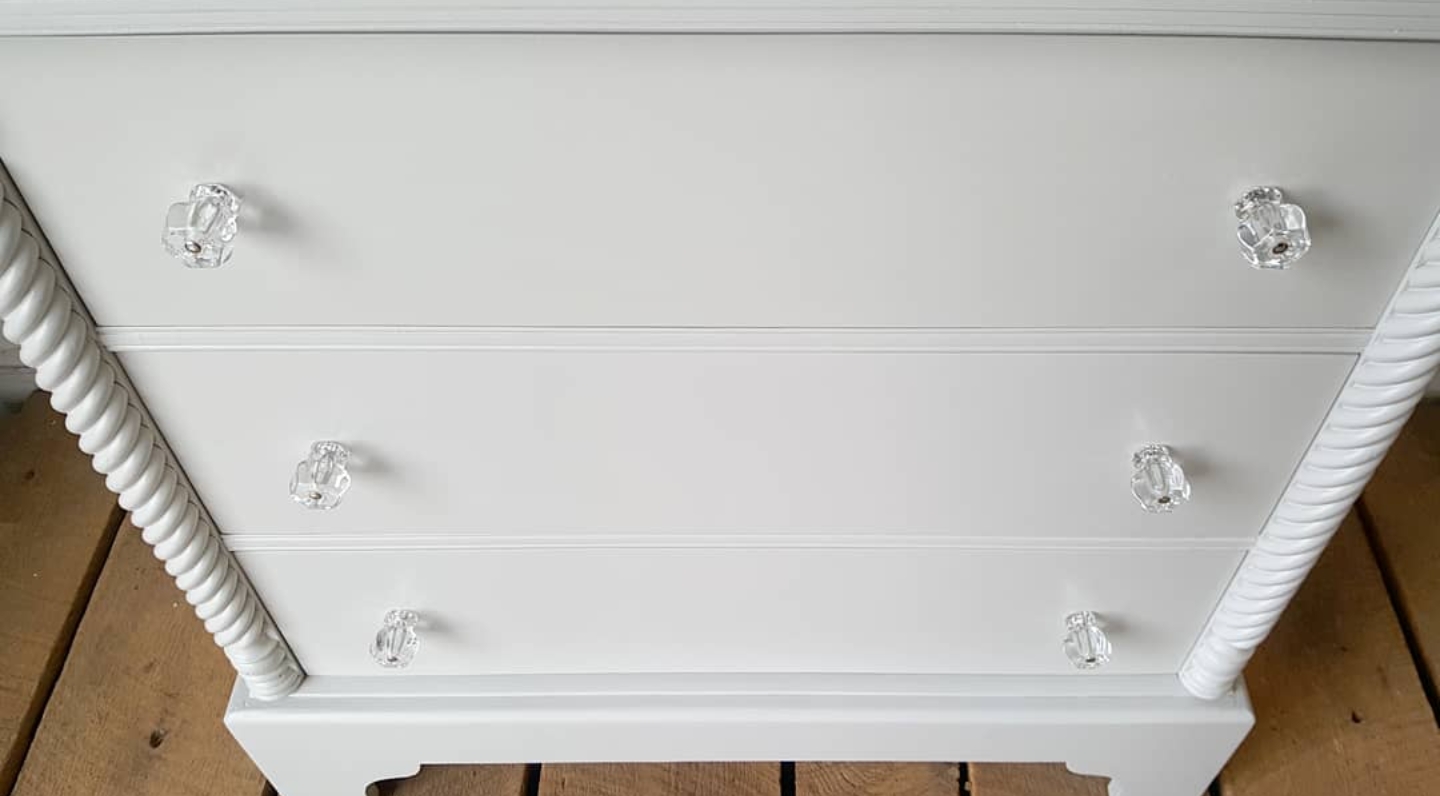
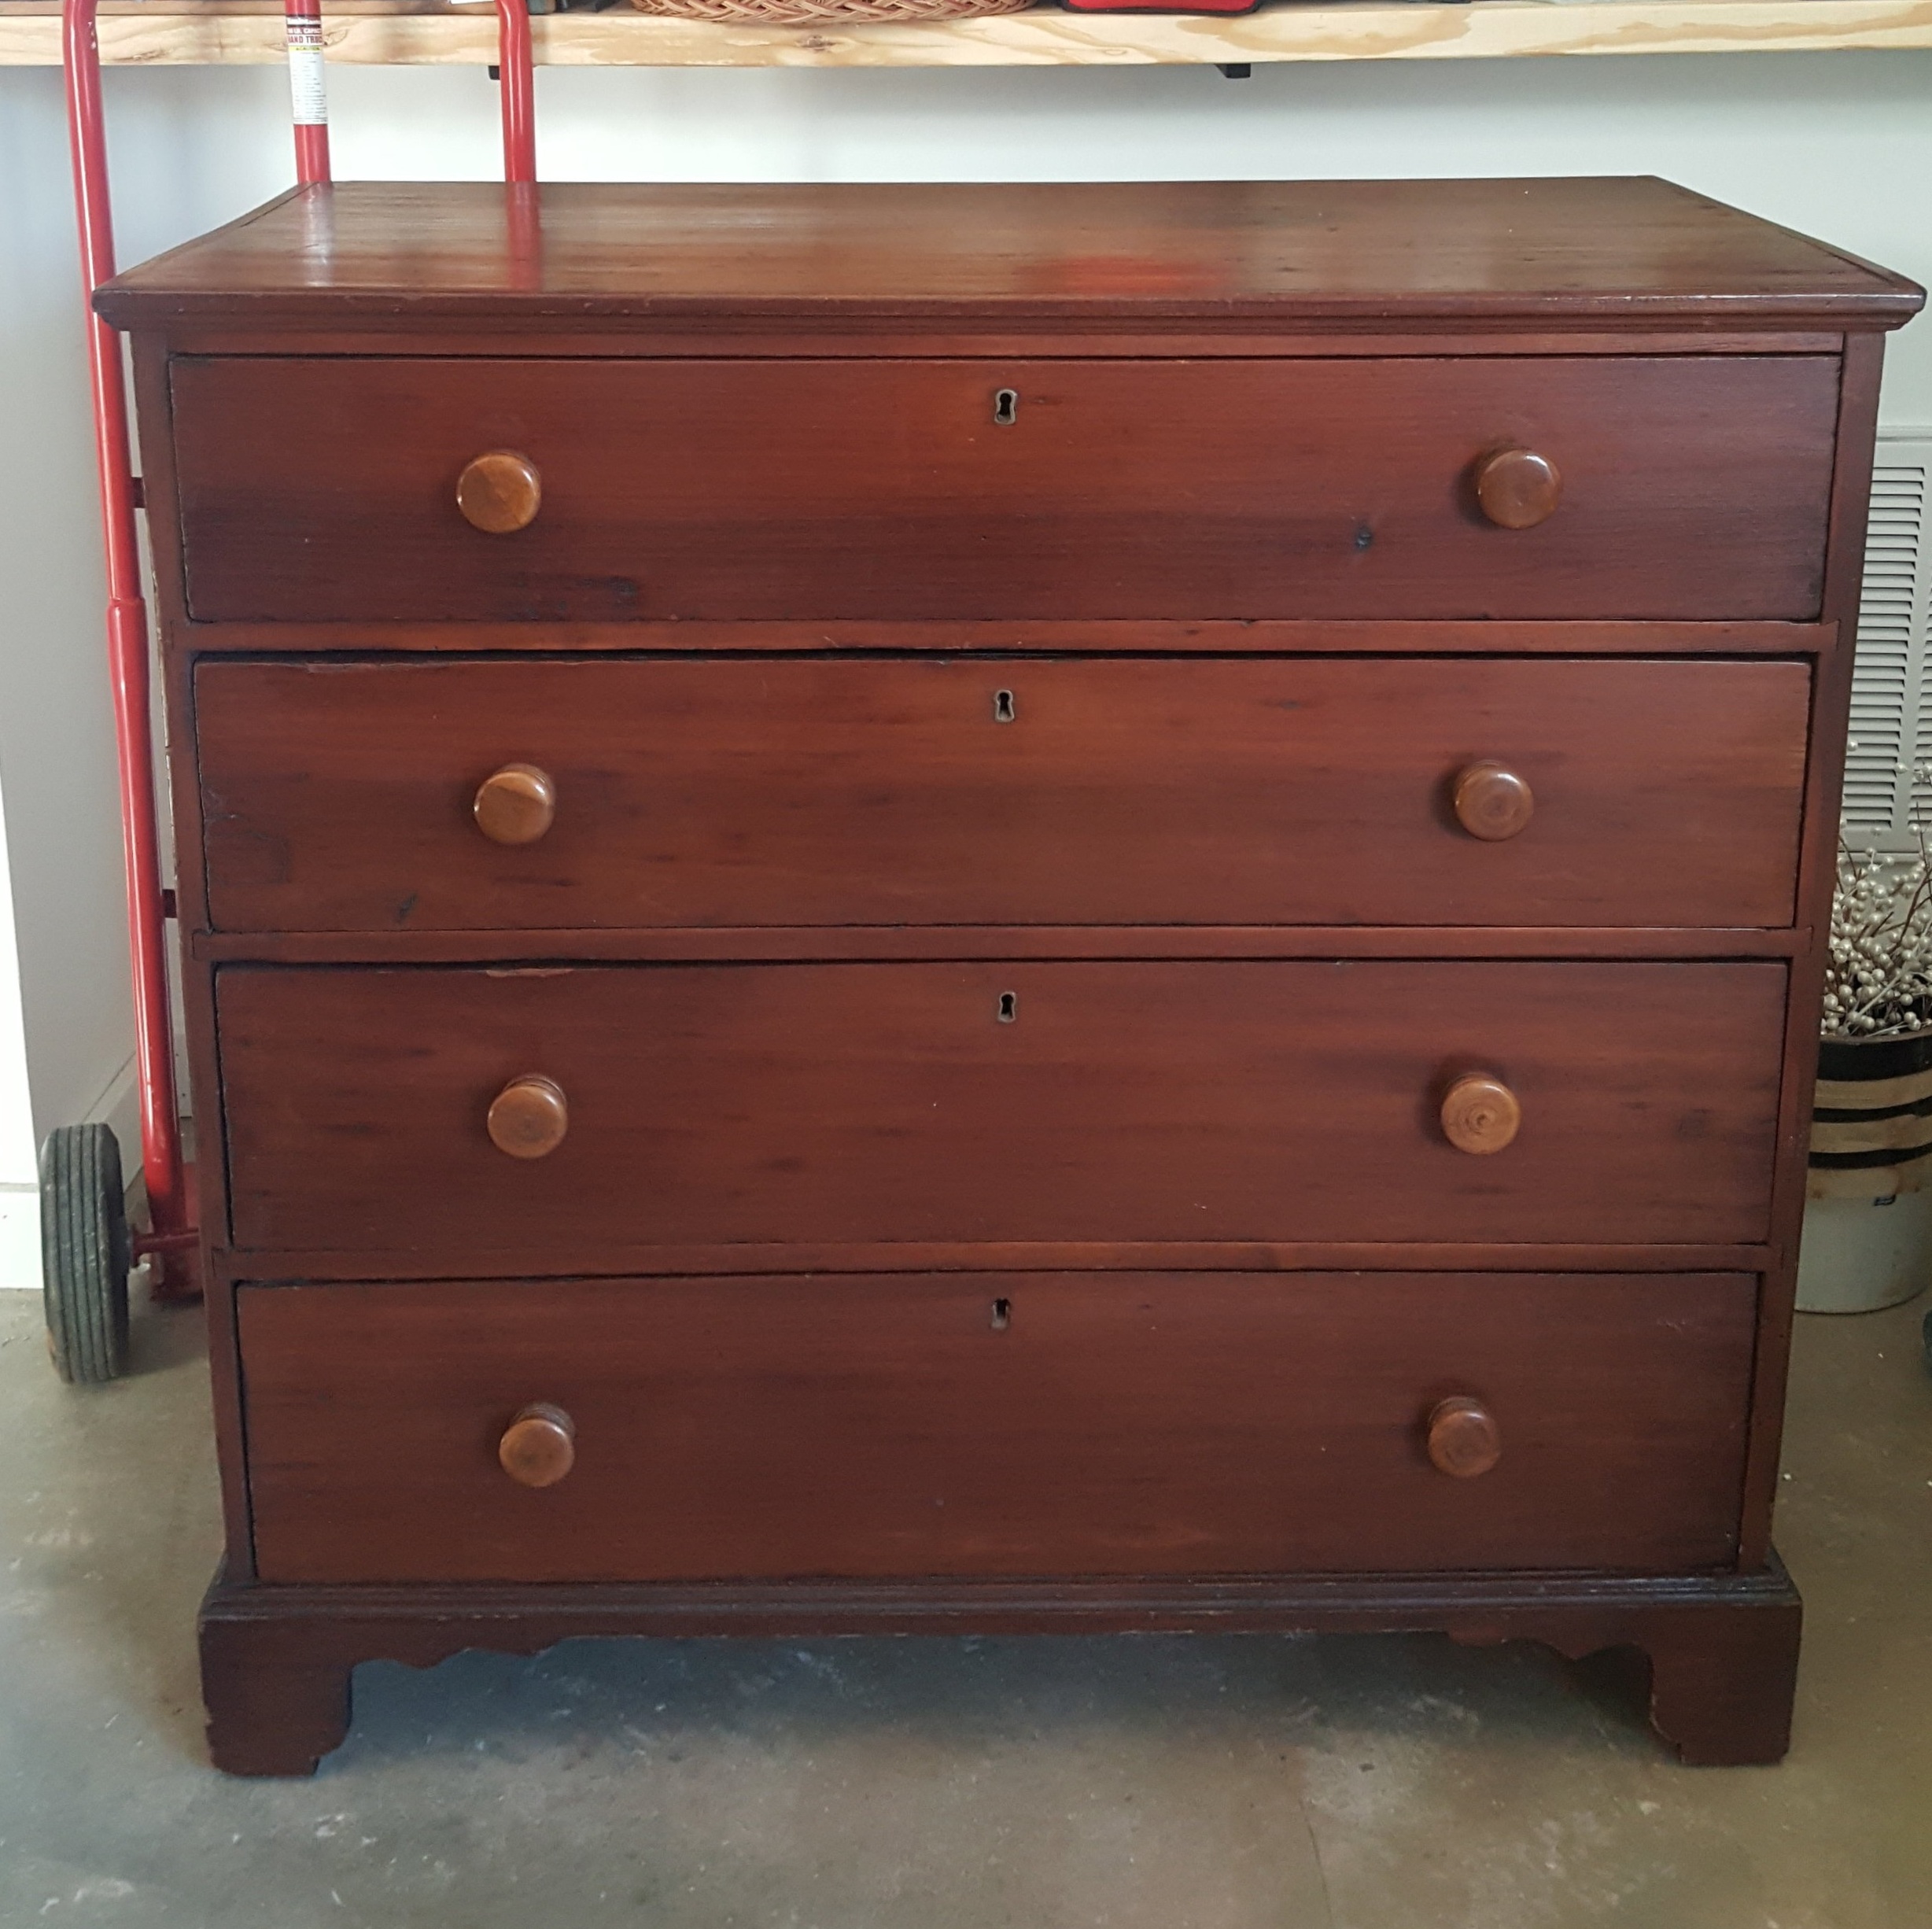
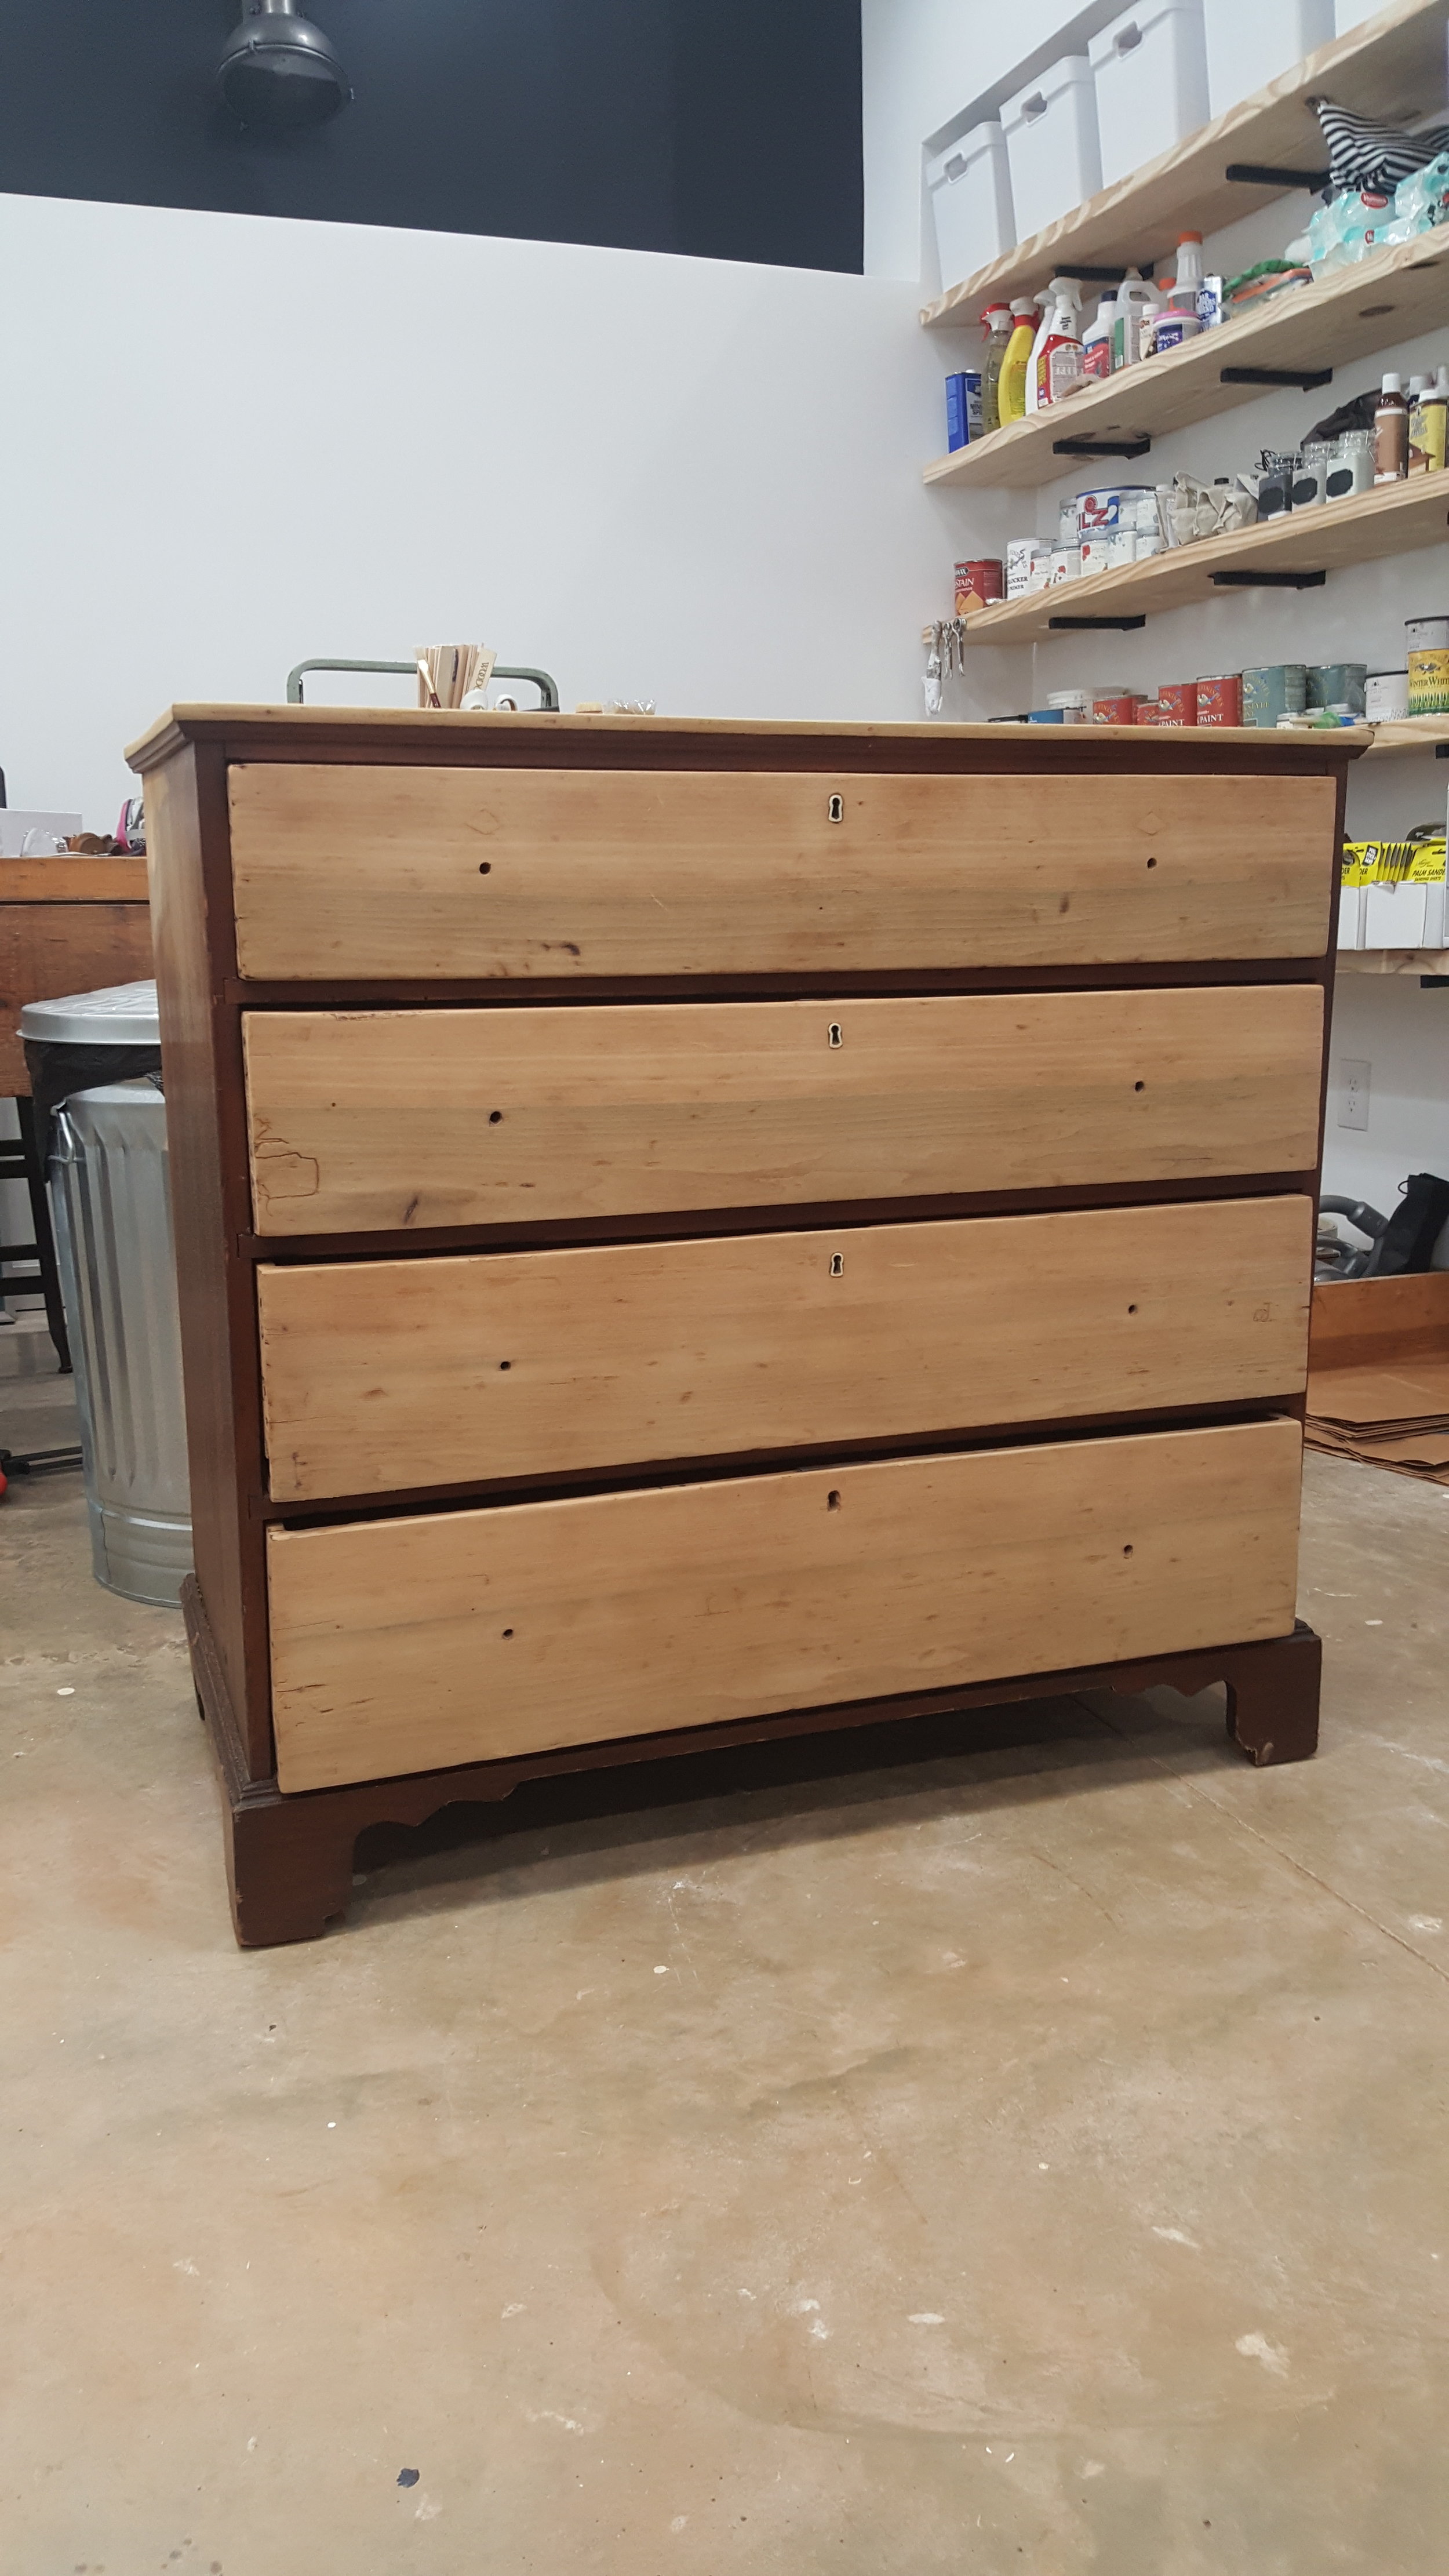
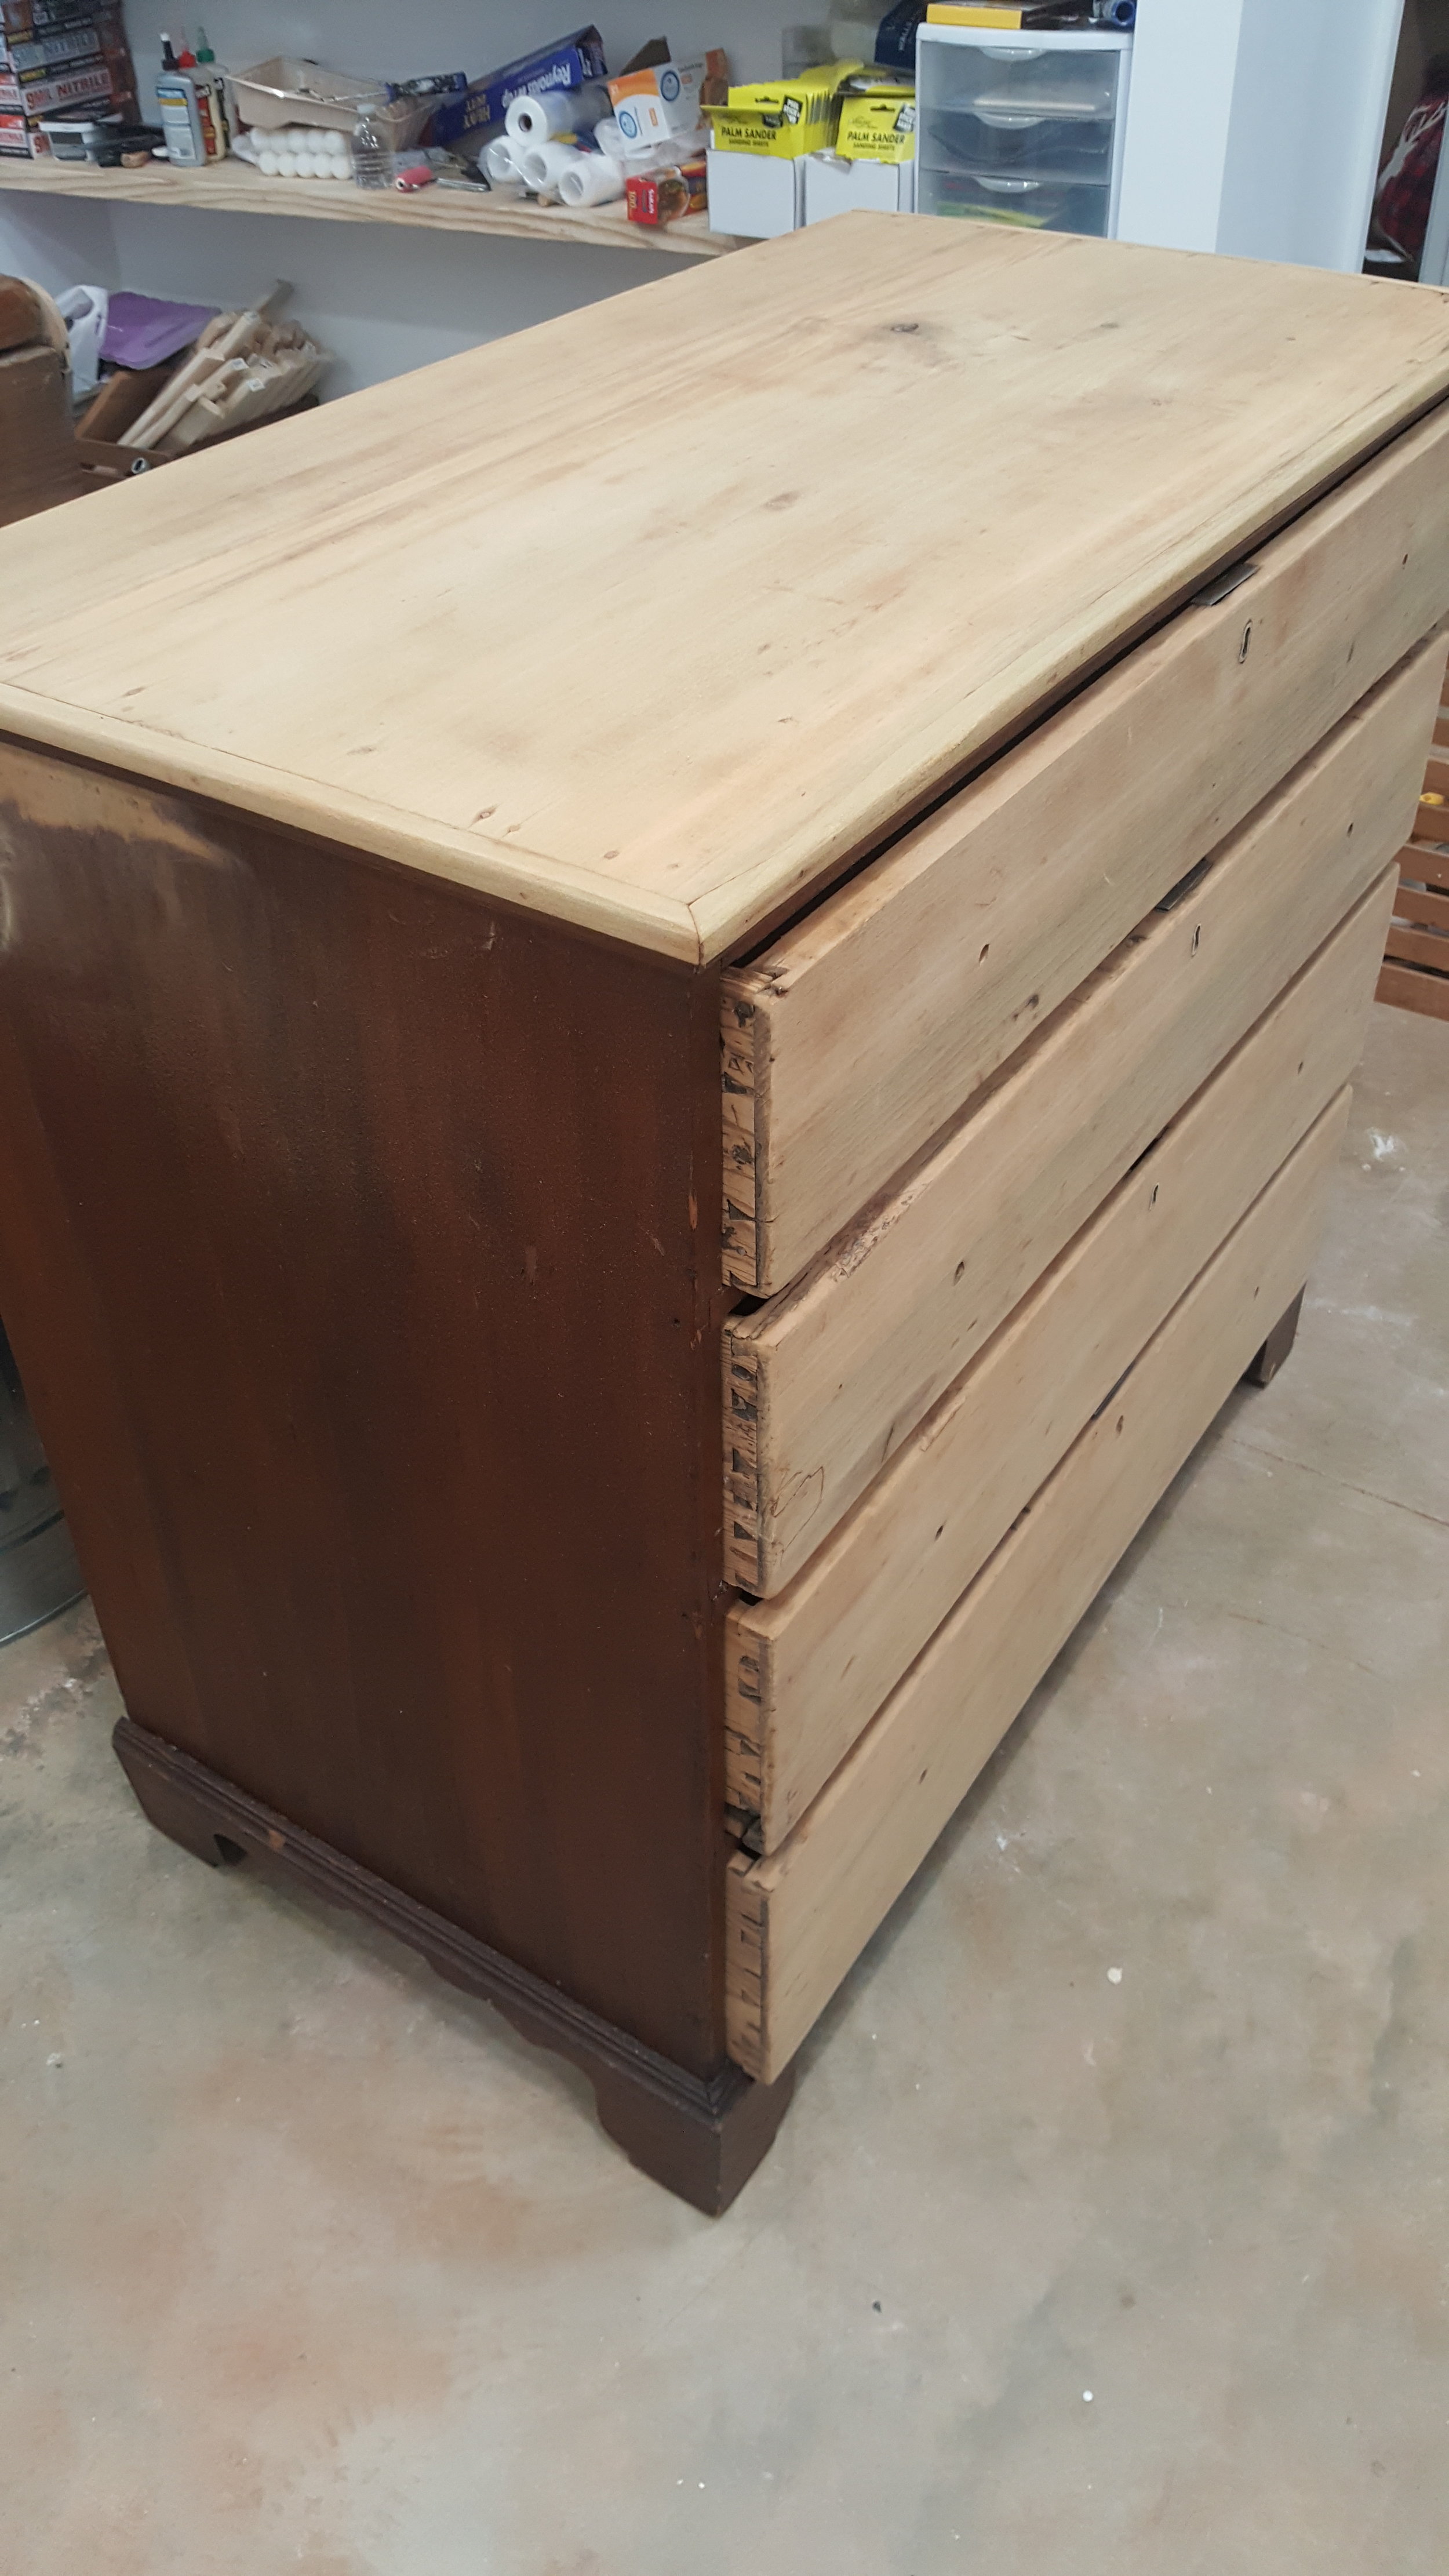
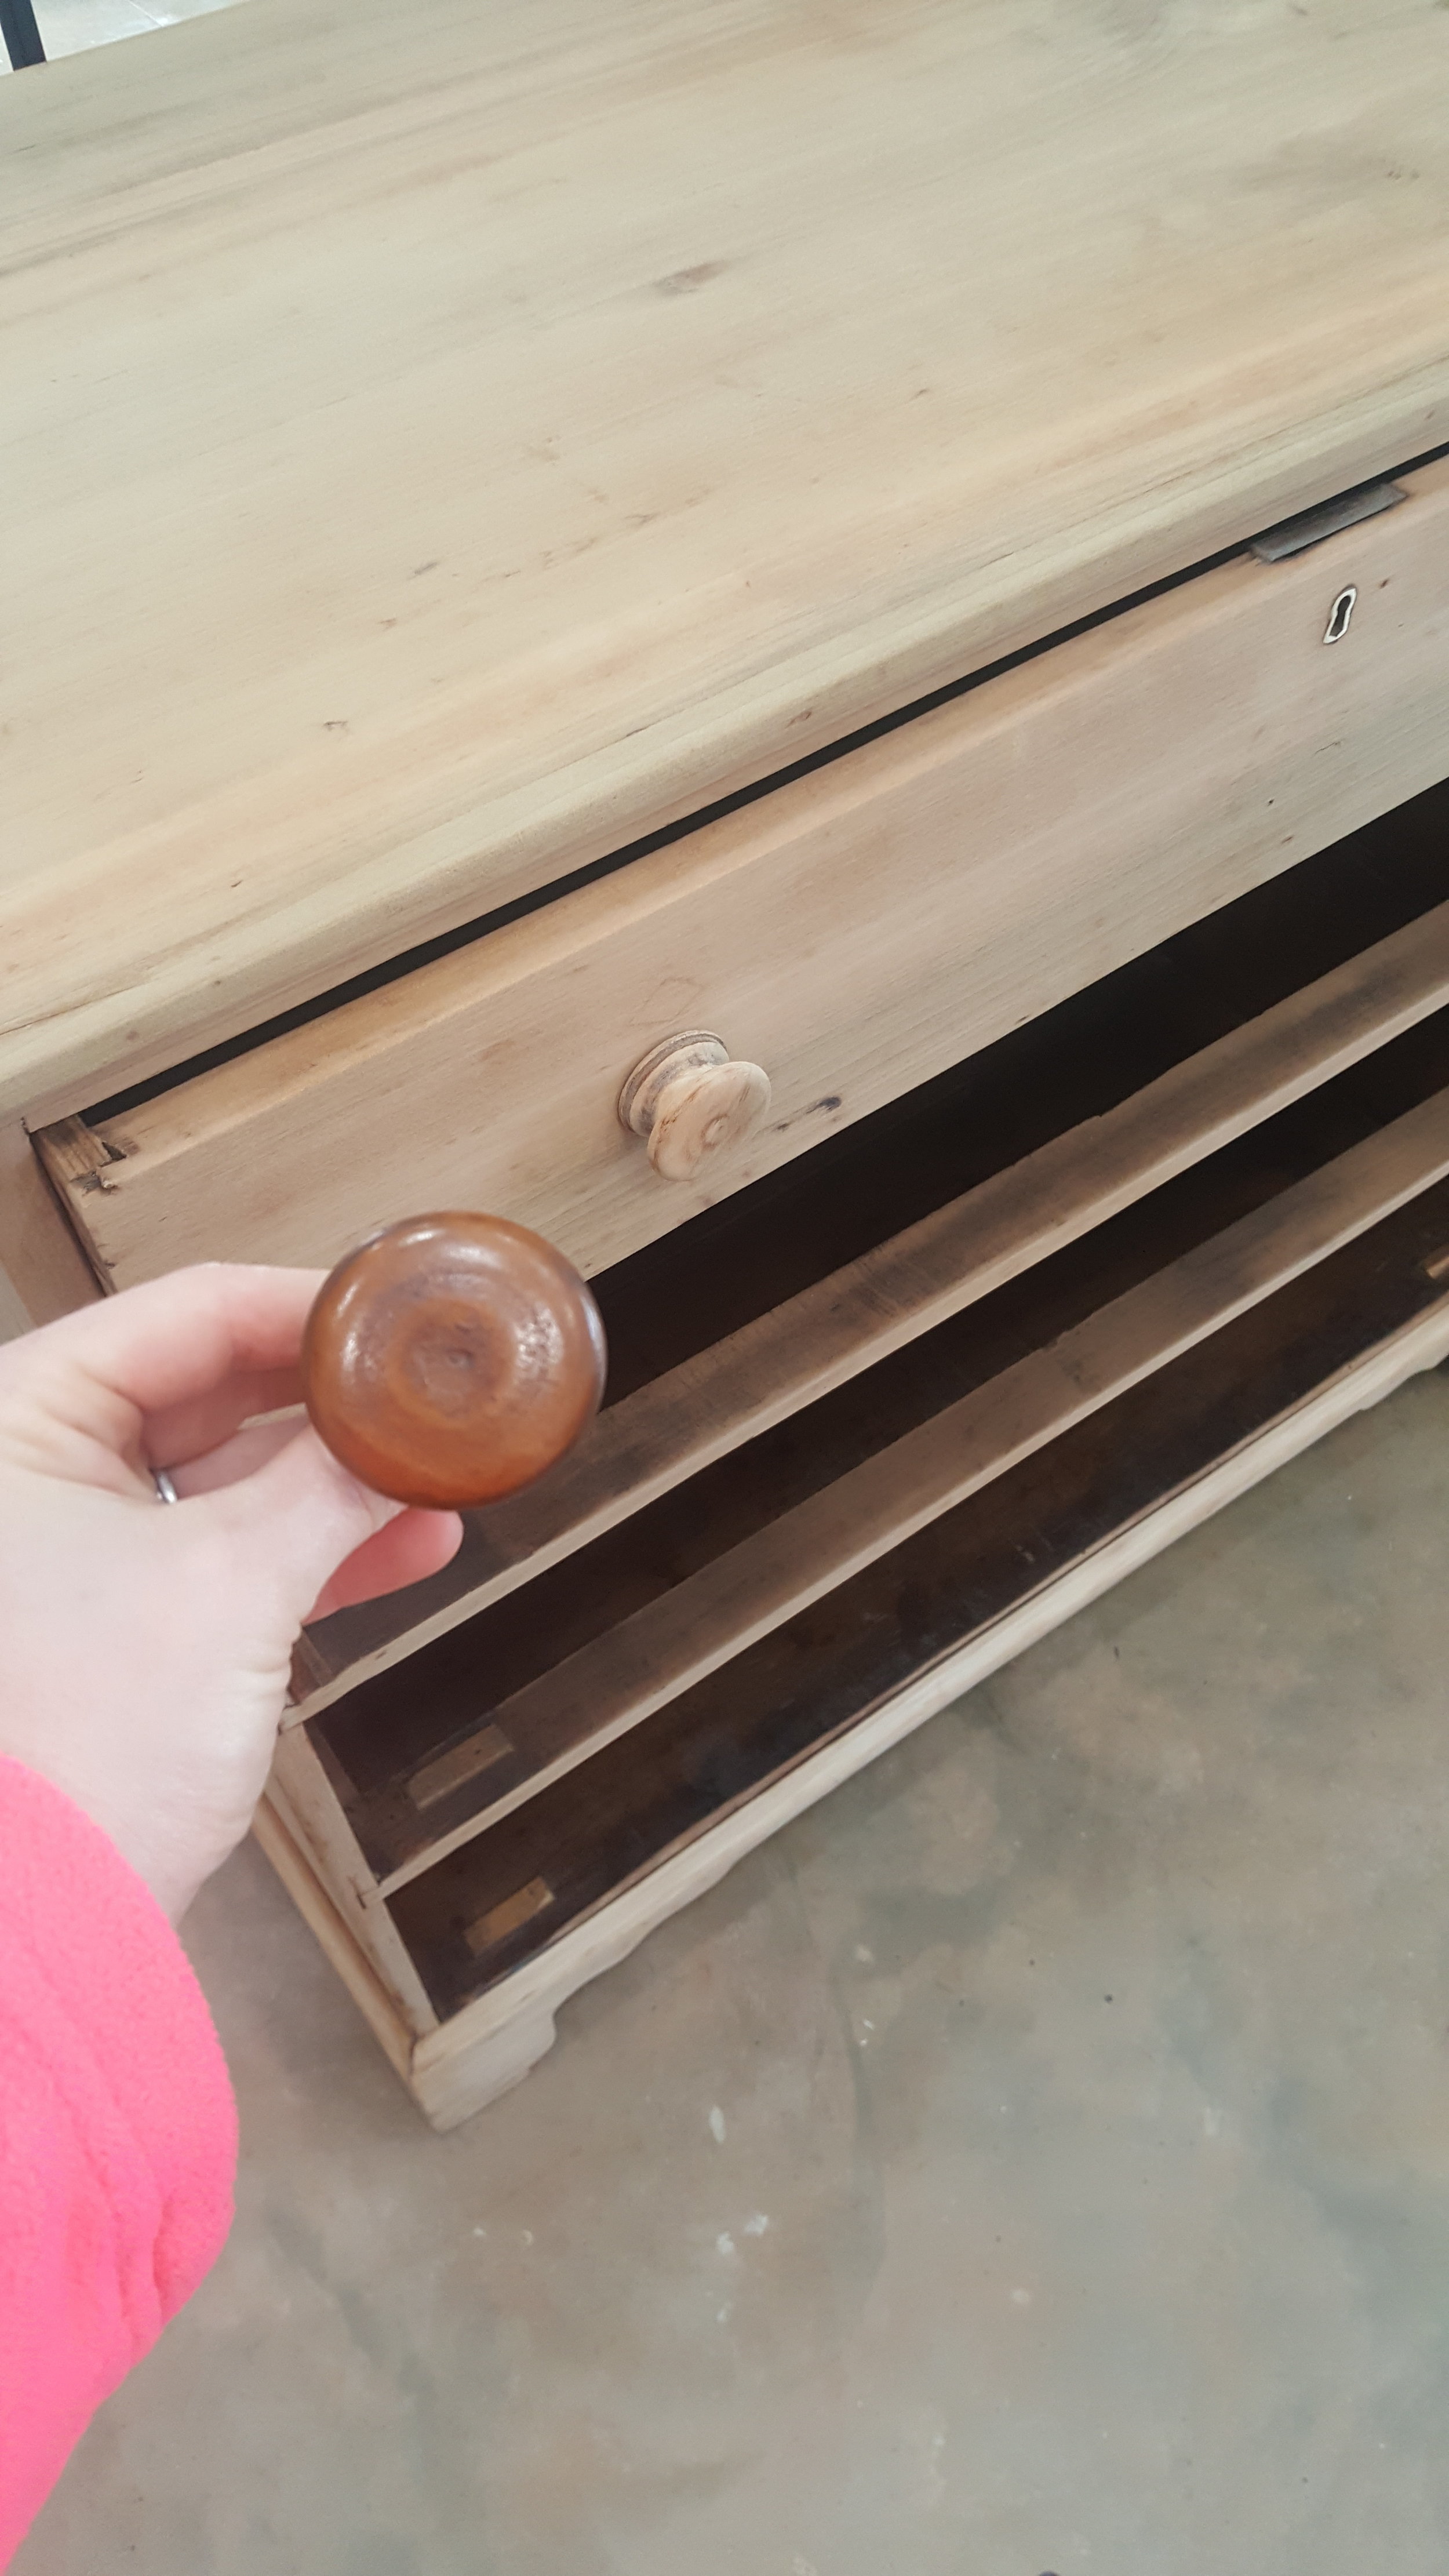
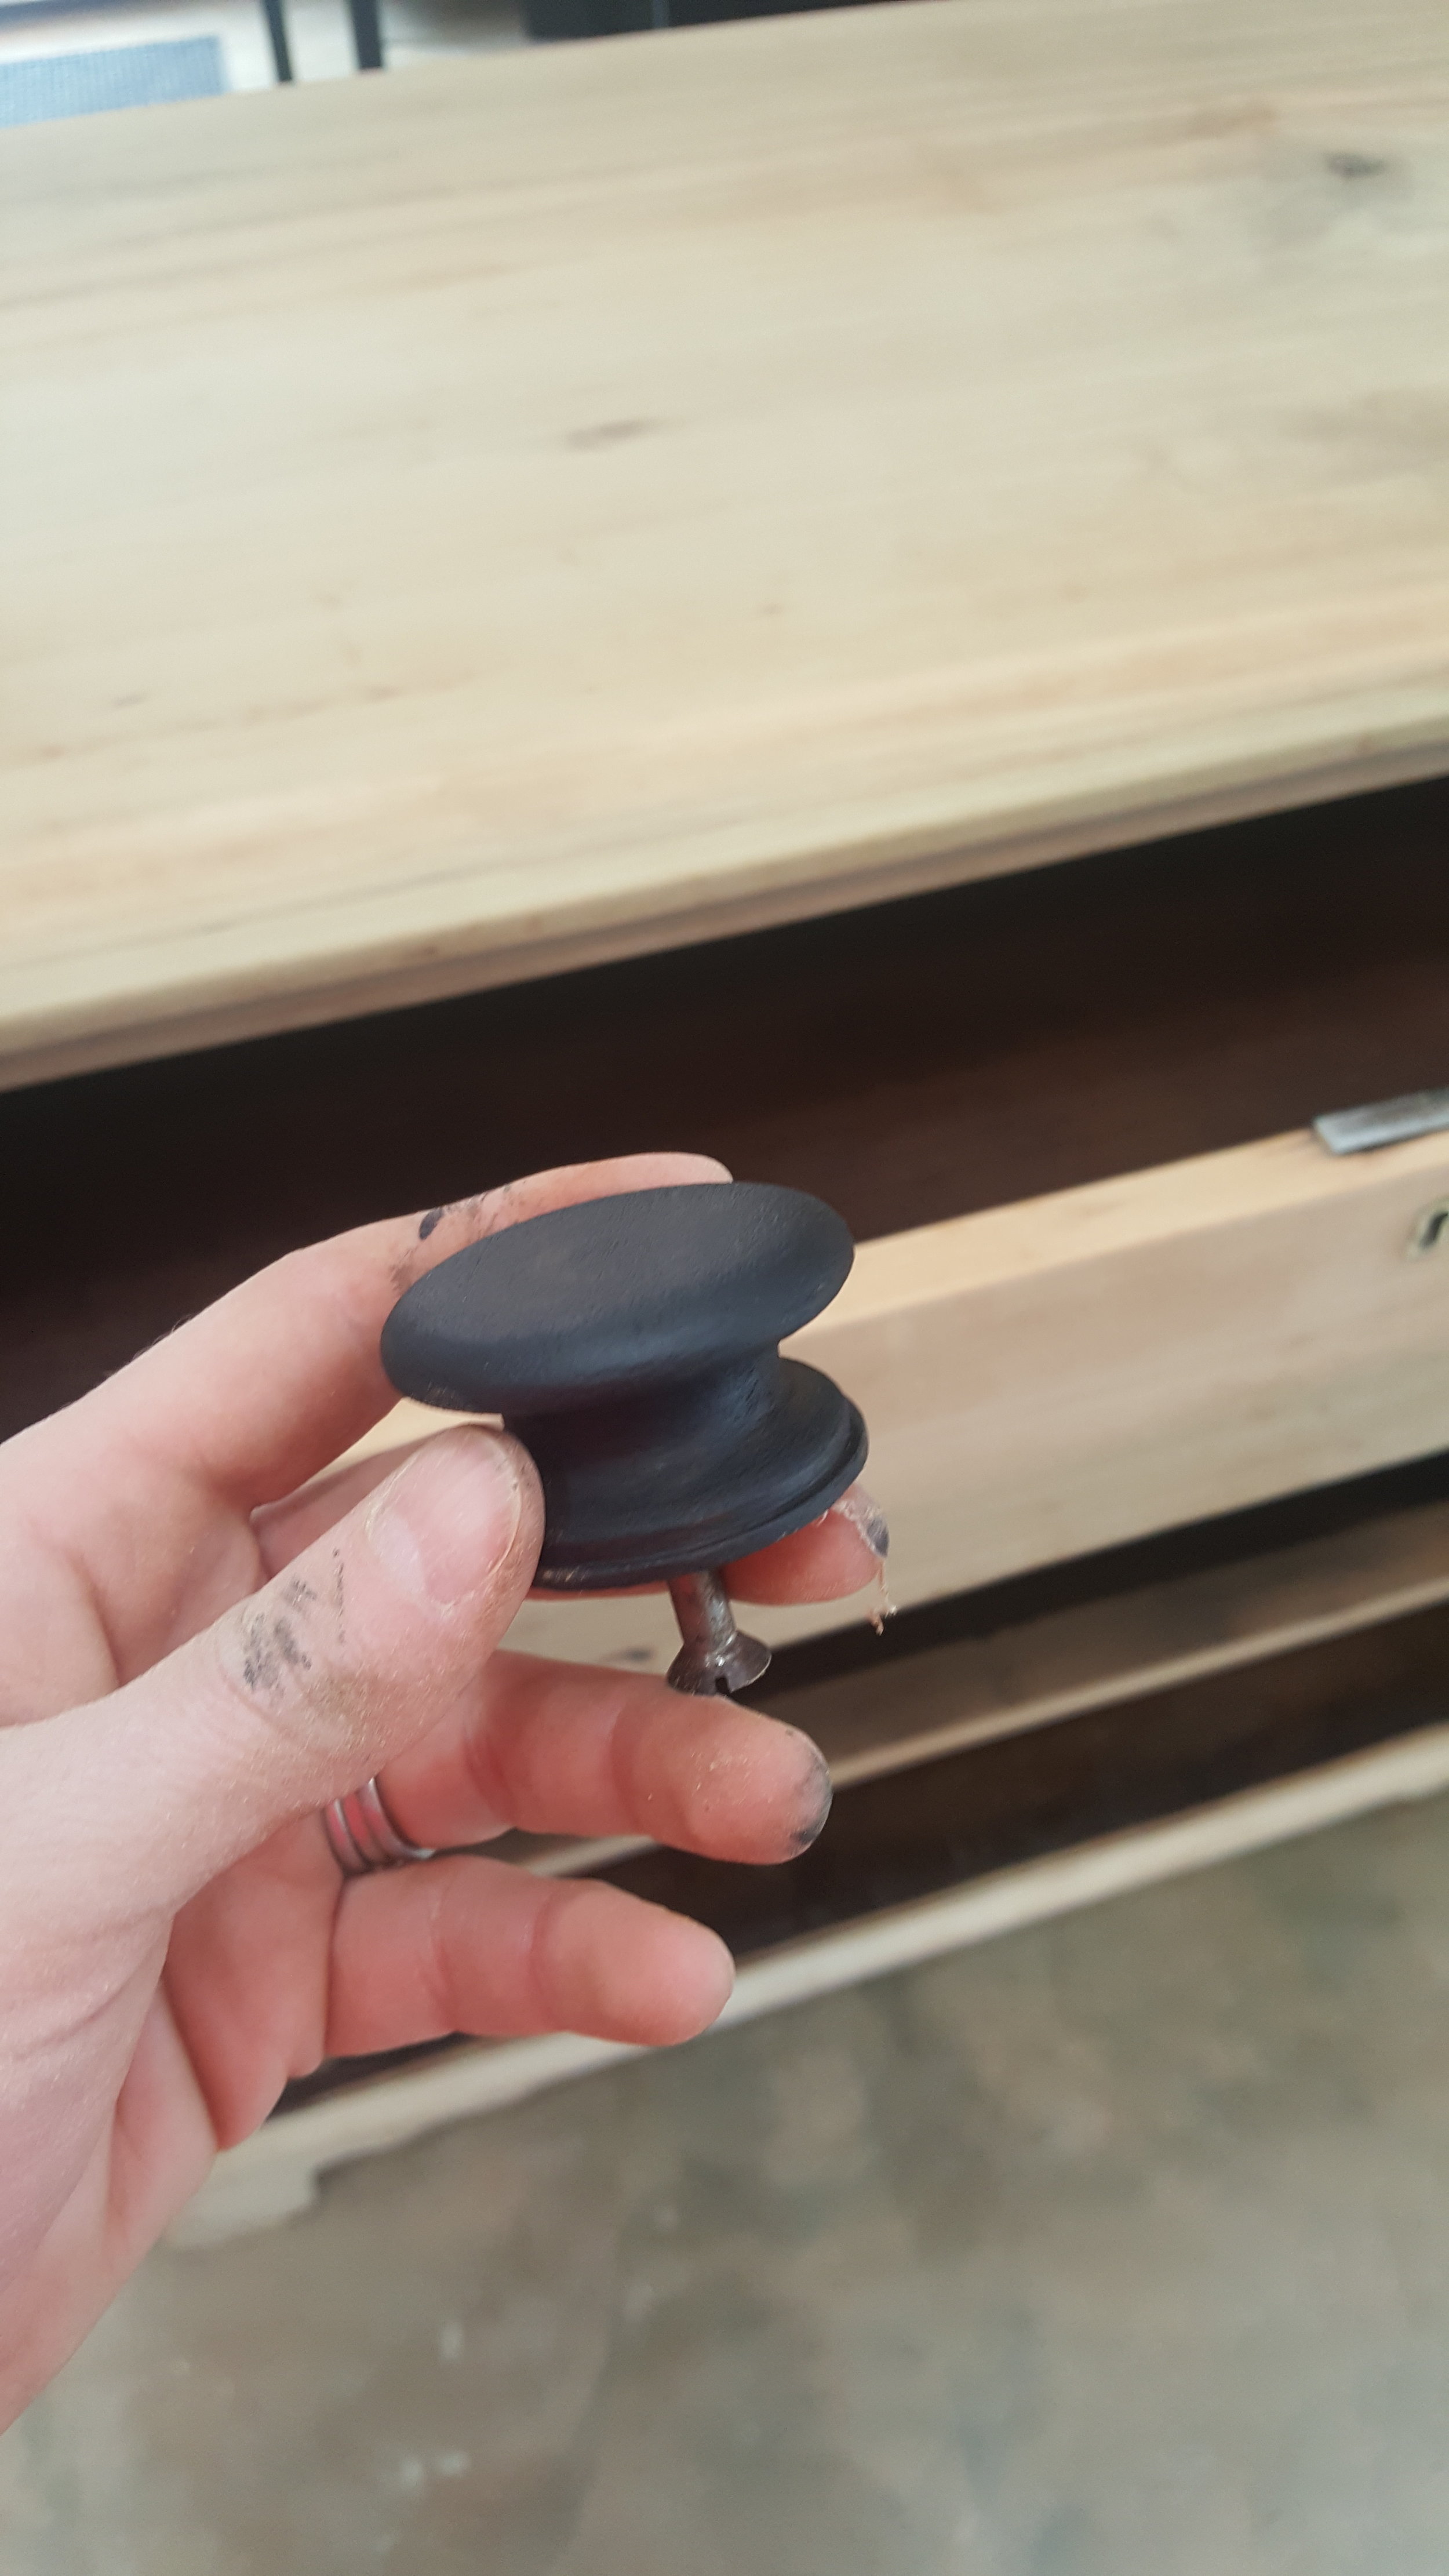
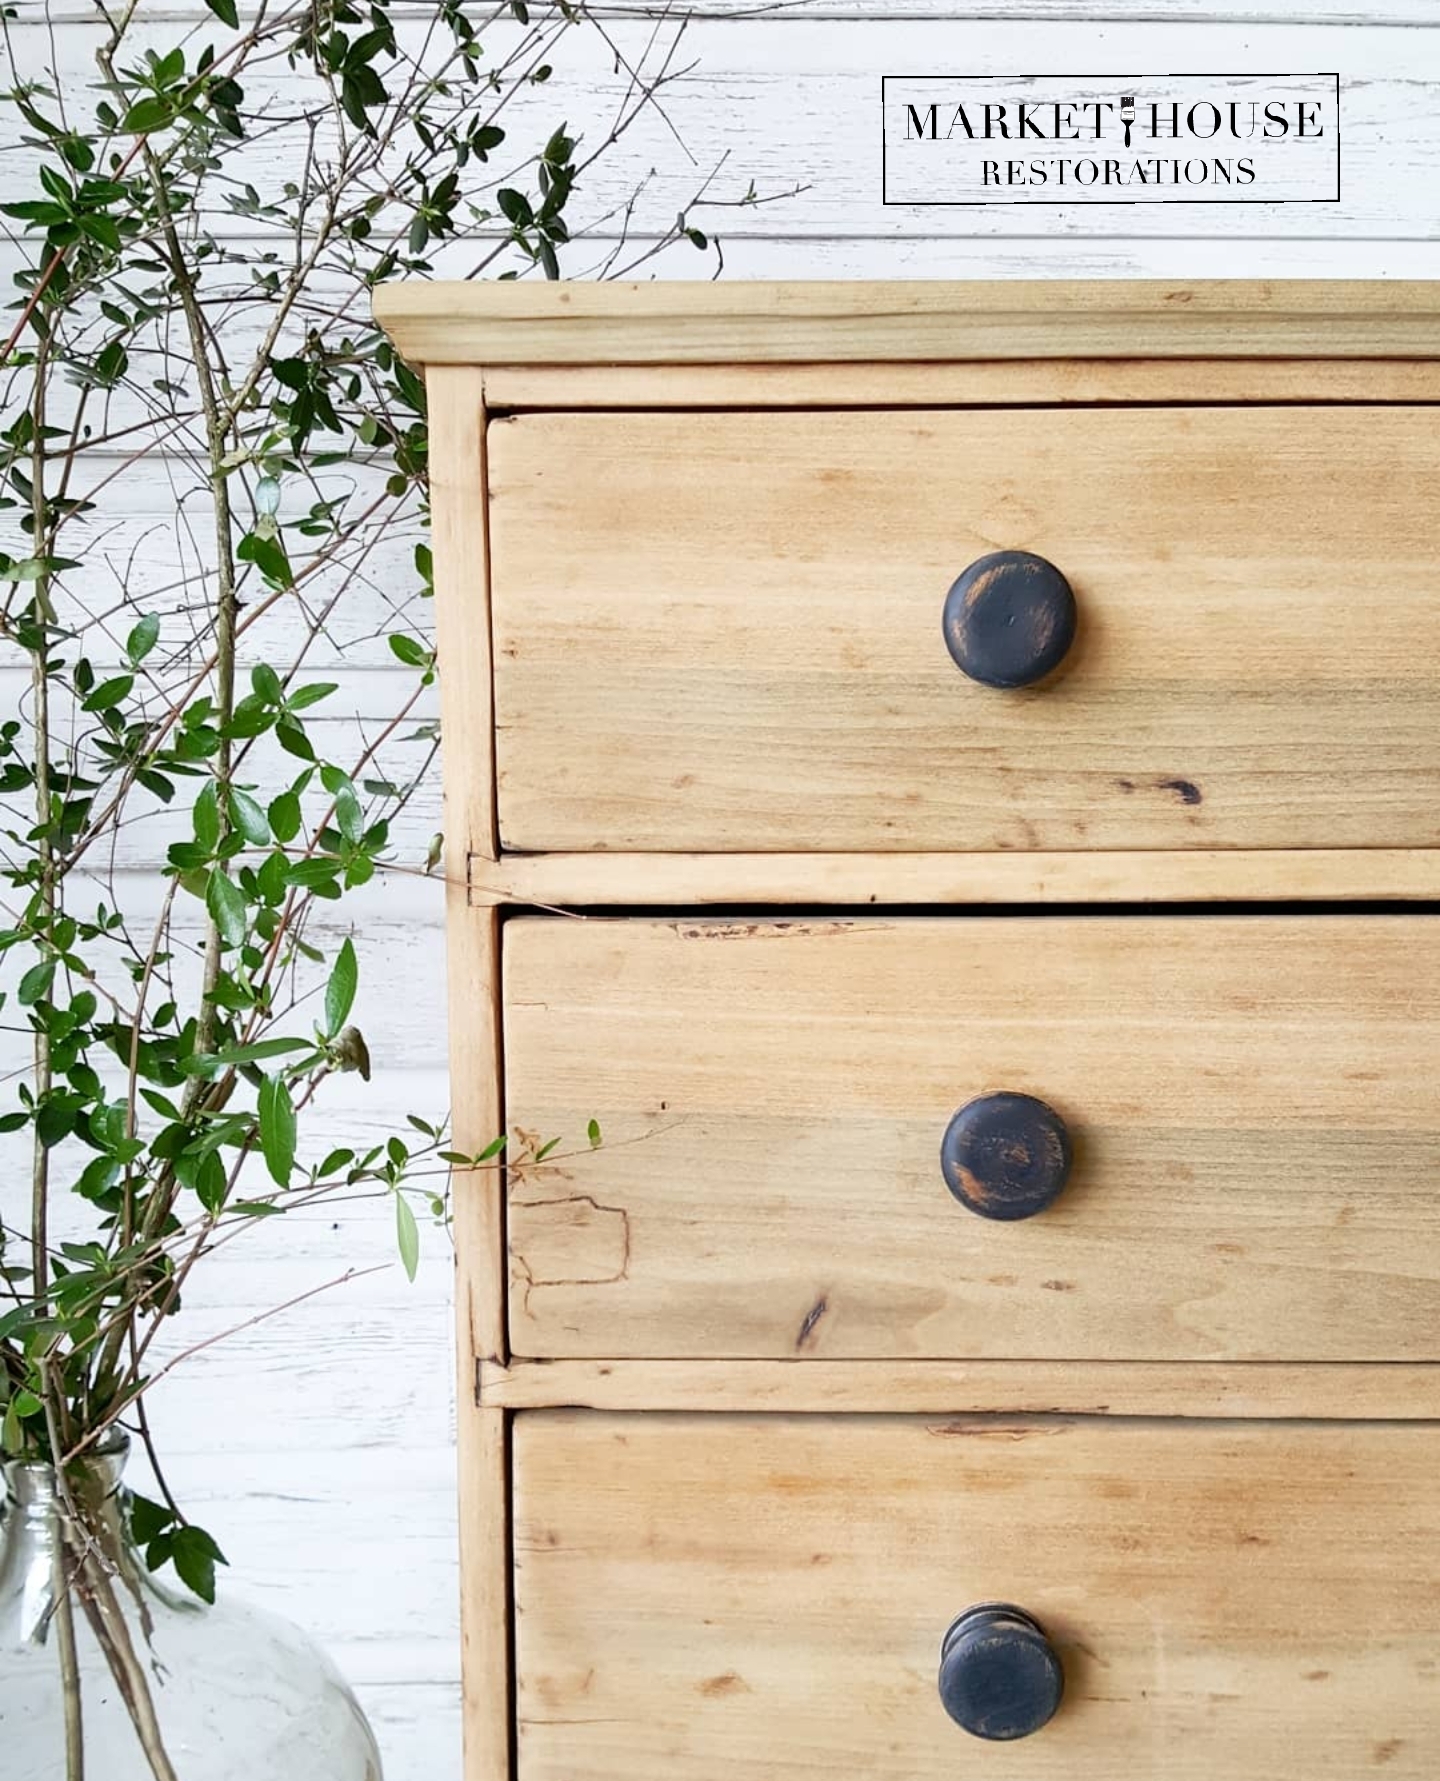
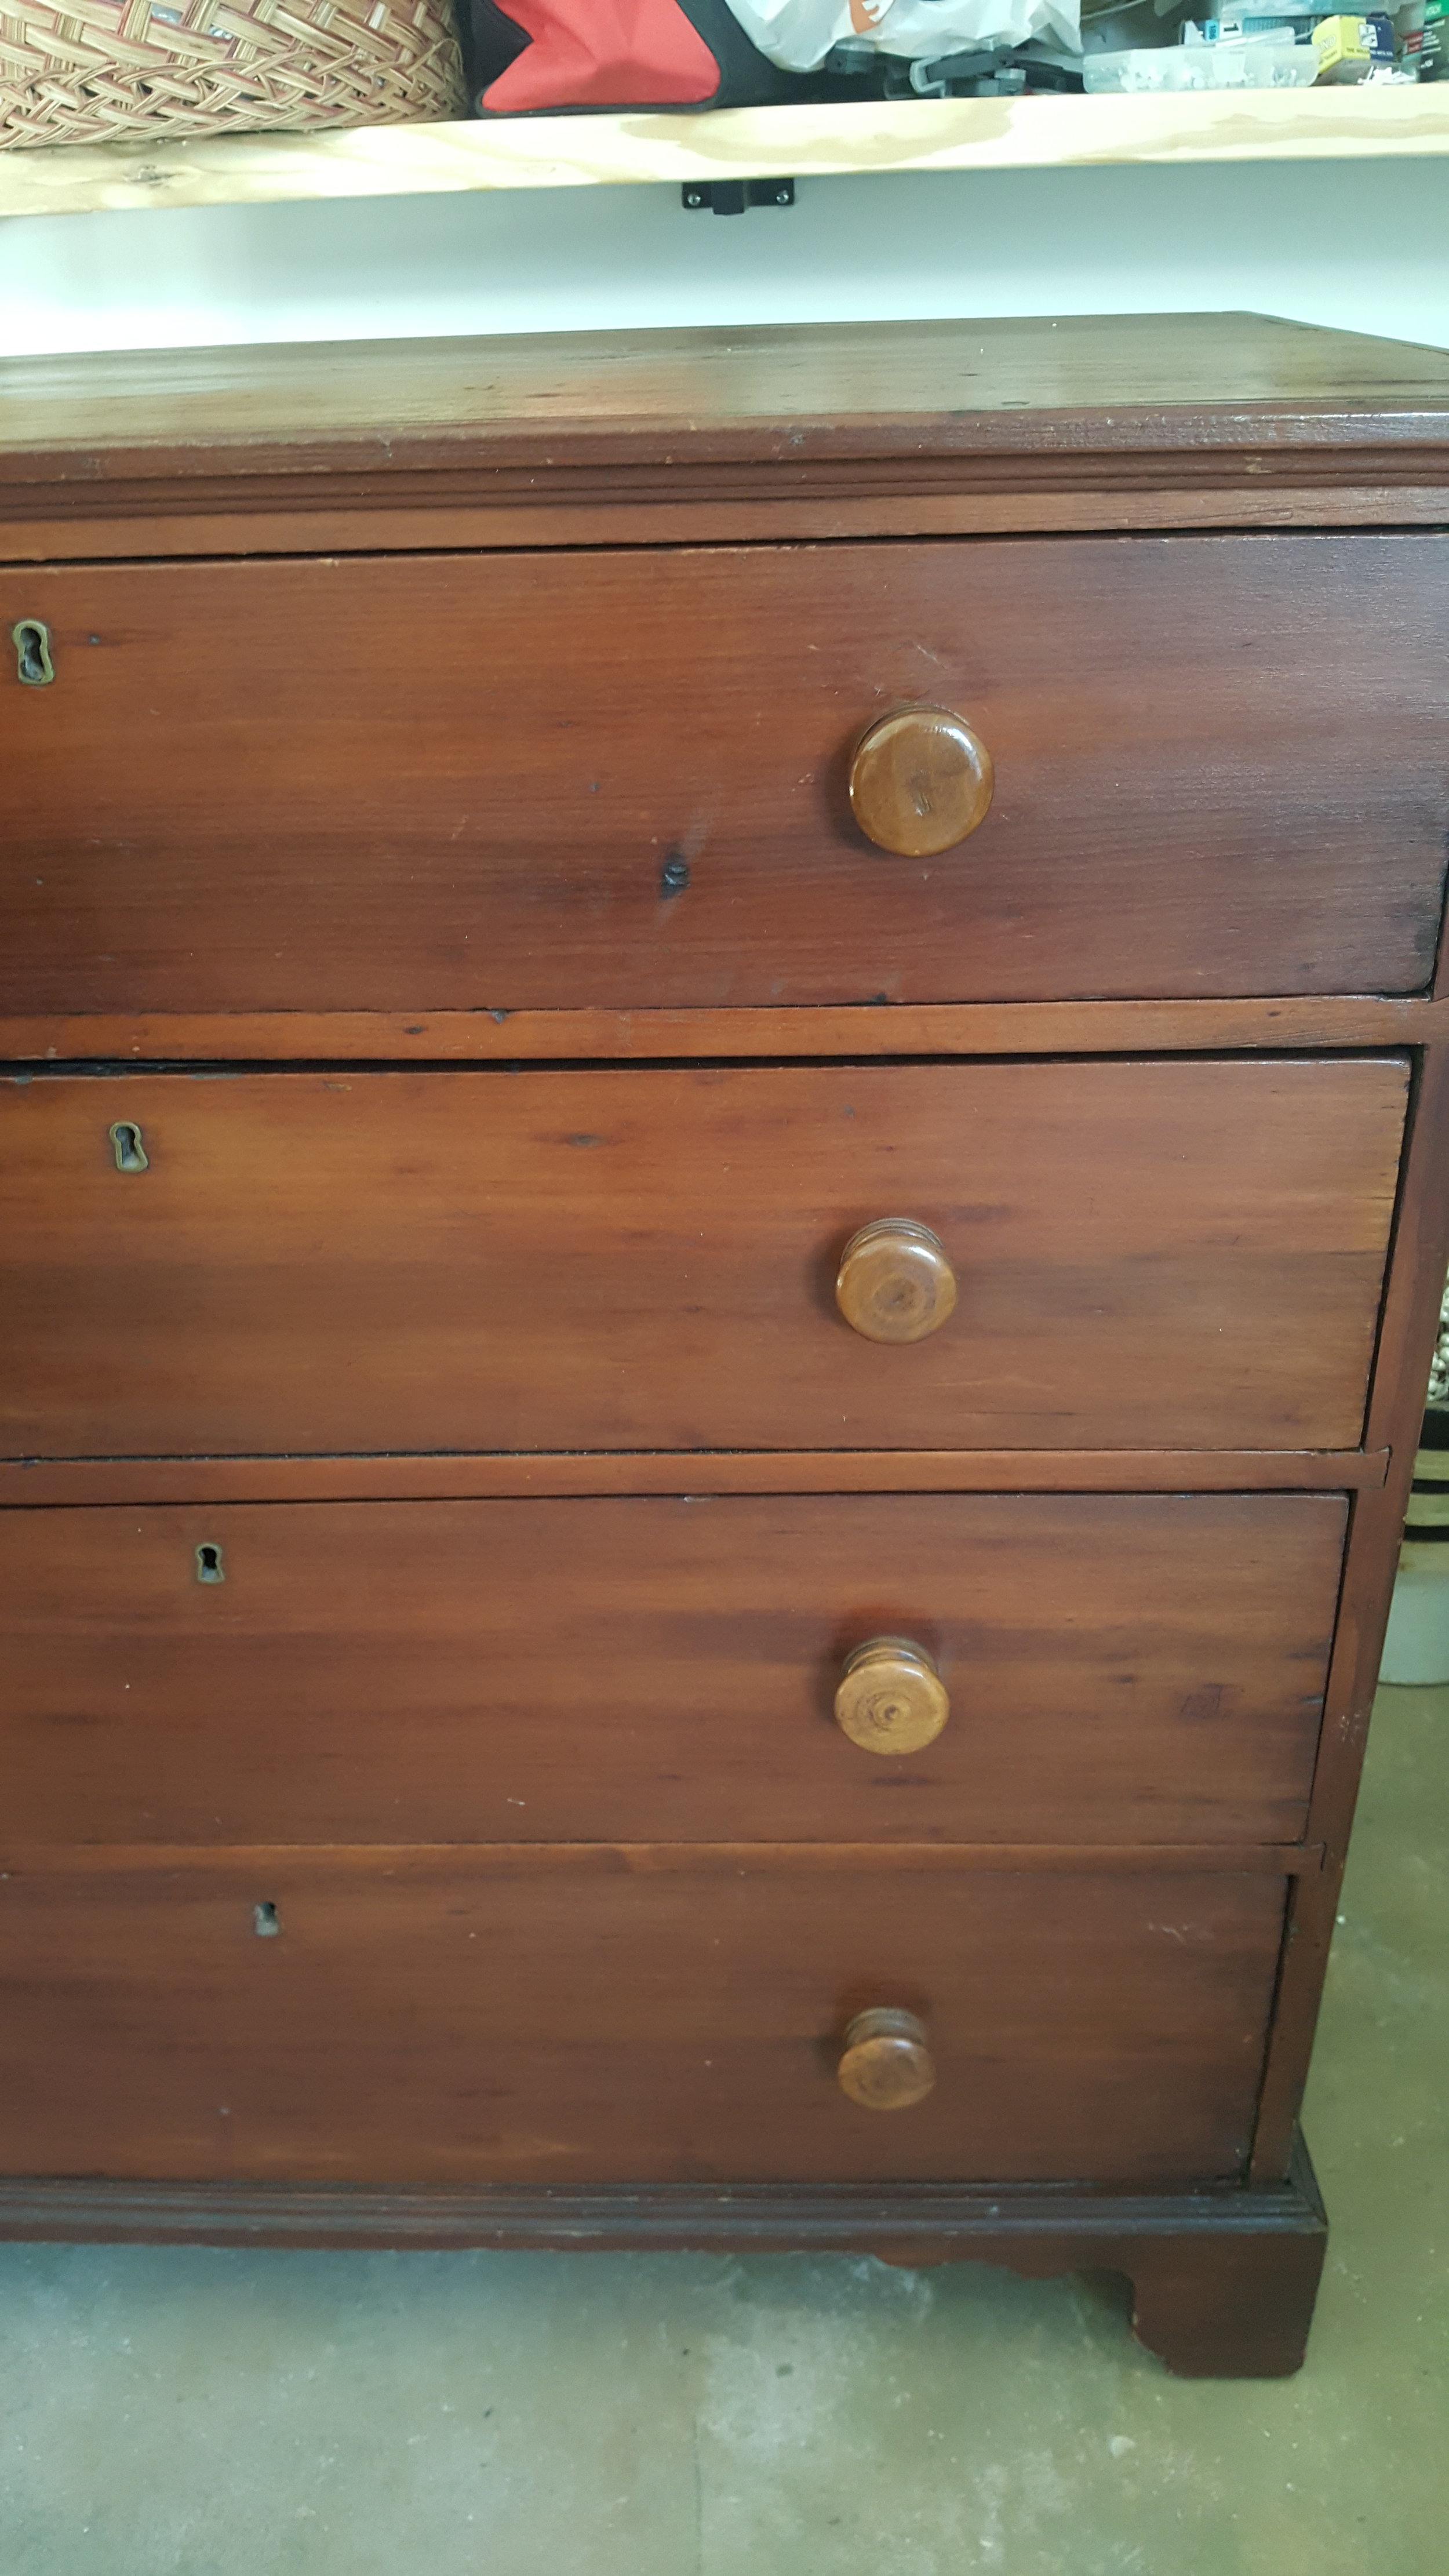
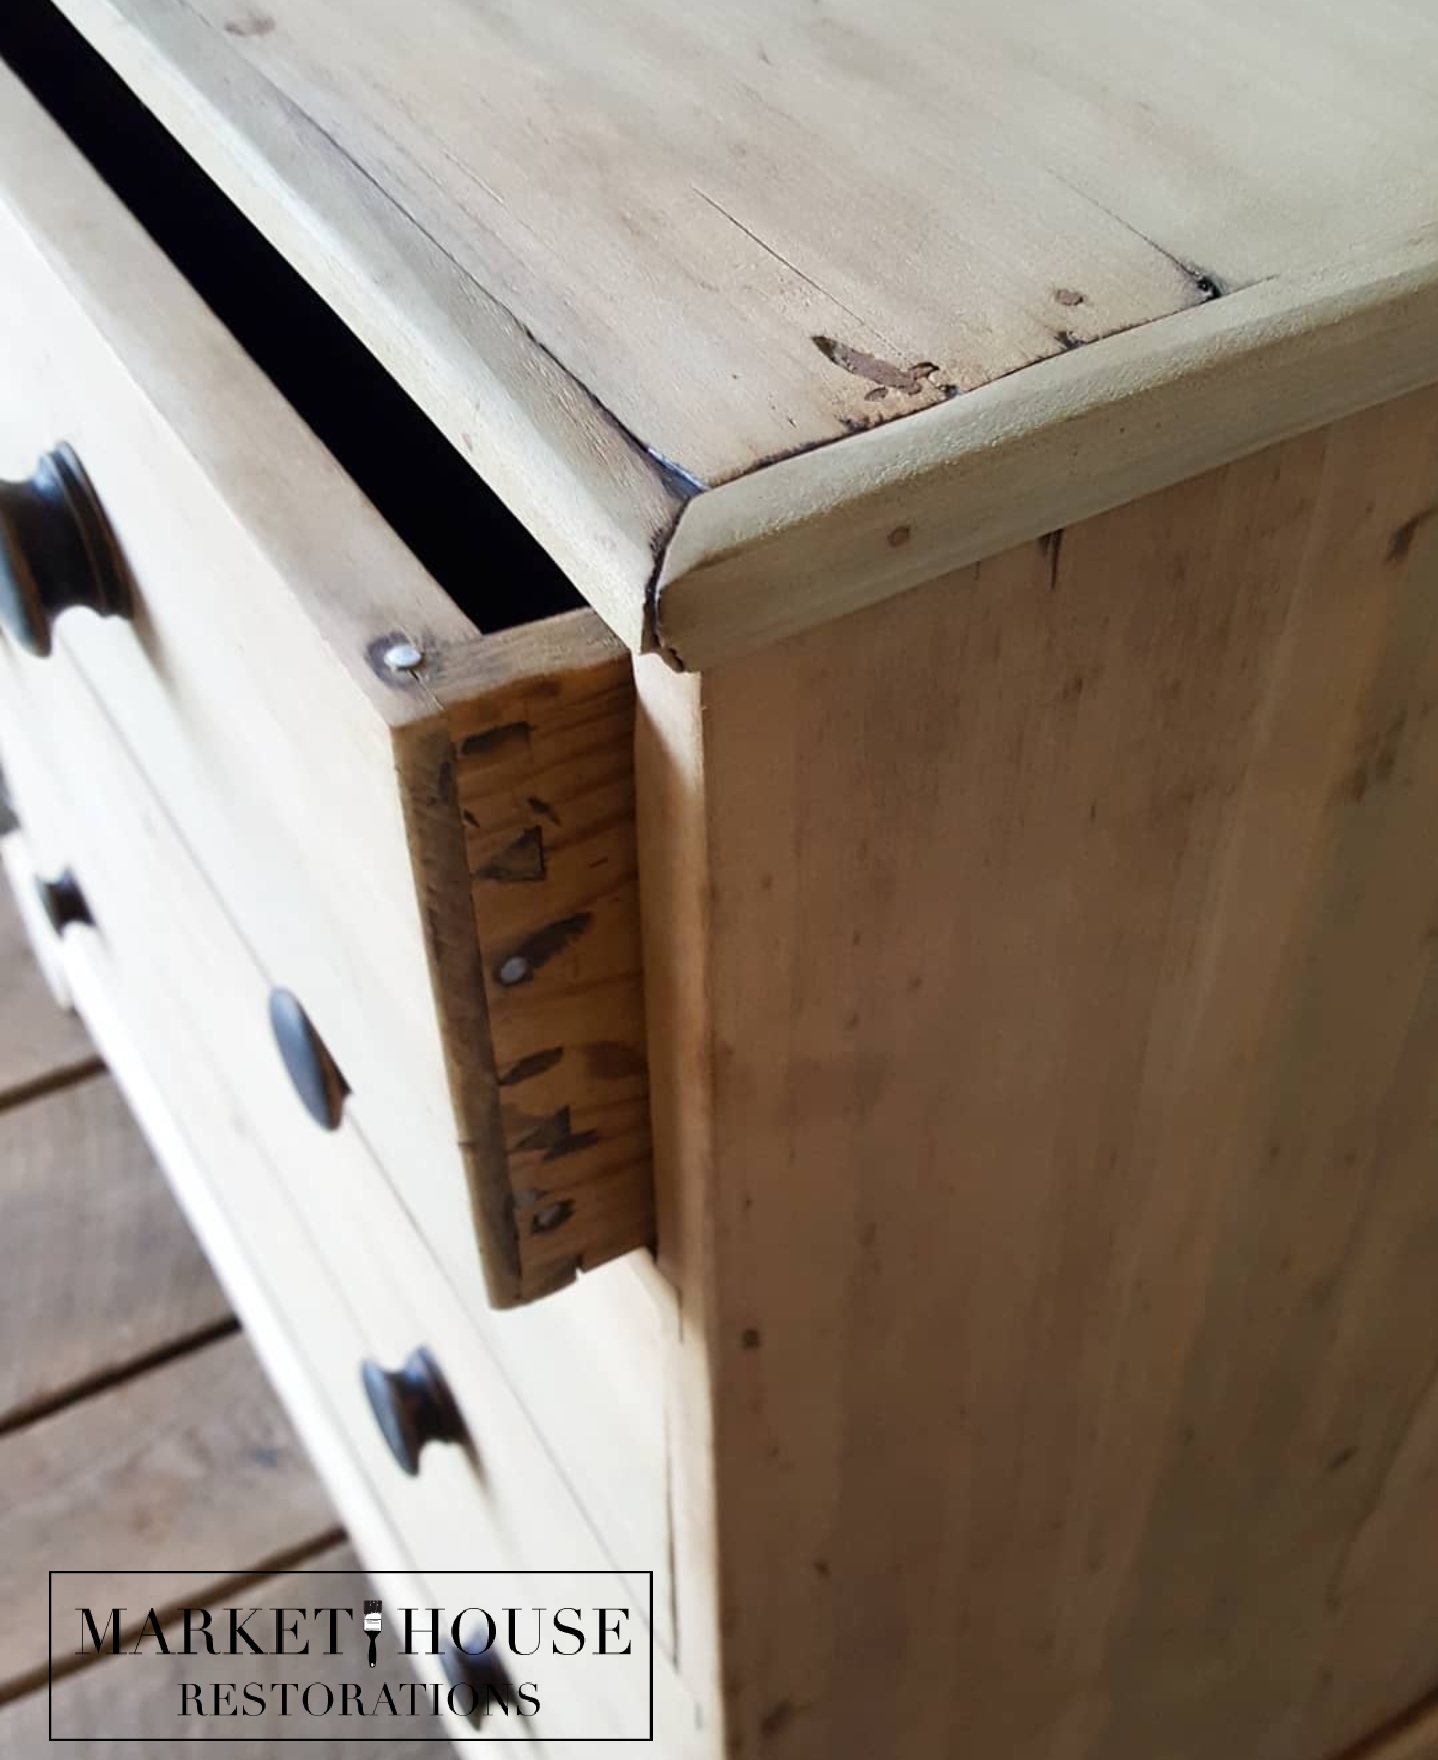
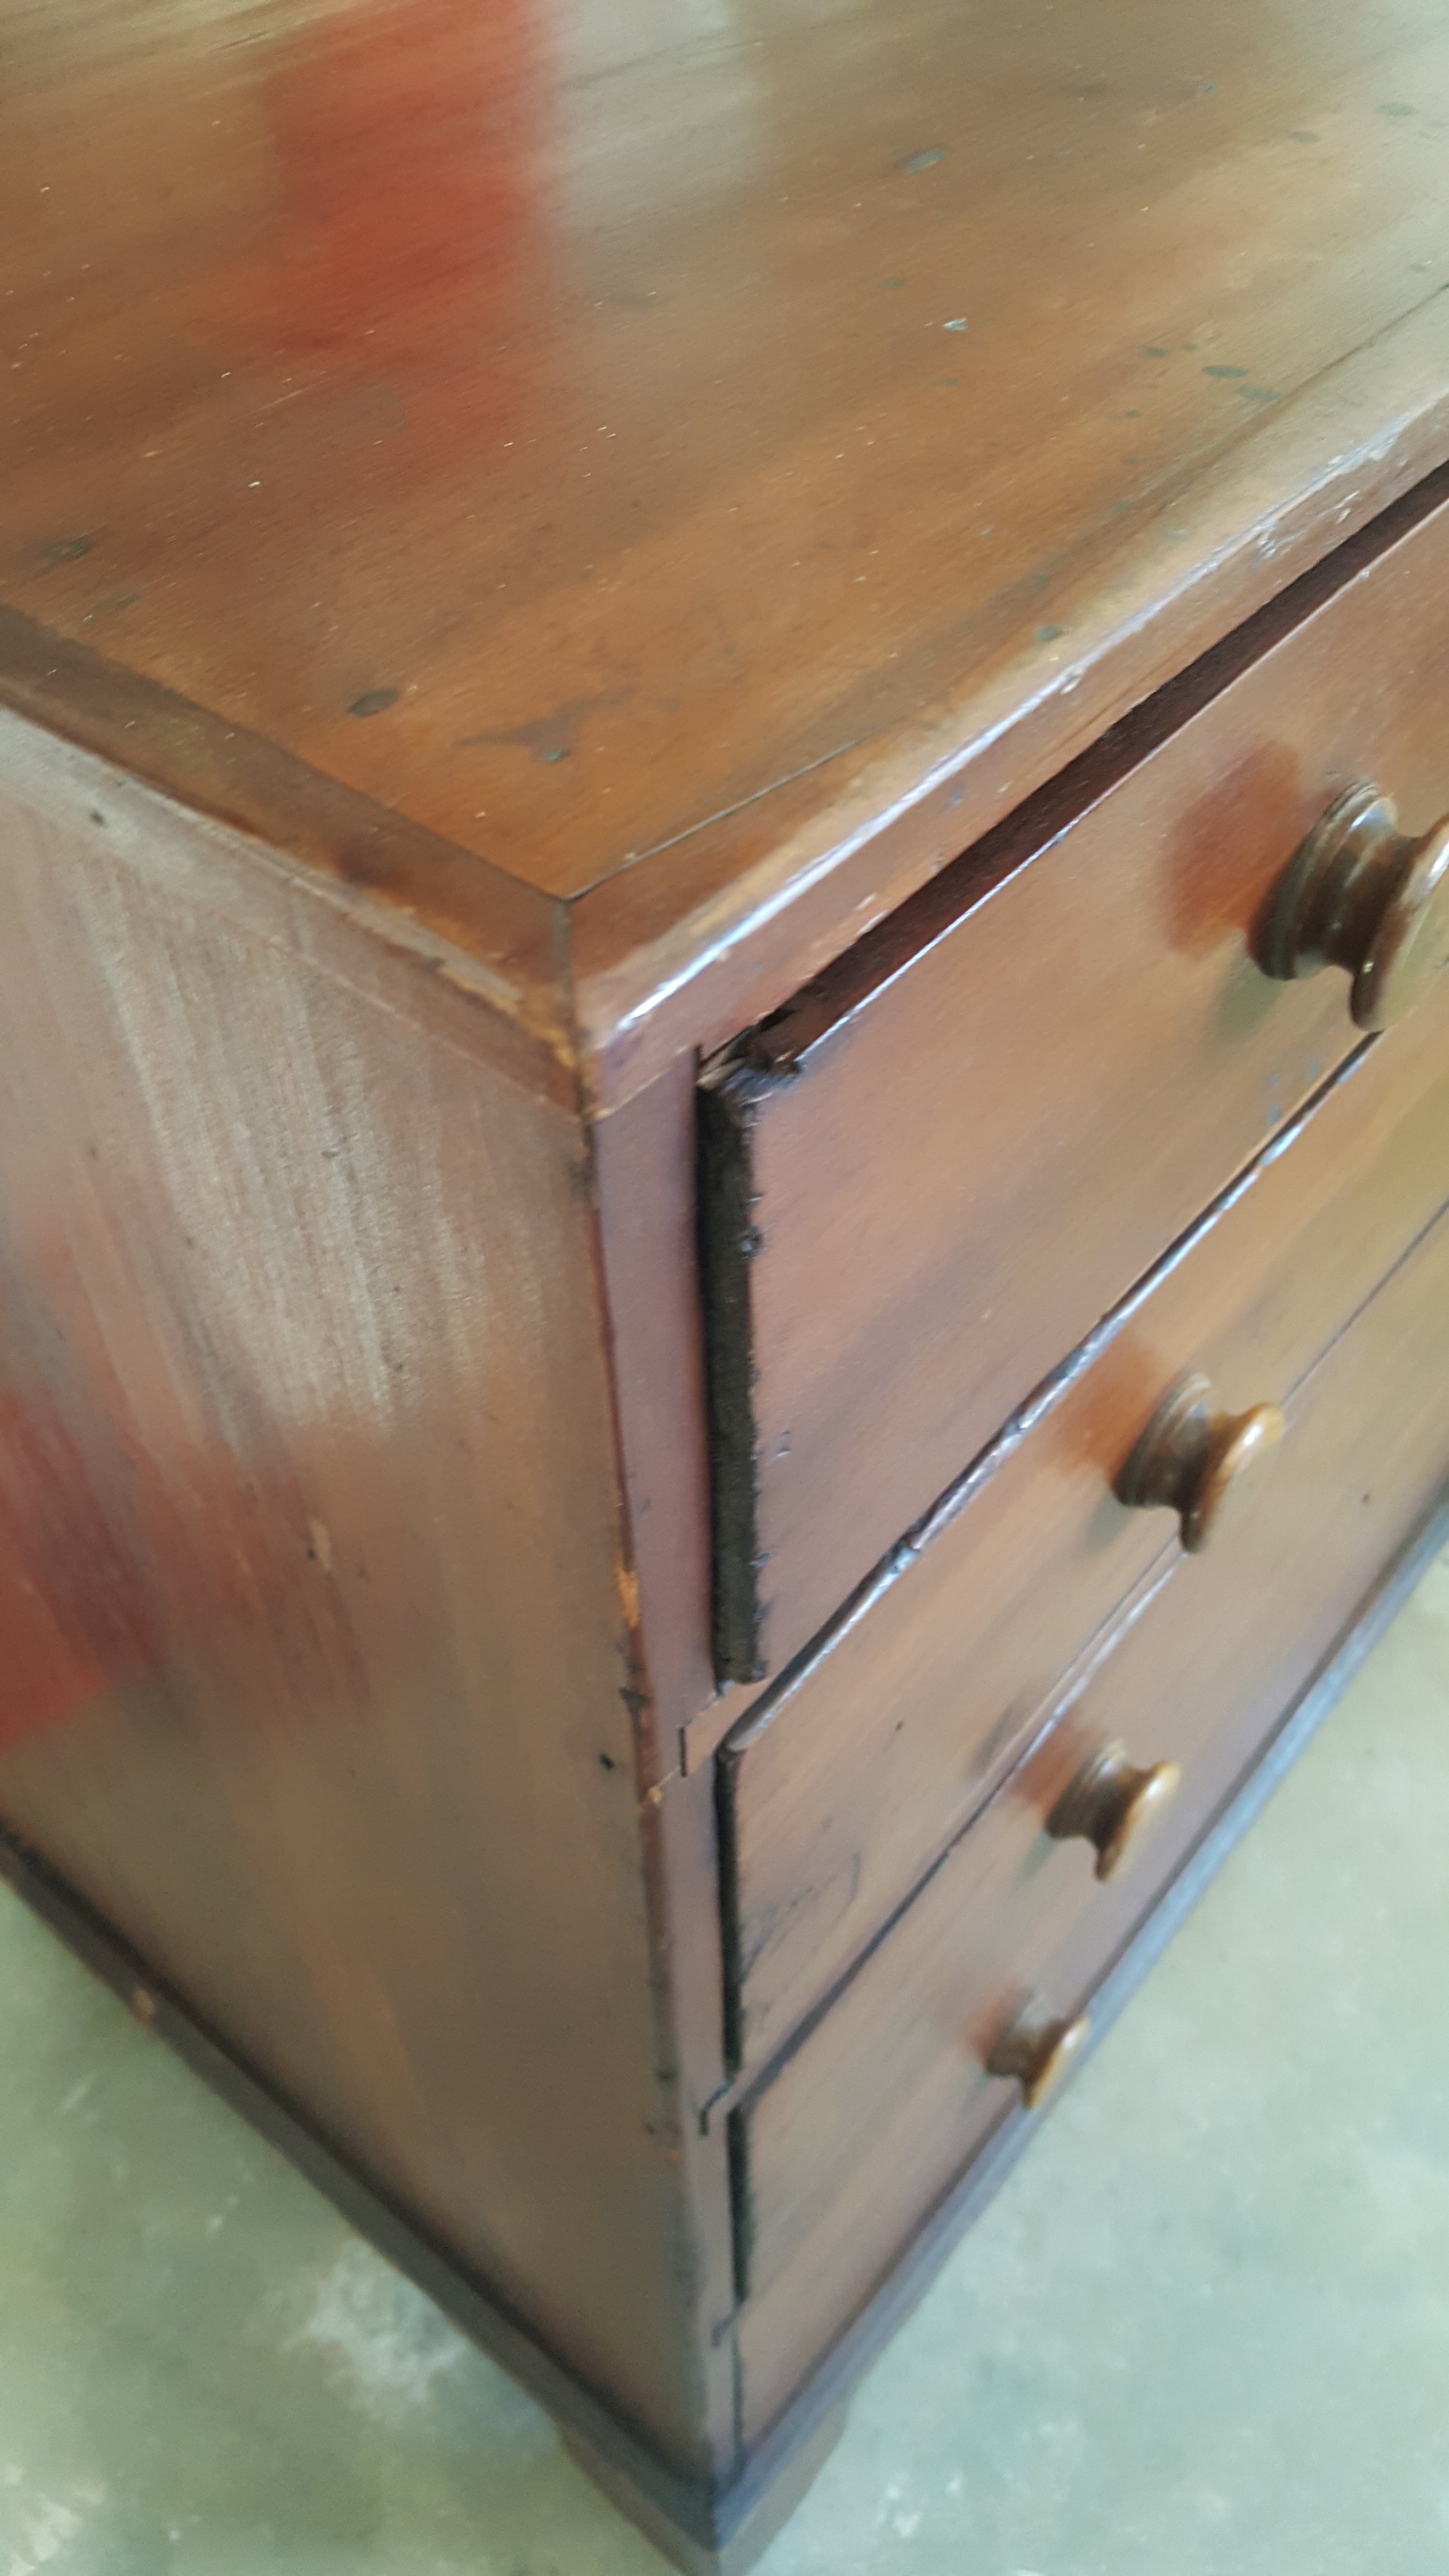
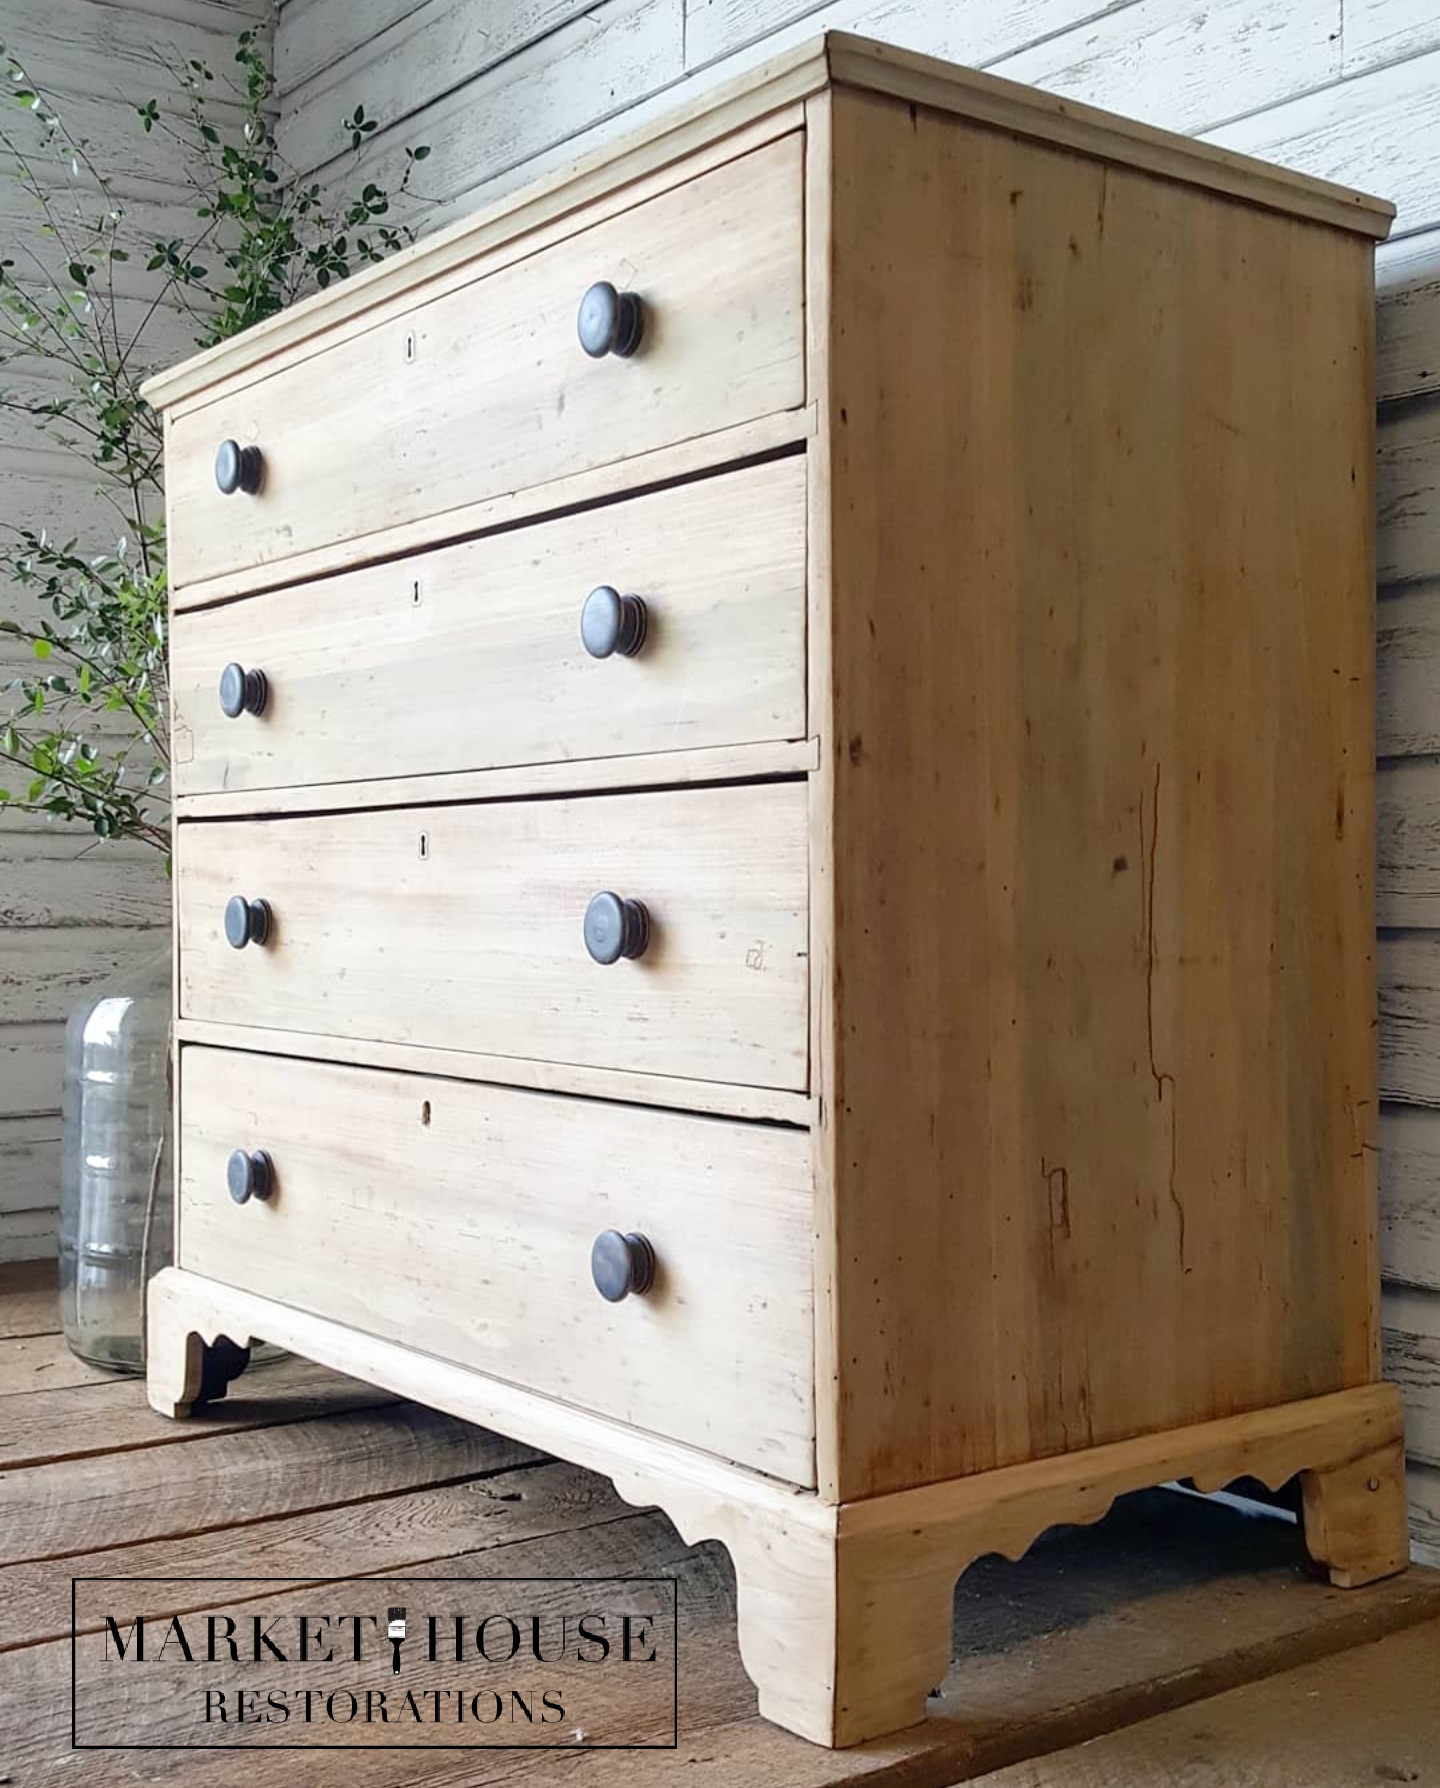
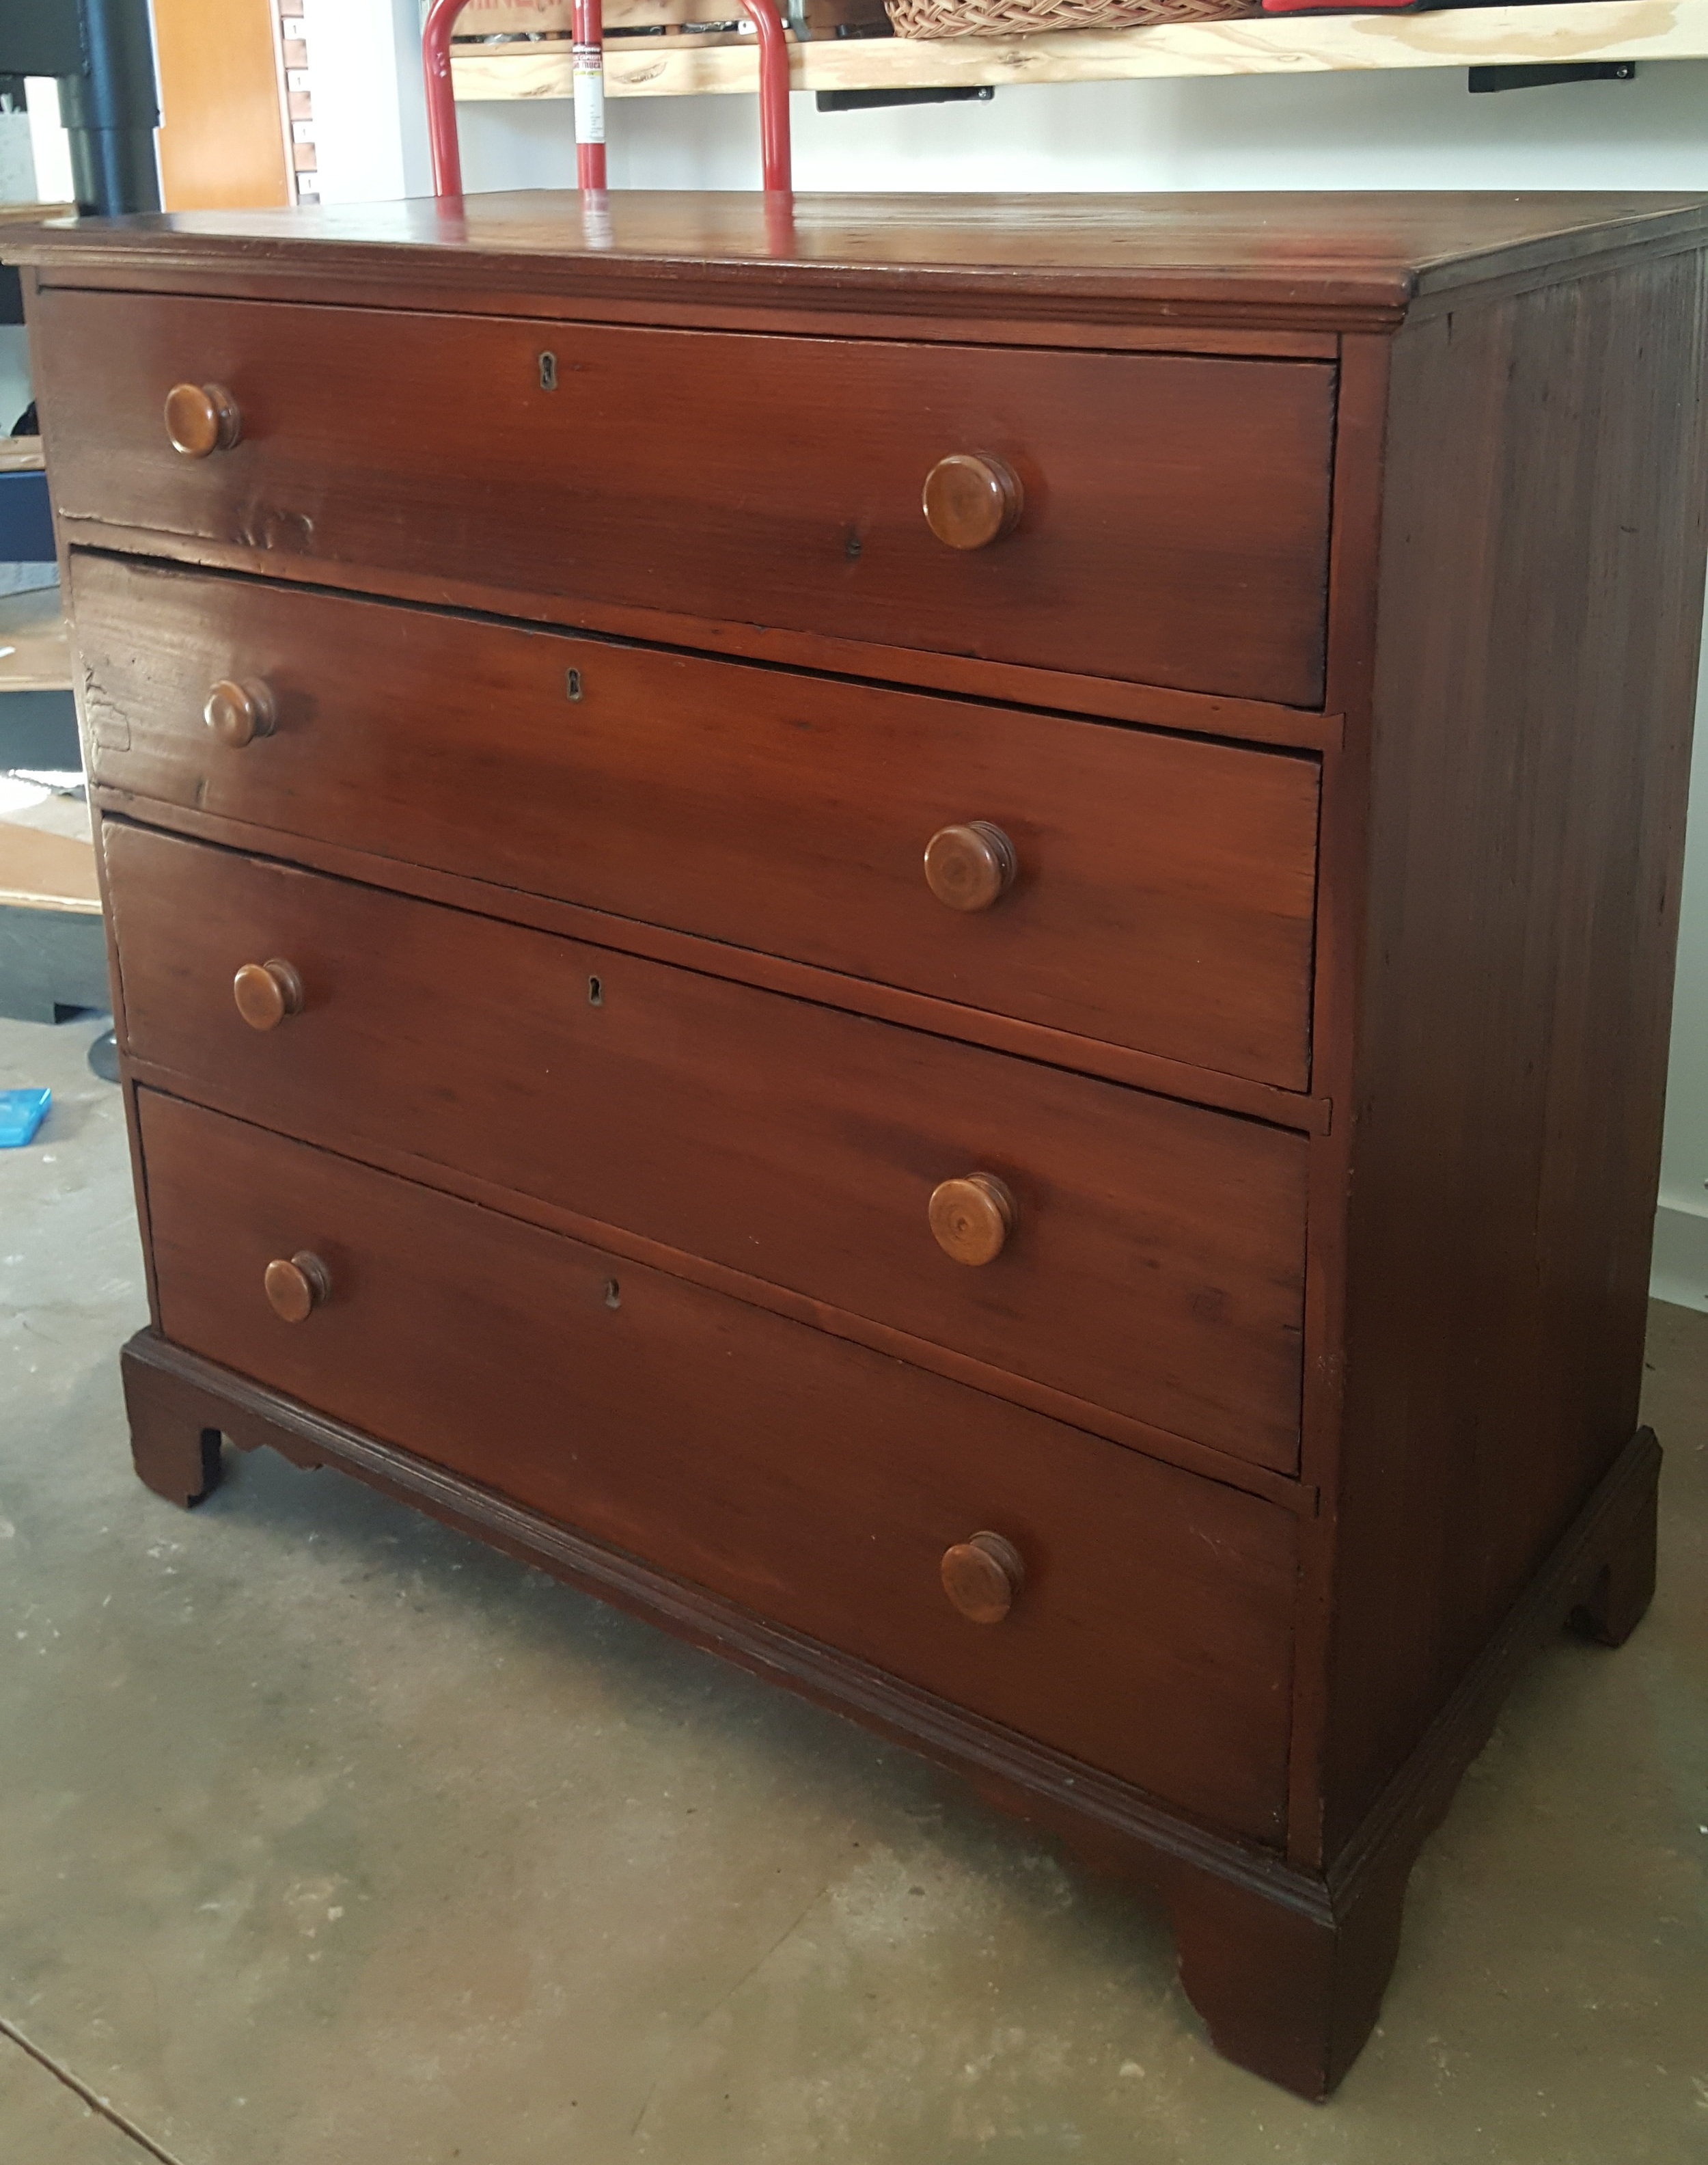
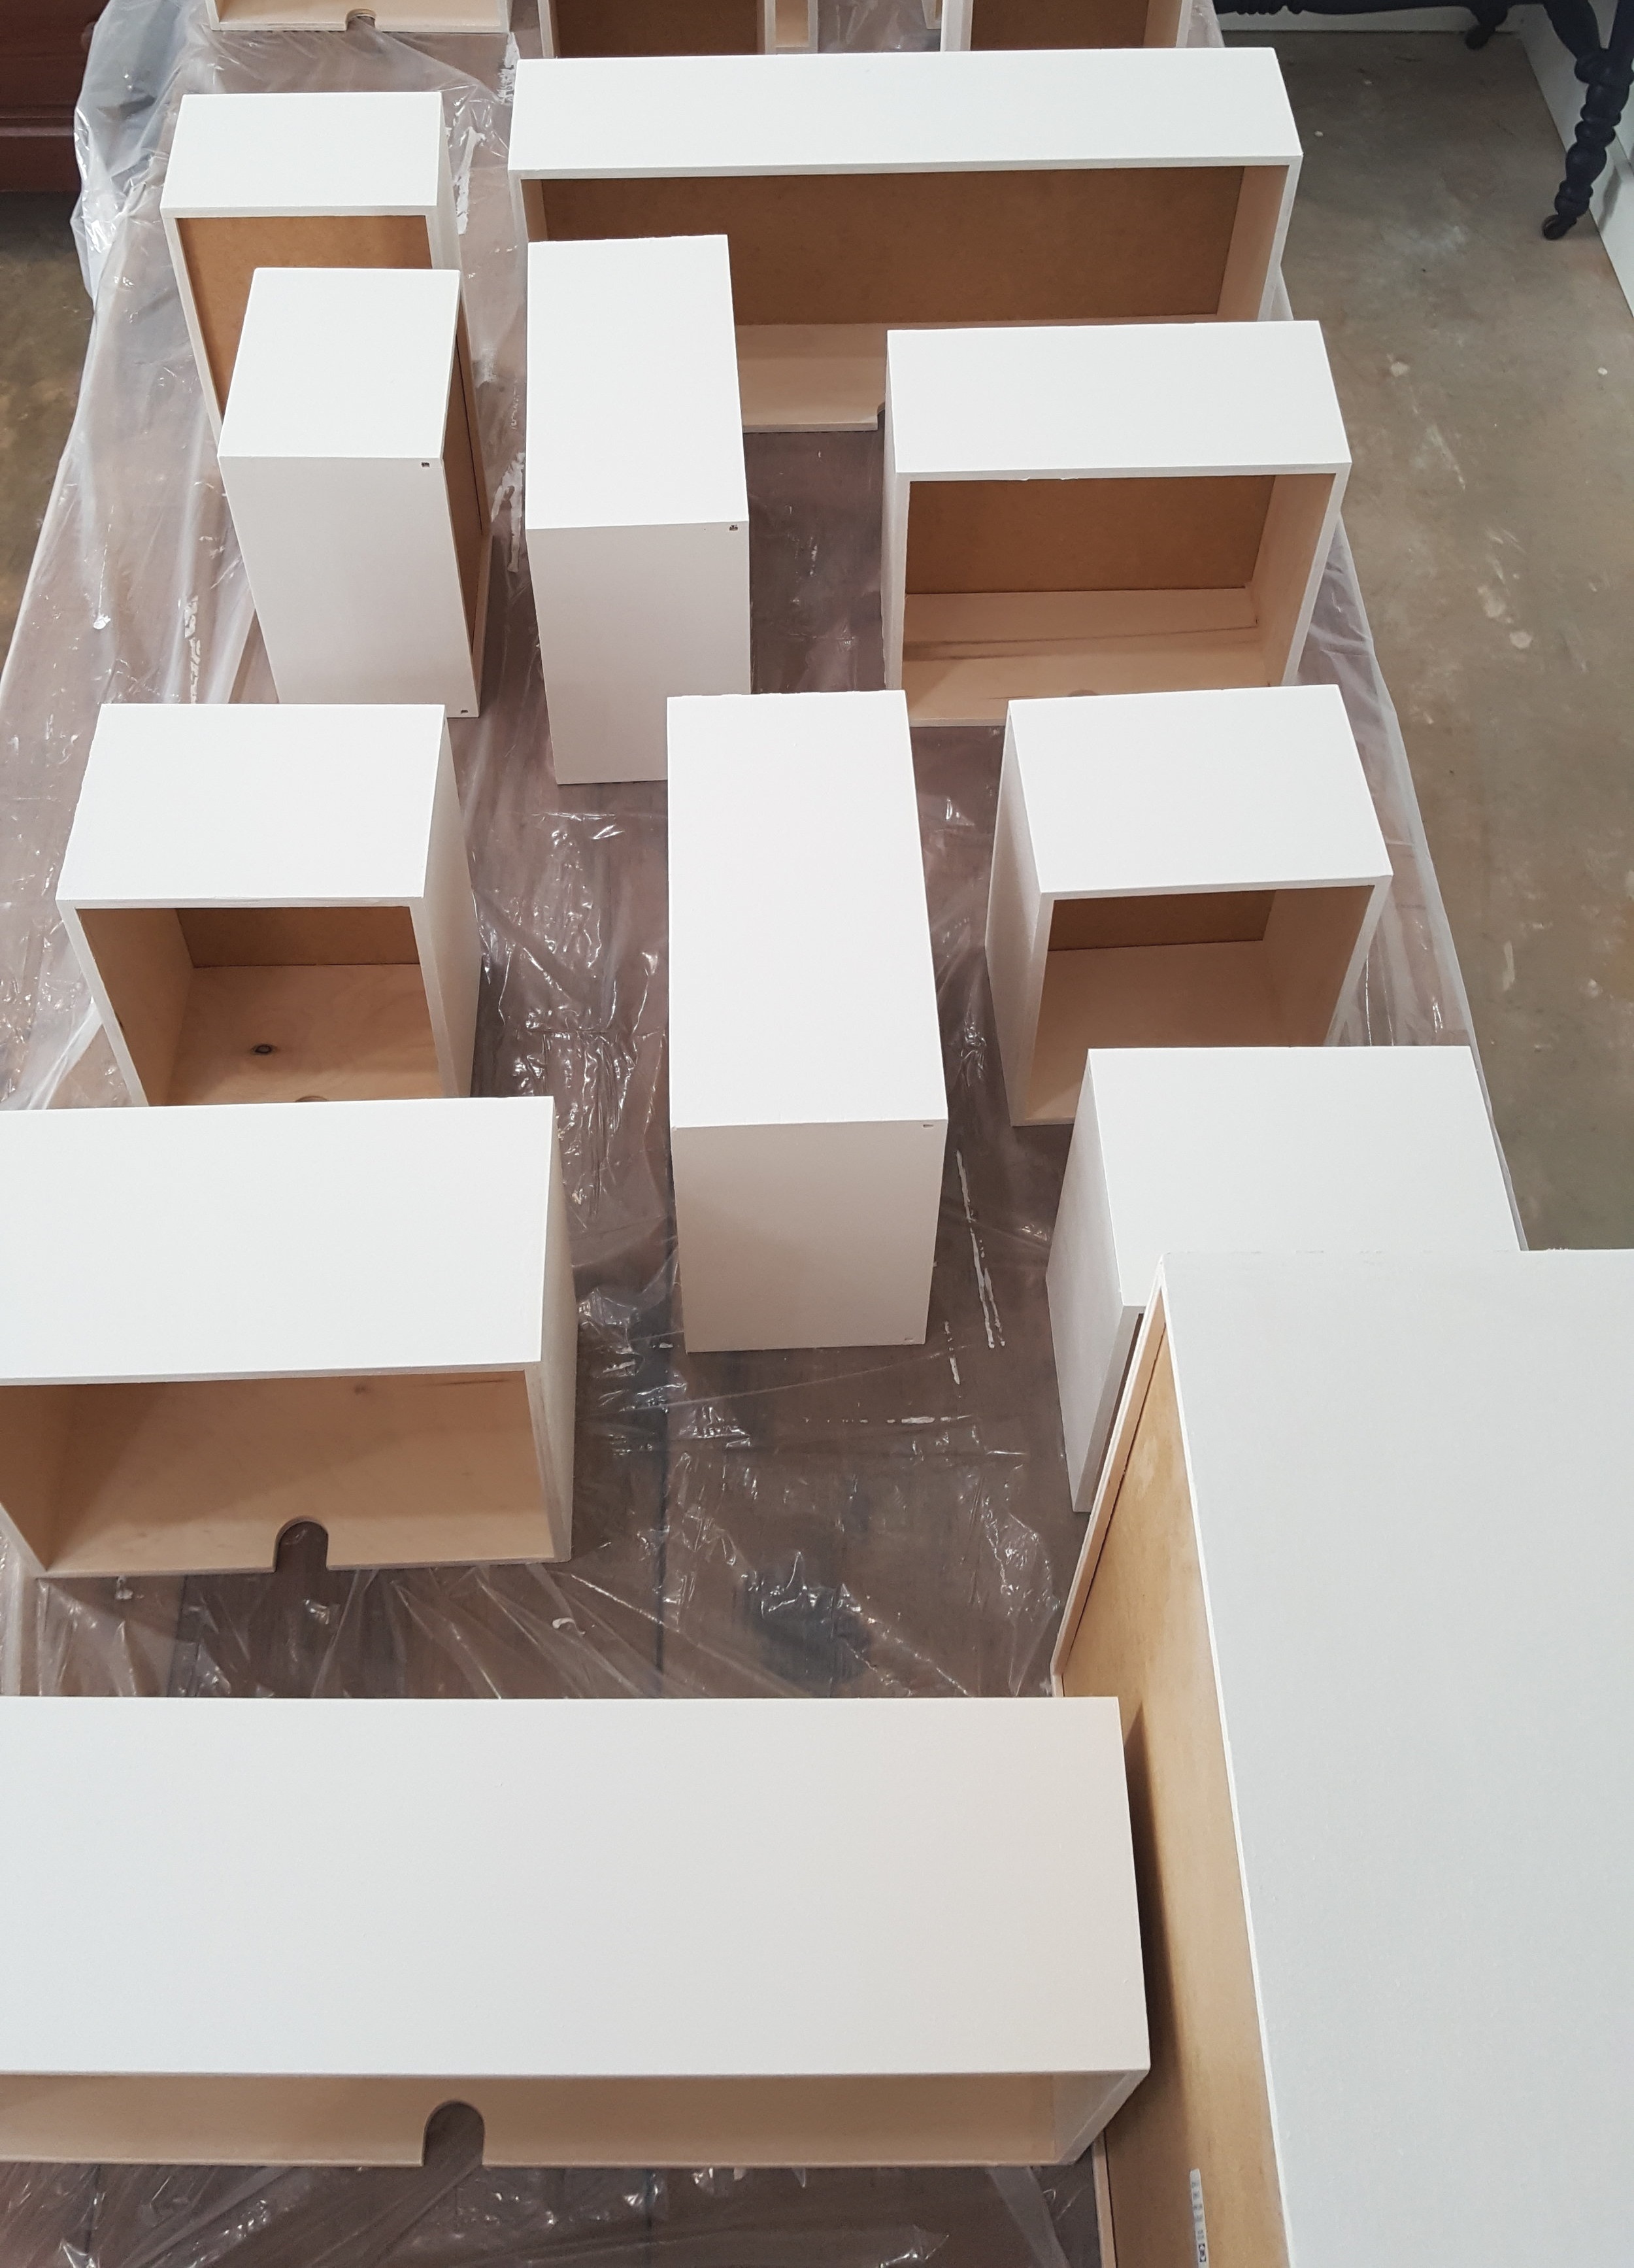
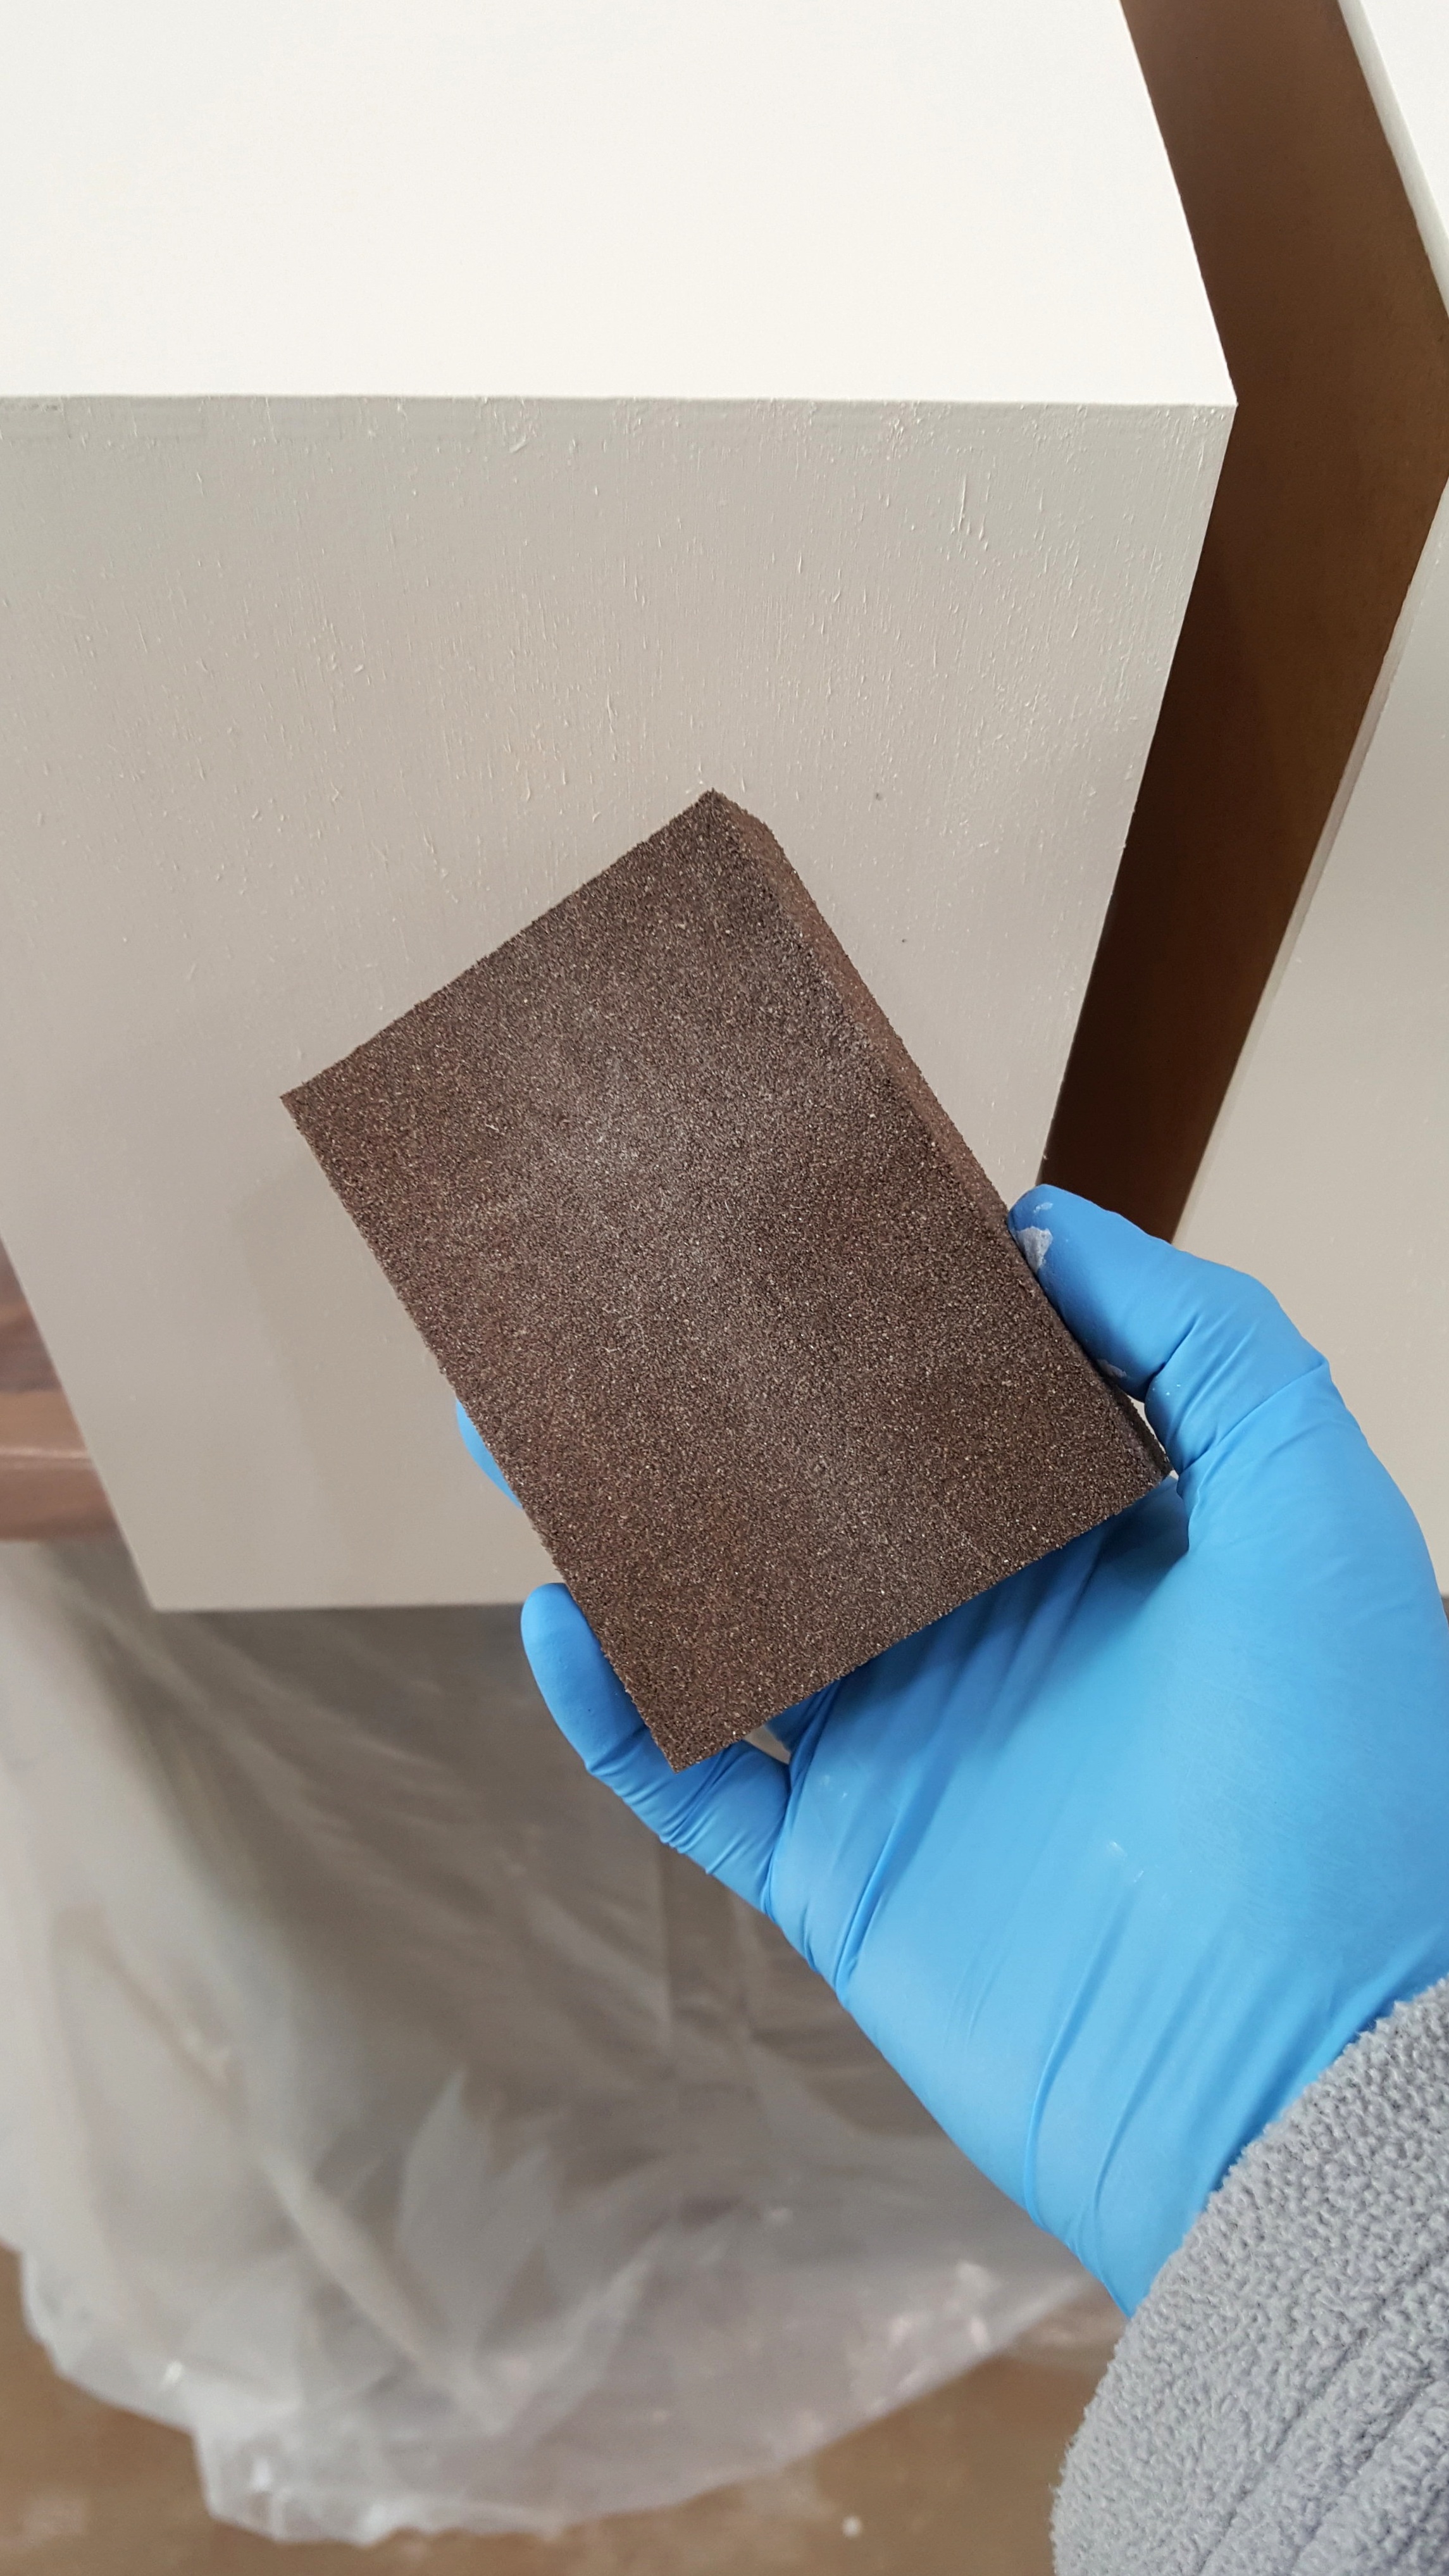
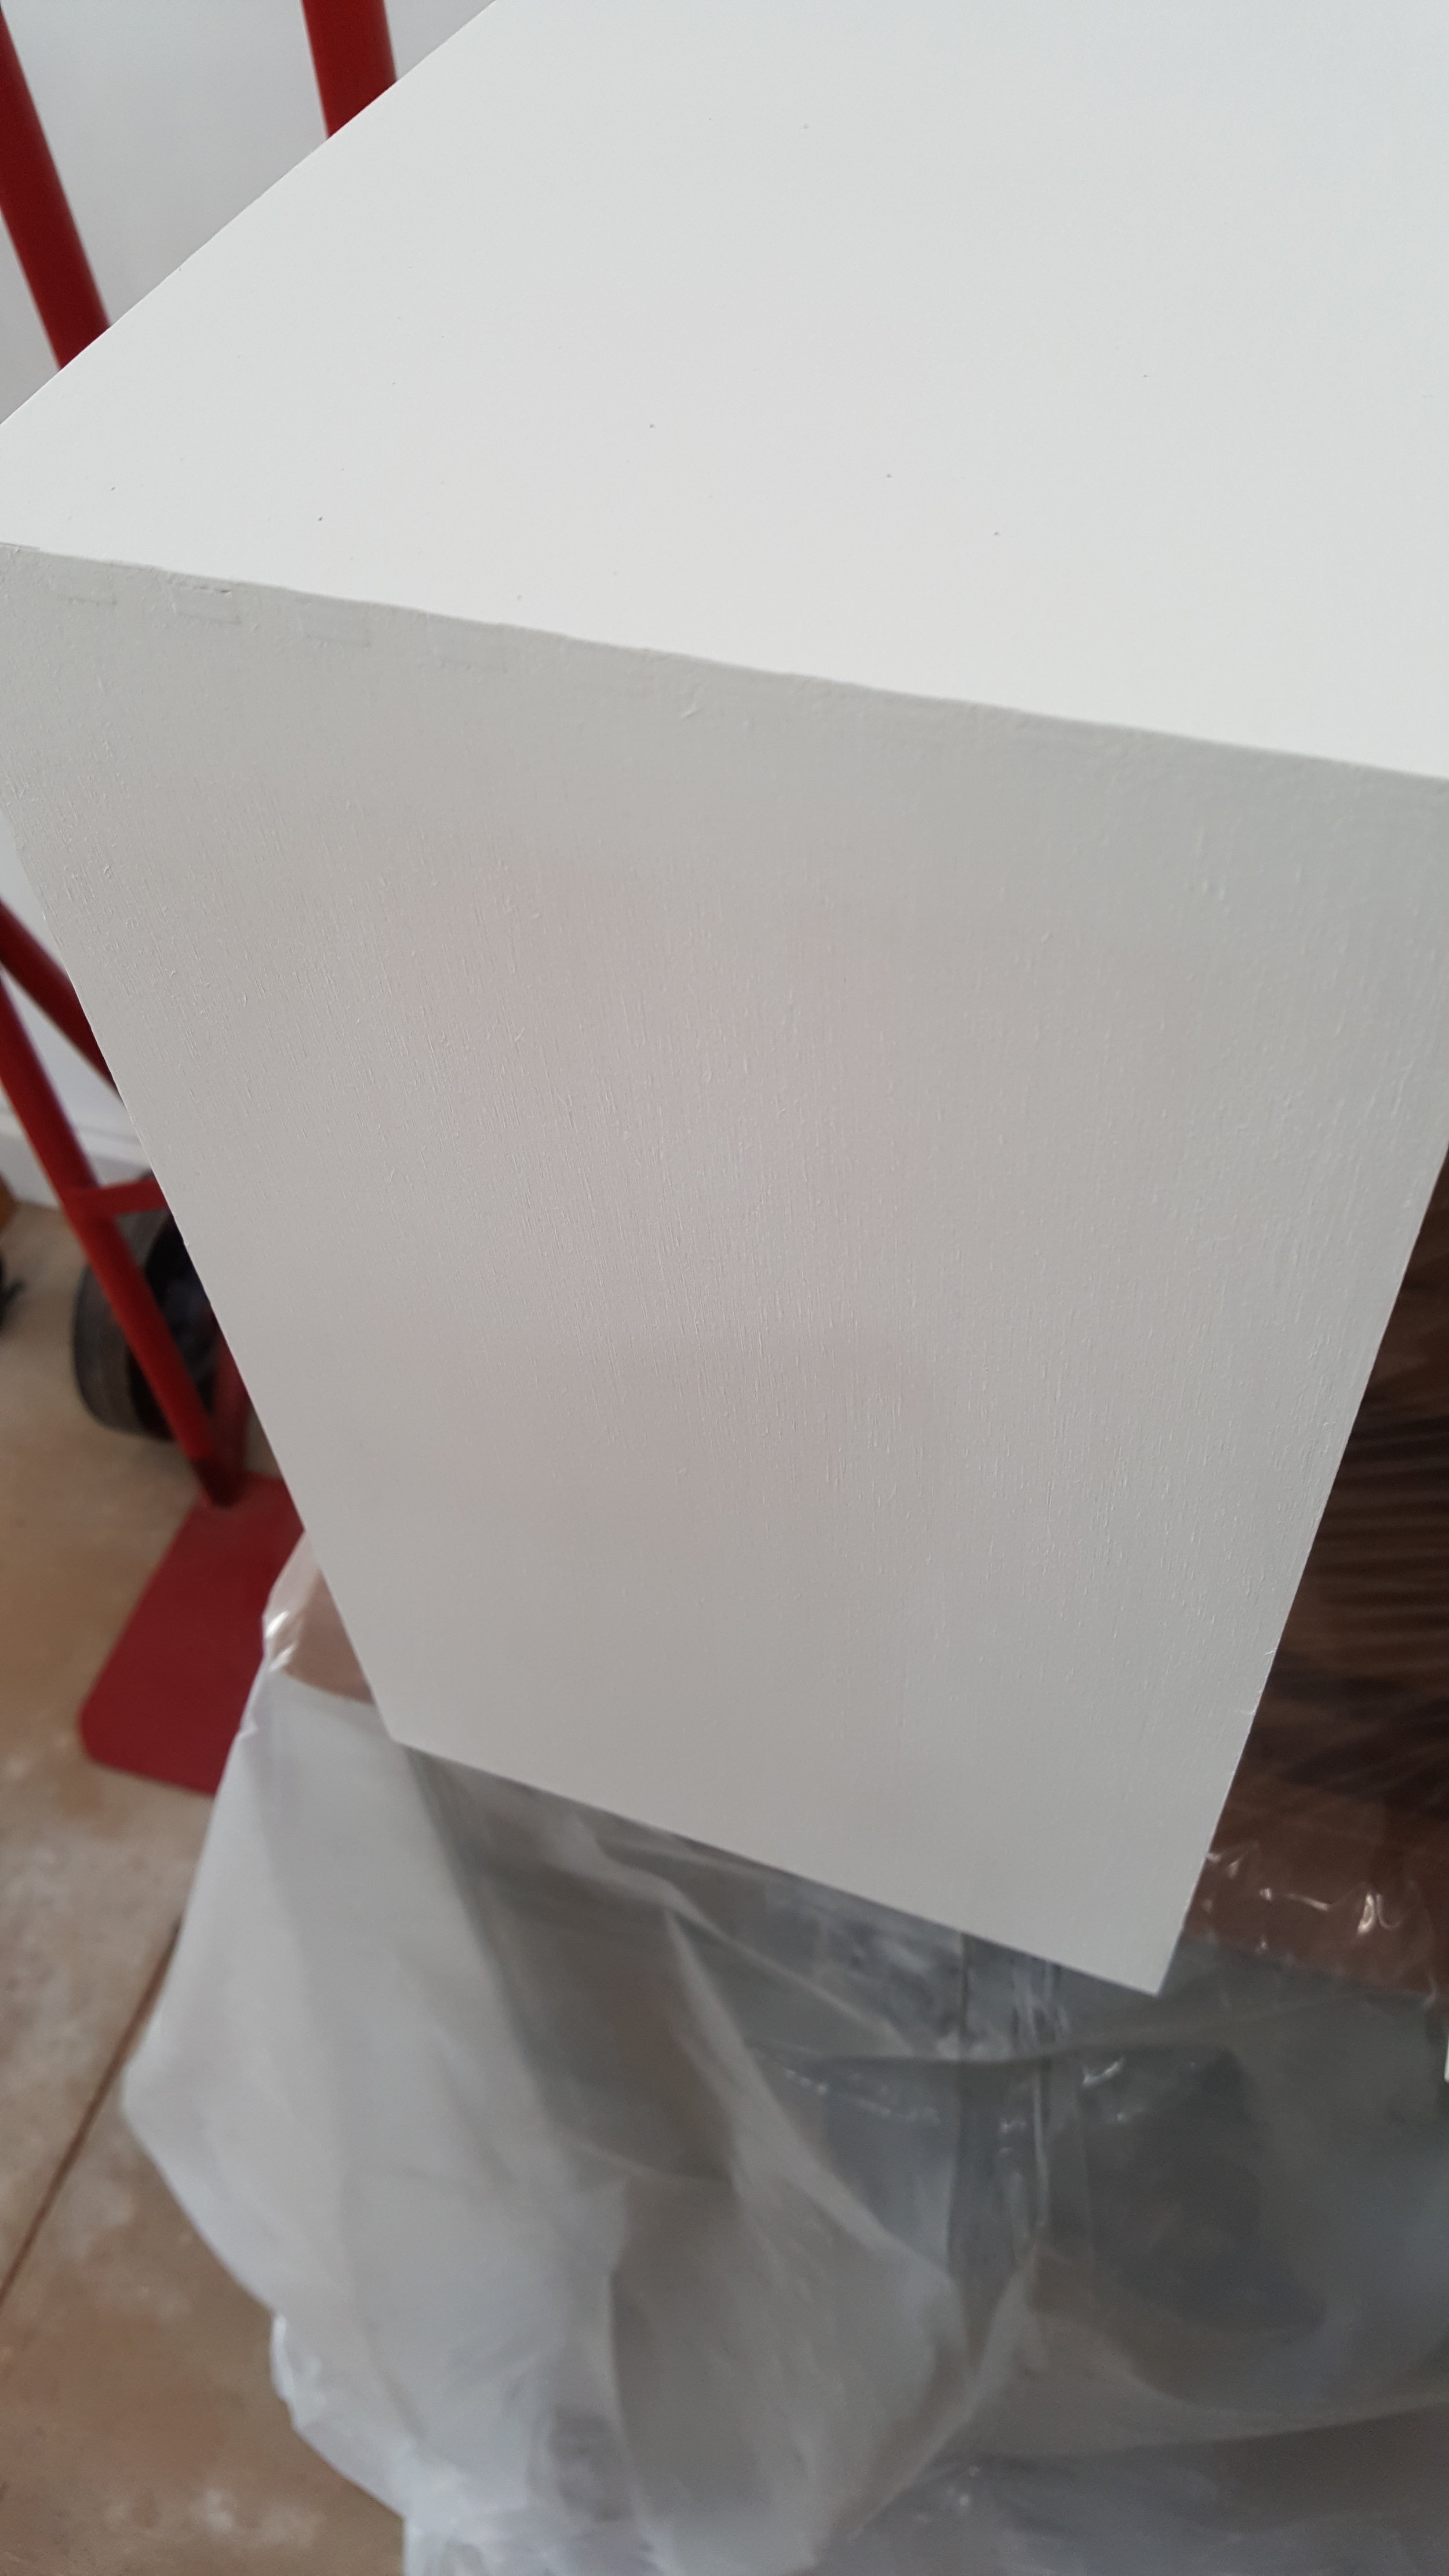
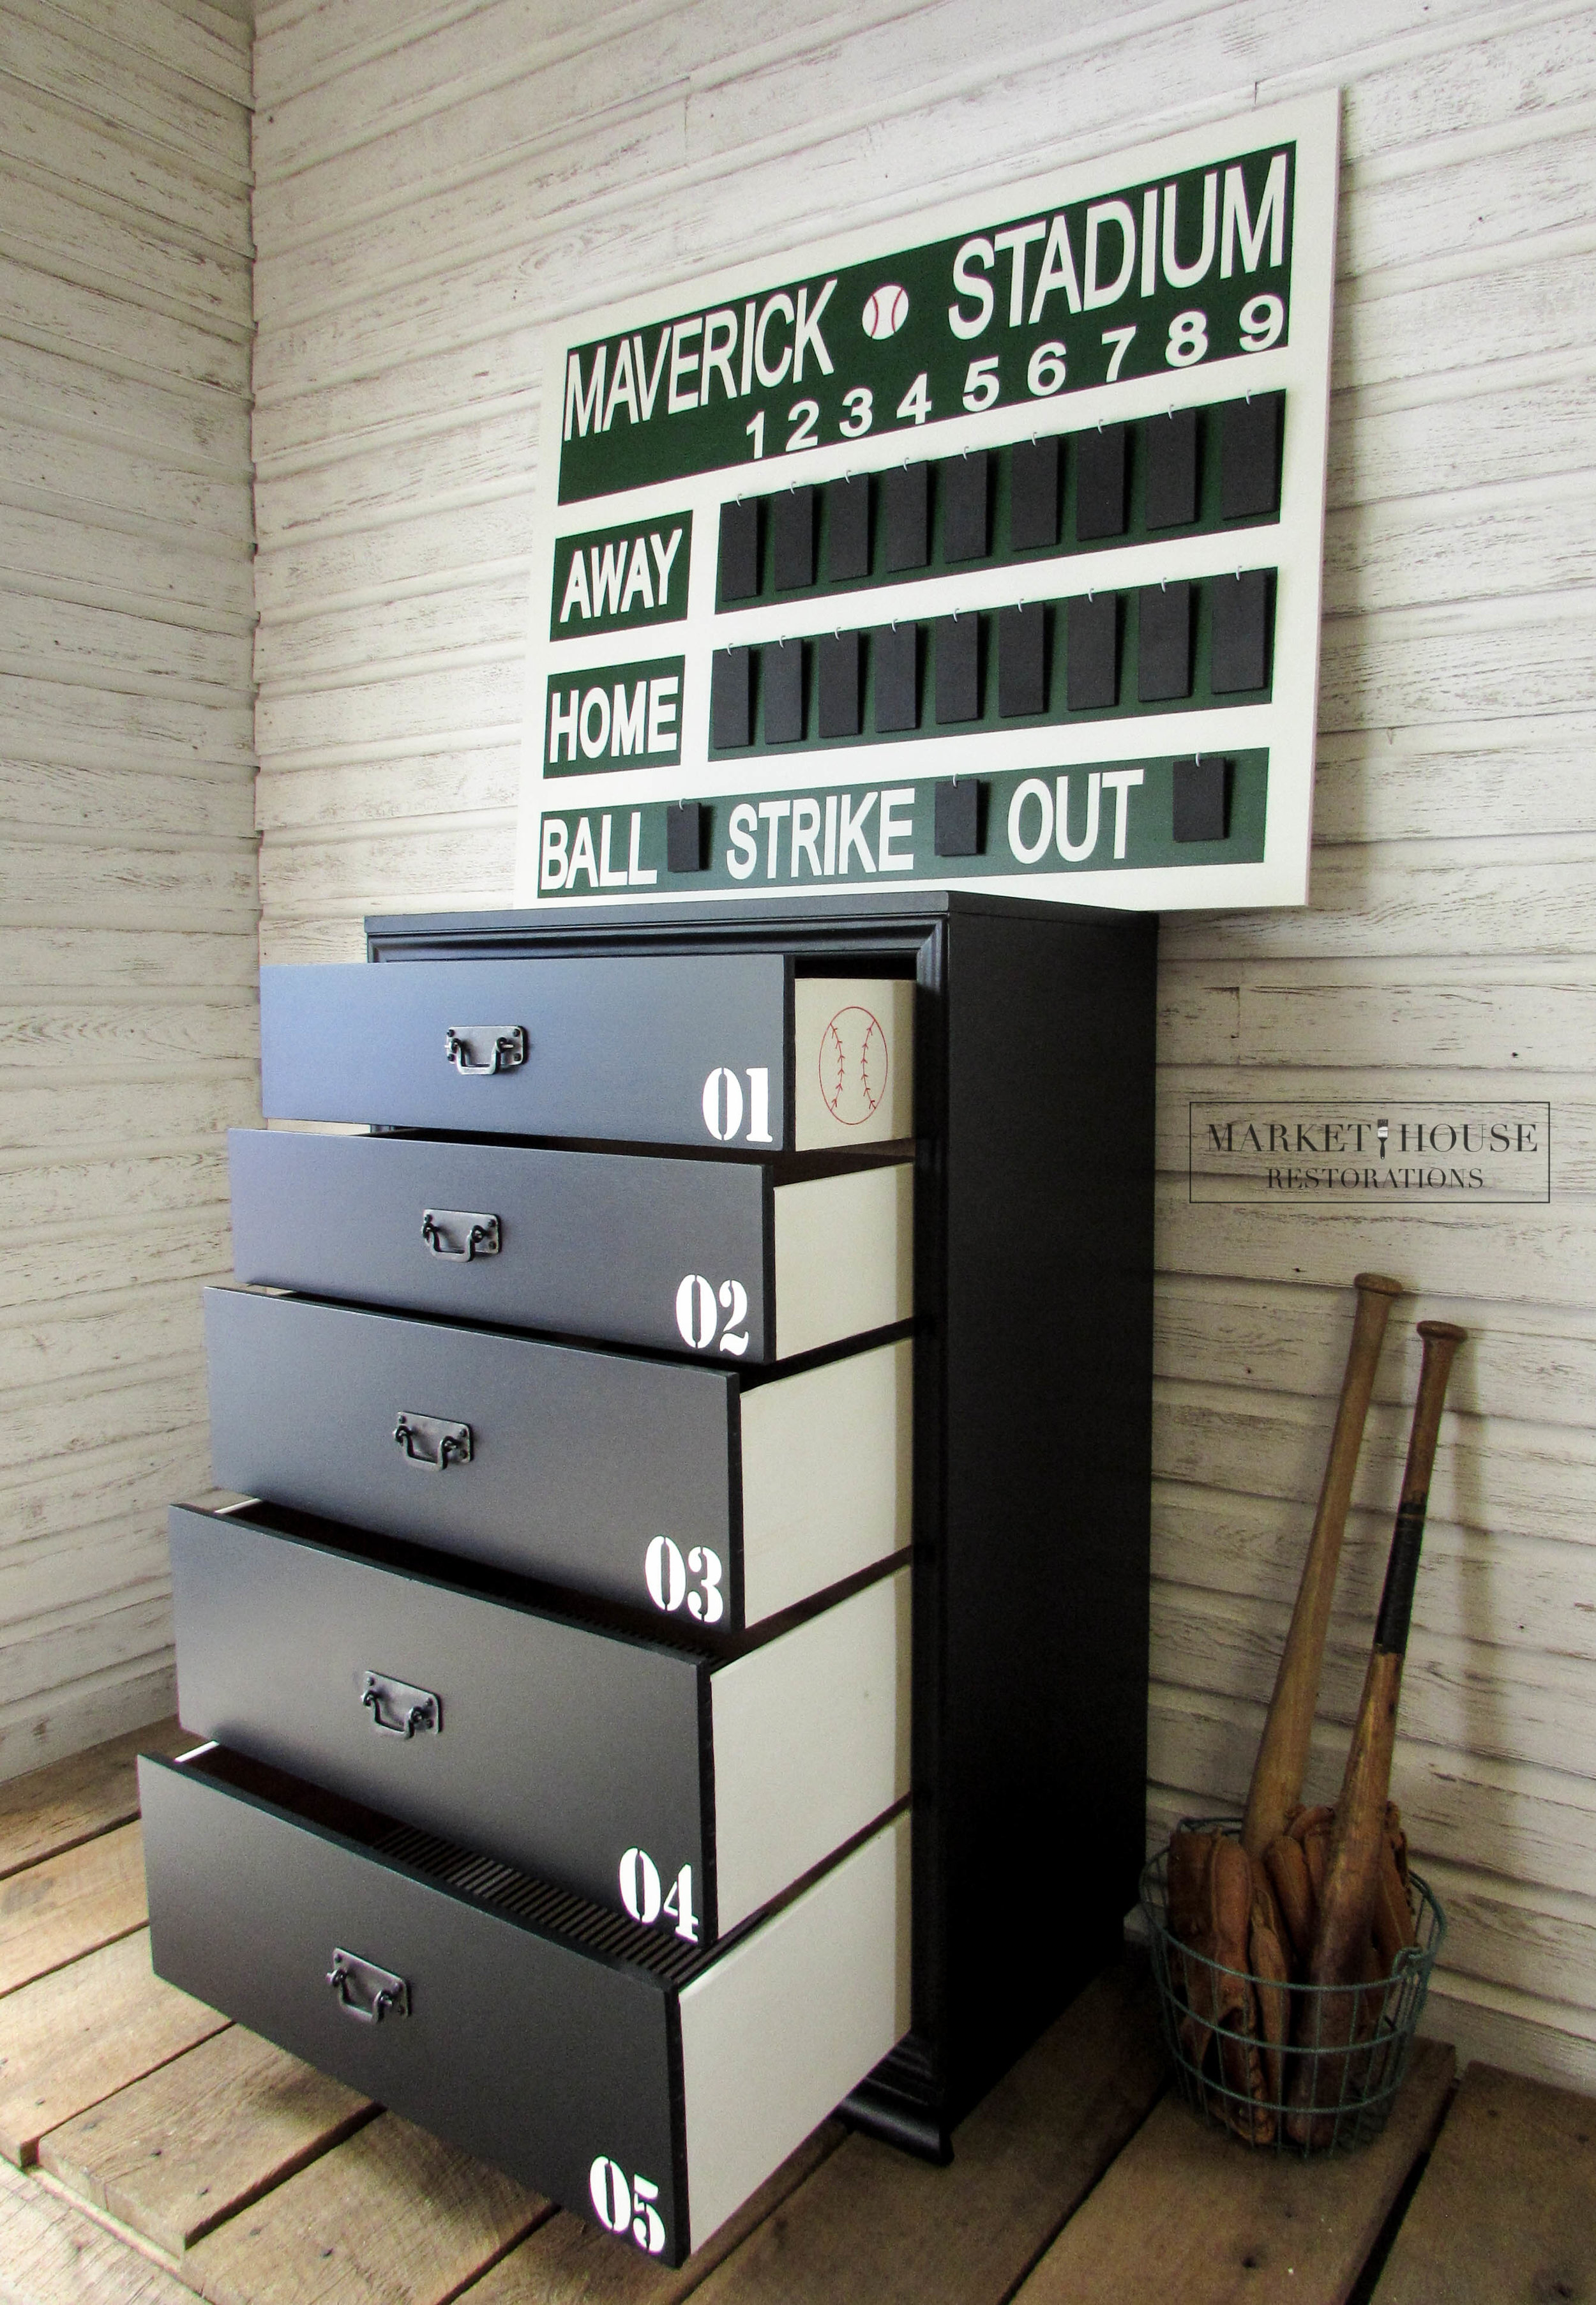
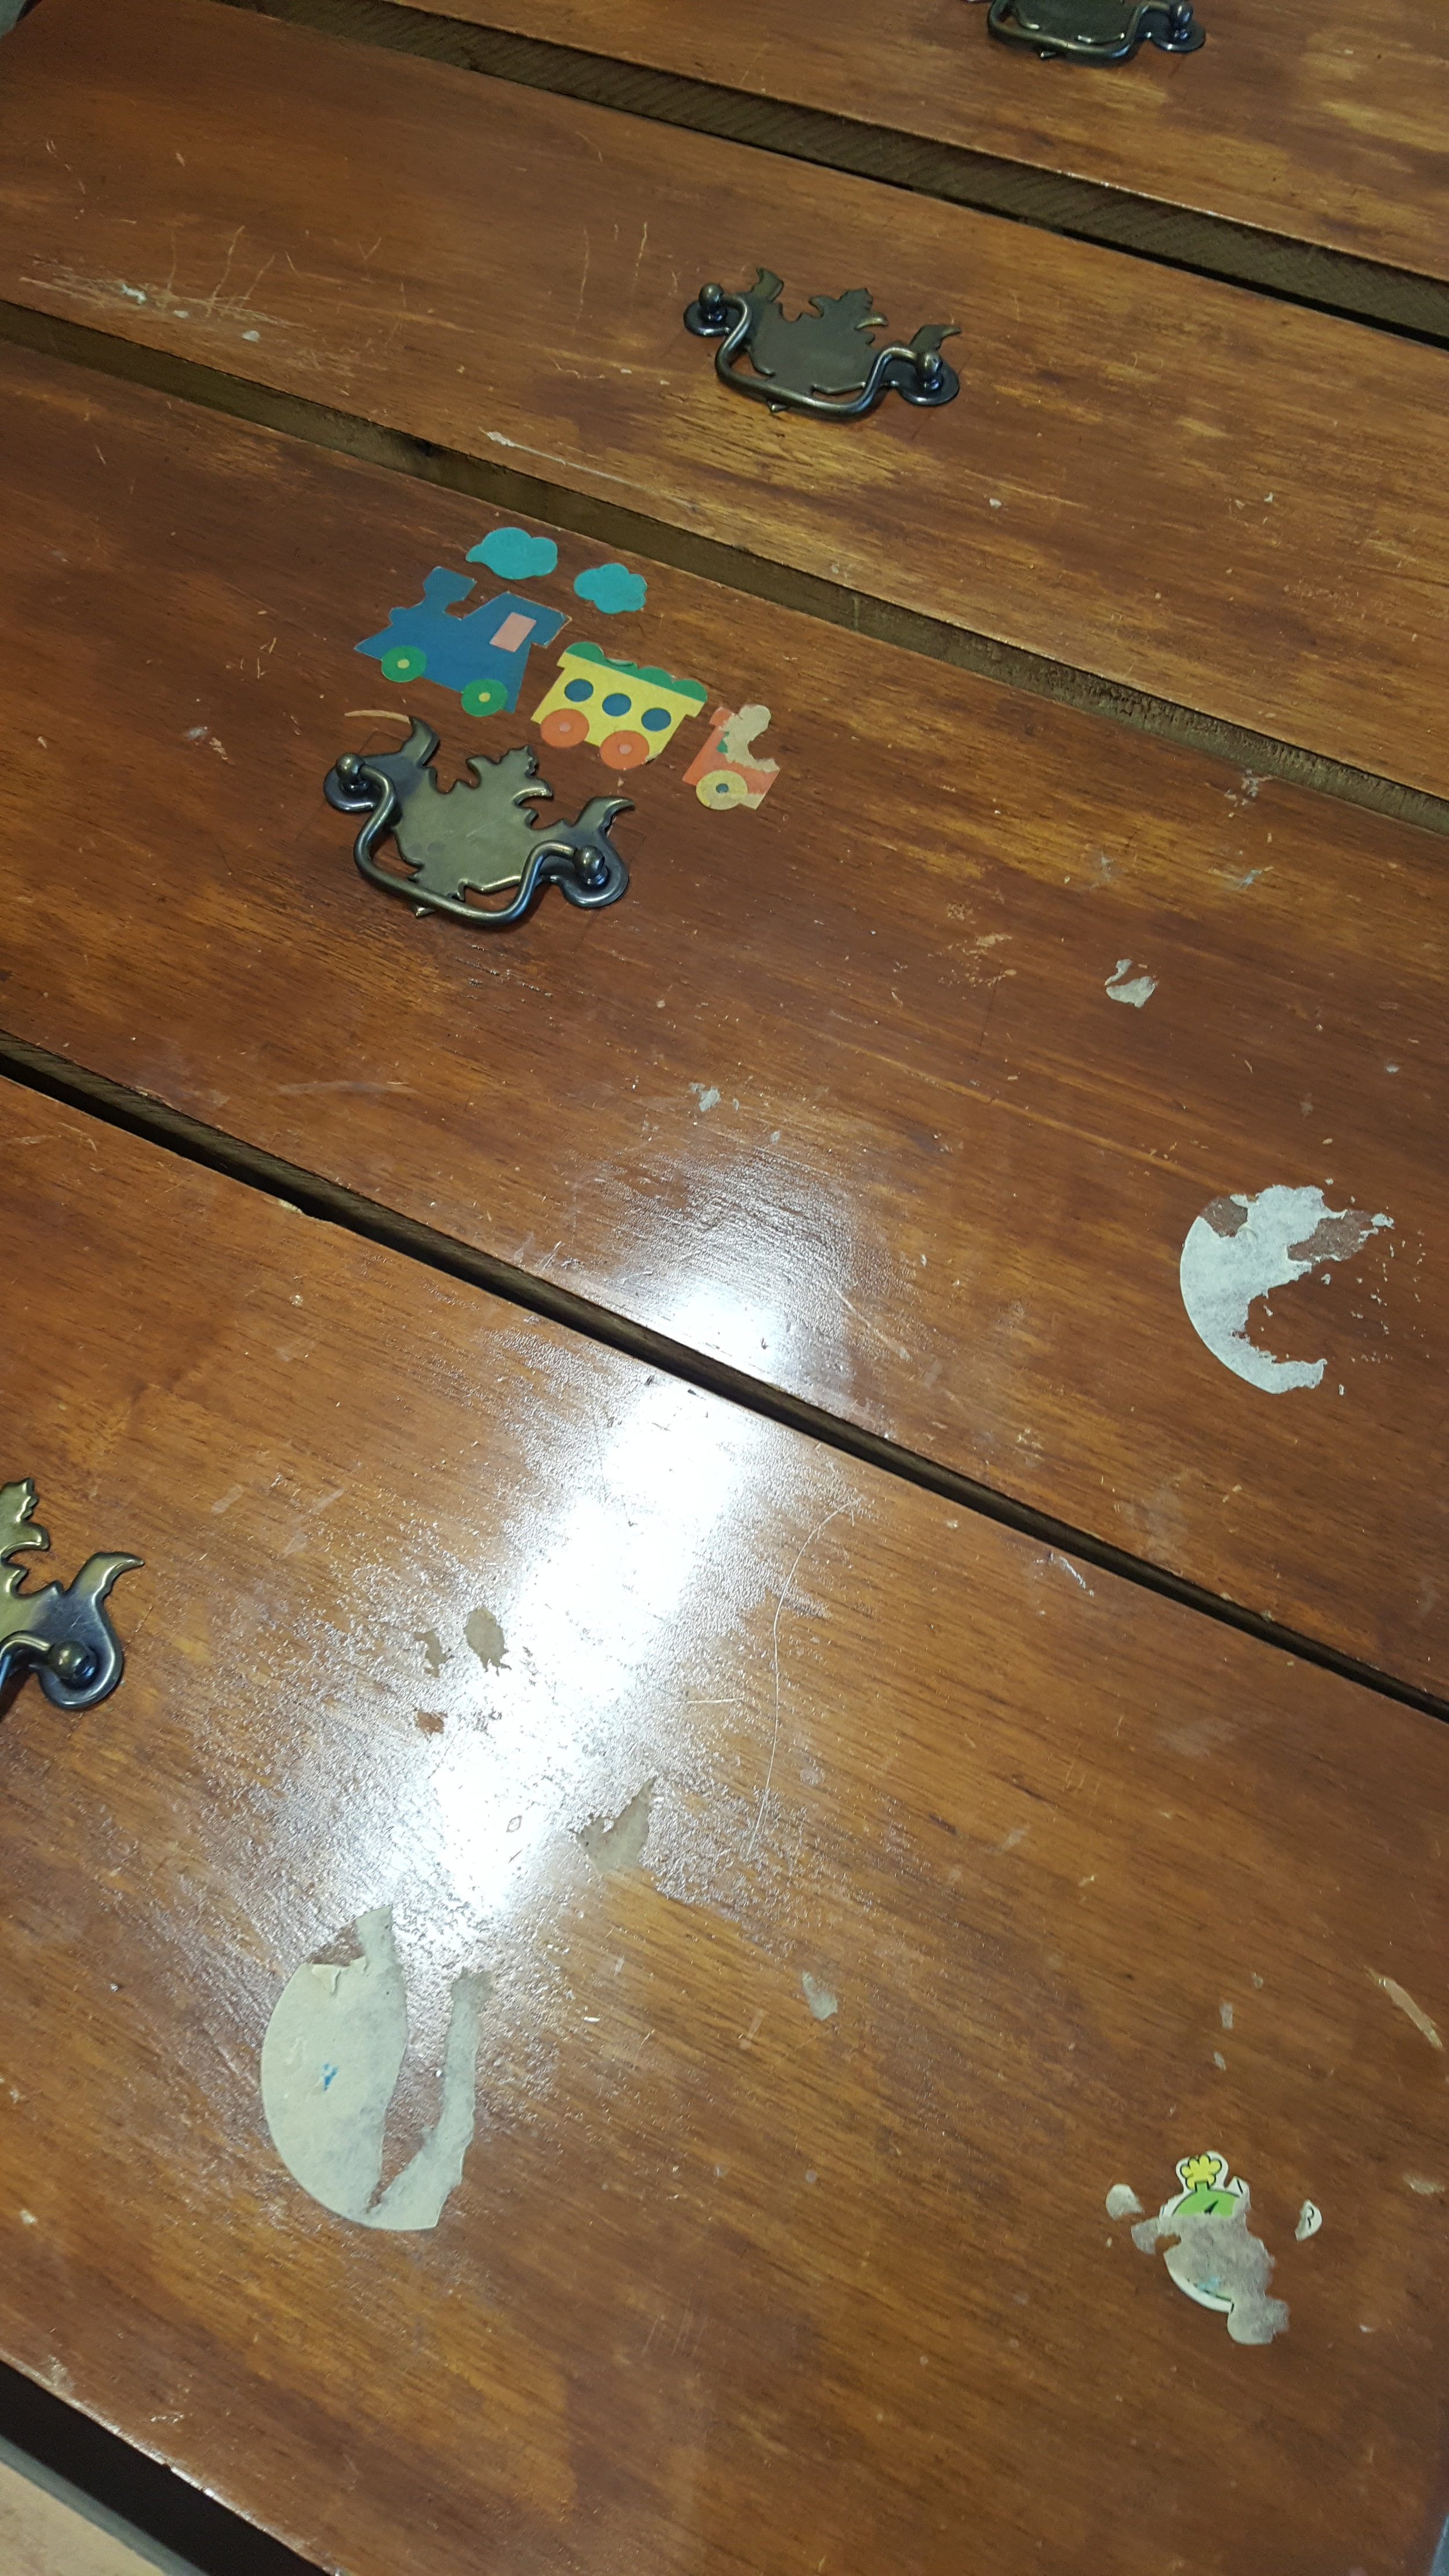
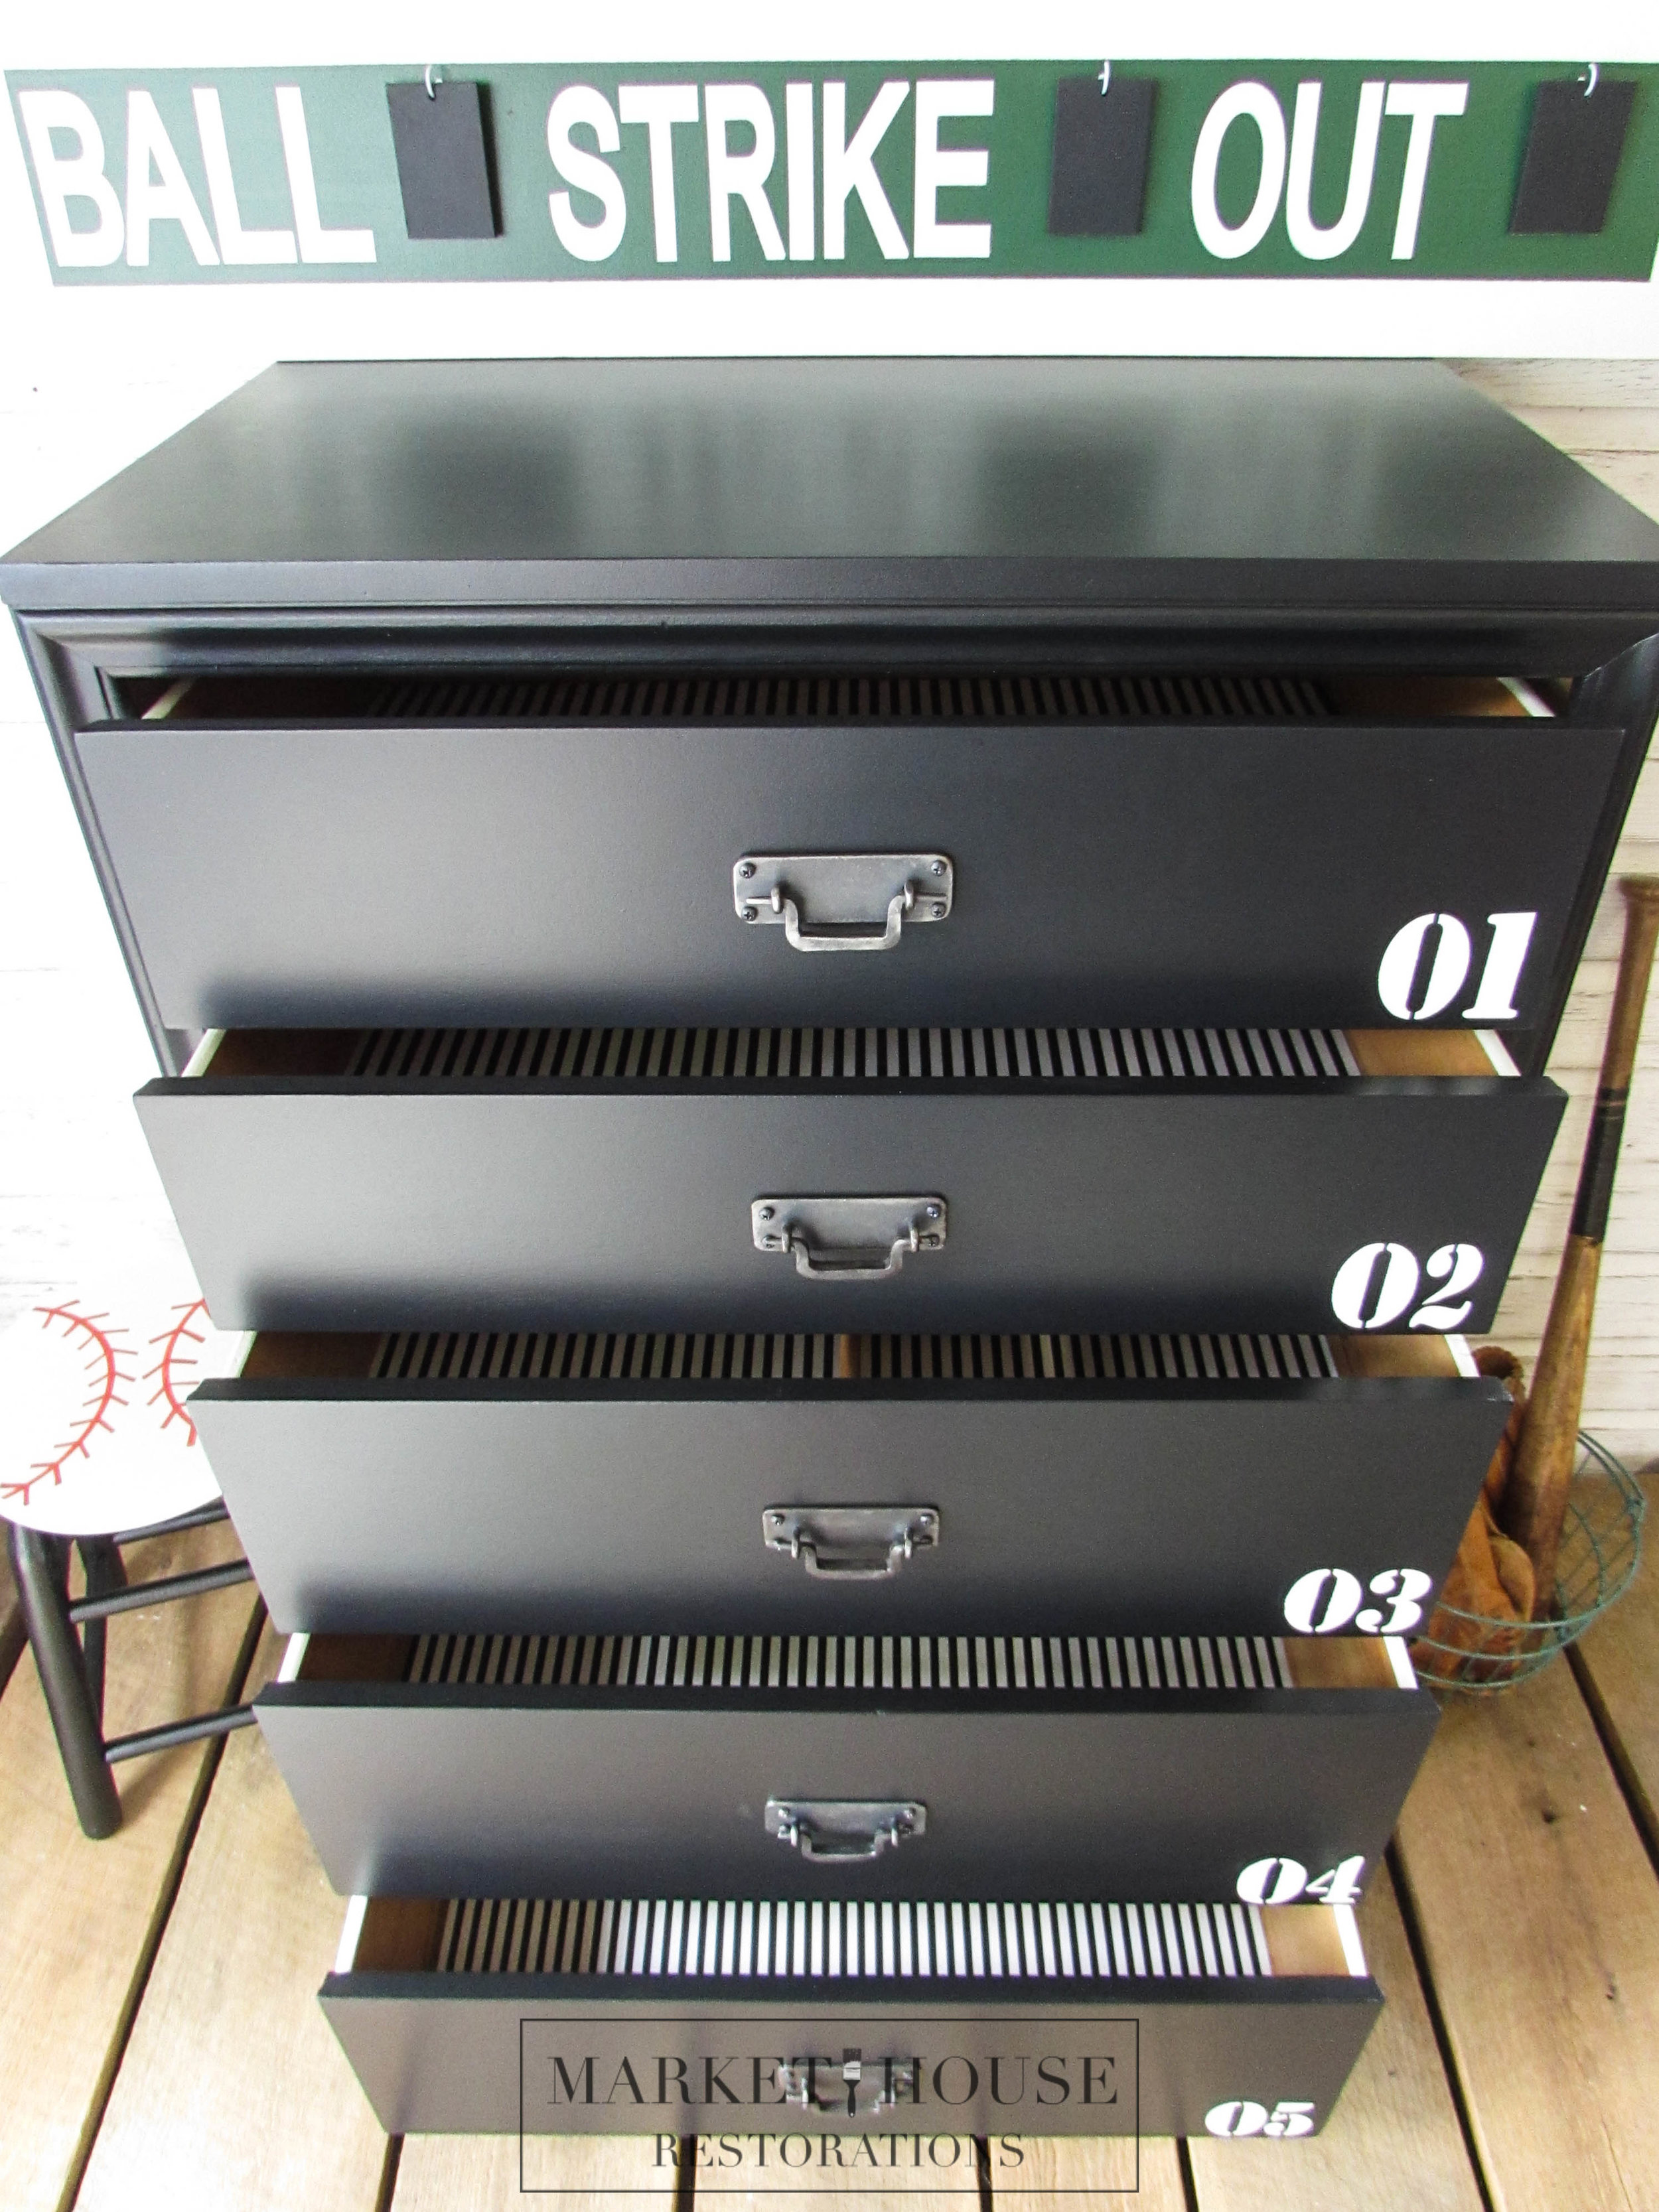
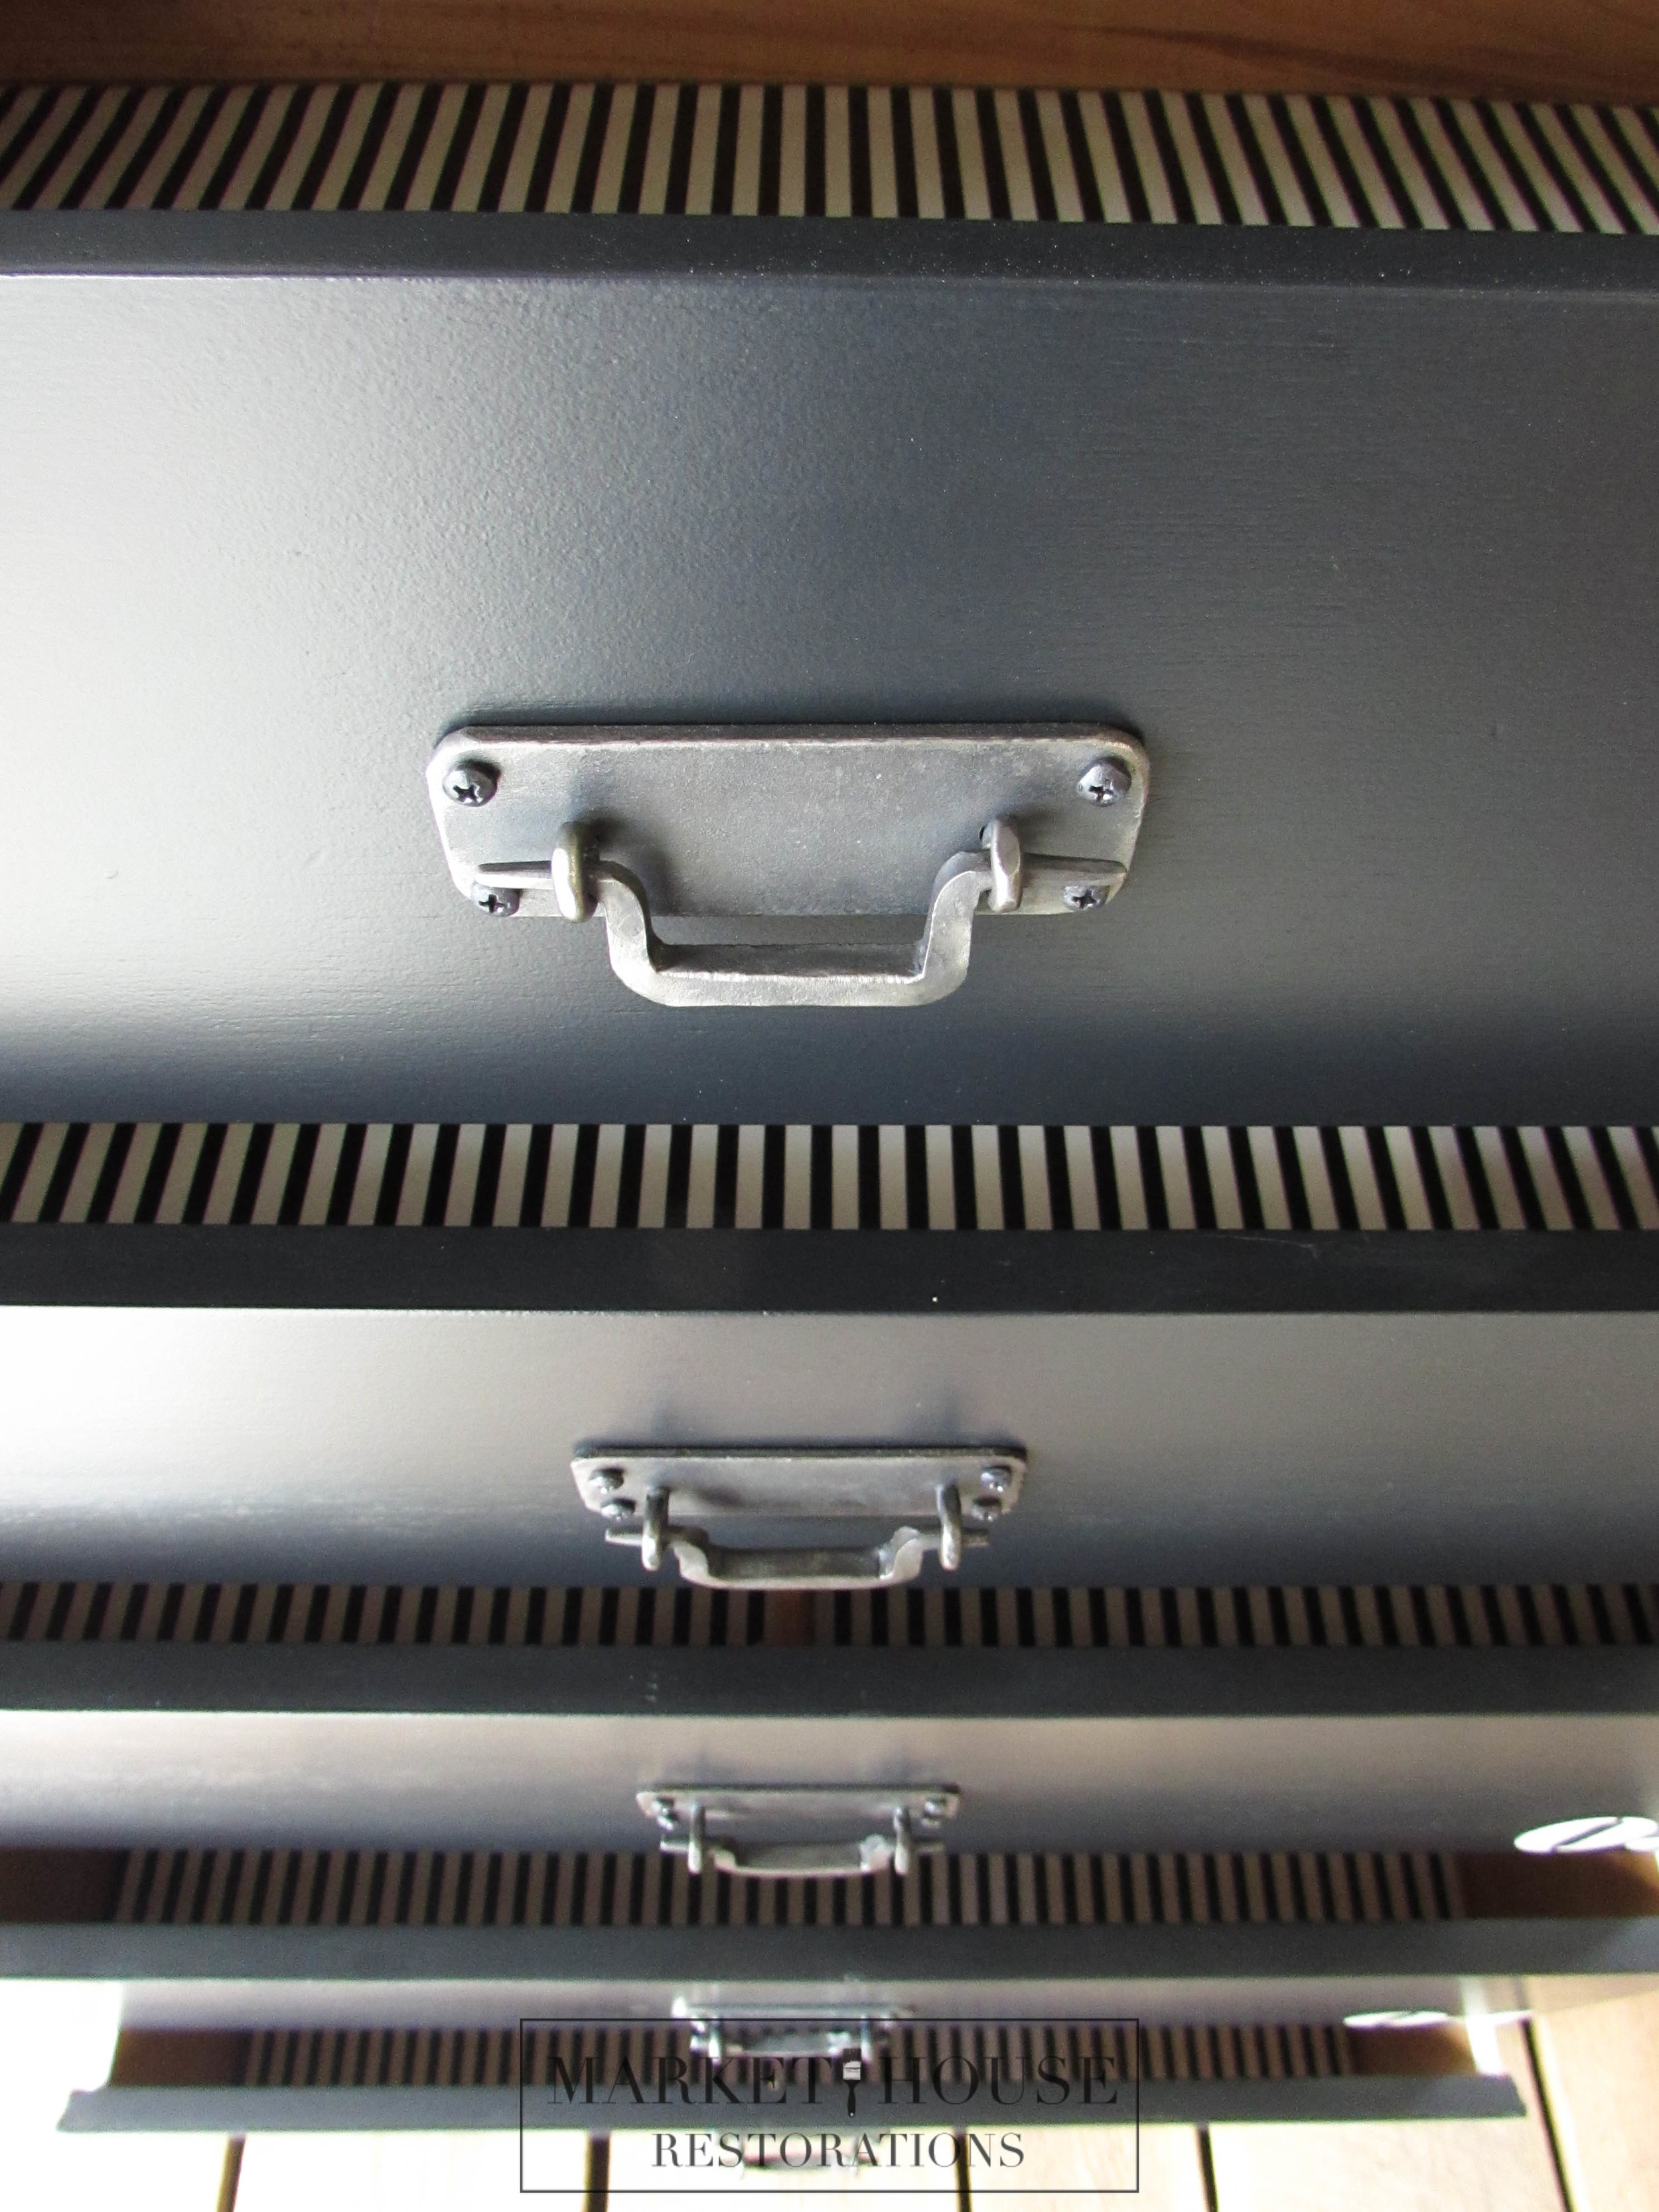
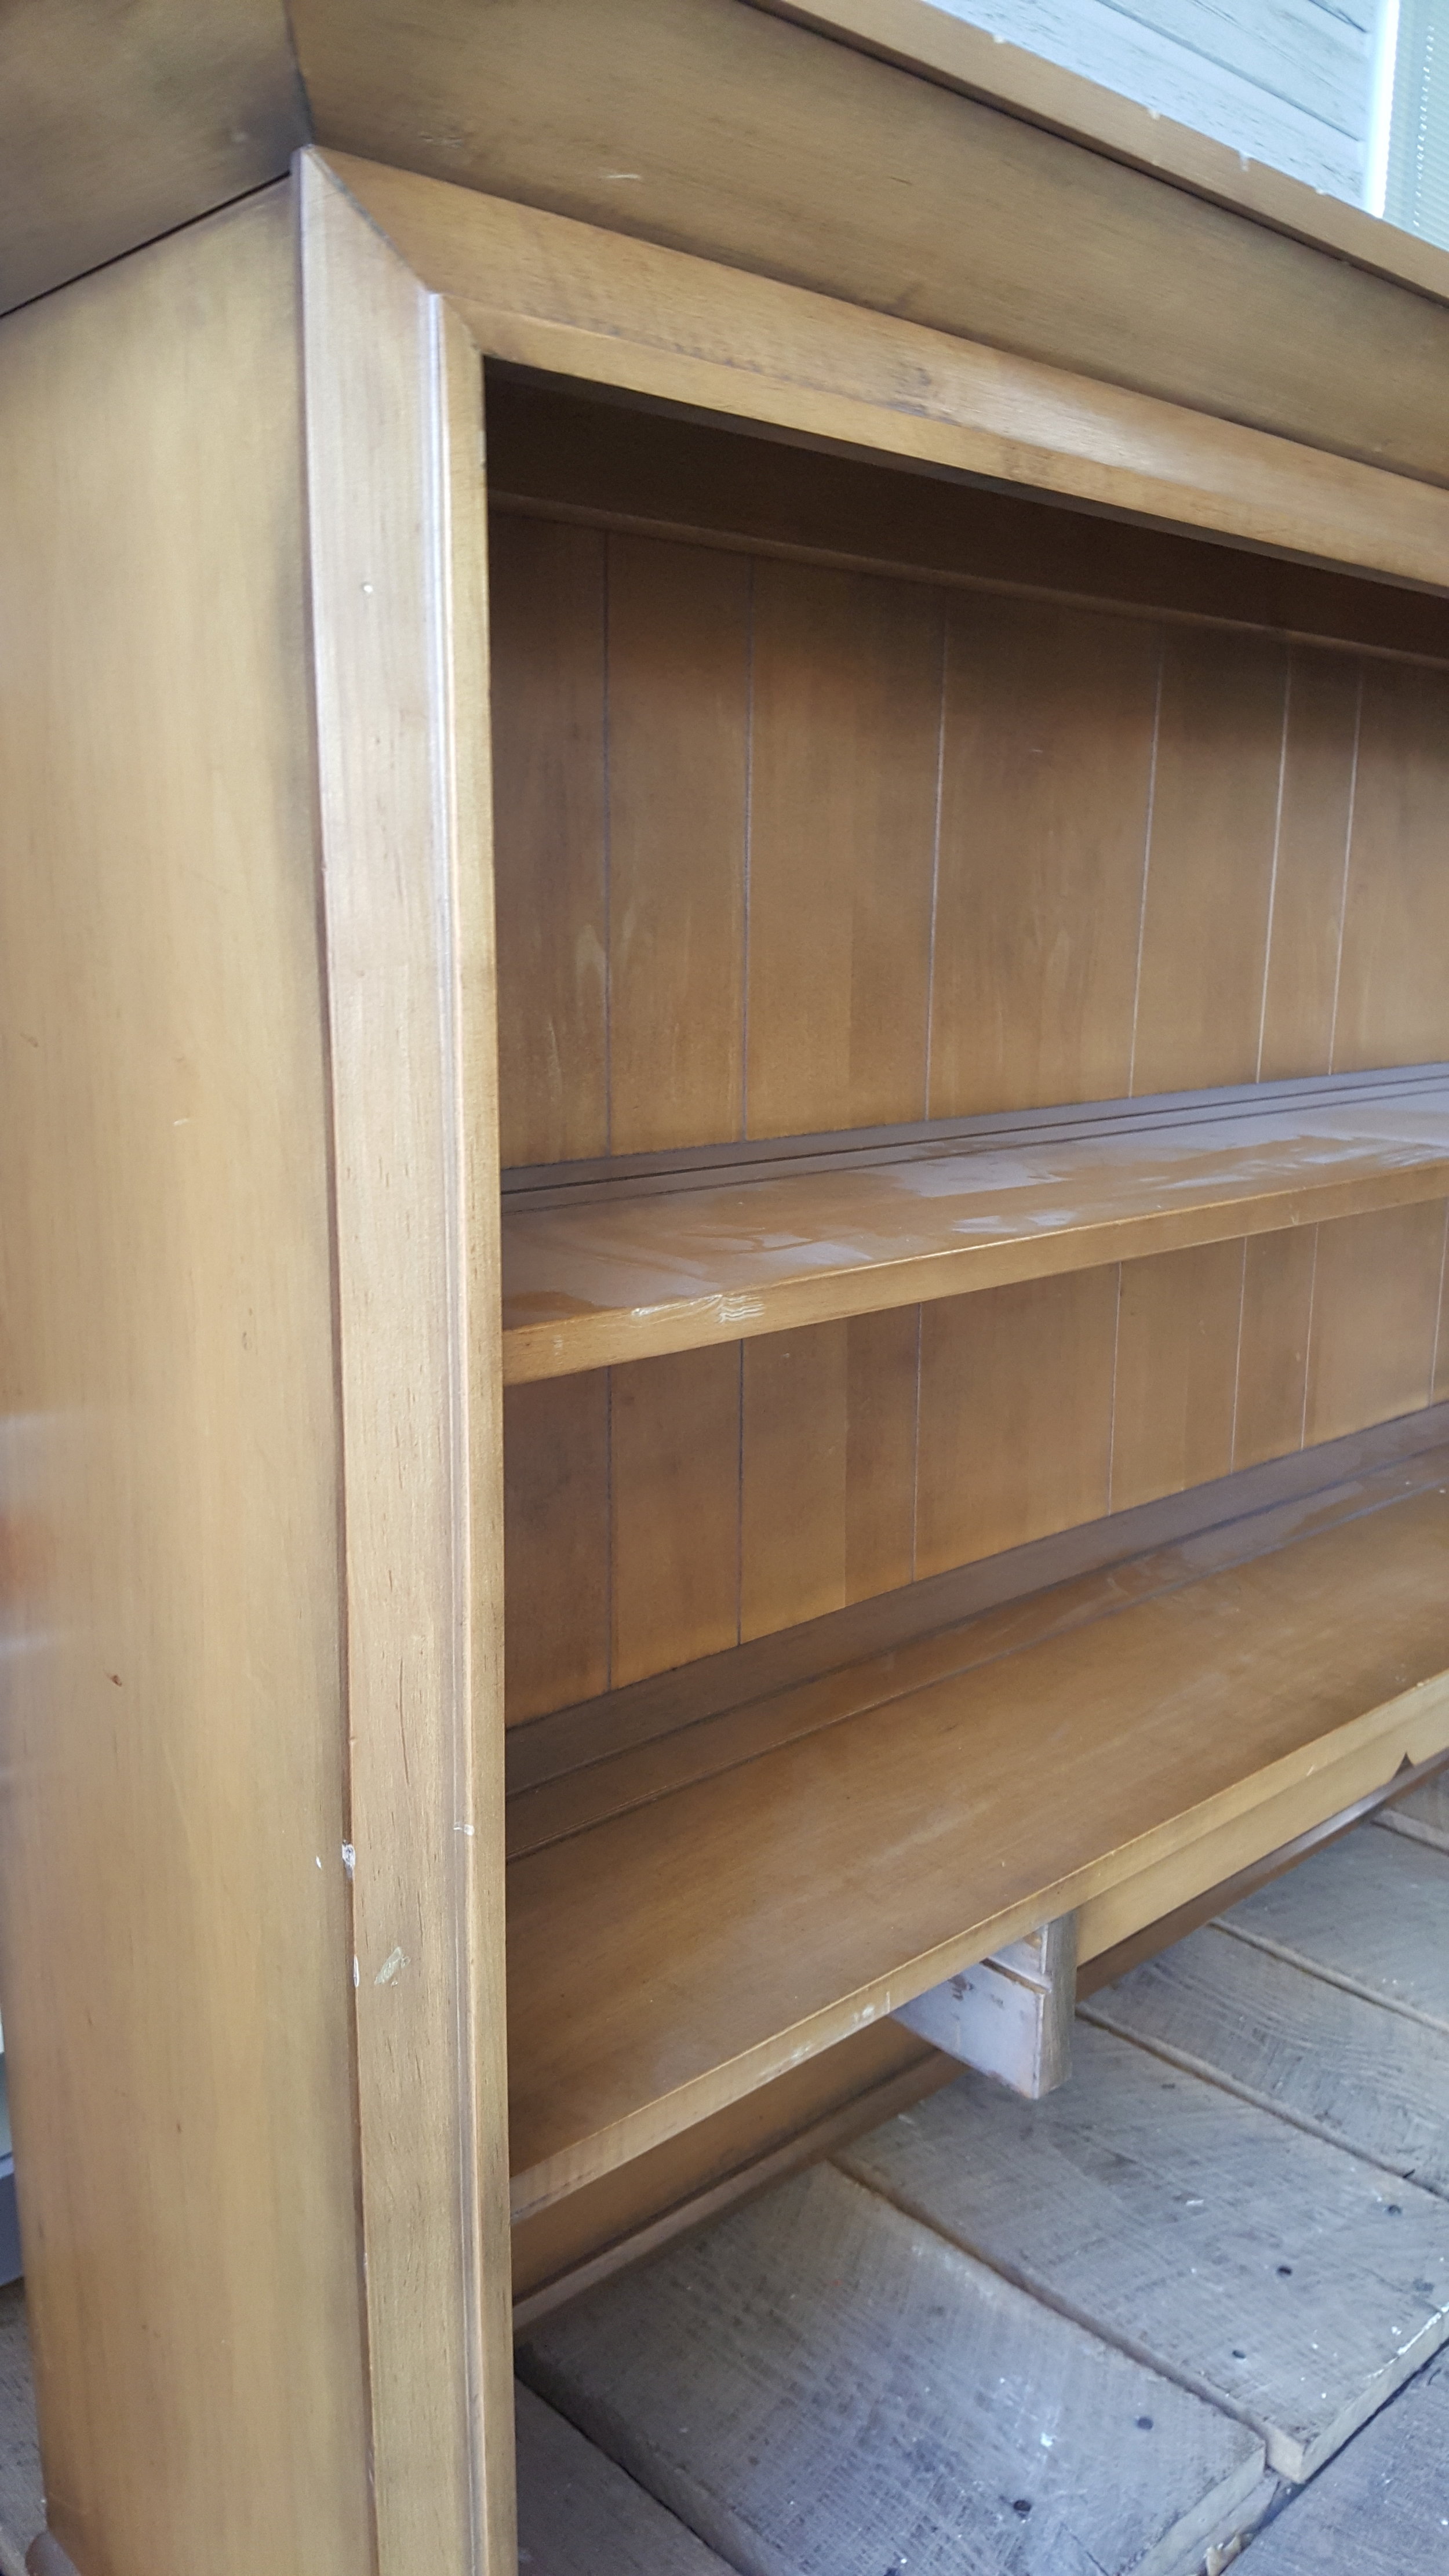
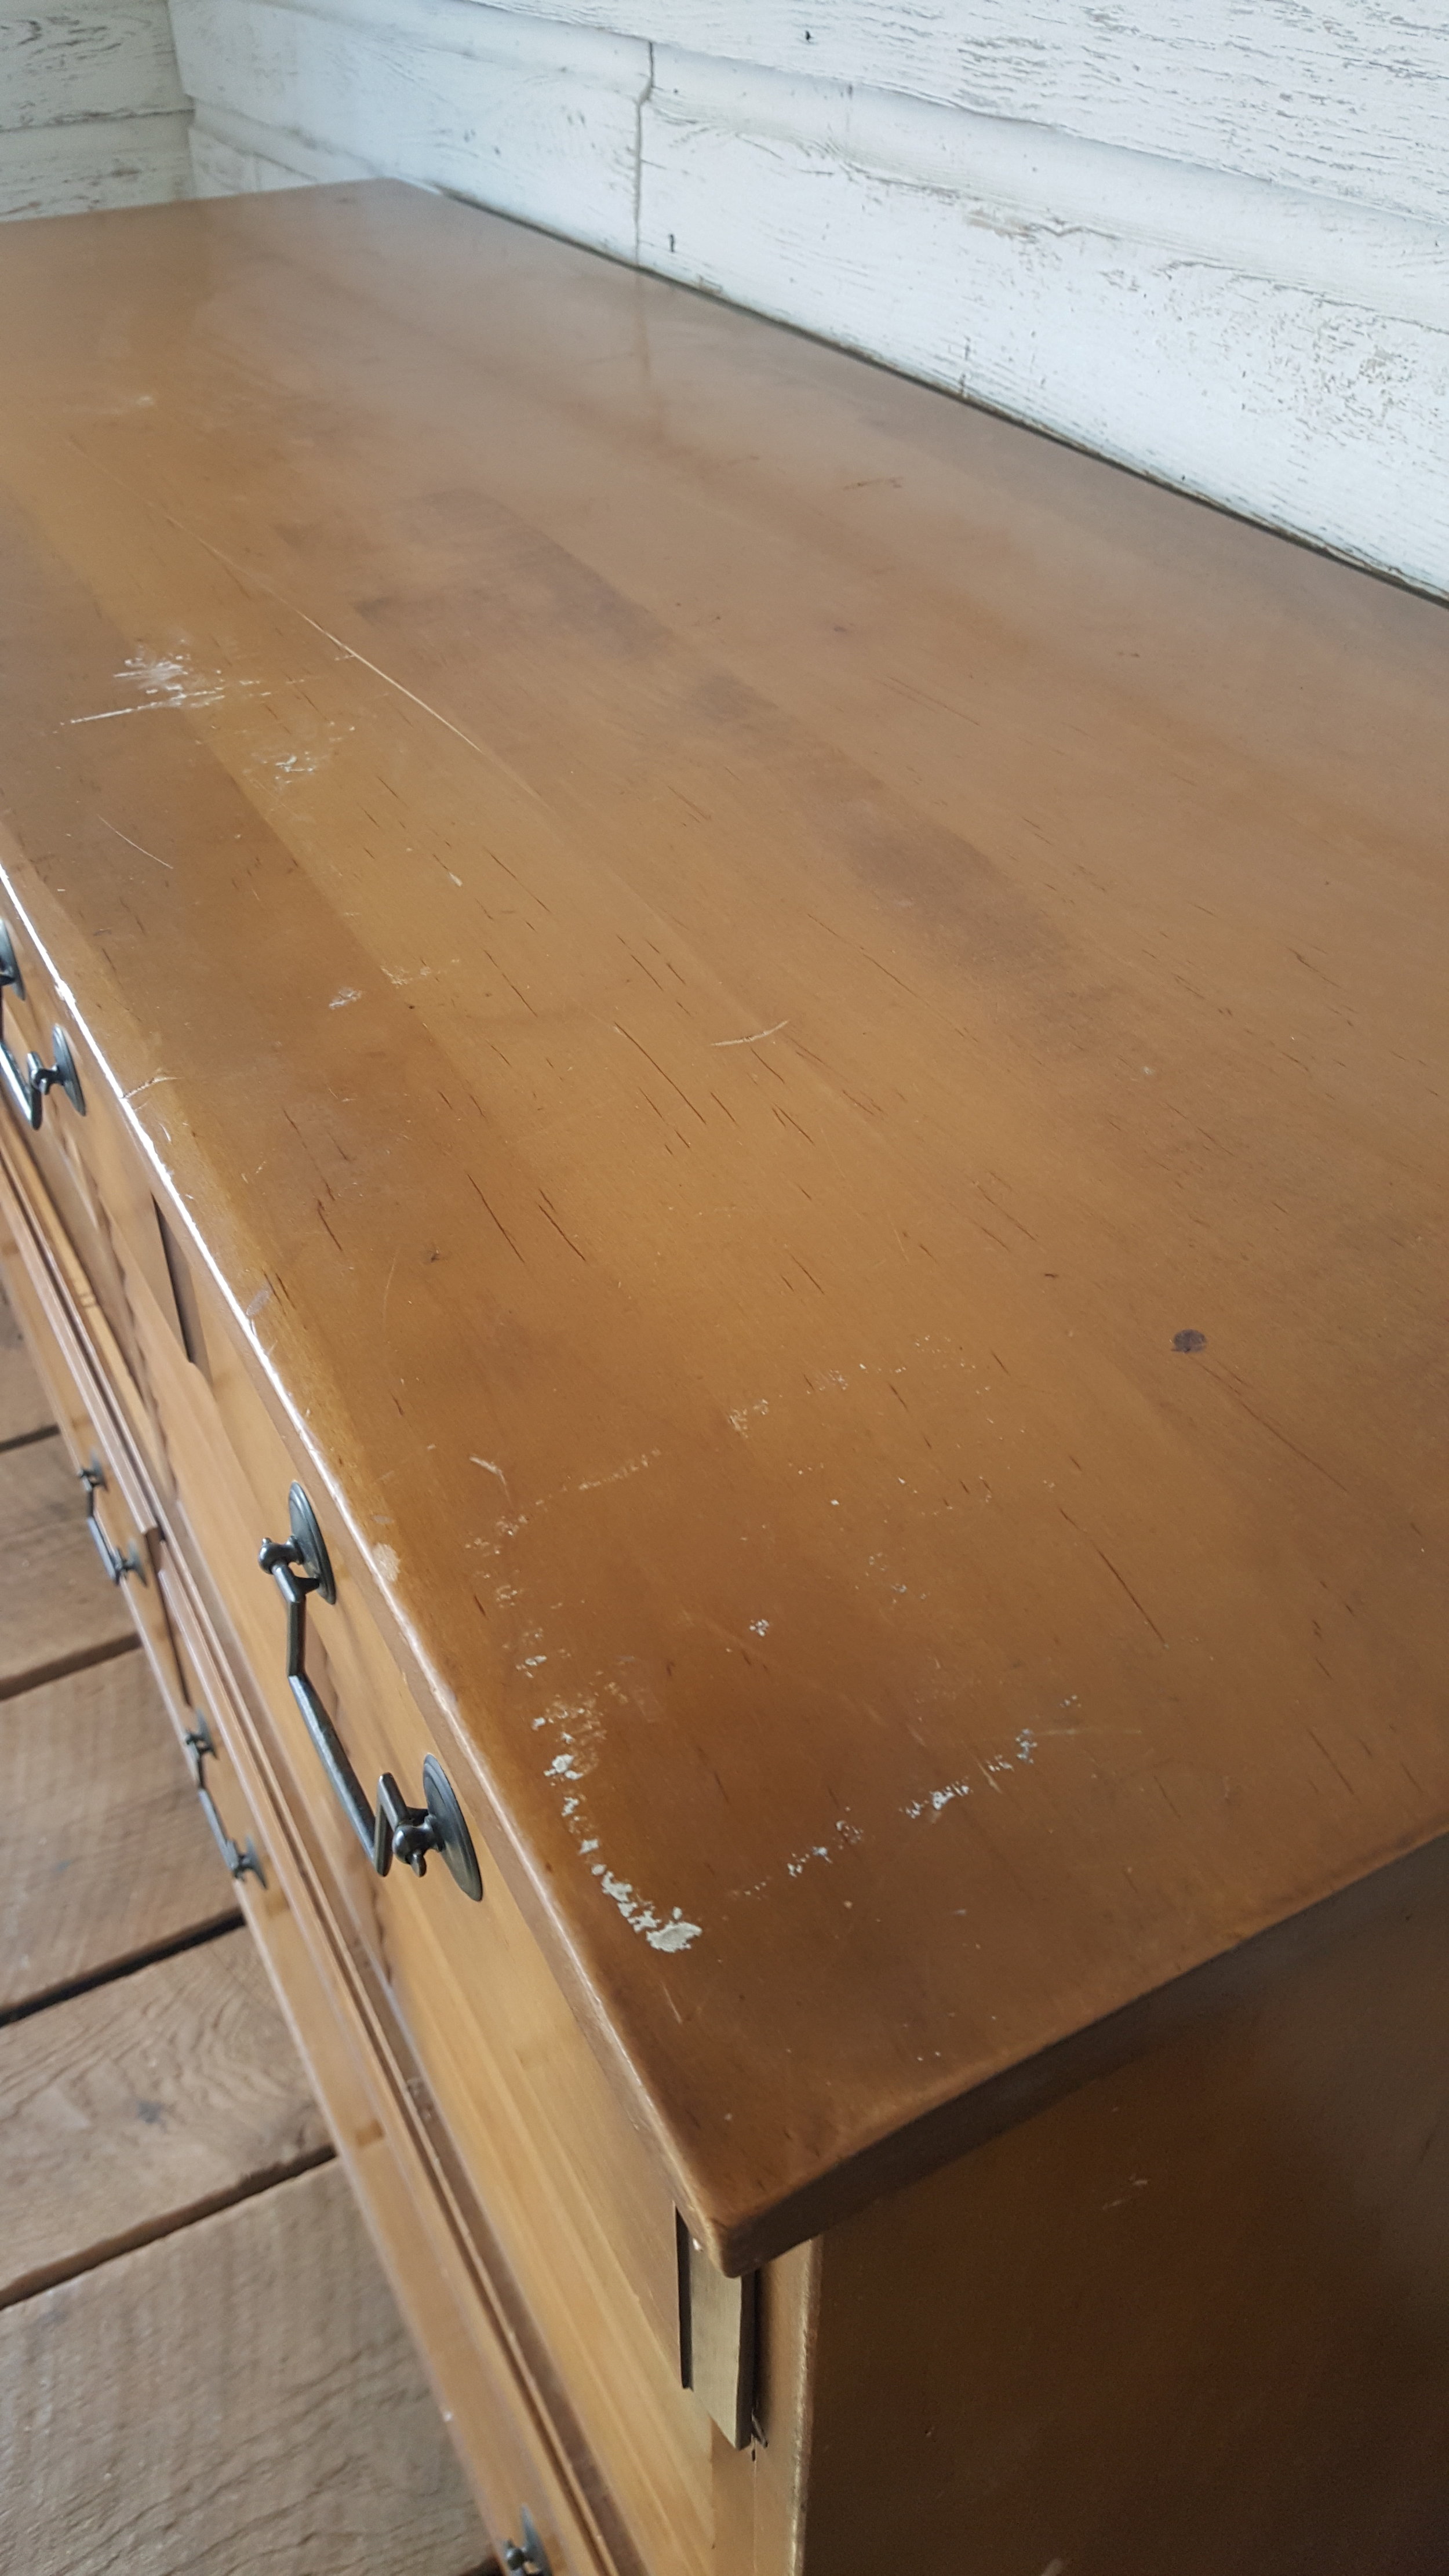
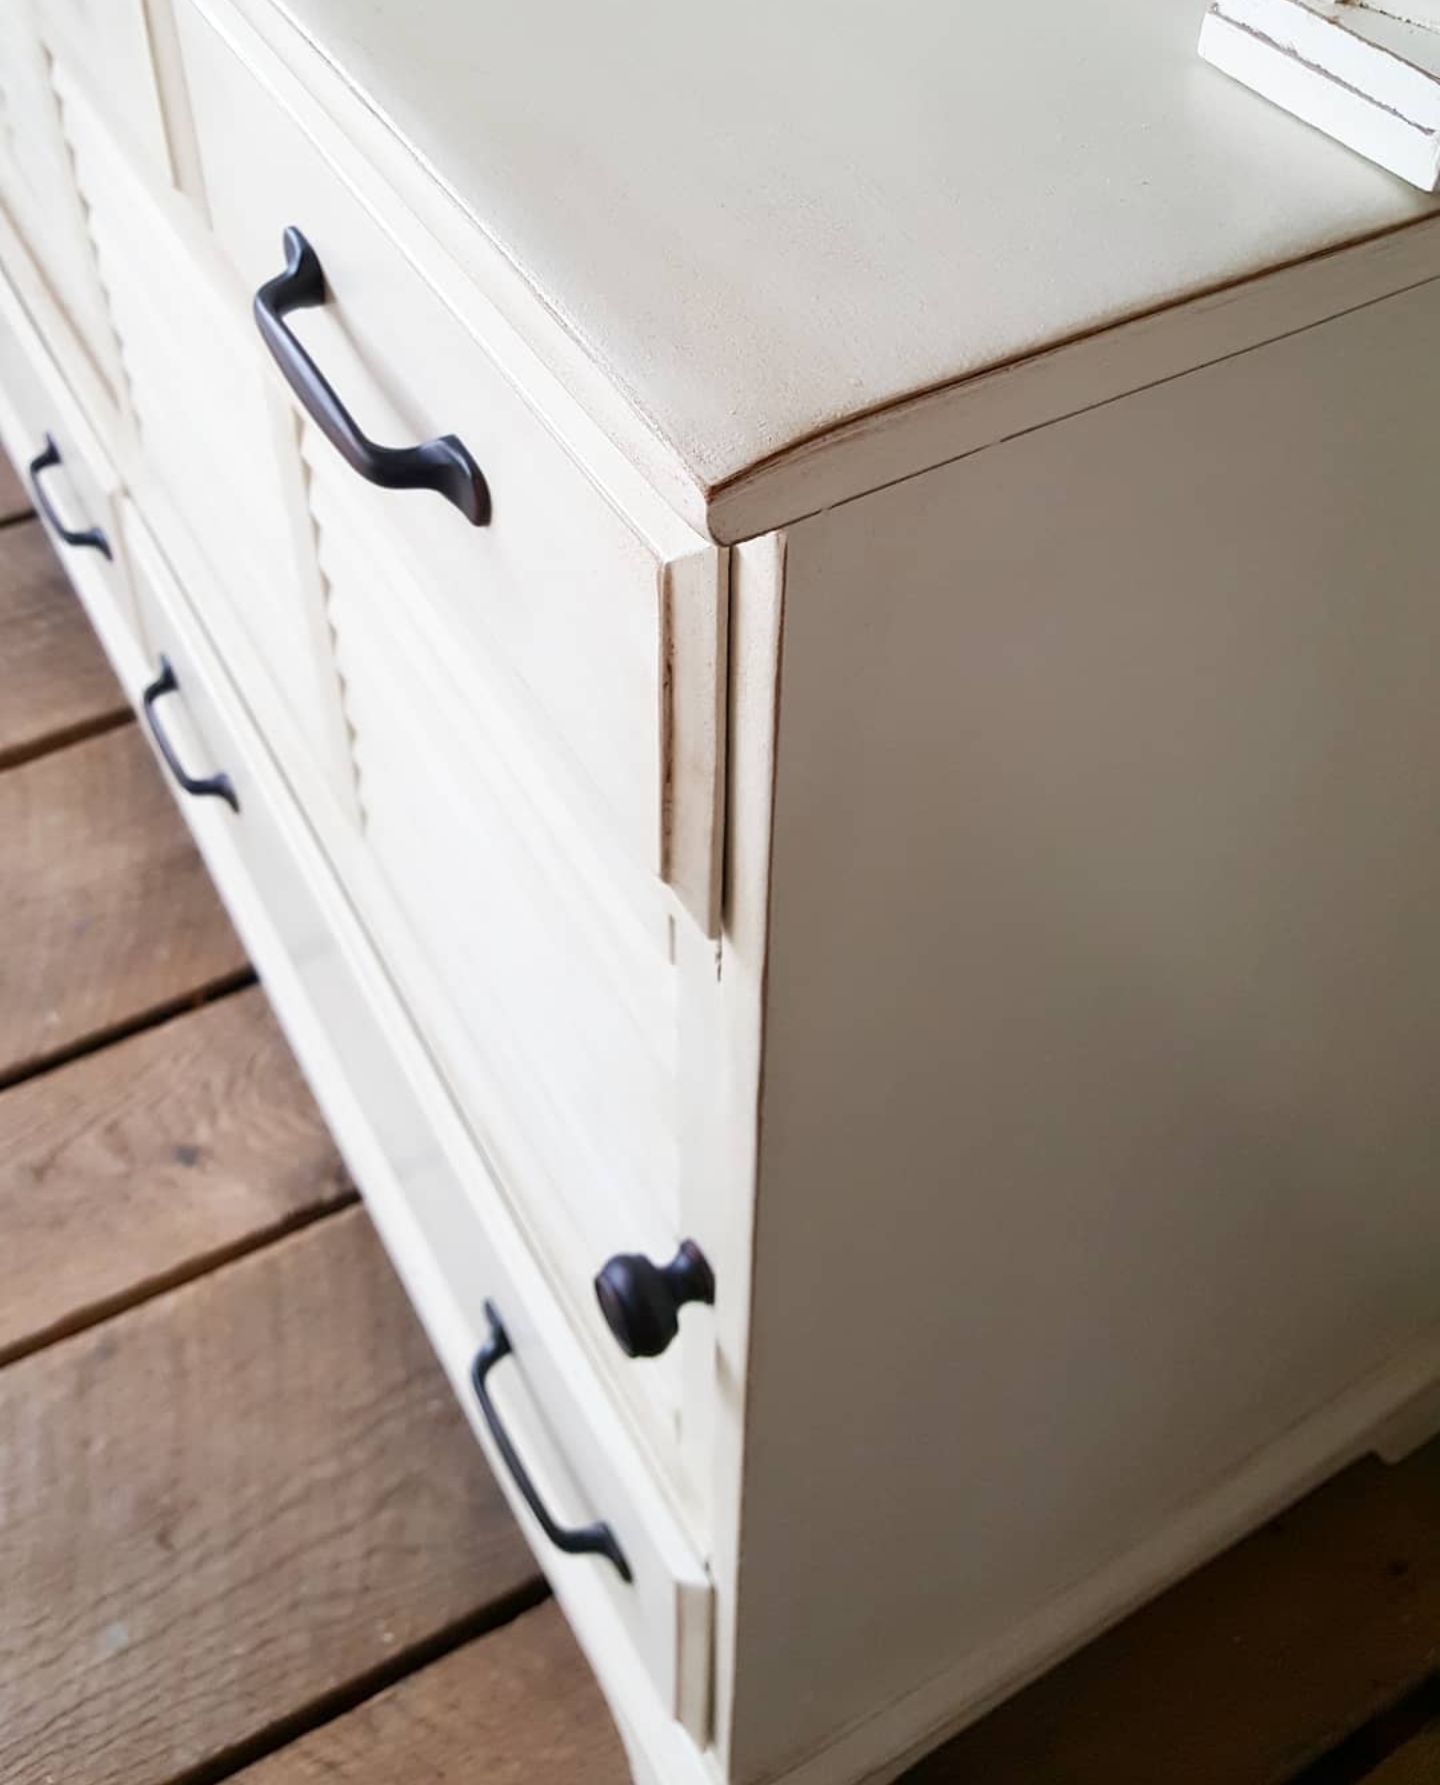
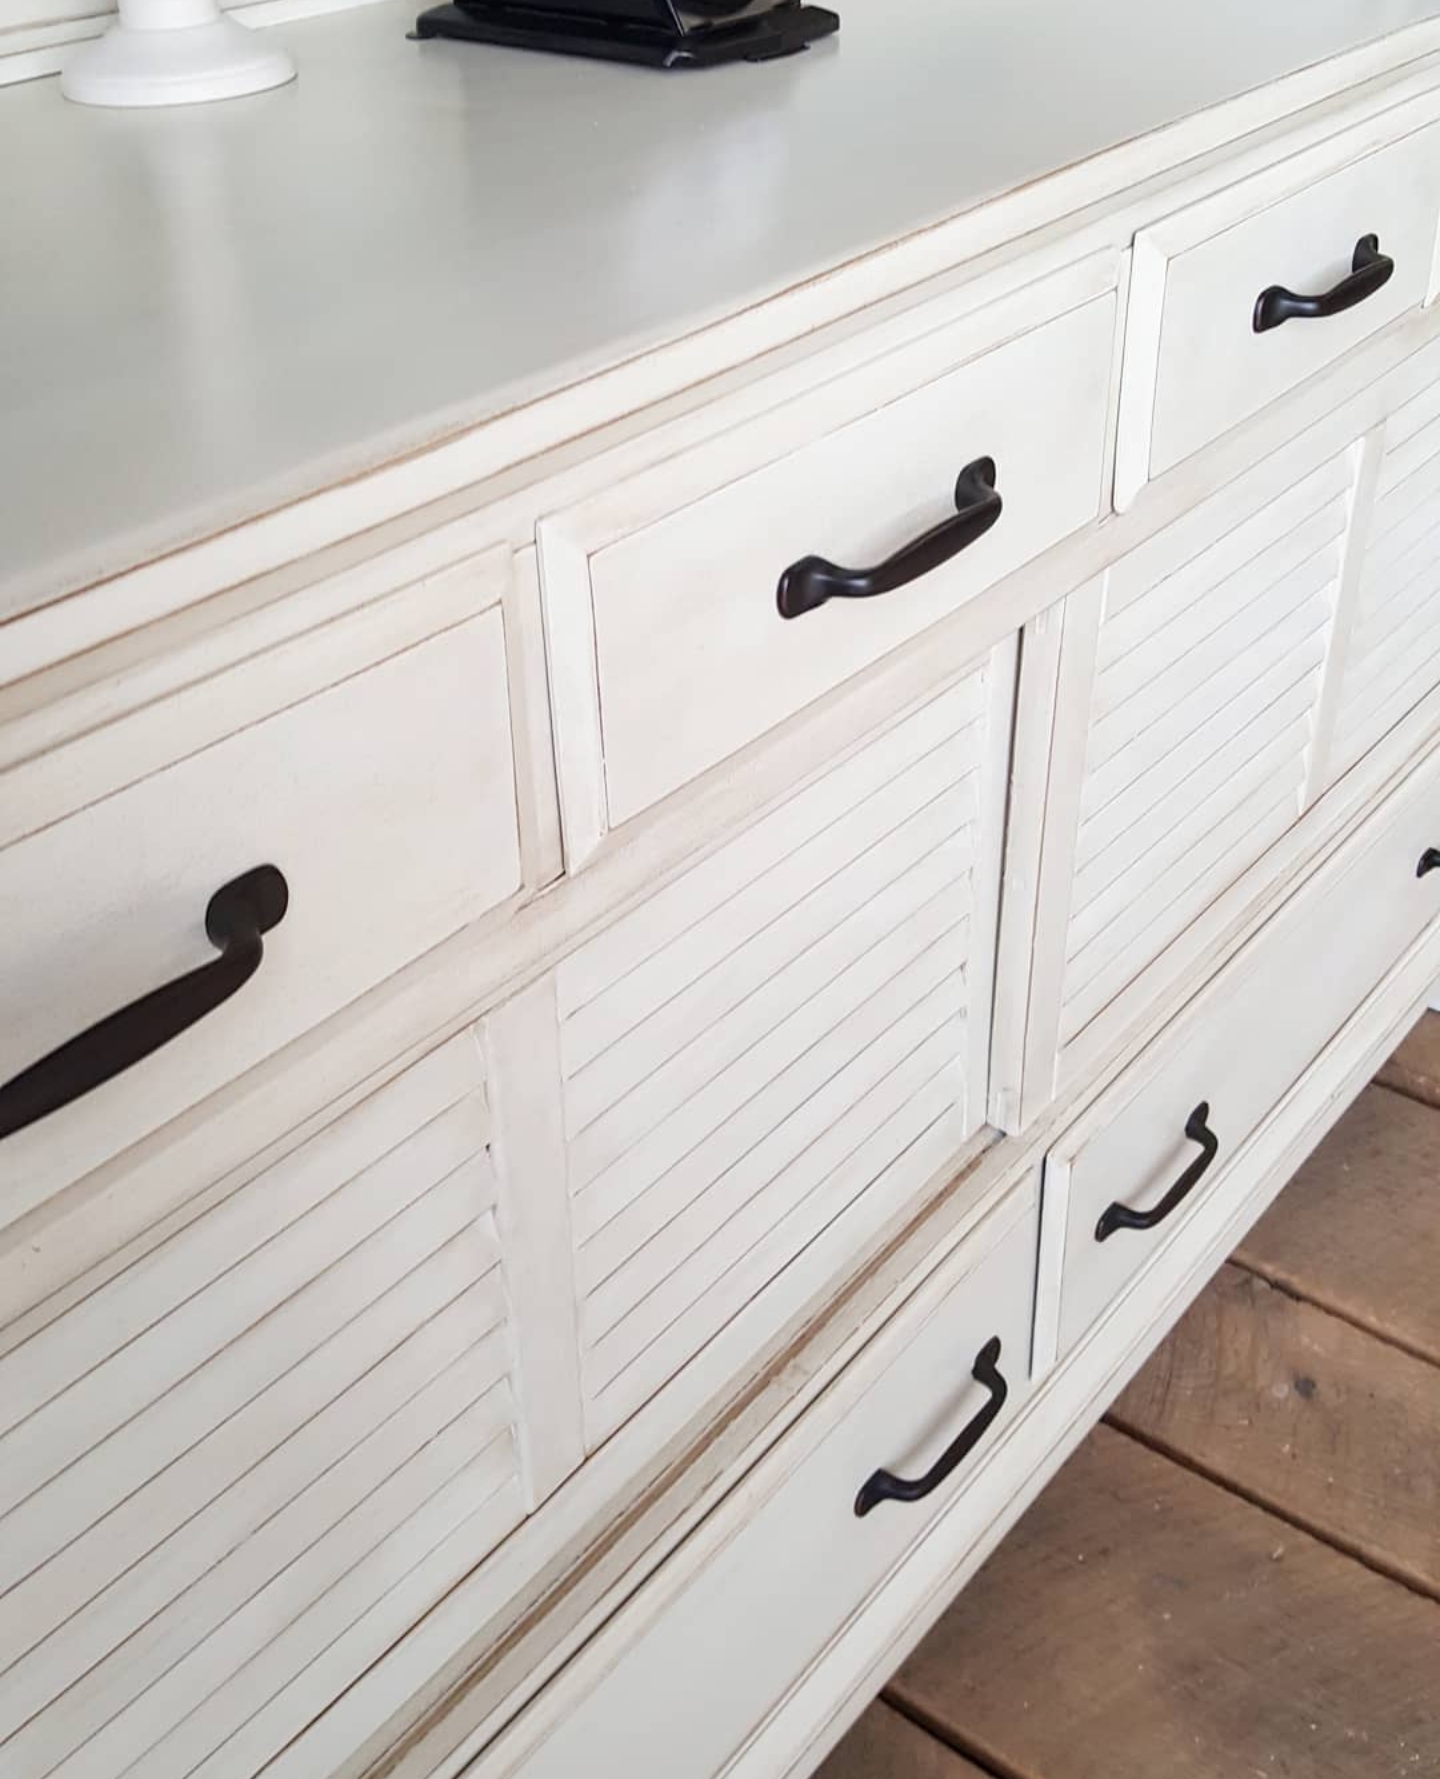
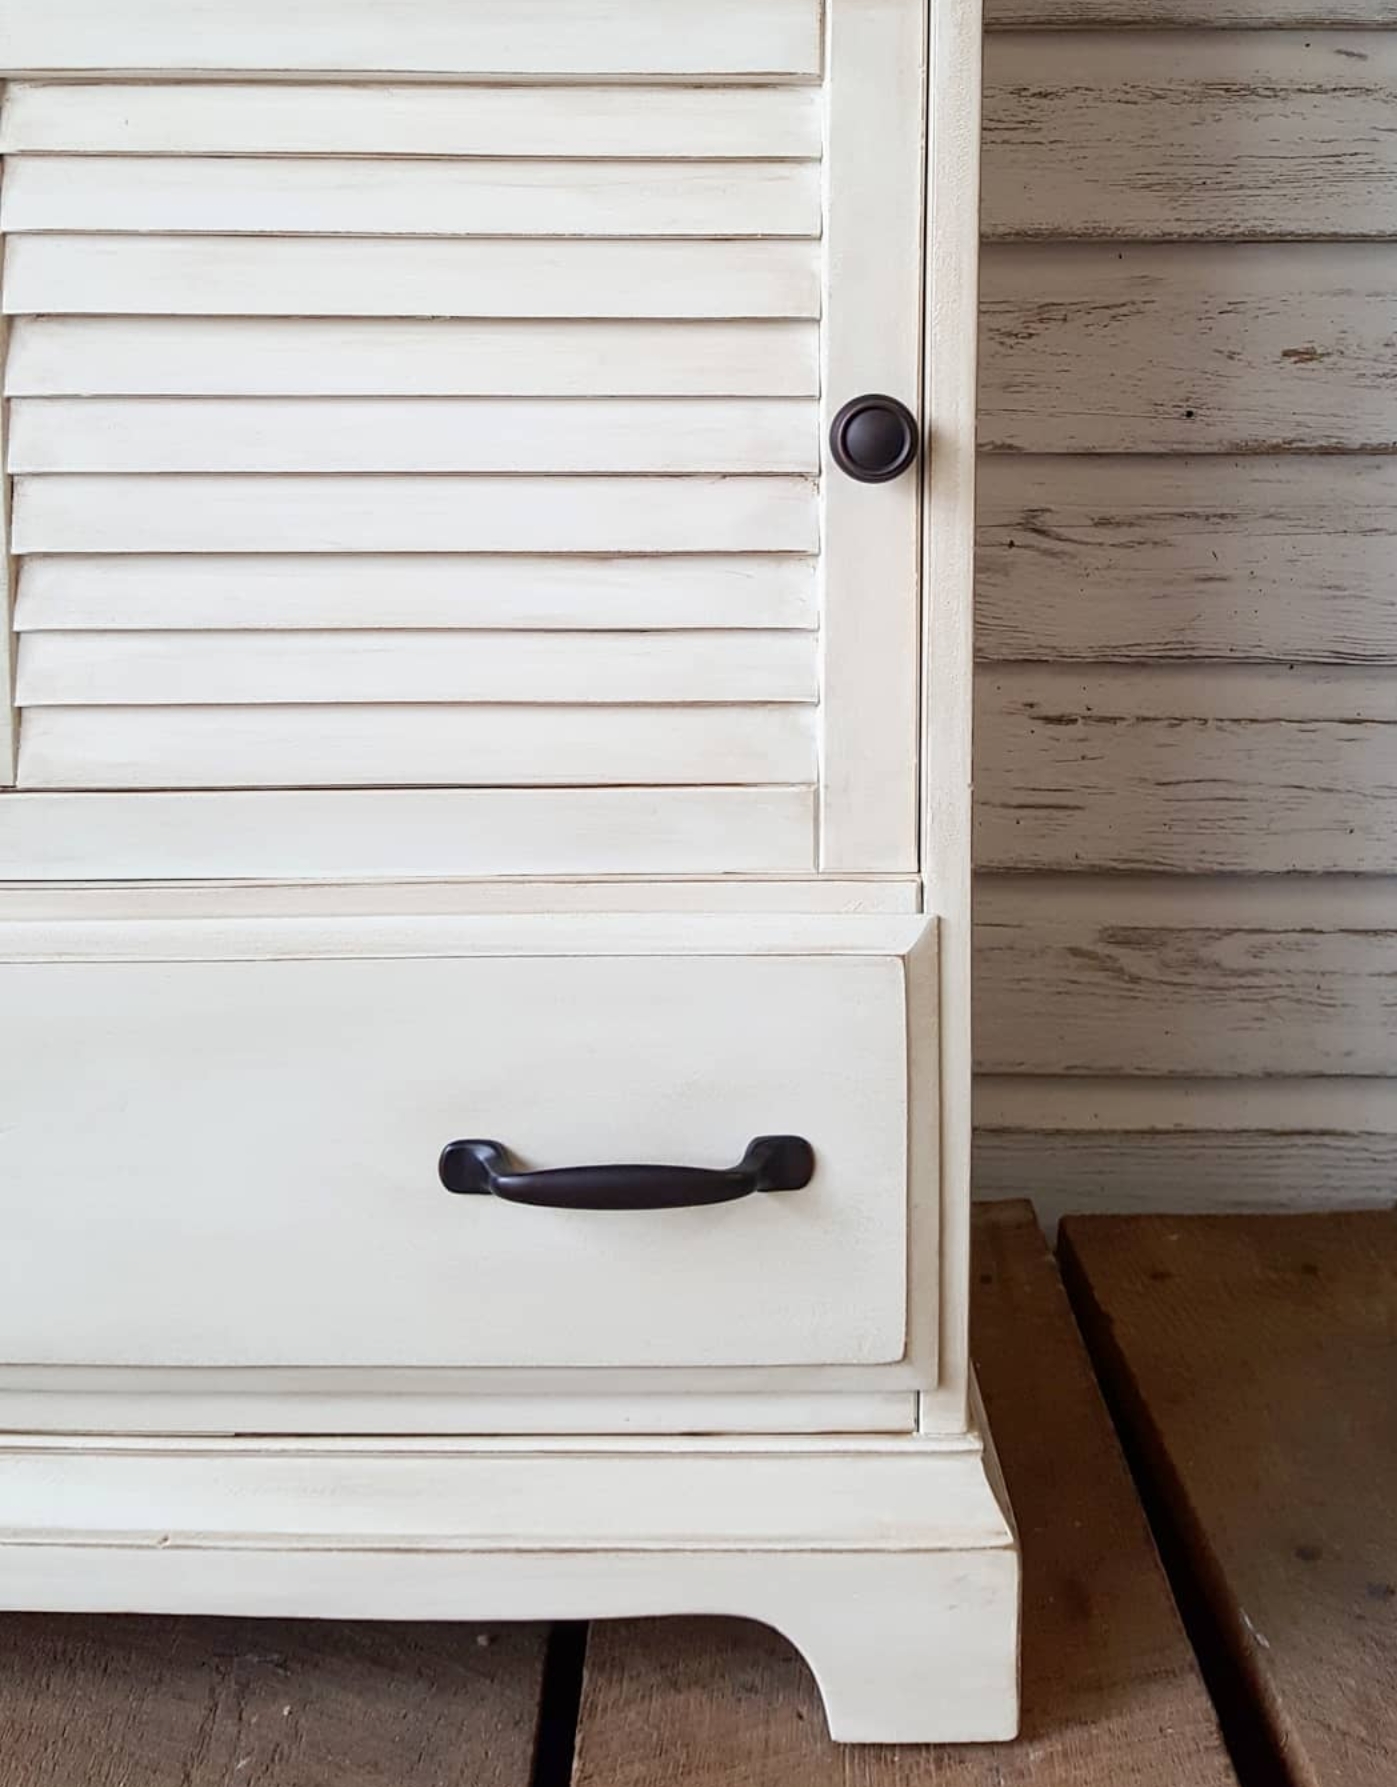
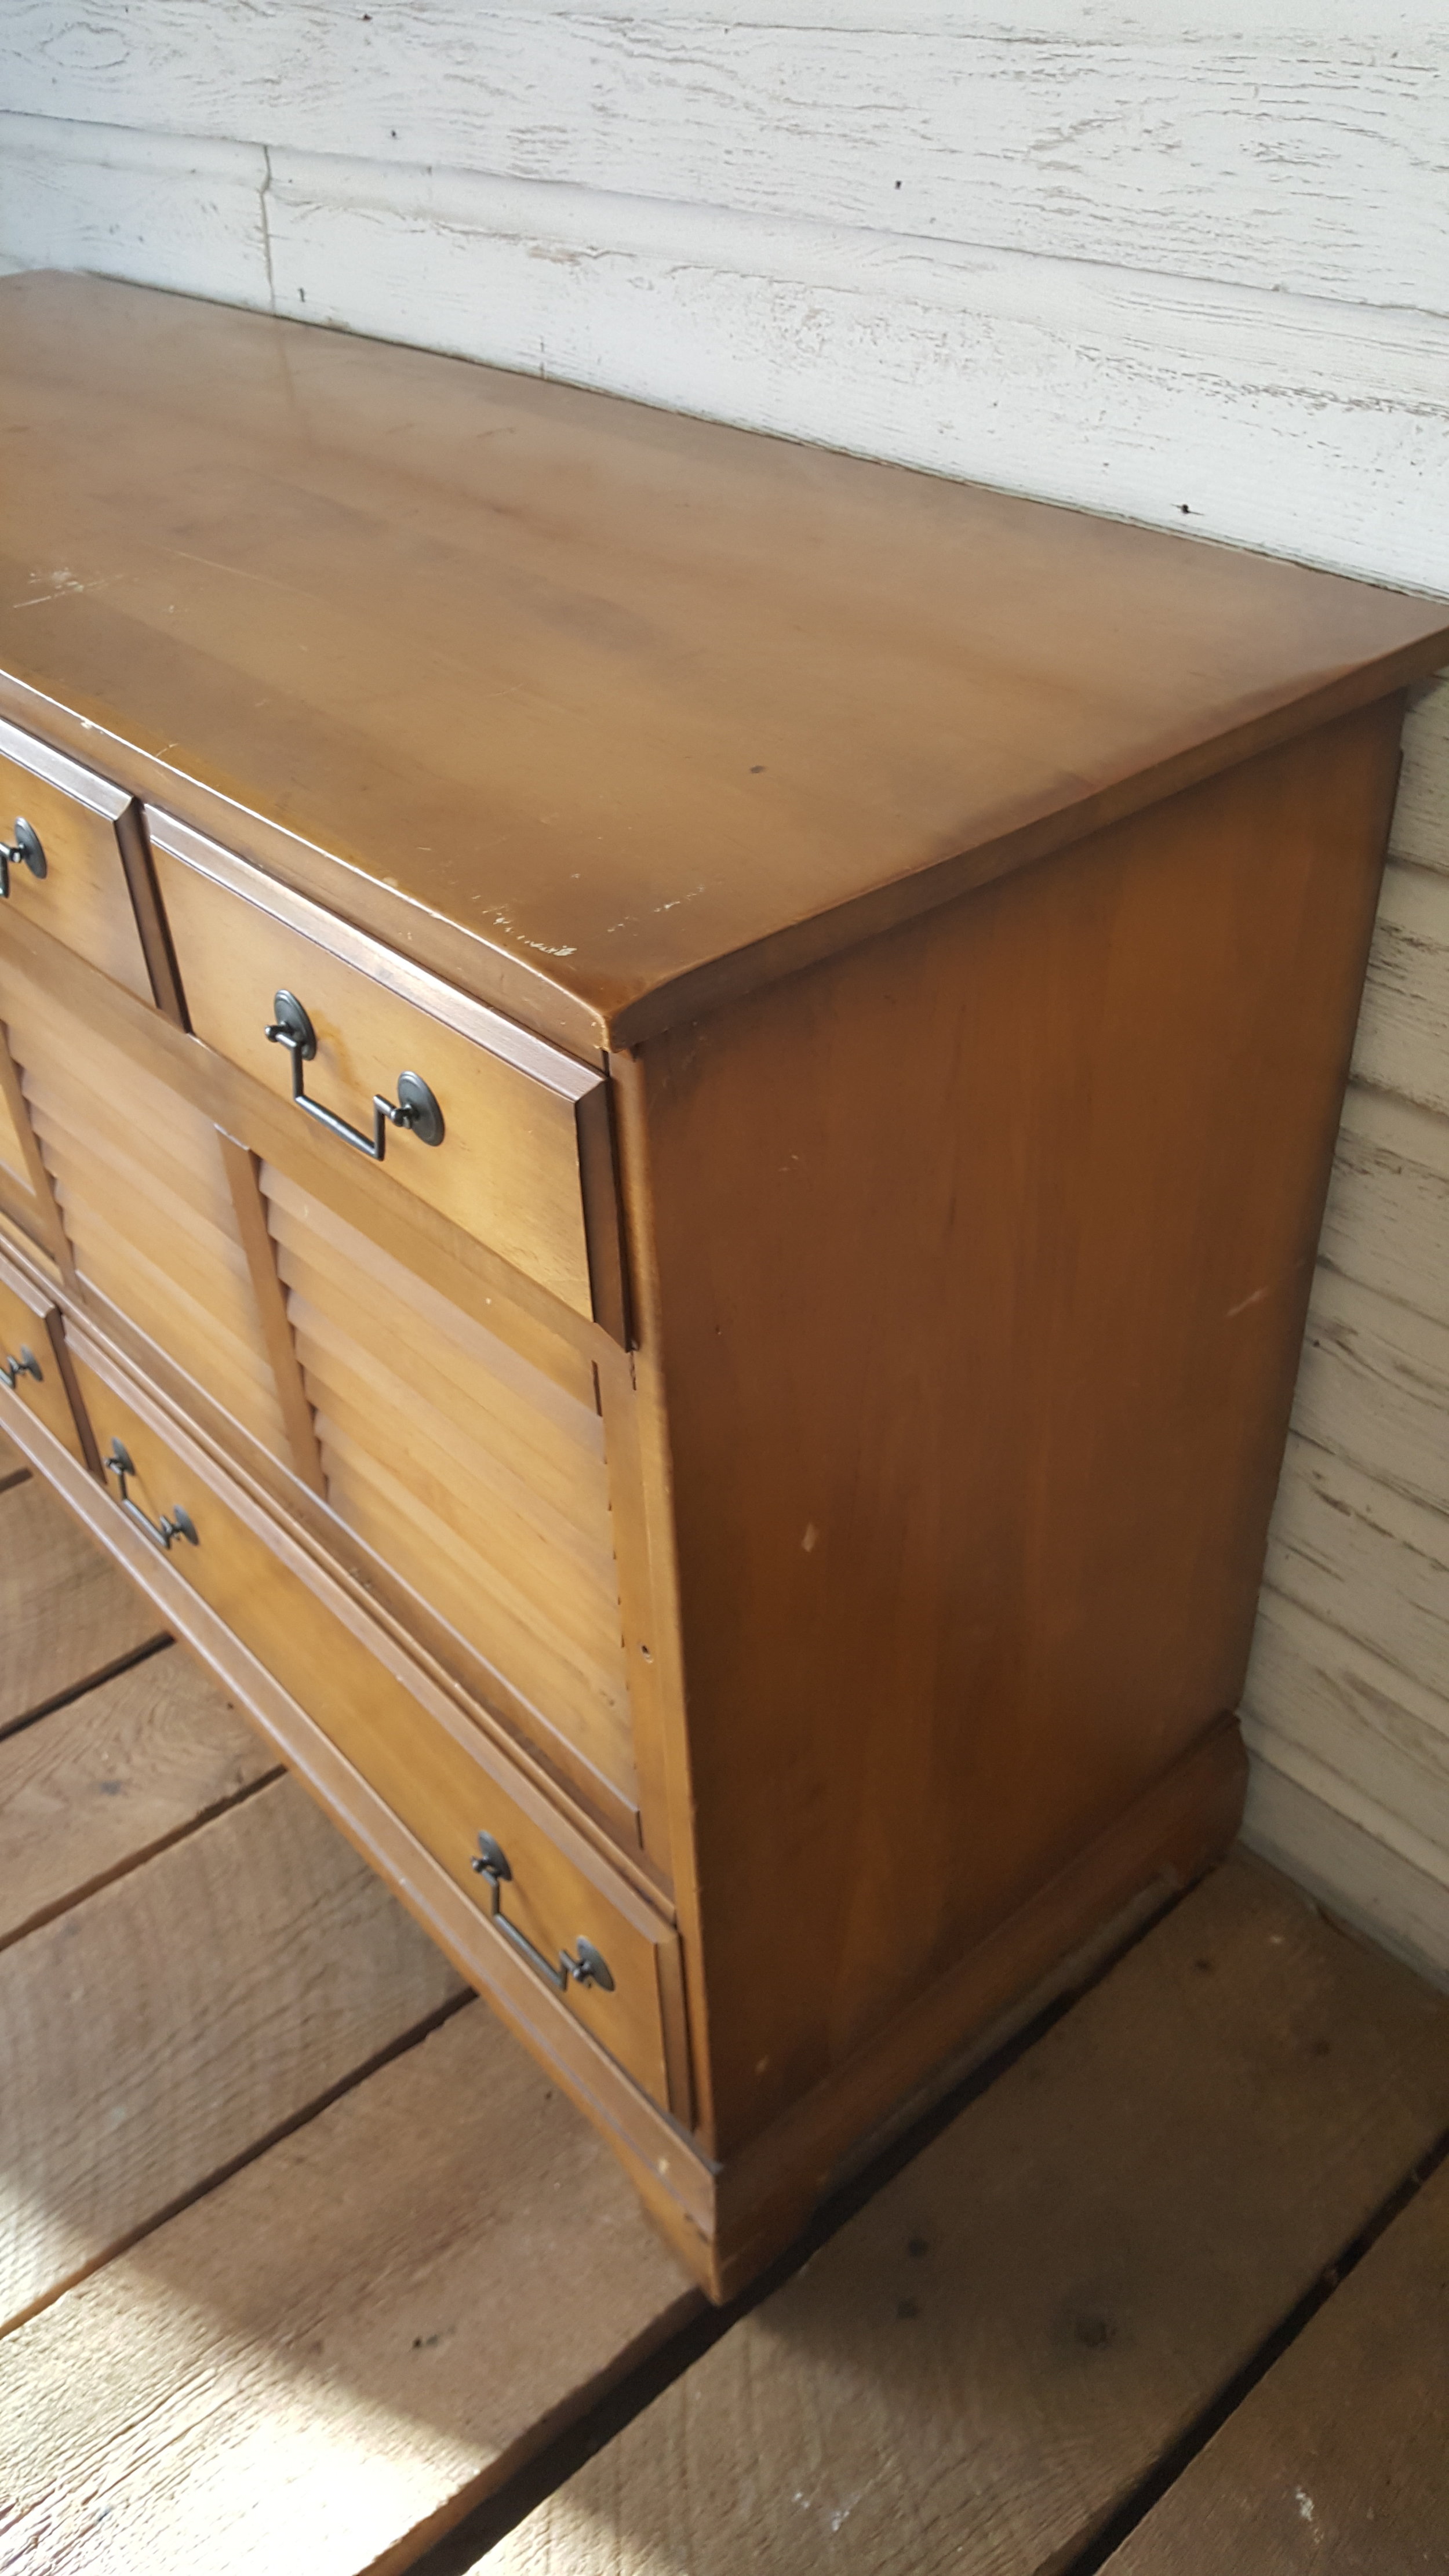
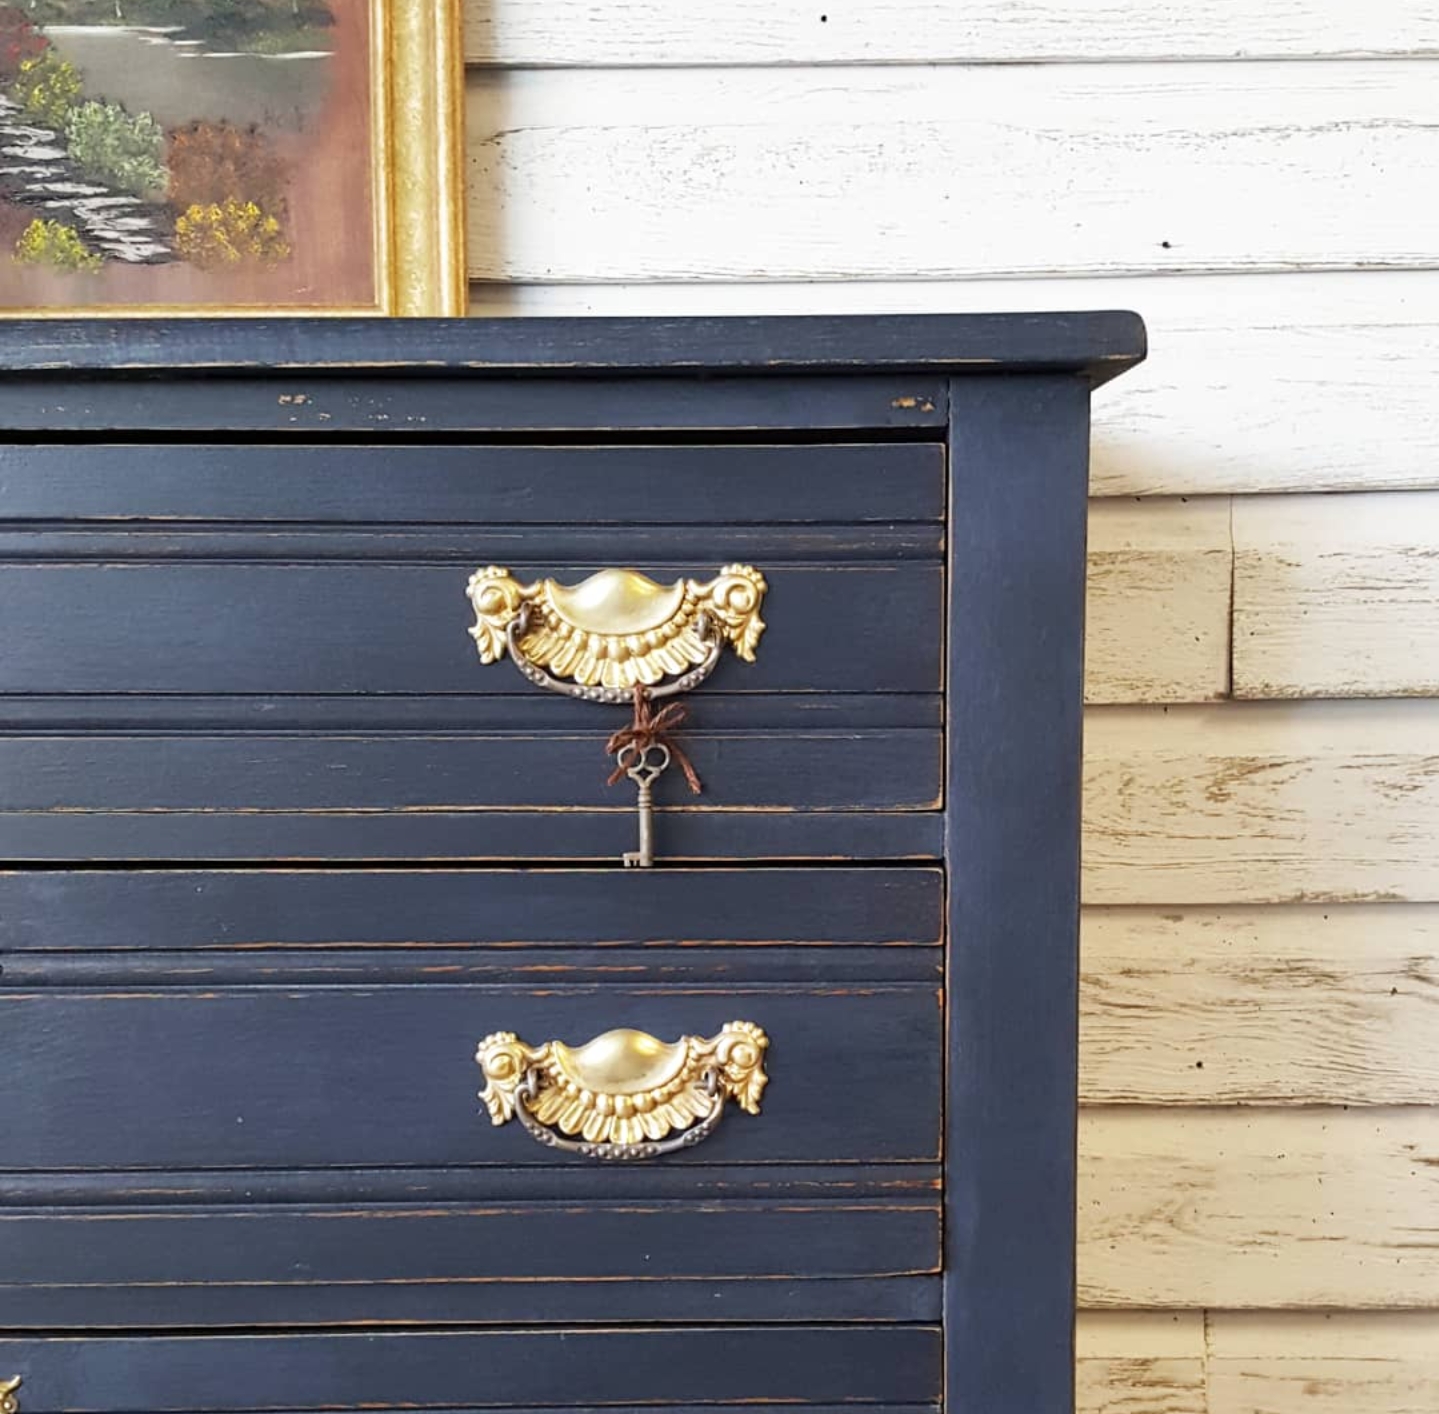
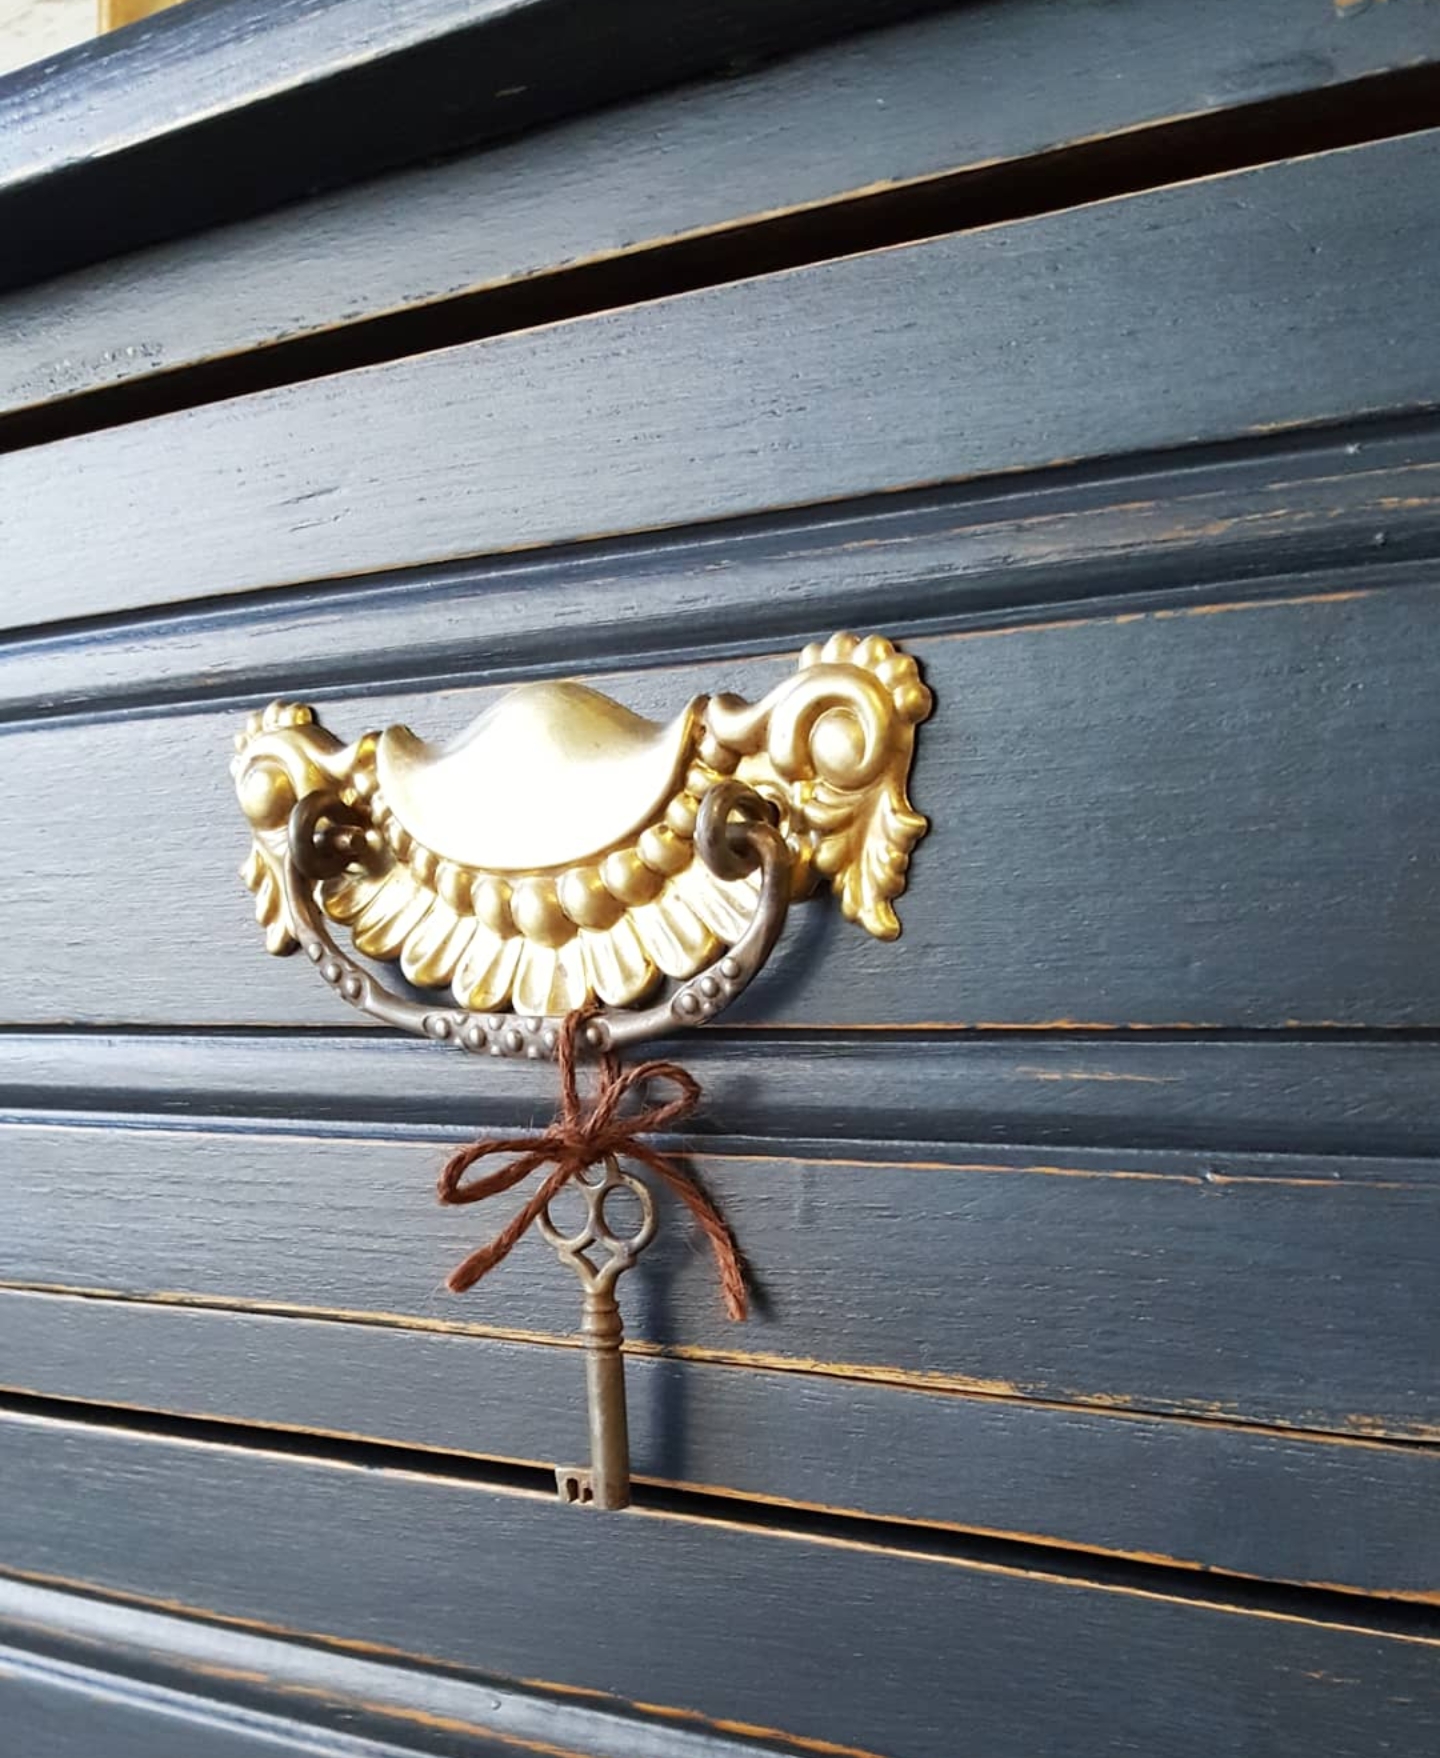
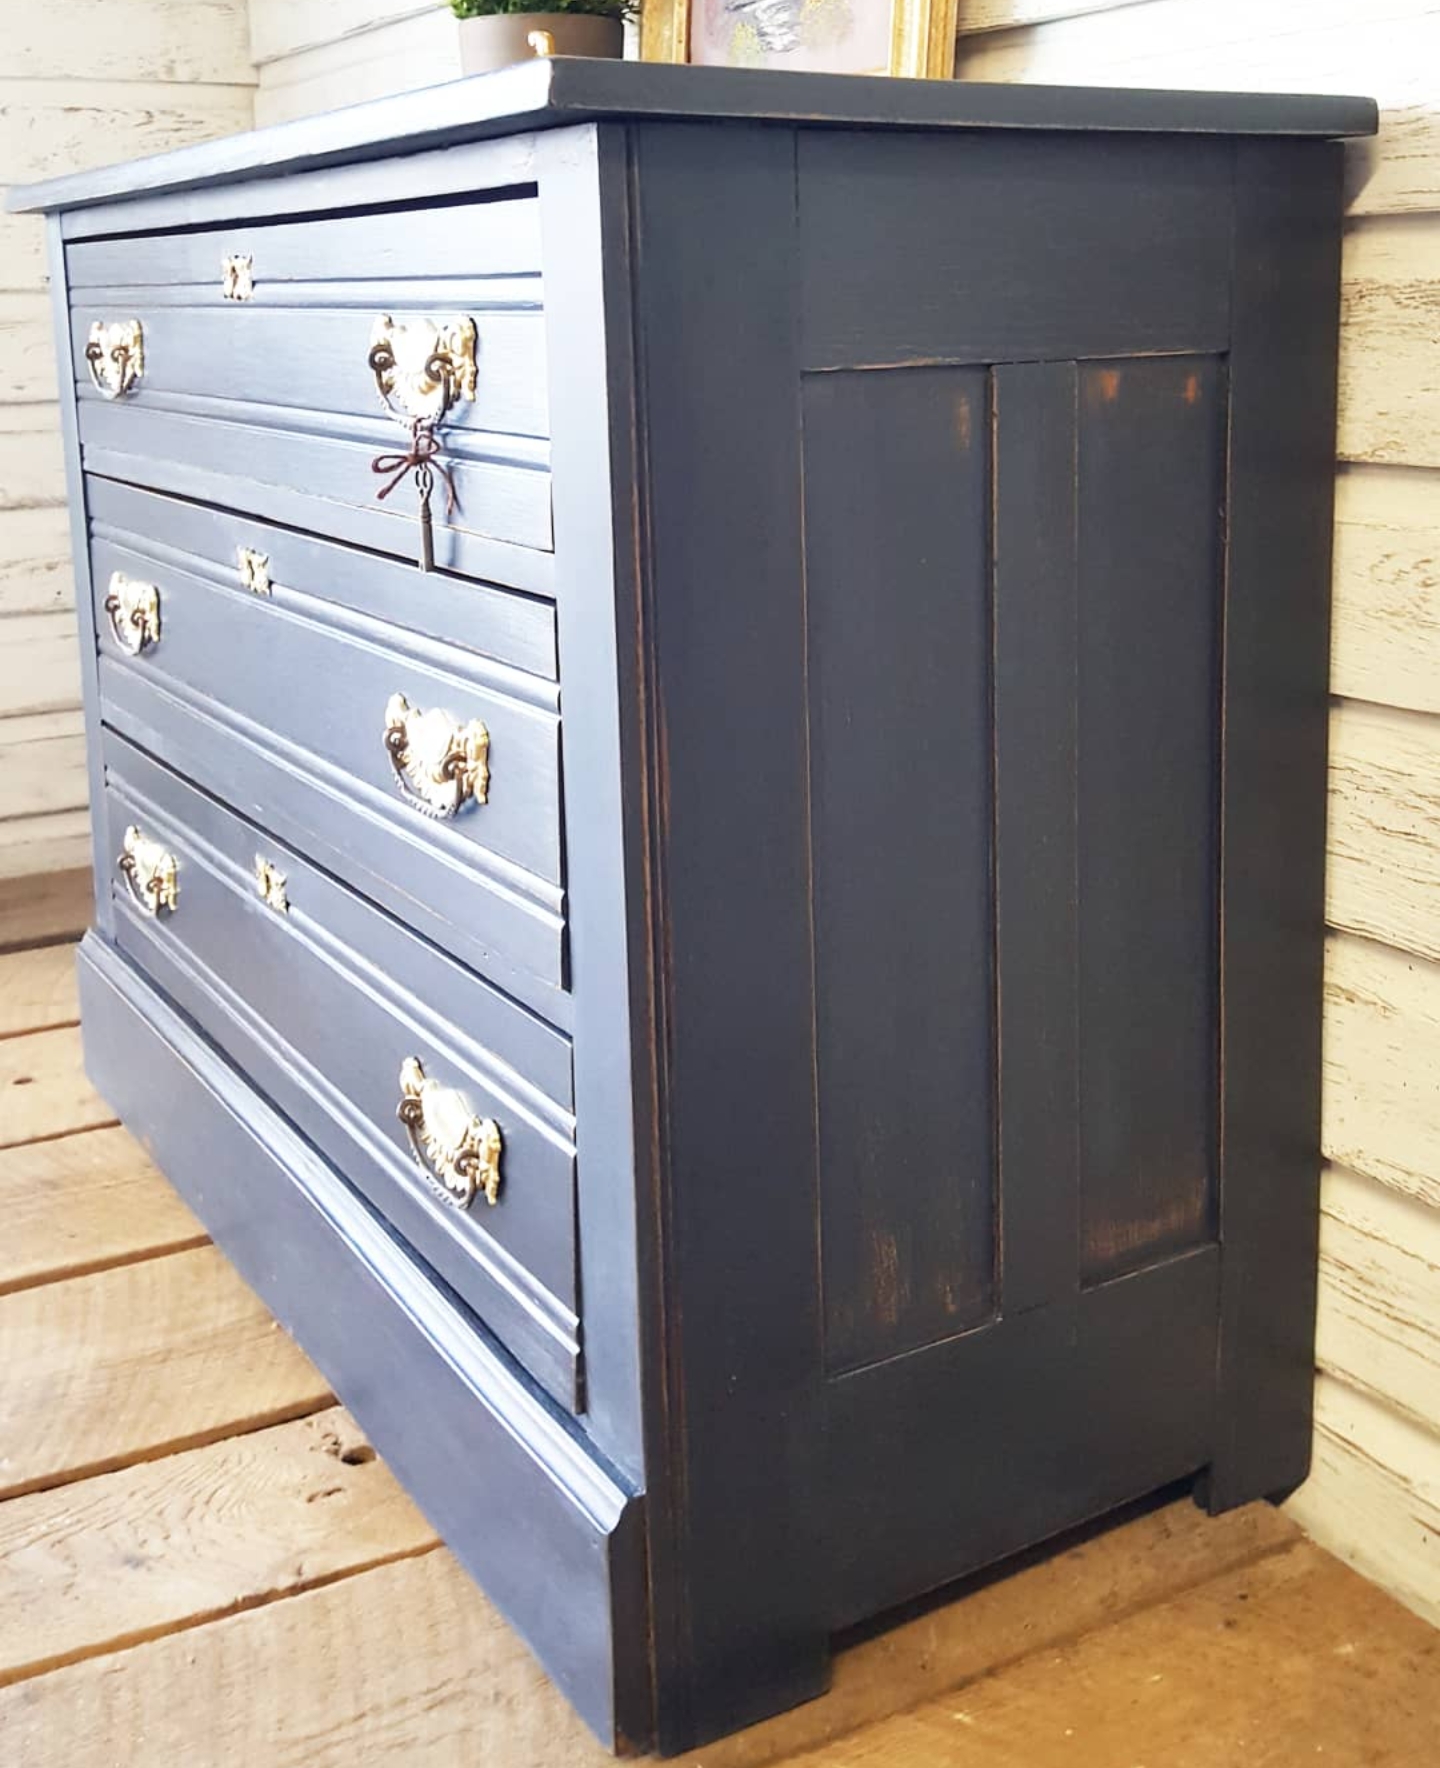
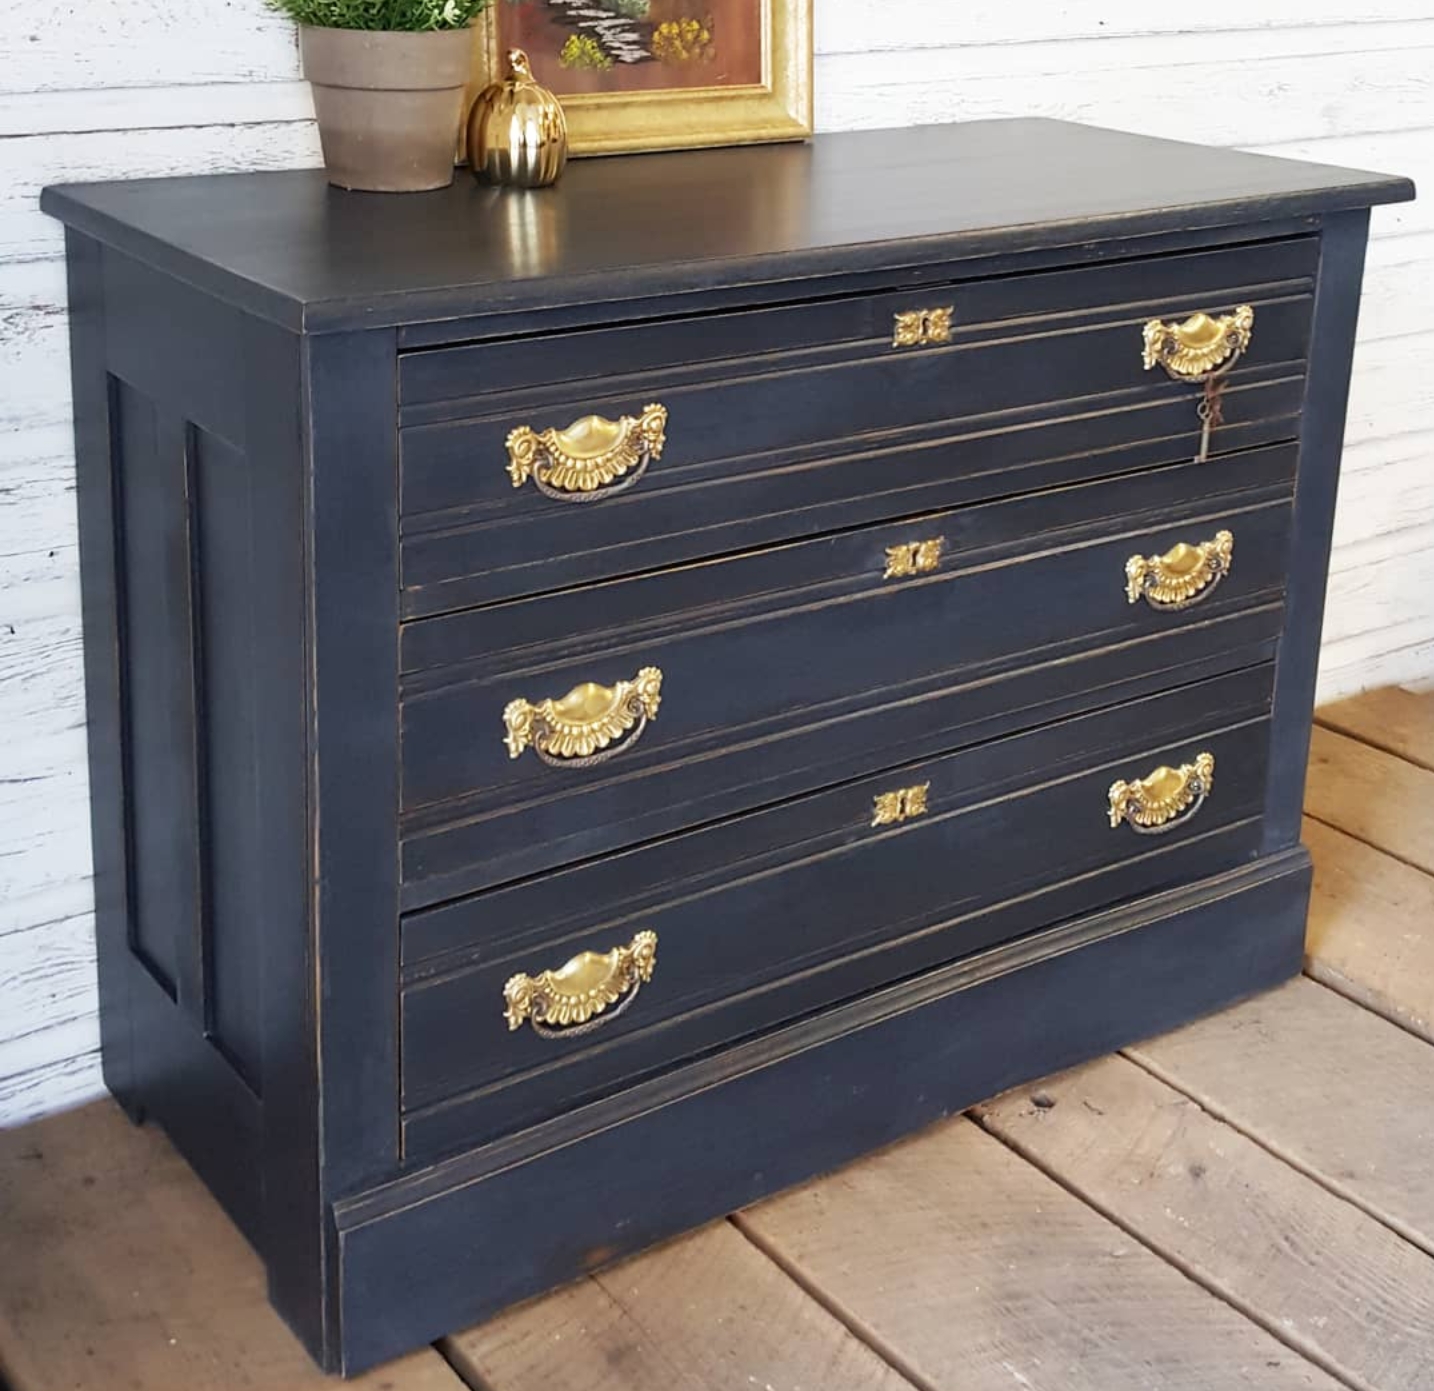
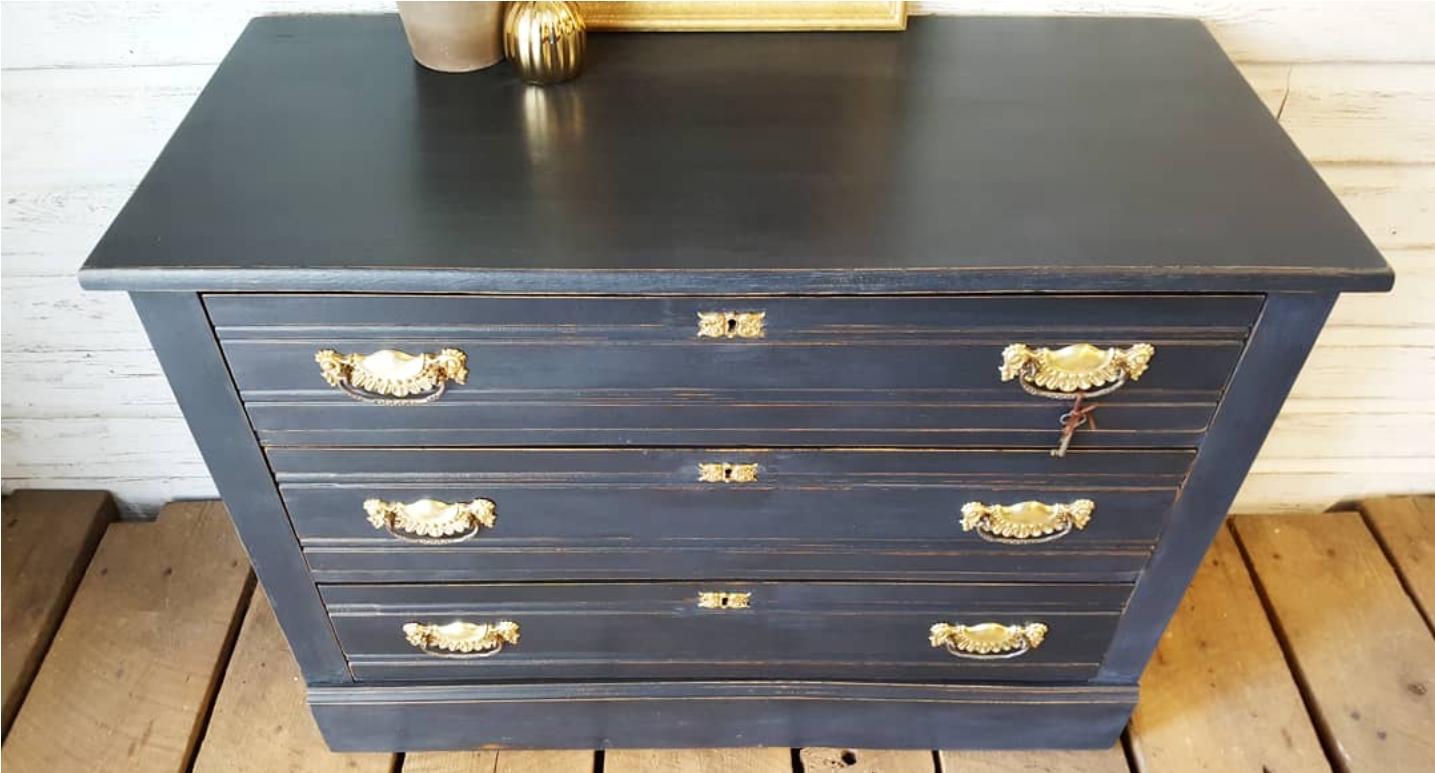
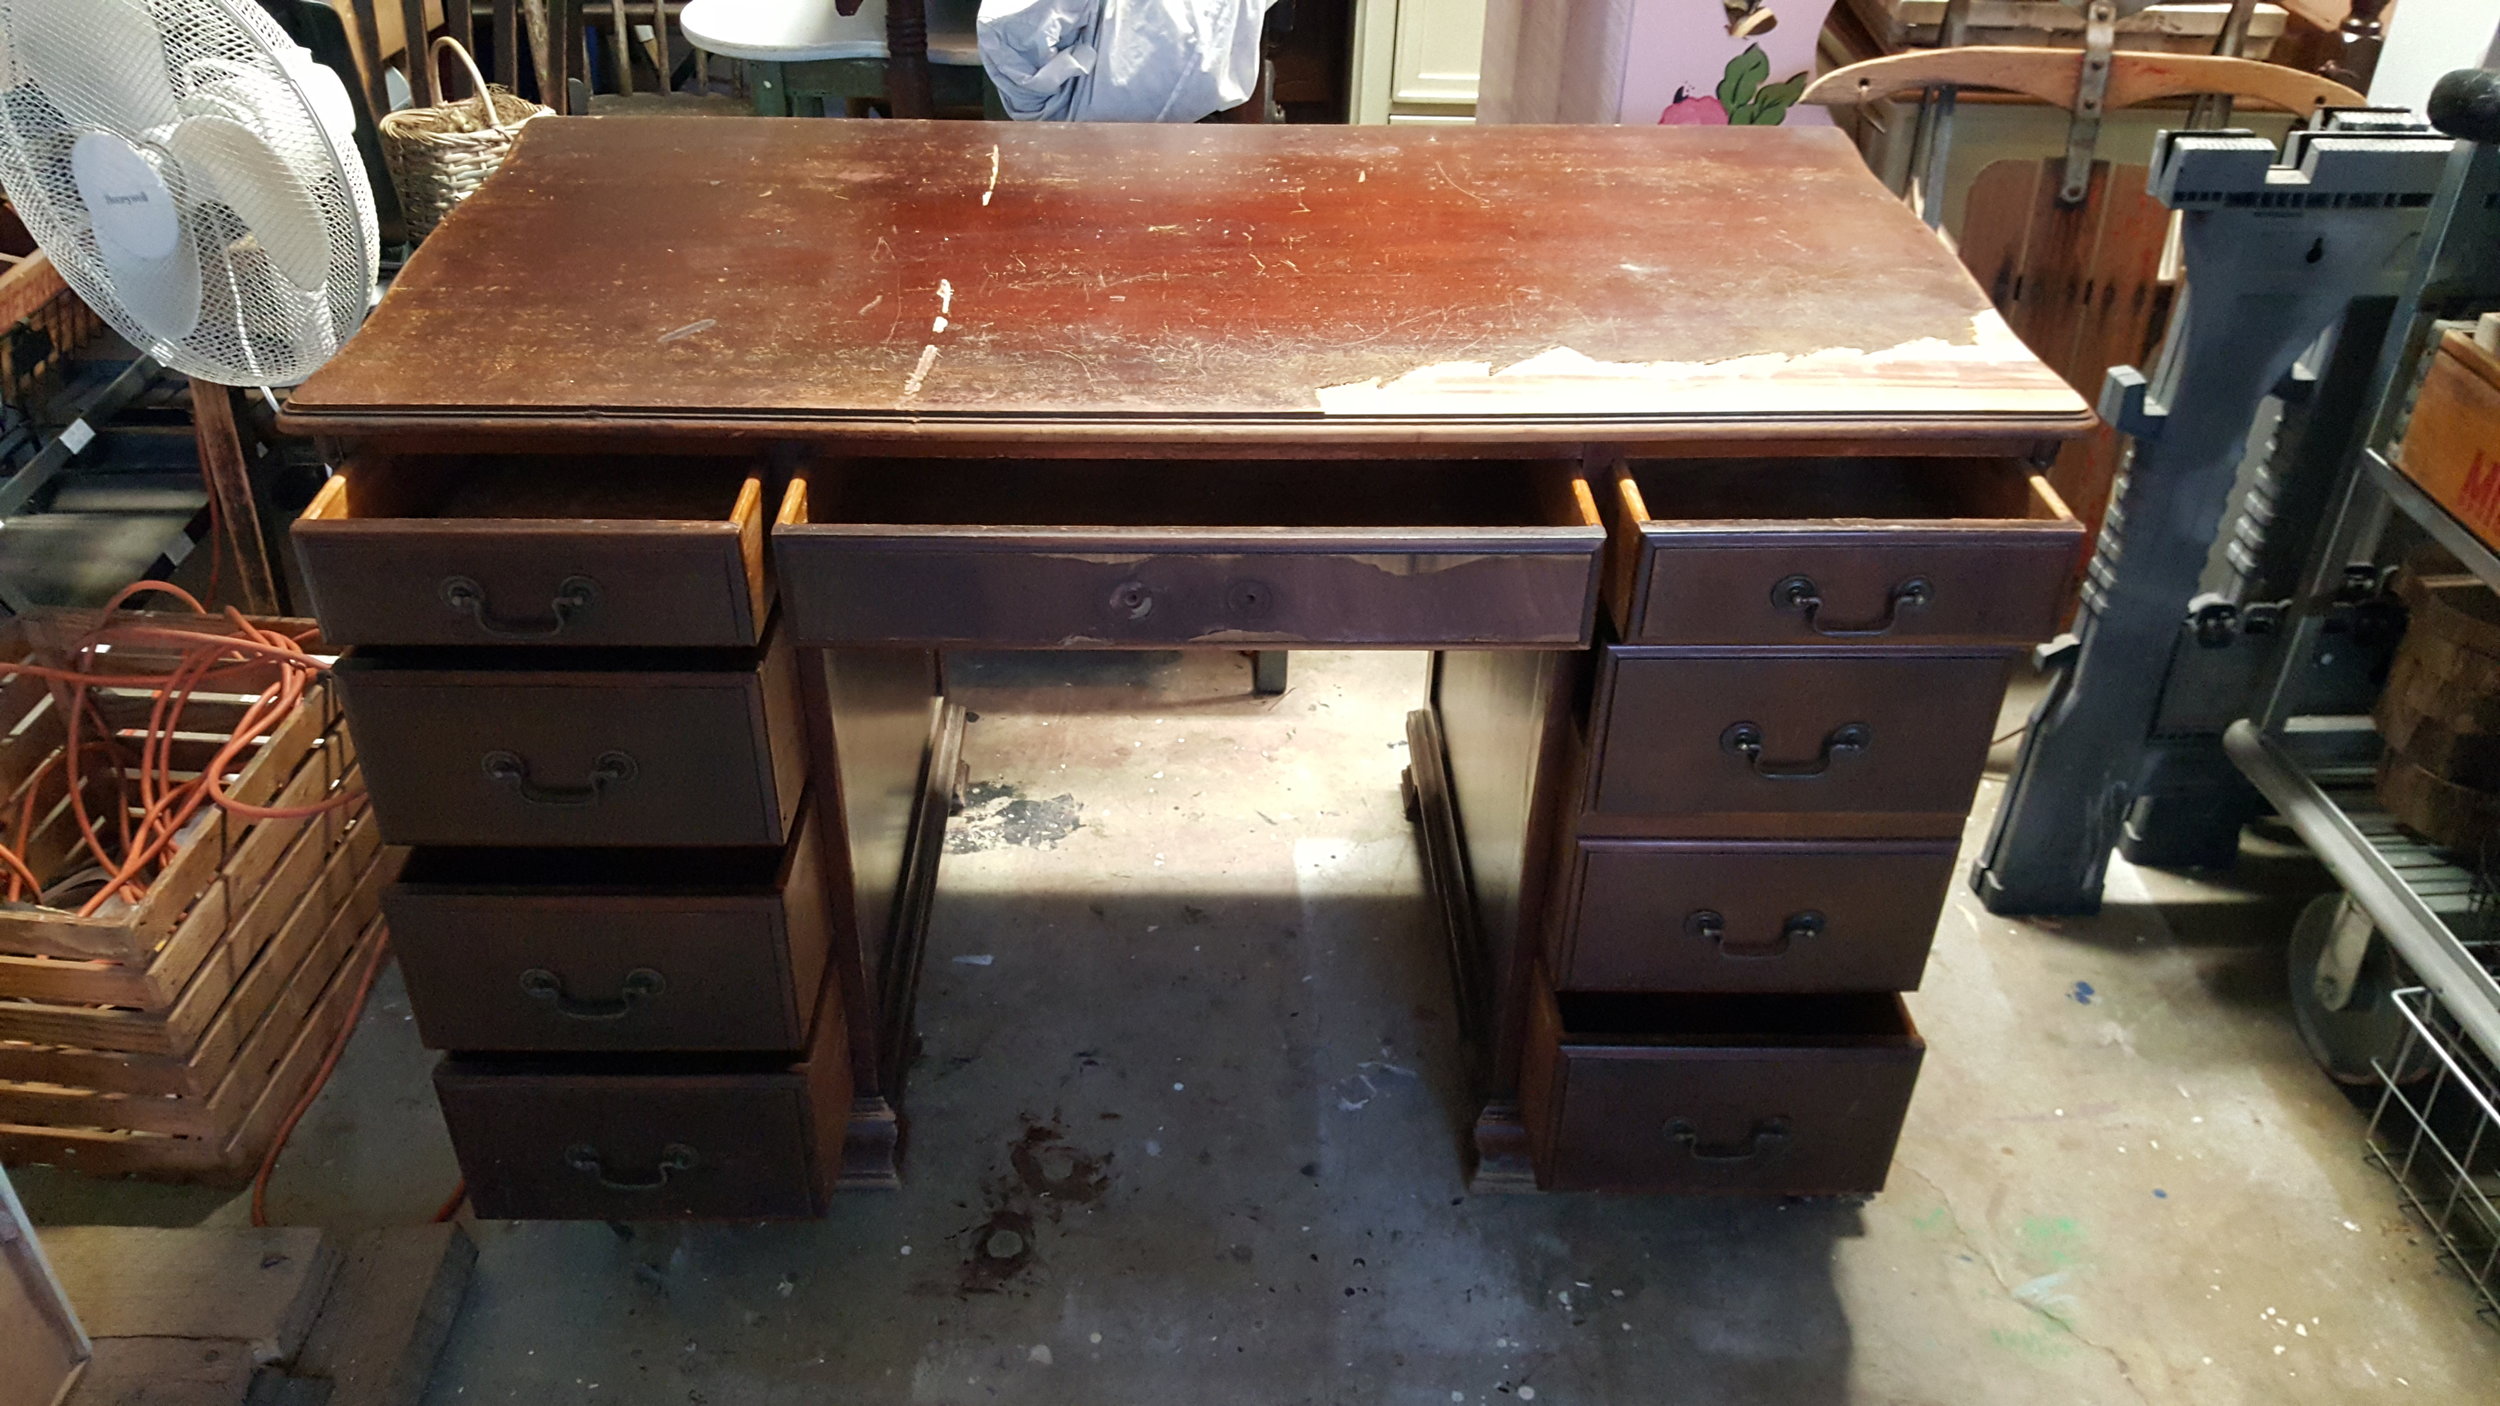
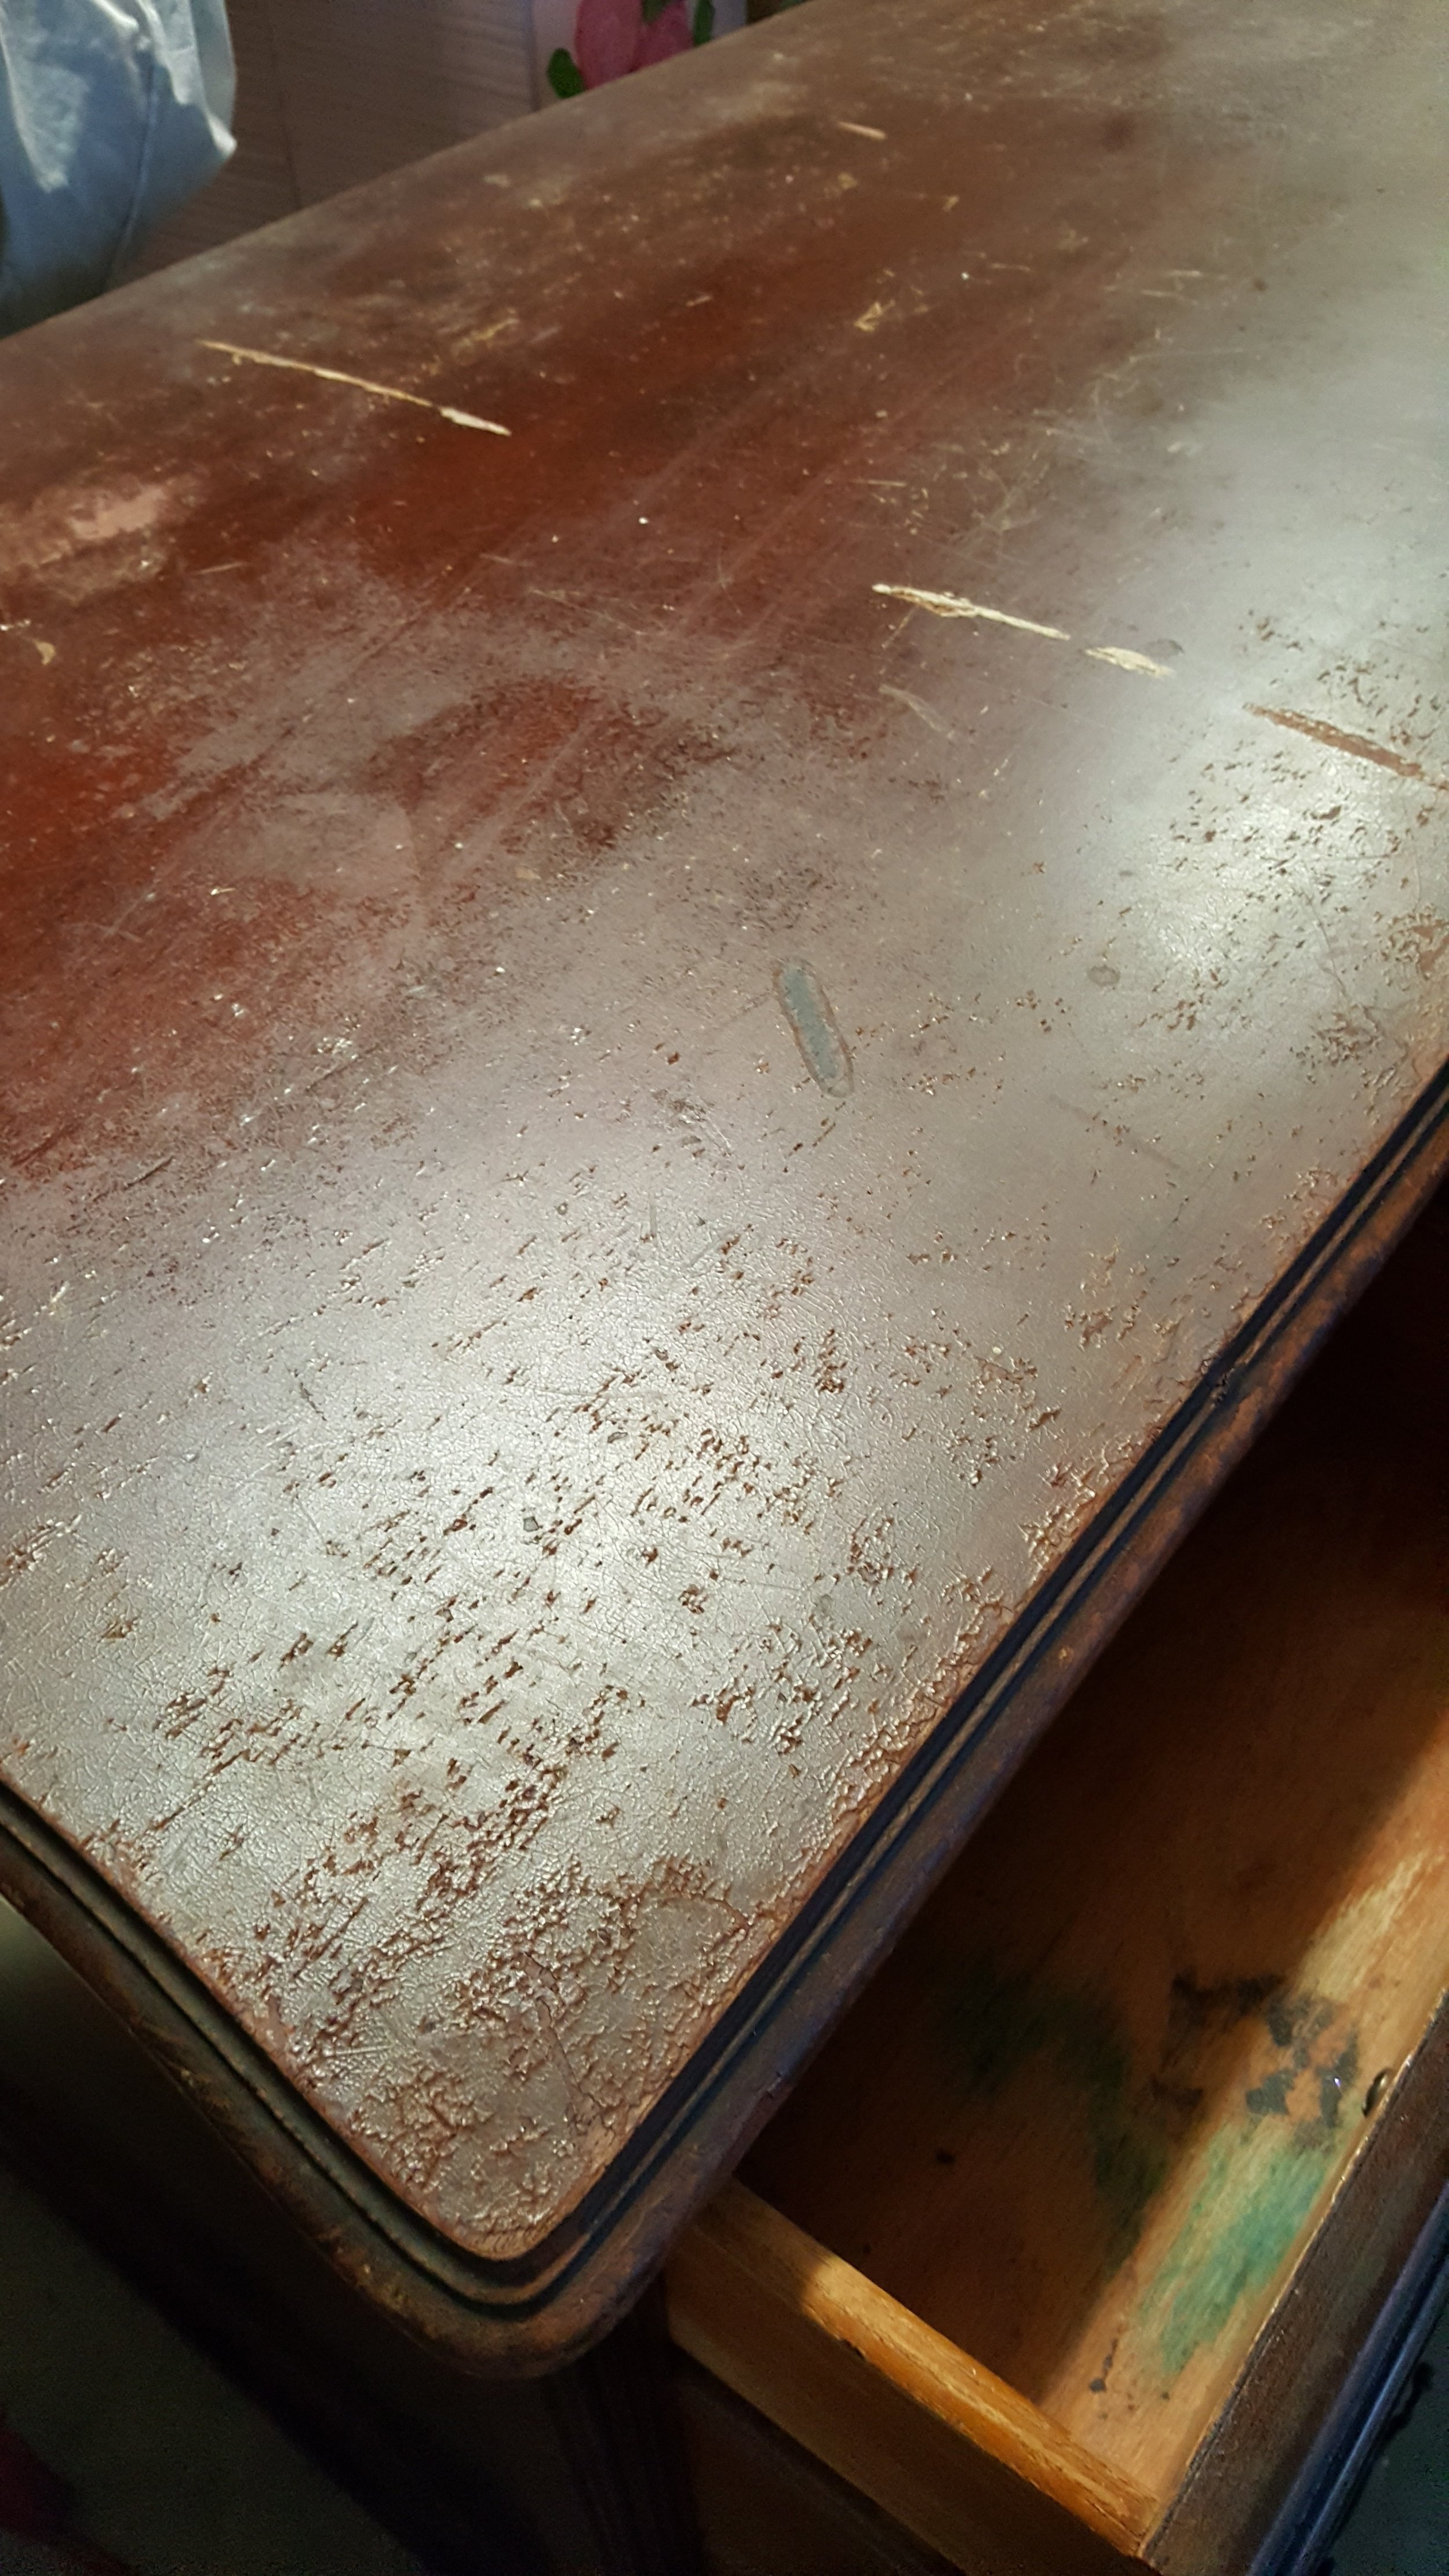
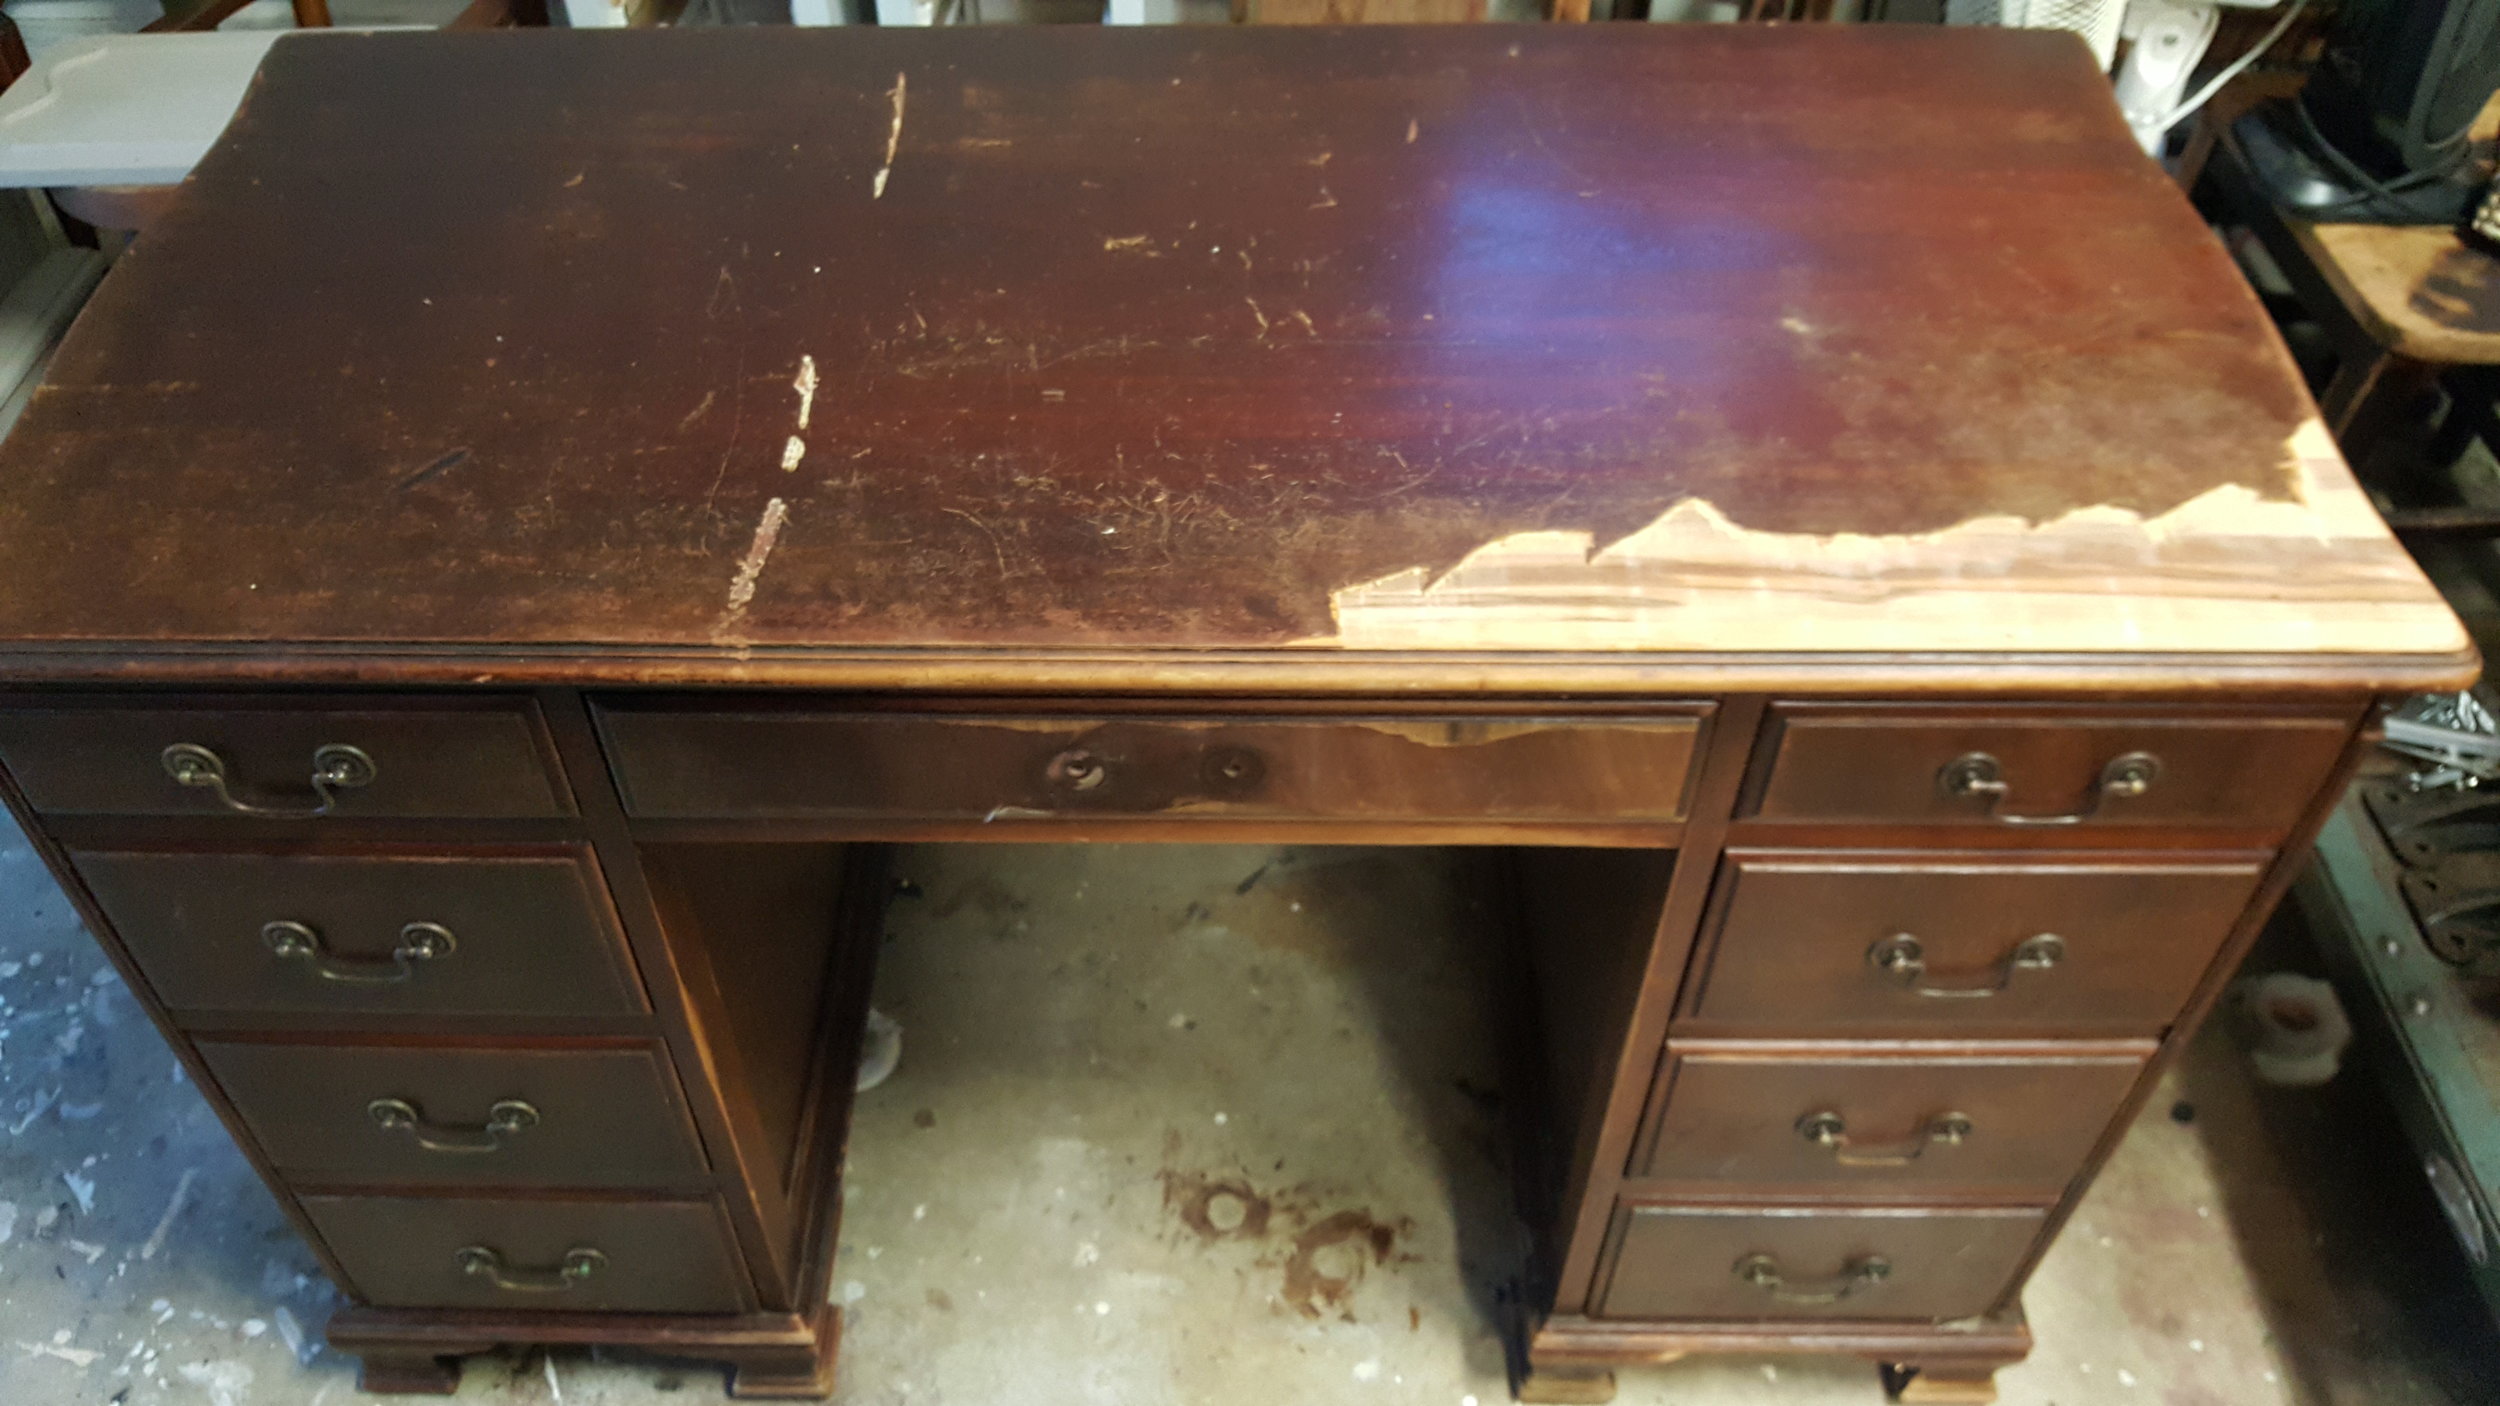
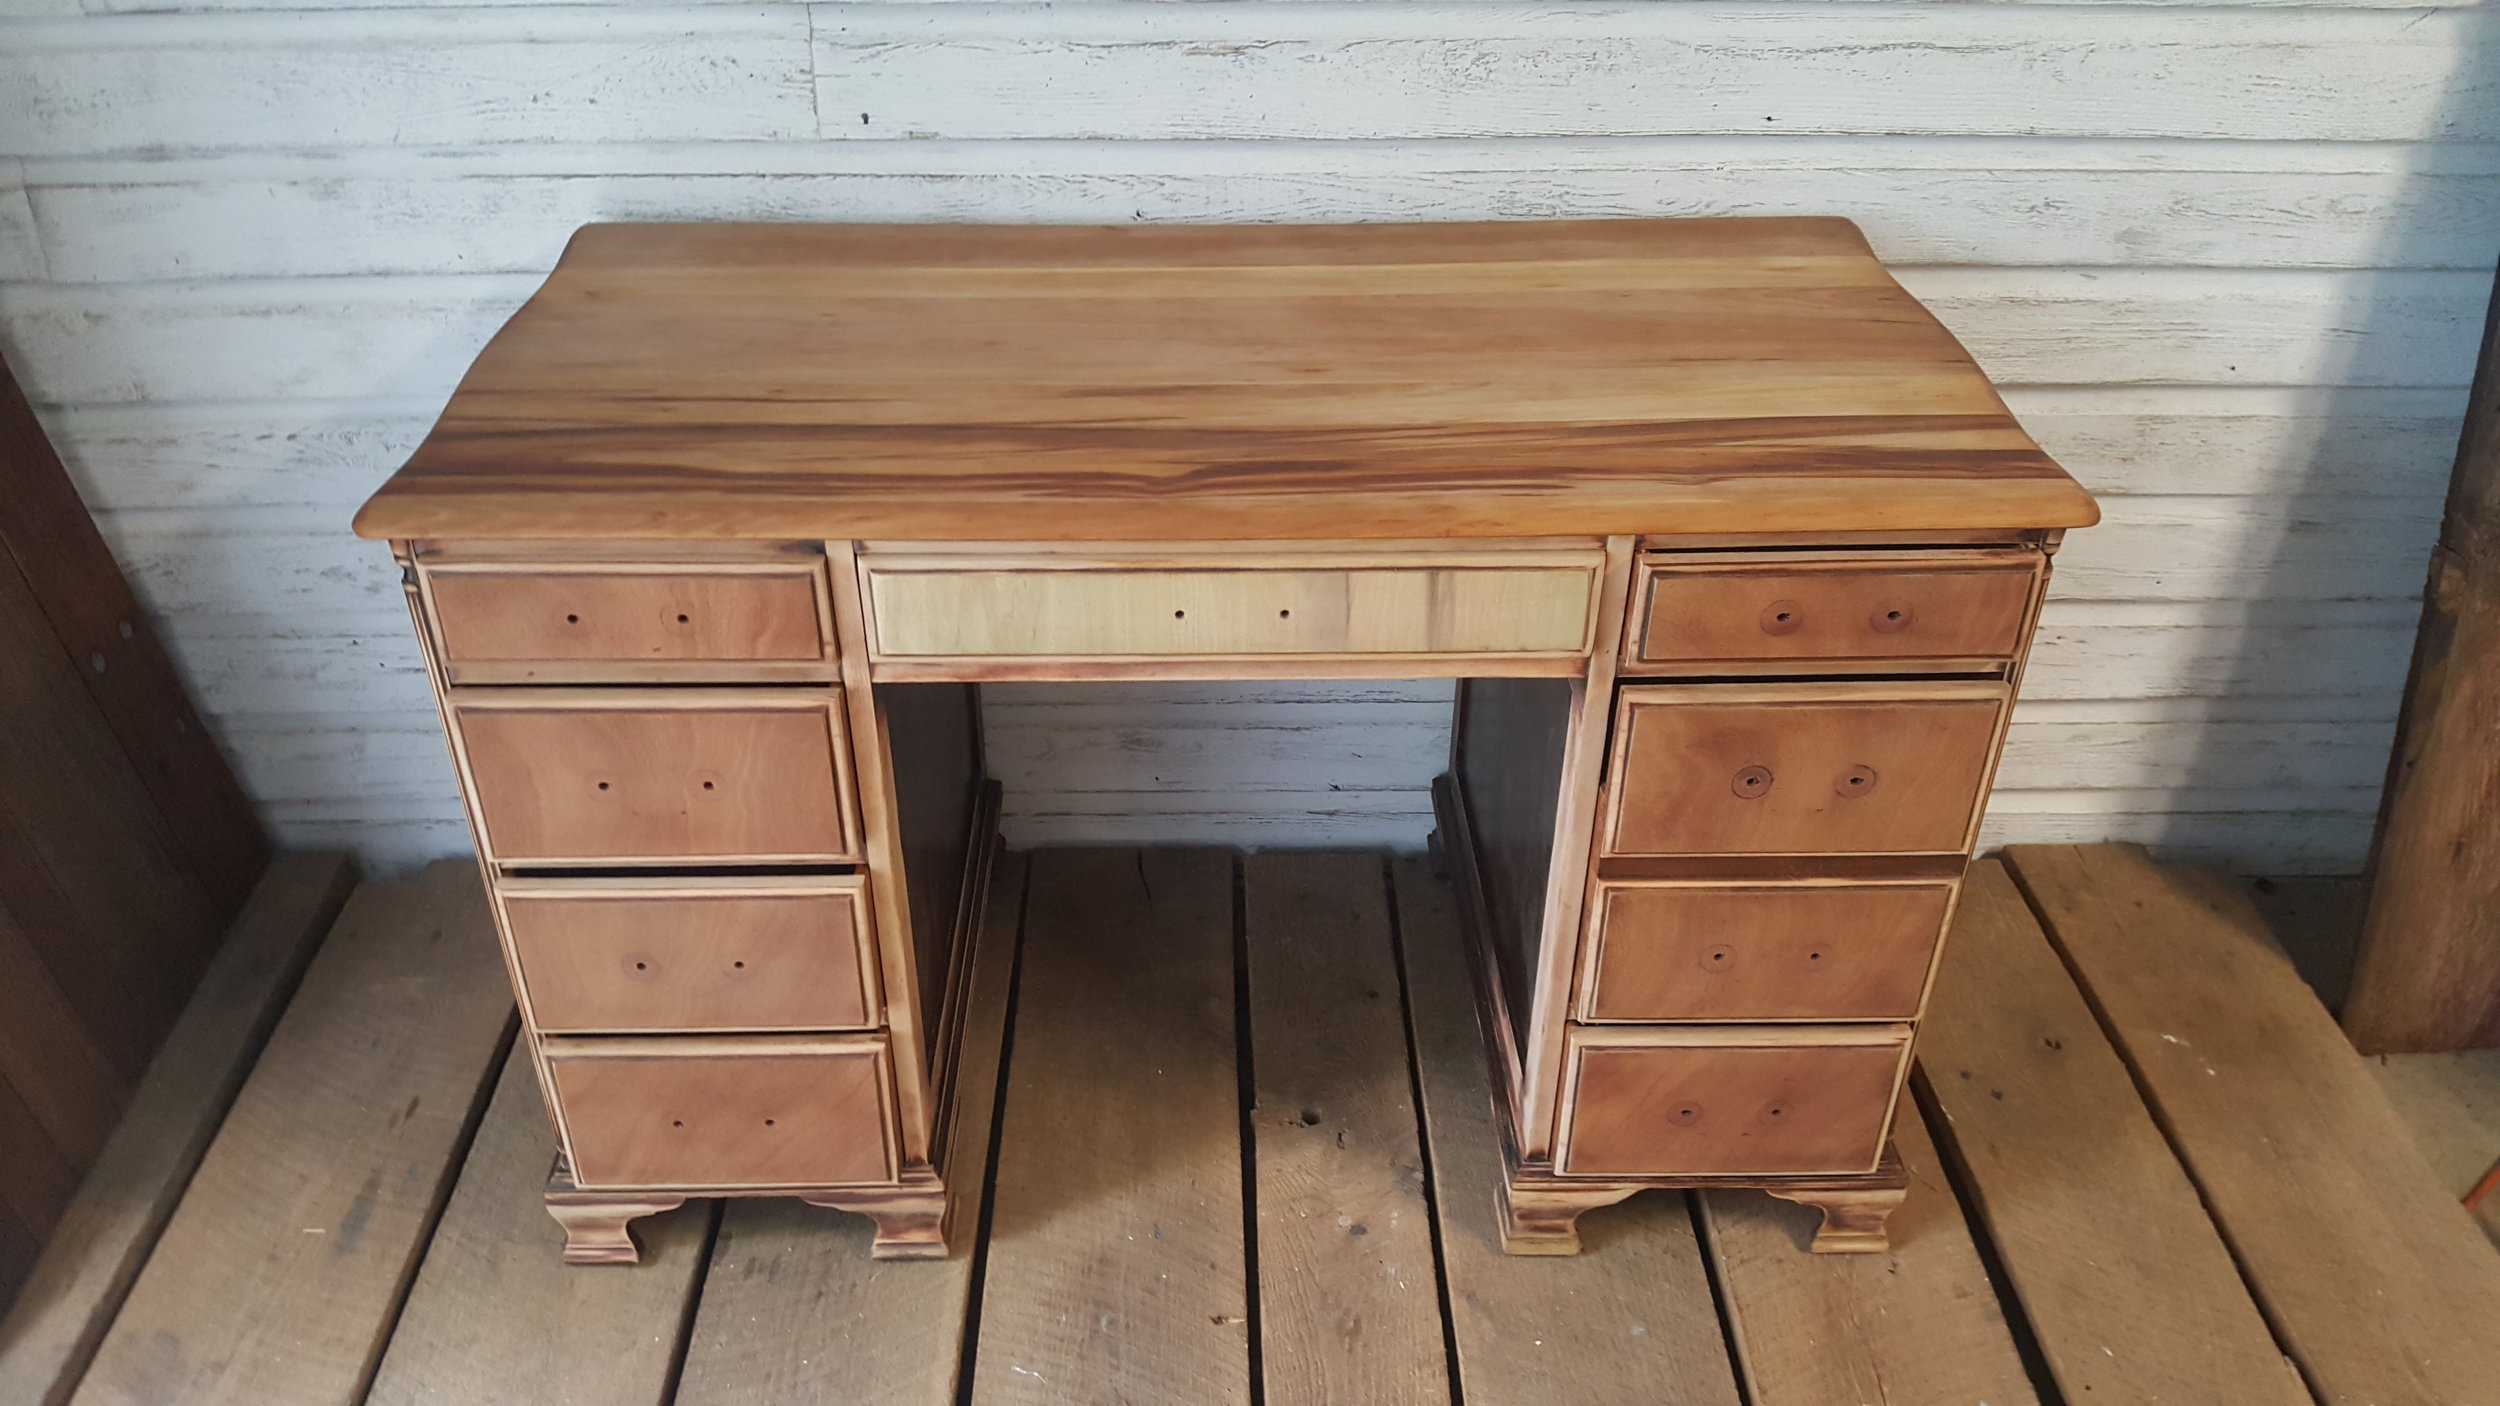
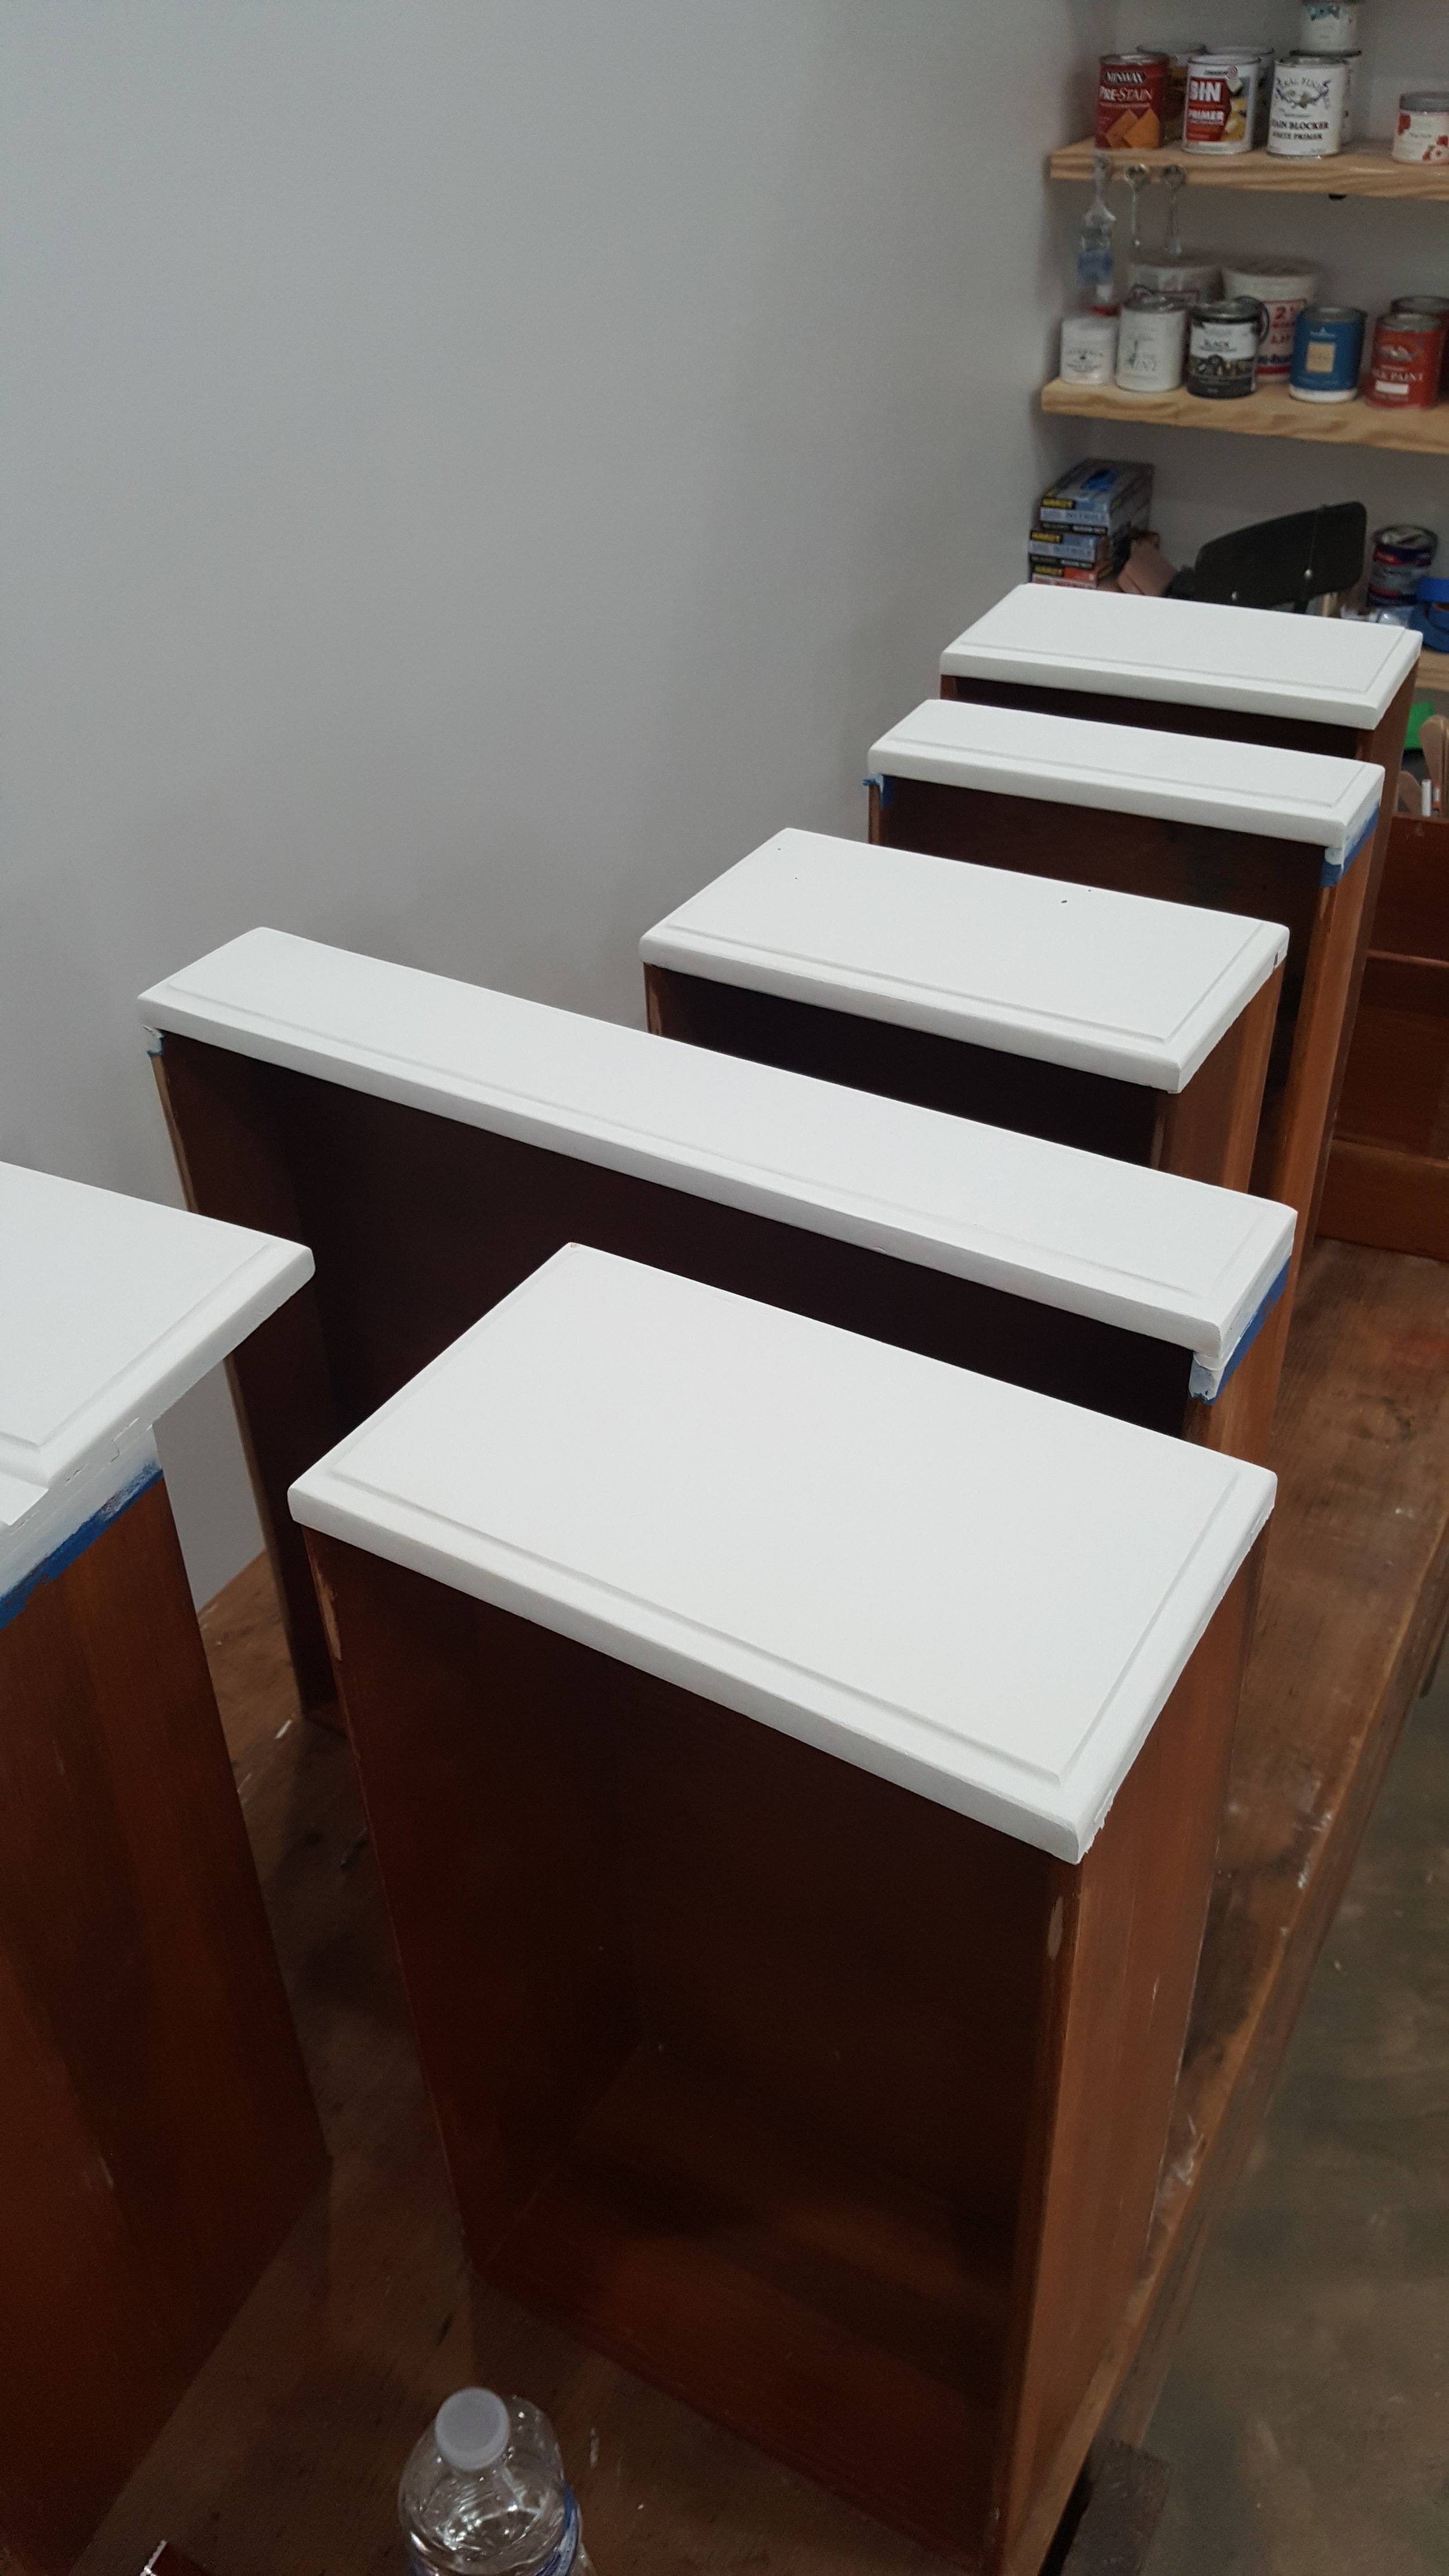
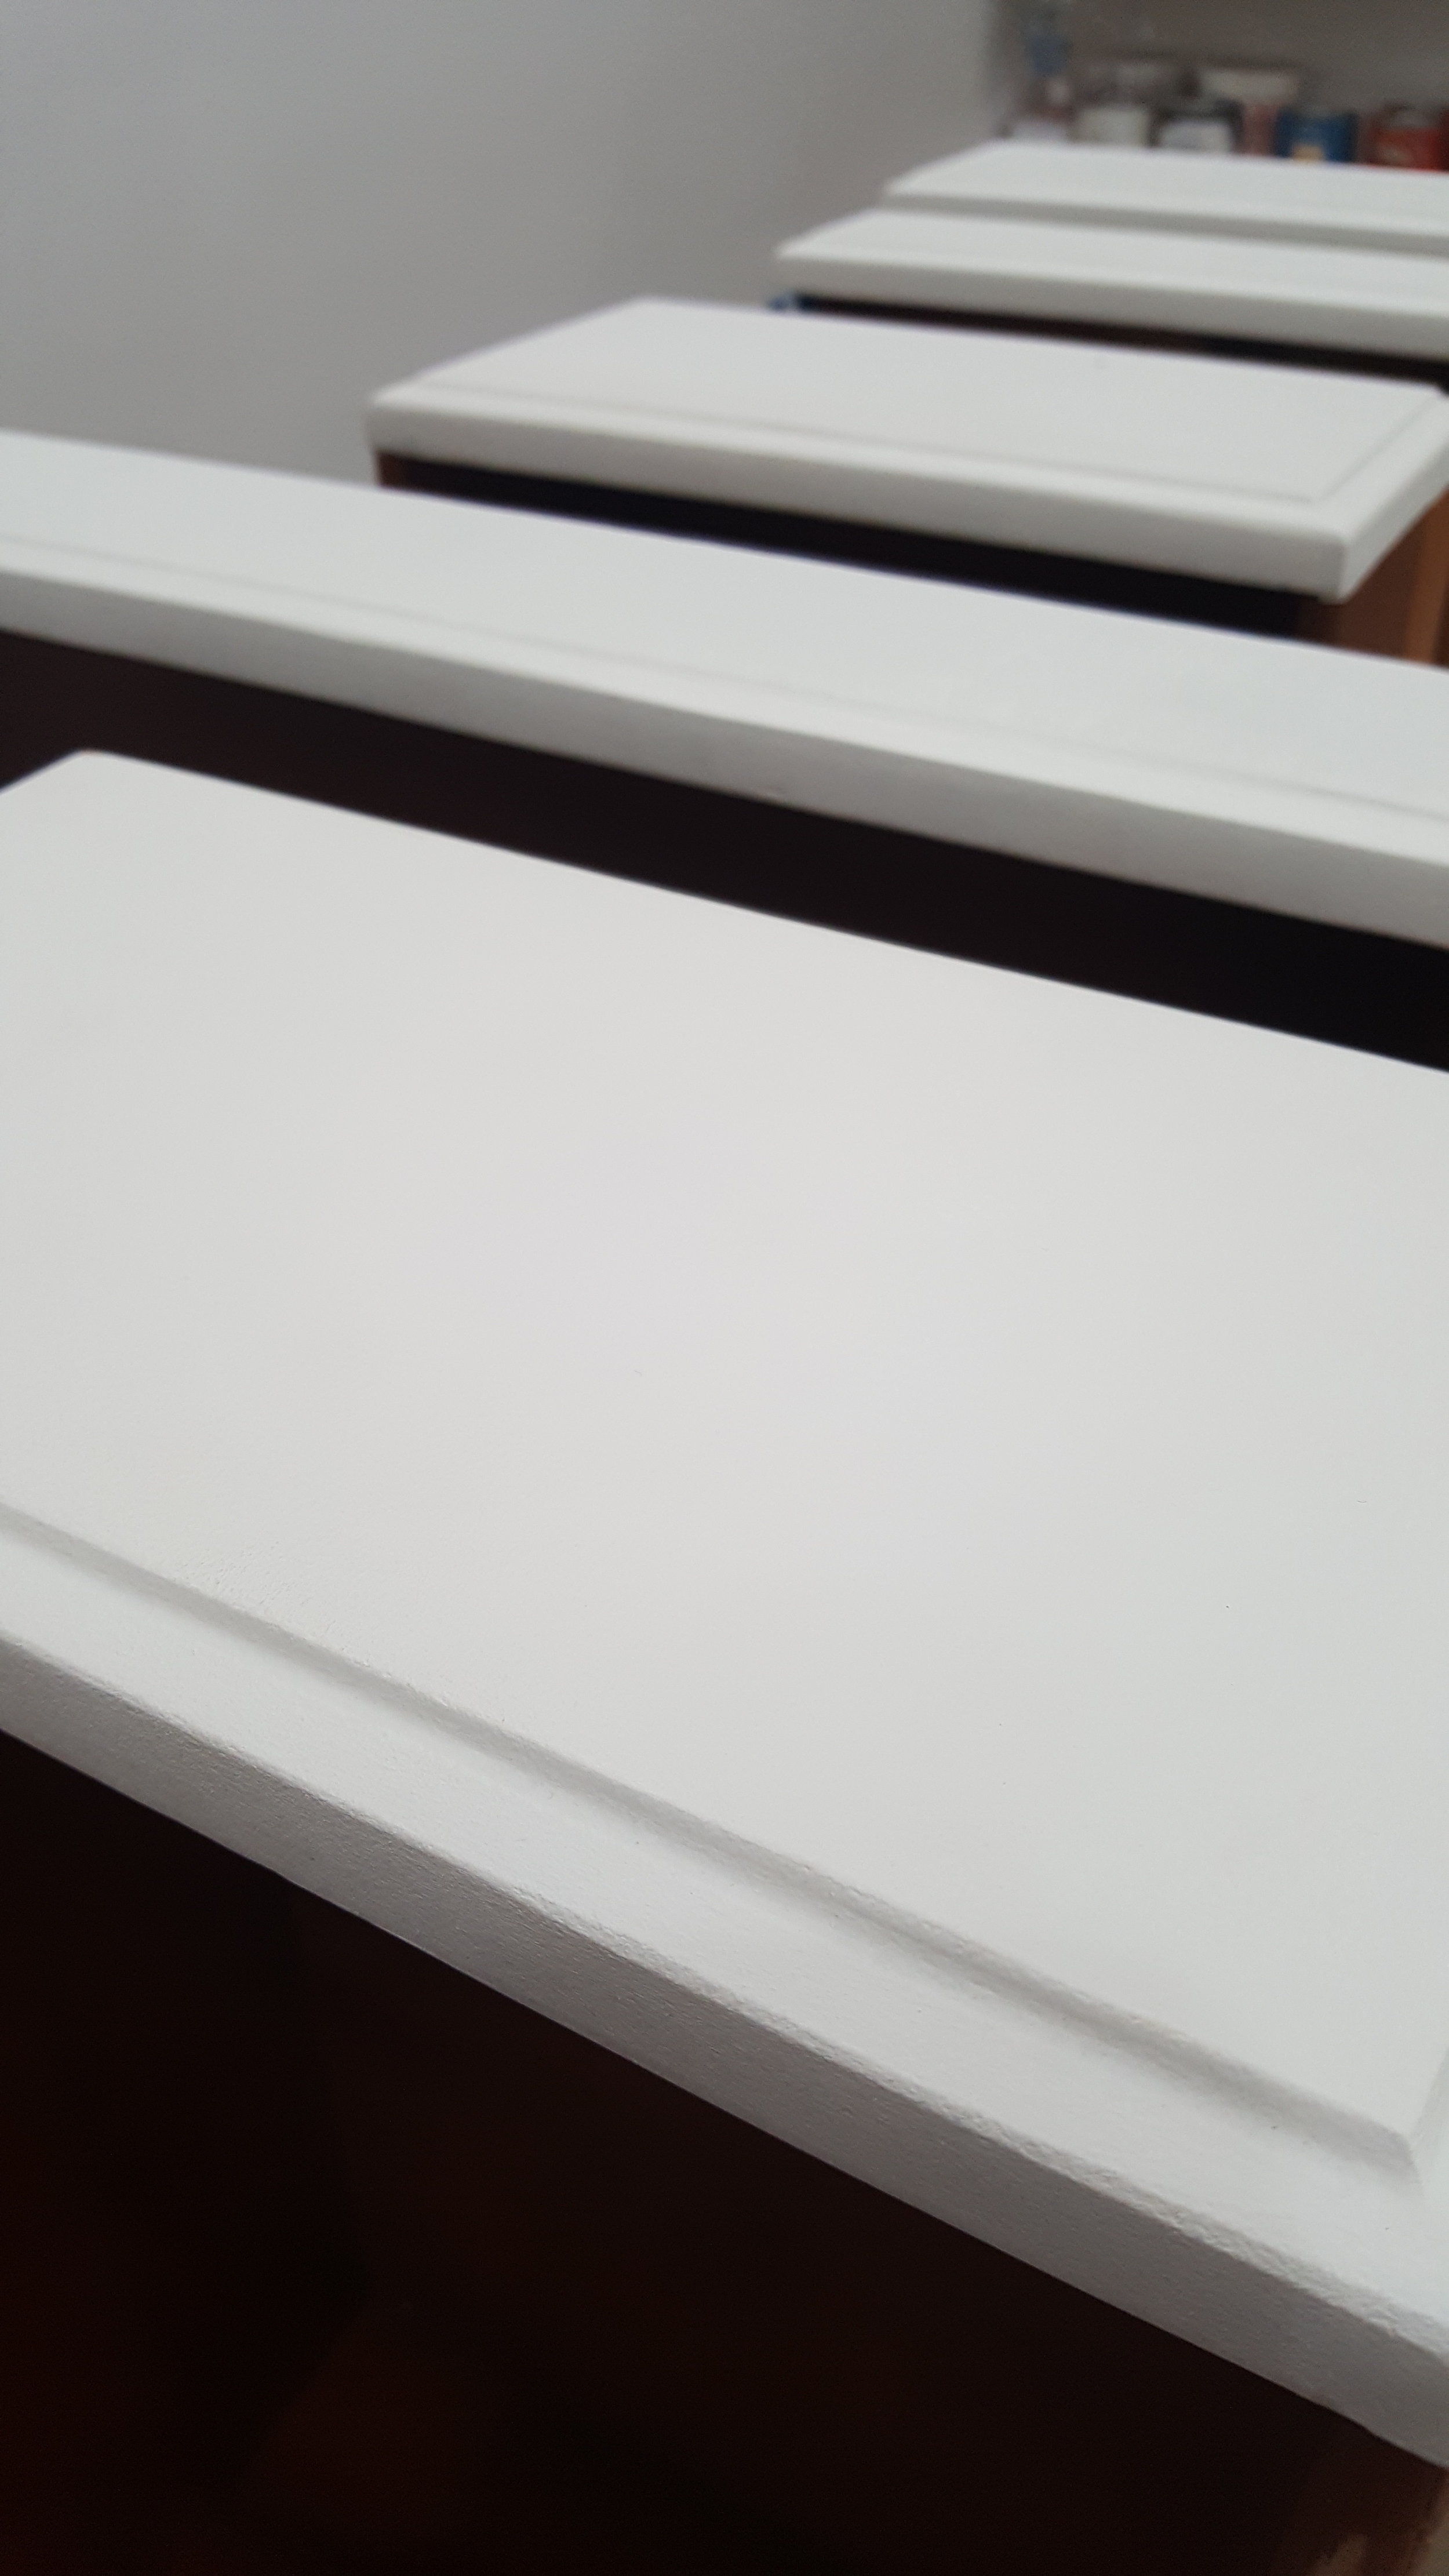
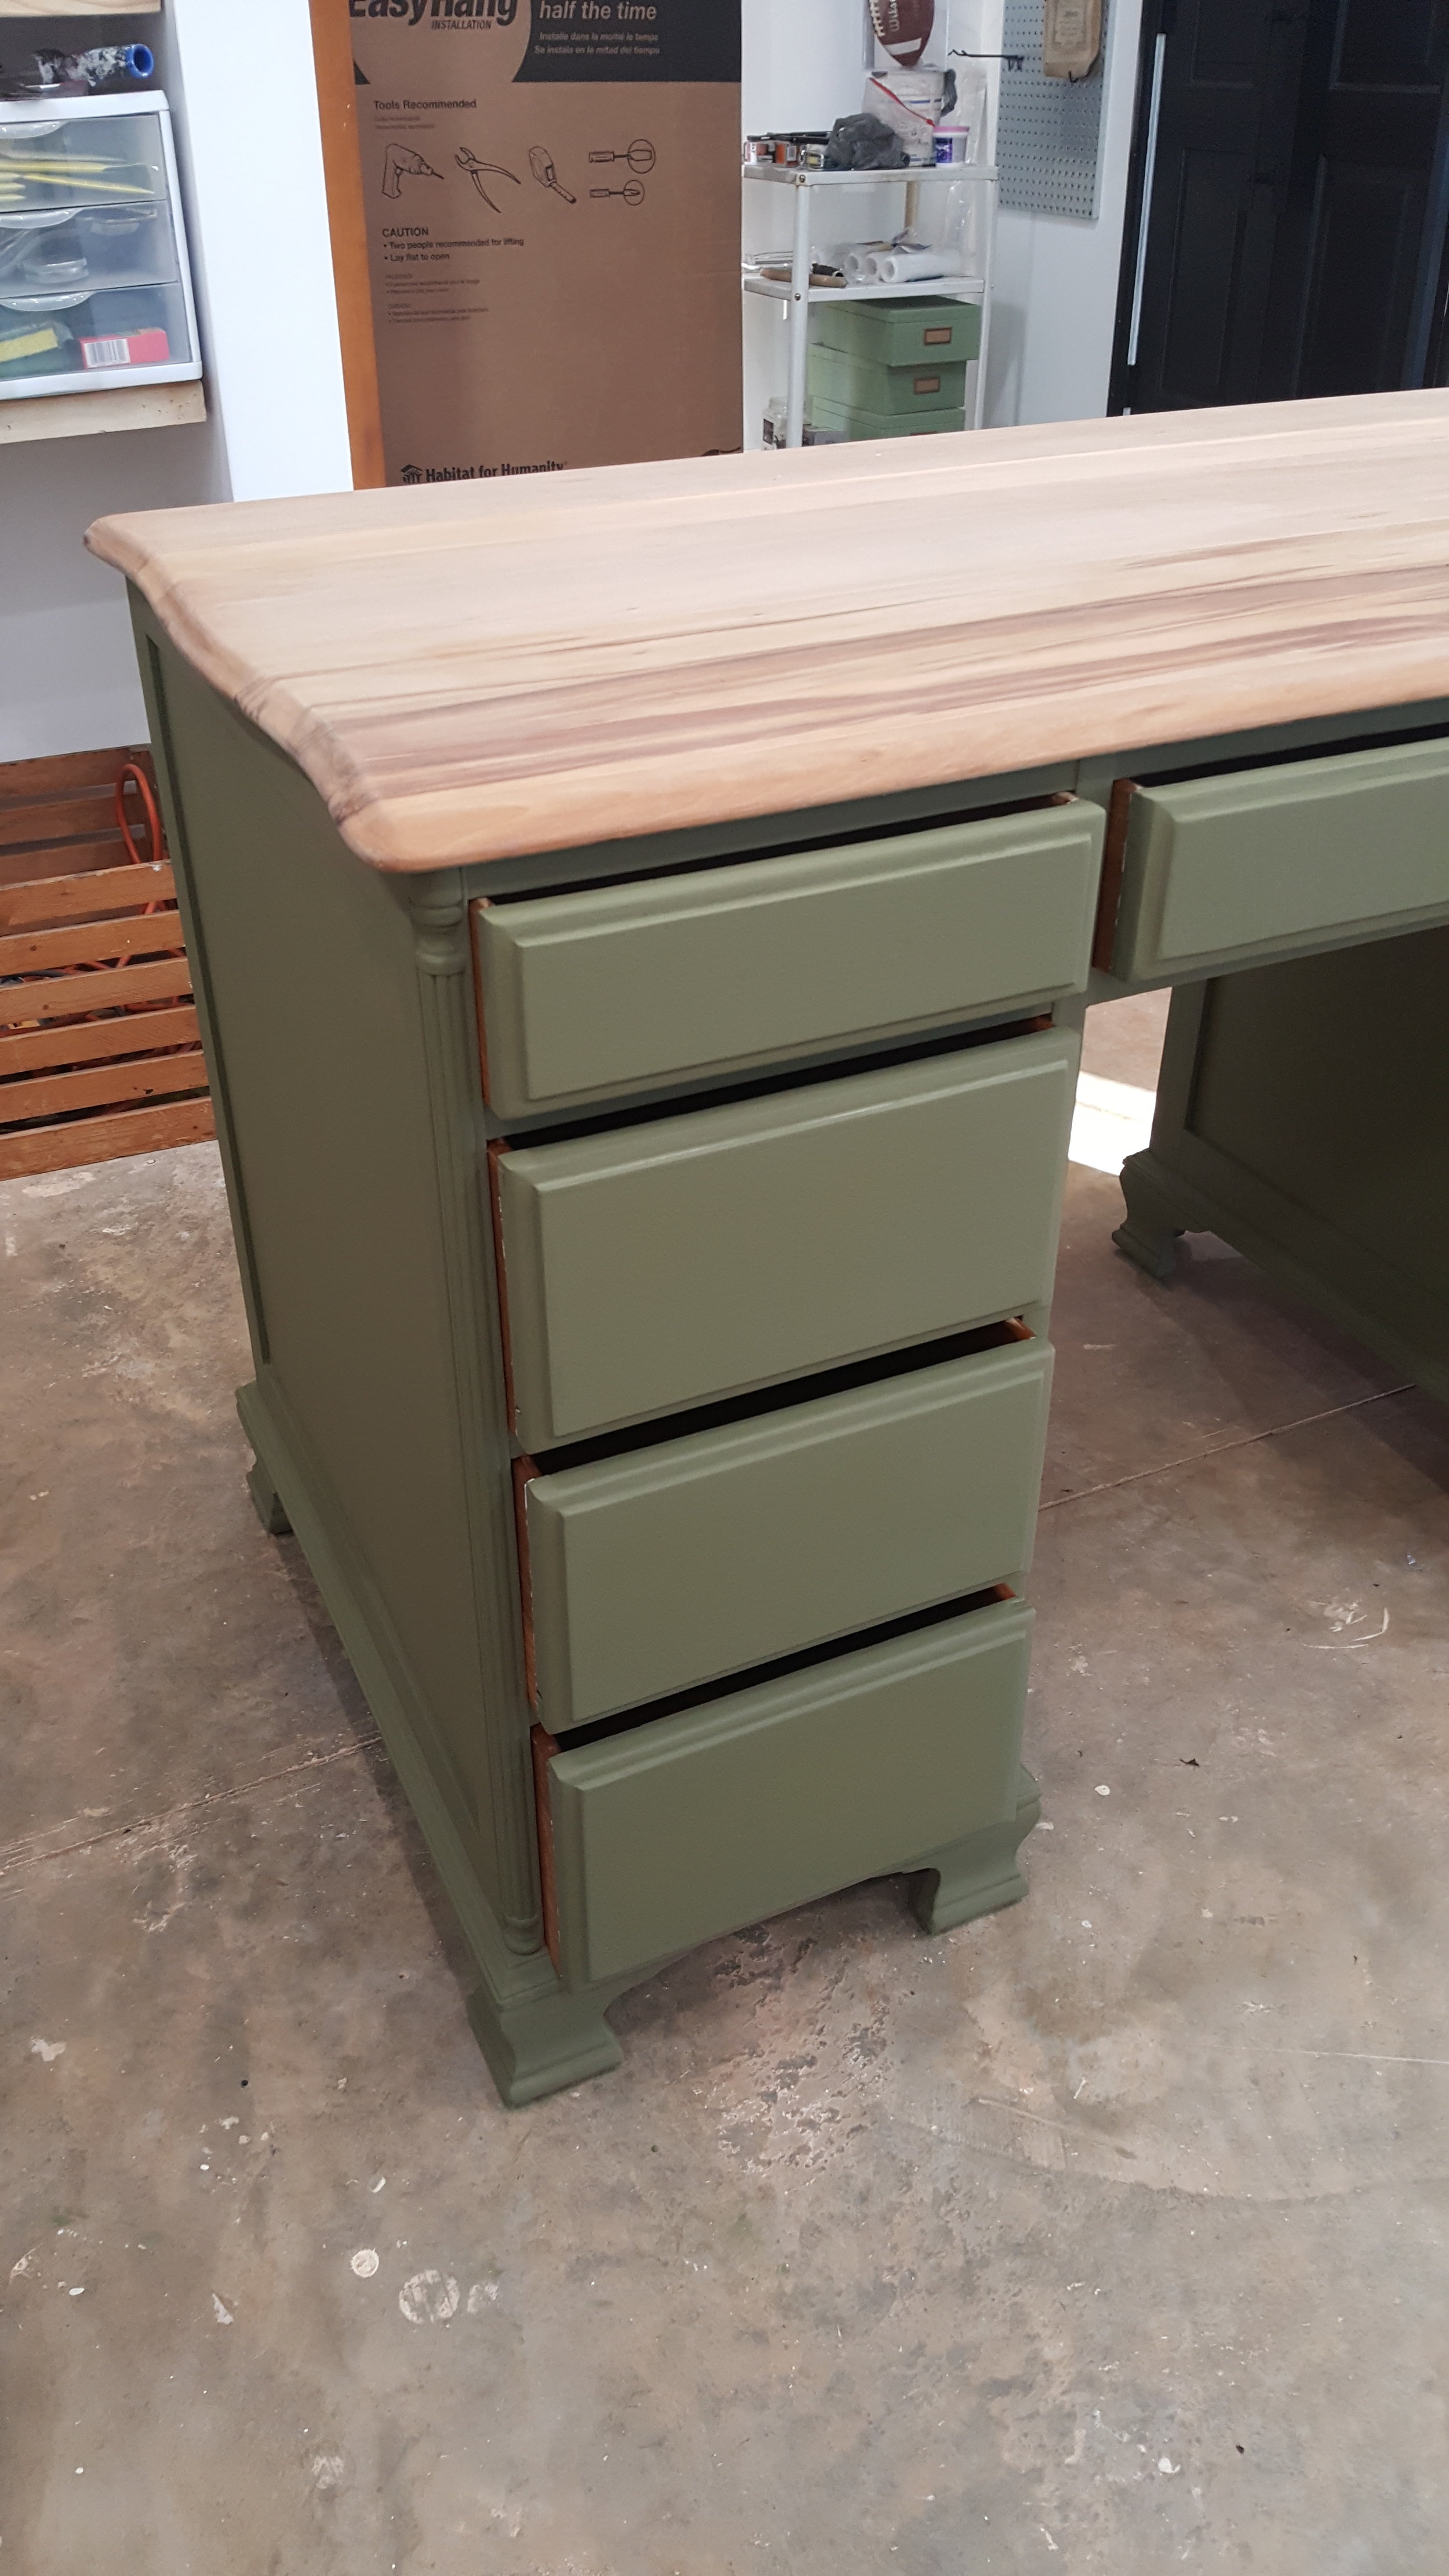
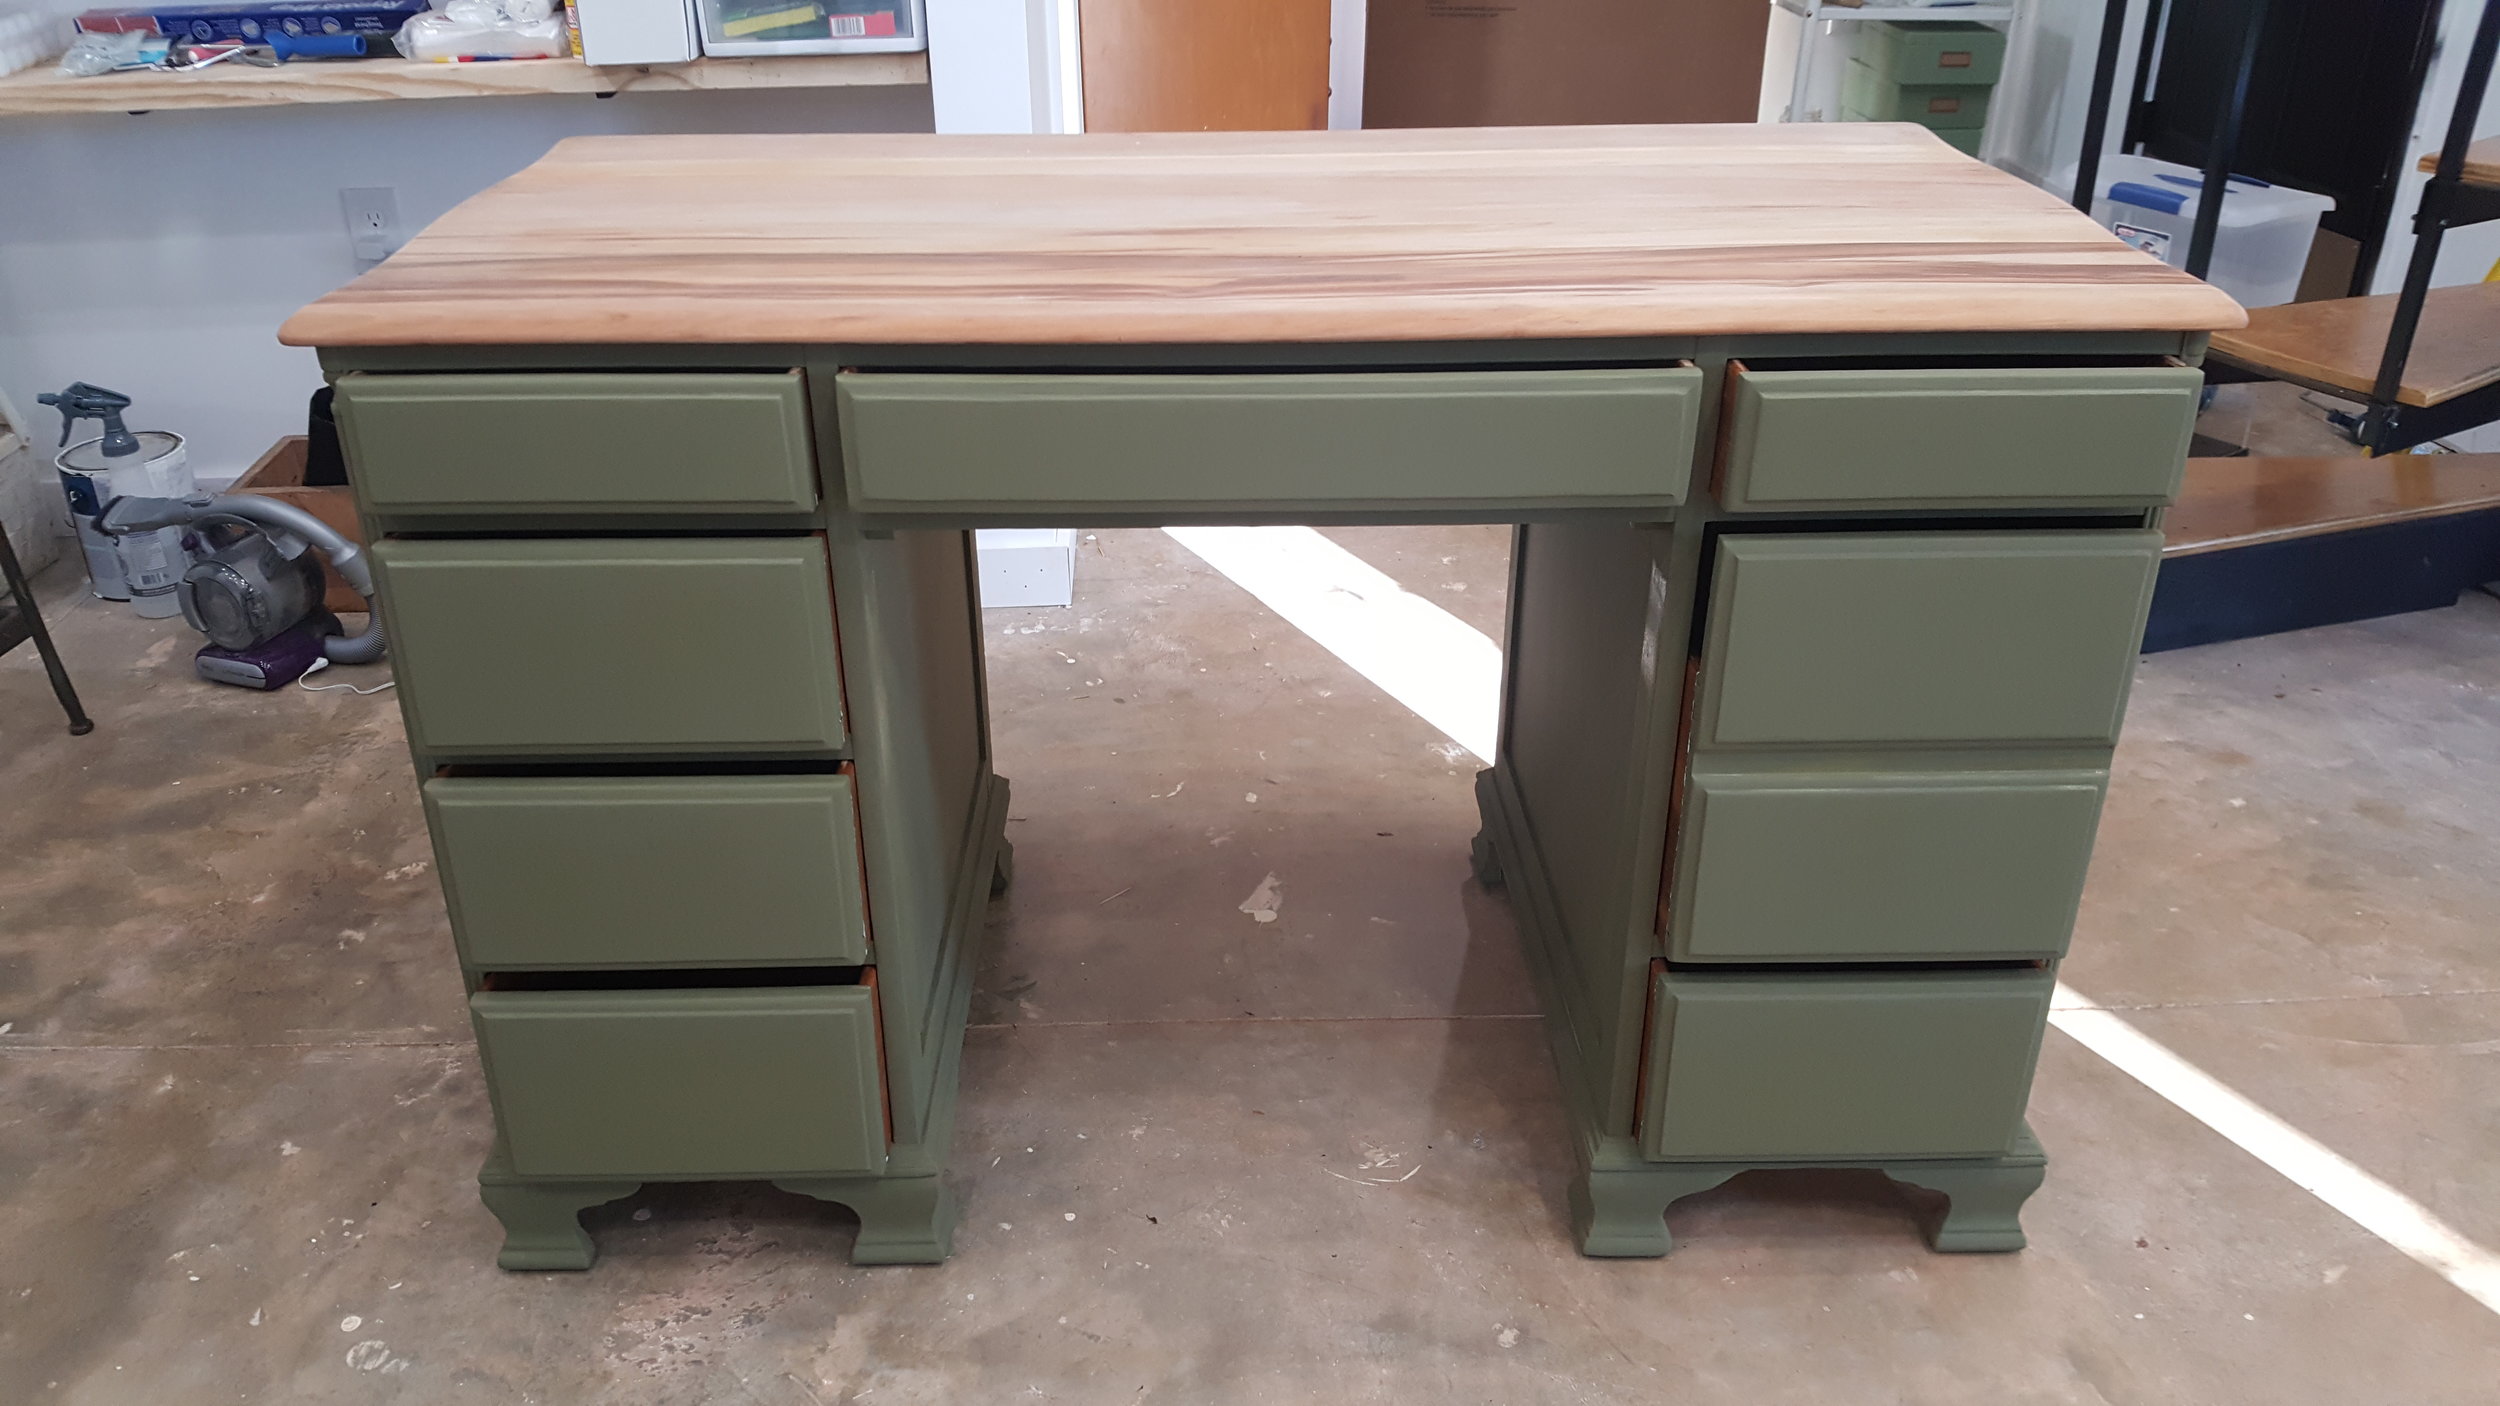
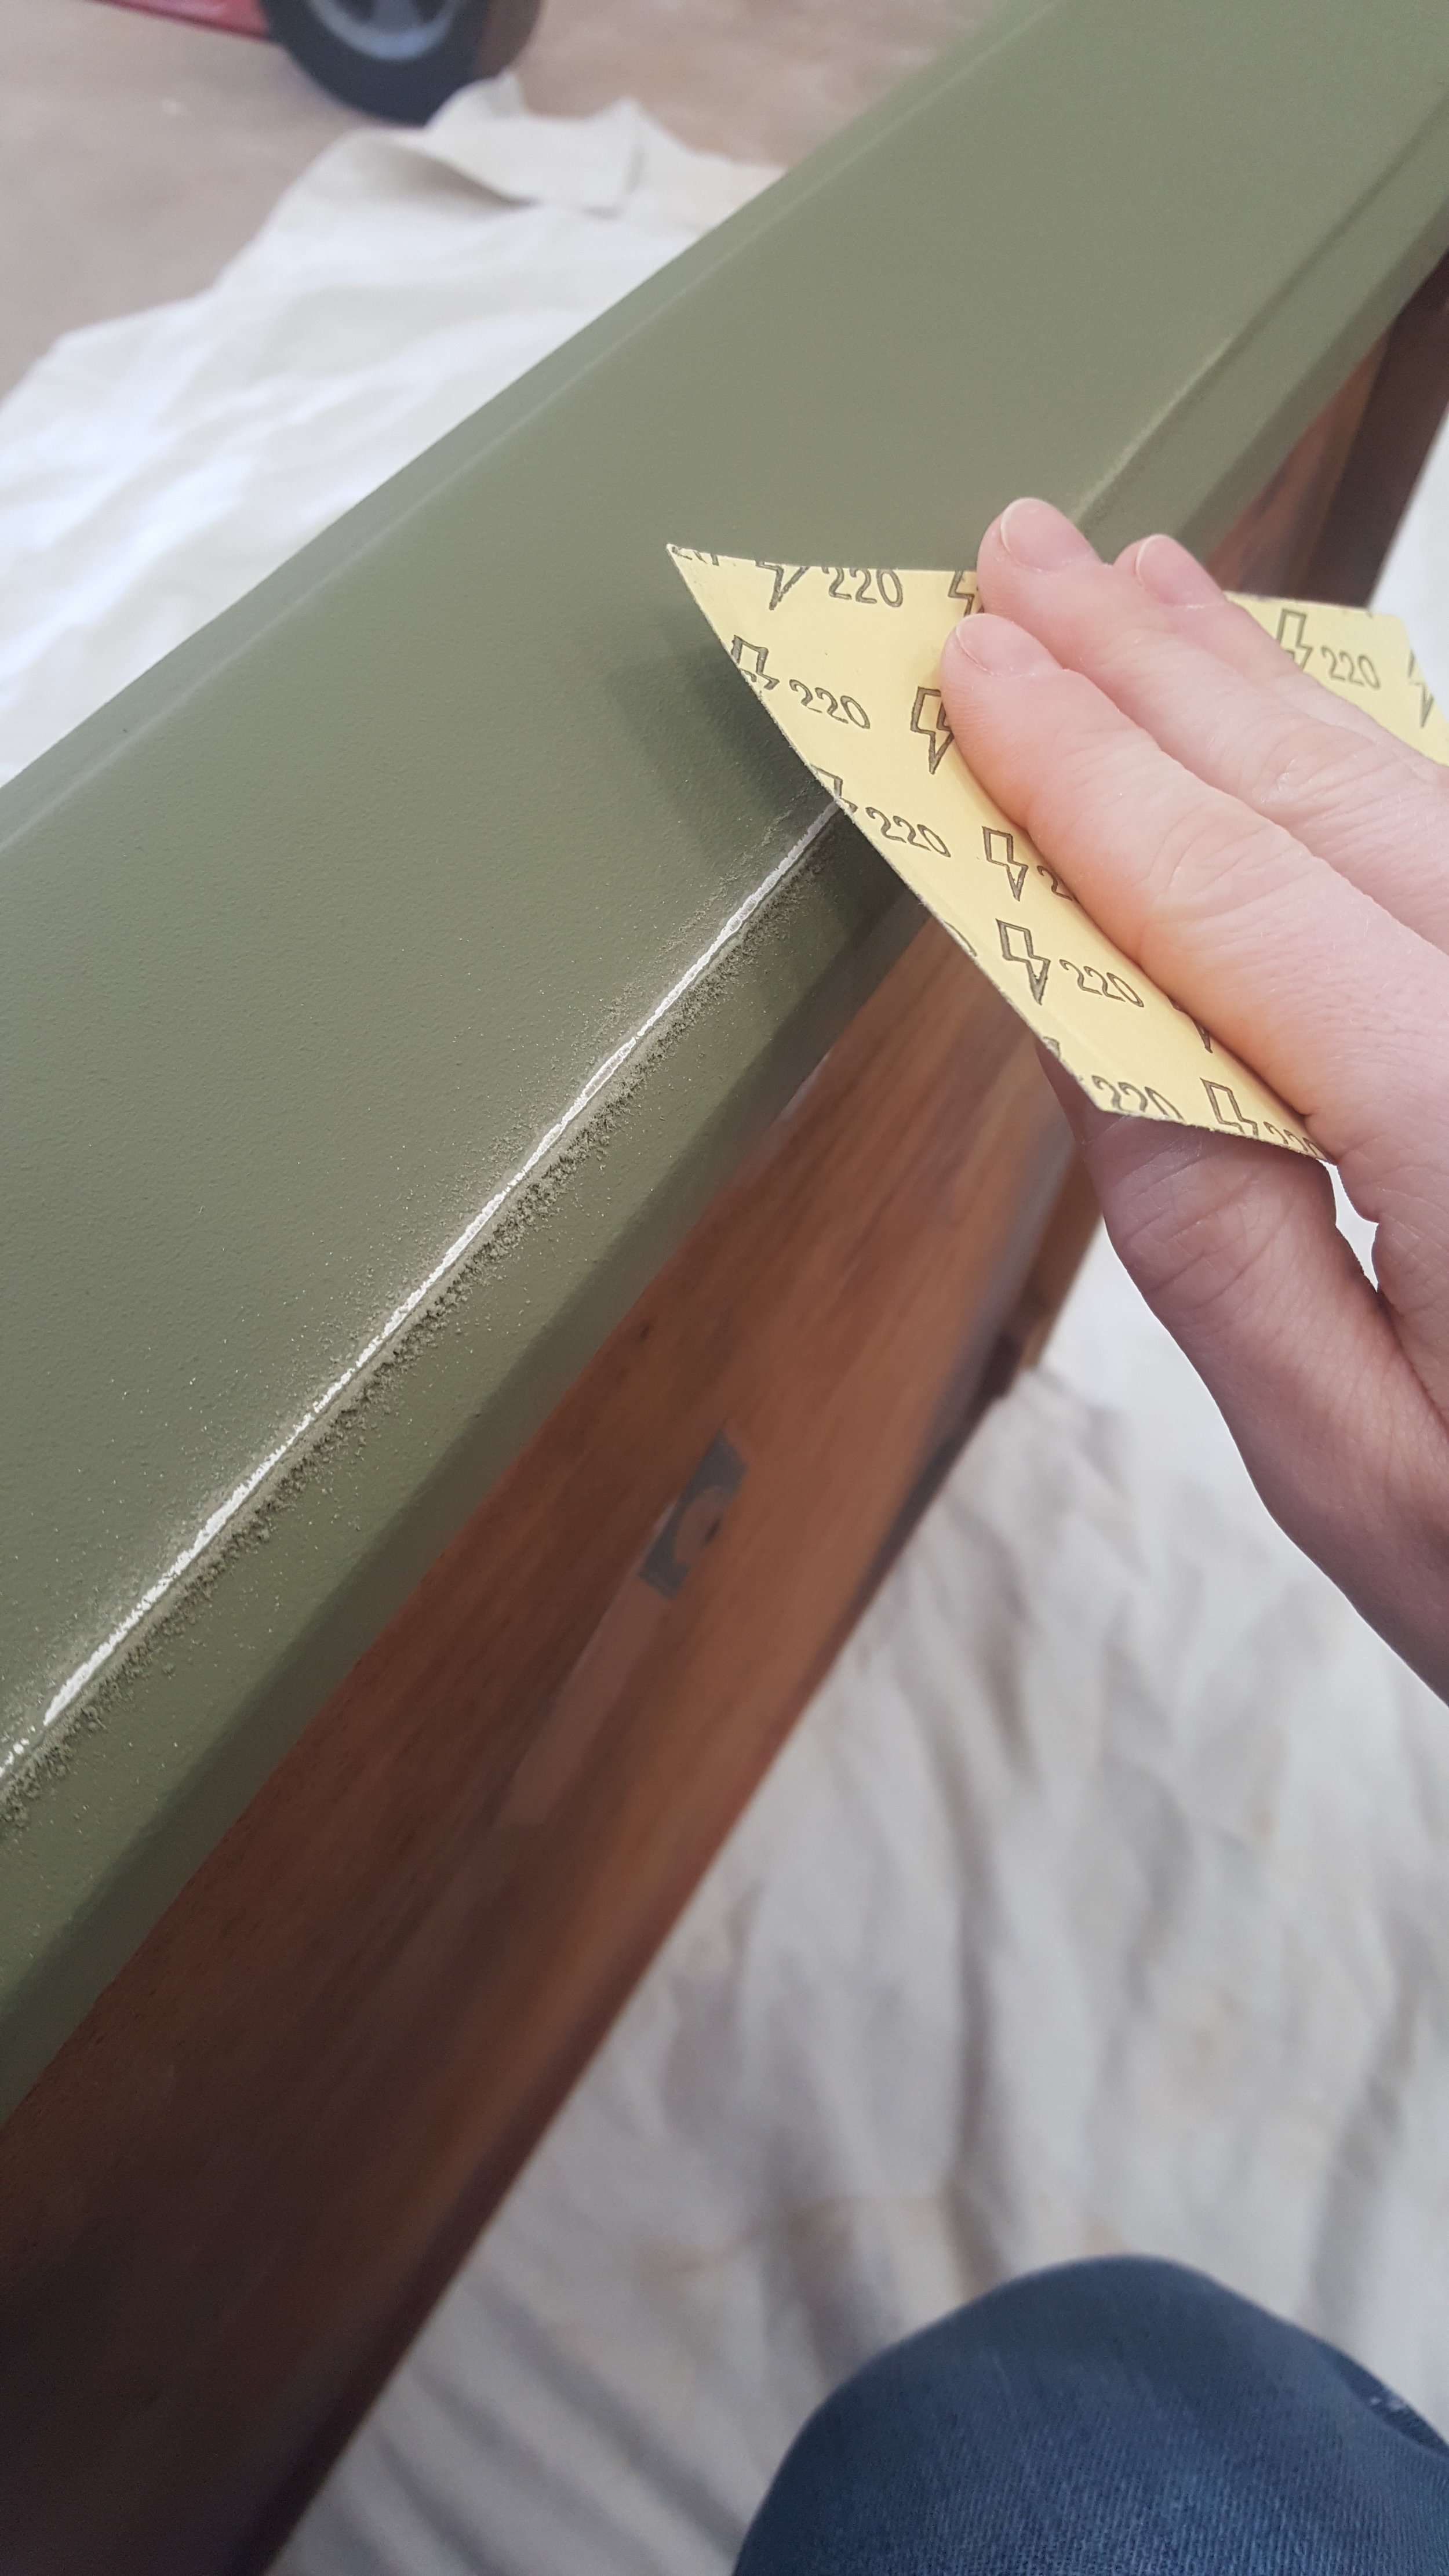
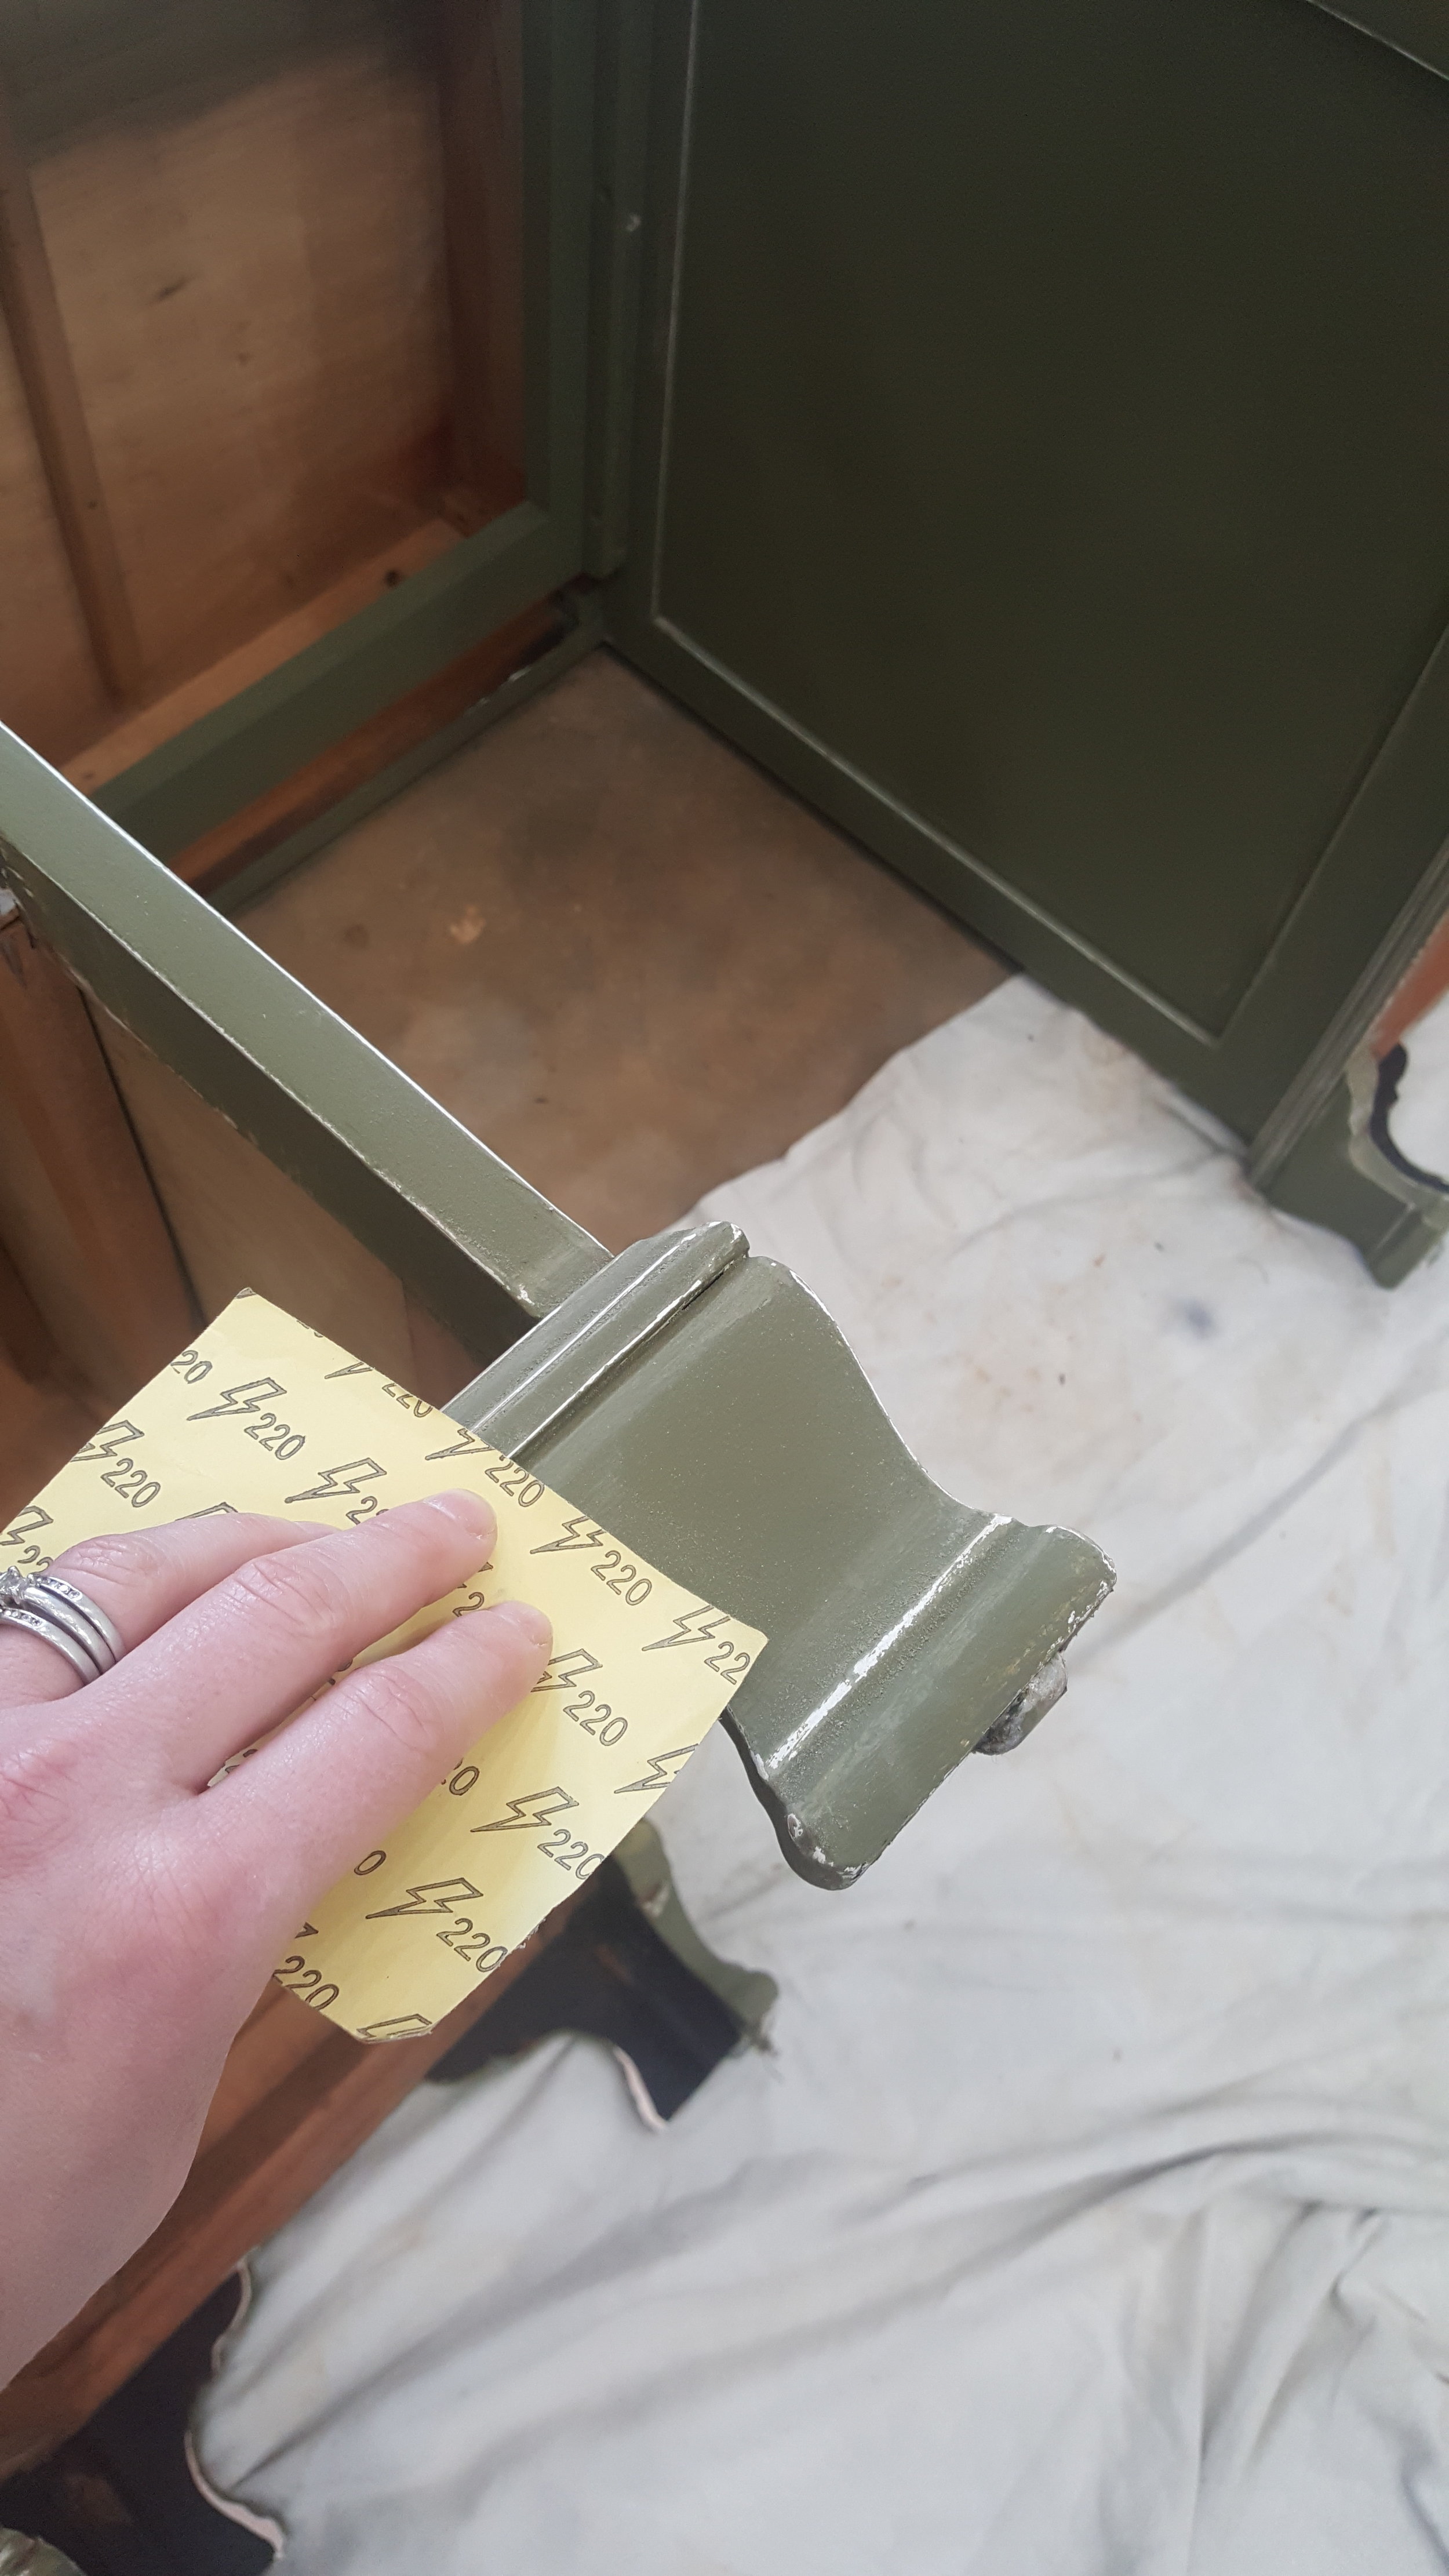
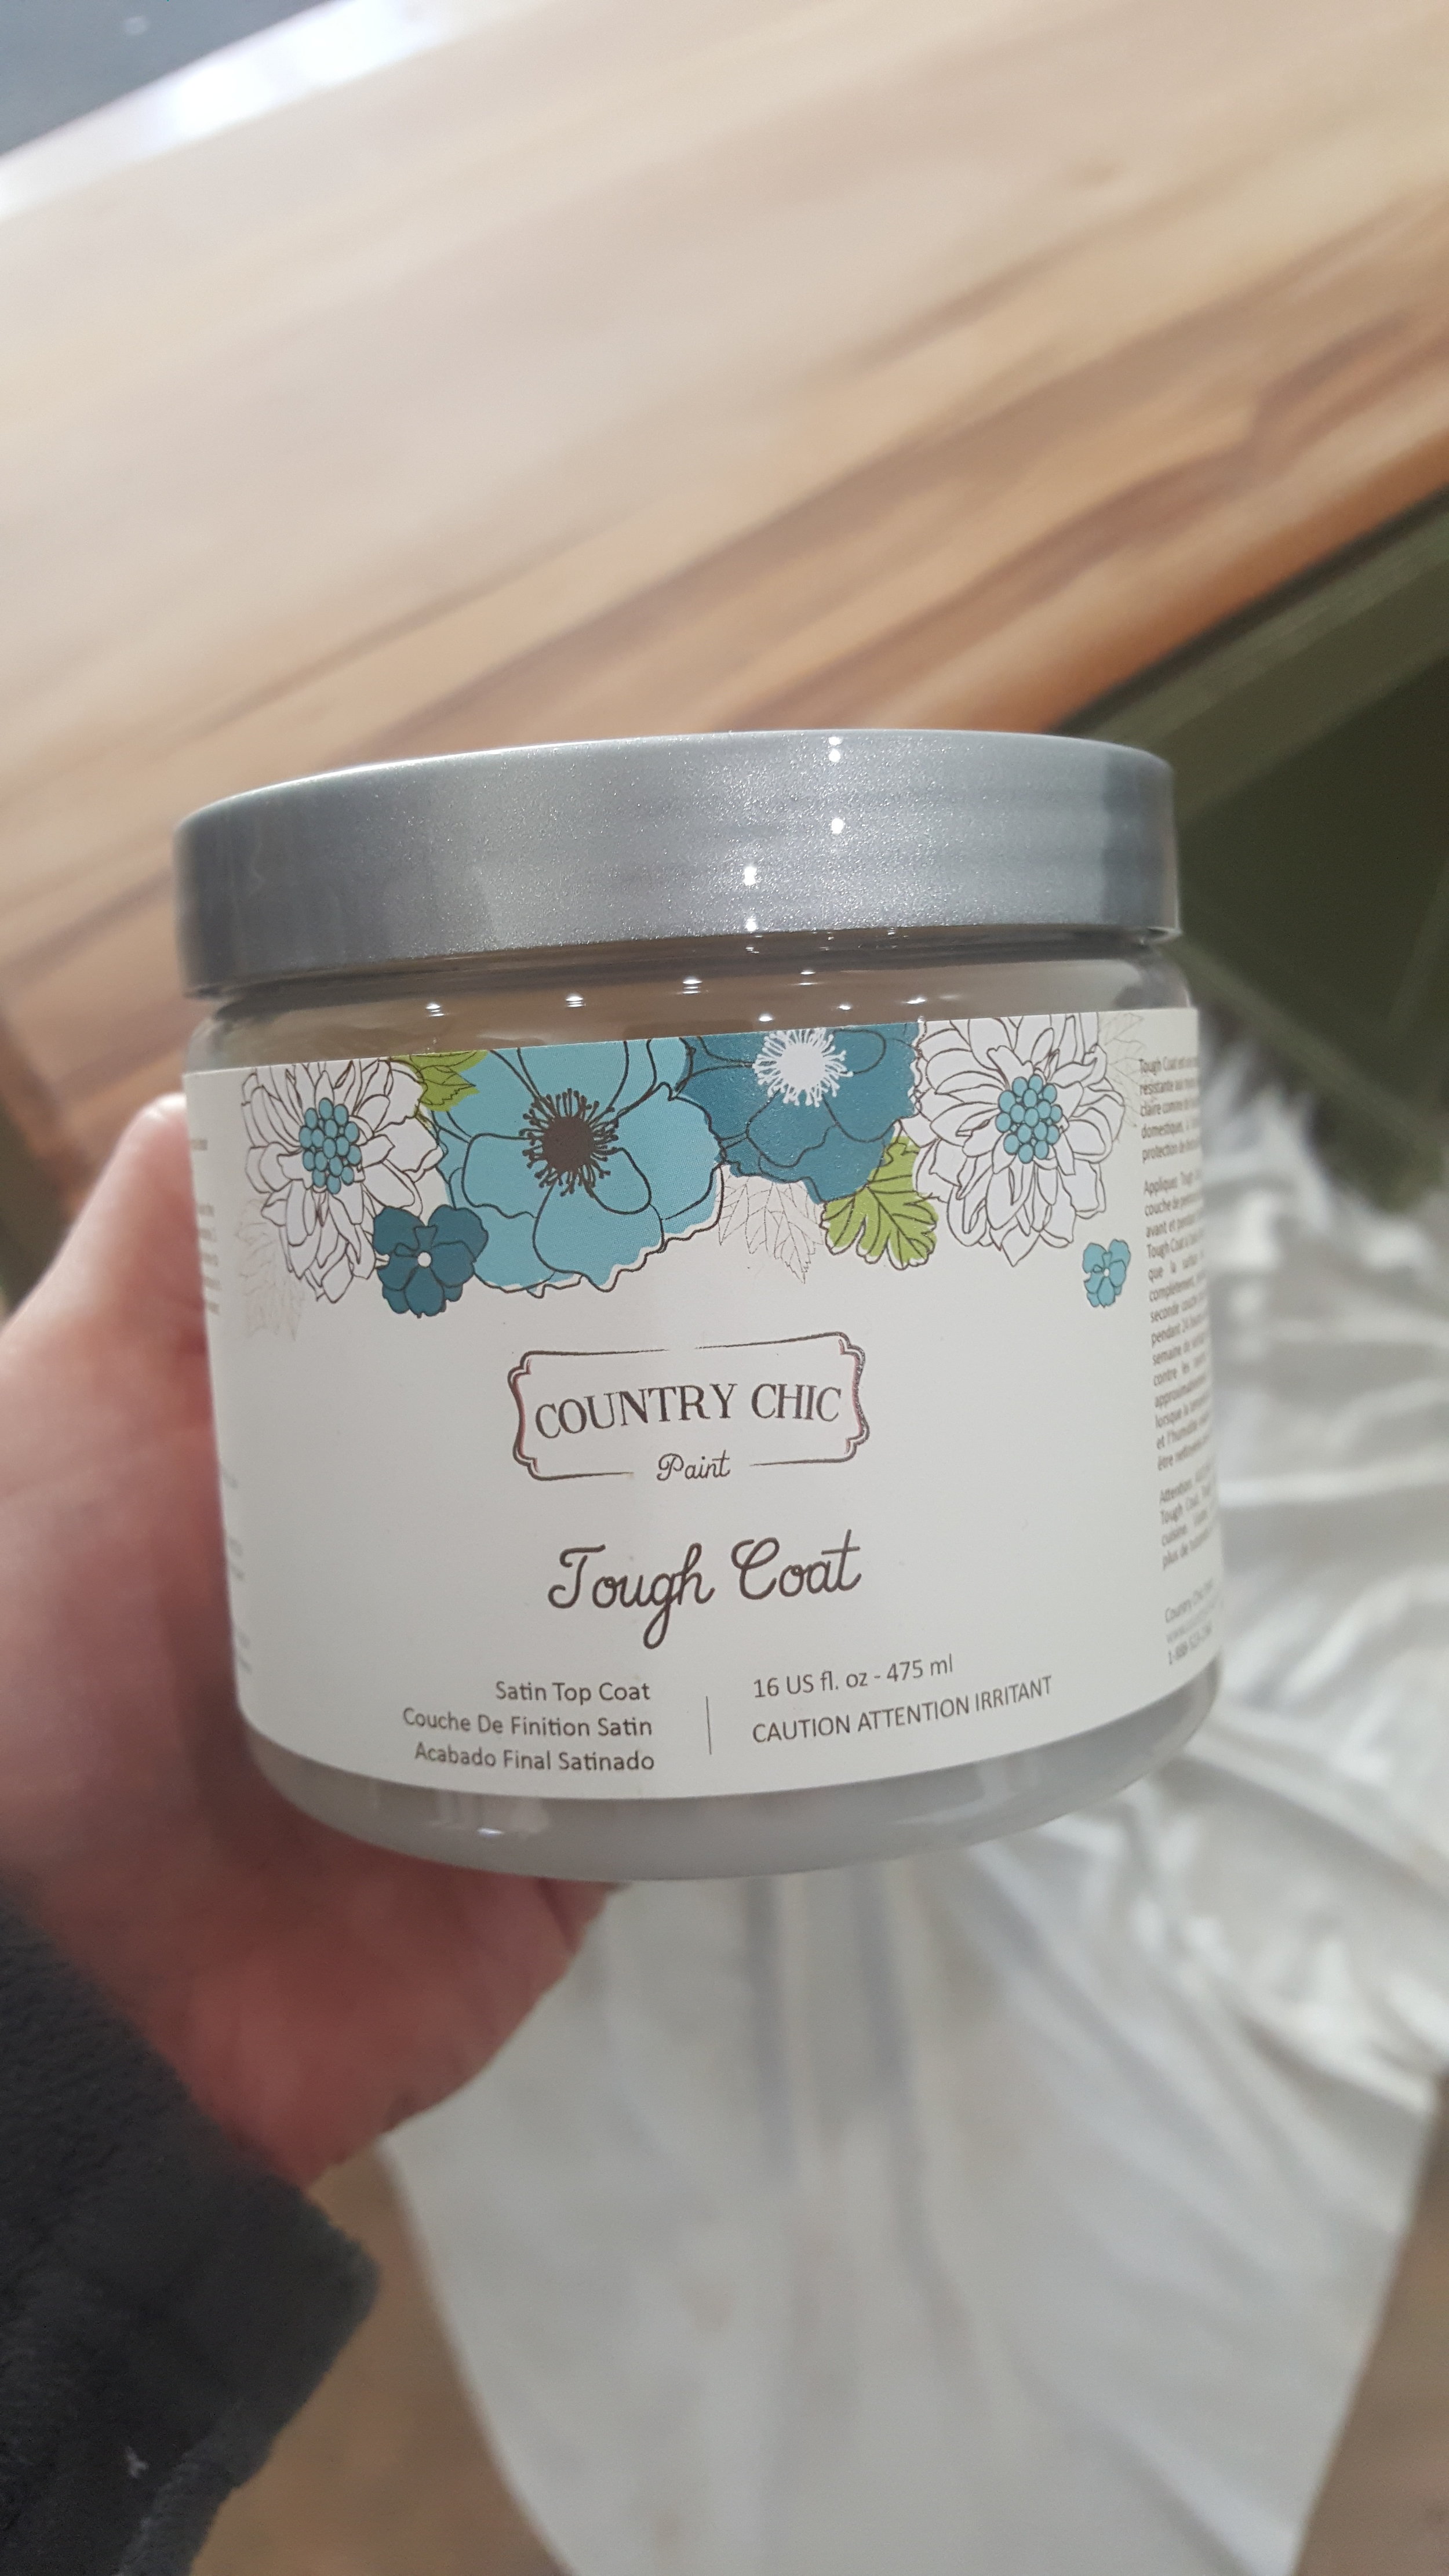
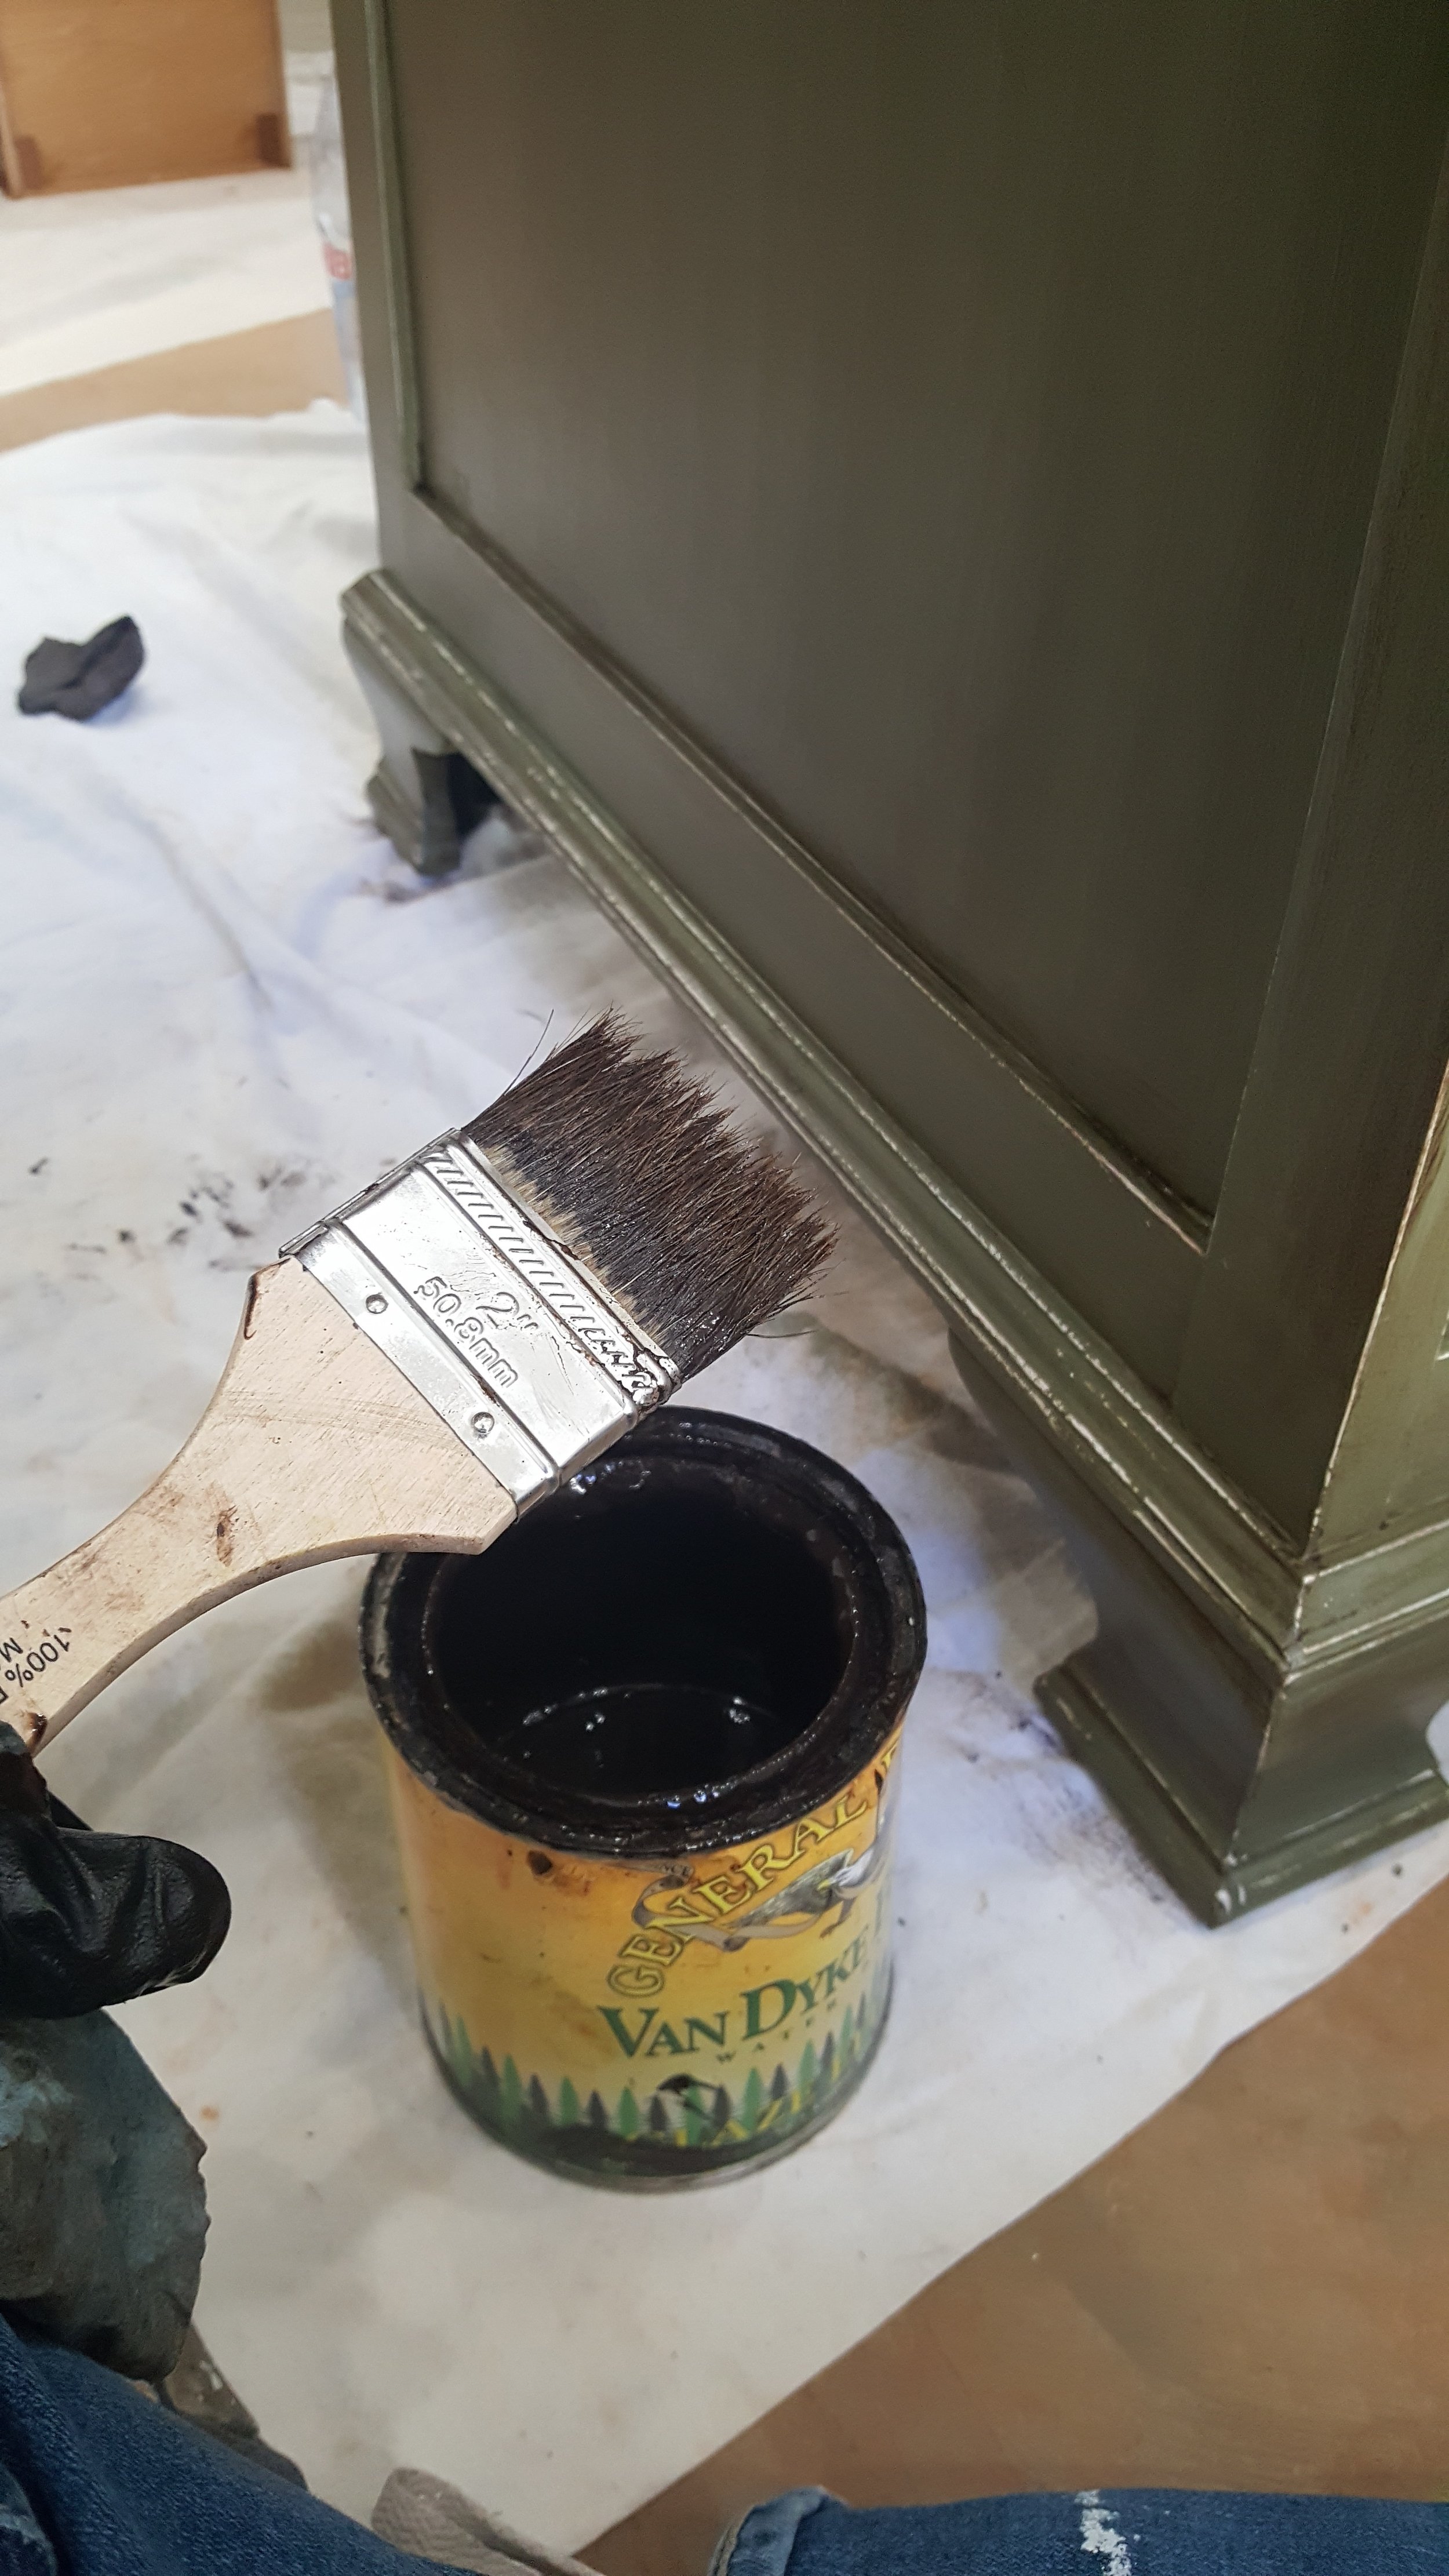
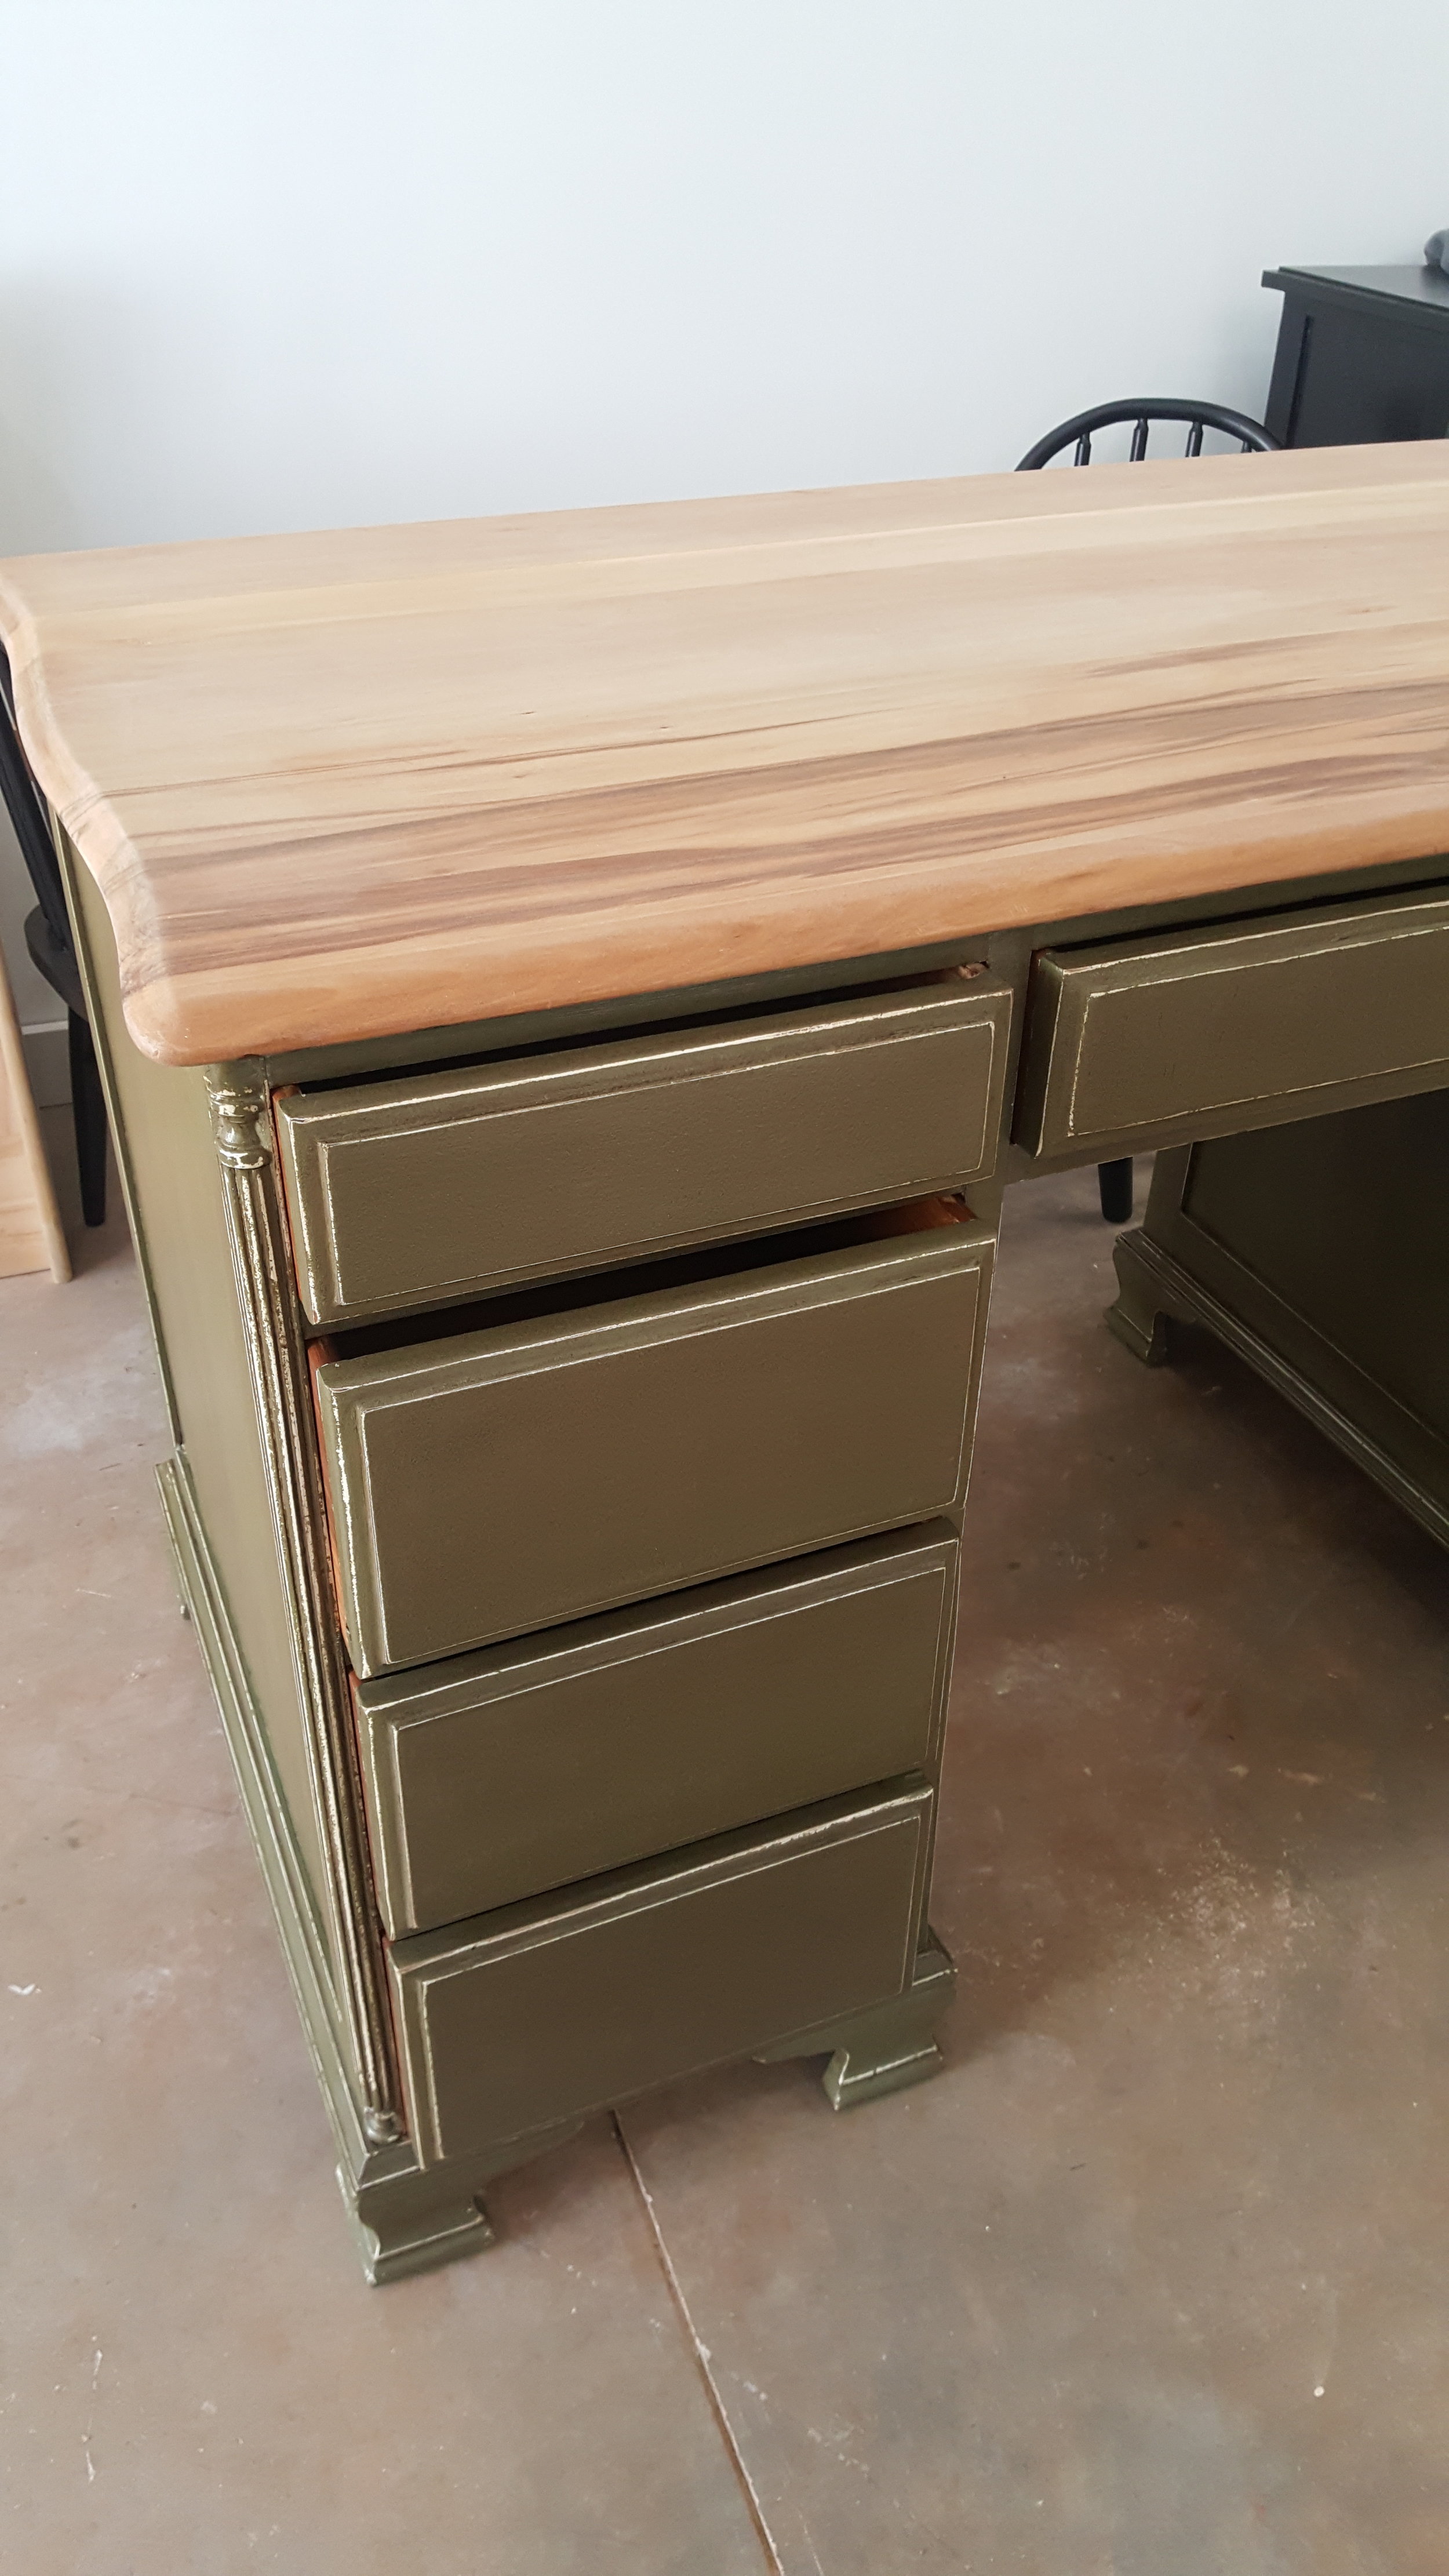
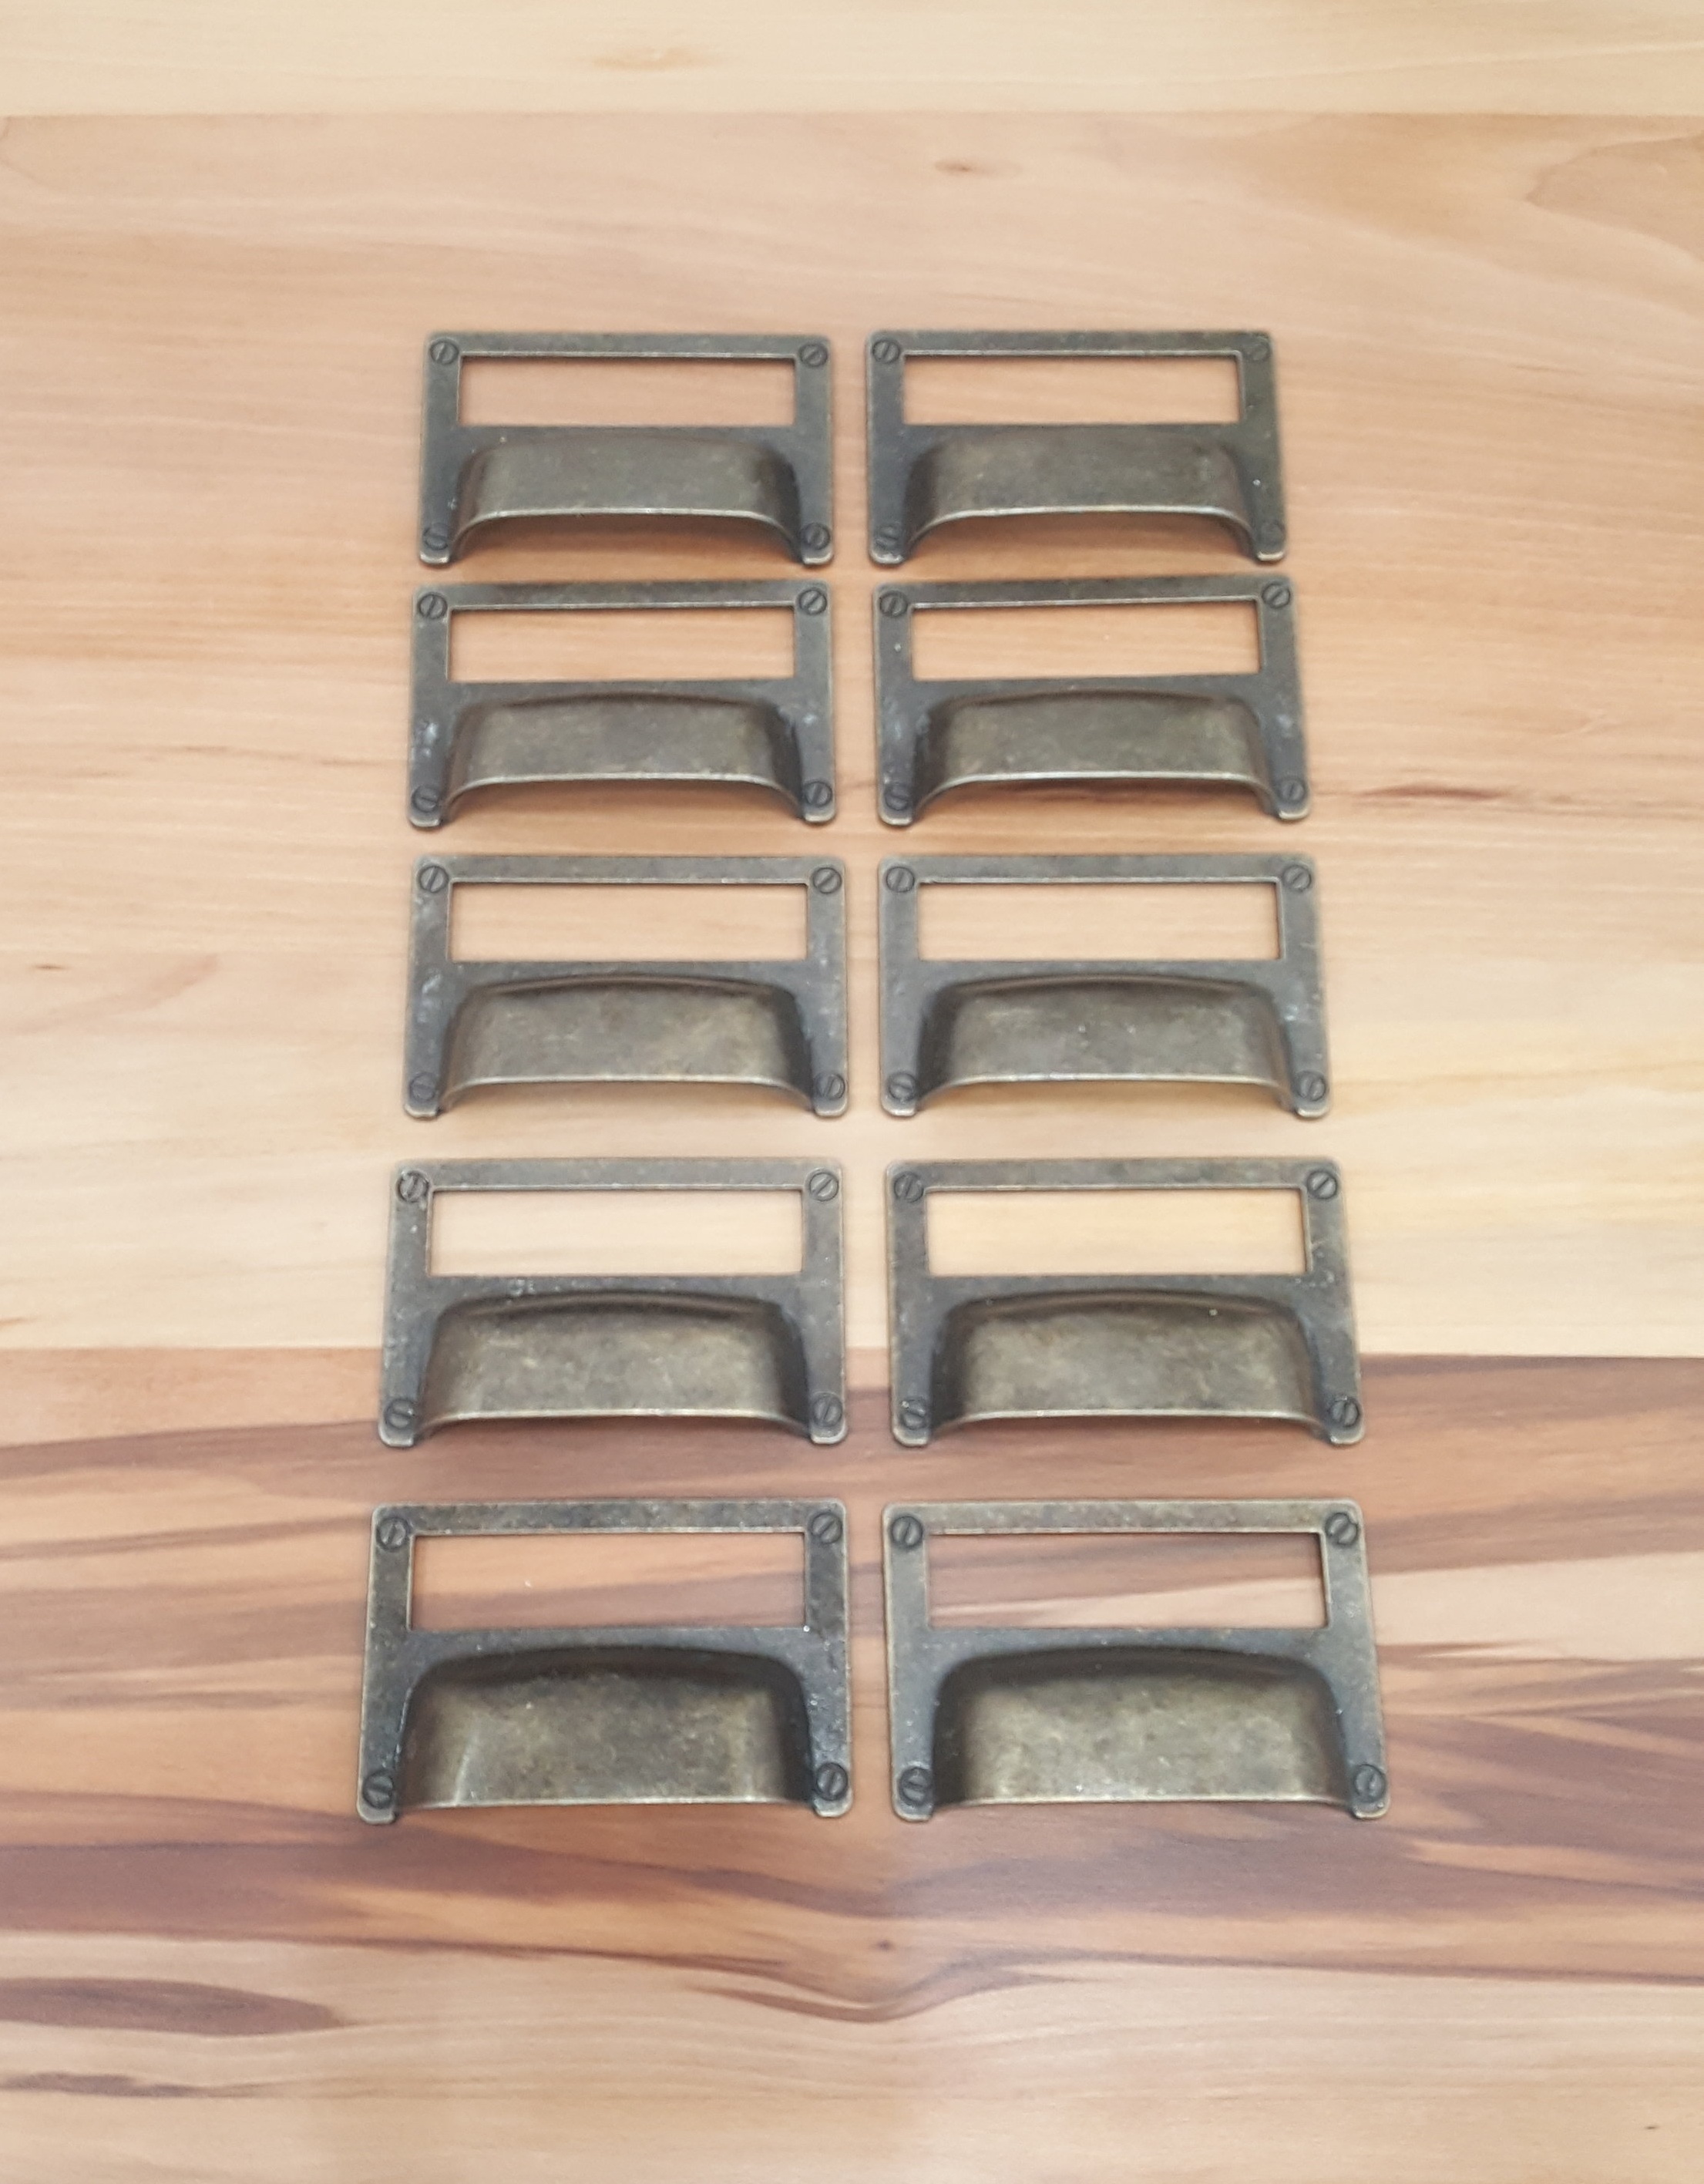
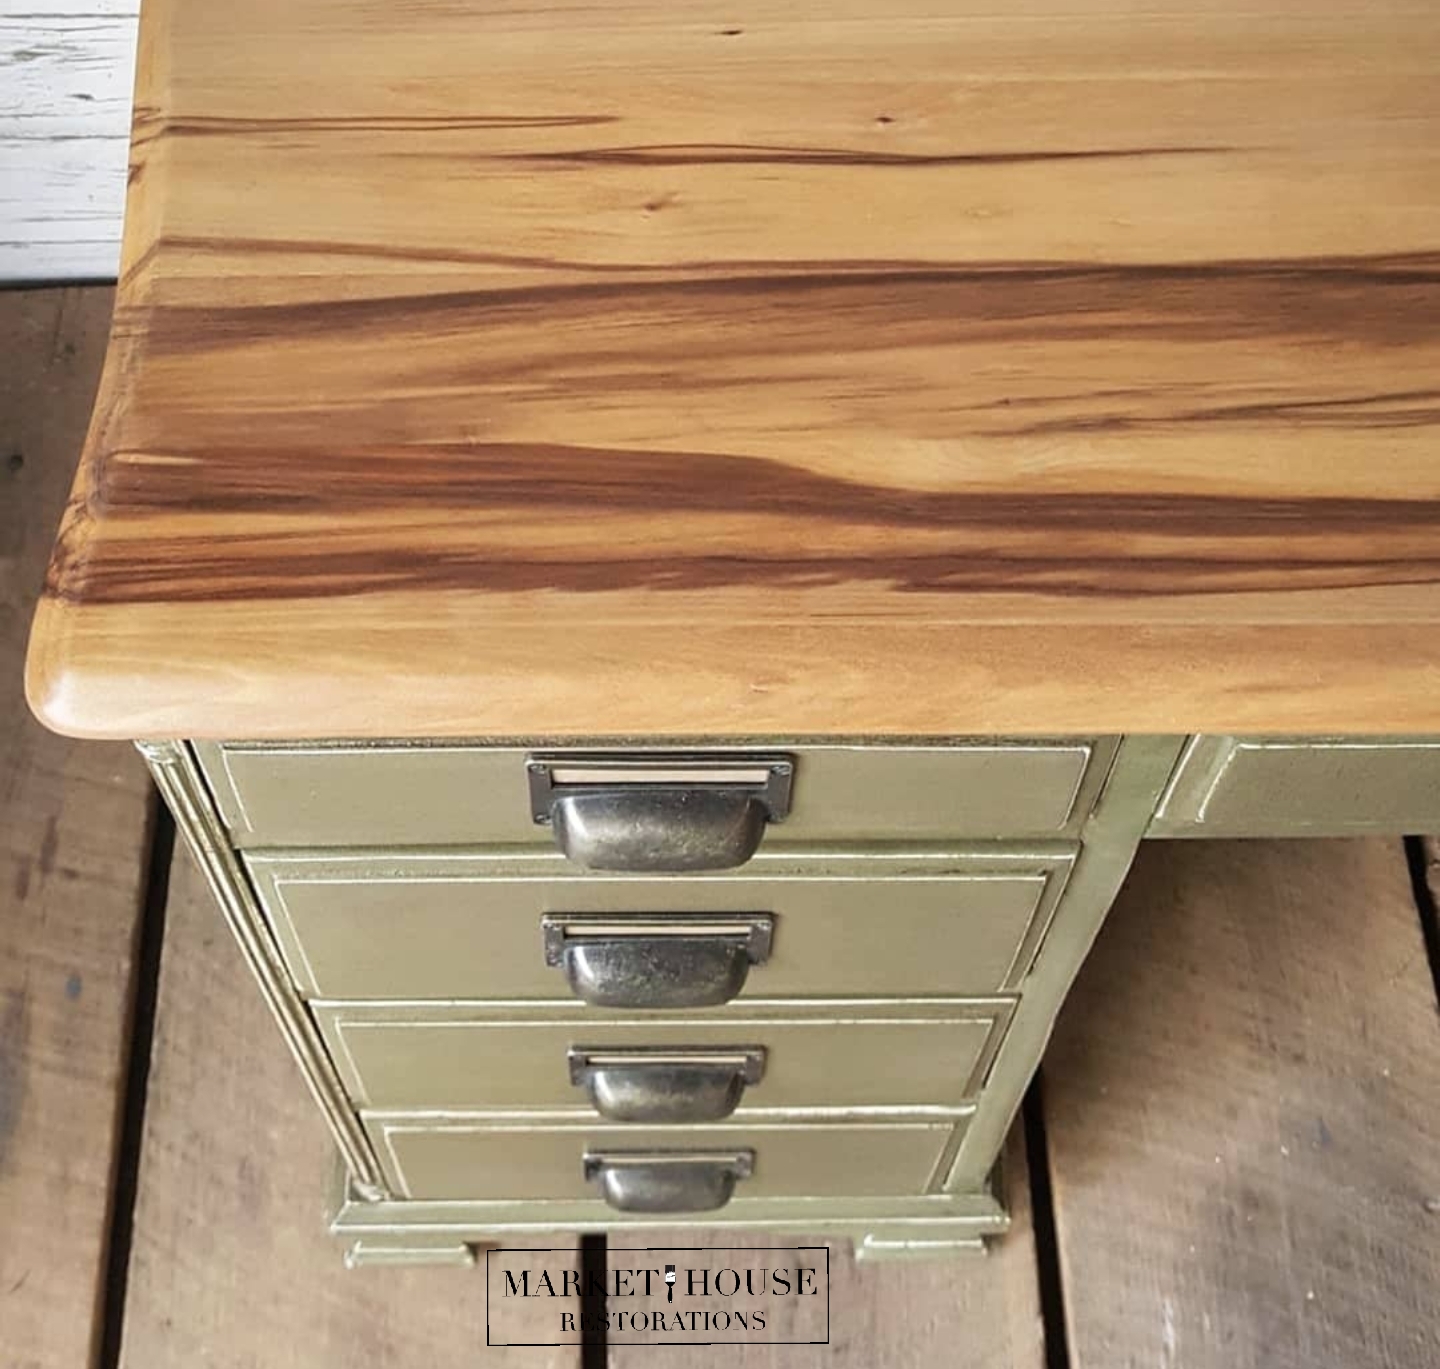
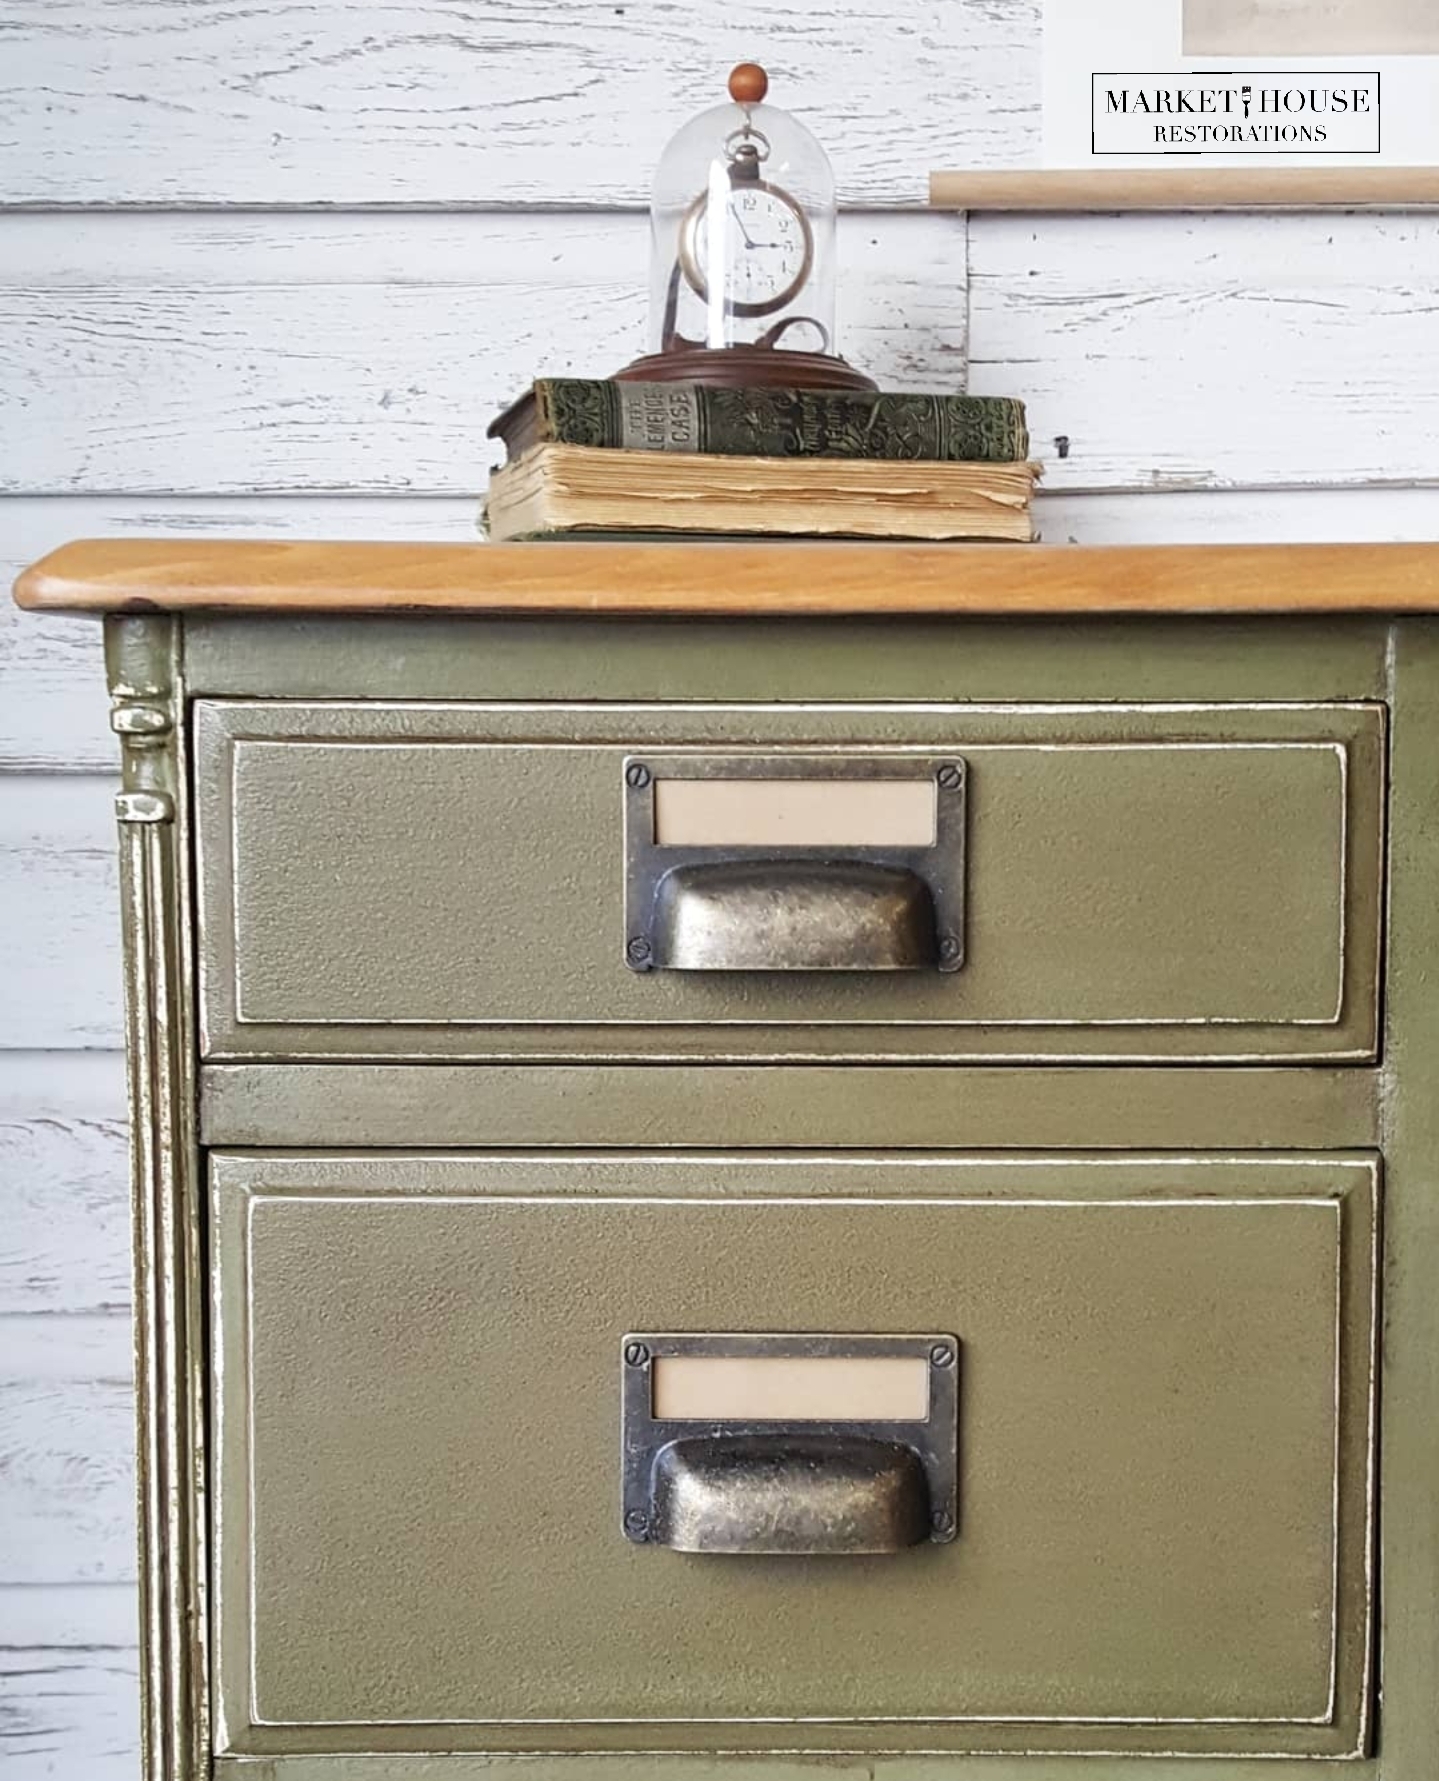
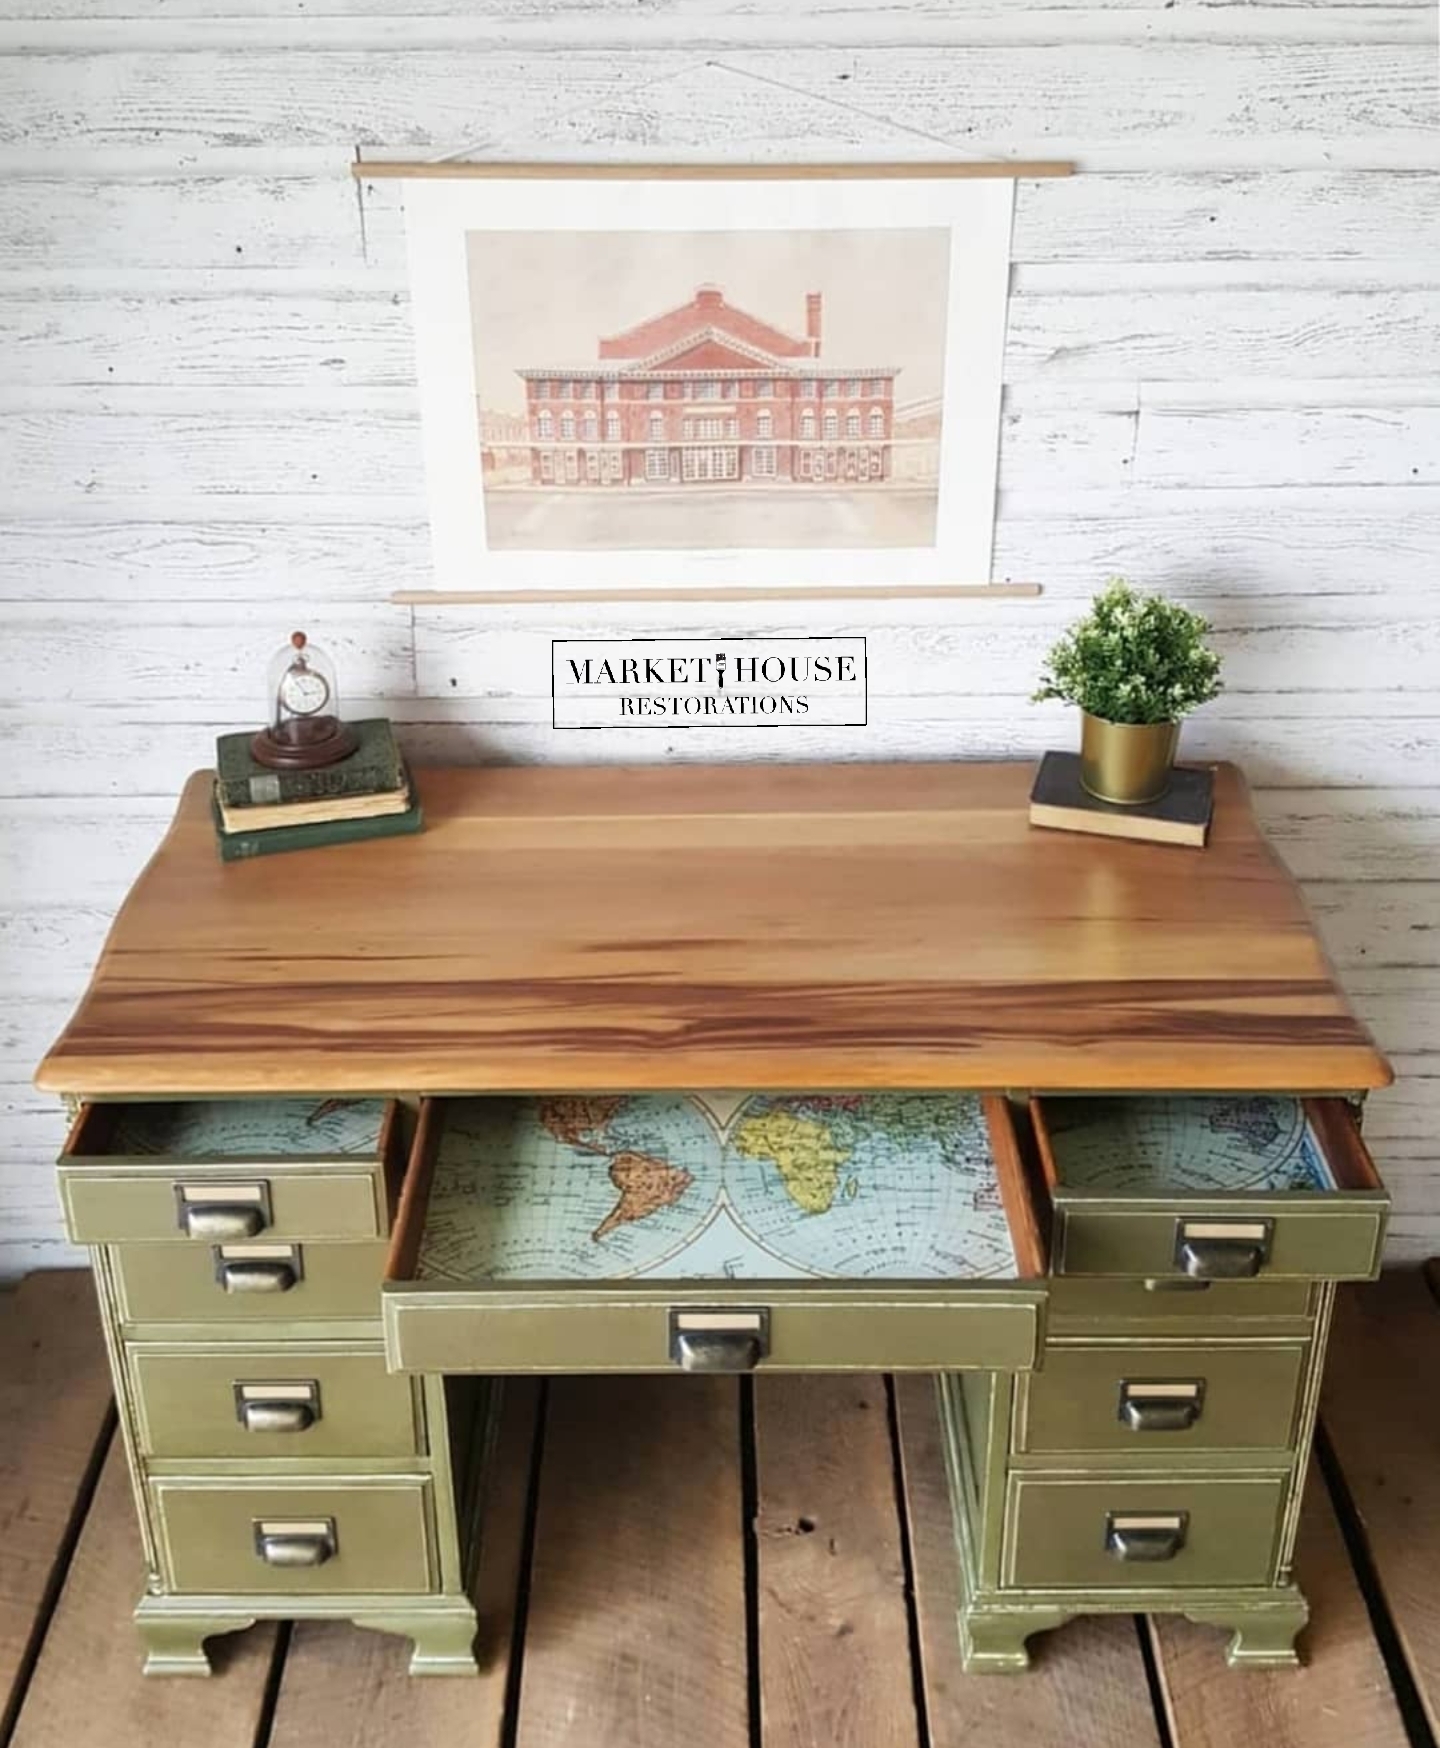
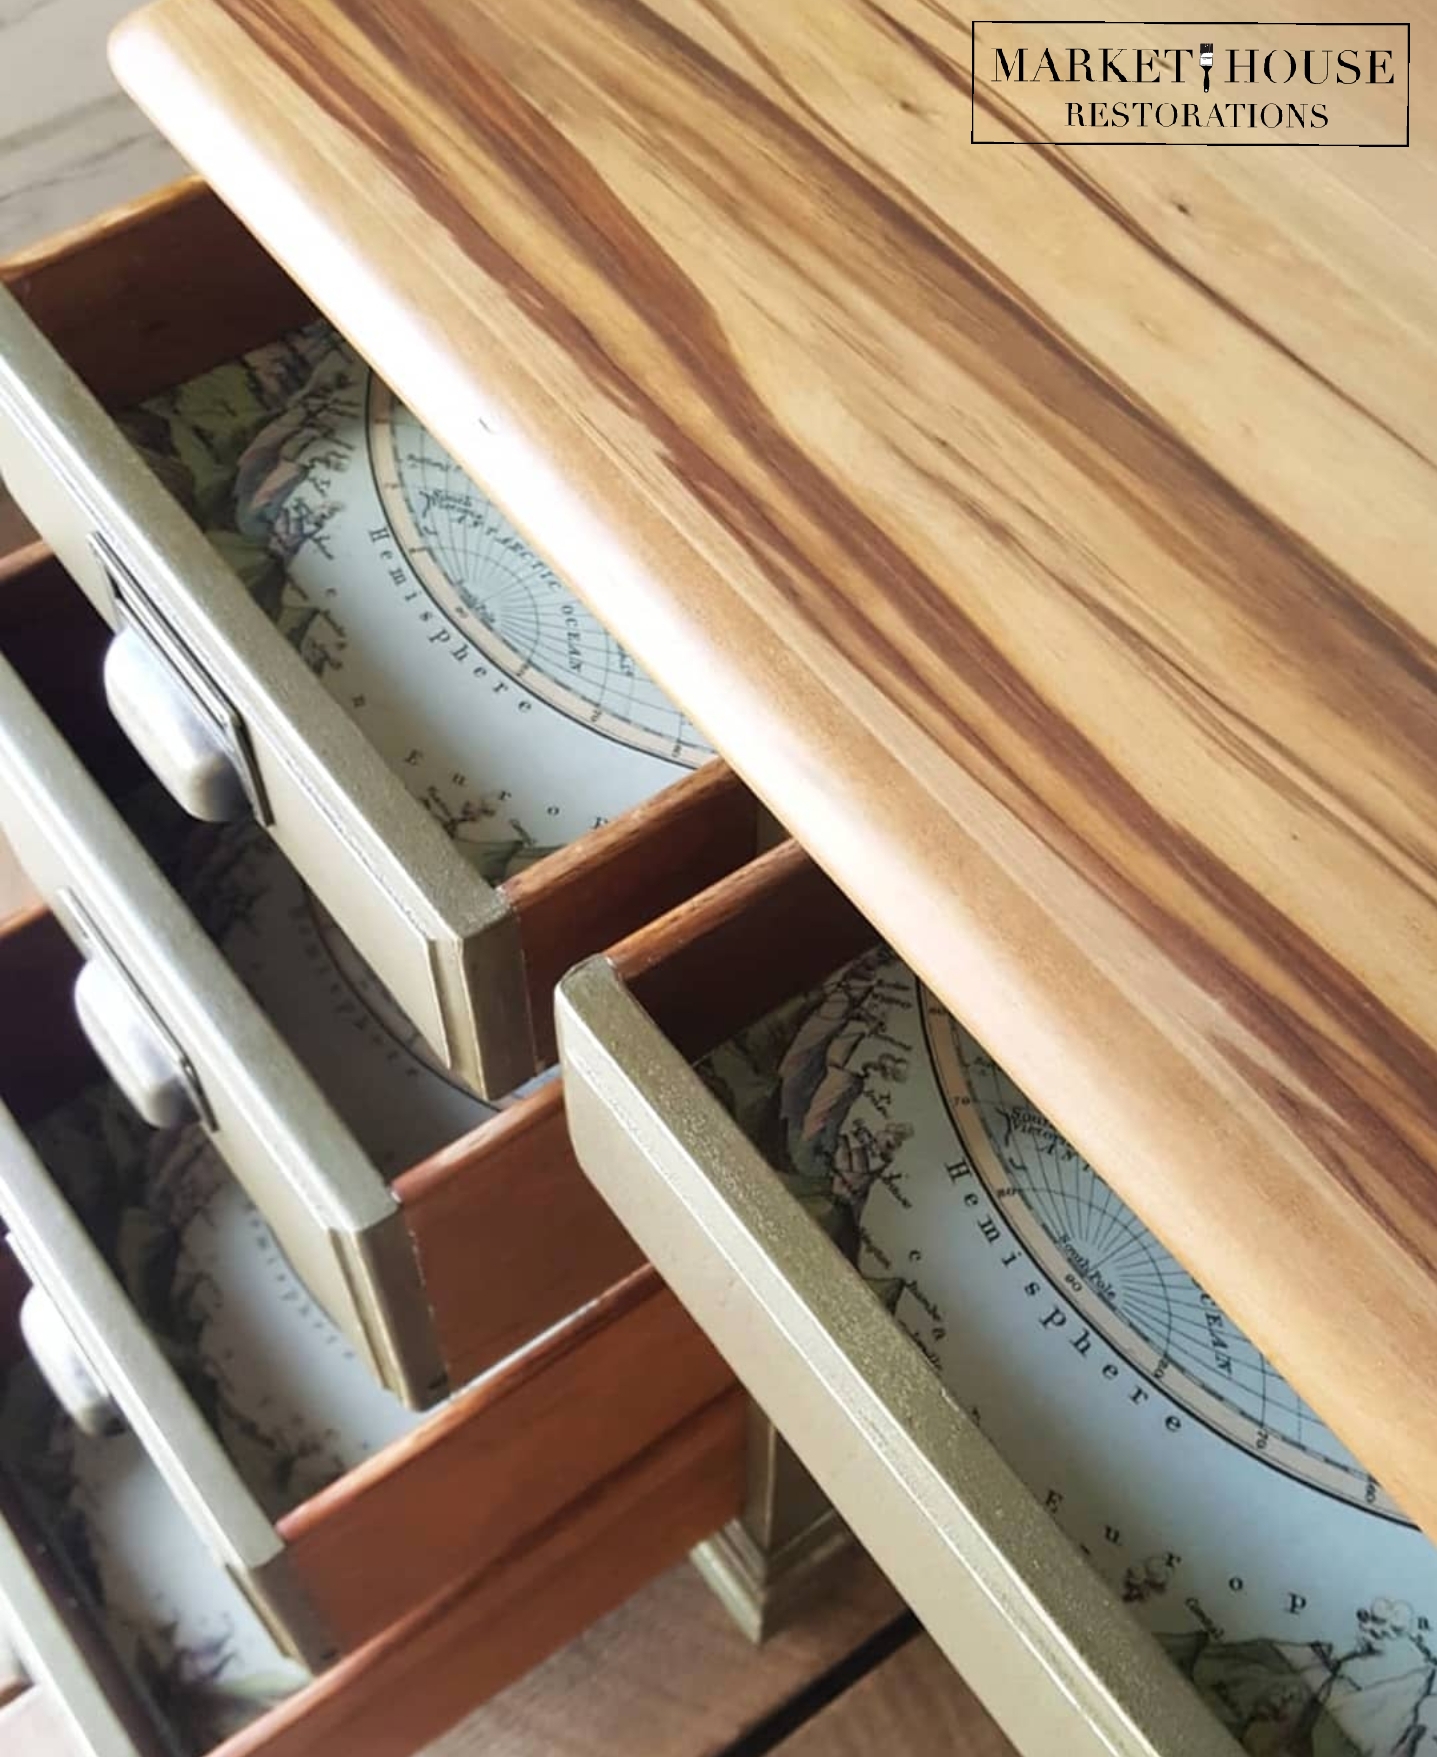
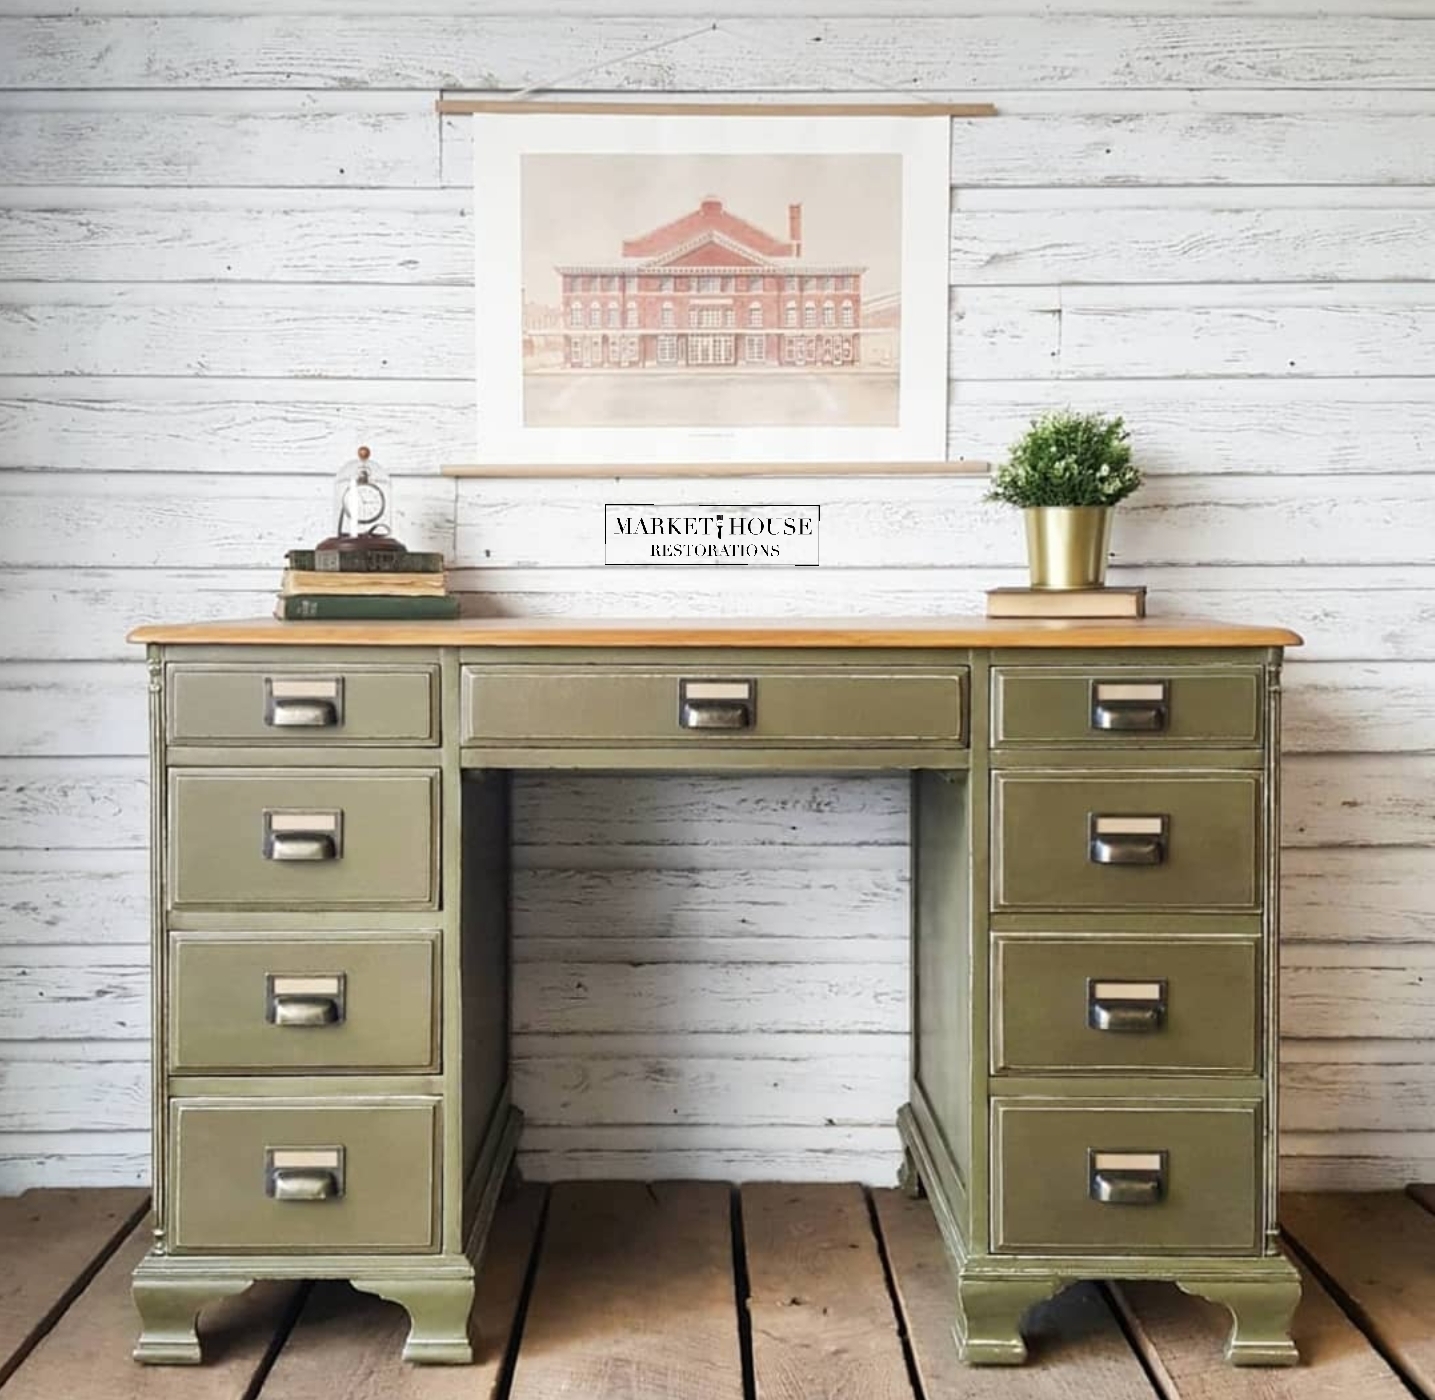
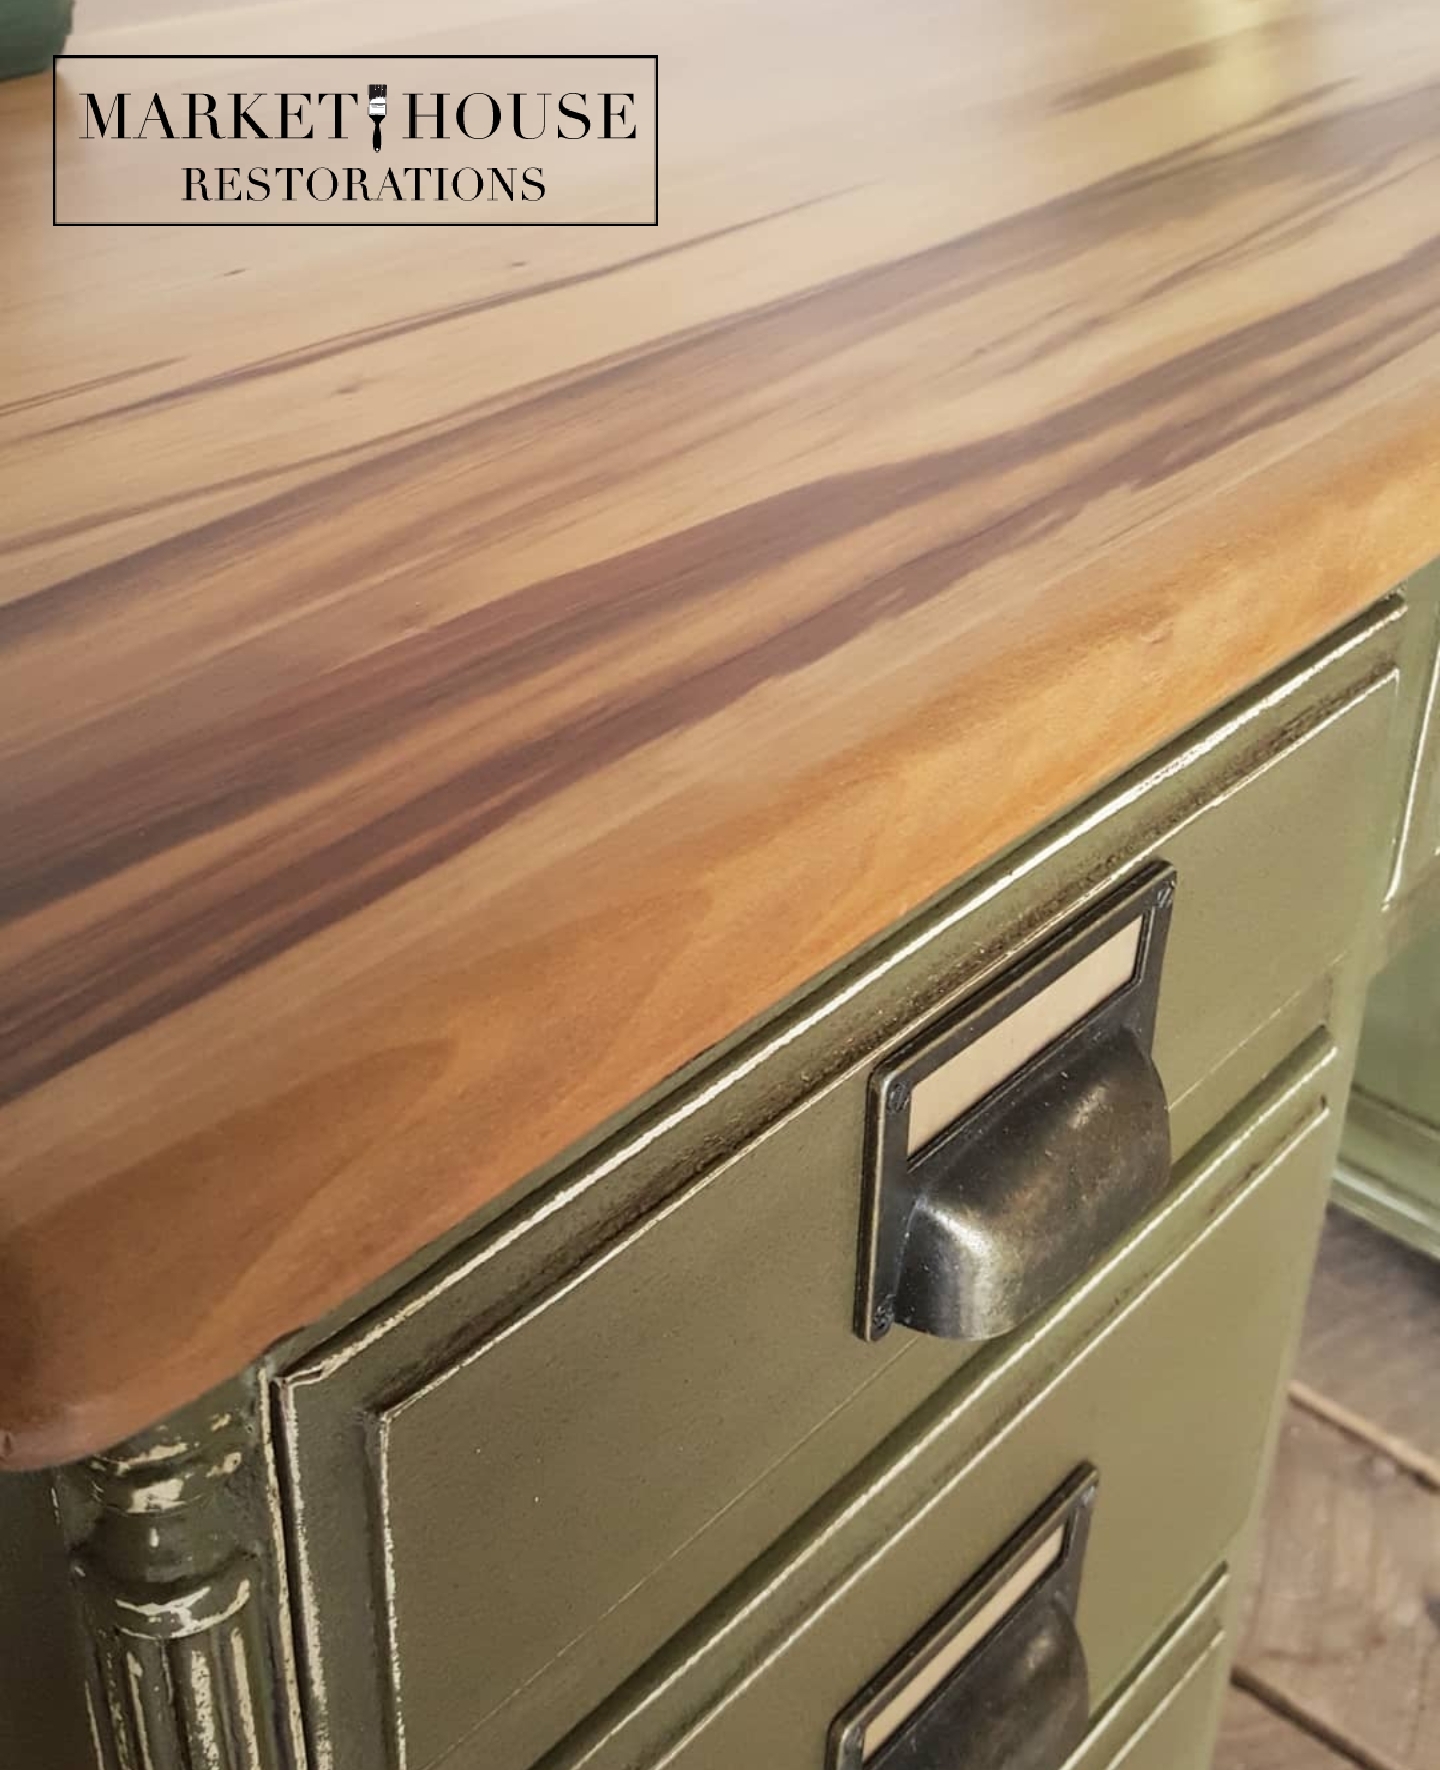
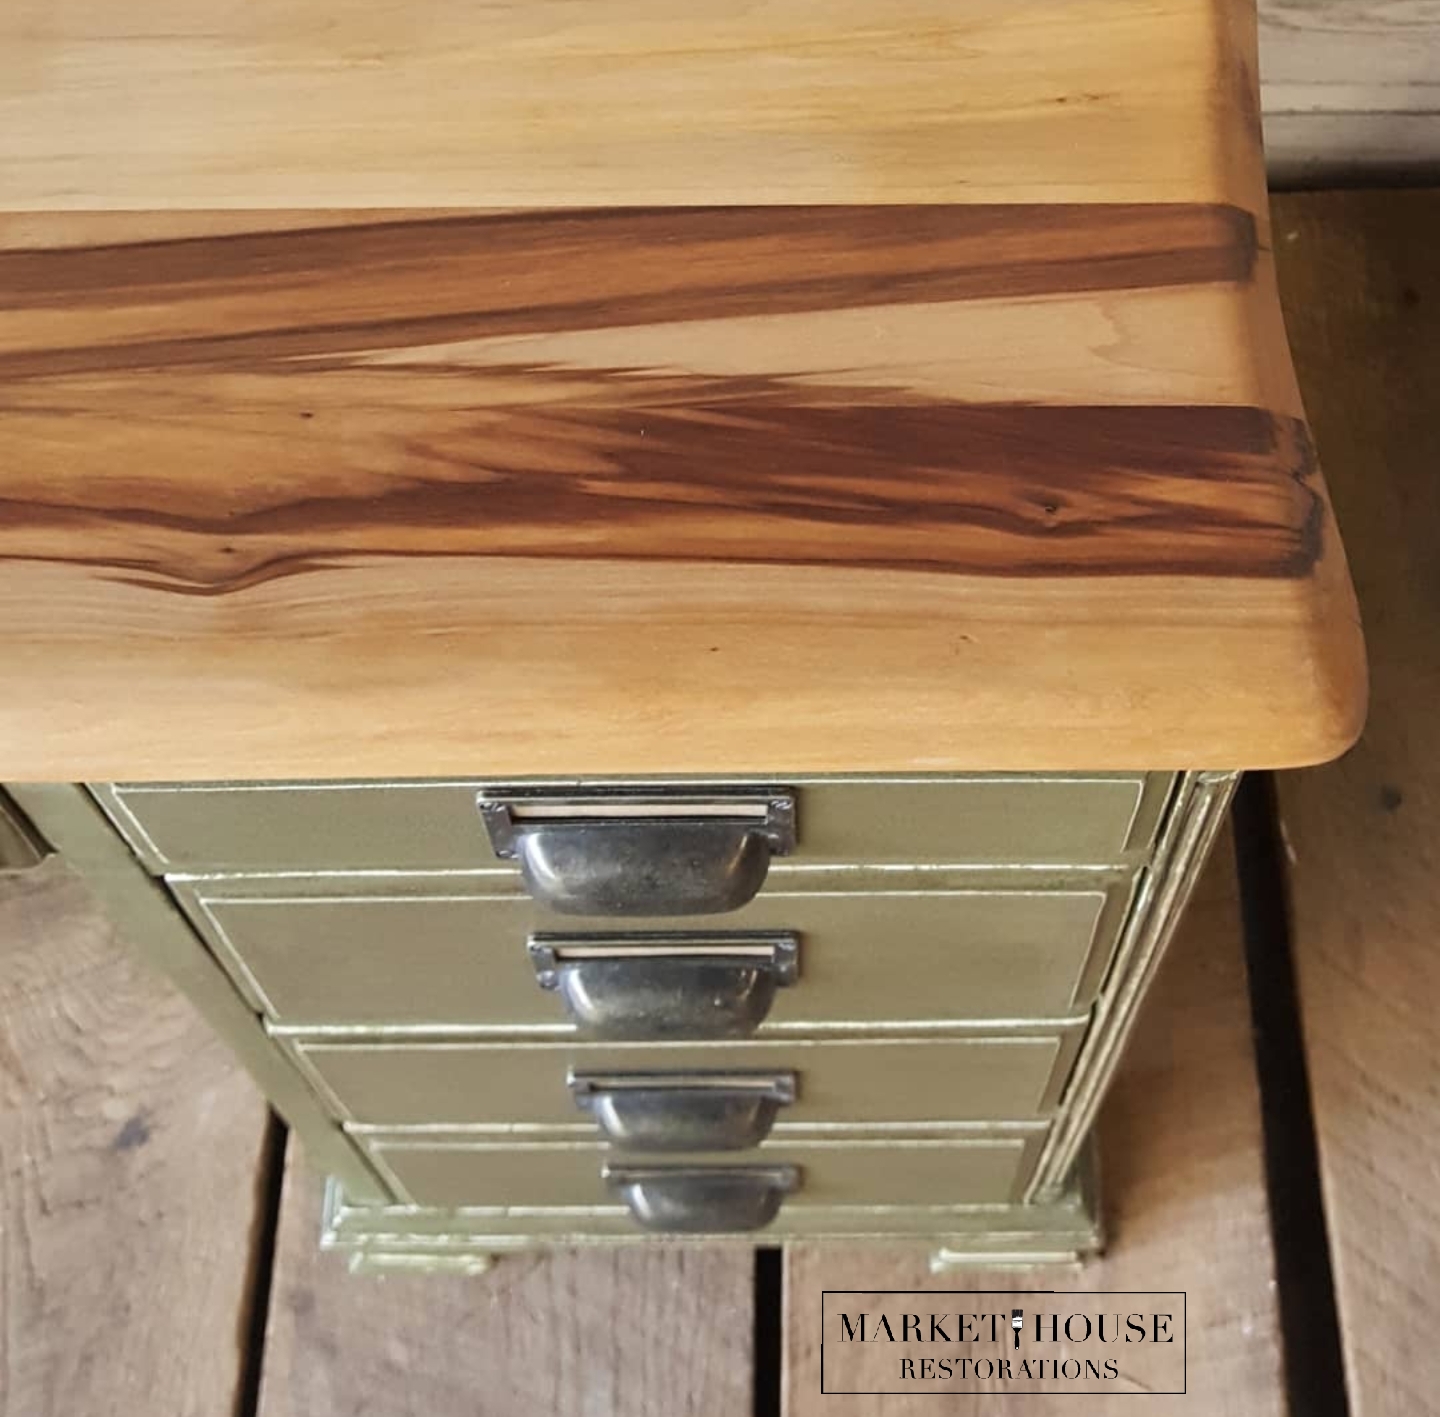
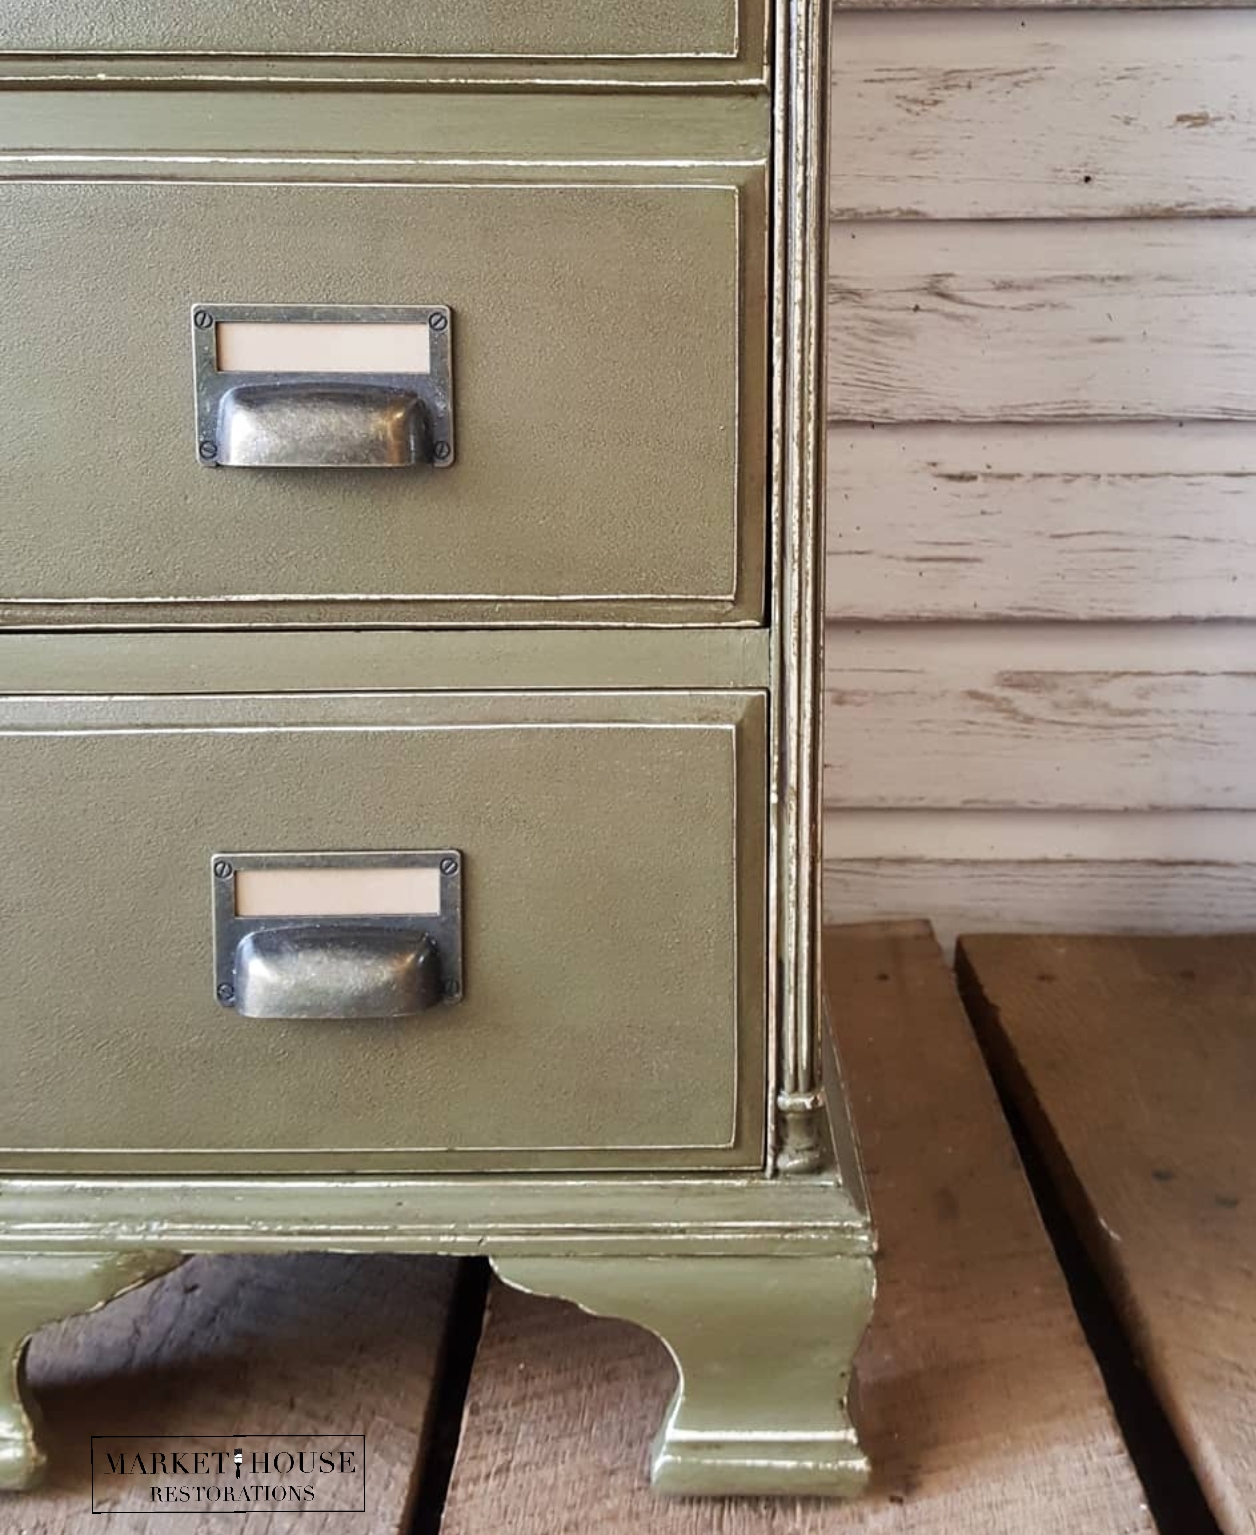
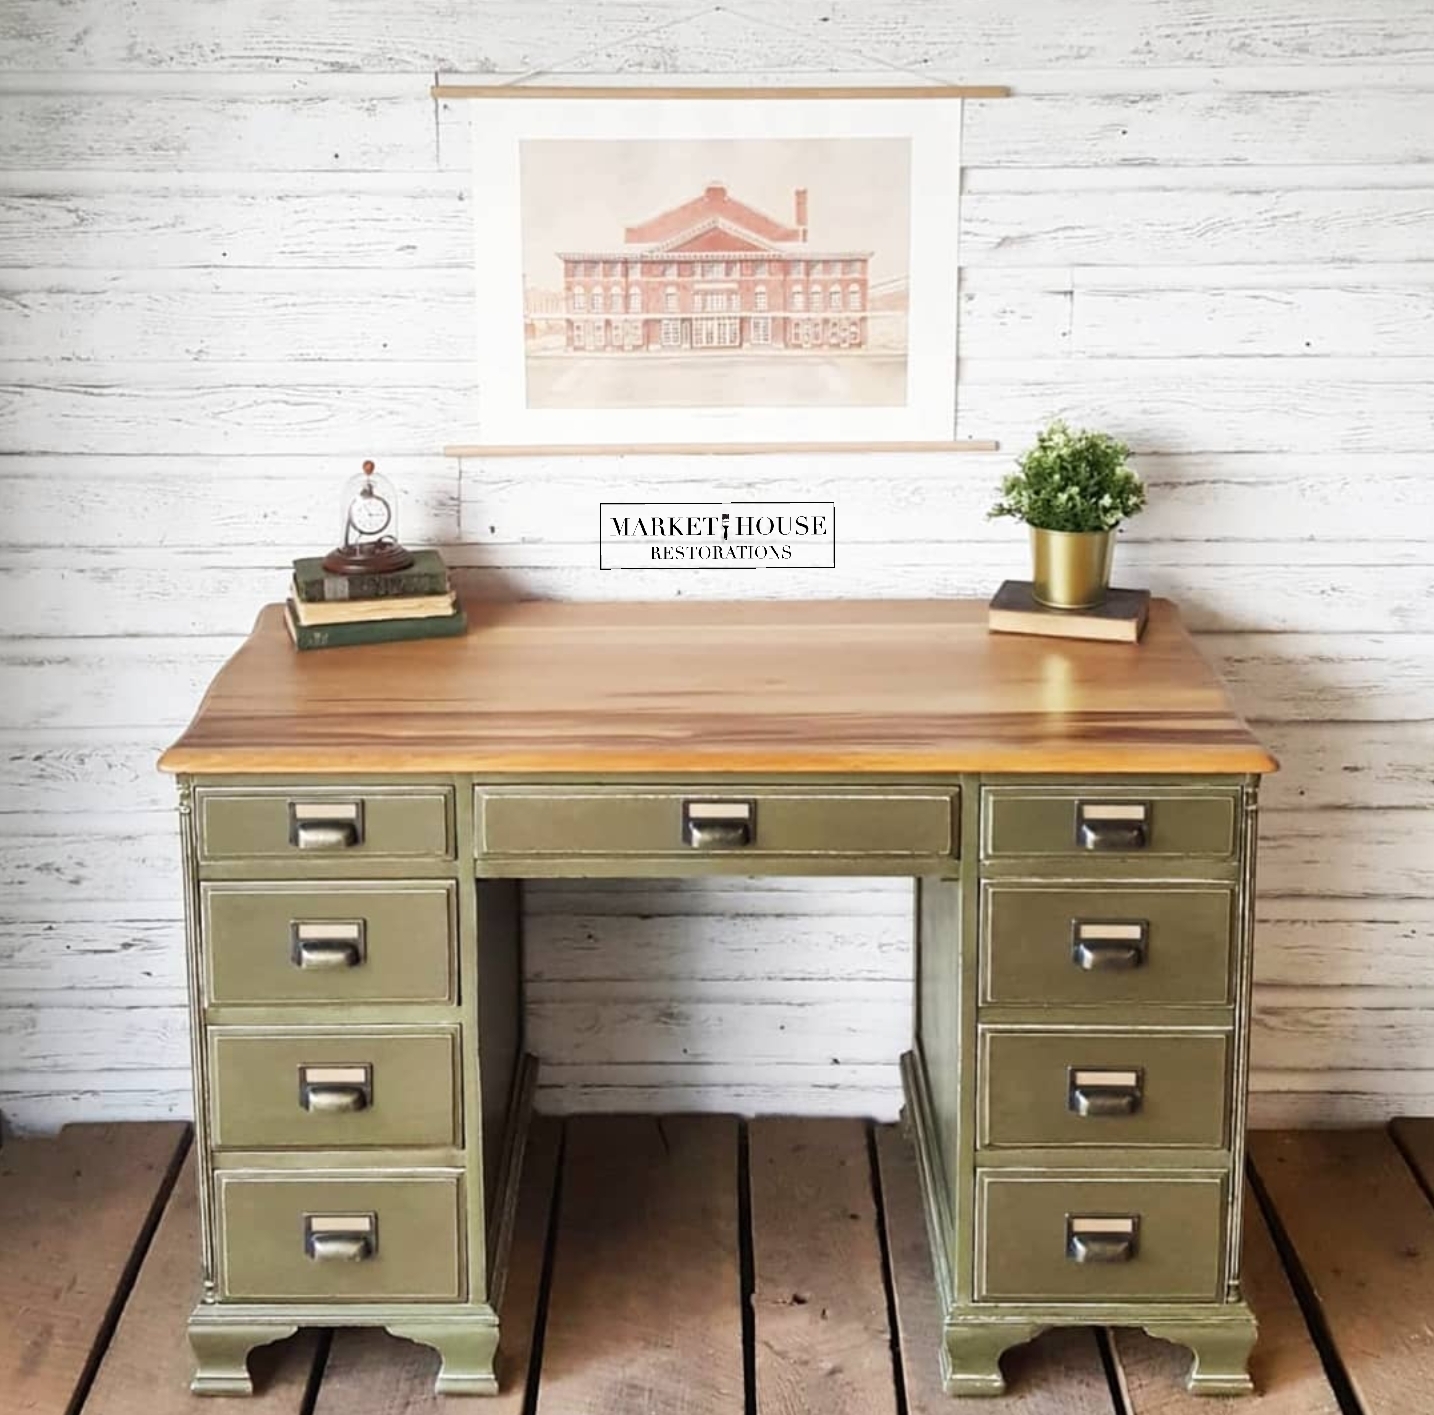
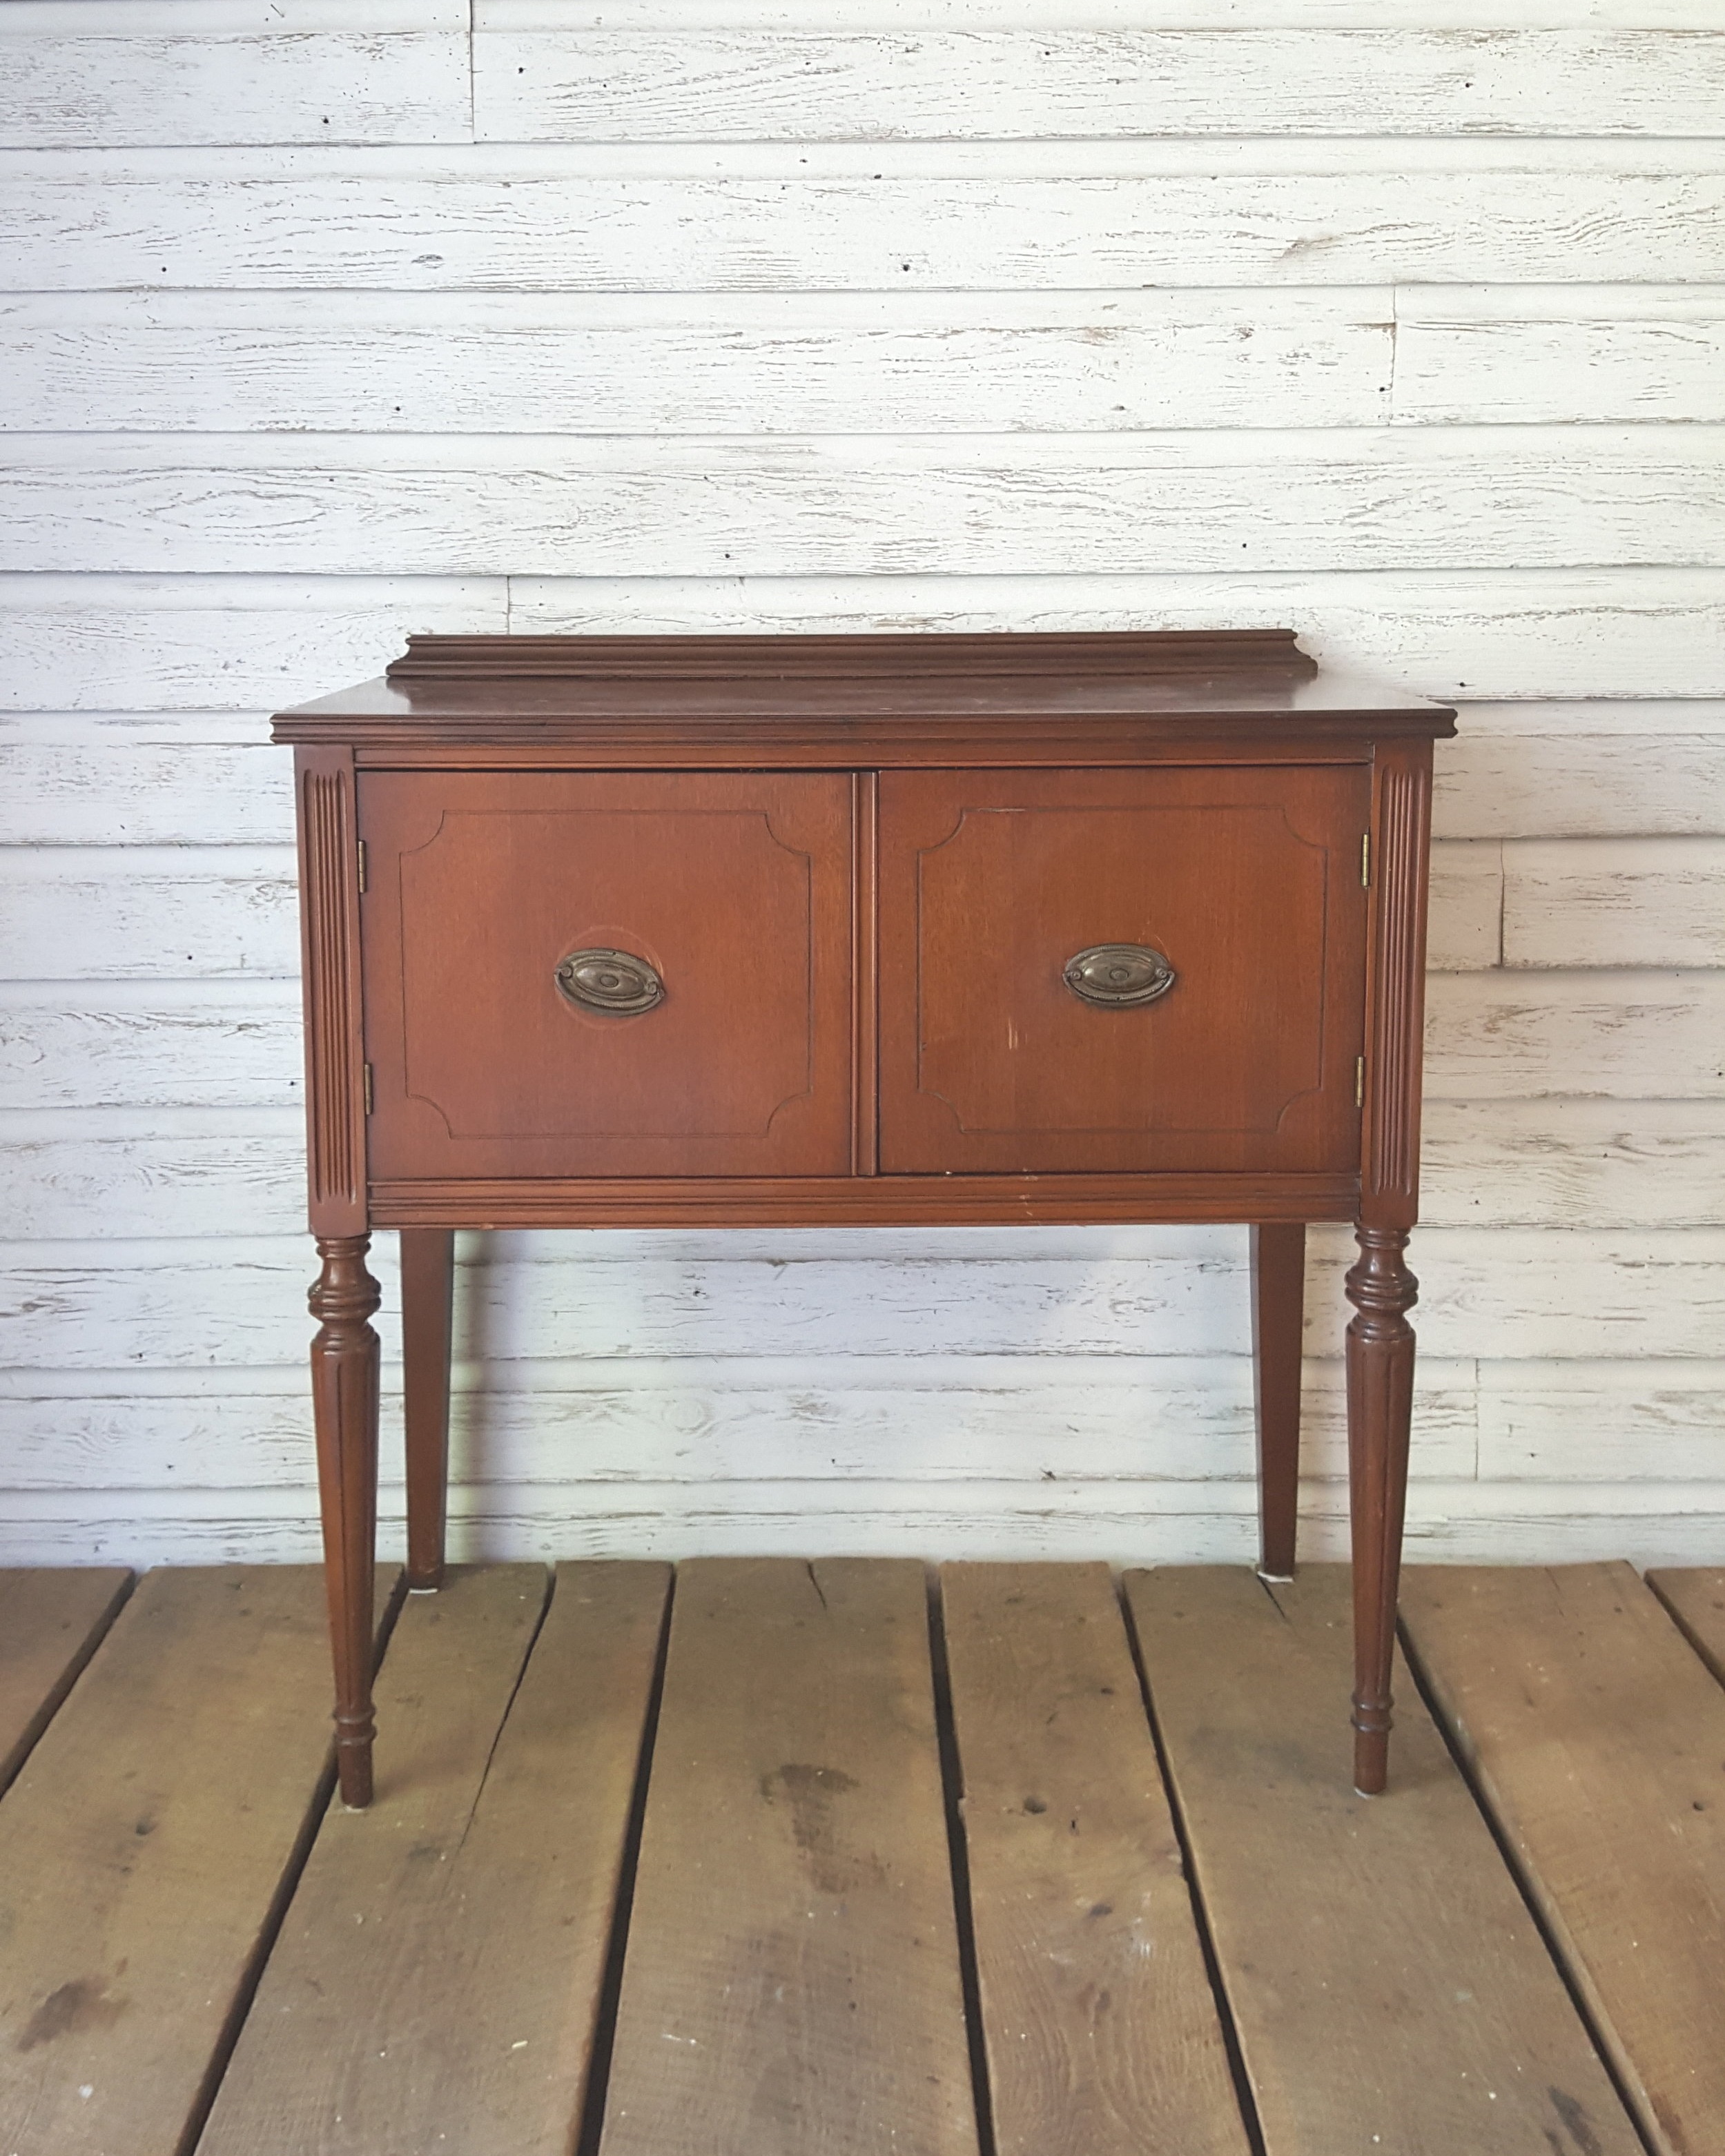
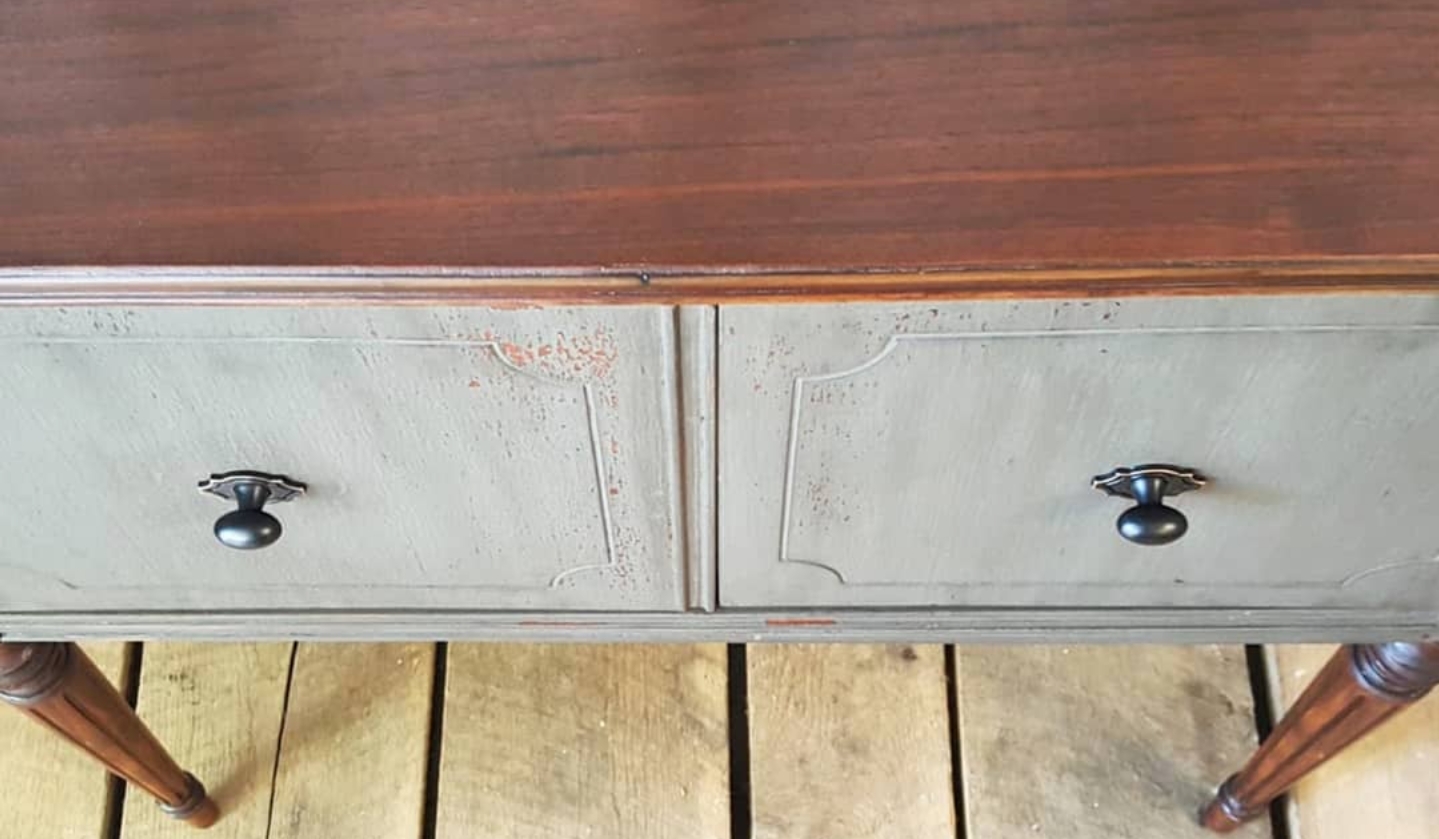
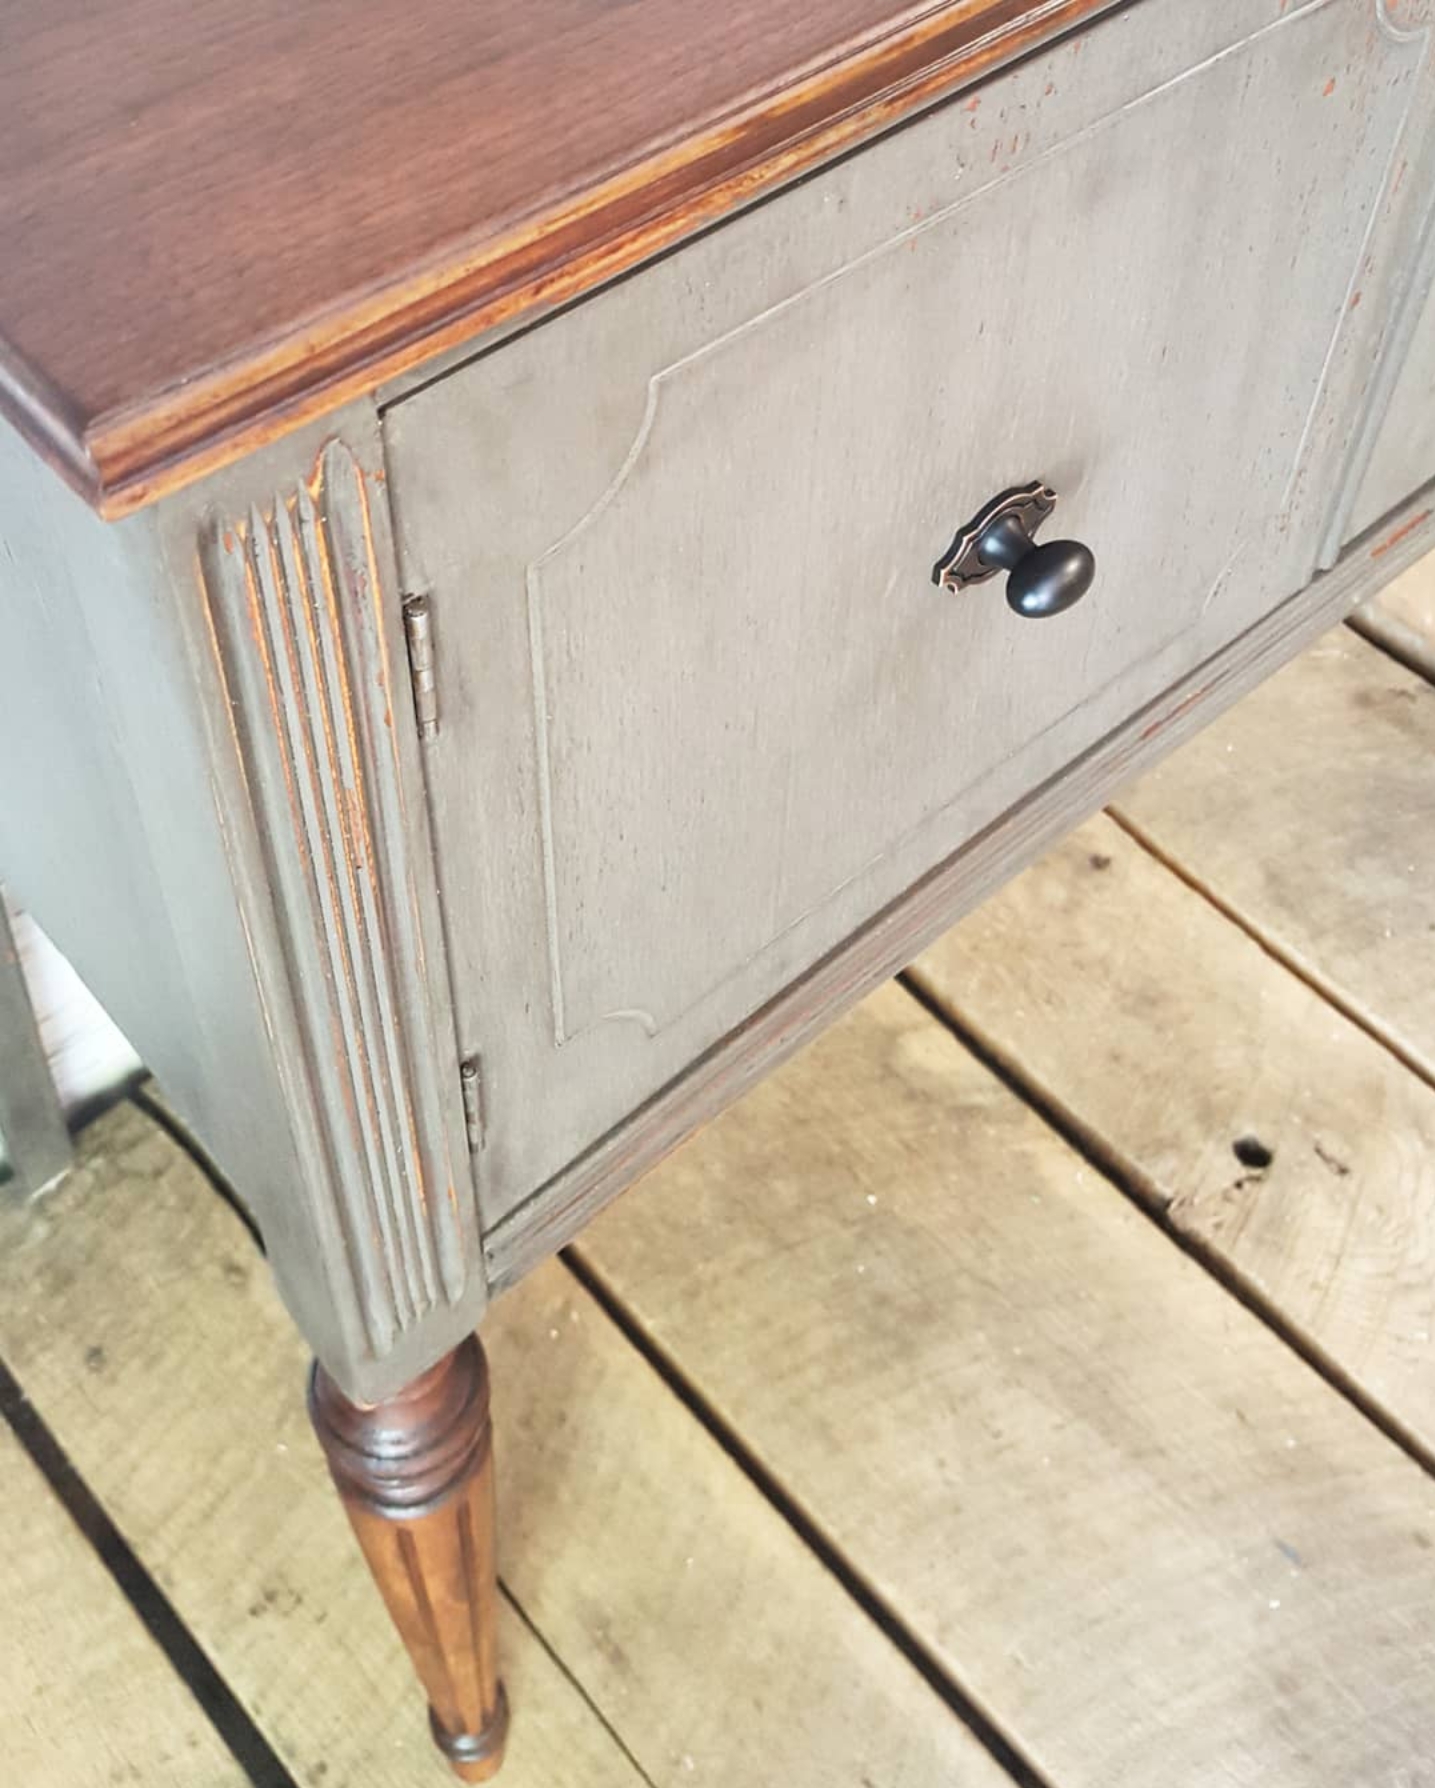
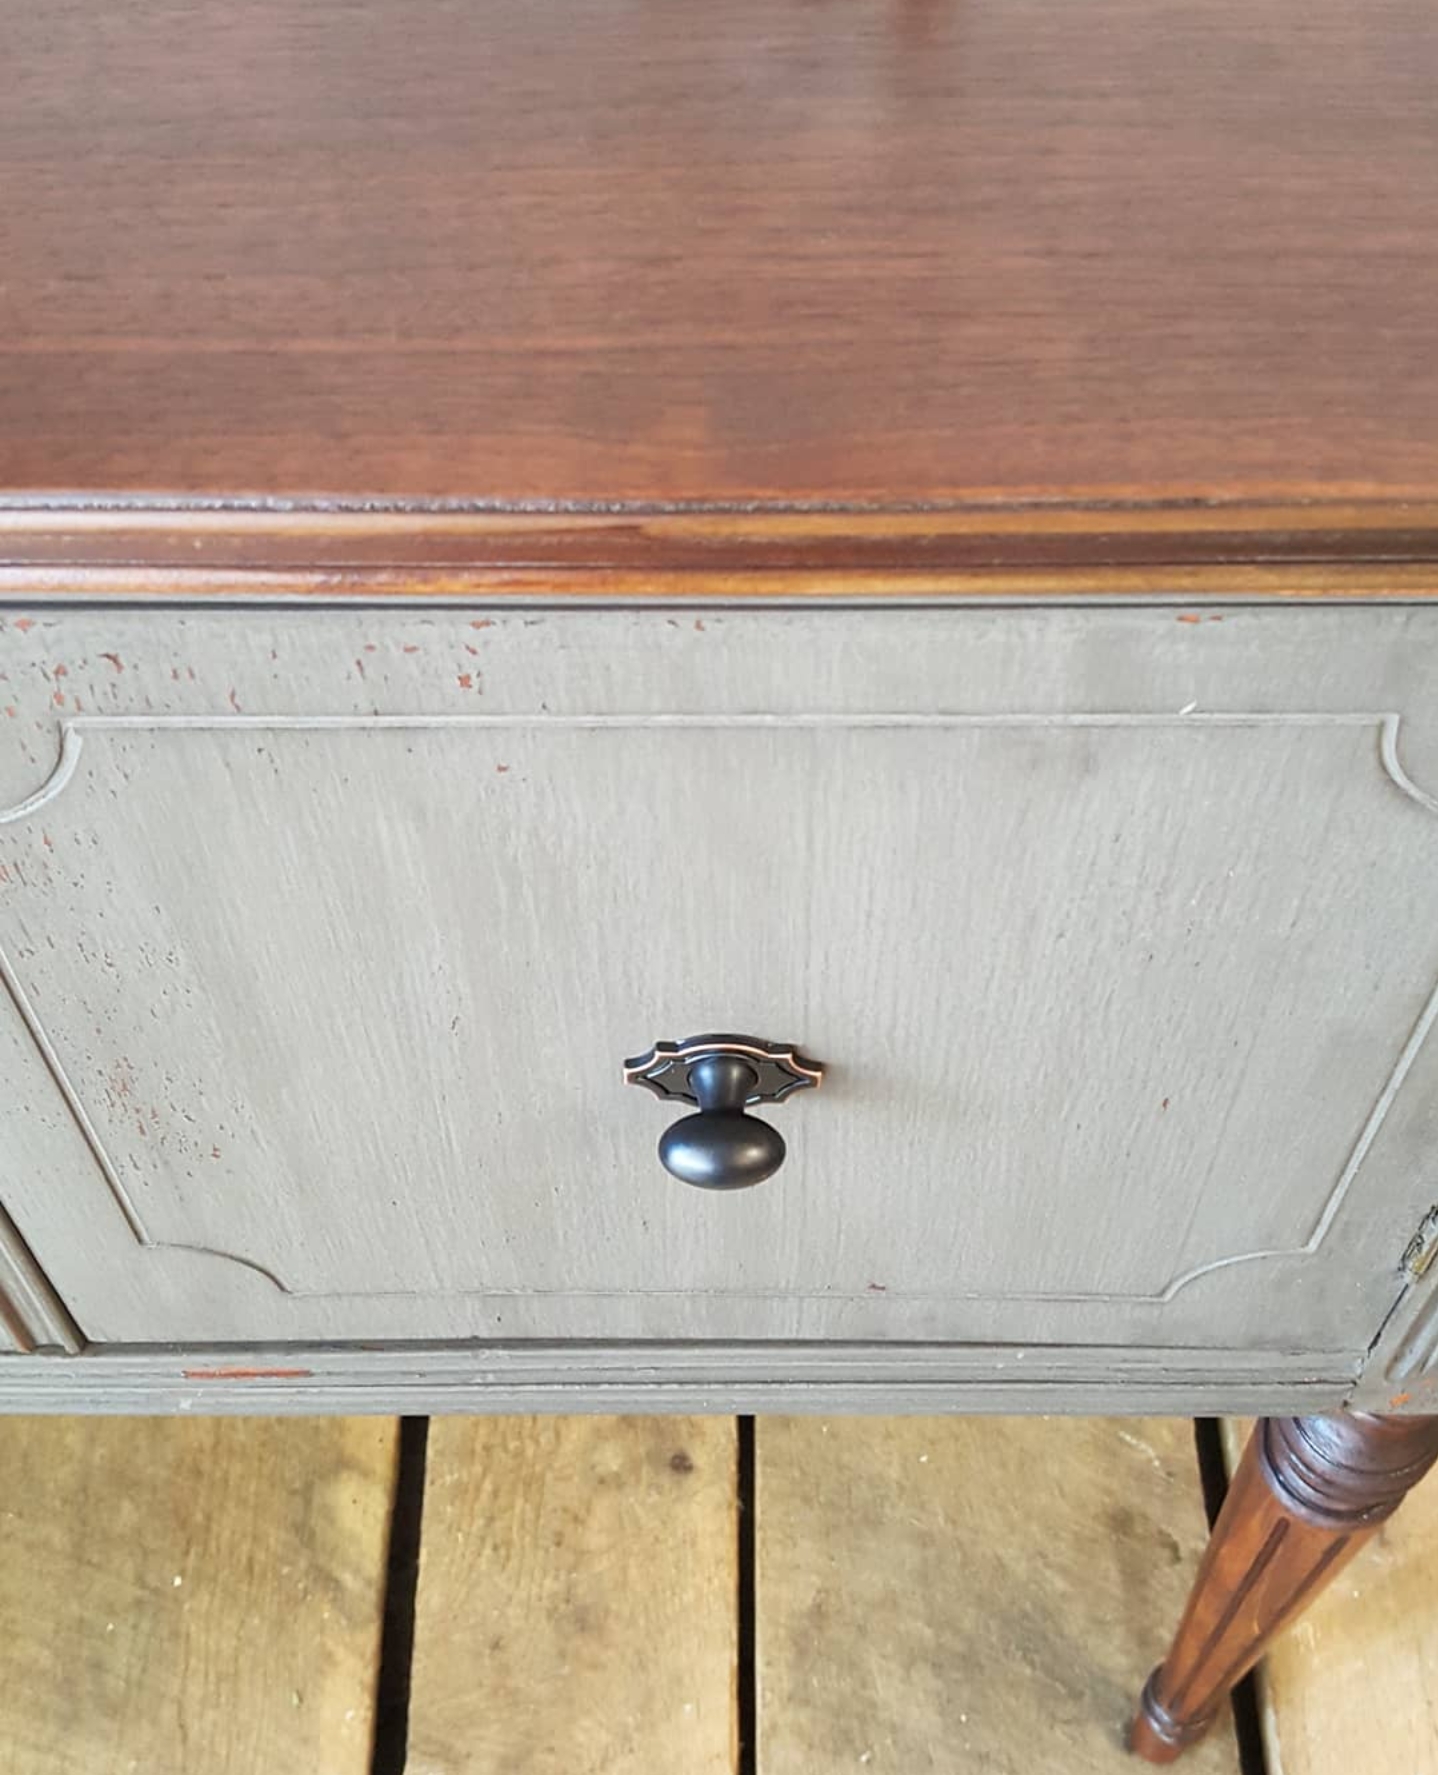
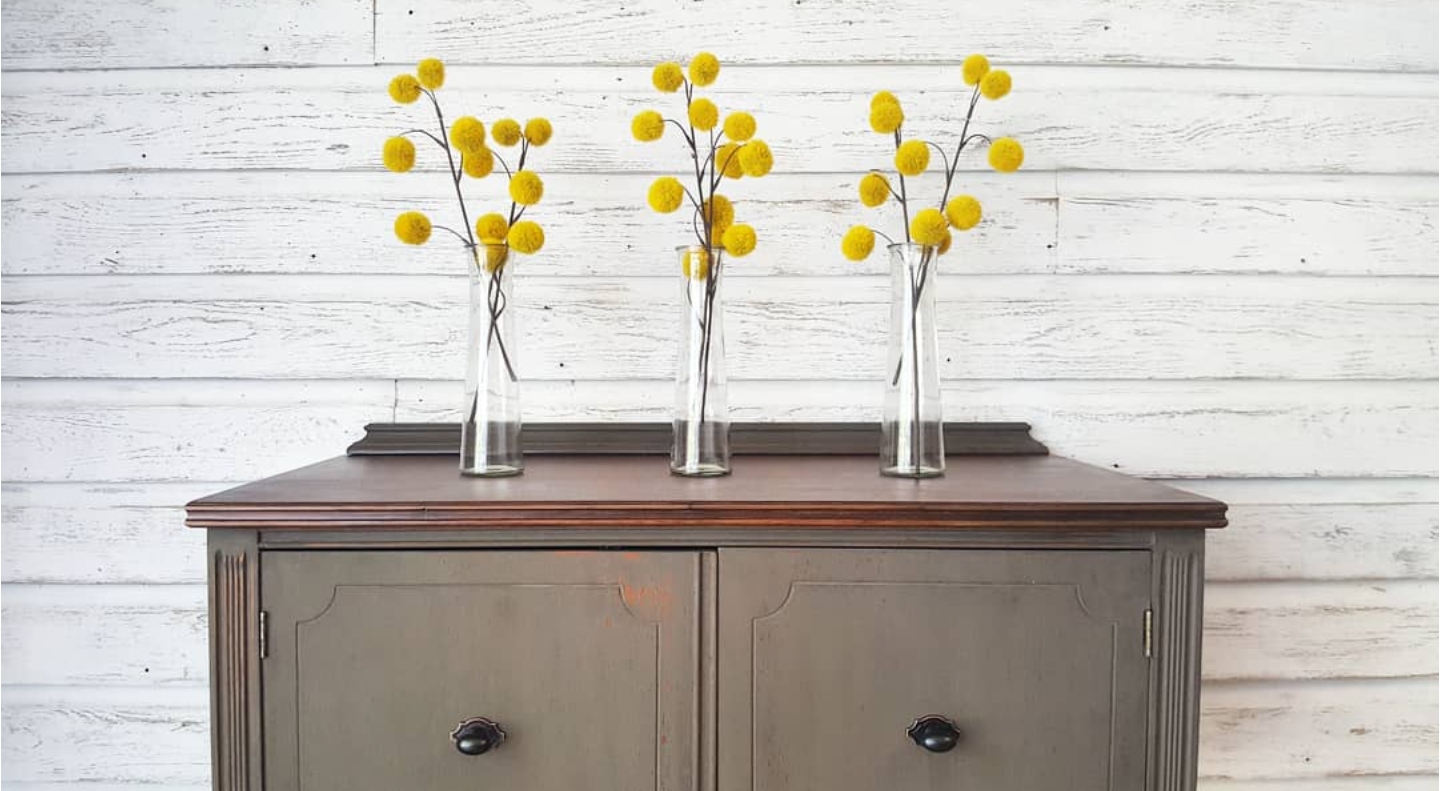
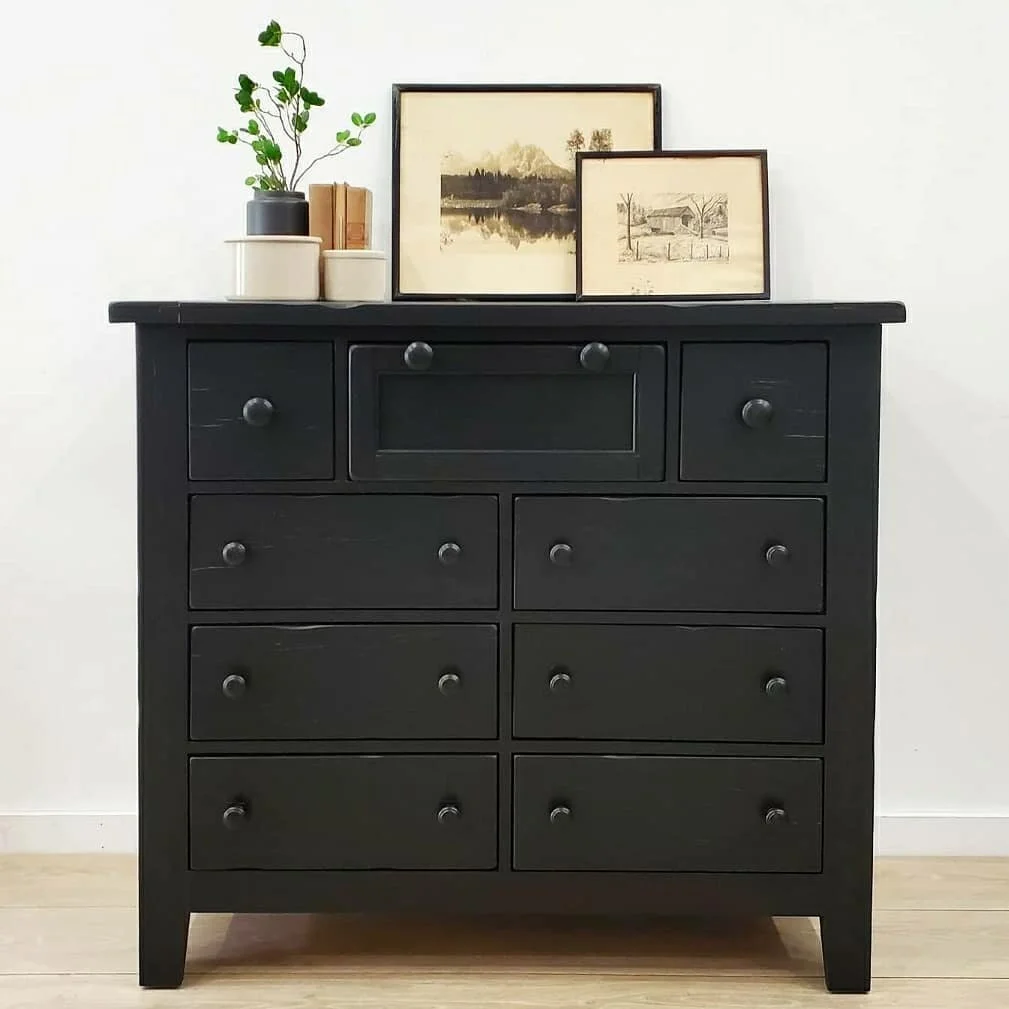
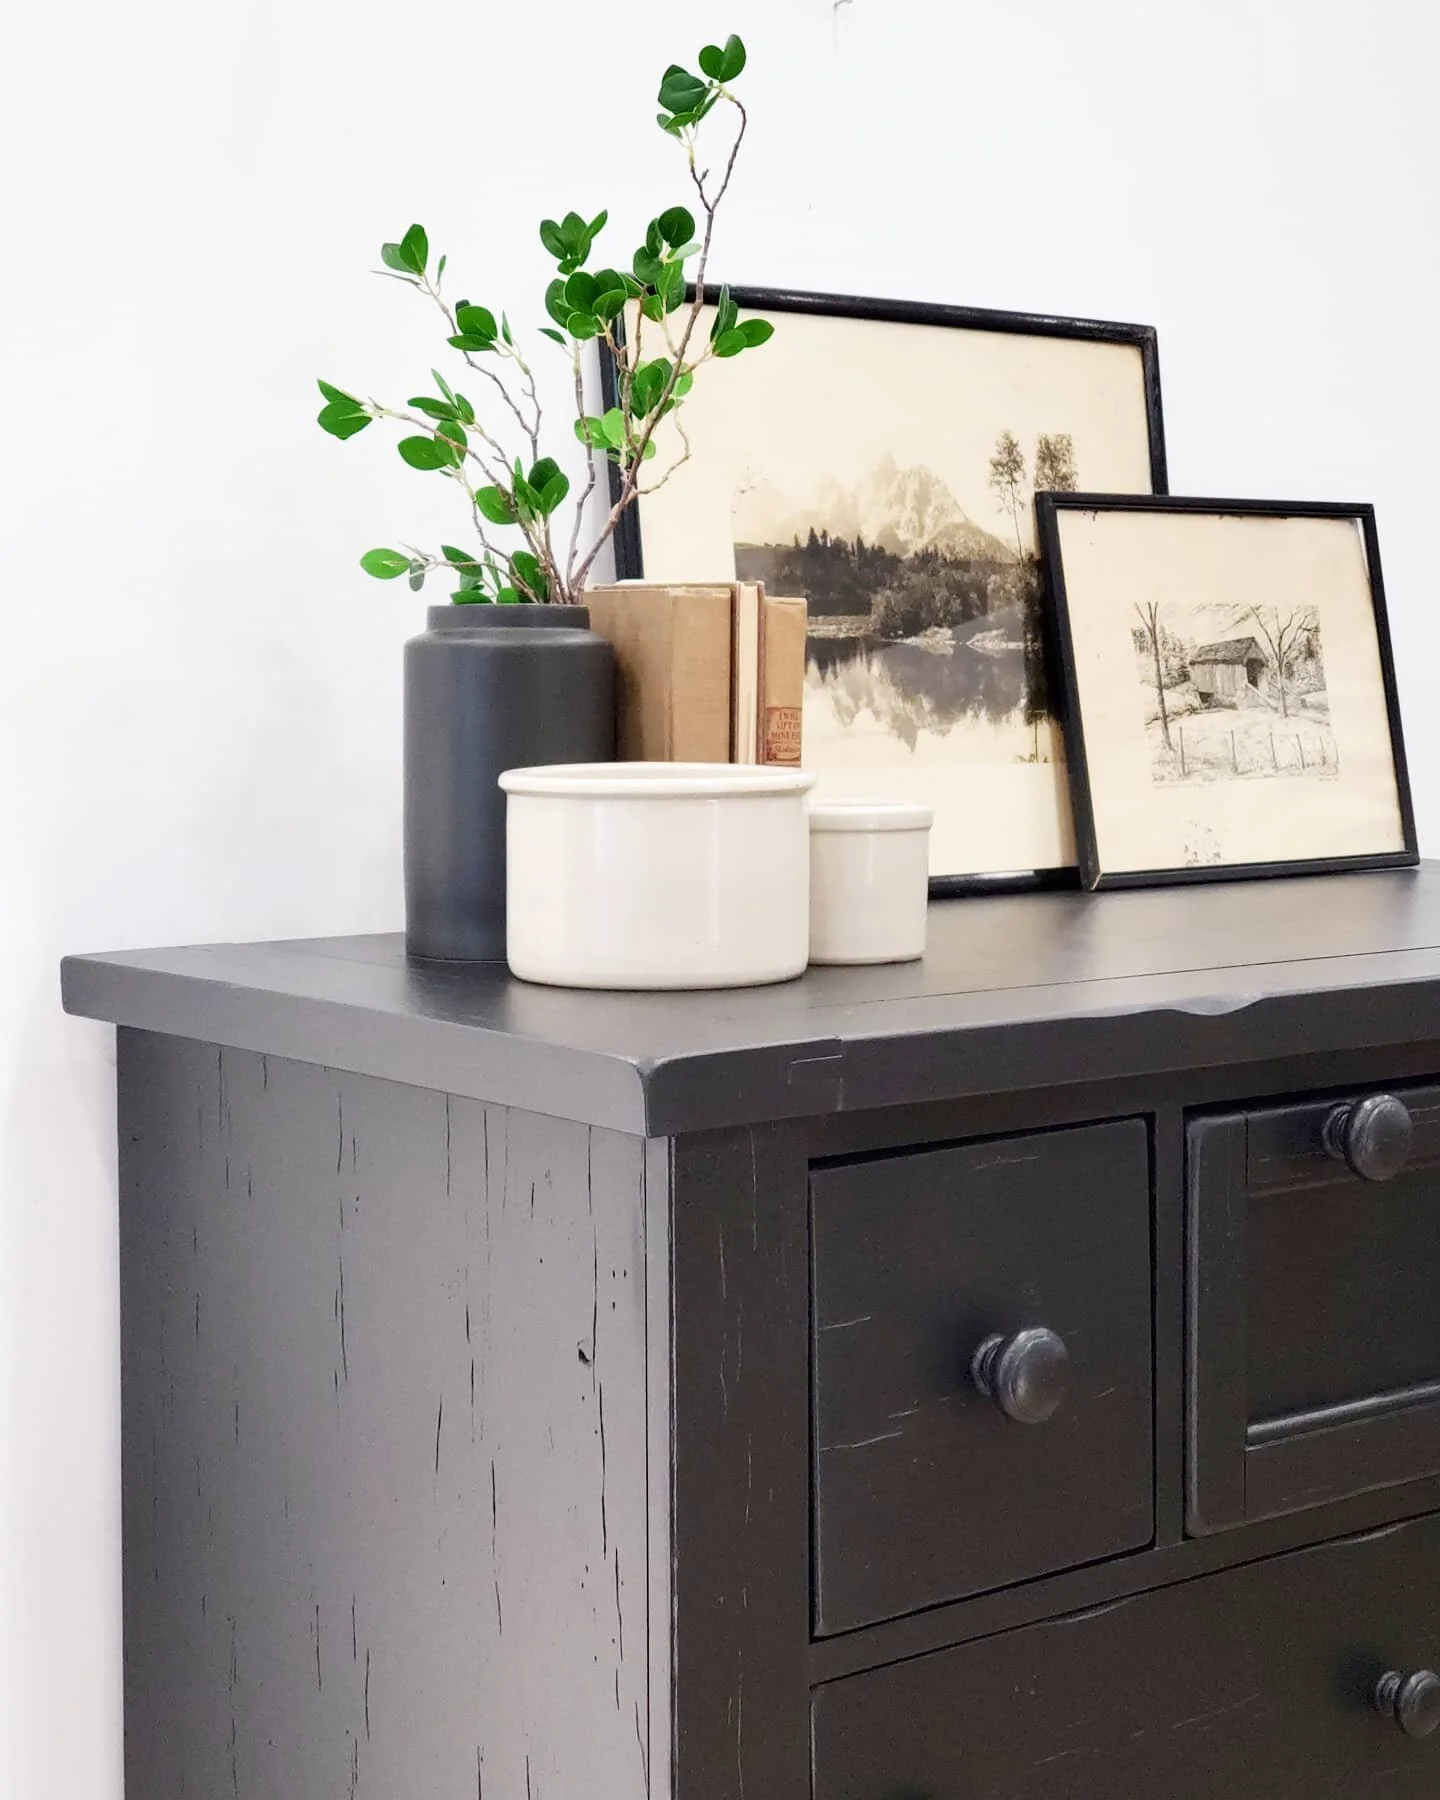
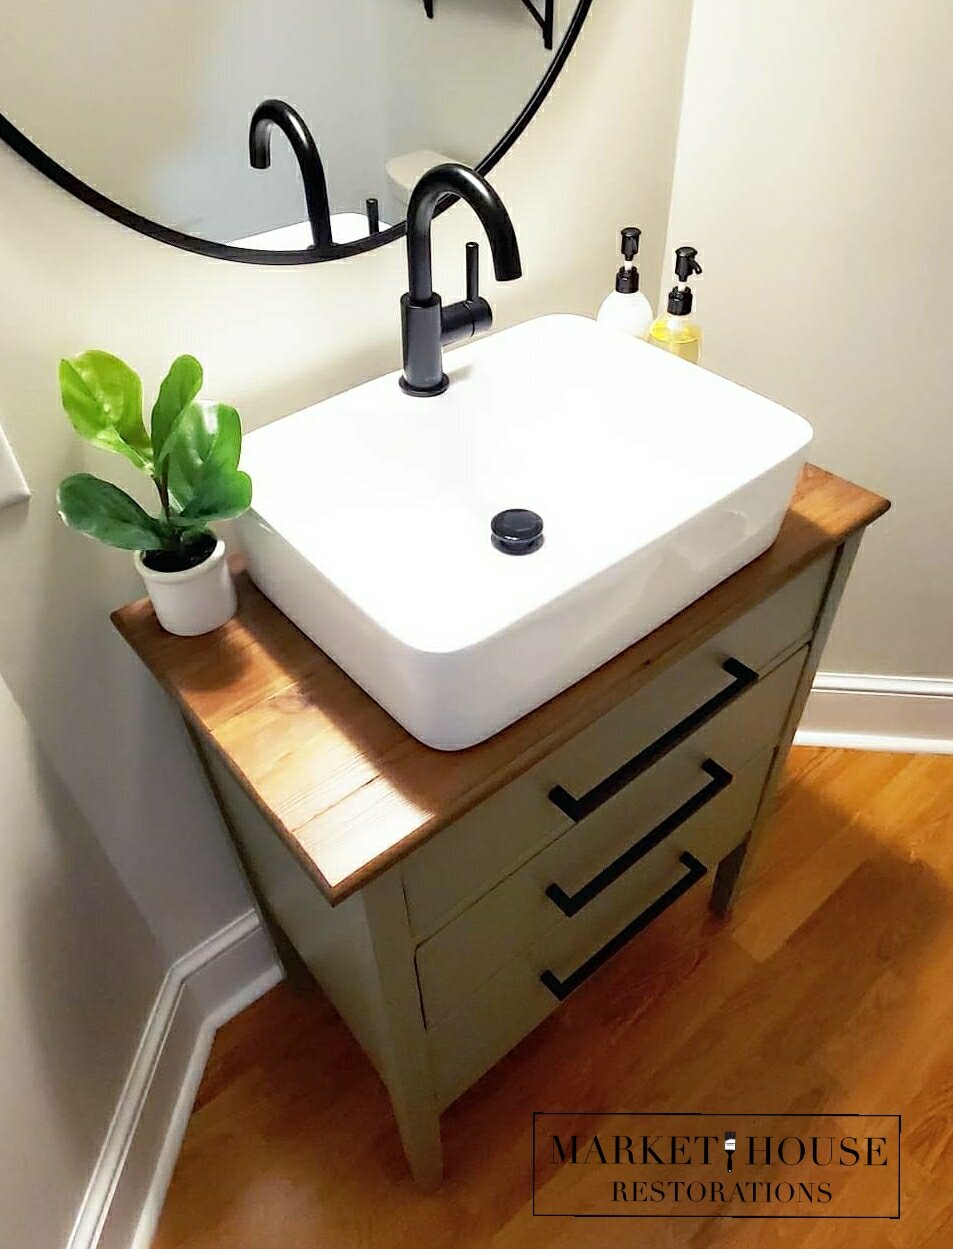
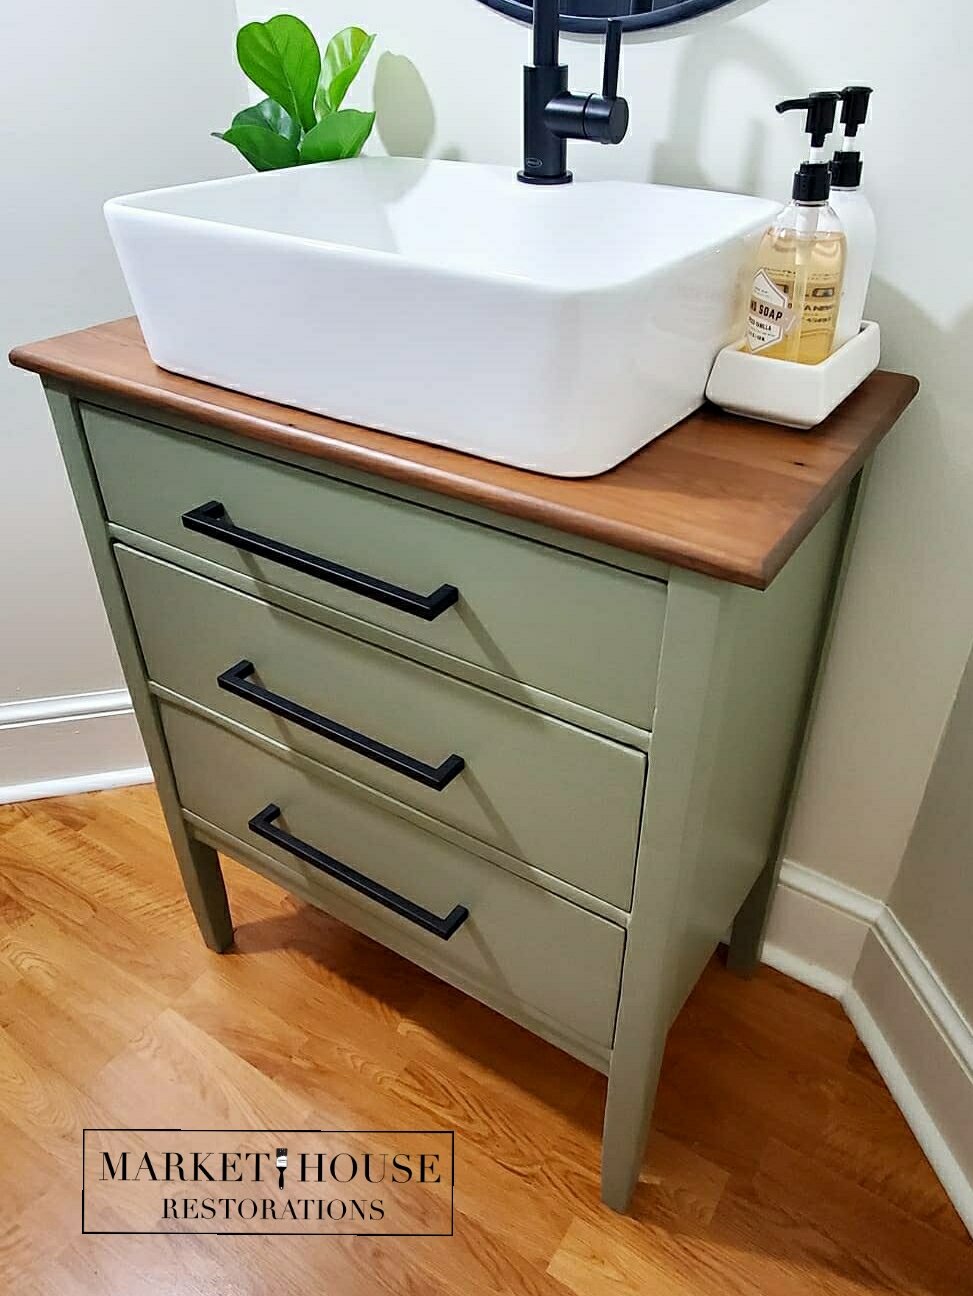
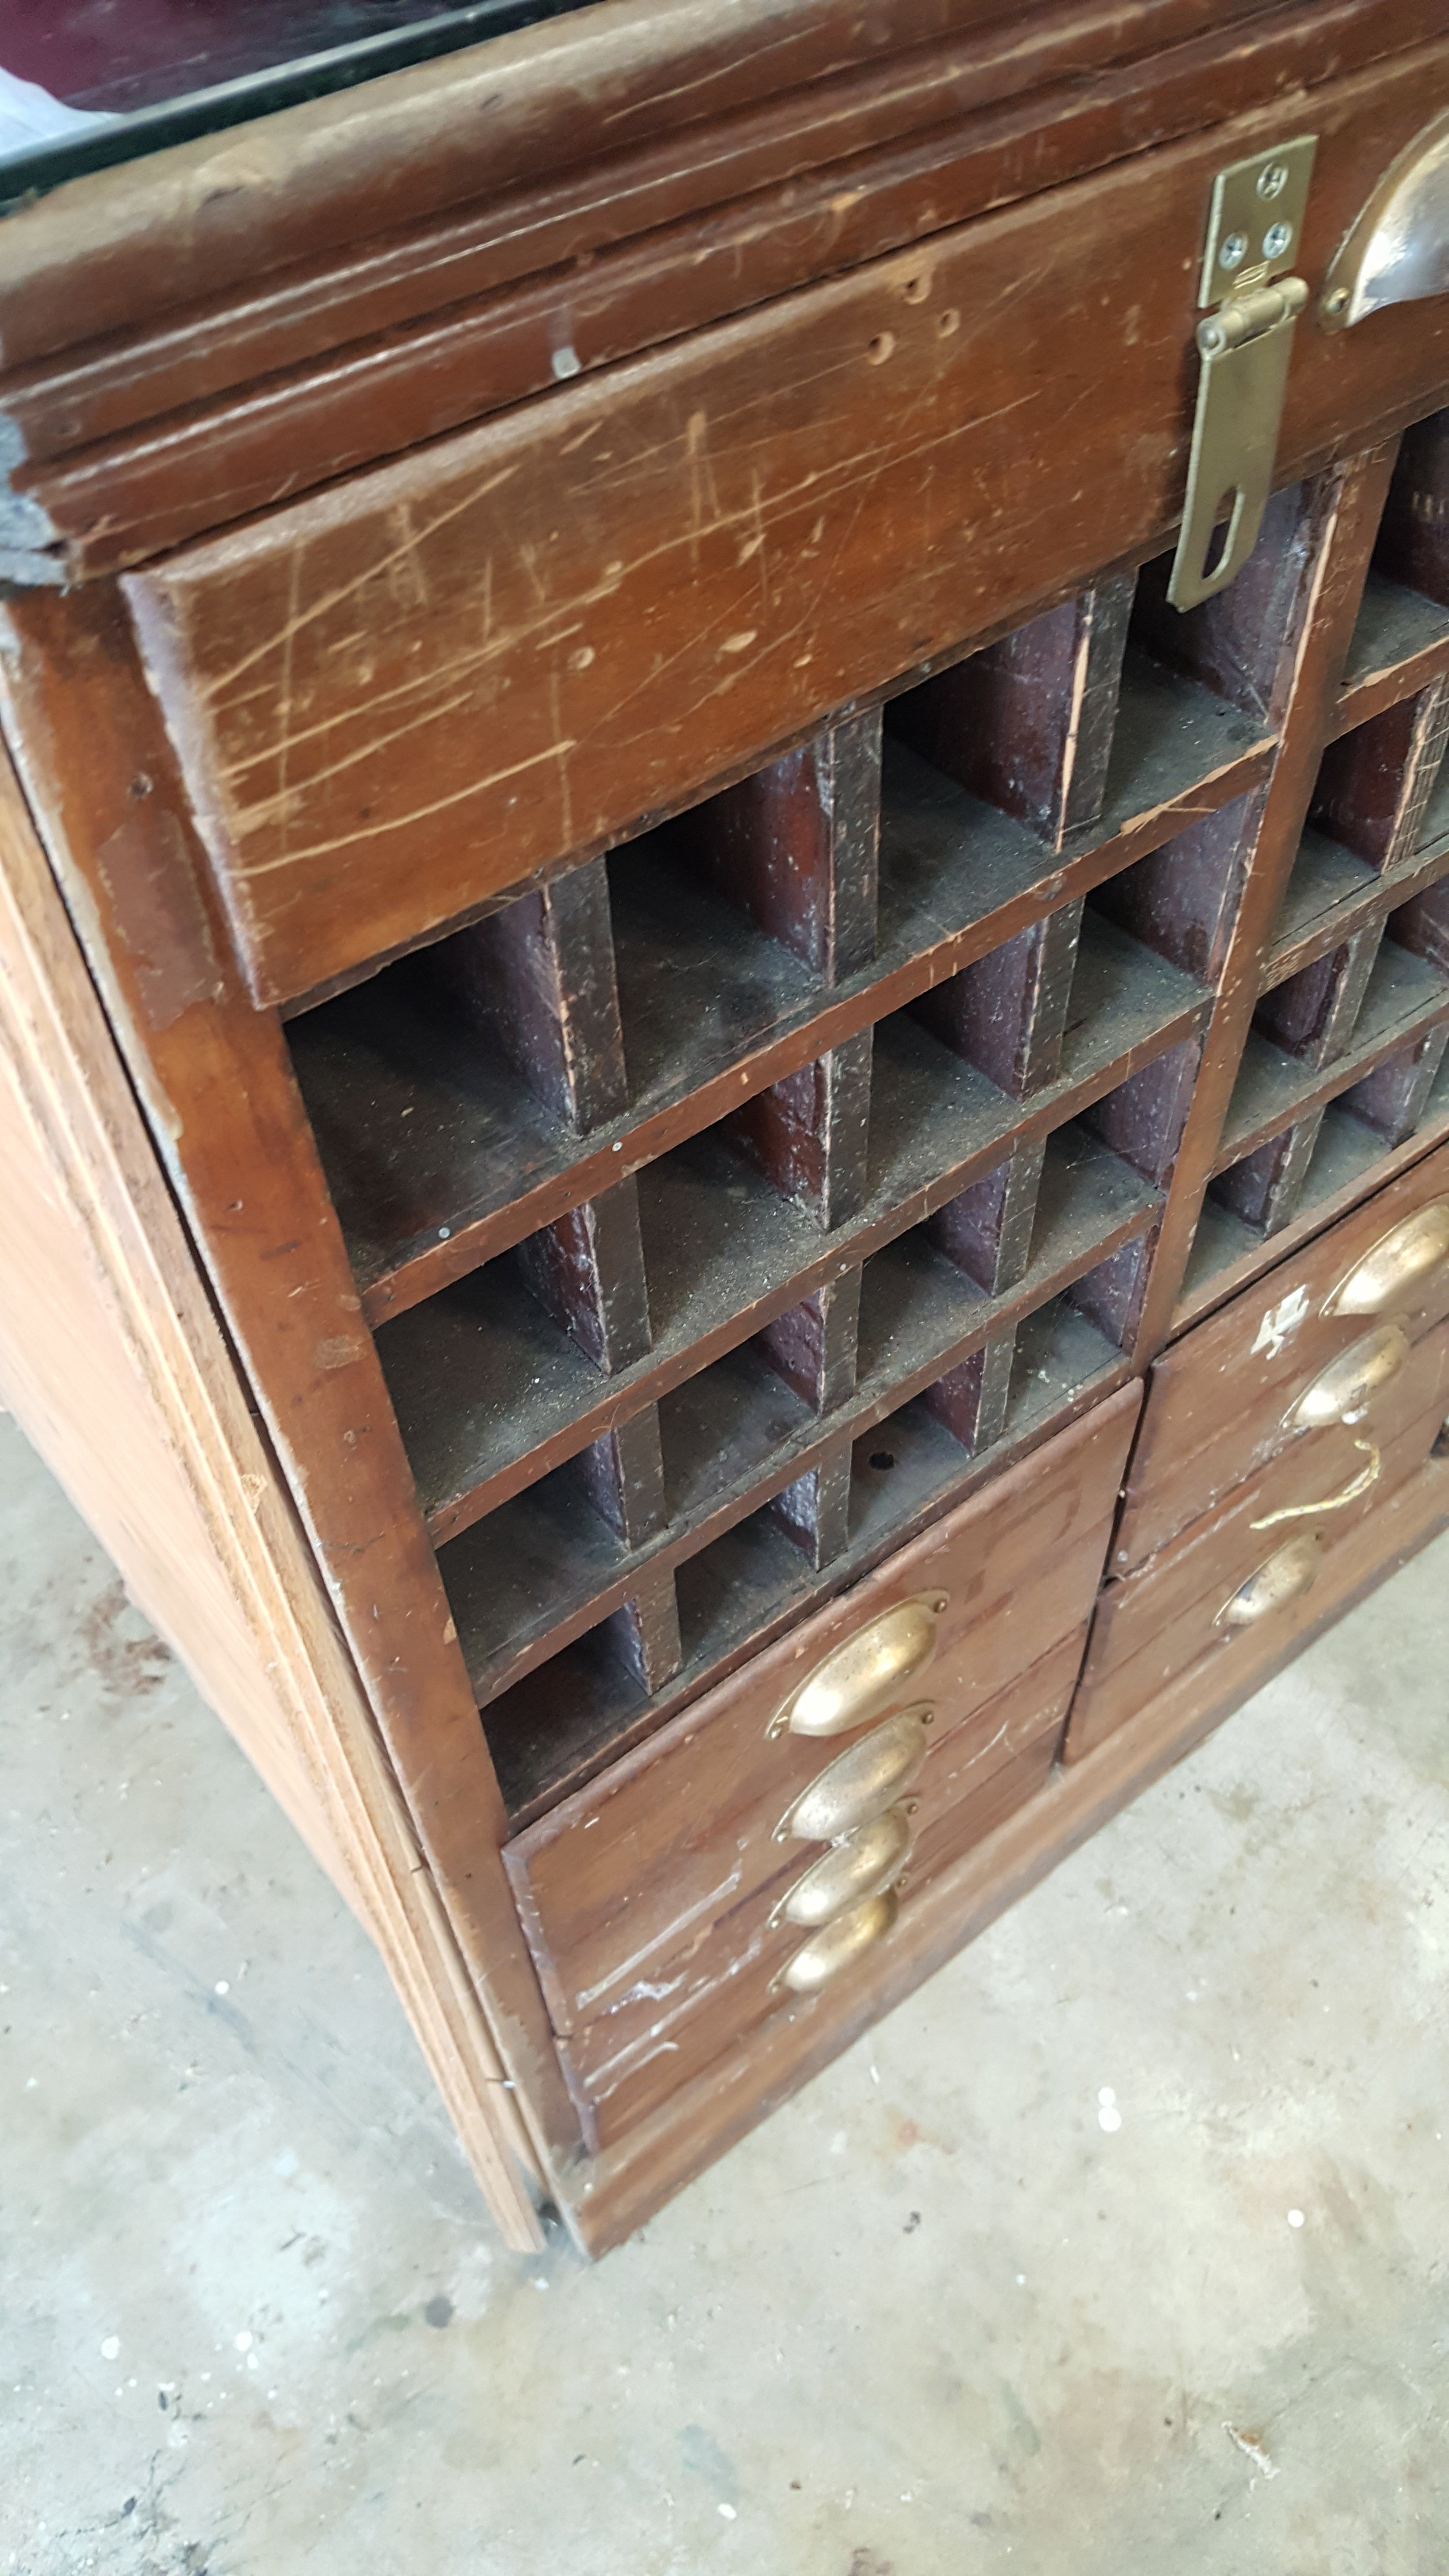
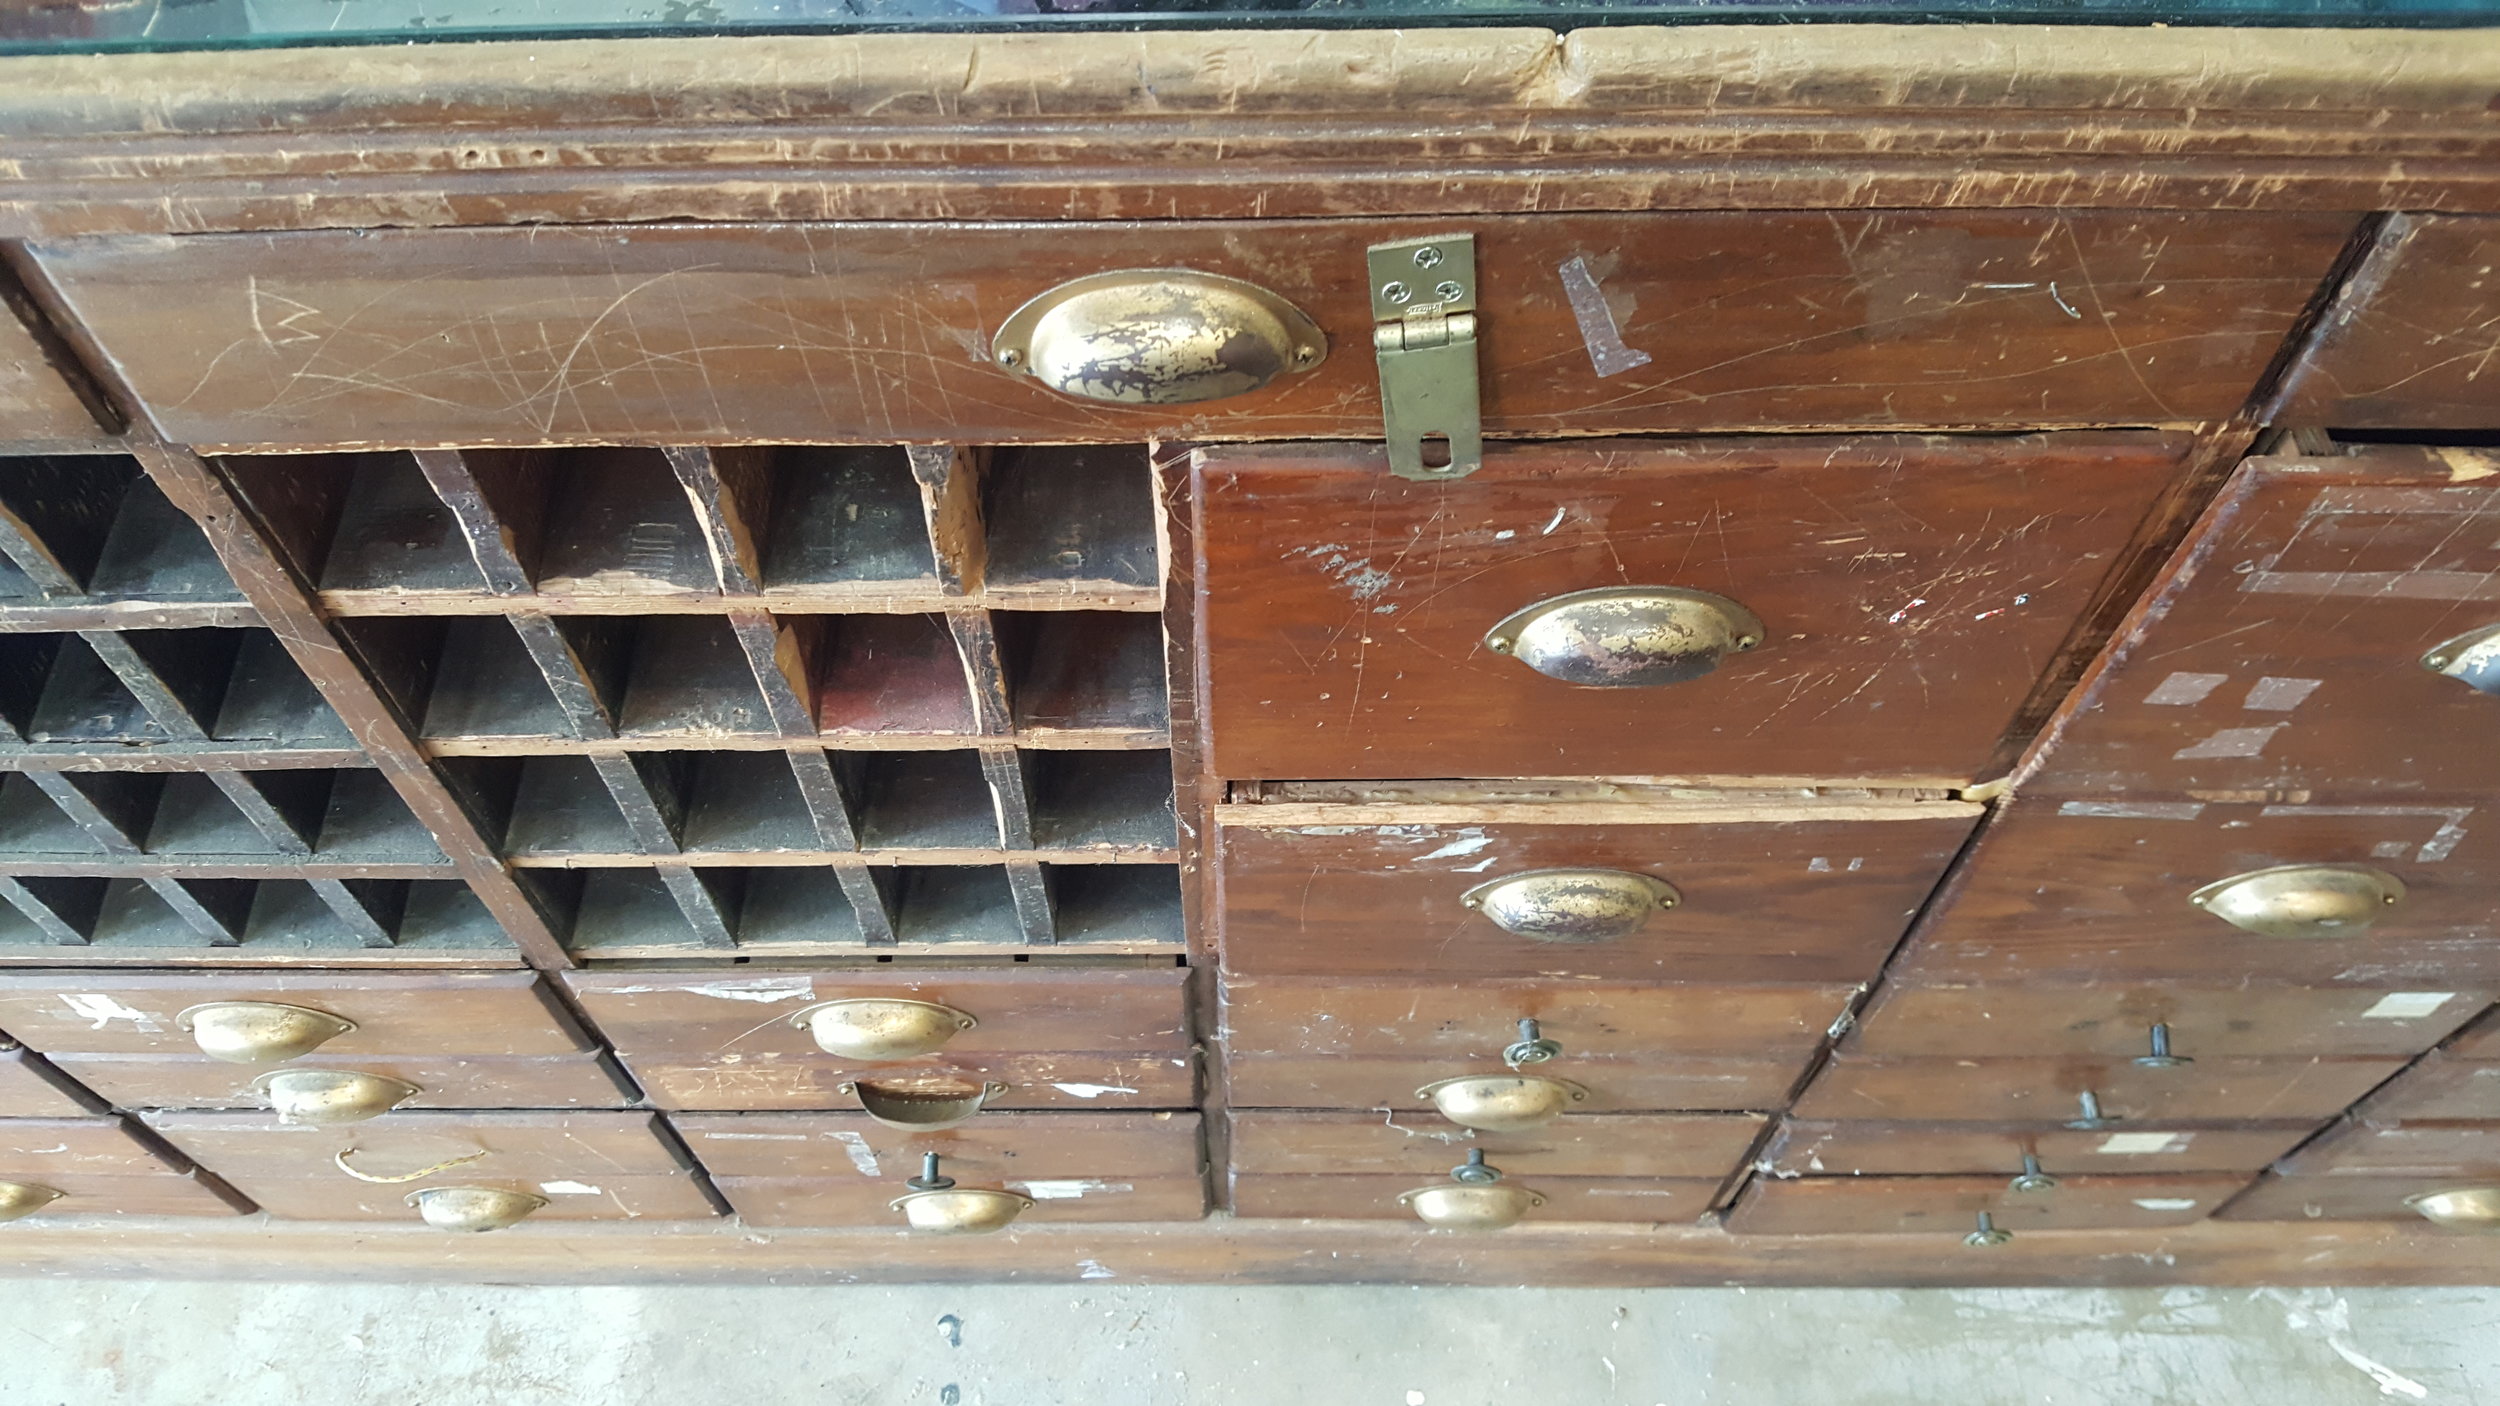
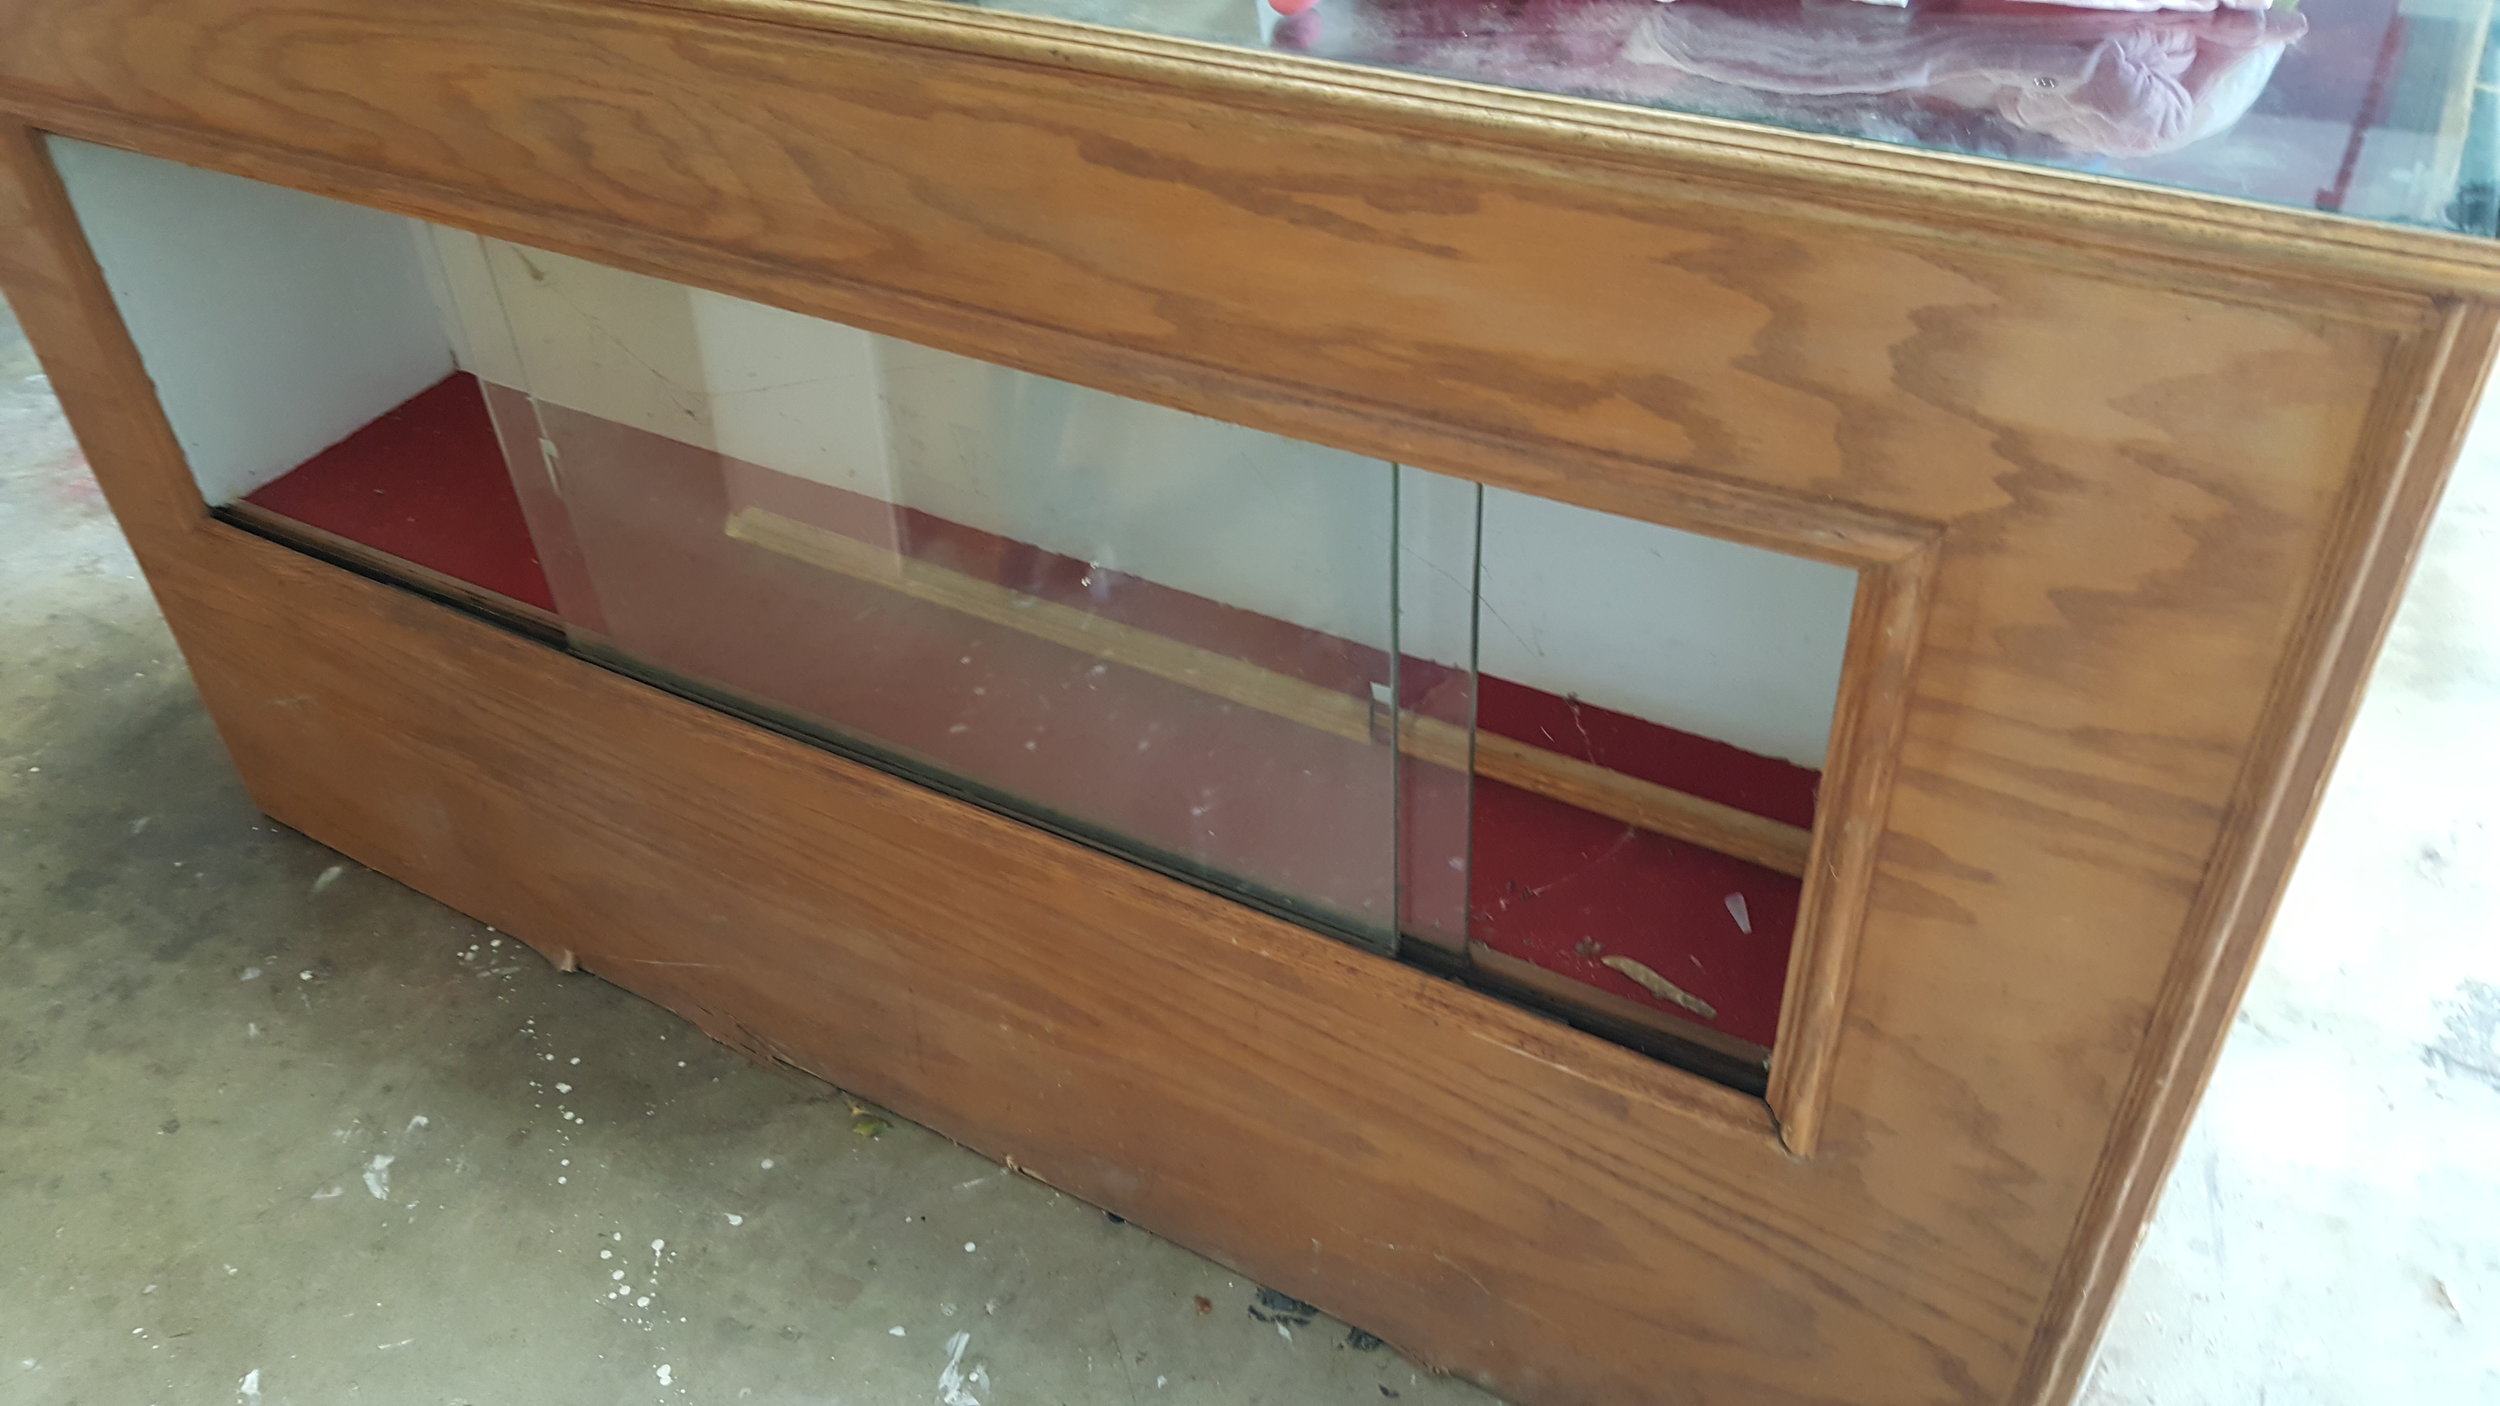
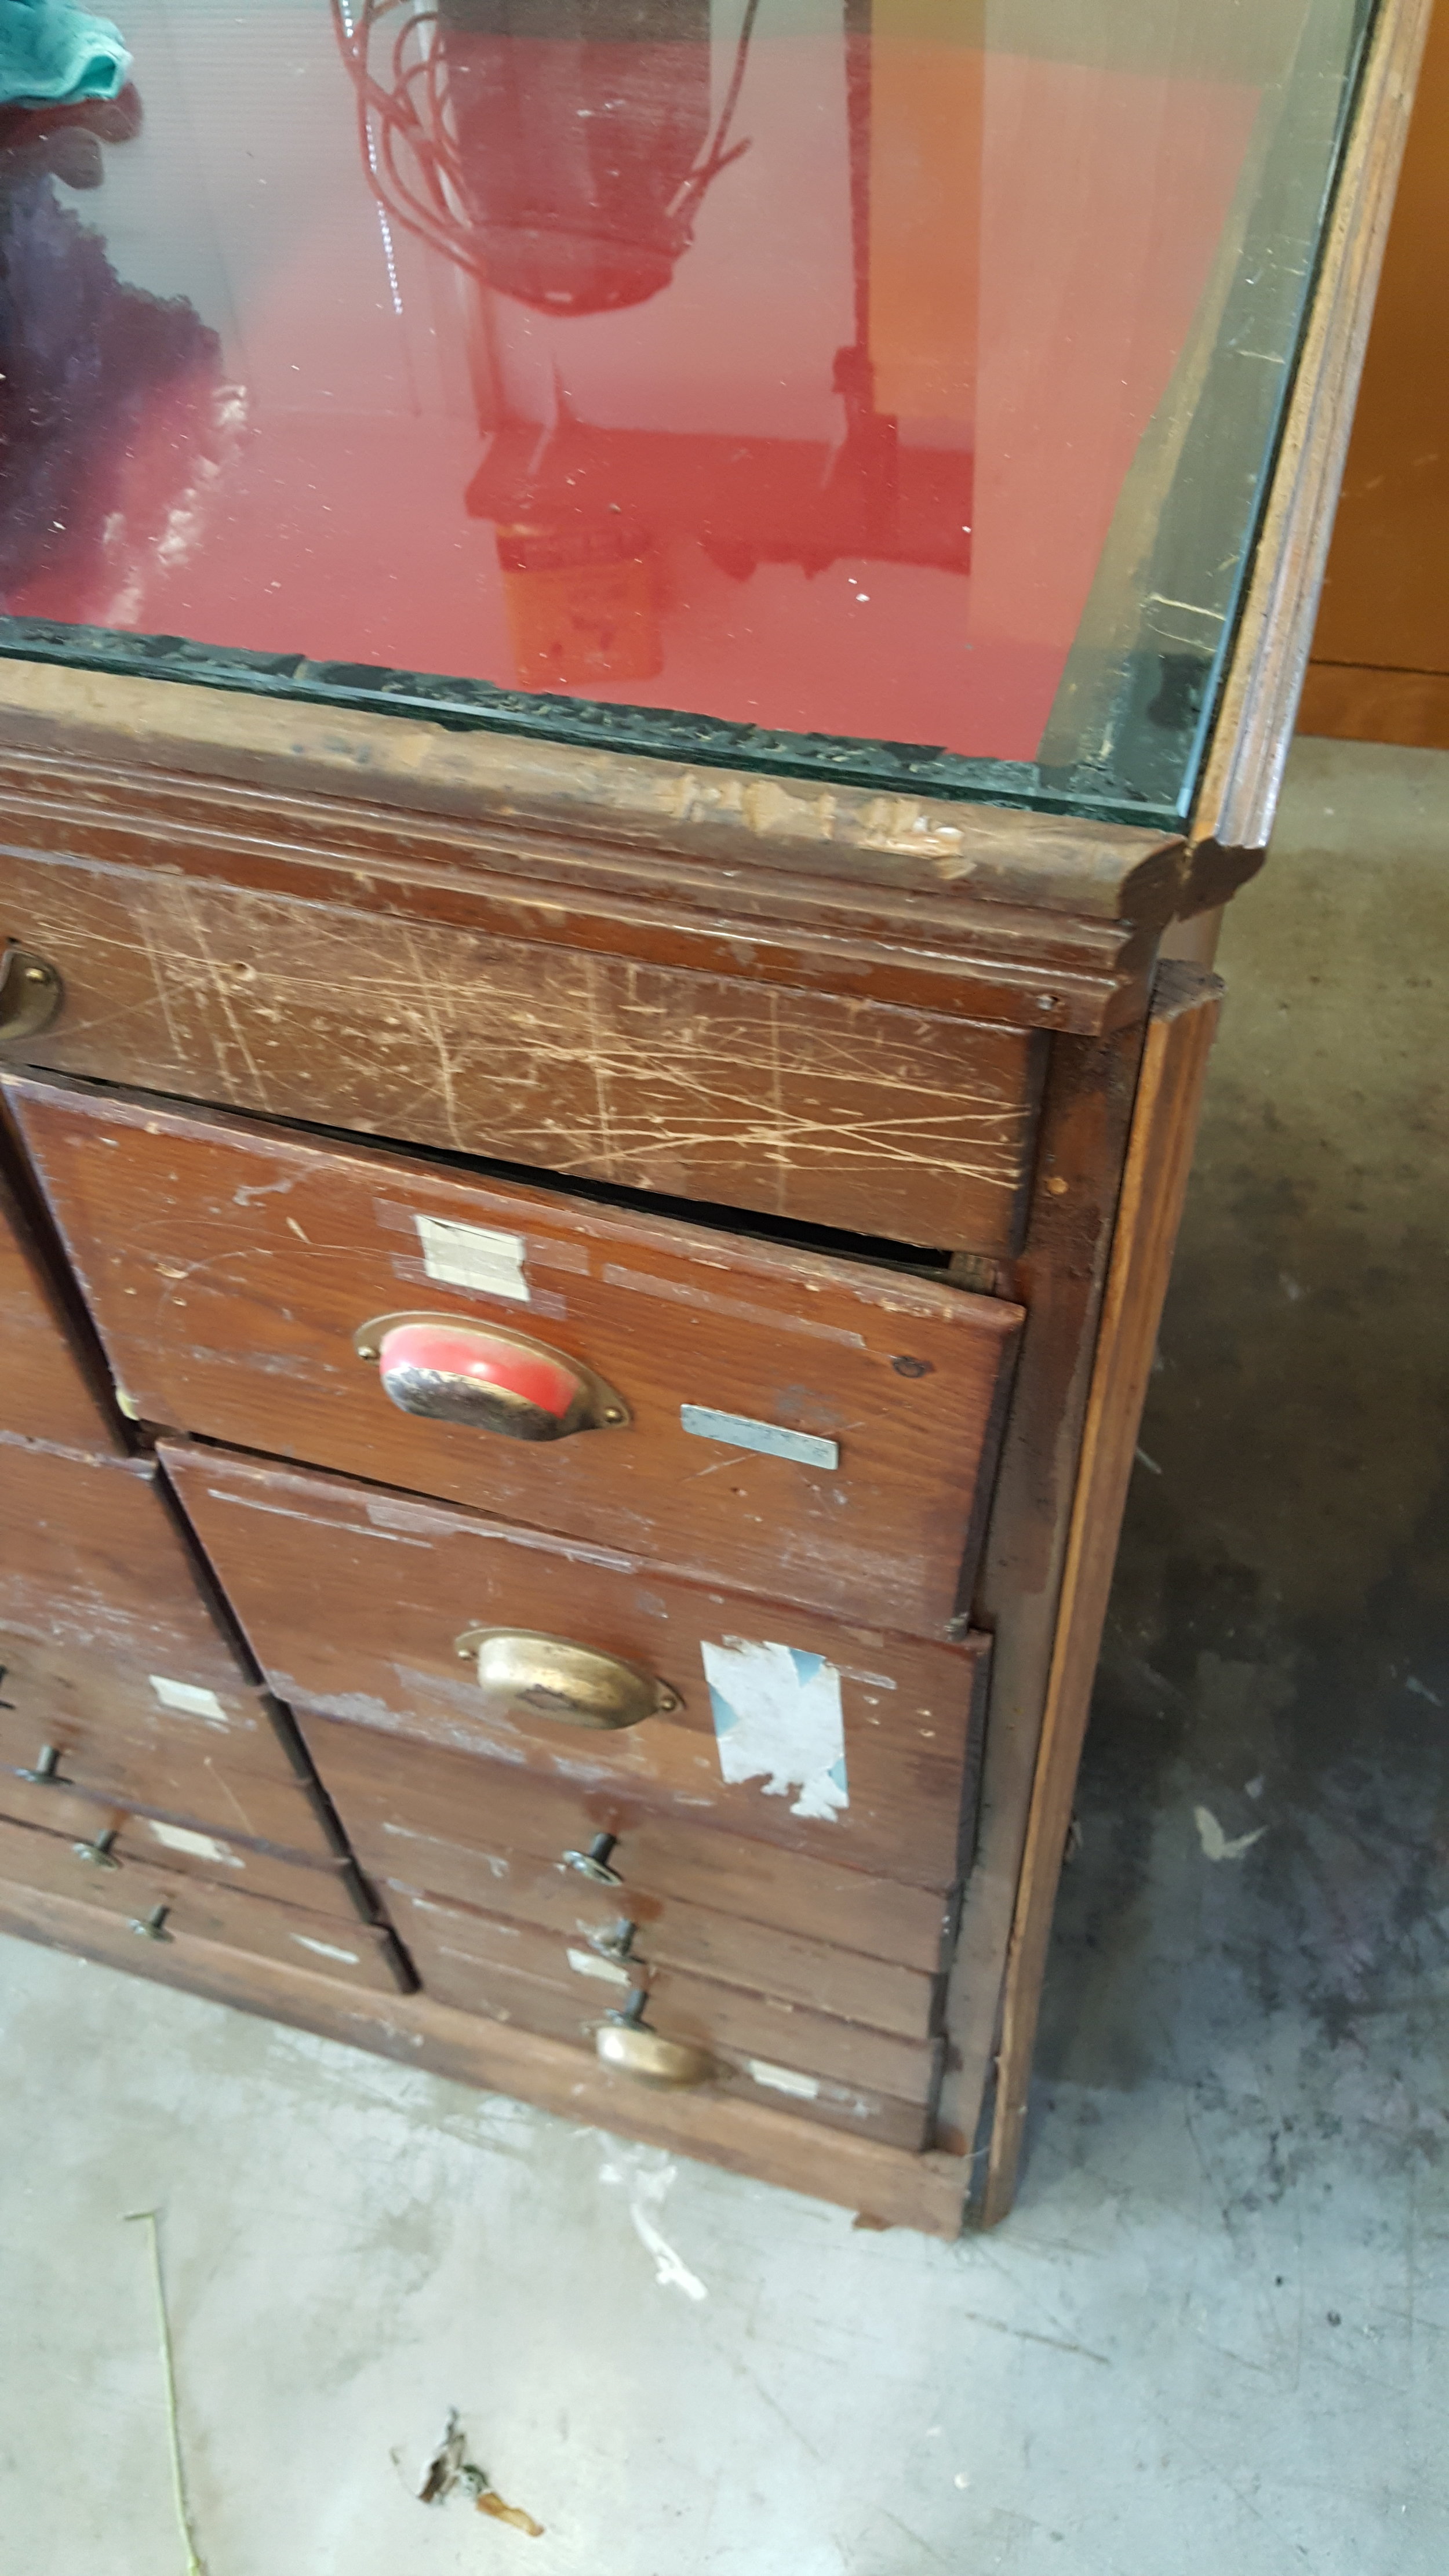
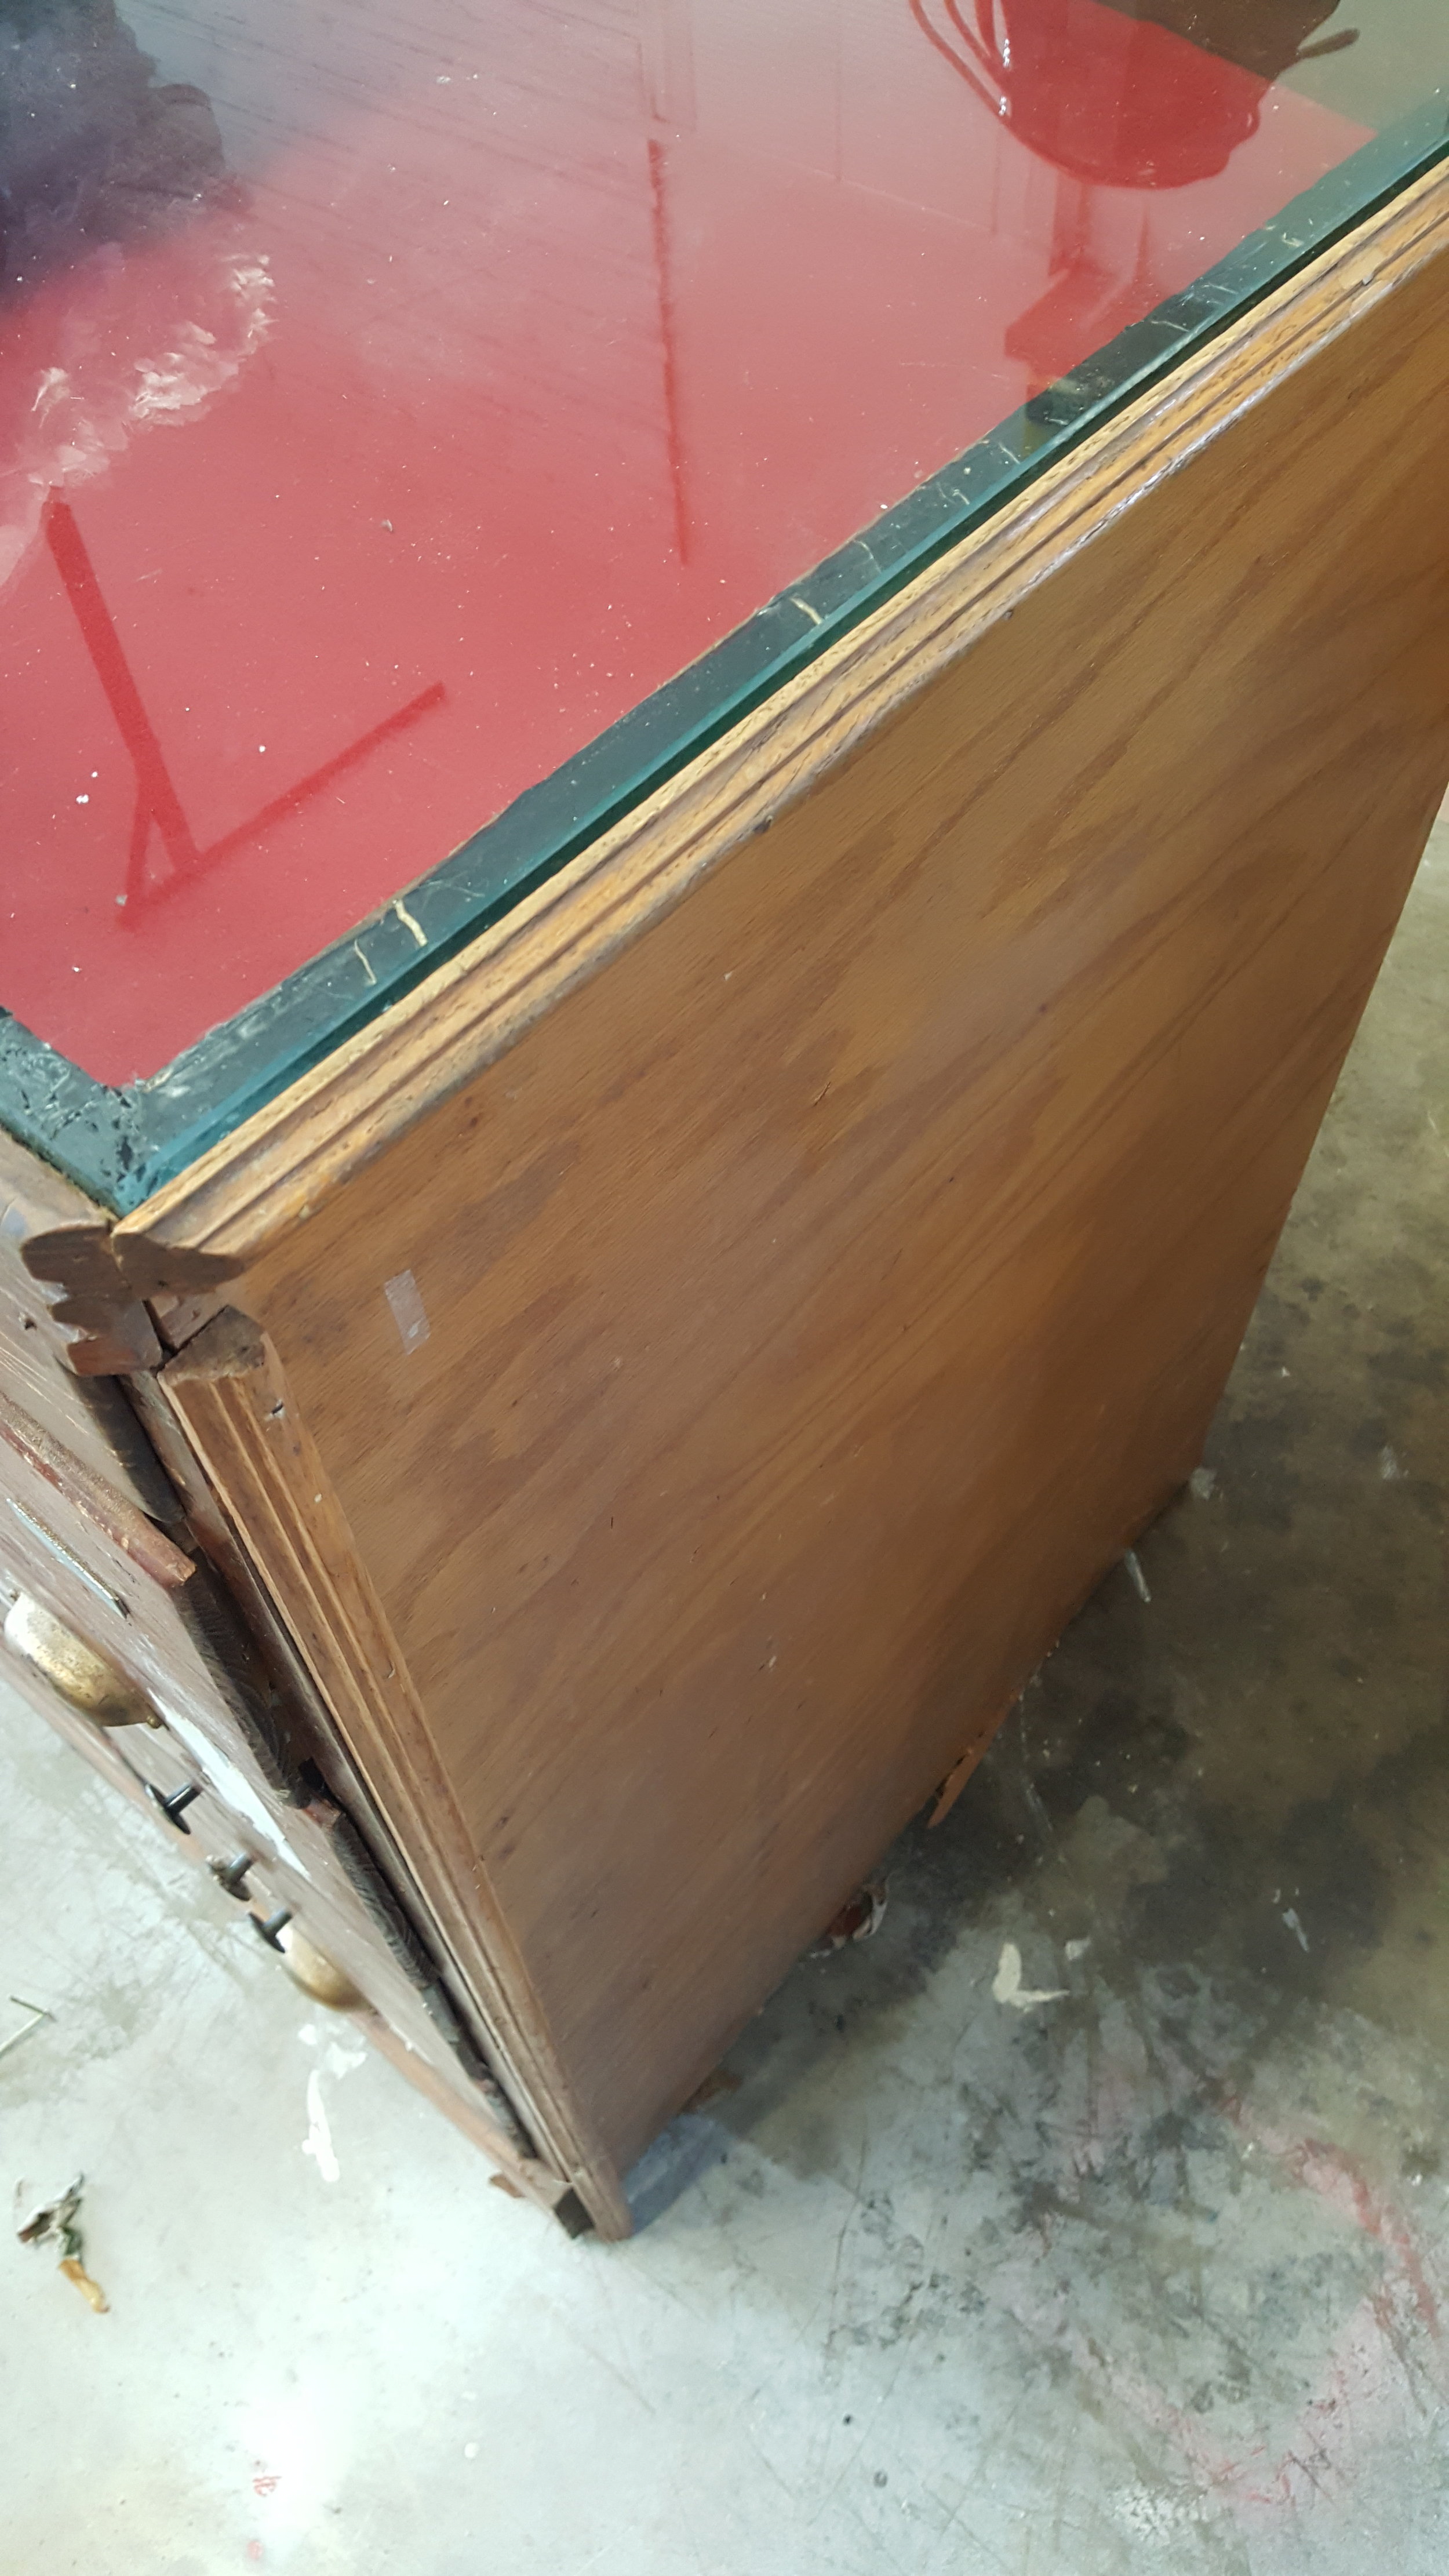
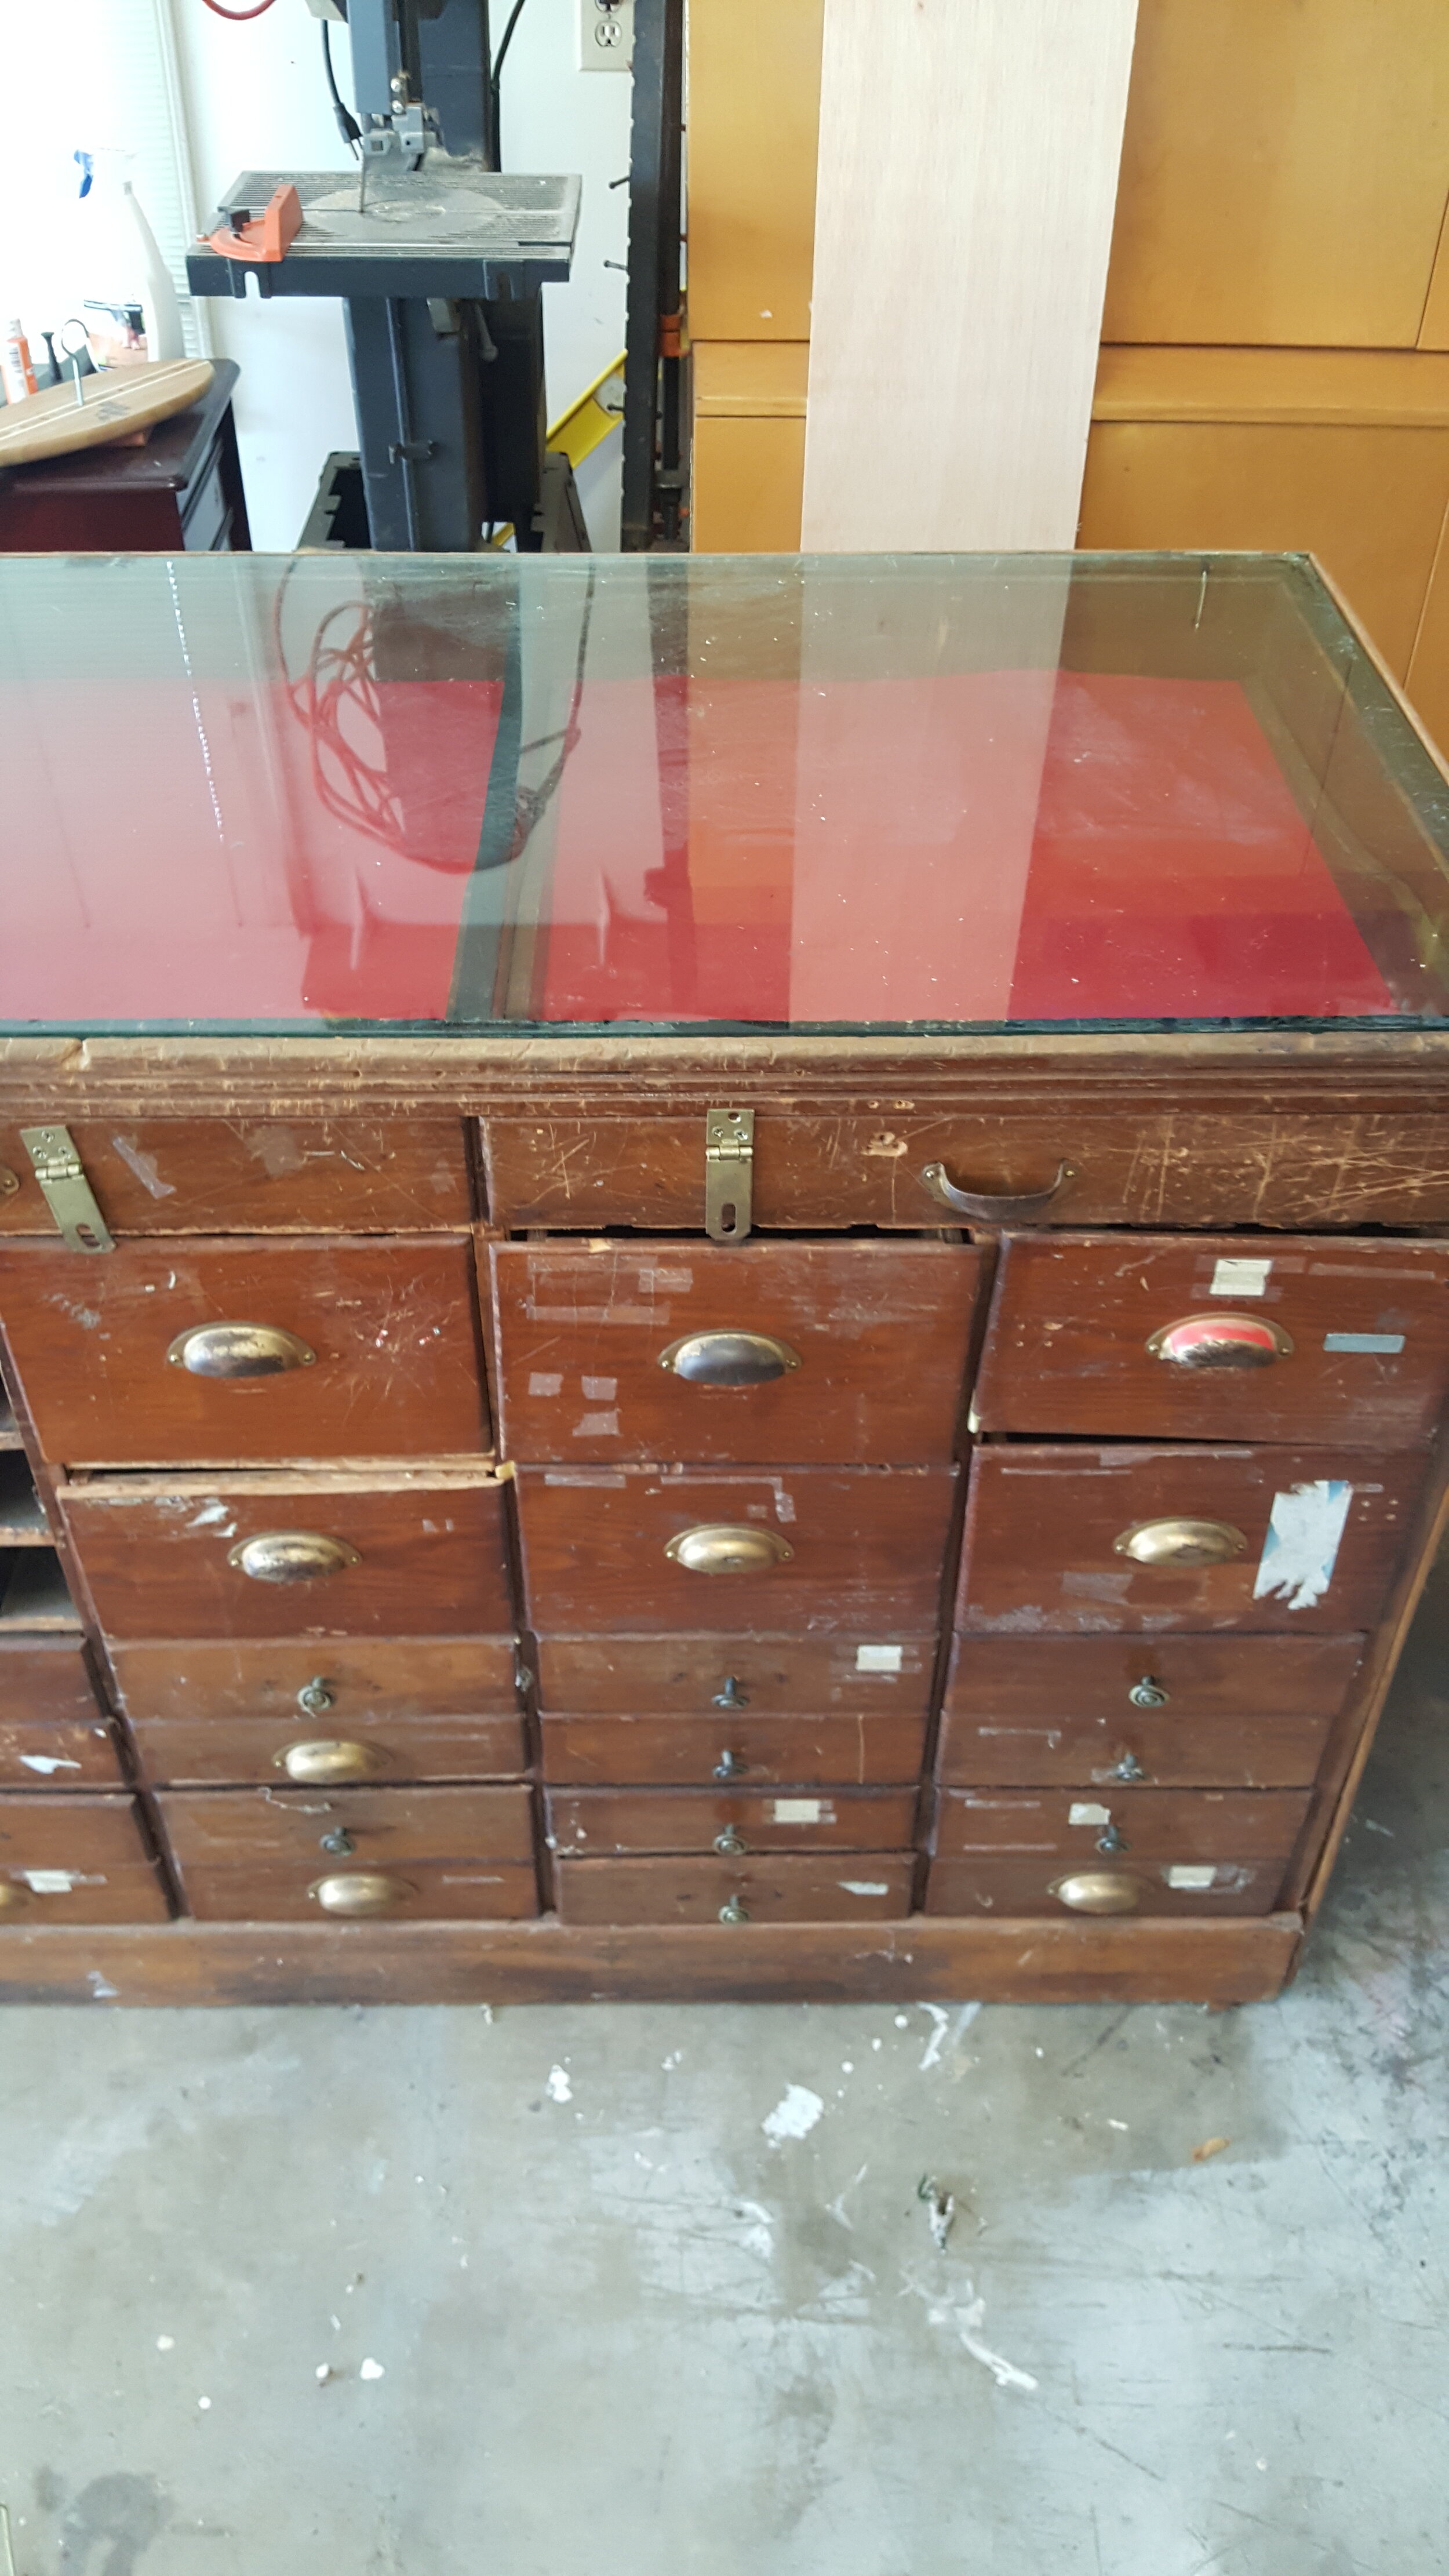
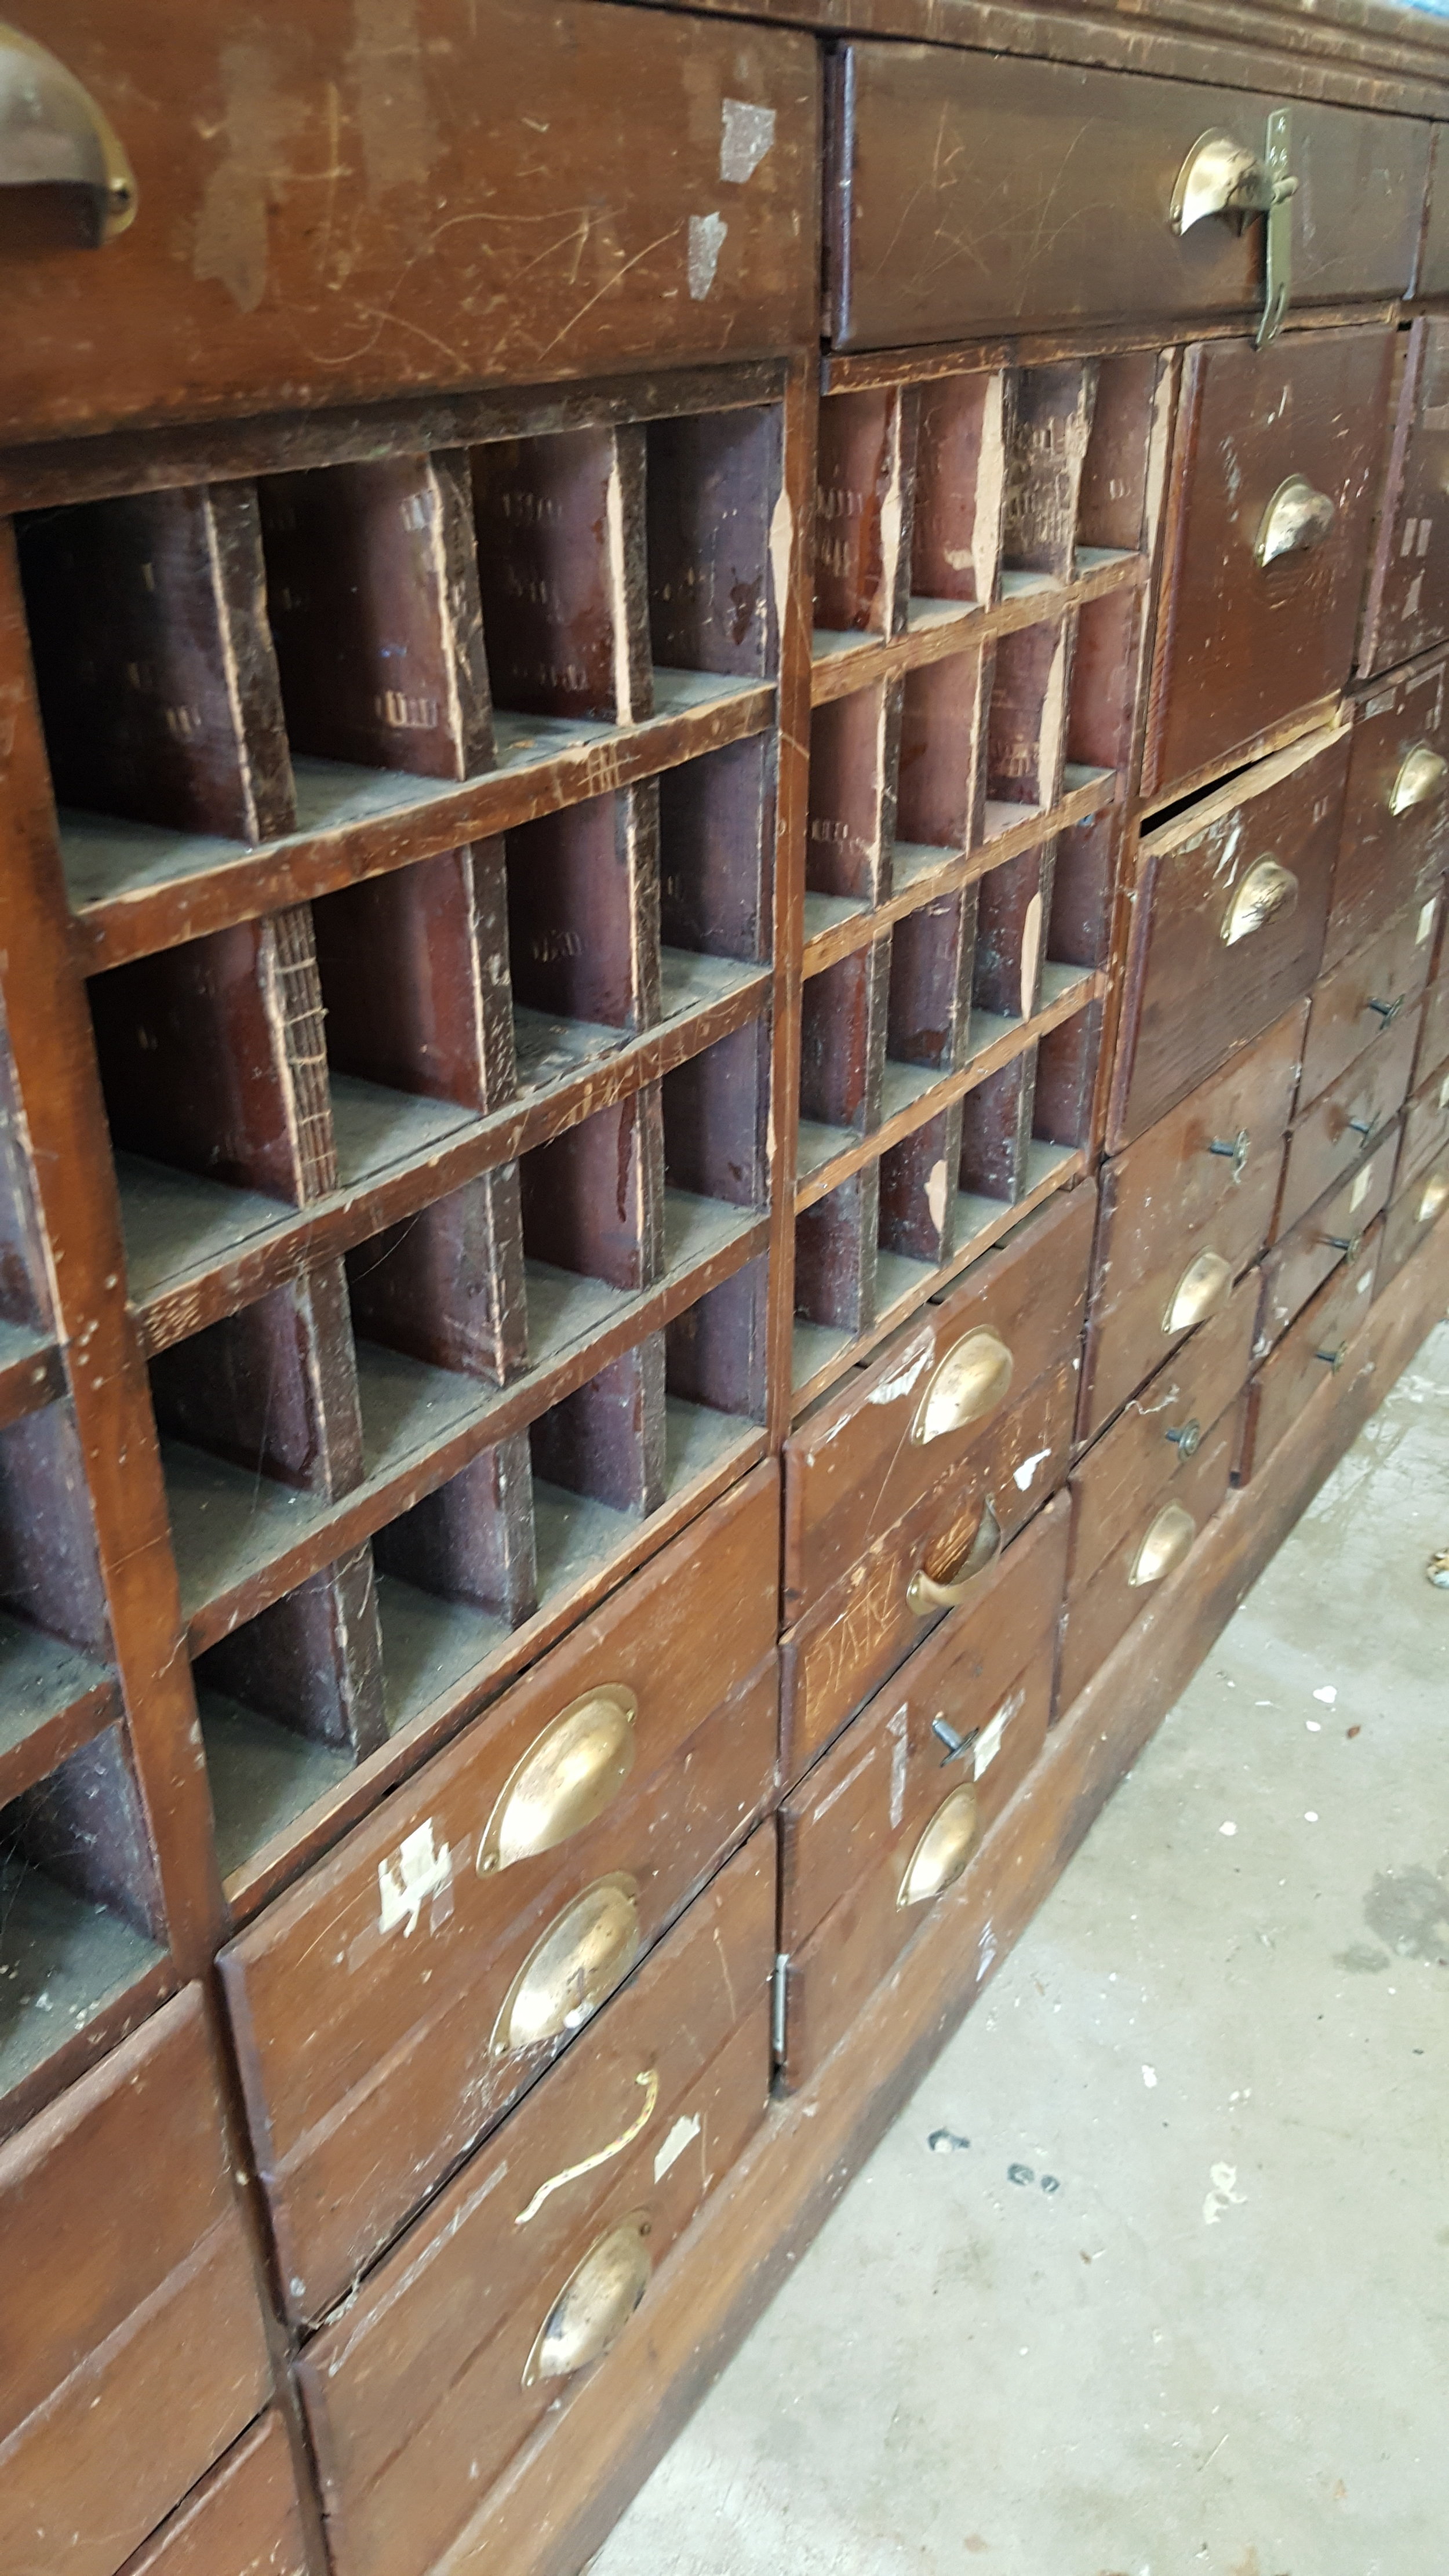
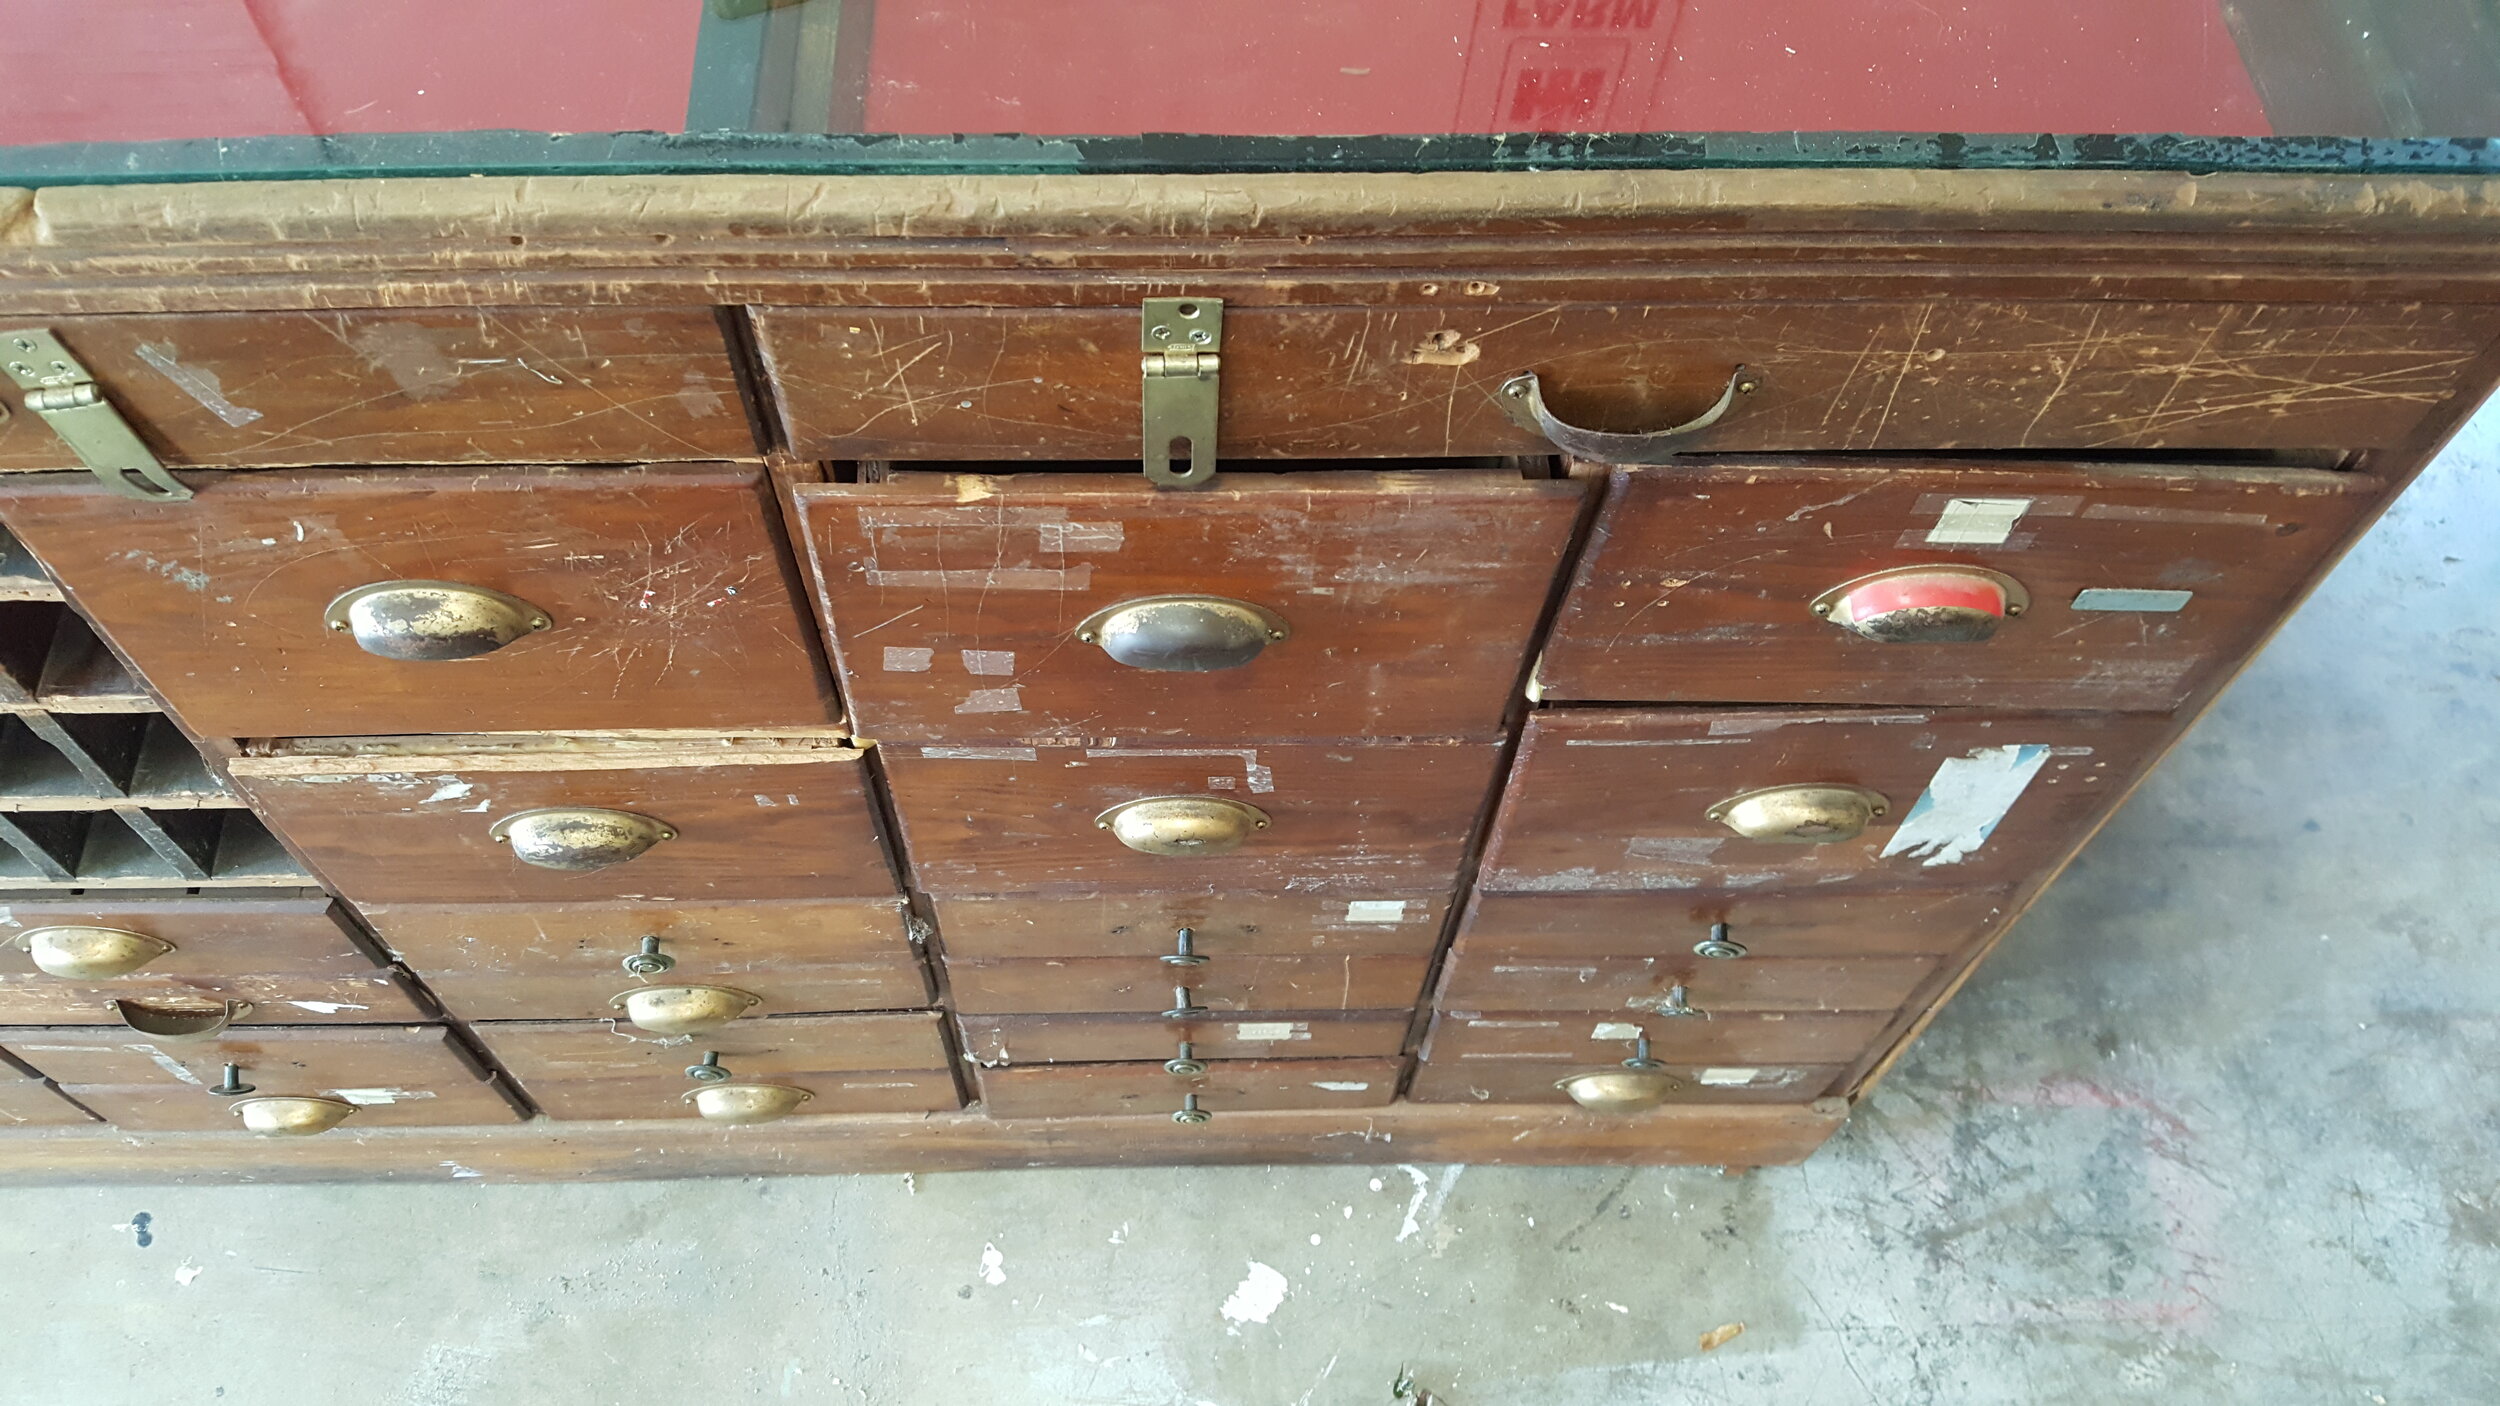
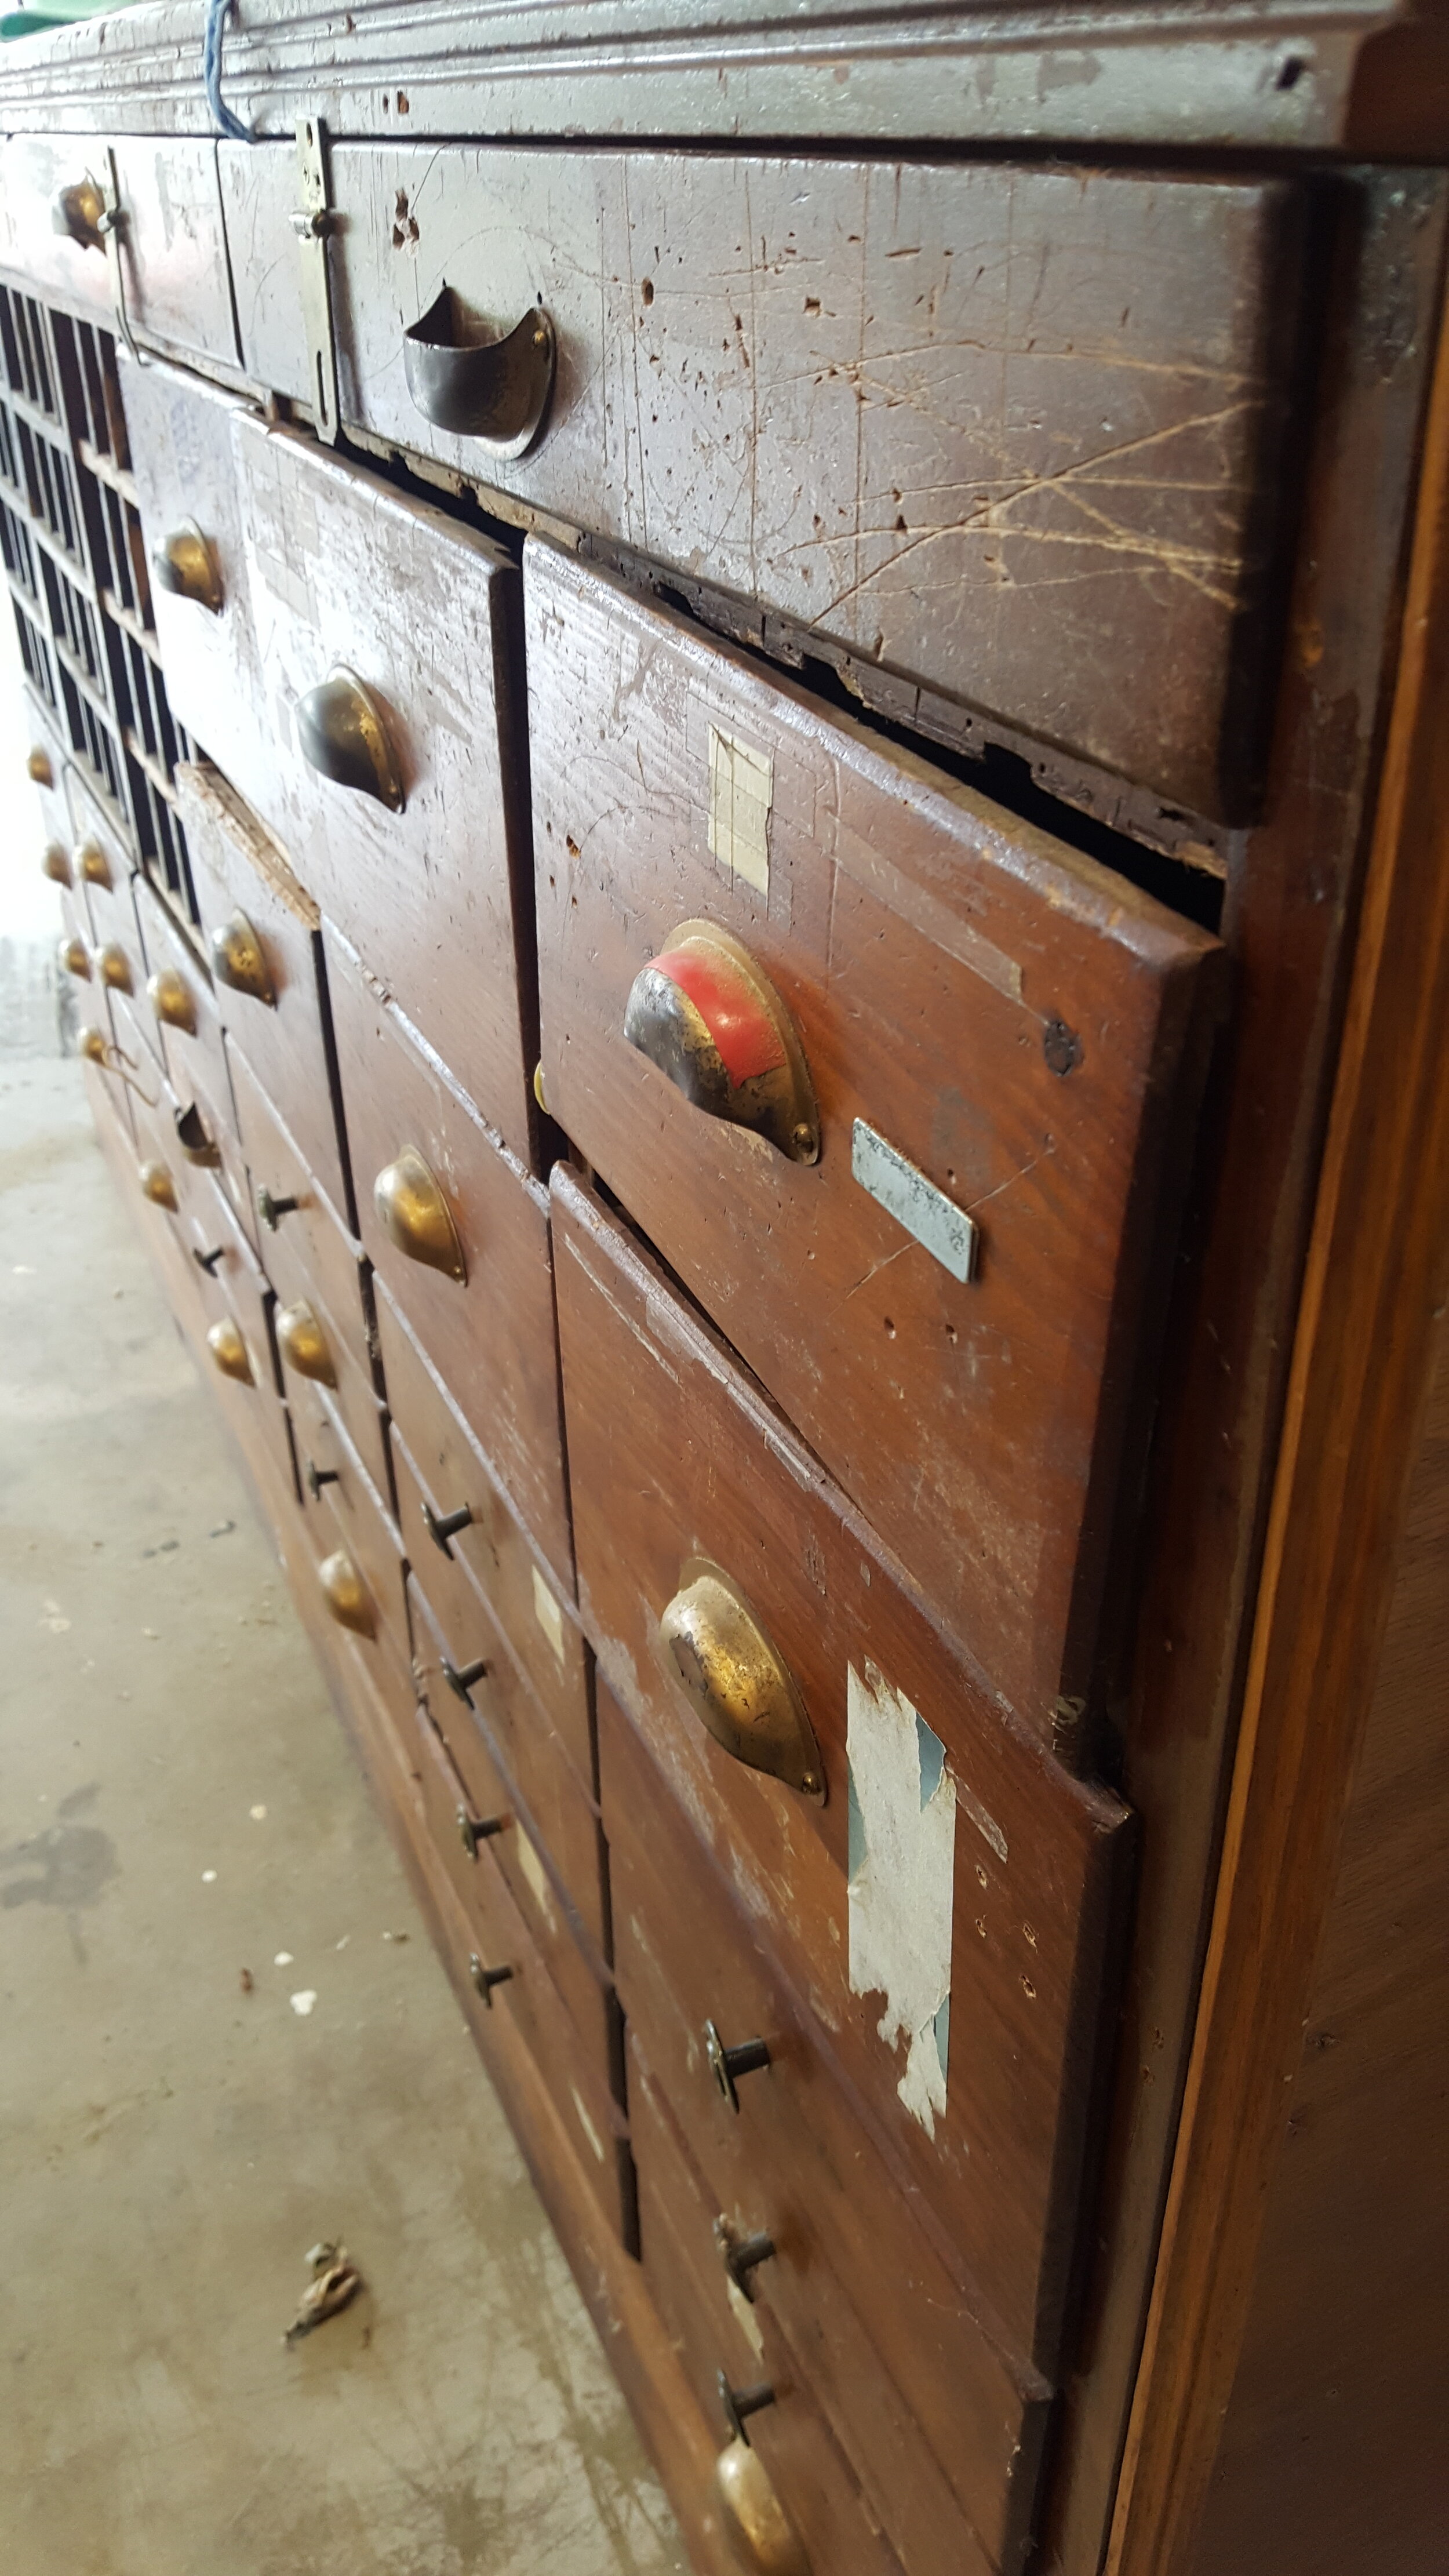
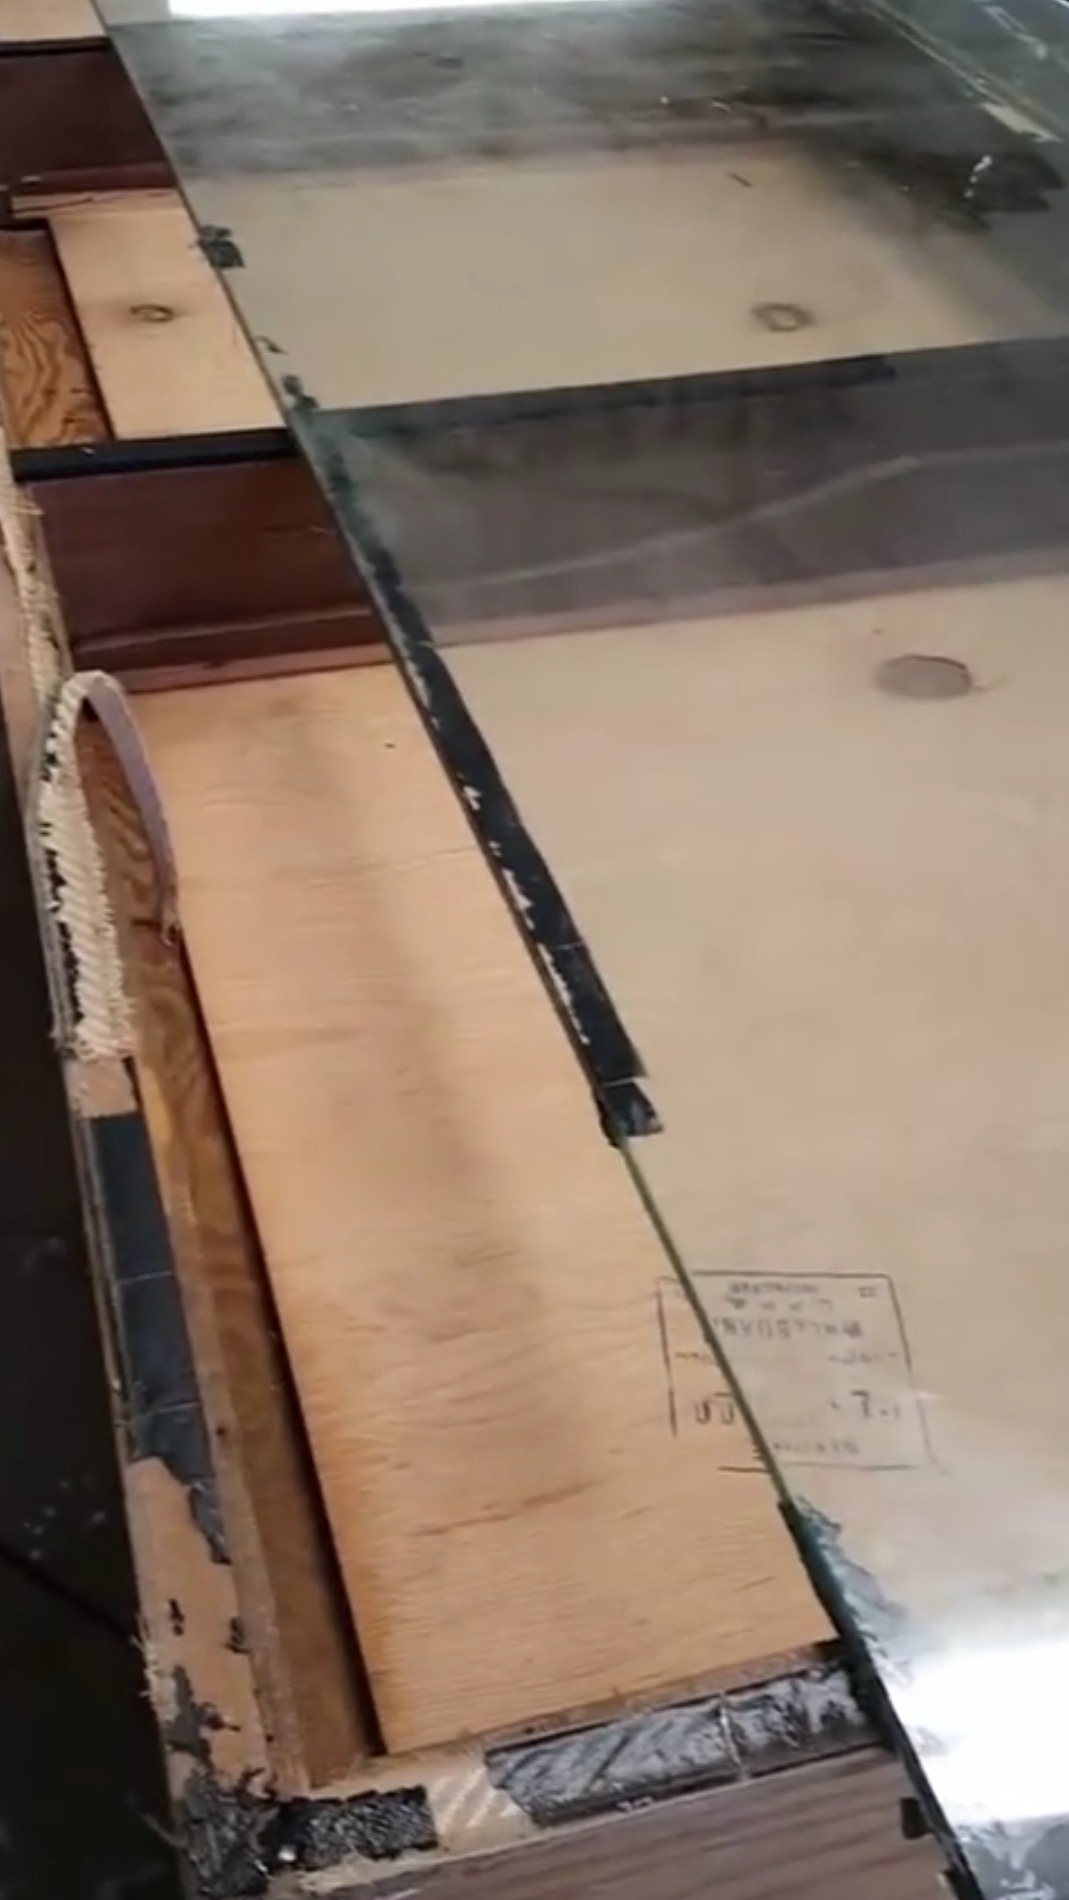
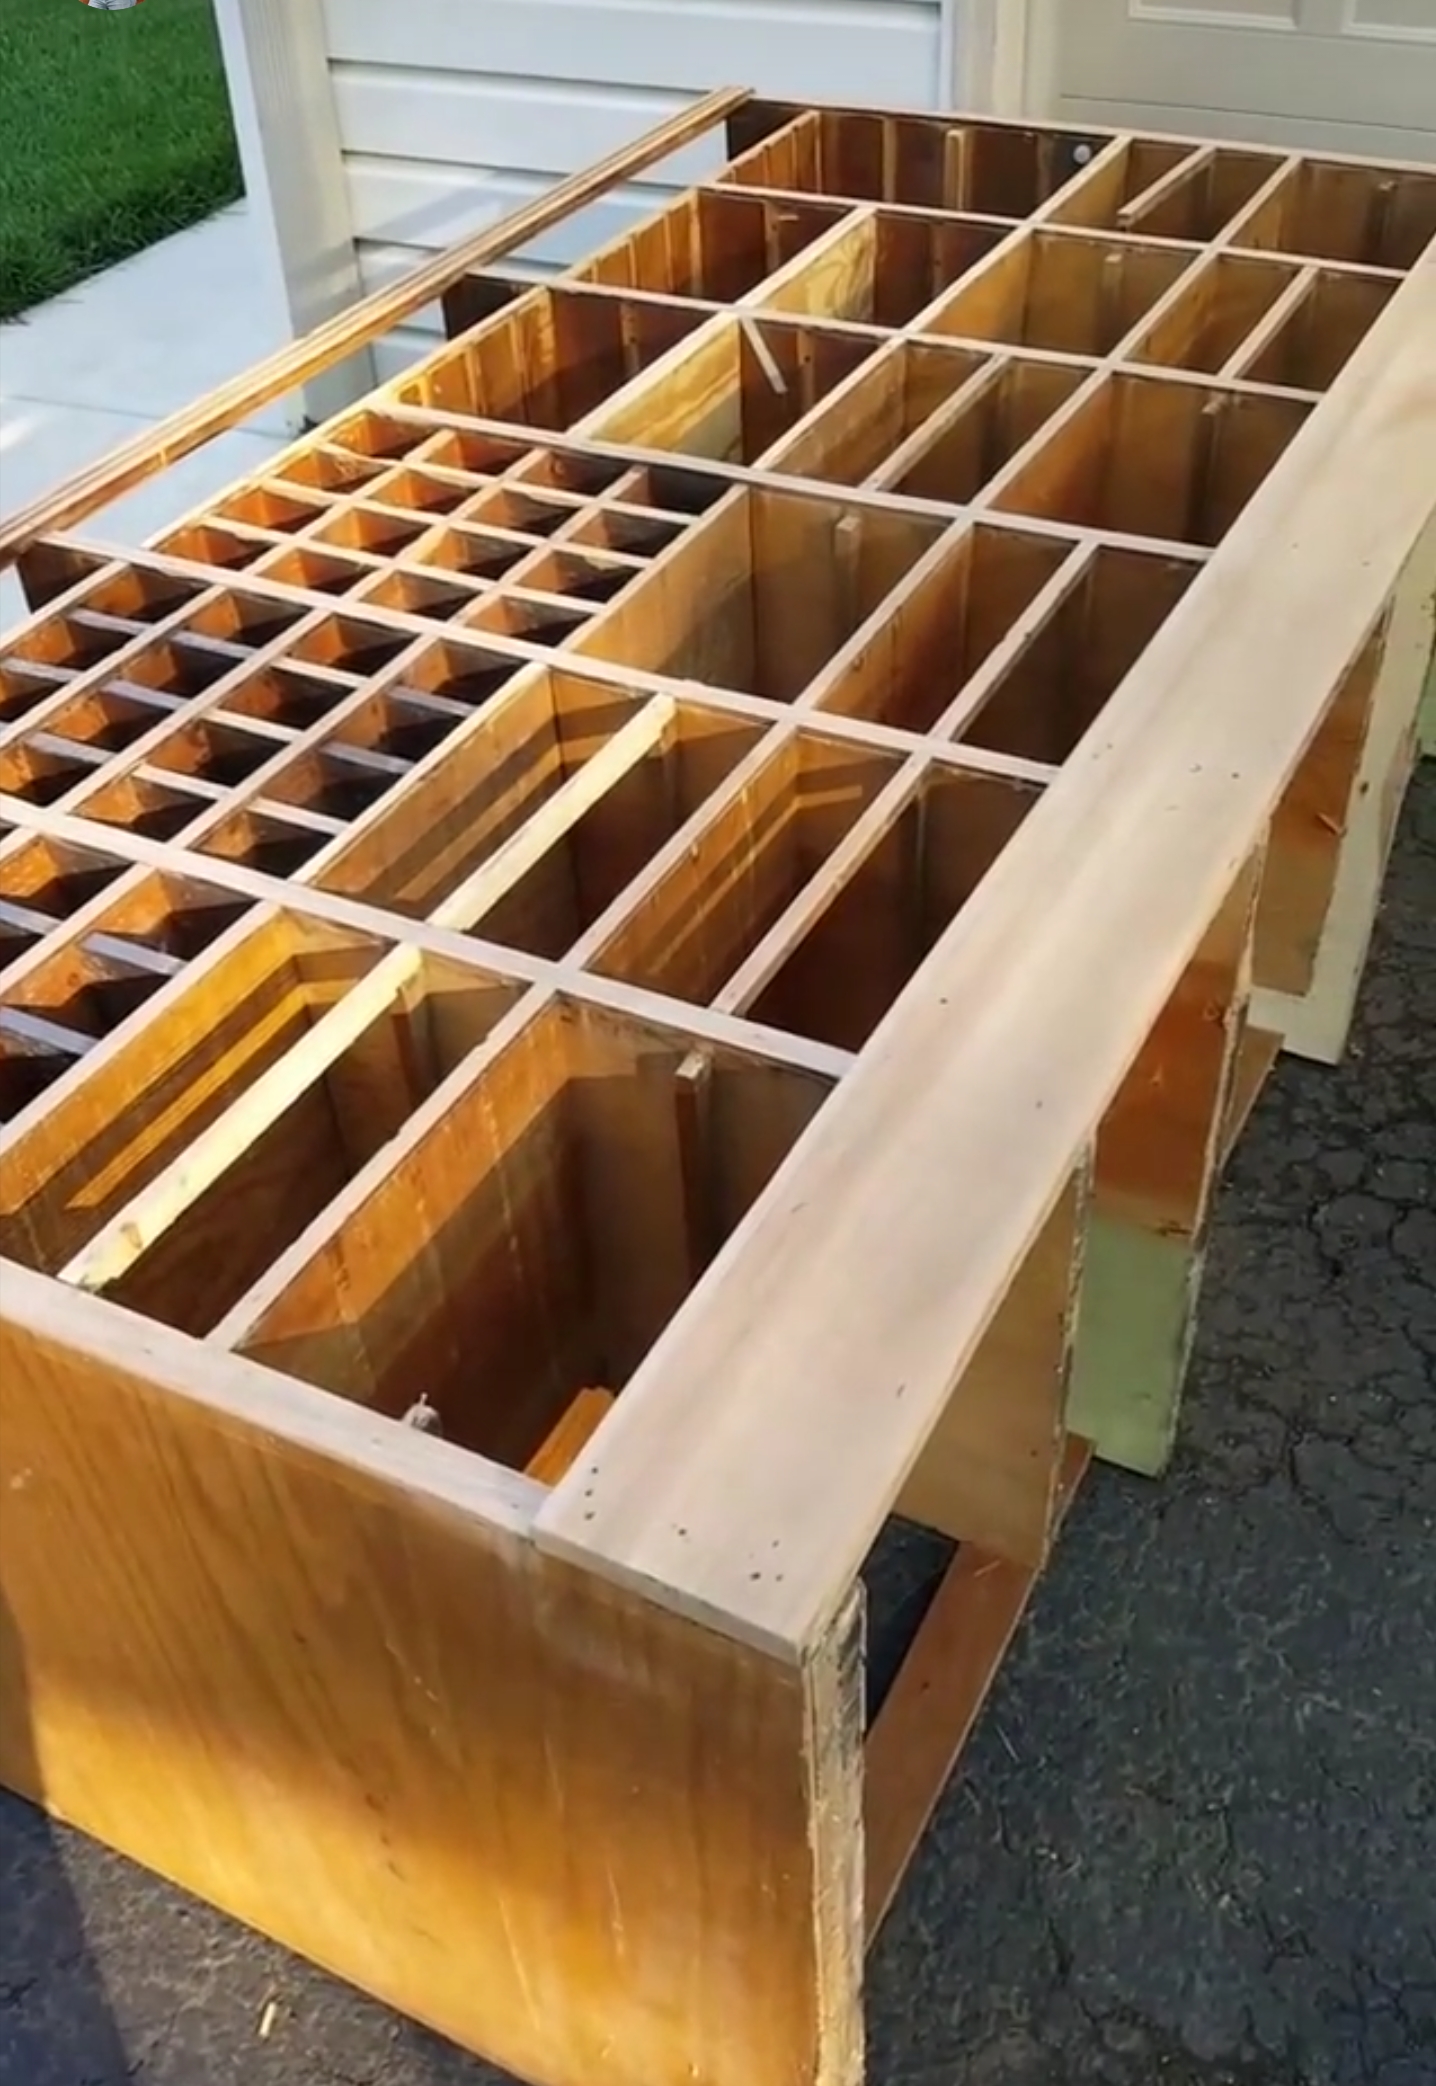
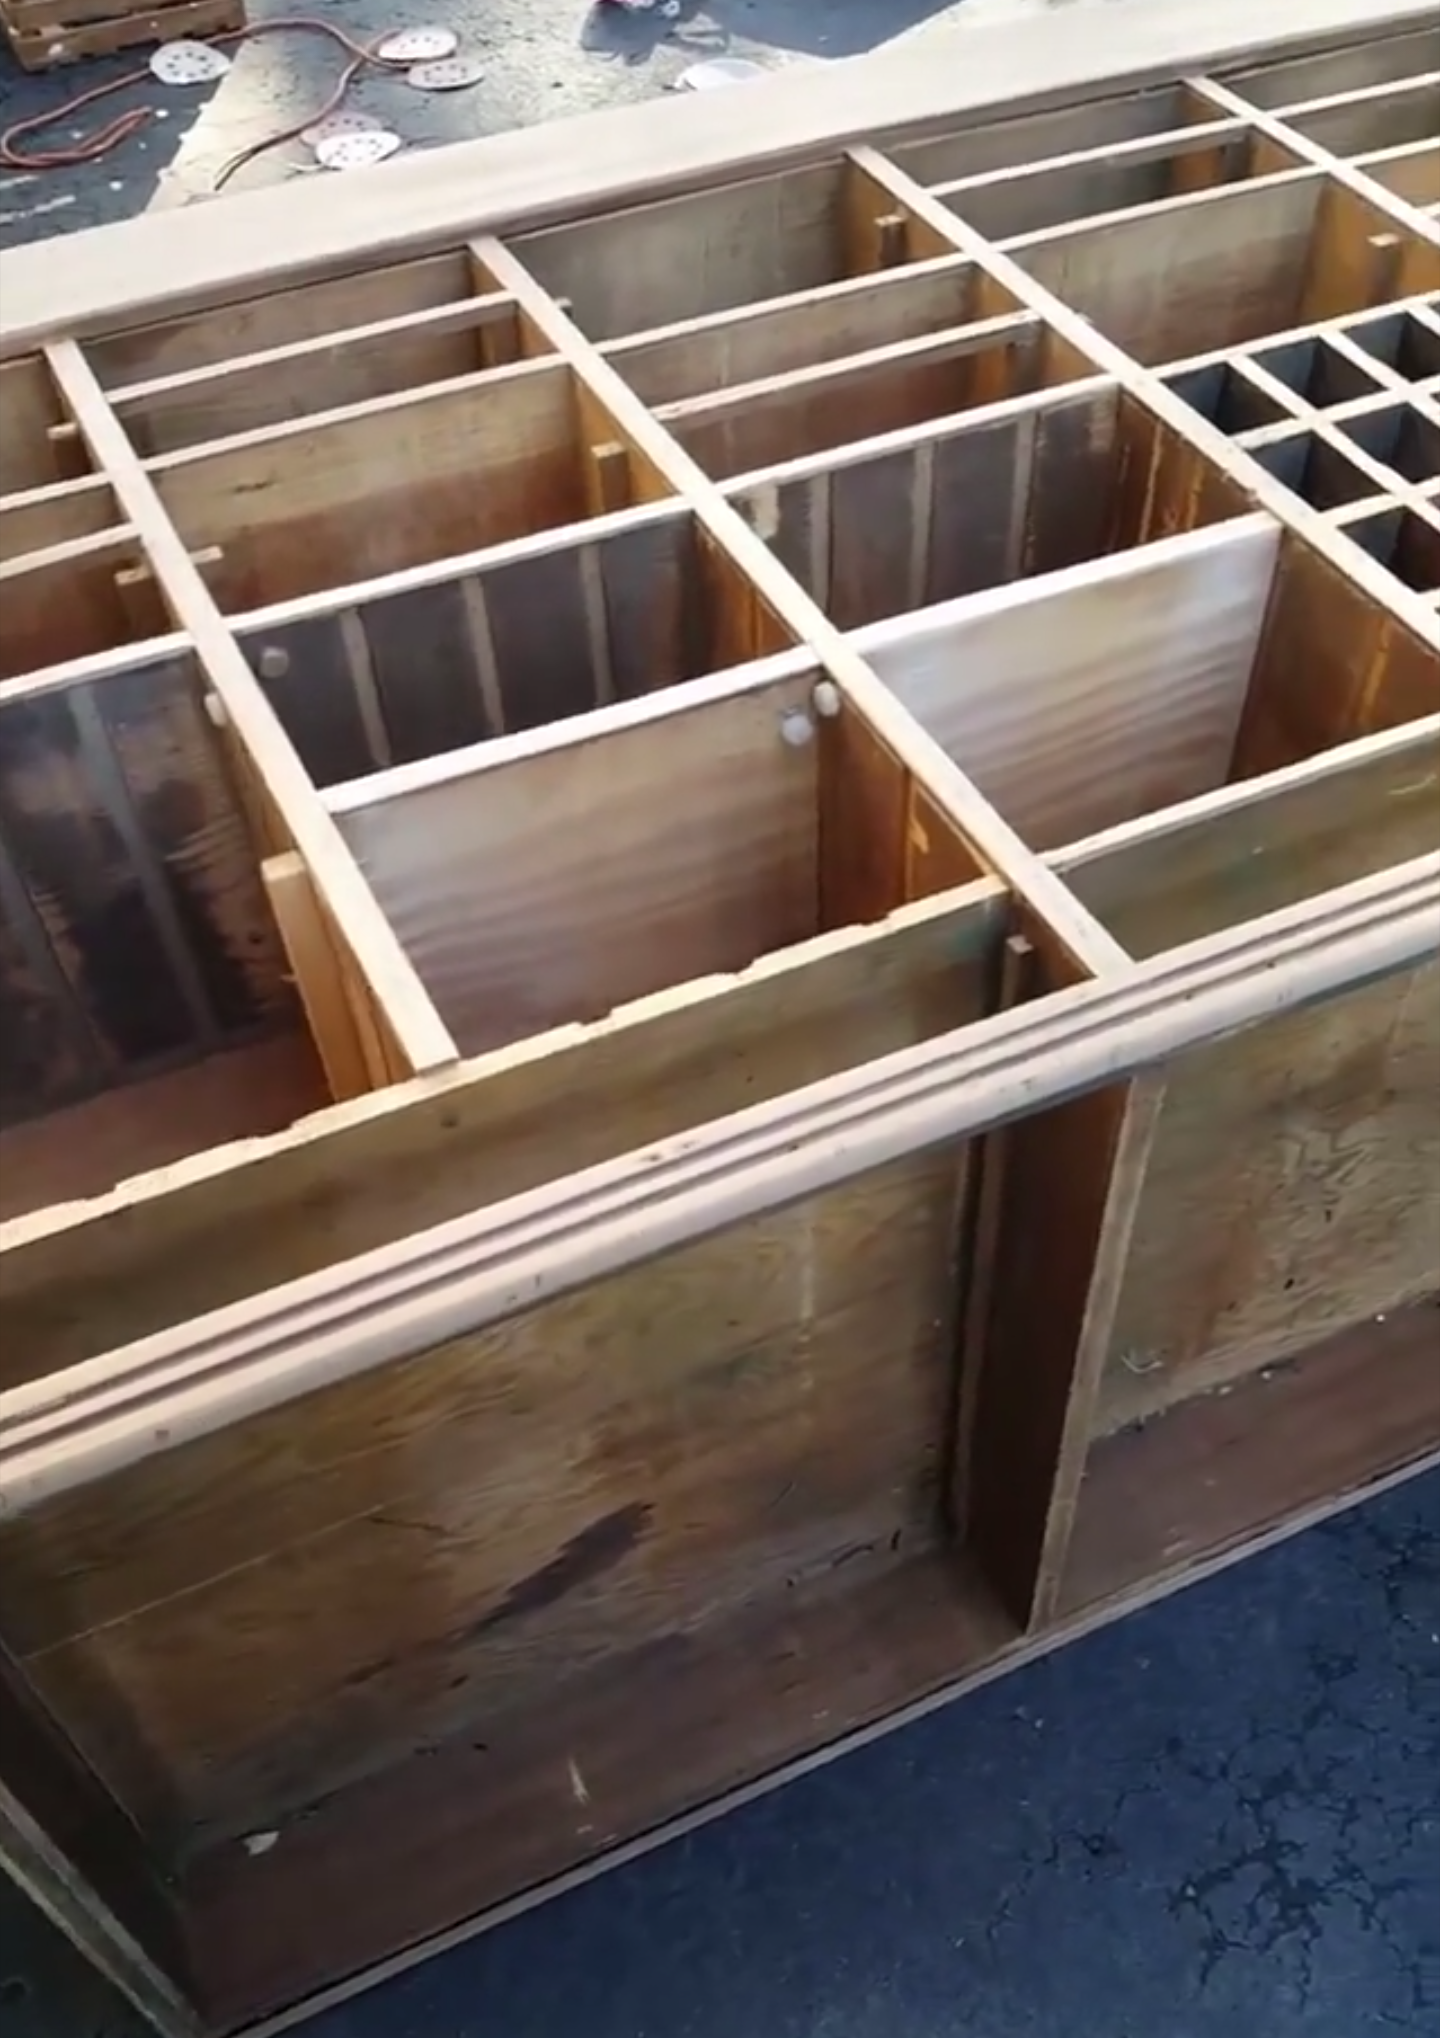
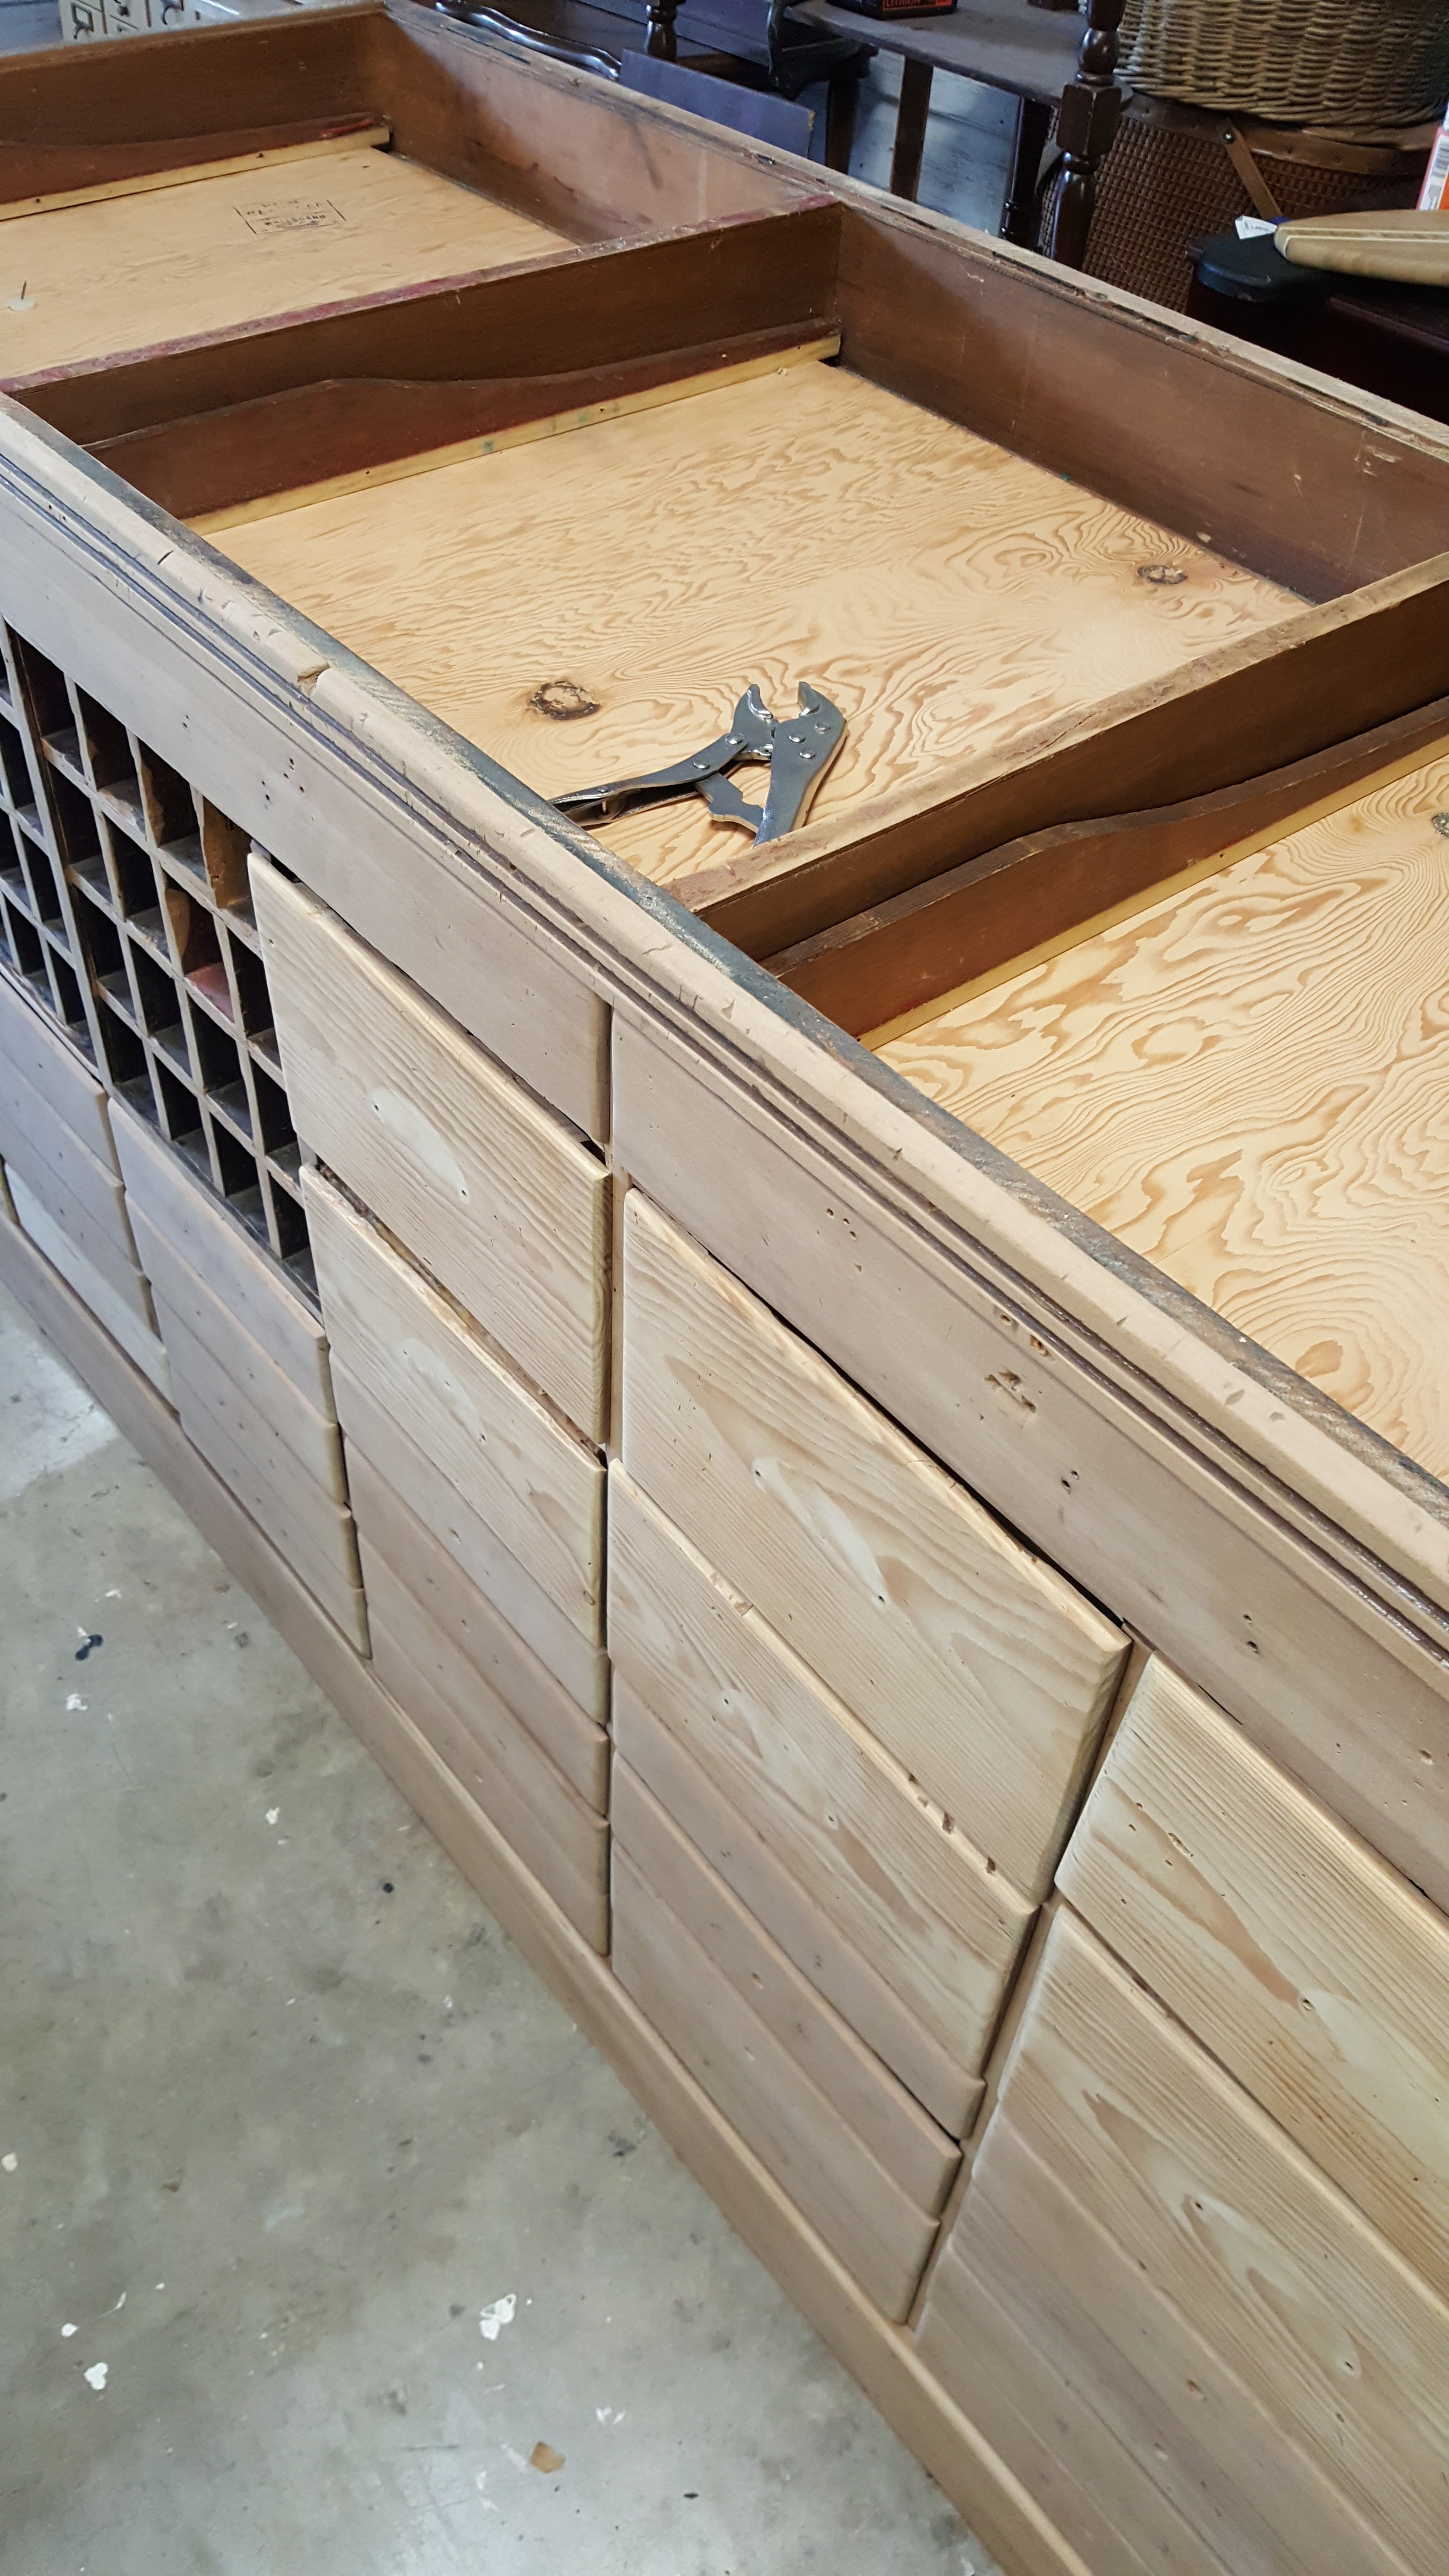
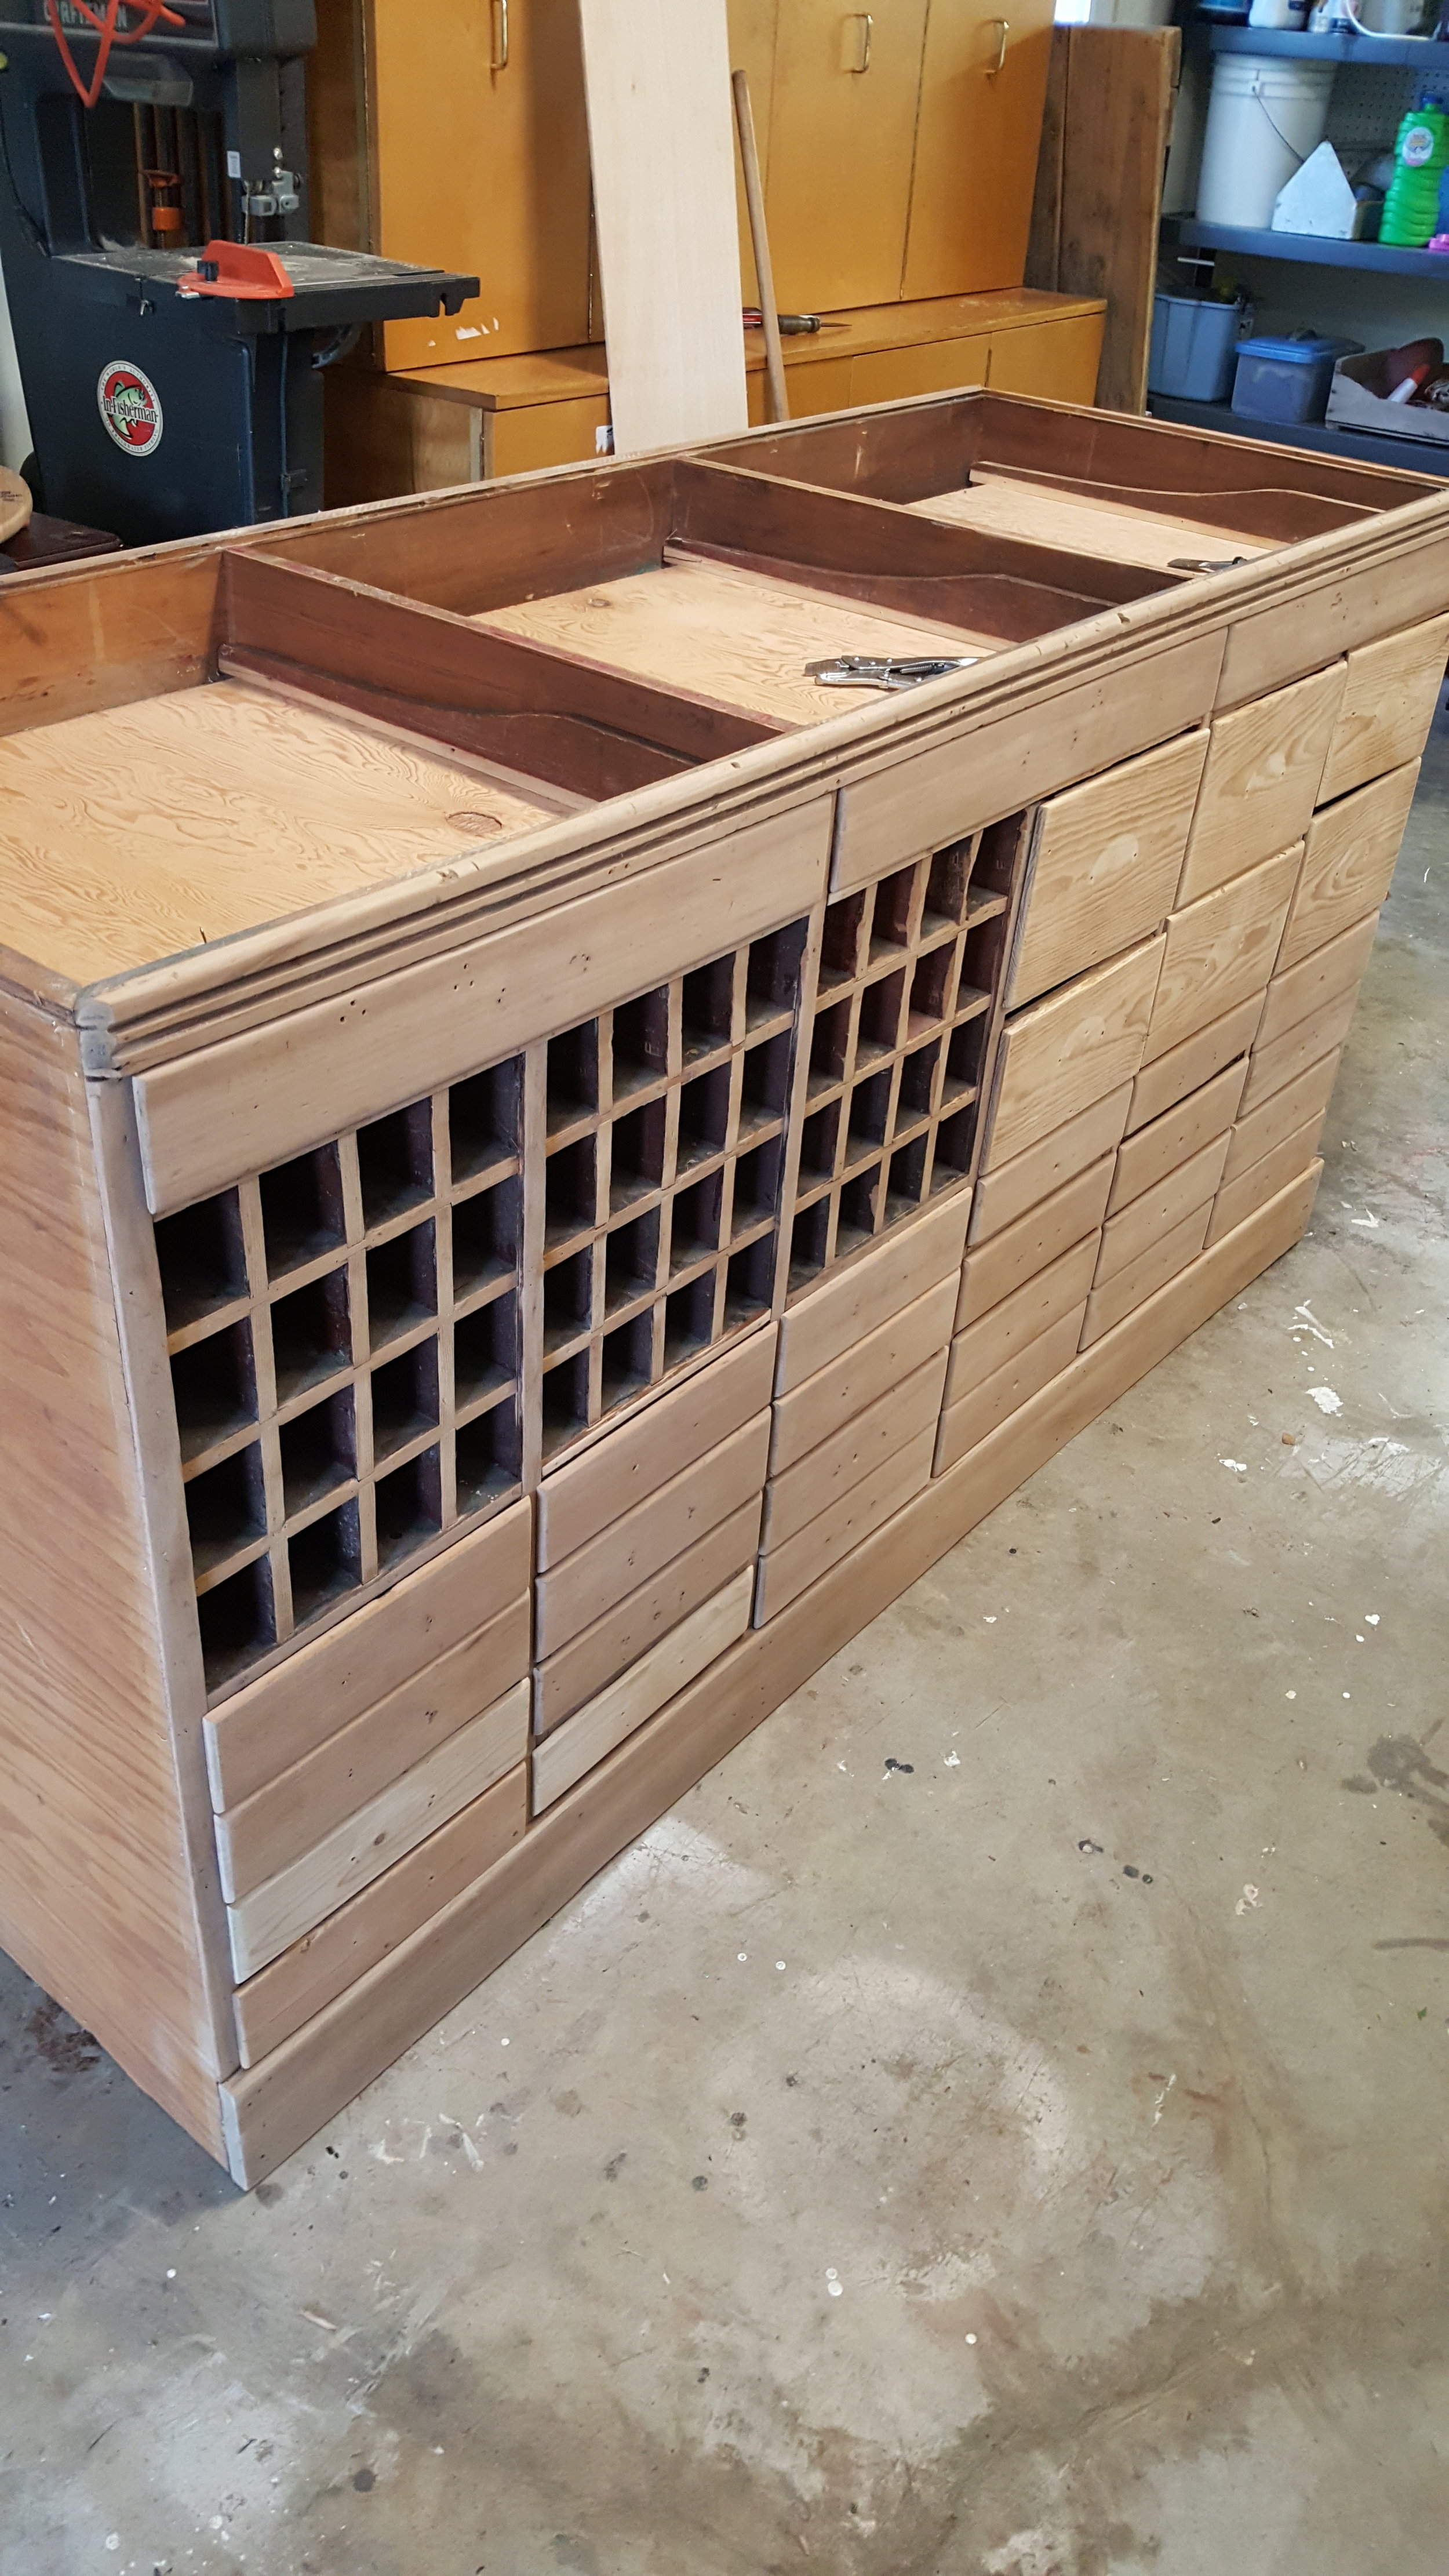
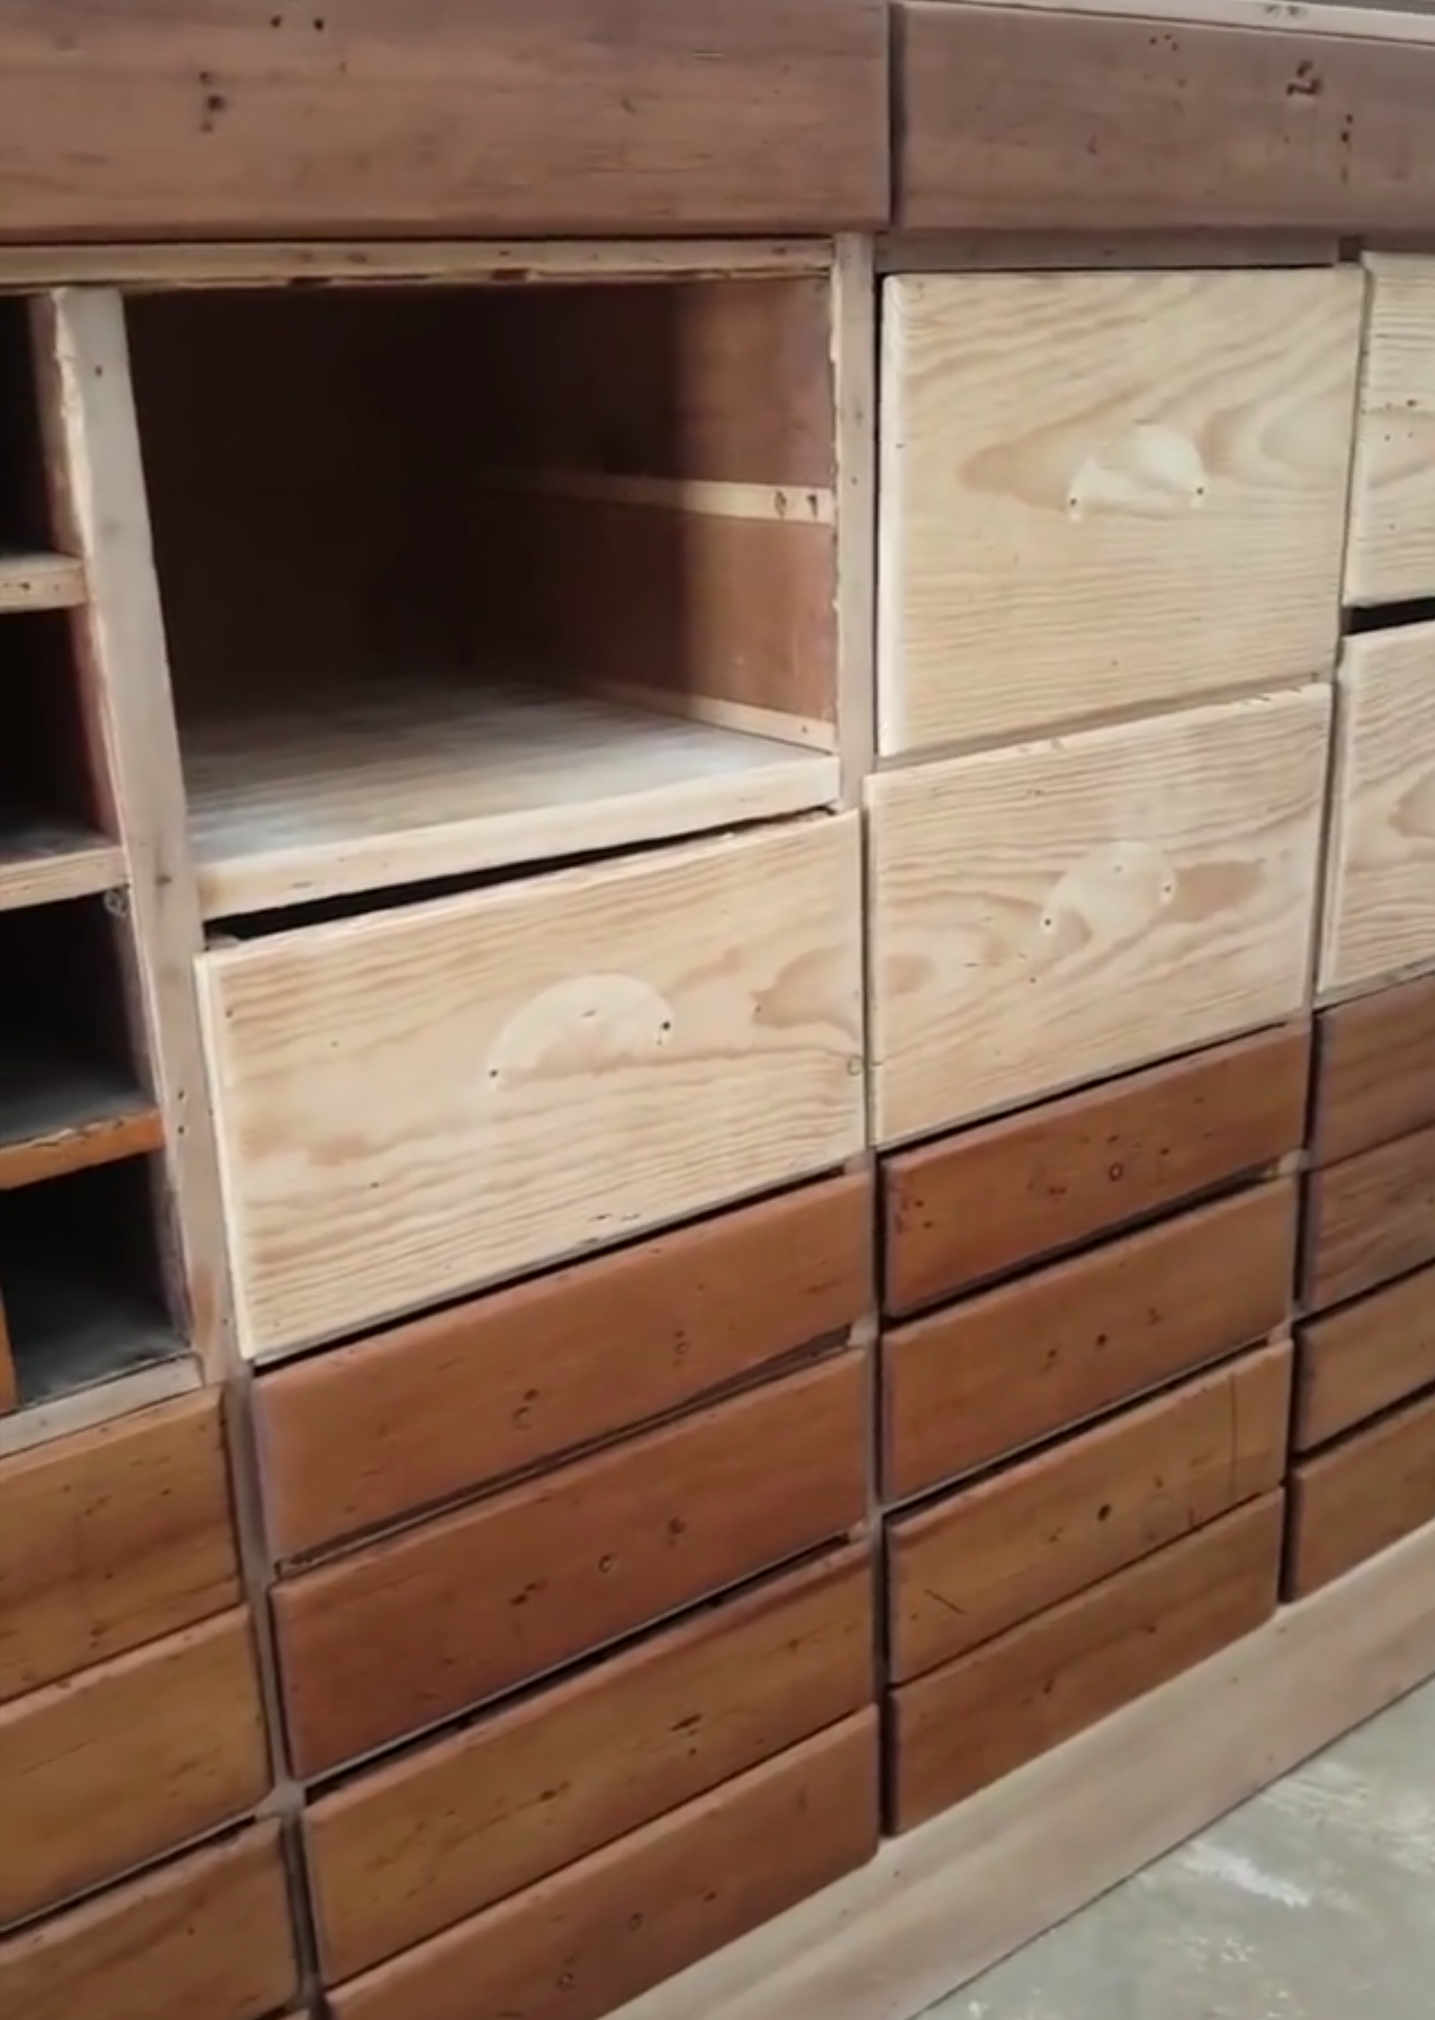
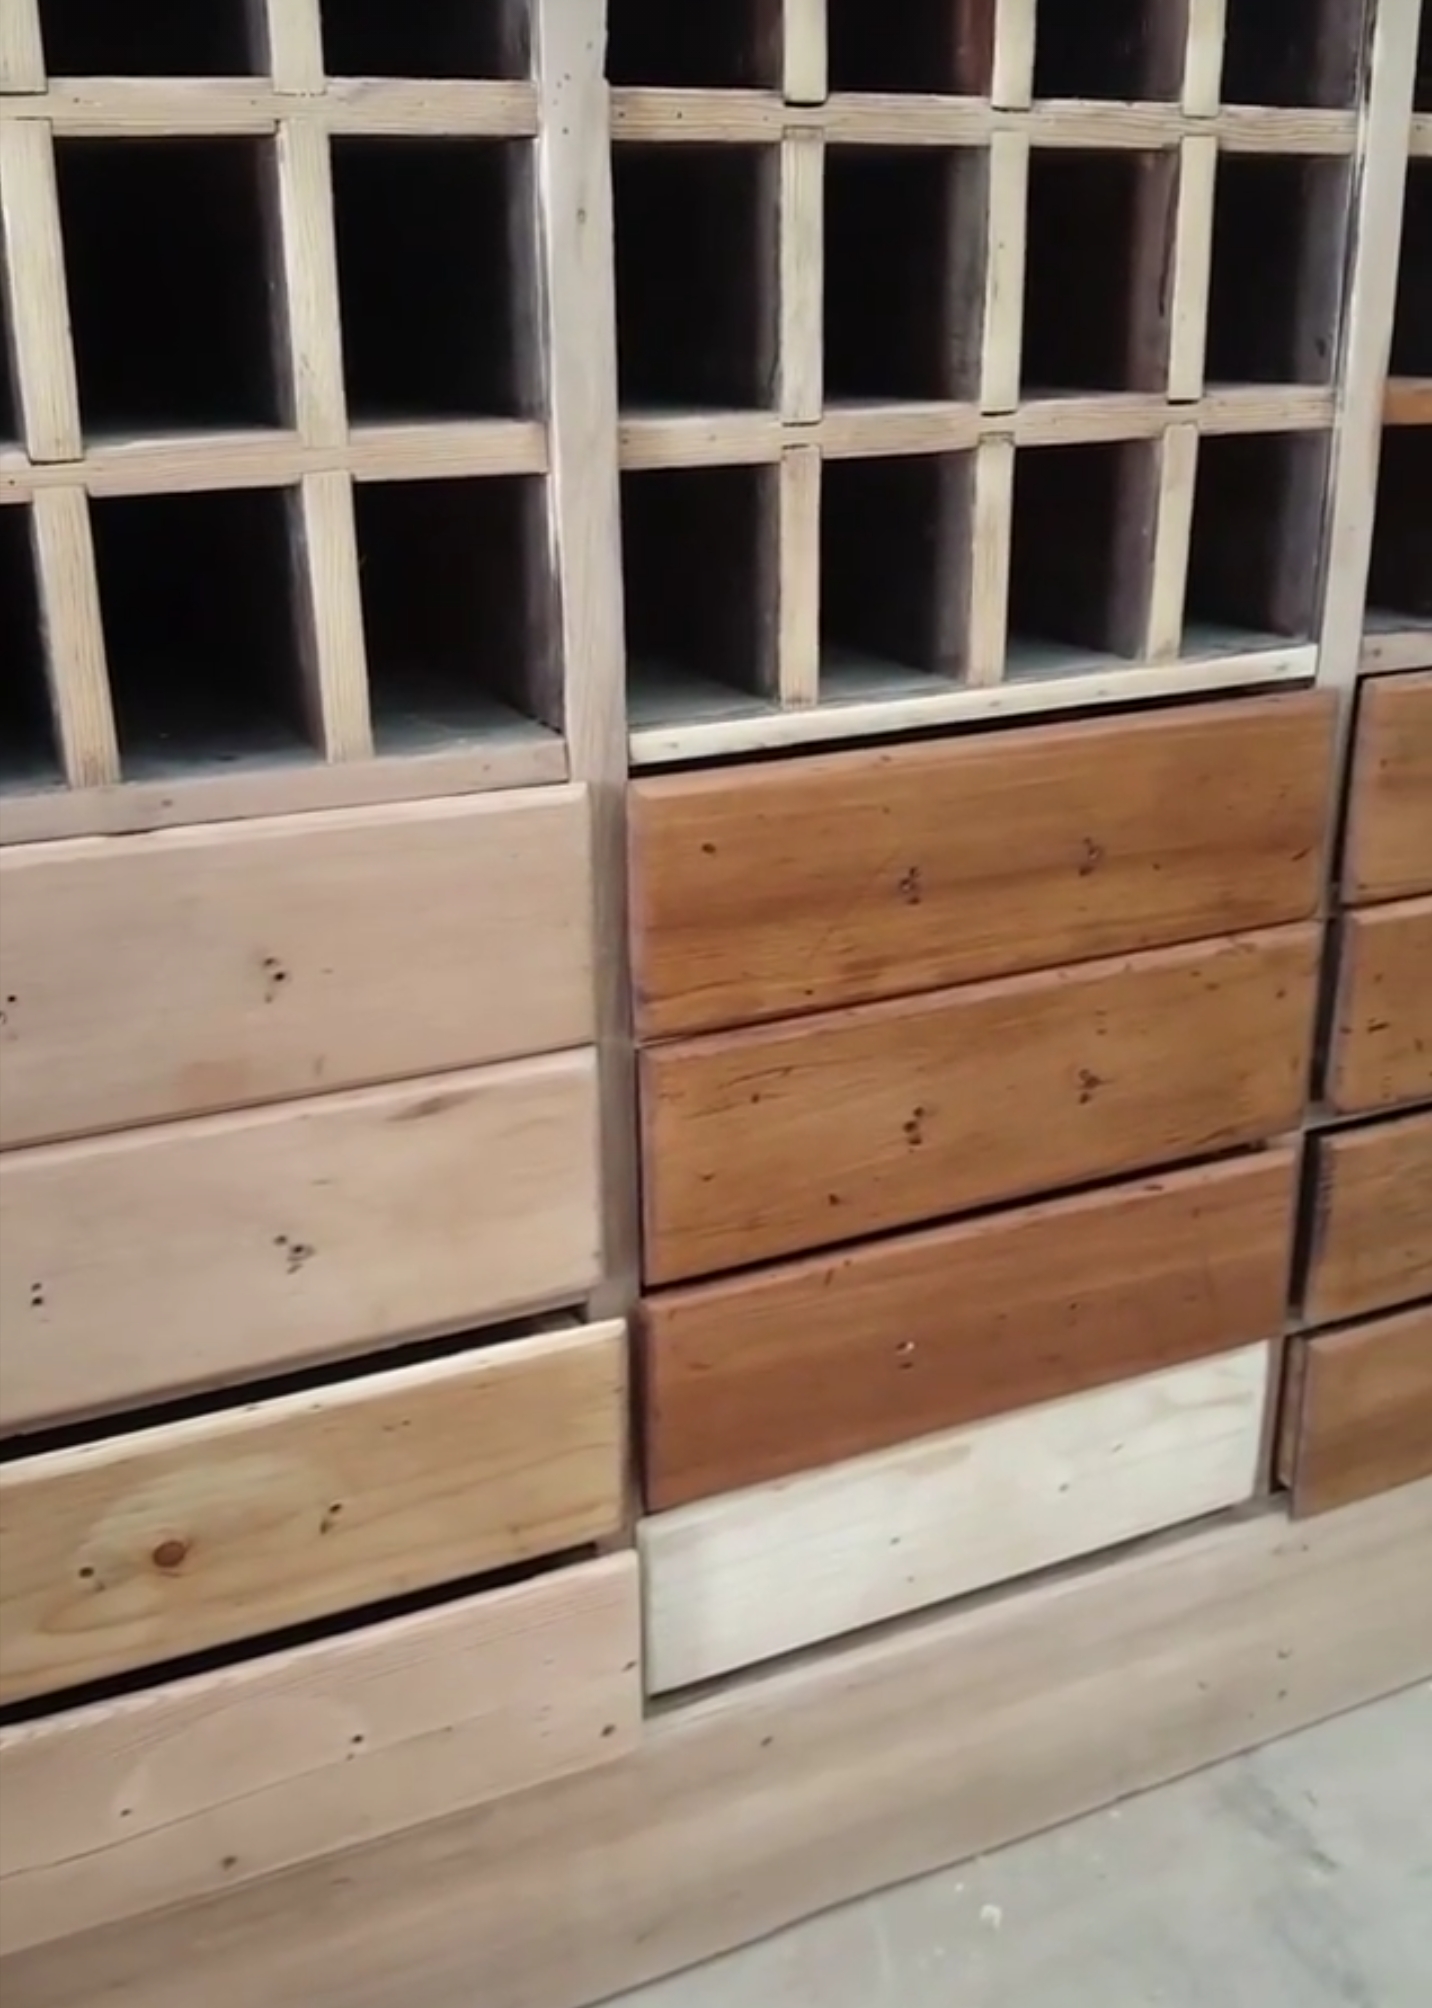
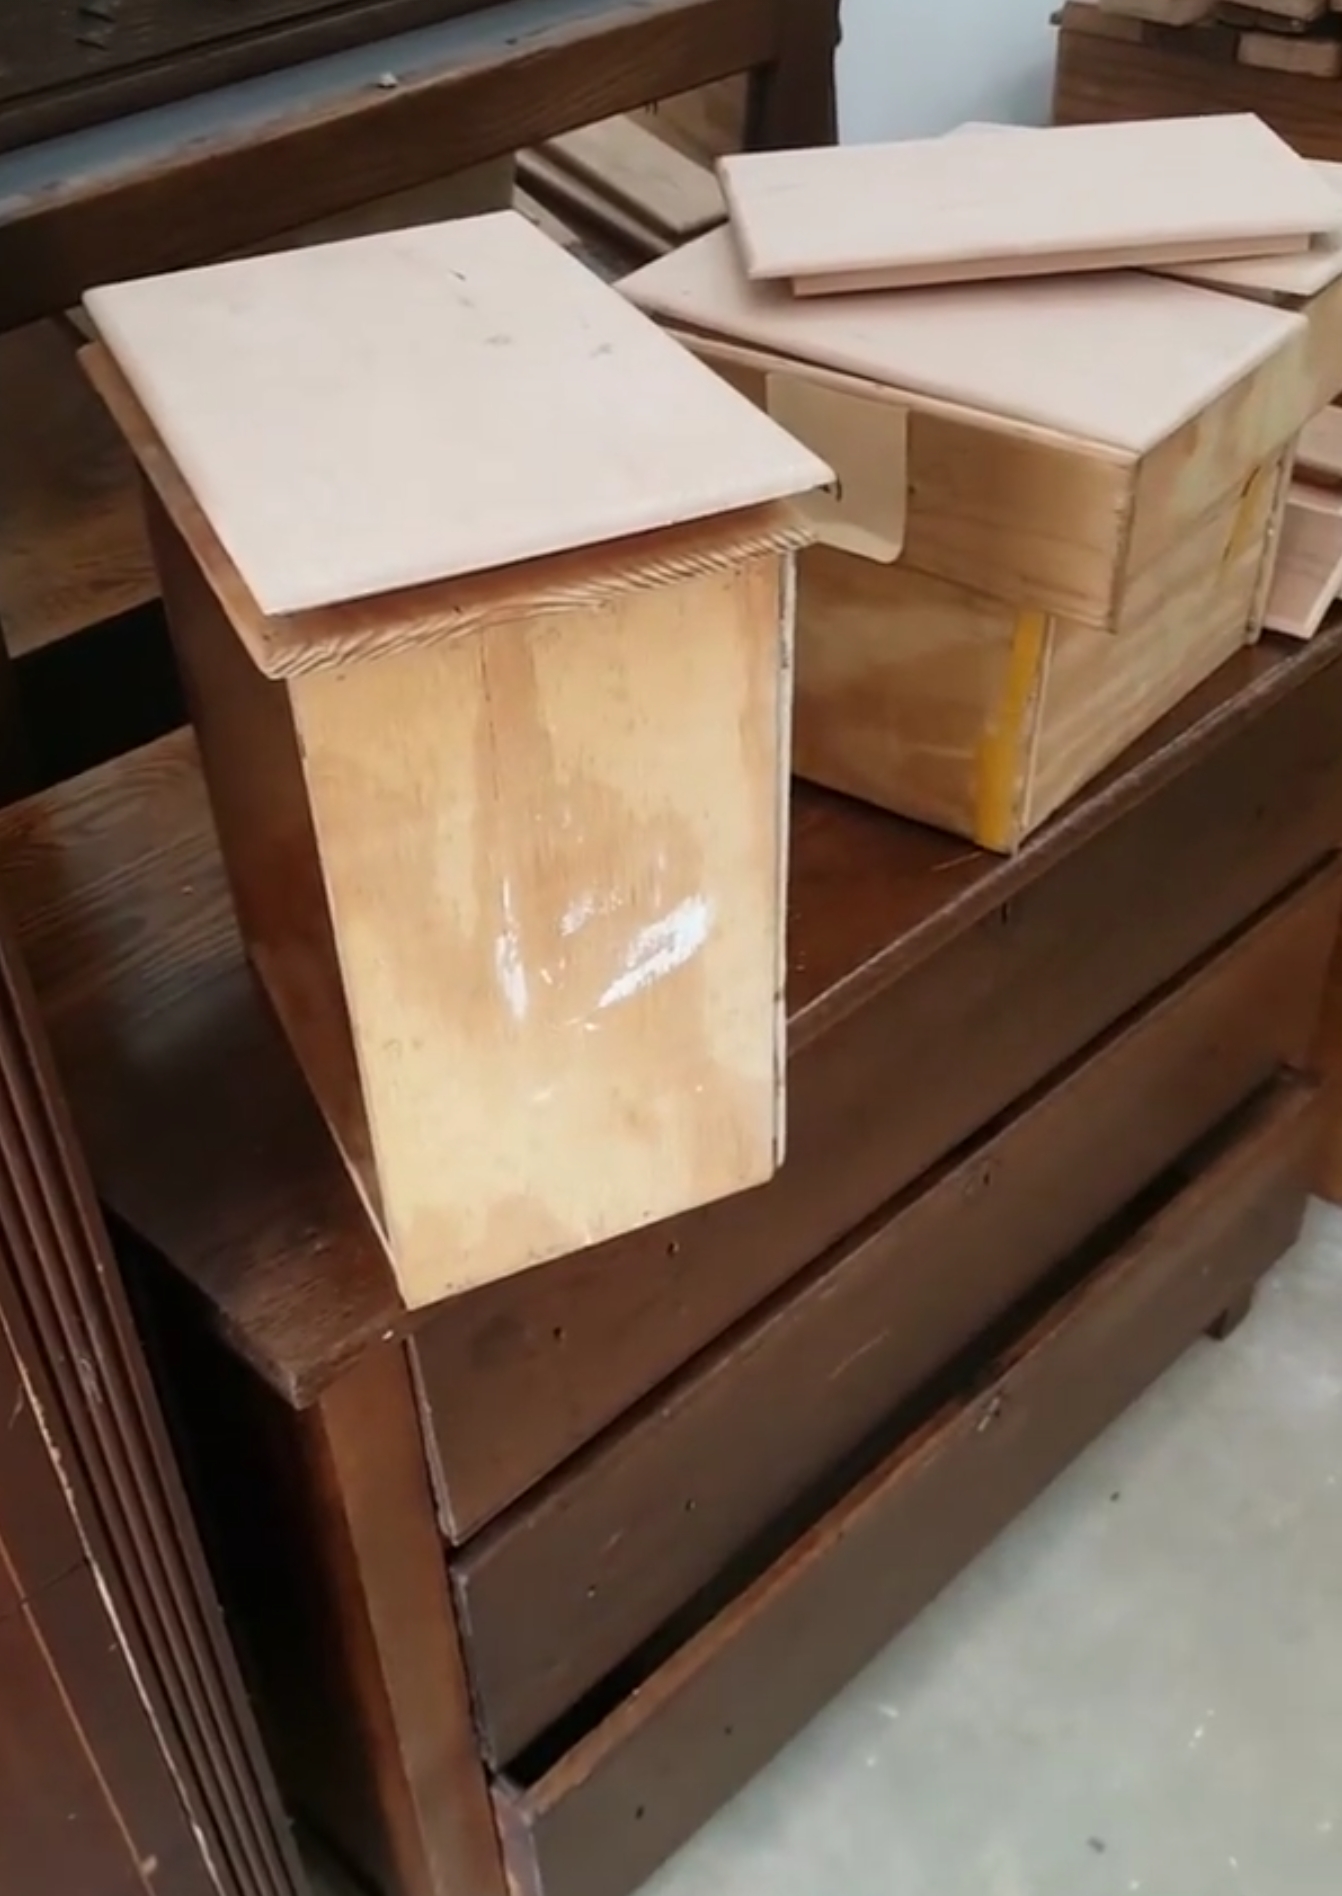
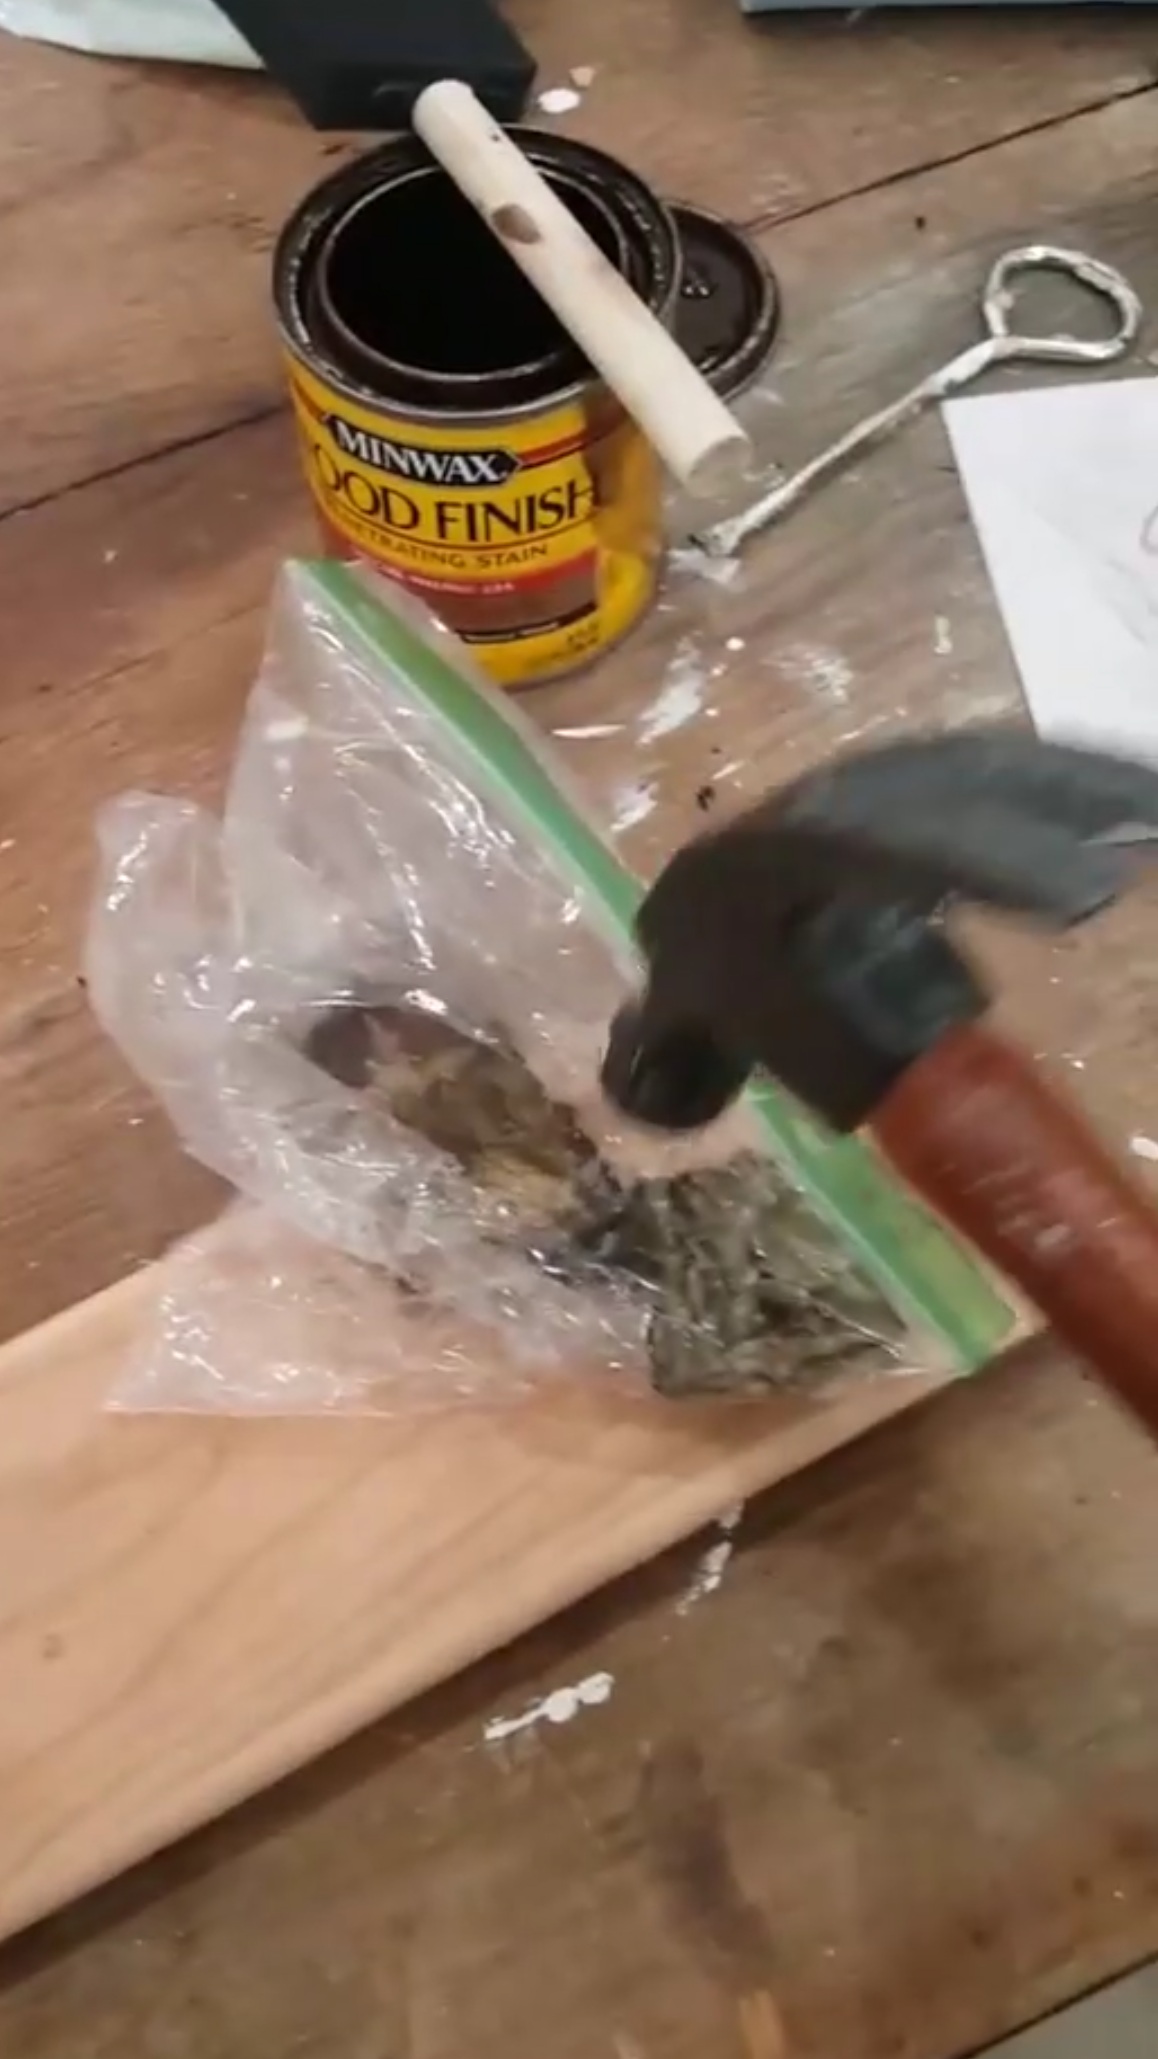
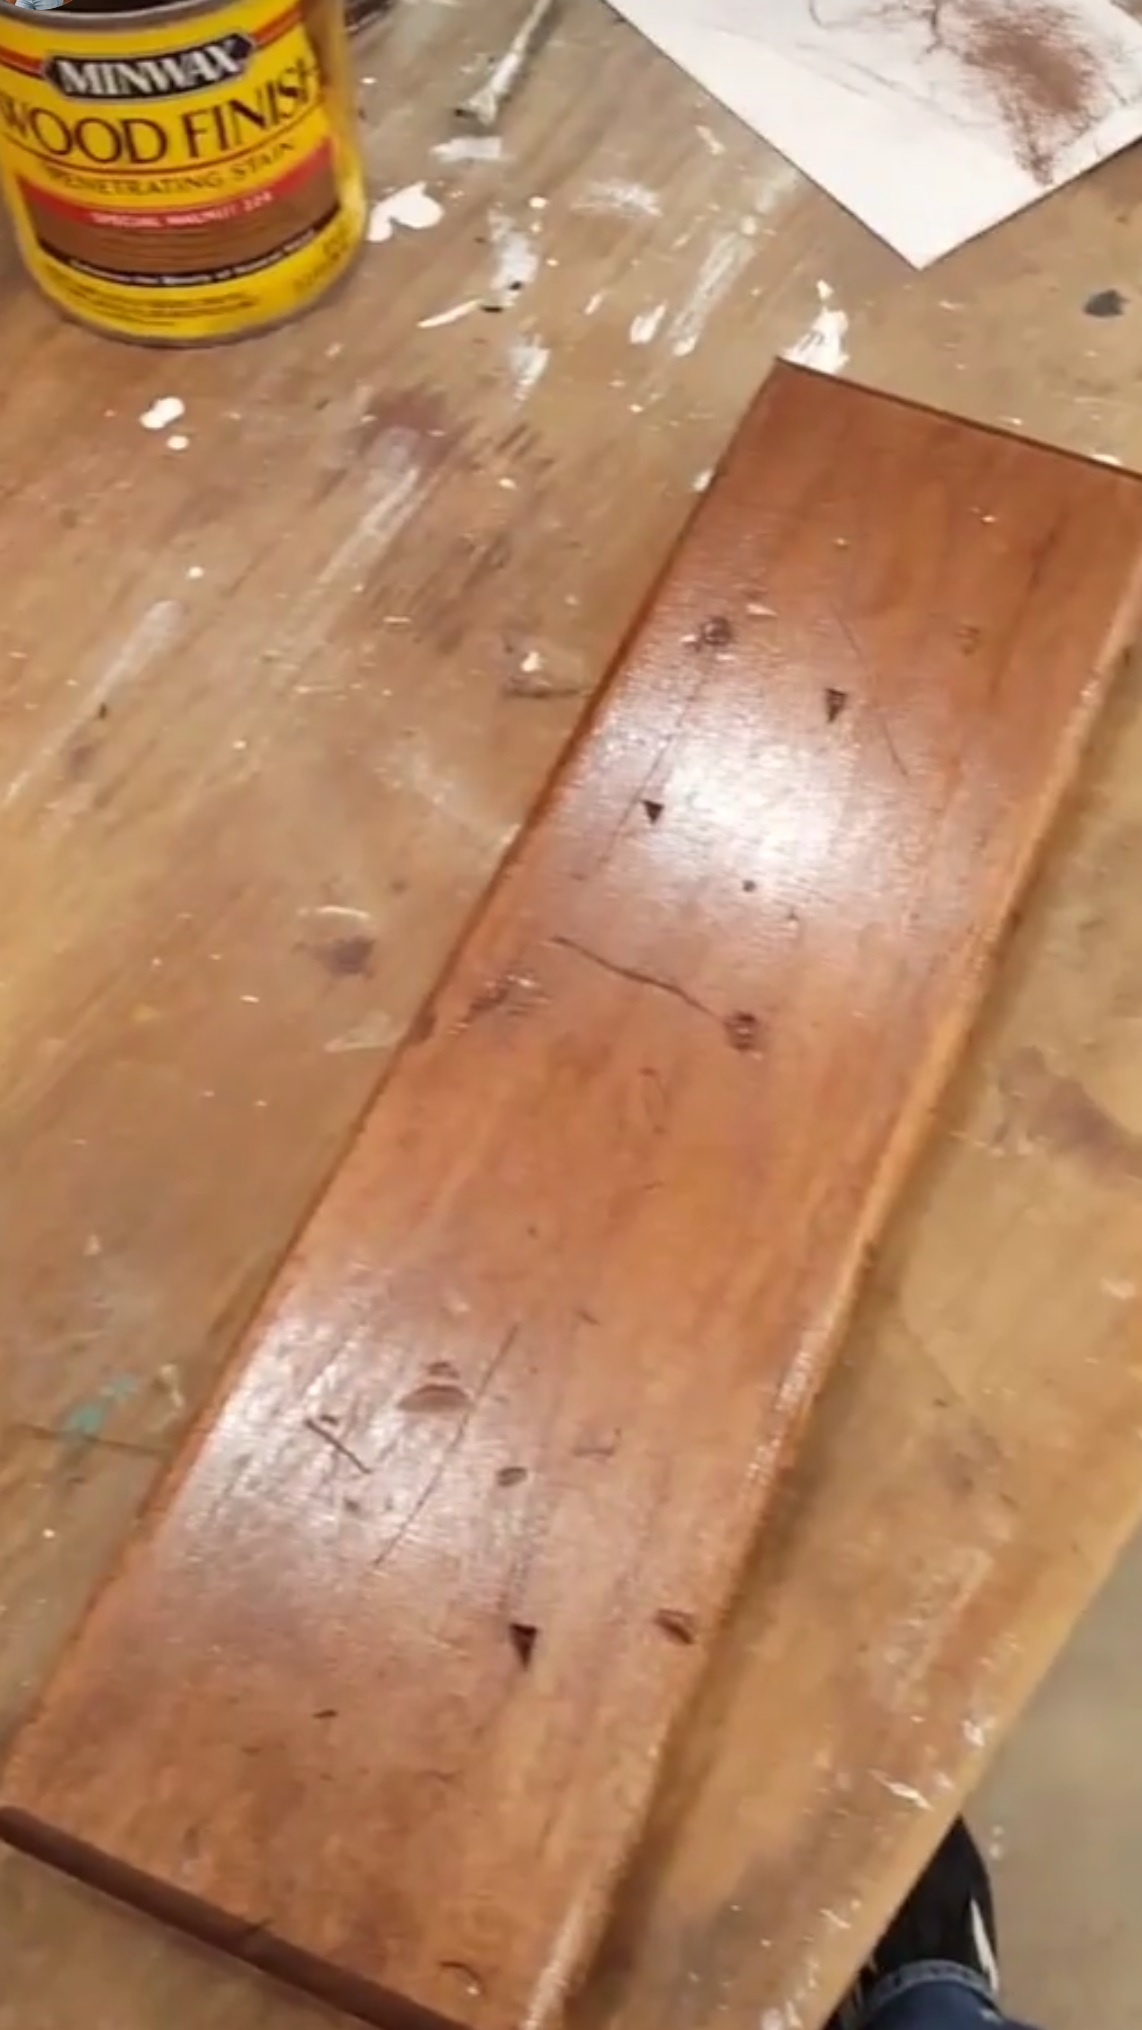
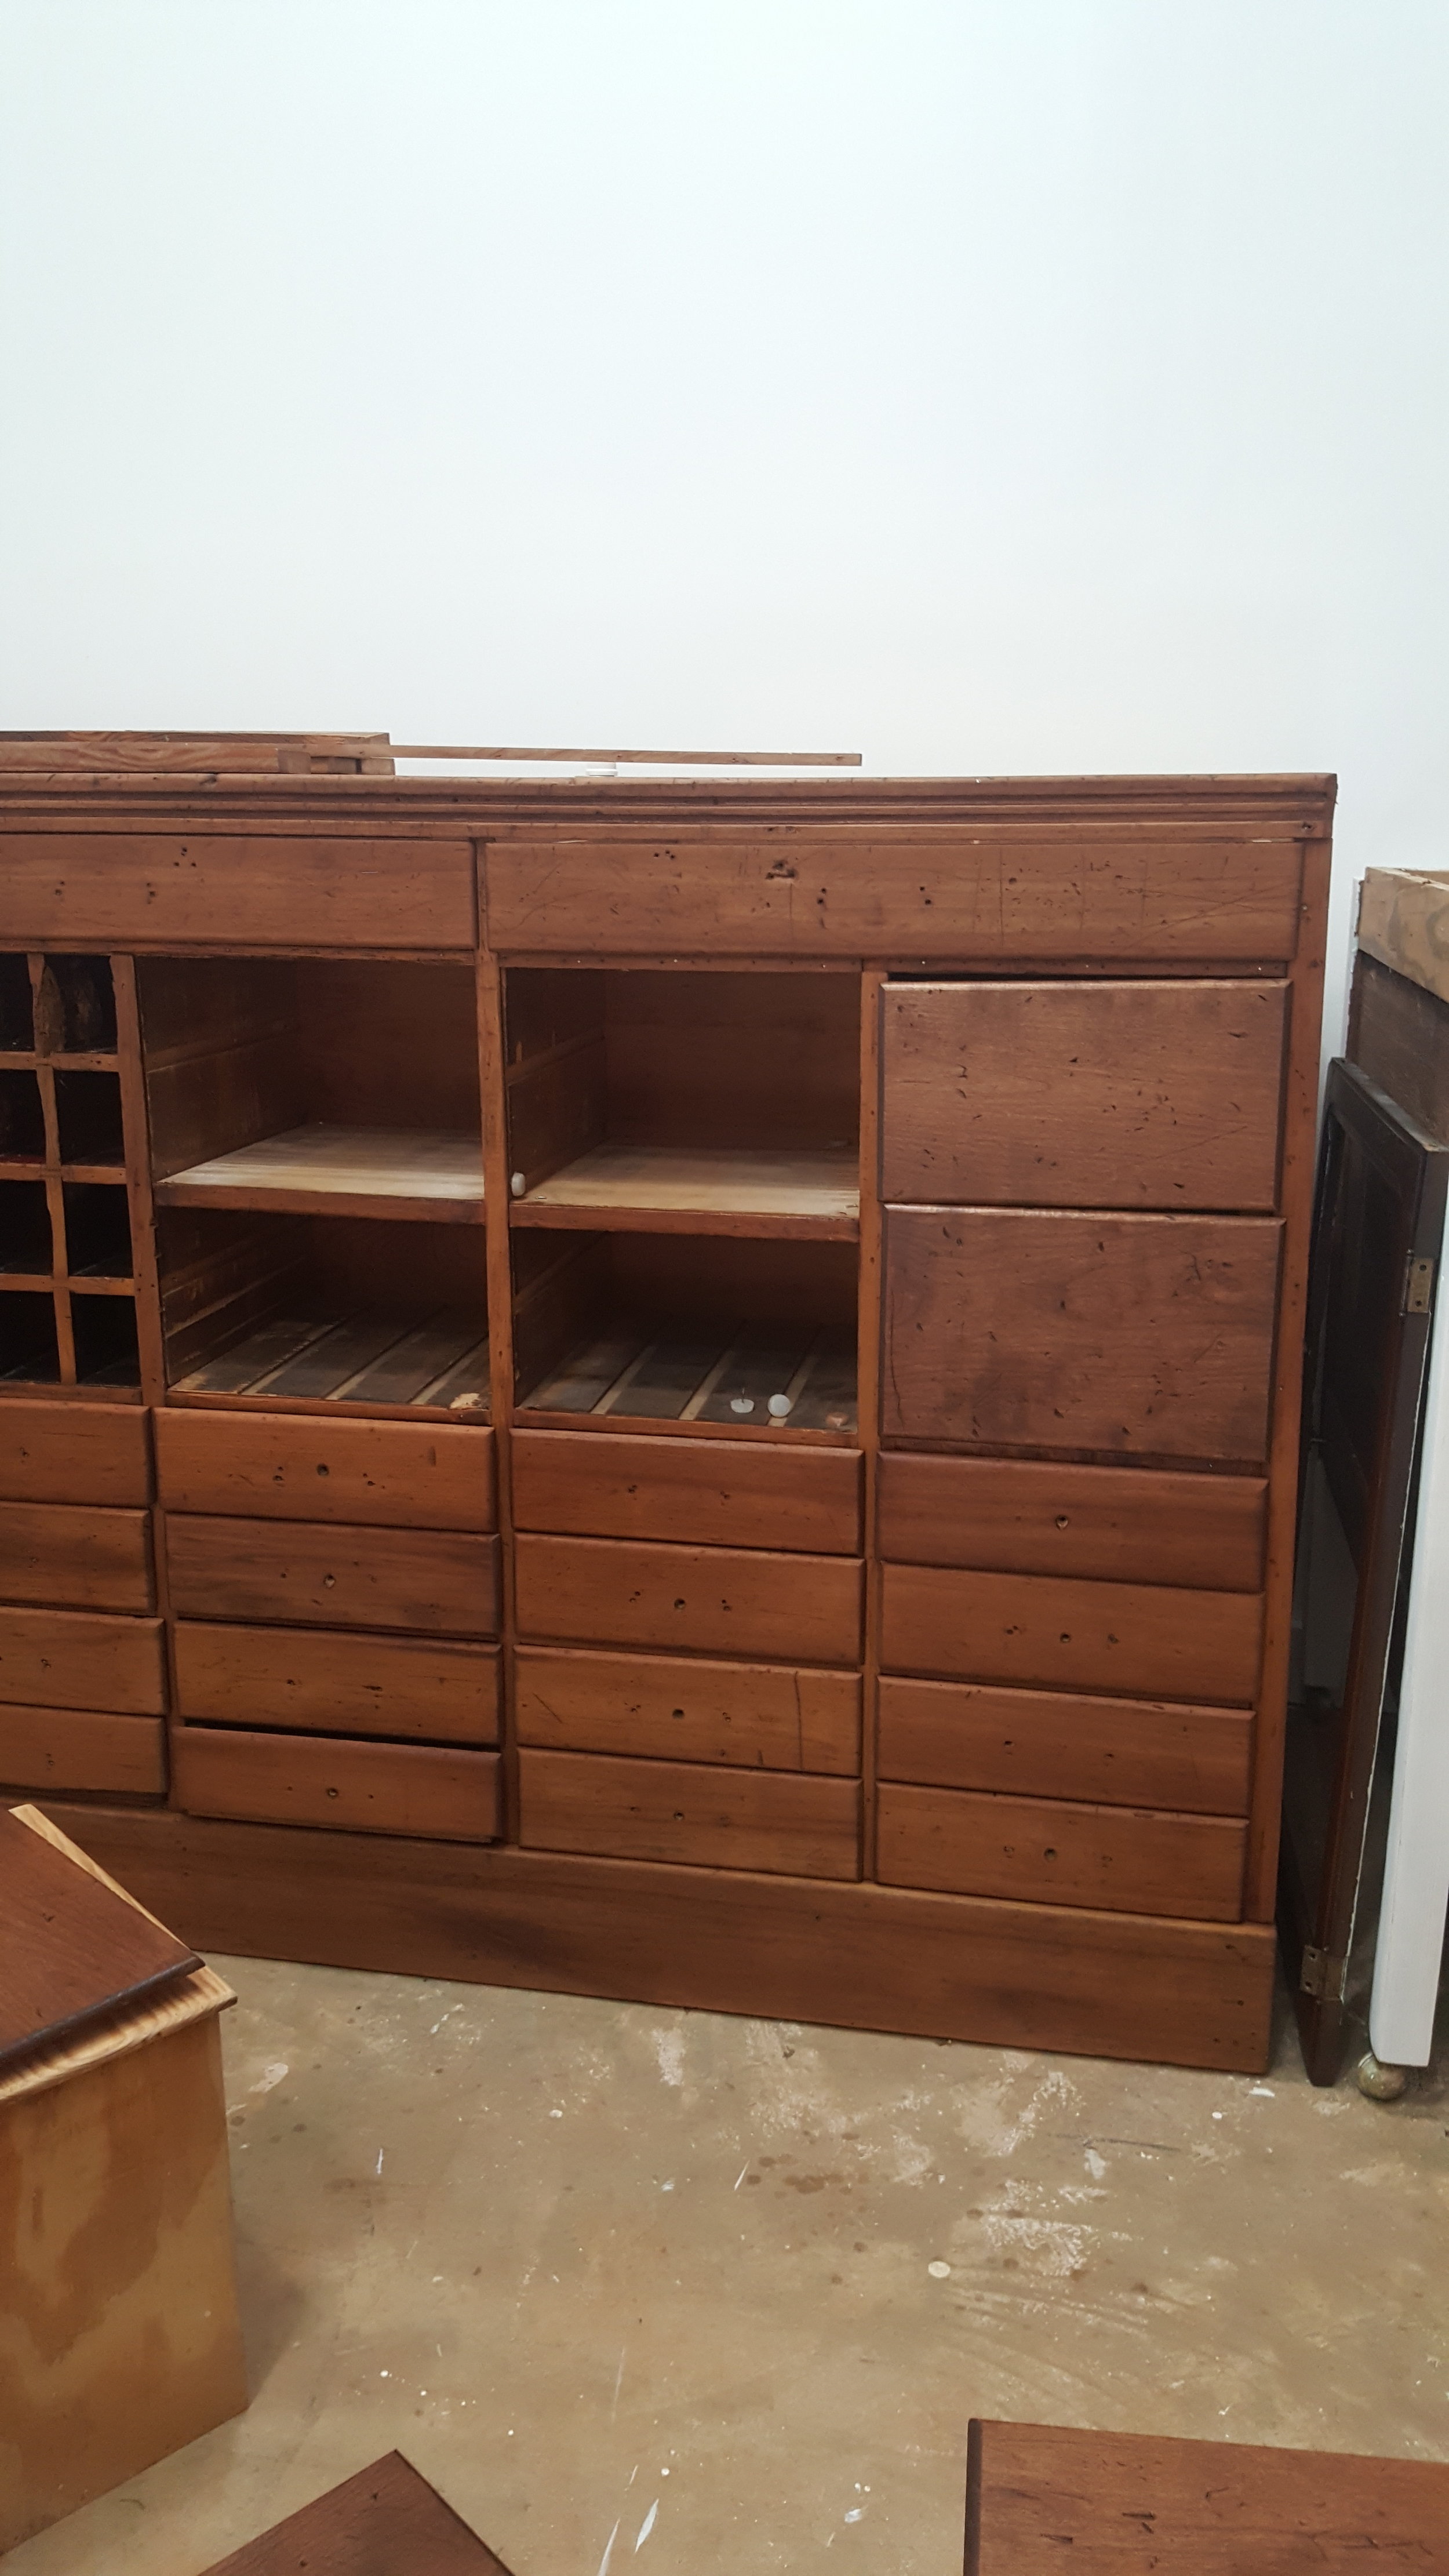
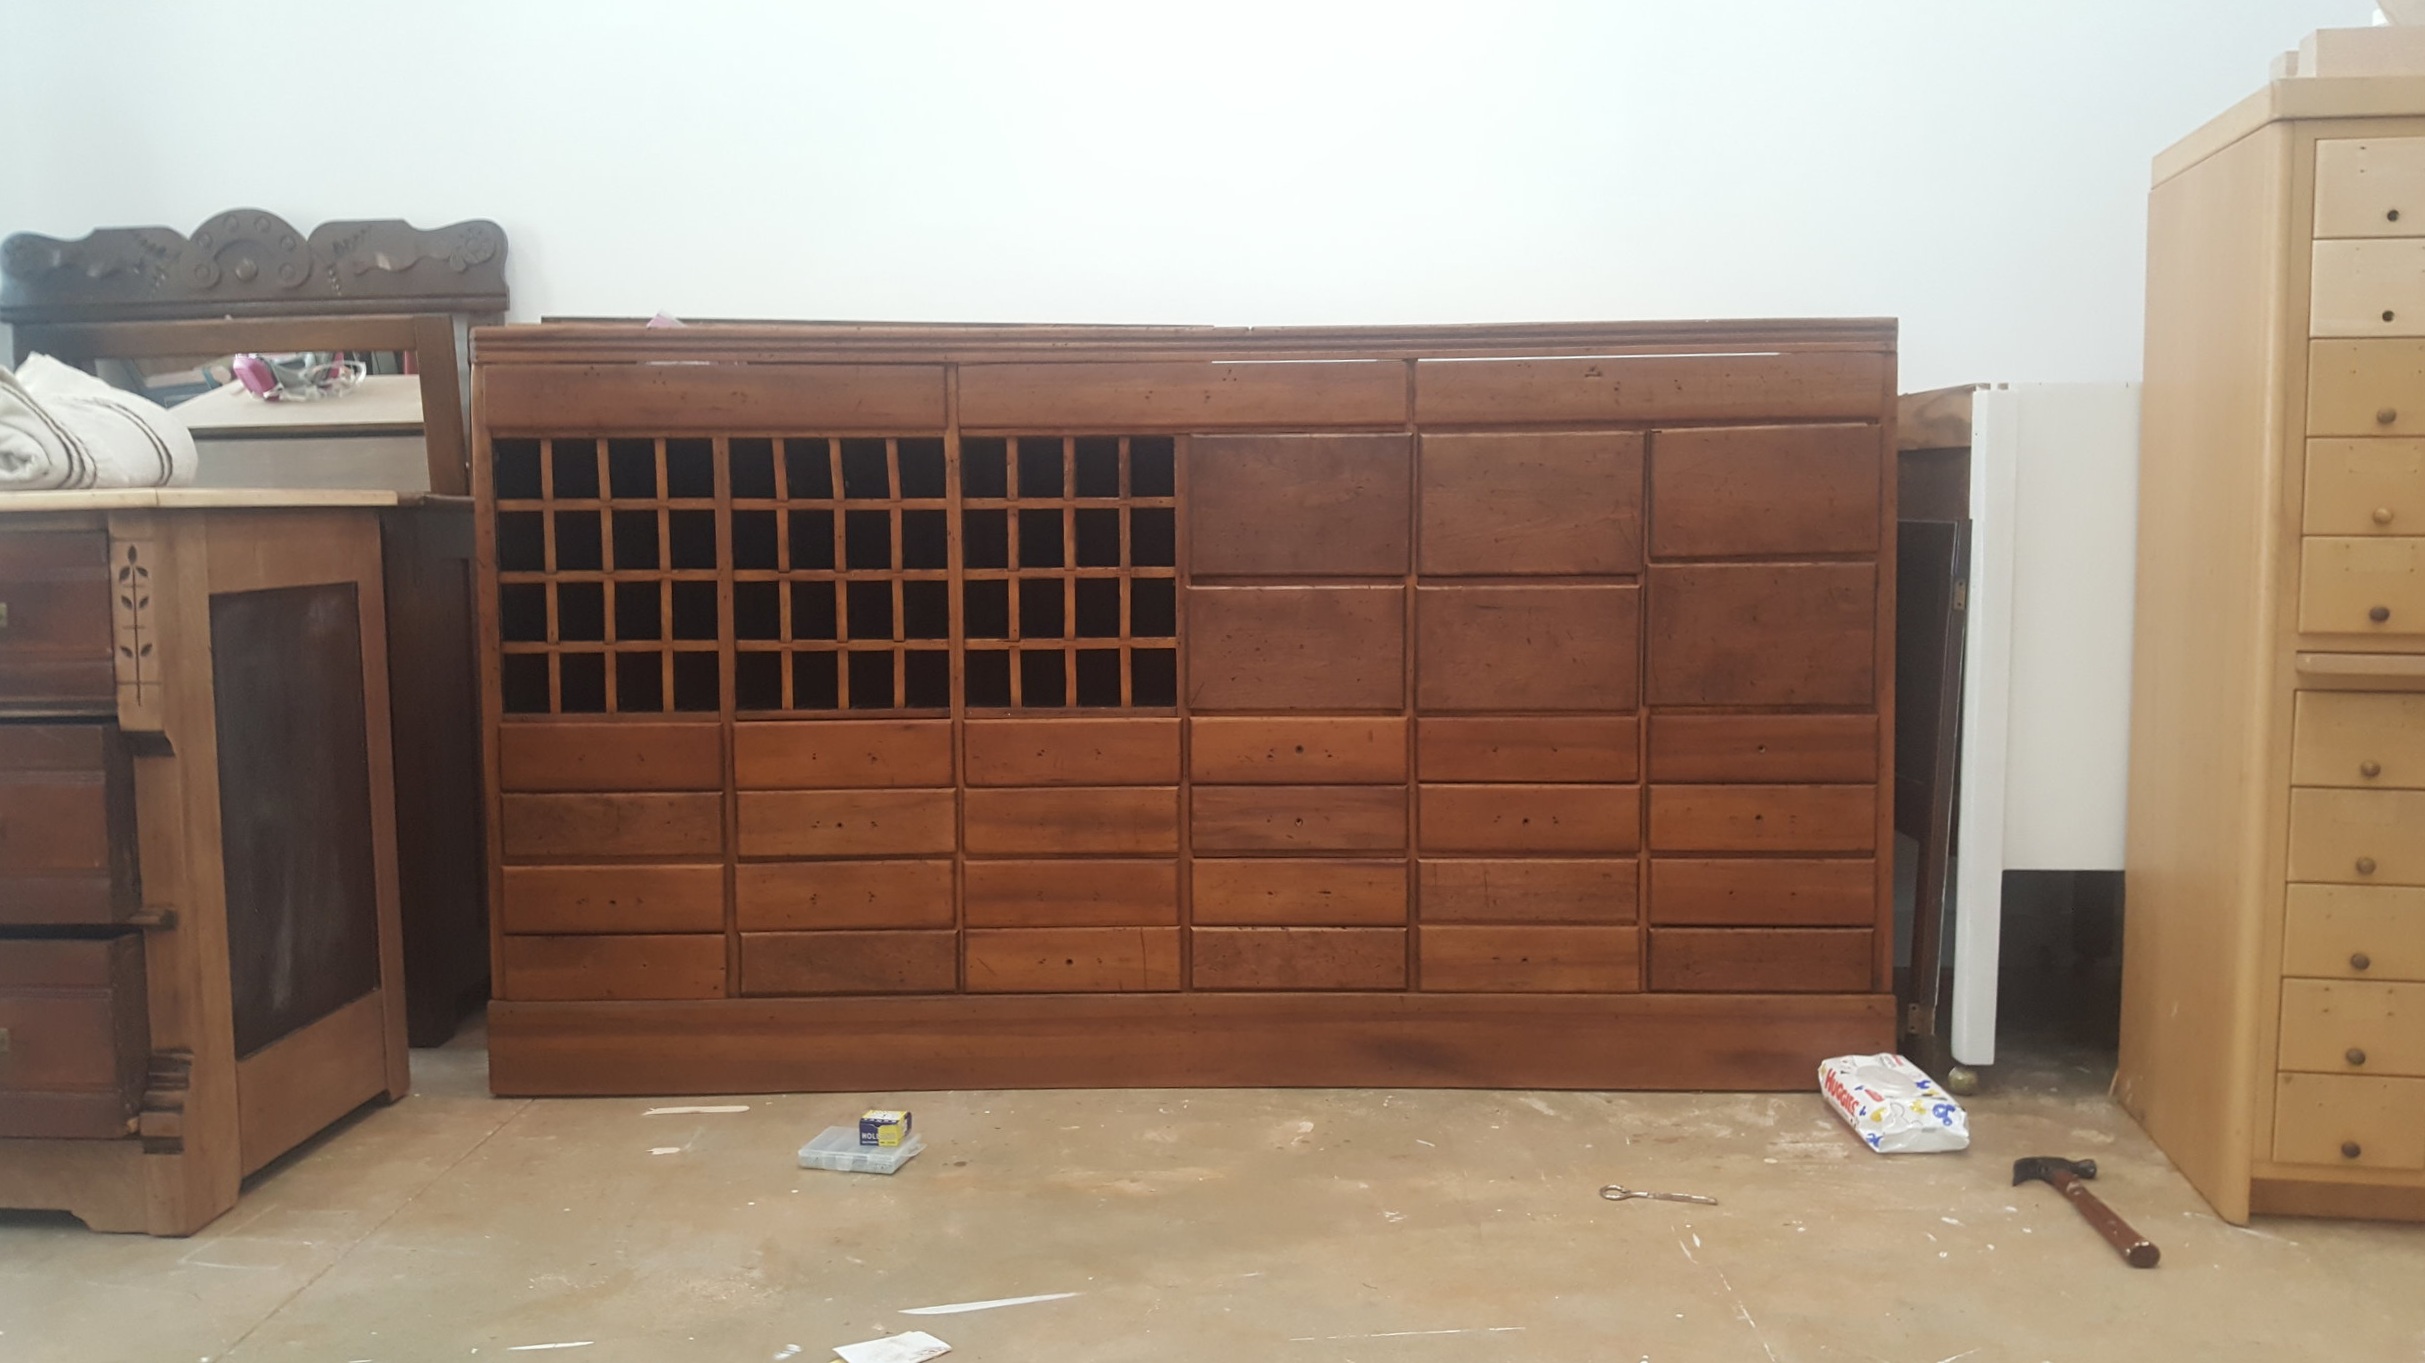
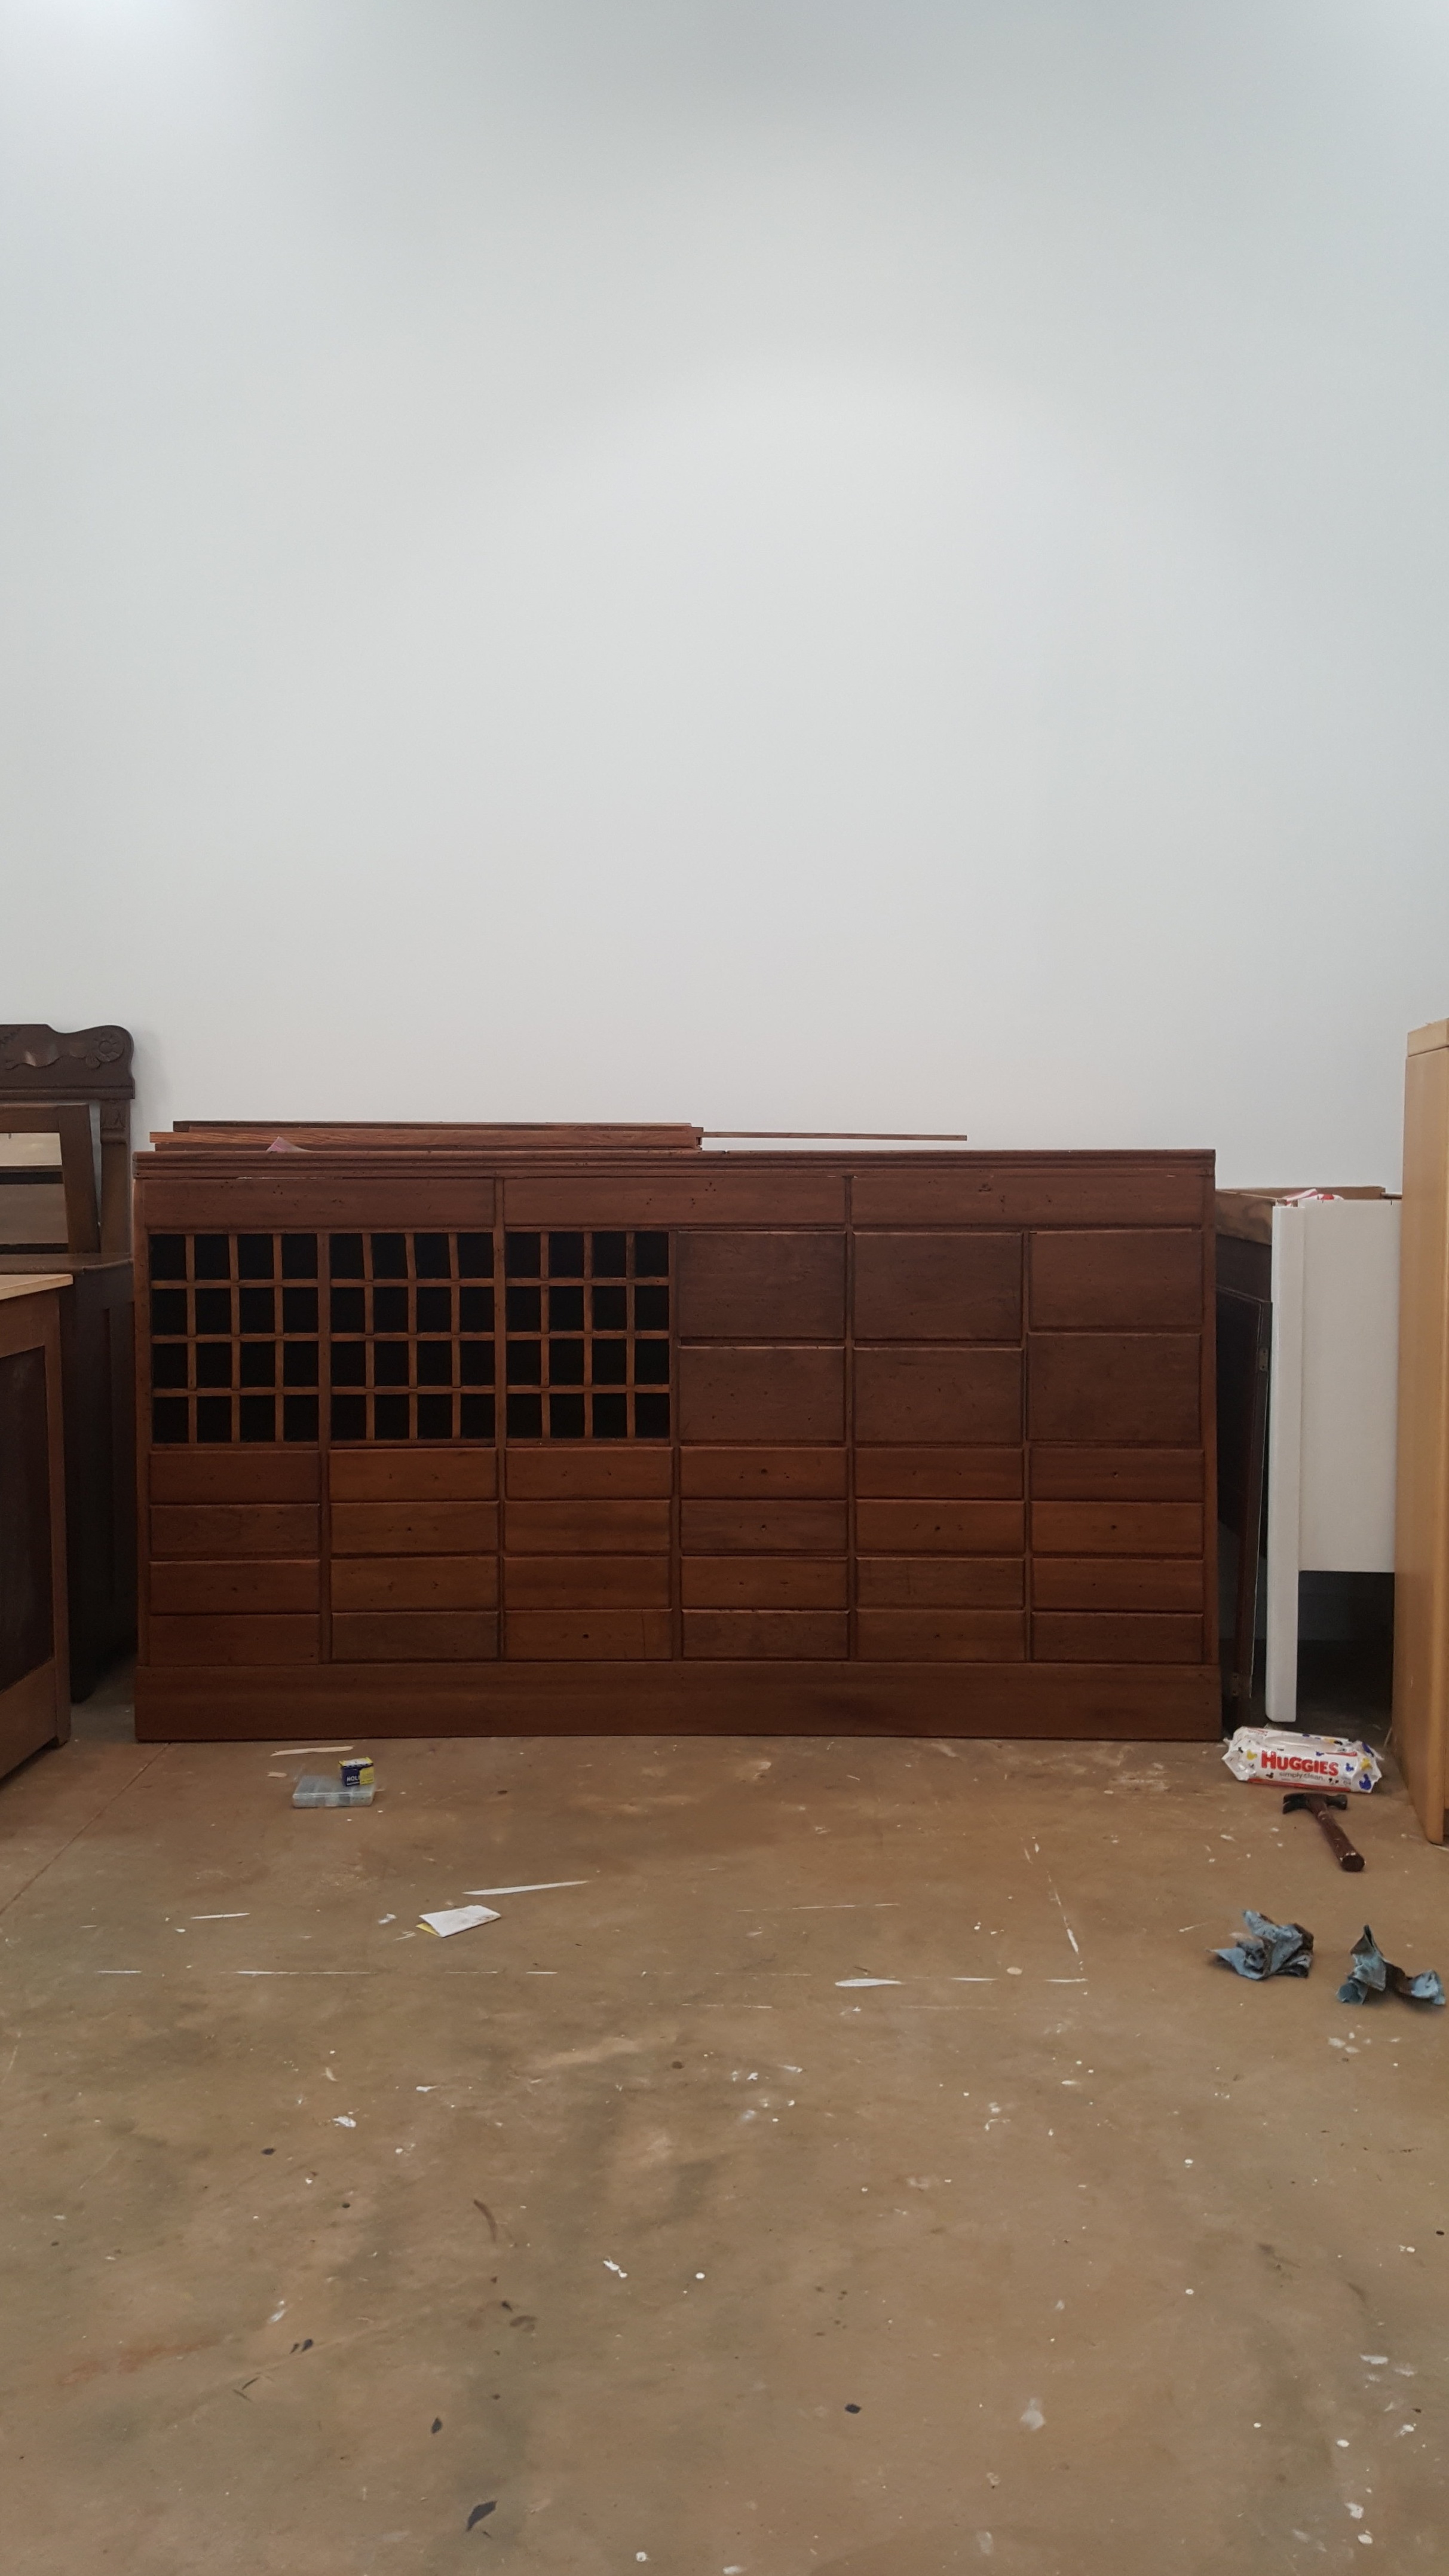
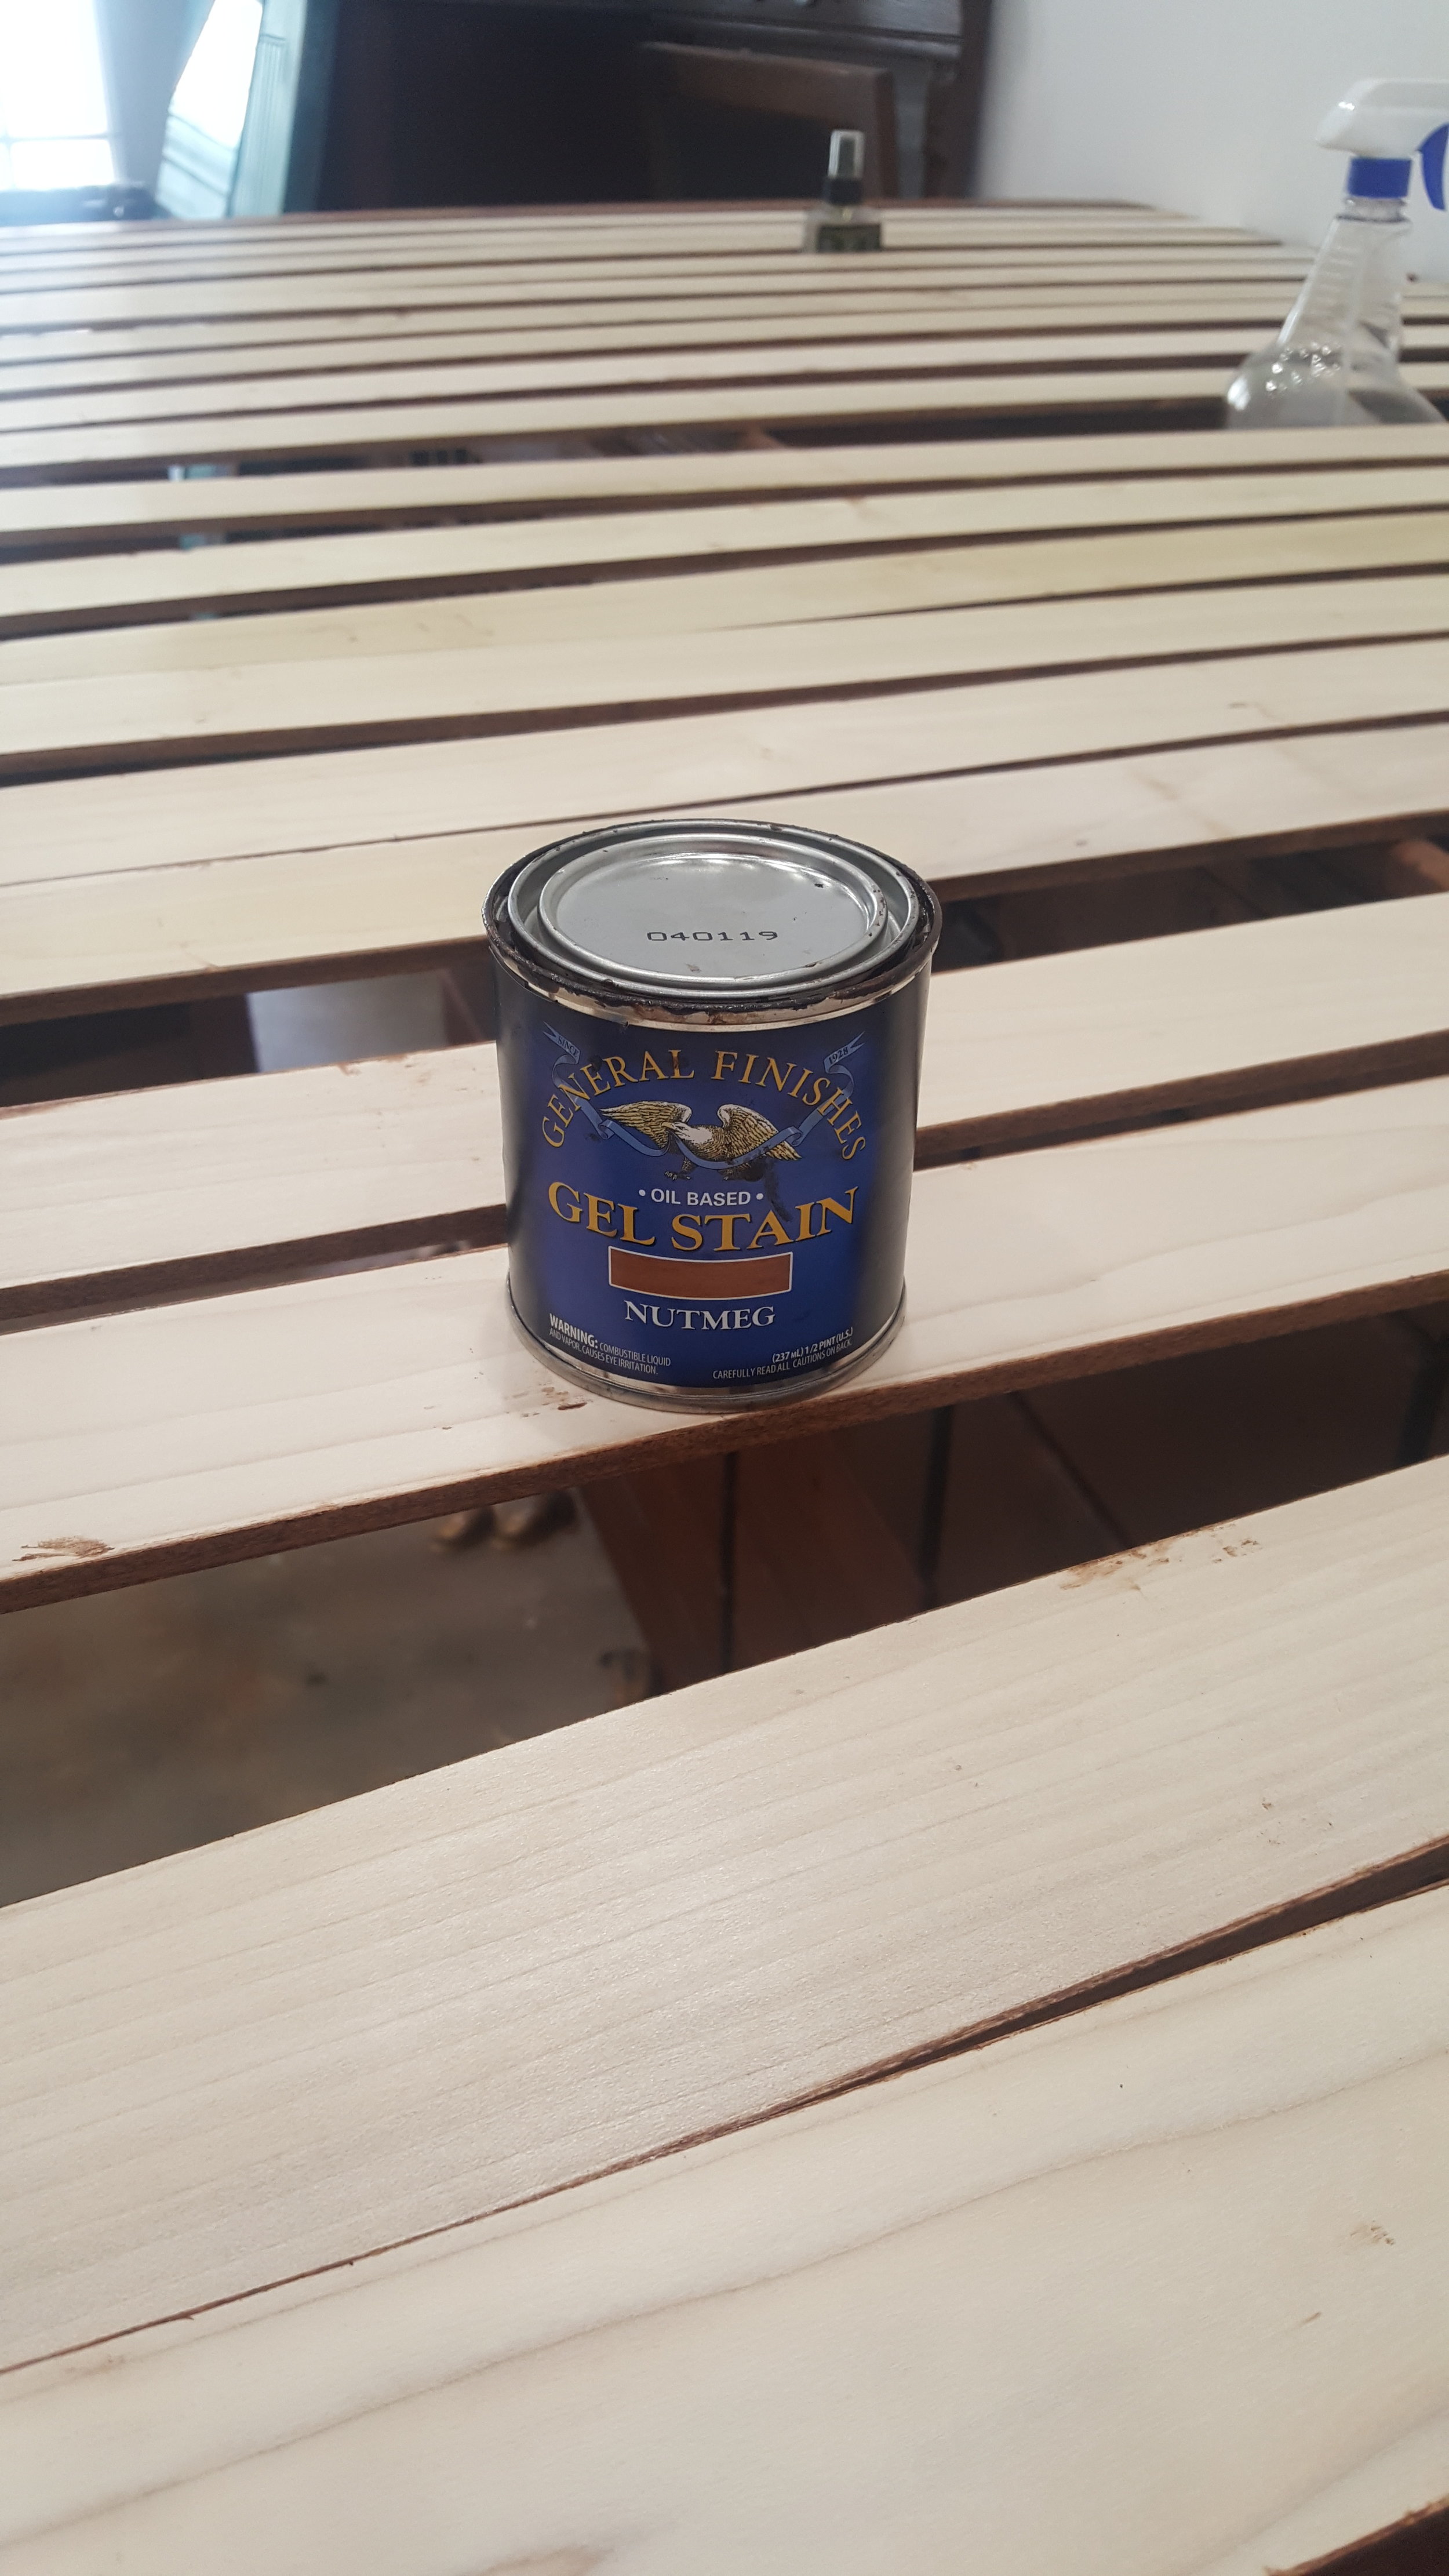
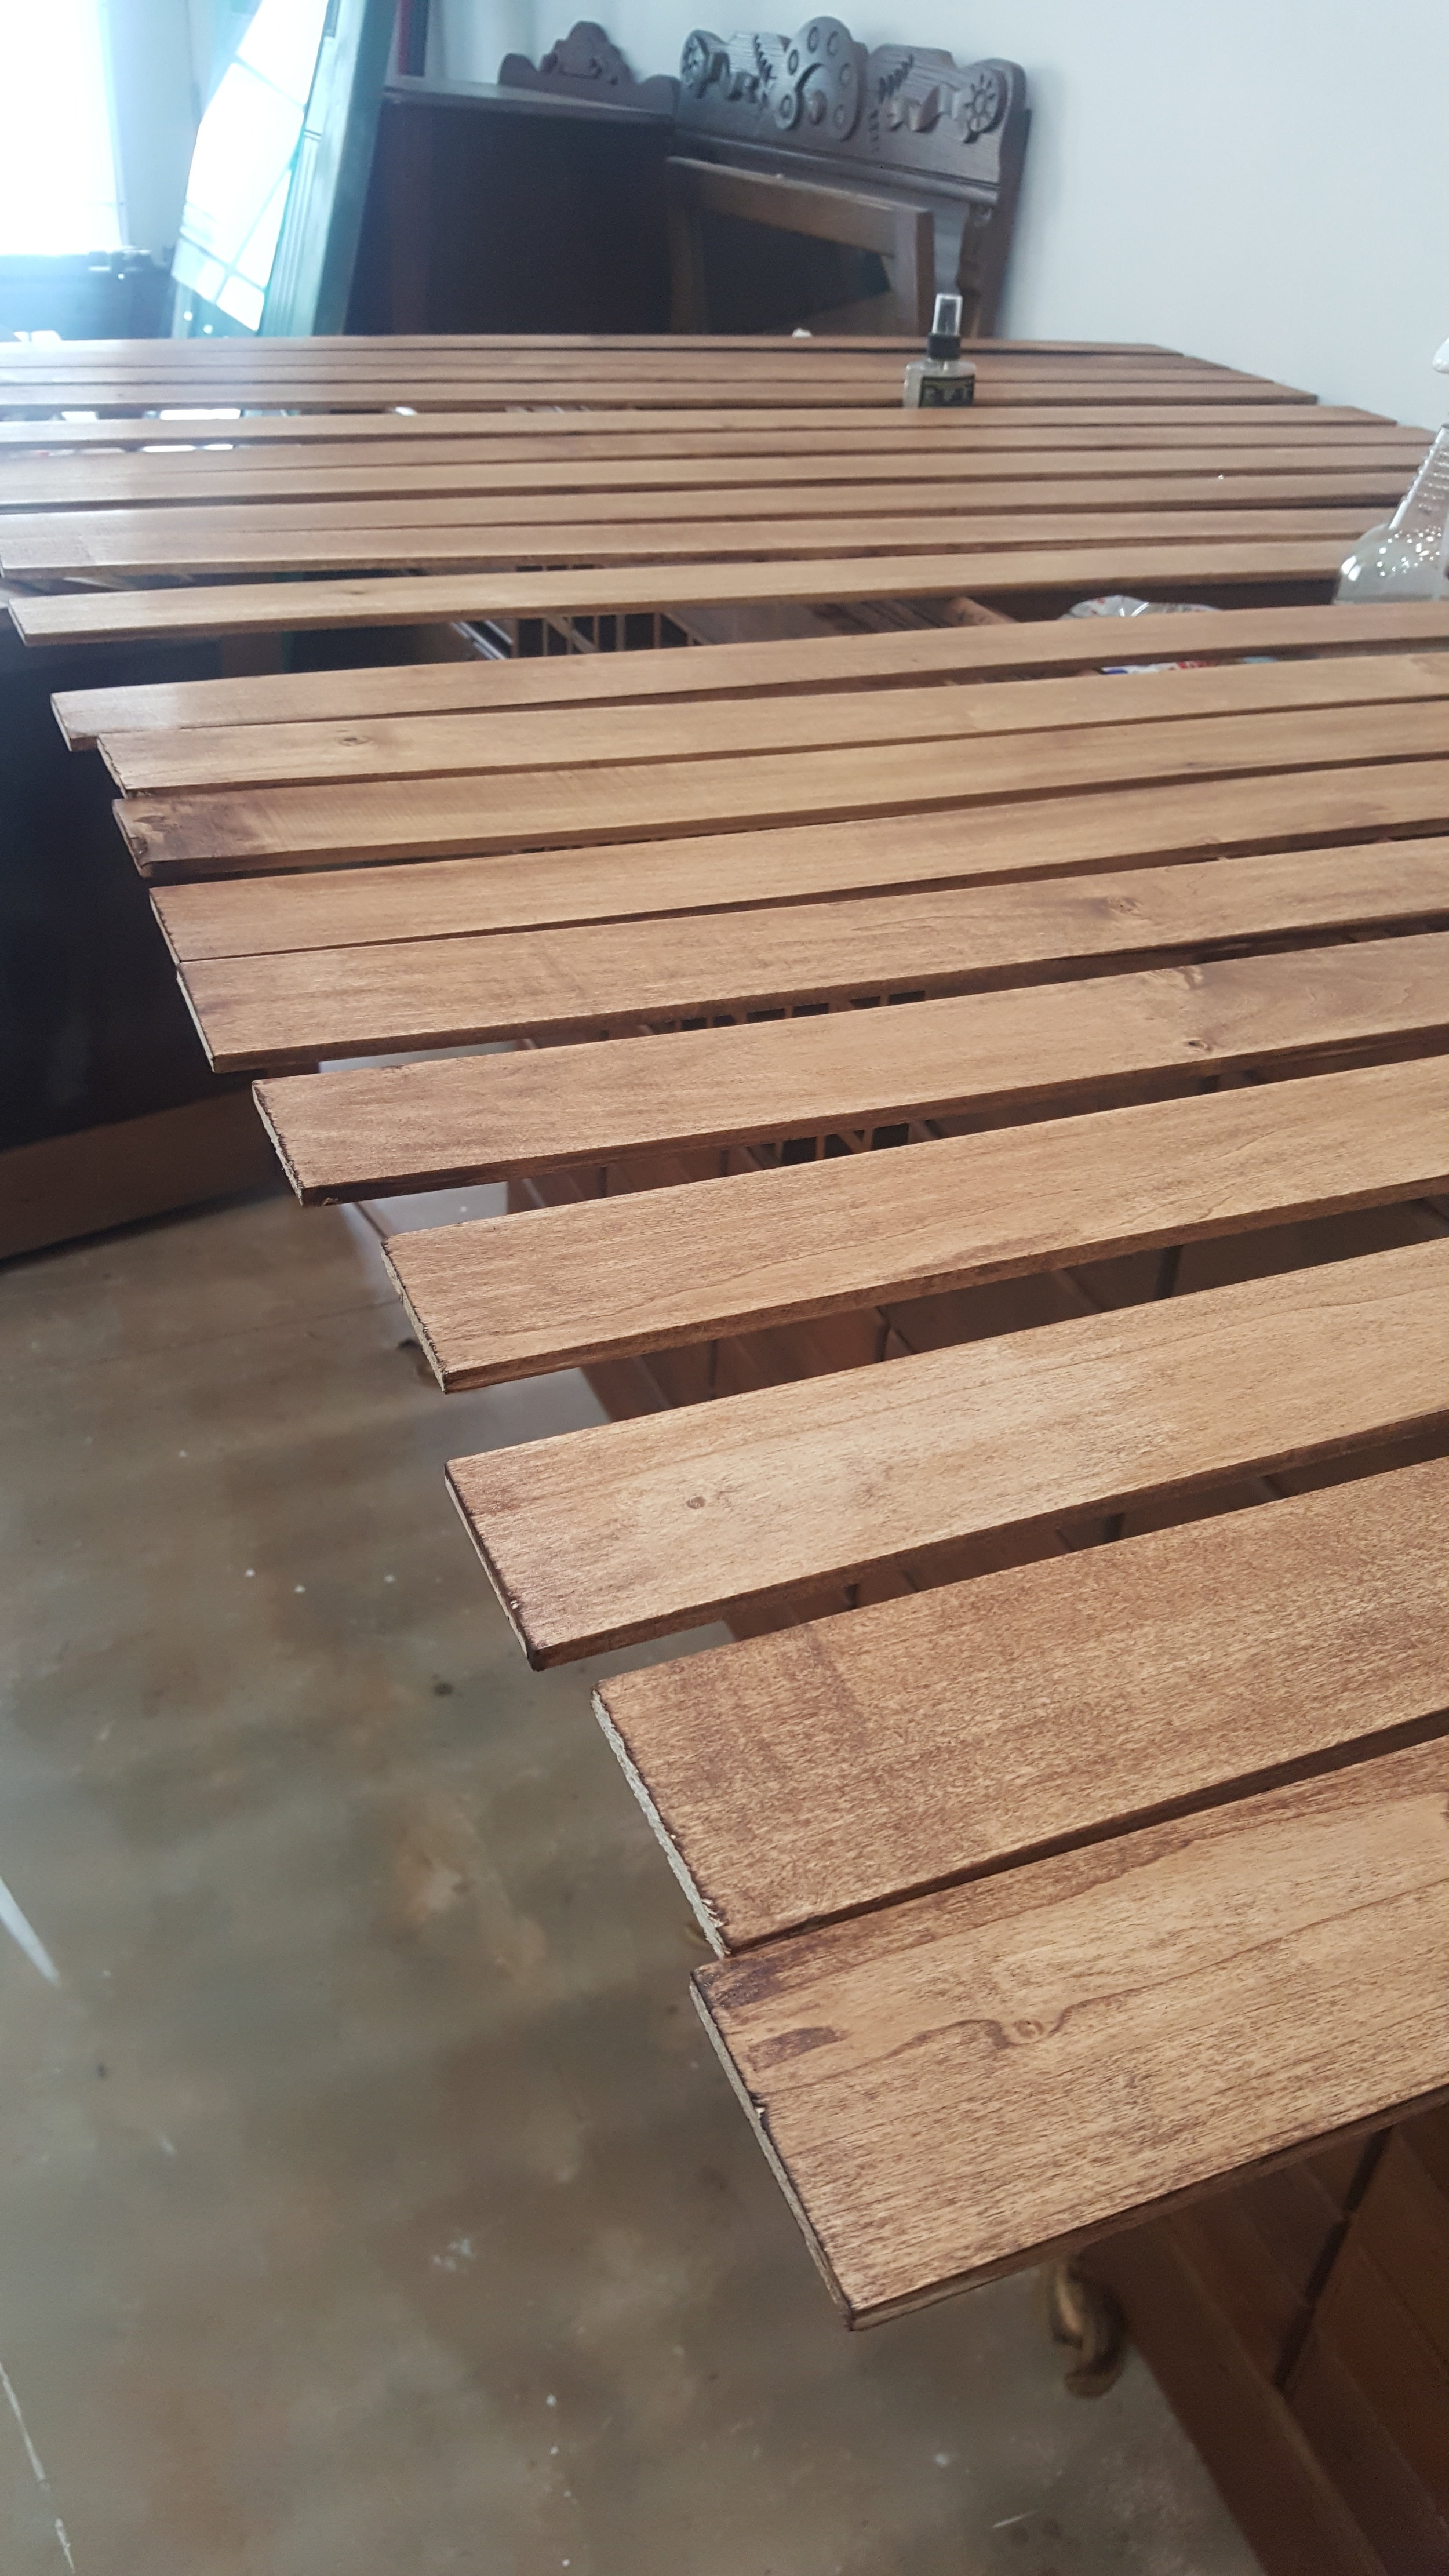
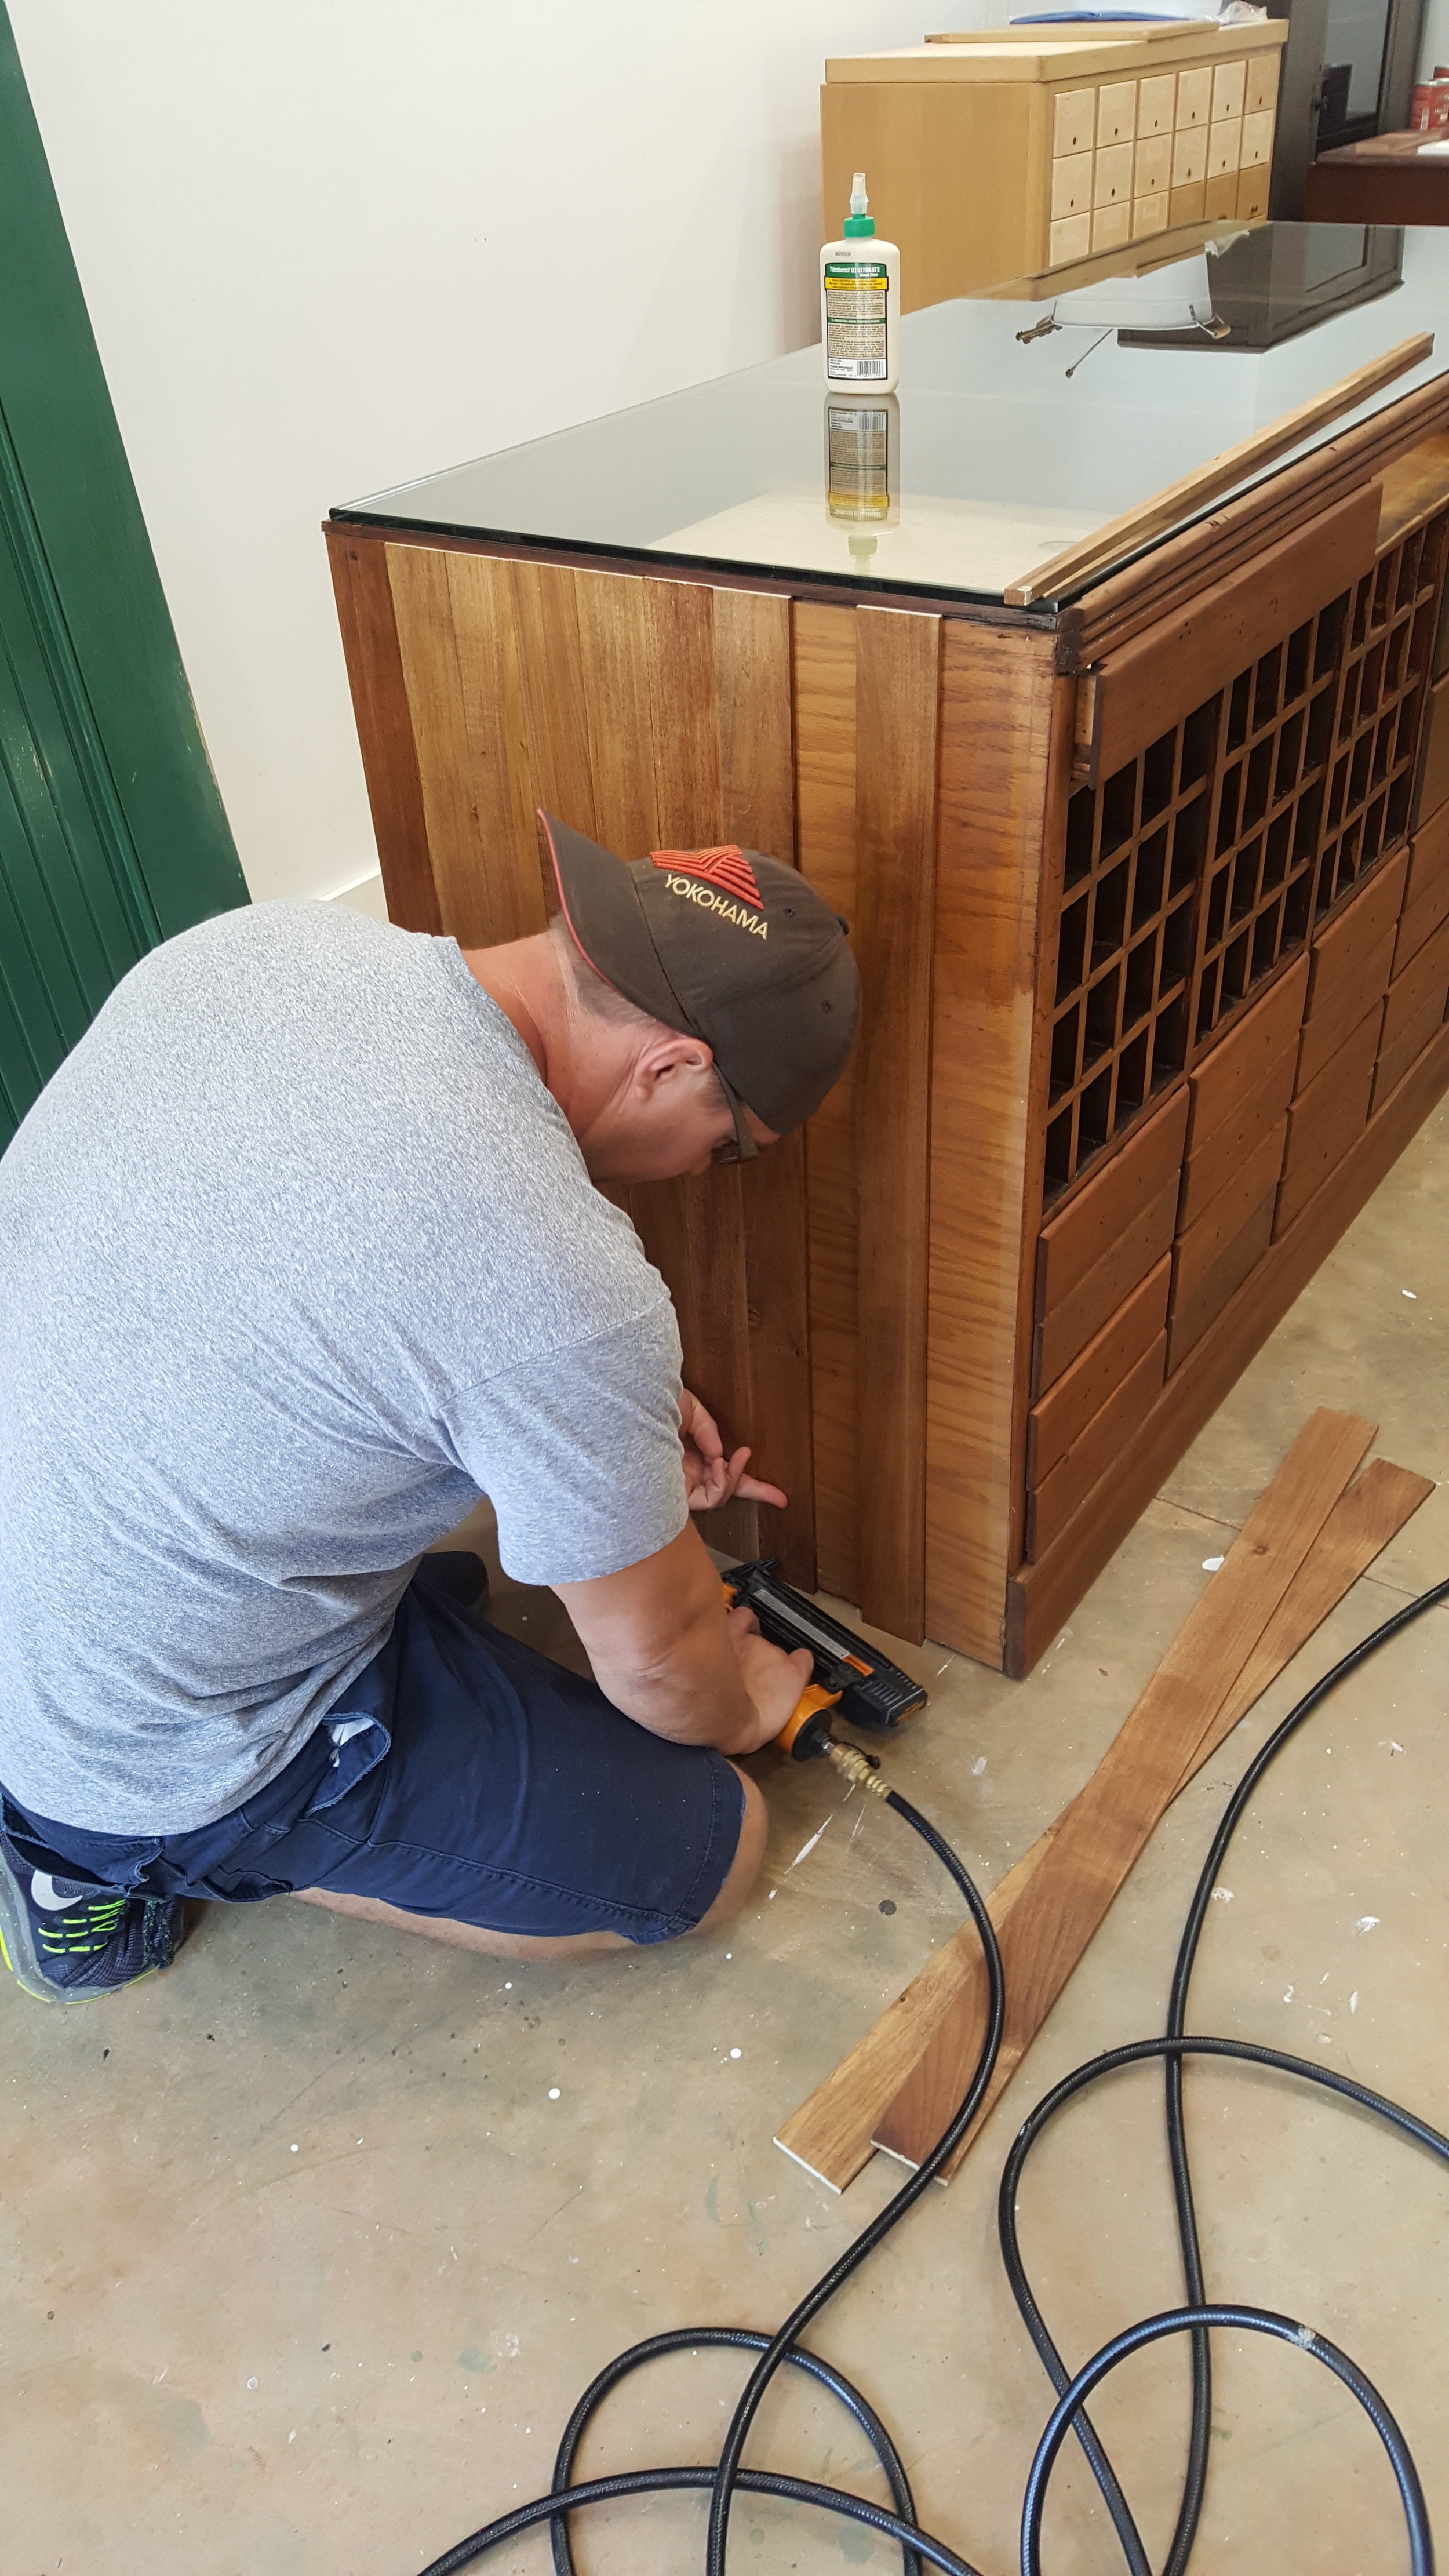
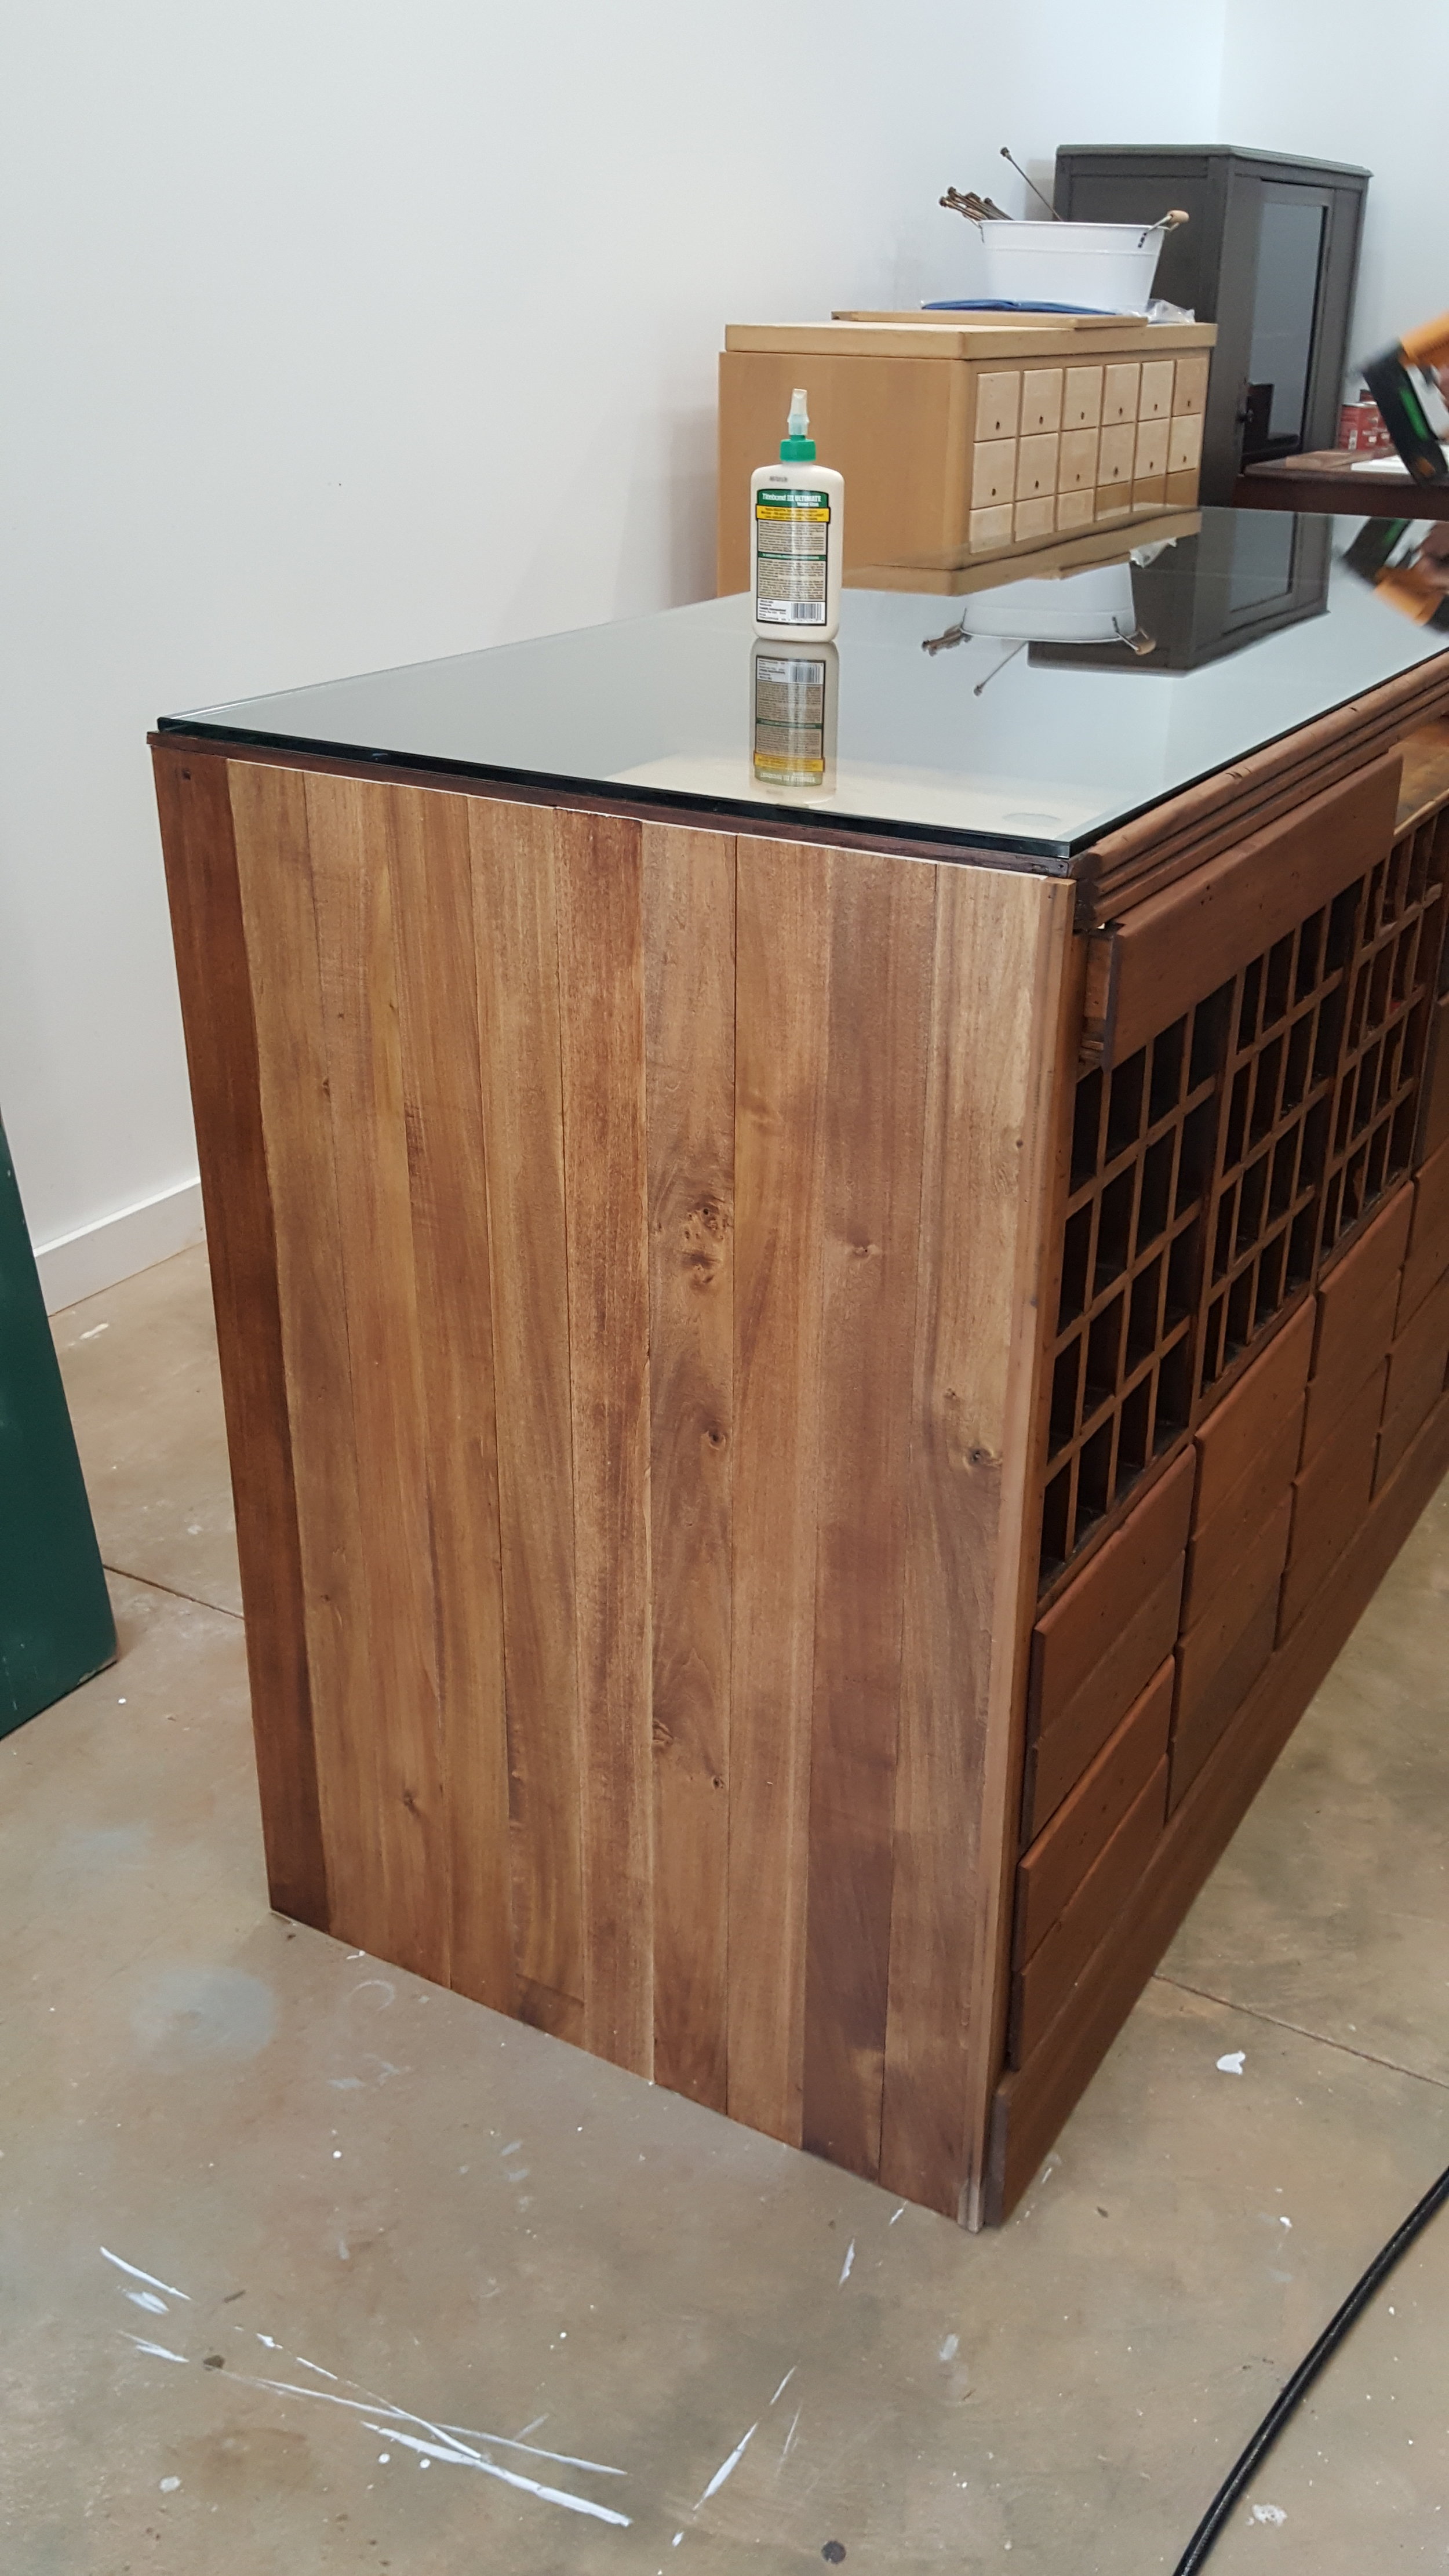
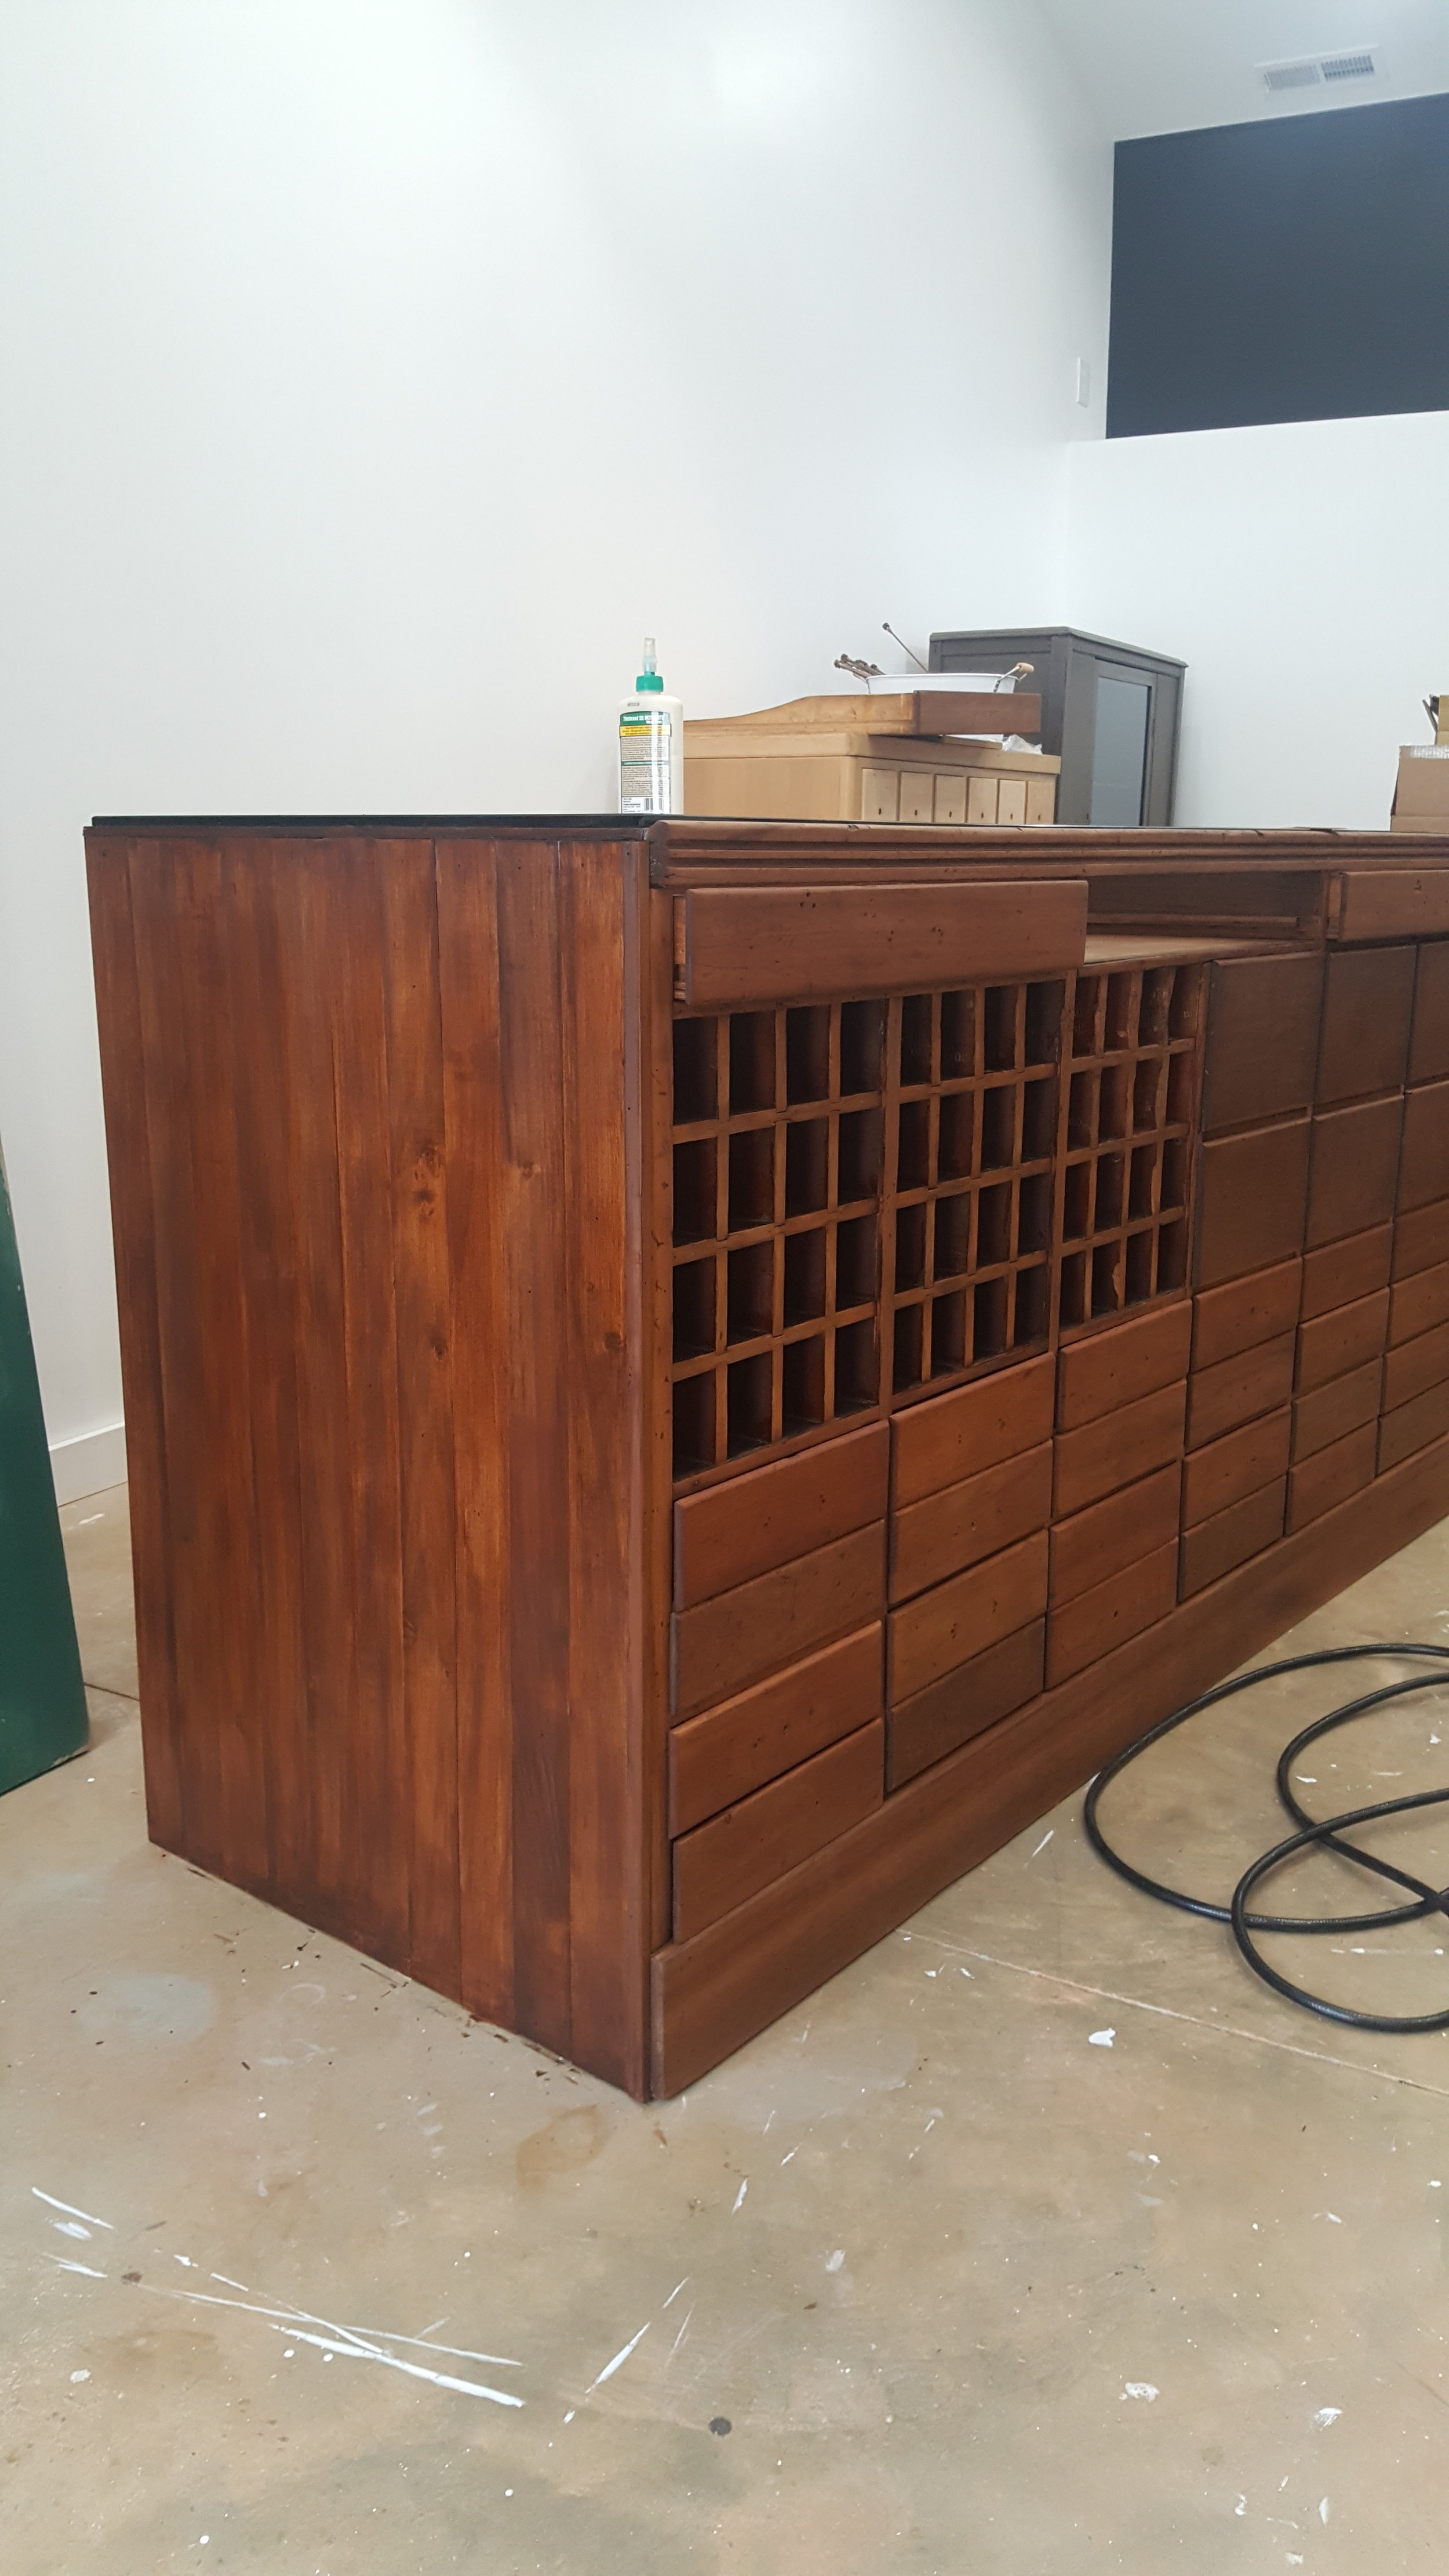
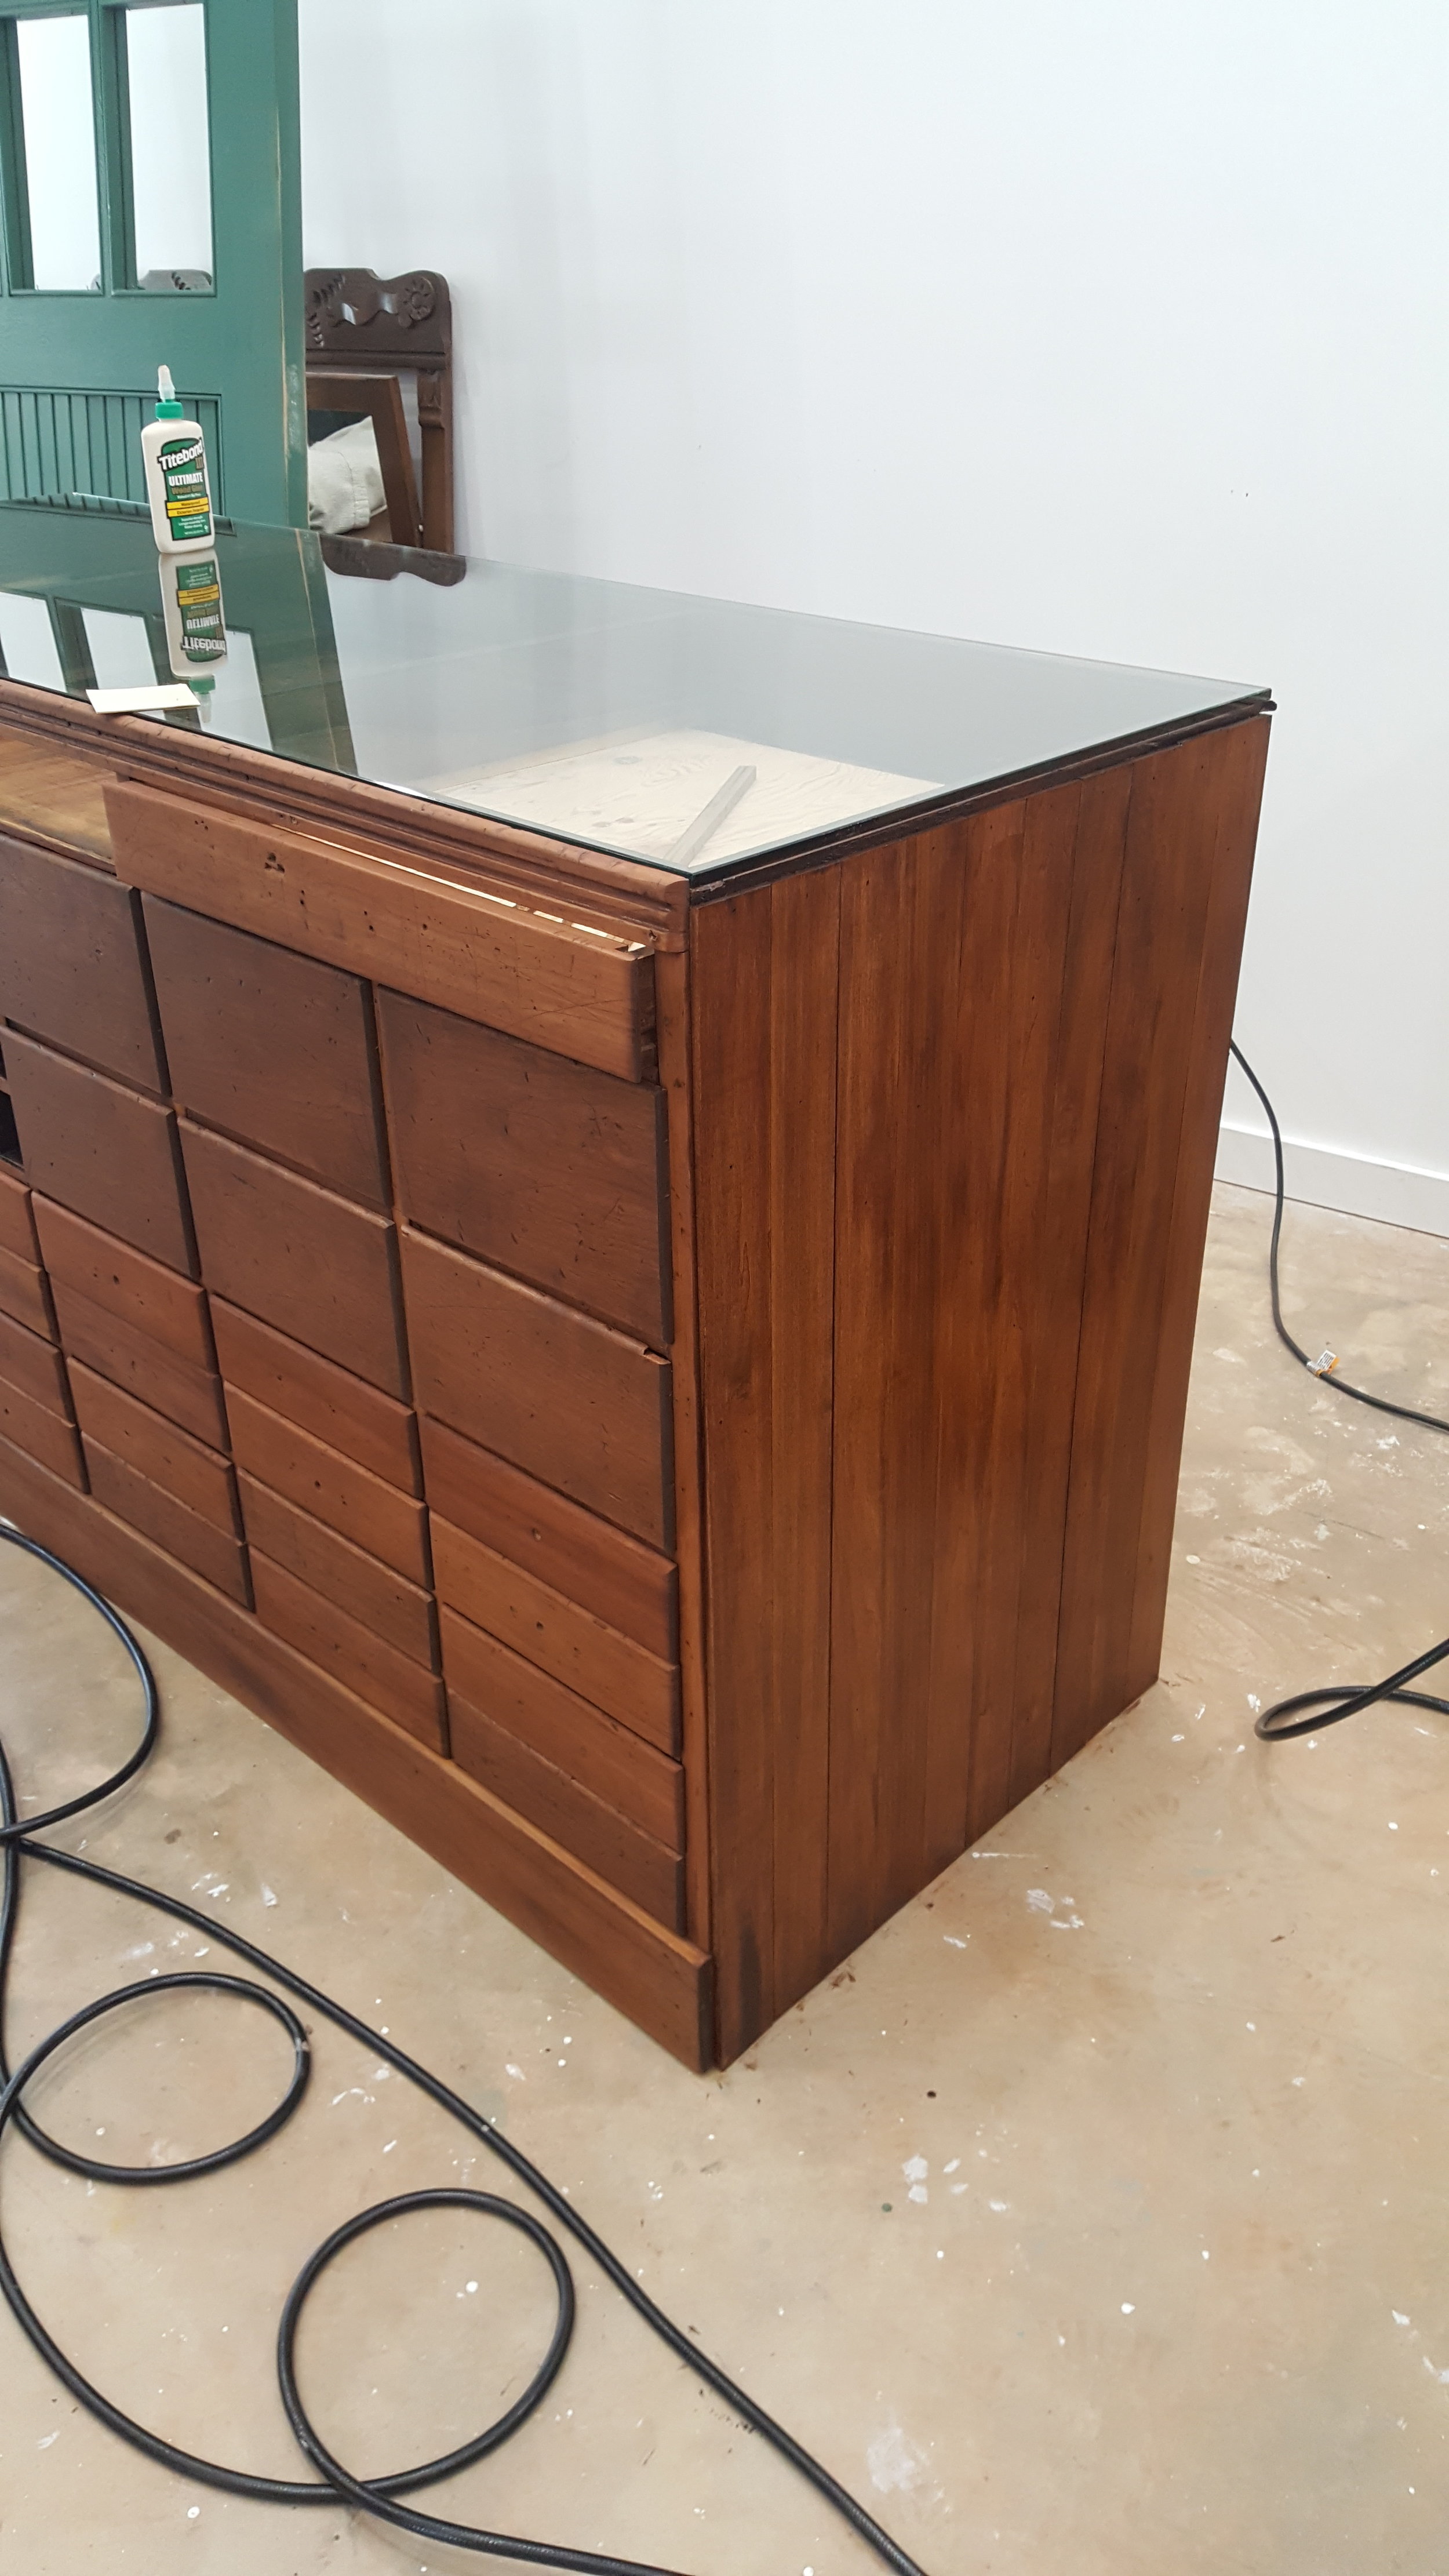
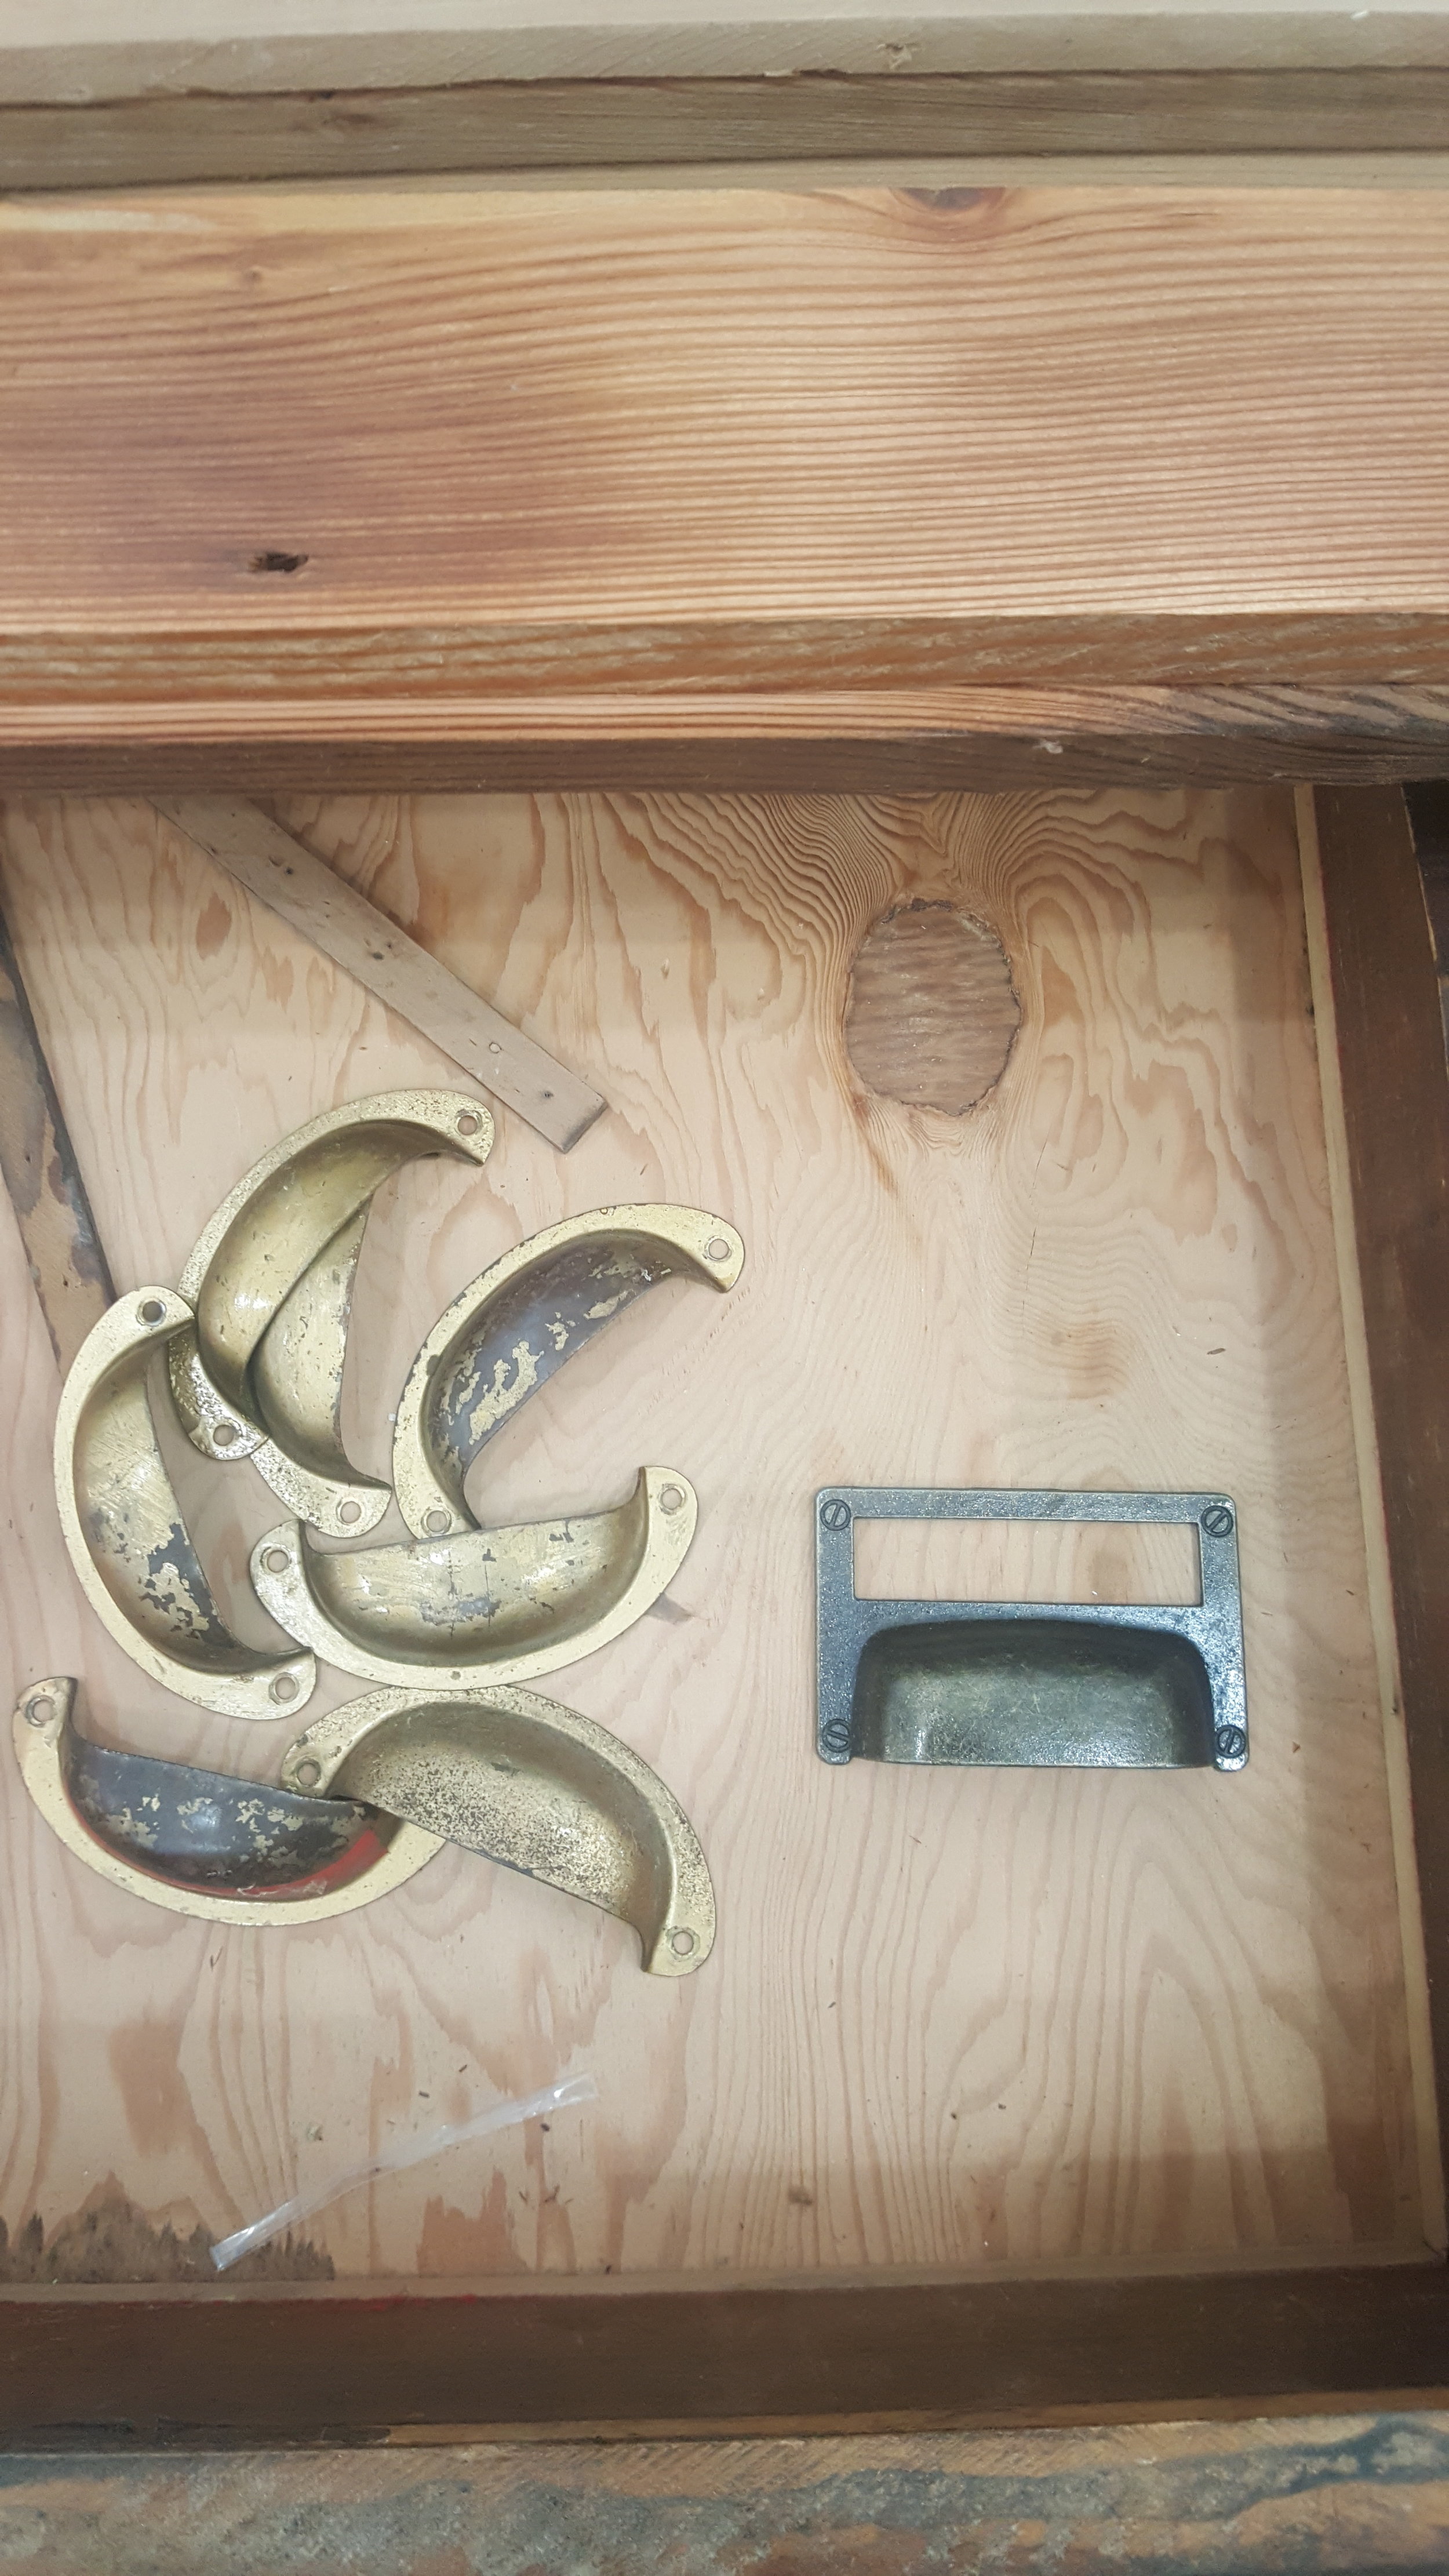
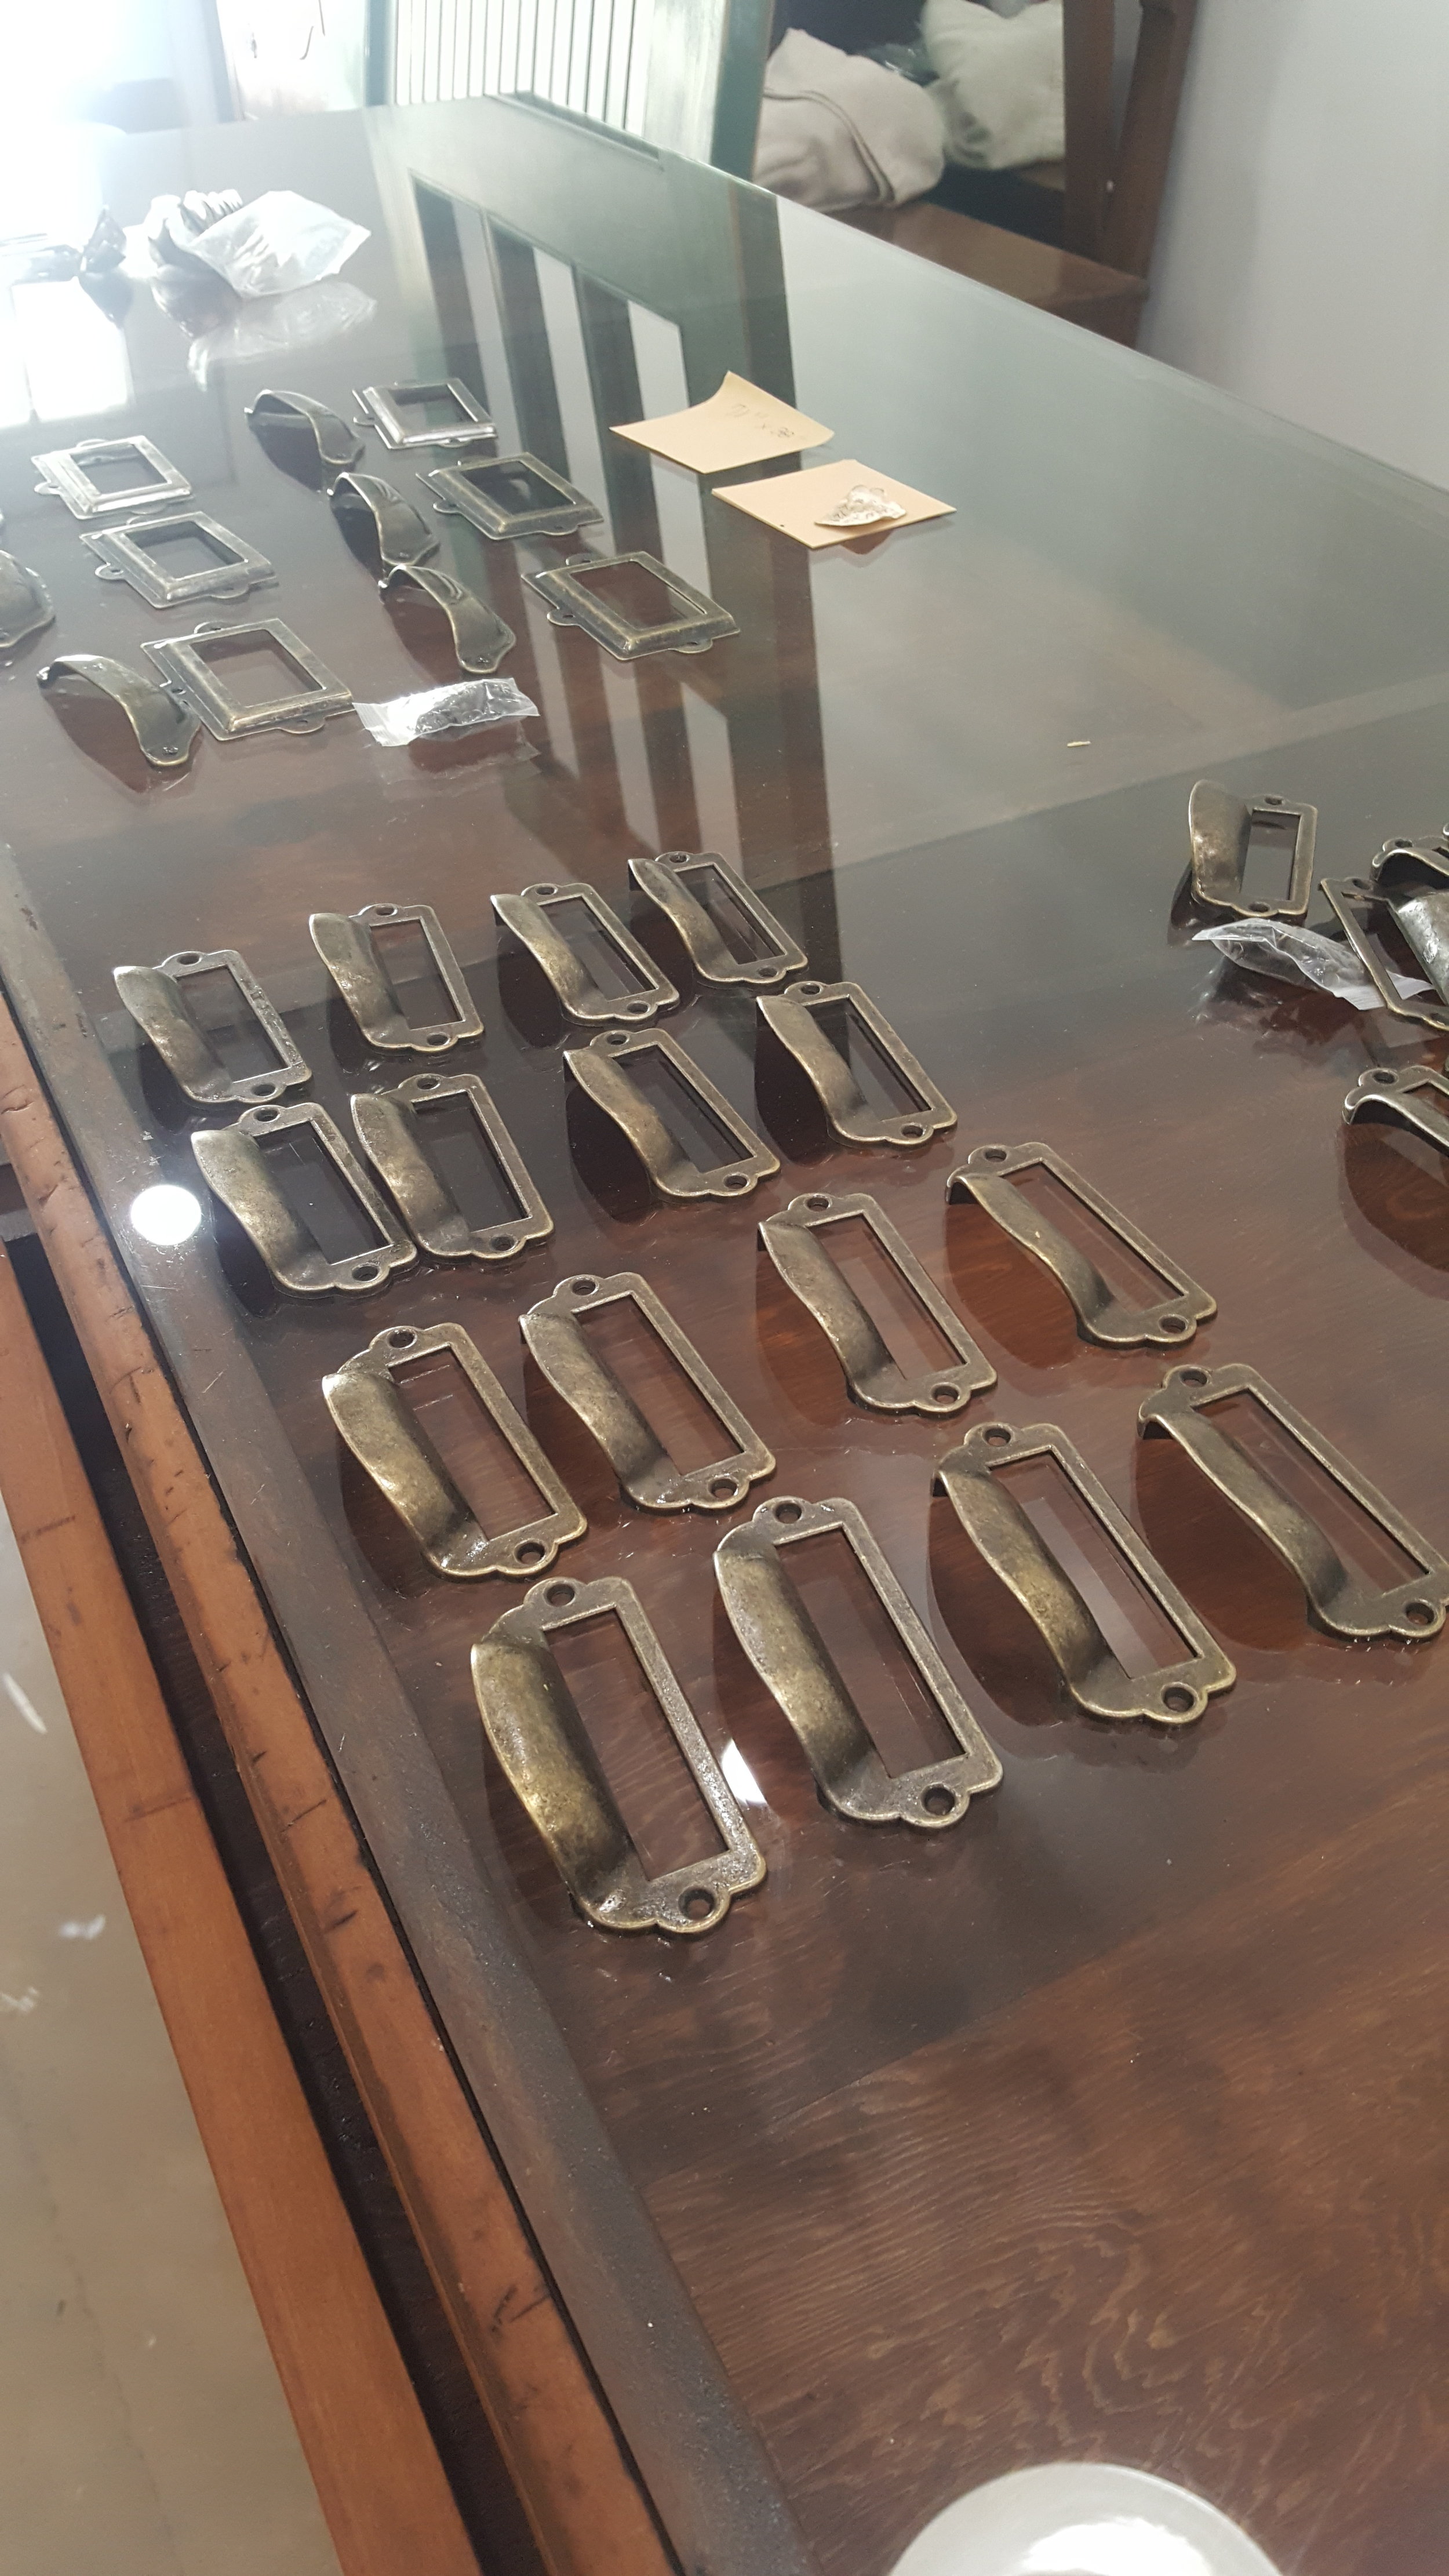
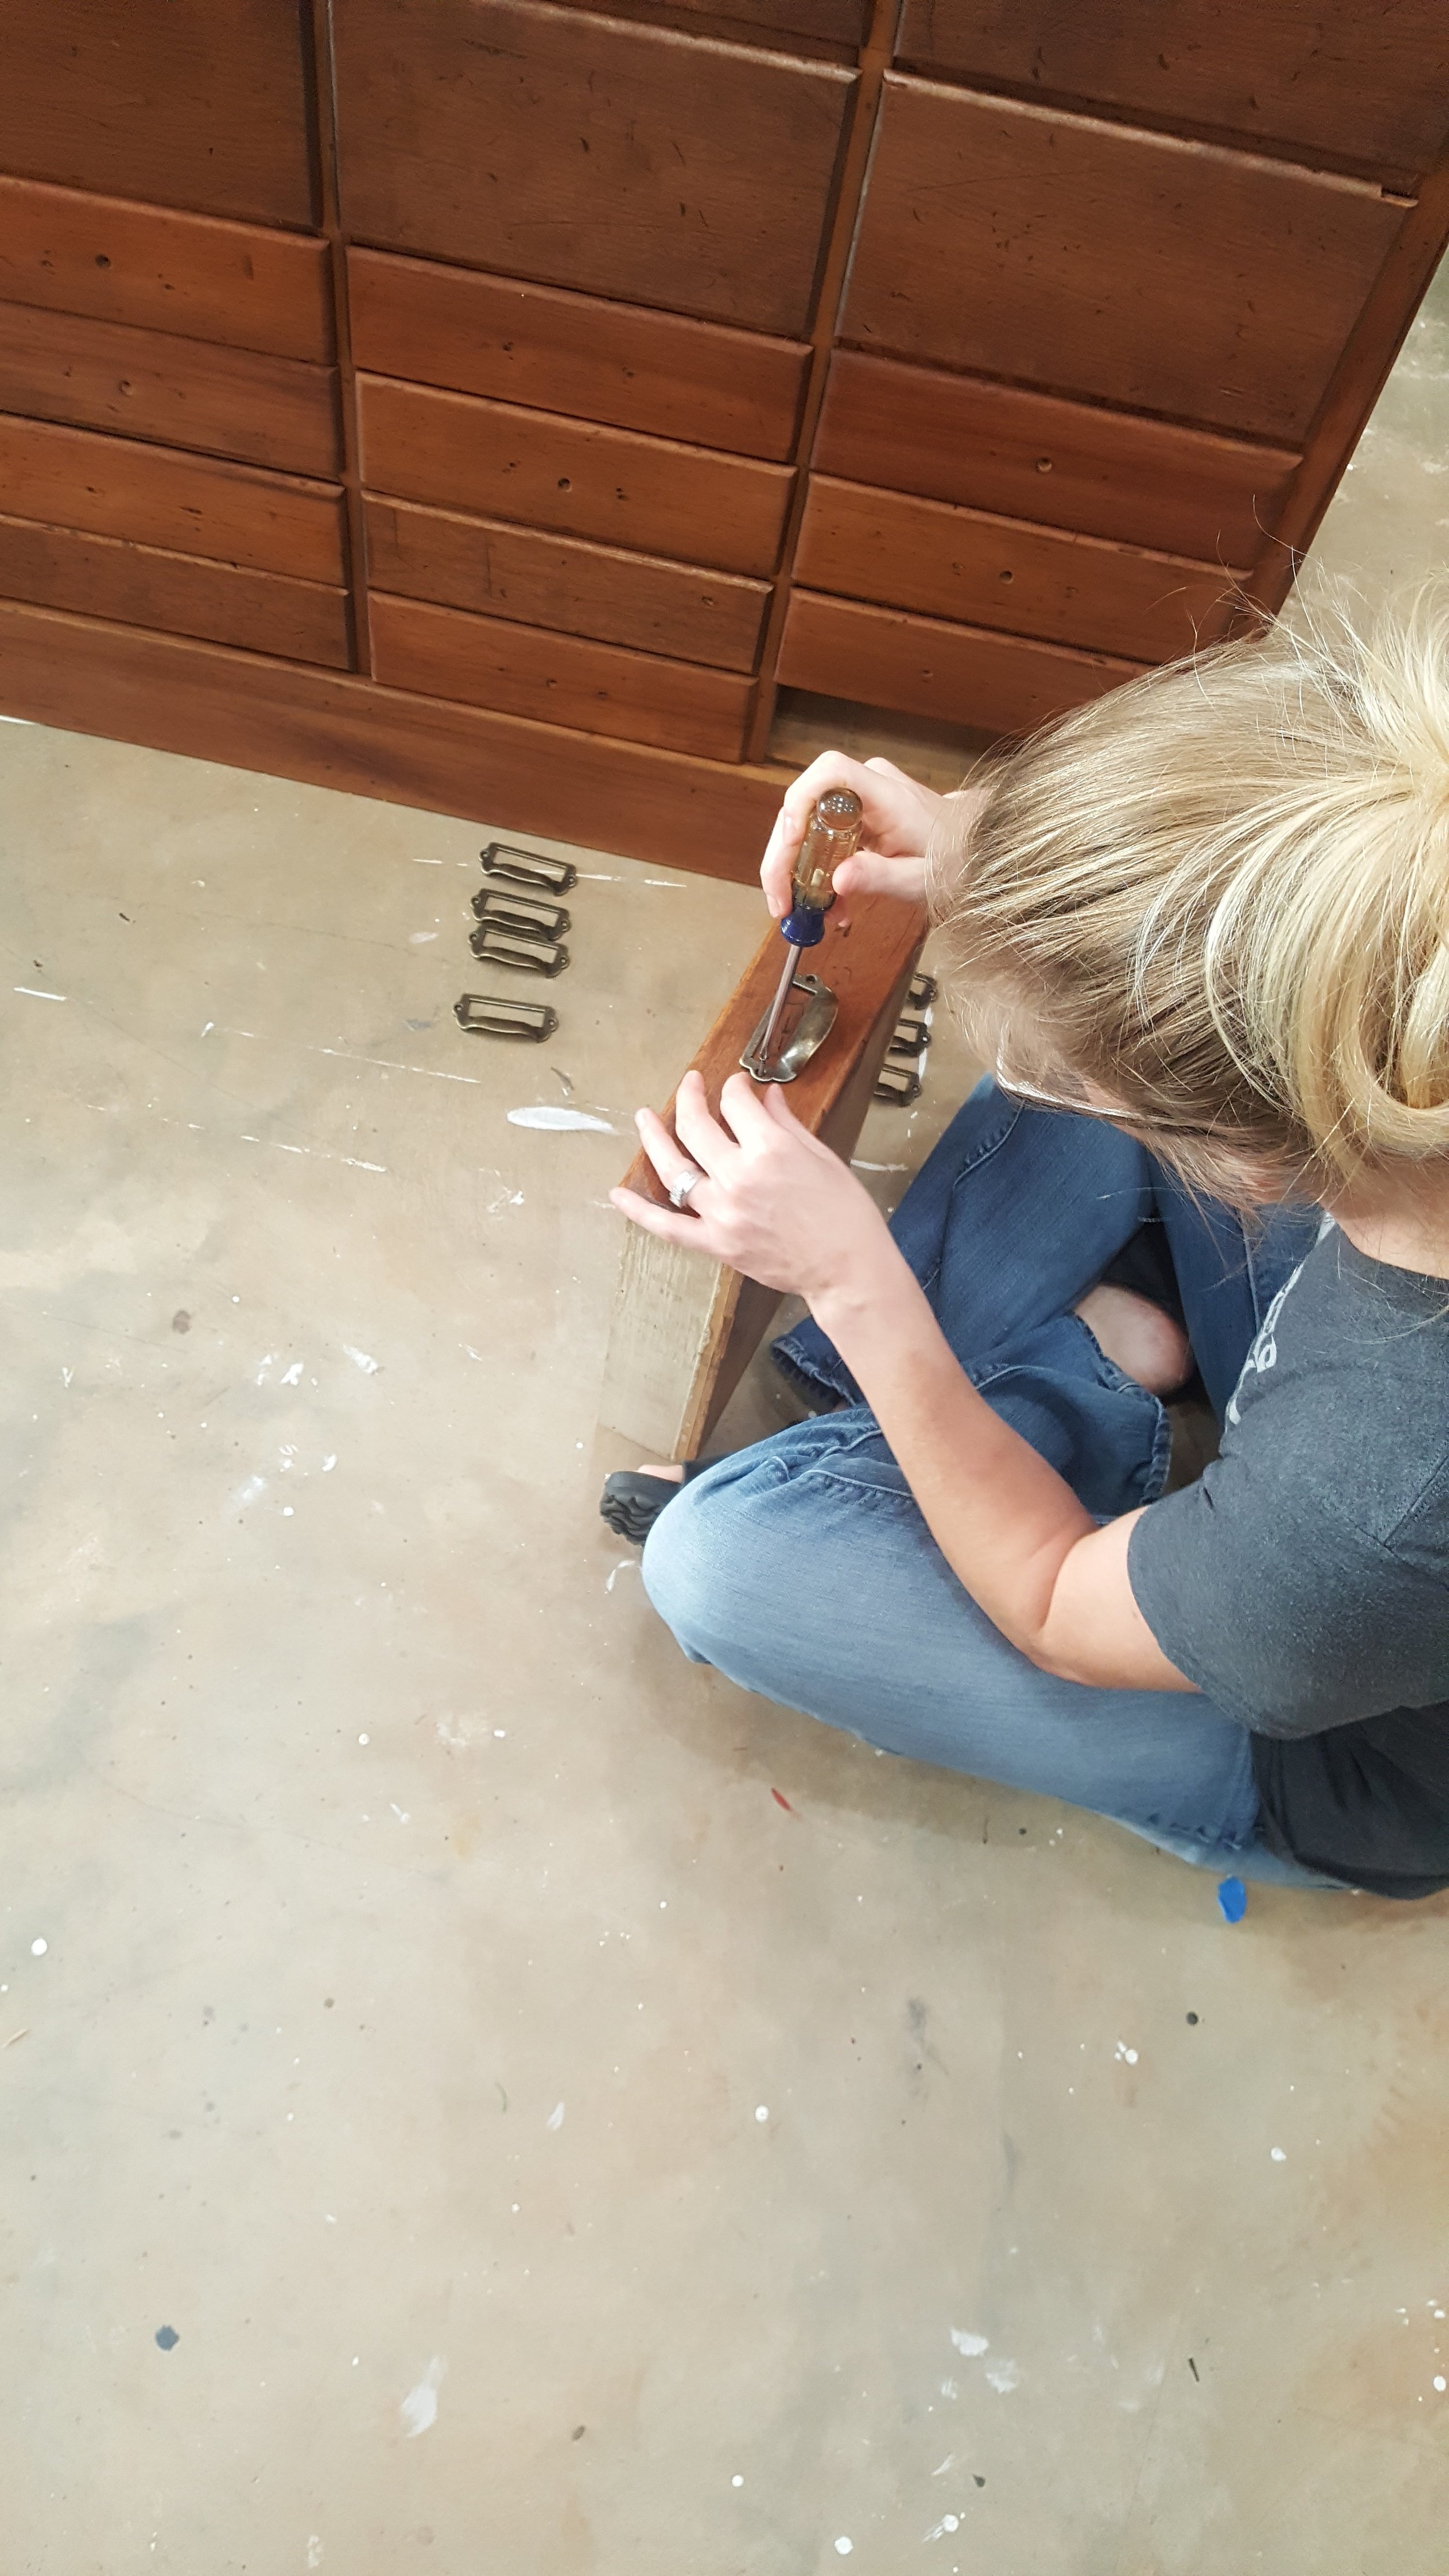
Phase 4: Prepping and painting the dresser/vanity
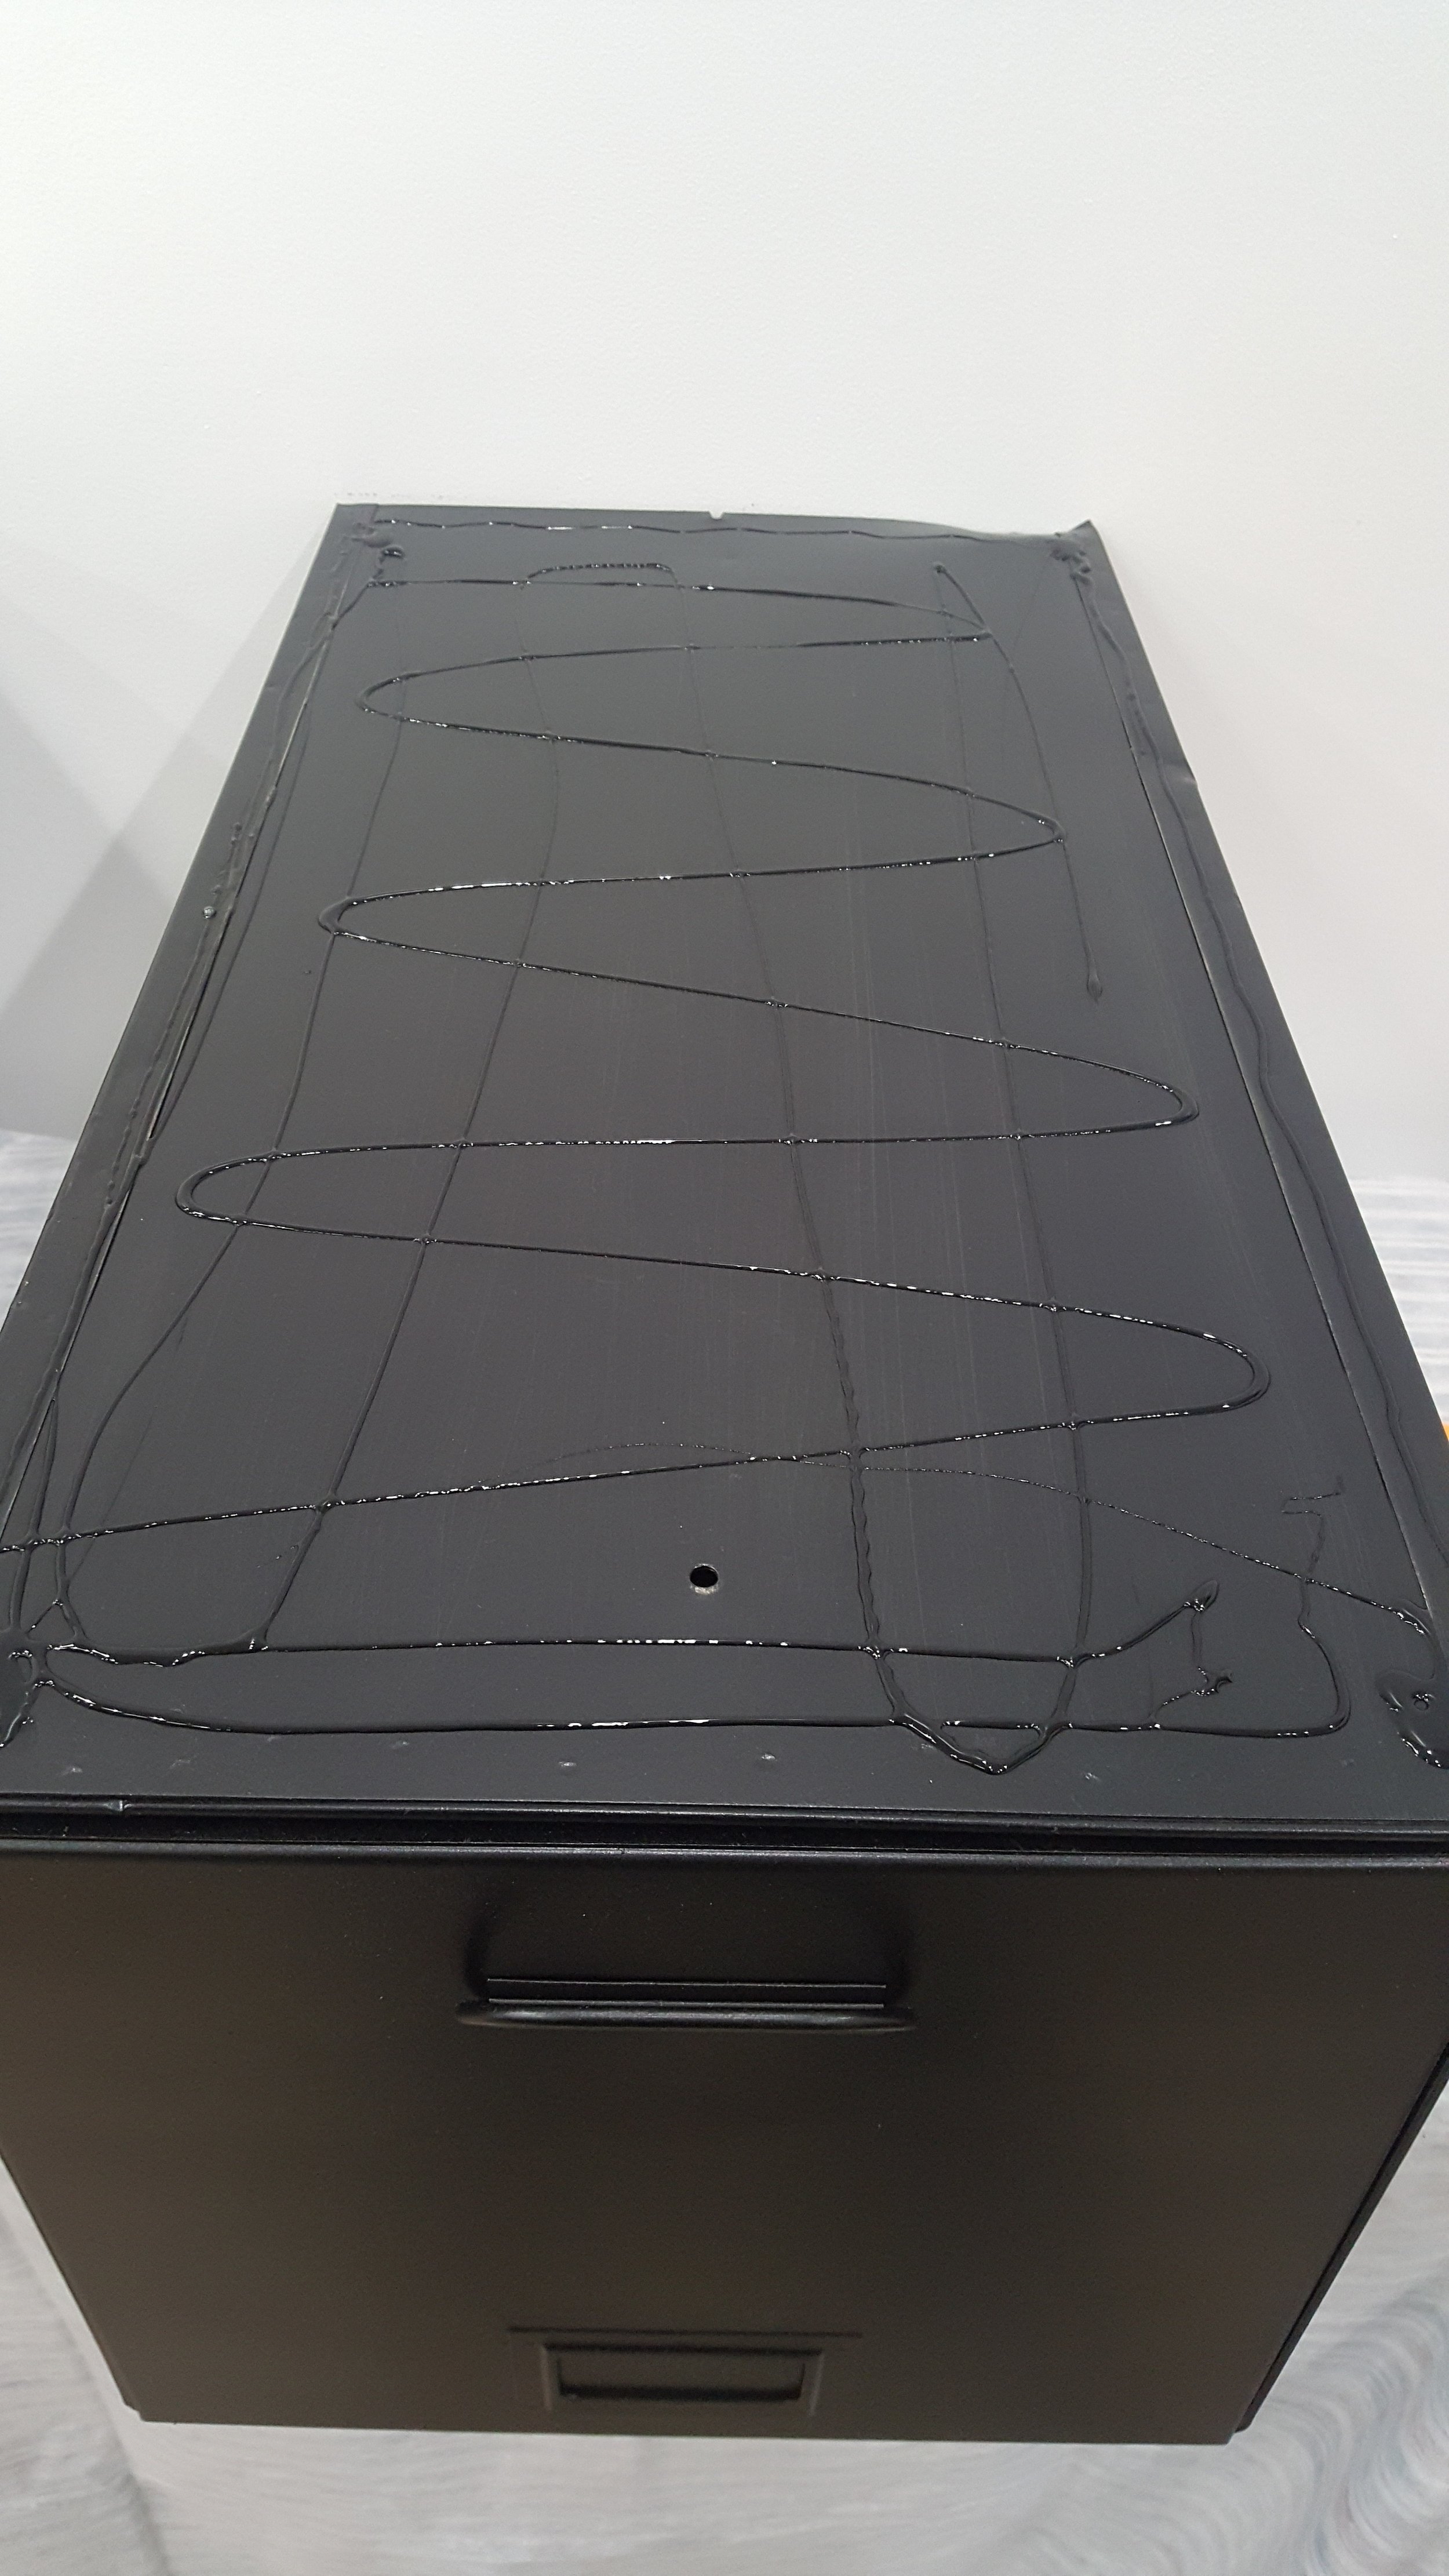
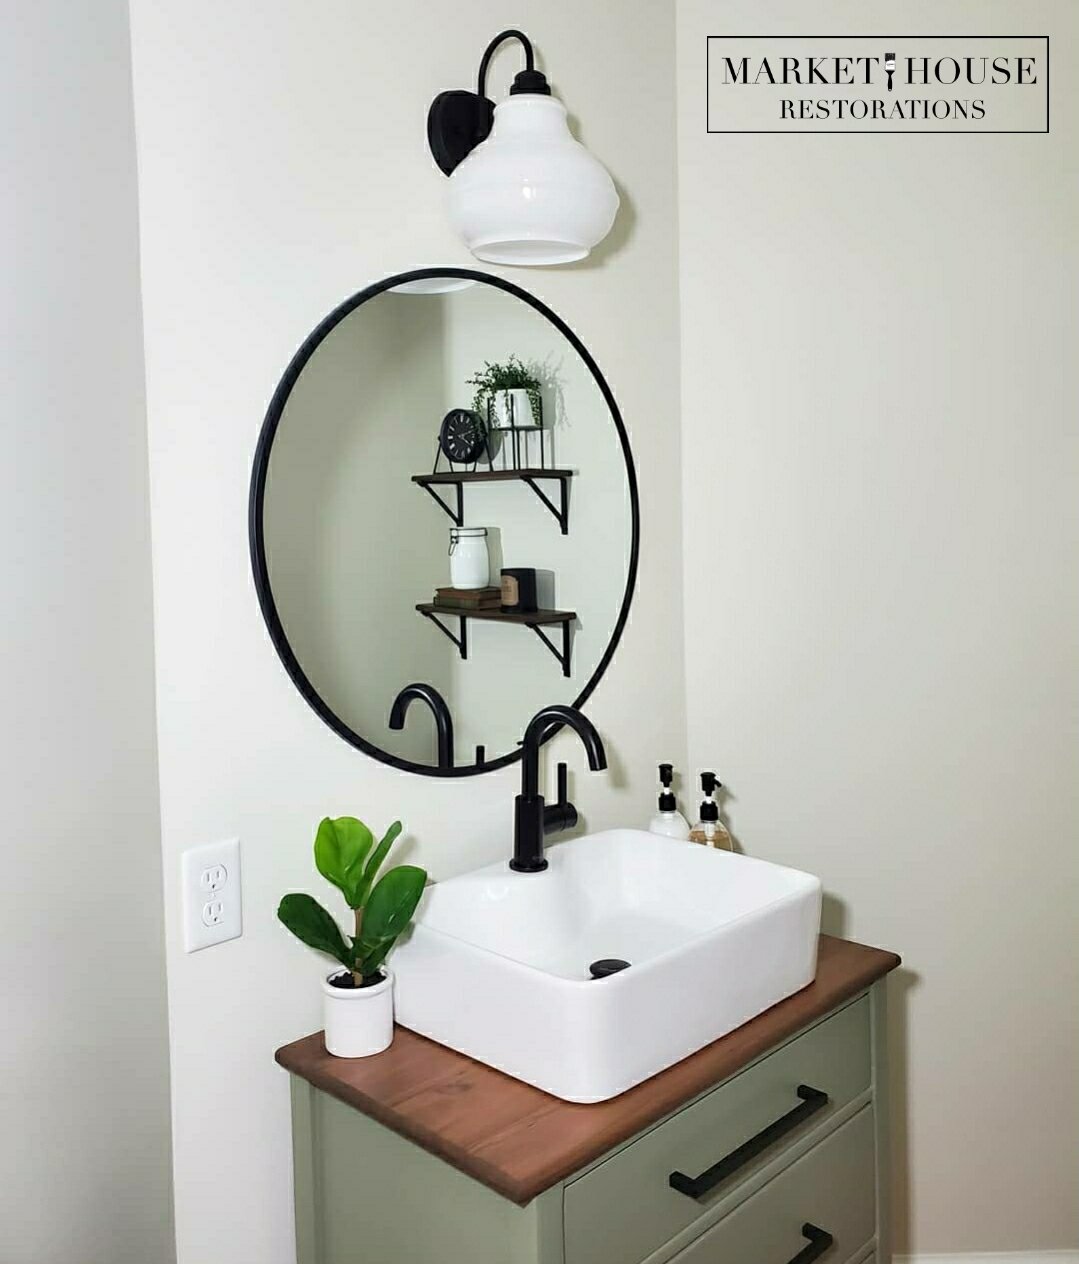
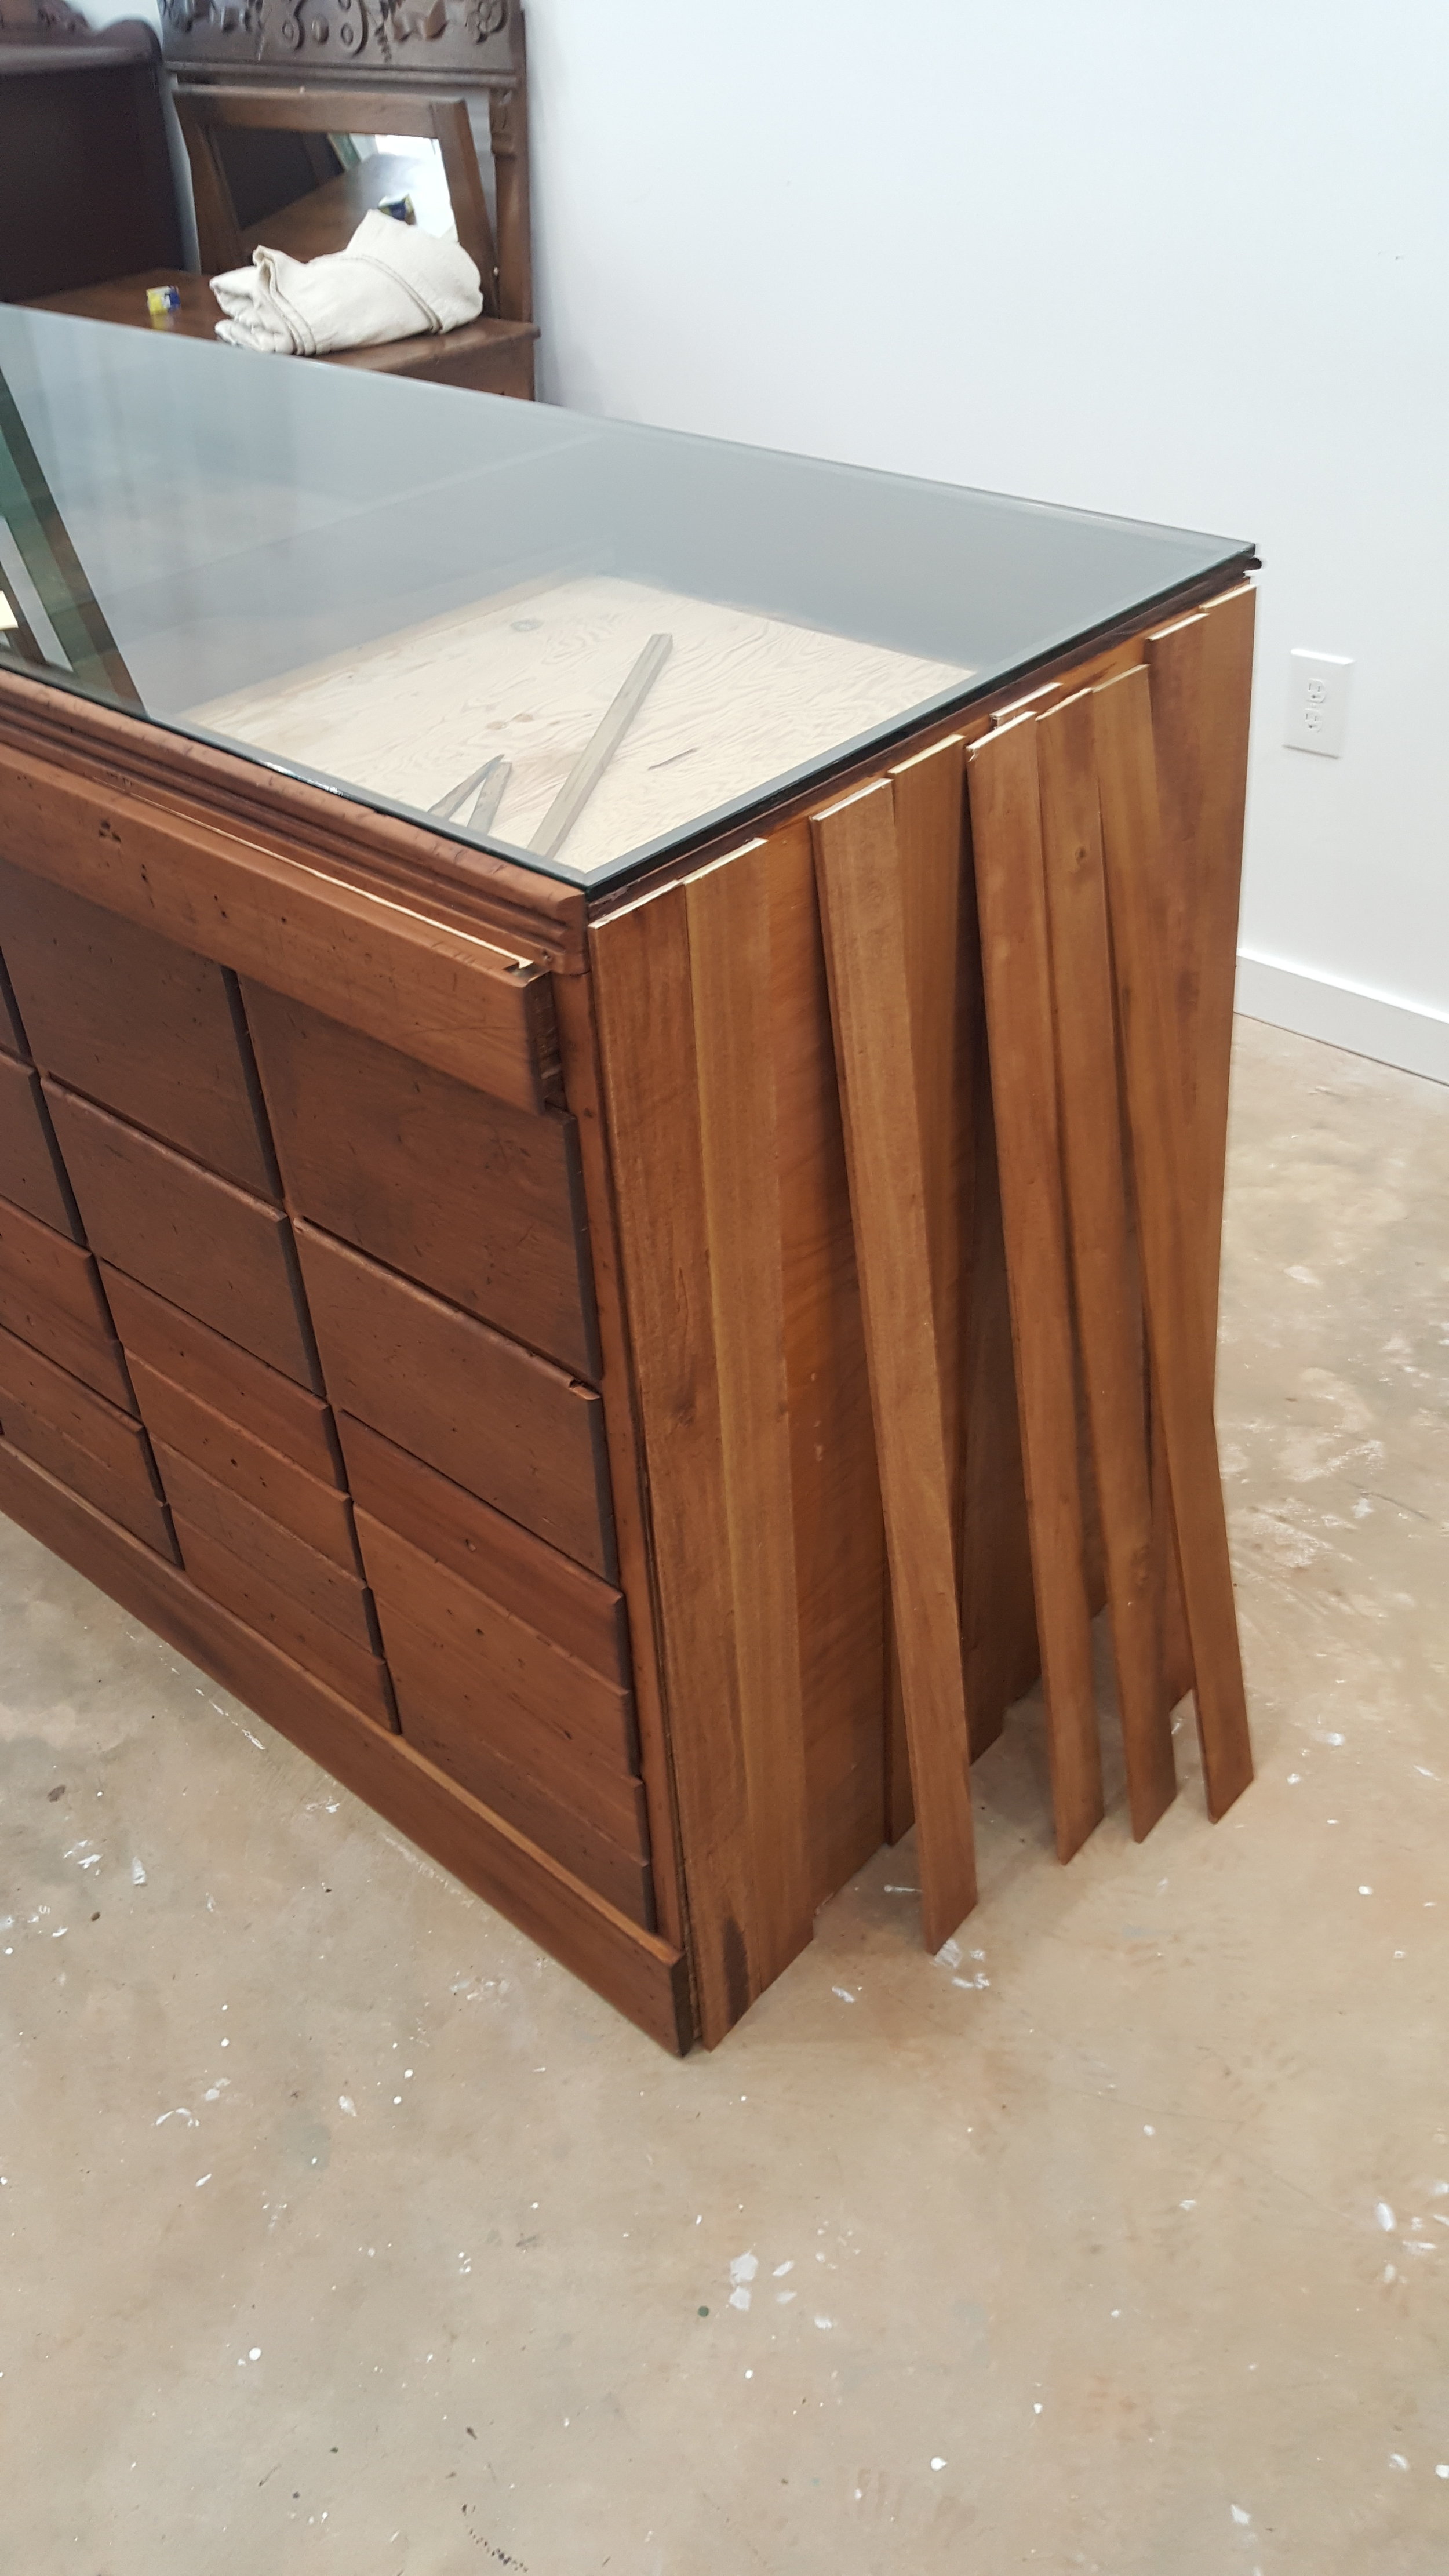
Phase 5: Adding a sink and faucet to the vanity
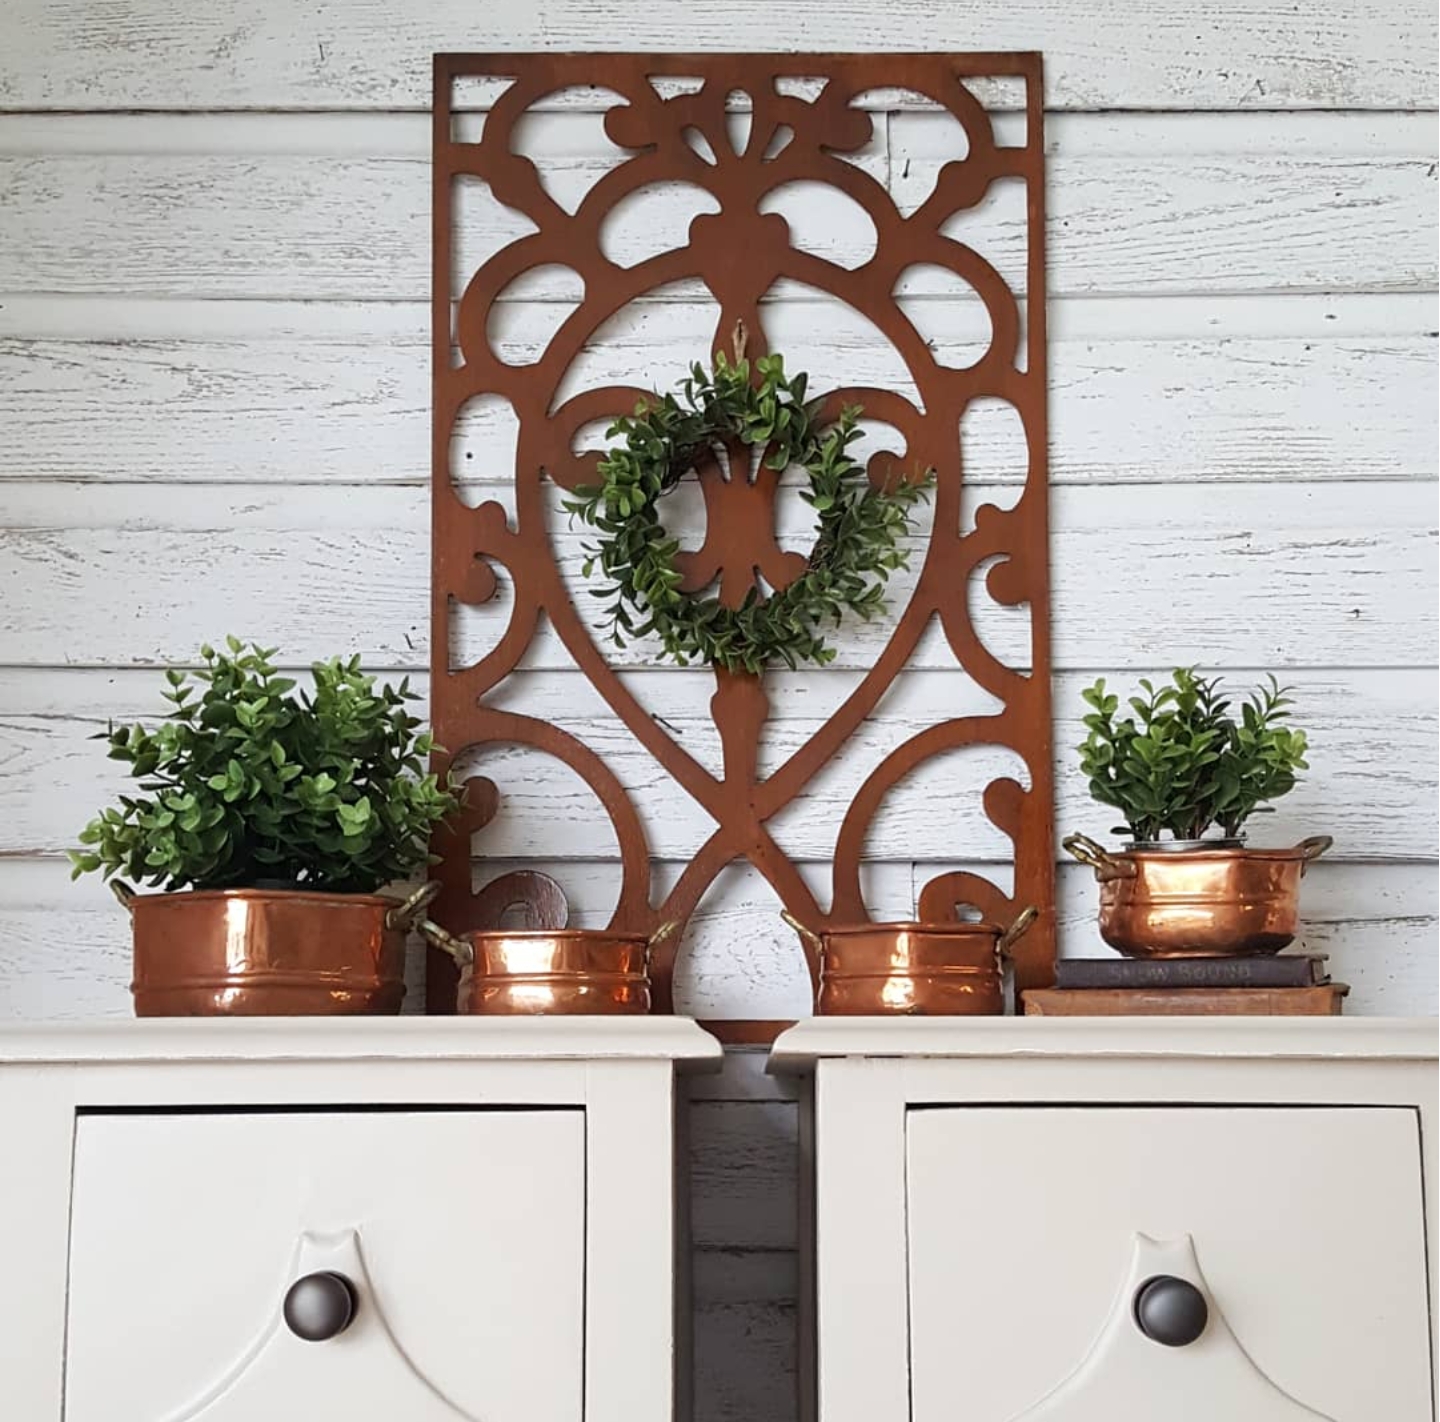
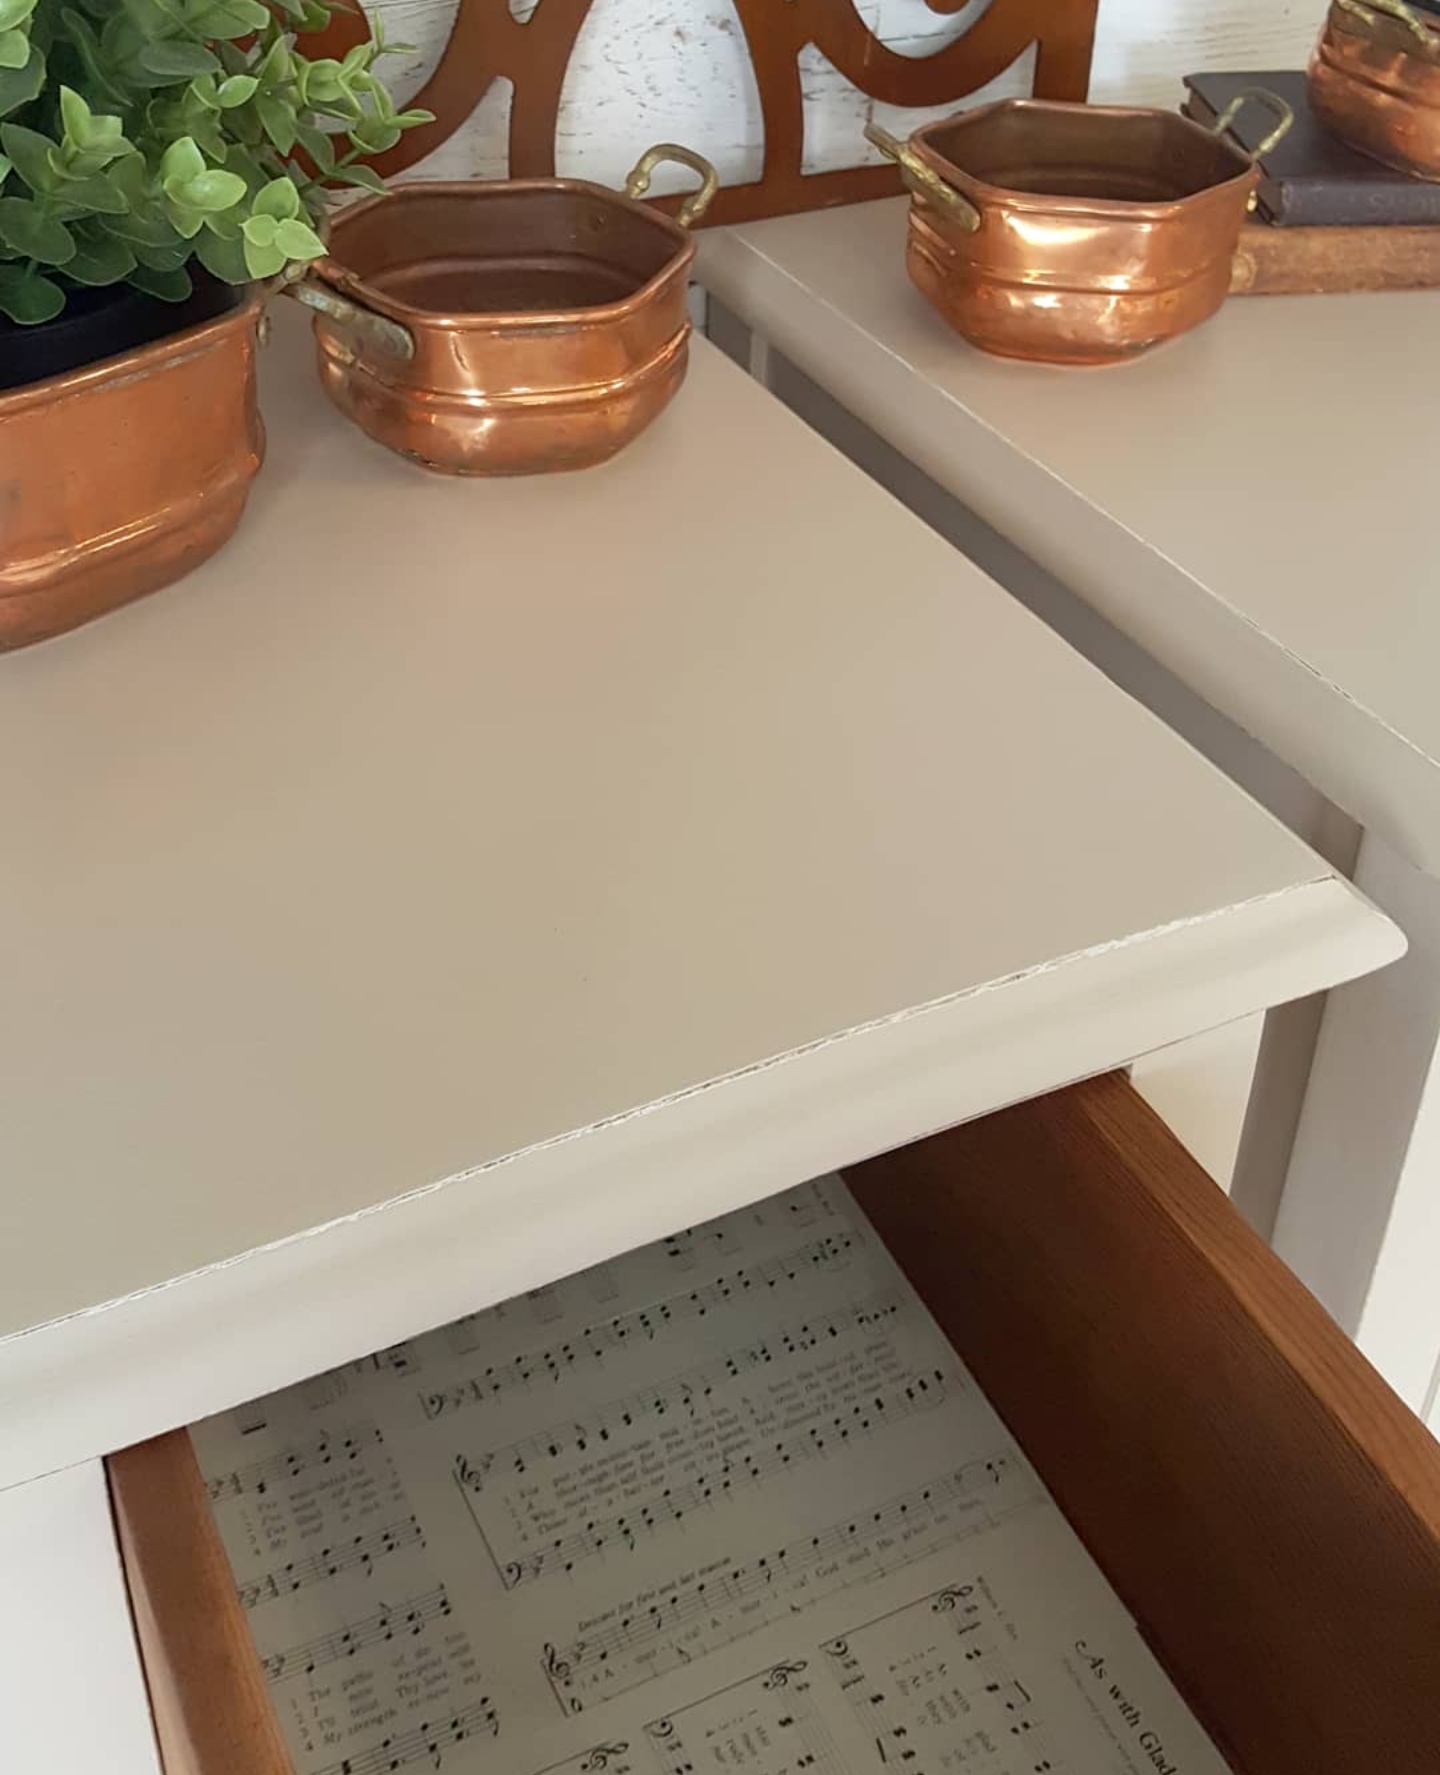
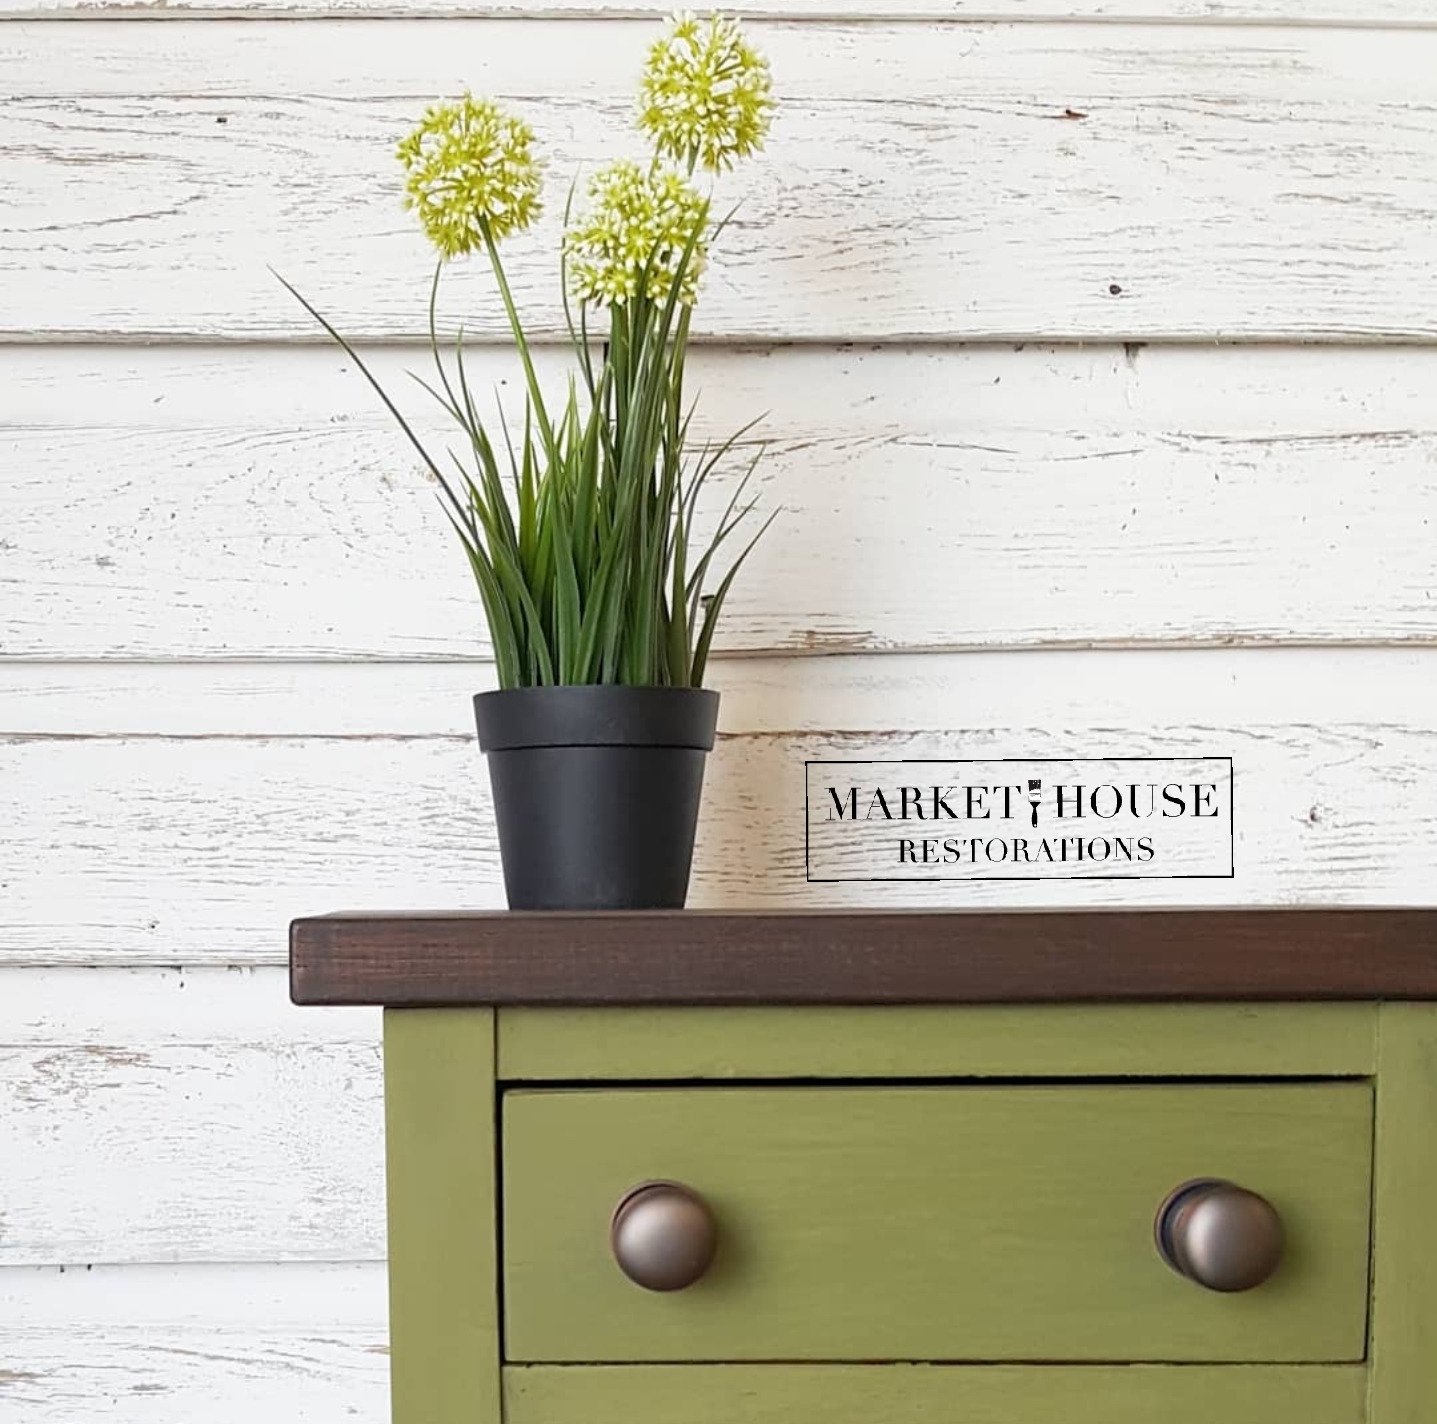
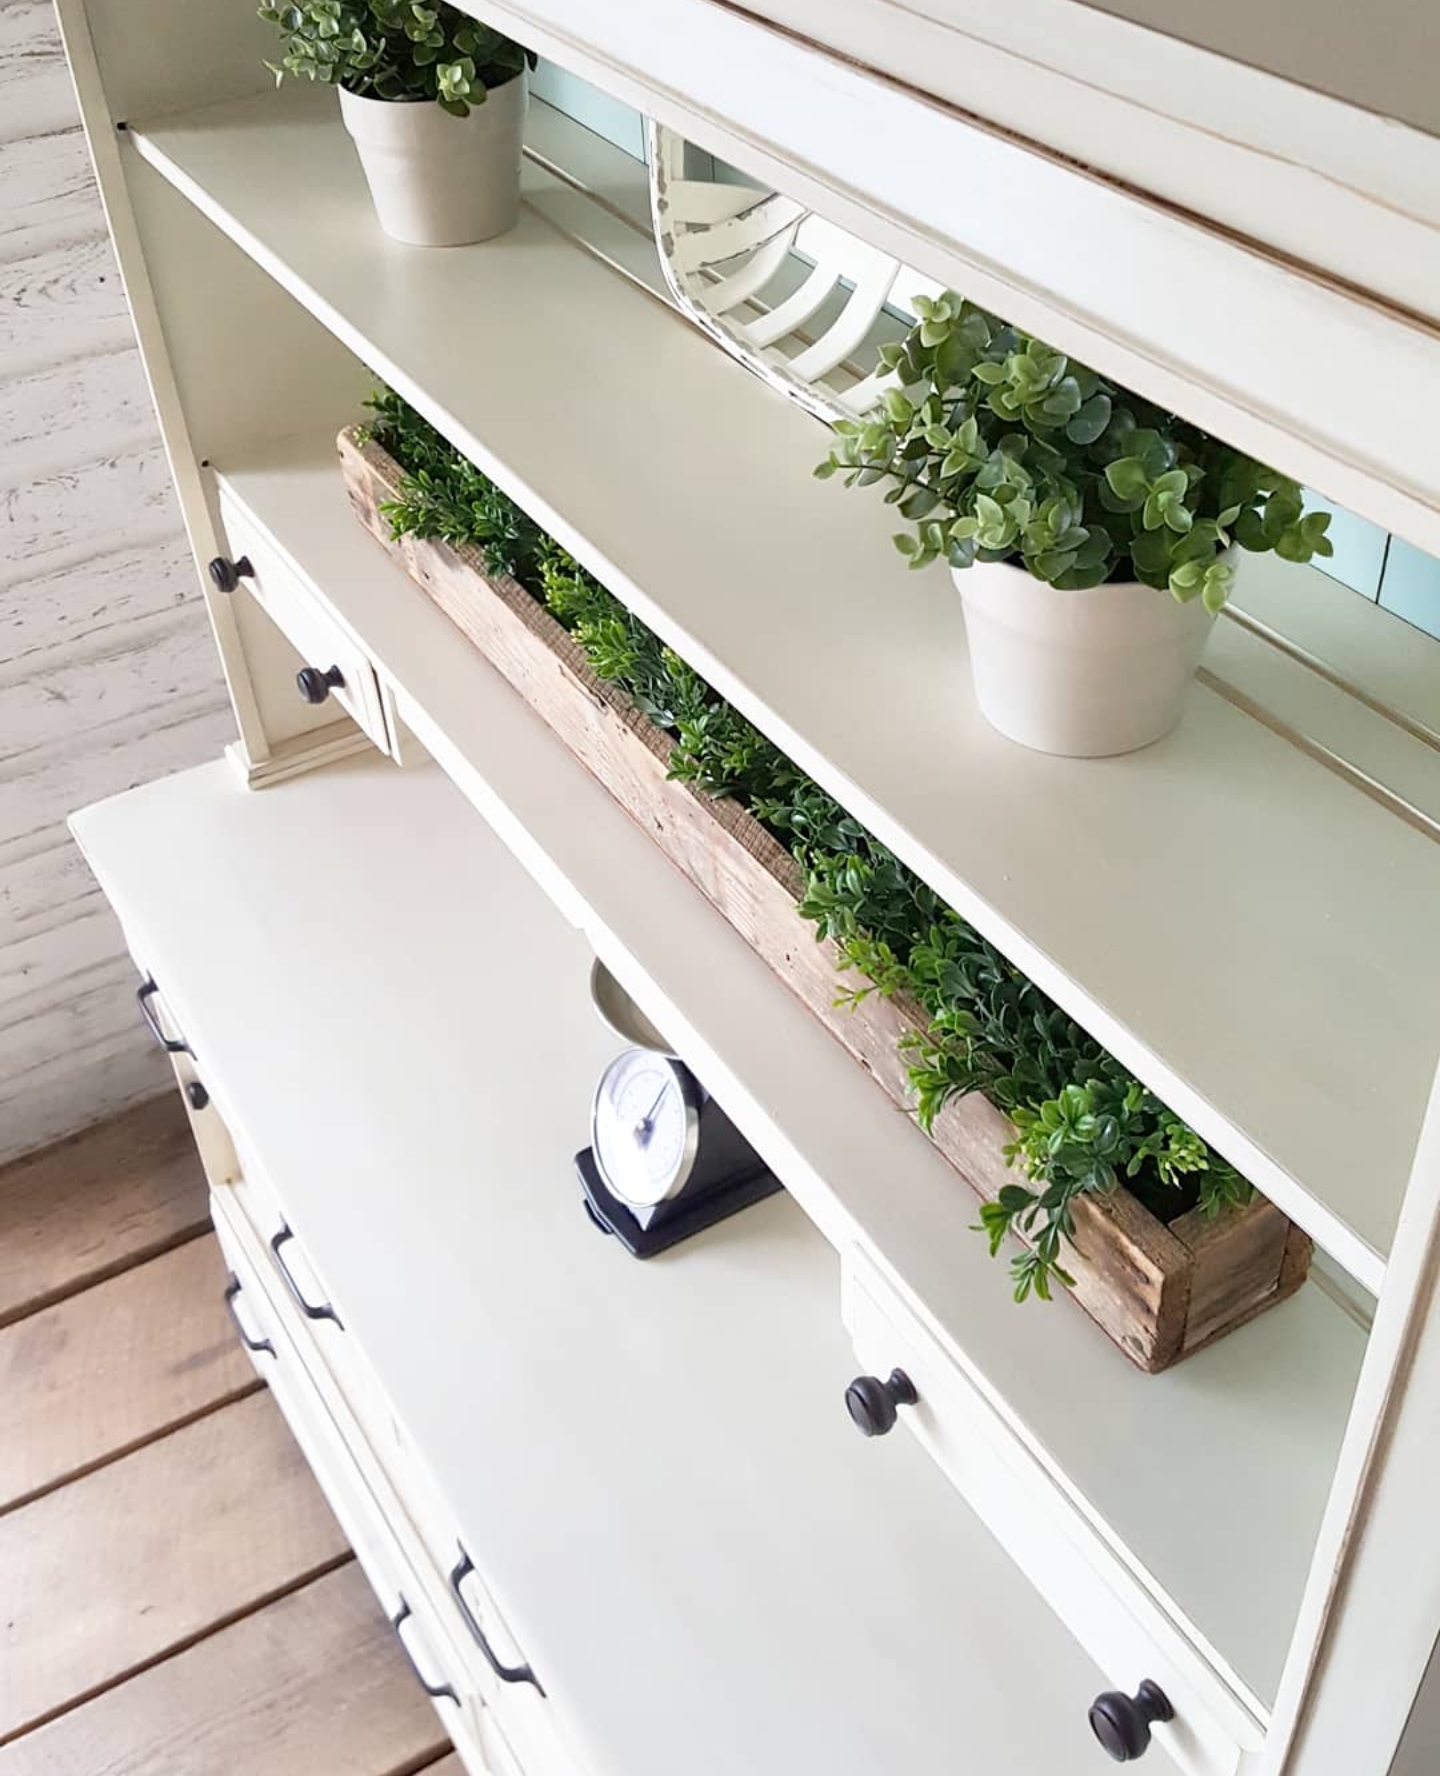
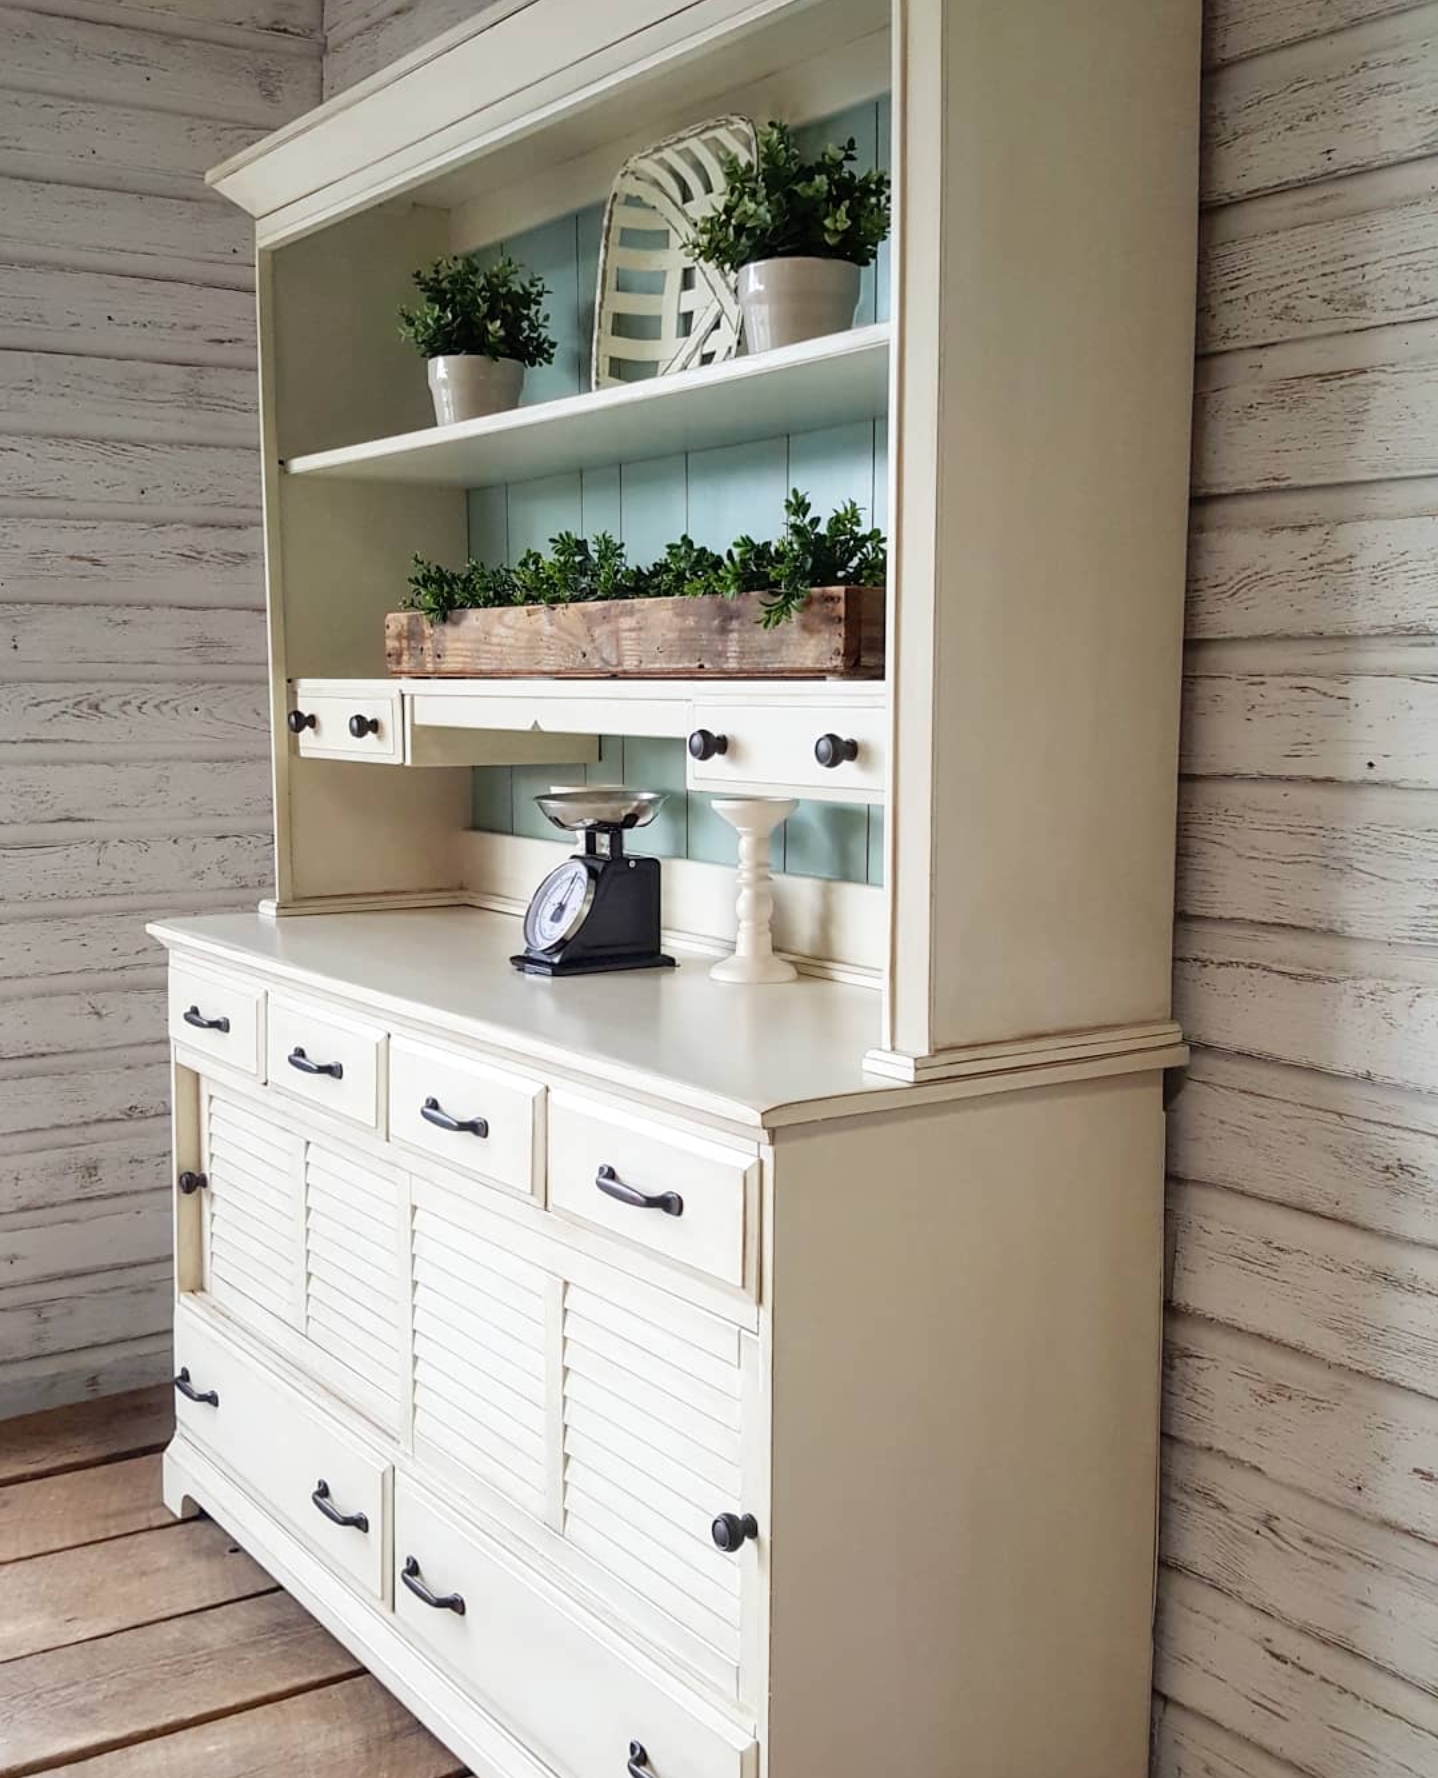
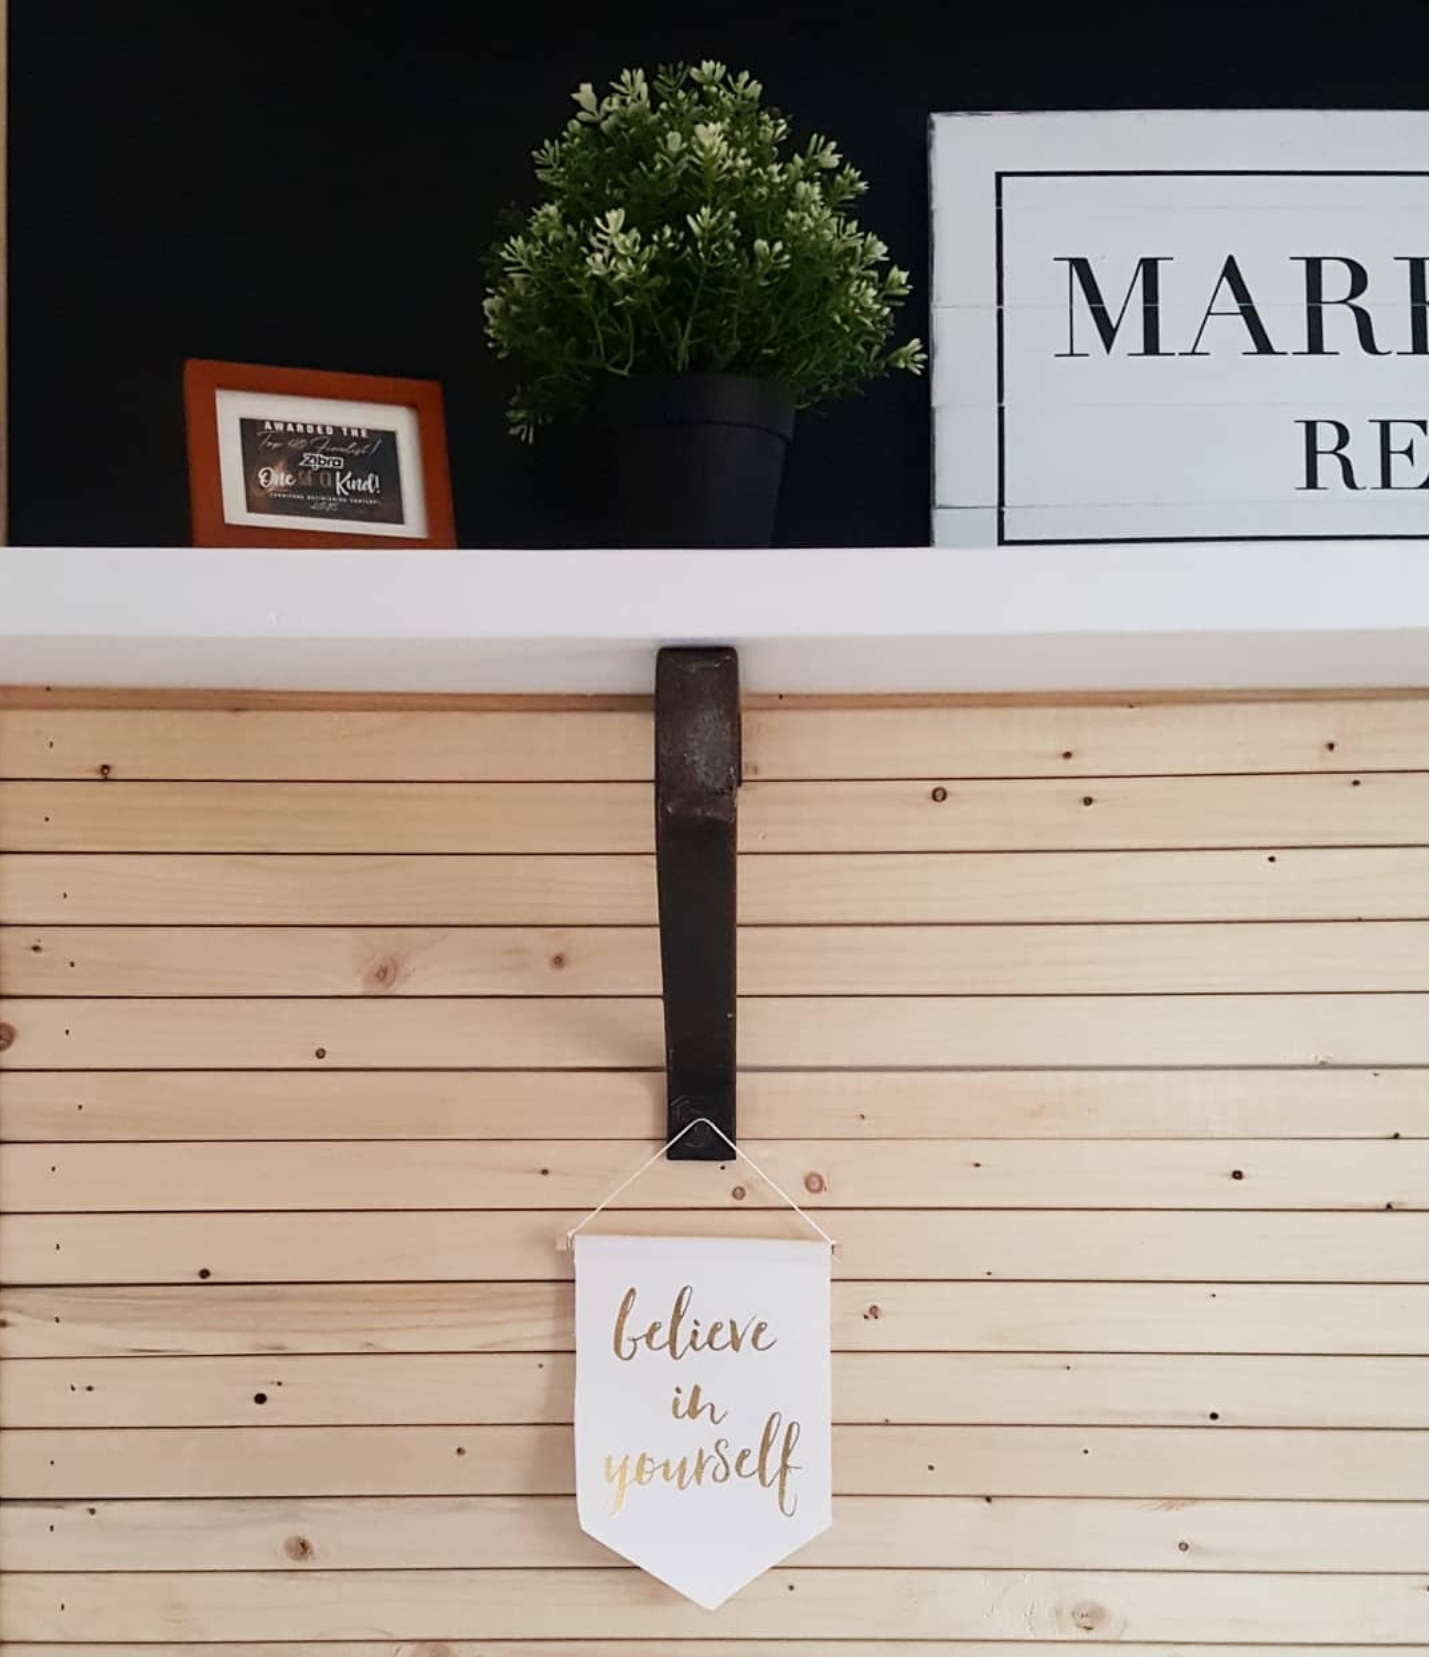
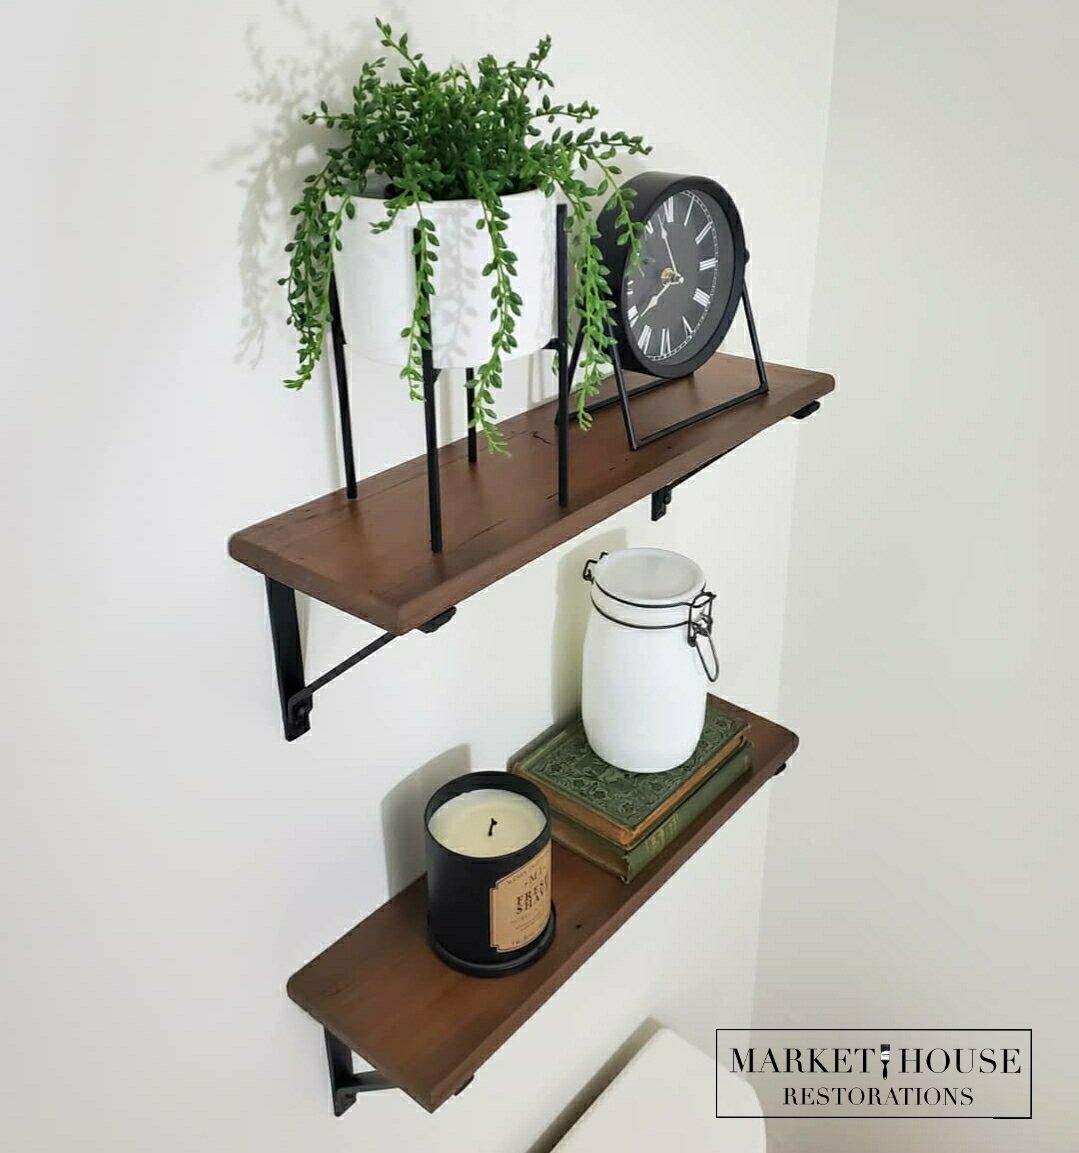
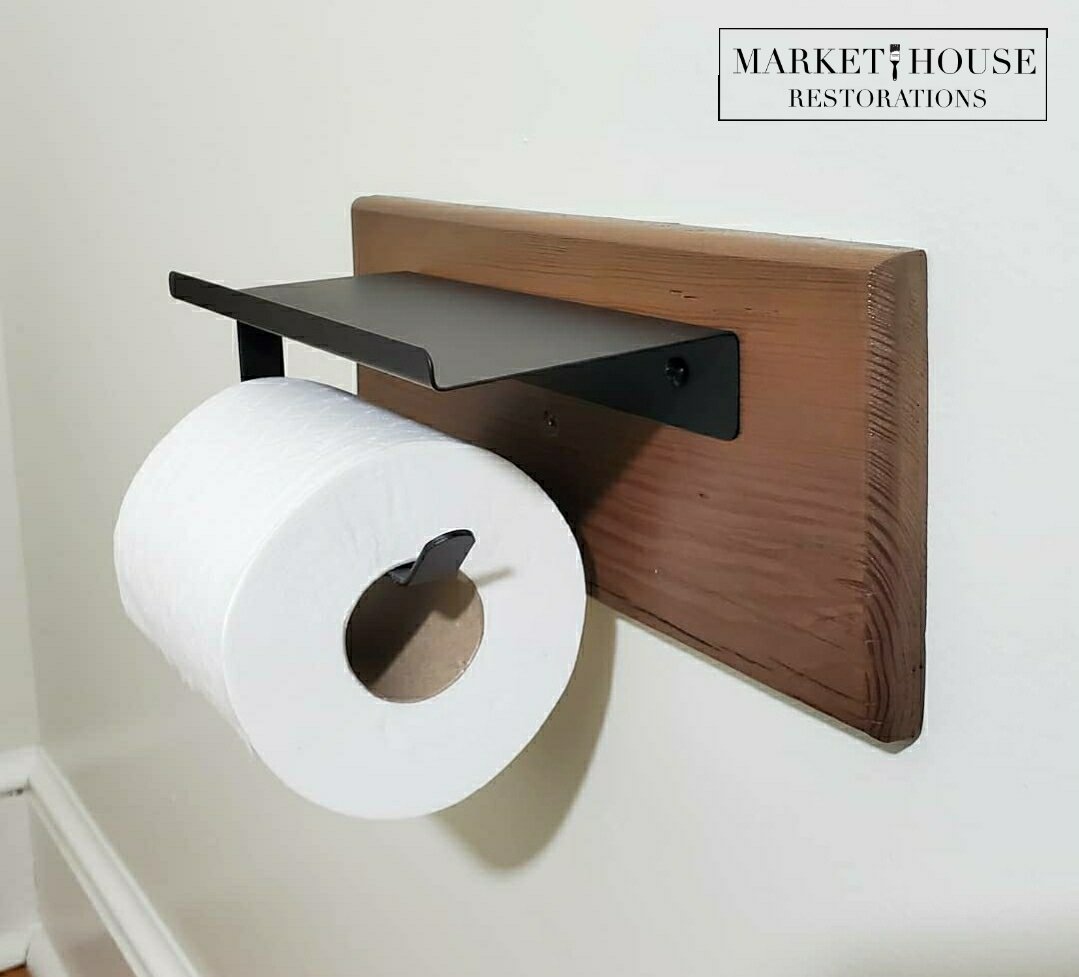
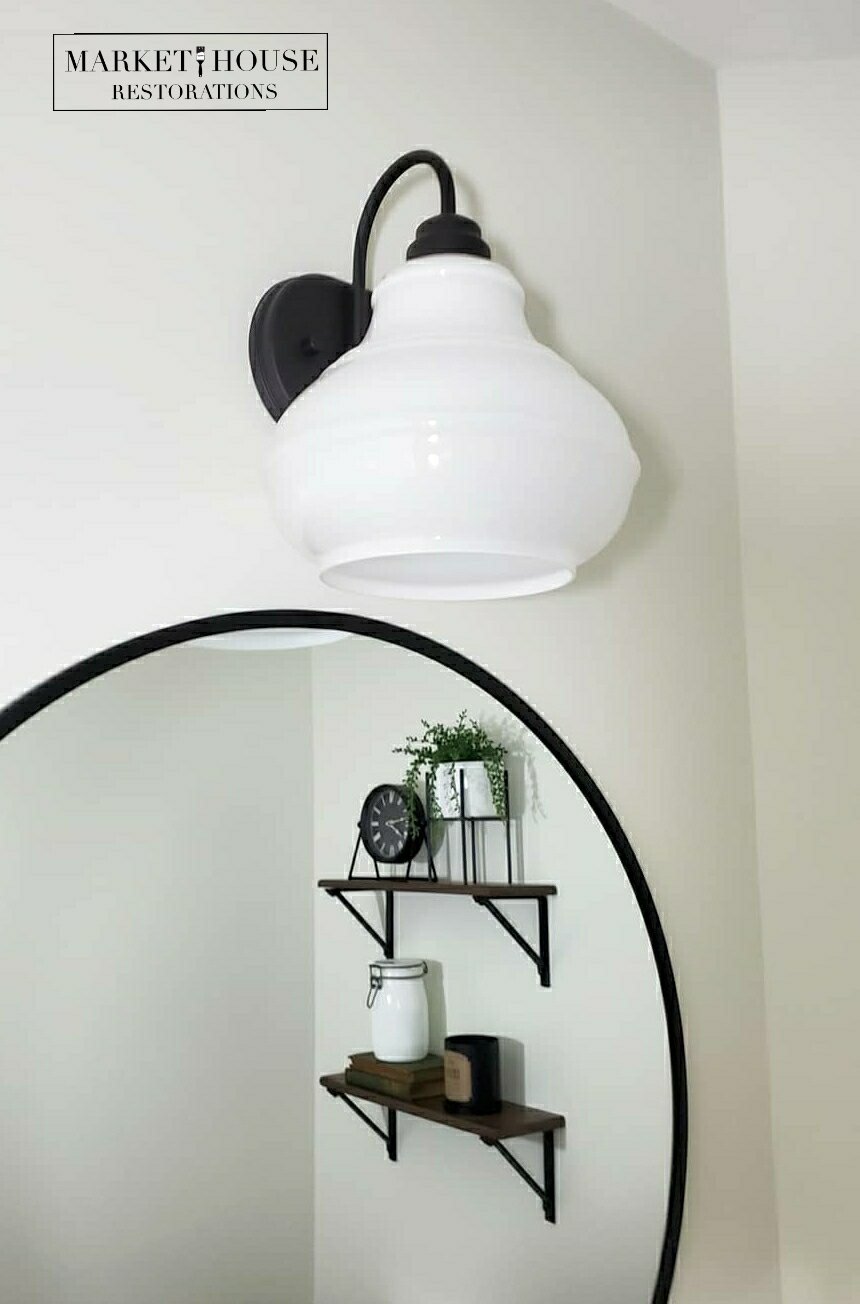
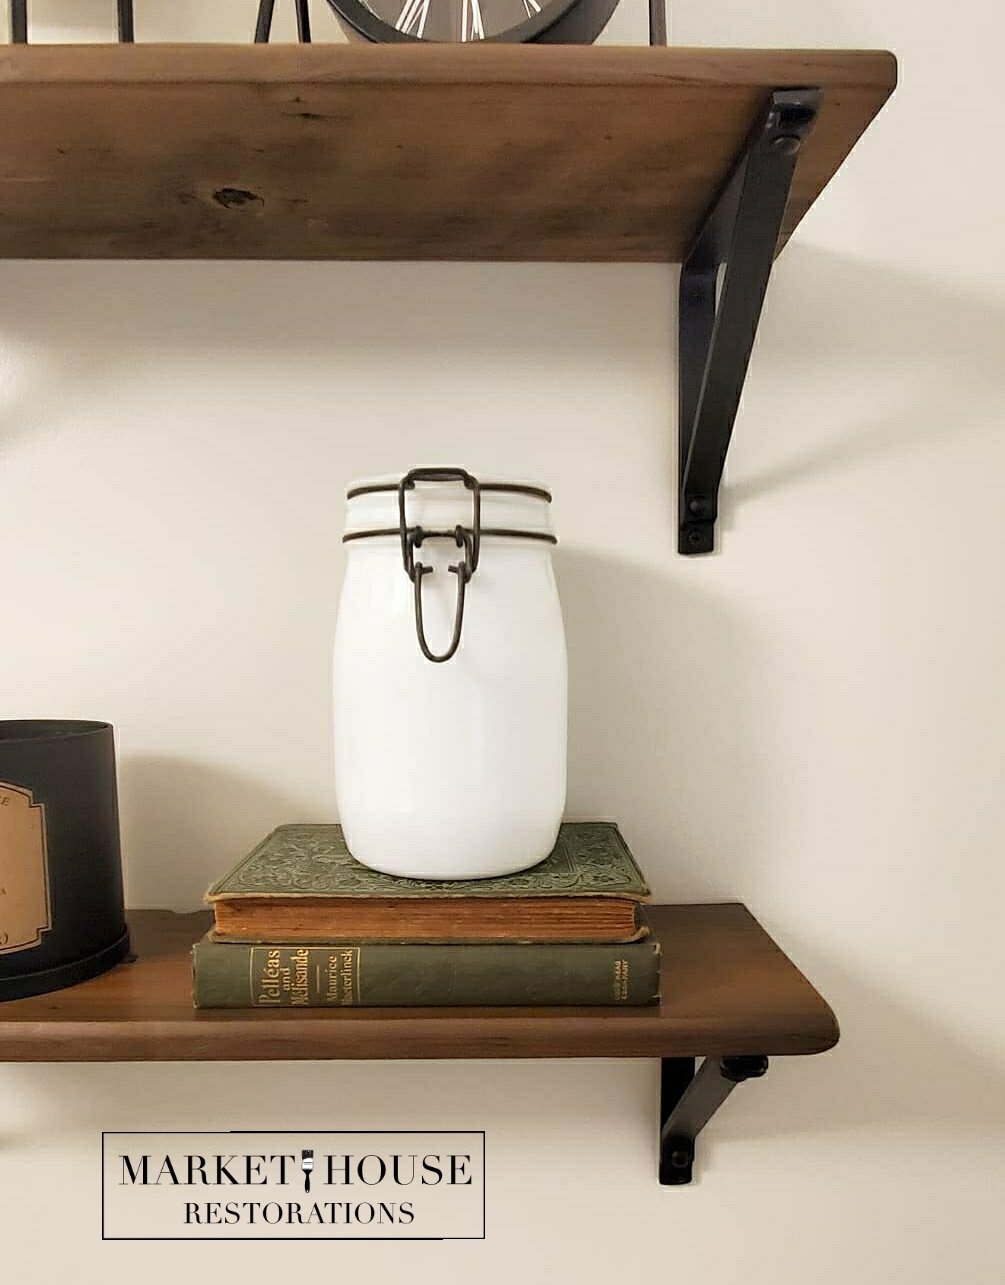
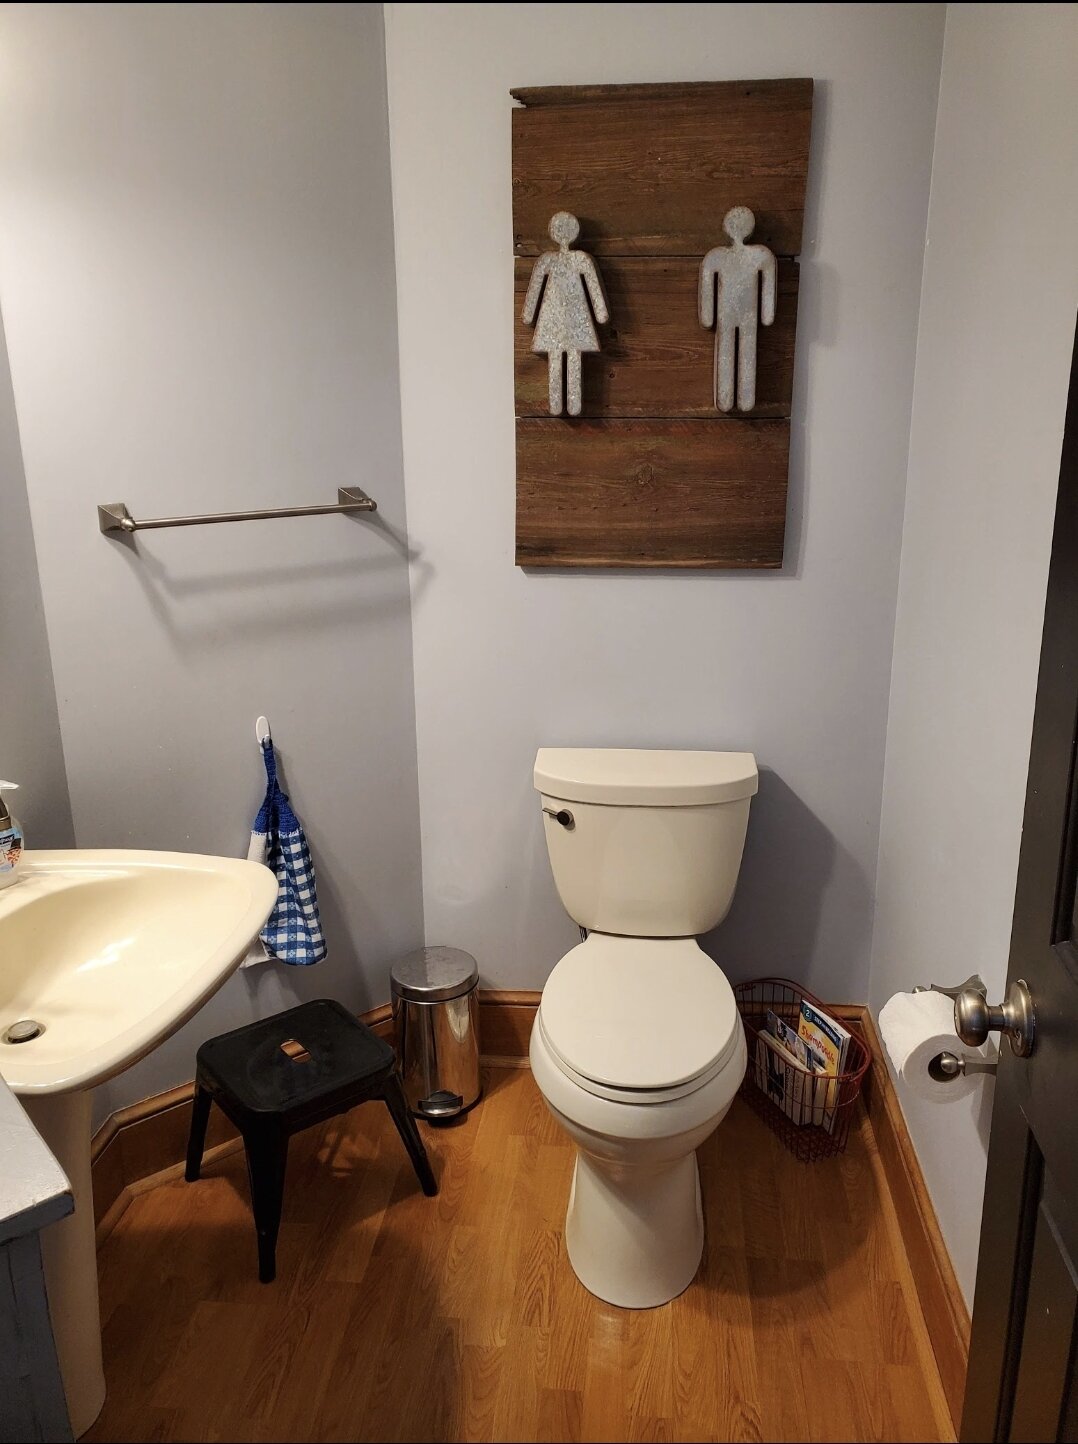
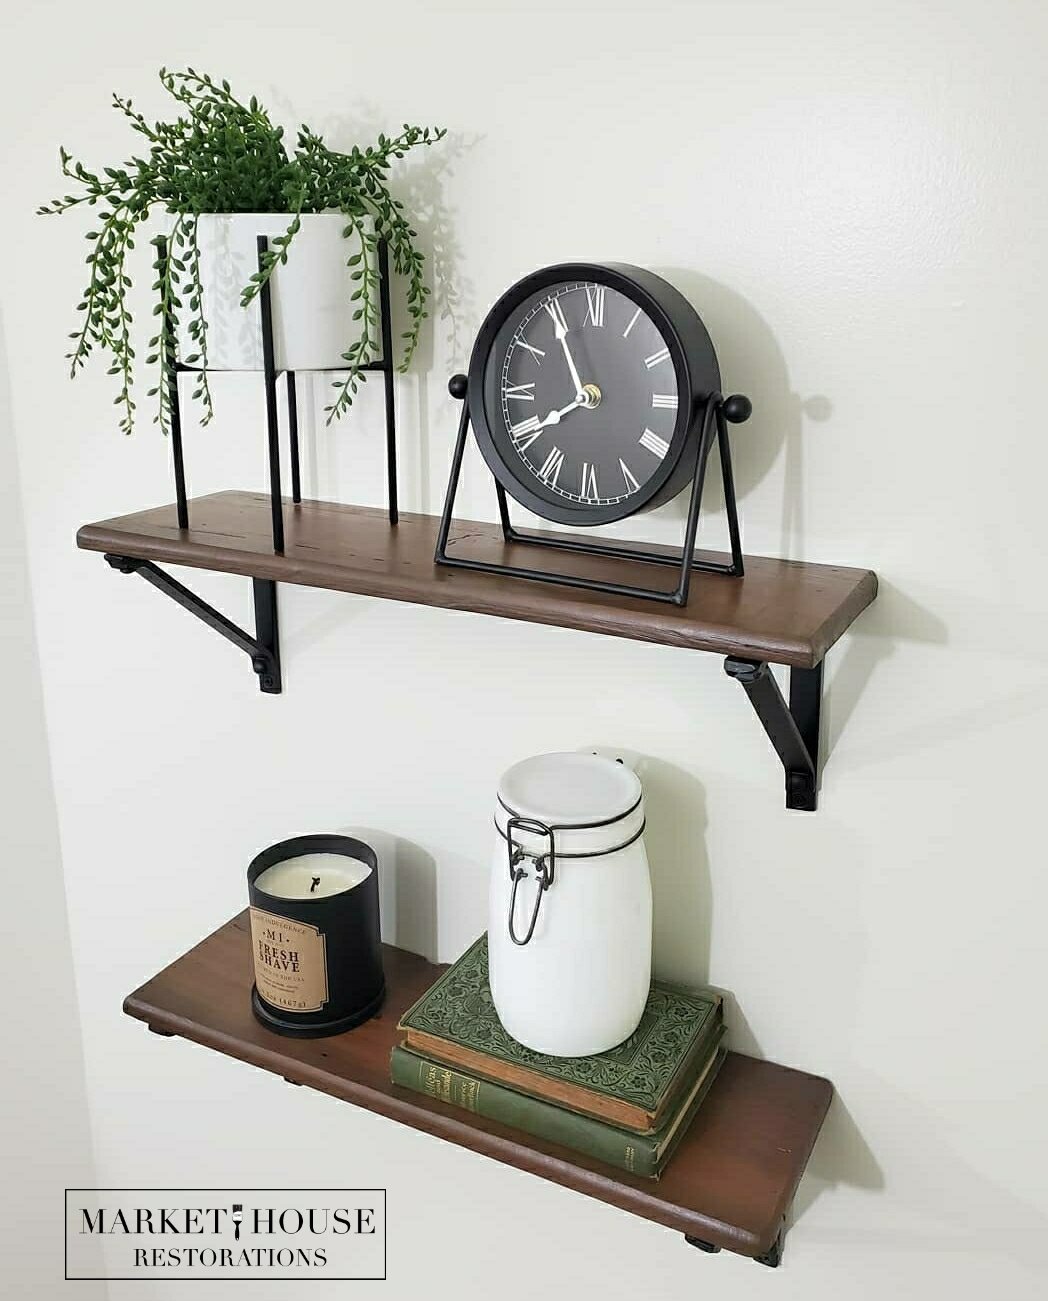
Phase 6: Adding the final décor touches
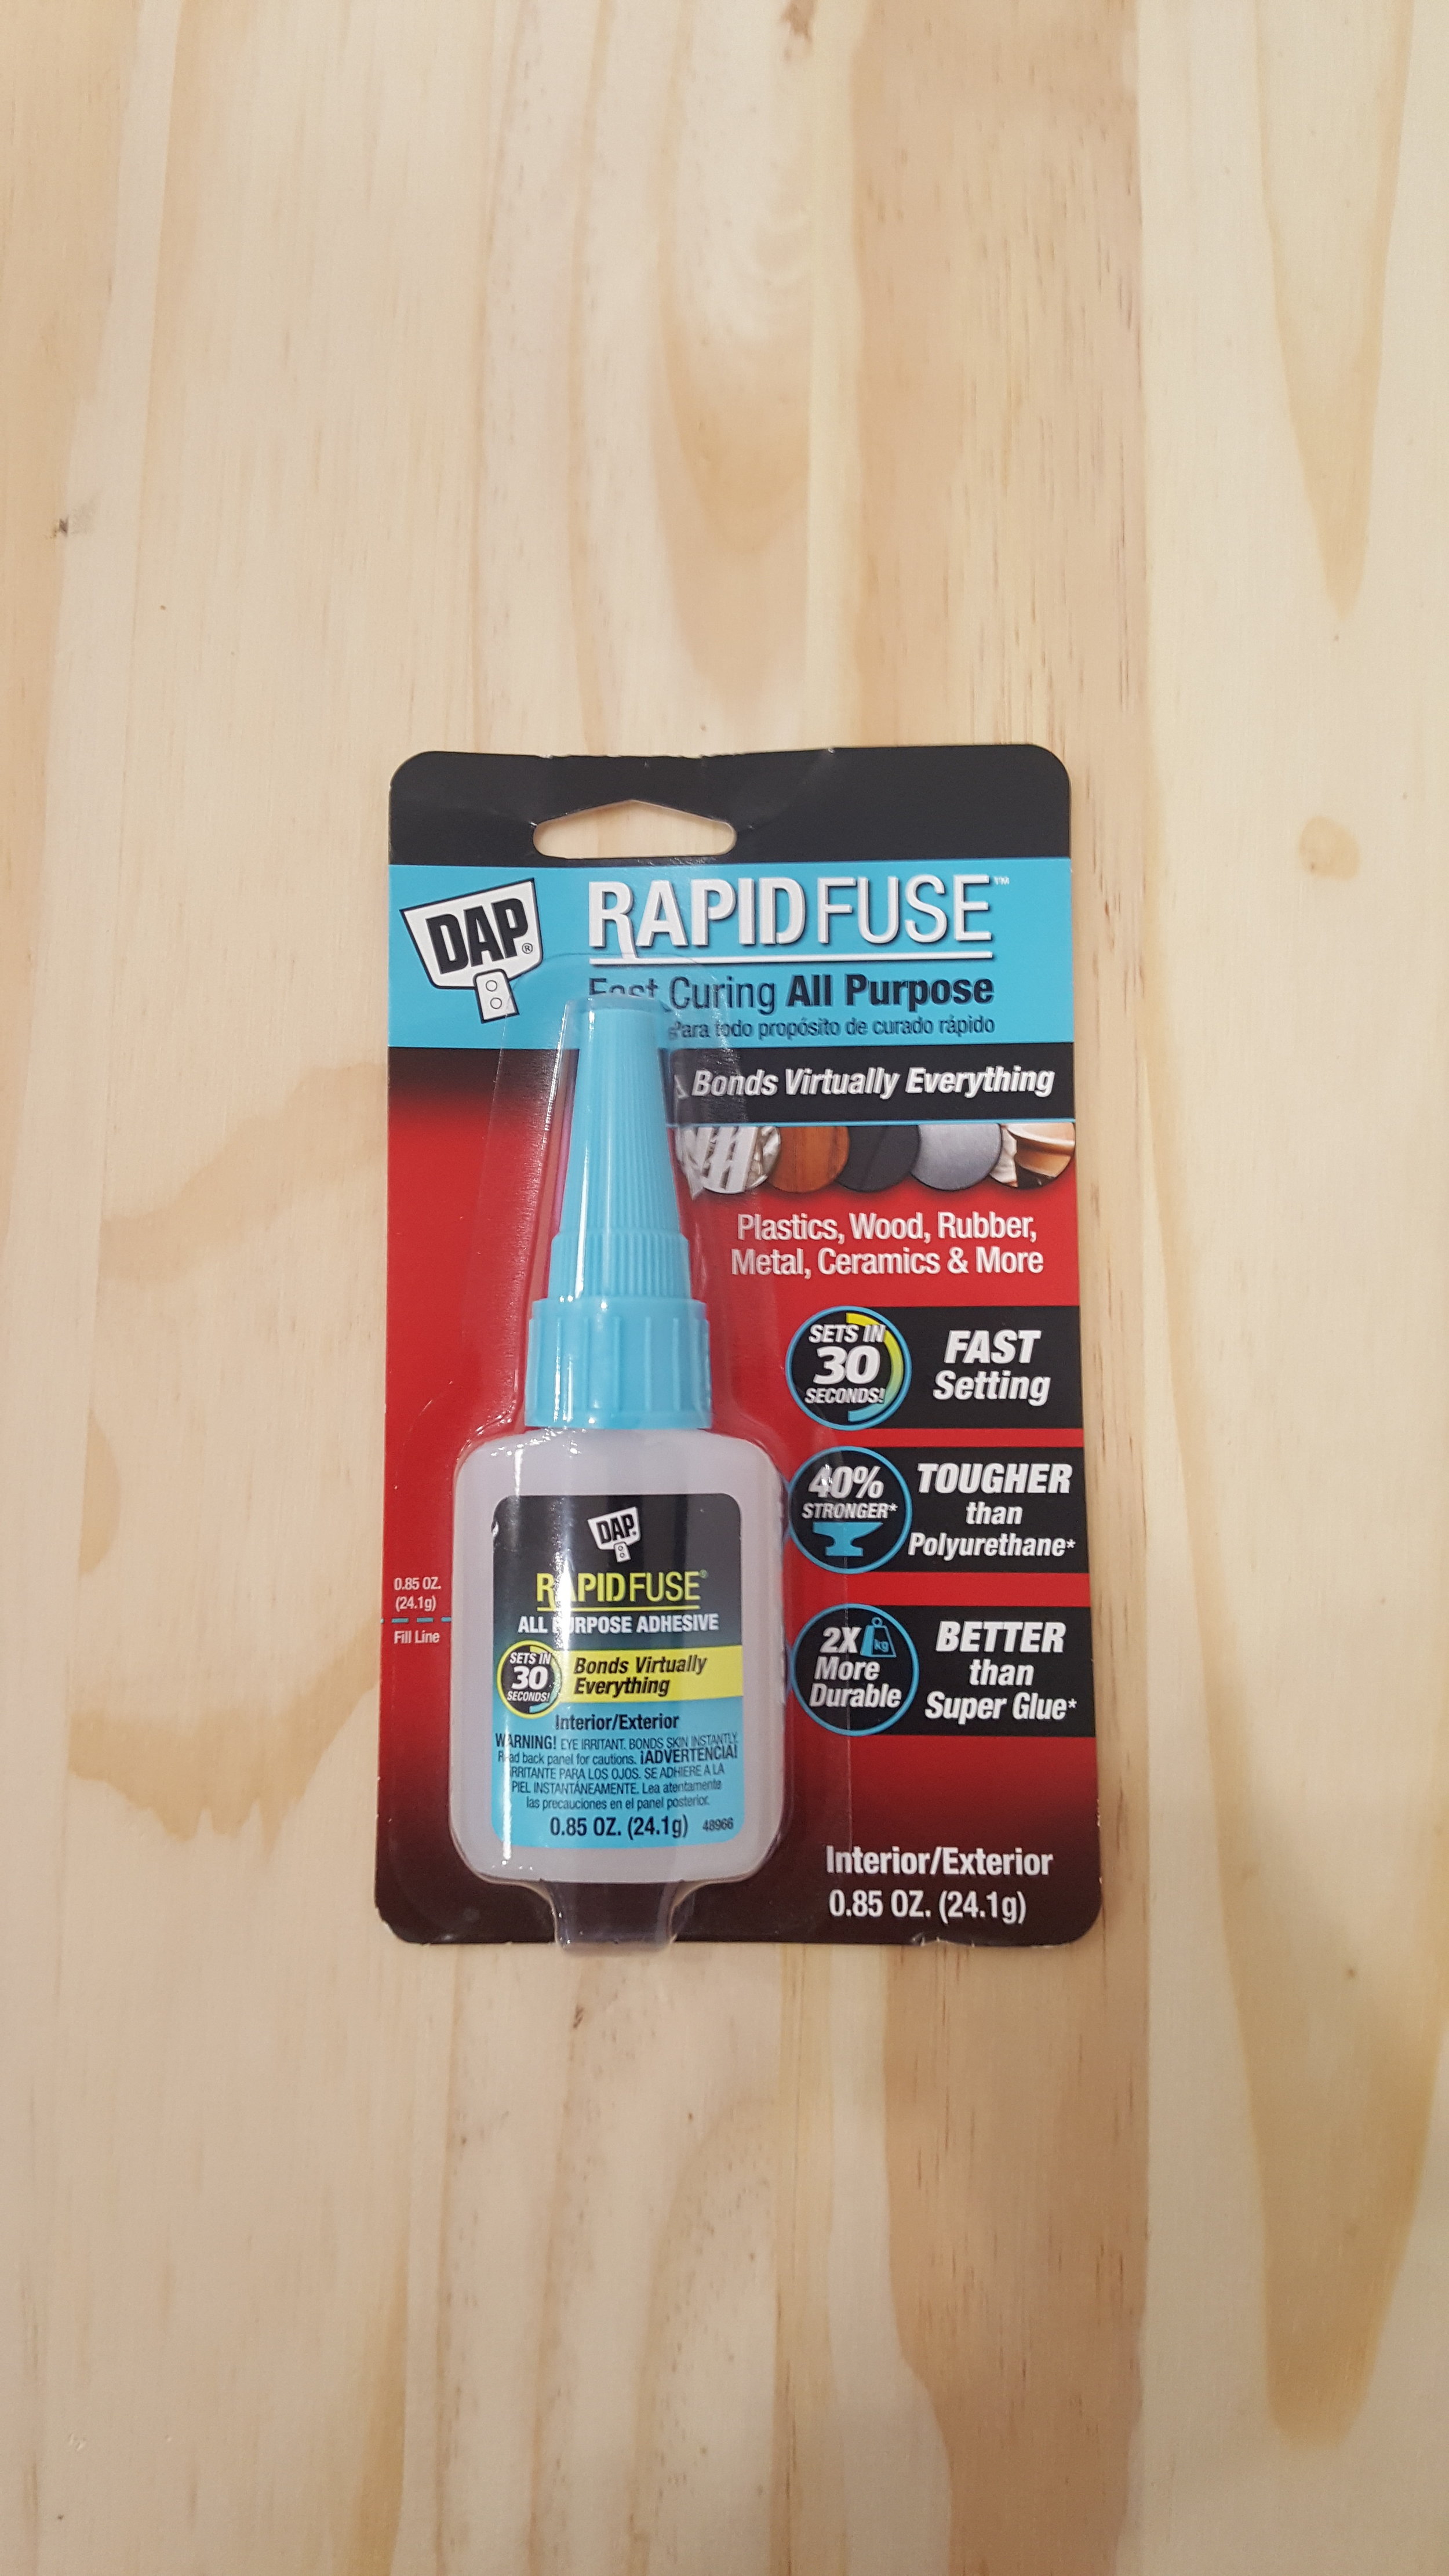
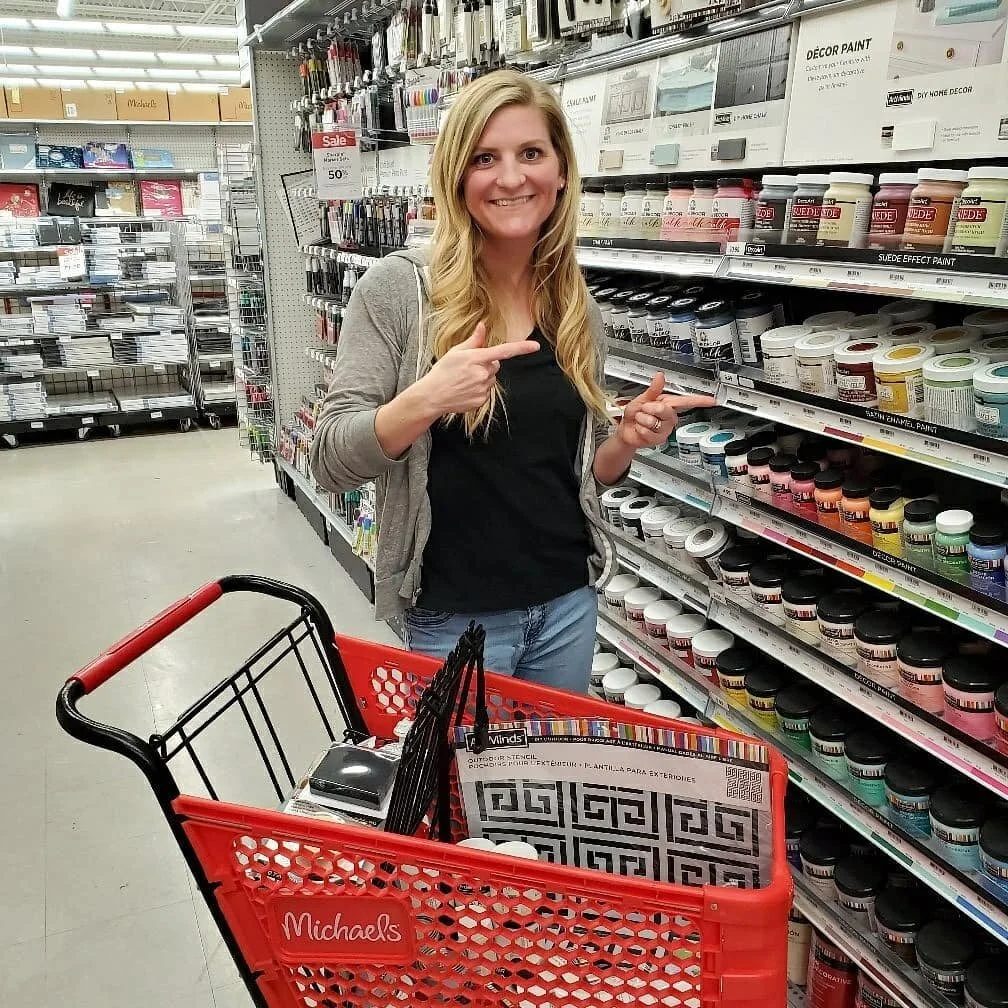
Throughout each video I explain what products I am using and what’s being done. I hope you enjoy watching the process!
As always, thank you so much for tuning in for #MondayMakeoversWithFallon. If you want to save this blog post so you can refer back to it, make sure you pin it to your Pinterest page and/or feel free to share it elsewhere. Don’t forget to check out my previous #MondayMakeoversWithFallon blog posts below as well as my other educating #TuesdayTipsWithFallon video tips/tutorials!
Phase 1: Explanation of Process
Phase 2: Prepping the bathroom for paint
PHASE 3: Painting the bathroom walls and trim
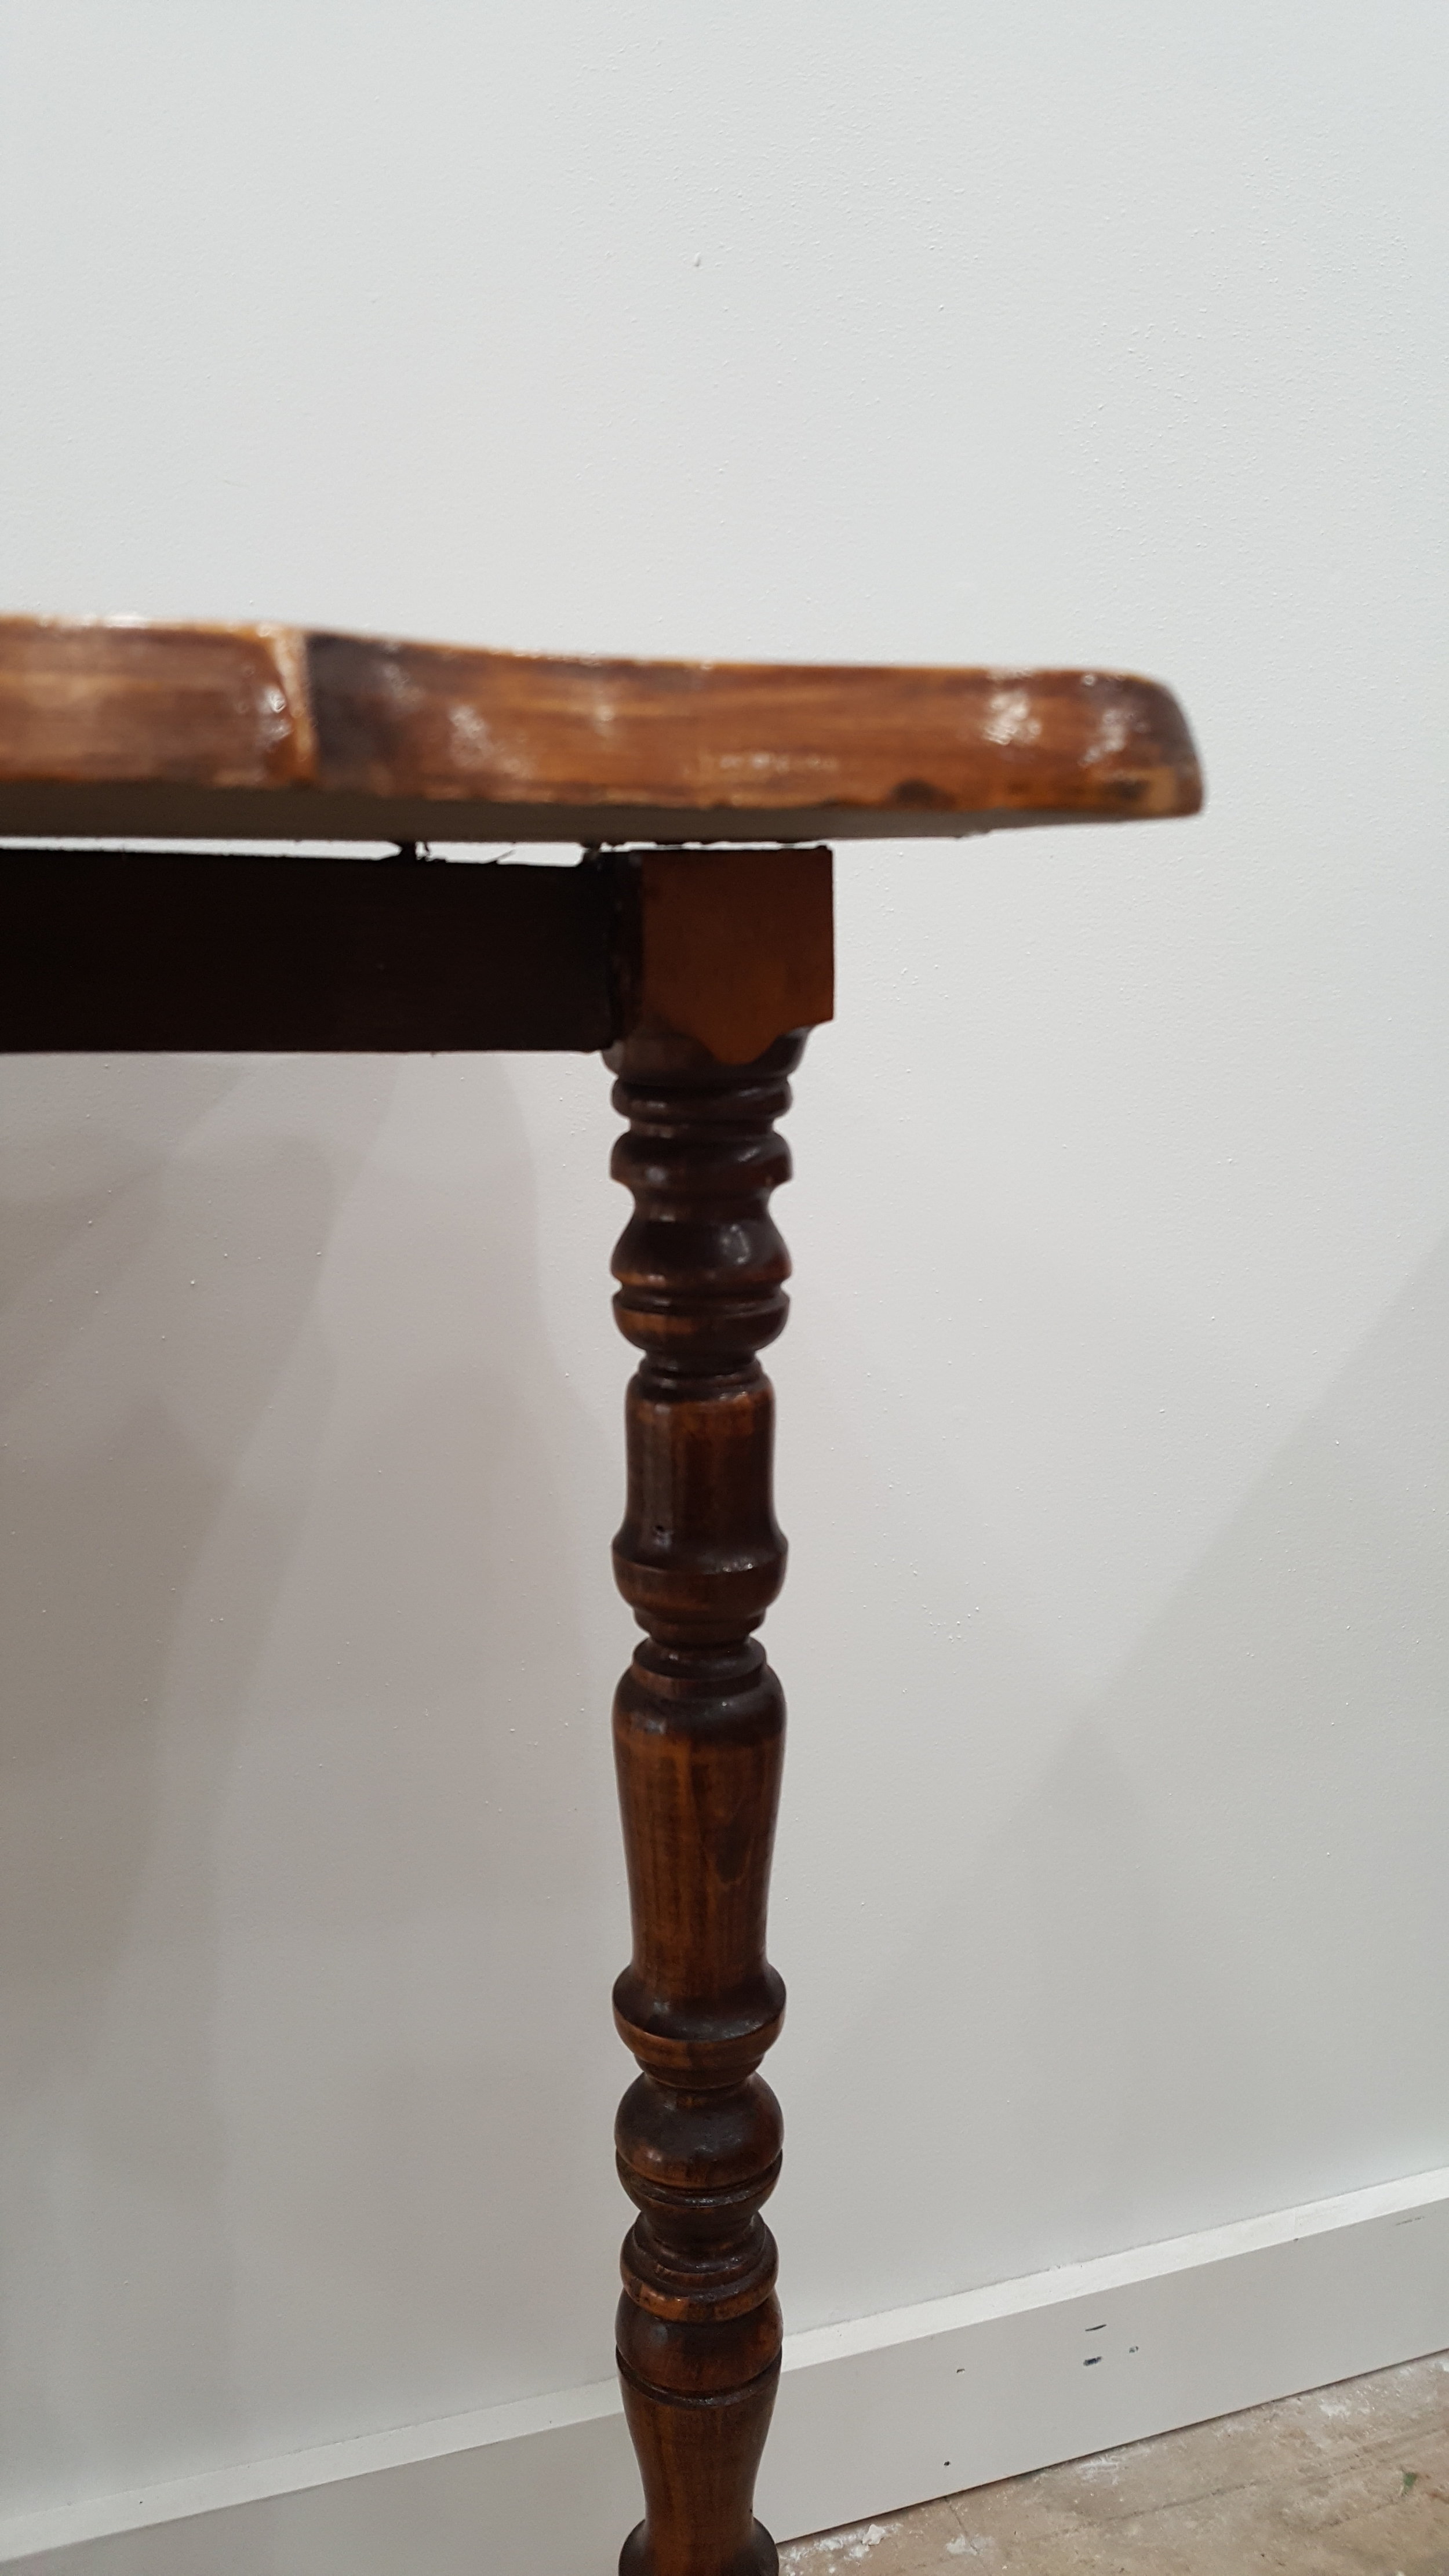
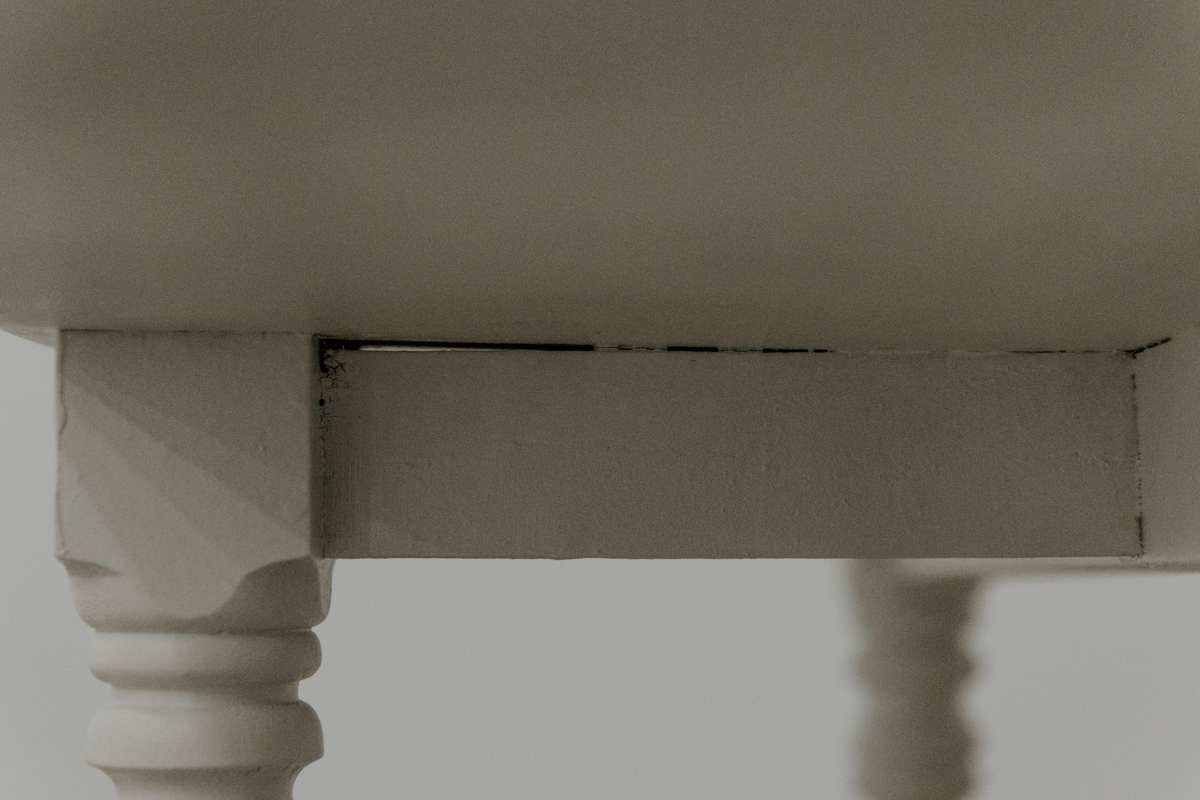
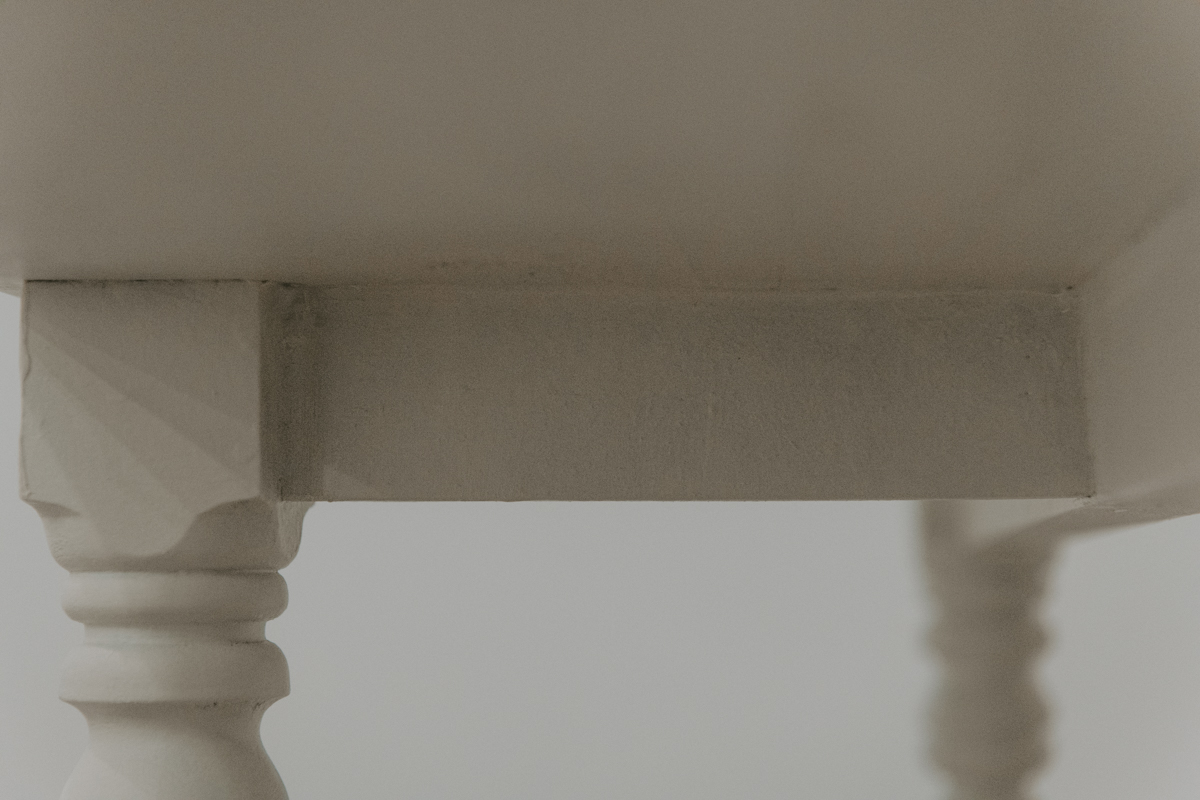
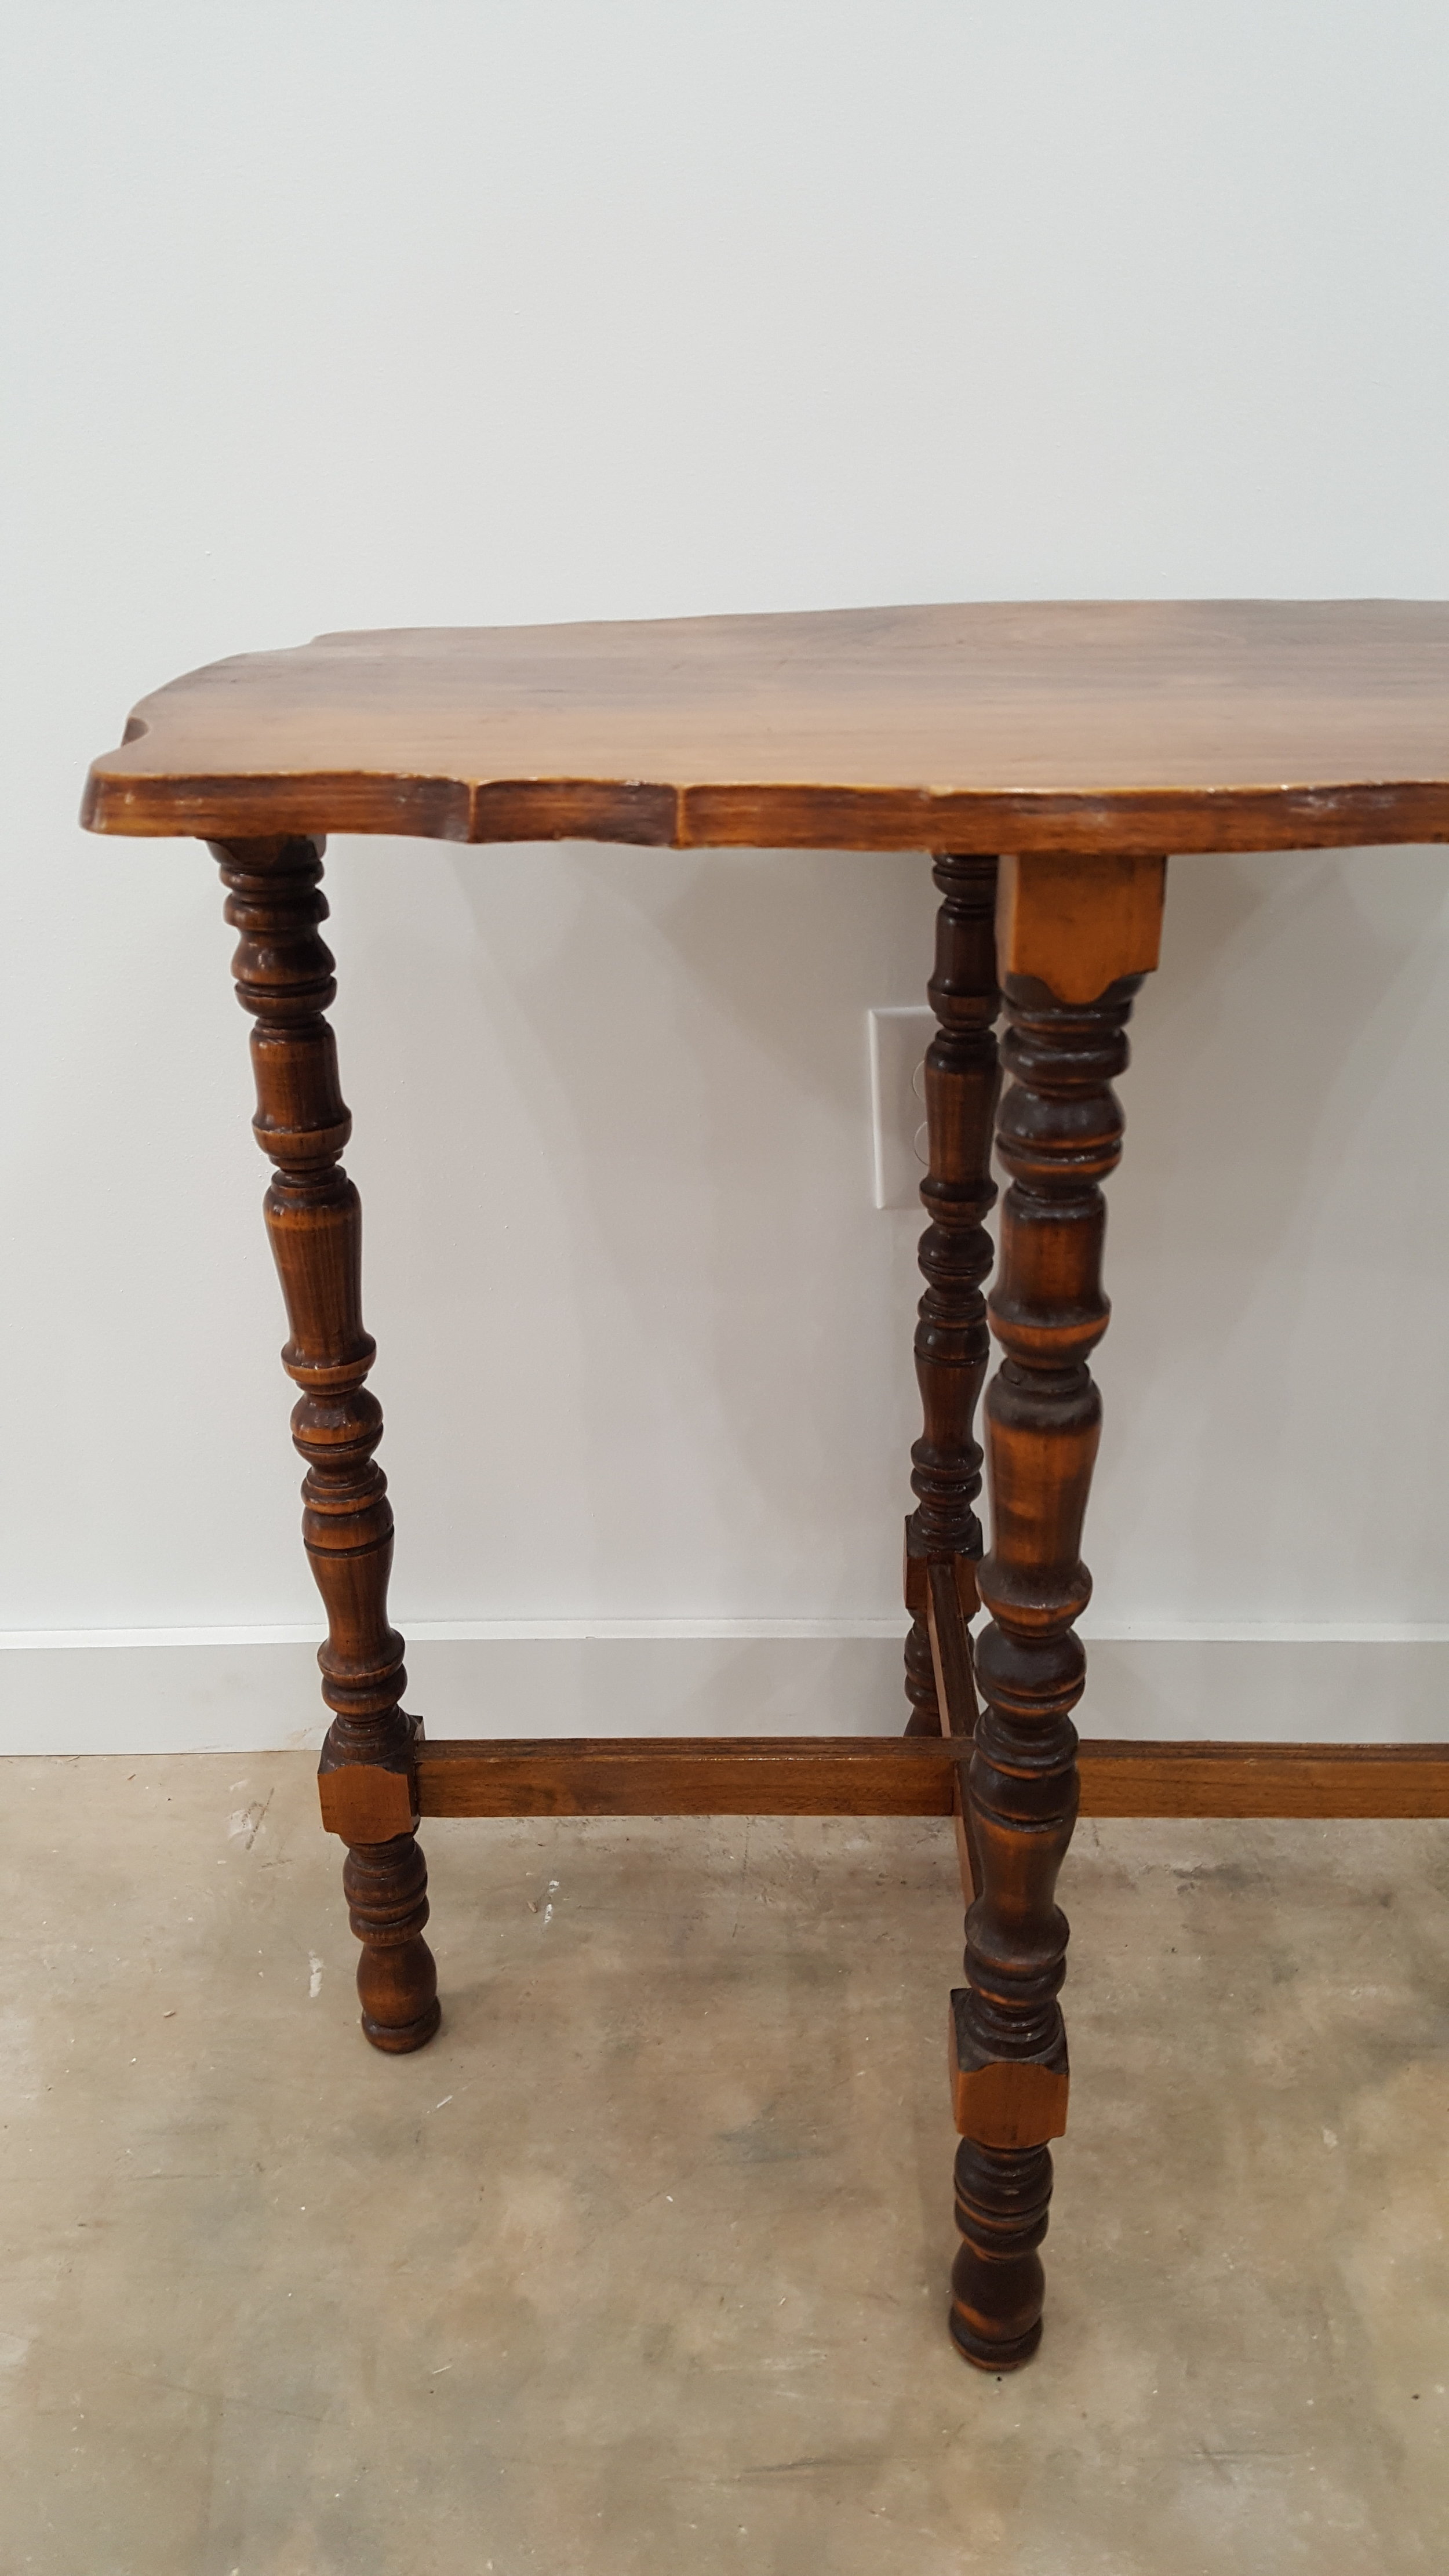
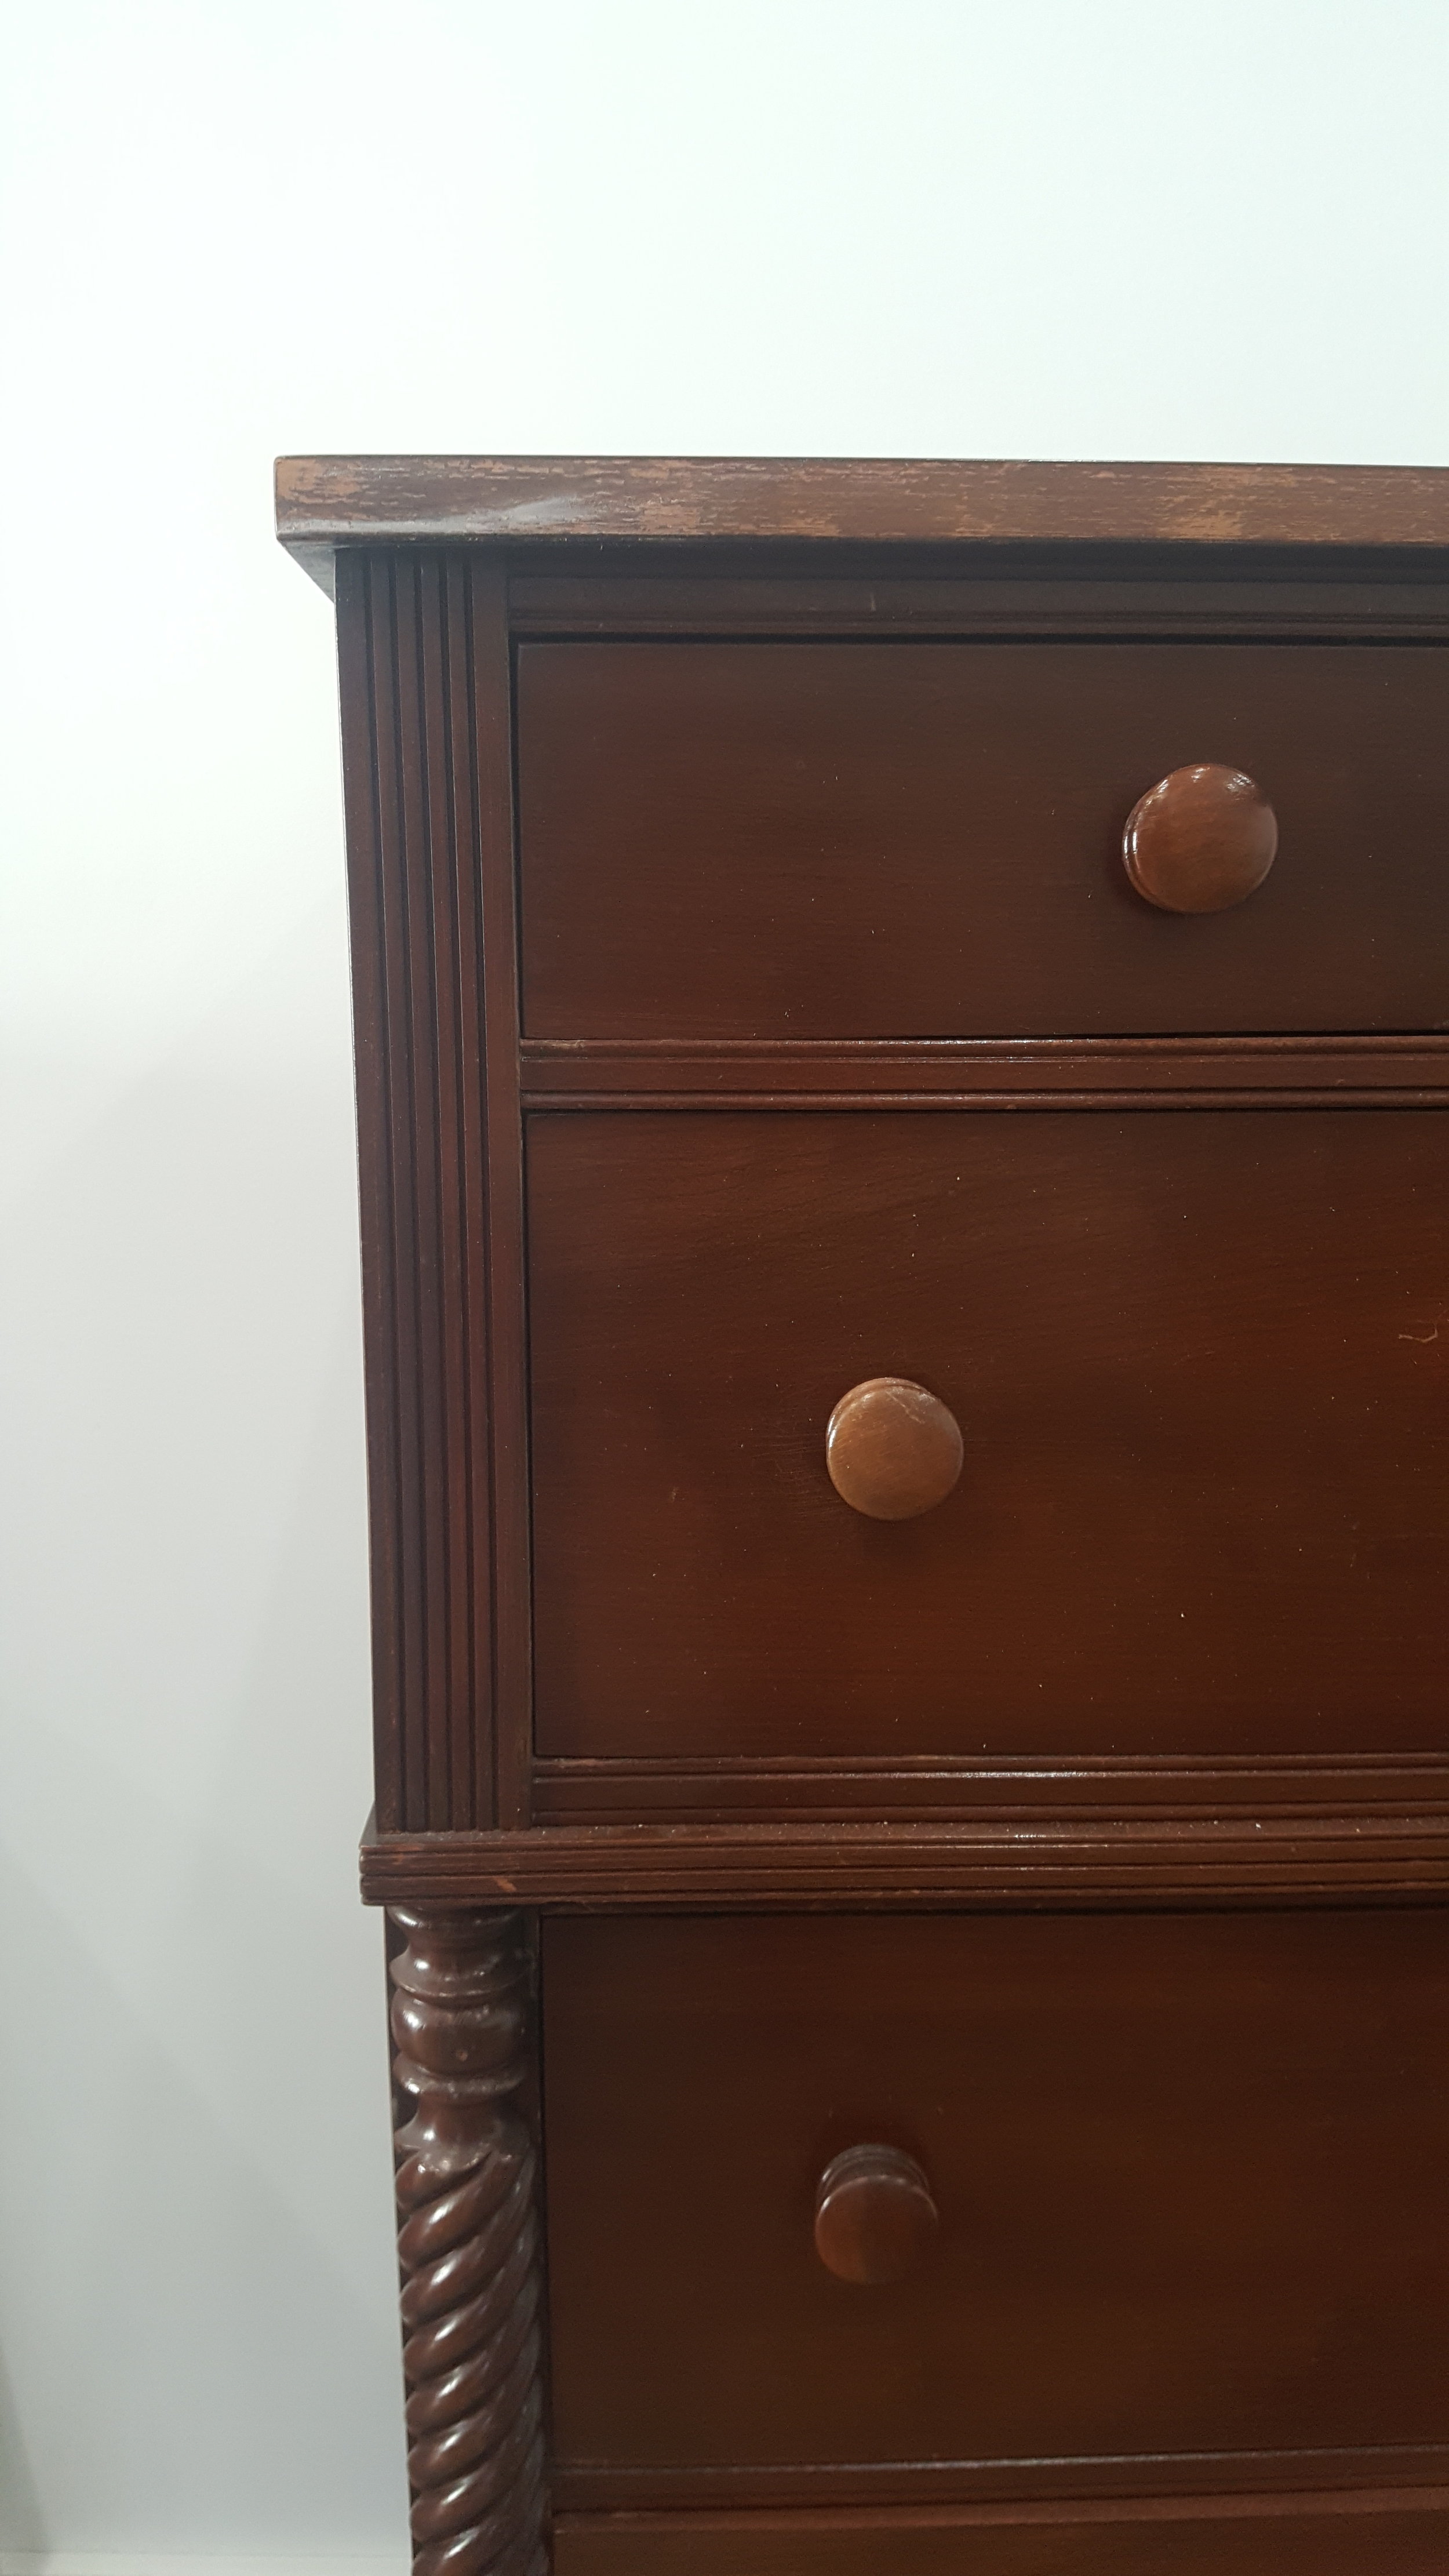
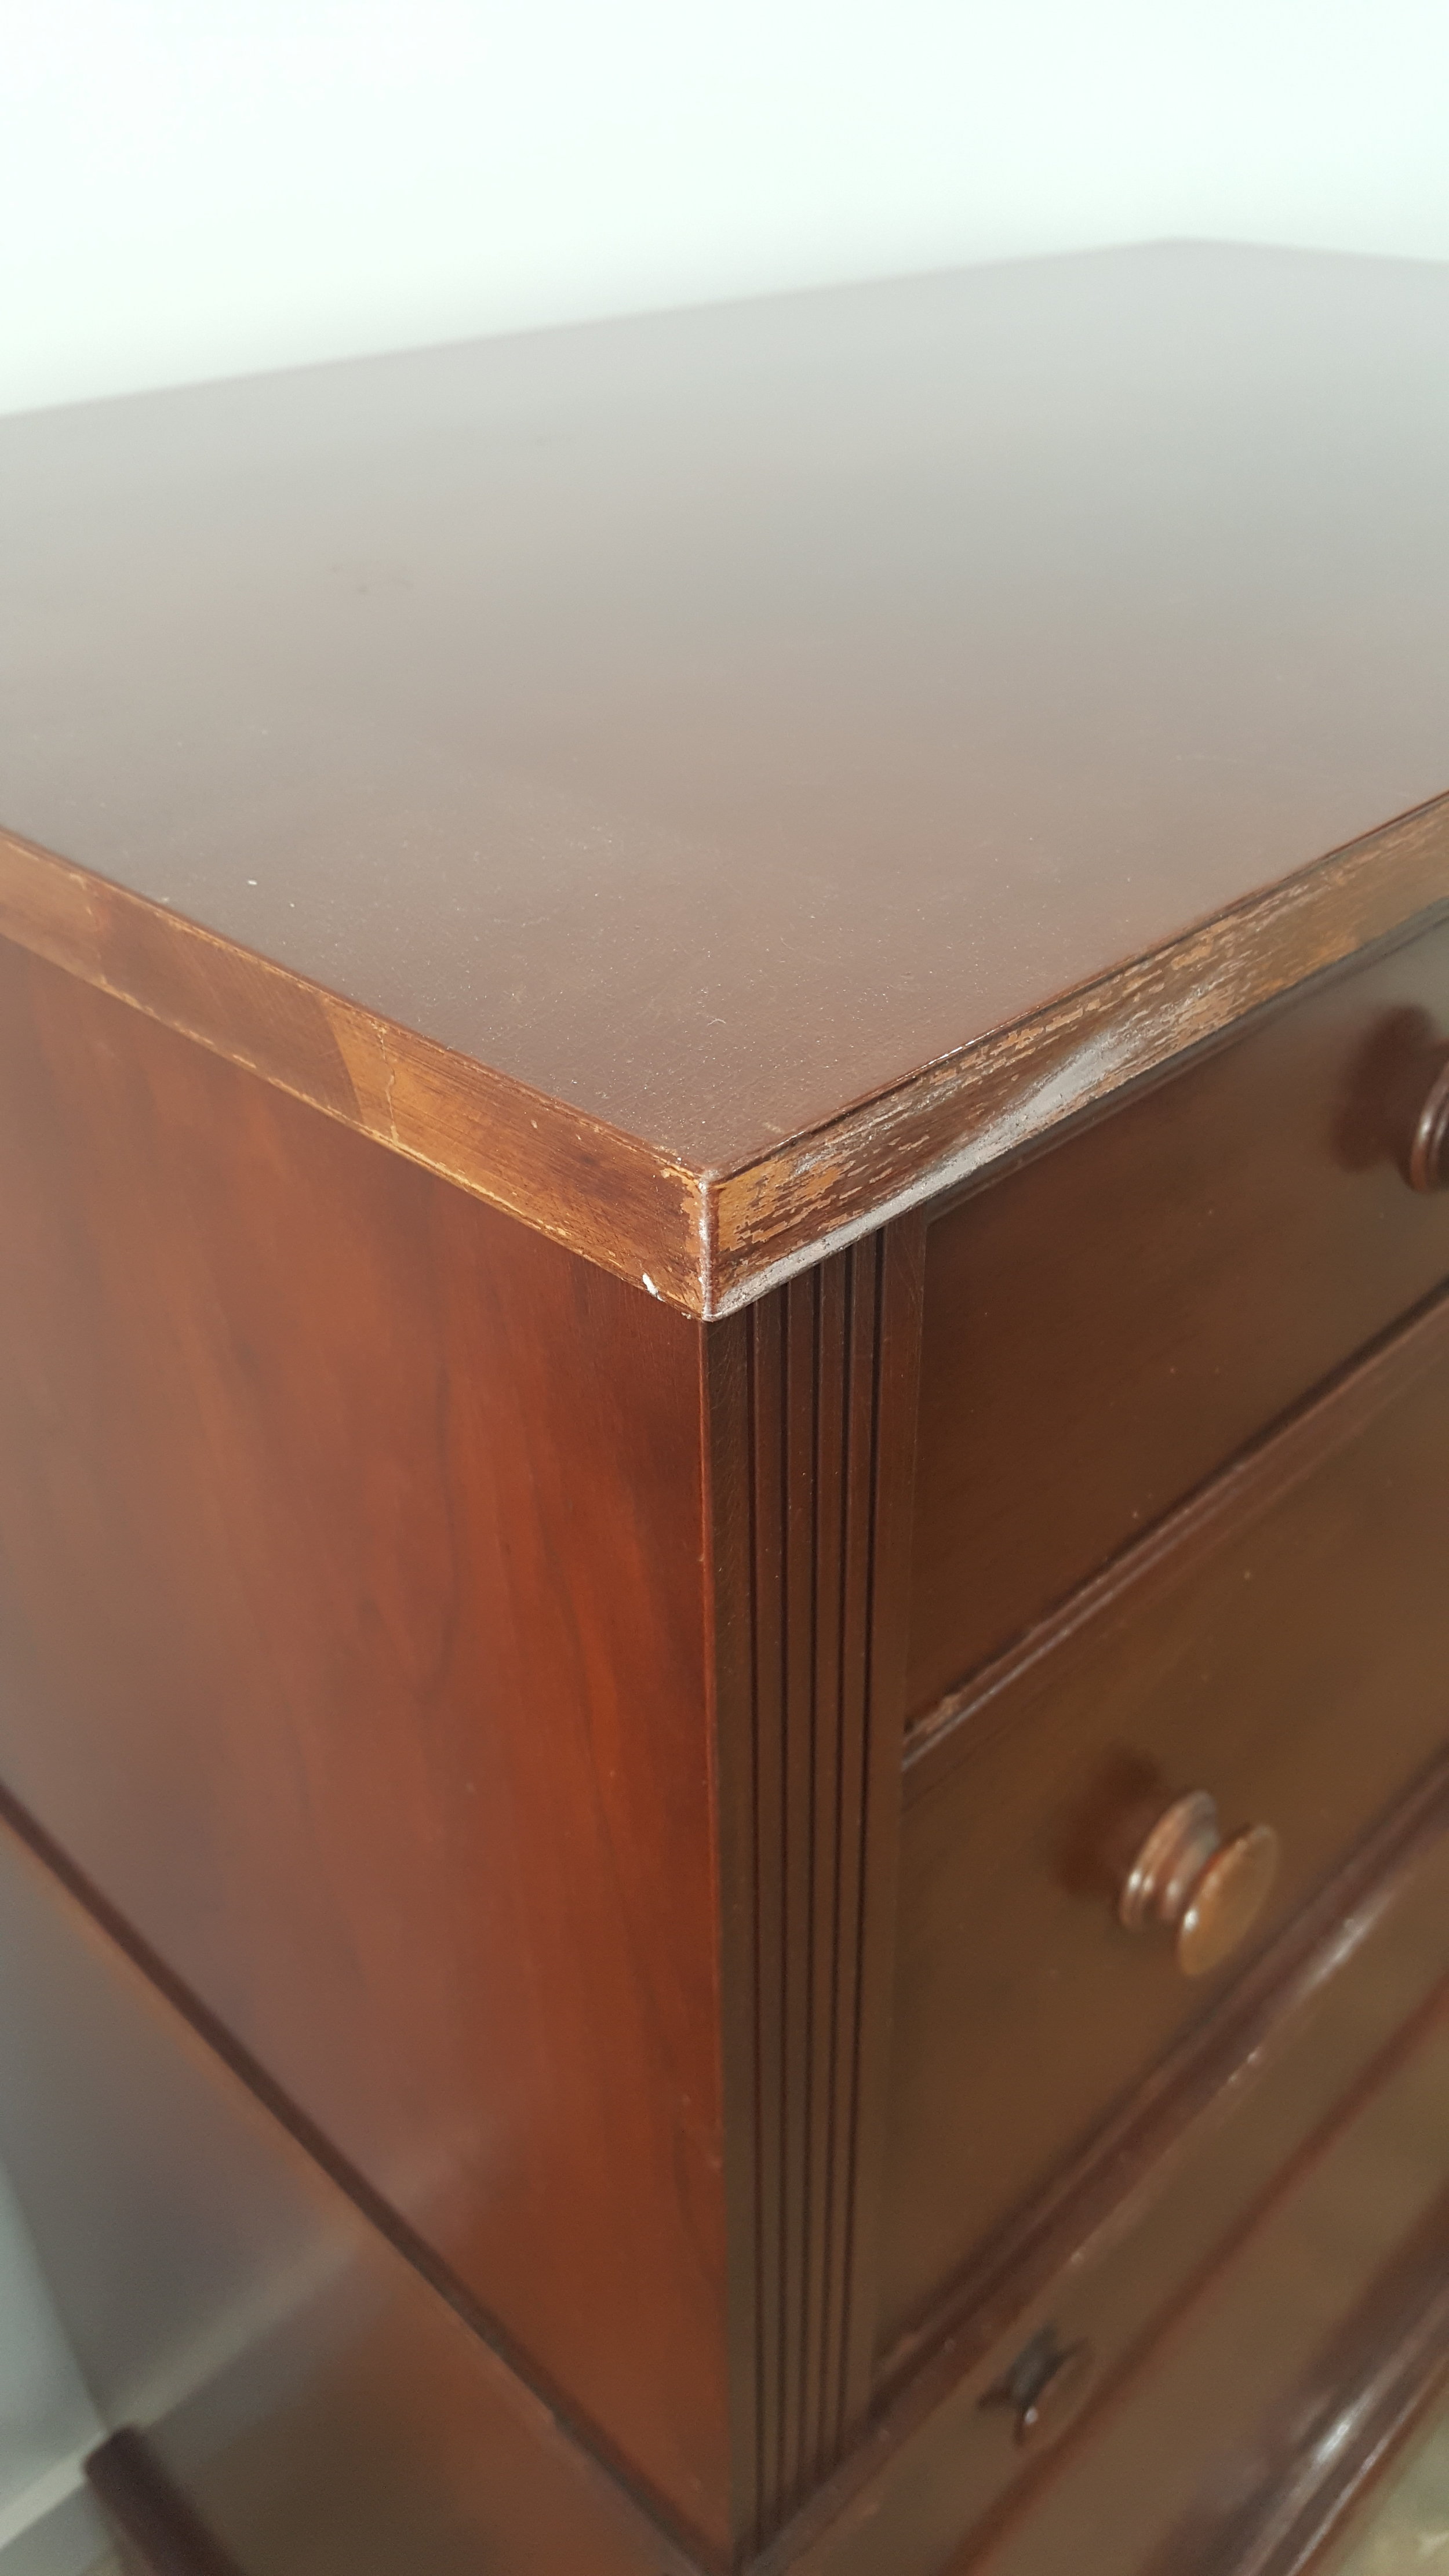
PHASE 4: Prepping and painting furniture/vanity
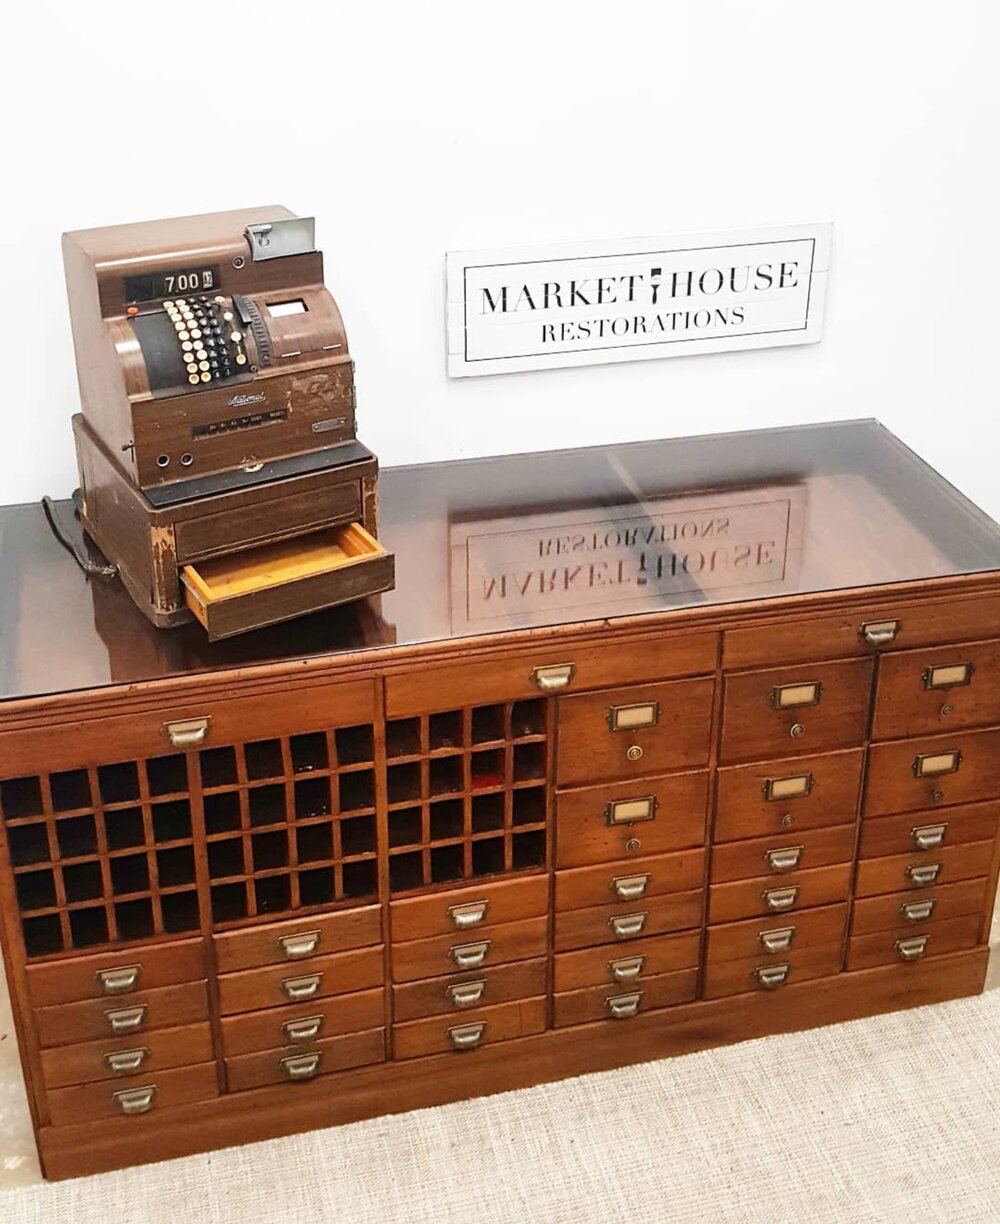
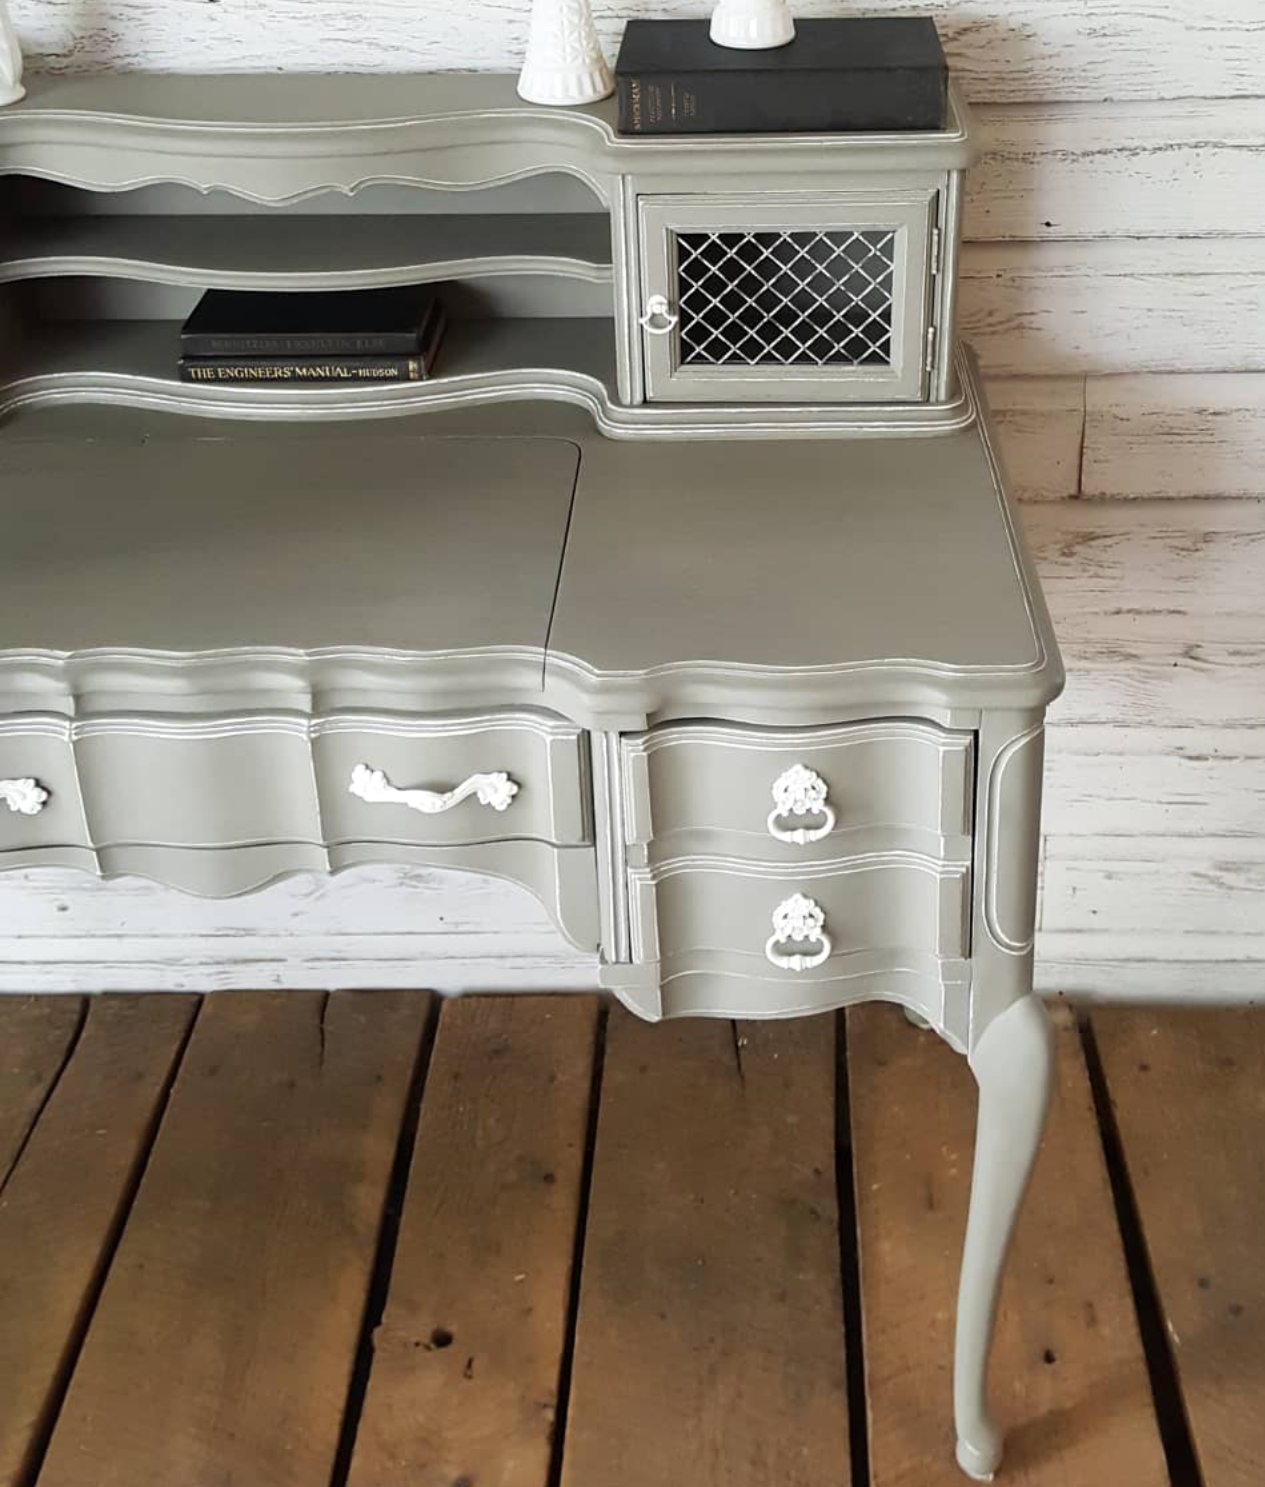
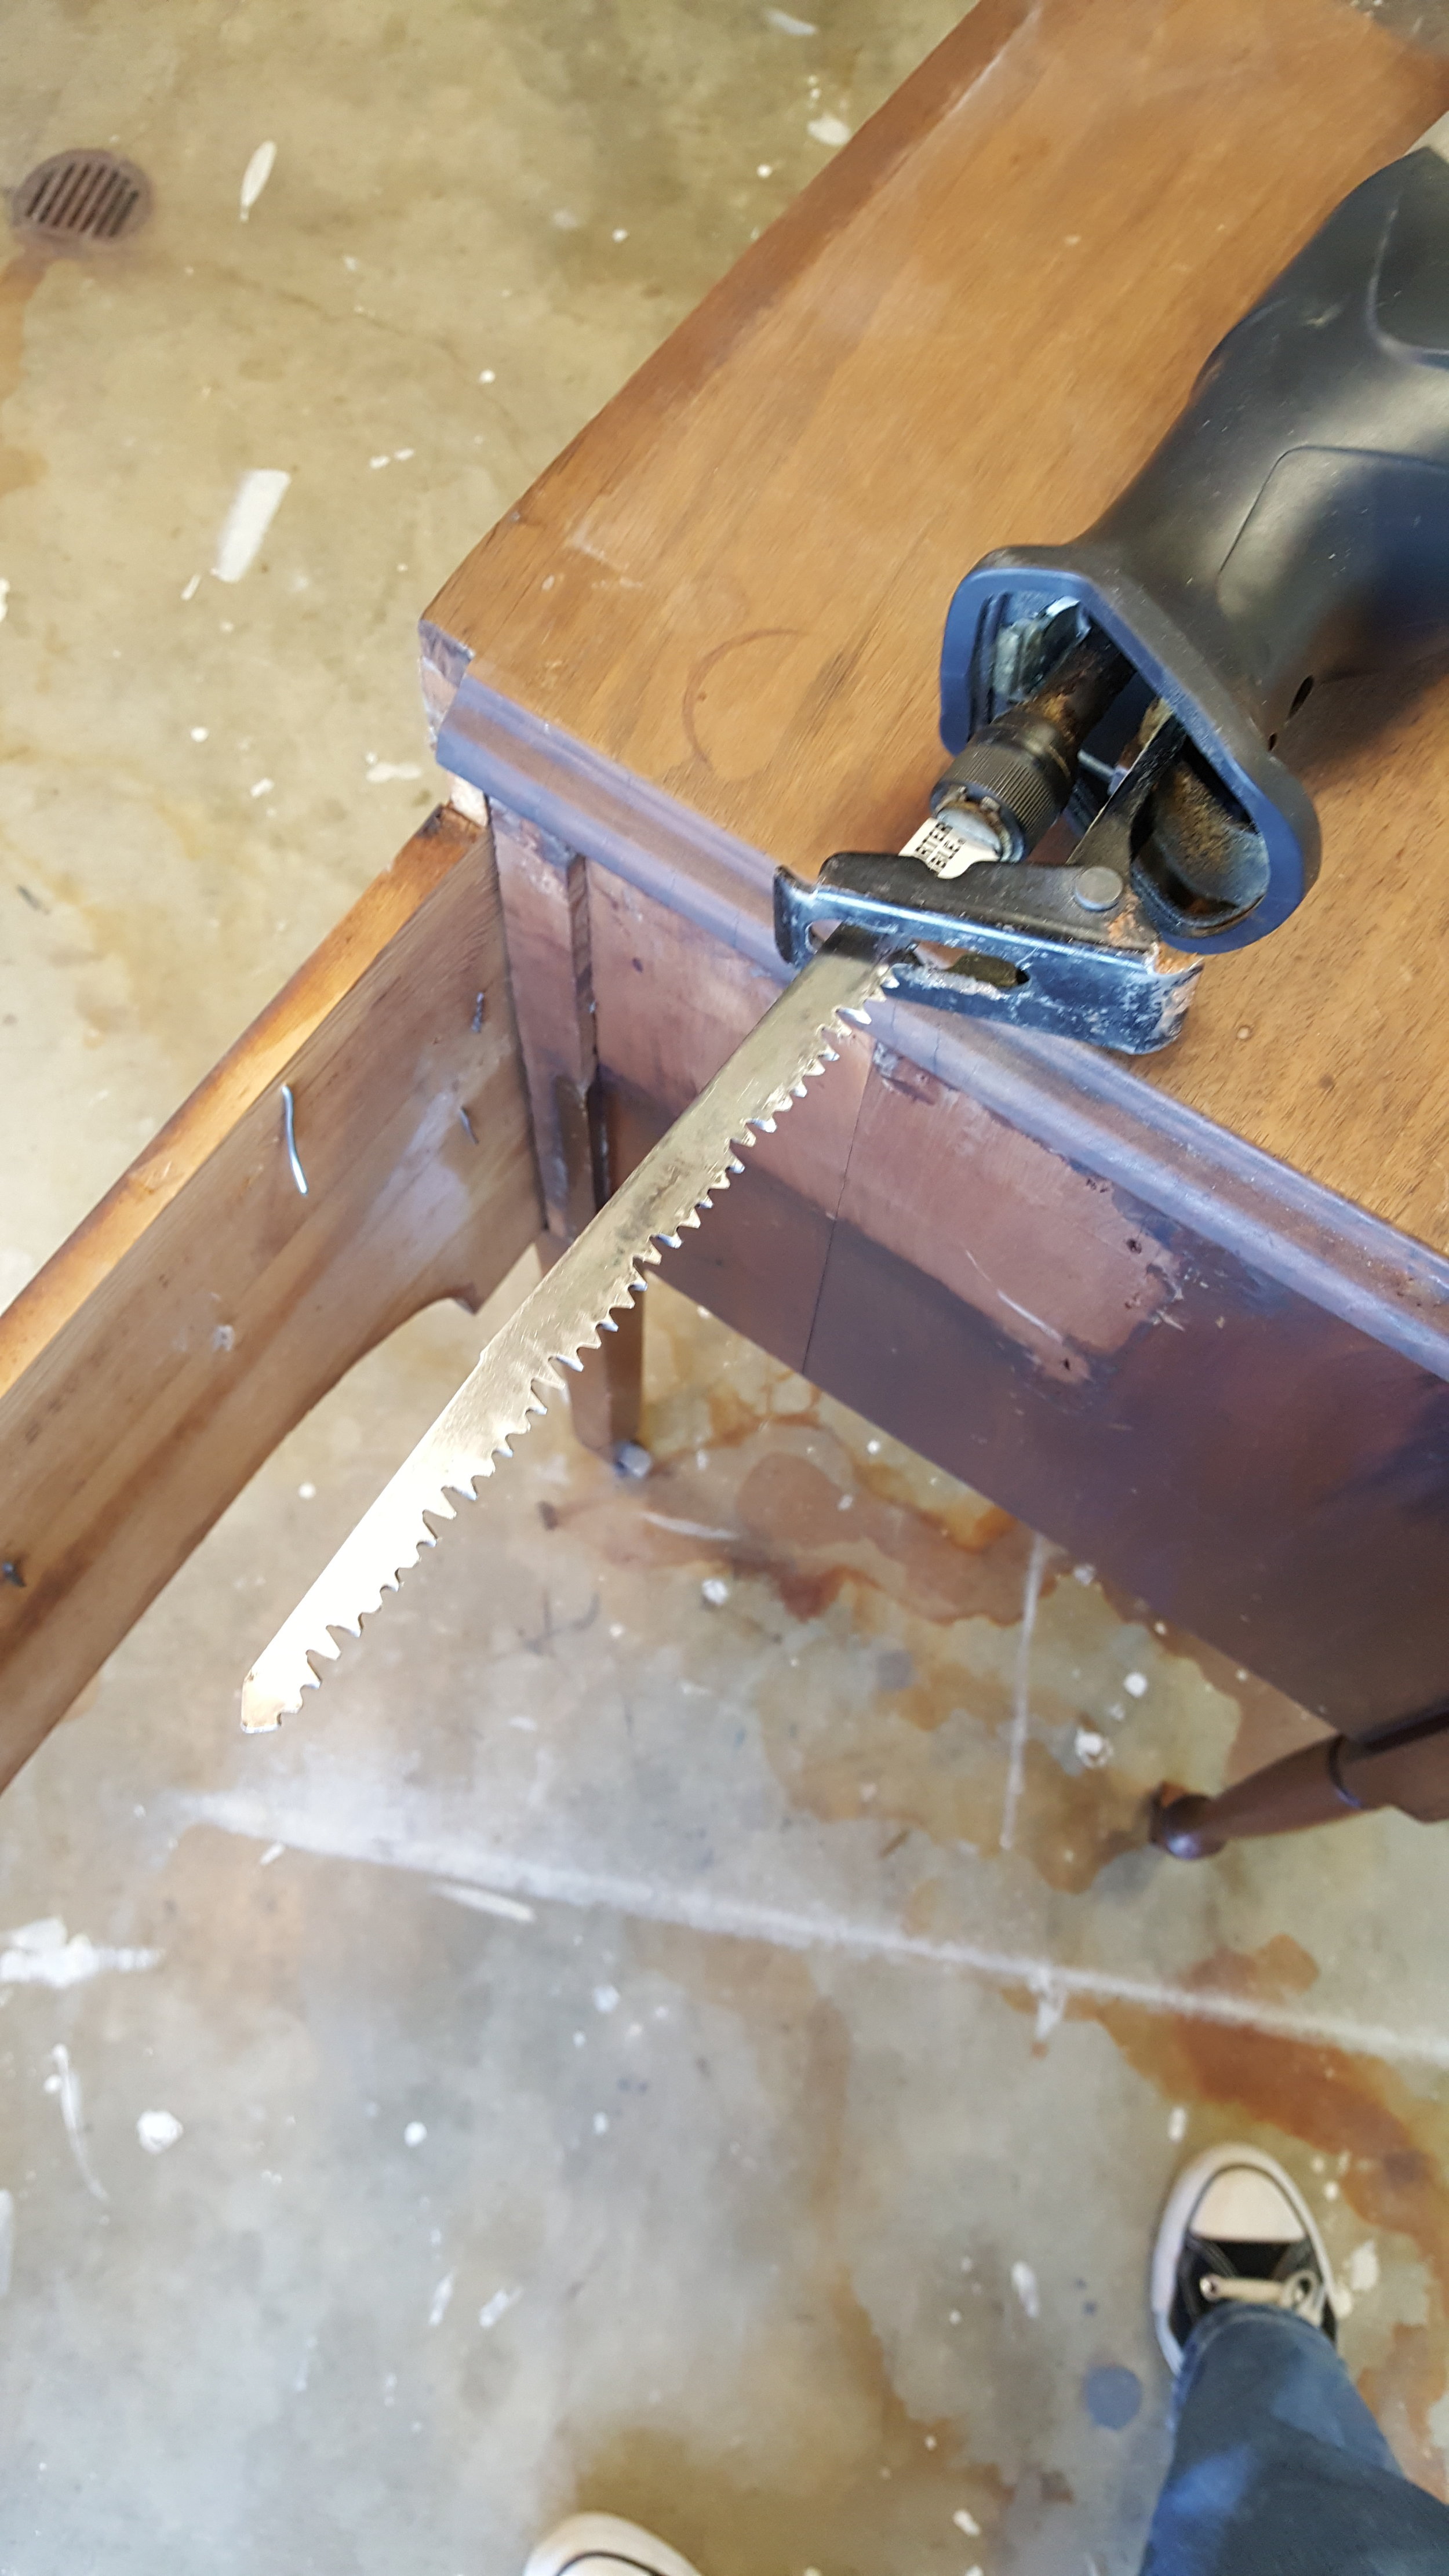
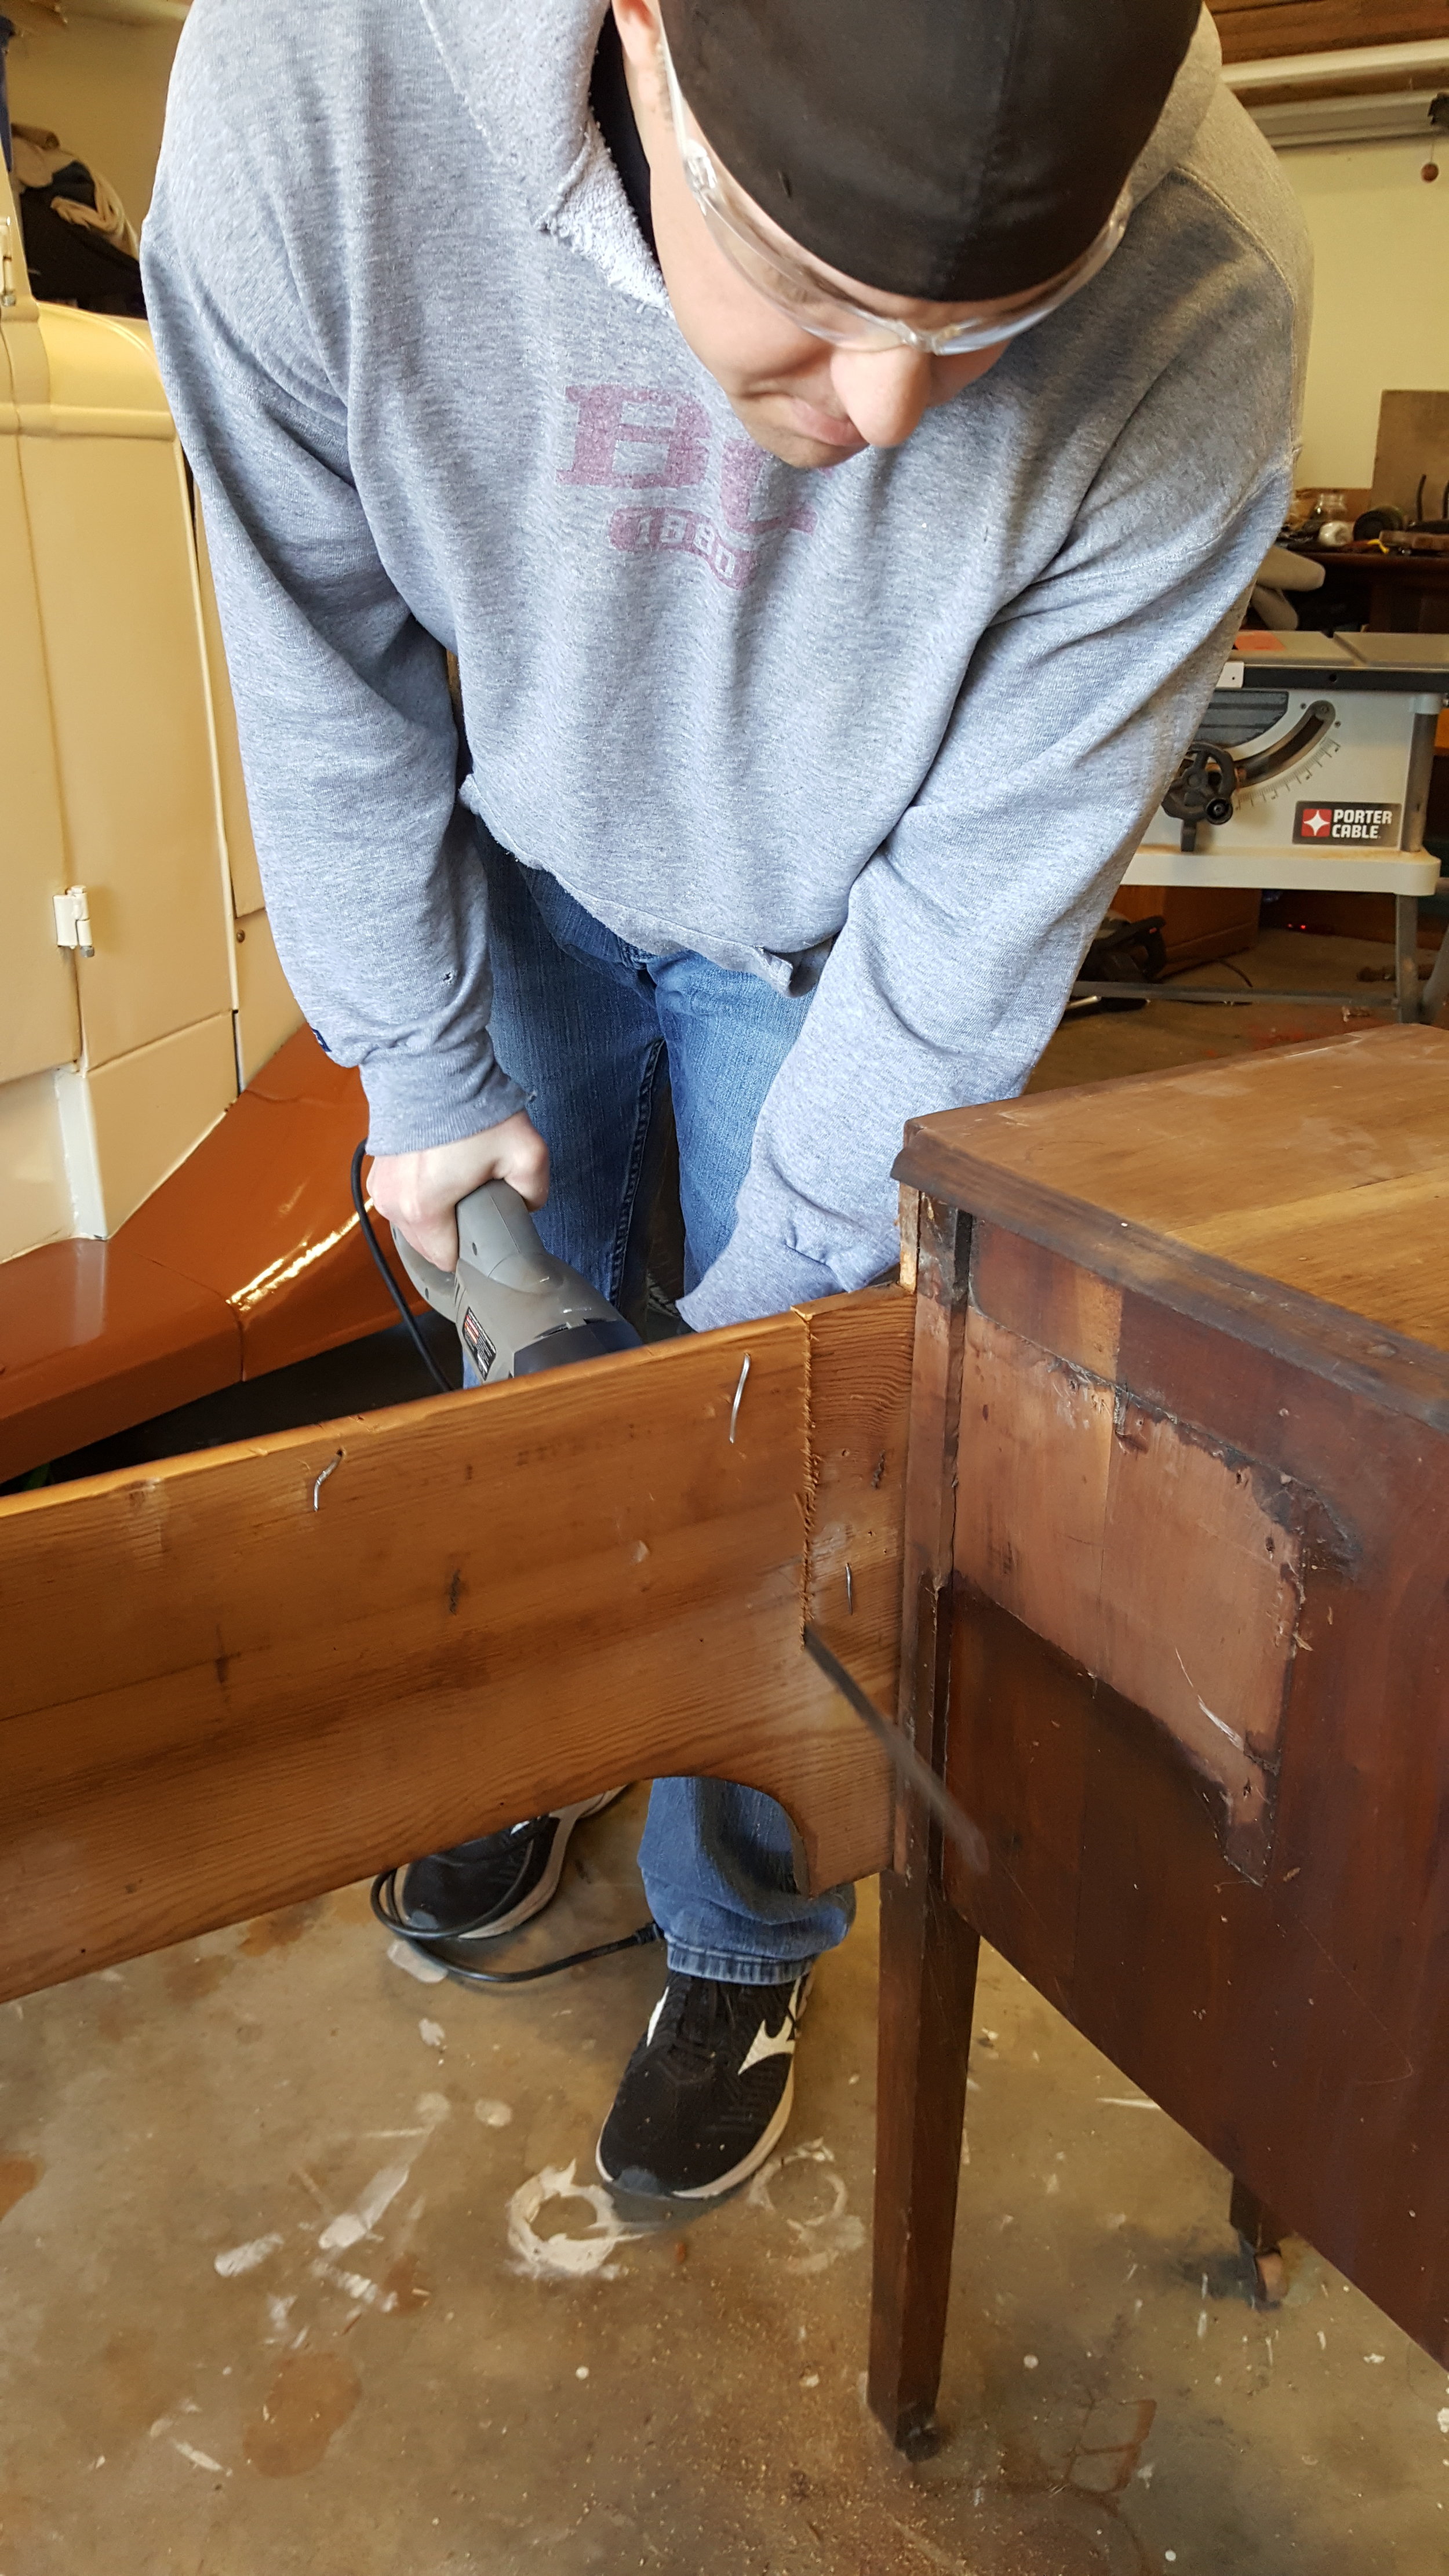
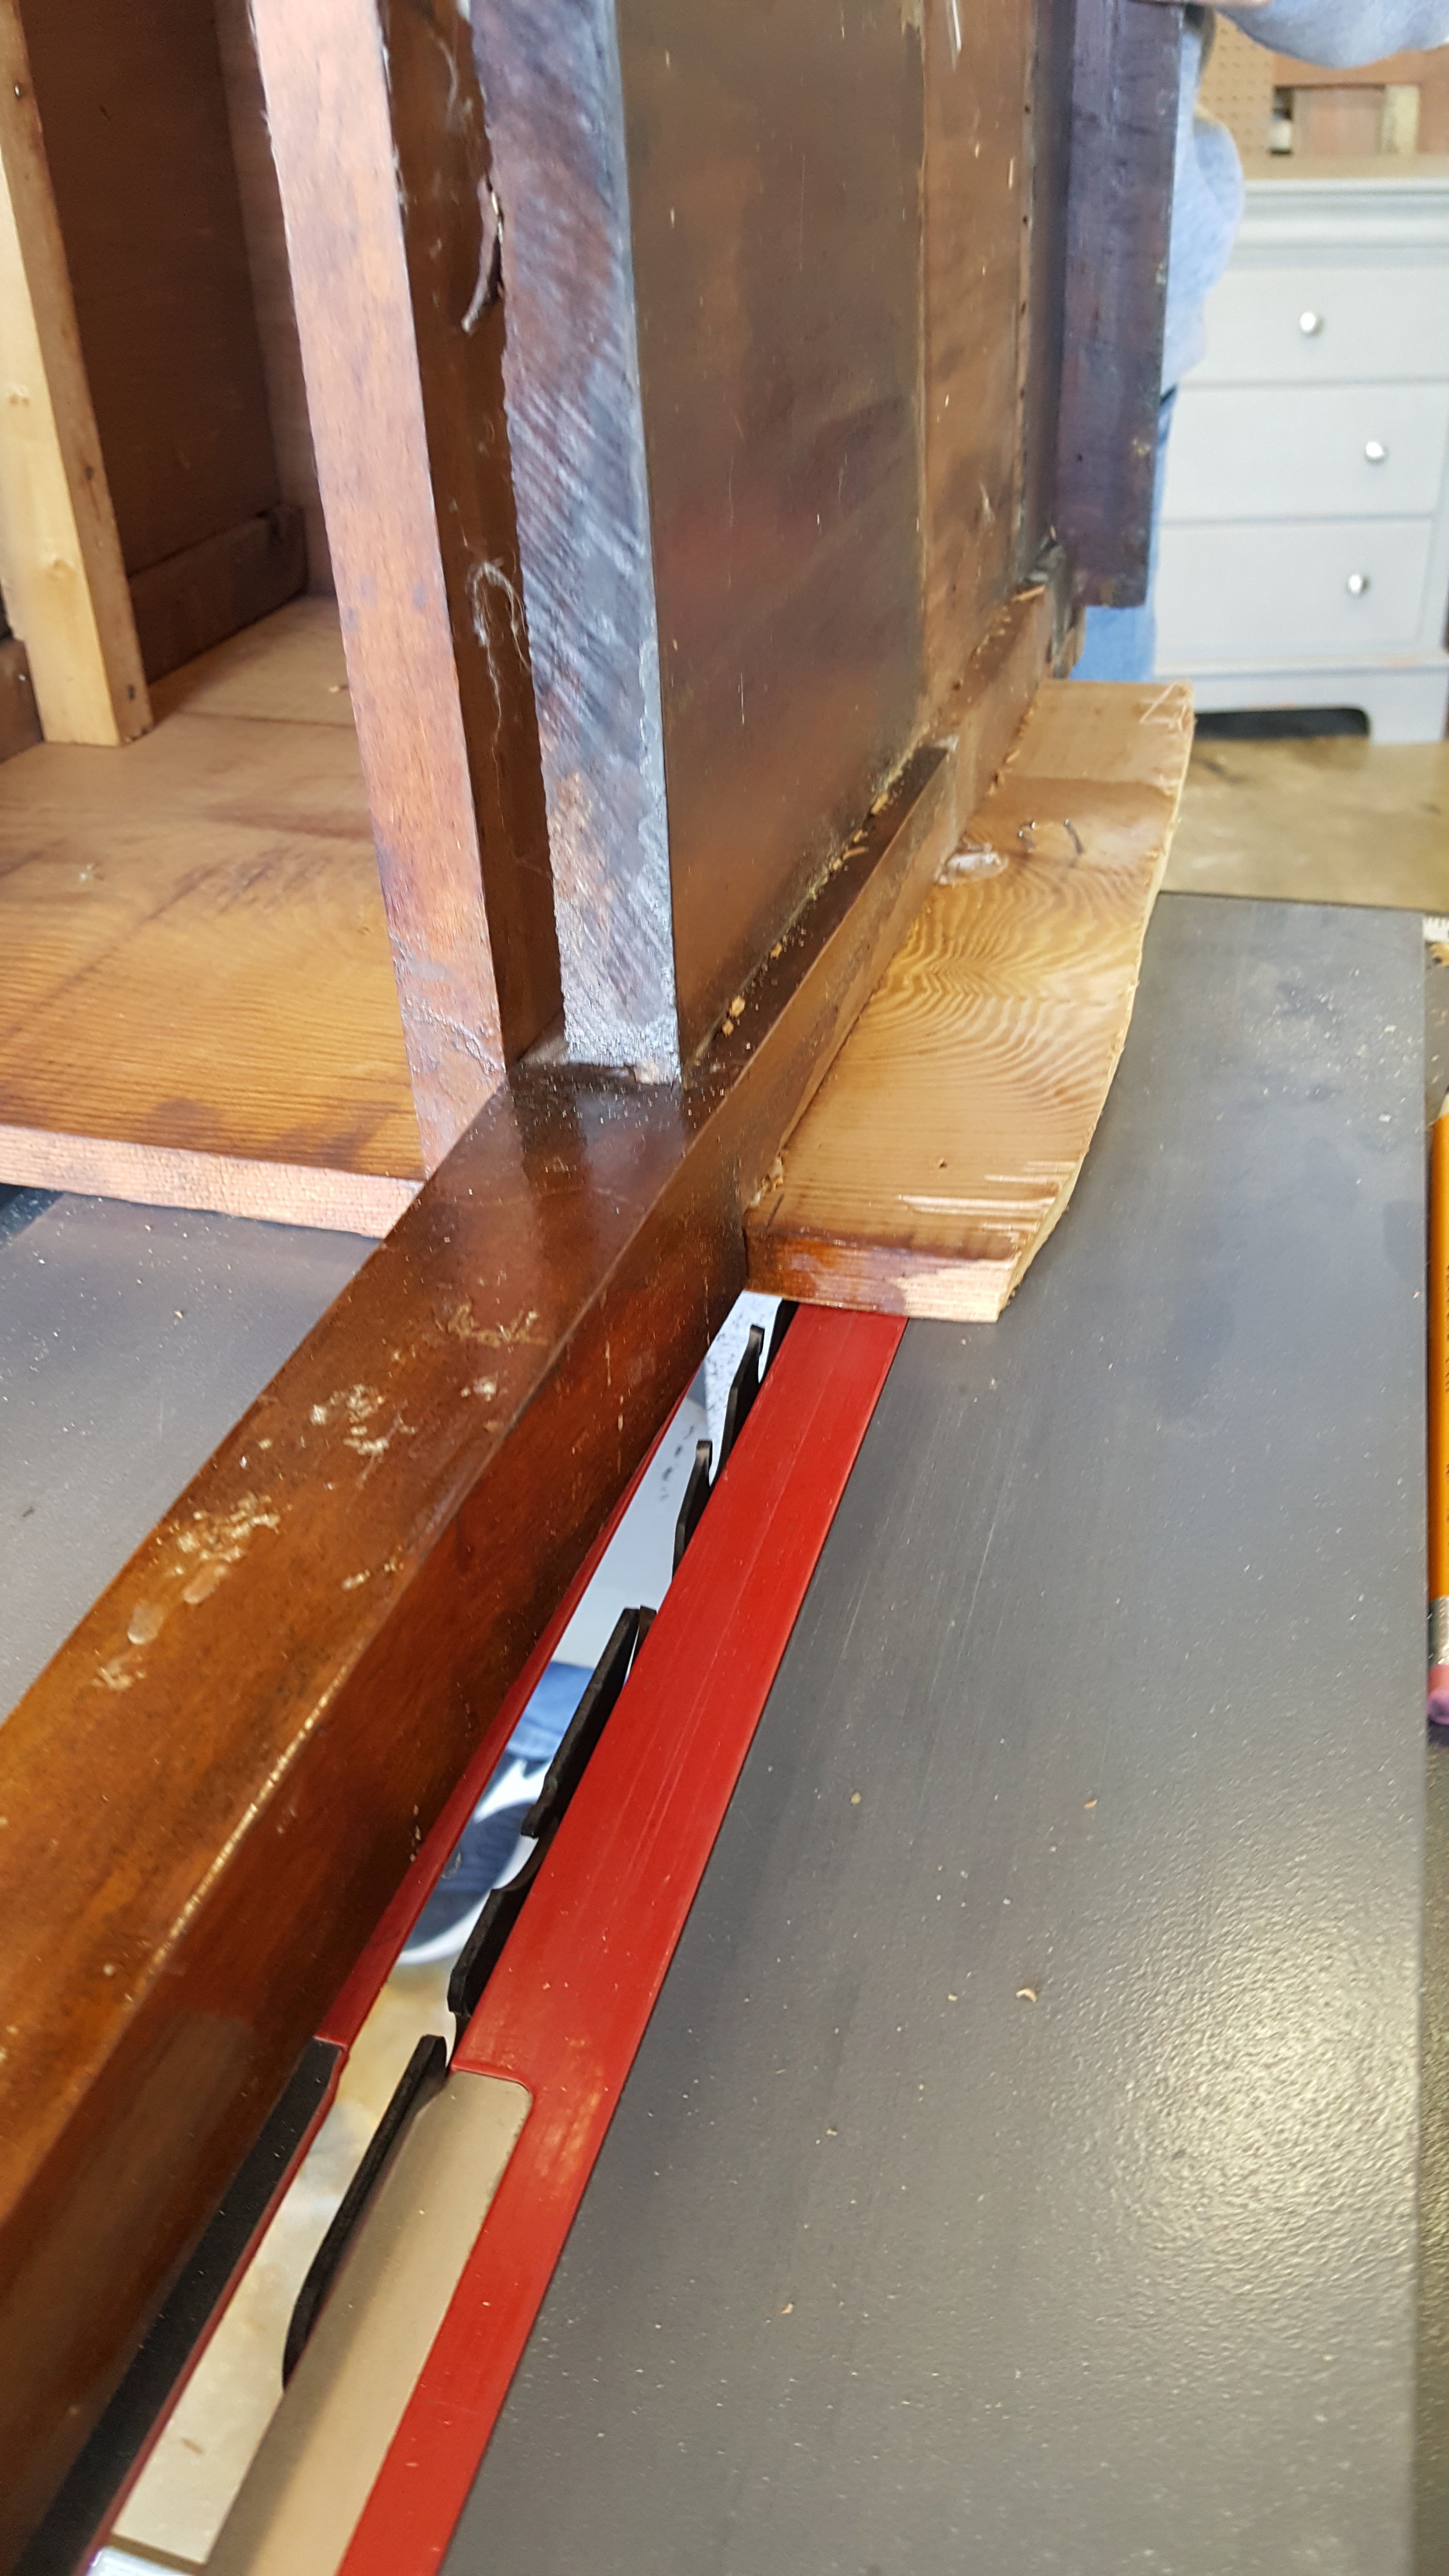
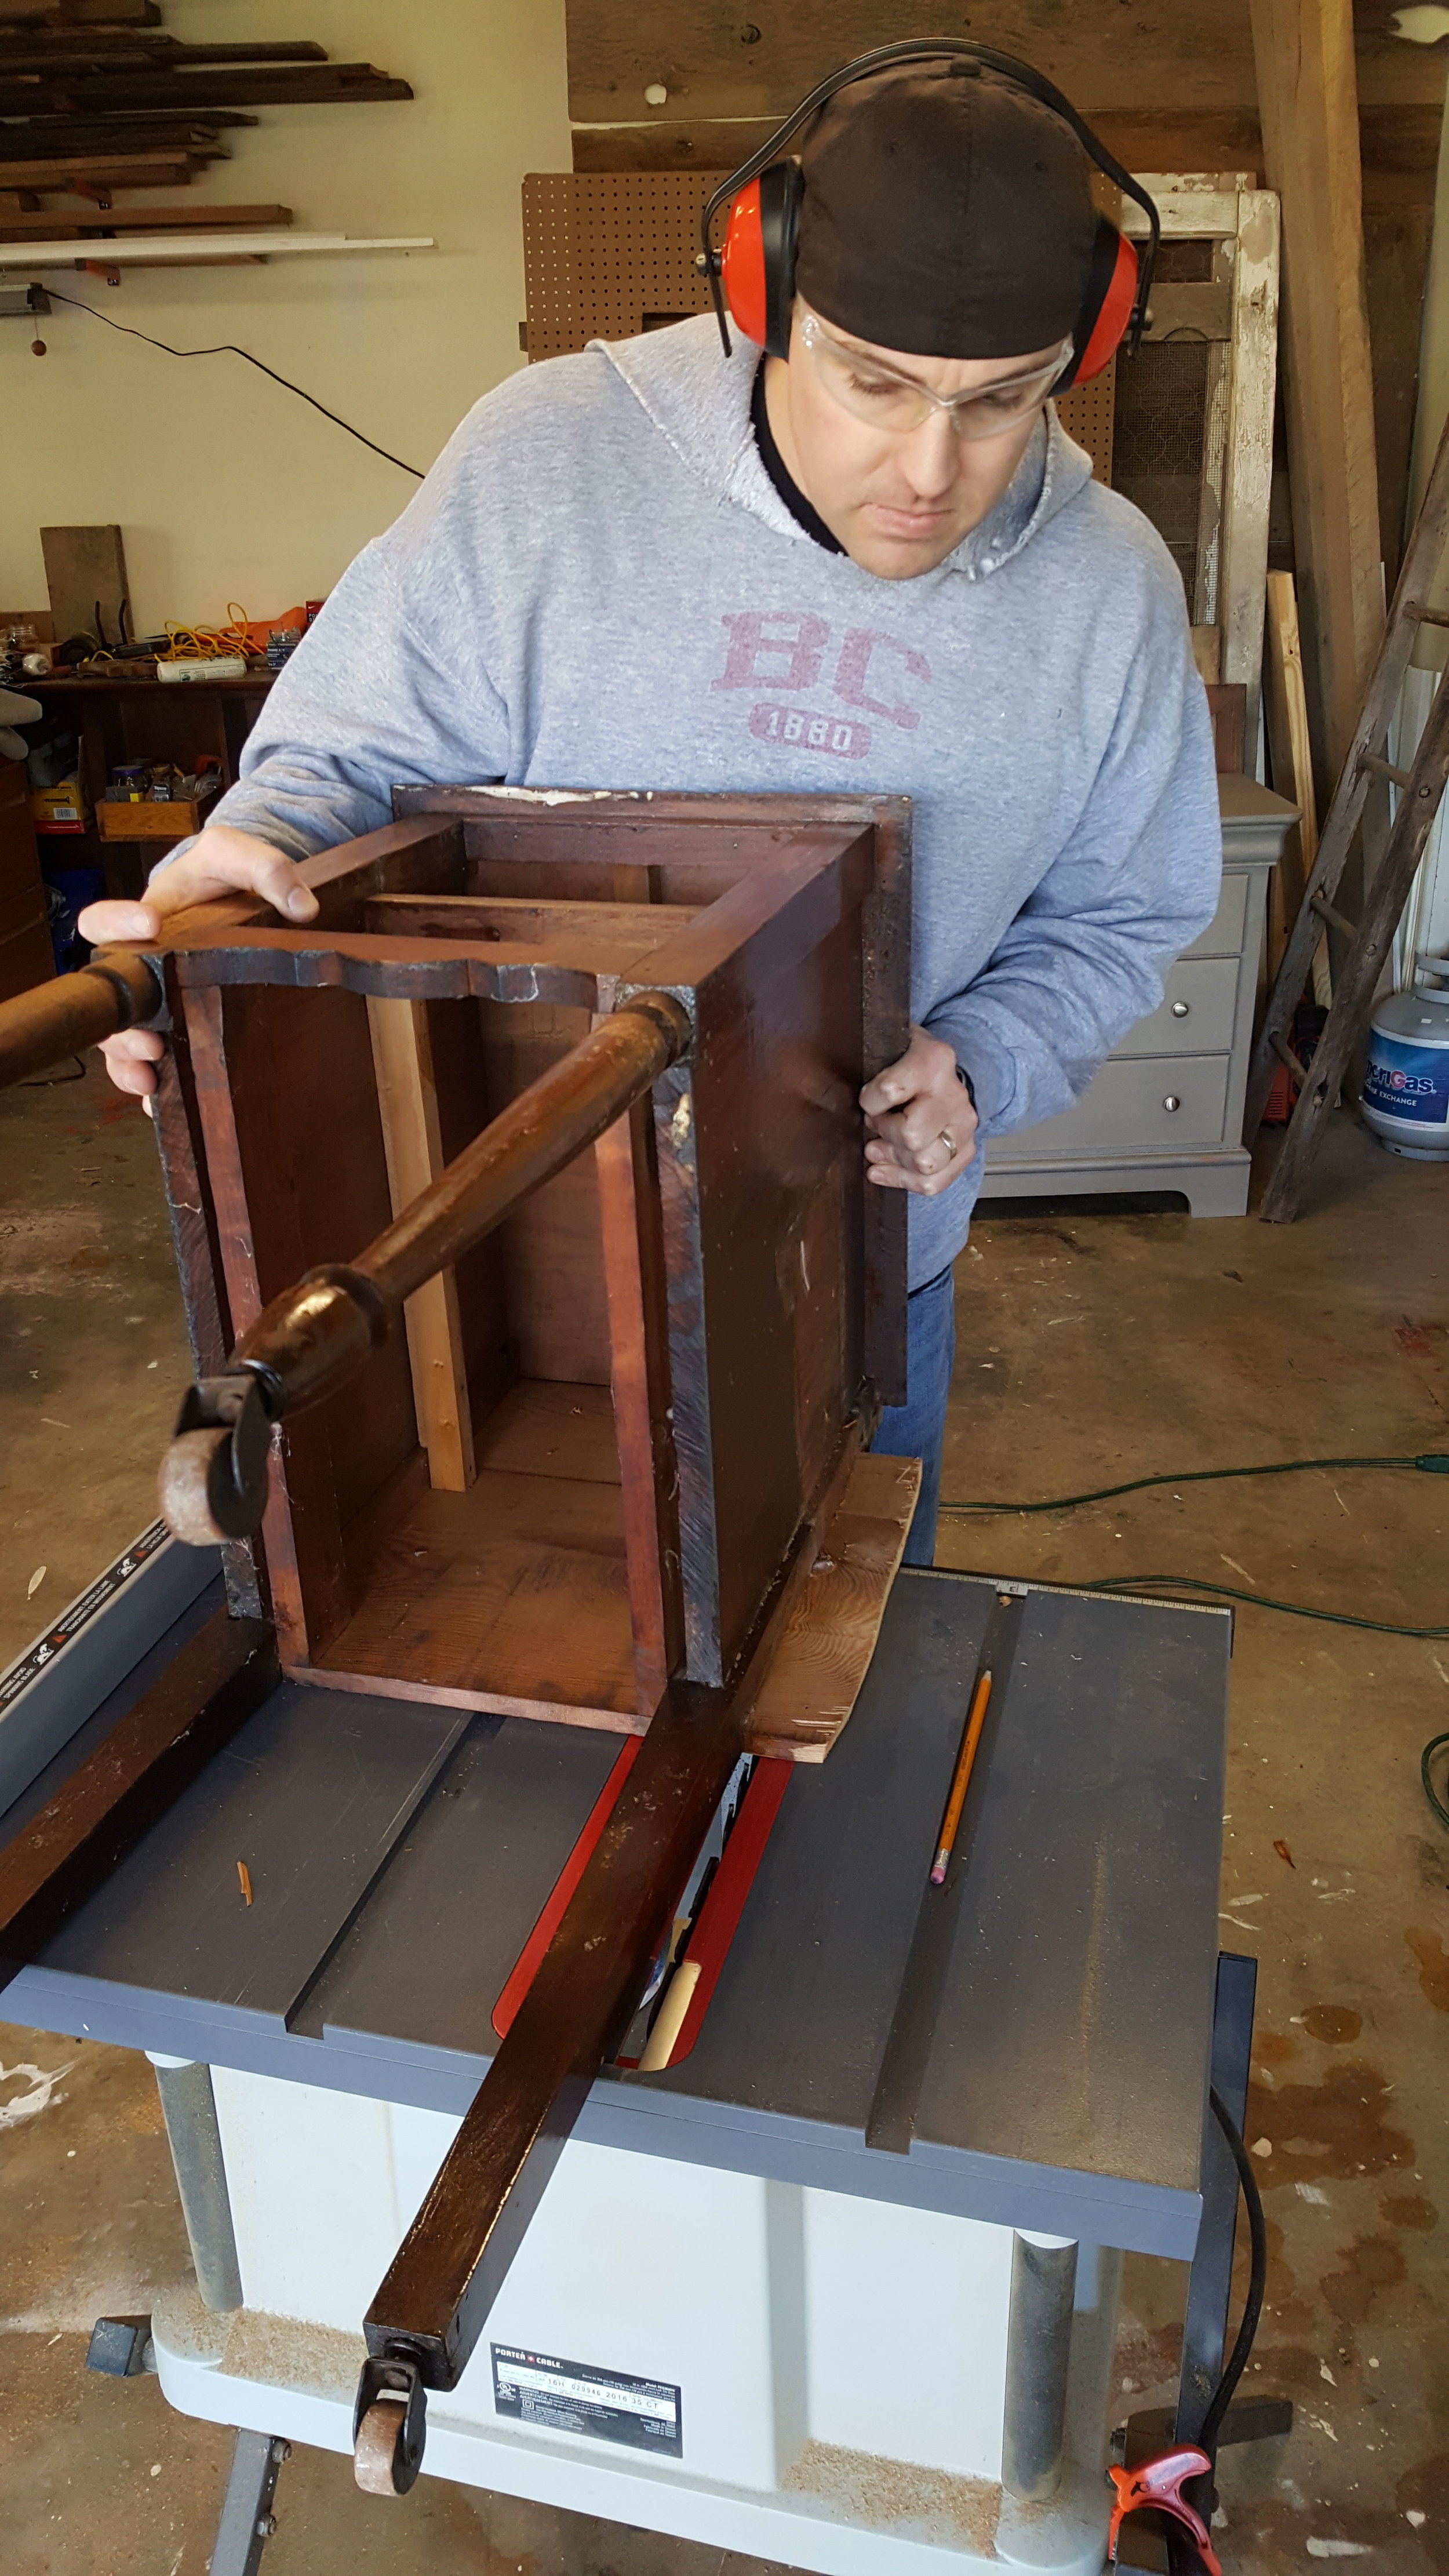
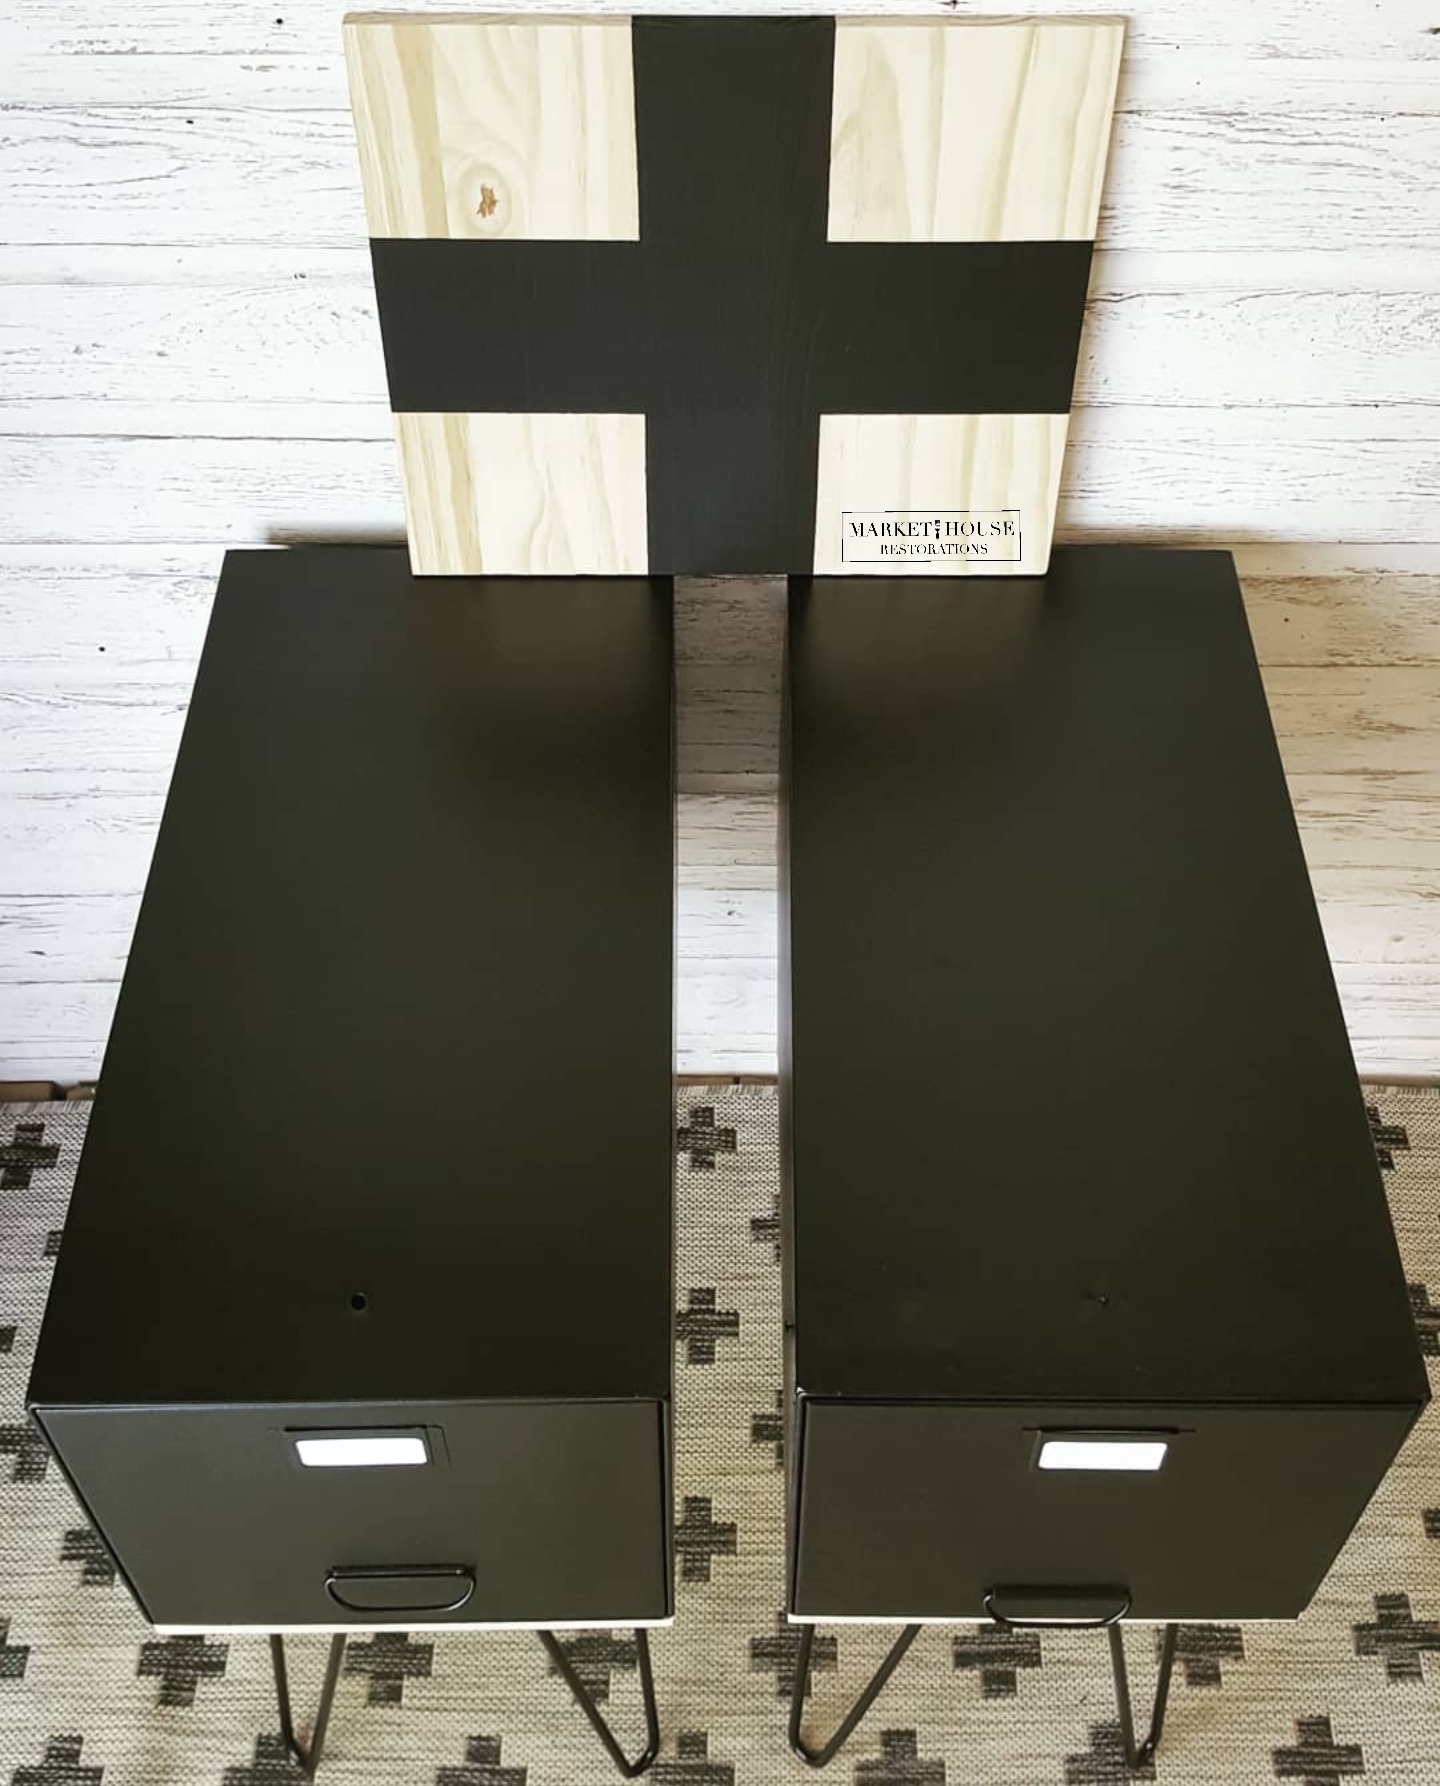
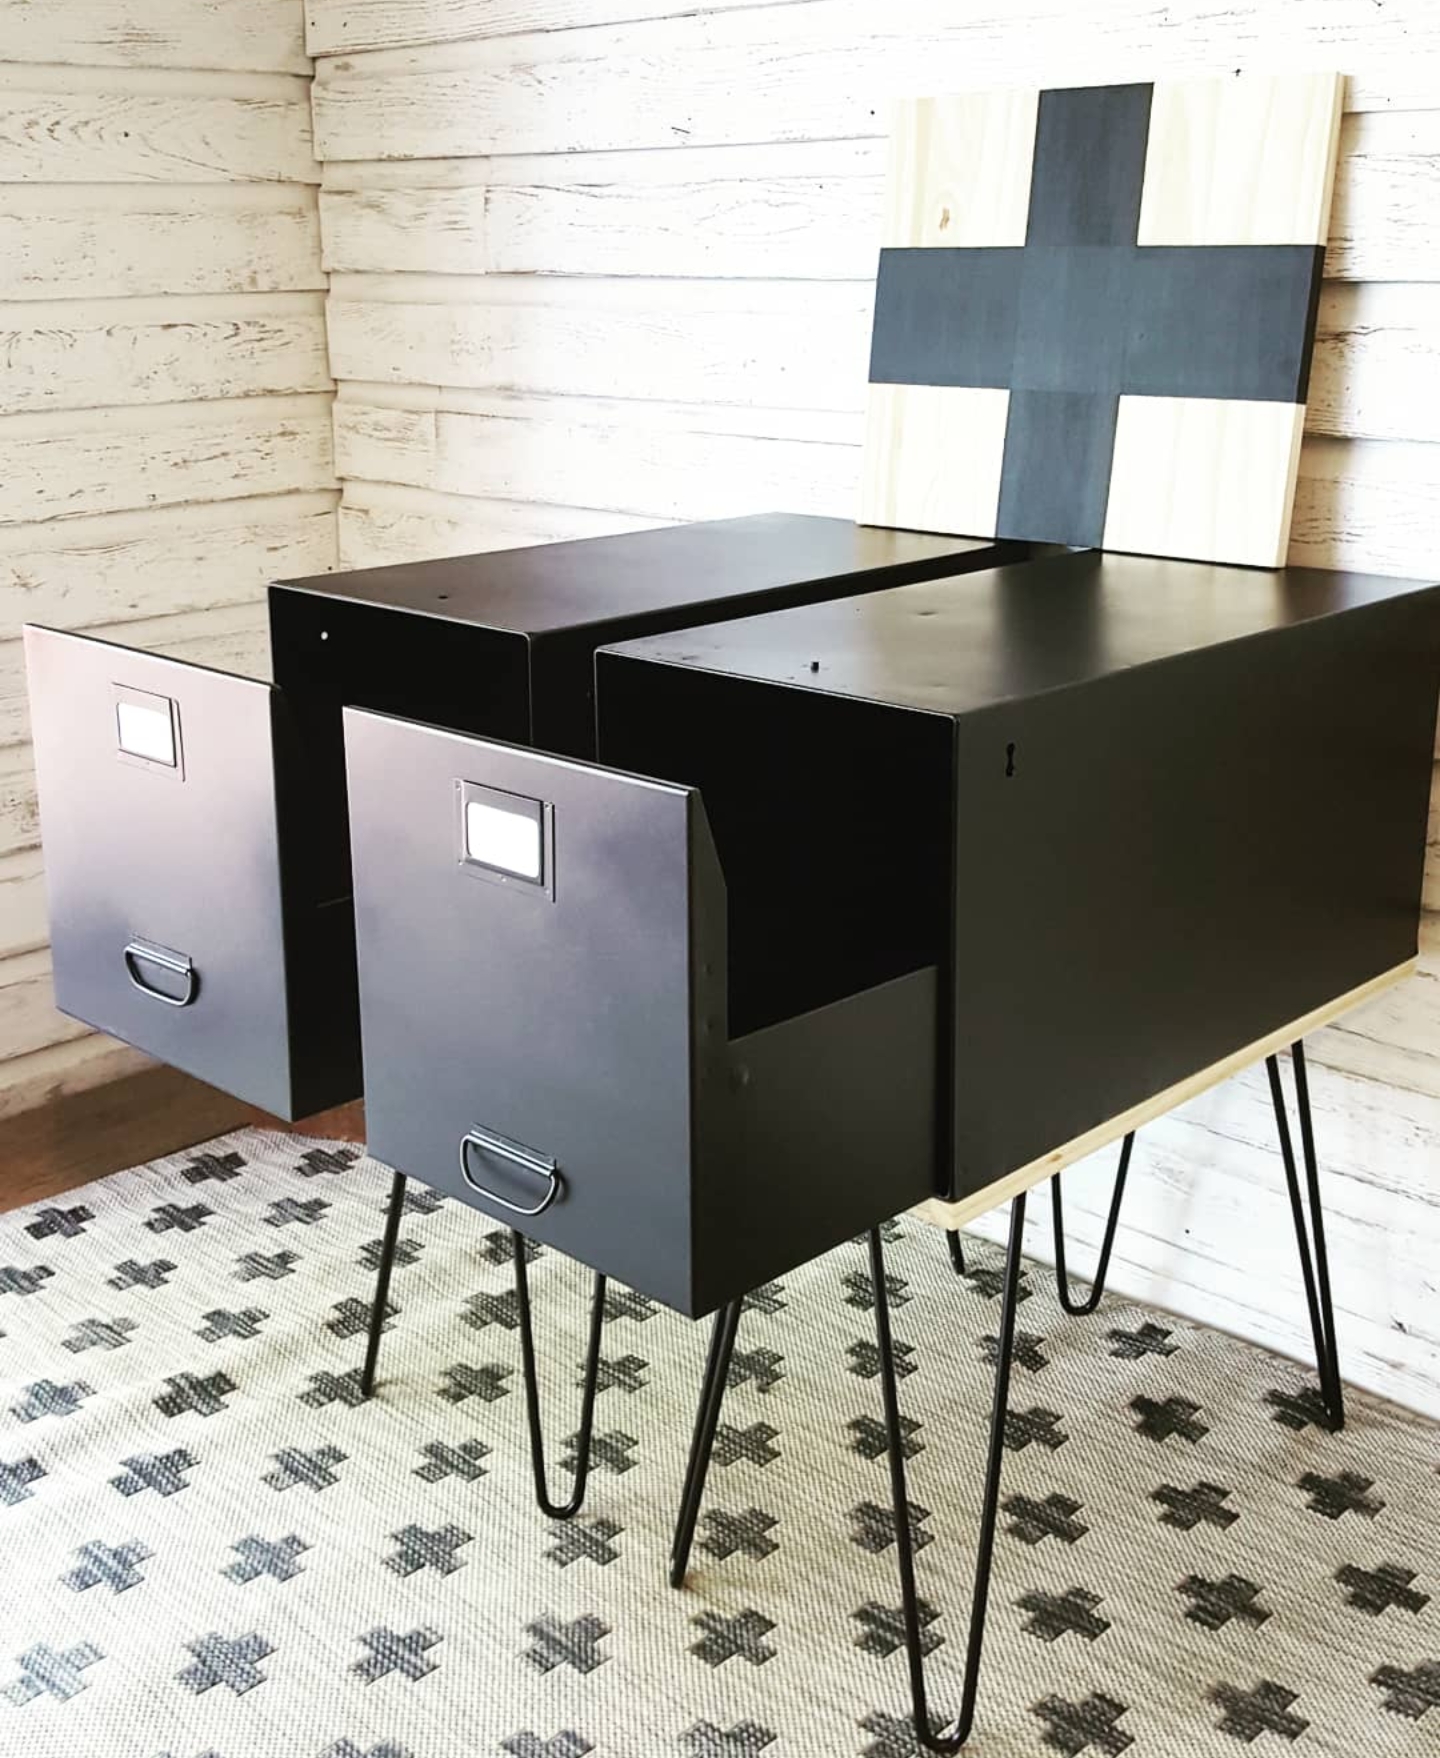
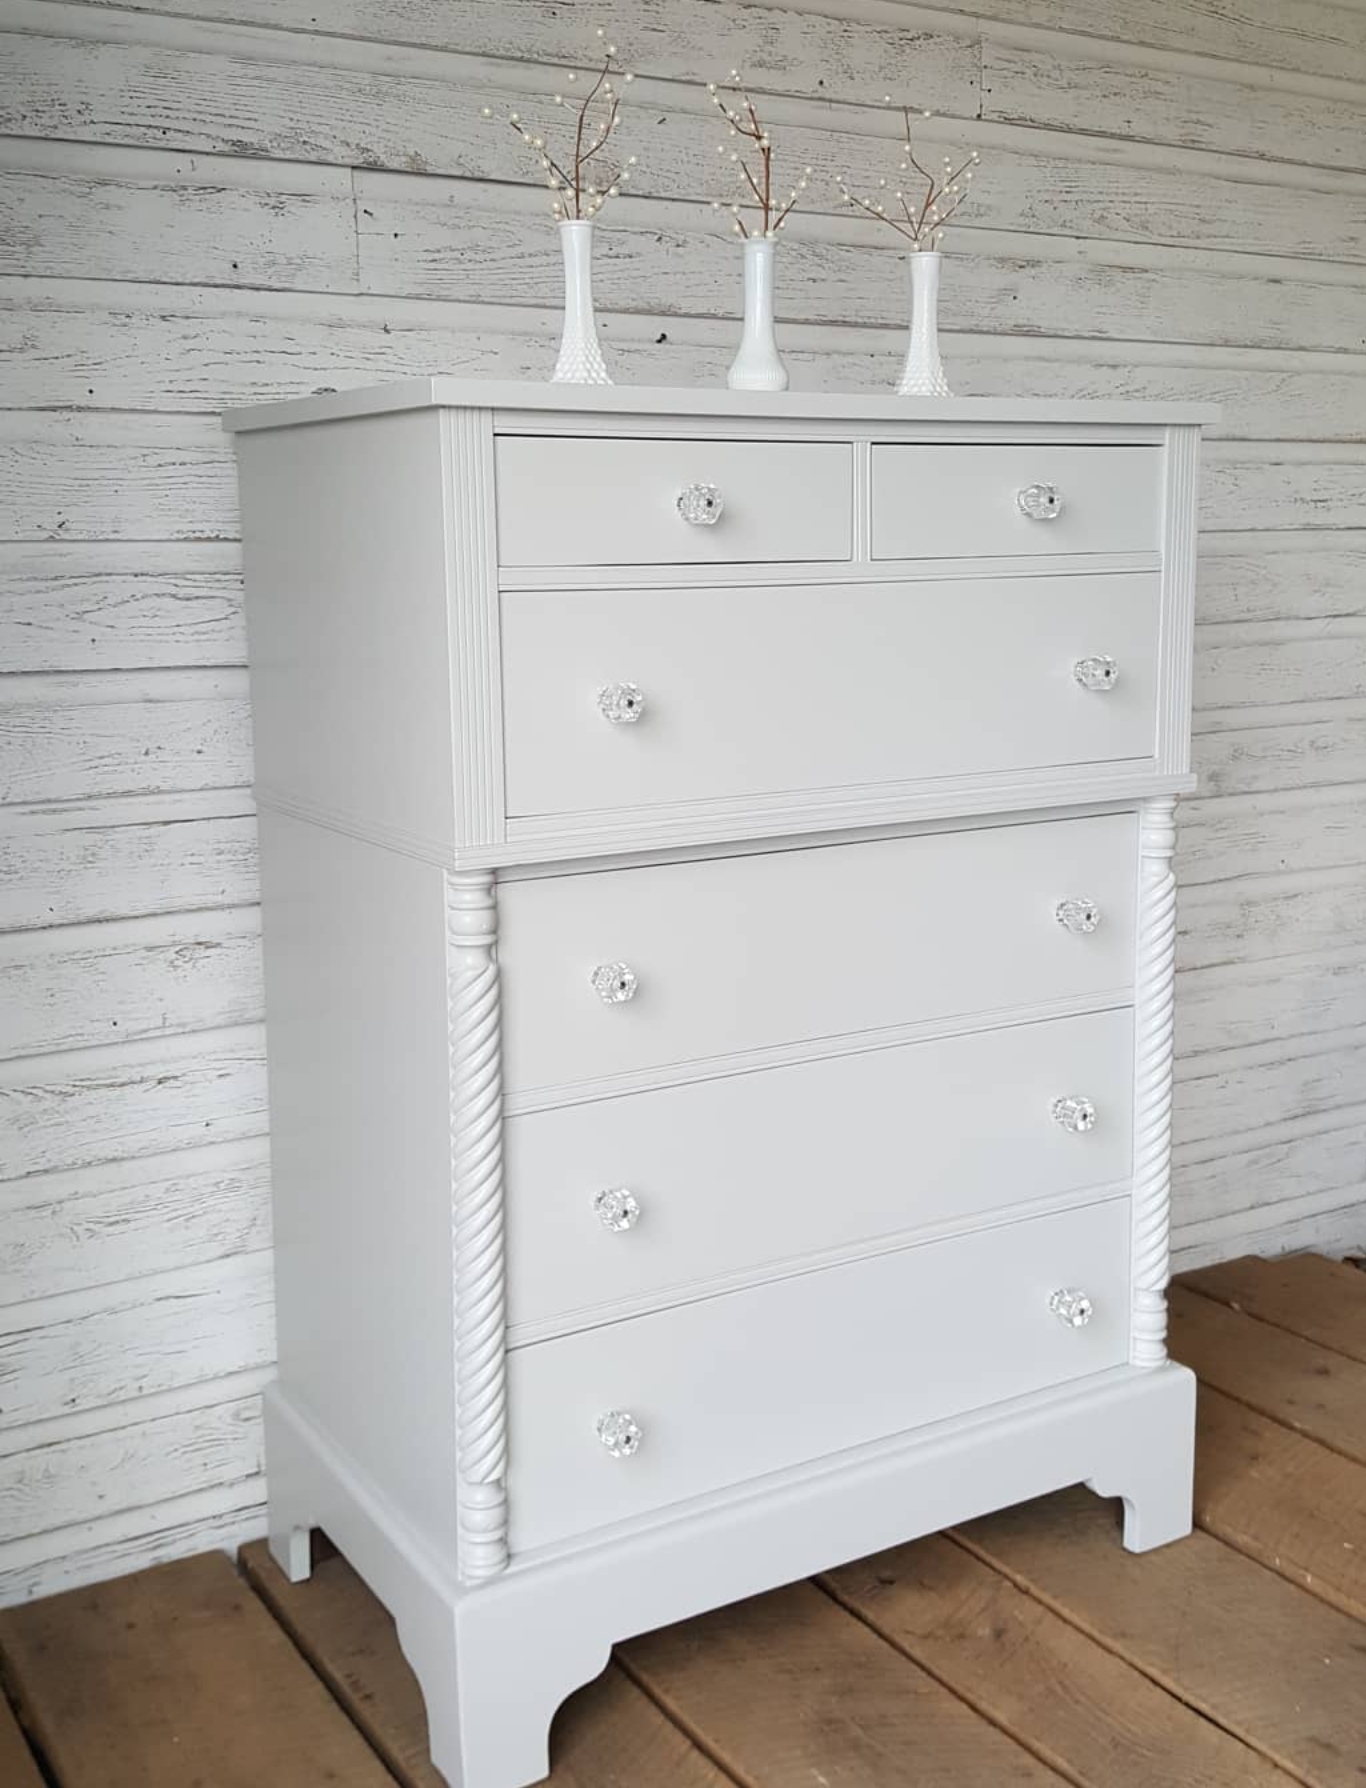
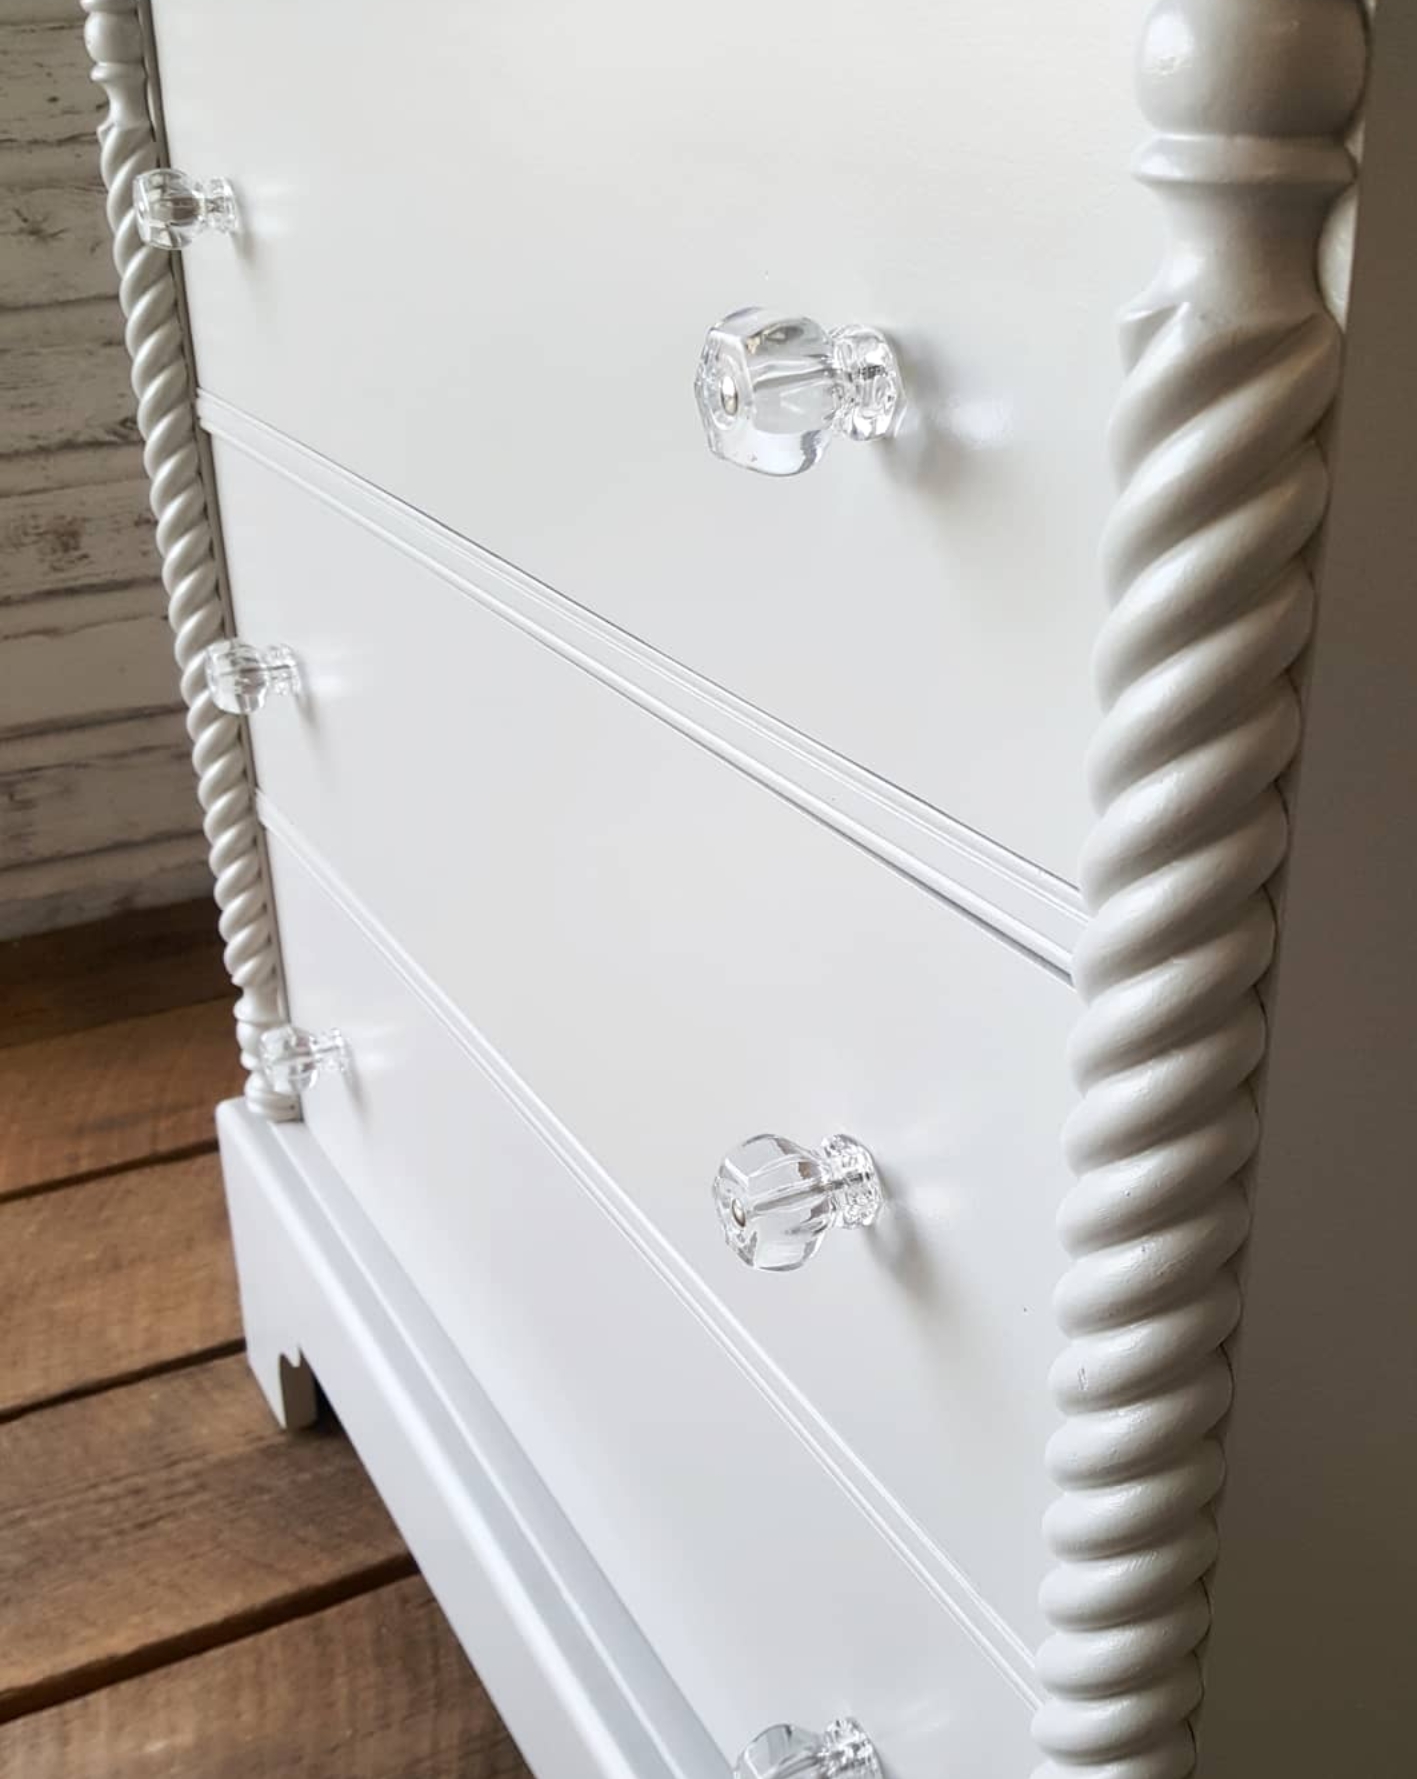
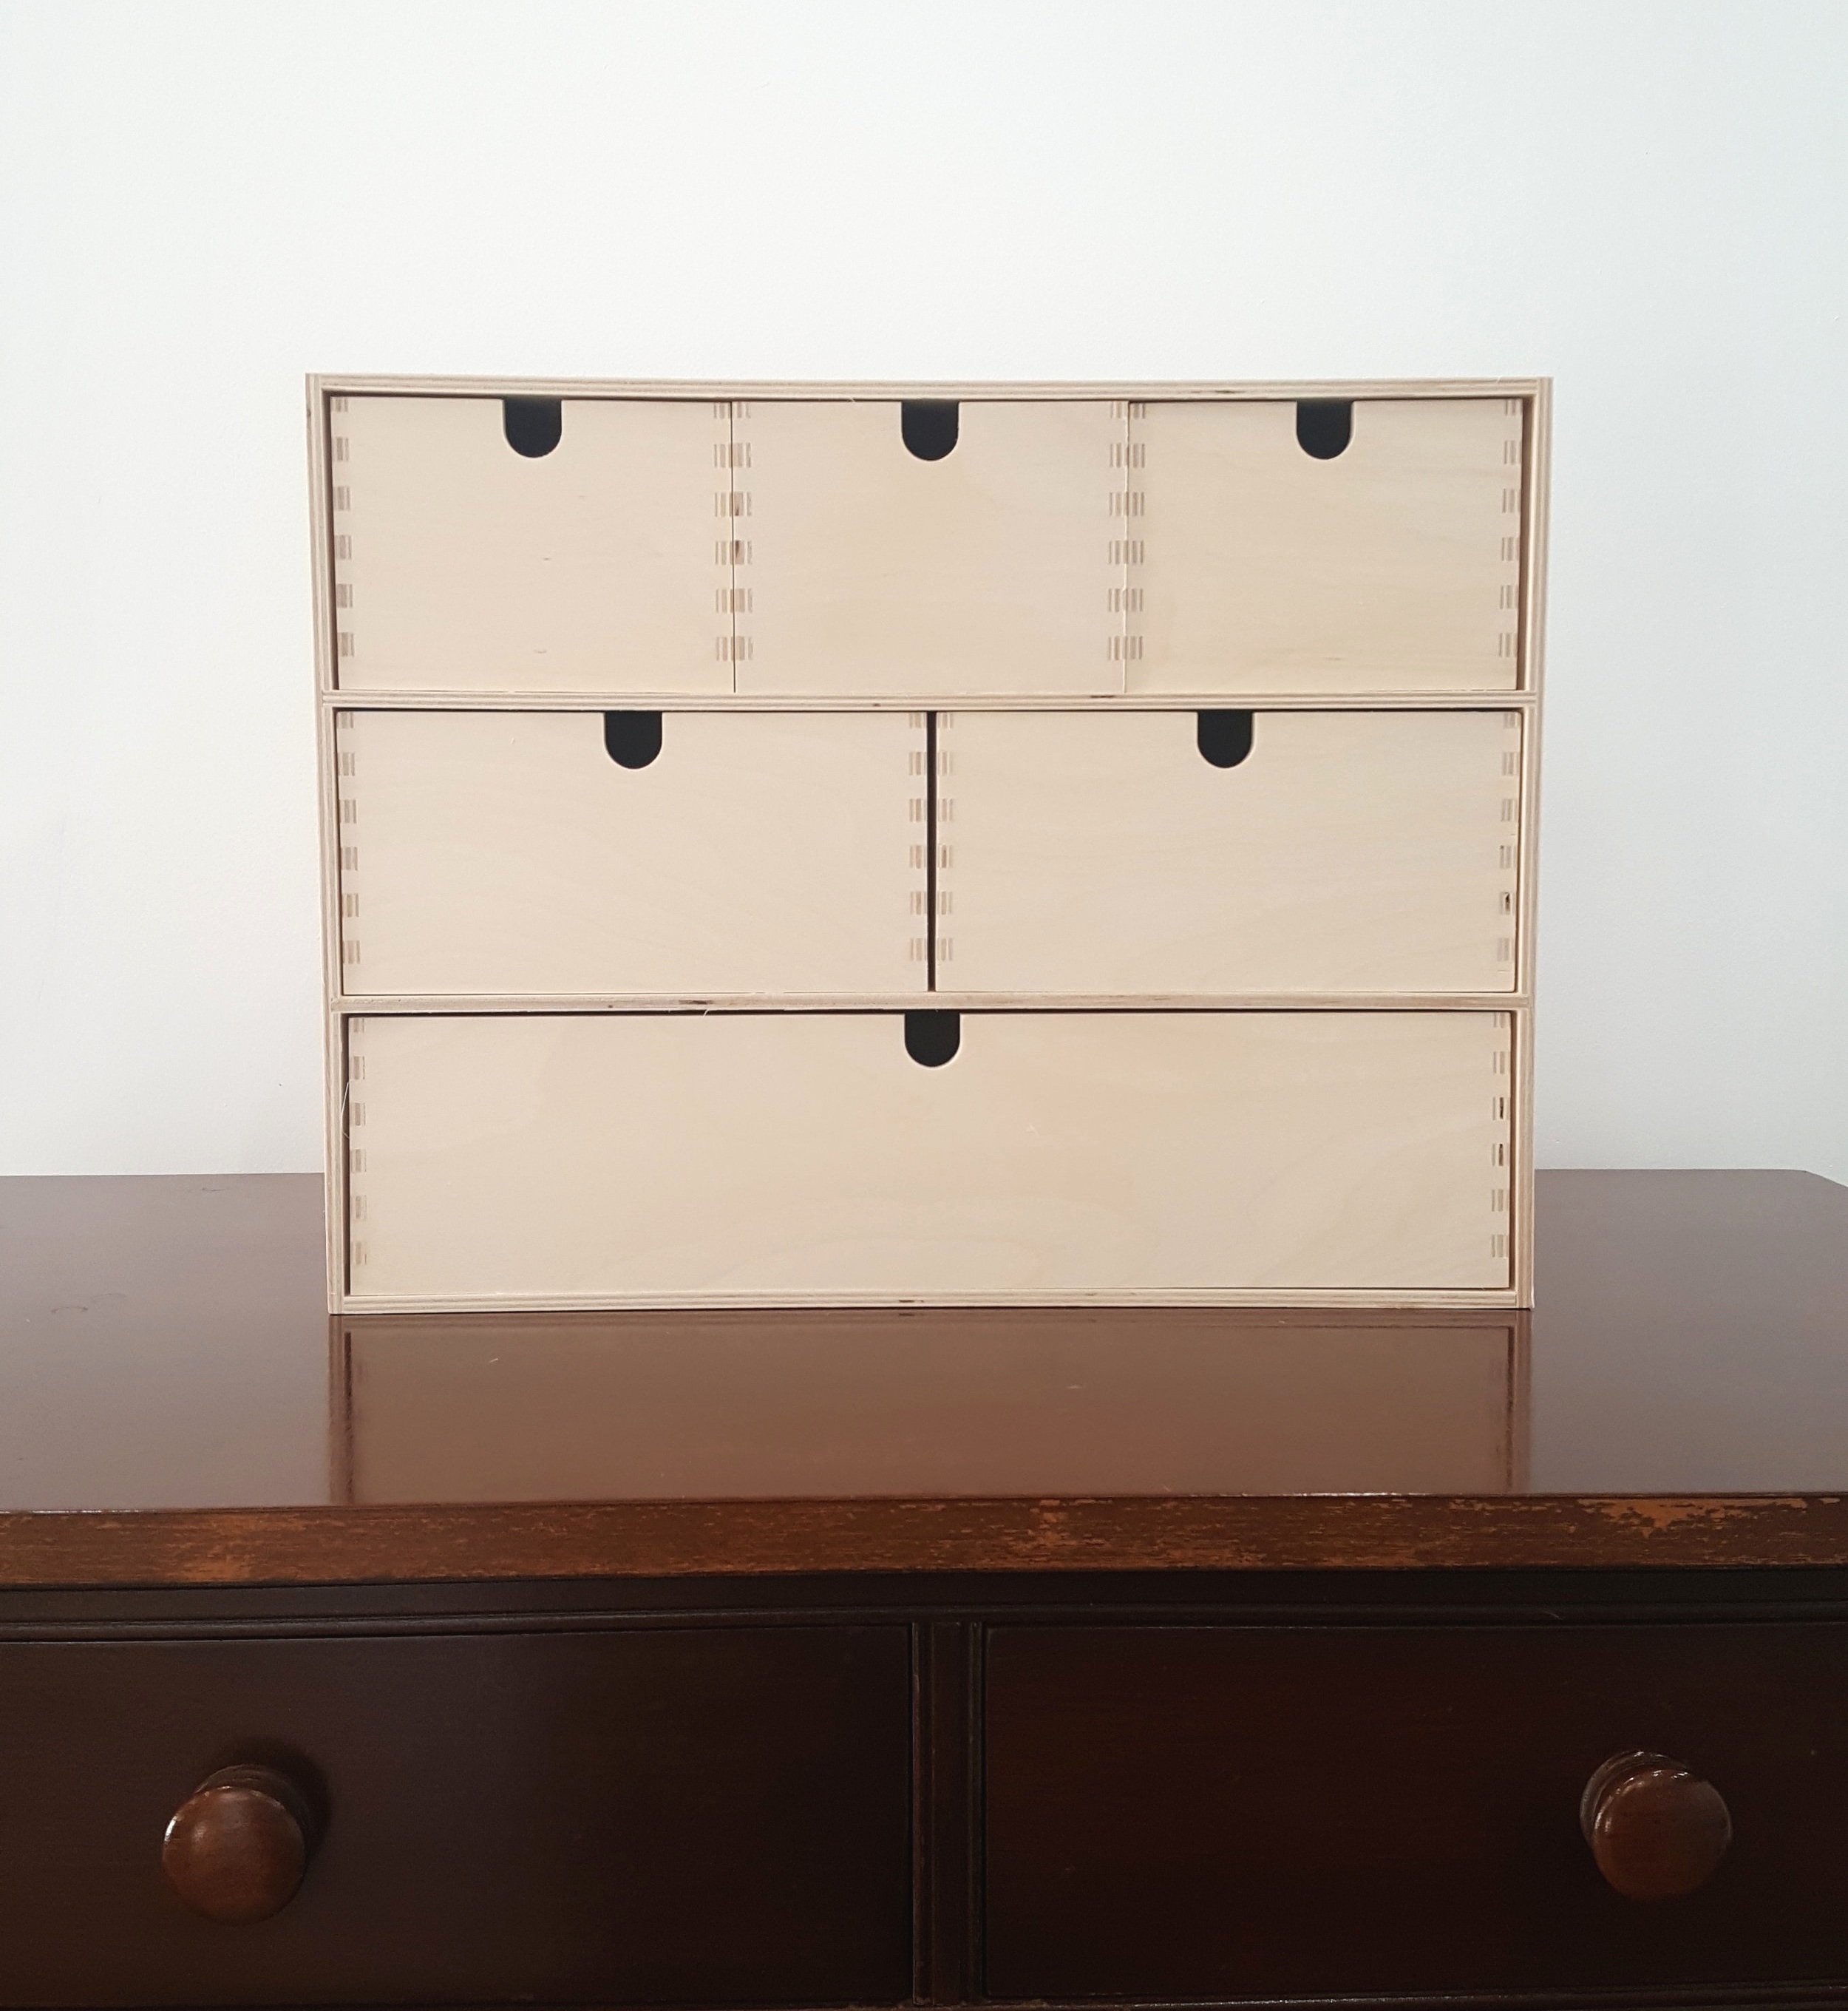
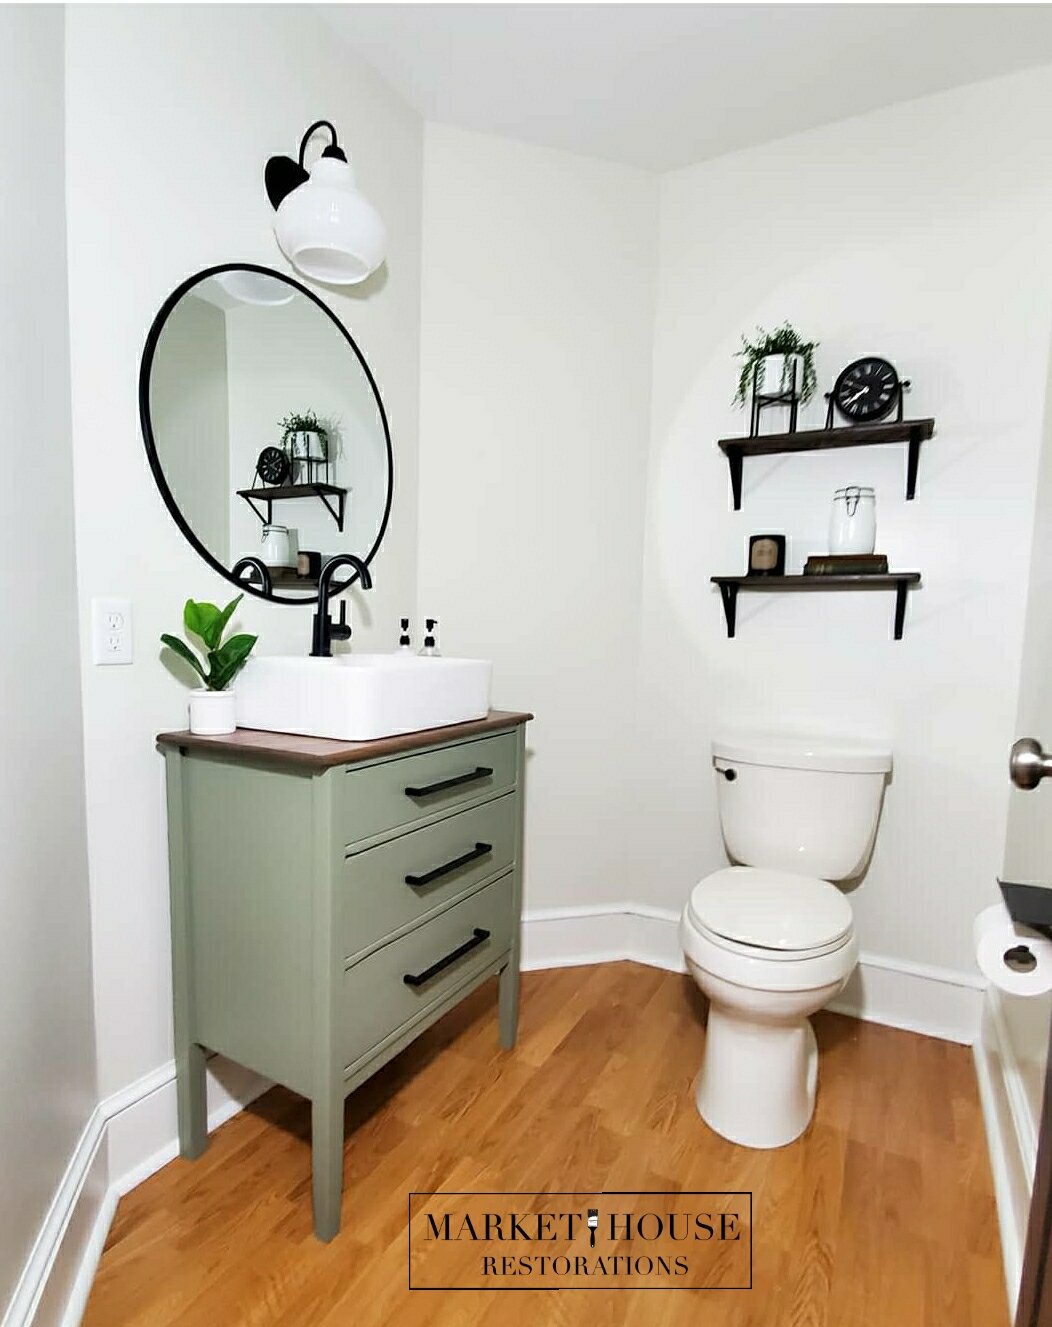
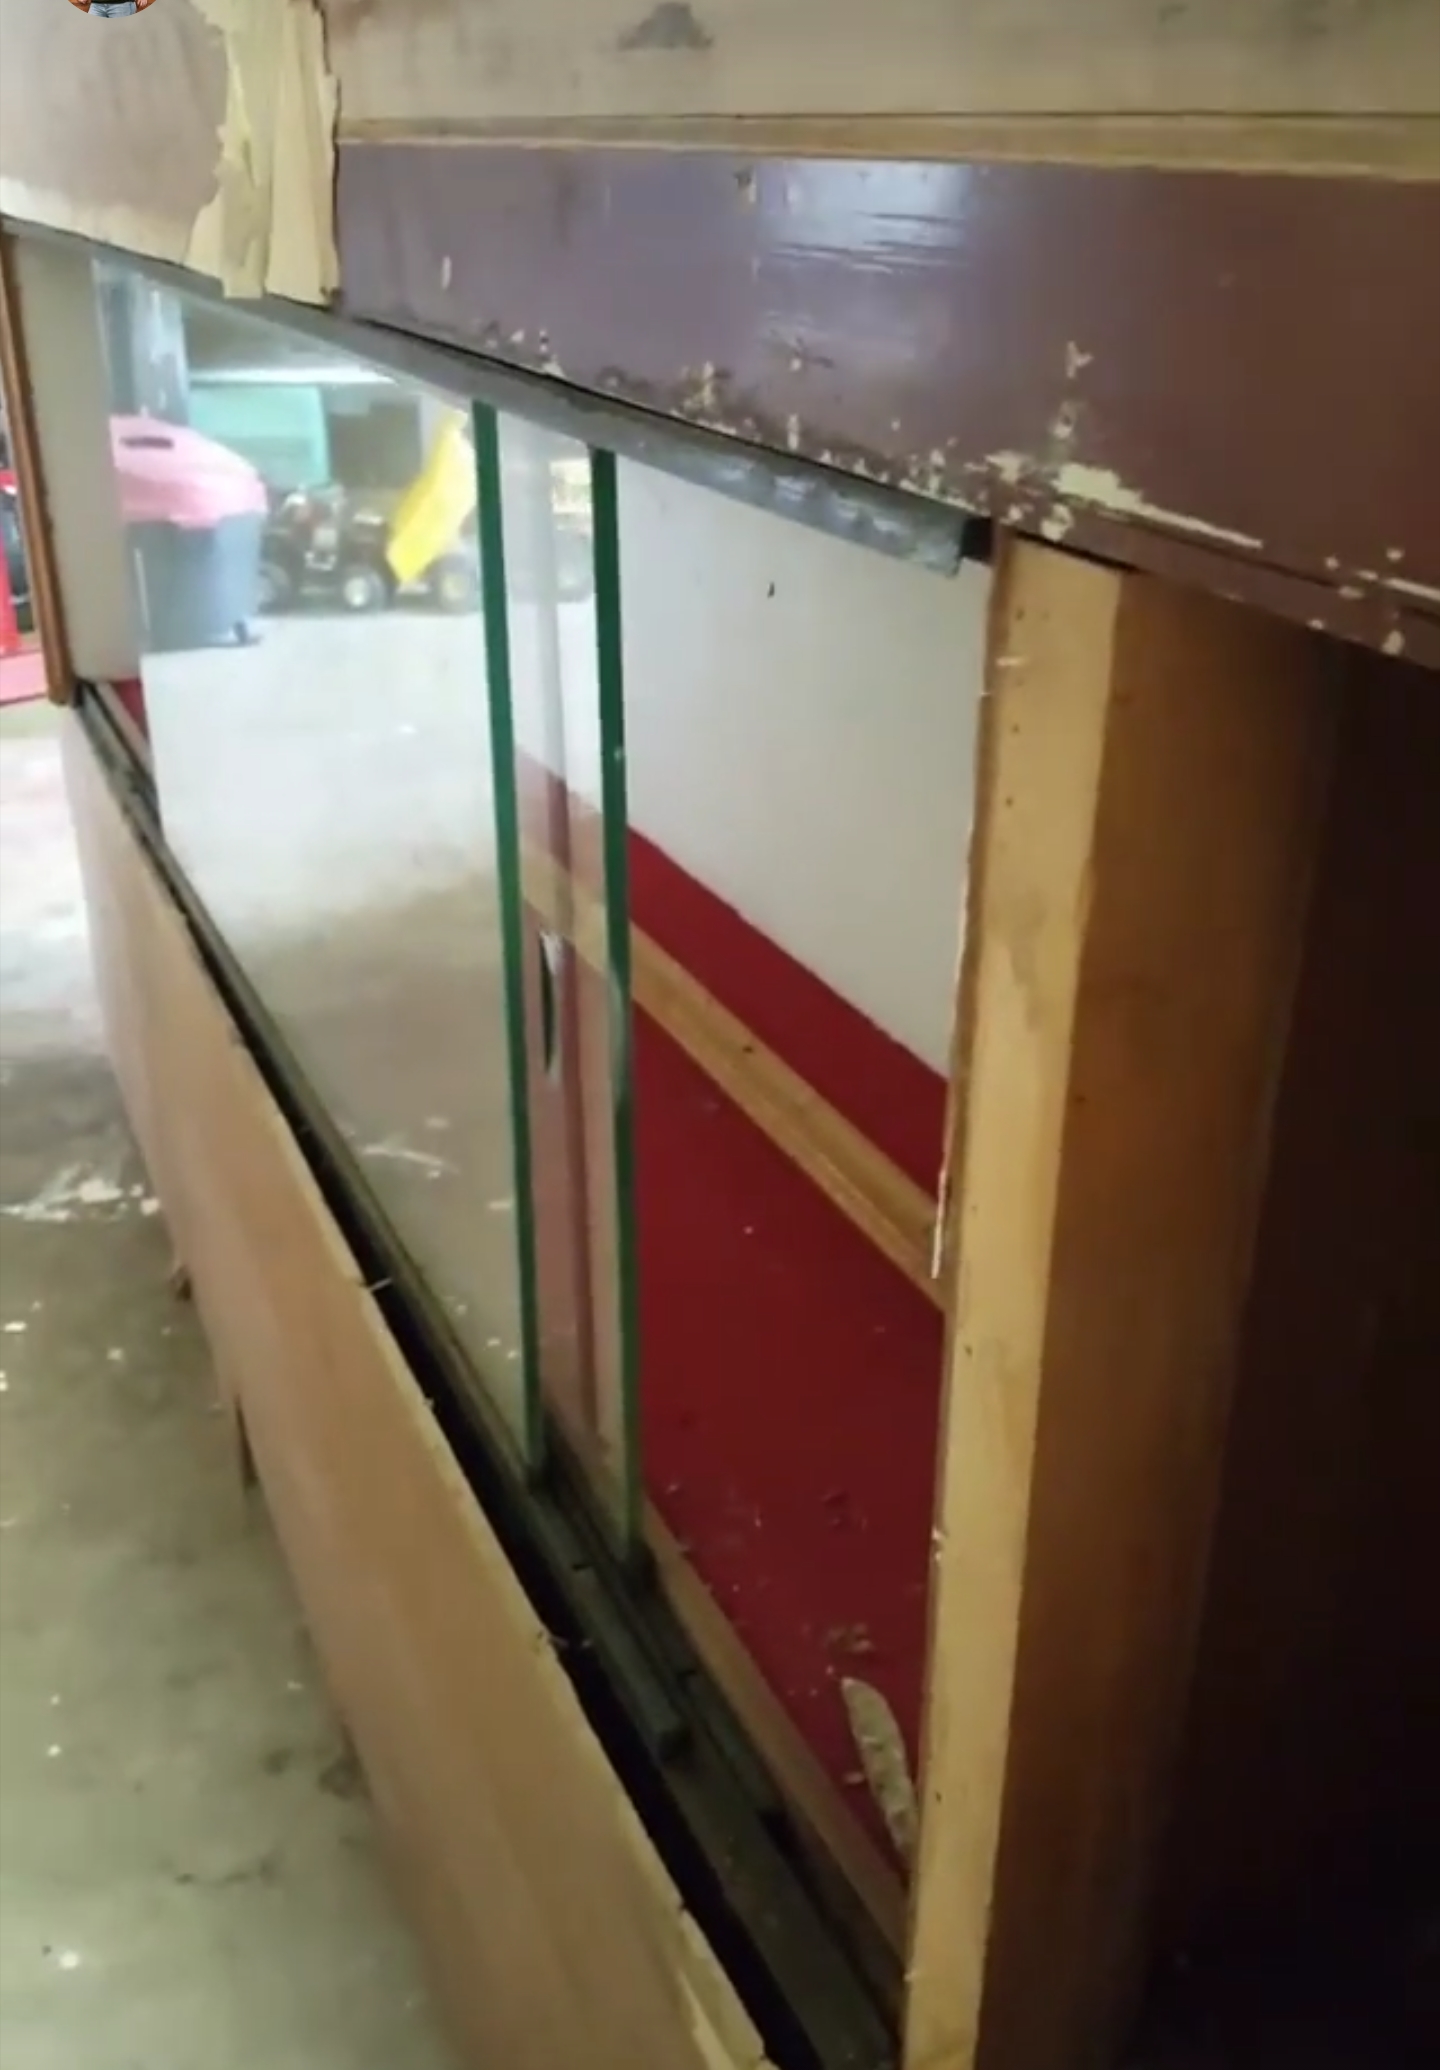
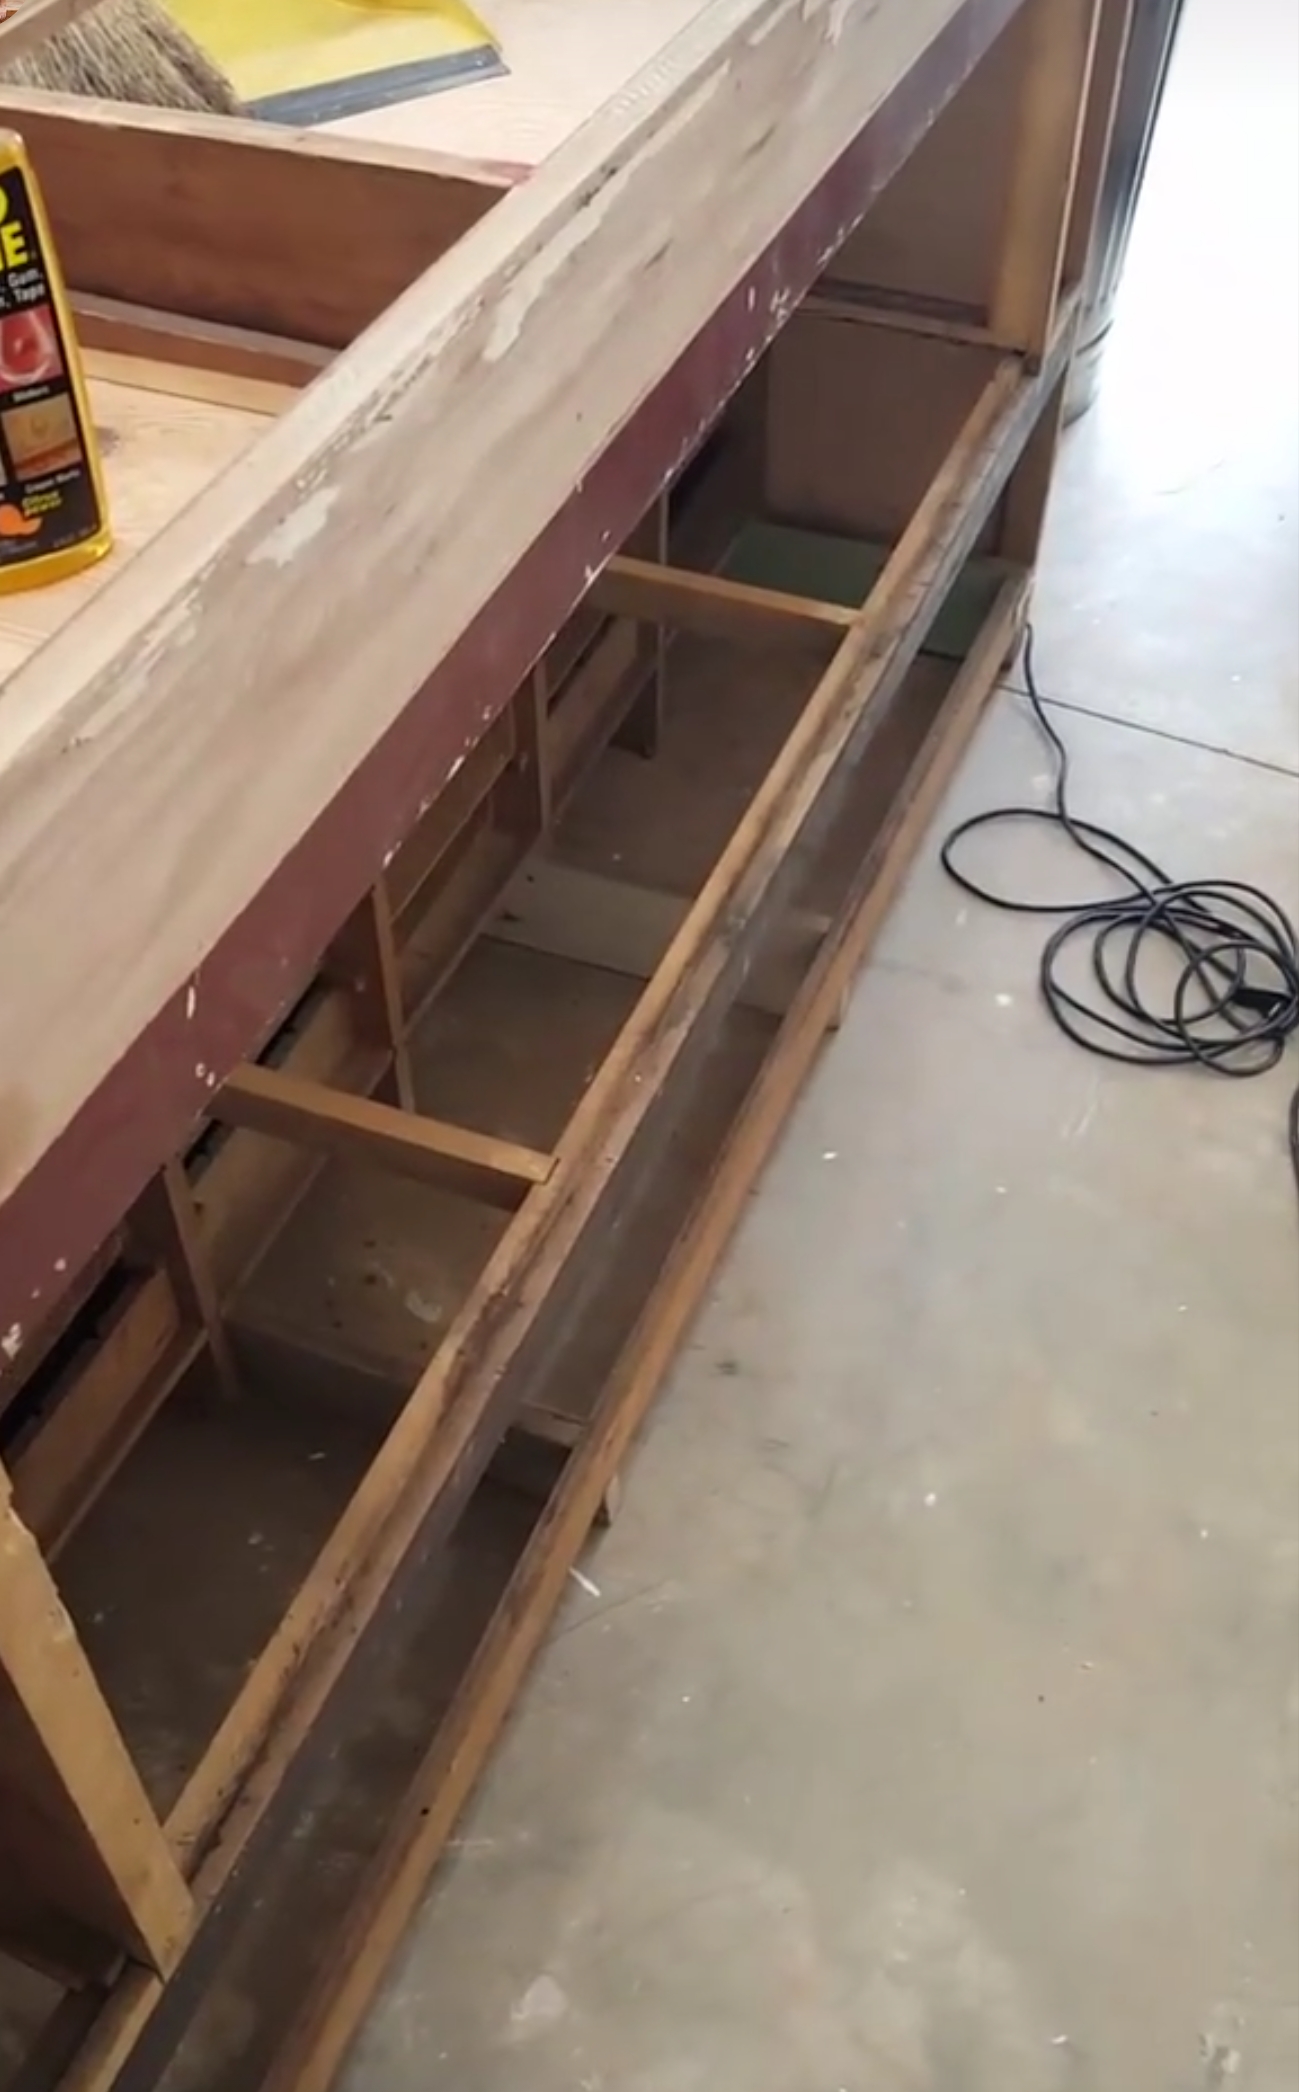
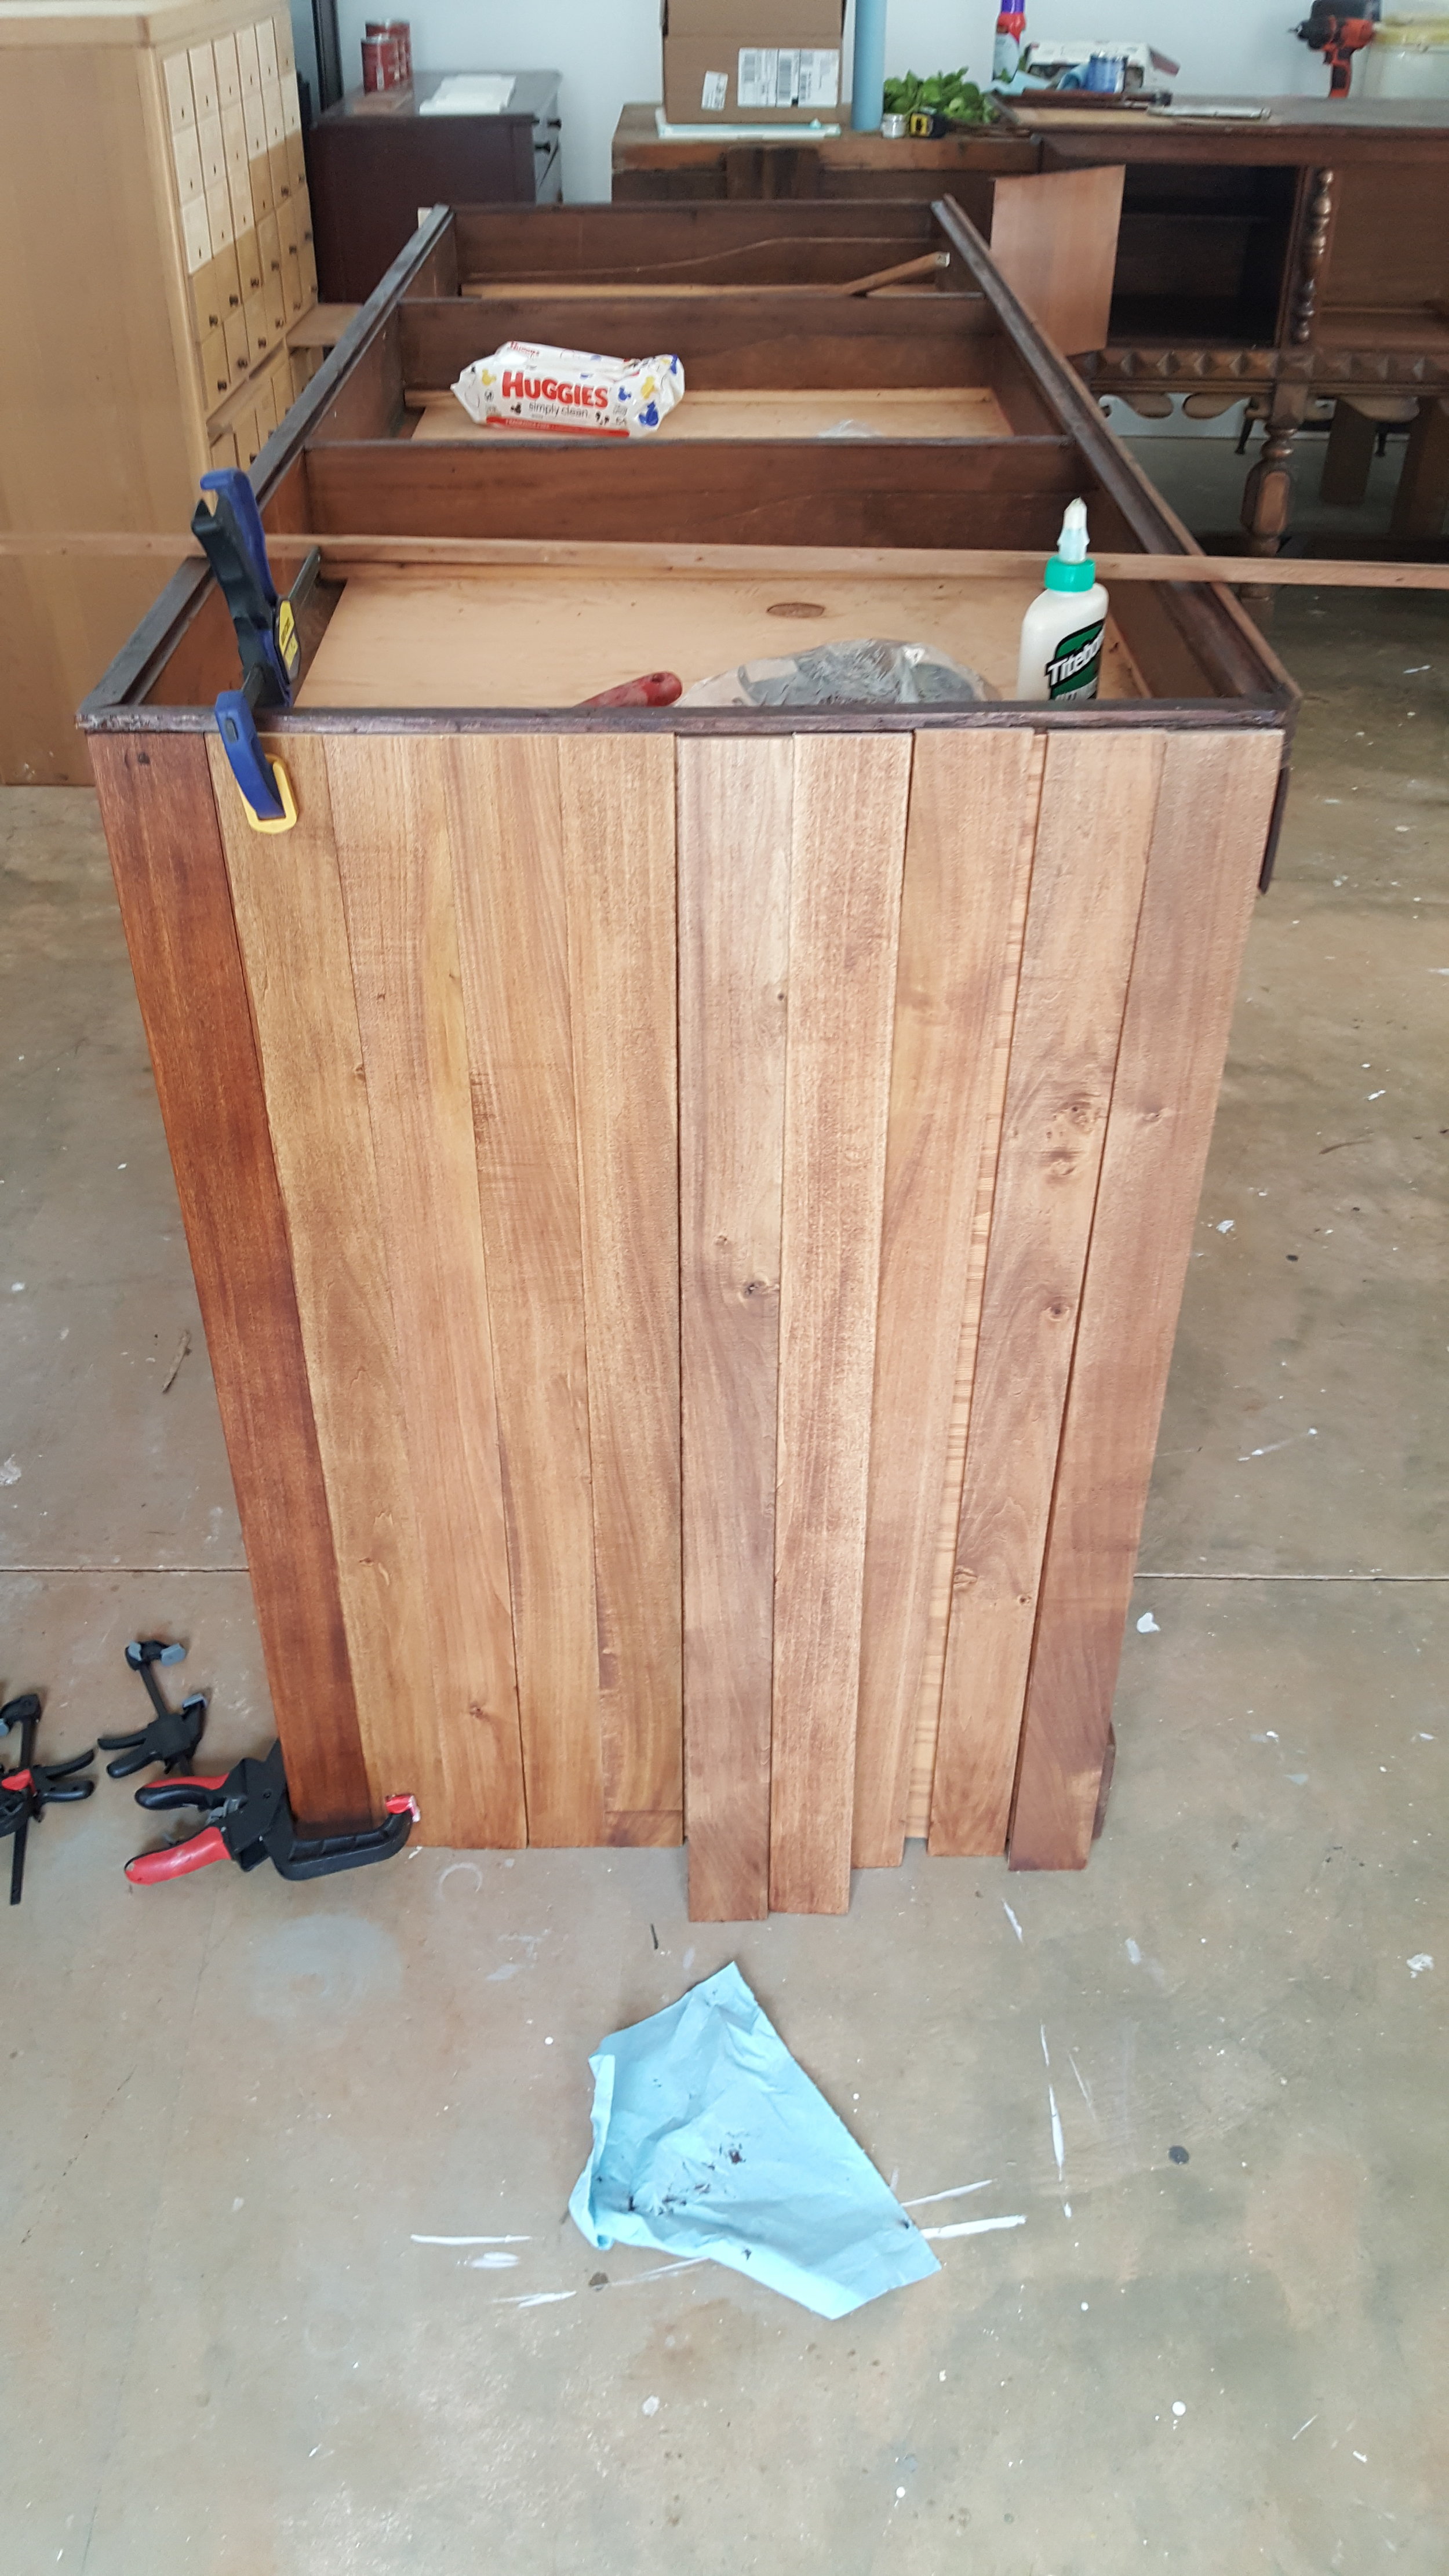
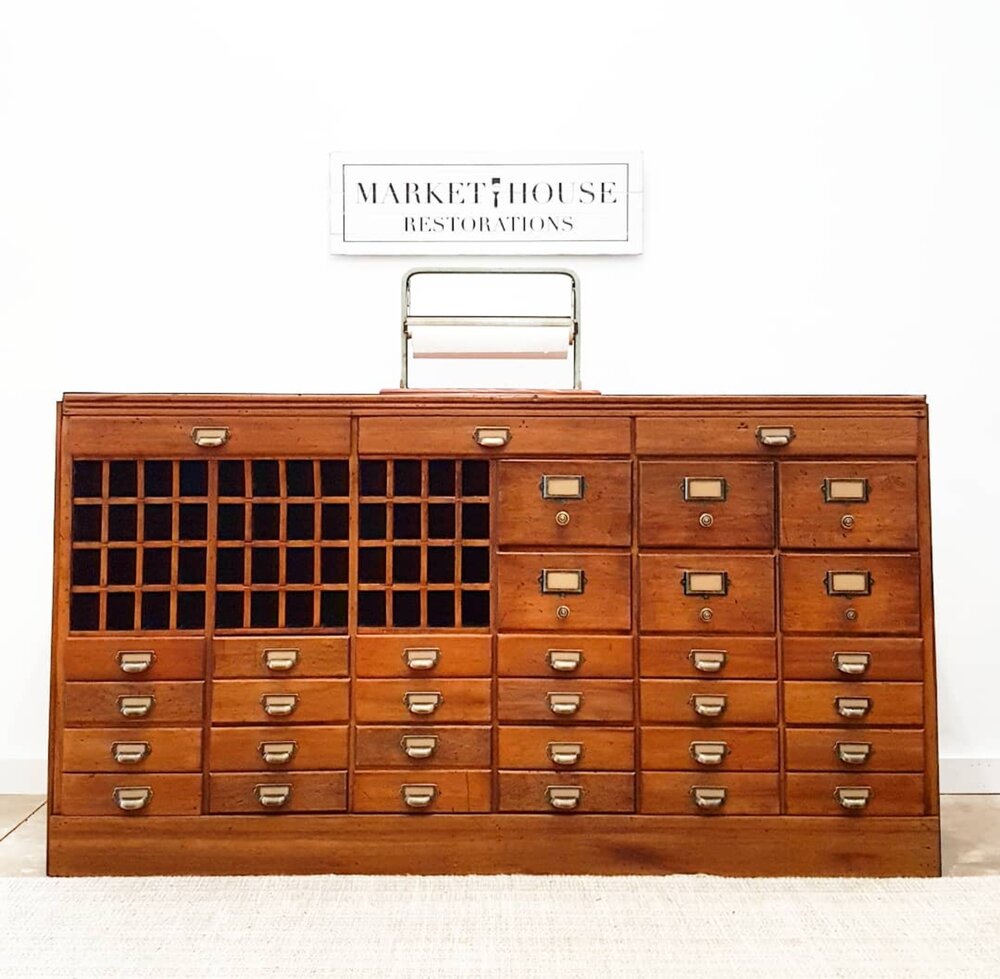
PHASE 5: Transforming the dresser to a bathroom vanity
PHASE 6: The Final Phase
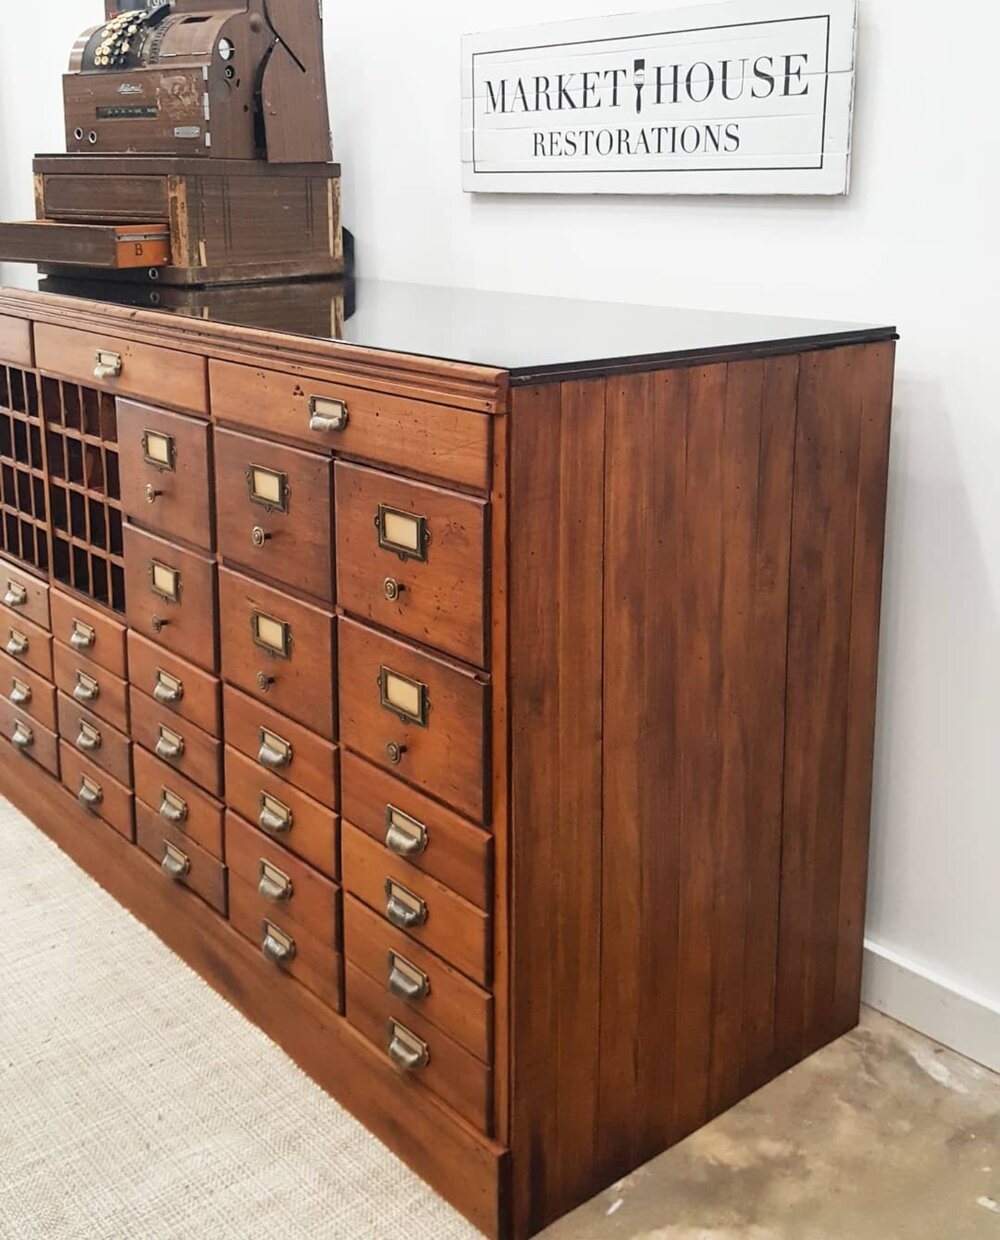
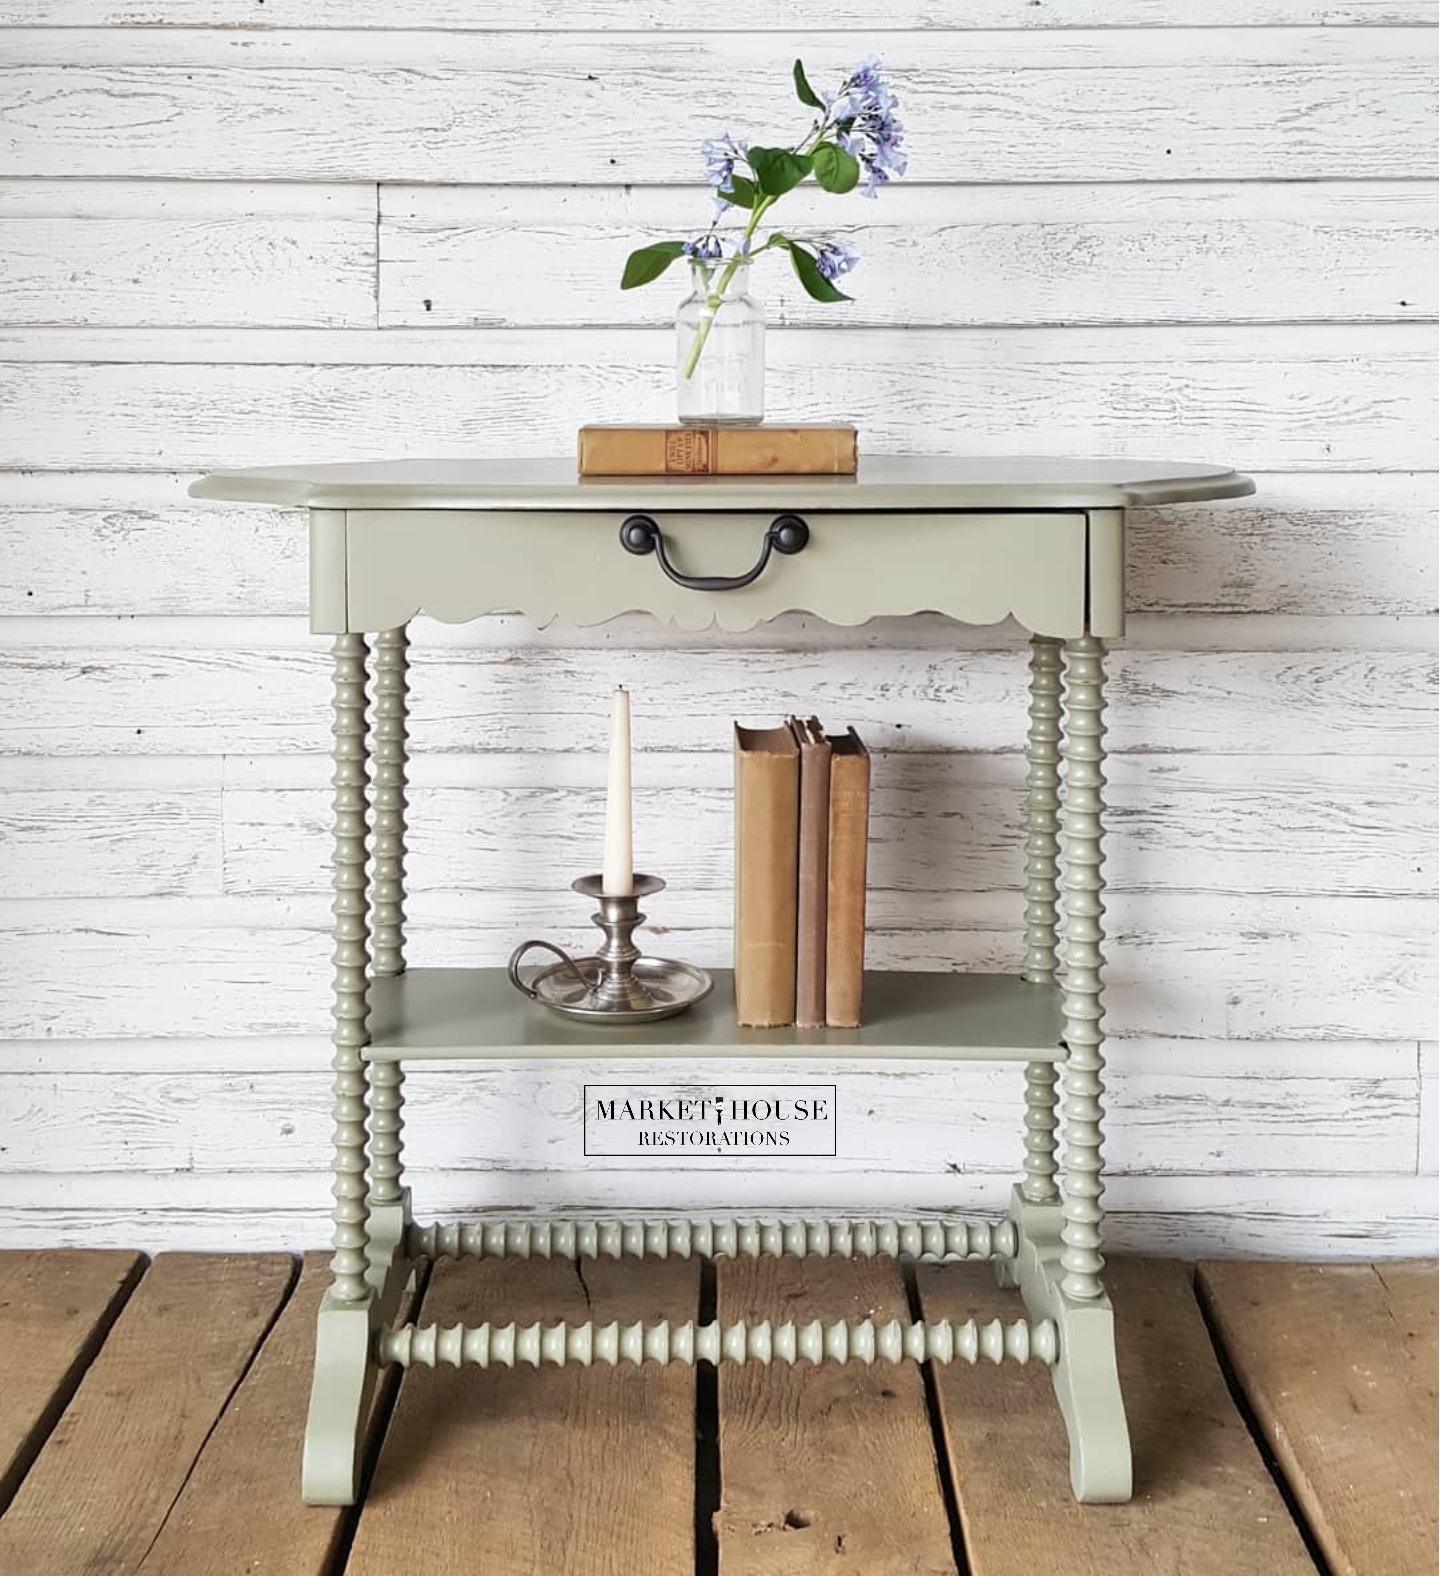
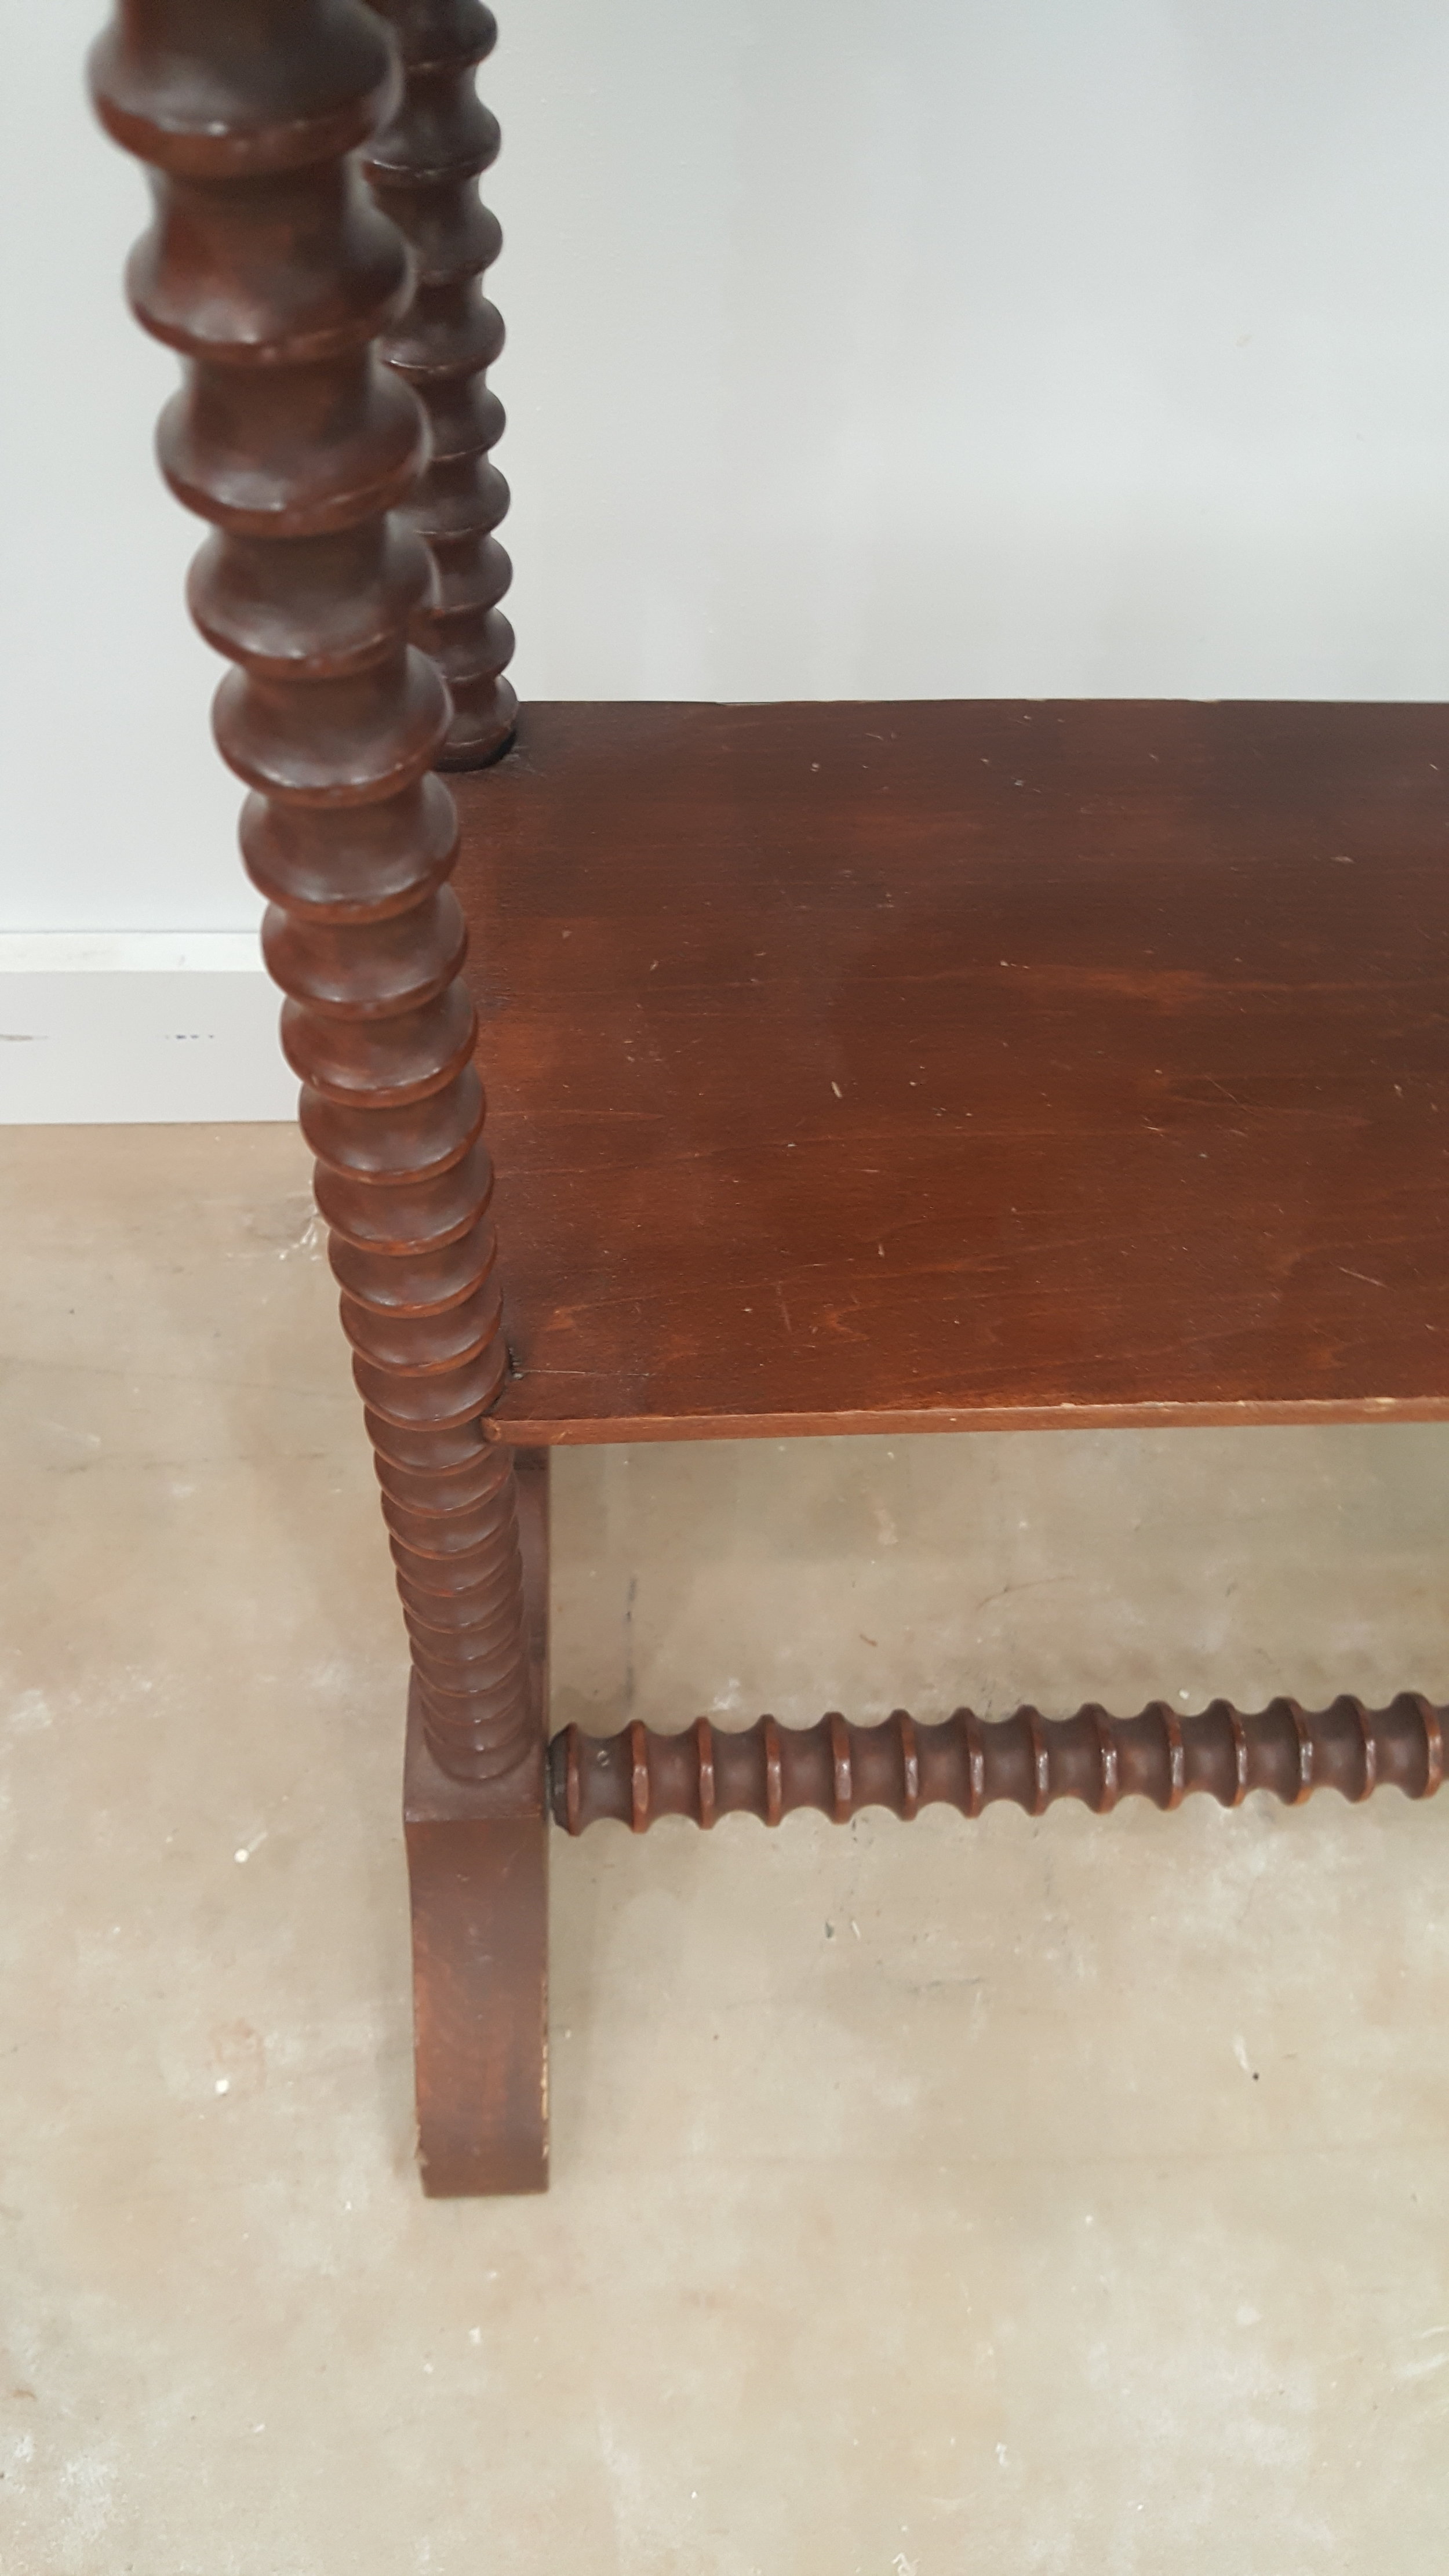
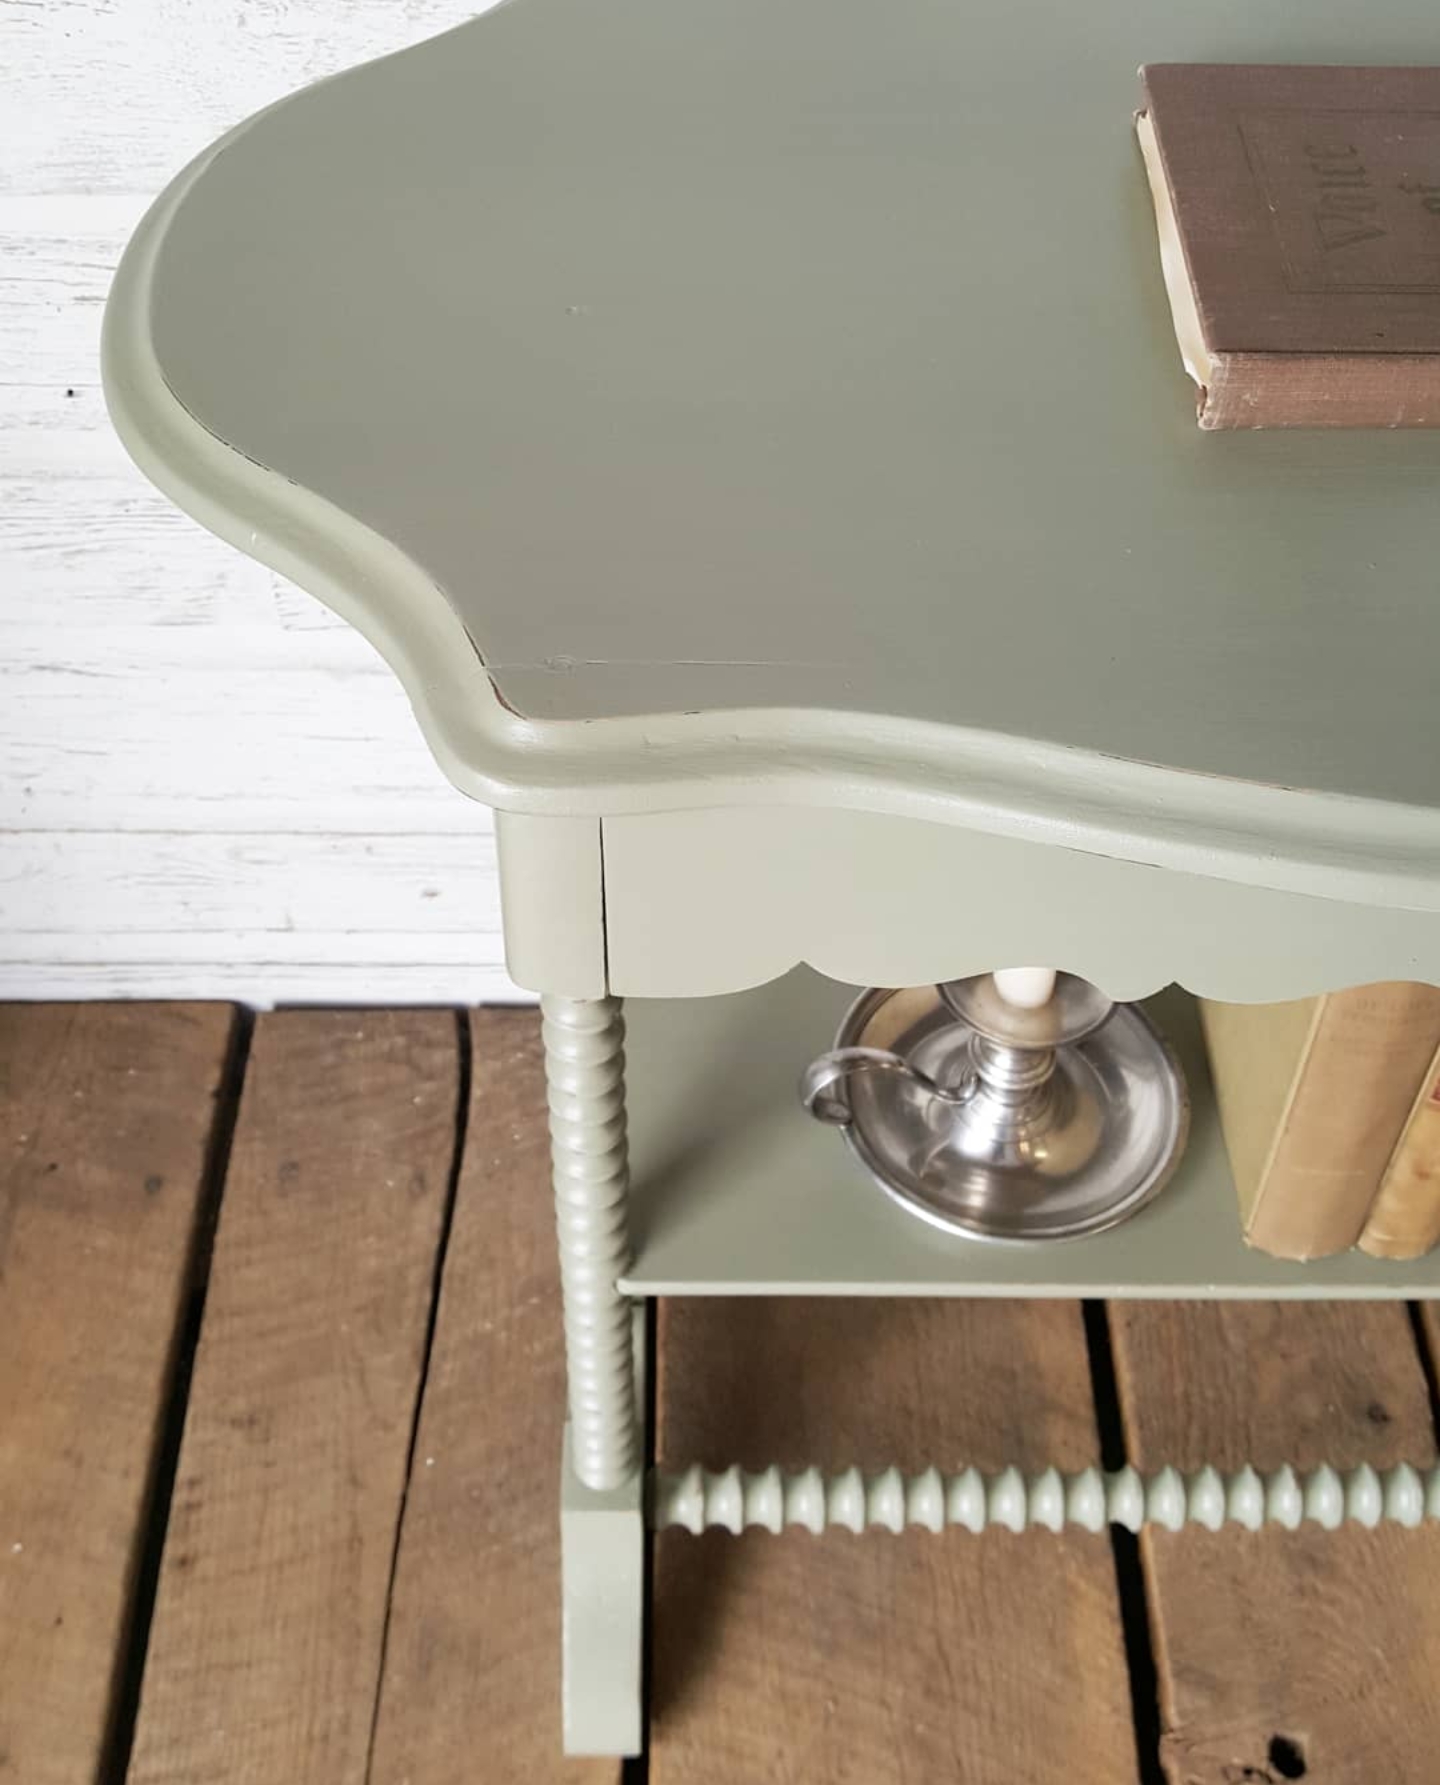
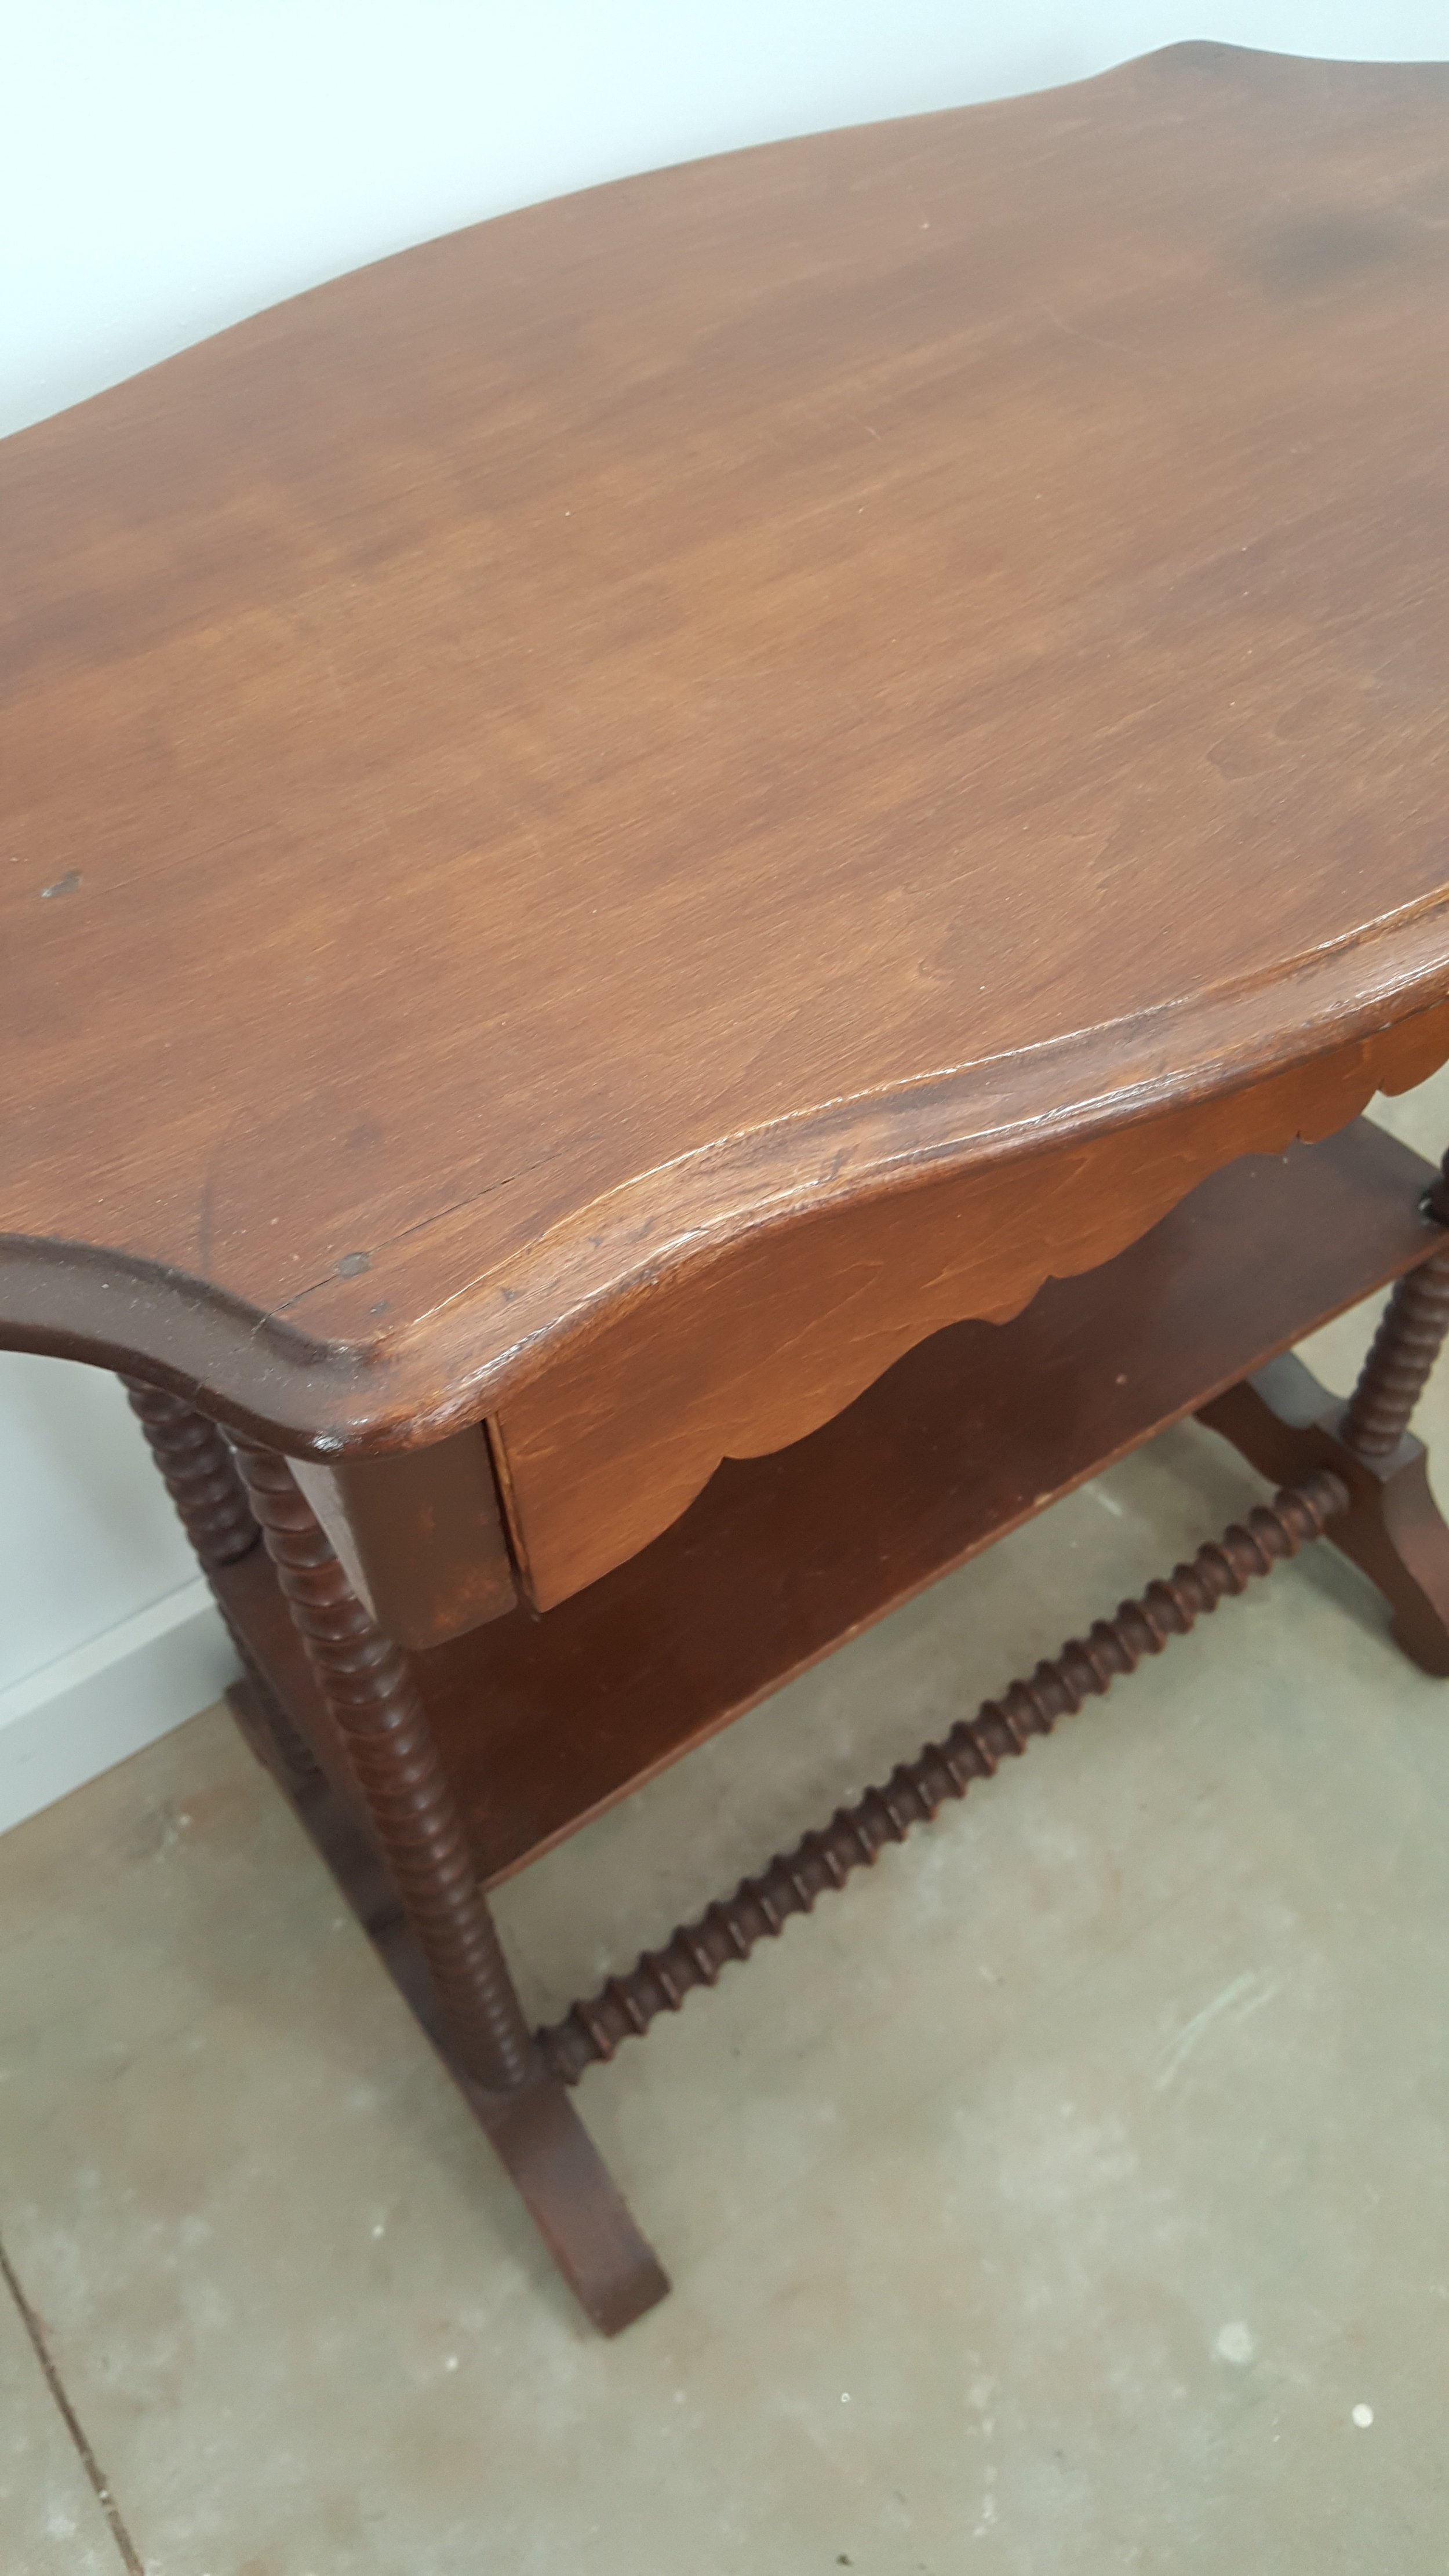
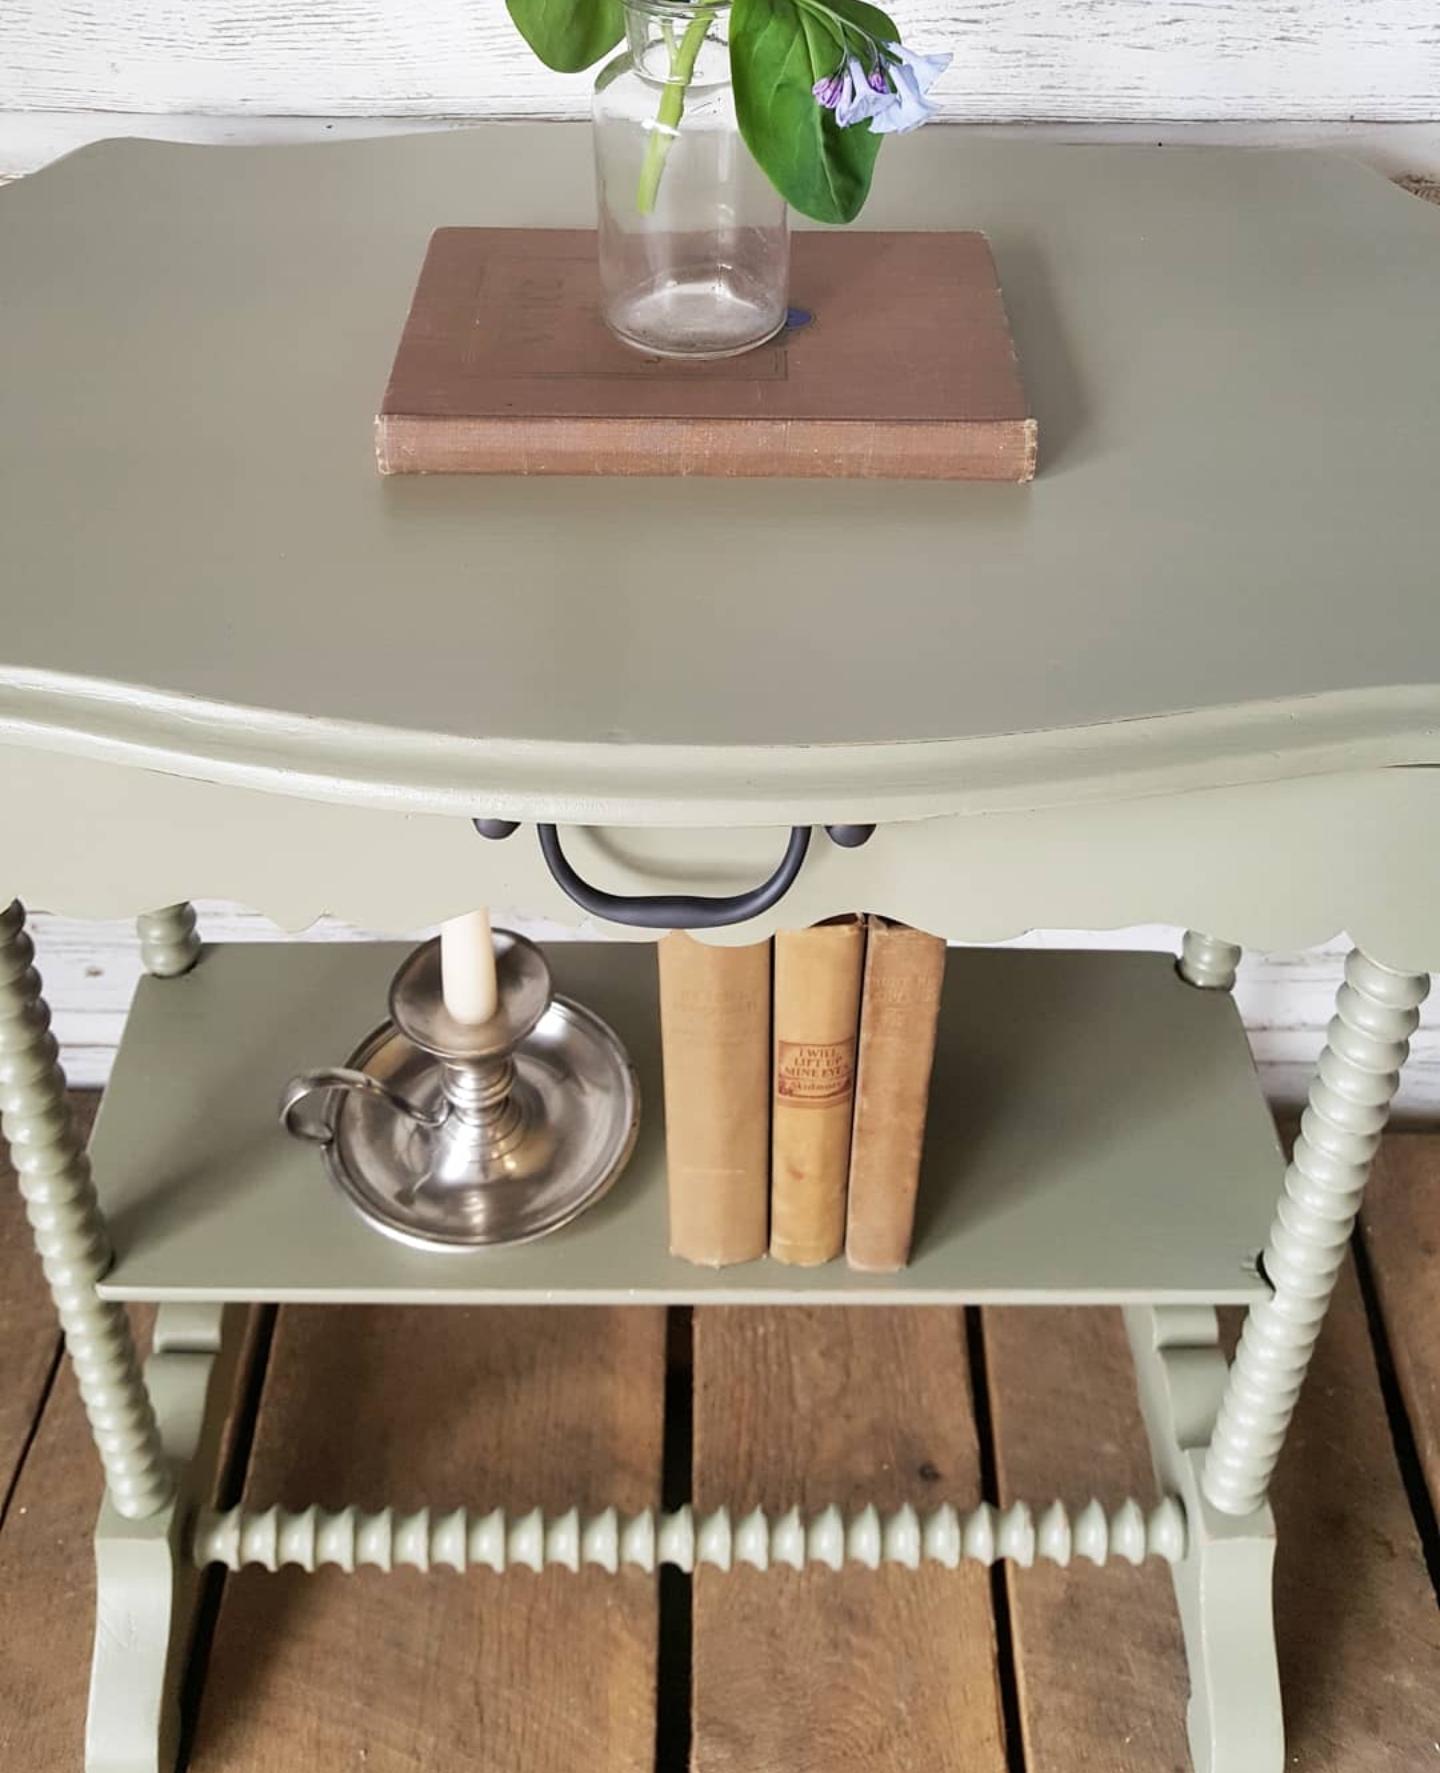
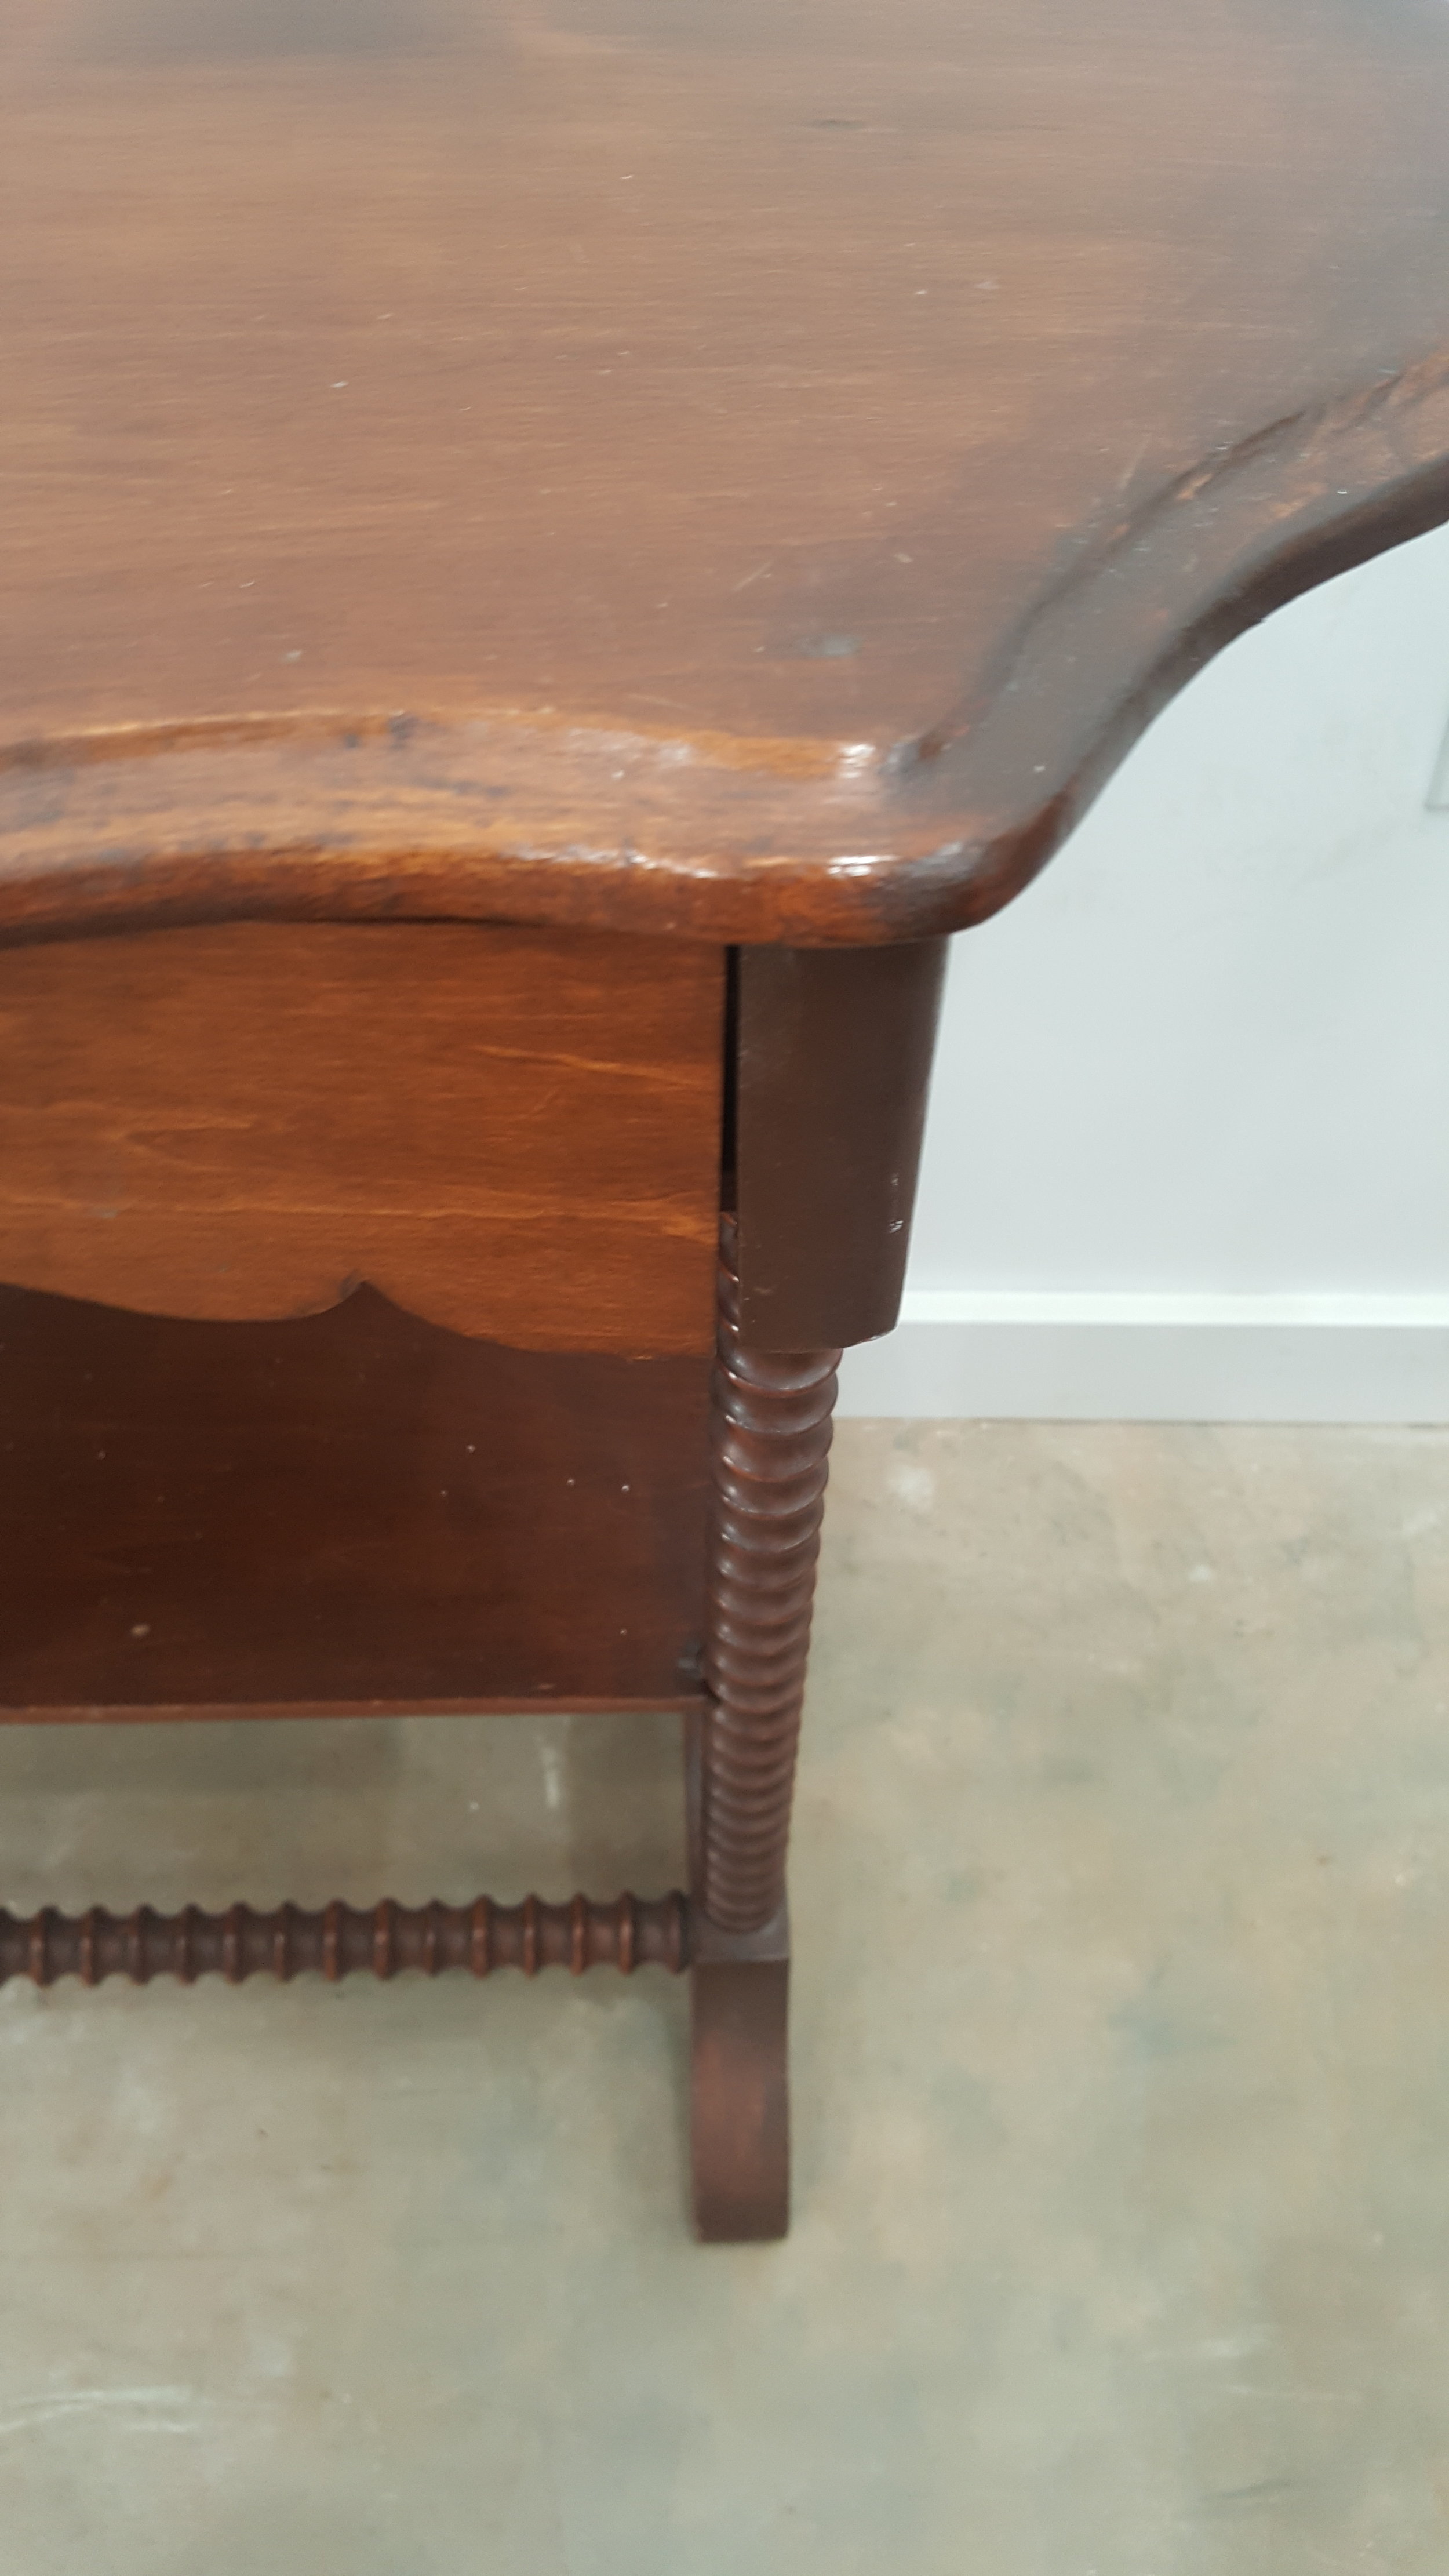
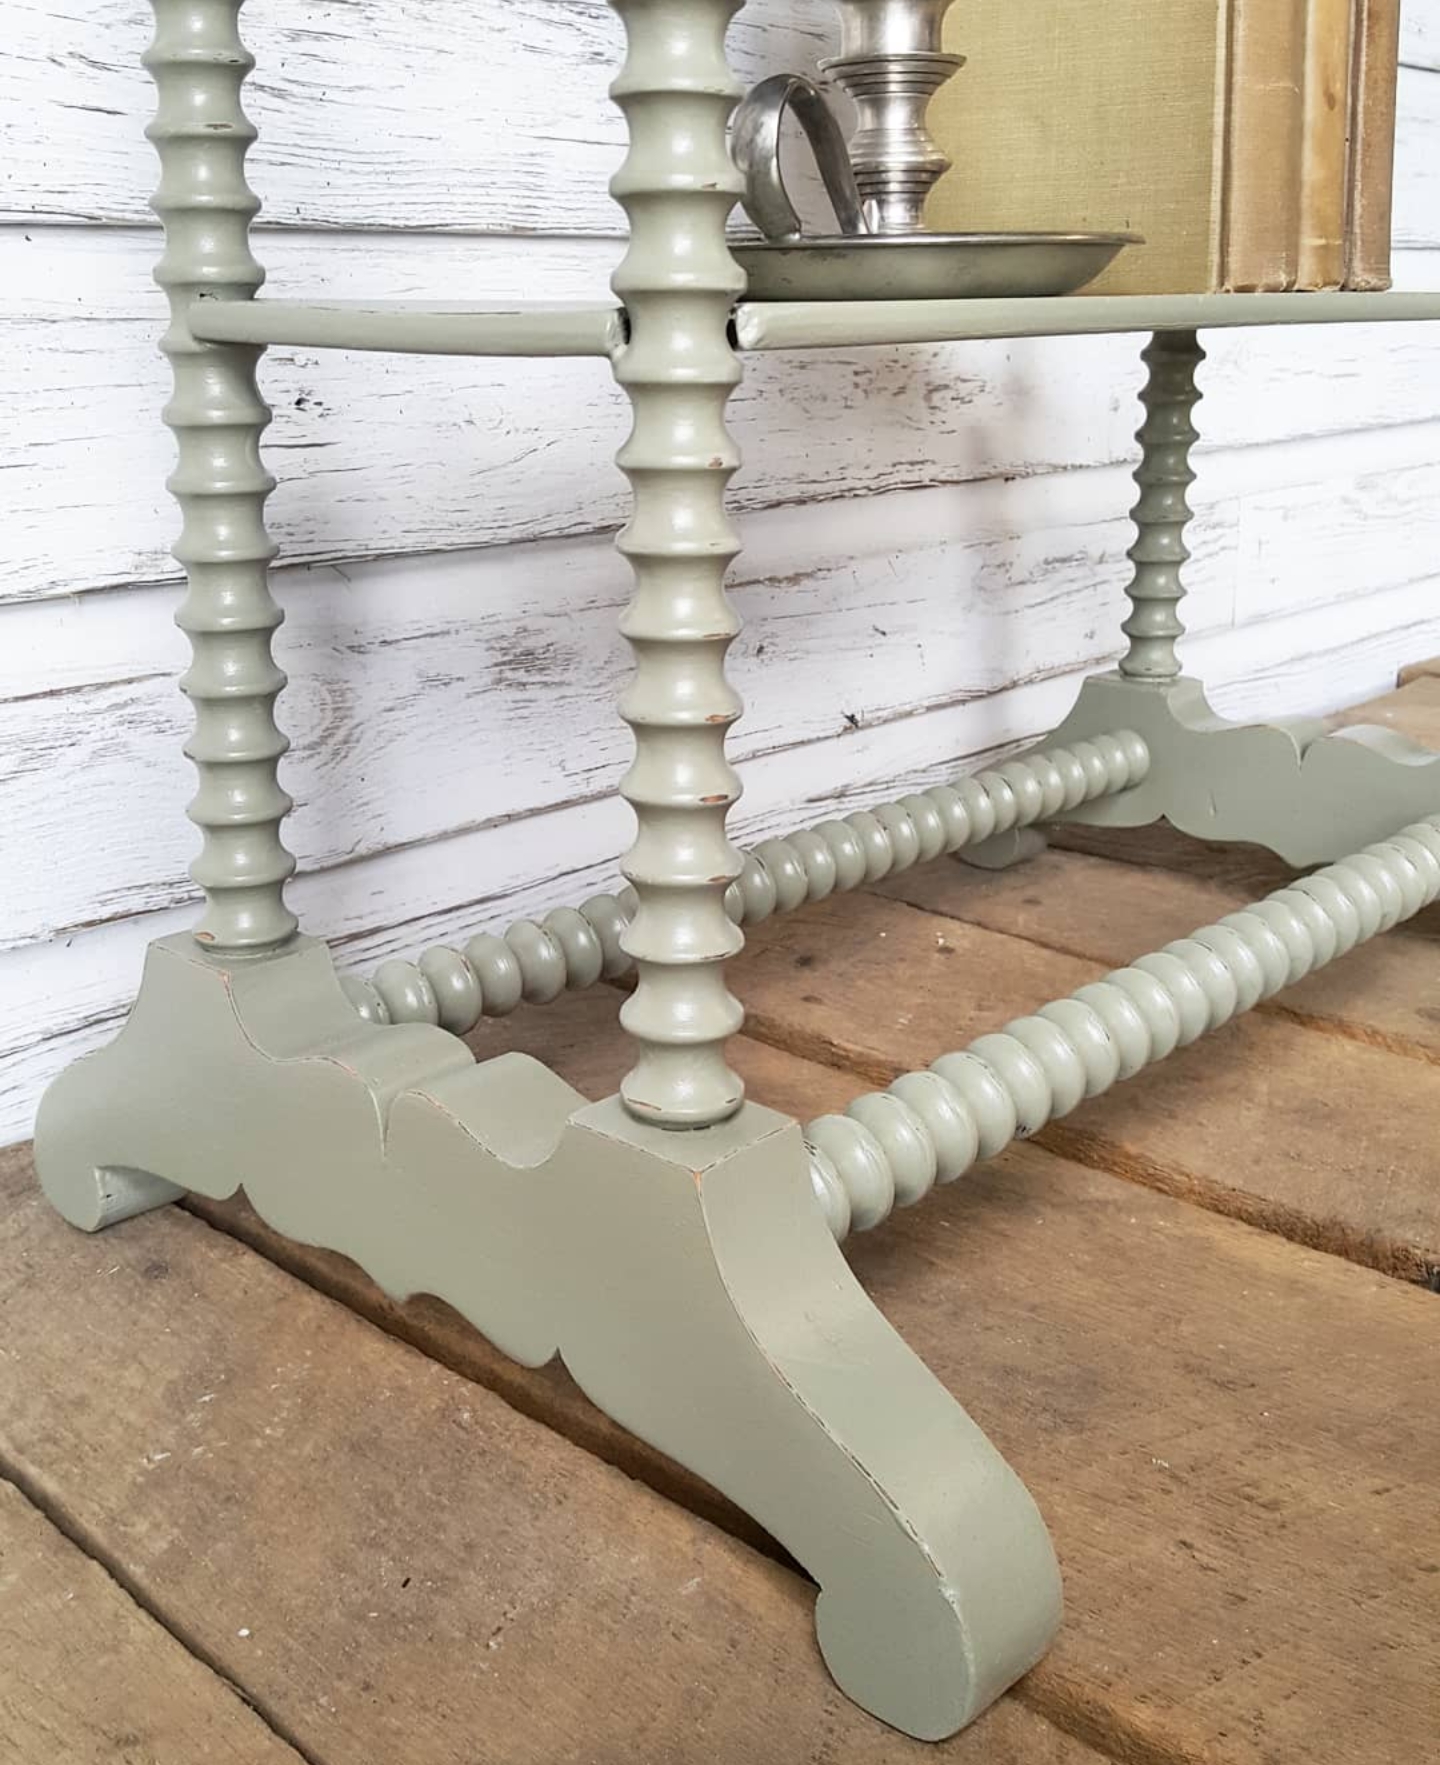
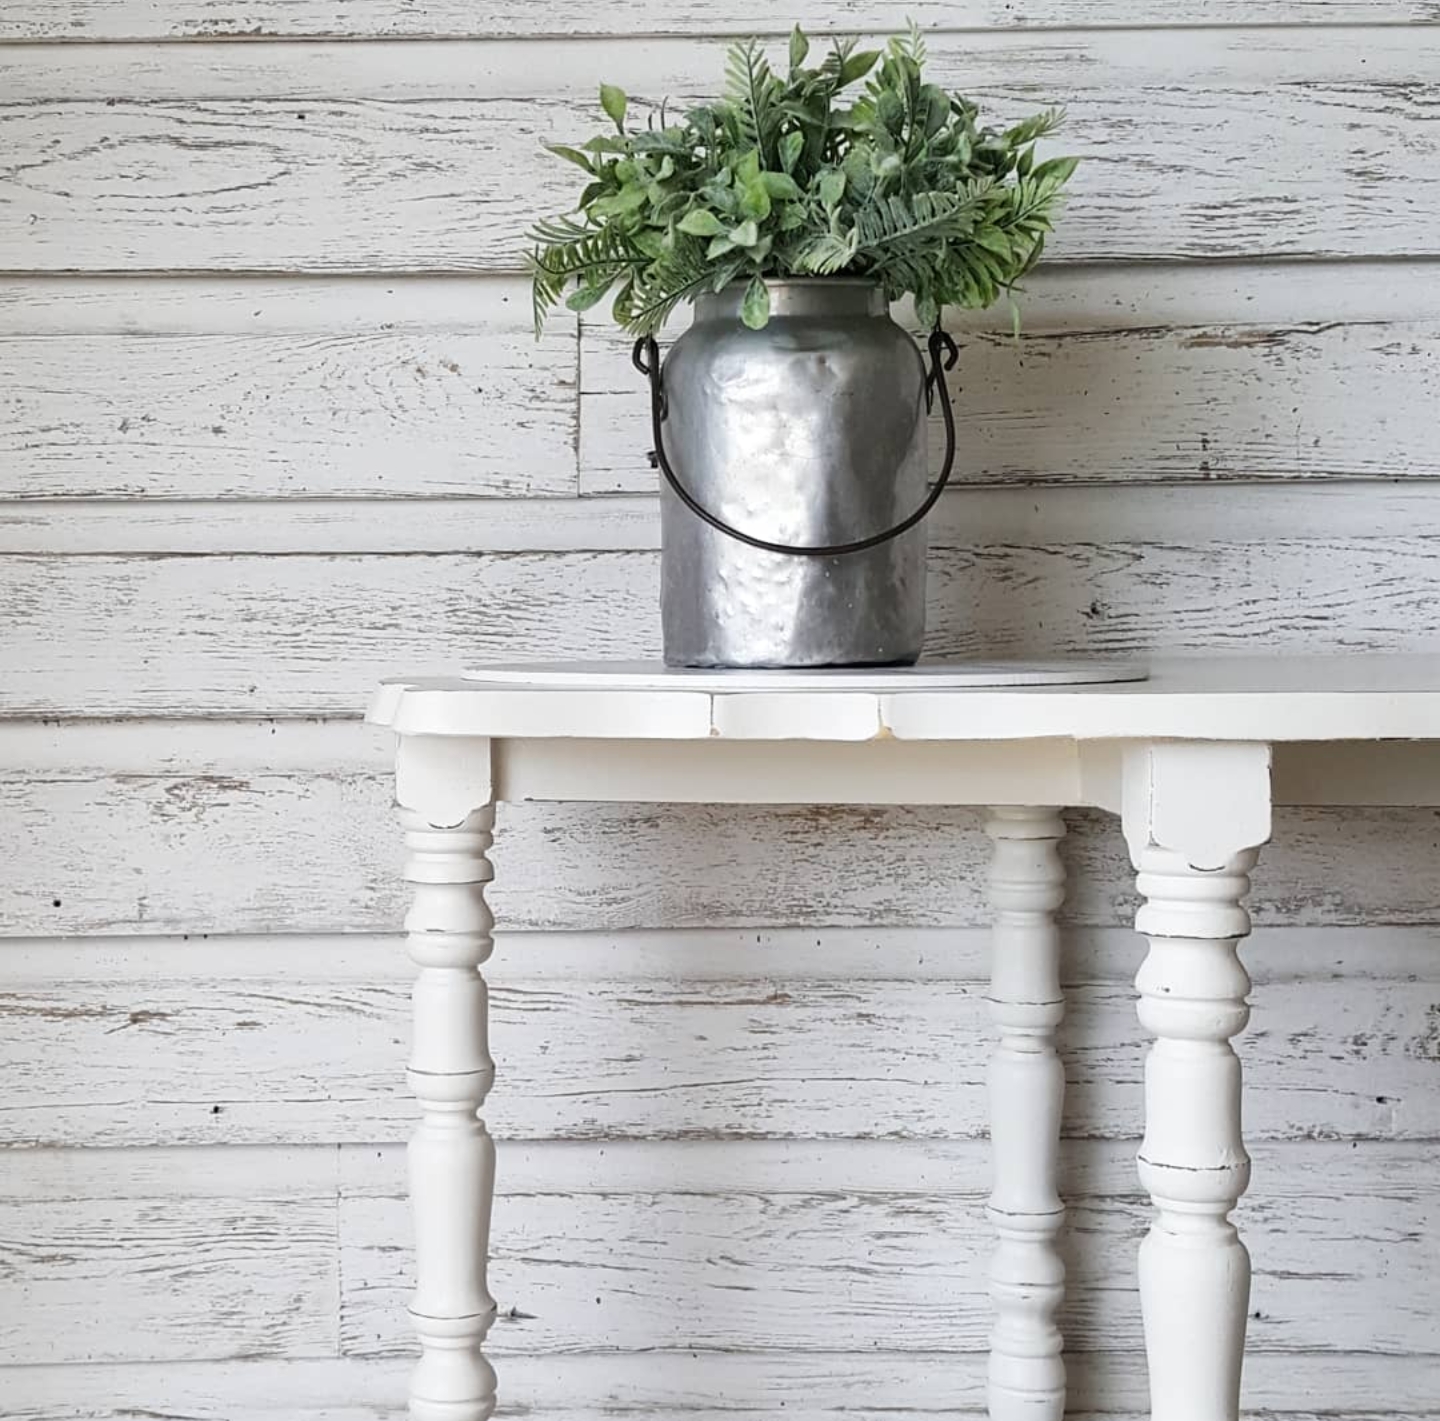
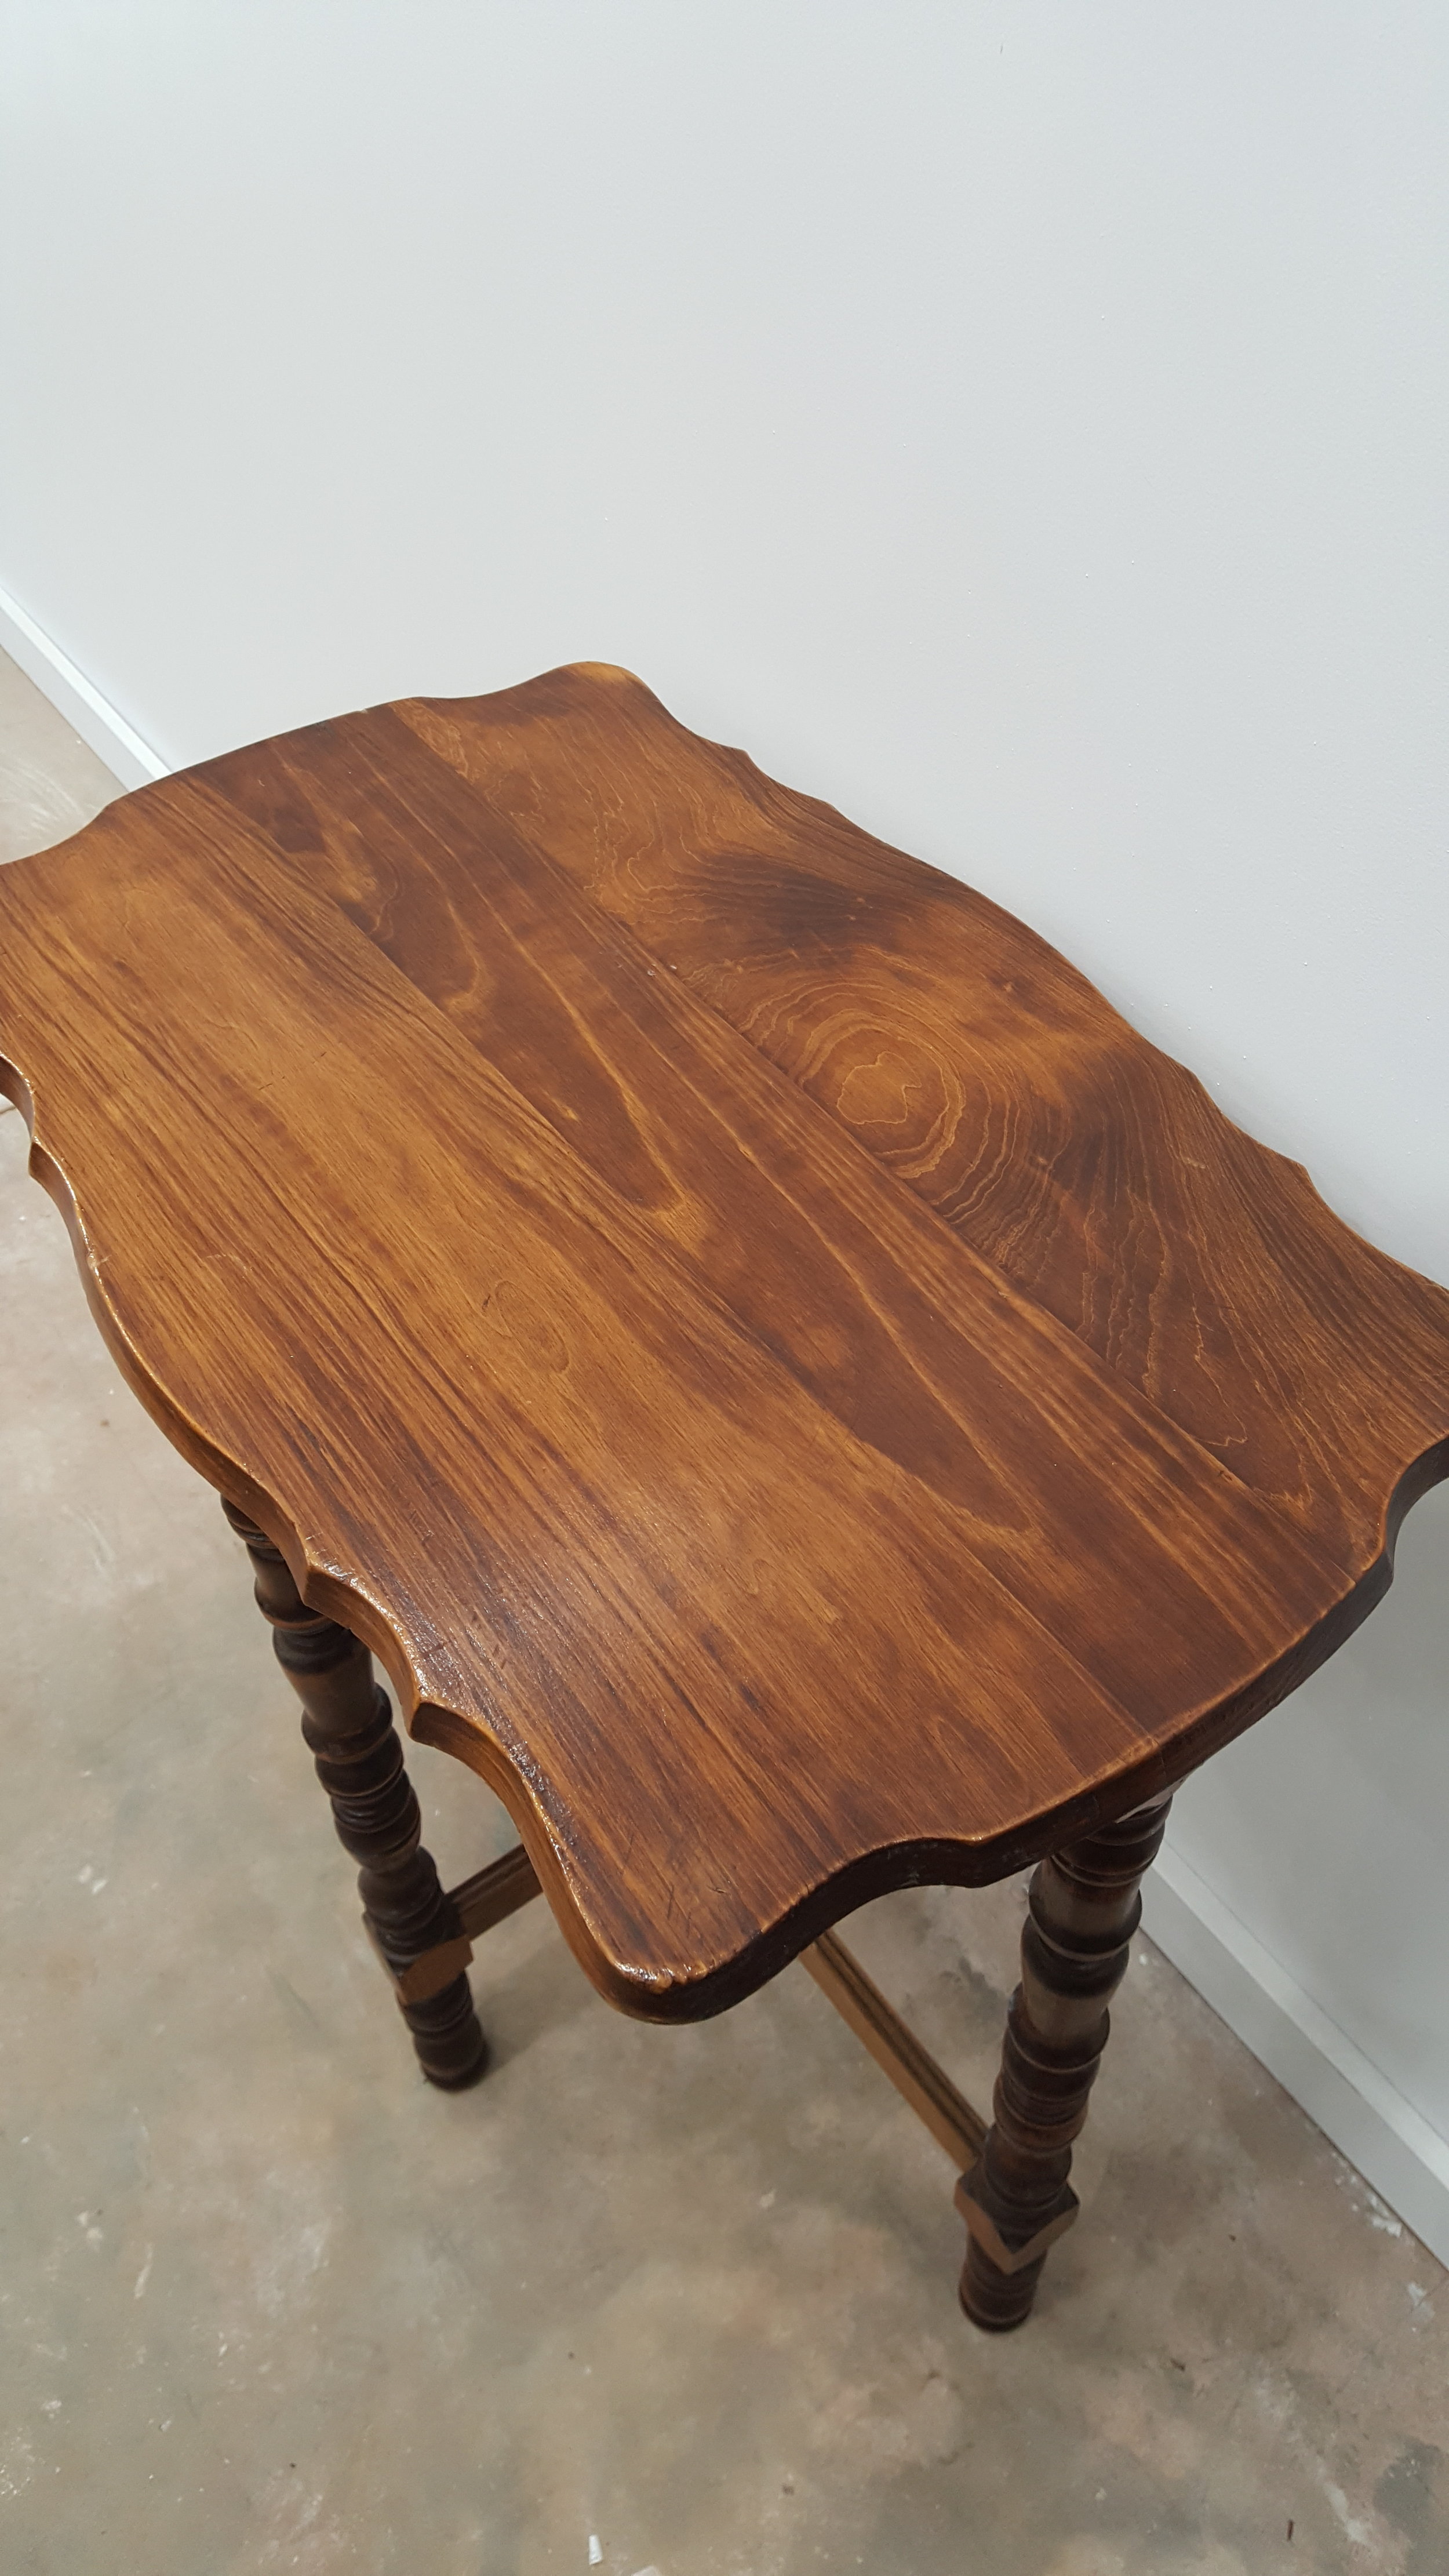
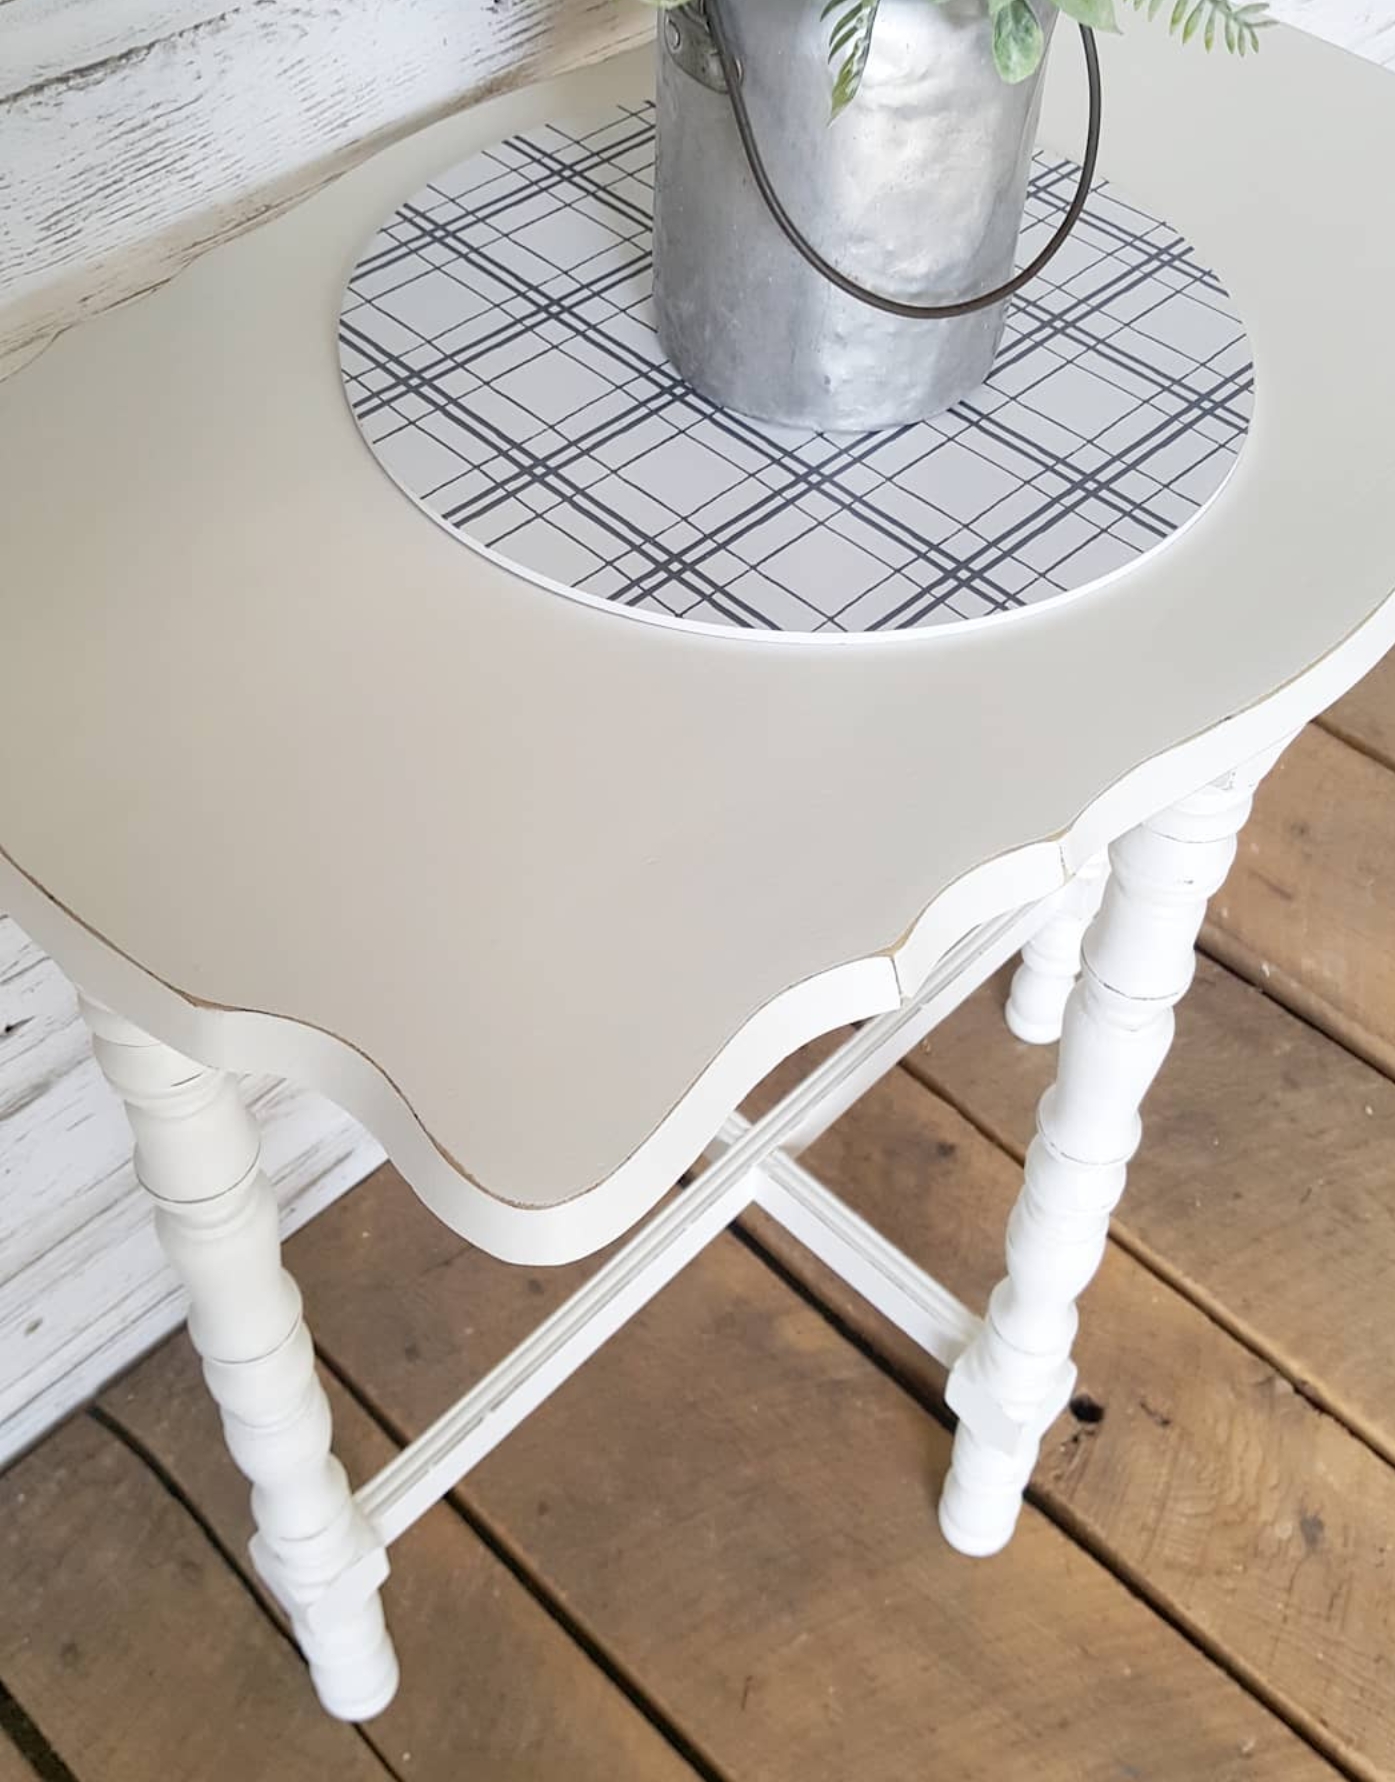
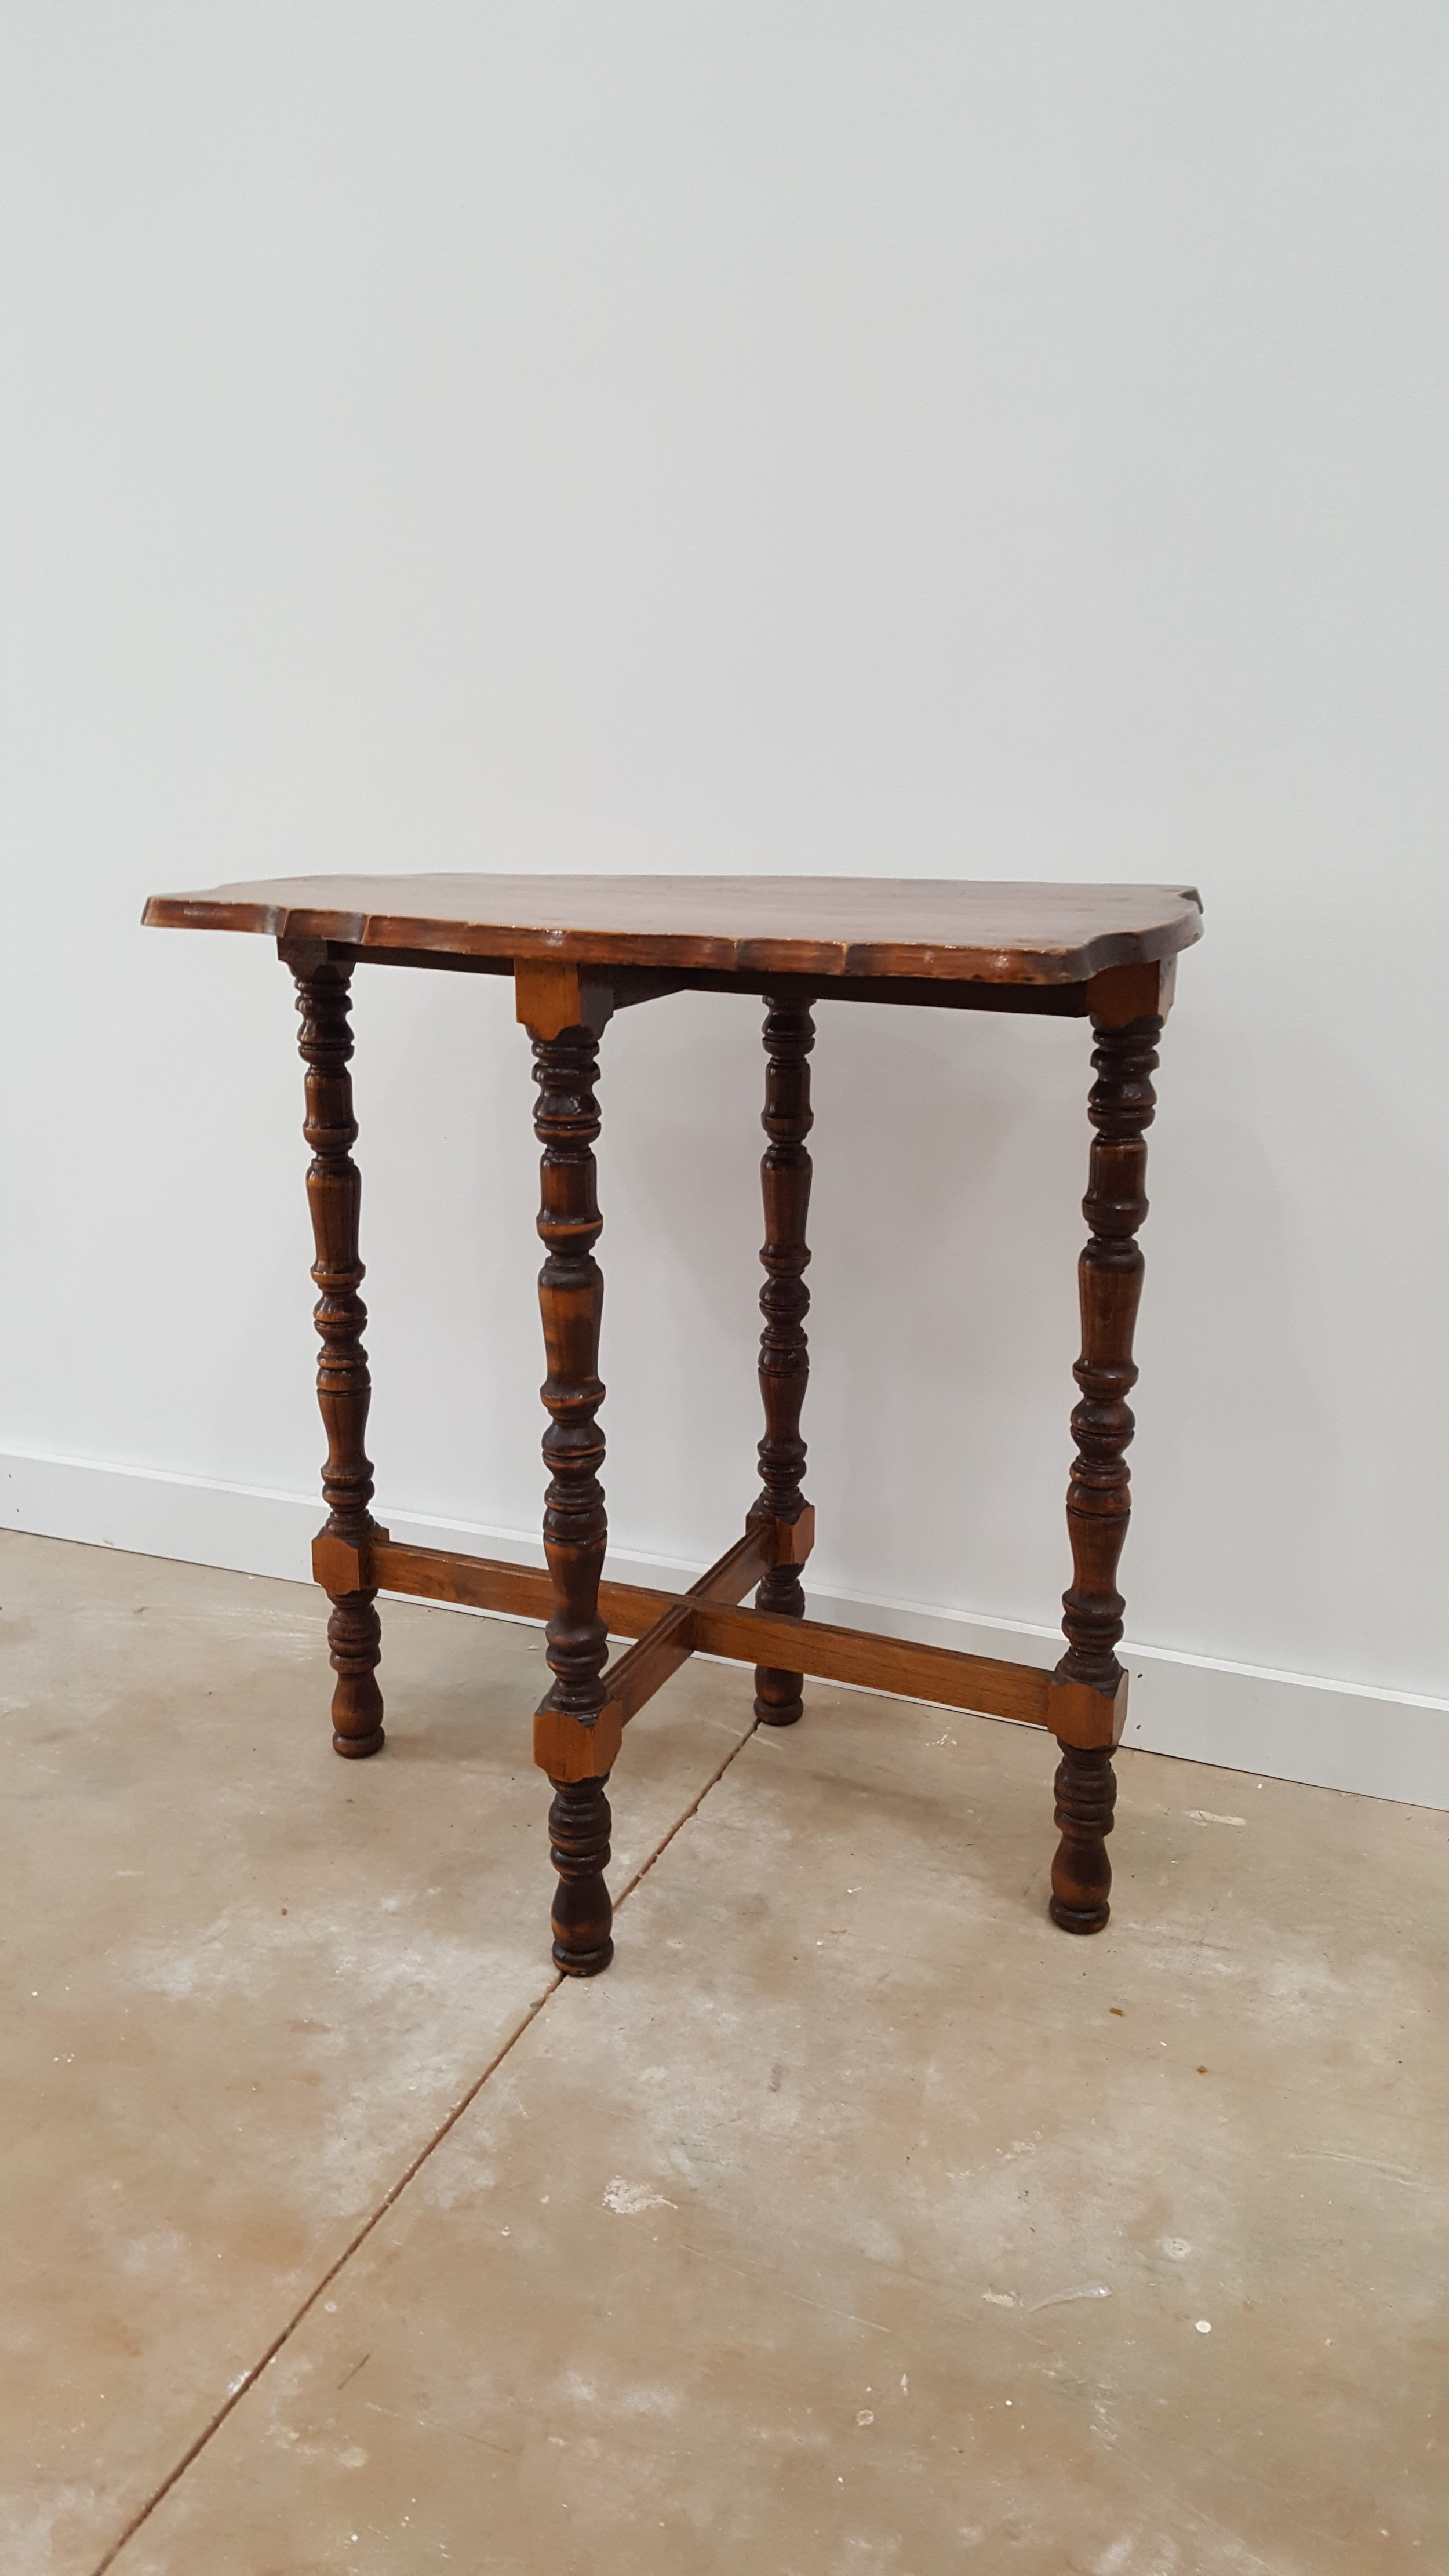
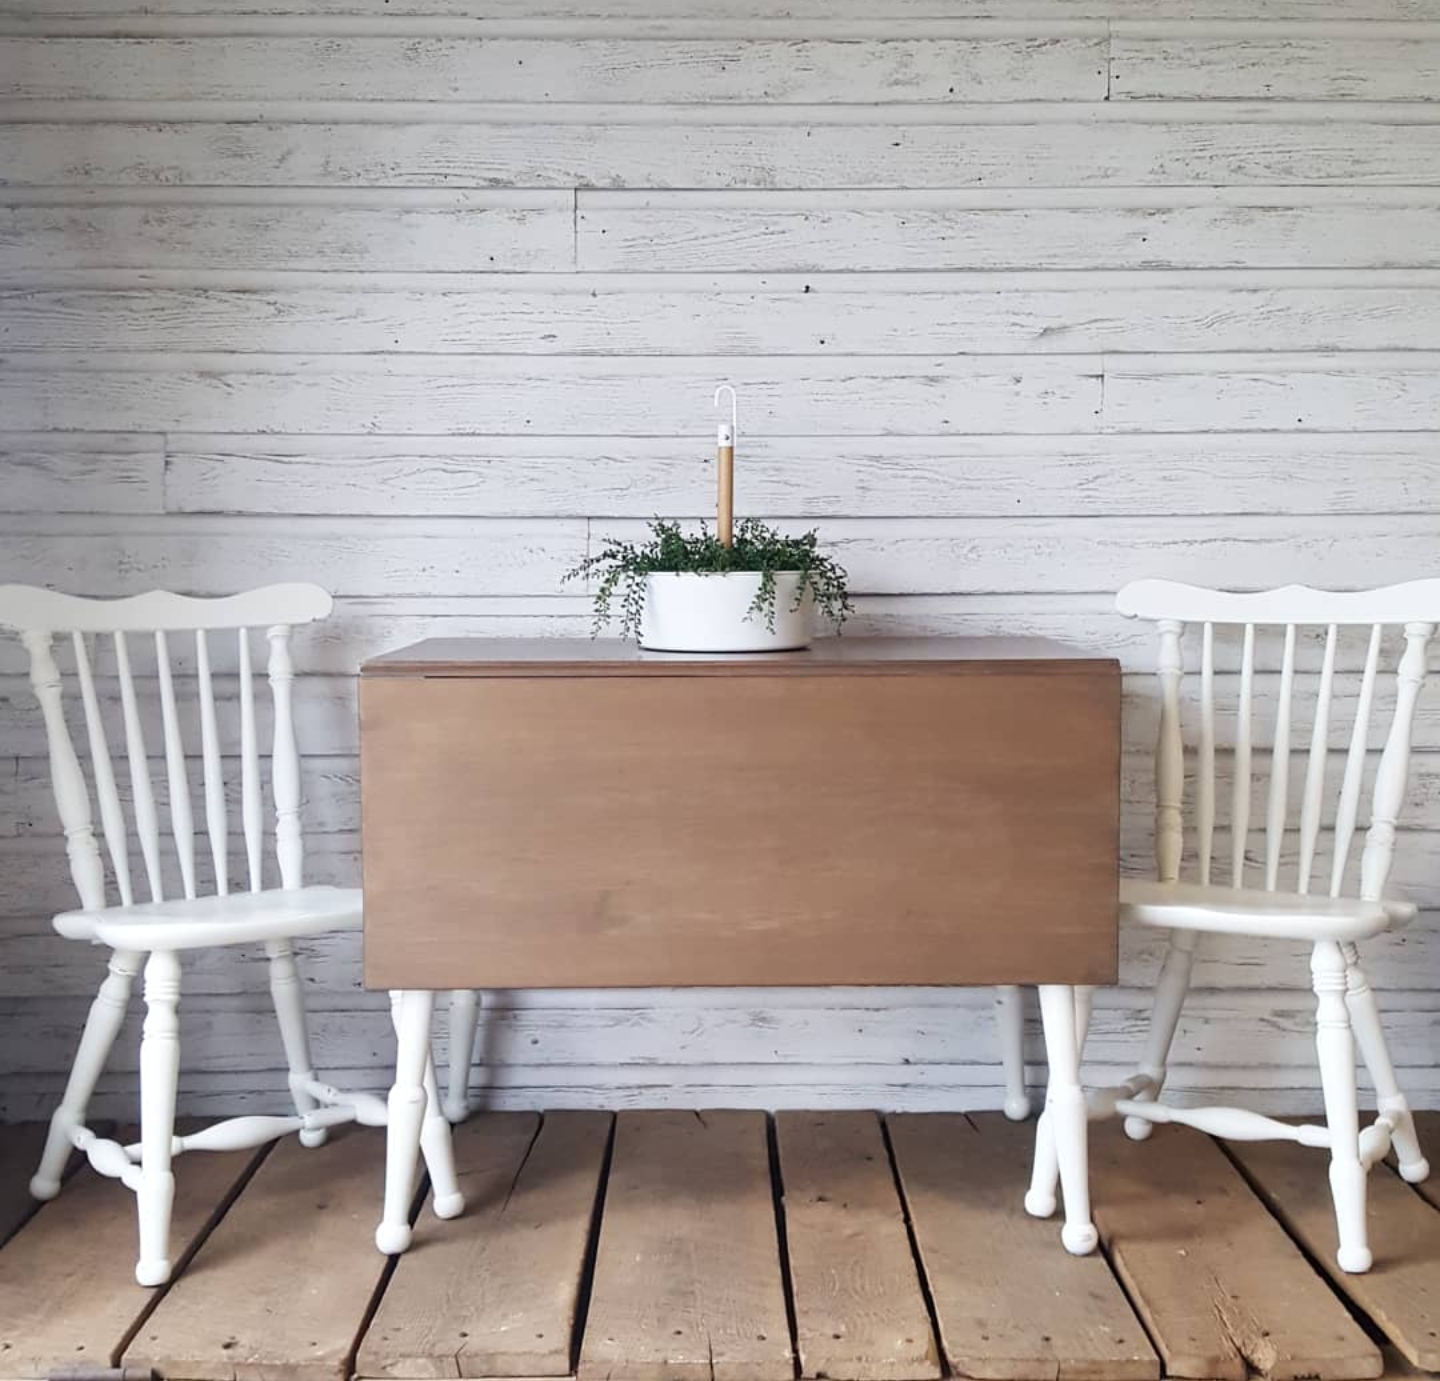
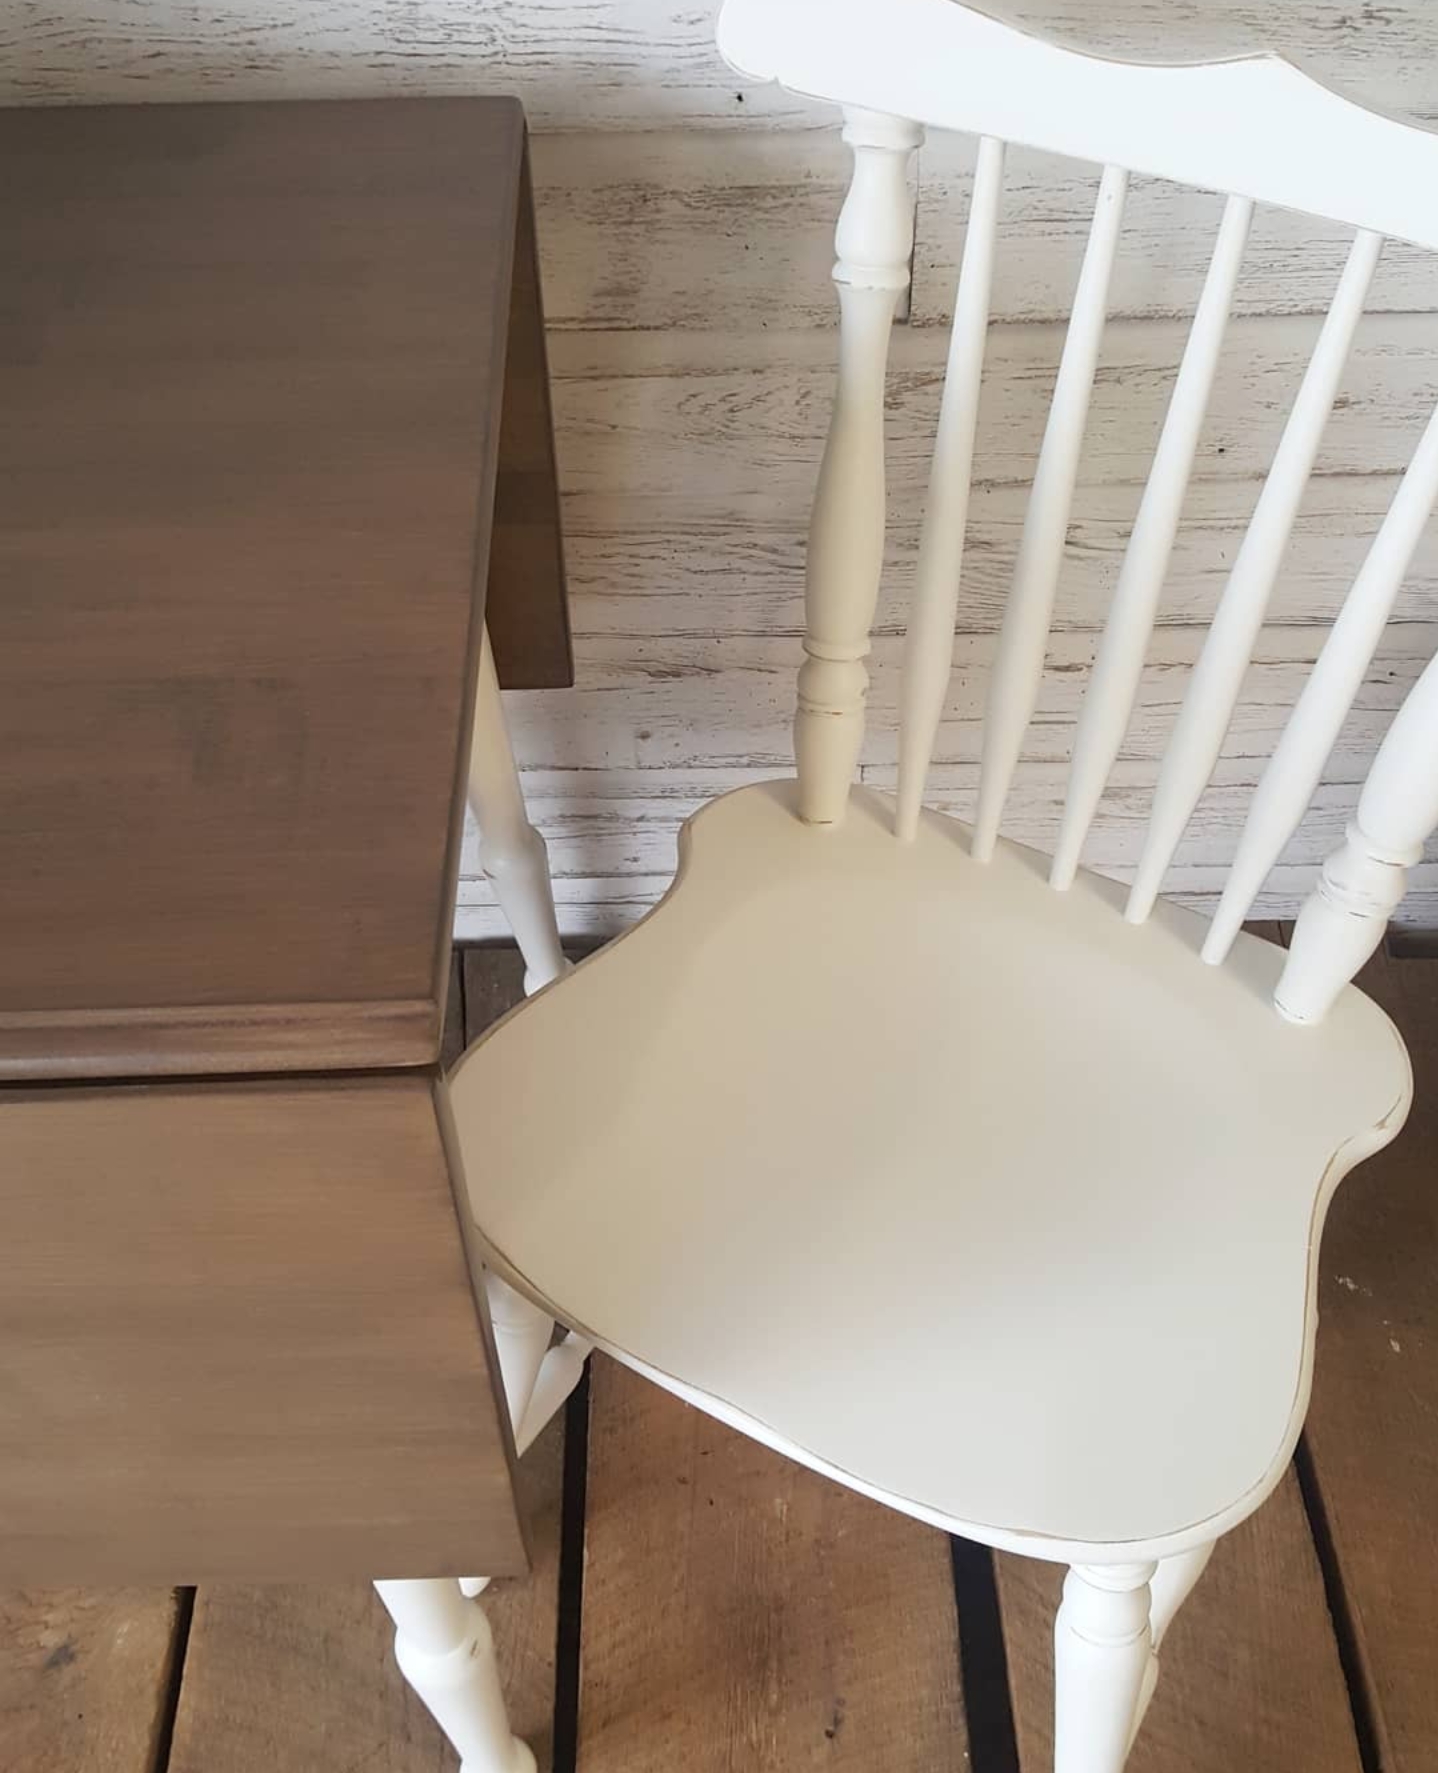
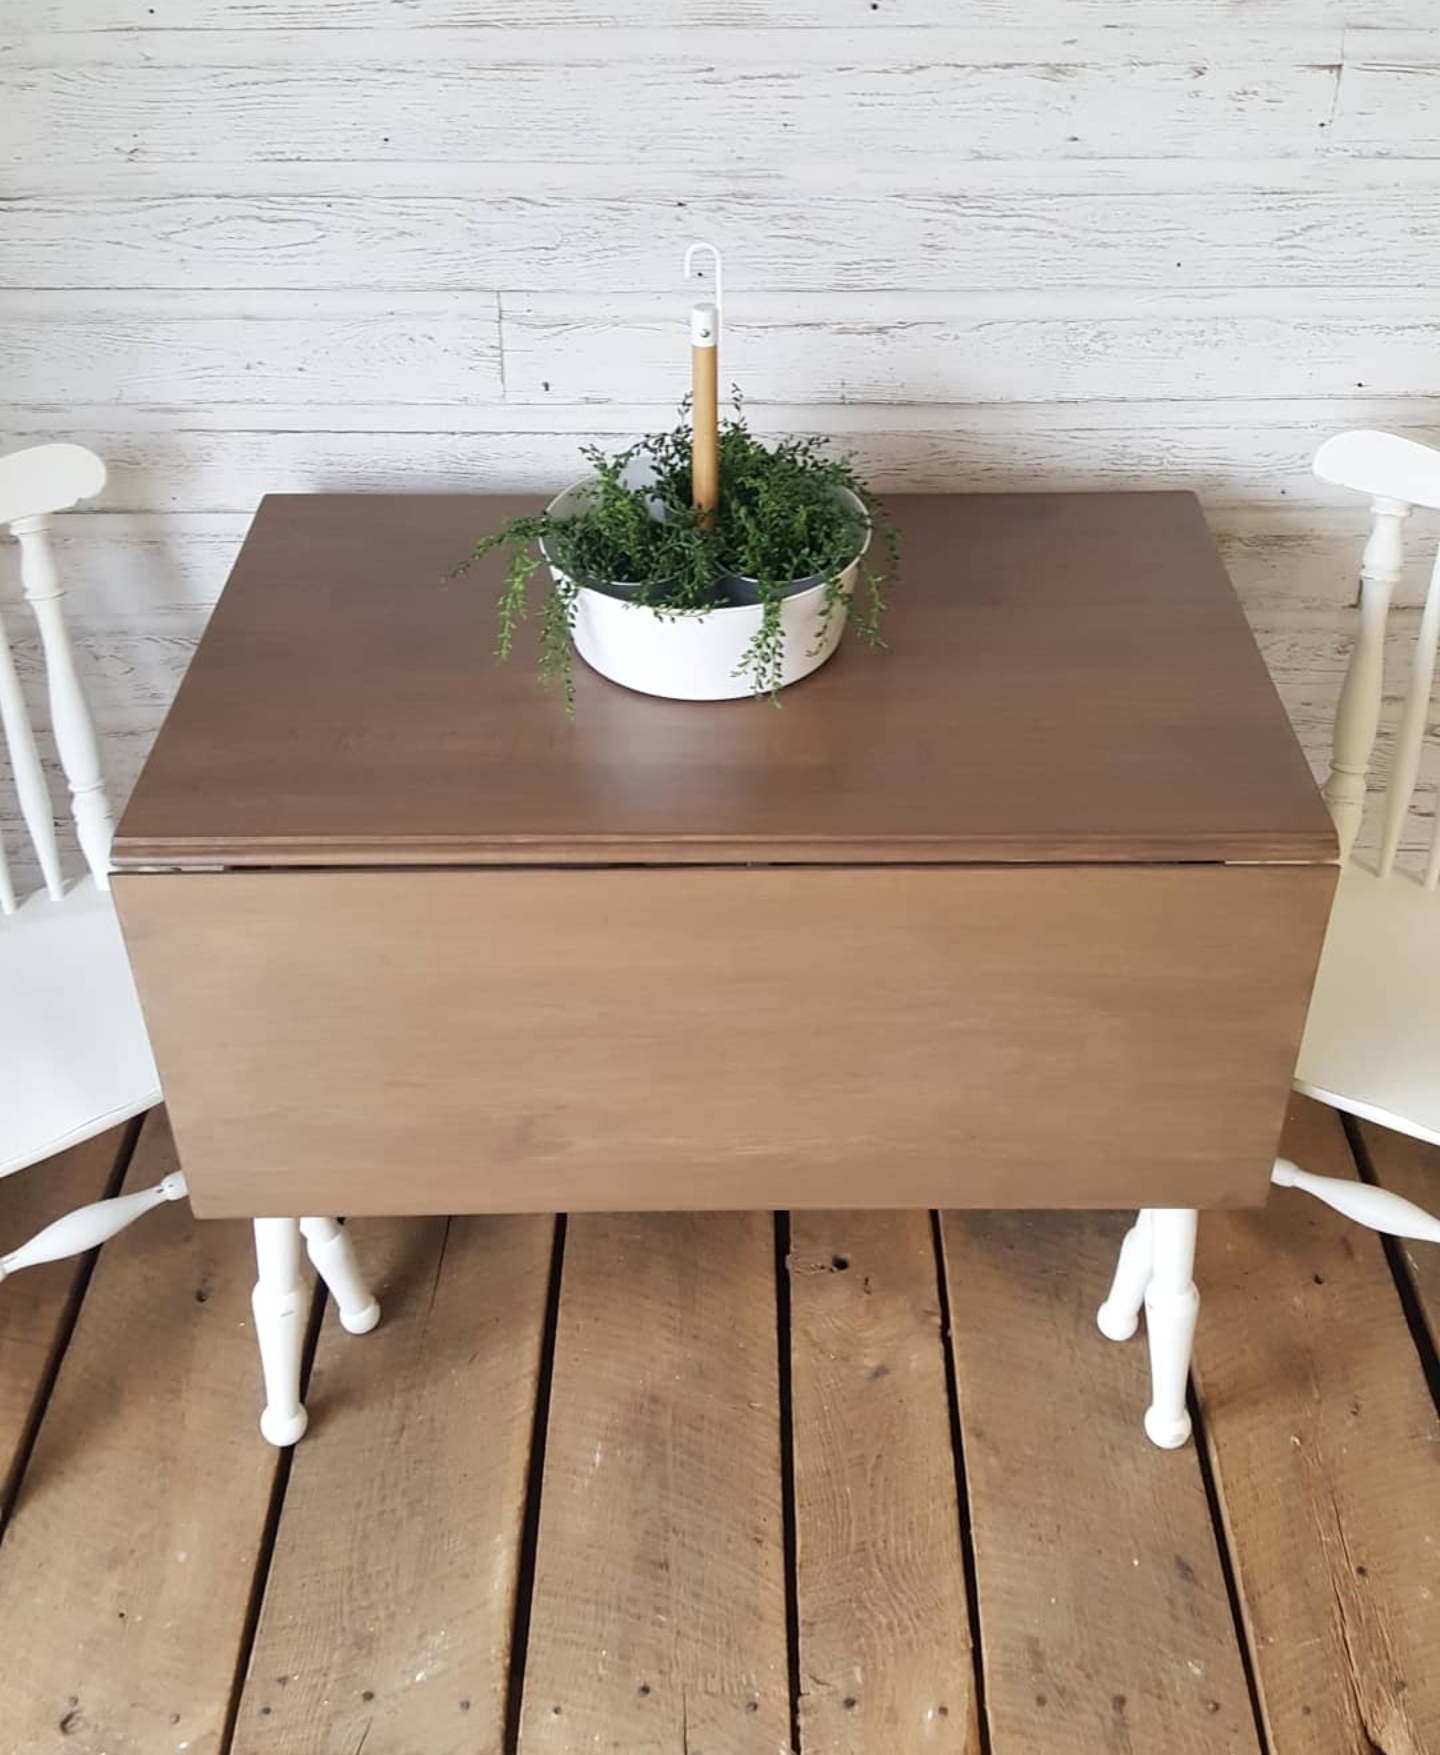
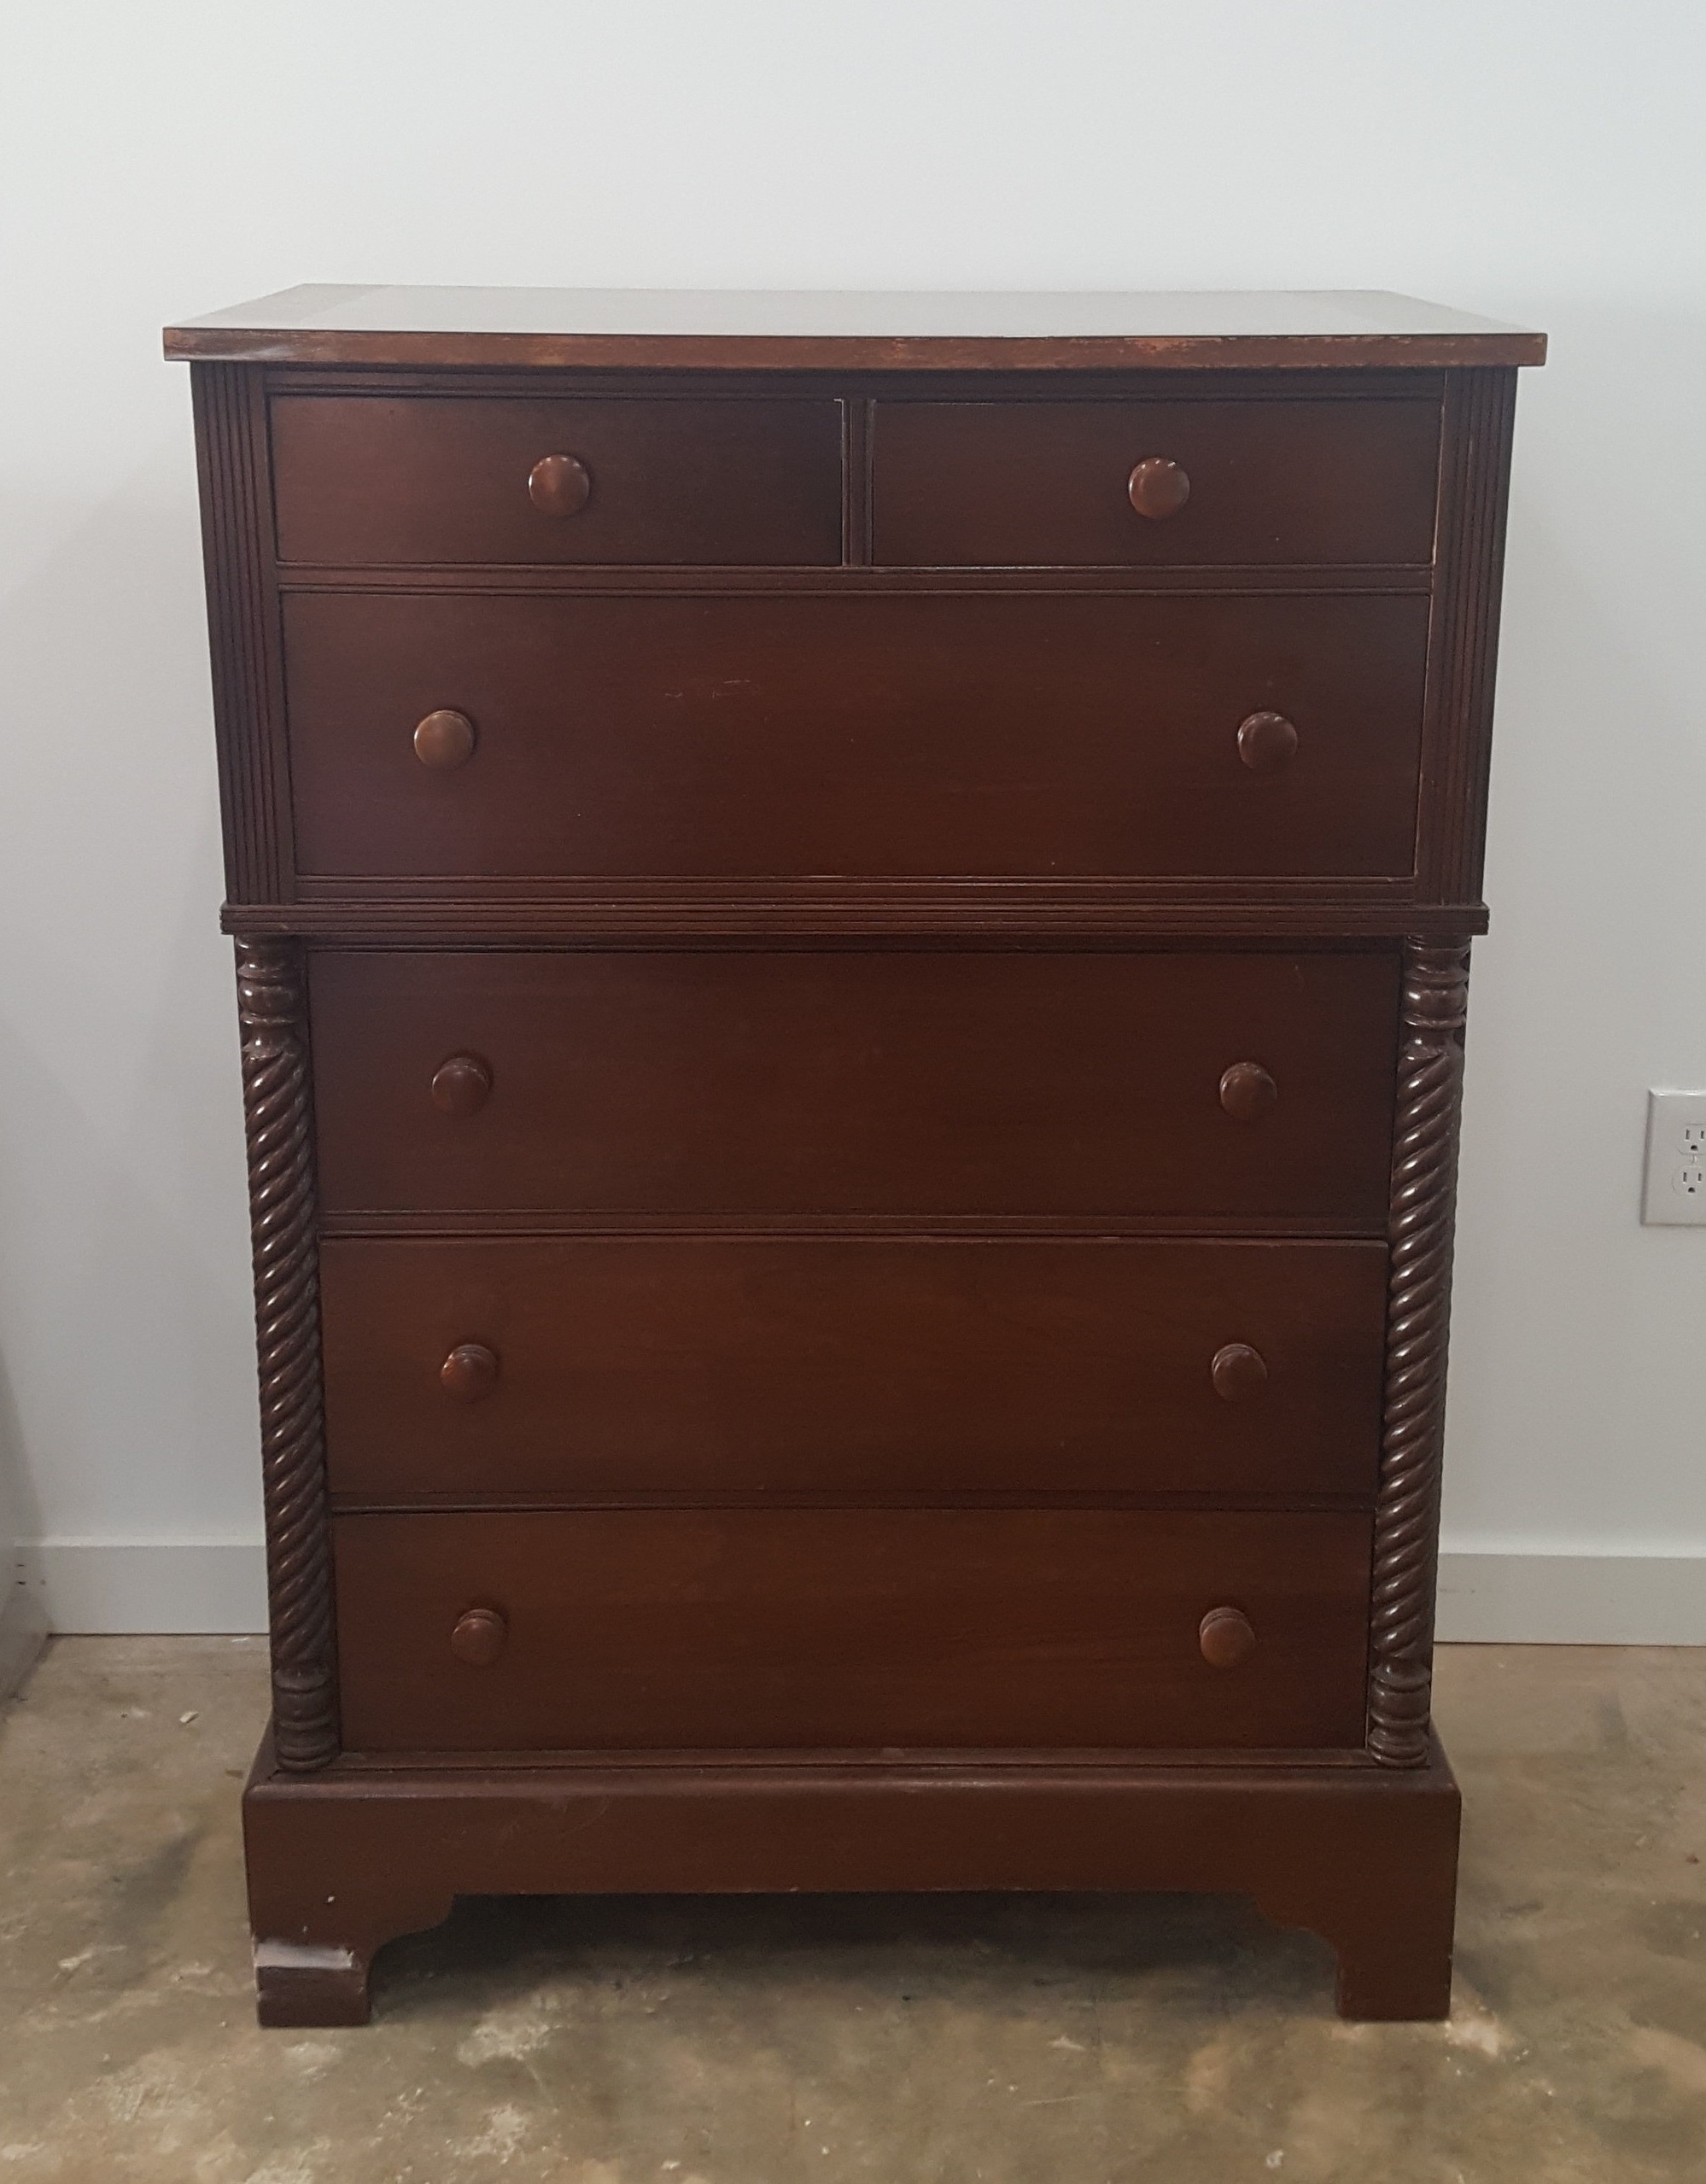
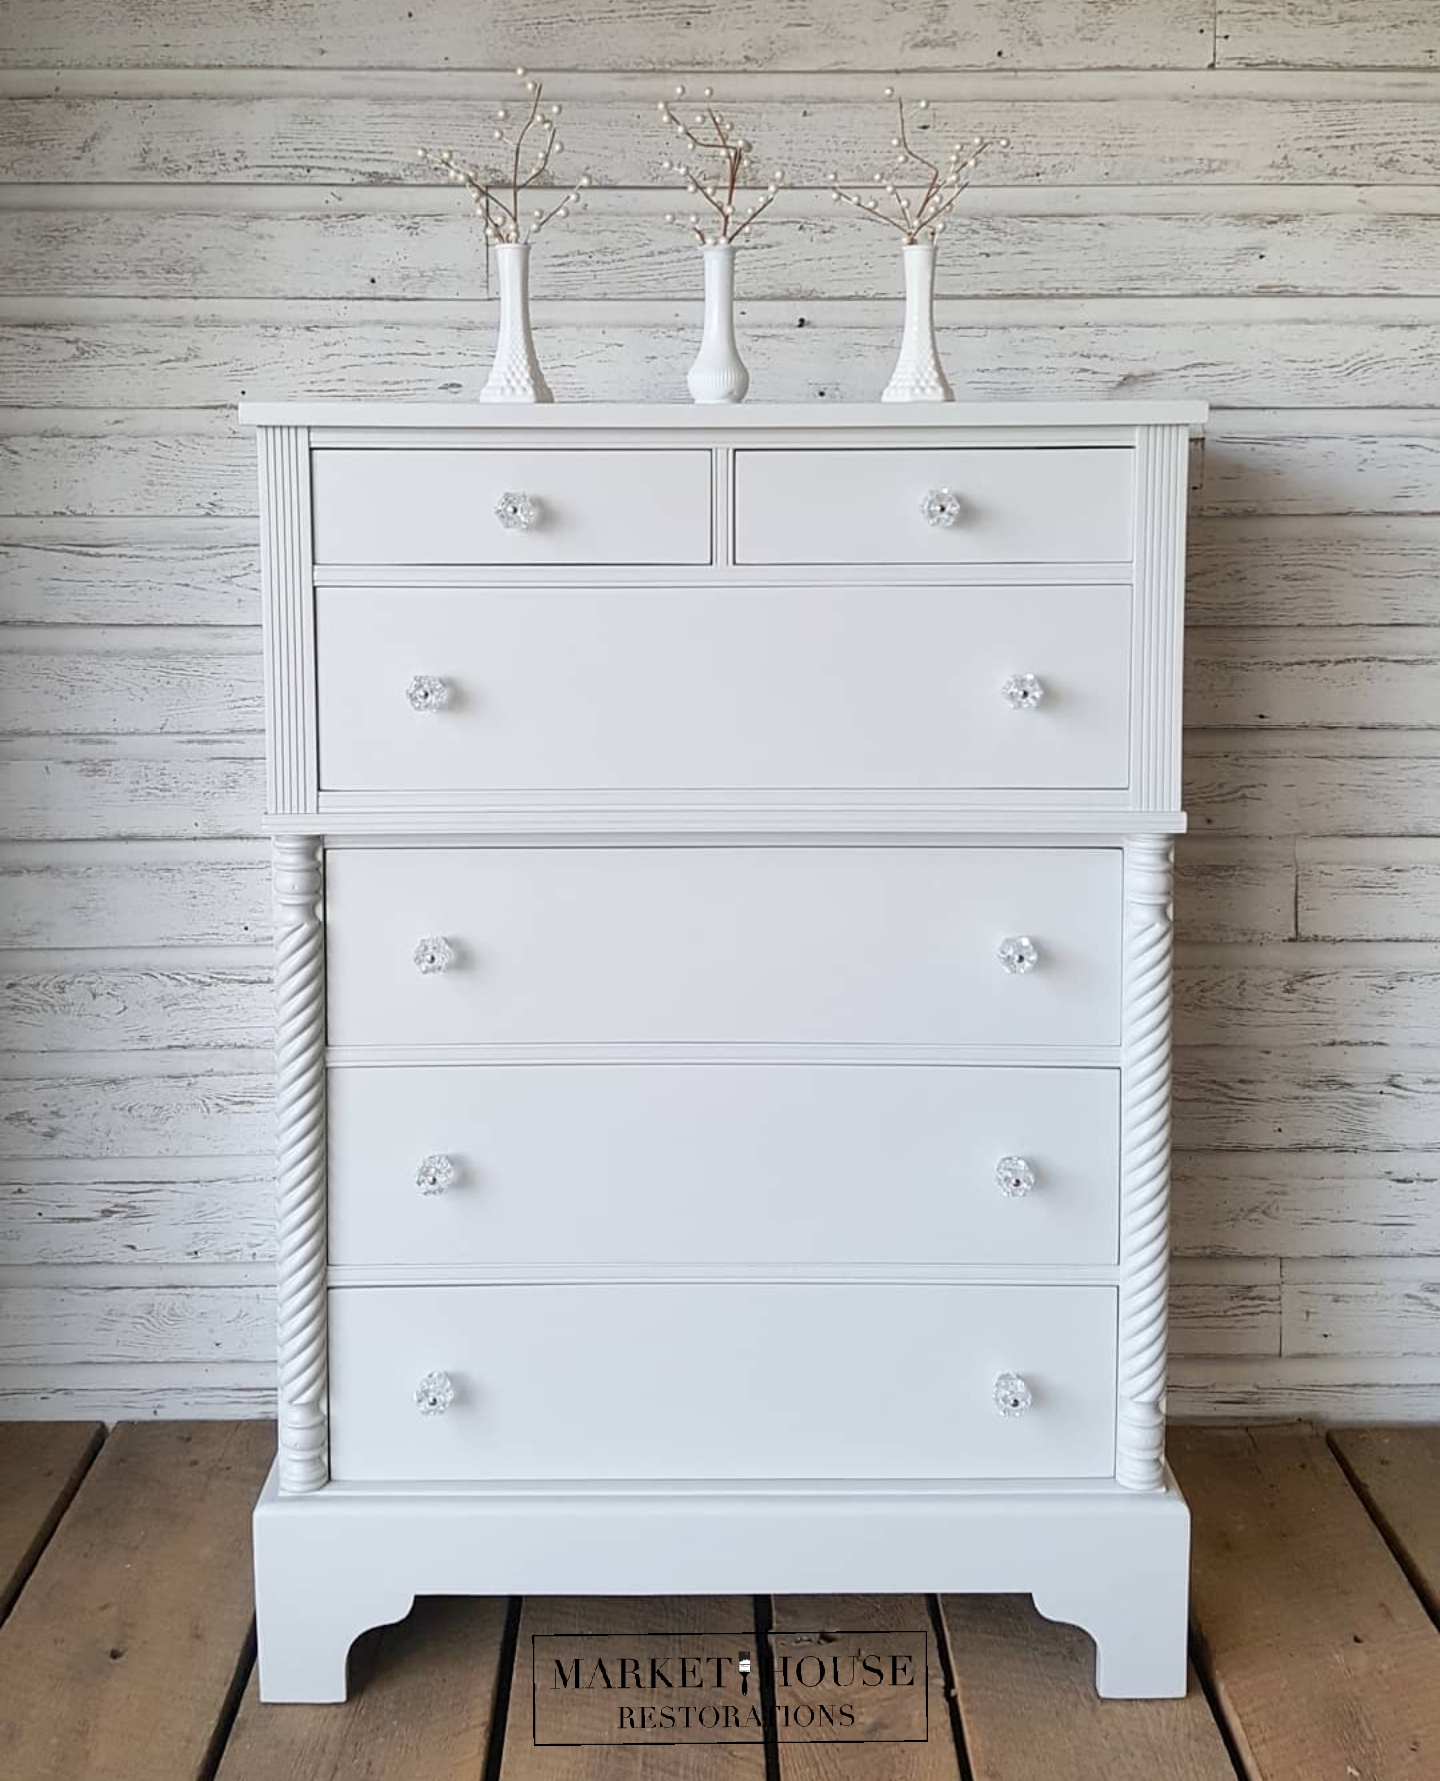
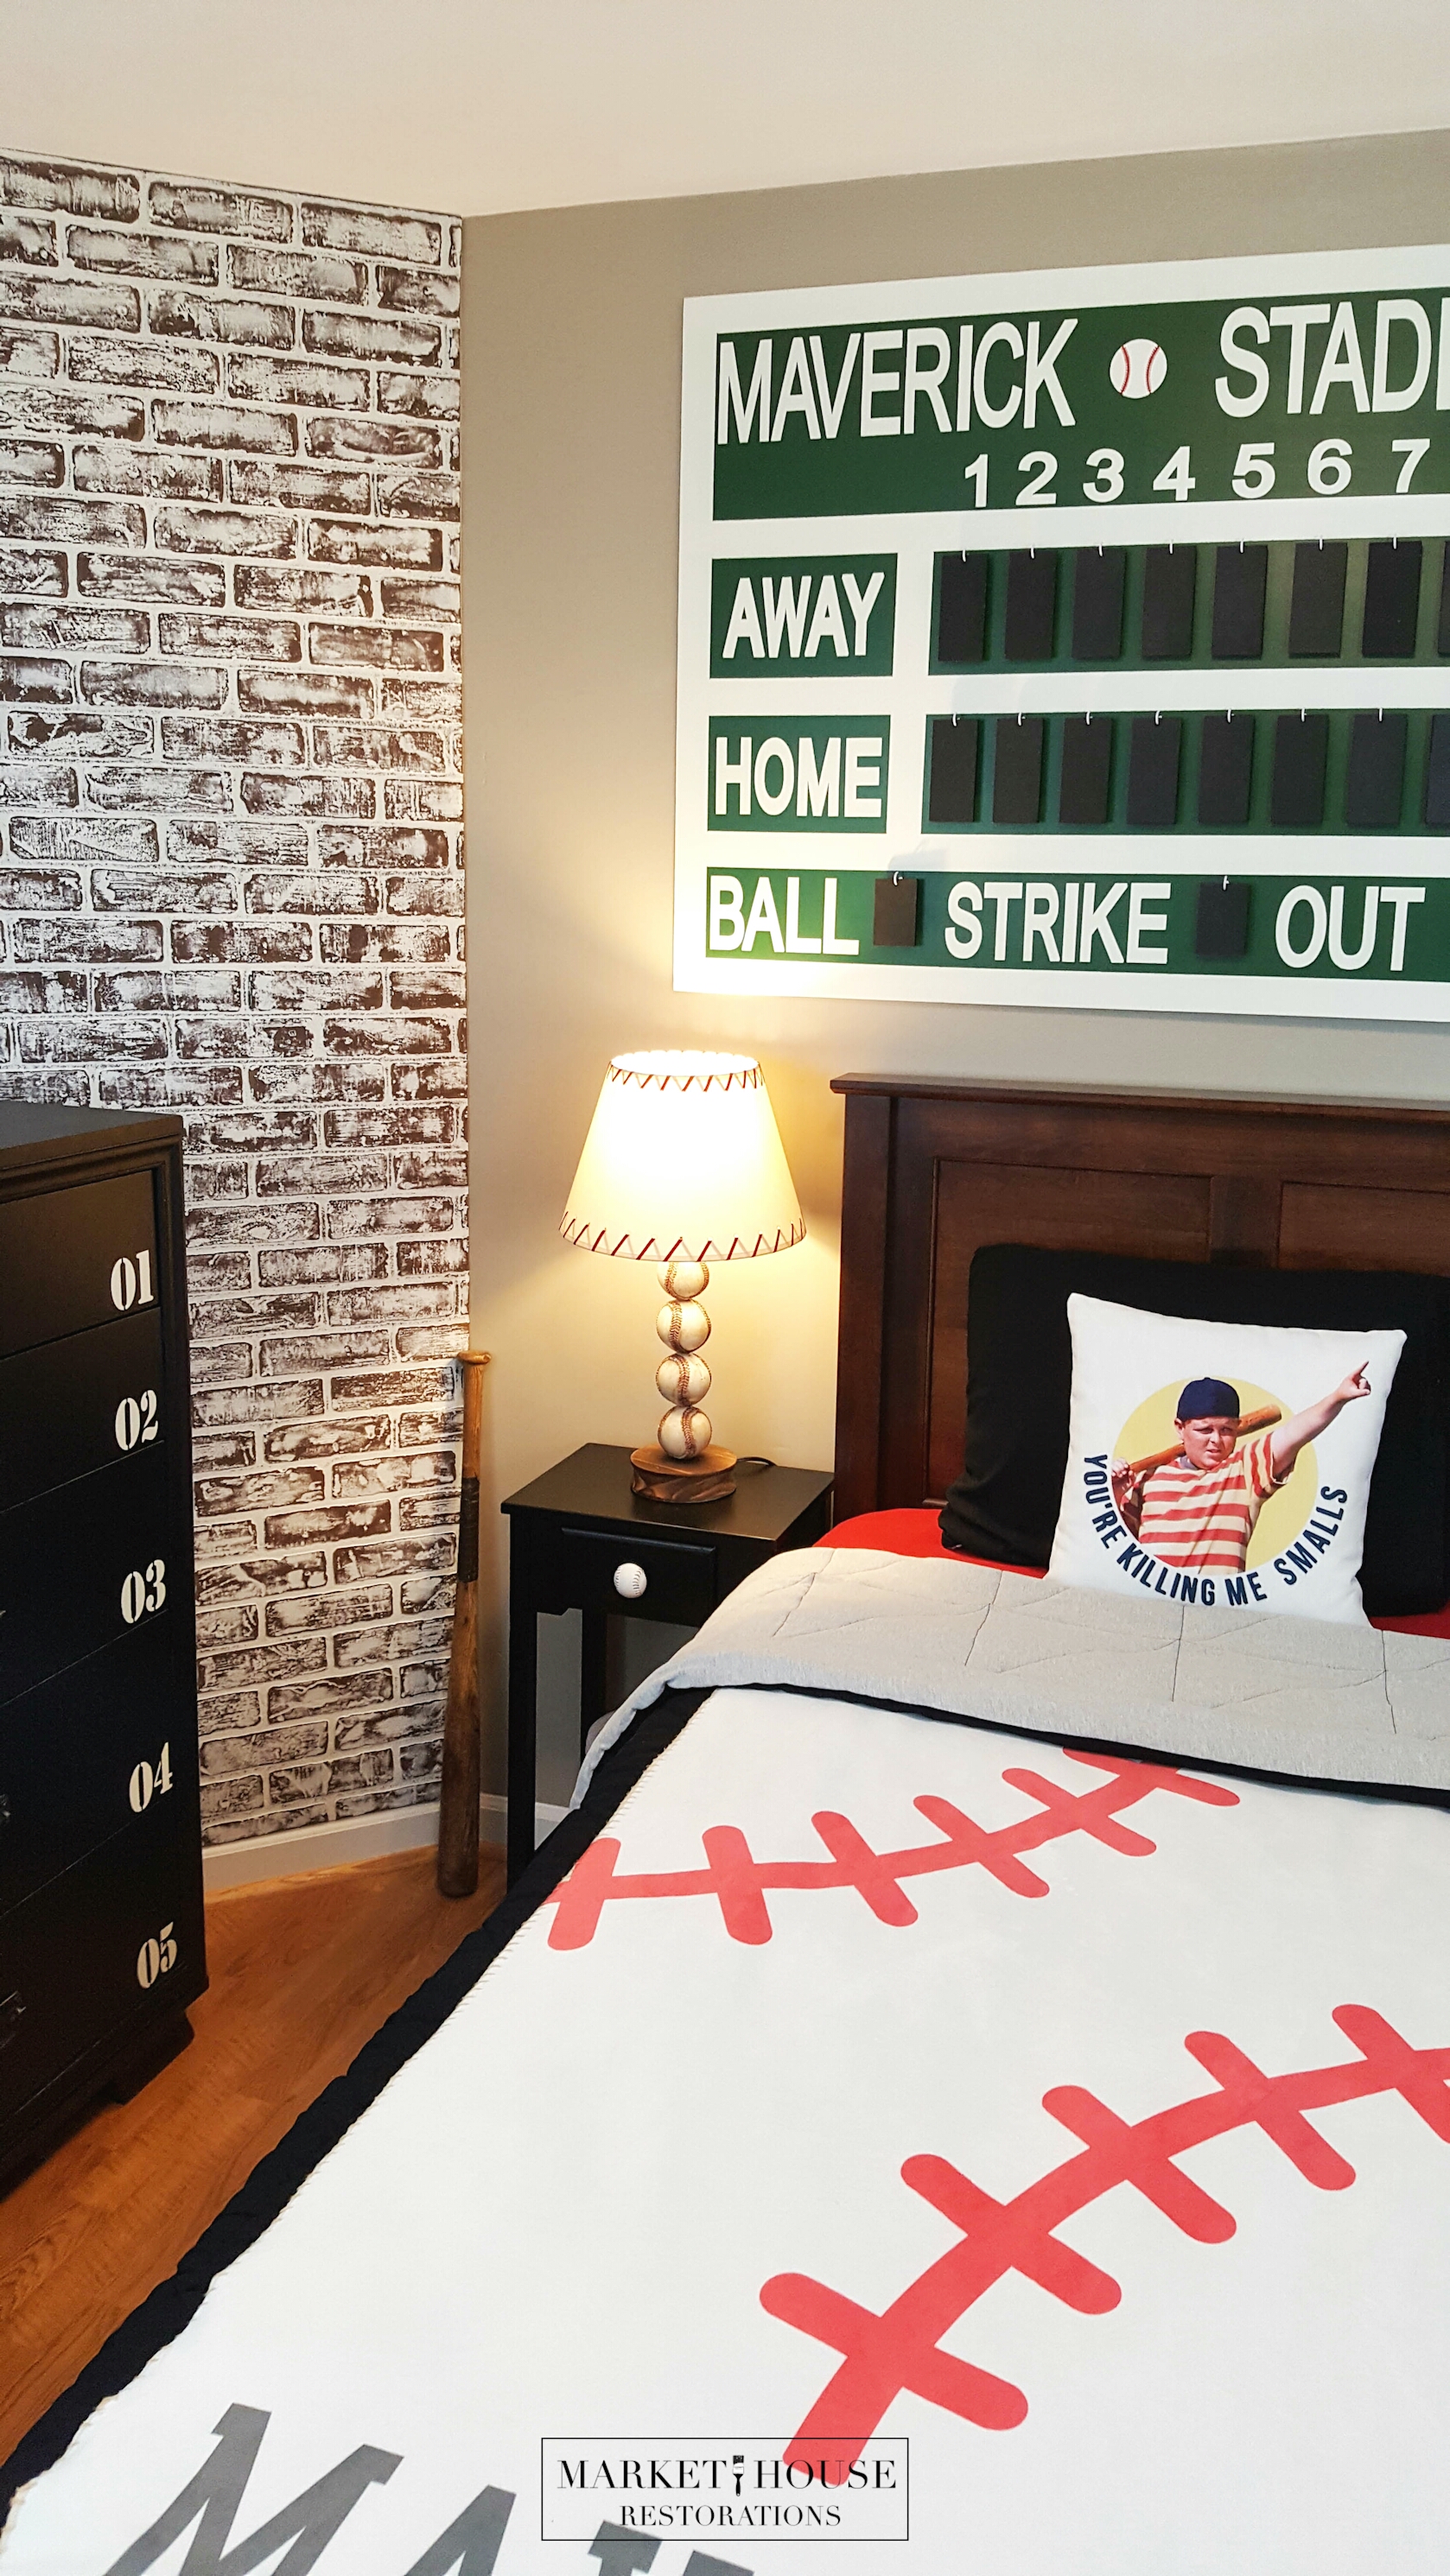
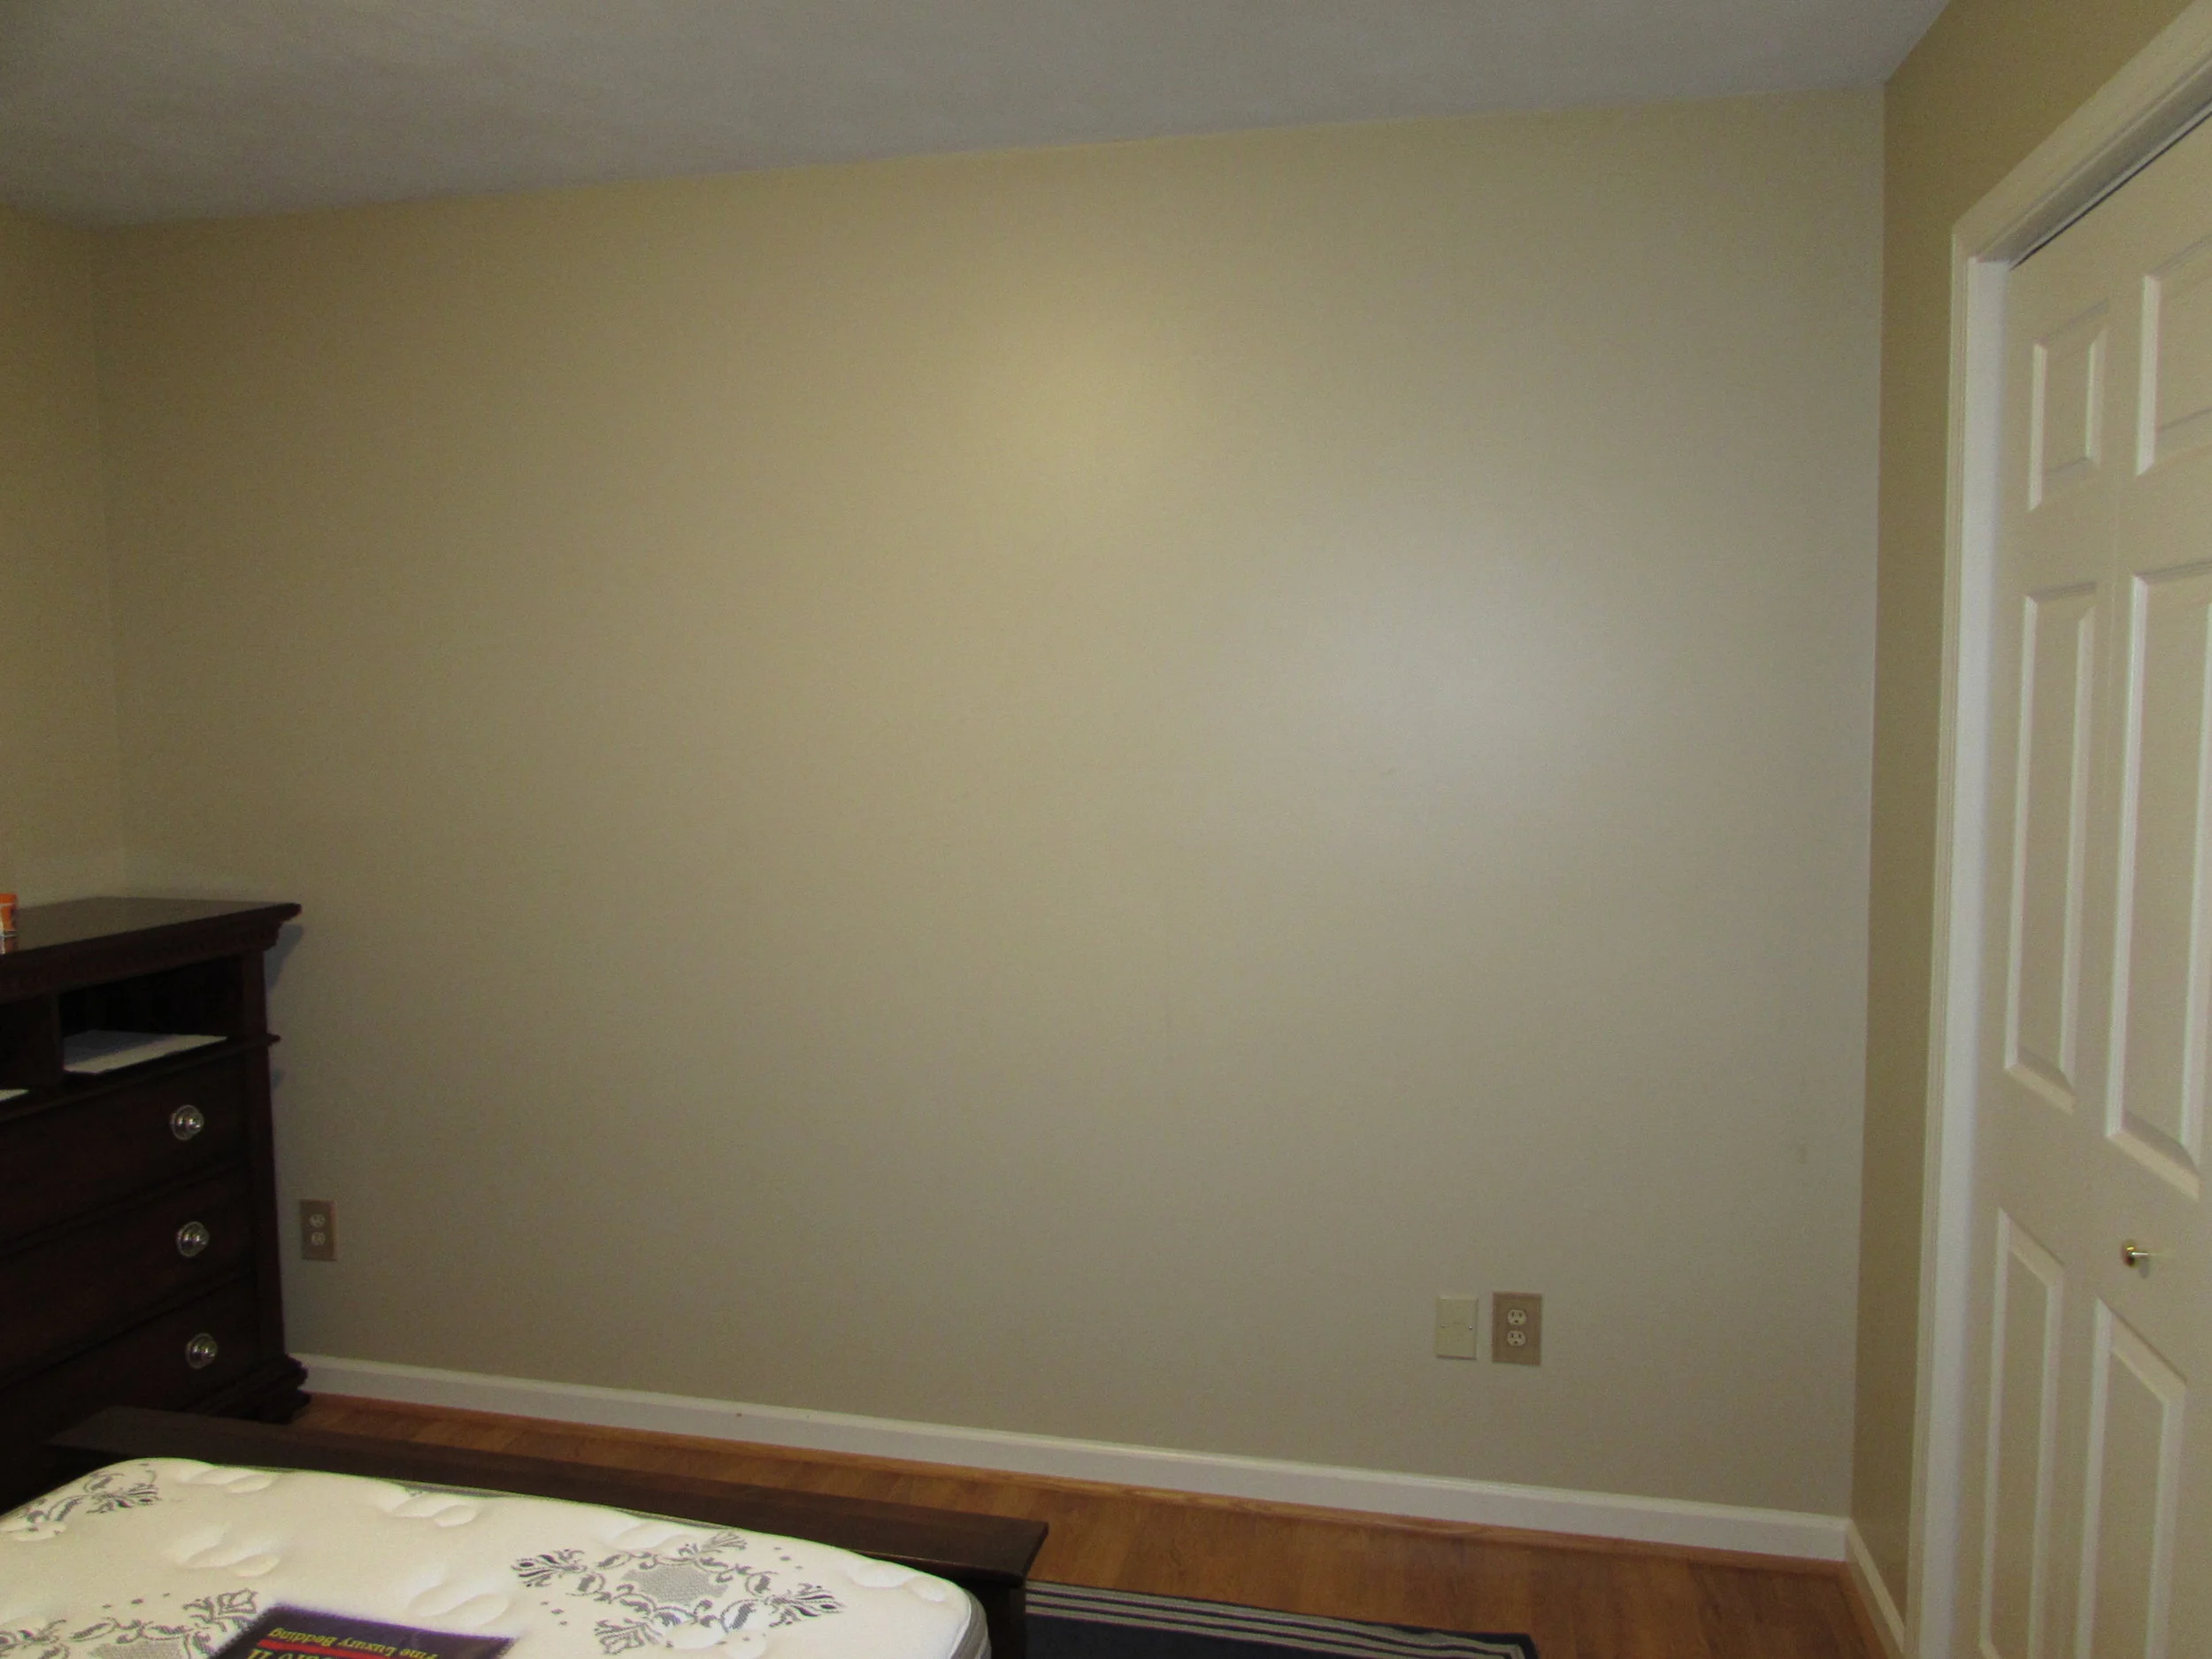
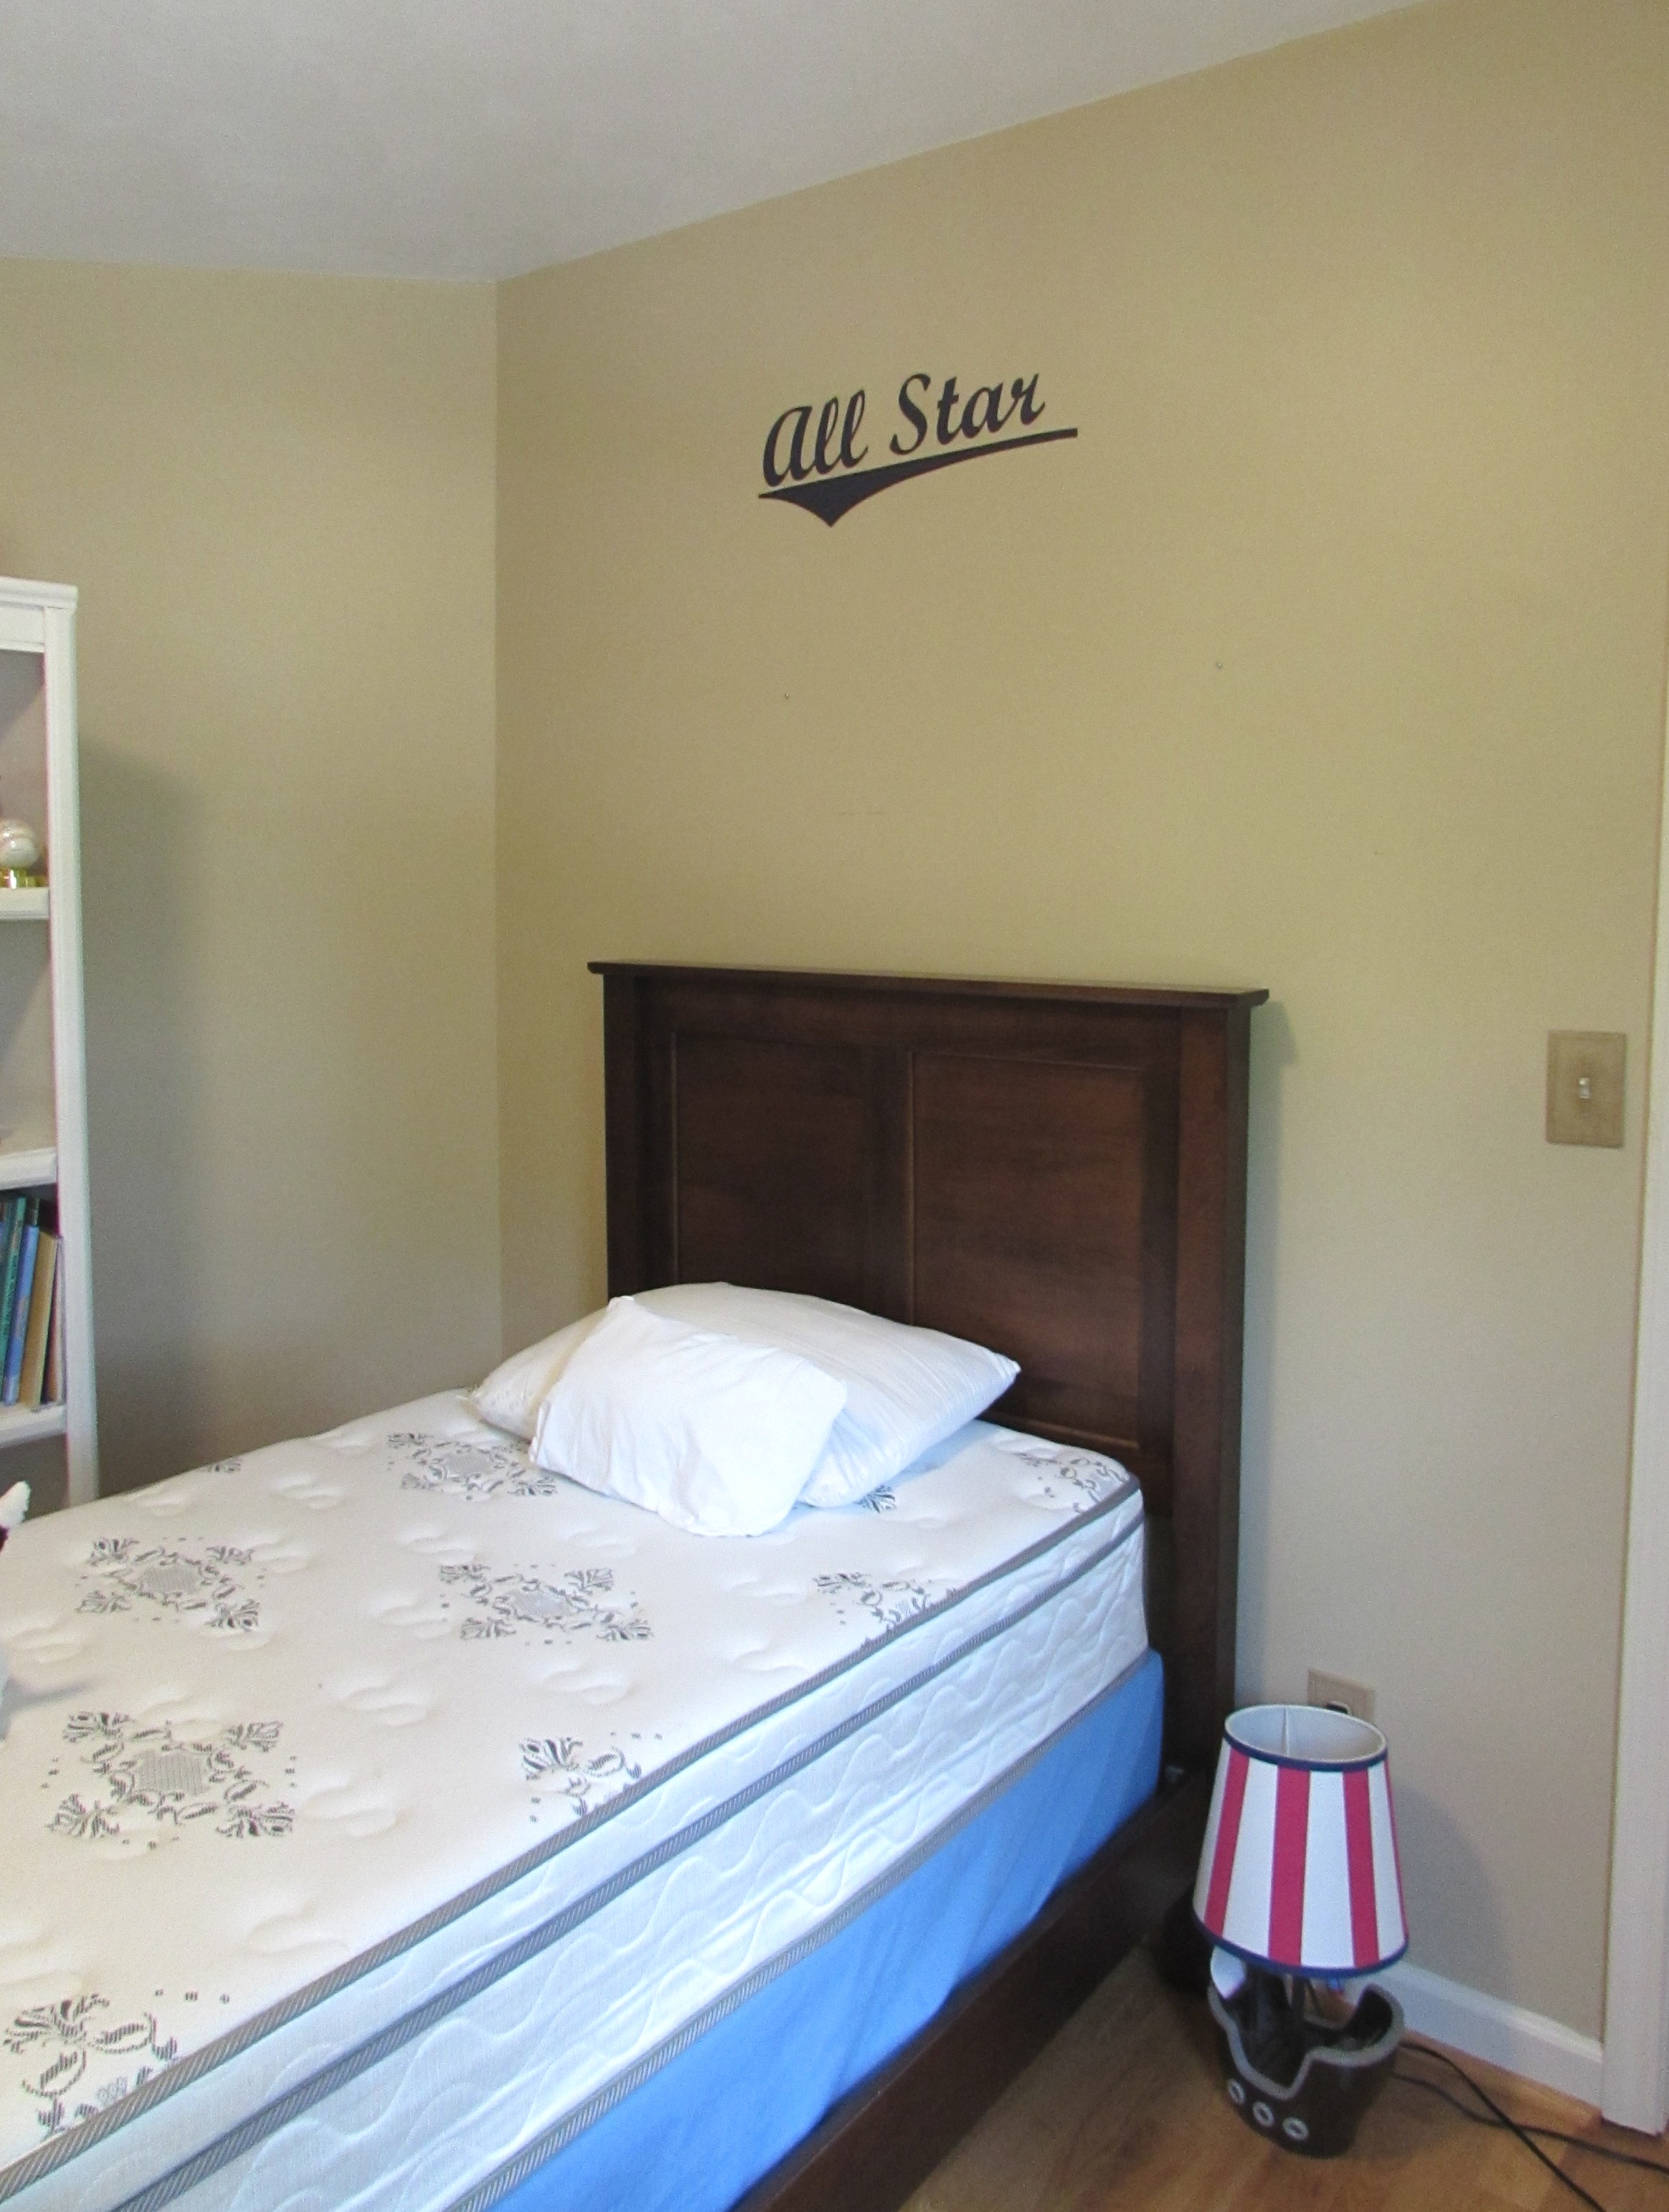
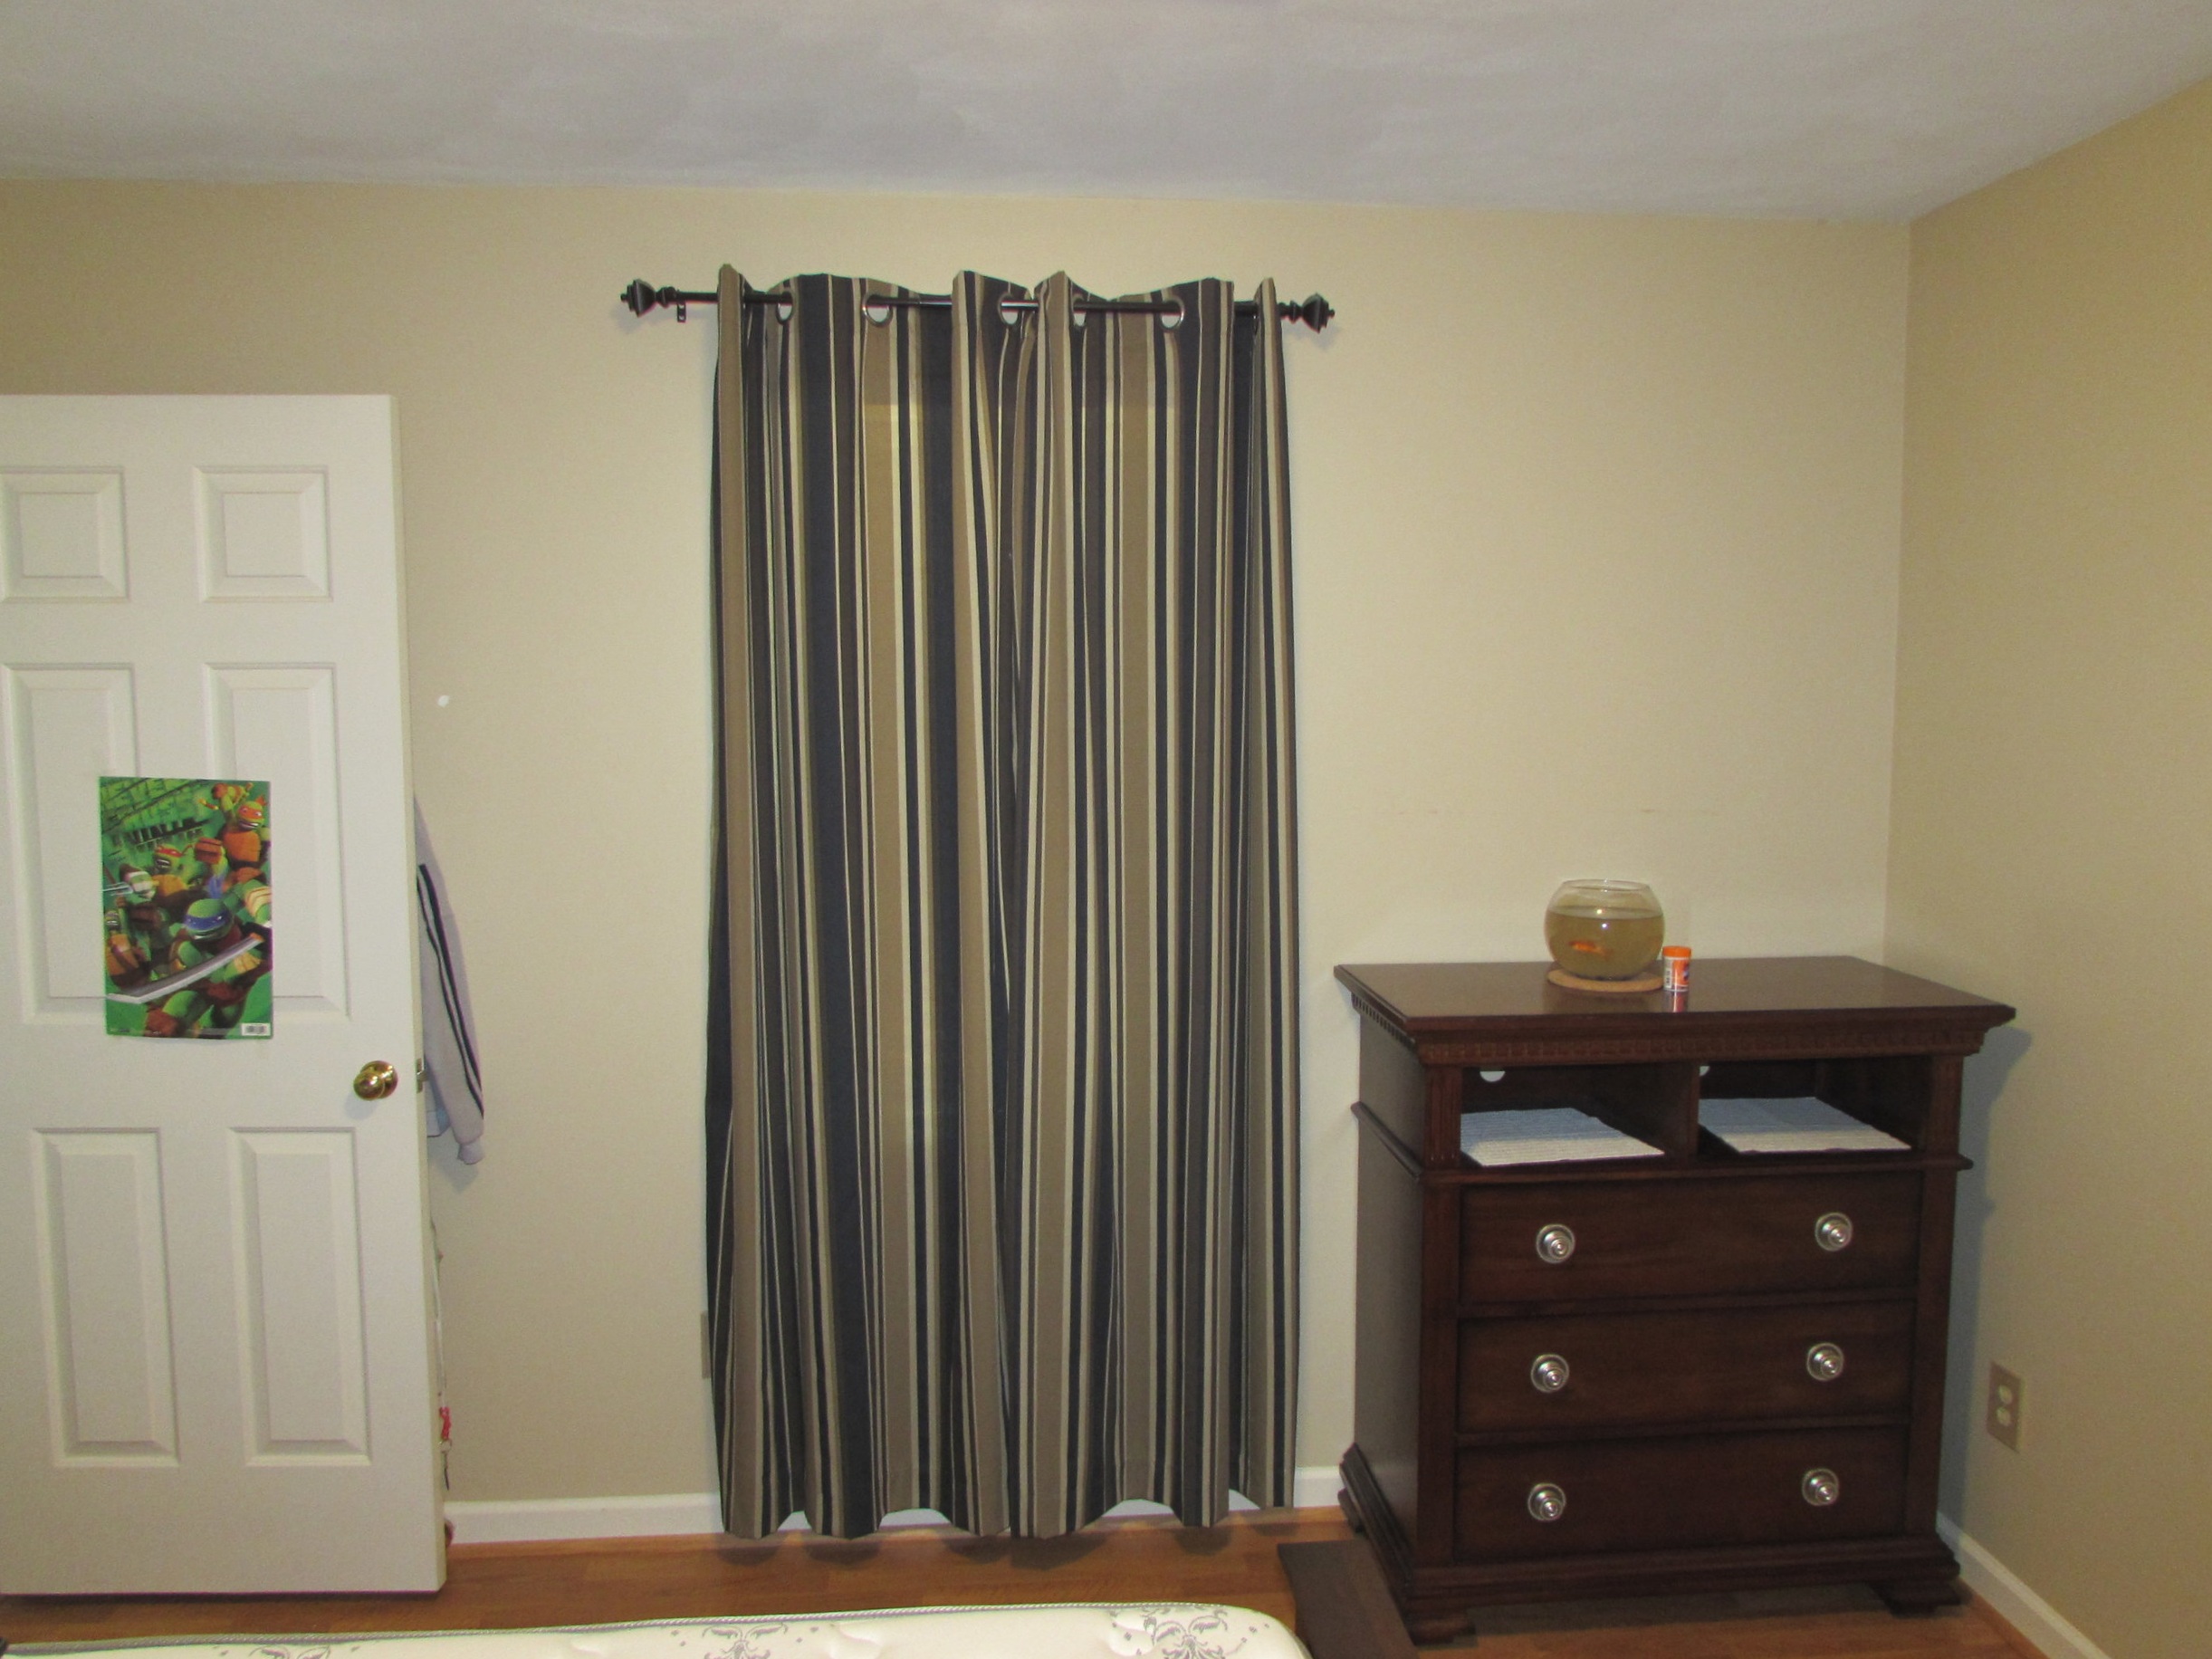
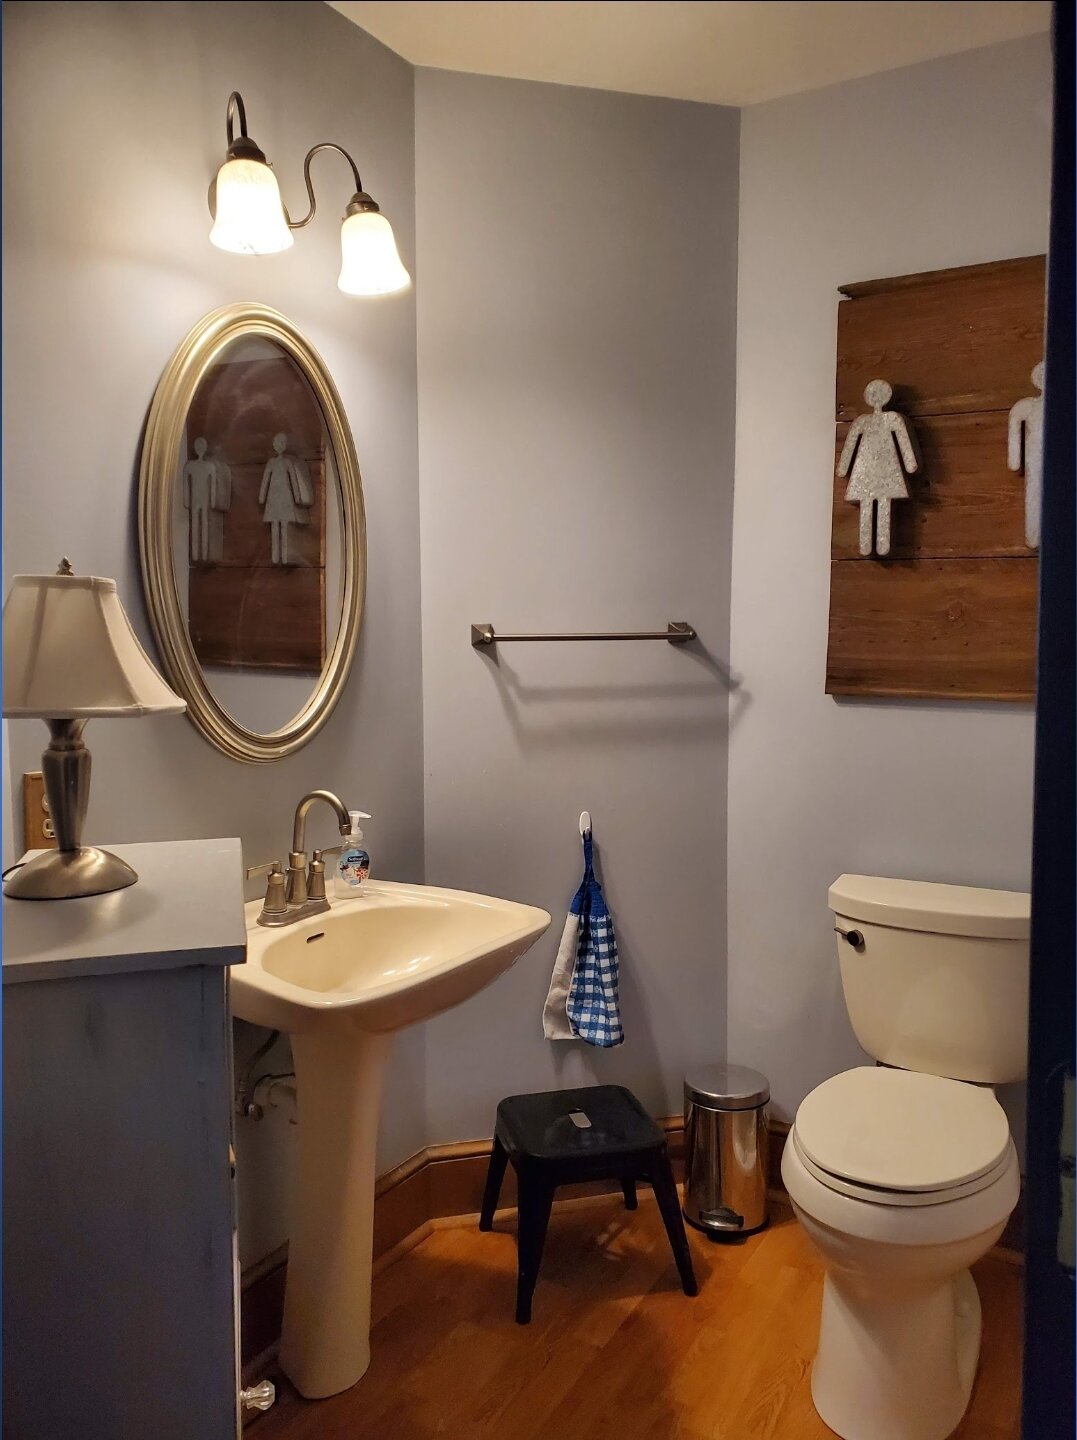
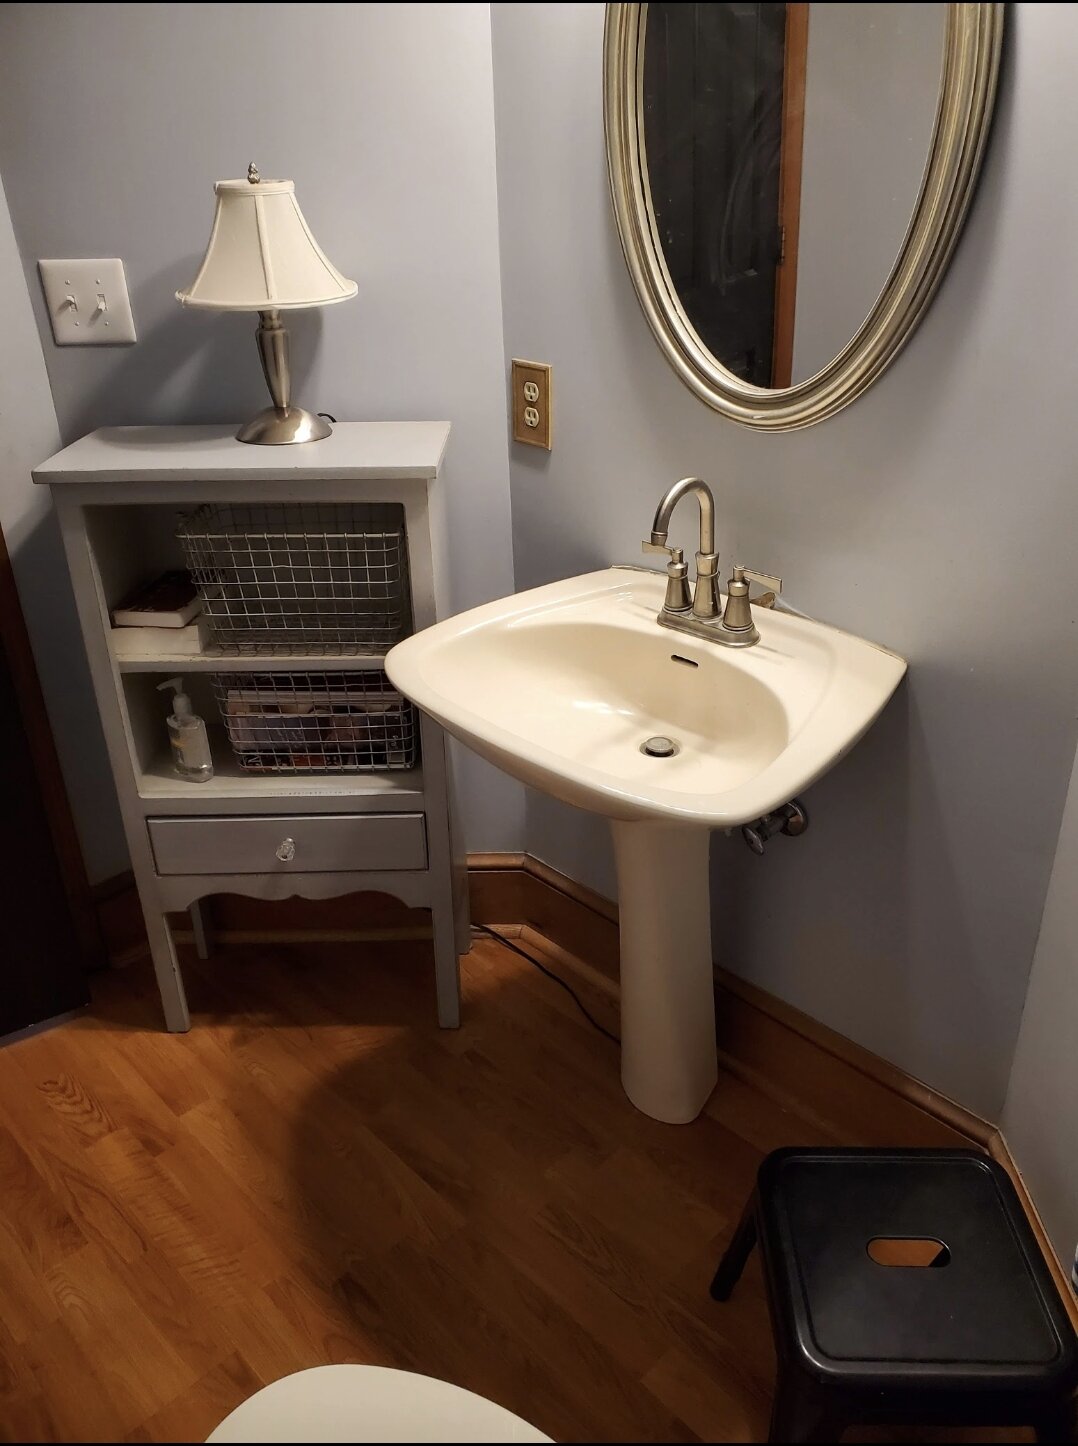
Before and After Photos


![Screenshot_20190810-104903[1].jpg](https://images.squarespace-cdn.com/content/v1/595f0cefdb29d6676c8f4ca9/1568407928885-S42XYPSUMPQRW64XDJOV/Screenshot_20190810-104903%5B1%5D.jpg)

![LogoLicious_20190913_140153[1].png](https://images.squarespace-cdn.com/content/v1/595f0cefdb29d6676c8f4ca9/1568405825972-CTEPNNHBV4UIL7BWRCRH/LogoLicious_20190913_140153%5B1%5D.png)