Zibra Square Brush #TuesdayTipsWithFallon
/#TuesdayTipsWithFallon
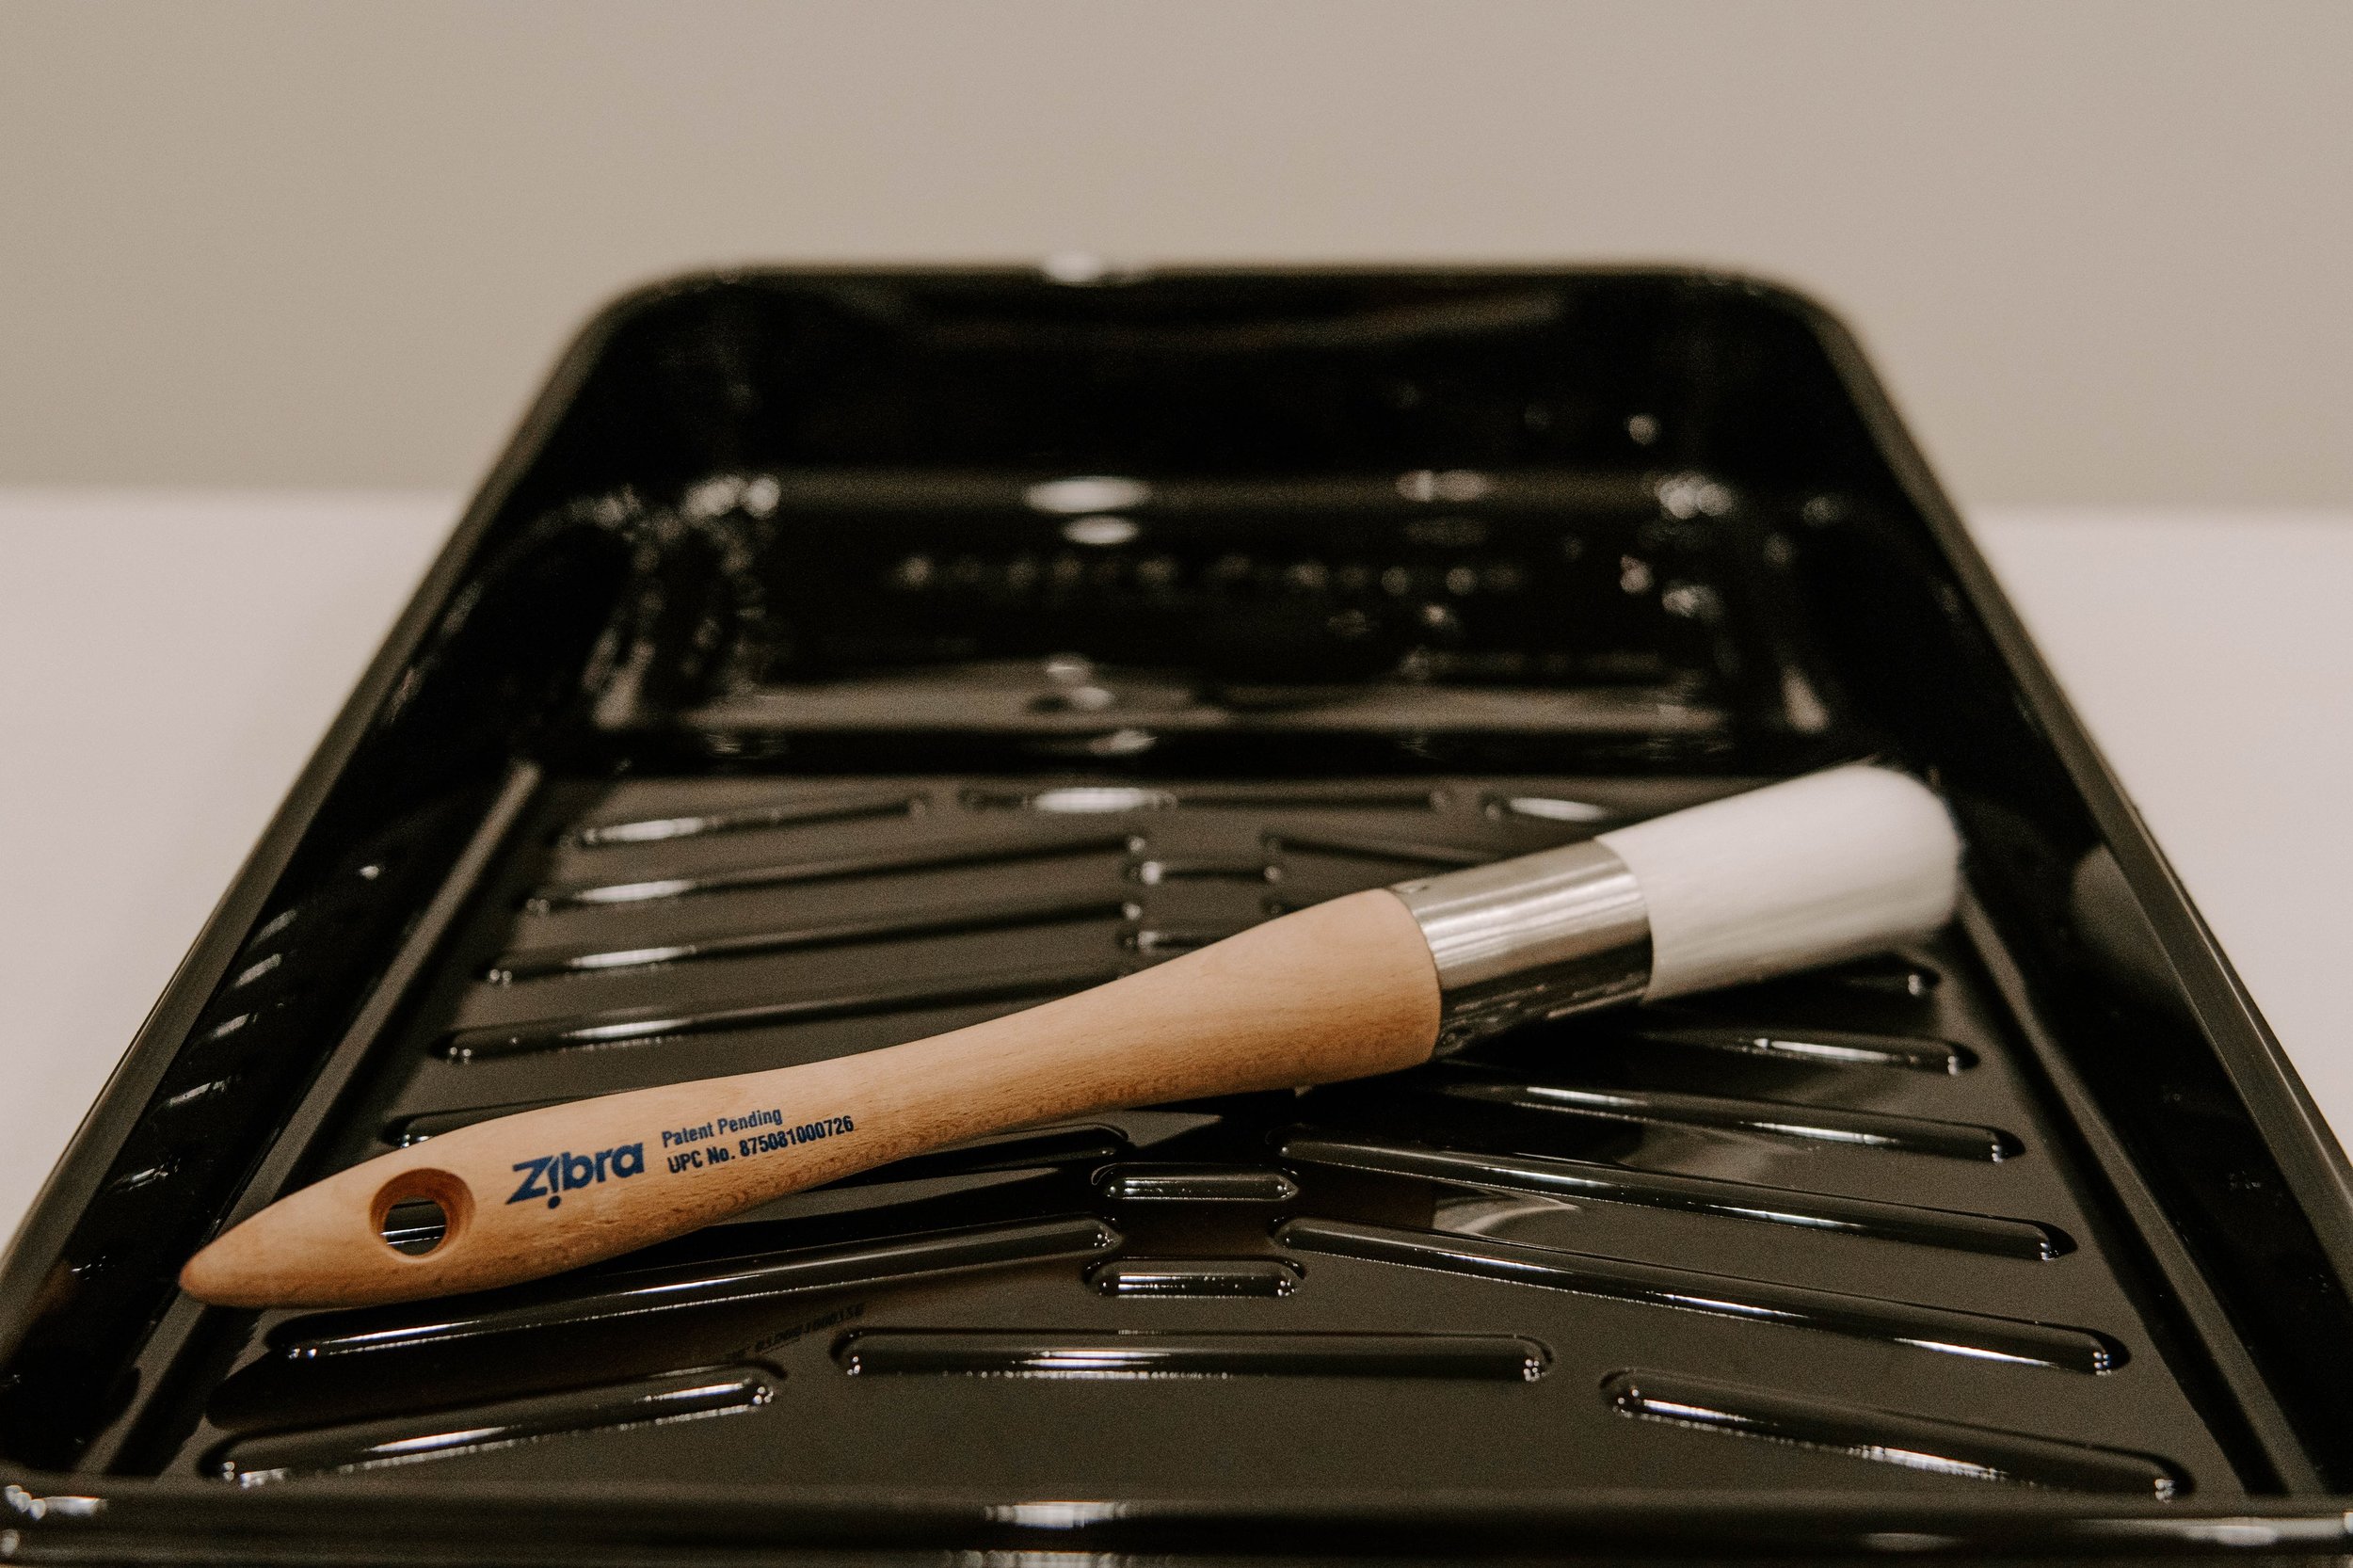
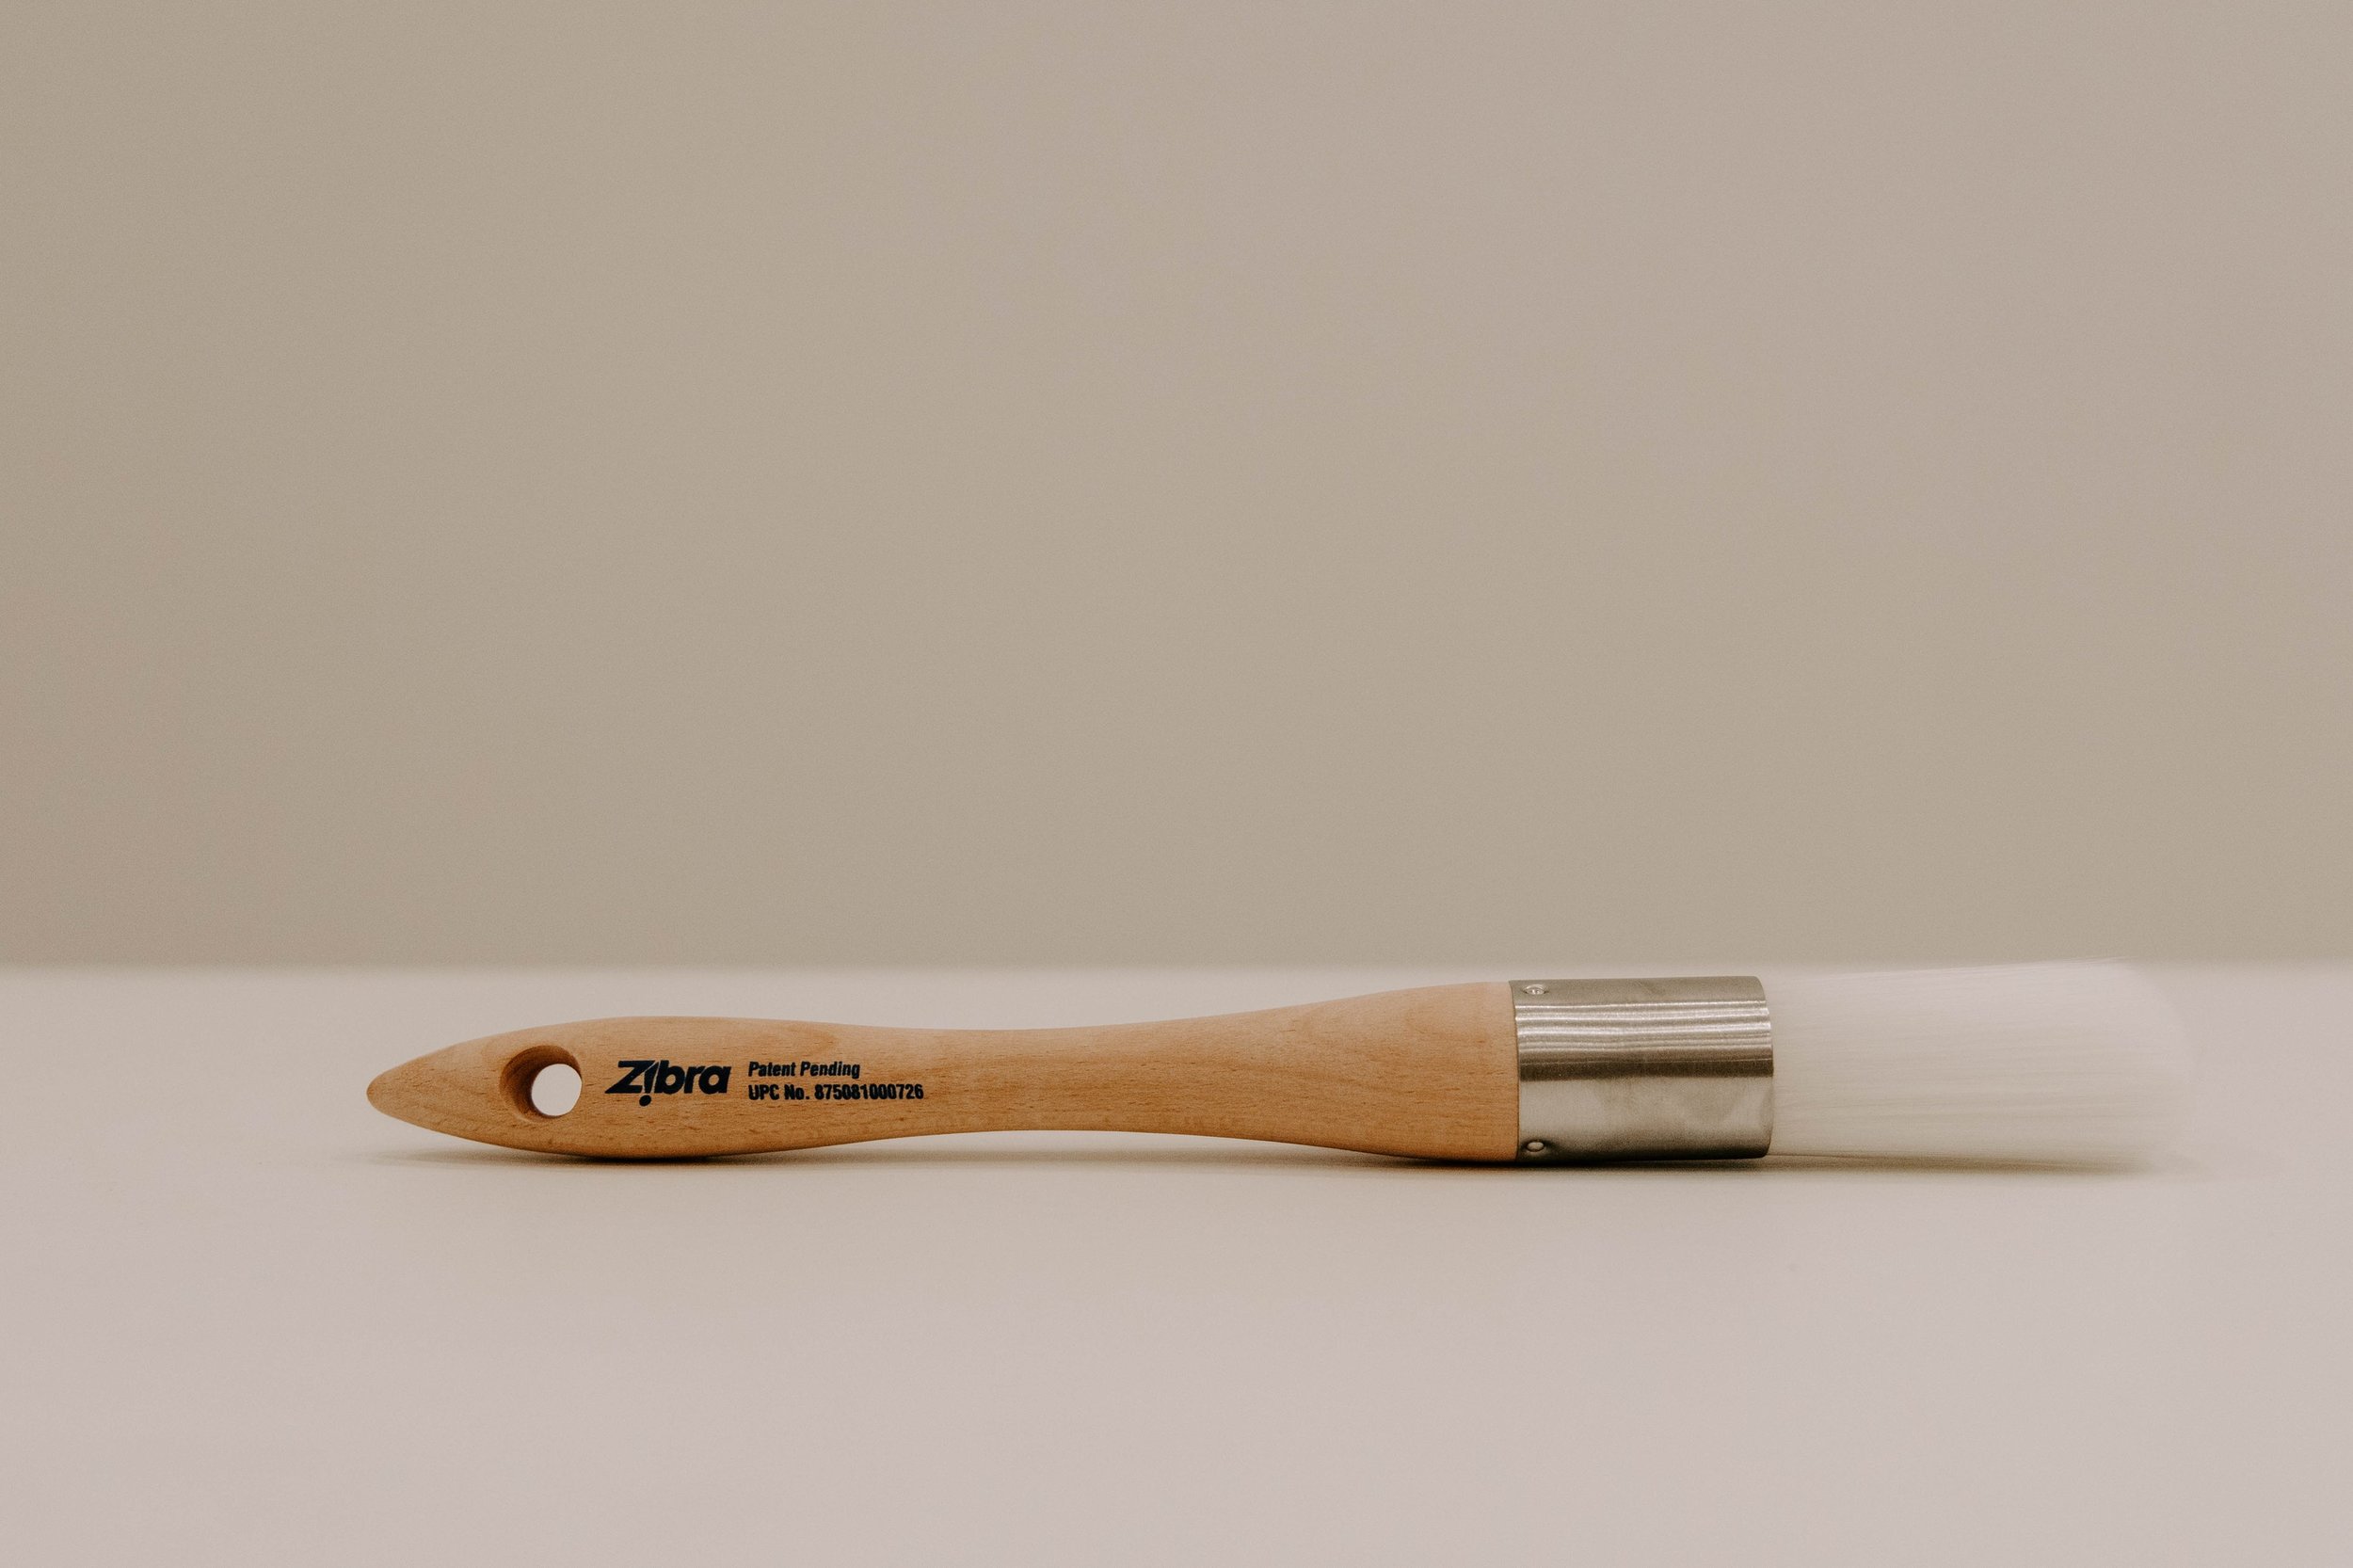
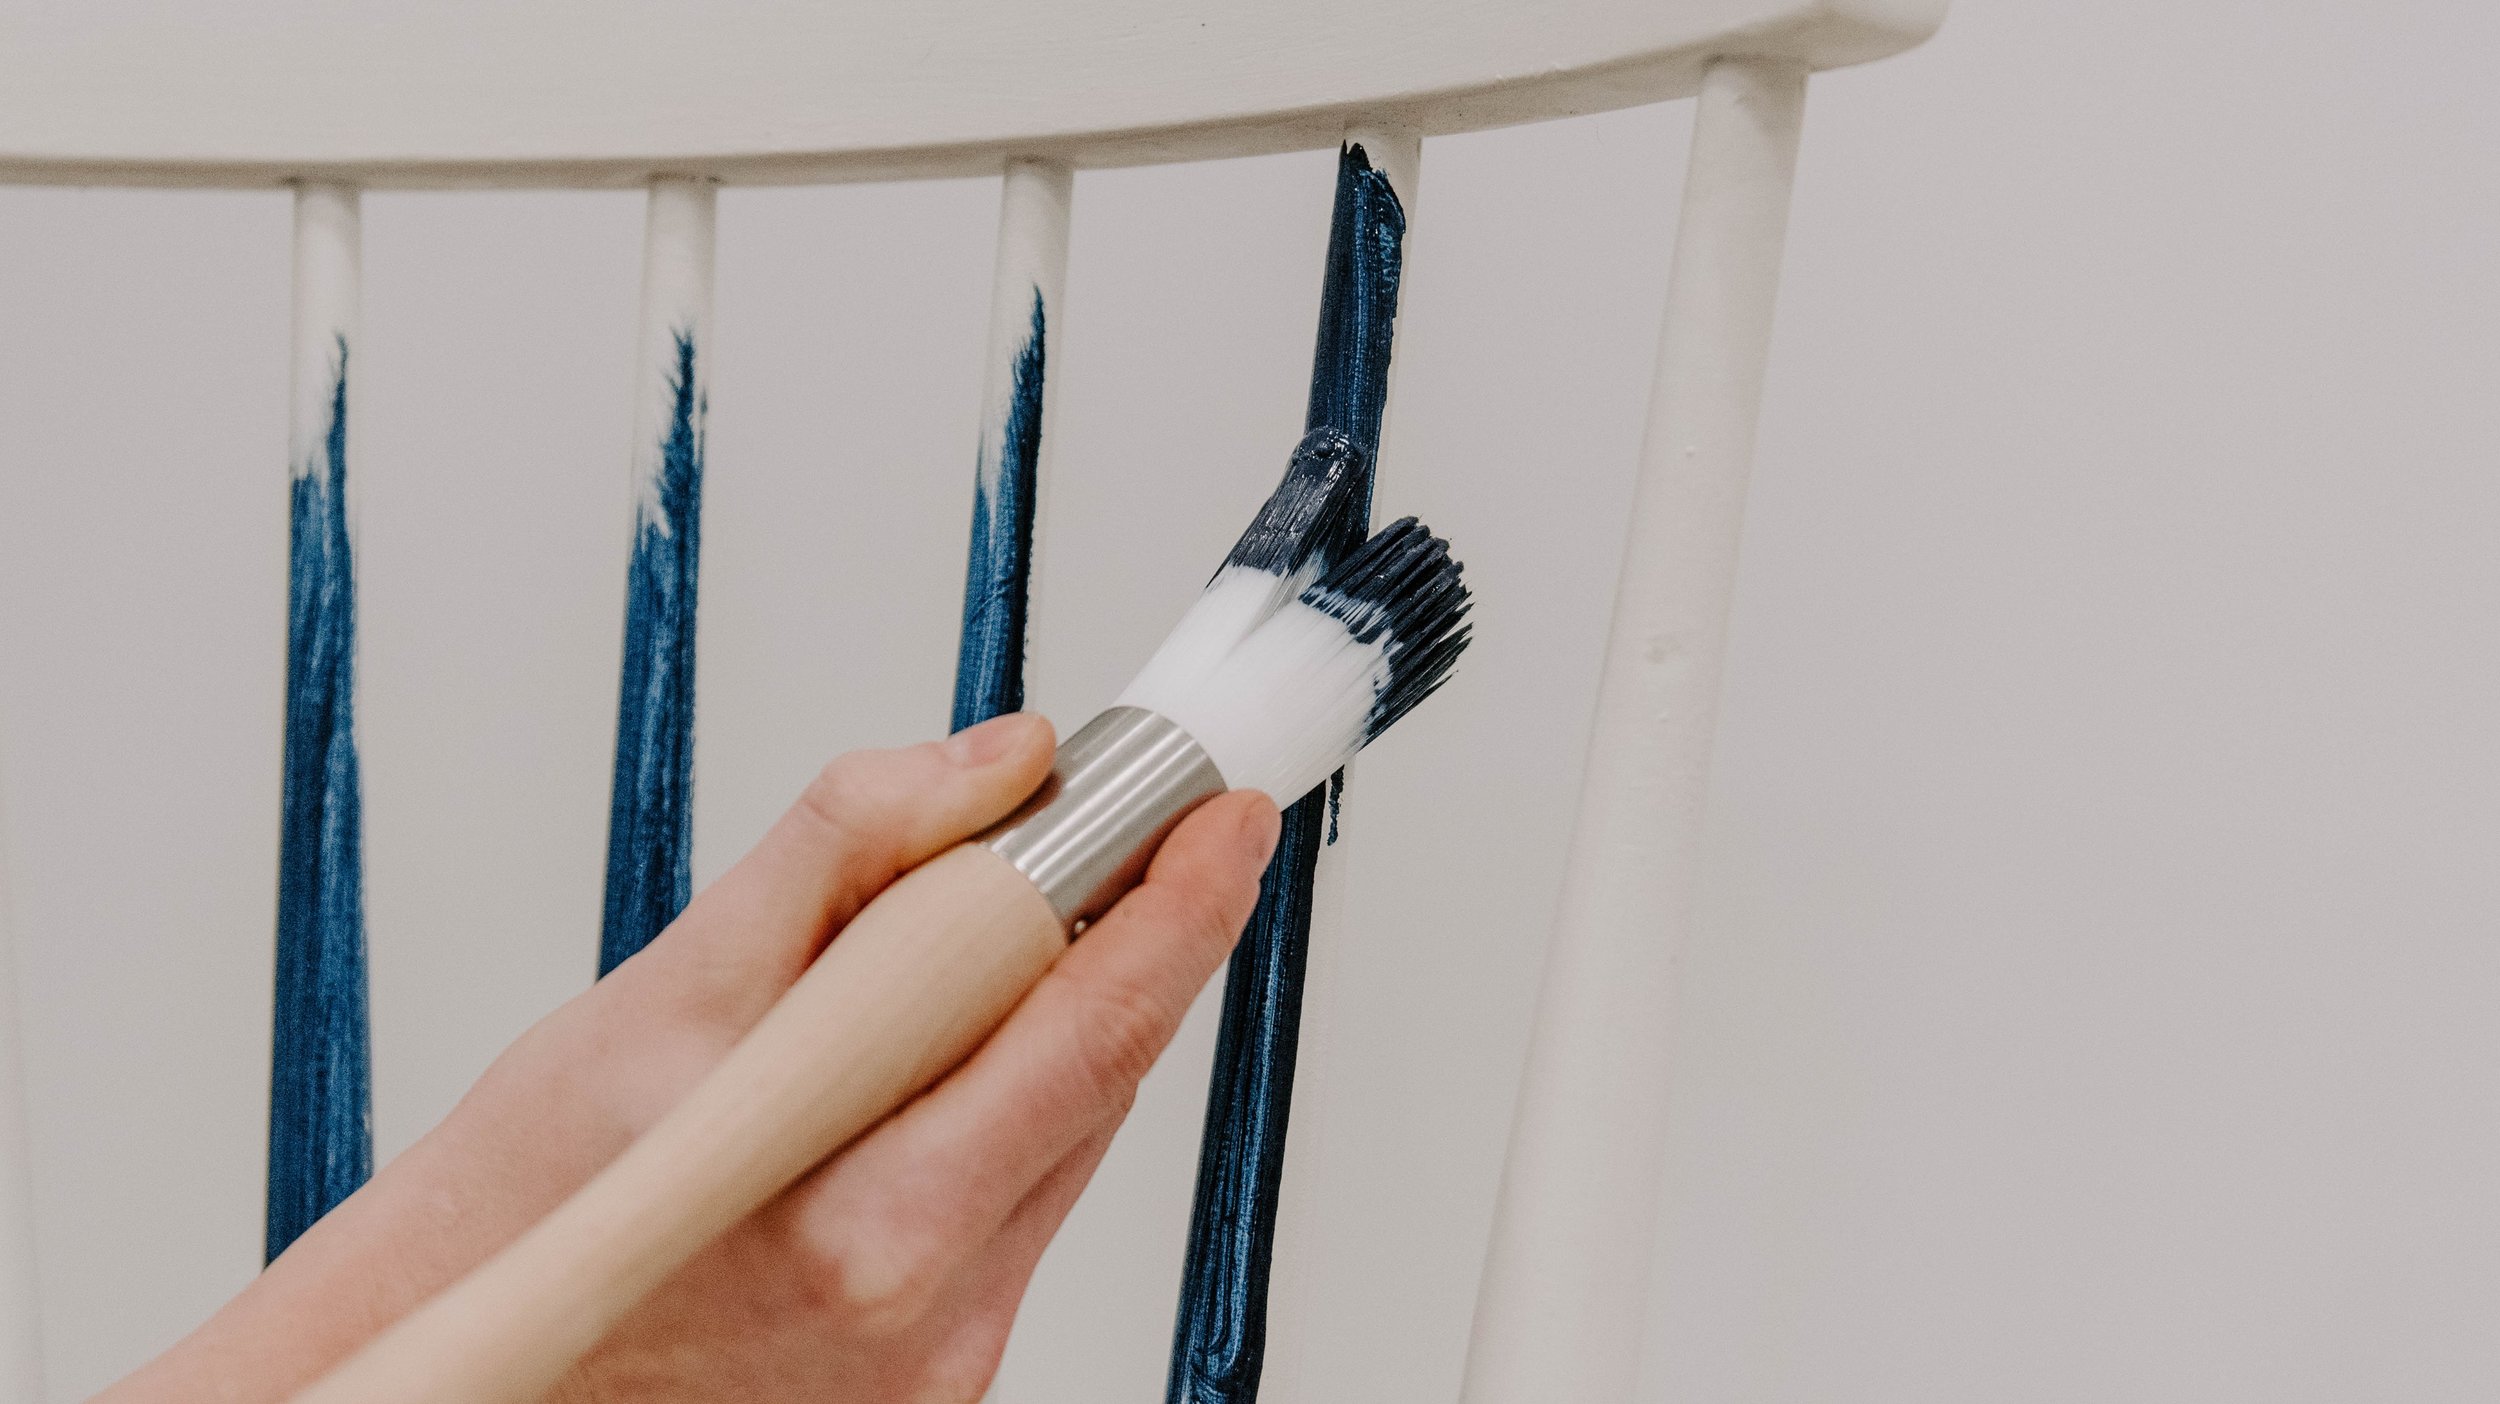
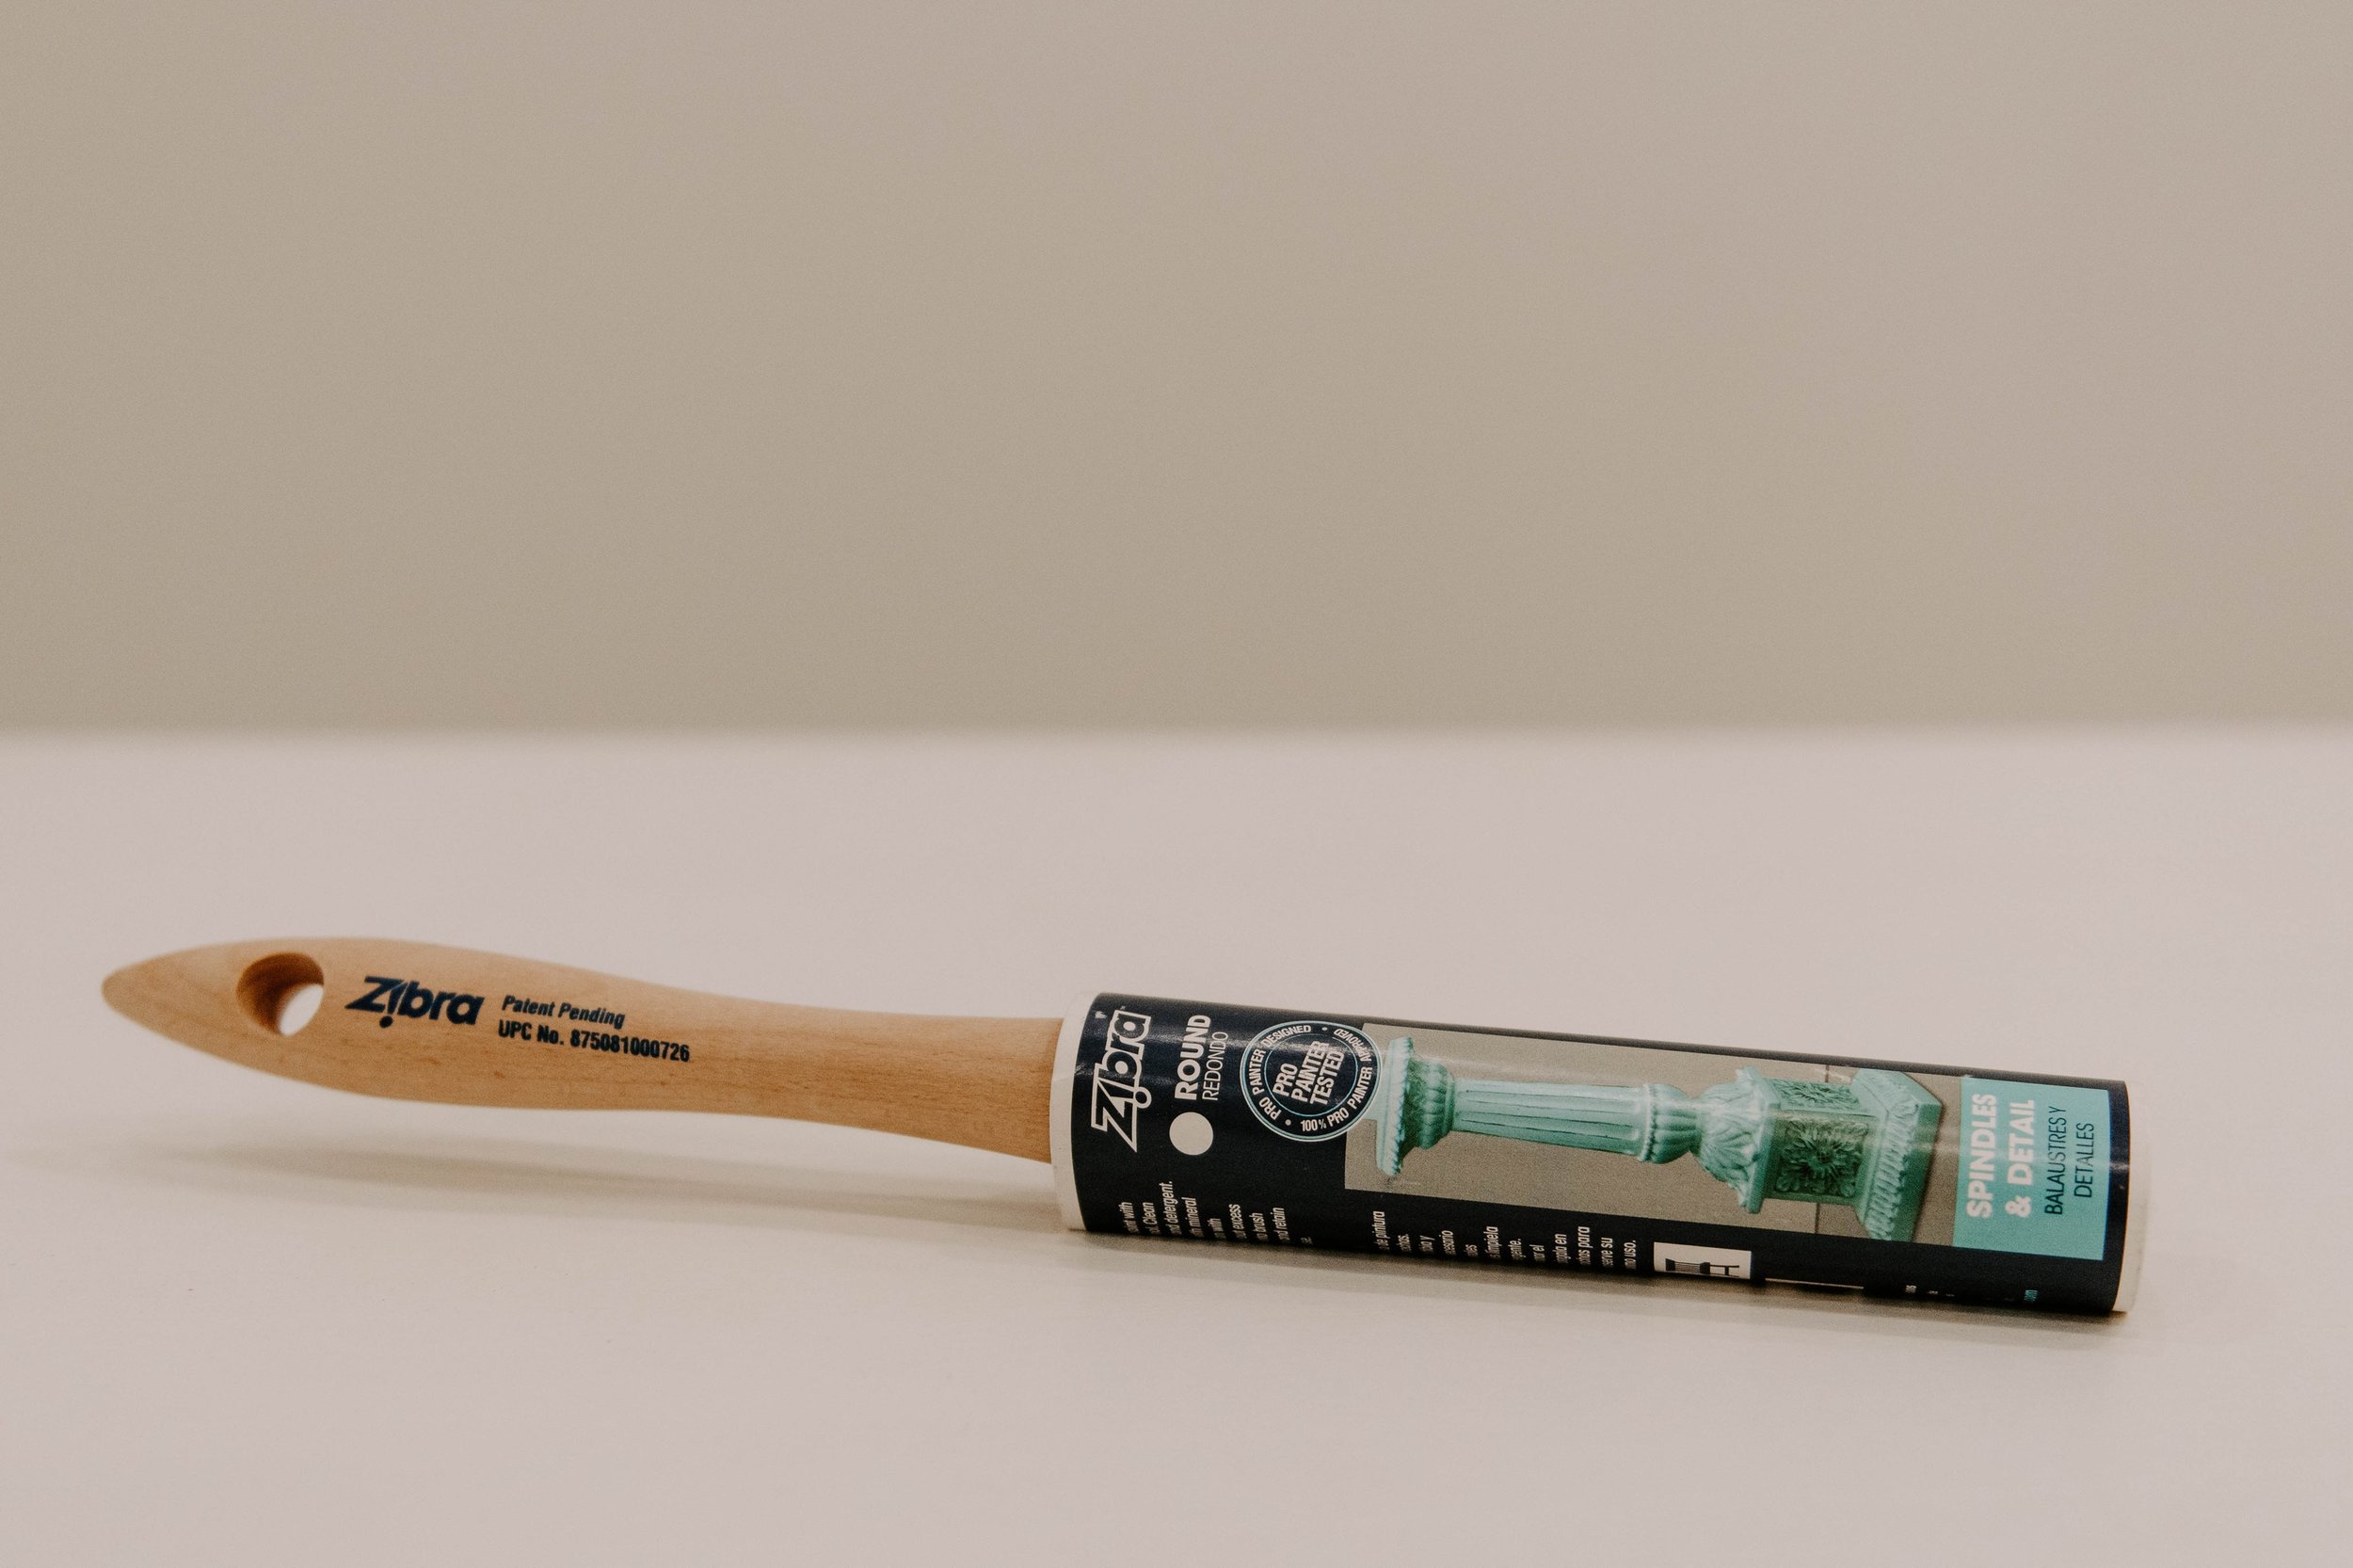
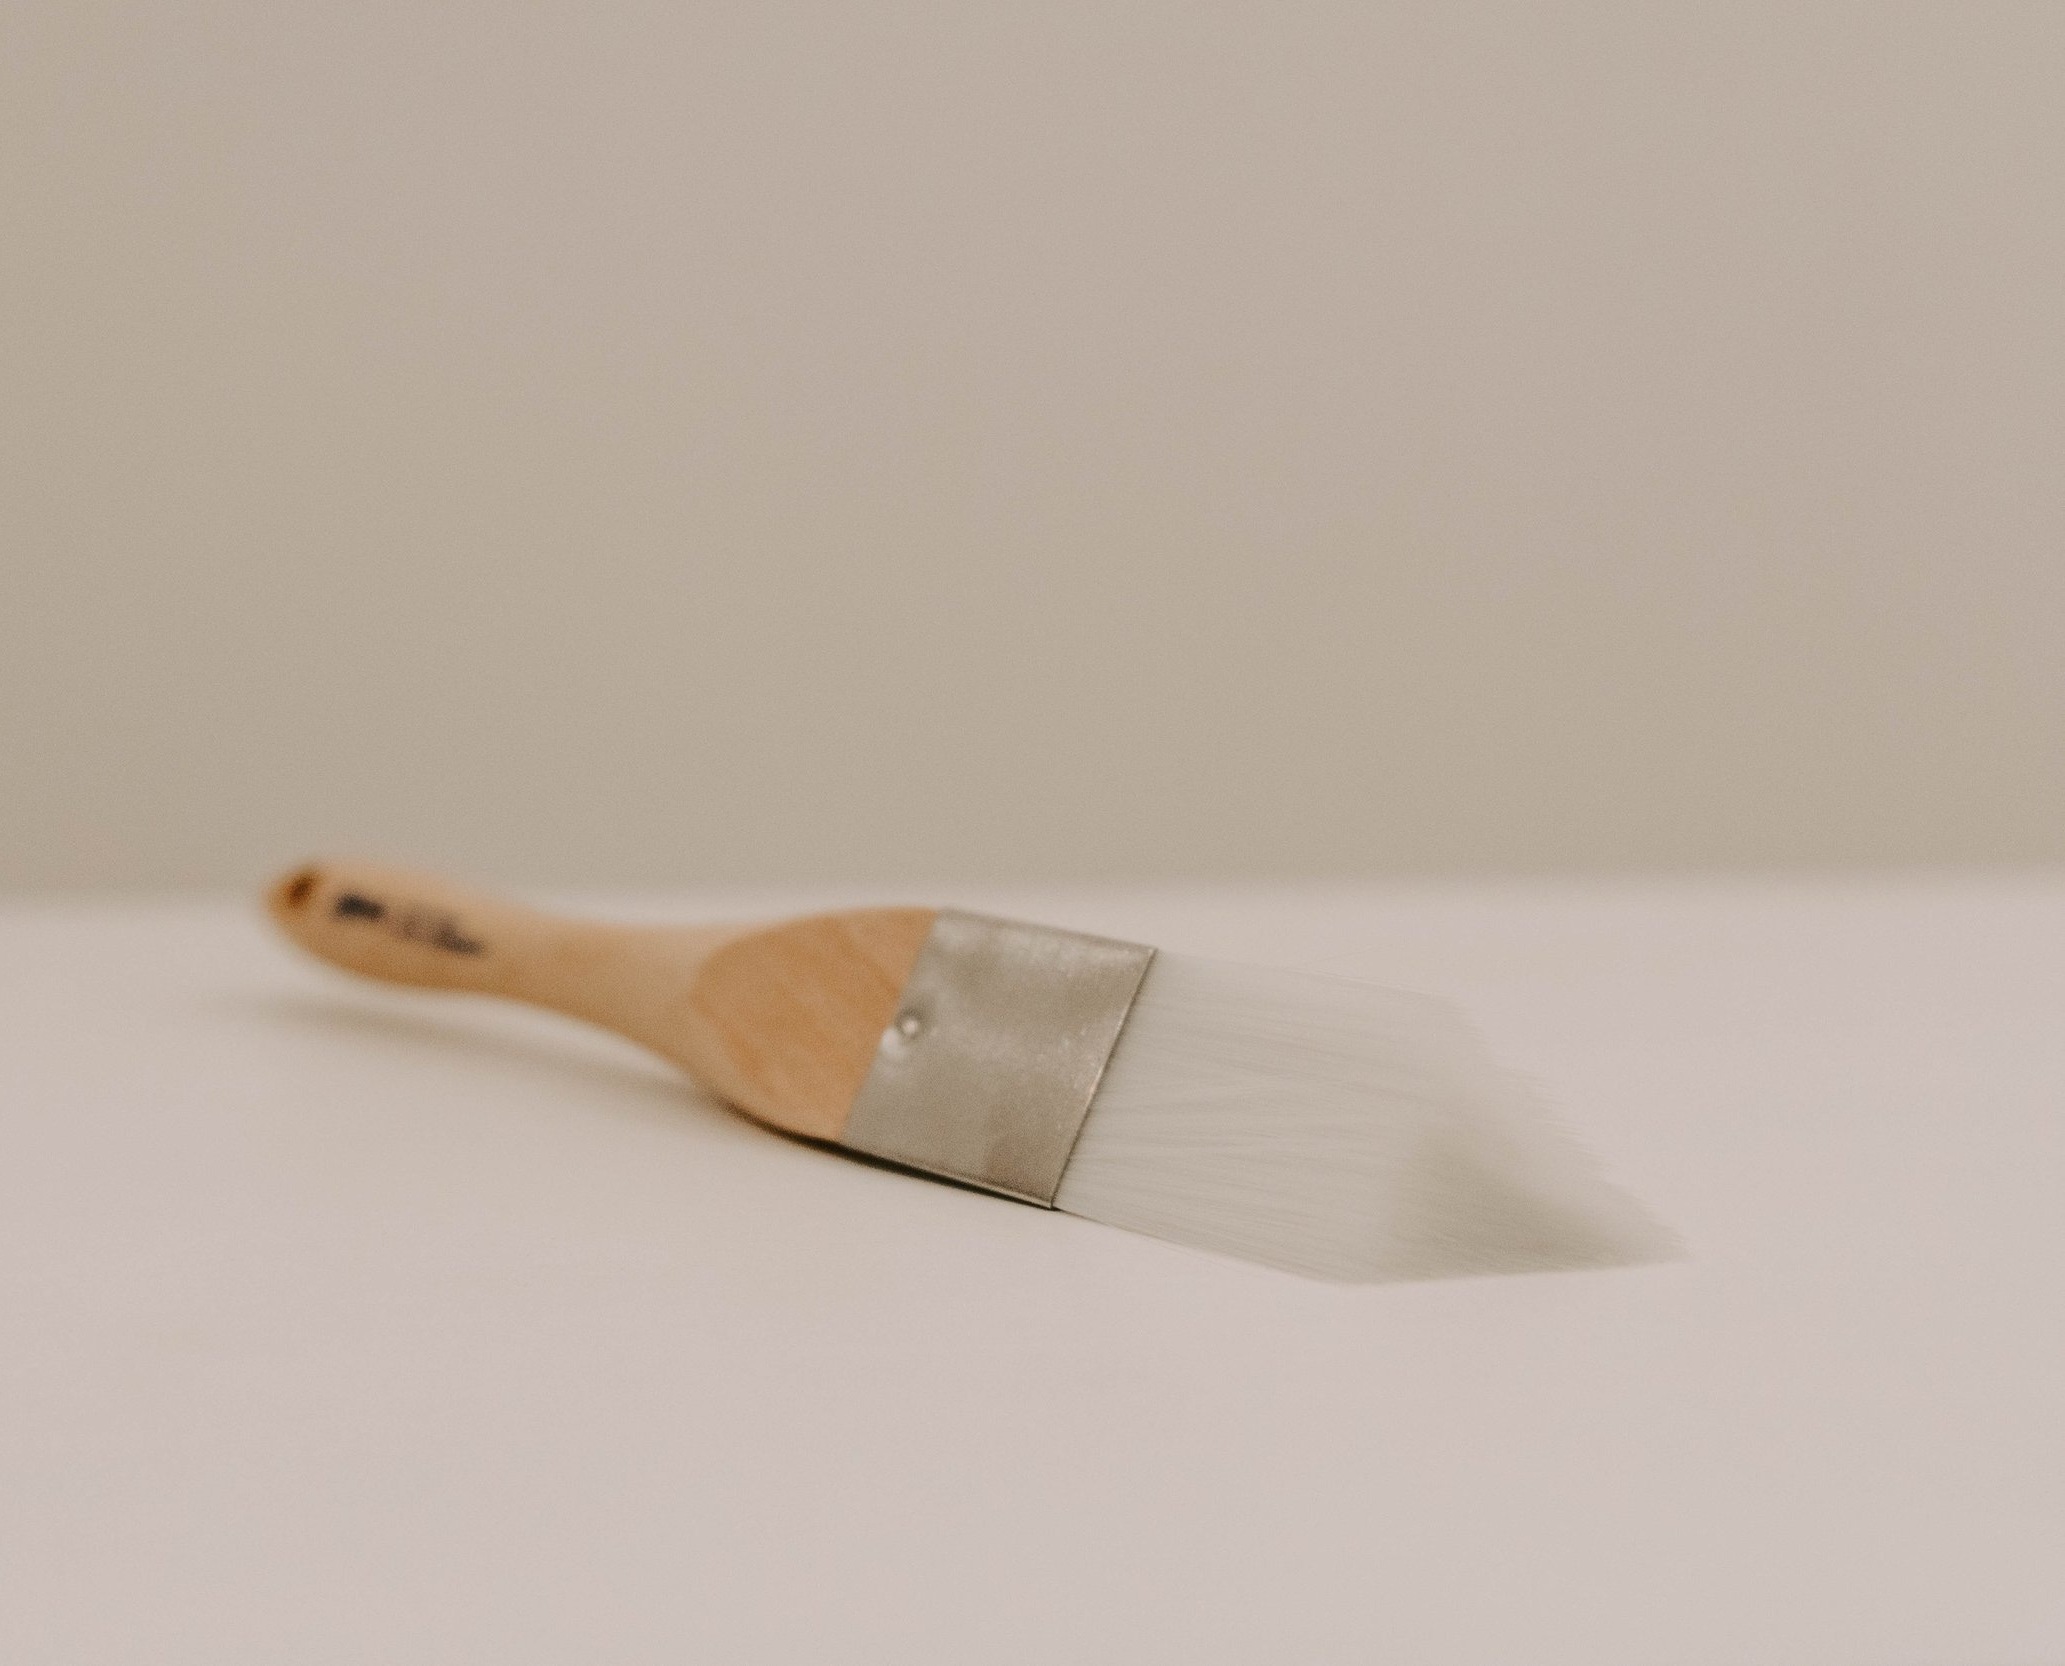
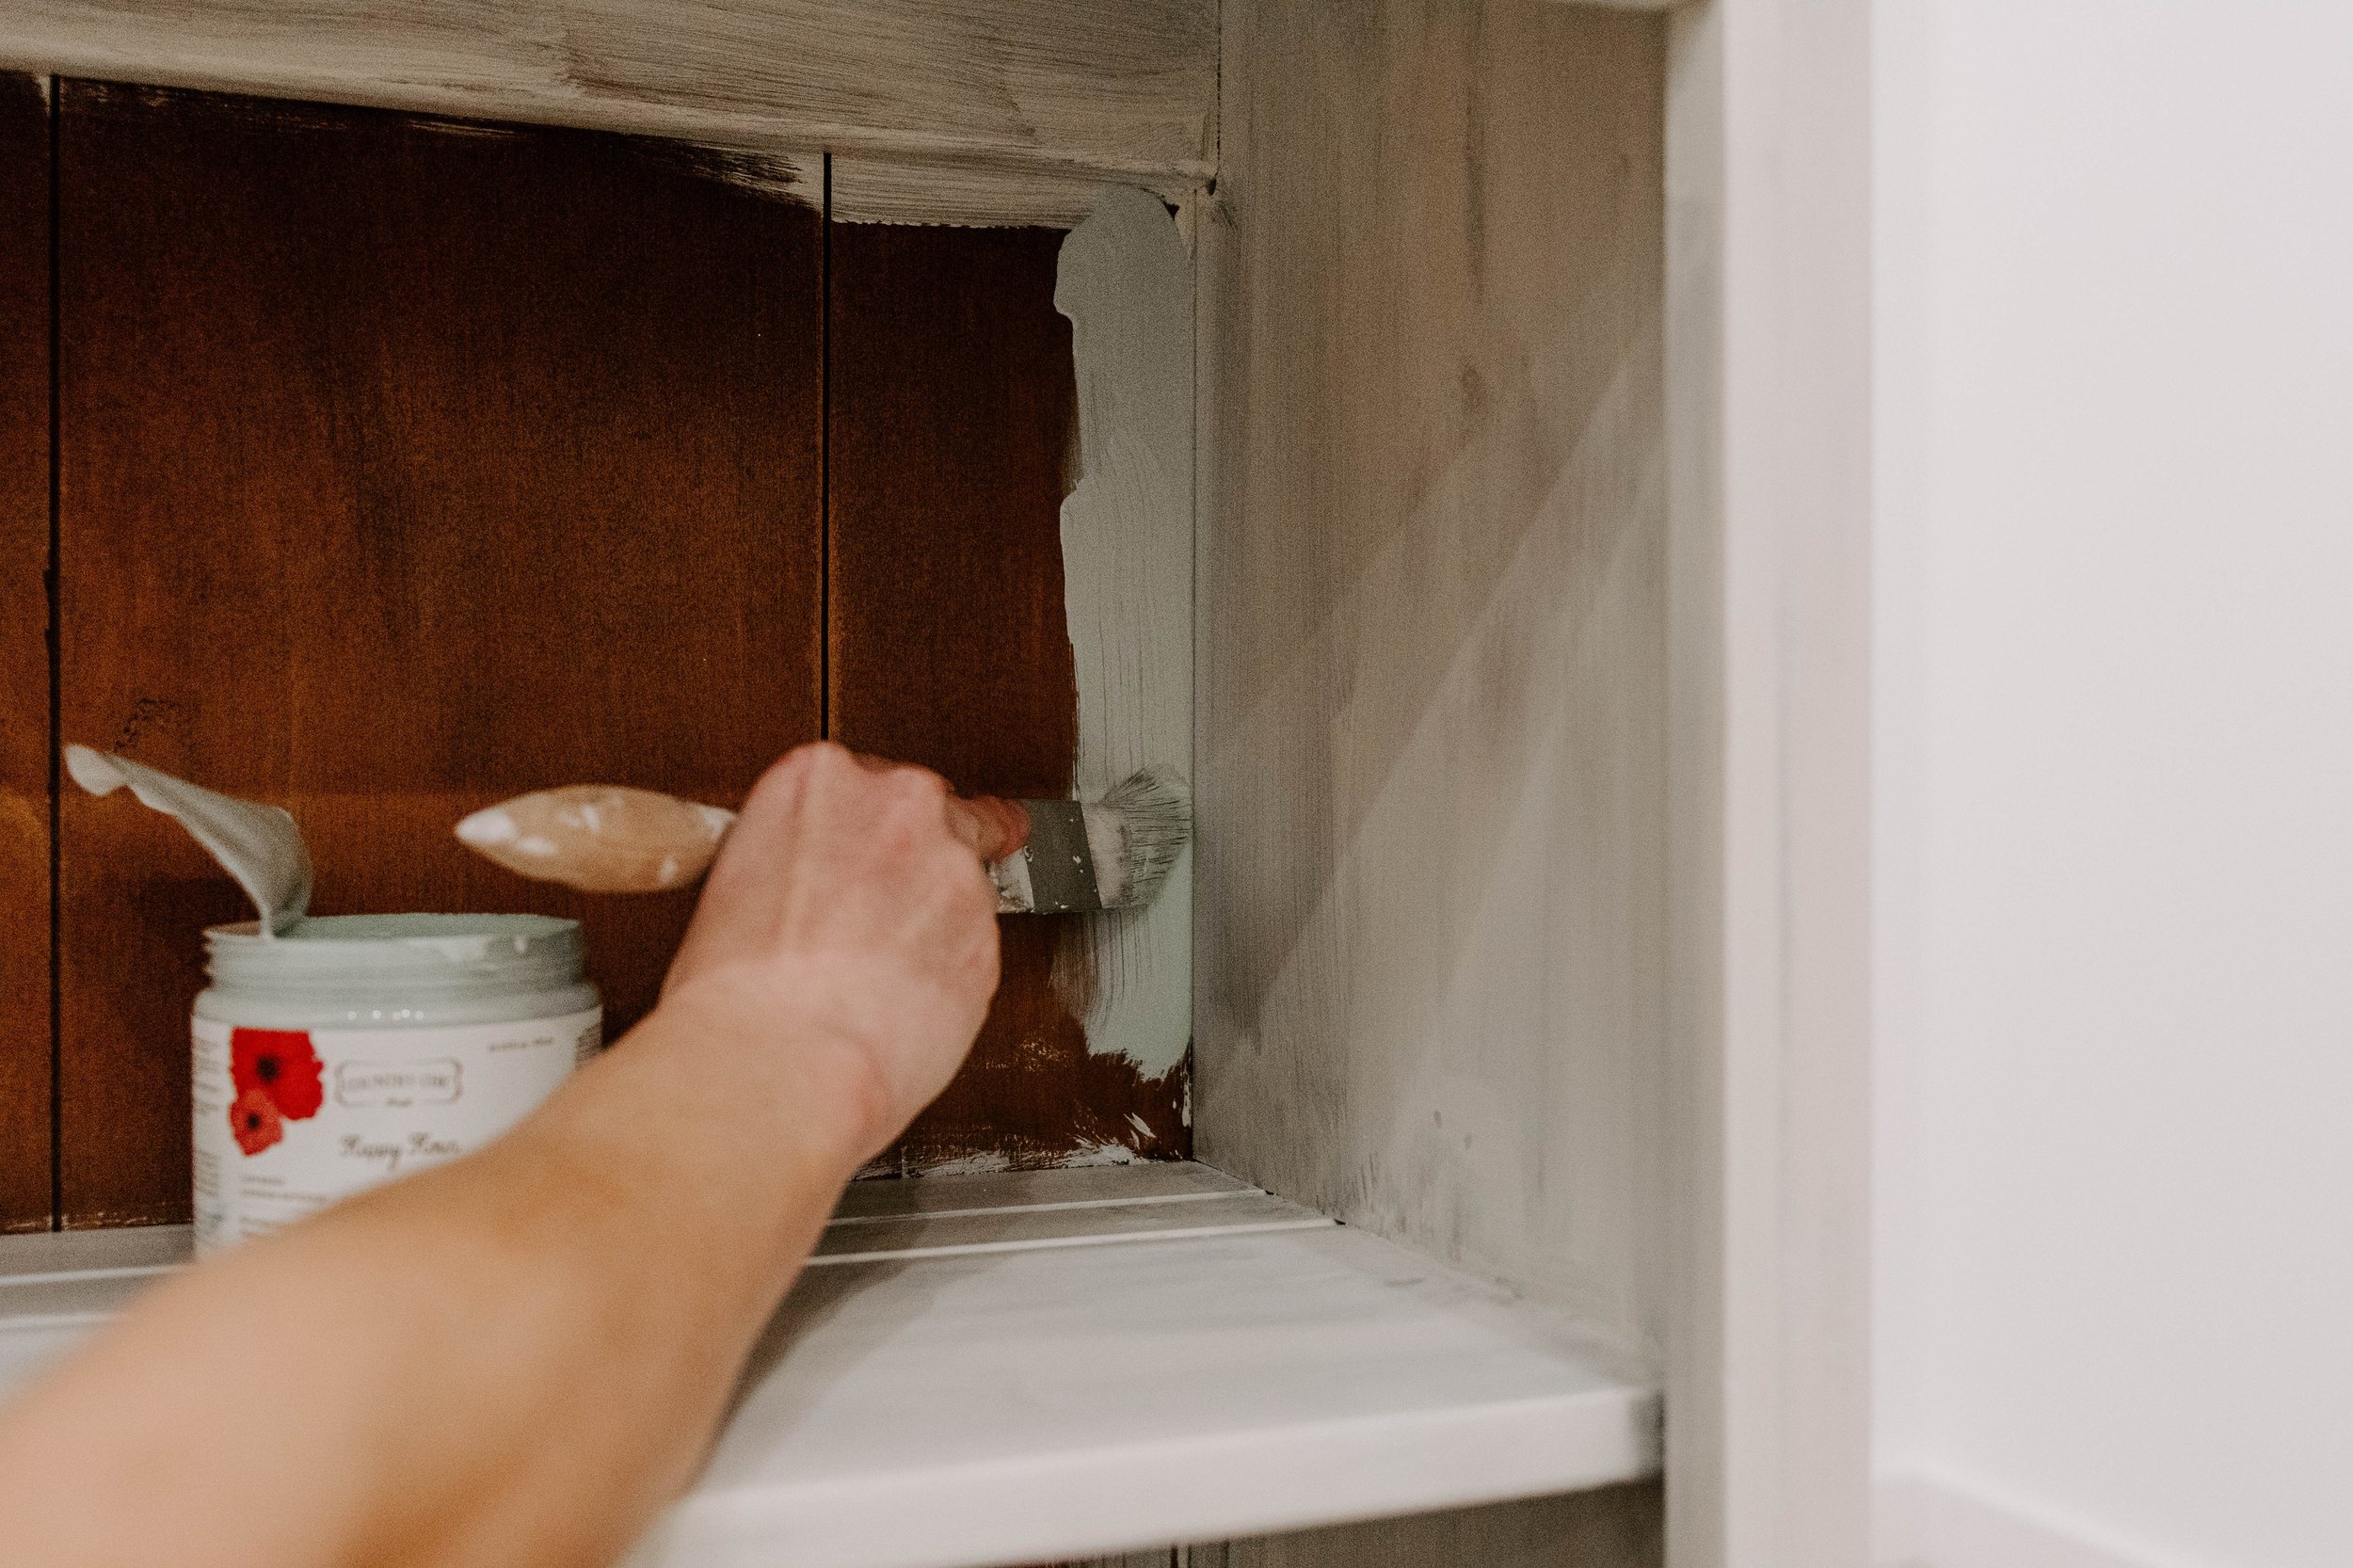
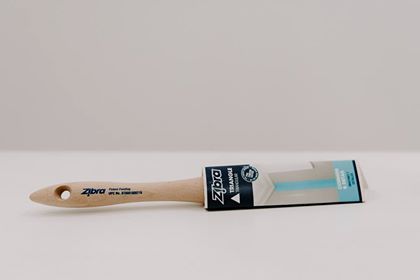
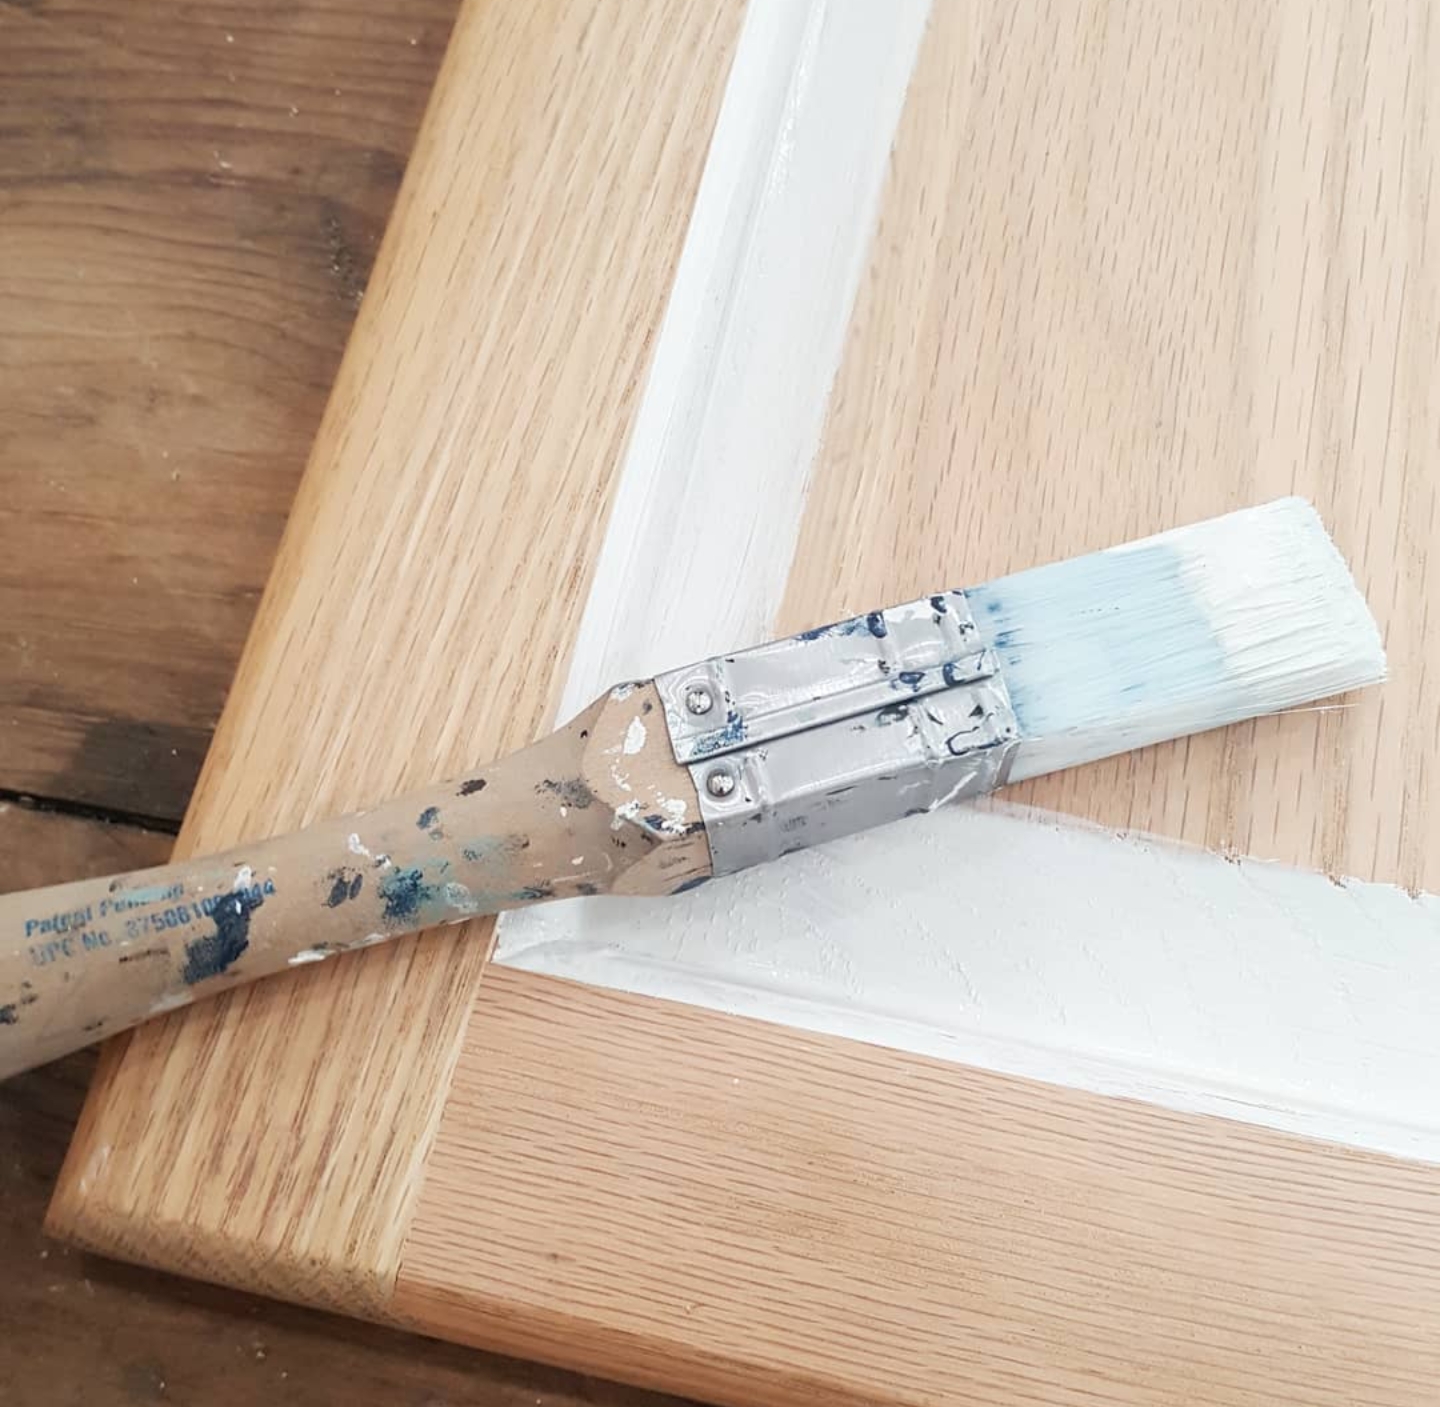
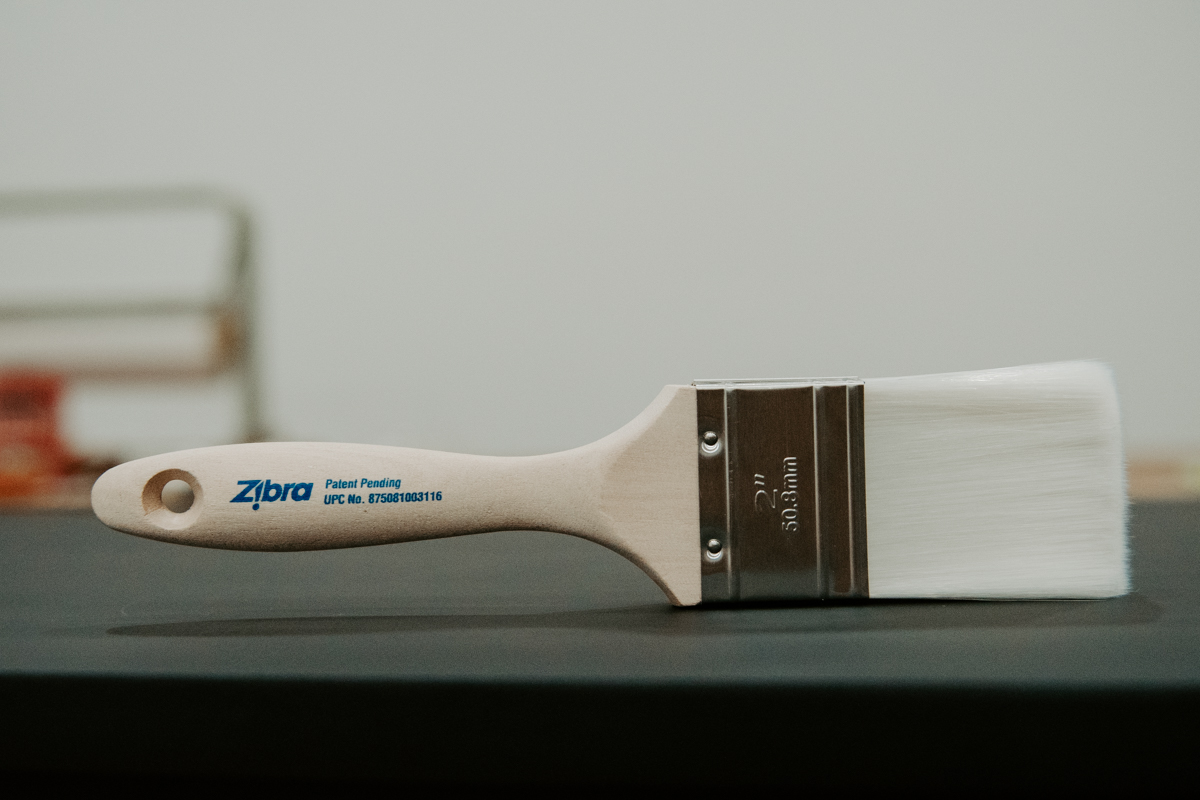
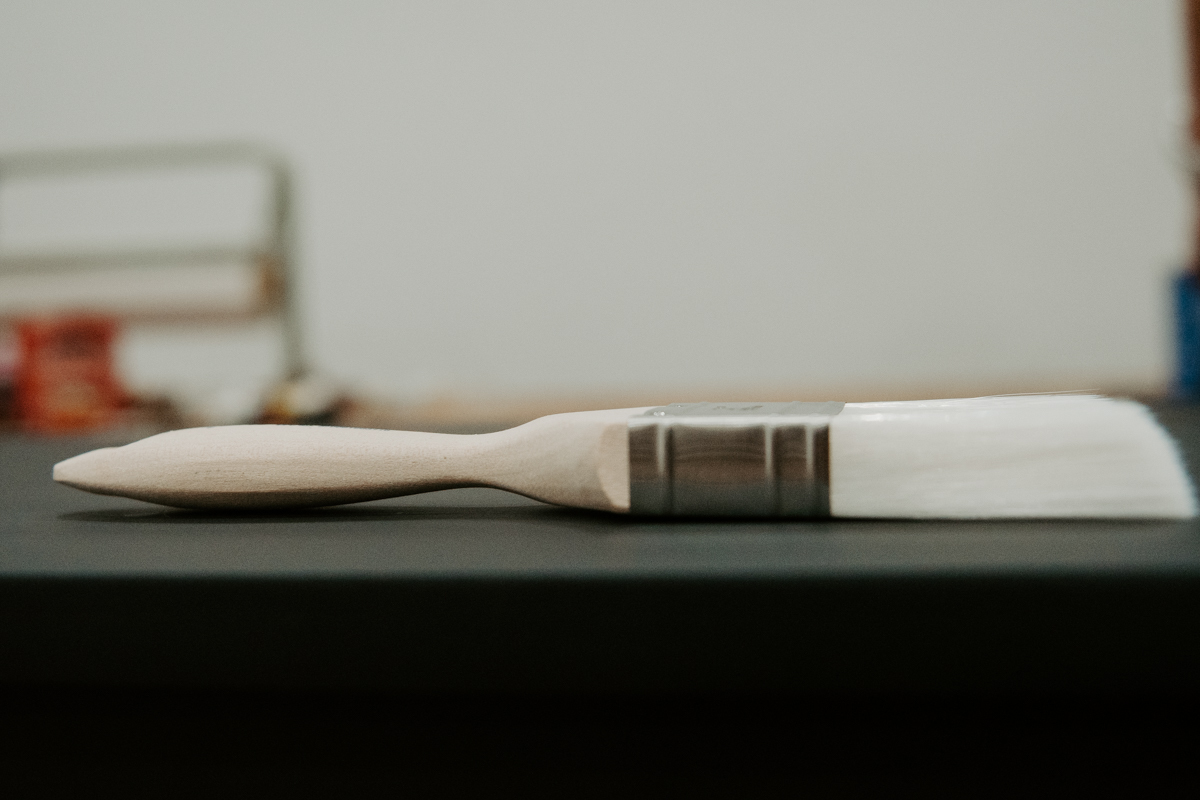
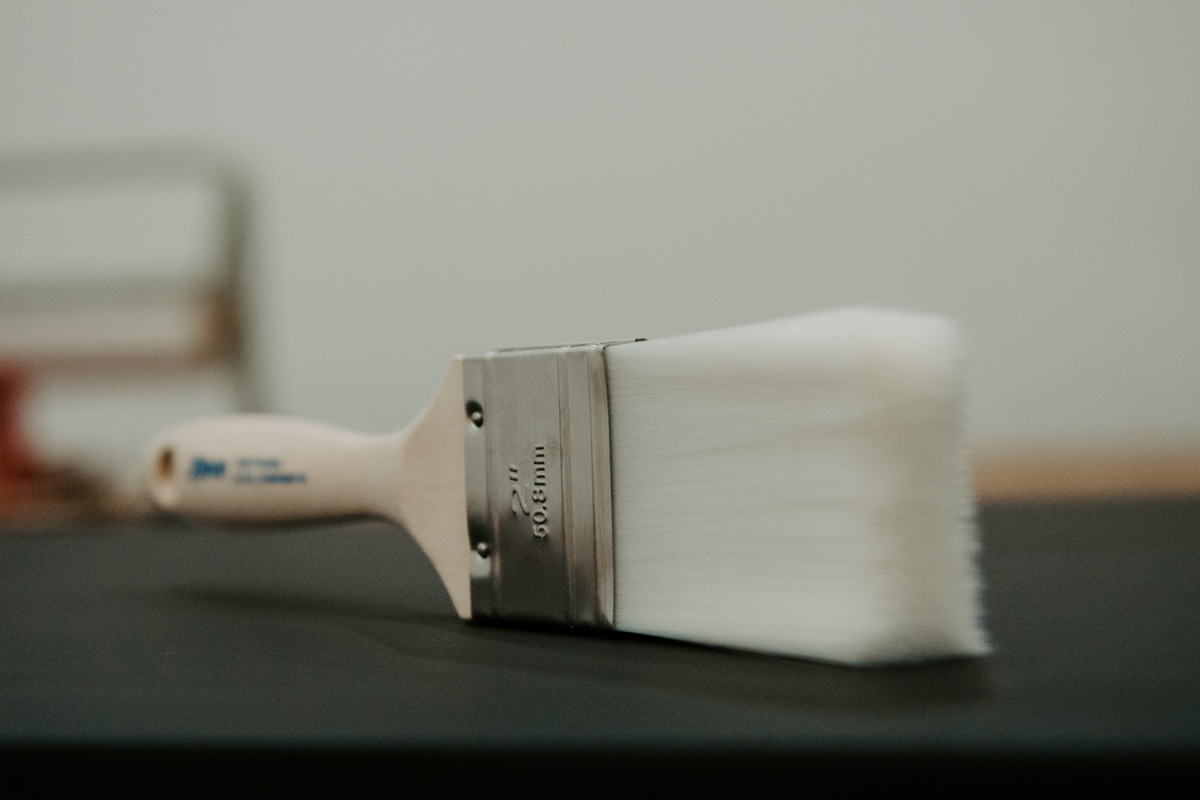
The Zibra Square brush is probably one of the most versatile brushes in the whole bunch. It serves so many purposes and always seems to be the one I grab when I’m in a pinch. It is designed for flat moldings and other trim work. The 1” bristles form a square with a small angle to help simplify the application process. It also has an hourglass-shaped wooden handle that fits well in my hand which is a huge plus.
For today’s Tuesday Tip I am going to show you a hand full of ways you can use this brush. These are just suggestions, but honestly, the possibilities are endless with this brush!
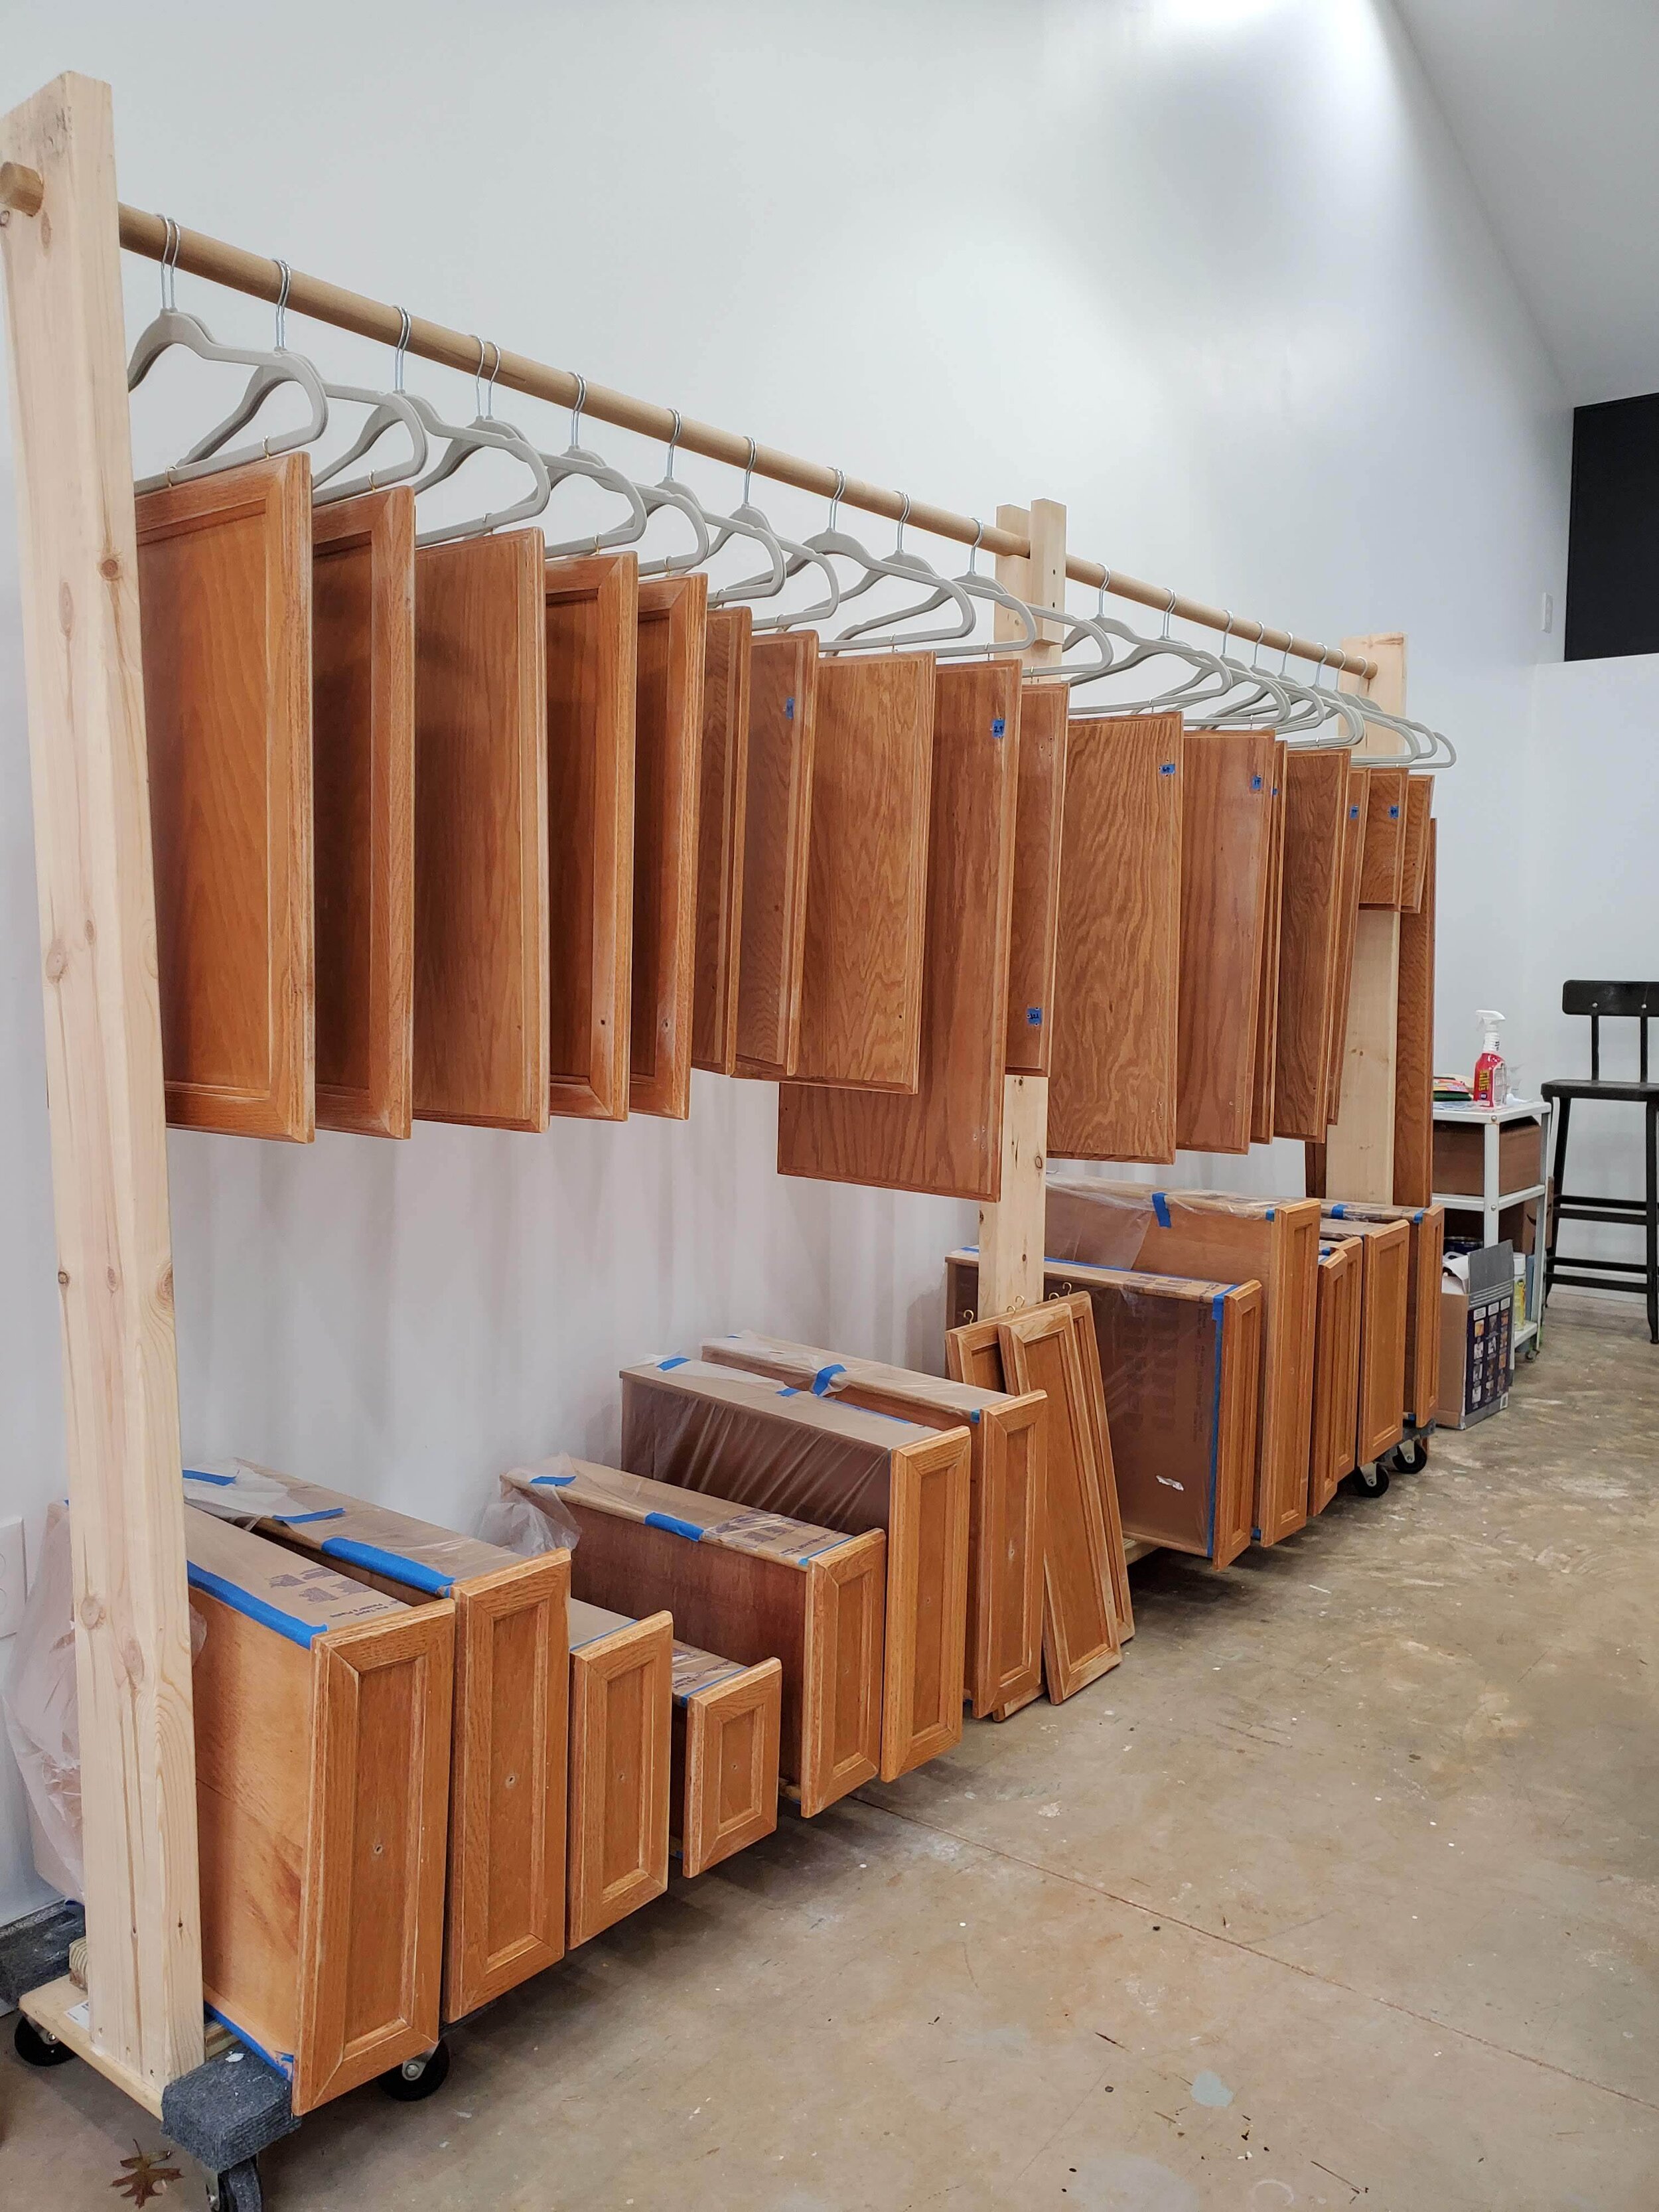
Cabinet Doors
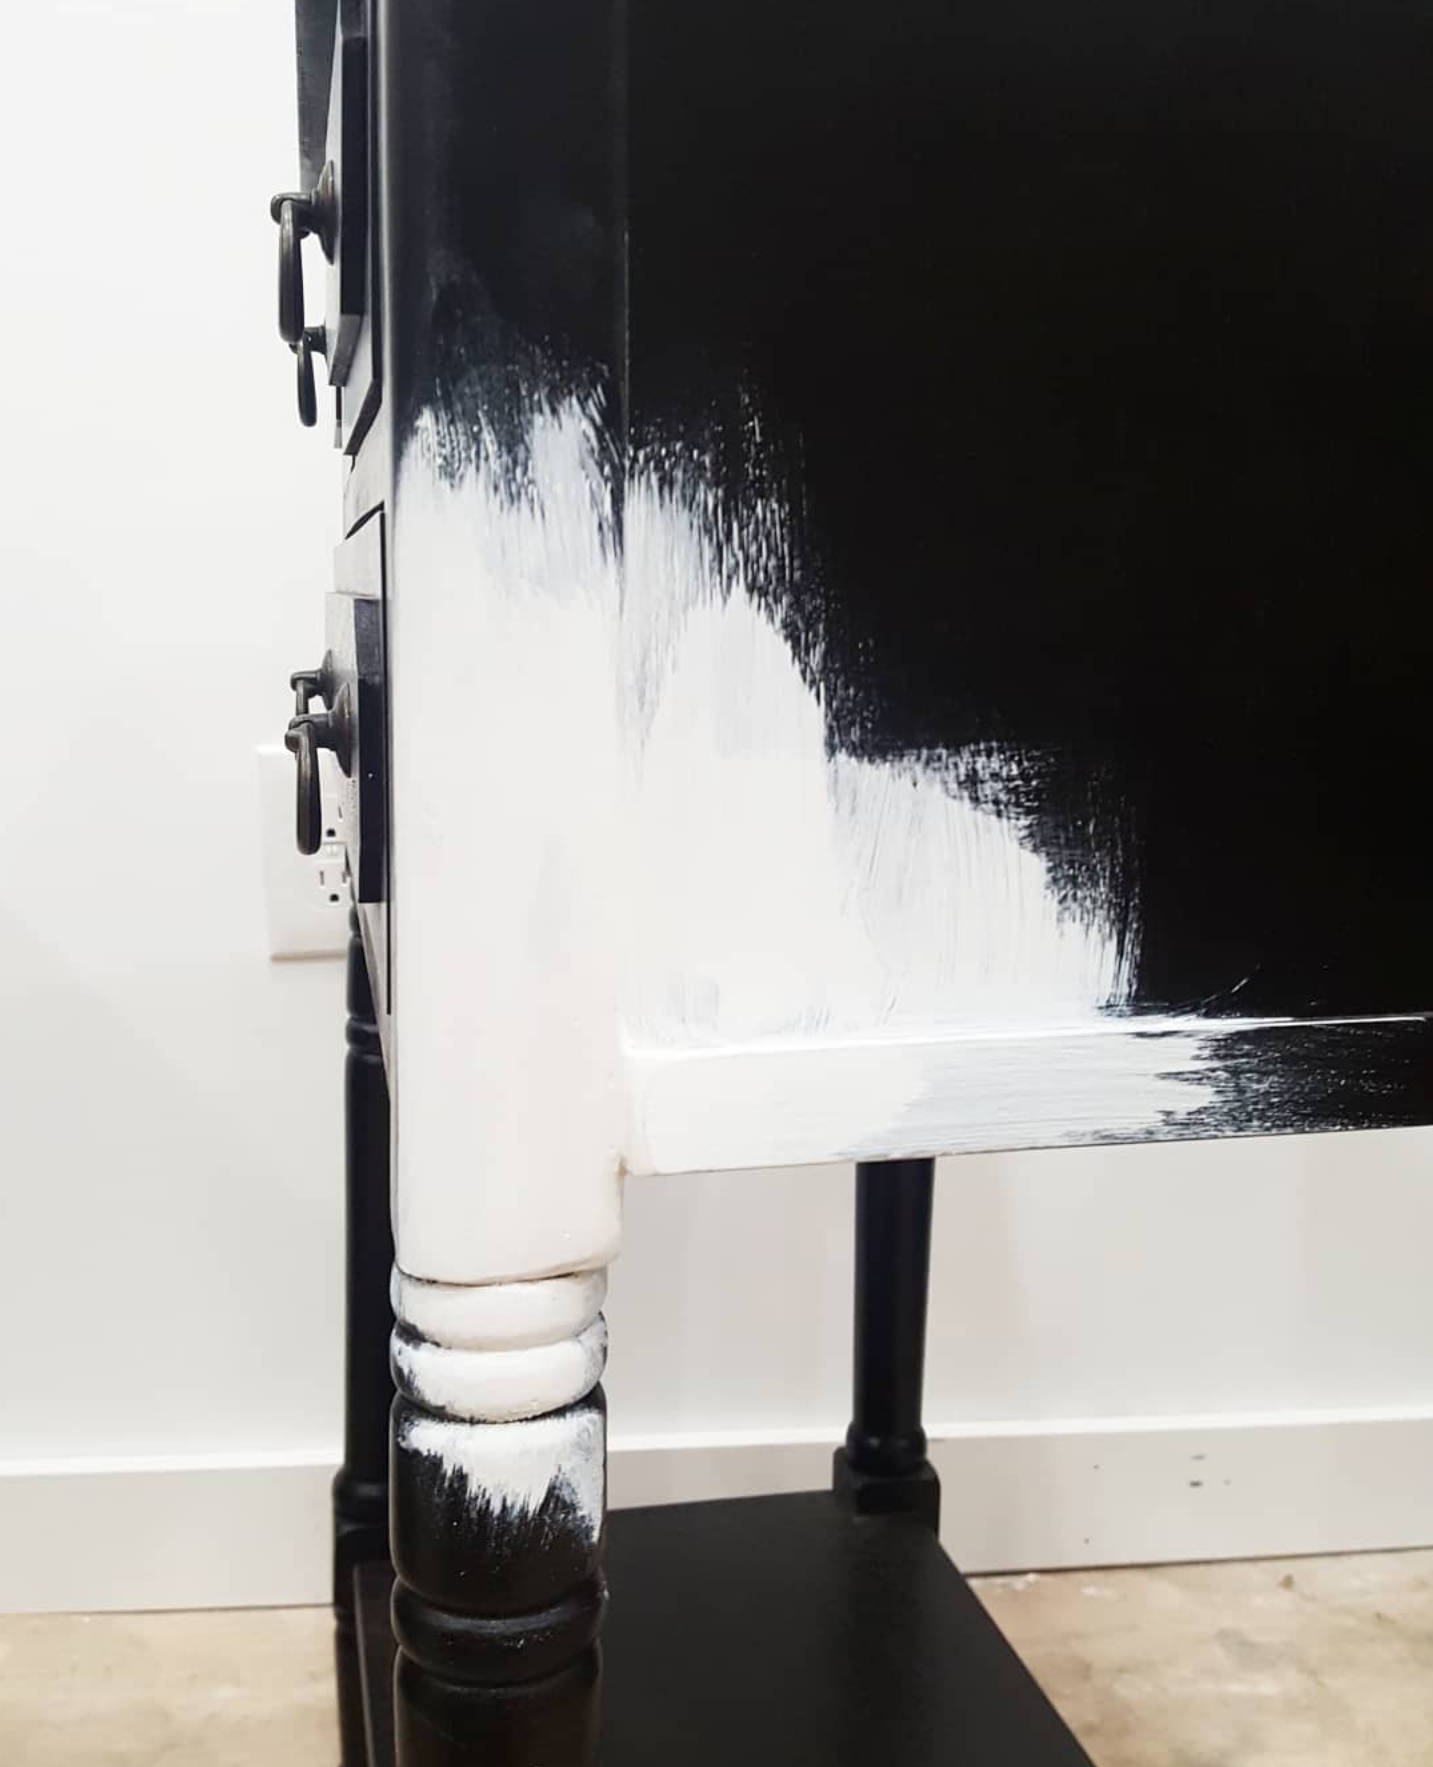
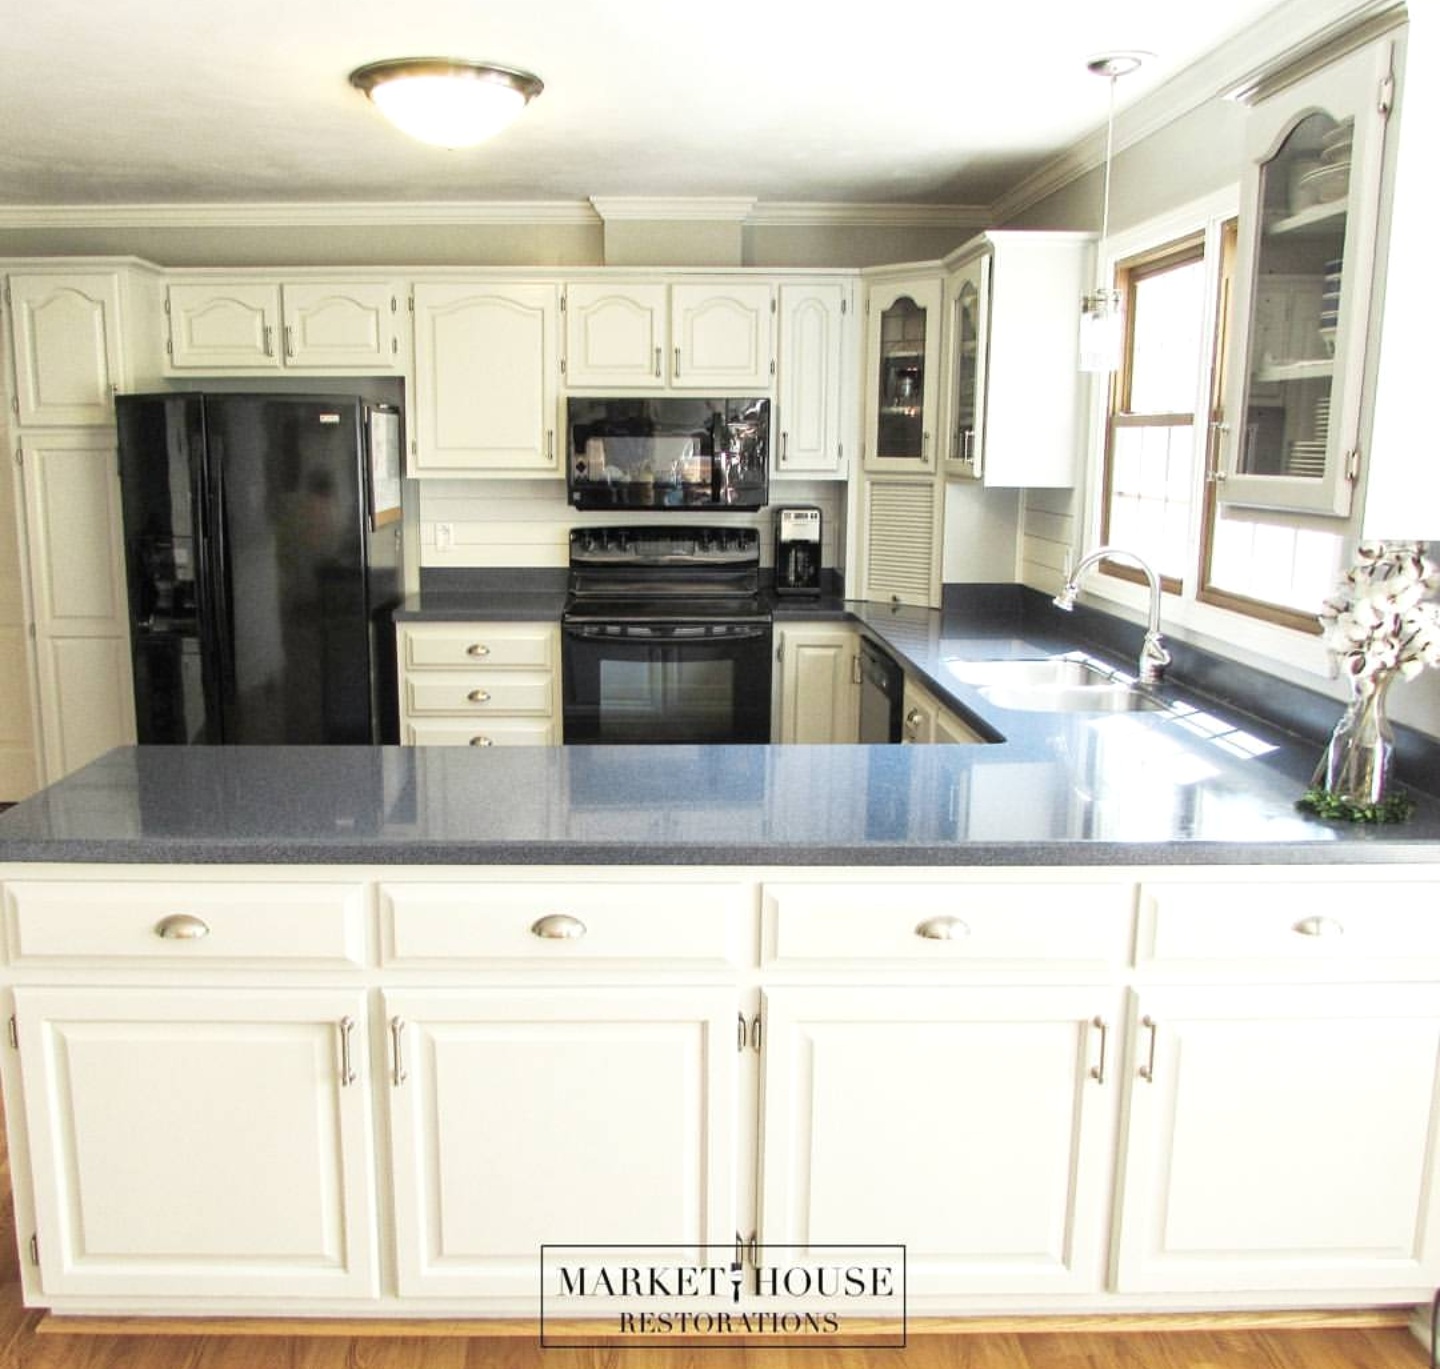
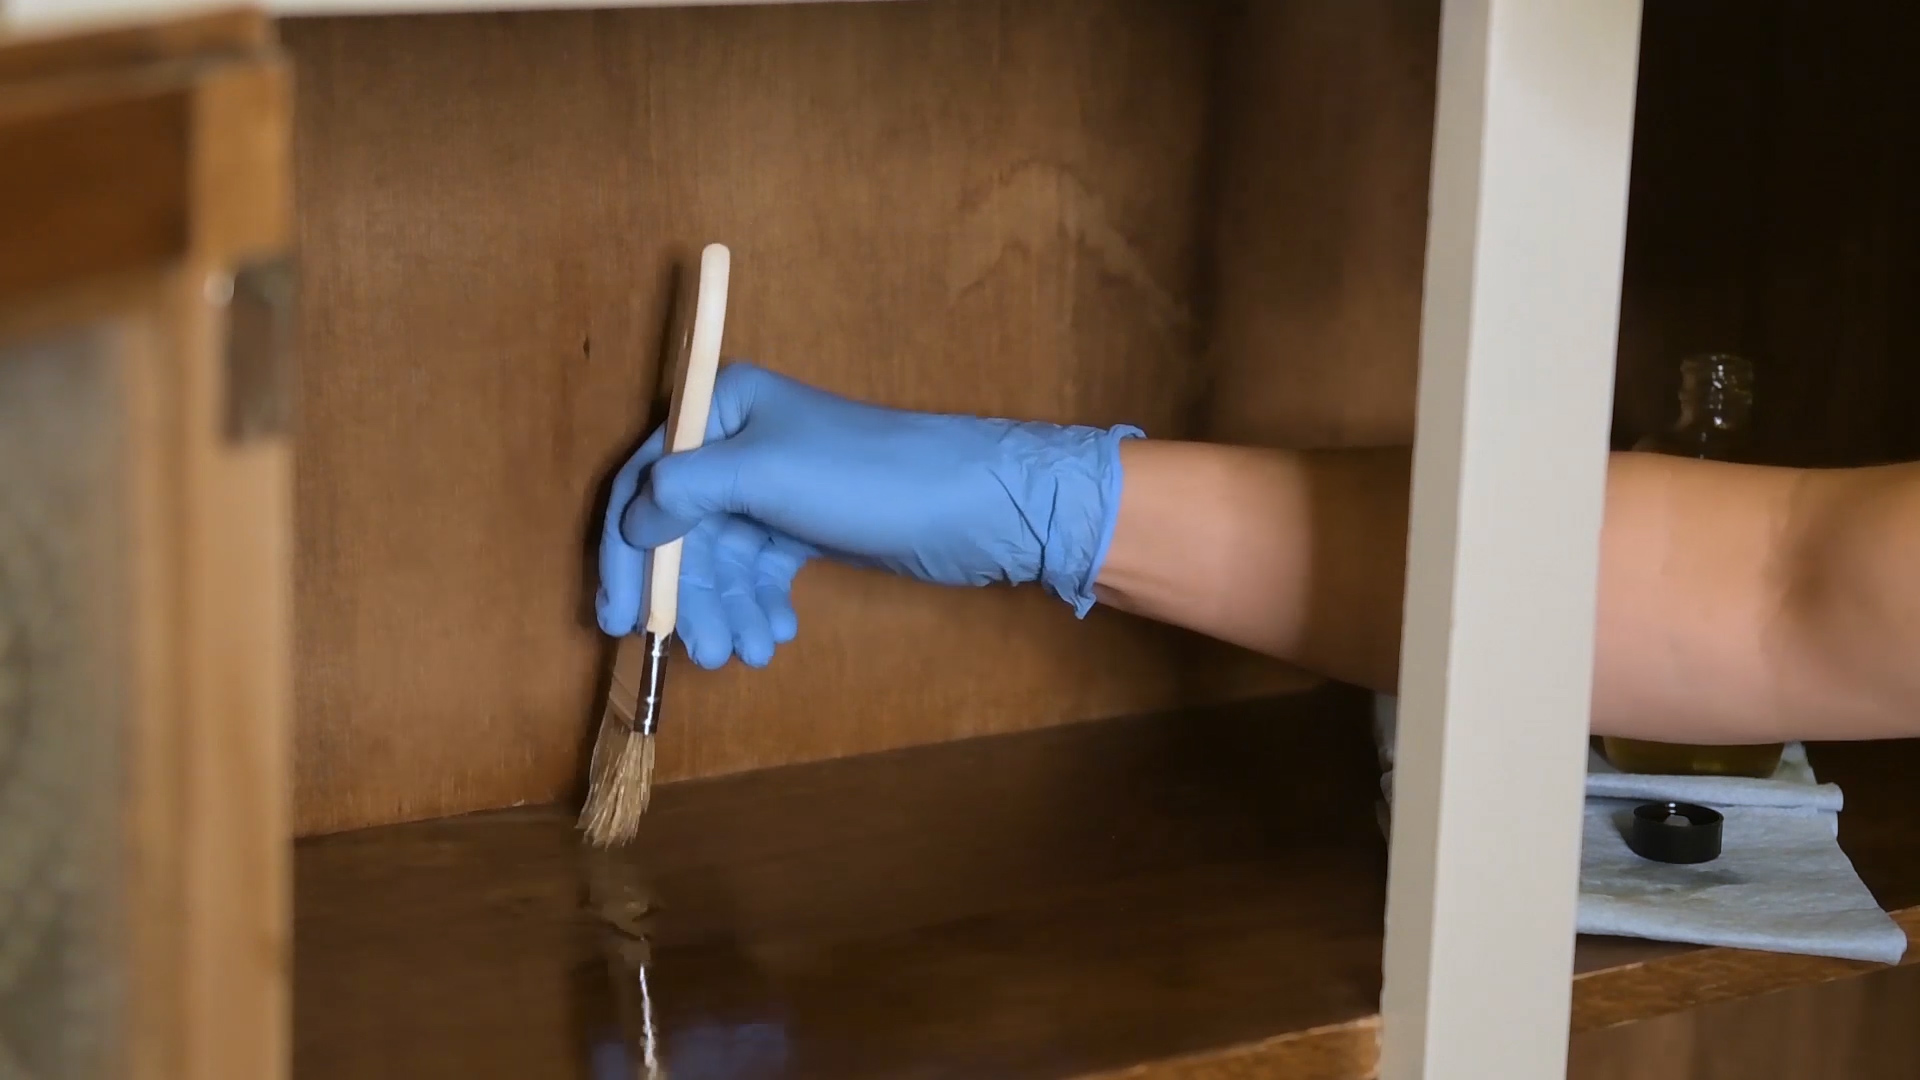
The Zibra Square brush is a must have if you plan on painting a cabinet door that has any type of molding on it. The brush helps evenly distribute paint that may have “gathered” in the crevices of the door. It also fits perfectly in those areas so that you’re not brushing the face/flat part of the door.
Windows,Window Grids & Ledges
The Zibra Square brush works great for windows and window grids. The bristles are full enough to efficiently cover the area but also narrow enough to cover the grids without going over the edges.
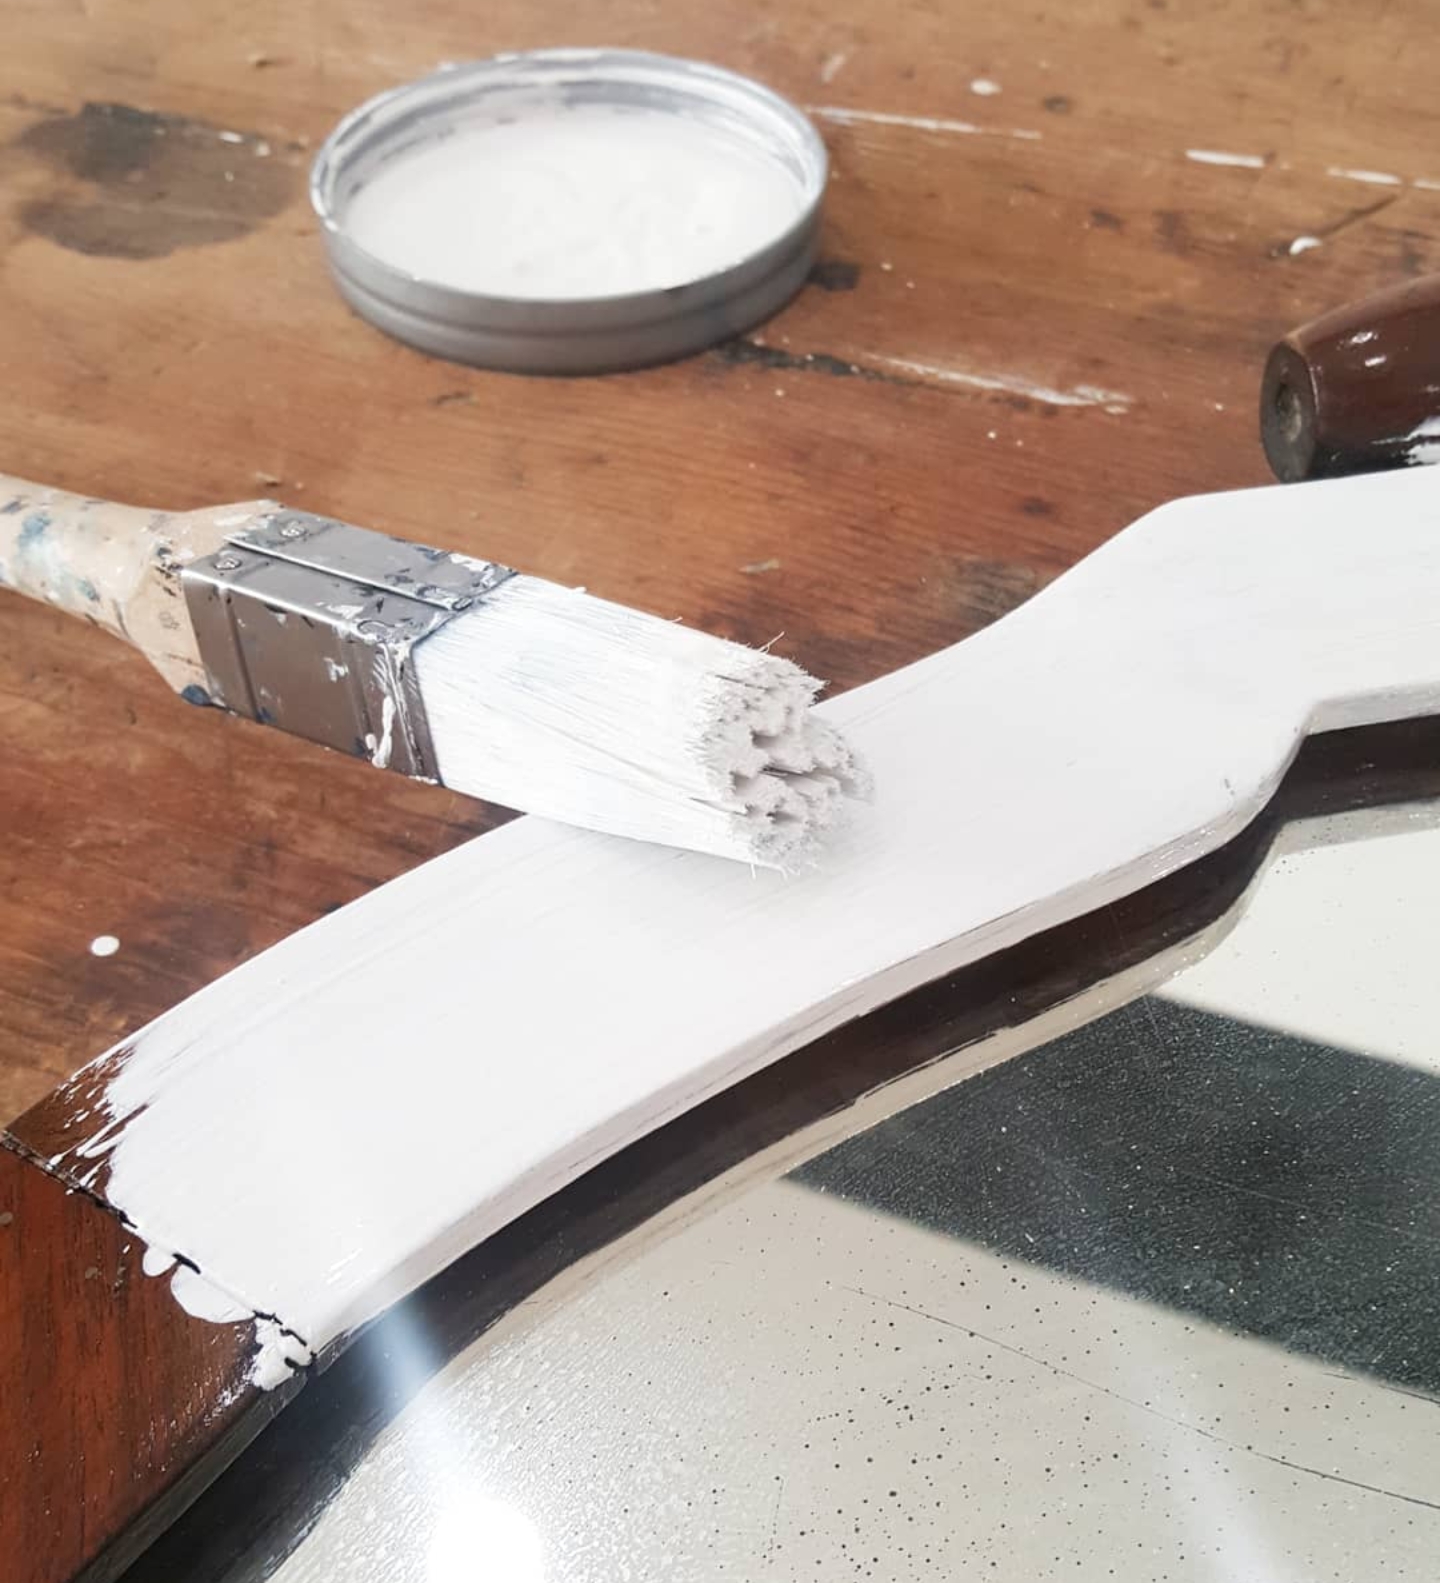
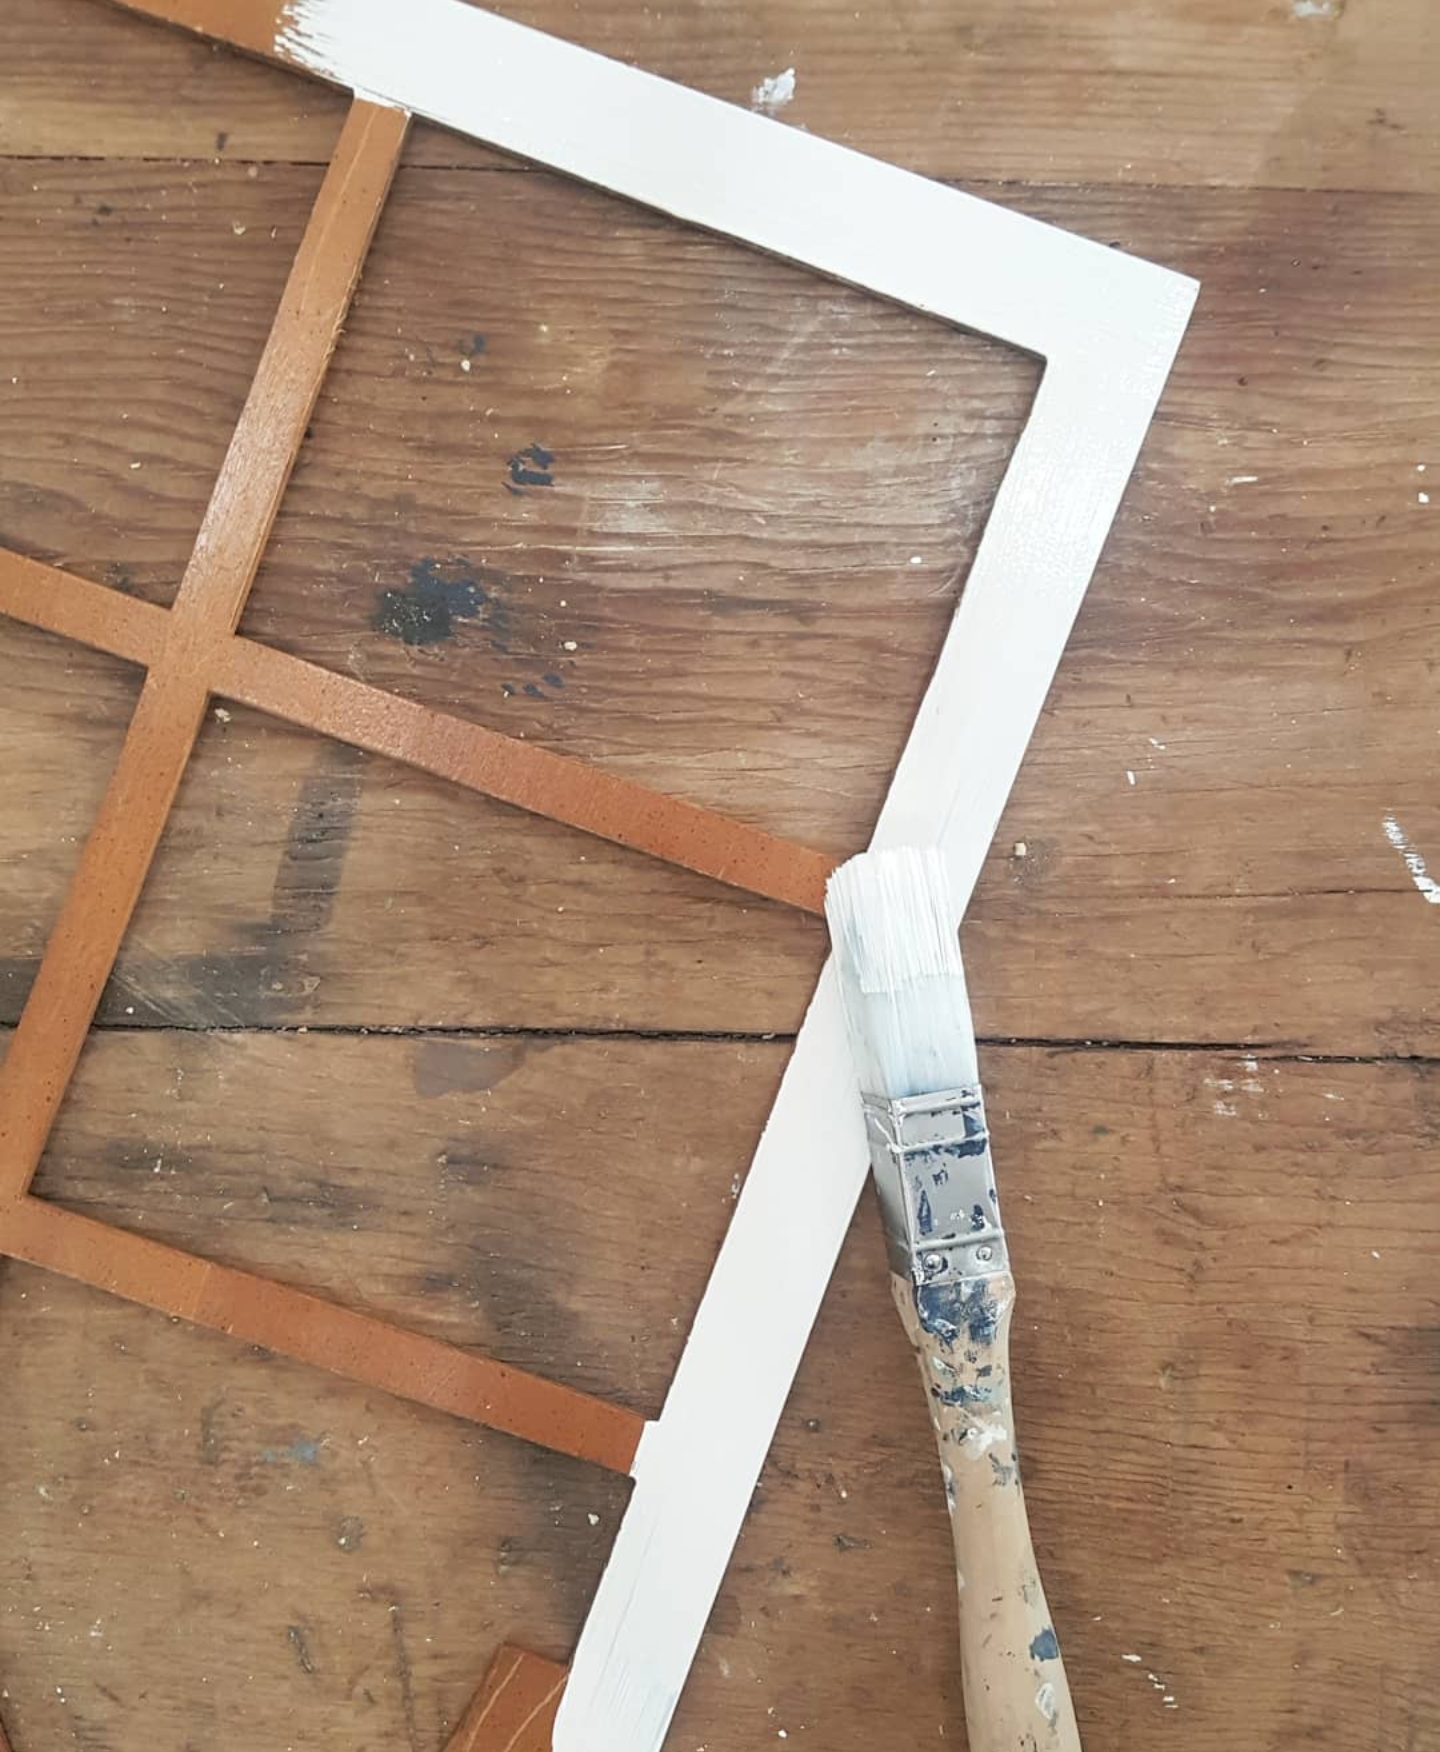
Frames/Mirrors
The Zibra Square brush is great for cutting-in and painting the detailed areas on picture/mirror frames. The small, precise bristles help control the paint so it doesn’t get on the glass or mirror.

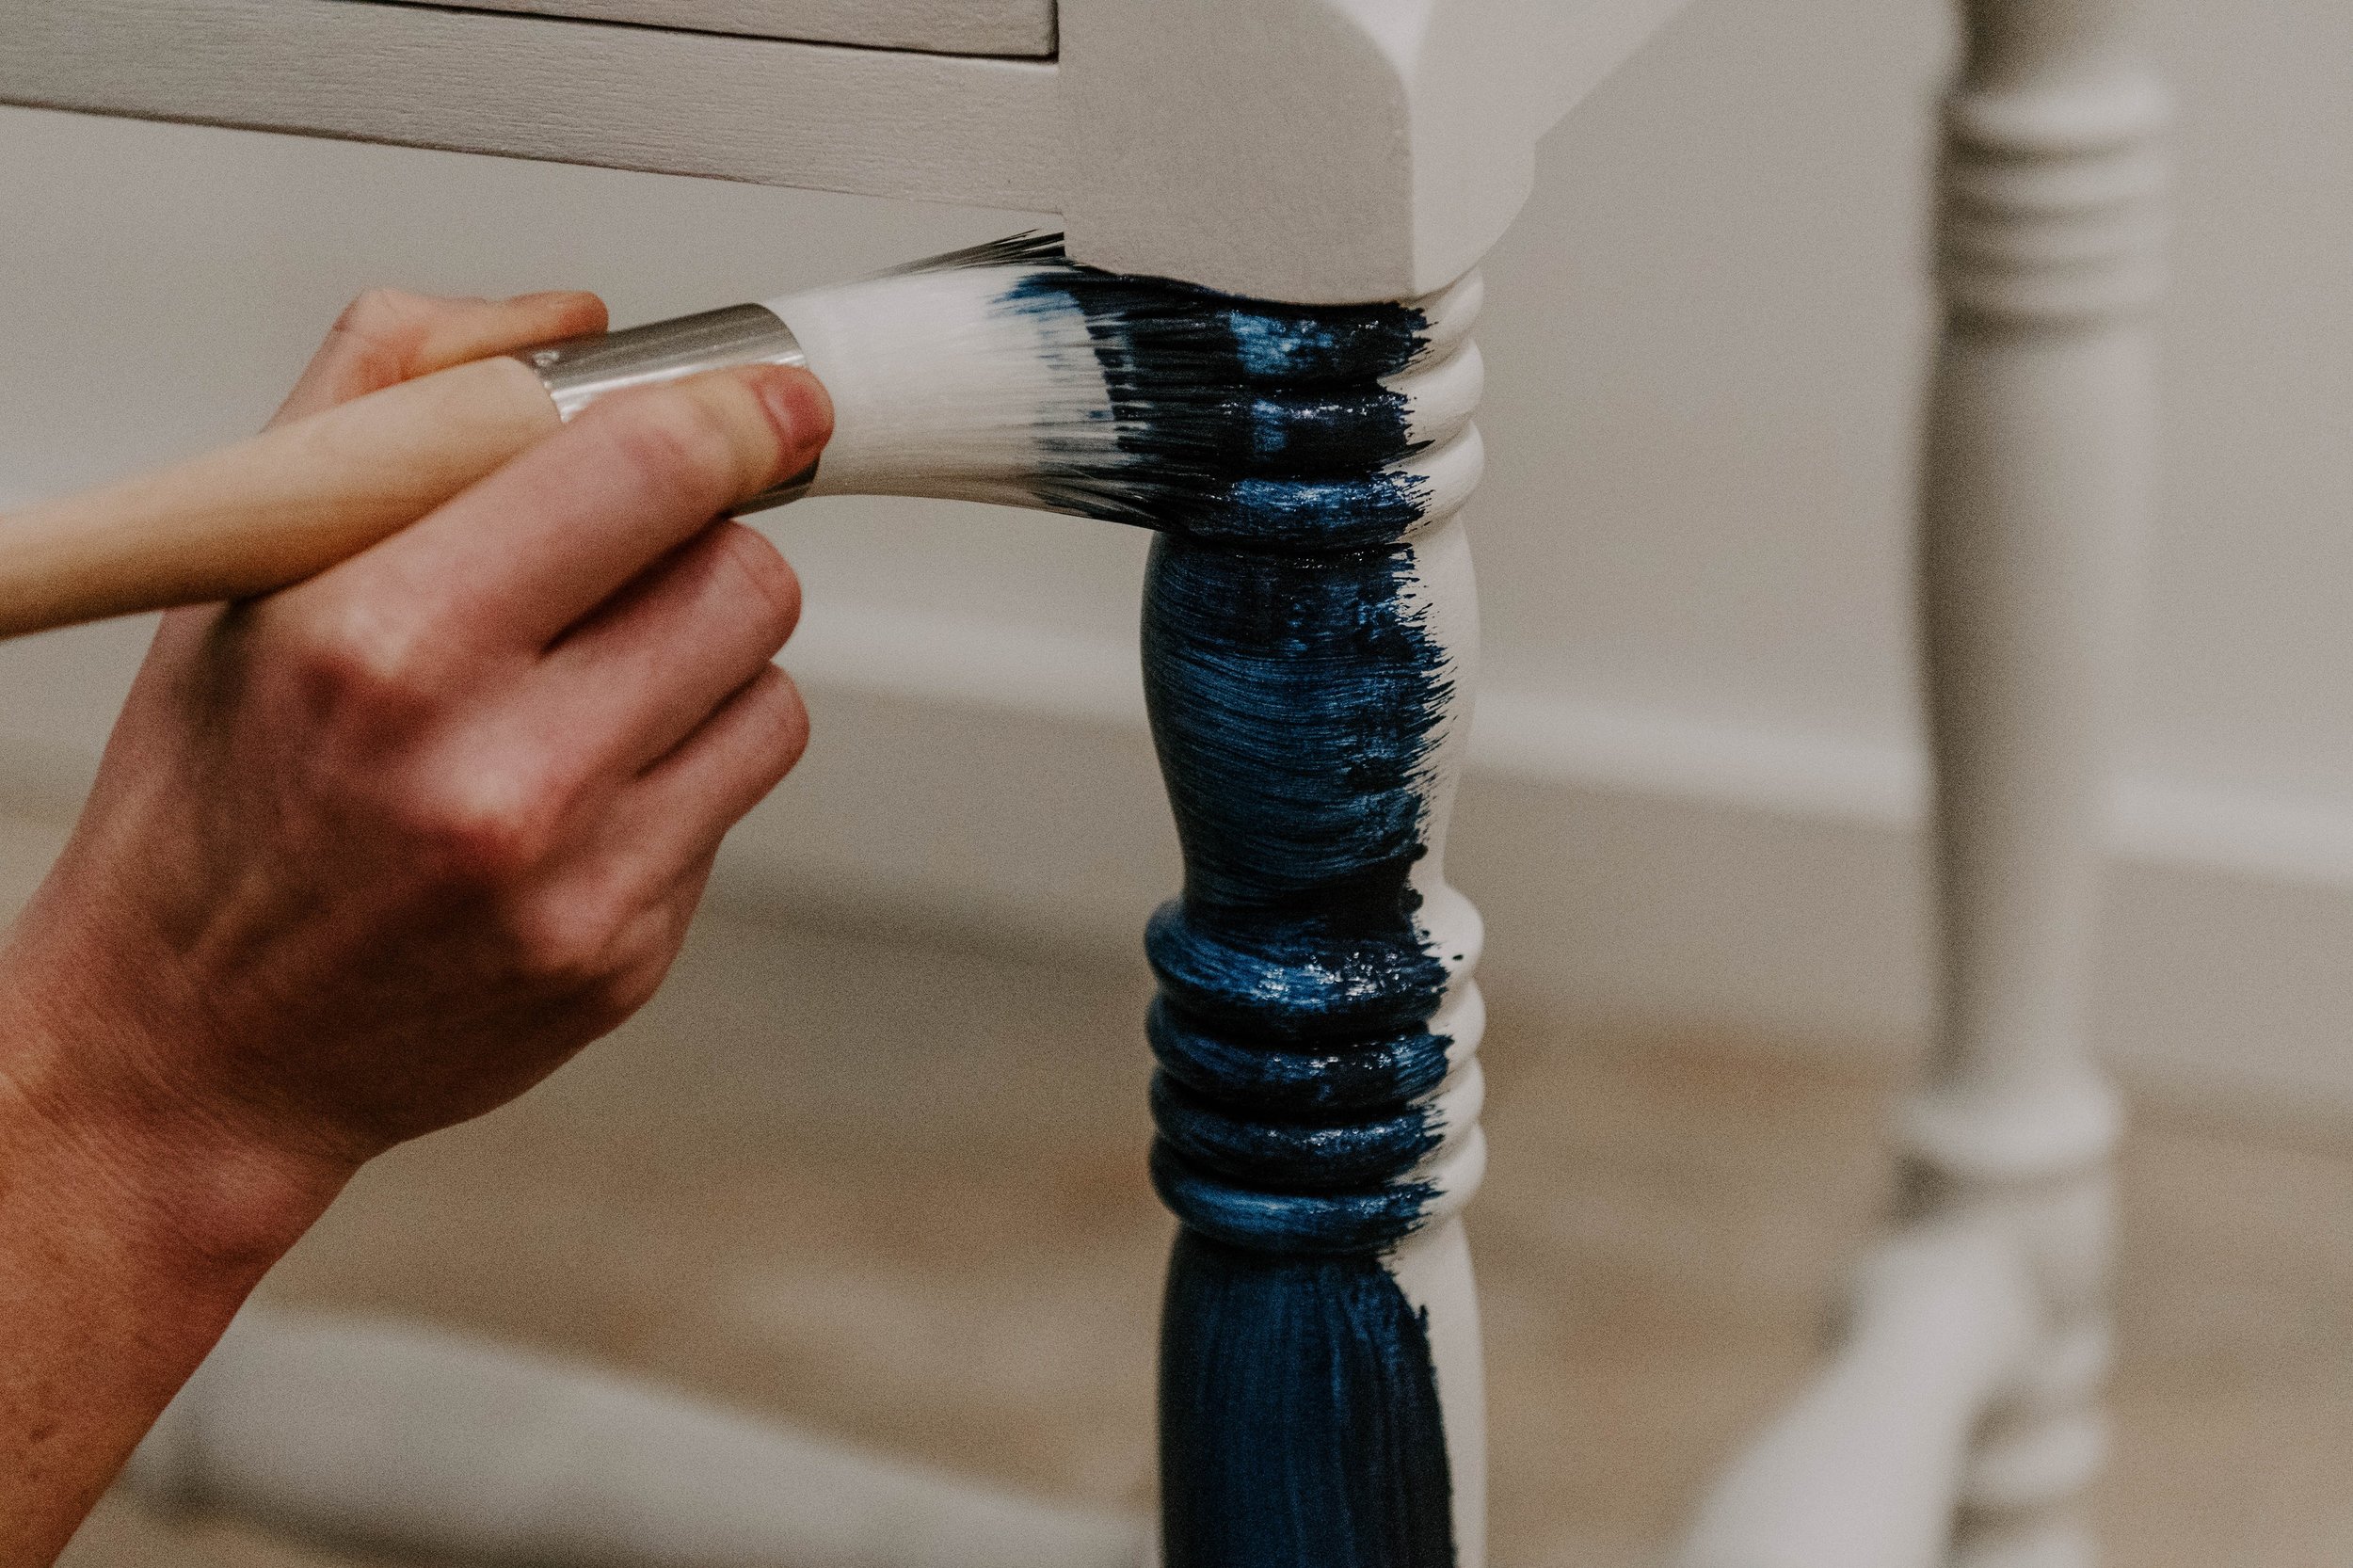
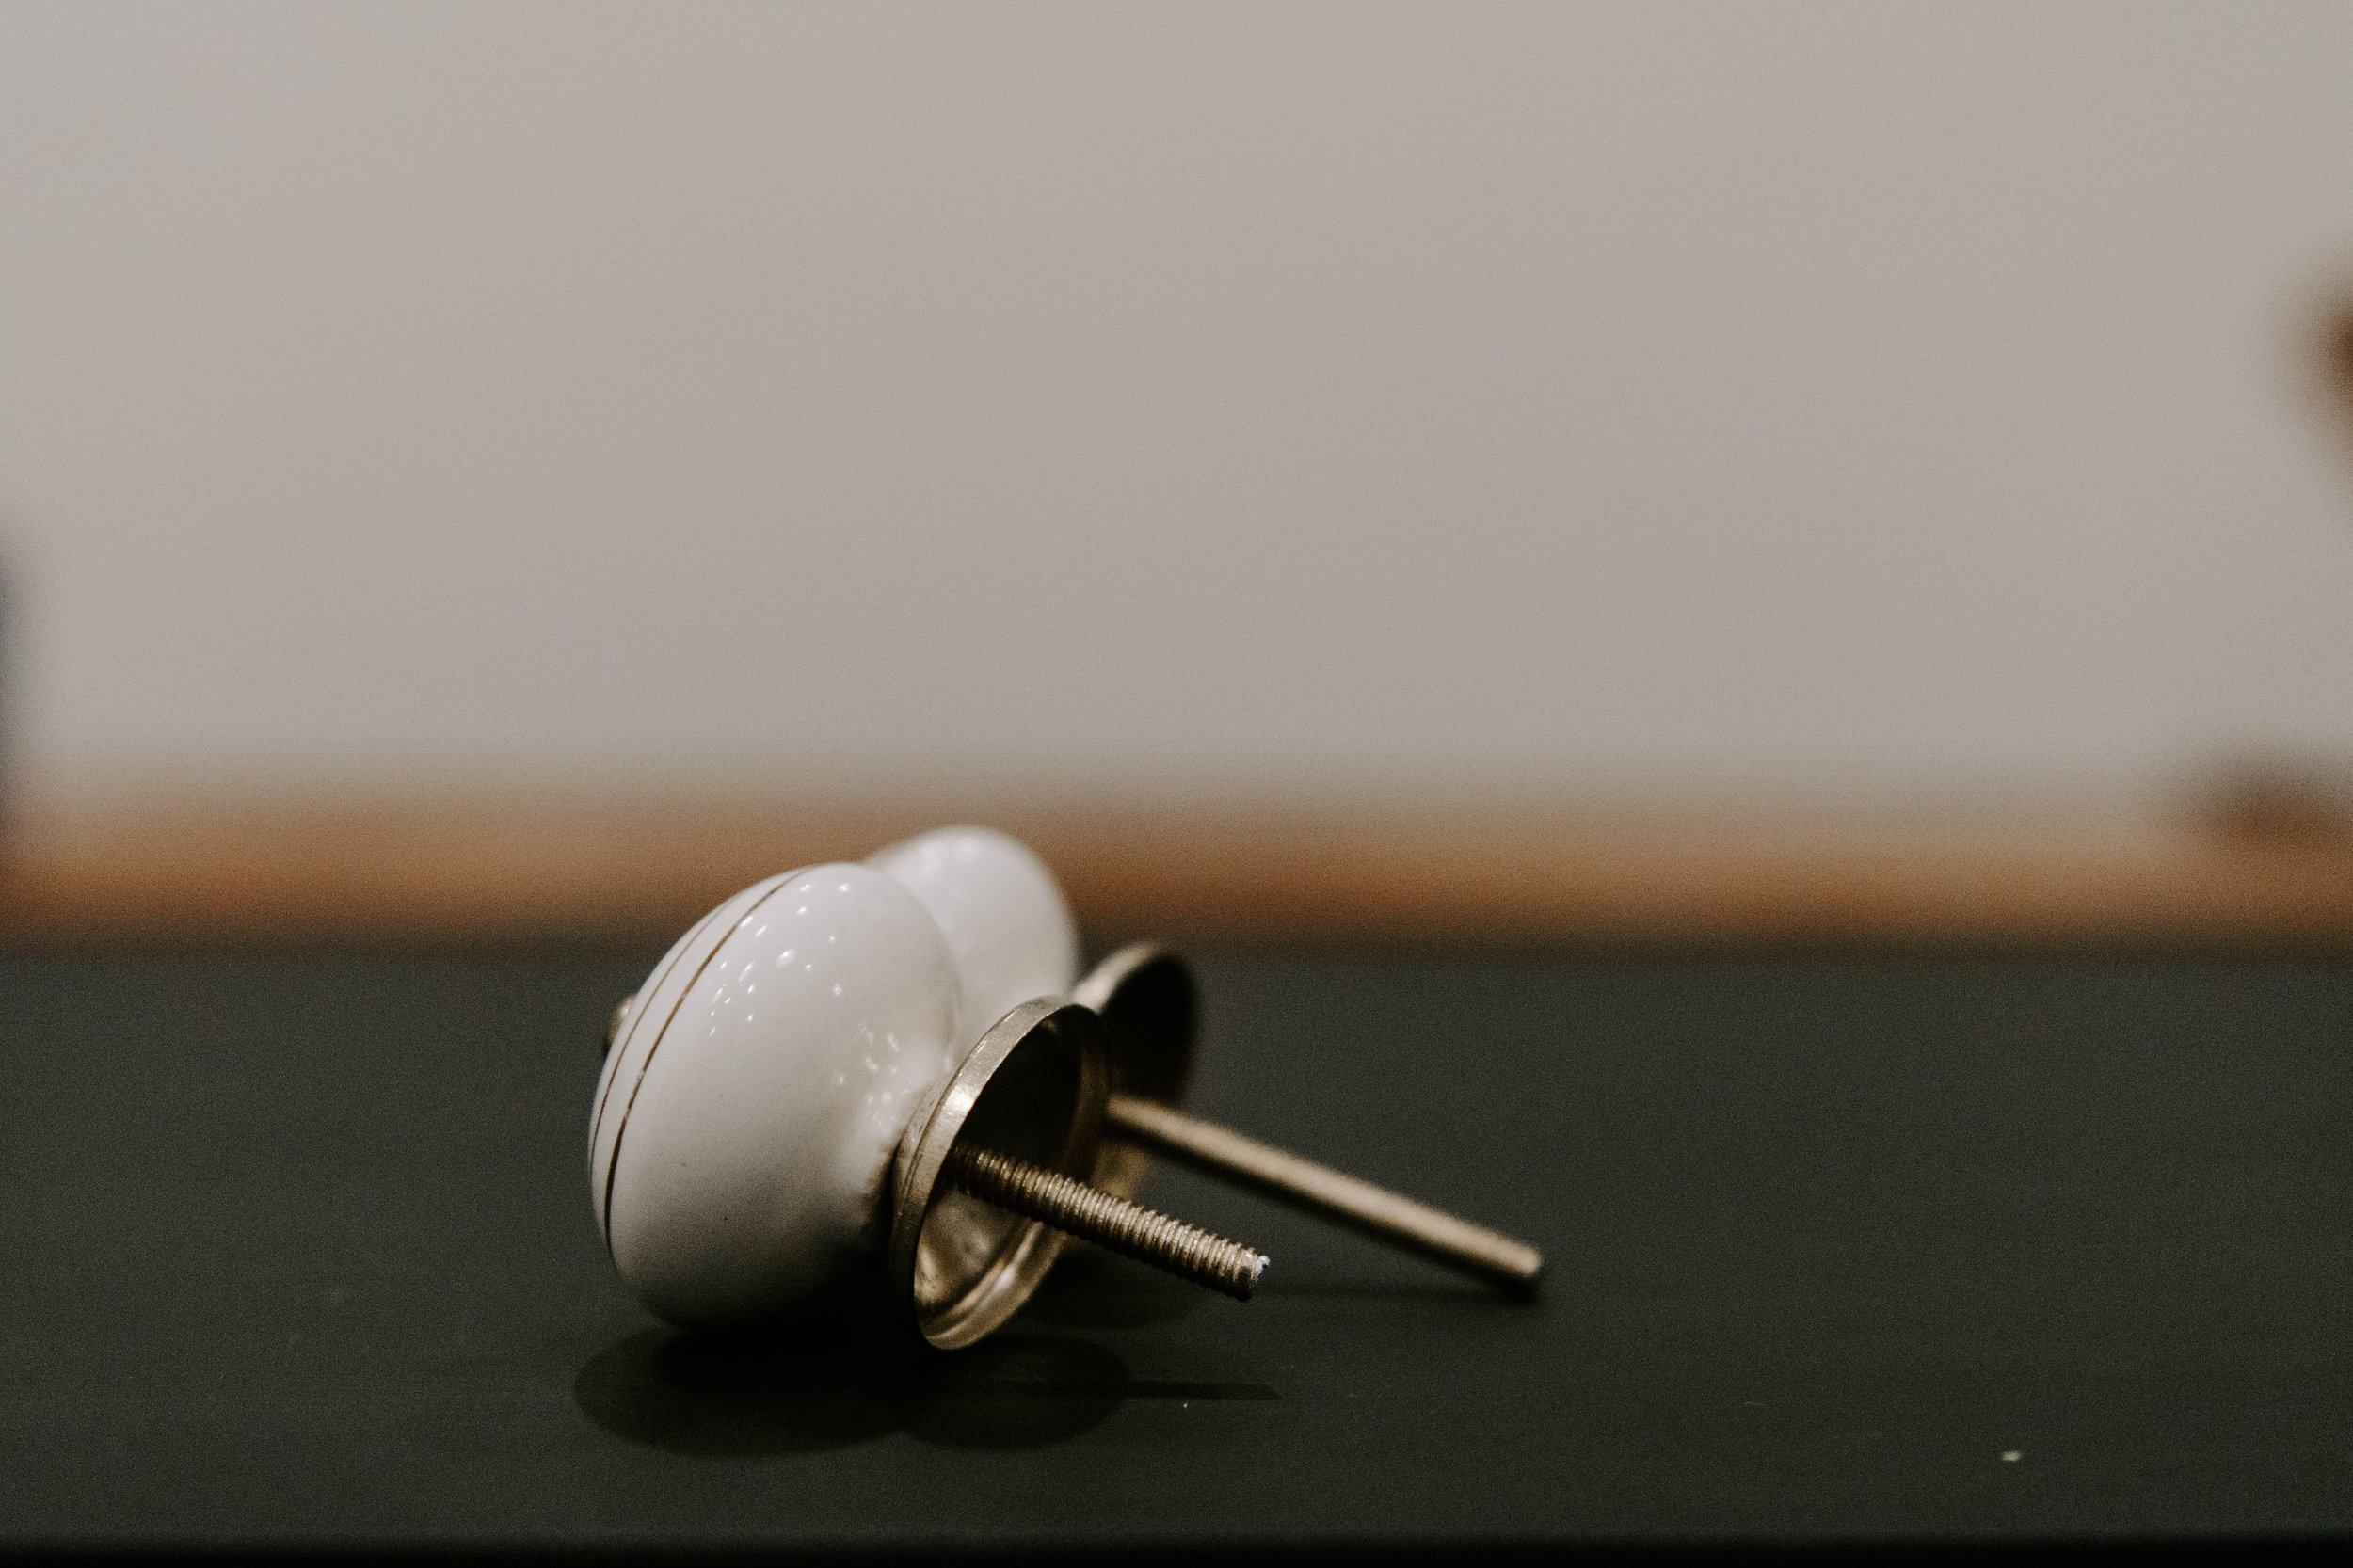
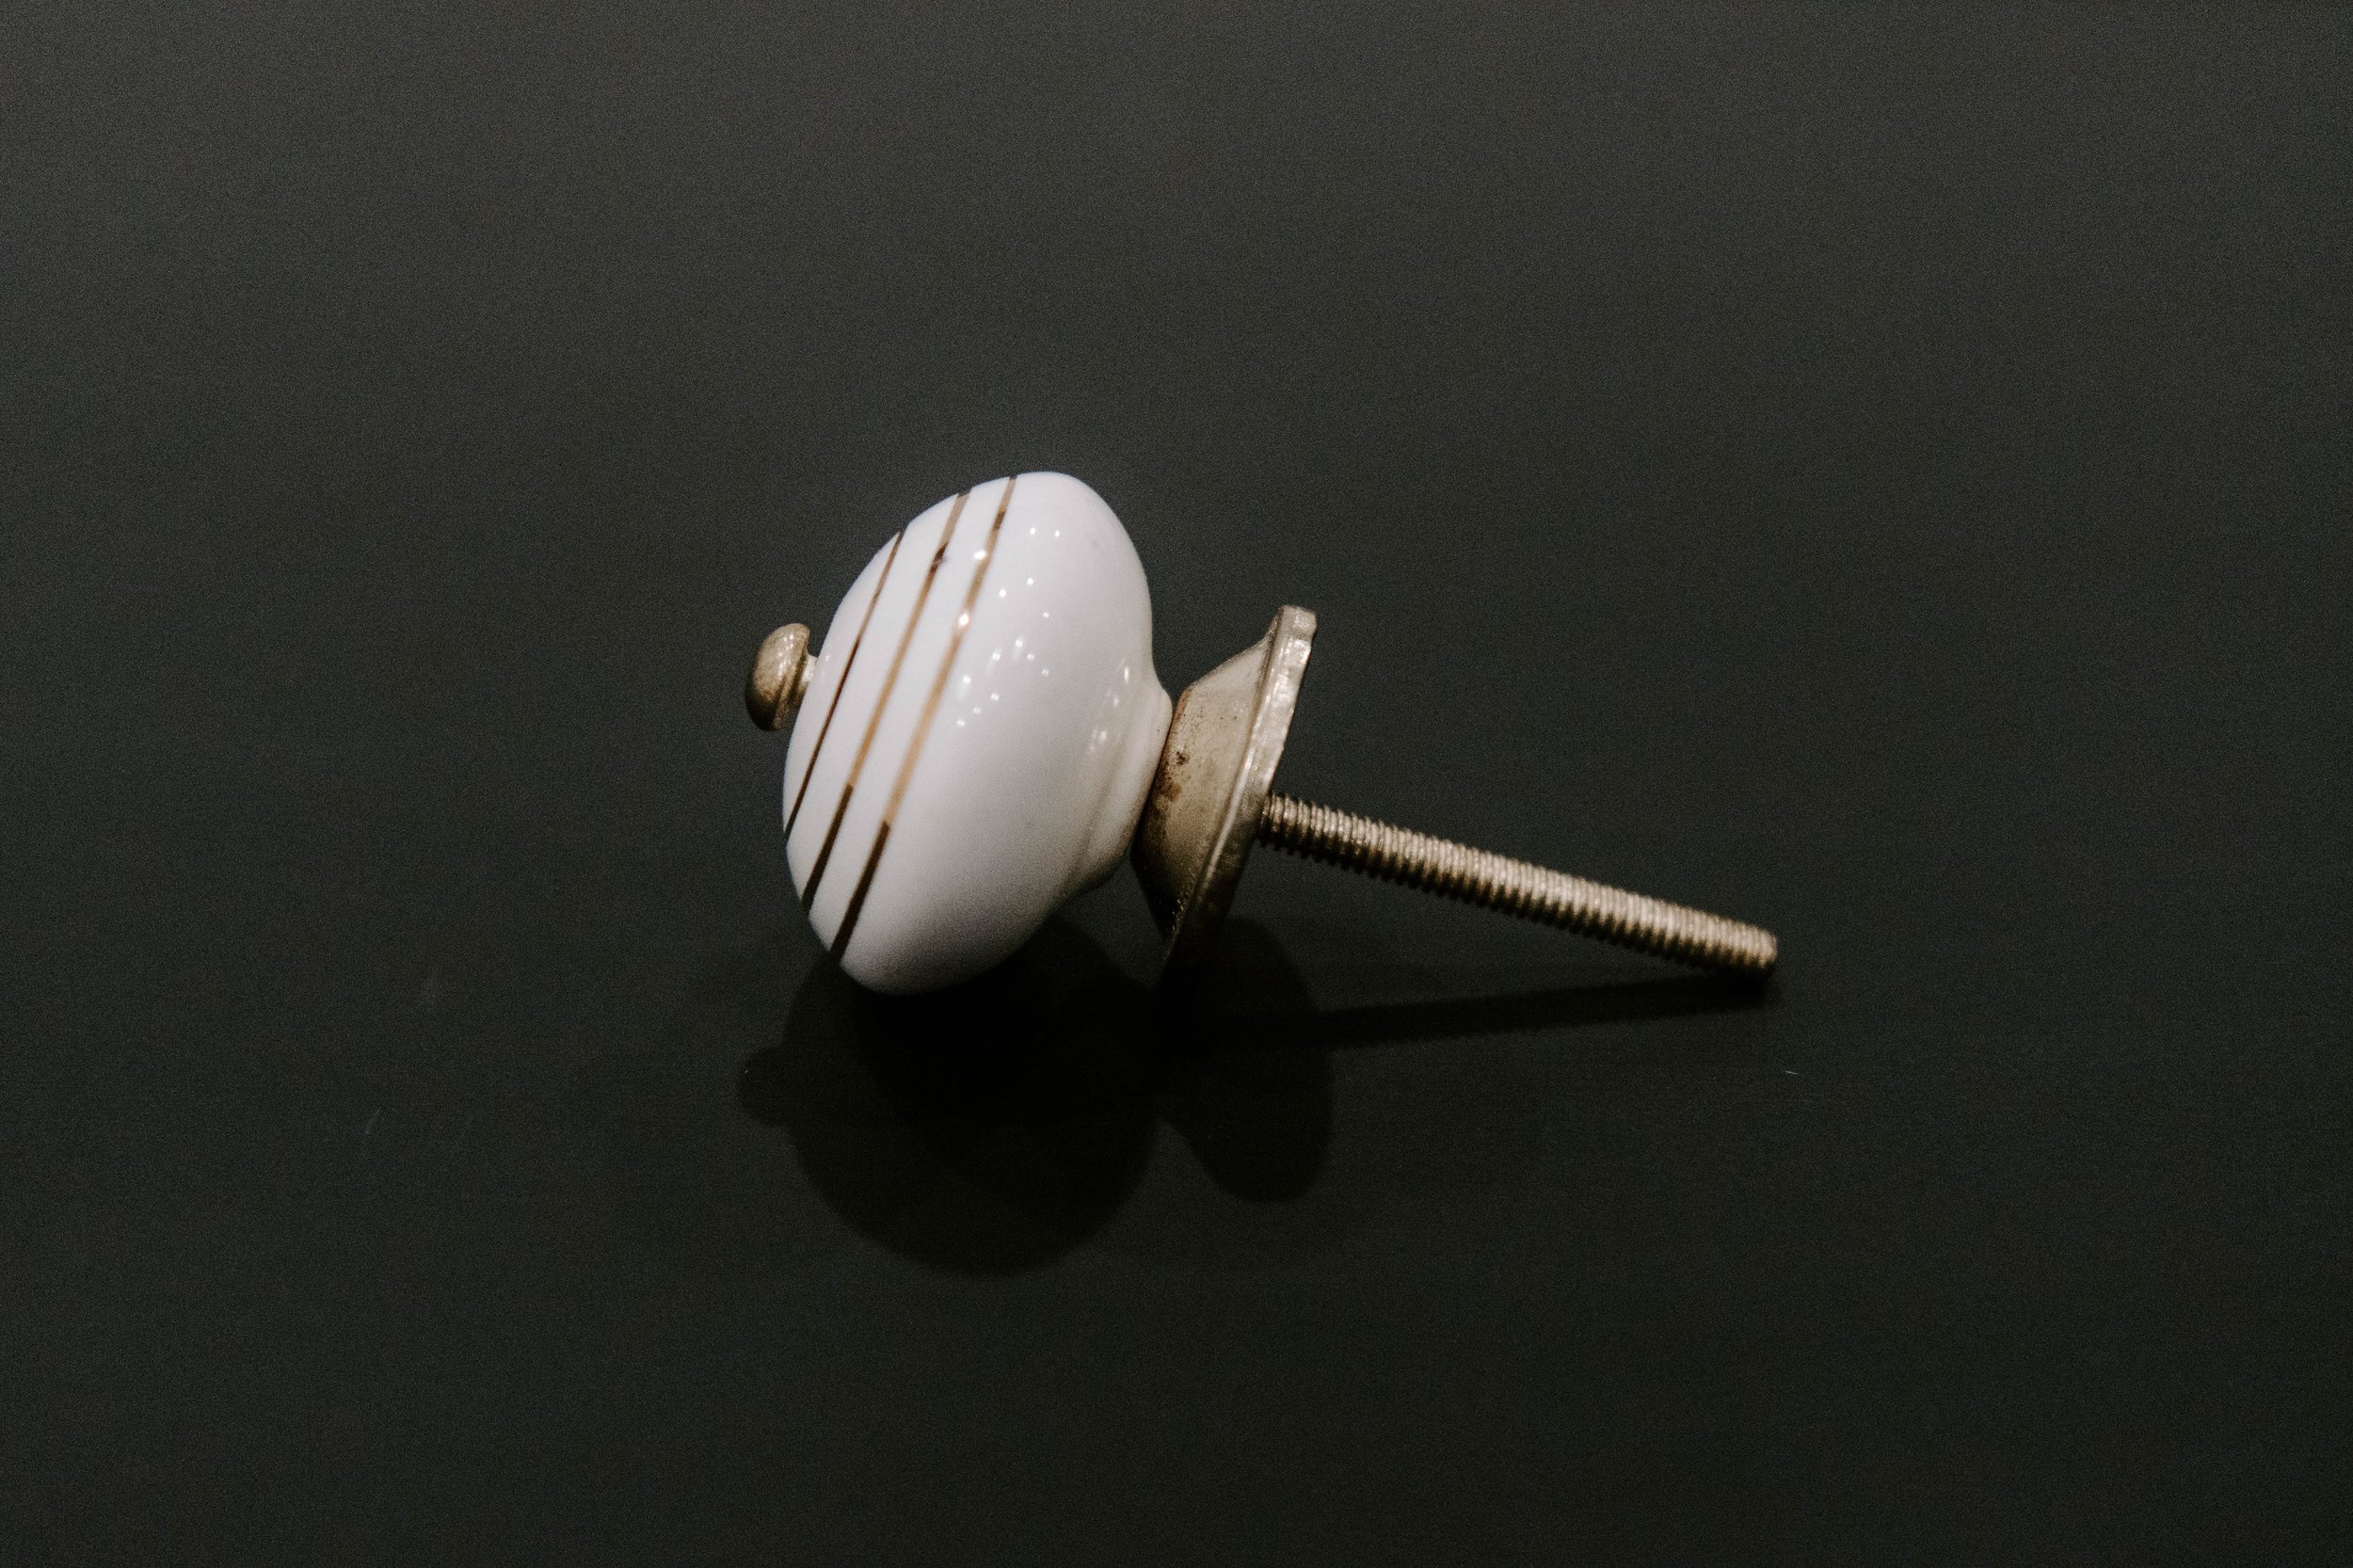
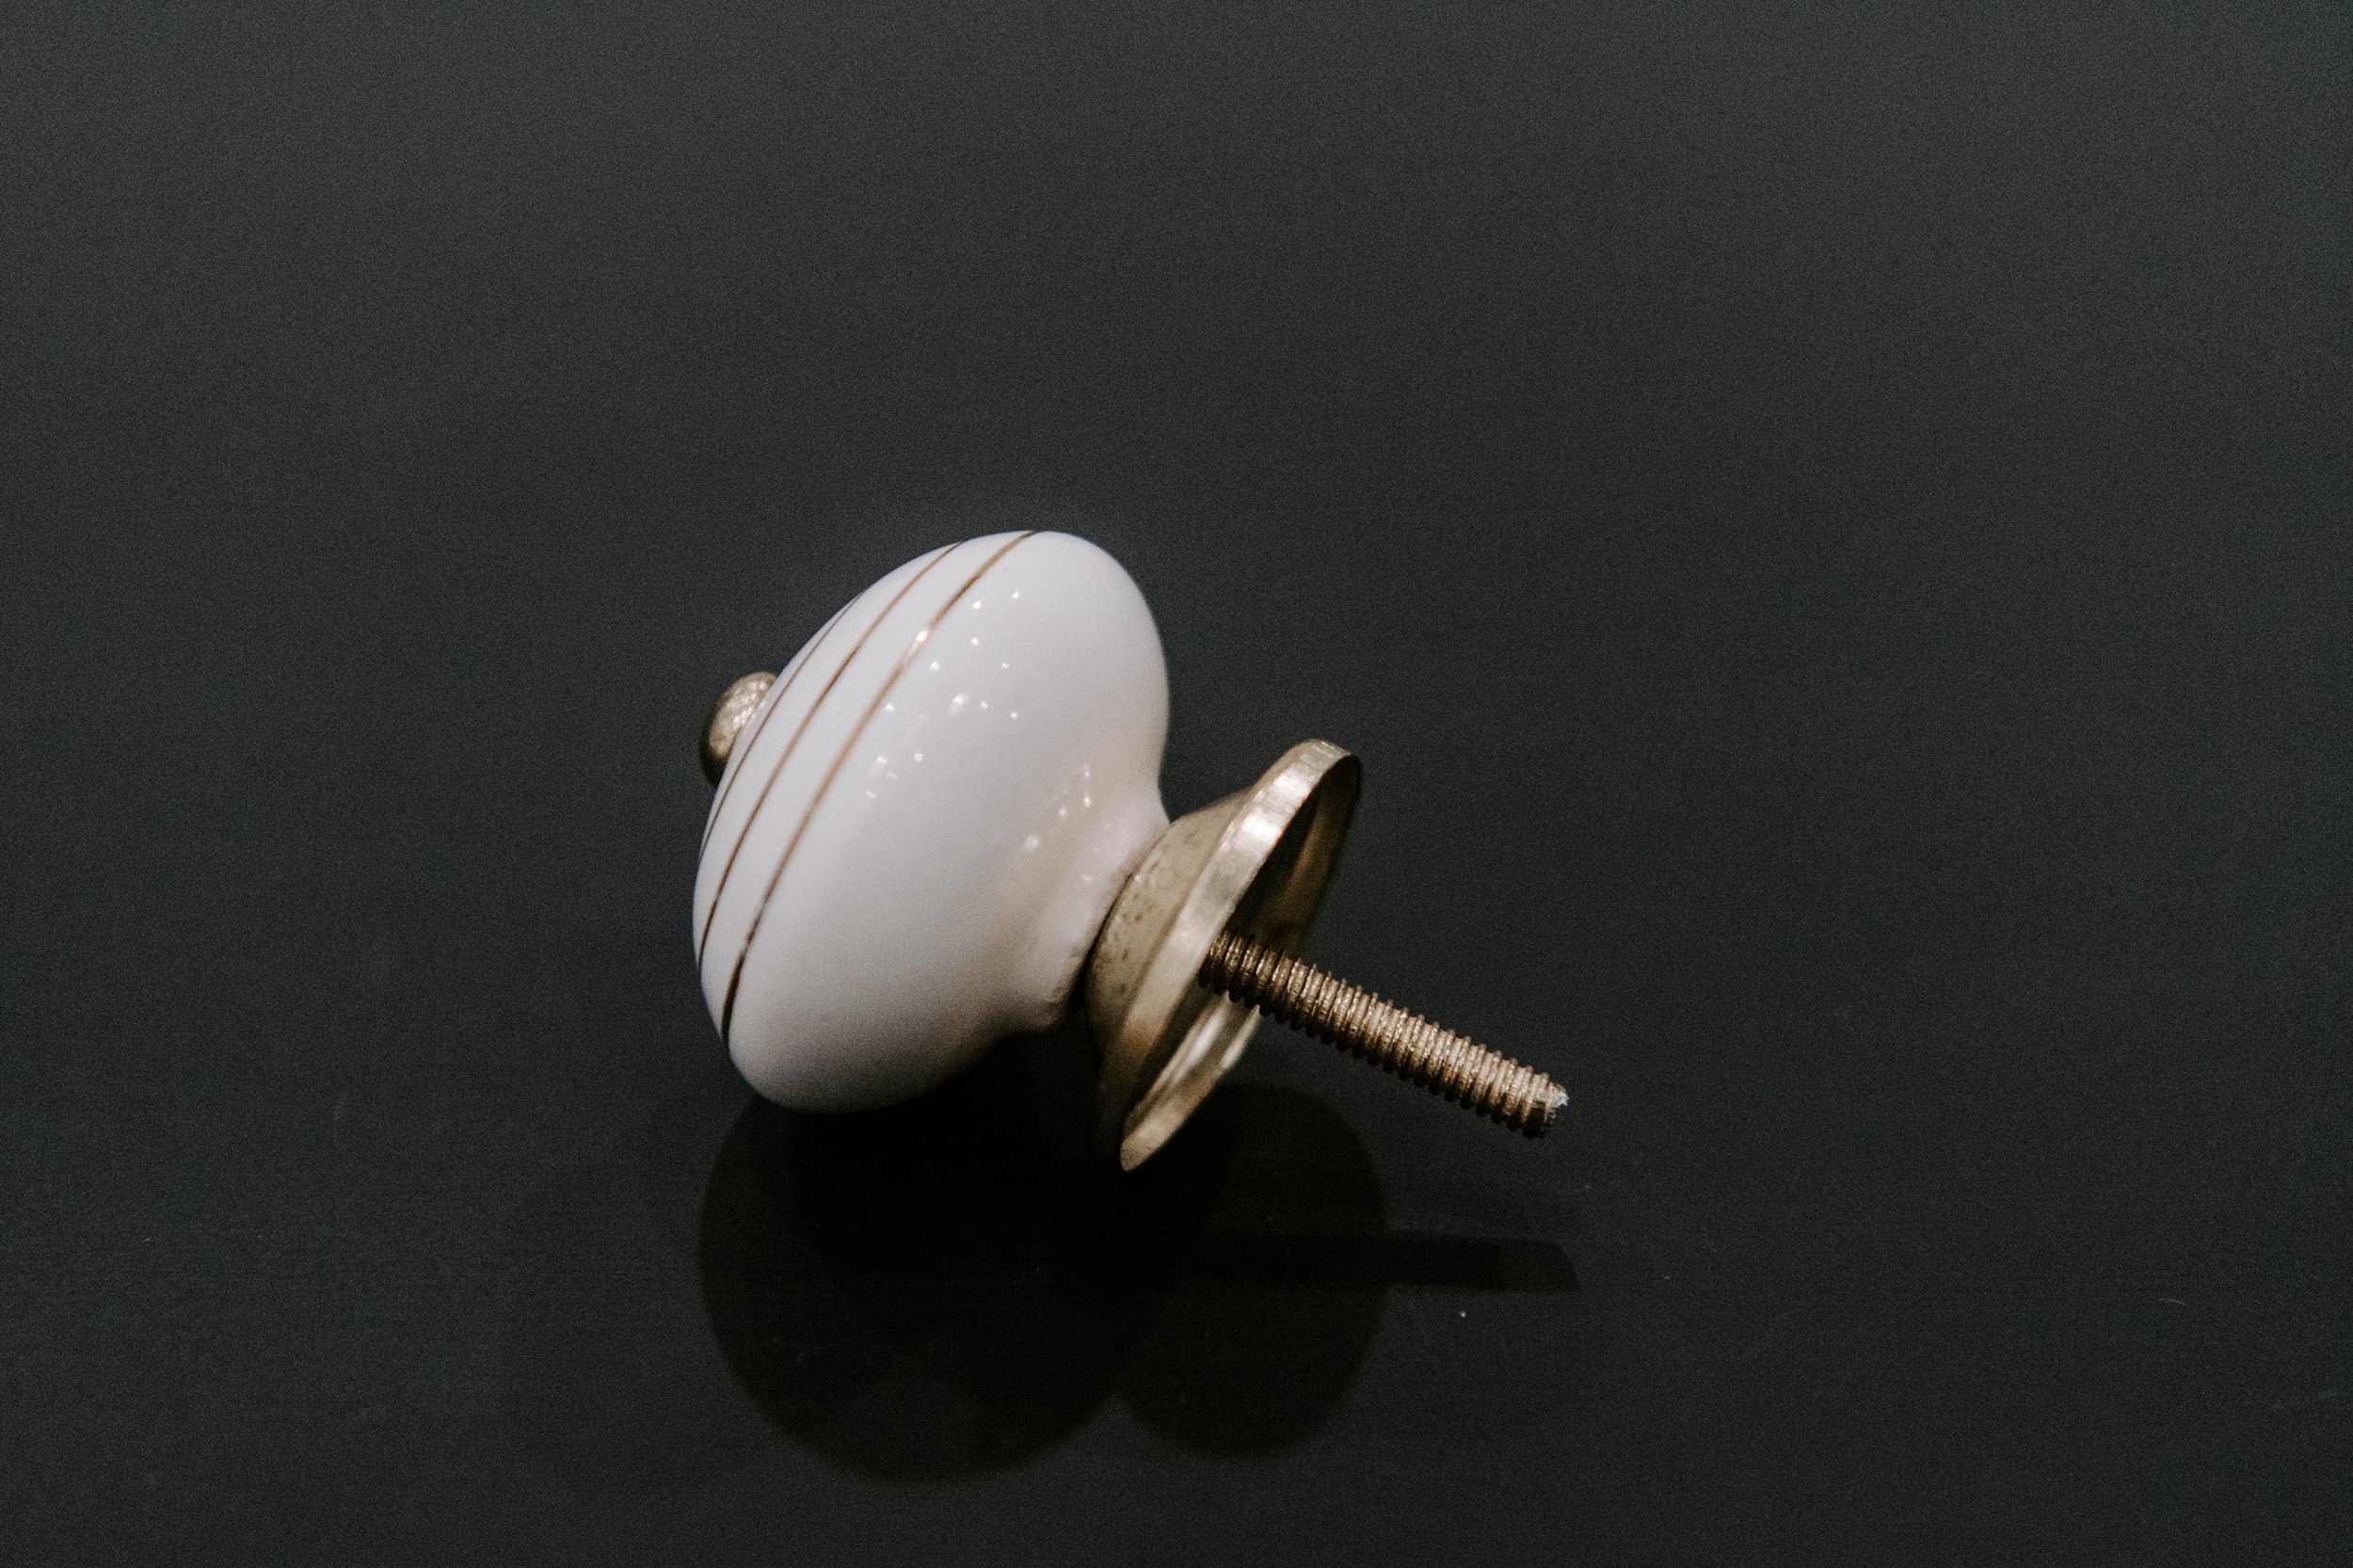
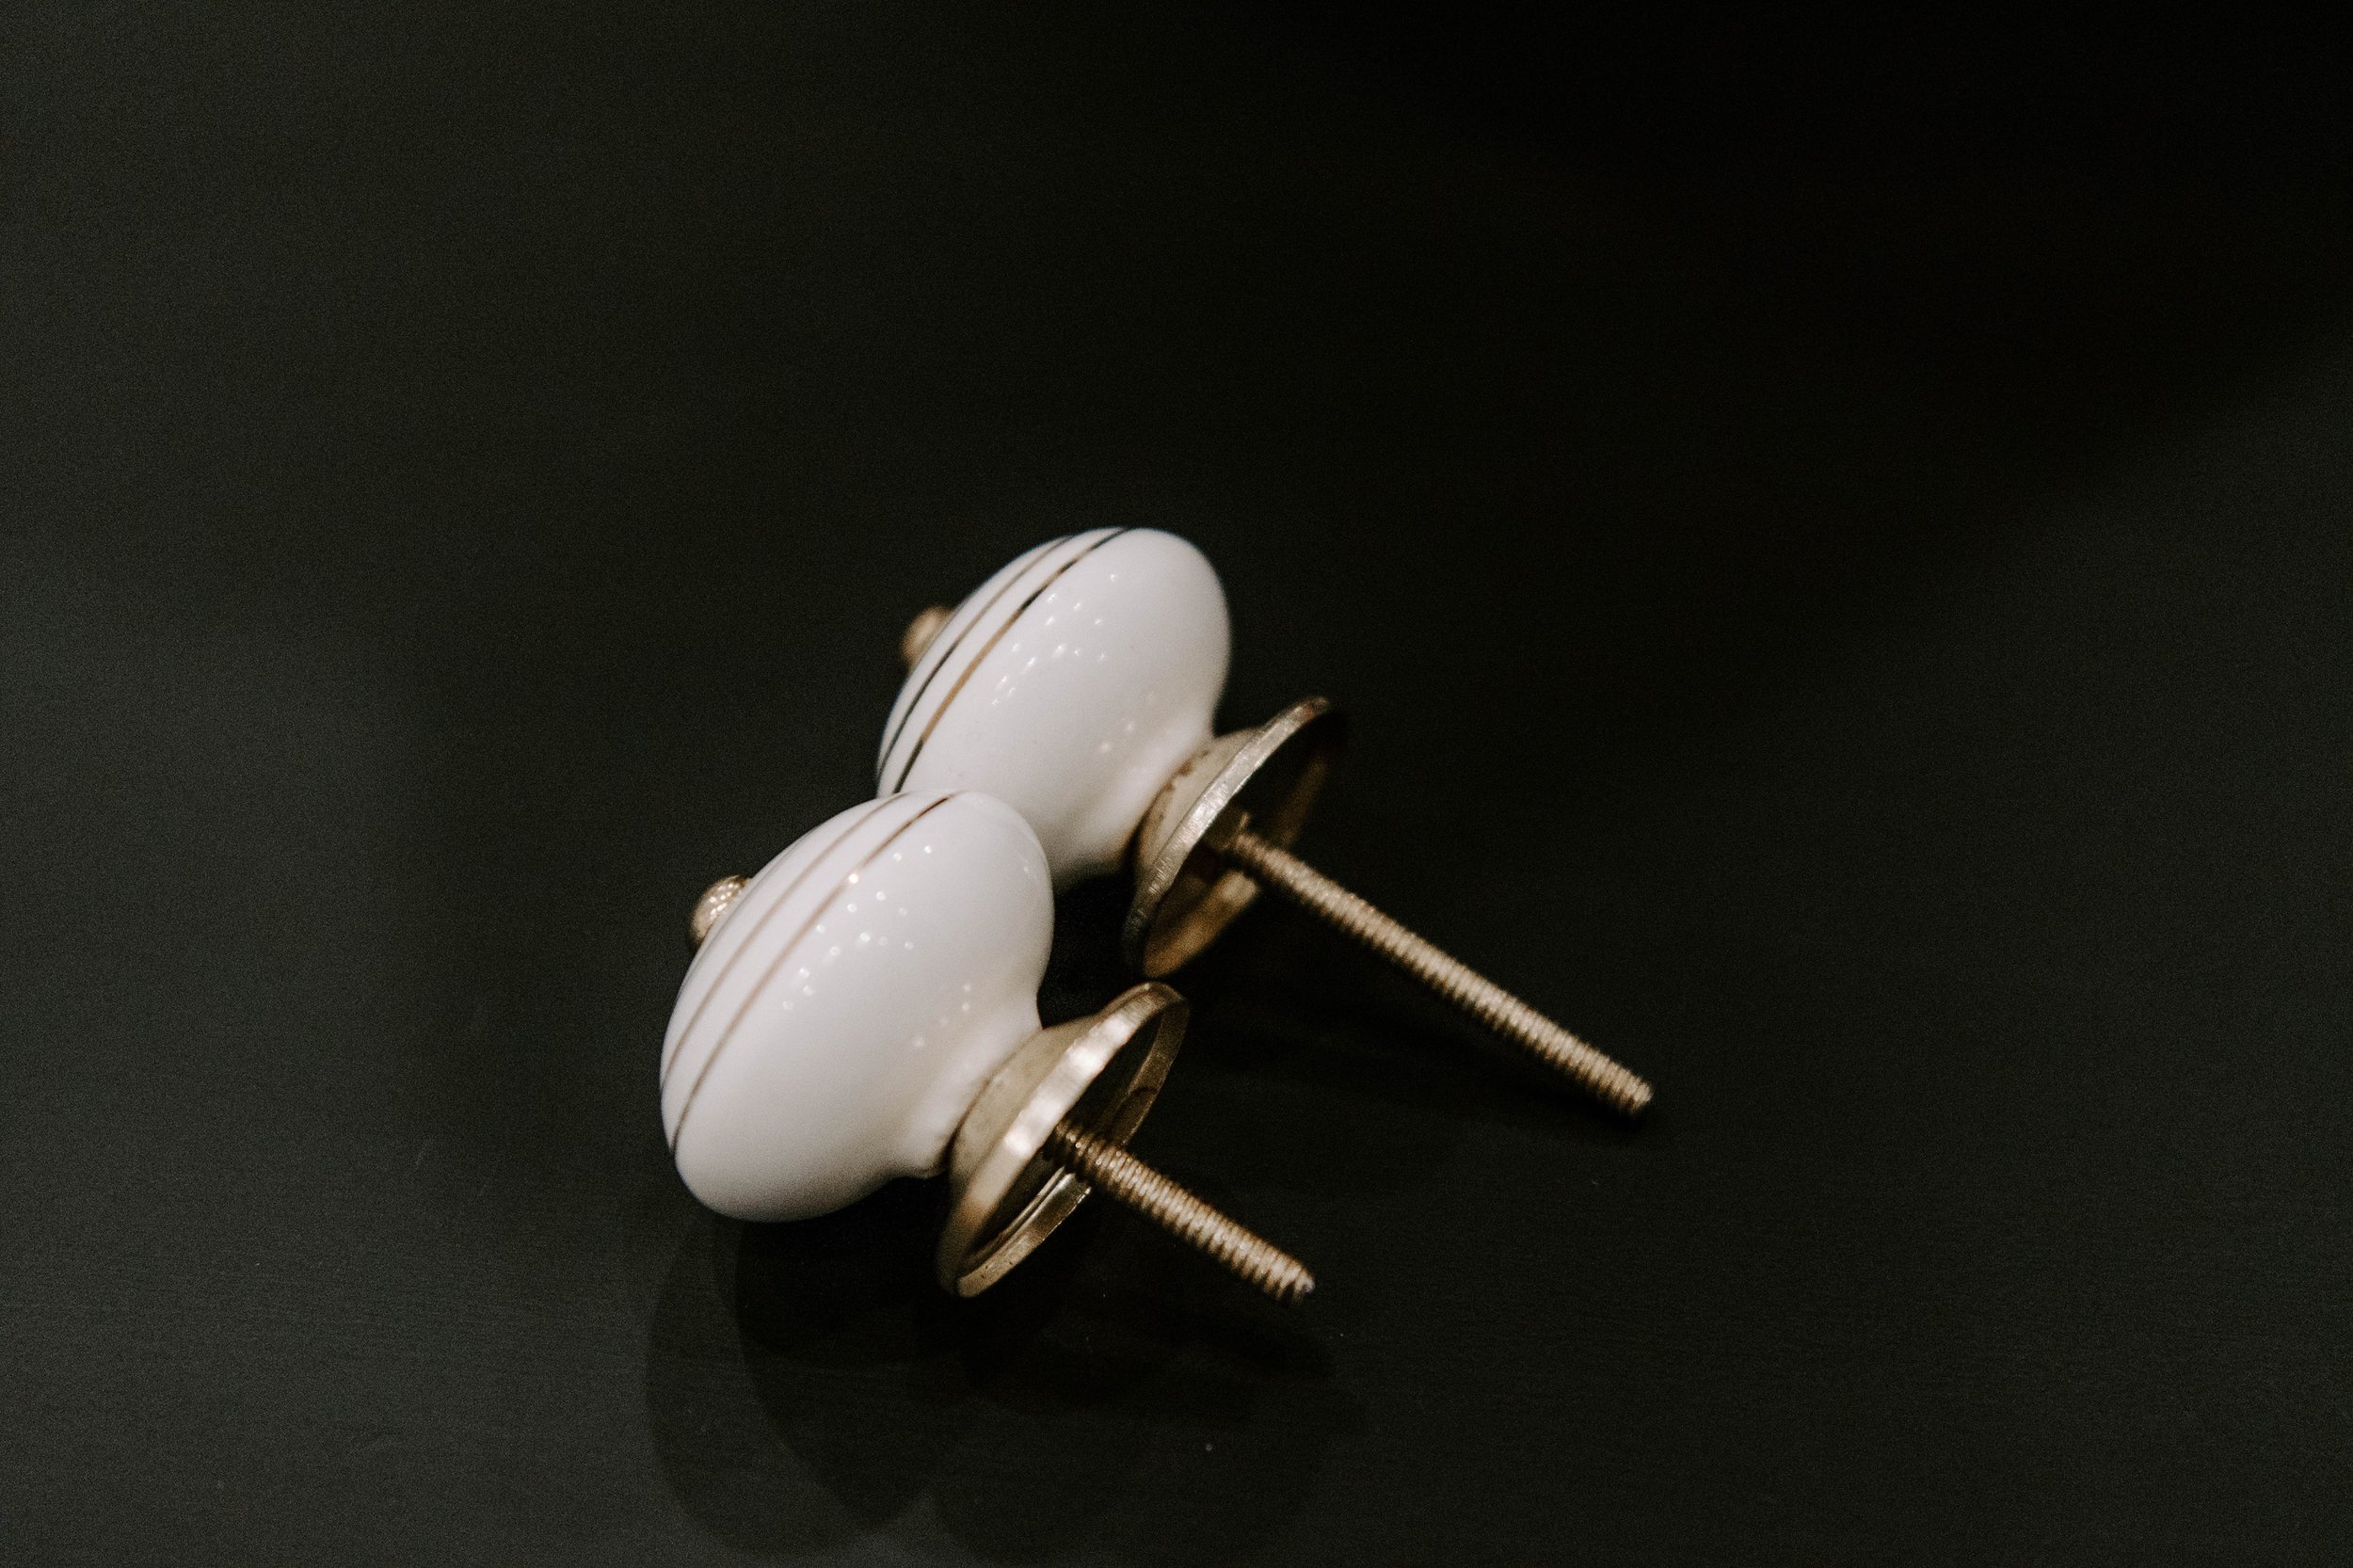
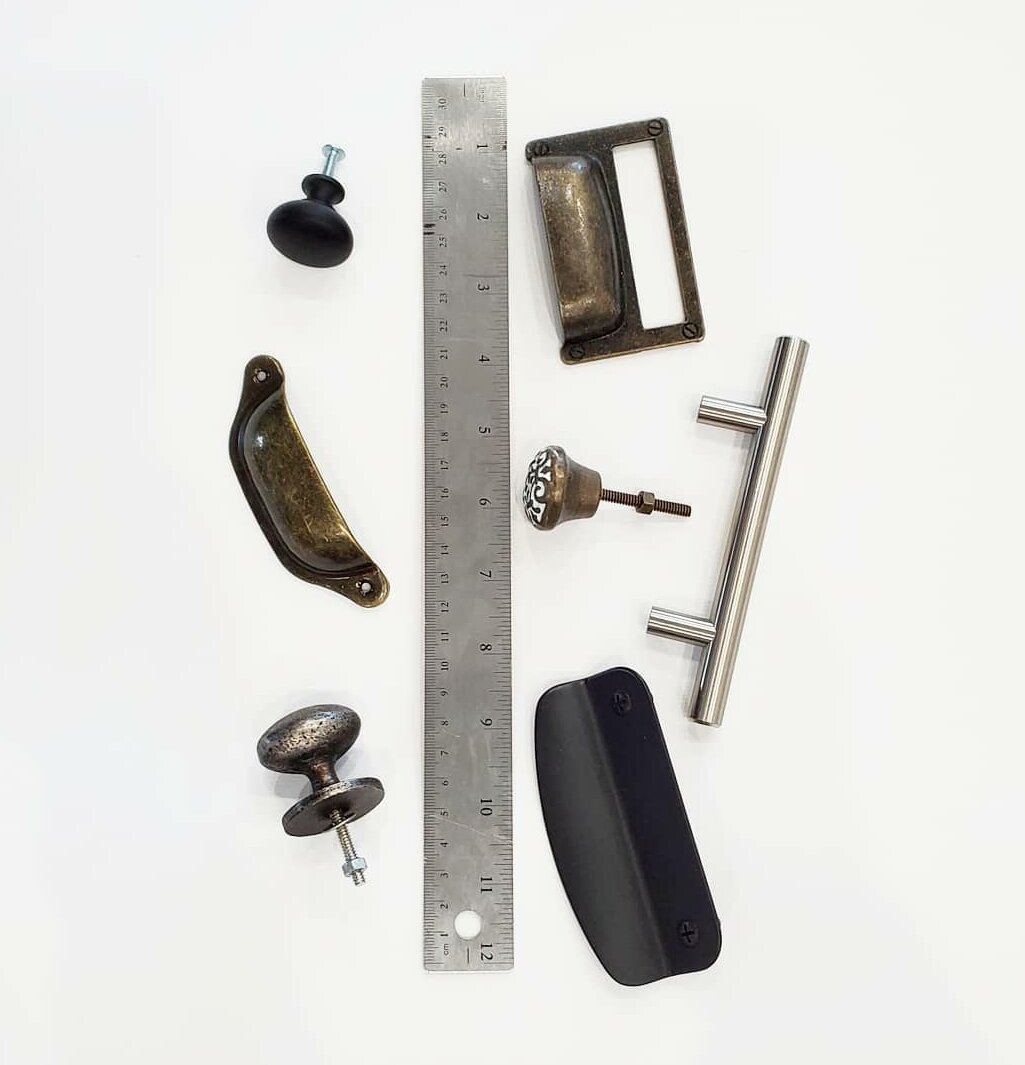
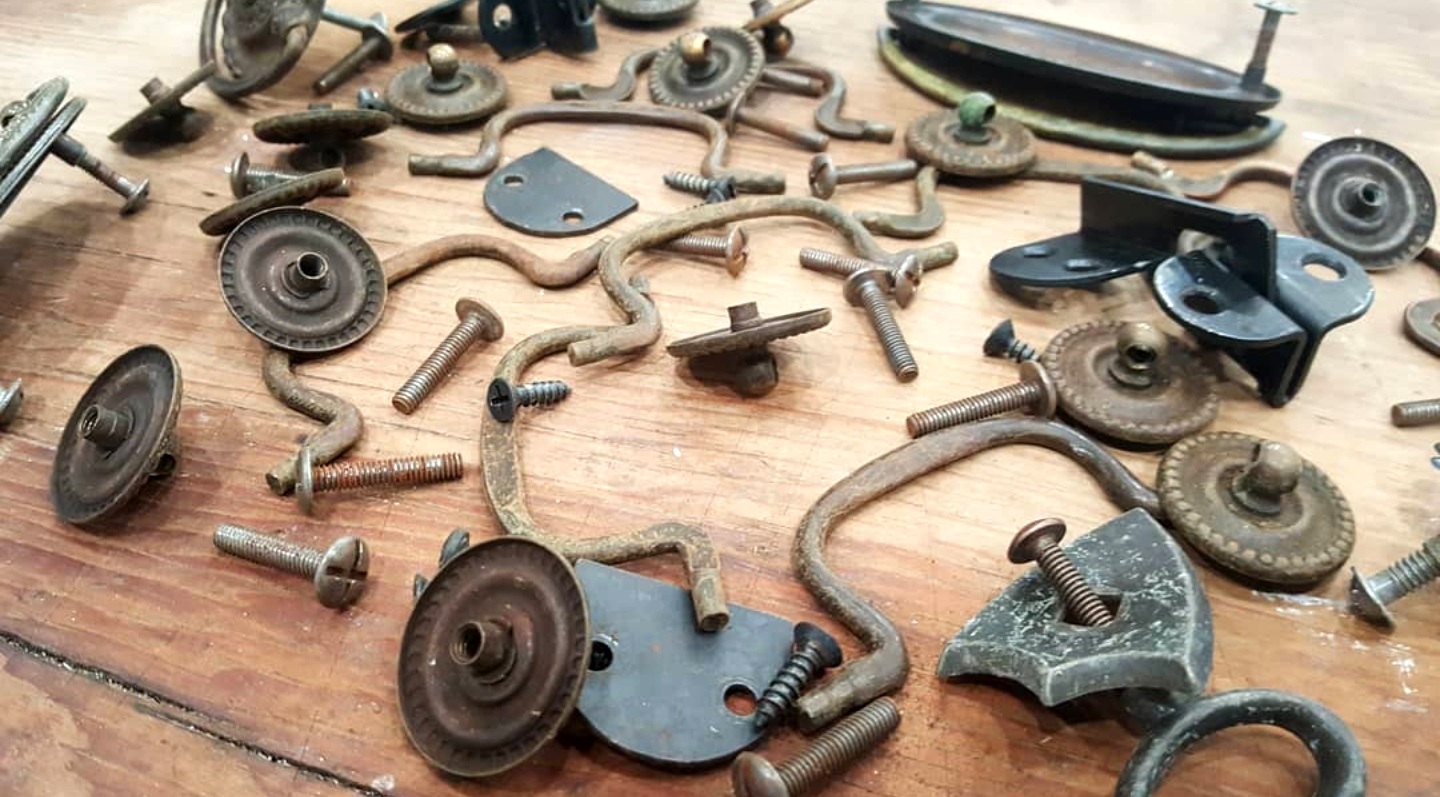
Handles/Knobs
The Zibra Square brush is the perfect size when painting knobs. The brush isn’t too big and it’s not too small. It fits well in the “valley” of the knob while also covering the flat area’s.
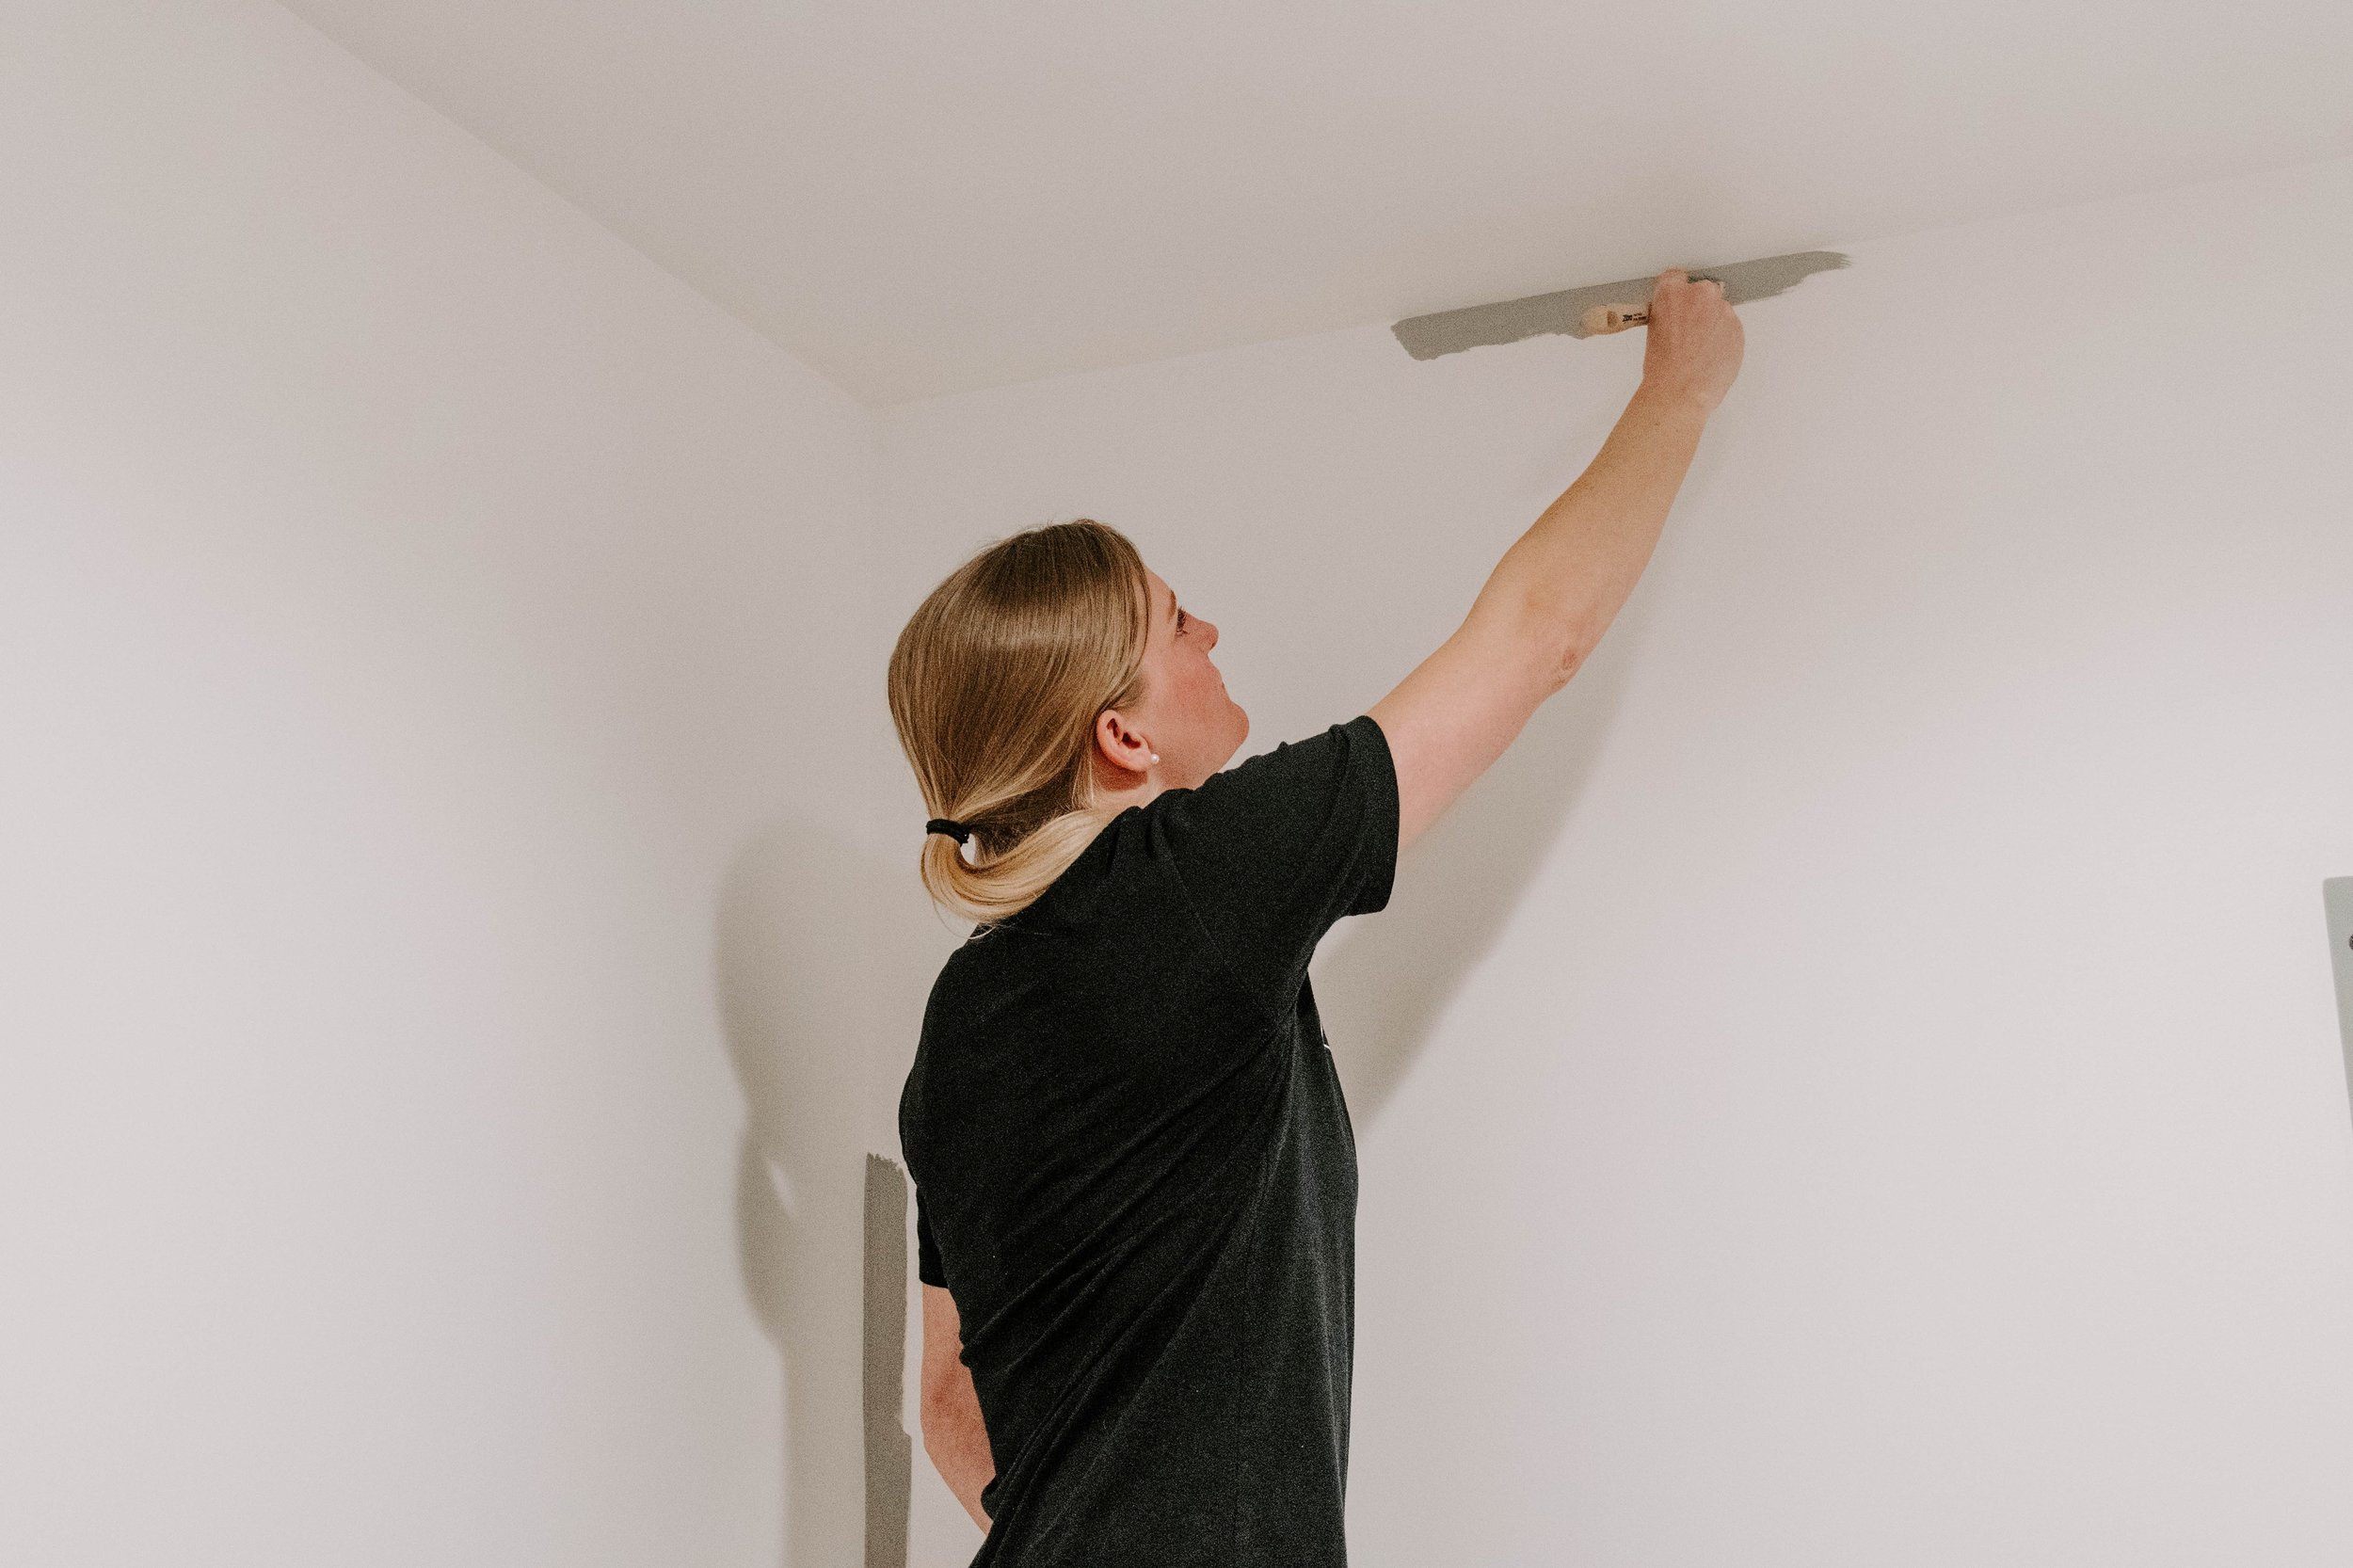
I highly recommend you keep the Zibra Square brush on hand for small-flat surfaces to use within your home and also when you’re painting furniture! Having the right paint brush at the right time is critical in helping you achieve a beautiful, flawless, end result.
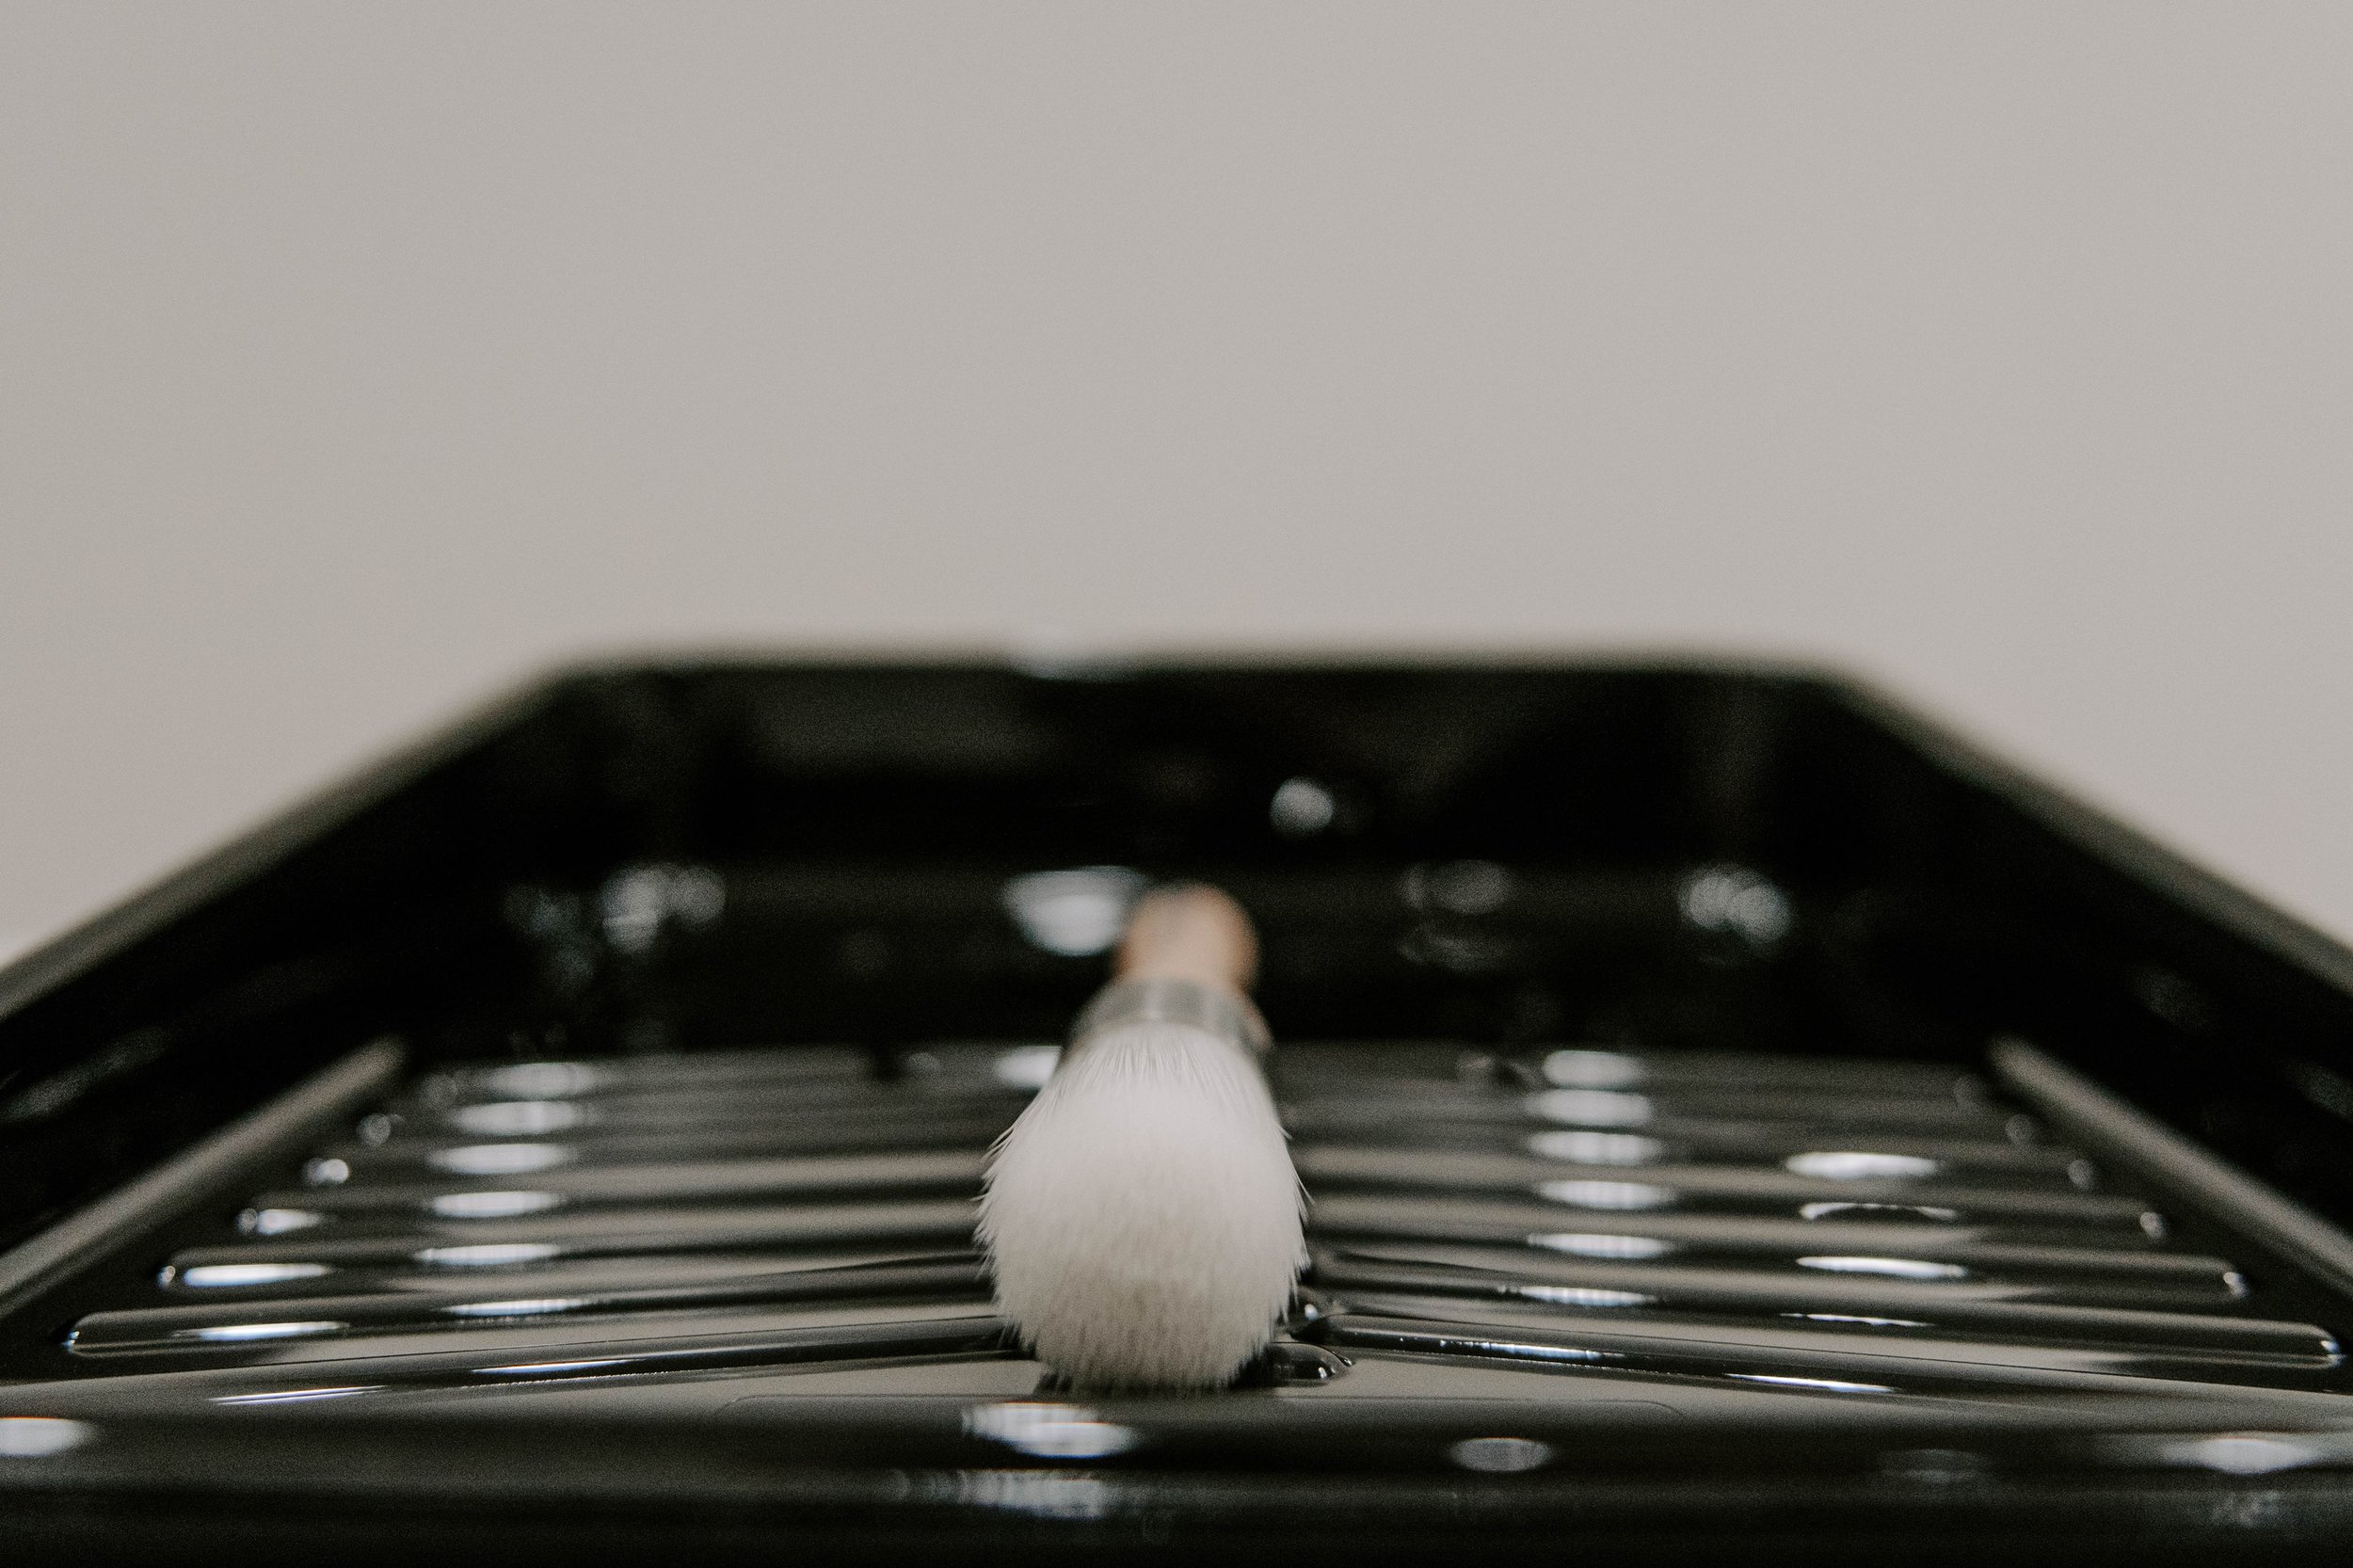
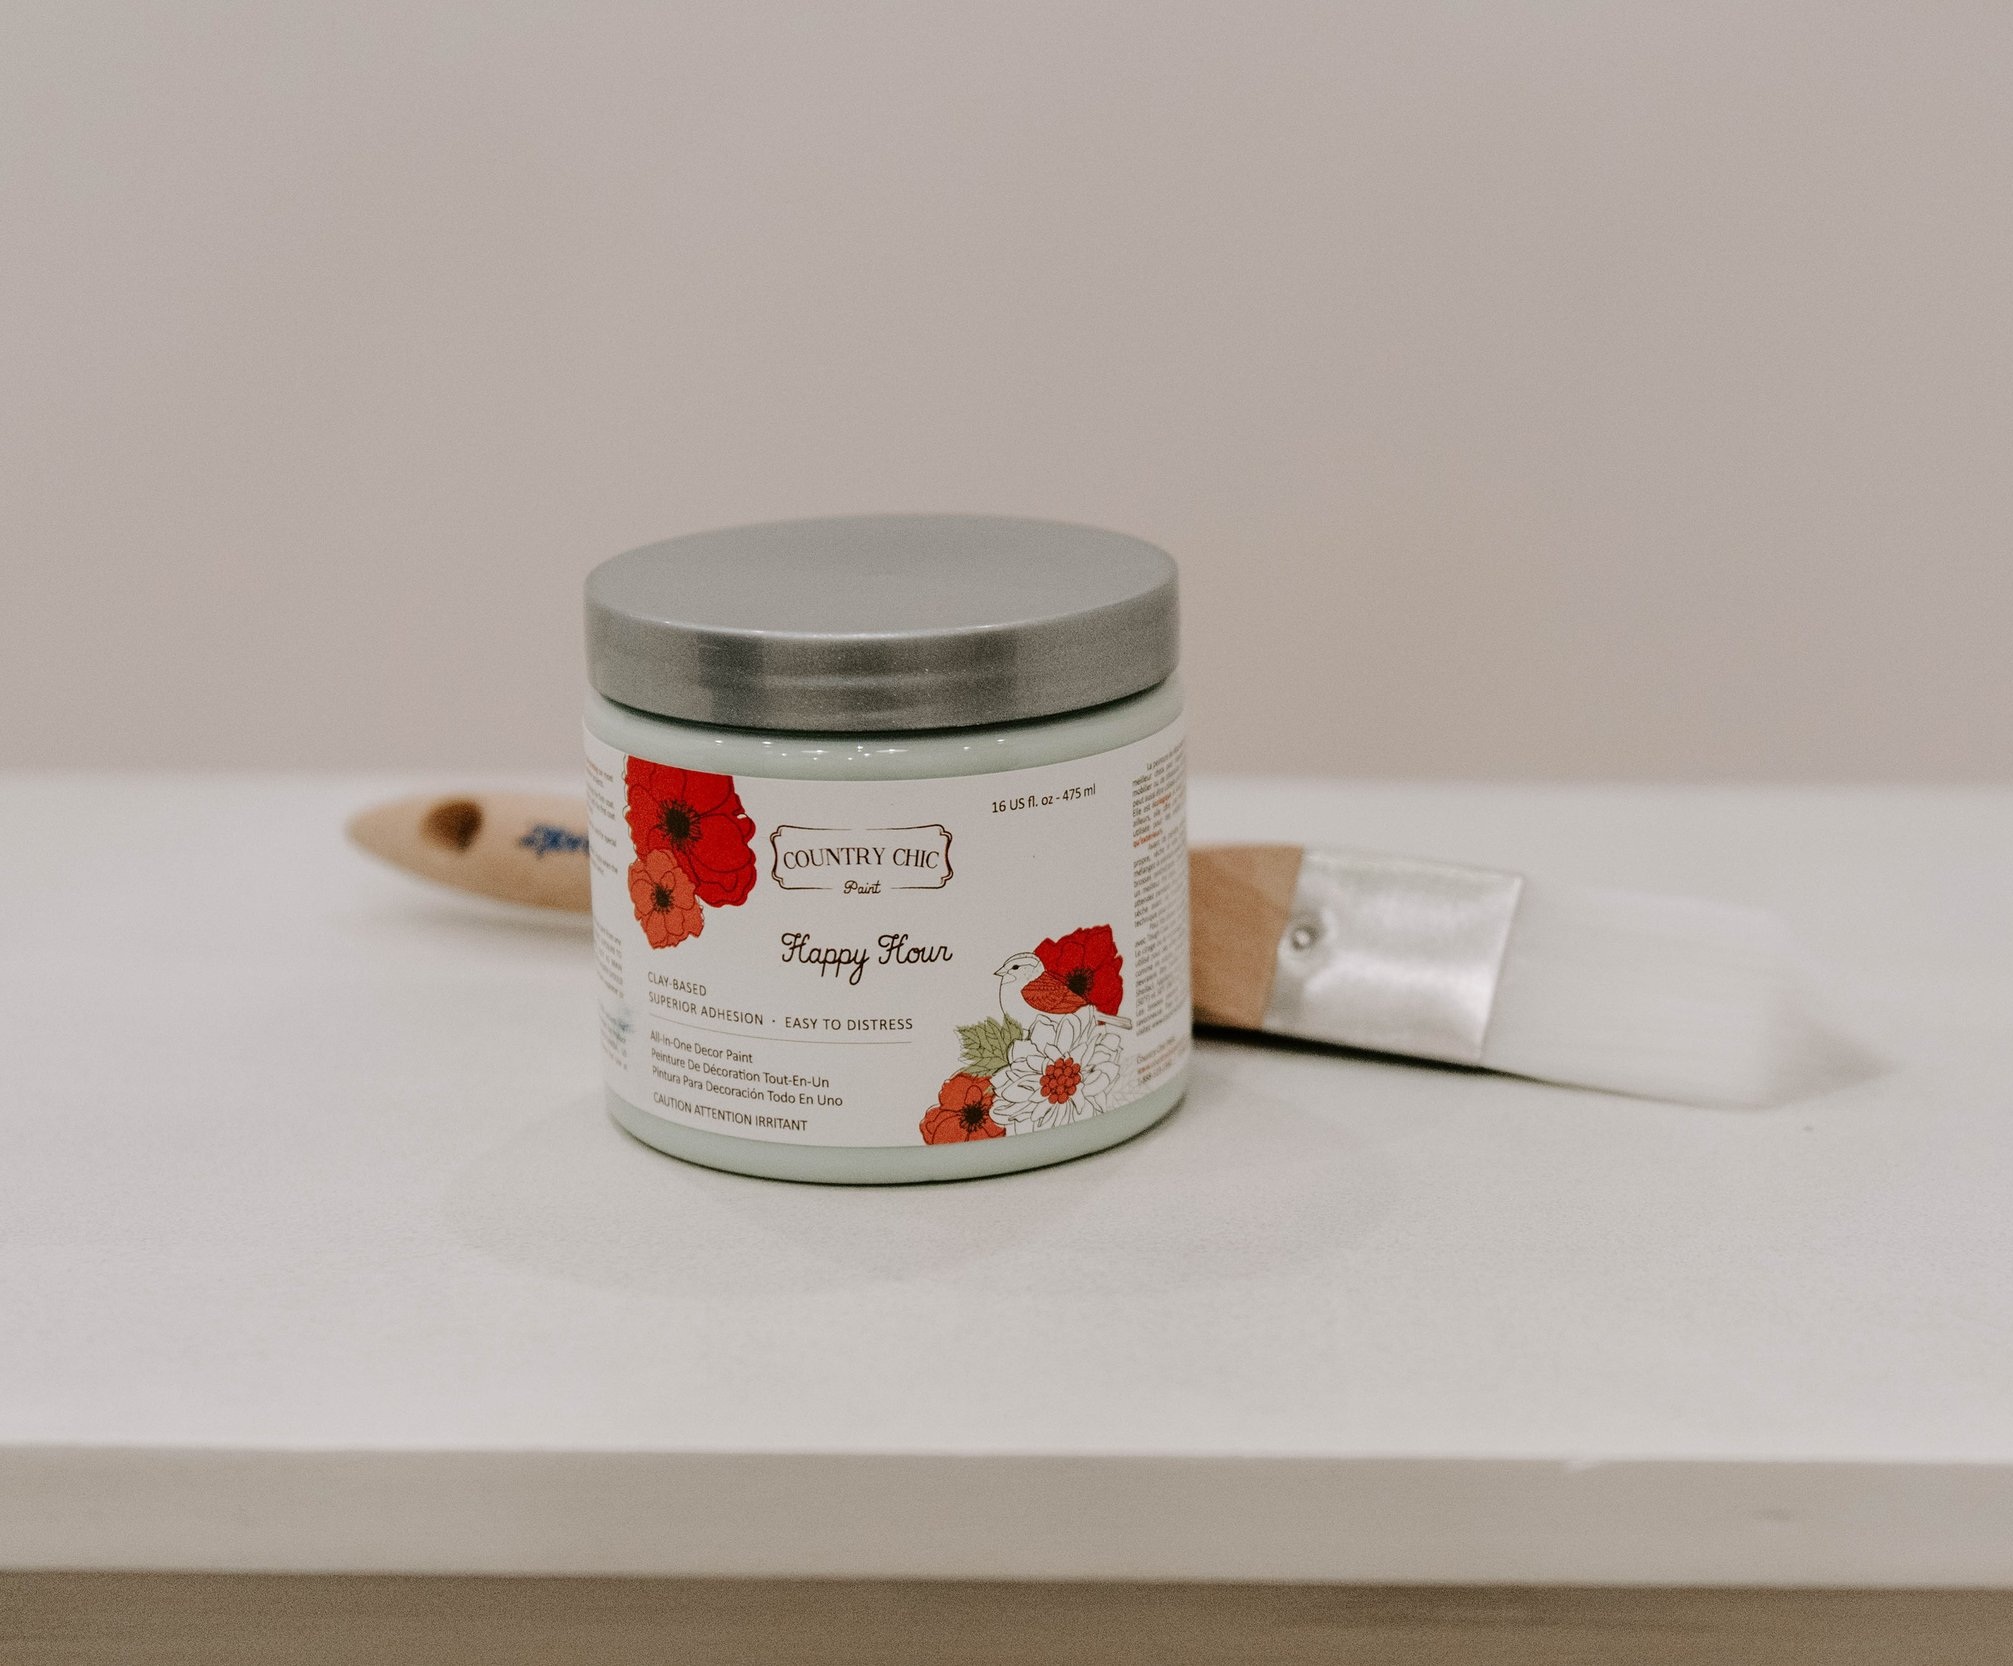
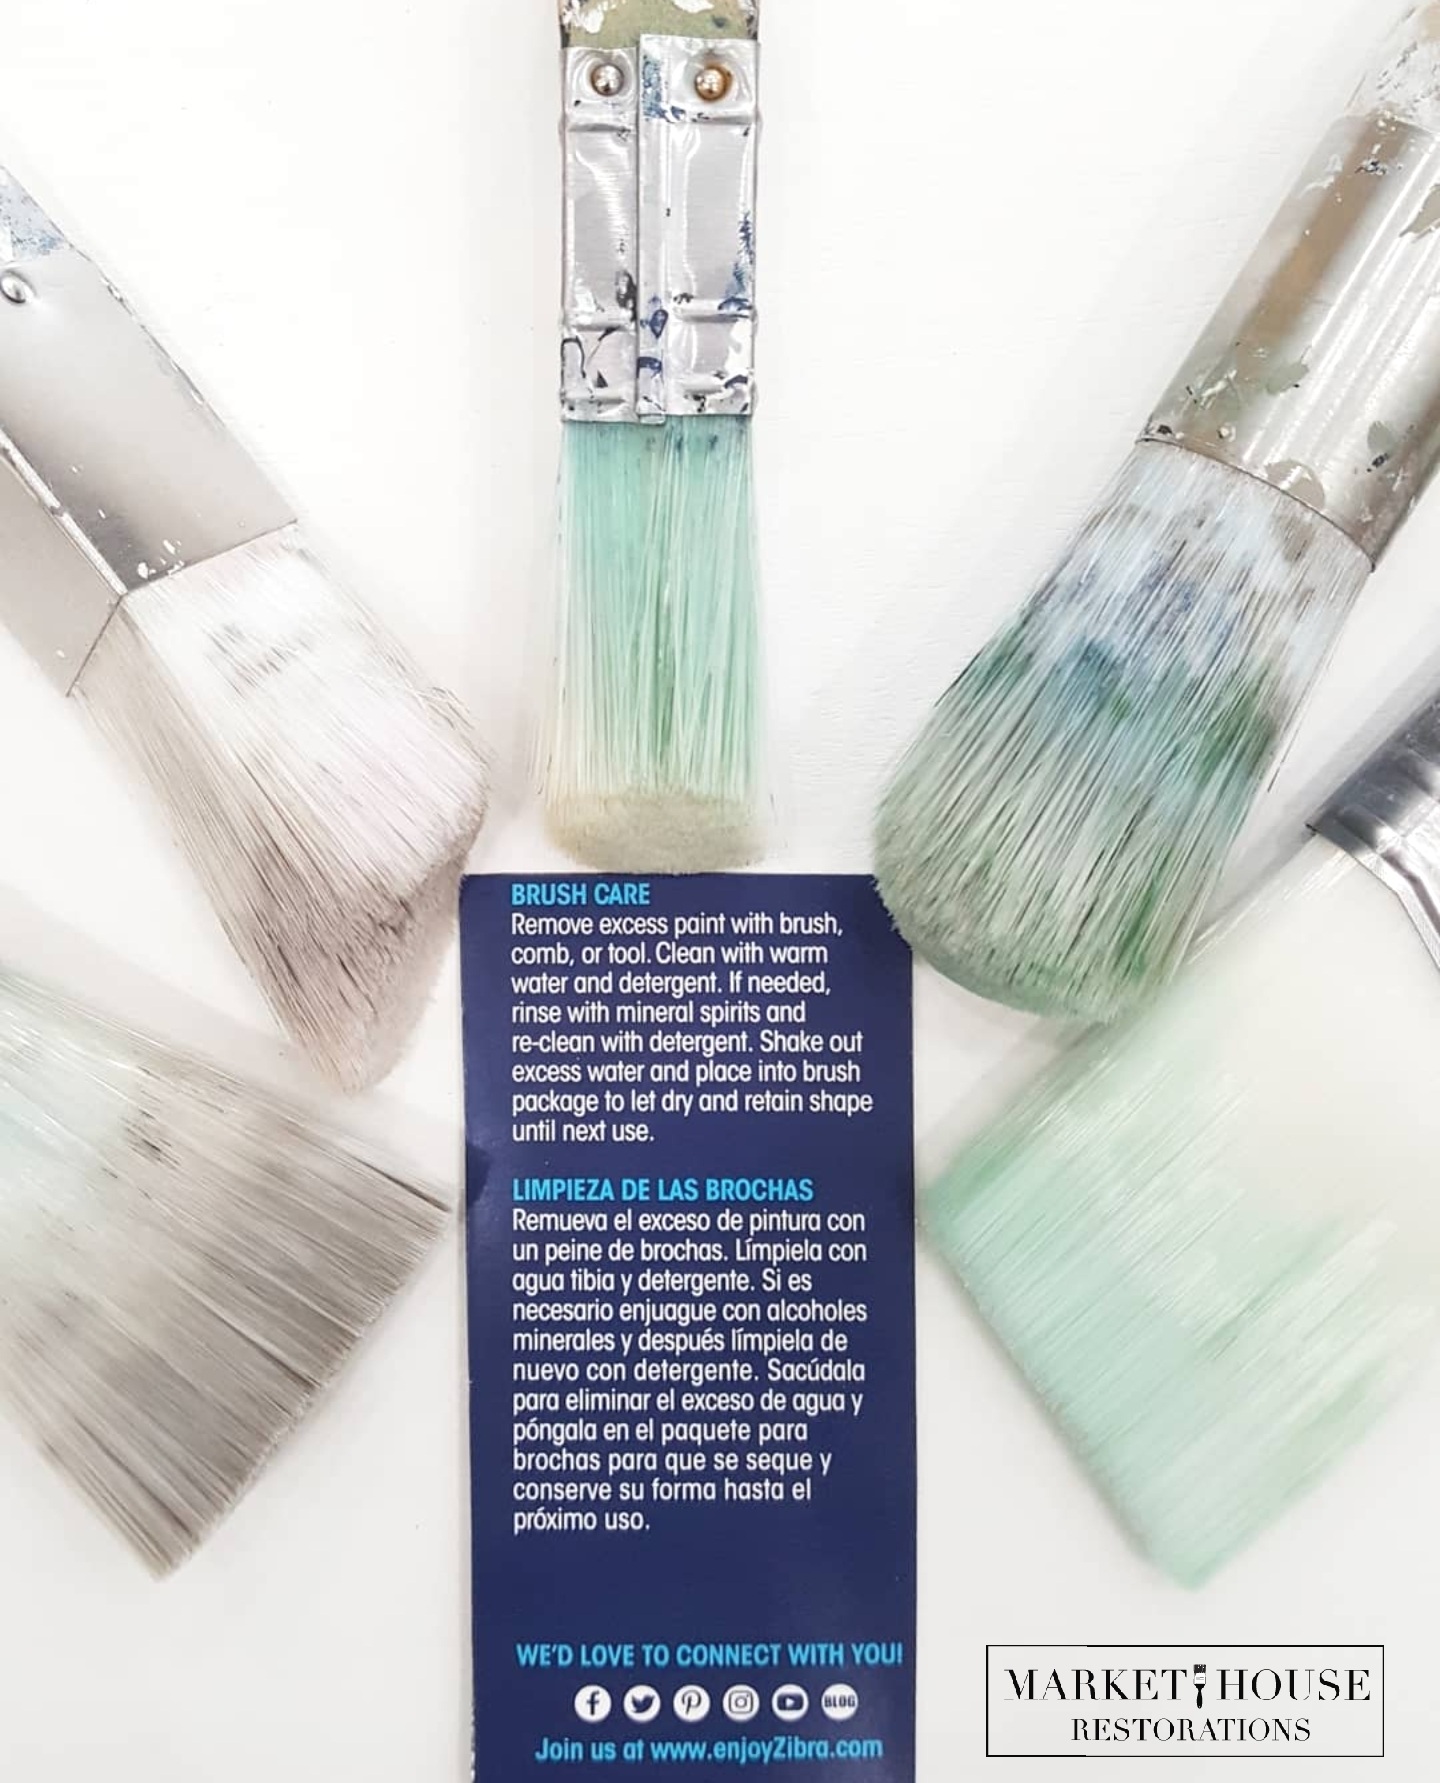
Each Zibra Brush is made with a smooth bristle technology unlike a conventional bristle brush. It can be used with all types of paint mediums and stains and you only need soap and water to clean it up (as long as you used a water based paint). The Zibra Square Brush is also pocket friendly. For example. this brush typically costs around $8. If you paint for a living then you know and understand that every penny counts. You can purchase this brush at Lowes or Home Depot. If you don’t have one of these stores close by, you can always purchase it through my affiliate link on Zibra’s website and have it sent to your doorstep!
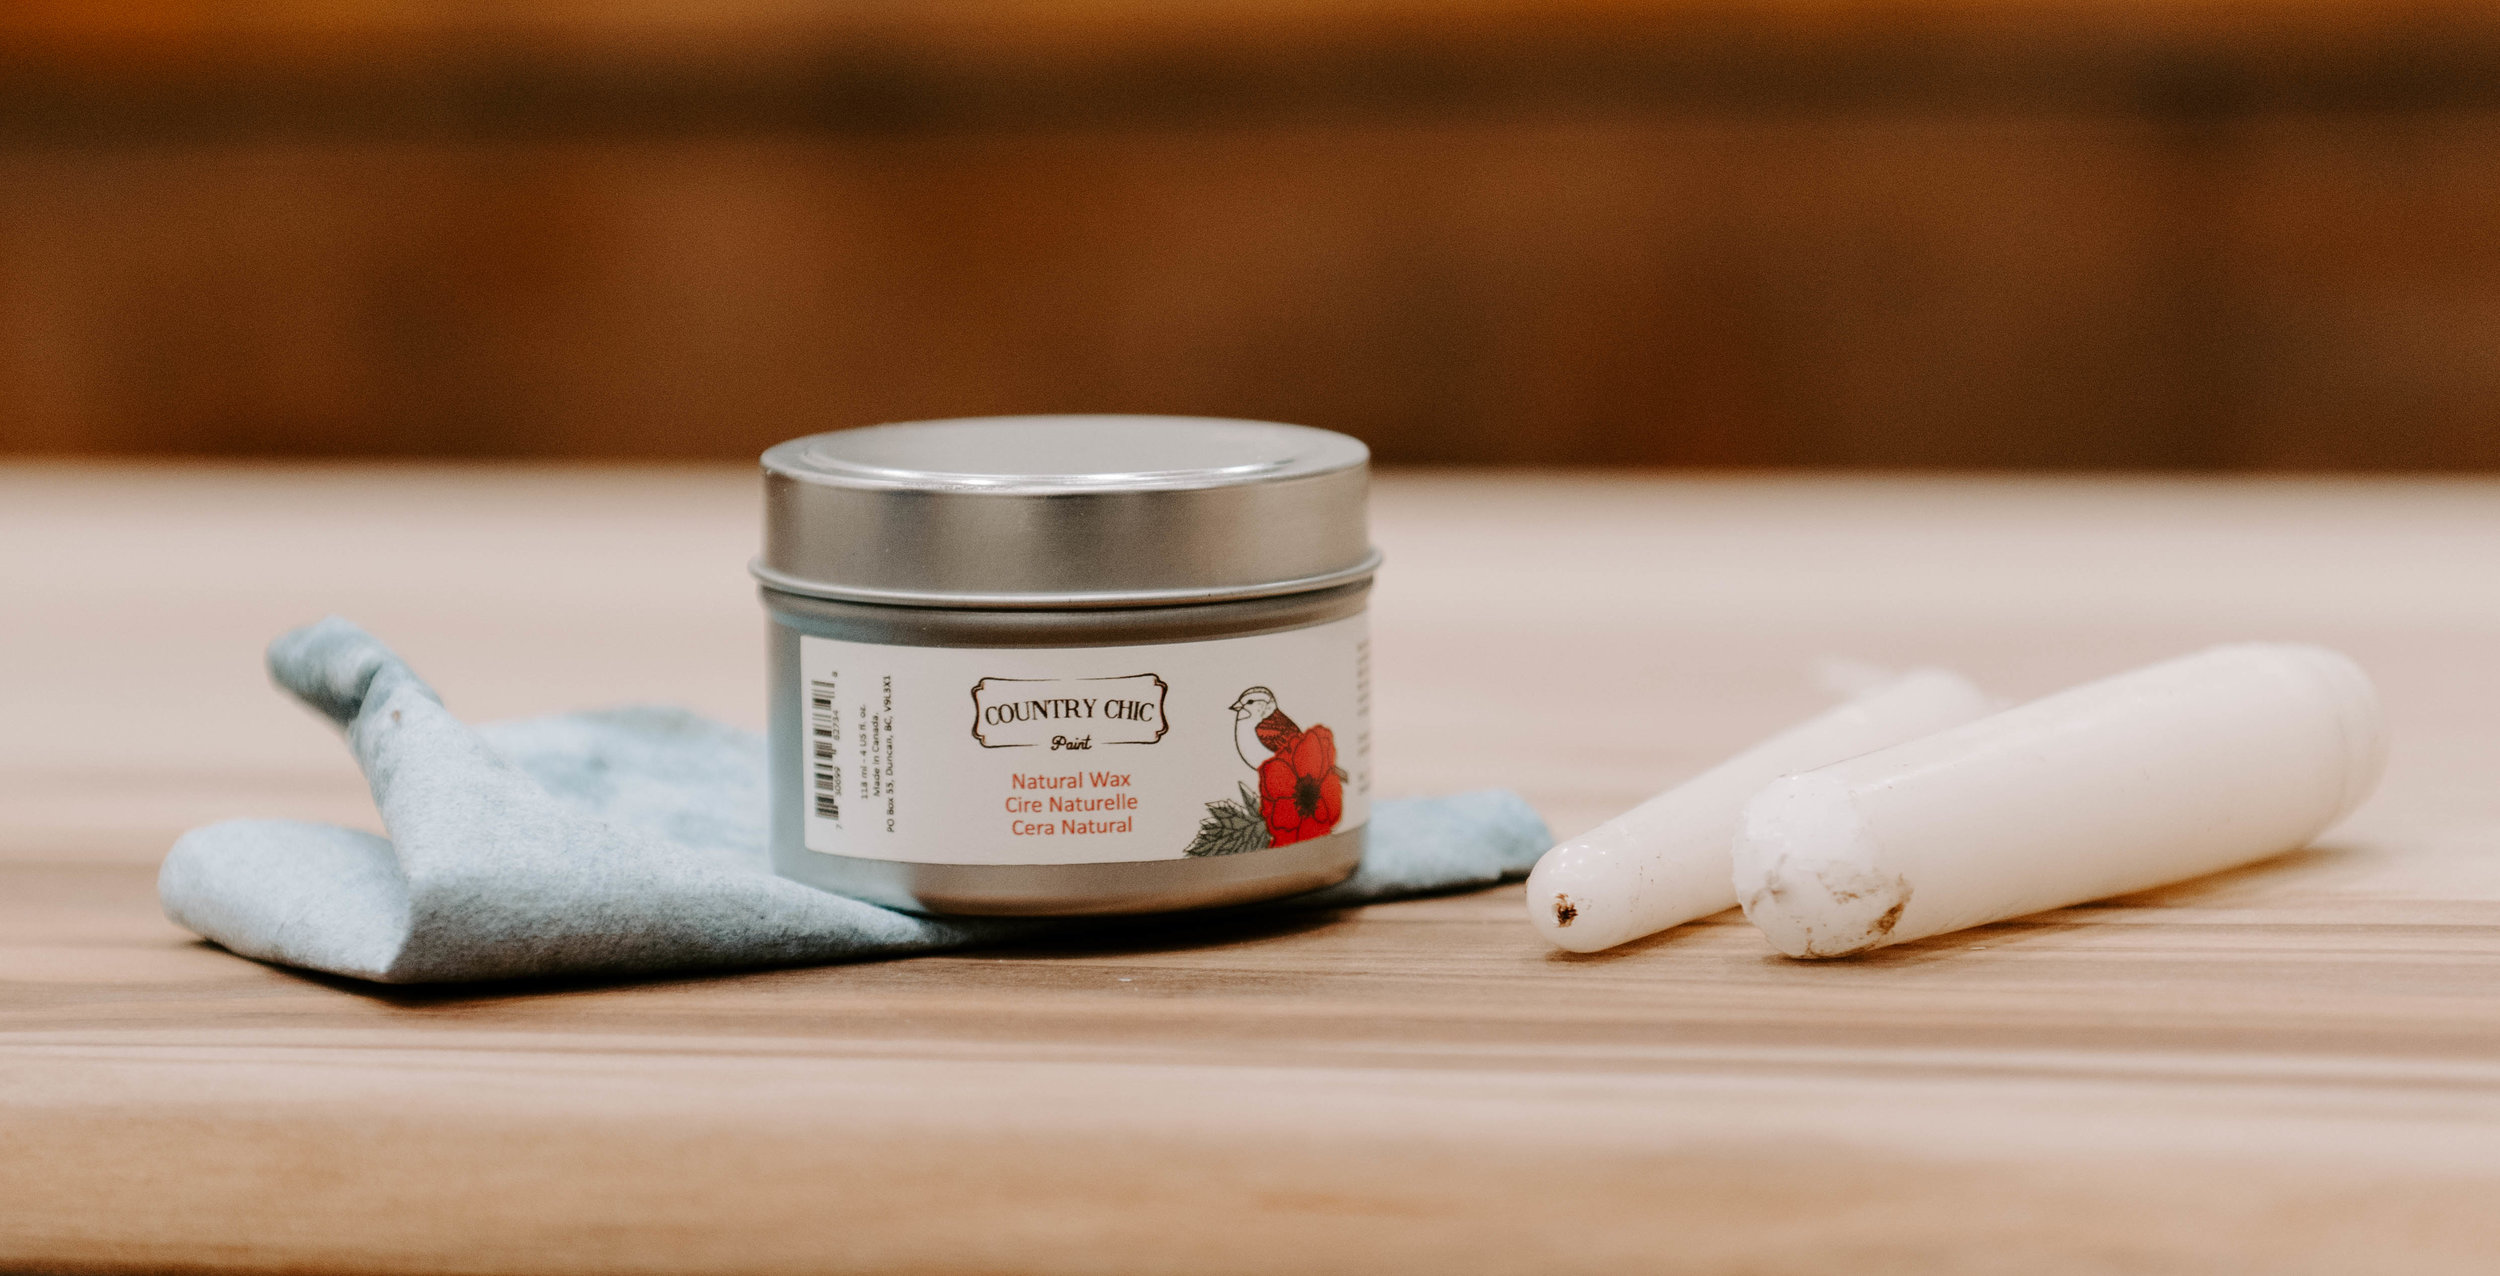
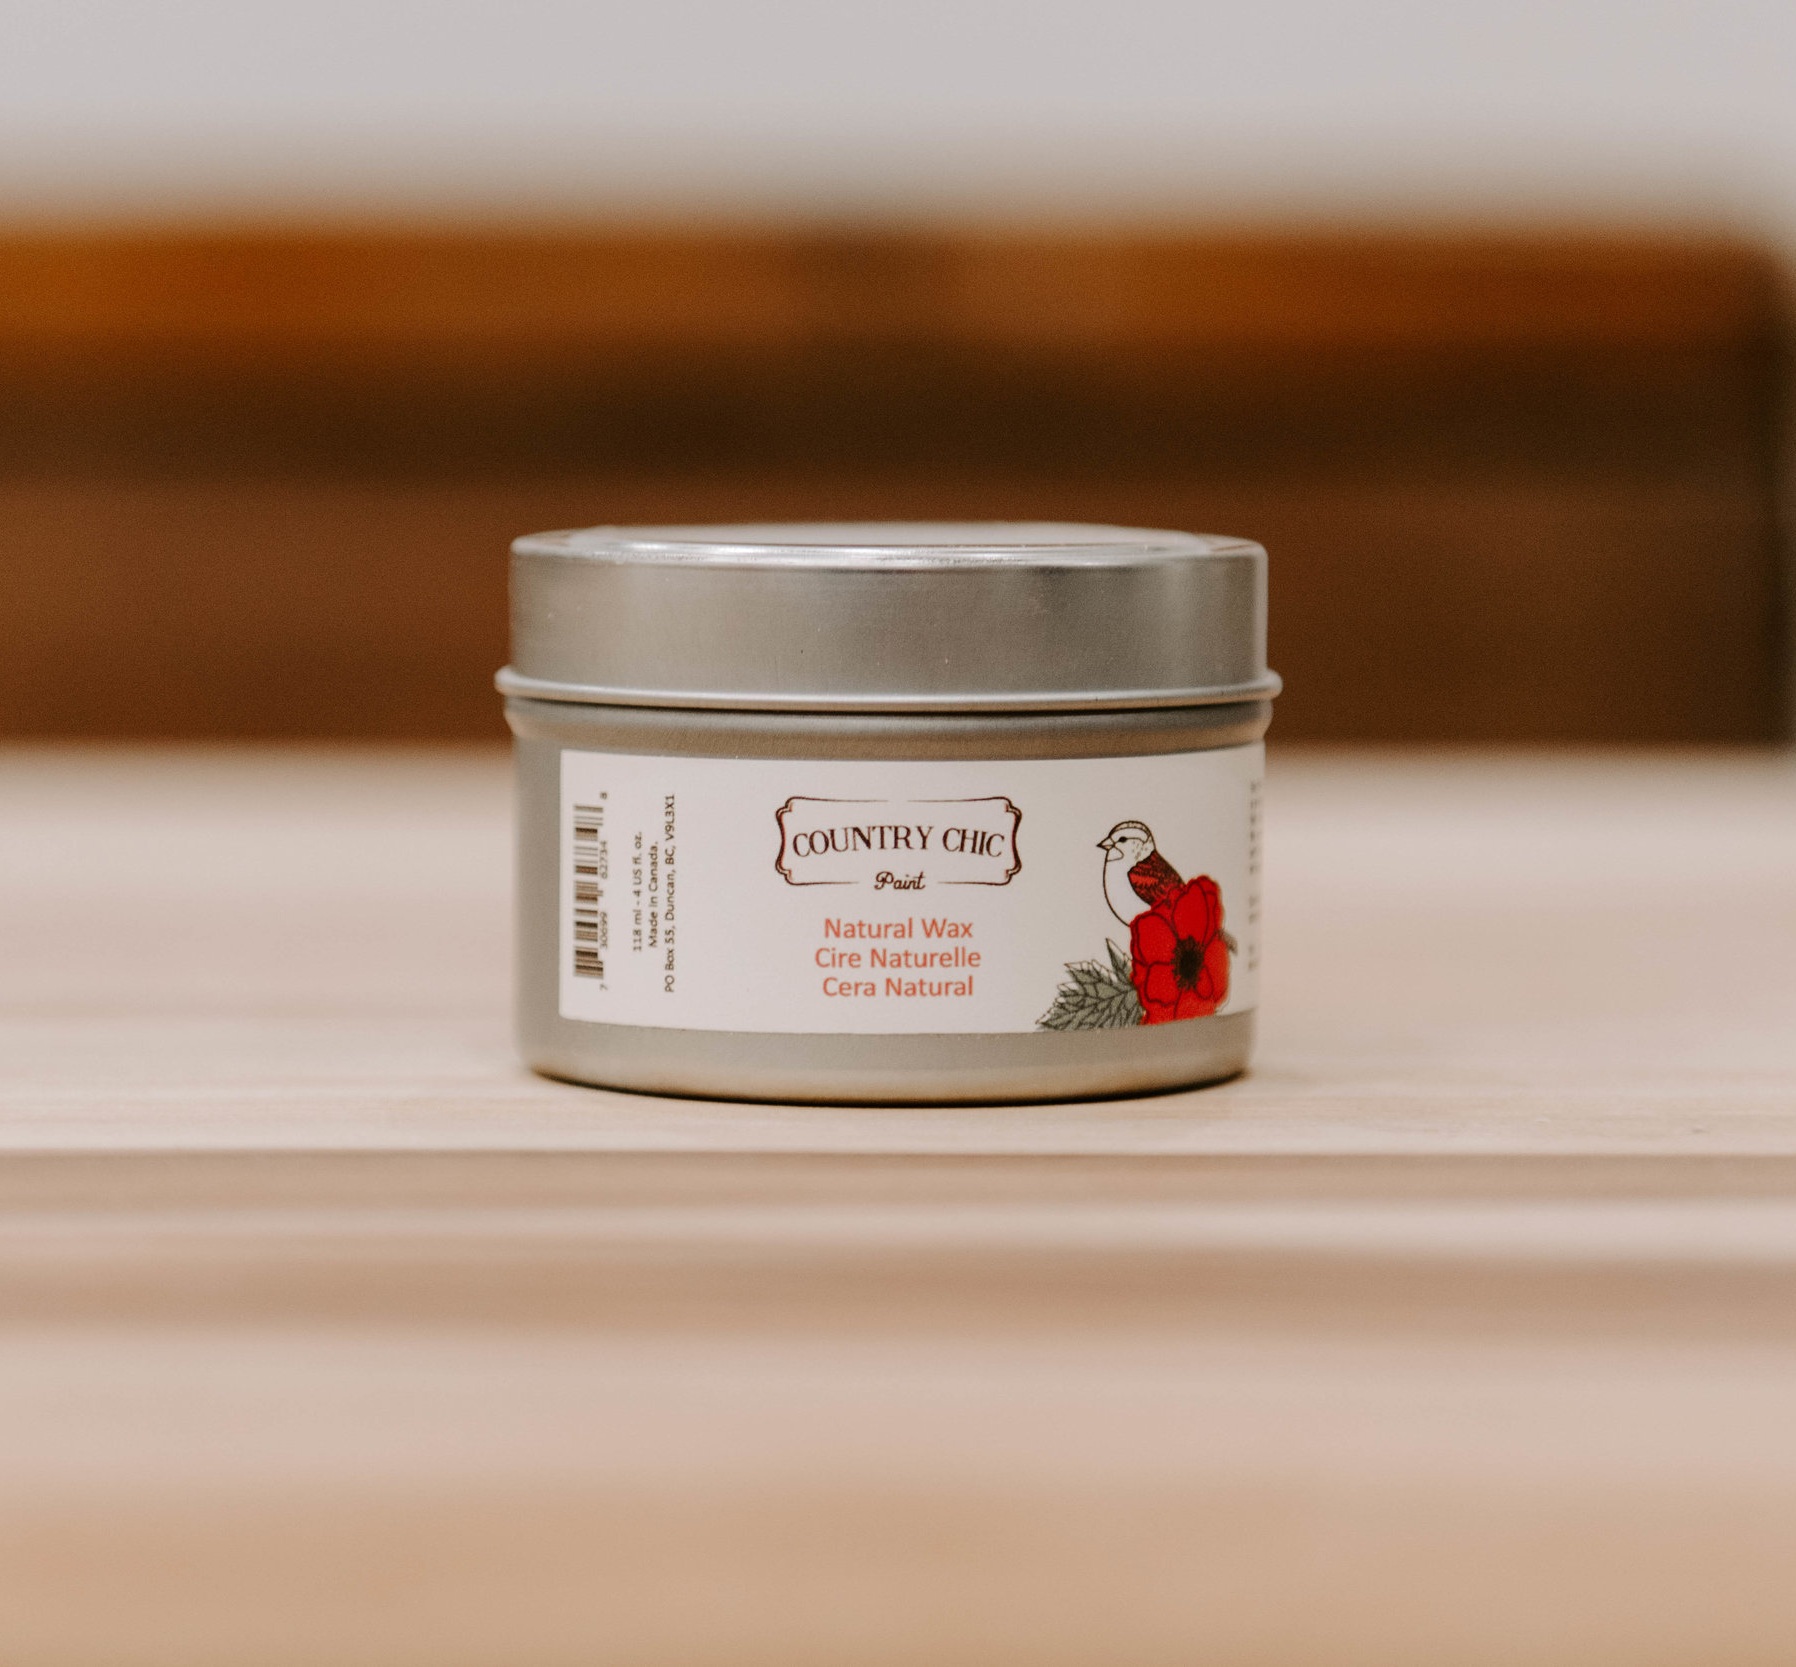
Also, if you’re curious to know about the beautiful color I used in this video, it’s Crinoline by Country Chic Paint. It’s such a beautiful off-white! Make sure you use the affiliate code MARKETHOUSE10 to receive 10% off your Country Chic Paint purchase.
Thank you so much for stopping by and learning about the Zibra Square Brush for this week’s #TuesdayTipsWithFallon. If you want to save this blog post, just pin it to your Pinterest page and/or feel free to share it elsewhere. Thanks again! Happy painting!!
Make sure you check out my other Tuesday Tips below!


![CabinetFlaw-7[1].jpg](https://images.squarespace-cdn.com/content/v1/595f0cefdb29d6676c8f4ca9/1551728083840-UQGTHM49JH3U0NUUJA7C/CabinetFlaw-7%5B1%5D.jpg)