Step-by-Step Guide, Industrial Desk Makeover
/#MondayMakeoversWithFallon
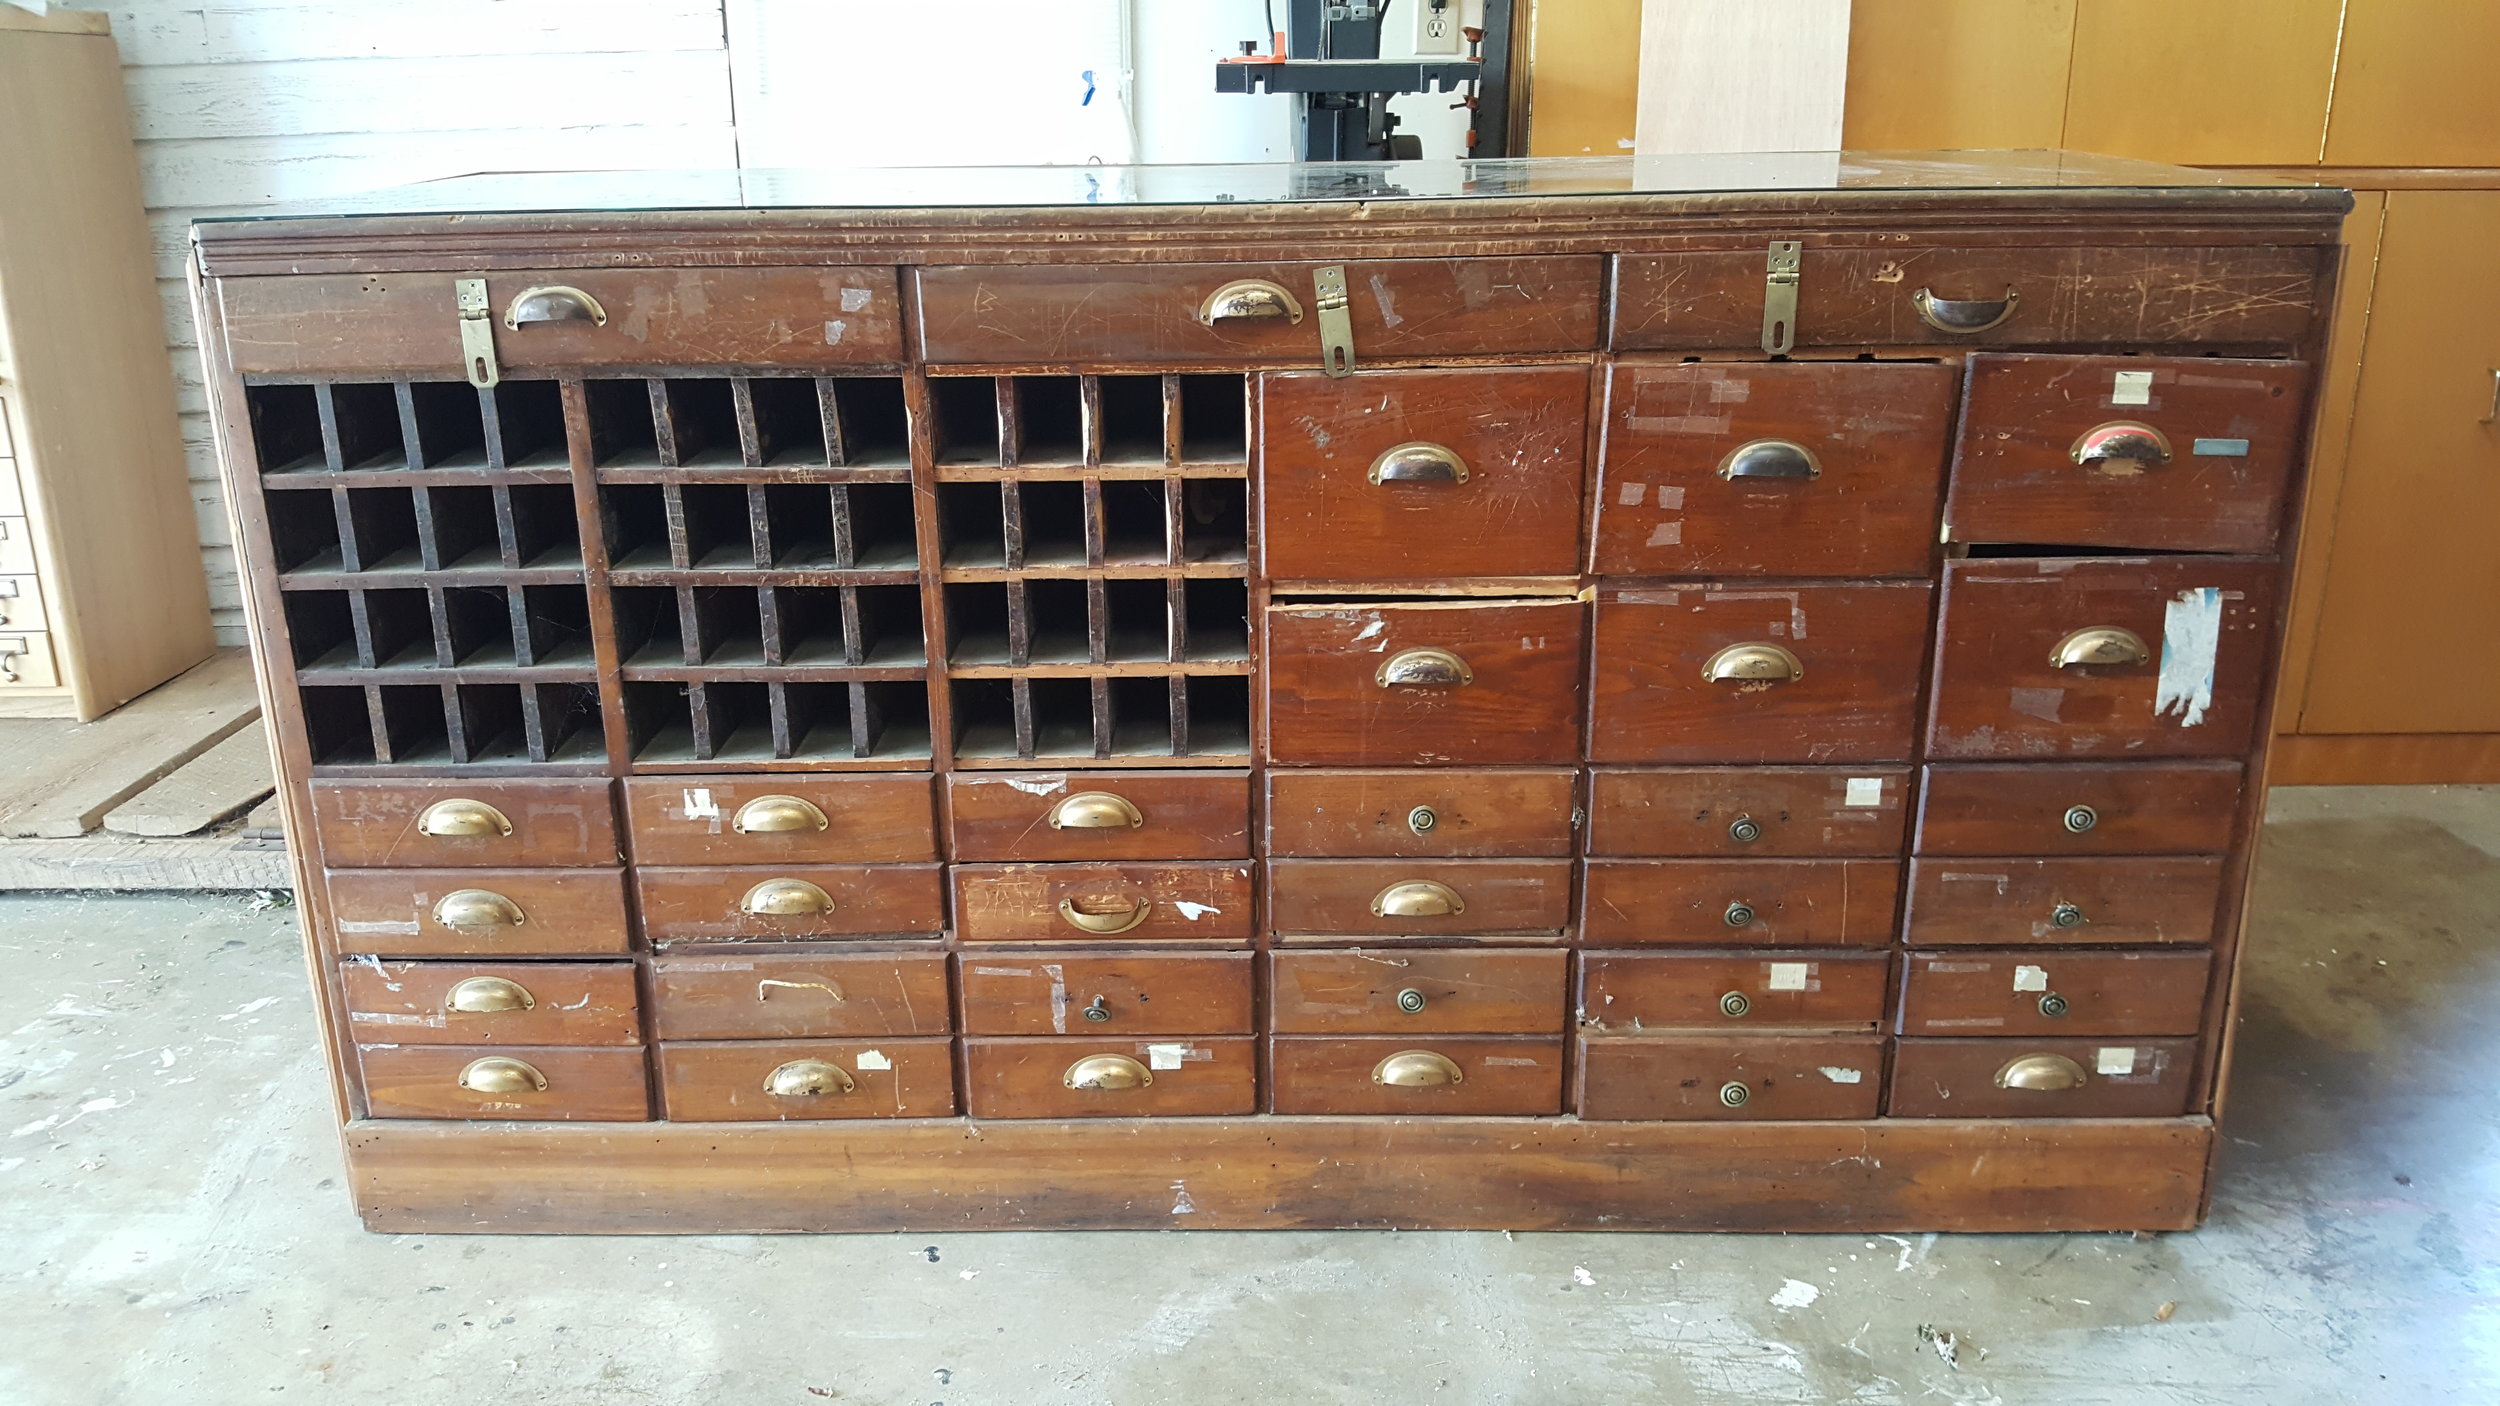
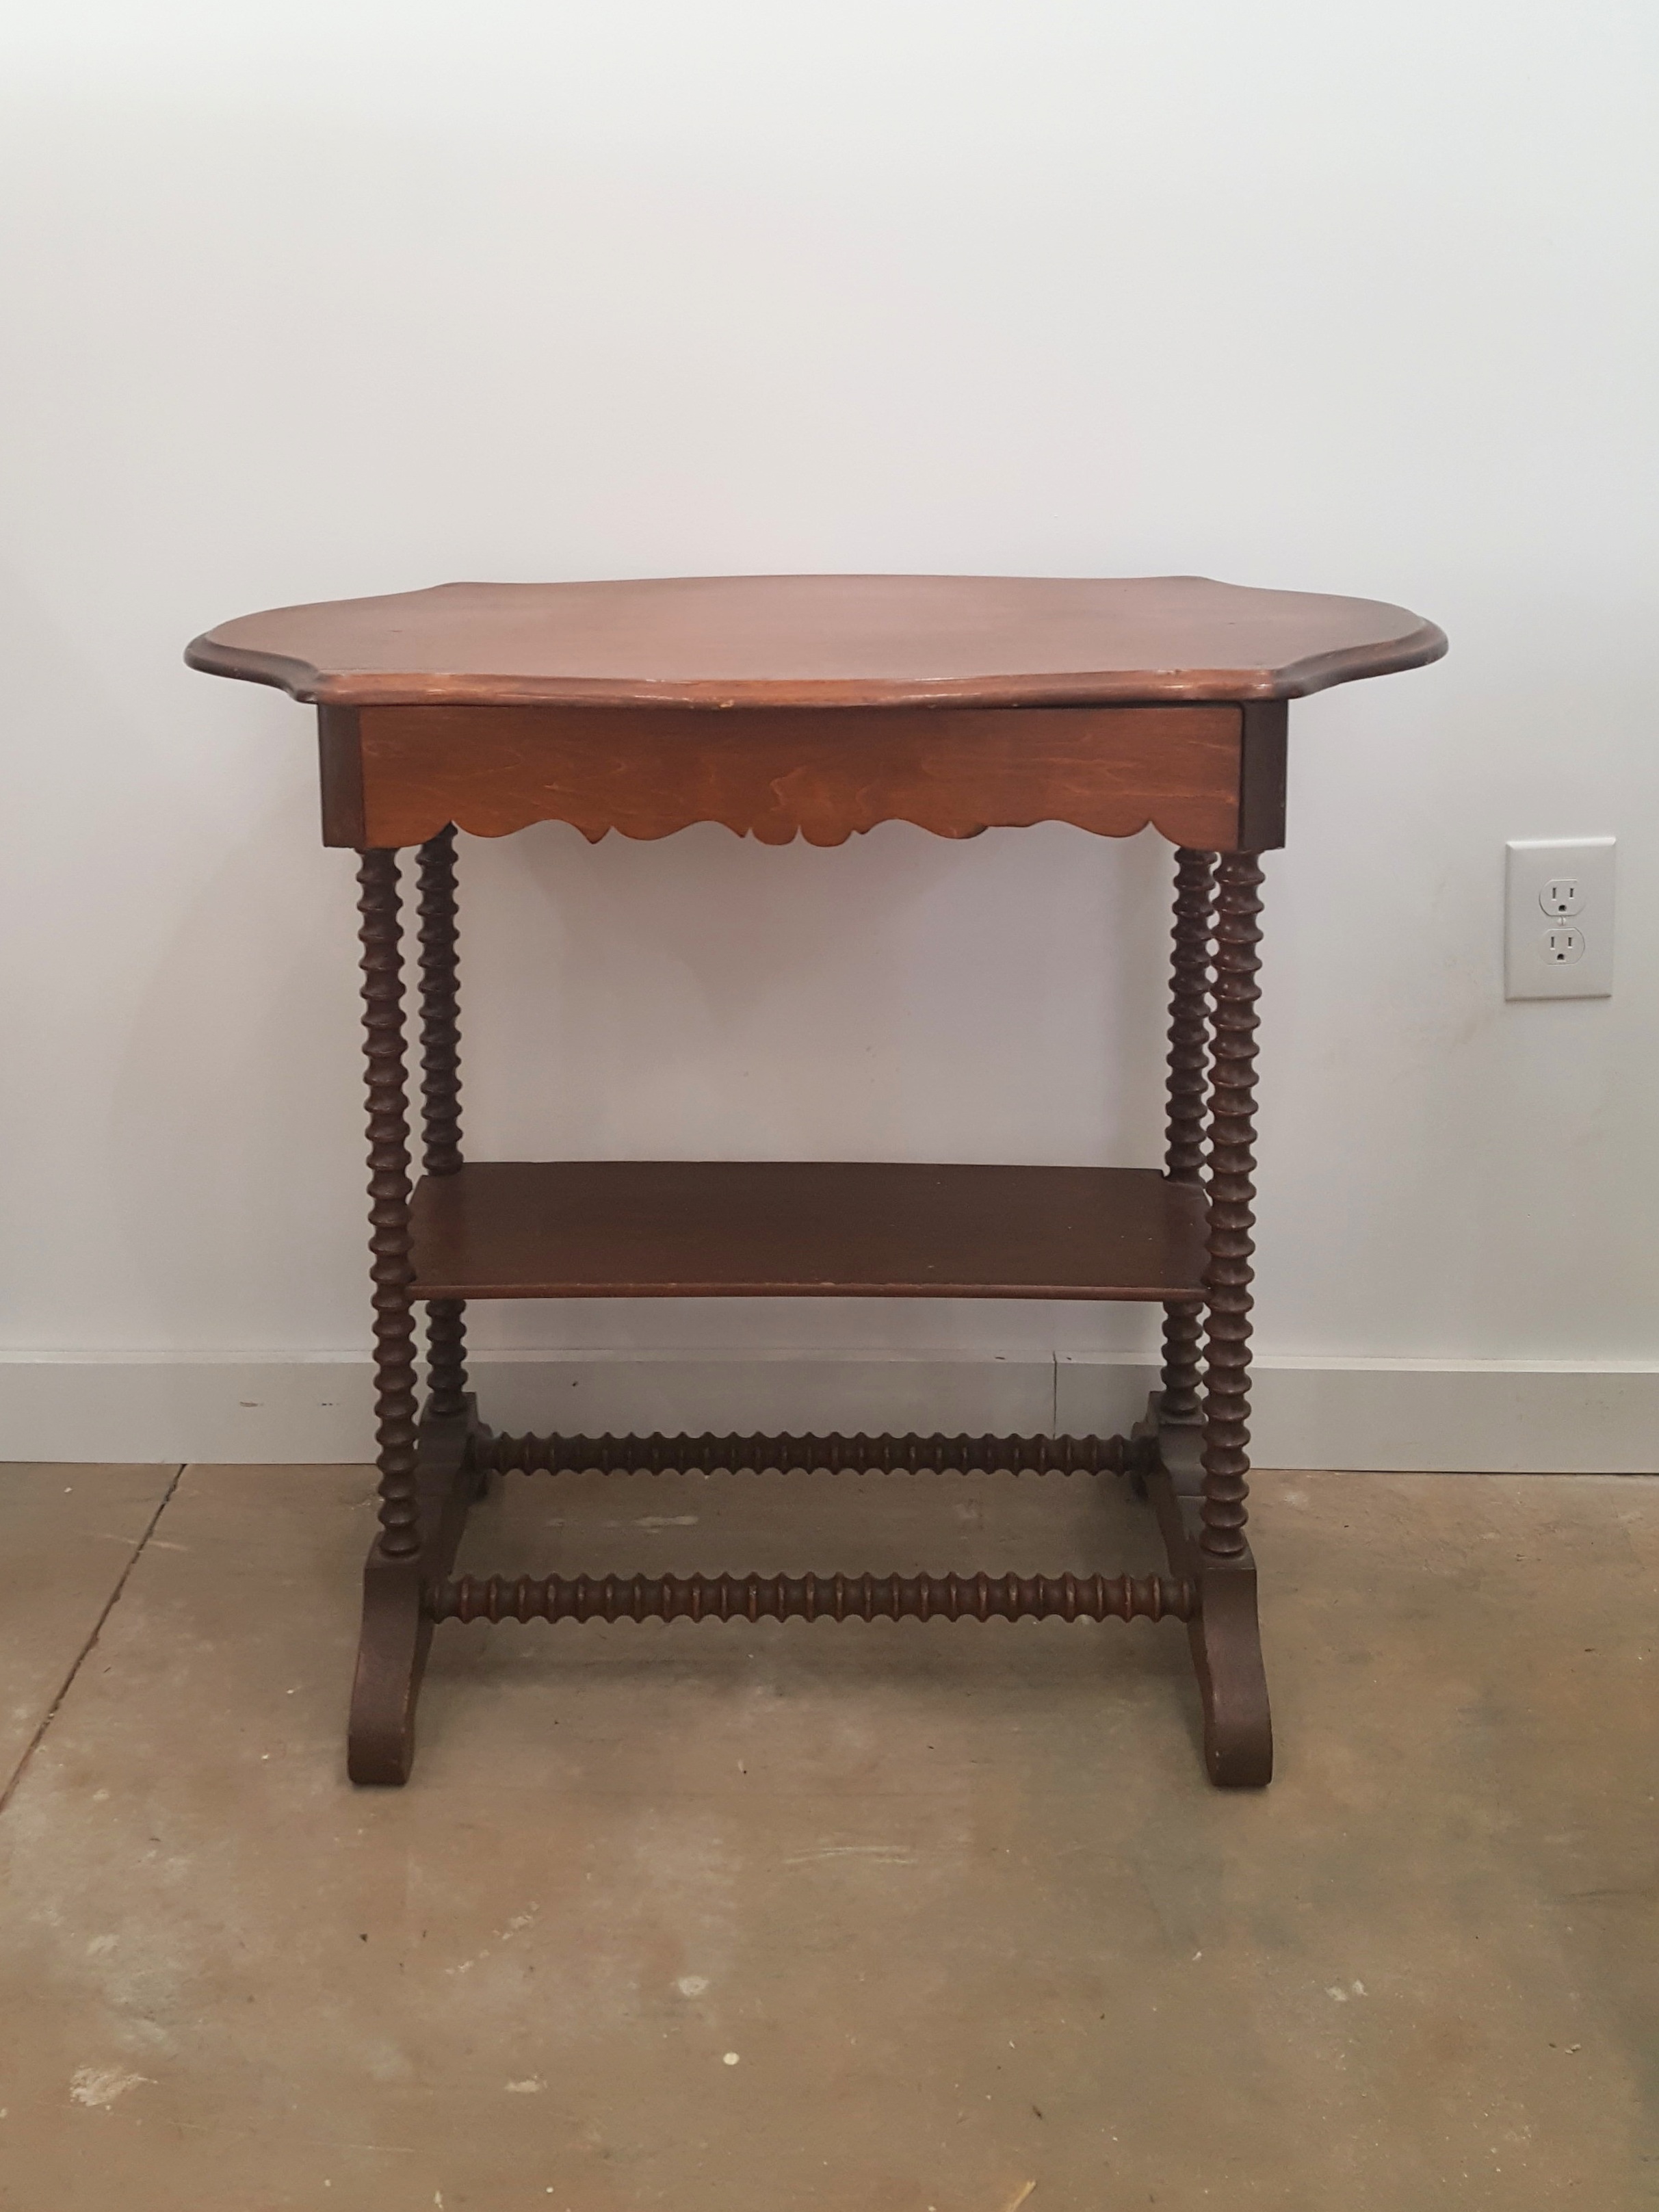
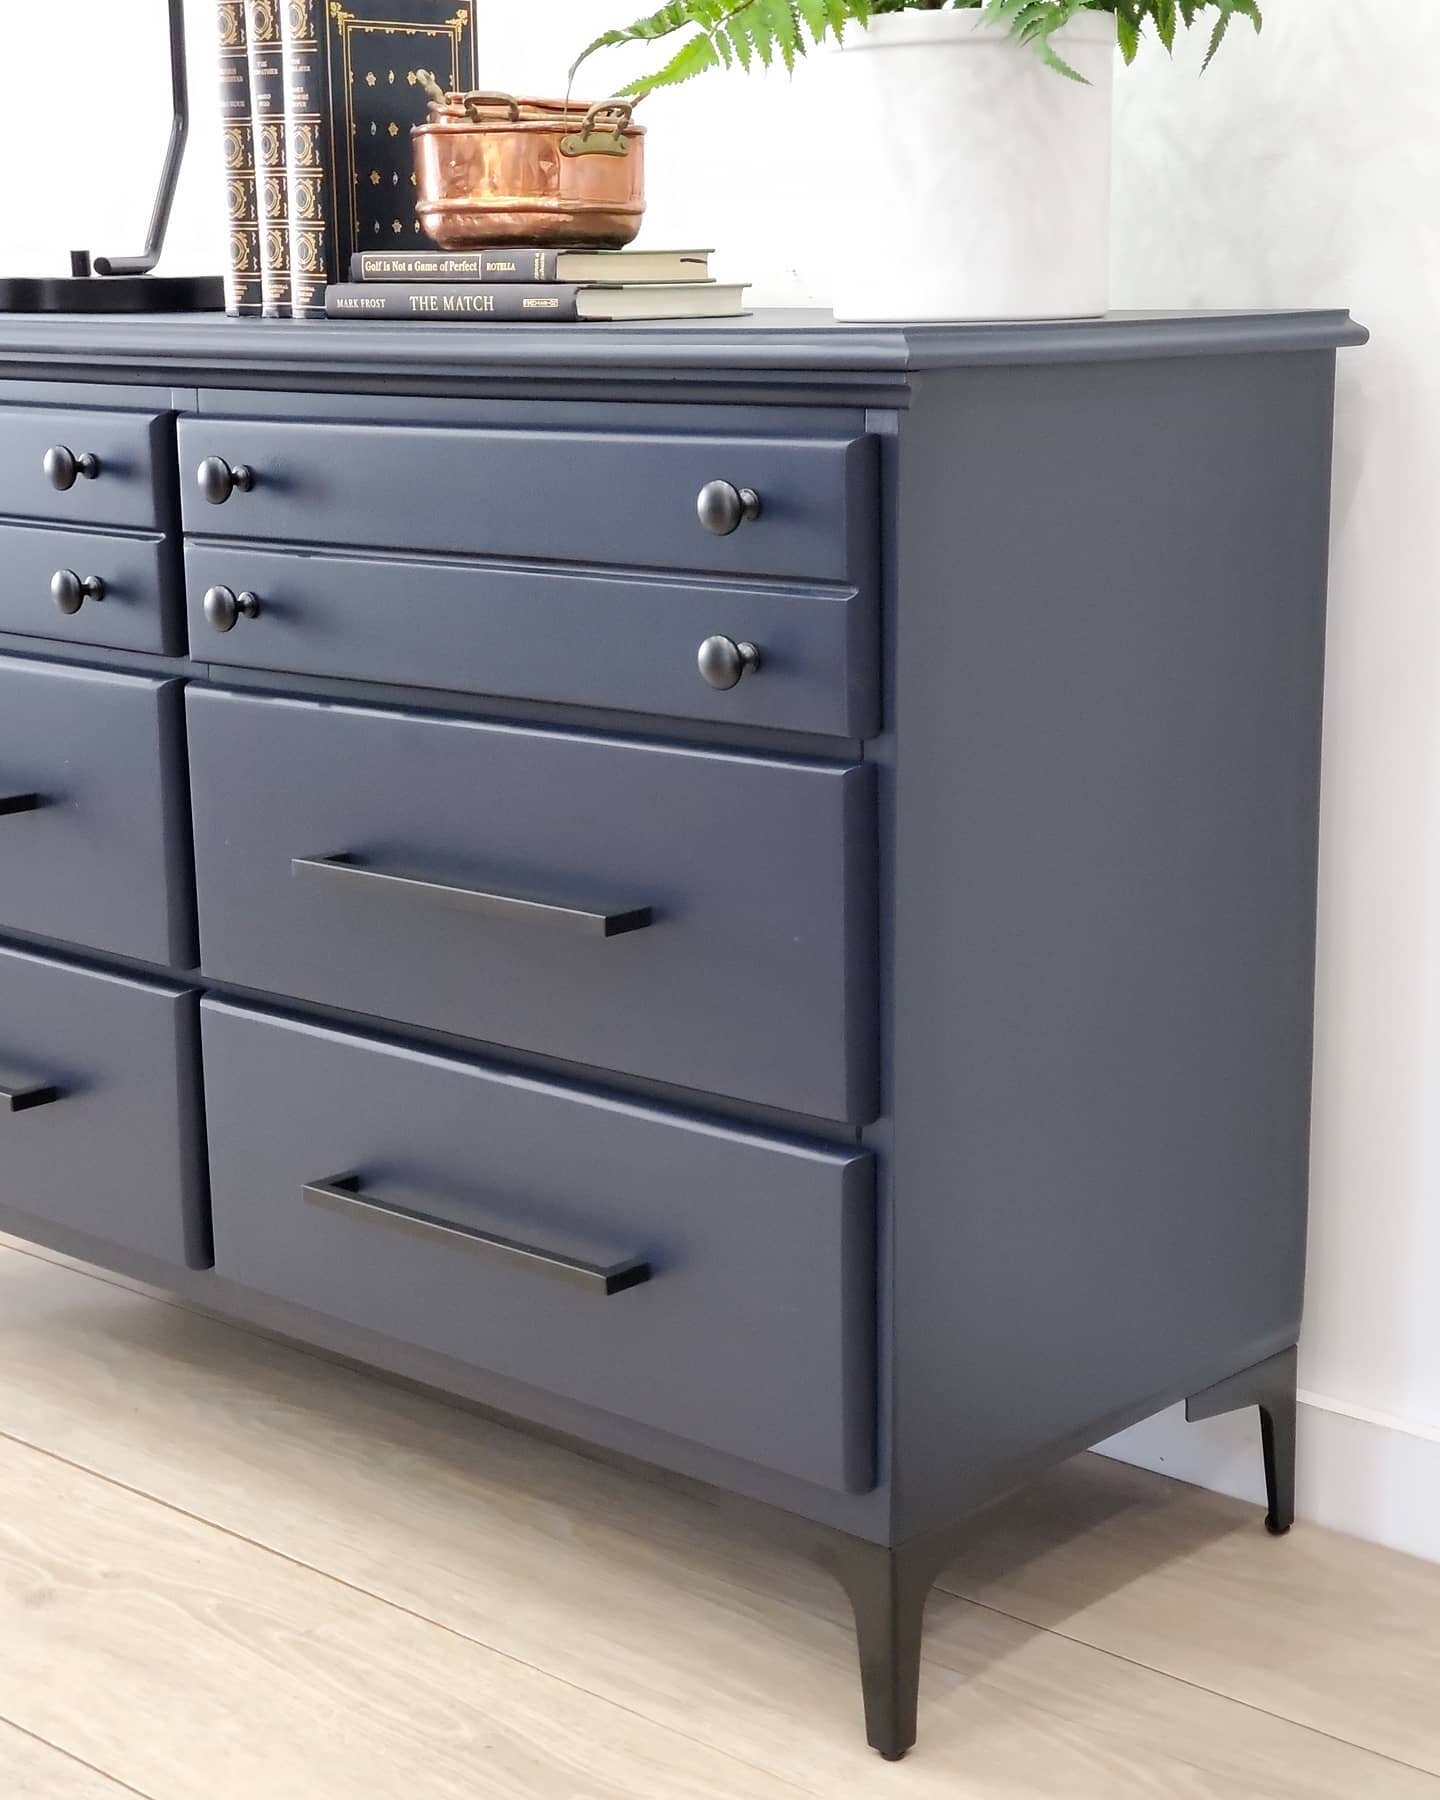
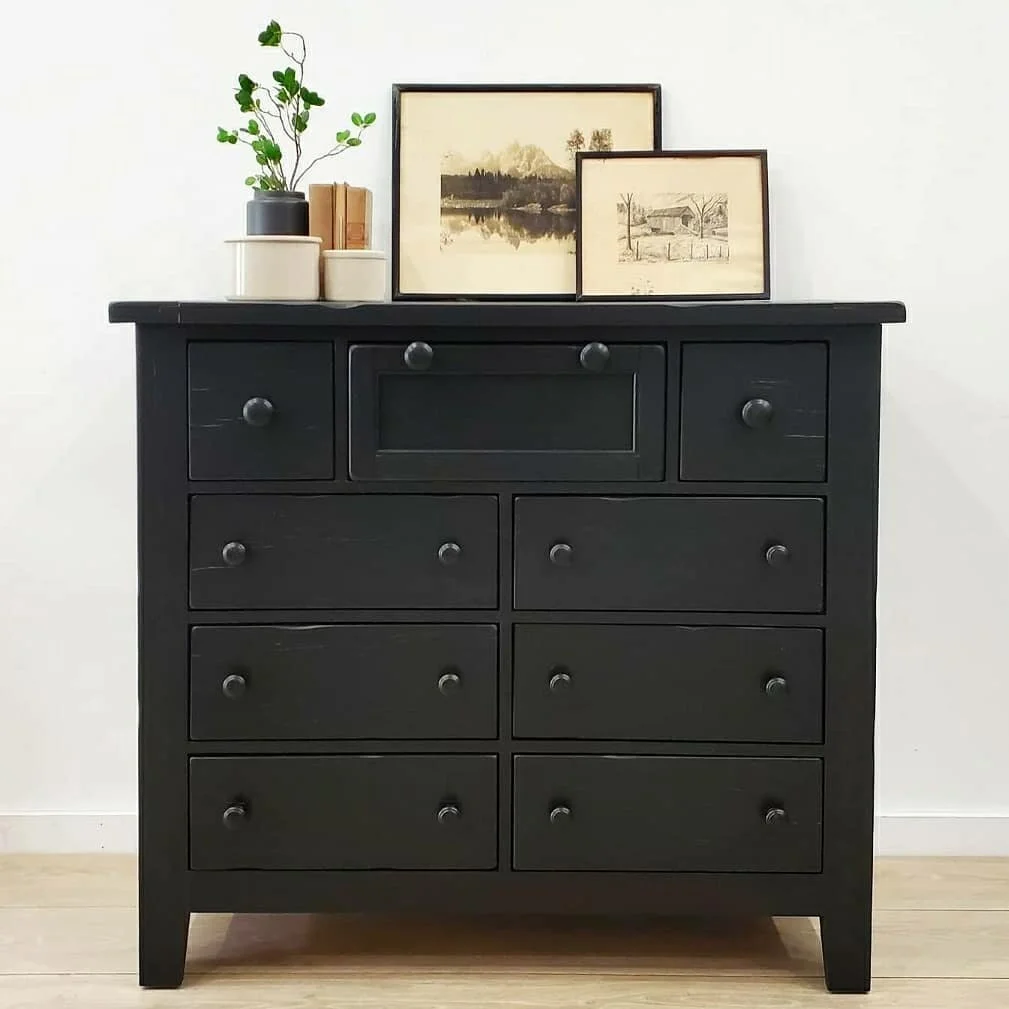
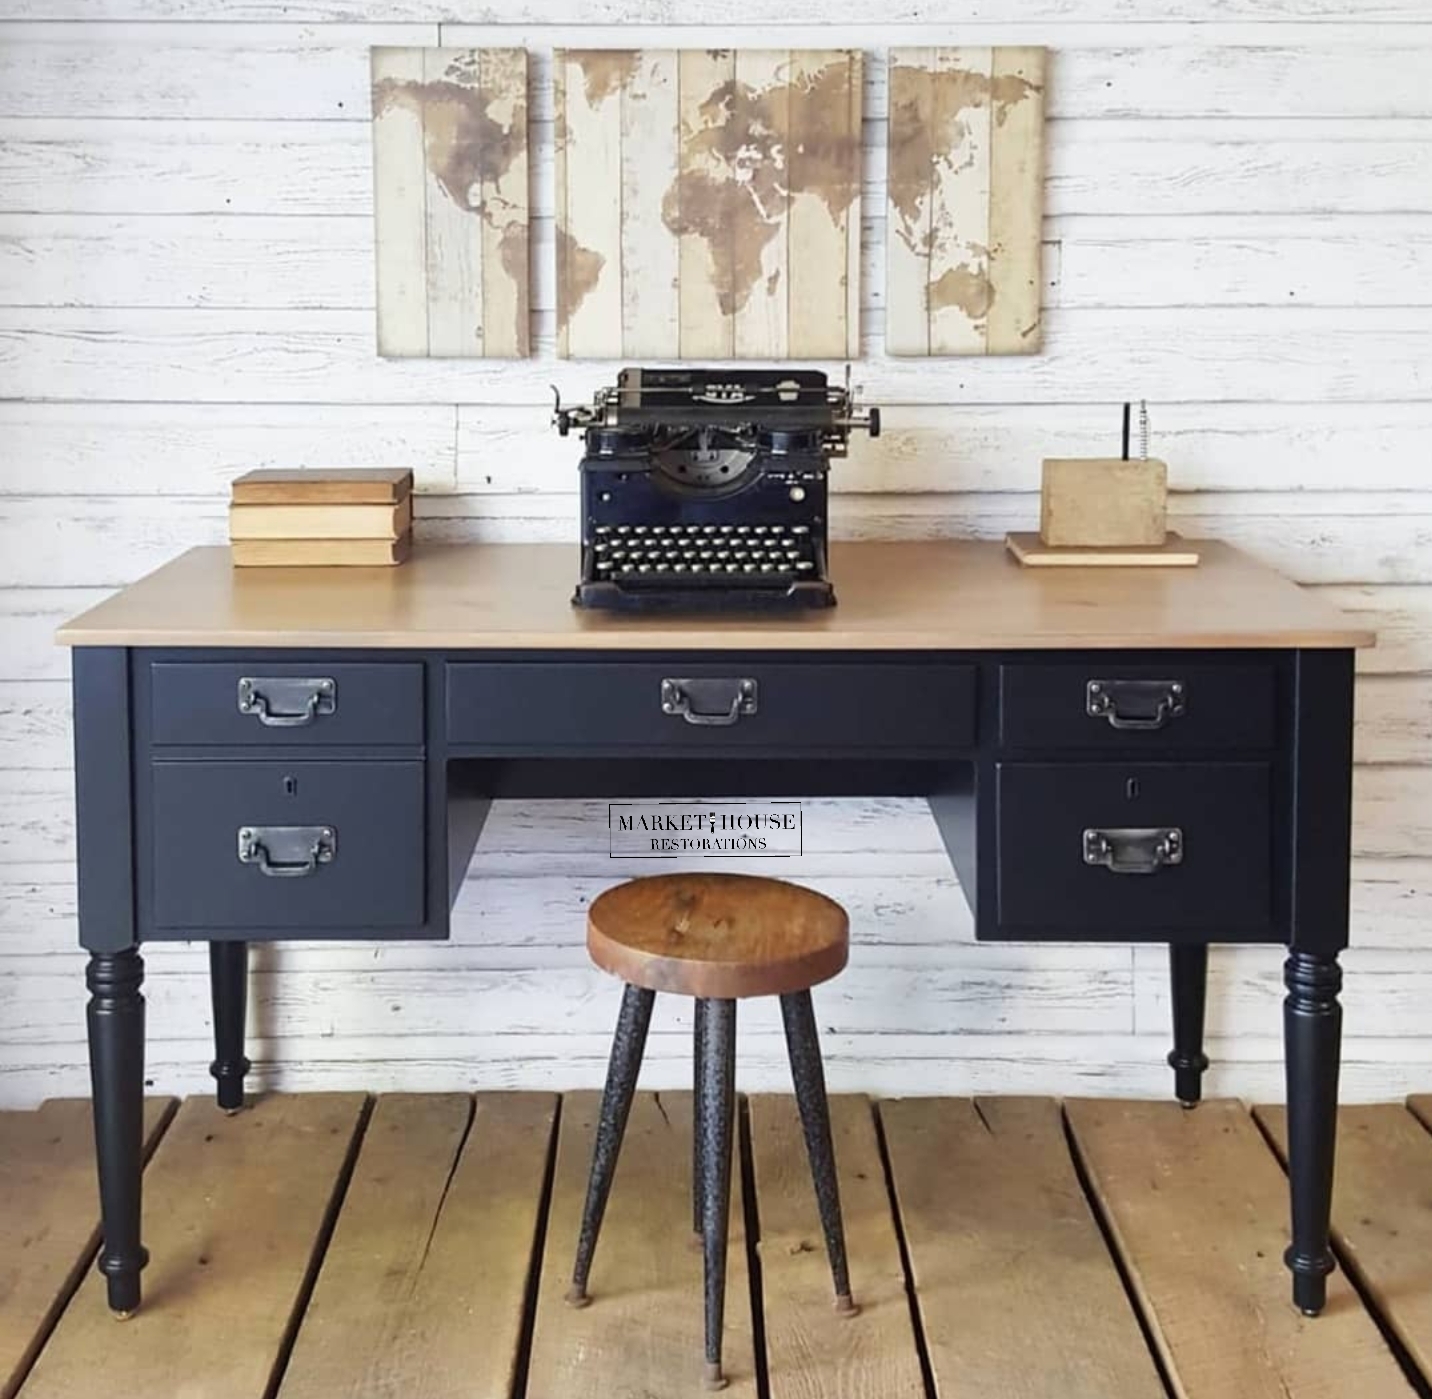
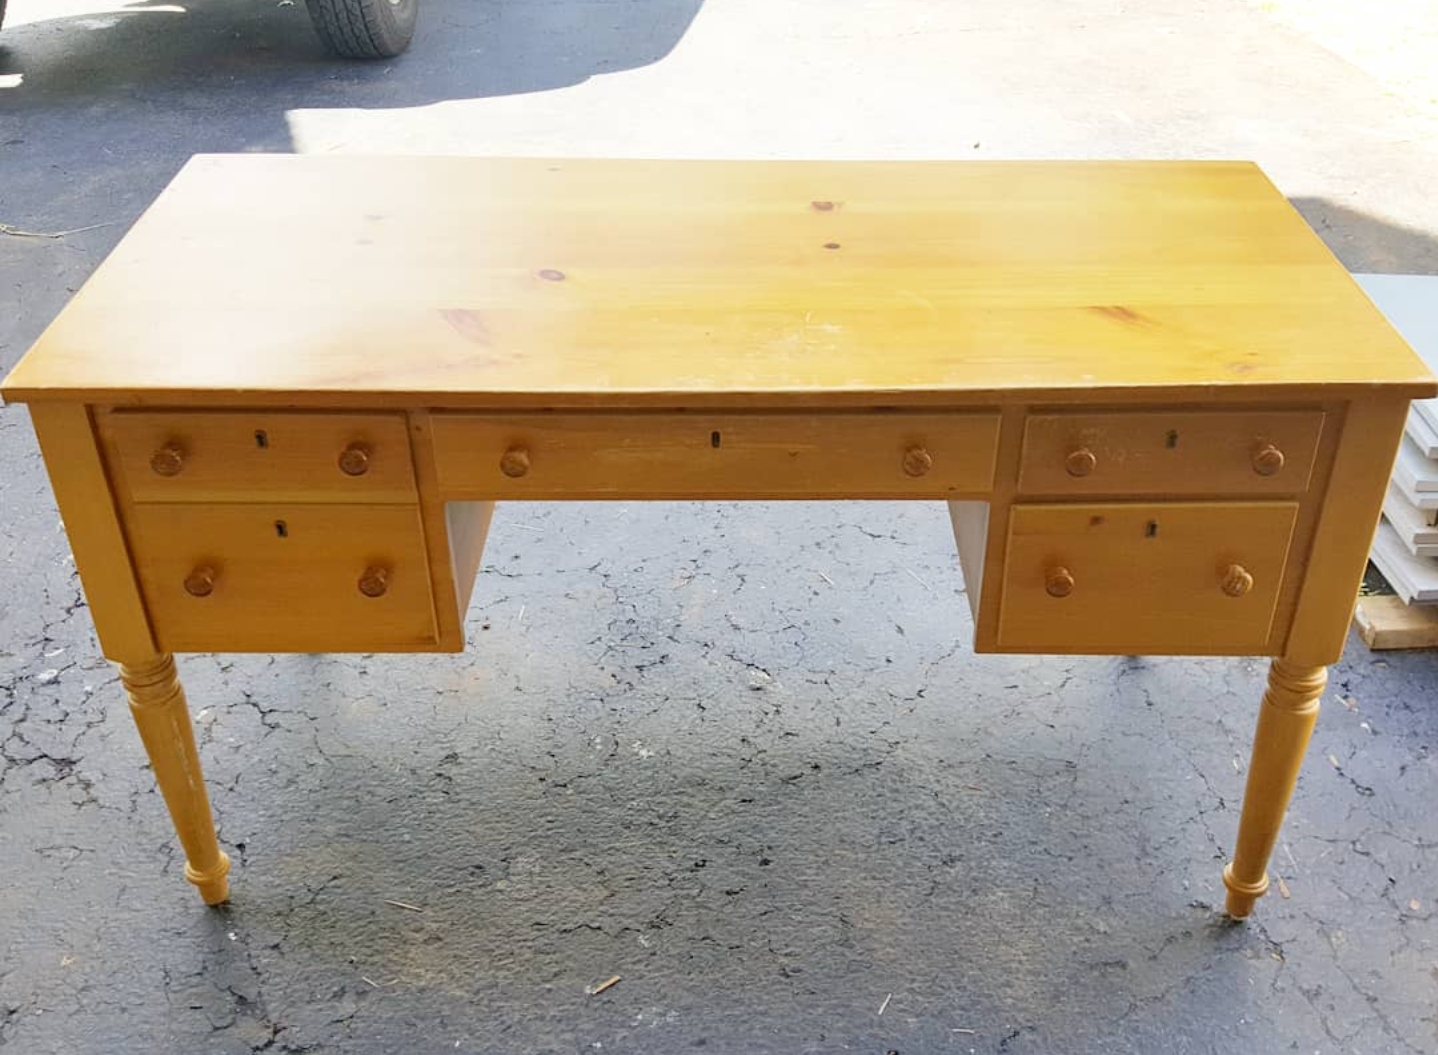
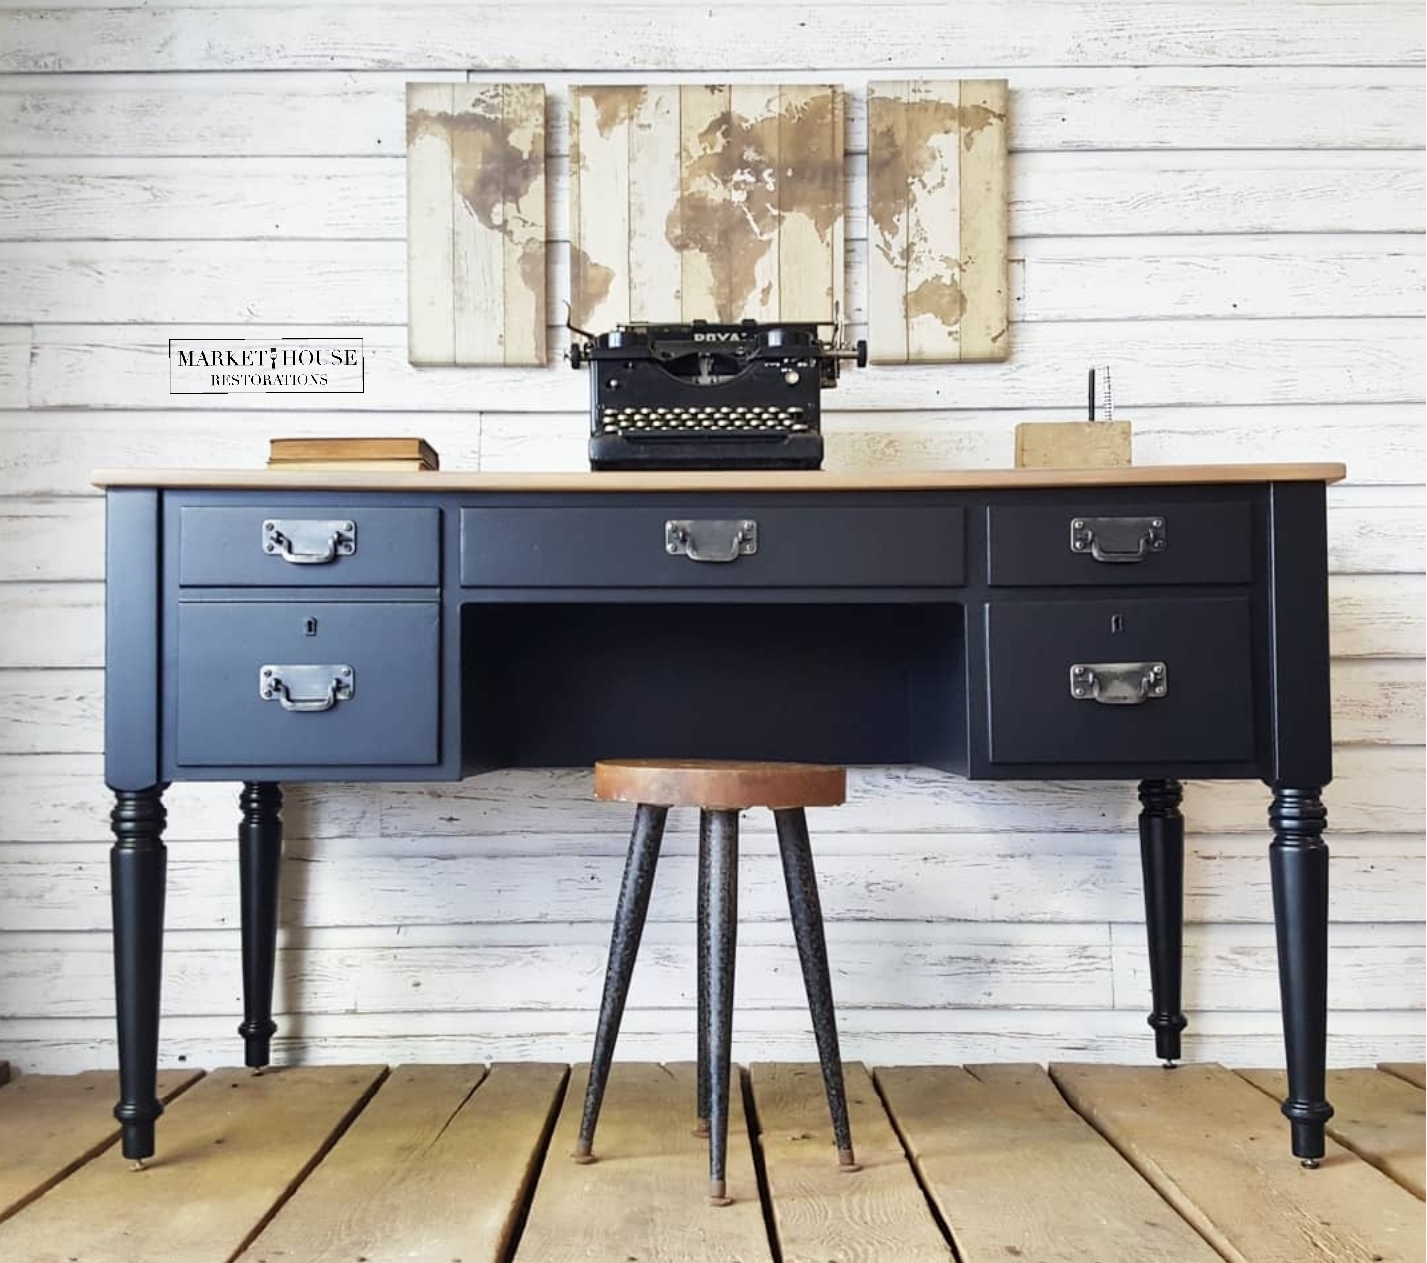
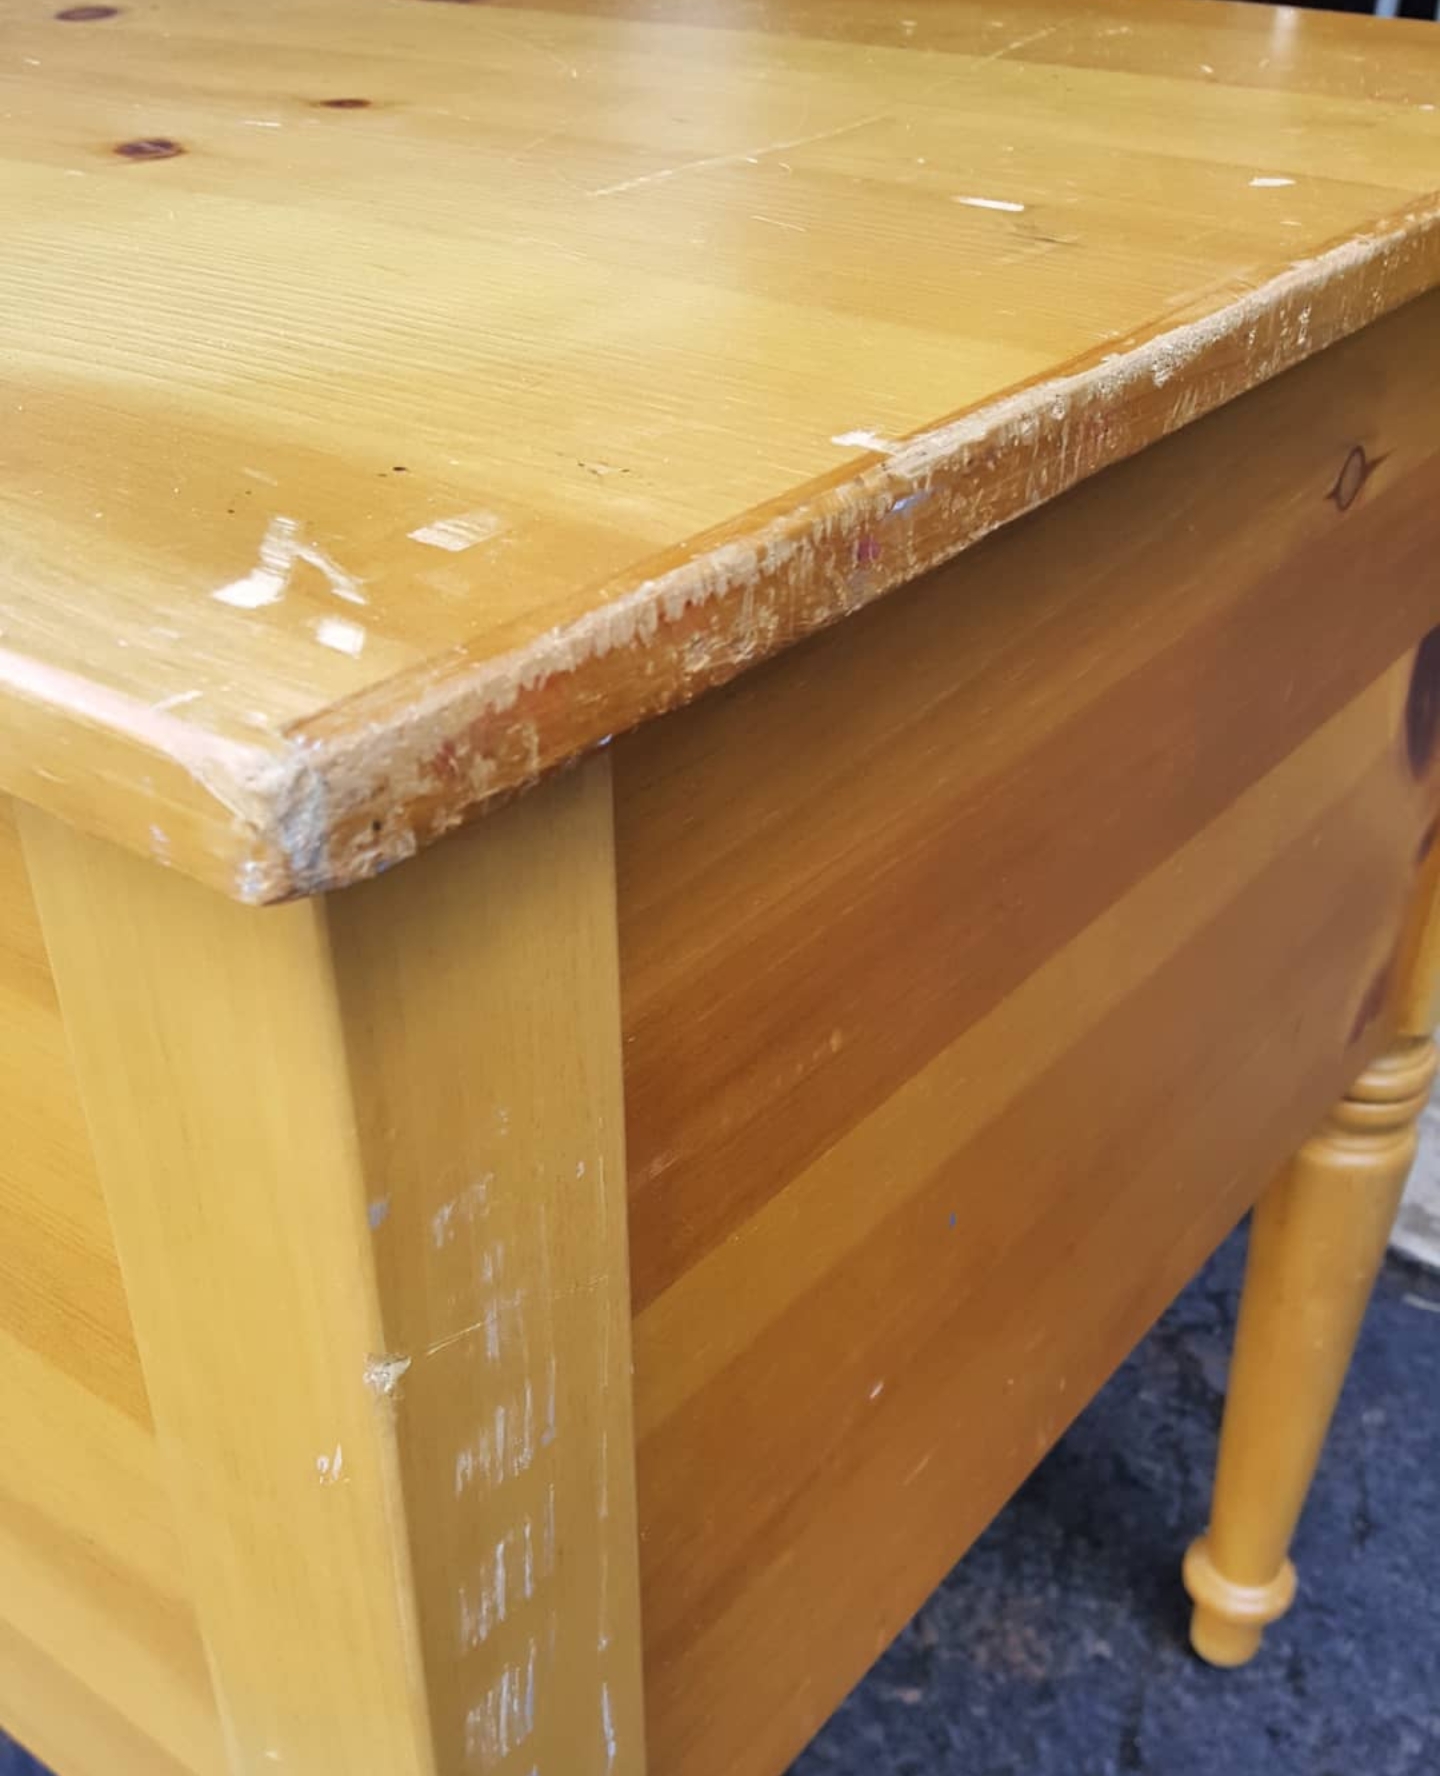
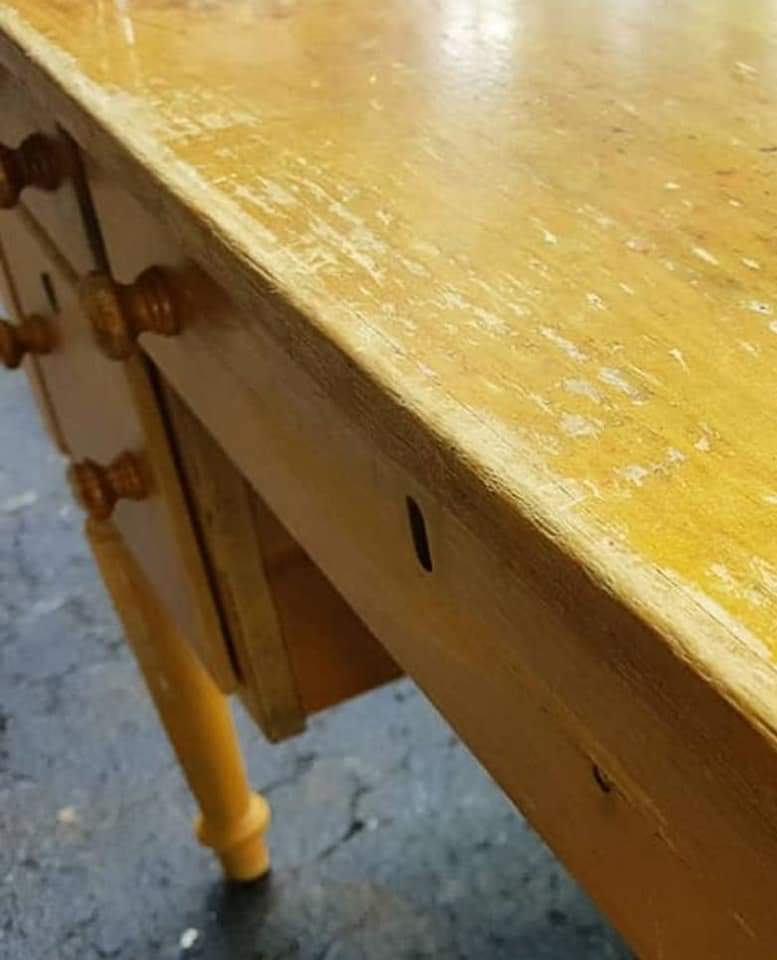
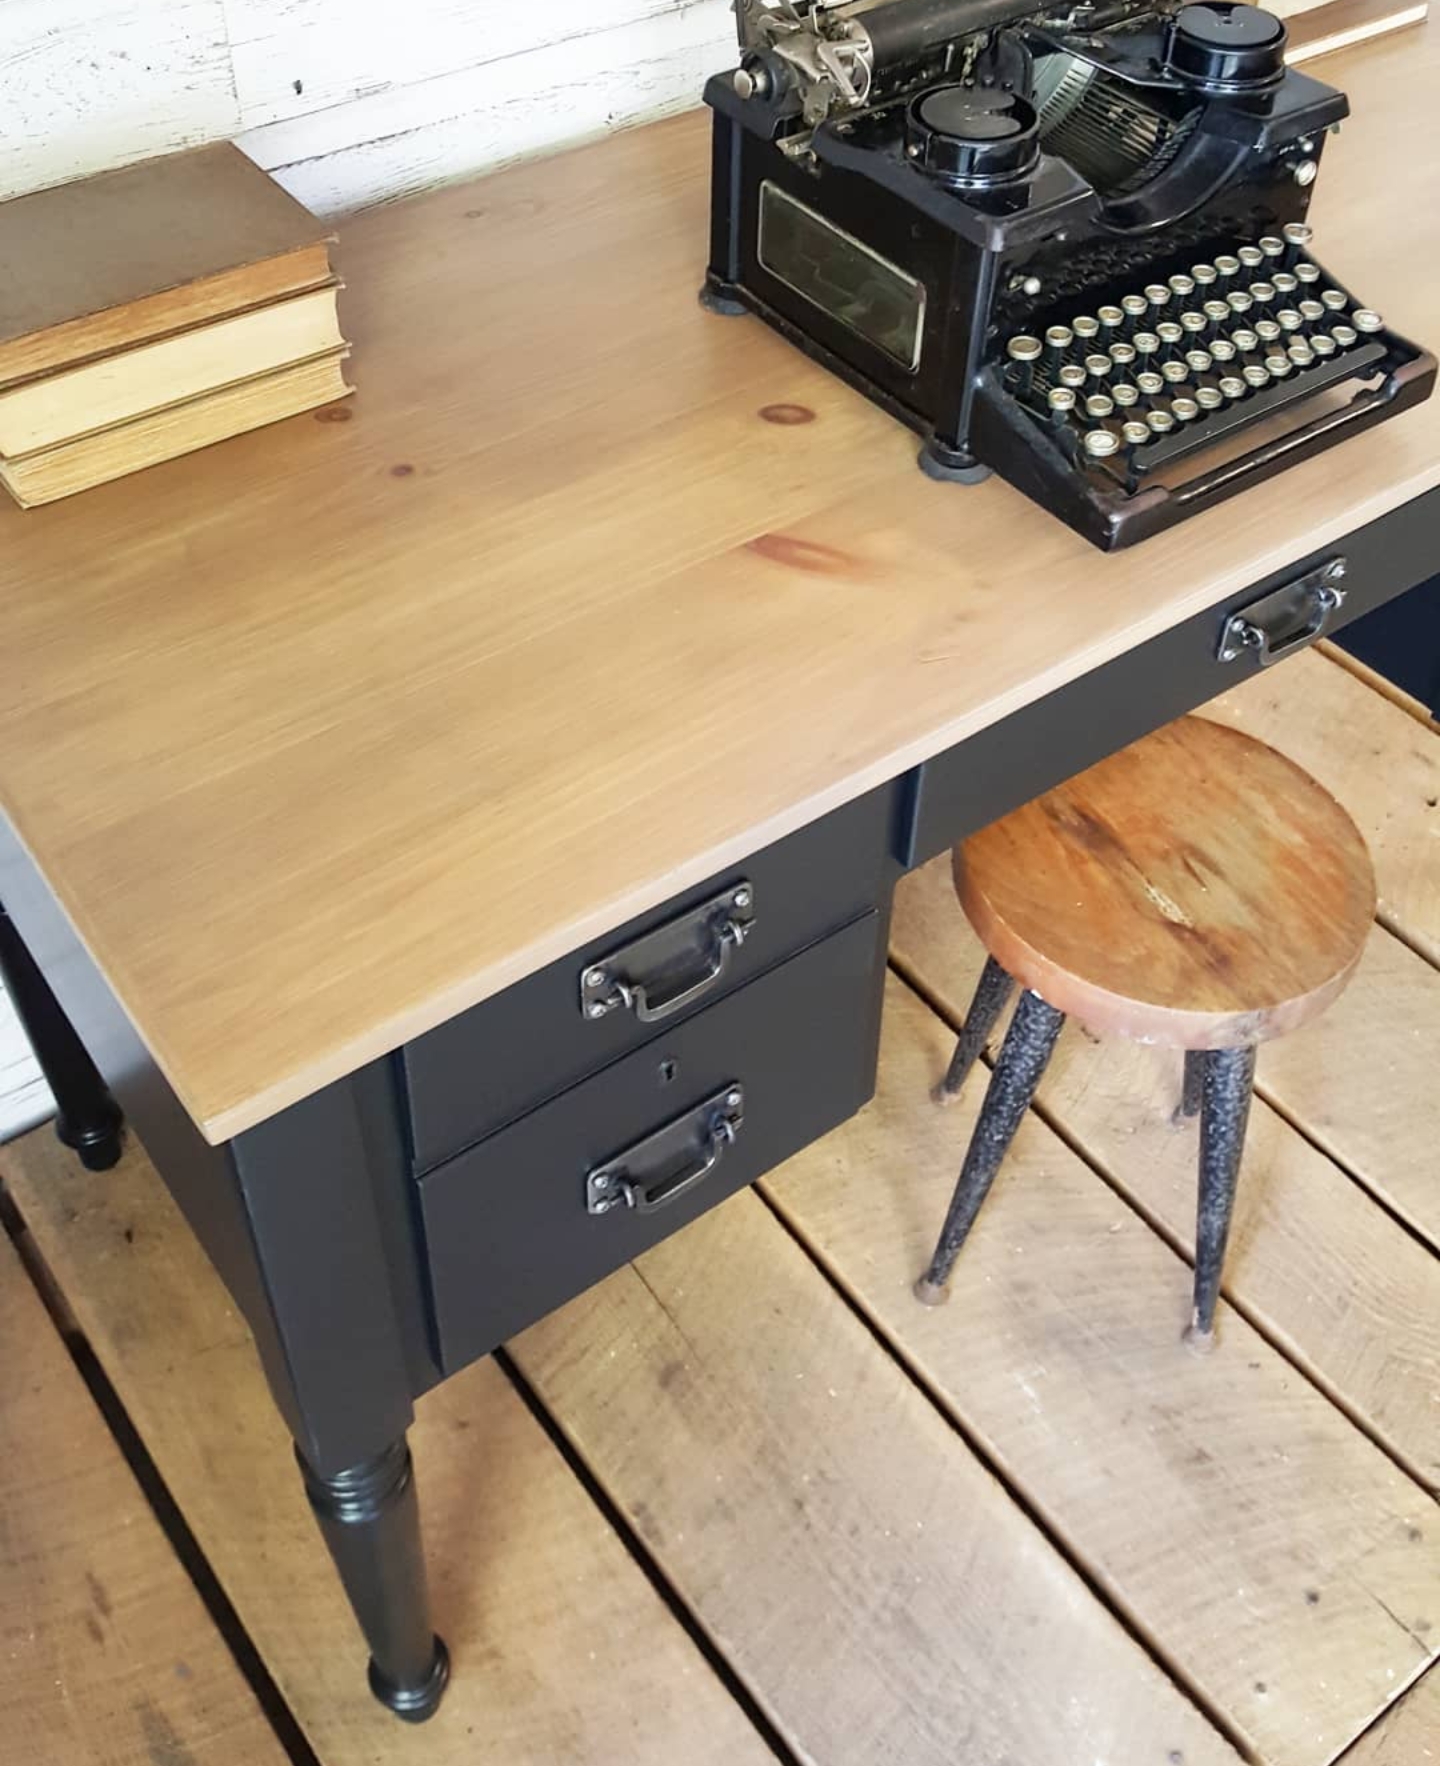
Happy New Year’s Eve!! Today’s Monday Makeover is actually something I redid for myself. Can you believe it? I saw it for sale on Facebook Marketplace and immediately knew I wanted it for my new office space. Since my studio/office is more on the industrial side I wanted a desk to go along with that style. I loved the bones of the desk, but wasn’t crazy about the finish it had on it, so purchased it and gave it a face-lift! Now it goes perfect in my new space! See the process below:

THE PREP PROCESS:
I removed the drawers, took off the knobs (placed them in a Ziplock bag).
I cleaned the whole piece with Krud Kutter and shop towels
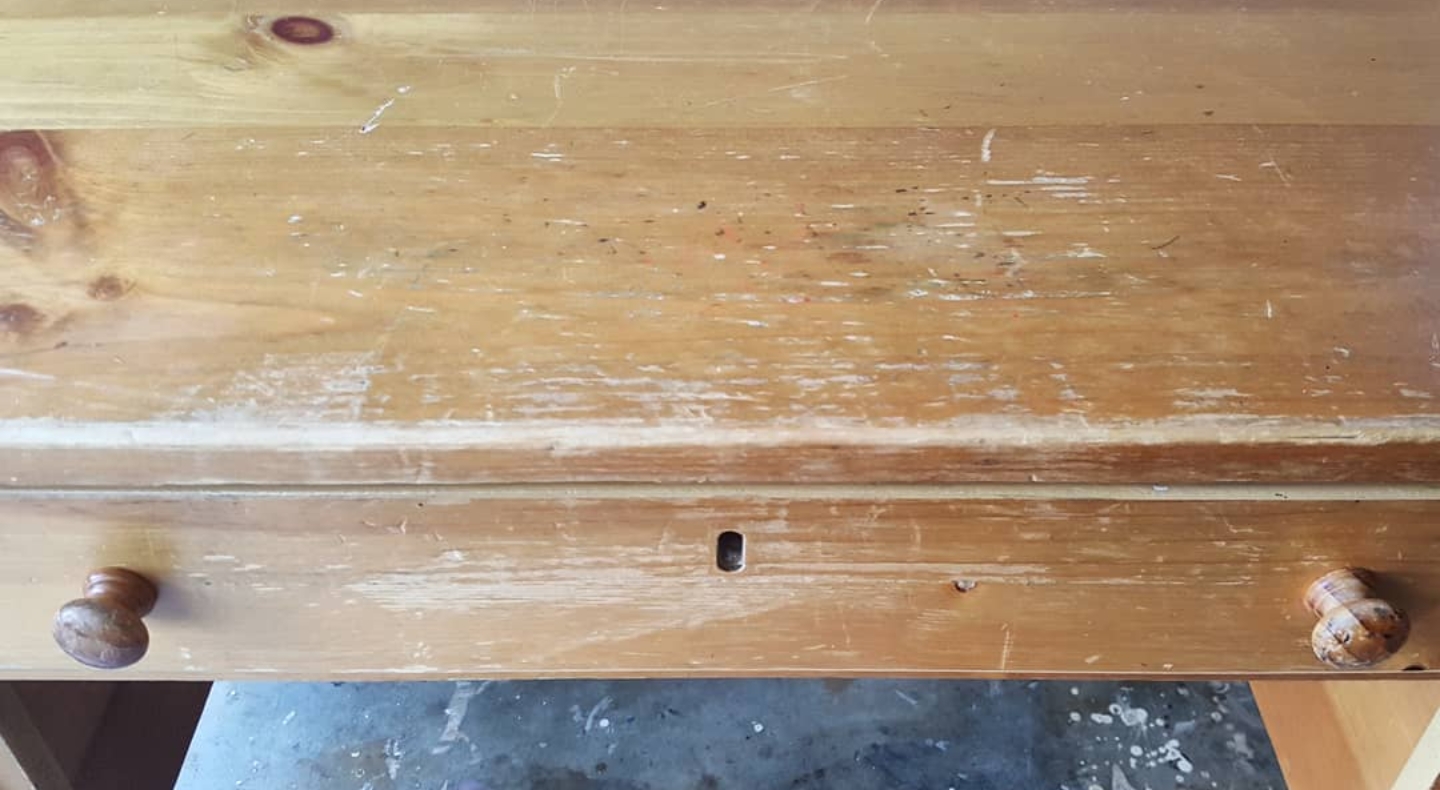
I knew I was going to use different handles, so I went ahead and filled the holes on the drawers. I did this using wood filler and a soft putty knife. I will provide a video tutorial on this soon!
I put 220 grit sandpaper on my random orbital sander and sanded every inch of the desk and made sure I smoothed out the wood filler I applied to the drawers too.
I then vacuumed off all of the sanding dust, the inside of the drawers and I also vacuumed the inside of the table where each drawer sits
I cleaned the whole piece with Krud Kutter and shop towels again.
I did a slightly different process for the table-top since I was planning on staining it versus painting it. Since the top was pretty dinged up, I decided not to strip it, instead I put 150 grit sandpaper on my random orbital sander and sanded off the original stain so that I could stain it a different color. This helped smooth out those rough areas in the wood while also helping me prep for the new stain. I then took a 150 grit piece of sandpaper and hand-sanded the top to make sure there weren’t any “swirls” in the wood. Since this piece was made of pine, which is soft wood it can easily get swirls, so the hand-sanding is imperative after using the orbital sander. When I was done sanding, I vacuumed of the top and then cleaned it really well with Mineral Spirits.
Once the prep process was complete, I waited 24 hours to make sure any of the chemical products I used had ample time to dry. Then I applied my paint…
THE PAINTING PROCESS:
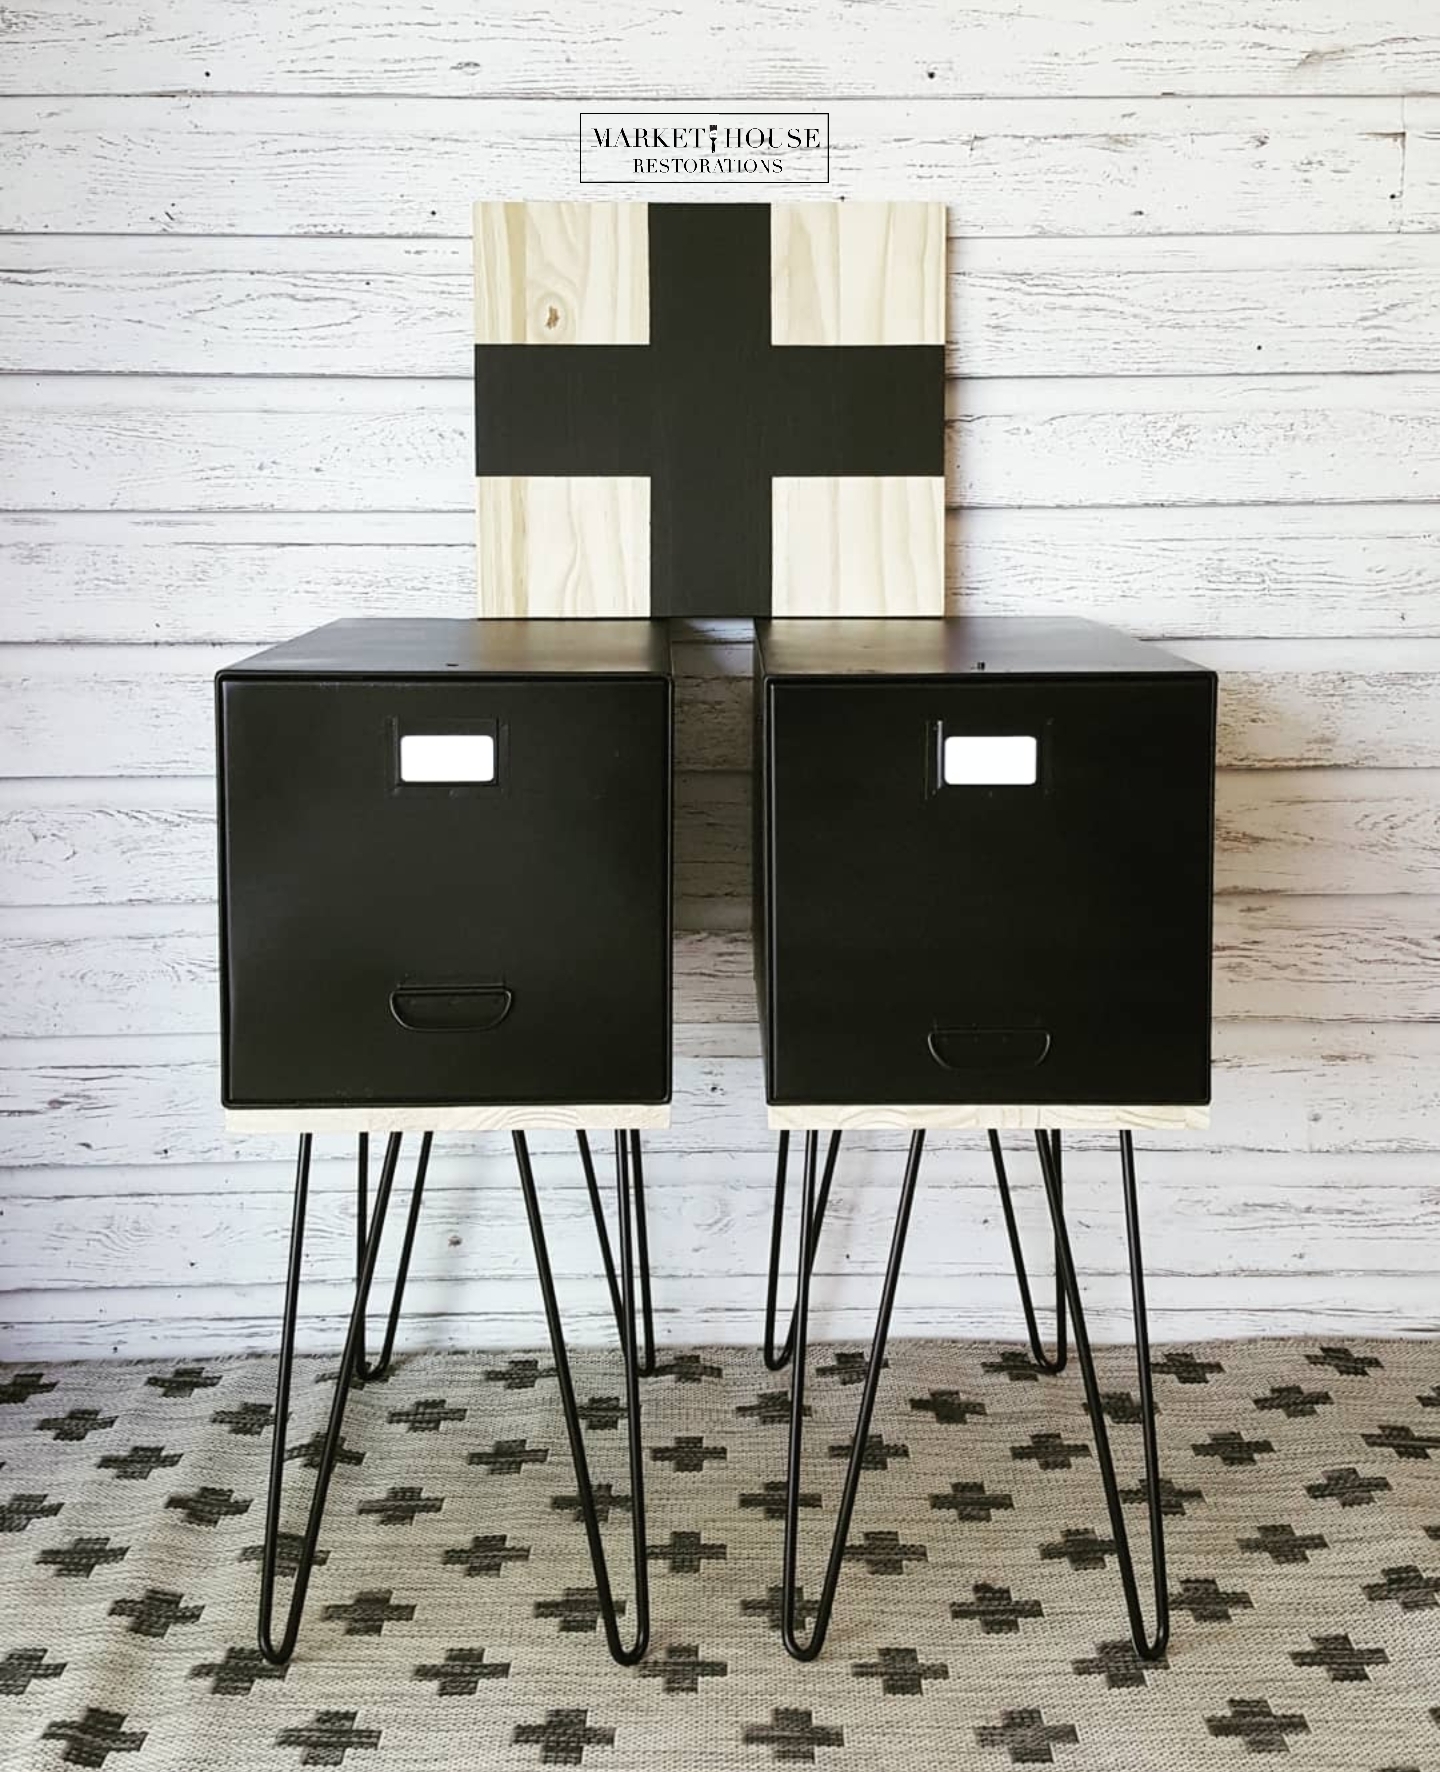
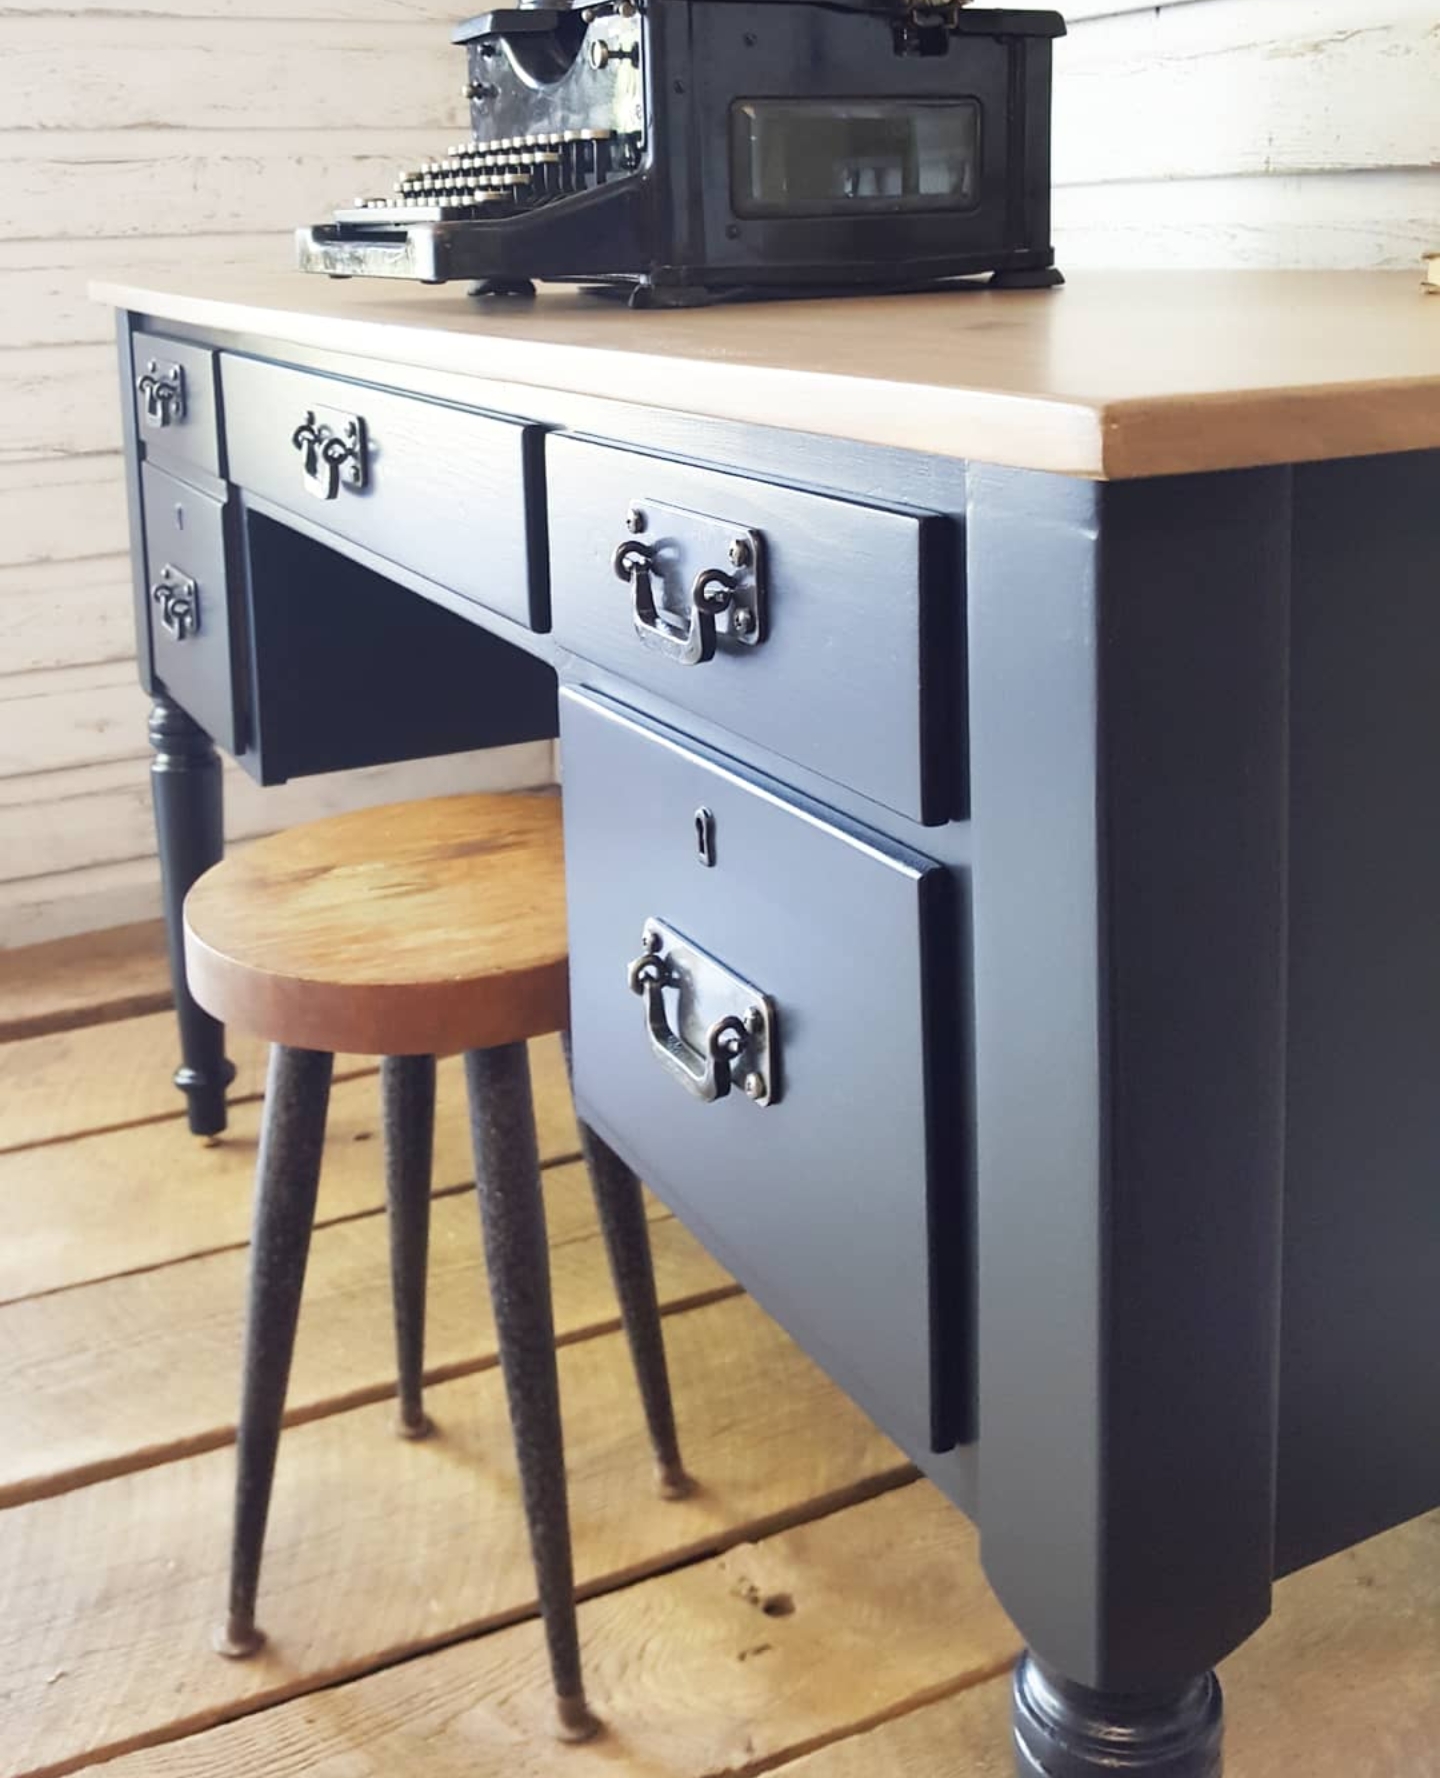
I applied 3 coats of General Finishes Lamp Black to the body of the desk using my Zibra 2” Palm Pro
I vacuumed the sanding dust
On the body of the desk, I applied 3 coats of General Finishes High Performance Top Coat in Flat with my Zibra Chisled Wedge.
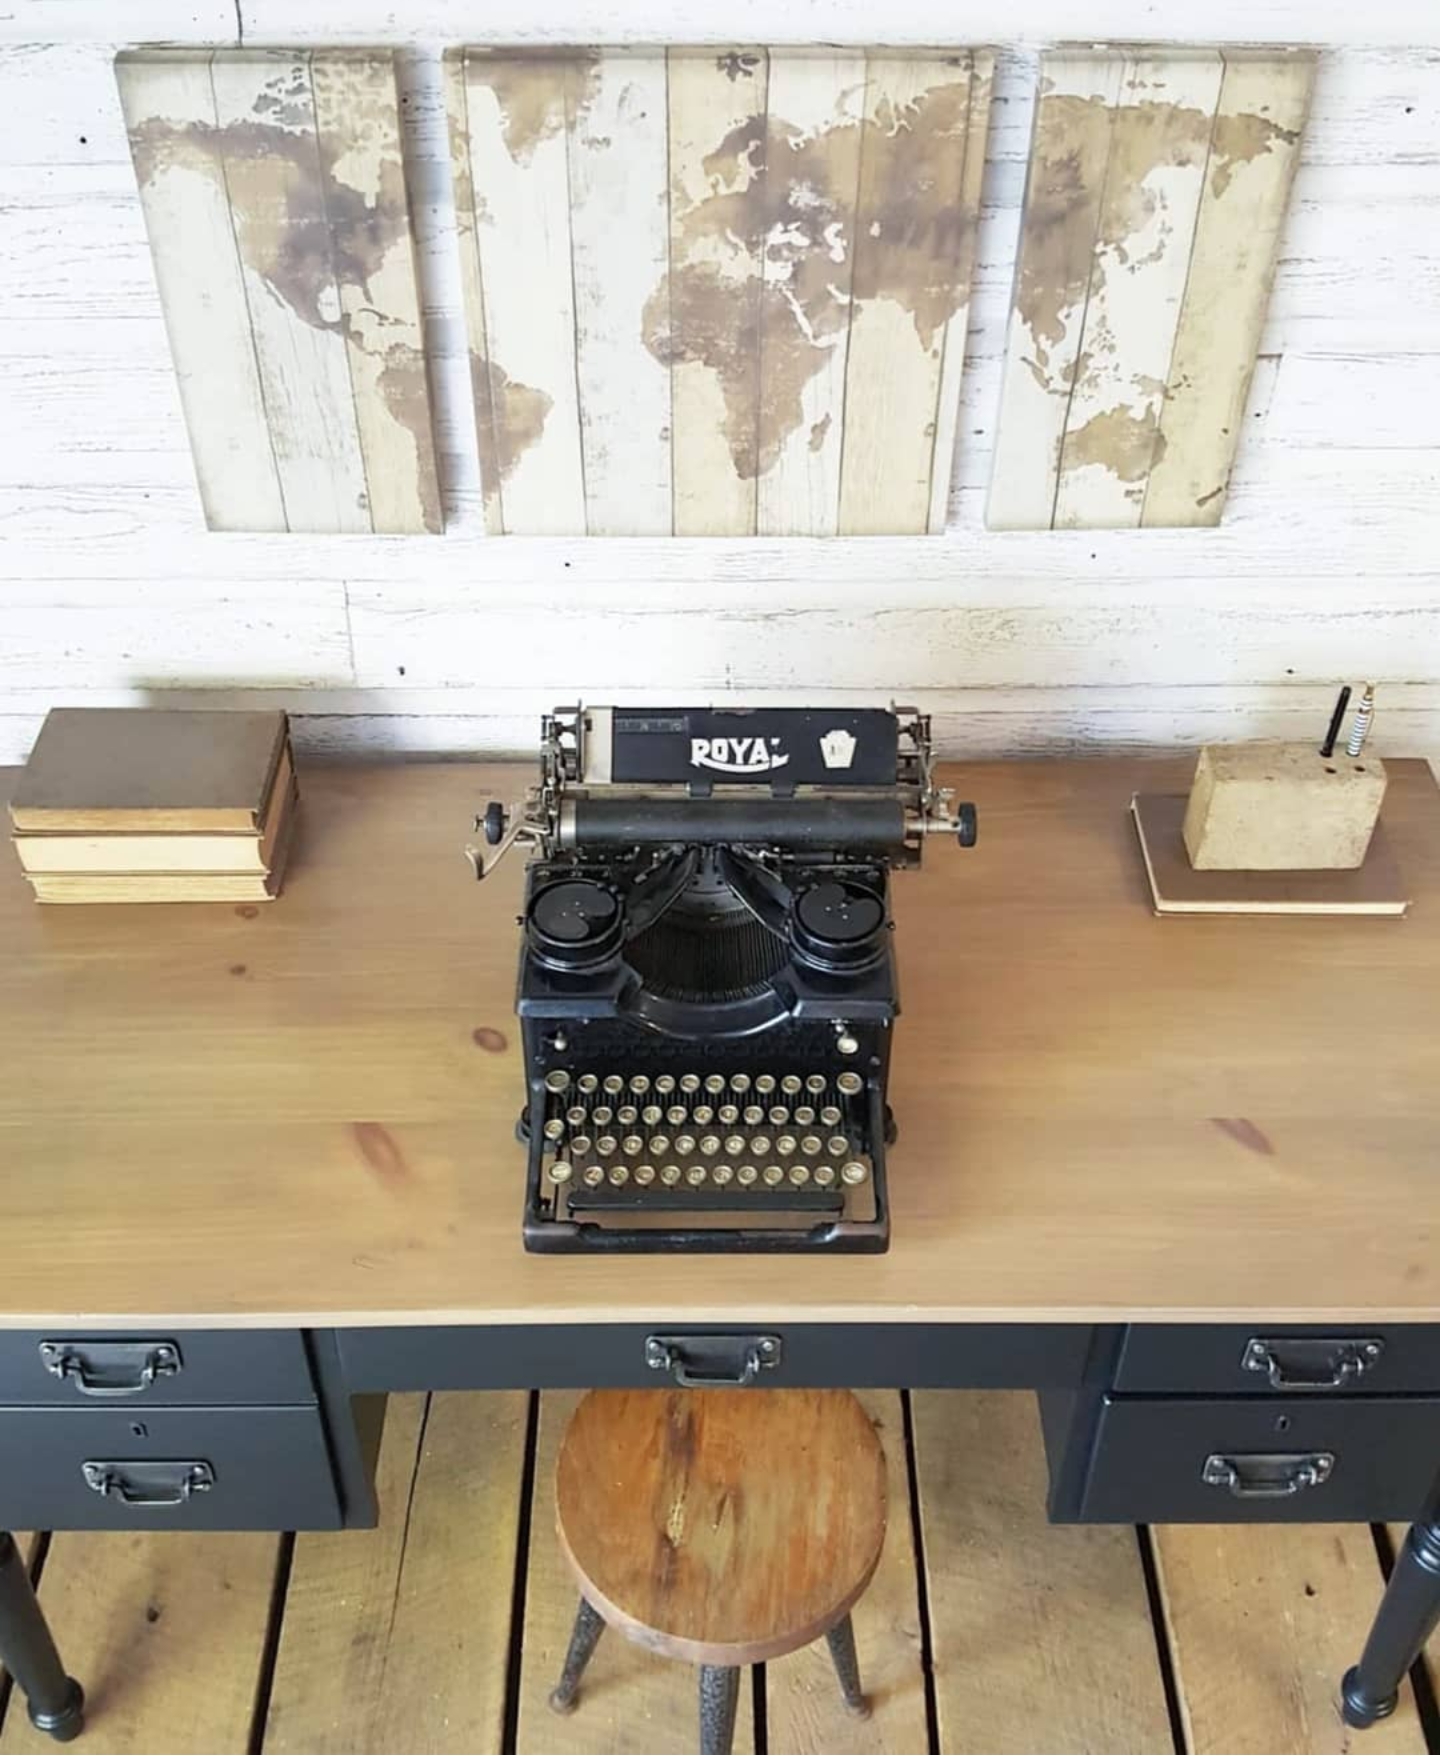
I stained the top of the desk with a light coat of Weathered Stain by Old Barn Milk Paint to help get rid of any orange that still may be coming through the wood.
On the top of the desk I added 4 coats of High Performance Top Coat in Flat by General Finishes, letting each coat dry really well in-between. I applied 4 coats because I knew the top would be getting a lot of use.
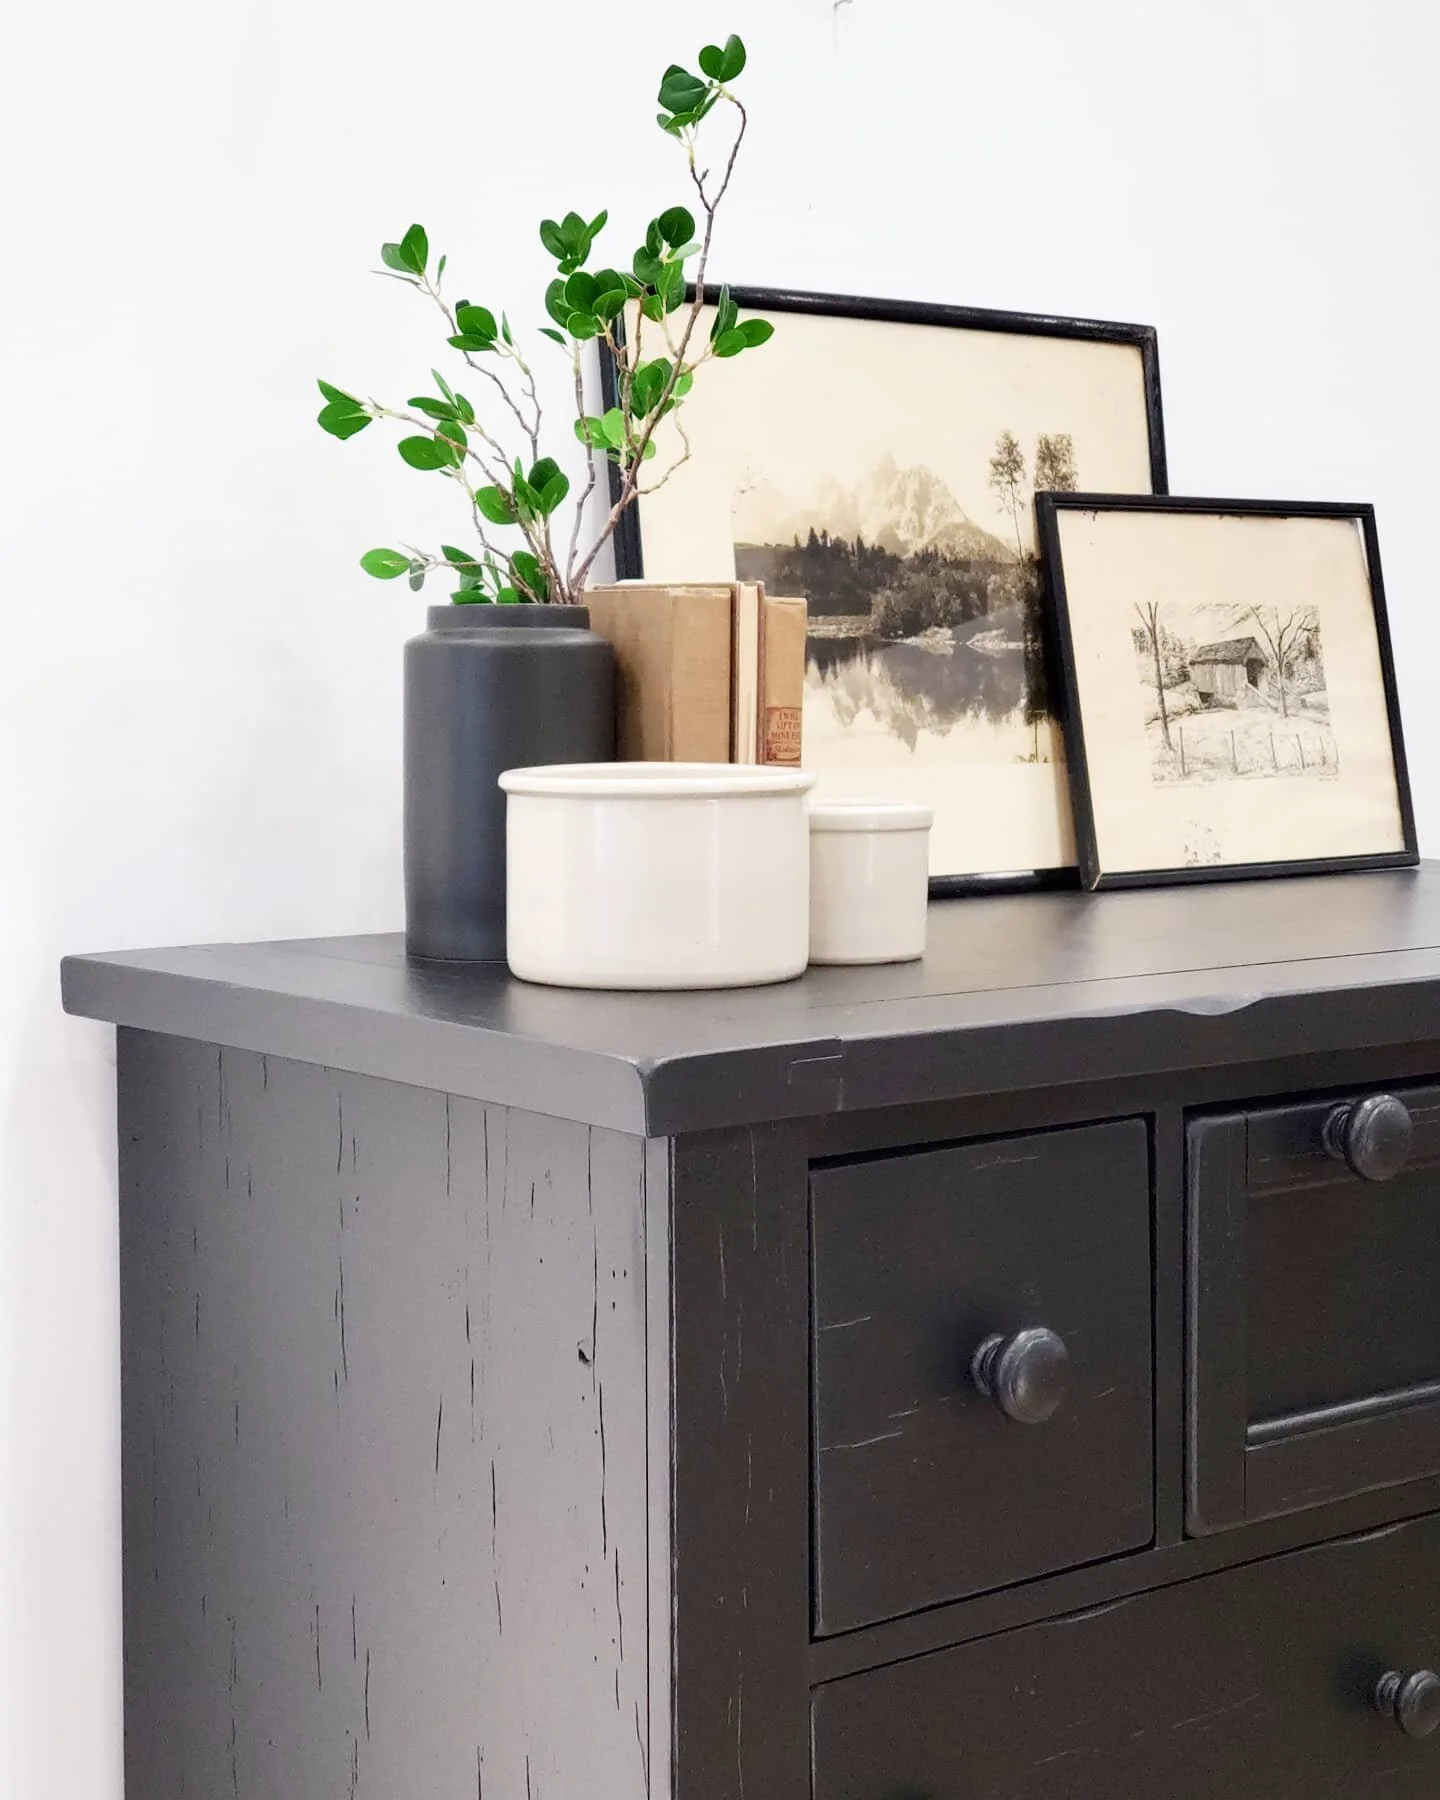
Once everything was nice and dry, I put everything back together and my husband added and re-positioned the new handles for me. The industrial knobs are from Wayfair.

Thank you SO much for tuning in this week for #MondayMakeoversWithFallon. If you want to save this blog post so you can refer back to it, make sure you pin it to your Pinterest page and/or feel free to share it elsewhere. I look forward being with you next Monday and don’t forget to tune in tomorrow for my educating video tutorial/tip for #TuesdayTipsWithFallon!!
*Please note, this post does contain affiliate links.


Did you know I have an eBook plus three different staging and styling guides that help you stage your furniture!? Between all three guides you receive over 500 different ways to style and stage different pieces of furniture. Yes, 500!! They are not just for the furniture artist either. Maybe you are planning on selling your home and need help staging your furniture so it doesn’t look cluttered or maybe you just have no clue how to style the furniture that you currently have and you want it to look nice?! No worries! These are for you!! Between all three guides and my second edition eBook you get over 200 pages of information! You do not have to worry about staging and styling your furniture ever again!!Here is the link to my eBook, Your Virtual Storefront. The Complete Guide to Staging Painted Furniture. It jammed packed information that will help you take your staging to the next level! I also have three separate staging and styling guides that help you stage specific pieces of furniture.
Here is a breakdown of my eBook and Guides:
*Your Virtual Storefront. The Complete Guide to Staging Your Painted Furniture. 2nd EDITION: Everything you need to know to help you stage your furniture from, photography, the photo editing process, lighting, staging areas/locations, information about logo/watermarks…just to name a handful of the topics.
*The Bedroom Furniture Guide: Staging and Styling Chest of Drawers, Dressers, Nightstands, Wardrobes, Blanket Chests, Vanities, Beds and Bedroom Sets)
*The Dining Room Furniture Guide: Staging and Styling Buffets/Sideboards, China Hutches, Glass Front China Cabinets and Tables & Chairs
*The Everyday Living Furniture Guide: Staging and Styling Desks, Multi-Purpose Pieces, Sofa Tables, TV Stands, Side Tables, Coffee Tables, Benches and Bookshelves
I appreciate you stopping by!!
Make sure you check out my other #MondayMakeoversWithFallon tutorials below!