Full Tutorial on Water-Damaged Desk Makeover #MondayMakeoversWithFallon
/#MondayMakeoversWithFallon
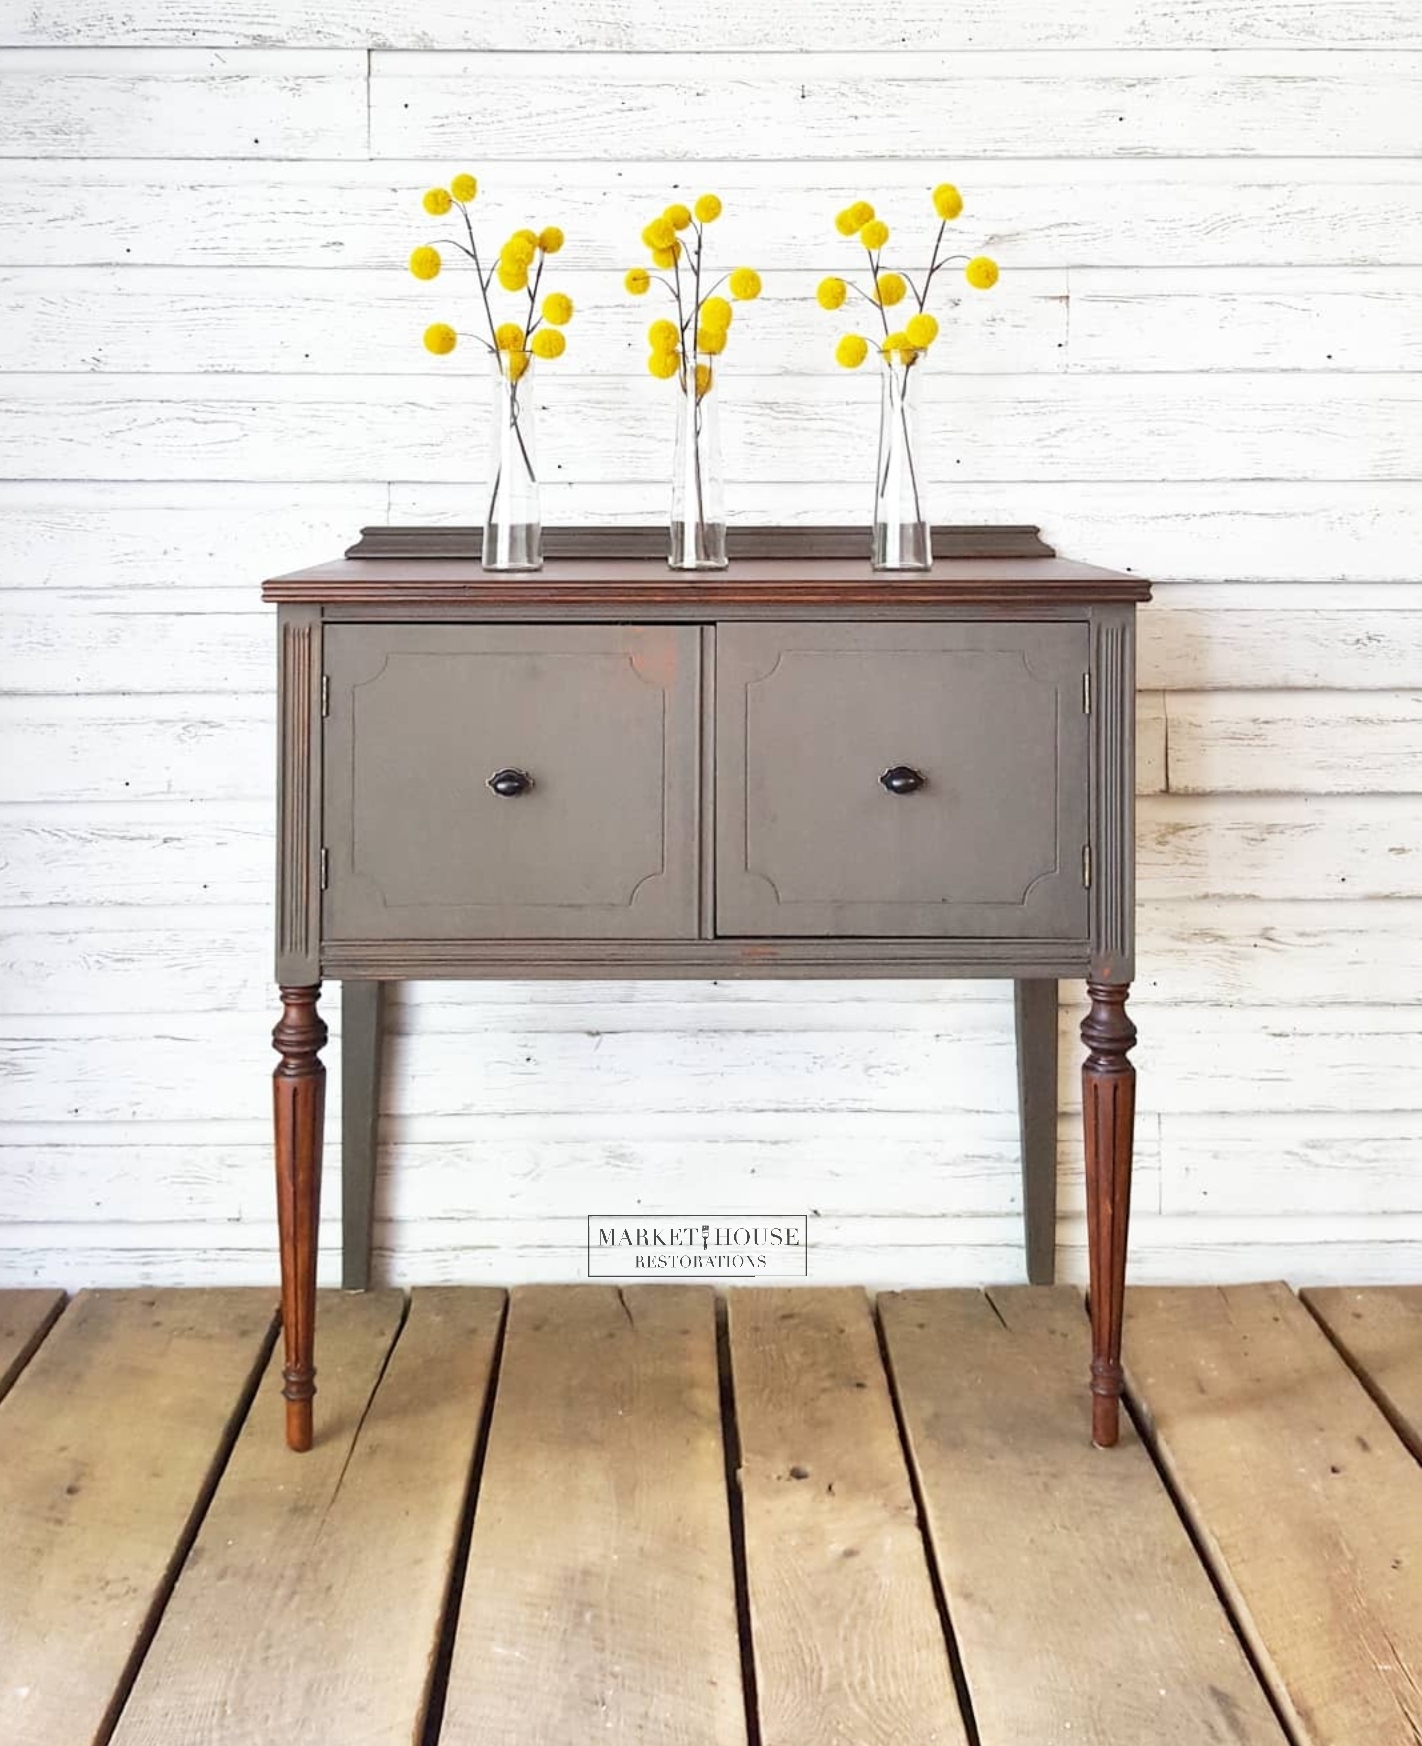
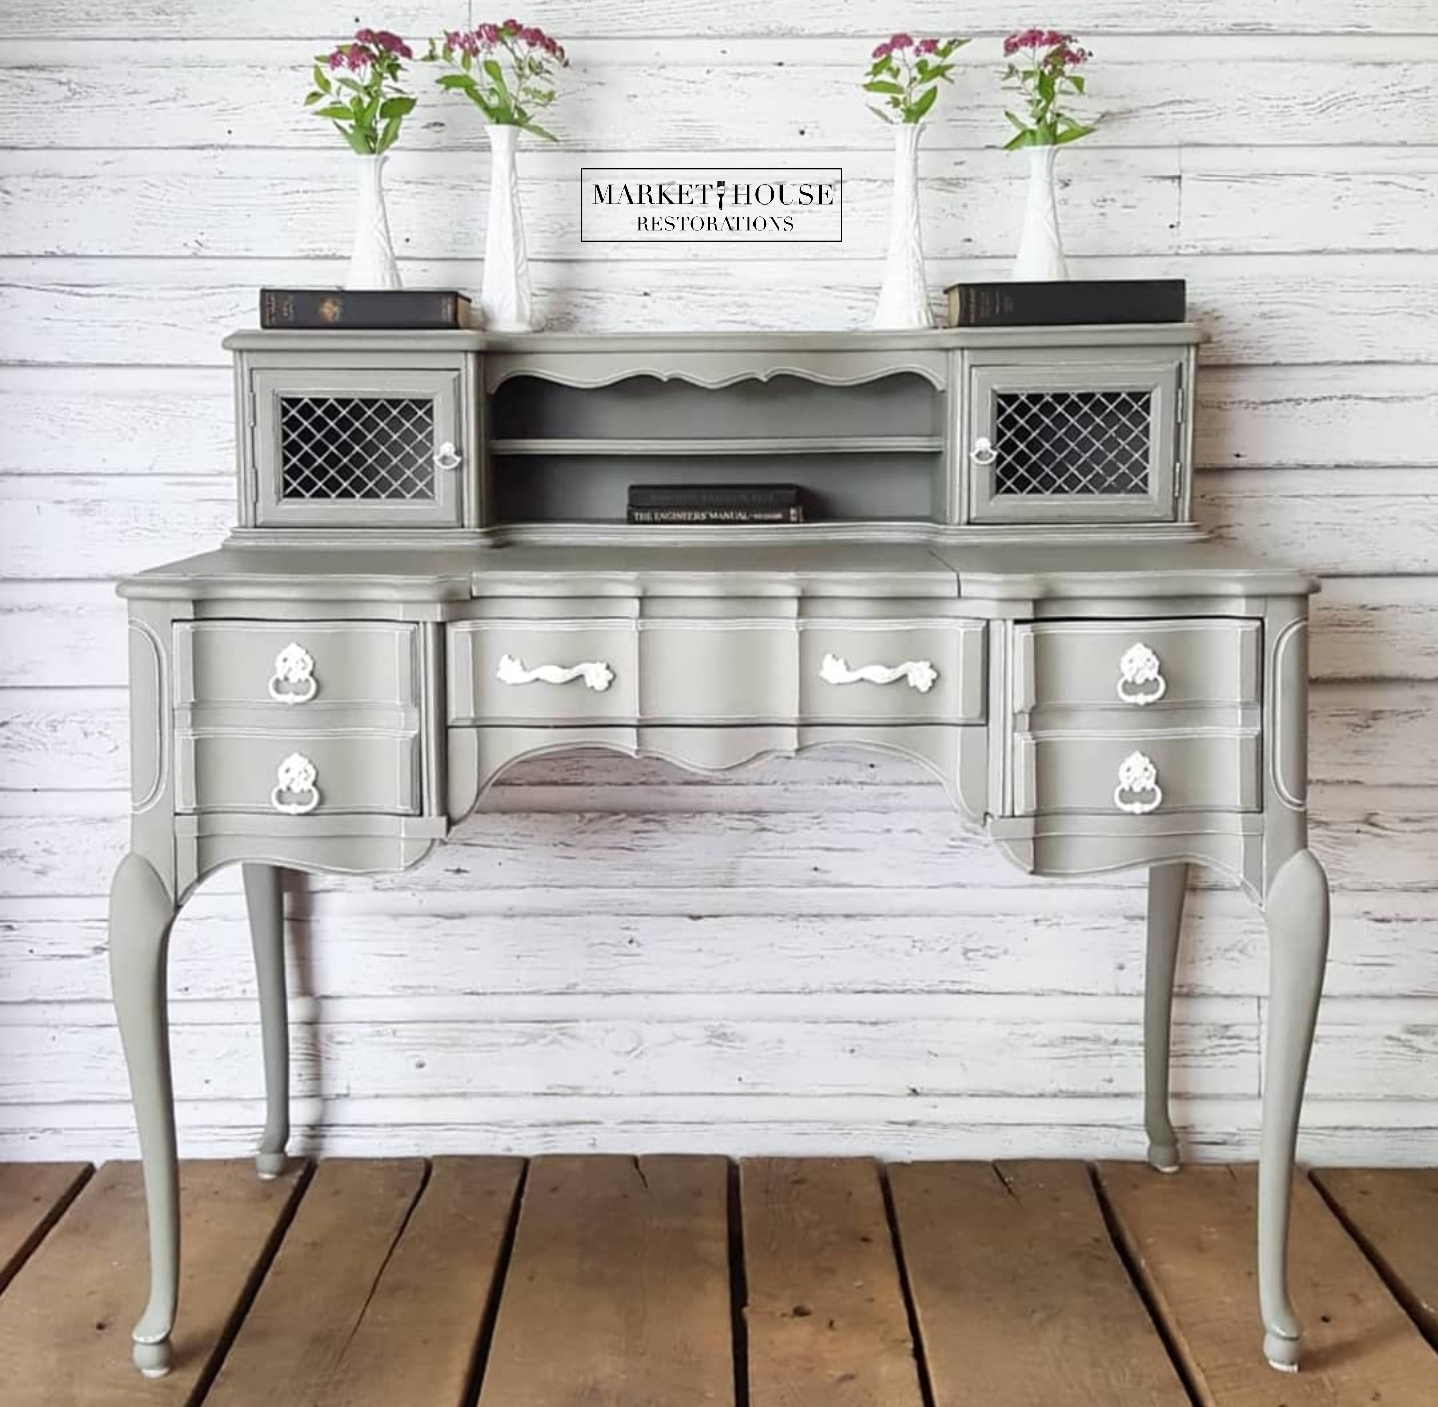
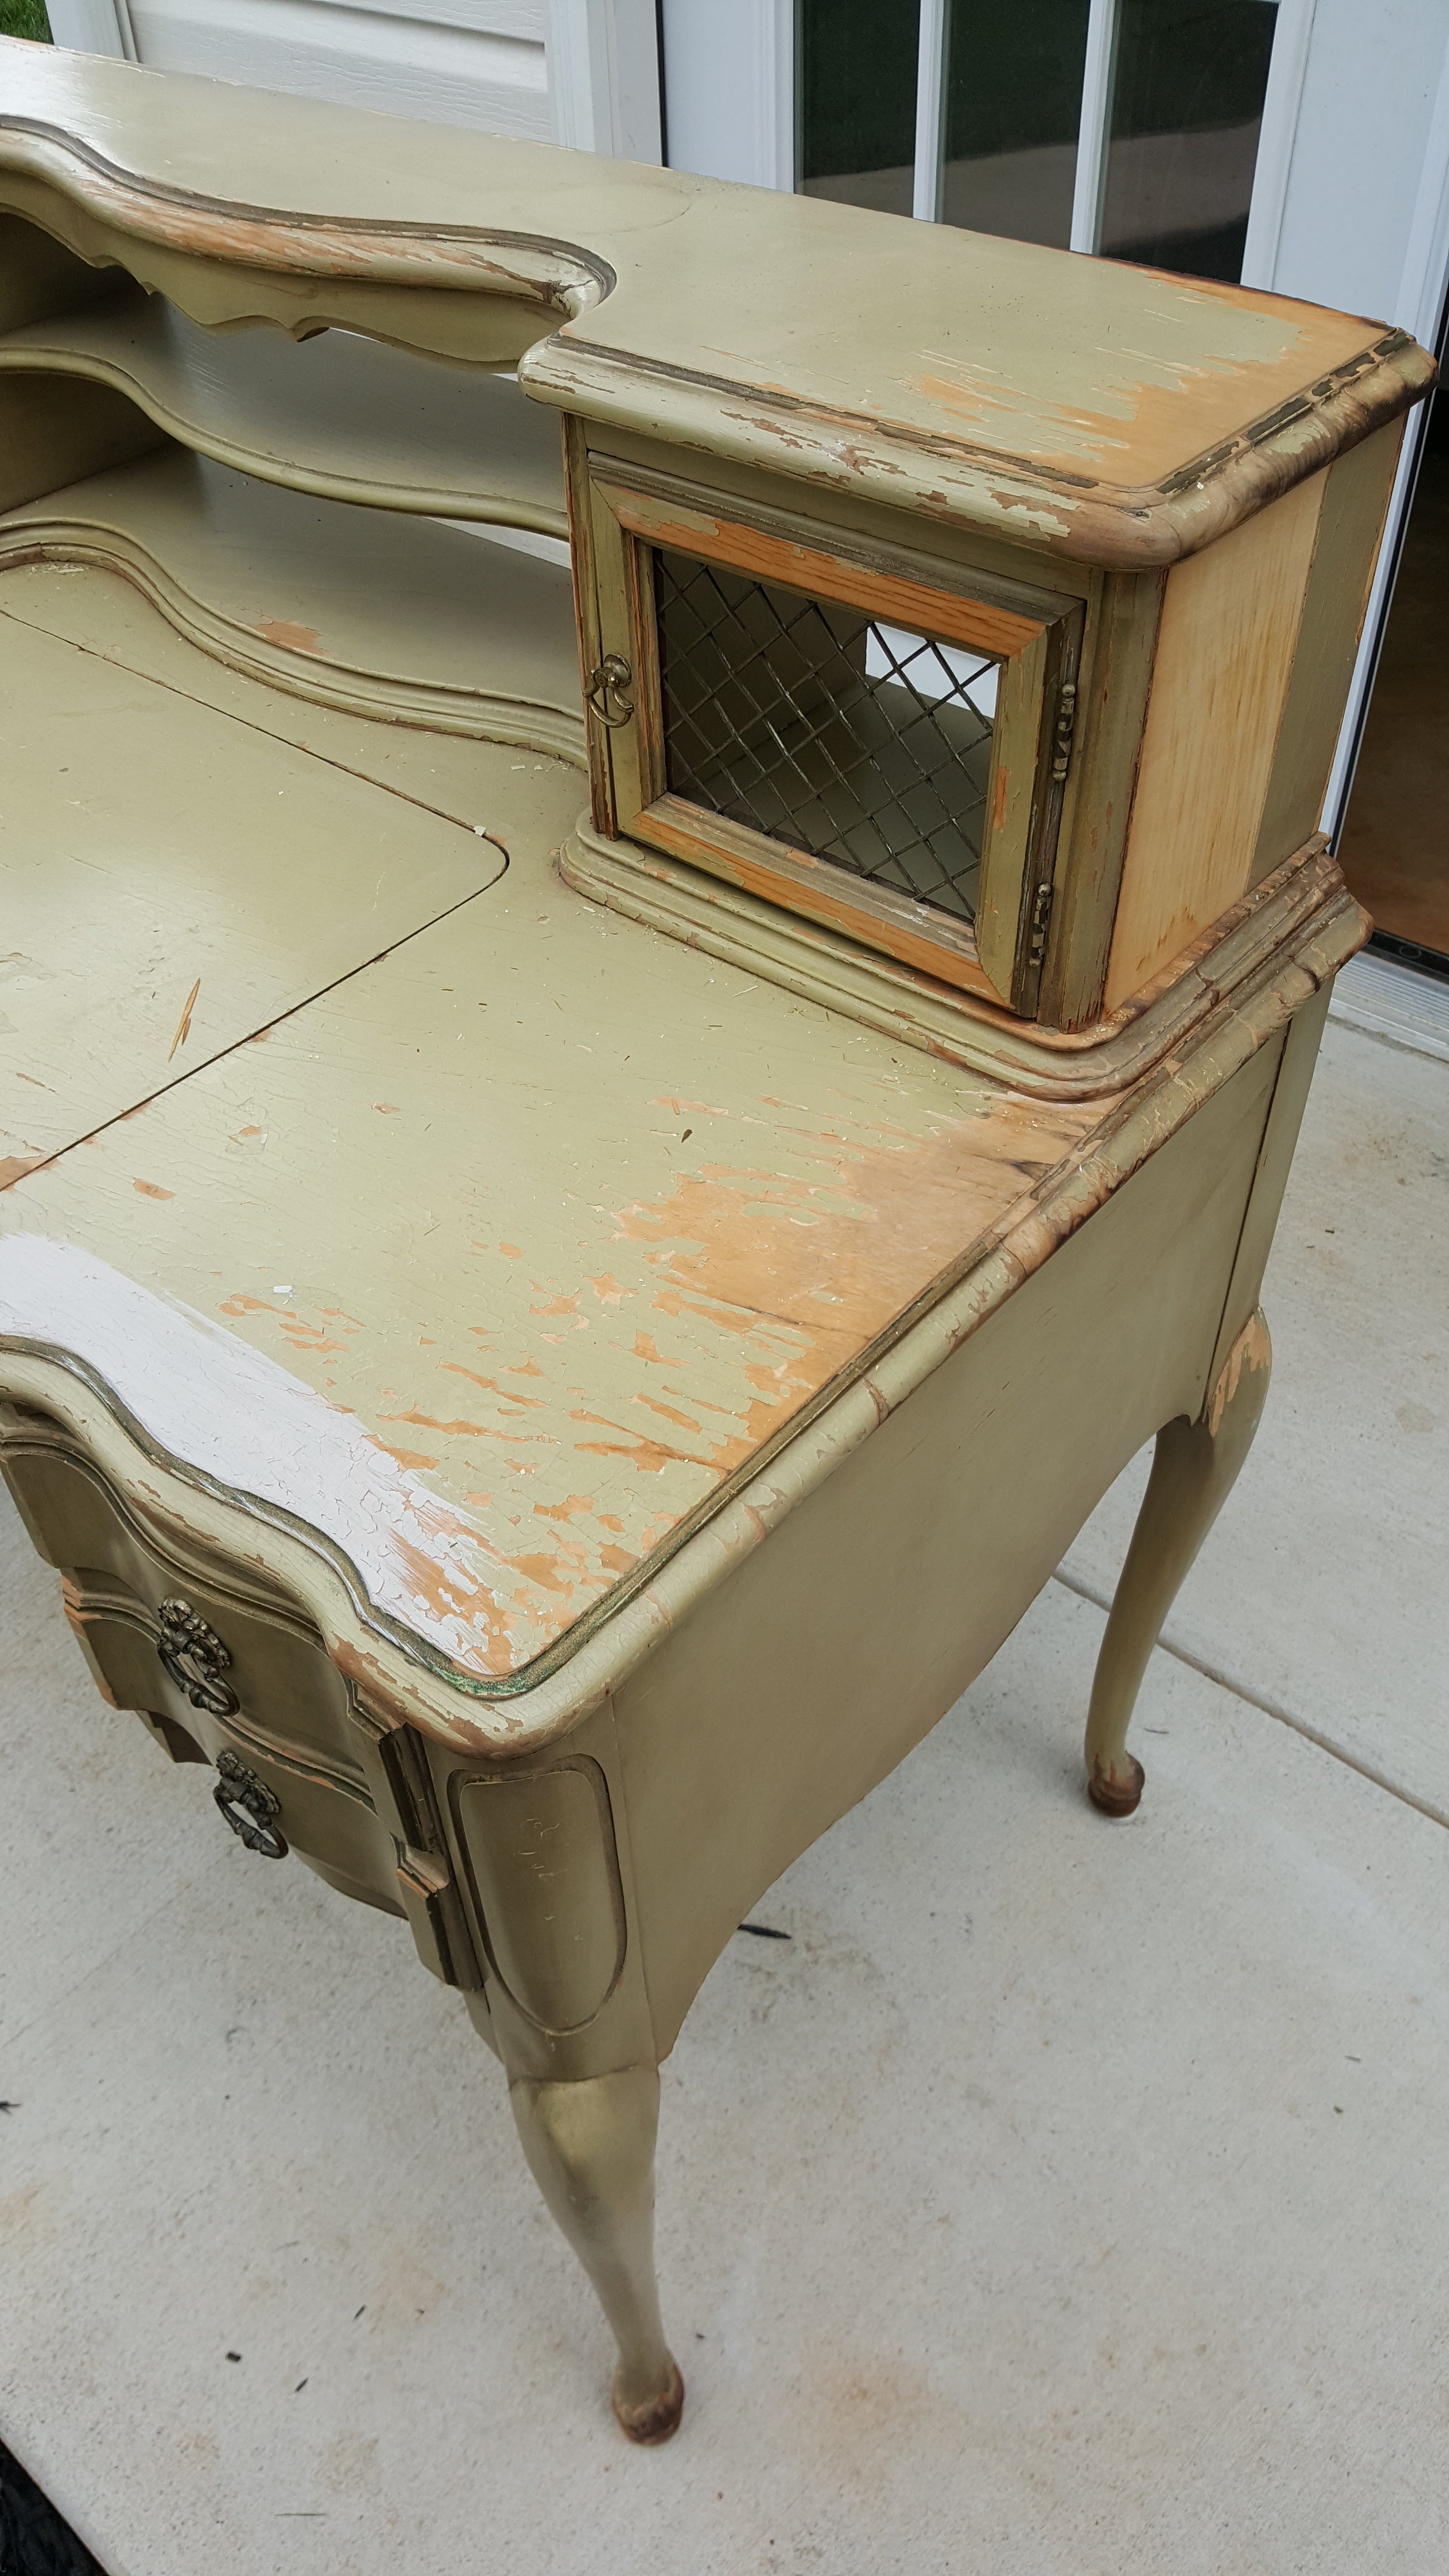
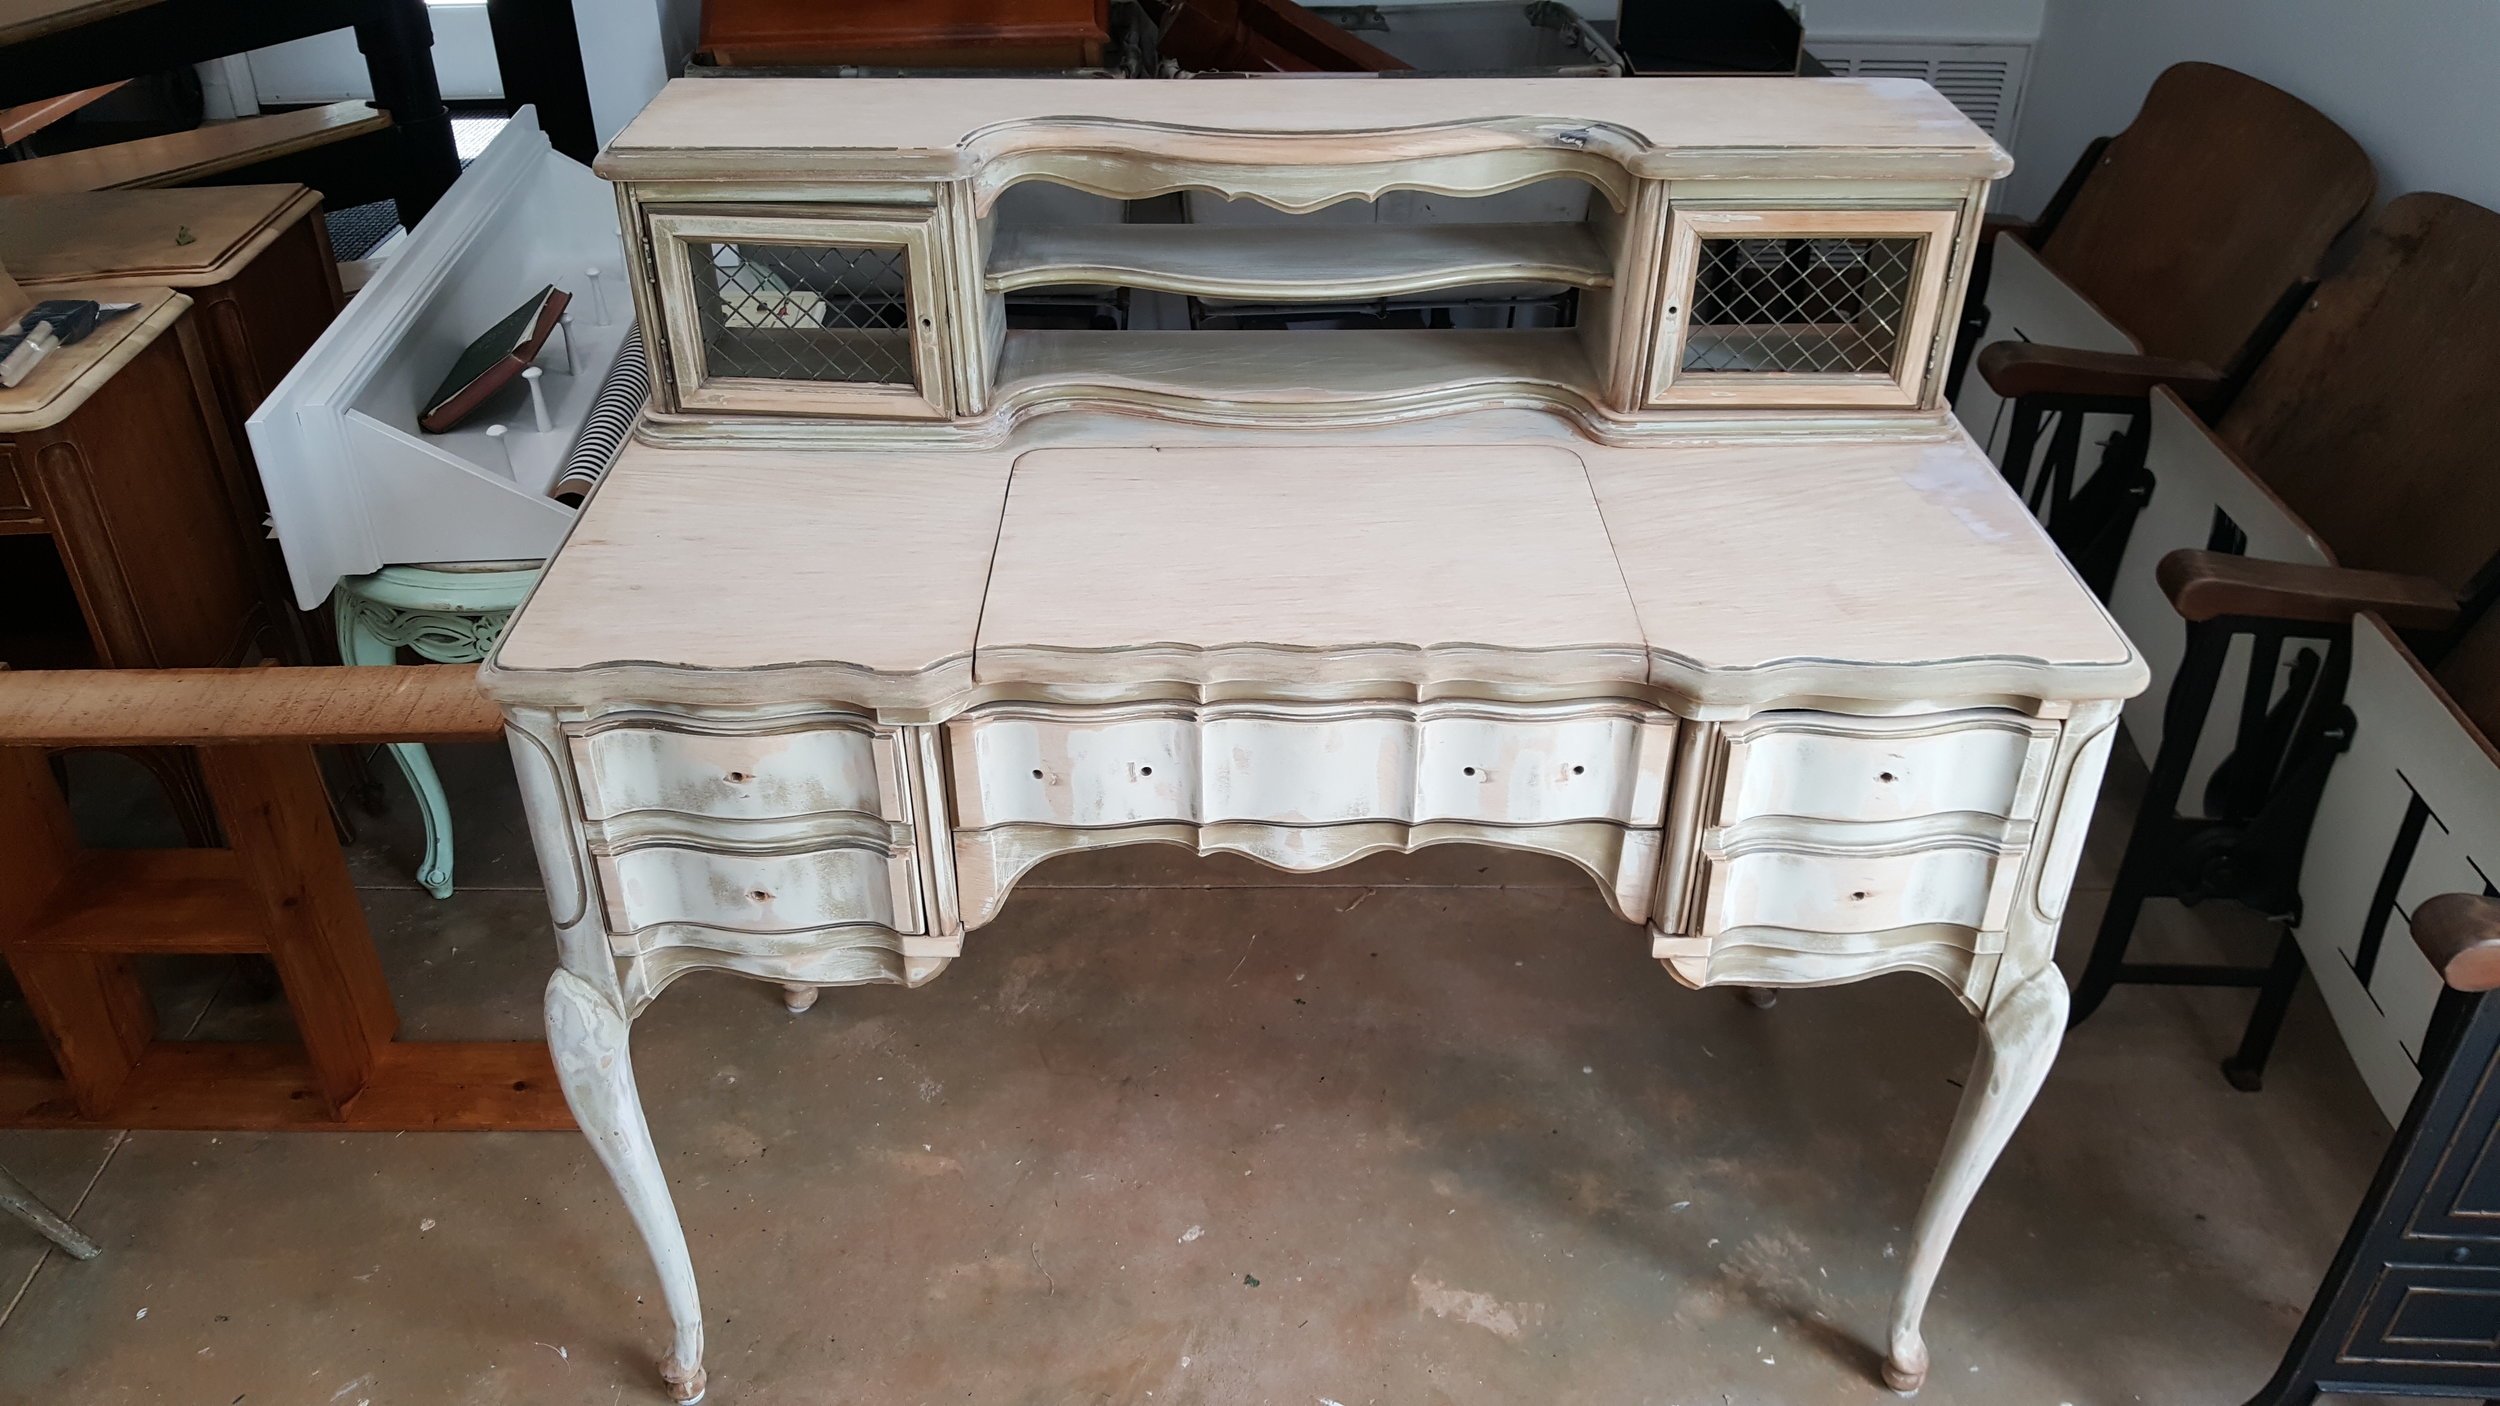
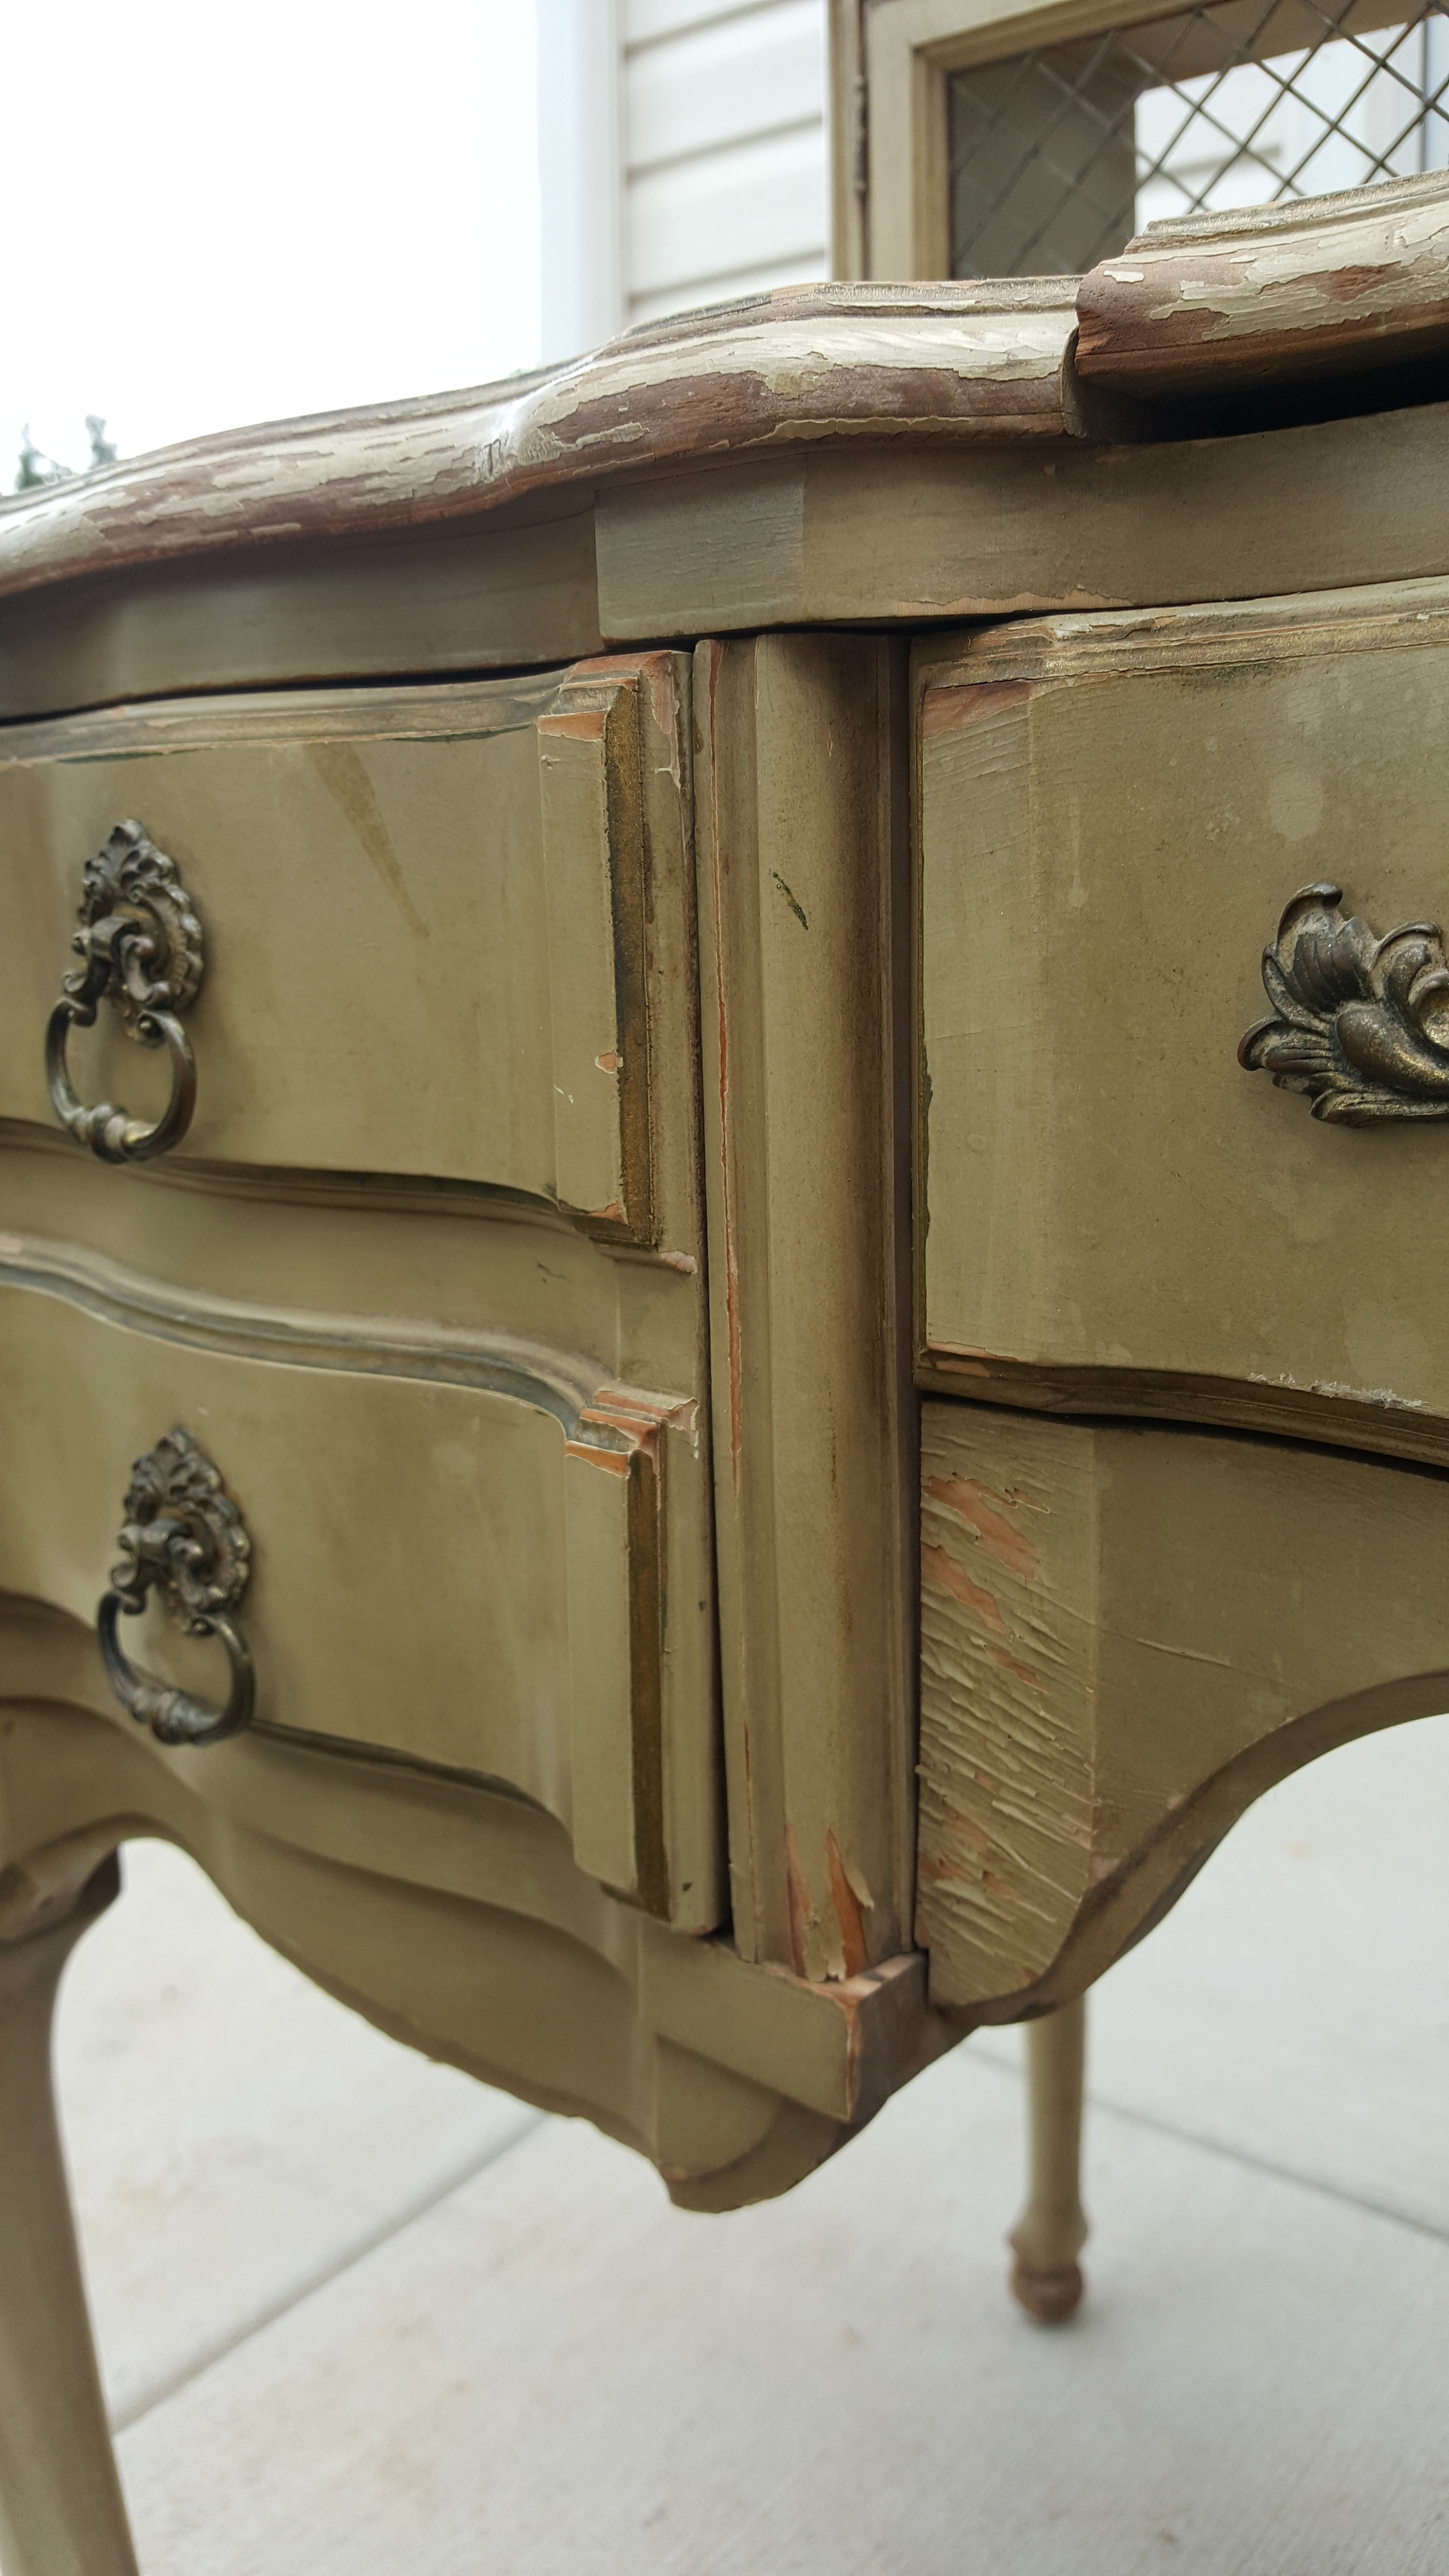
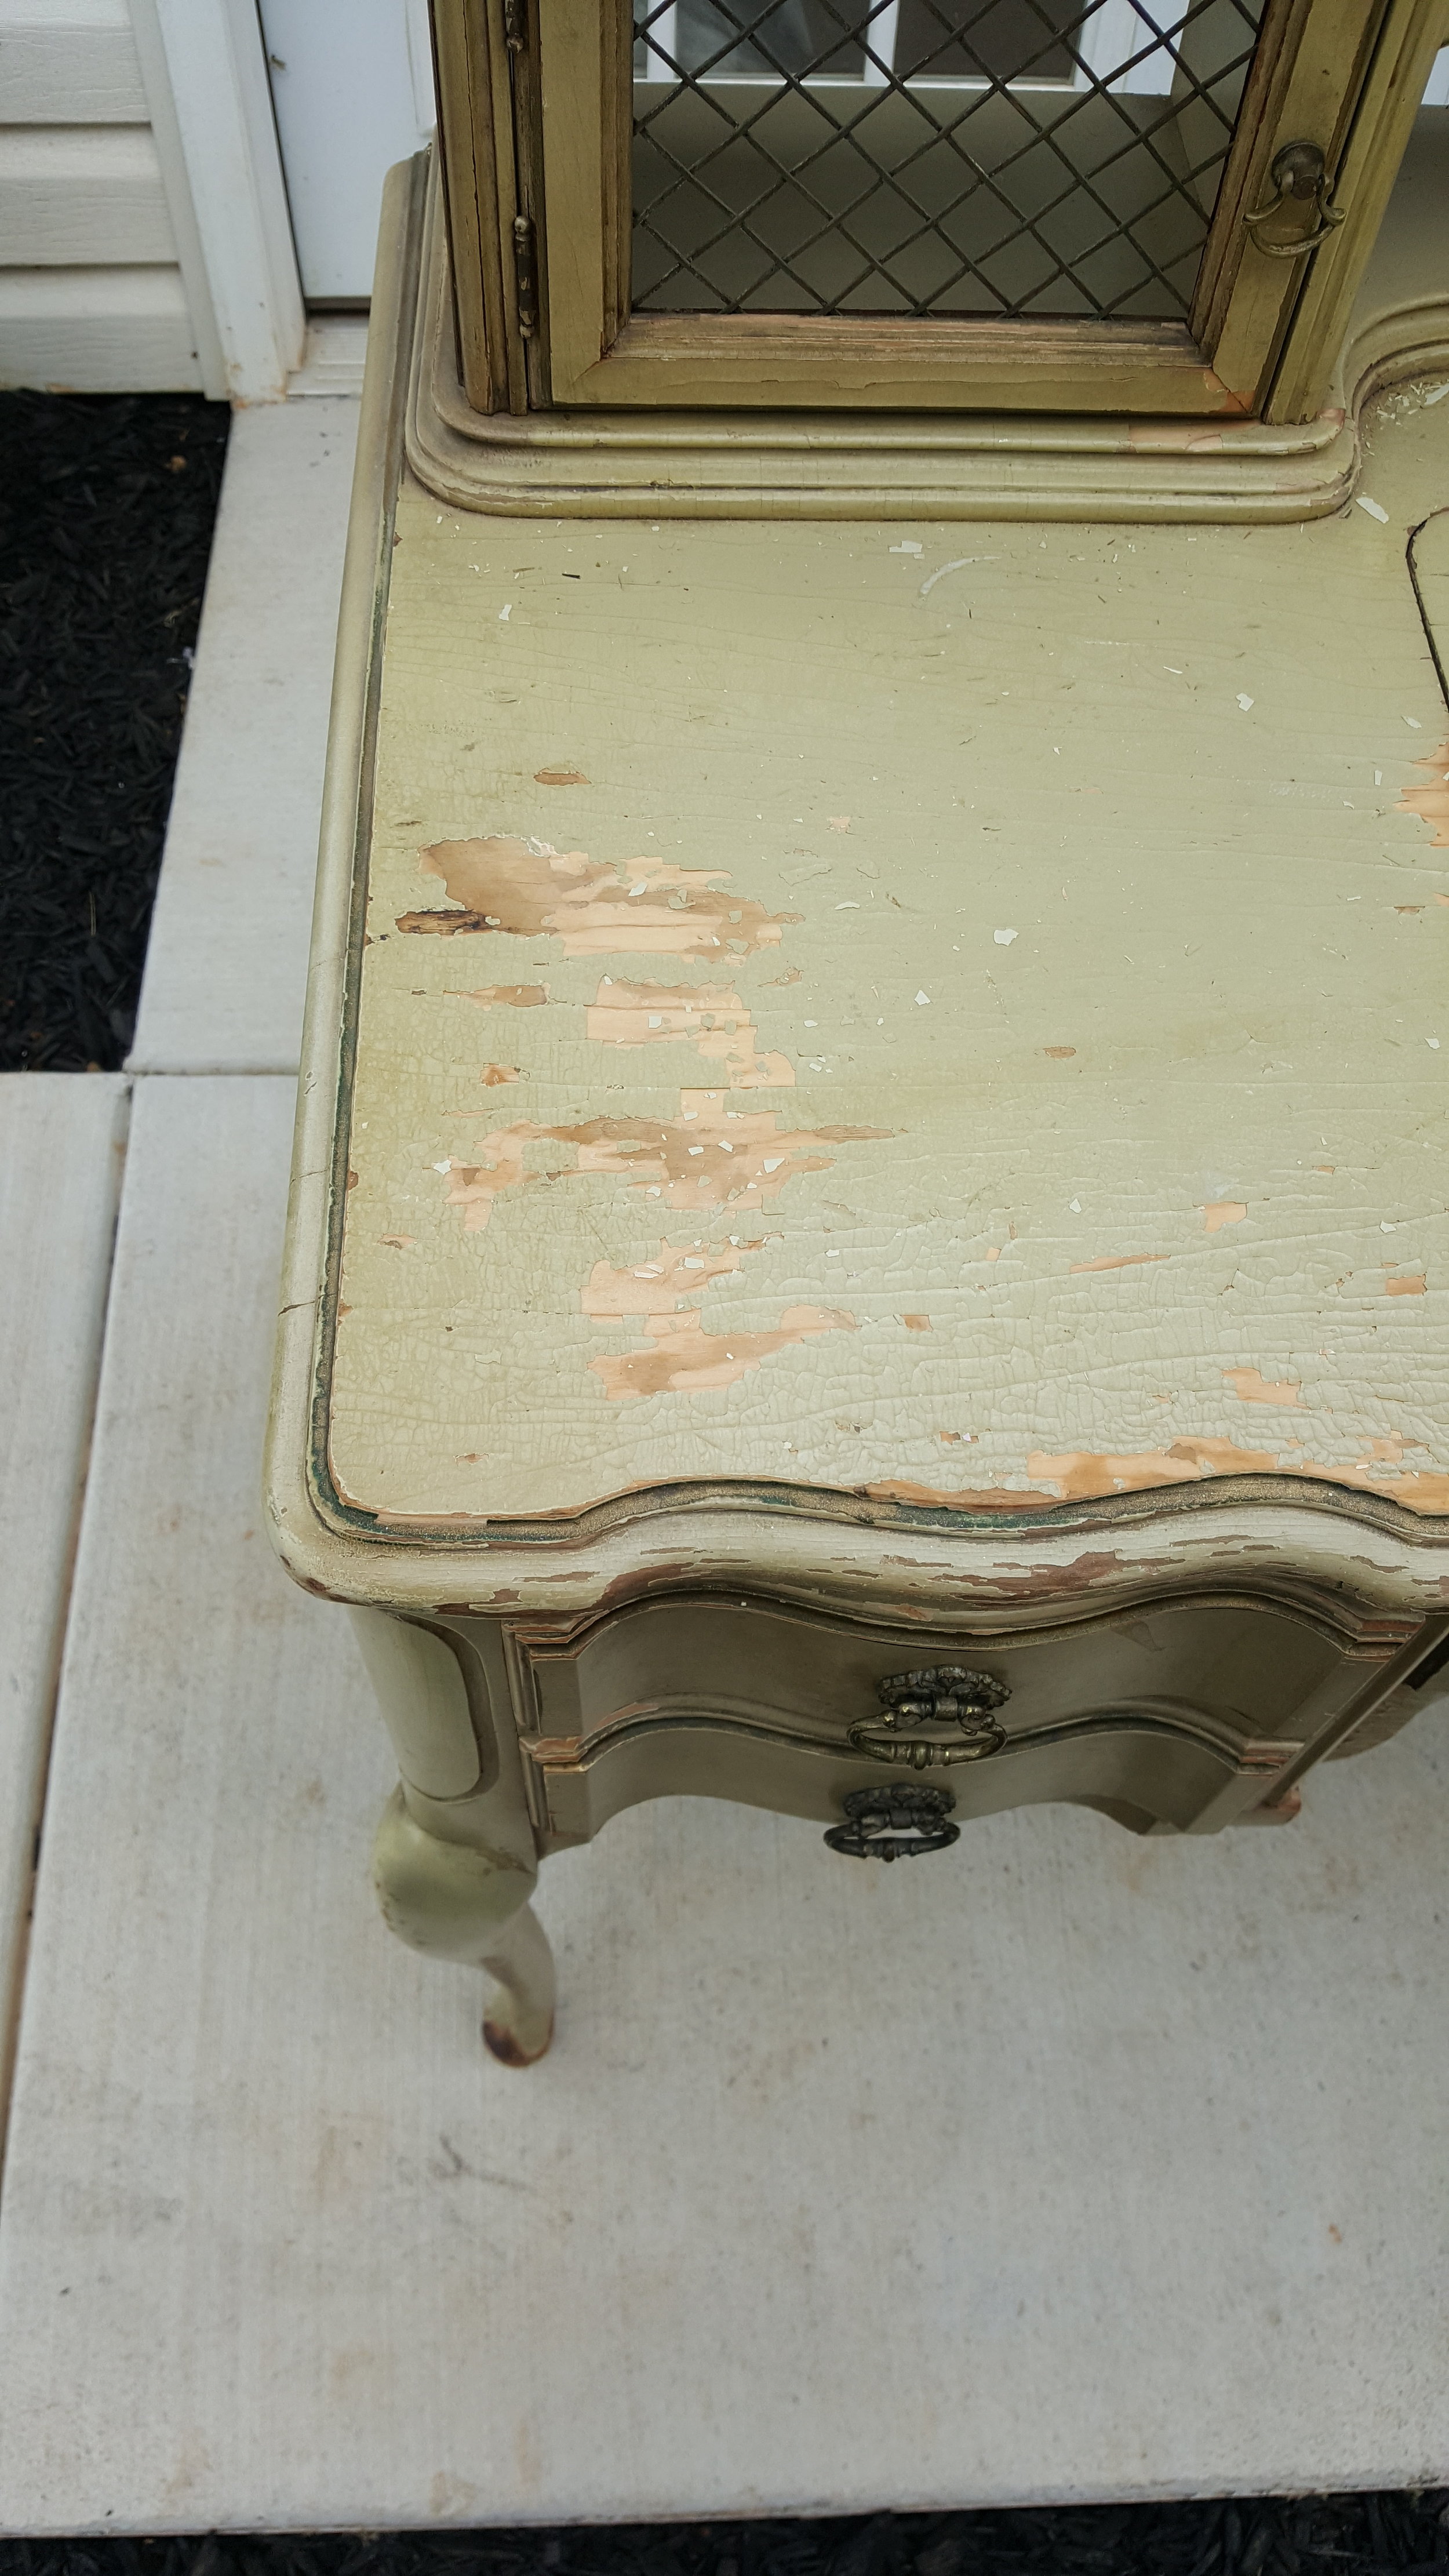
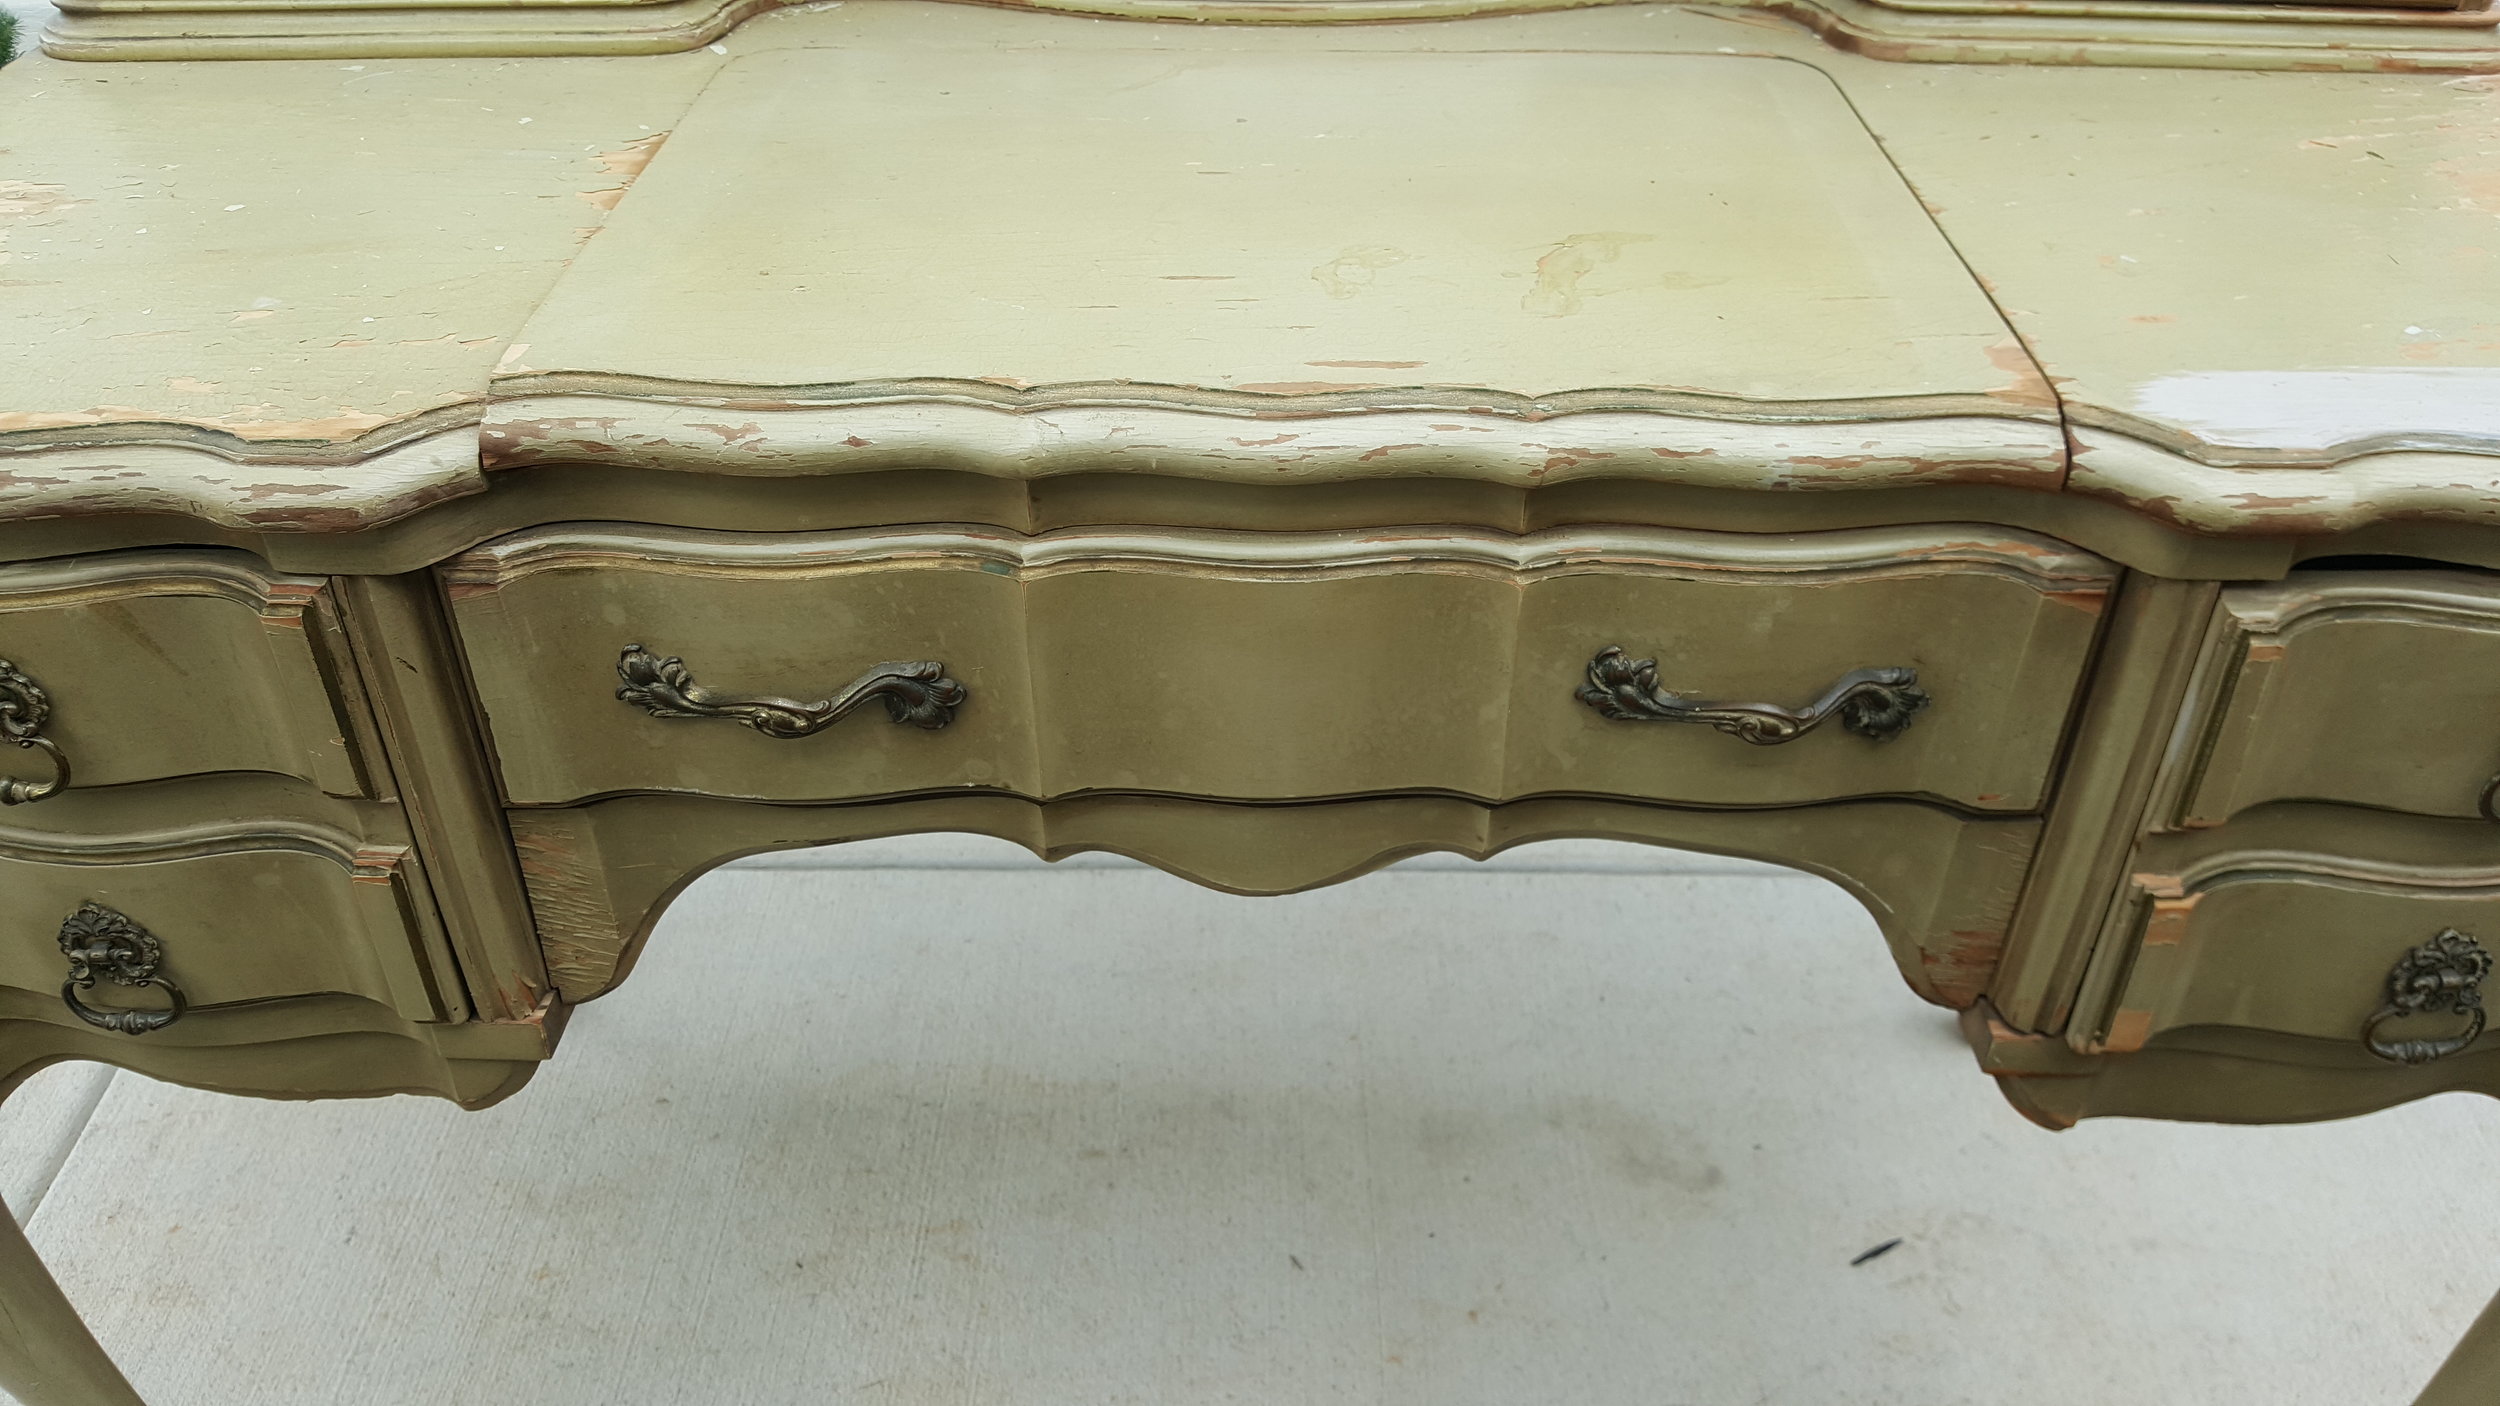
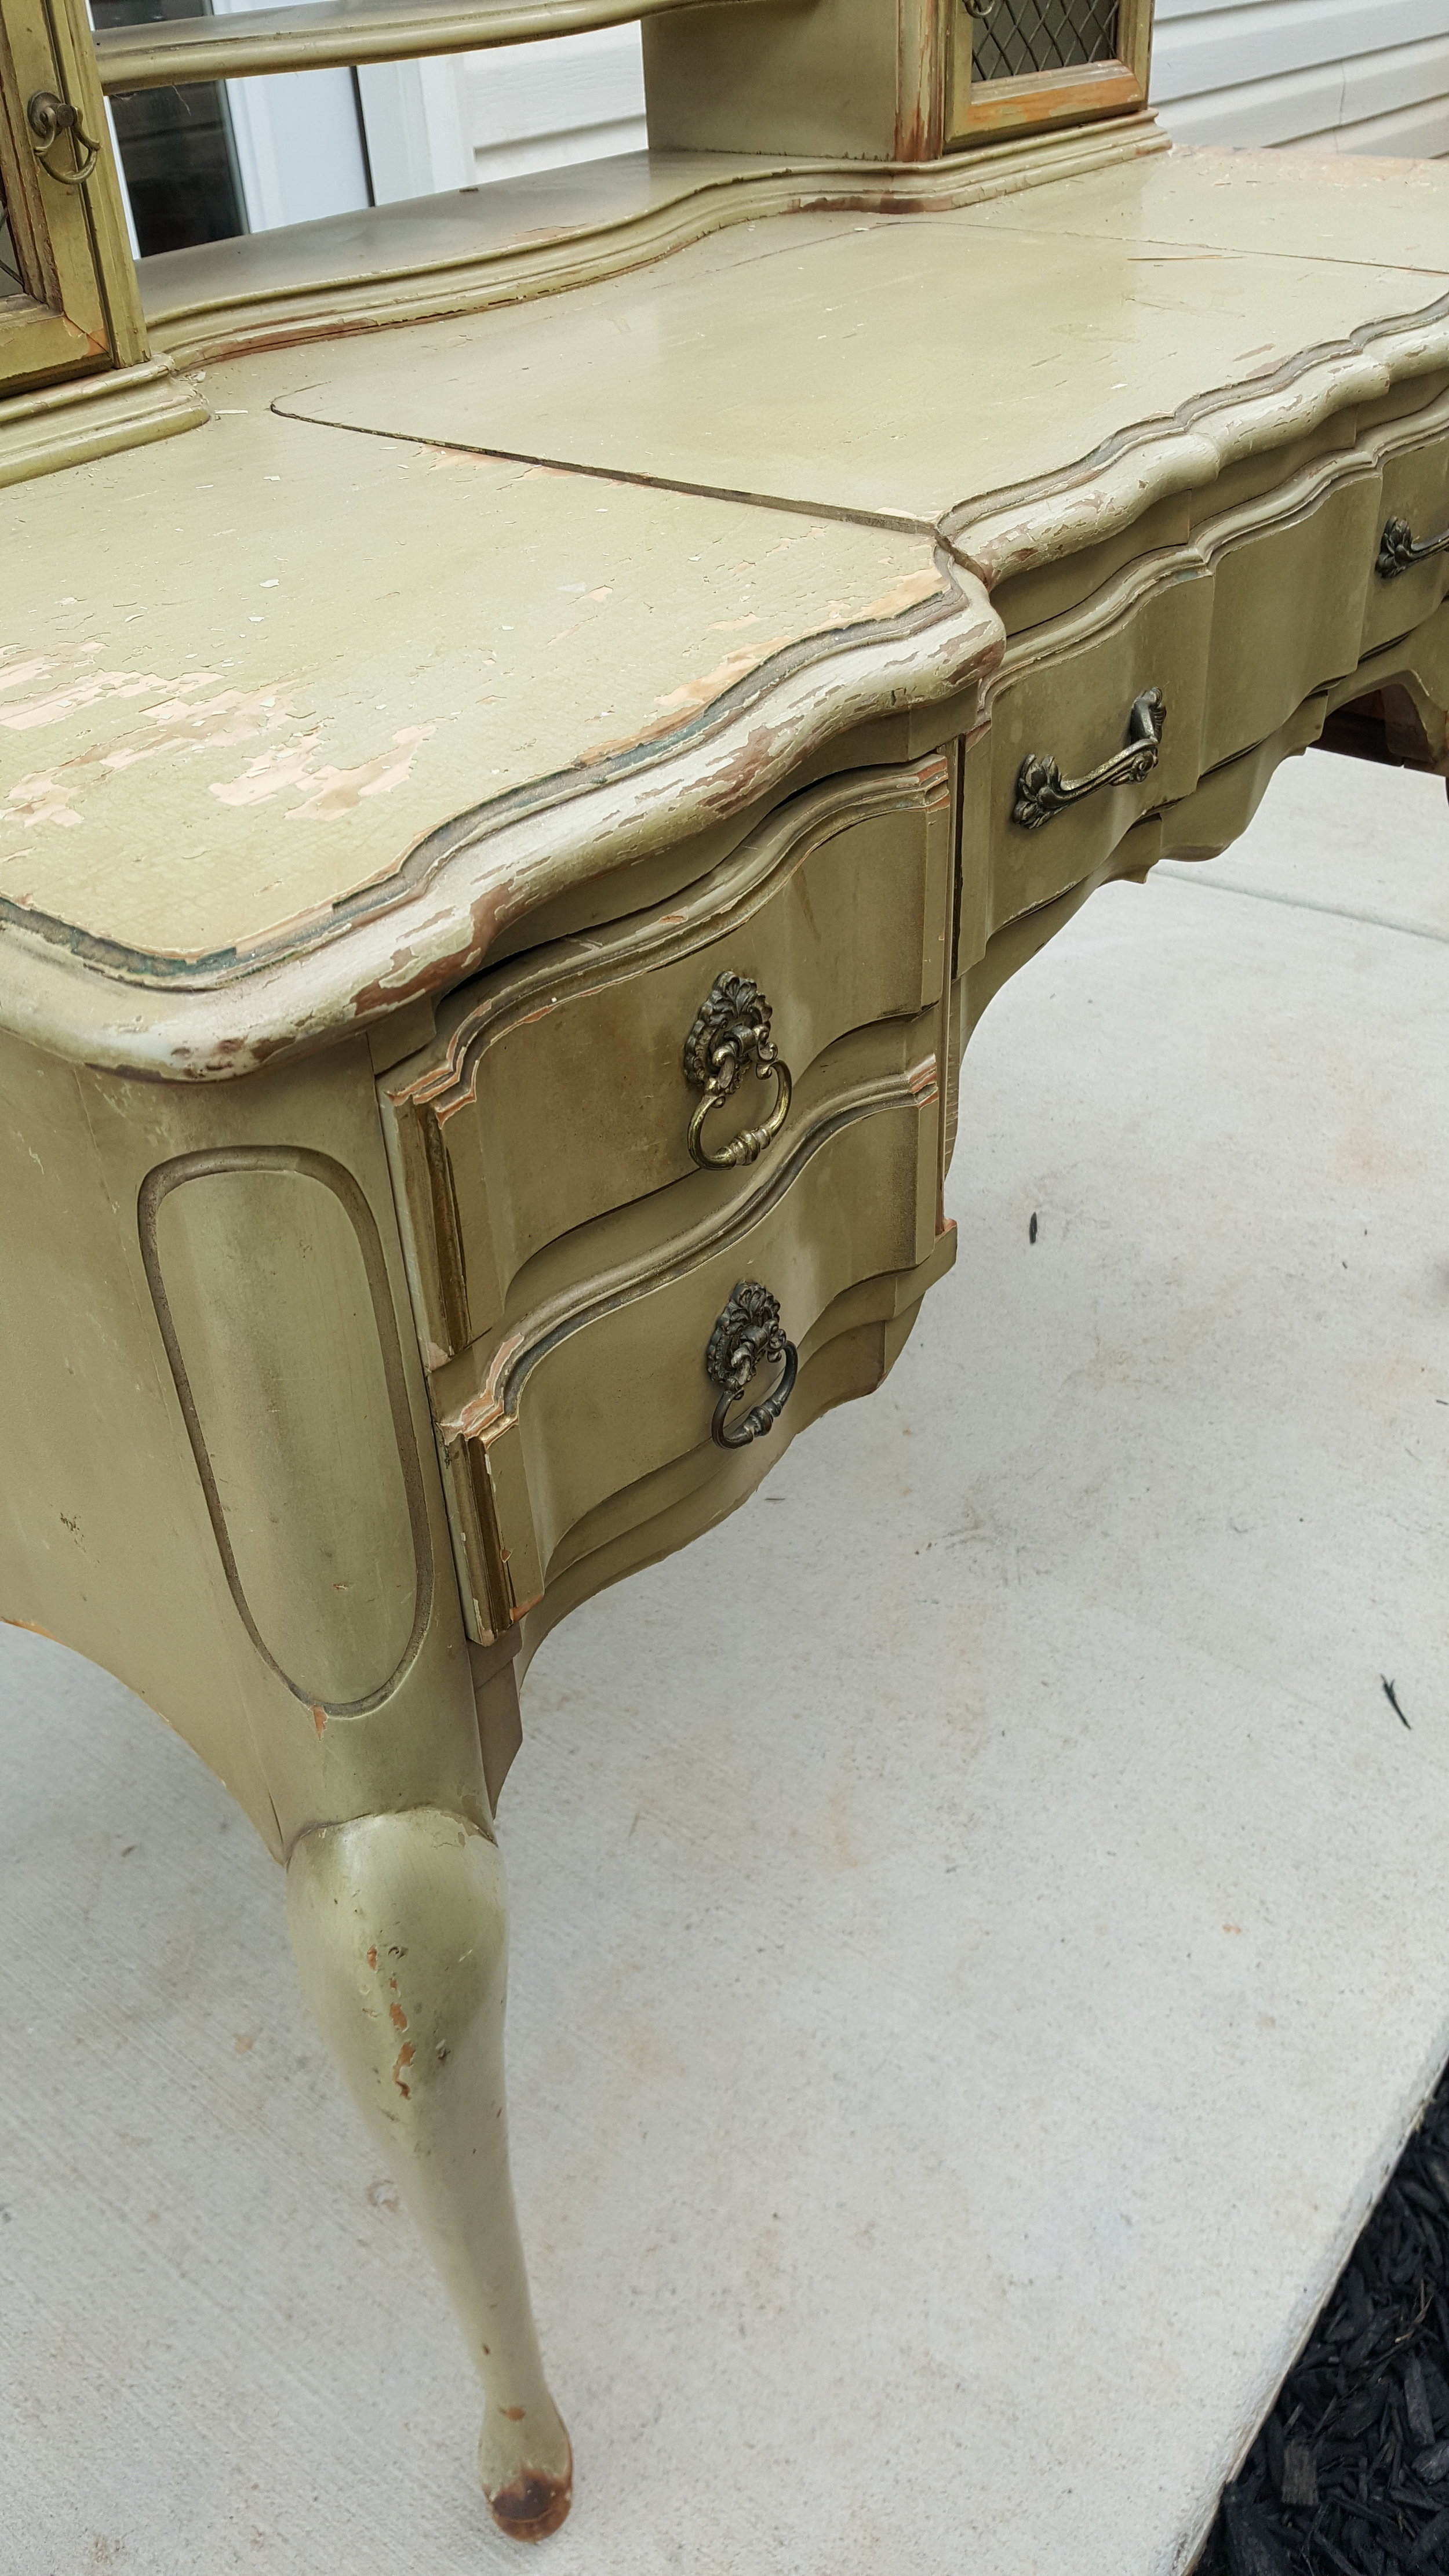
This beautiful desk came to me with a lot of water damage. I fell in love with the character that the piece had to offer so I was determined to bring it back to life for my client! See the process below.
THE FIXING & PREP PROCESS:
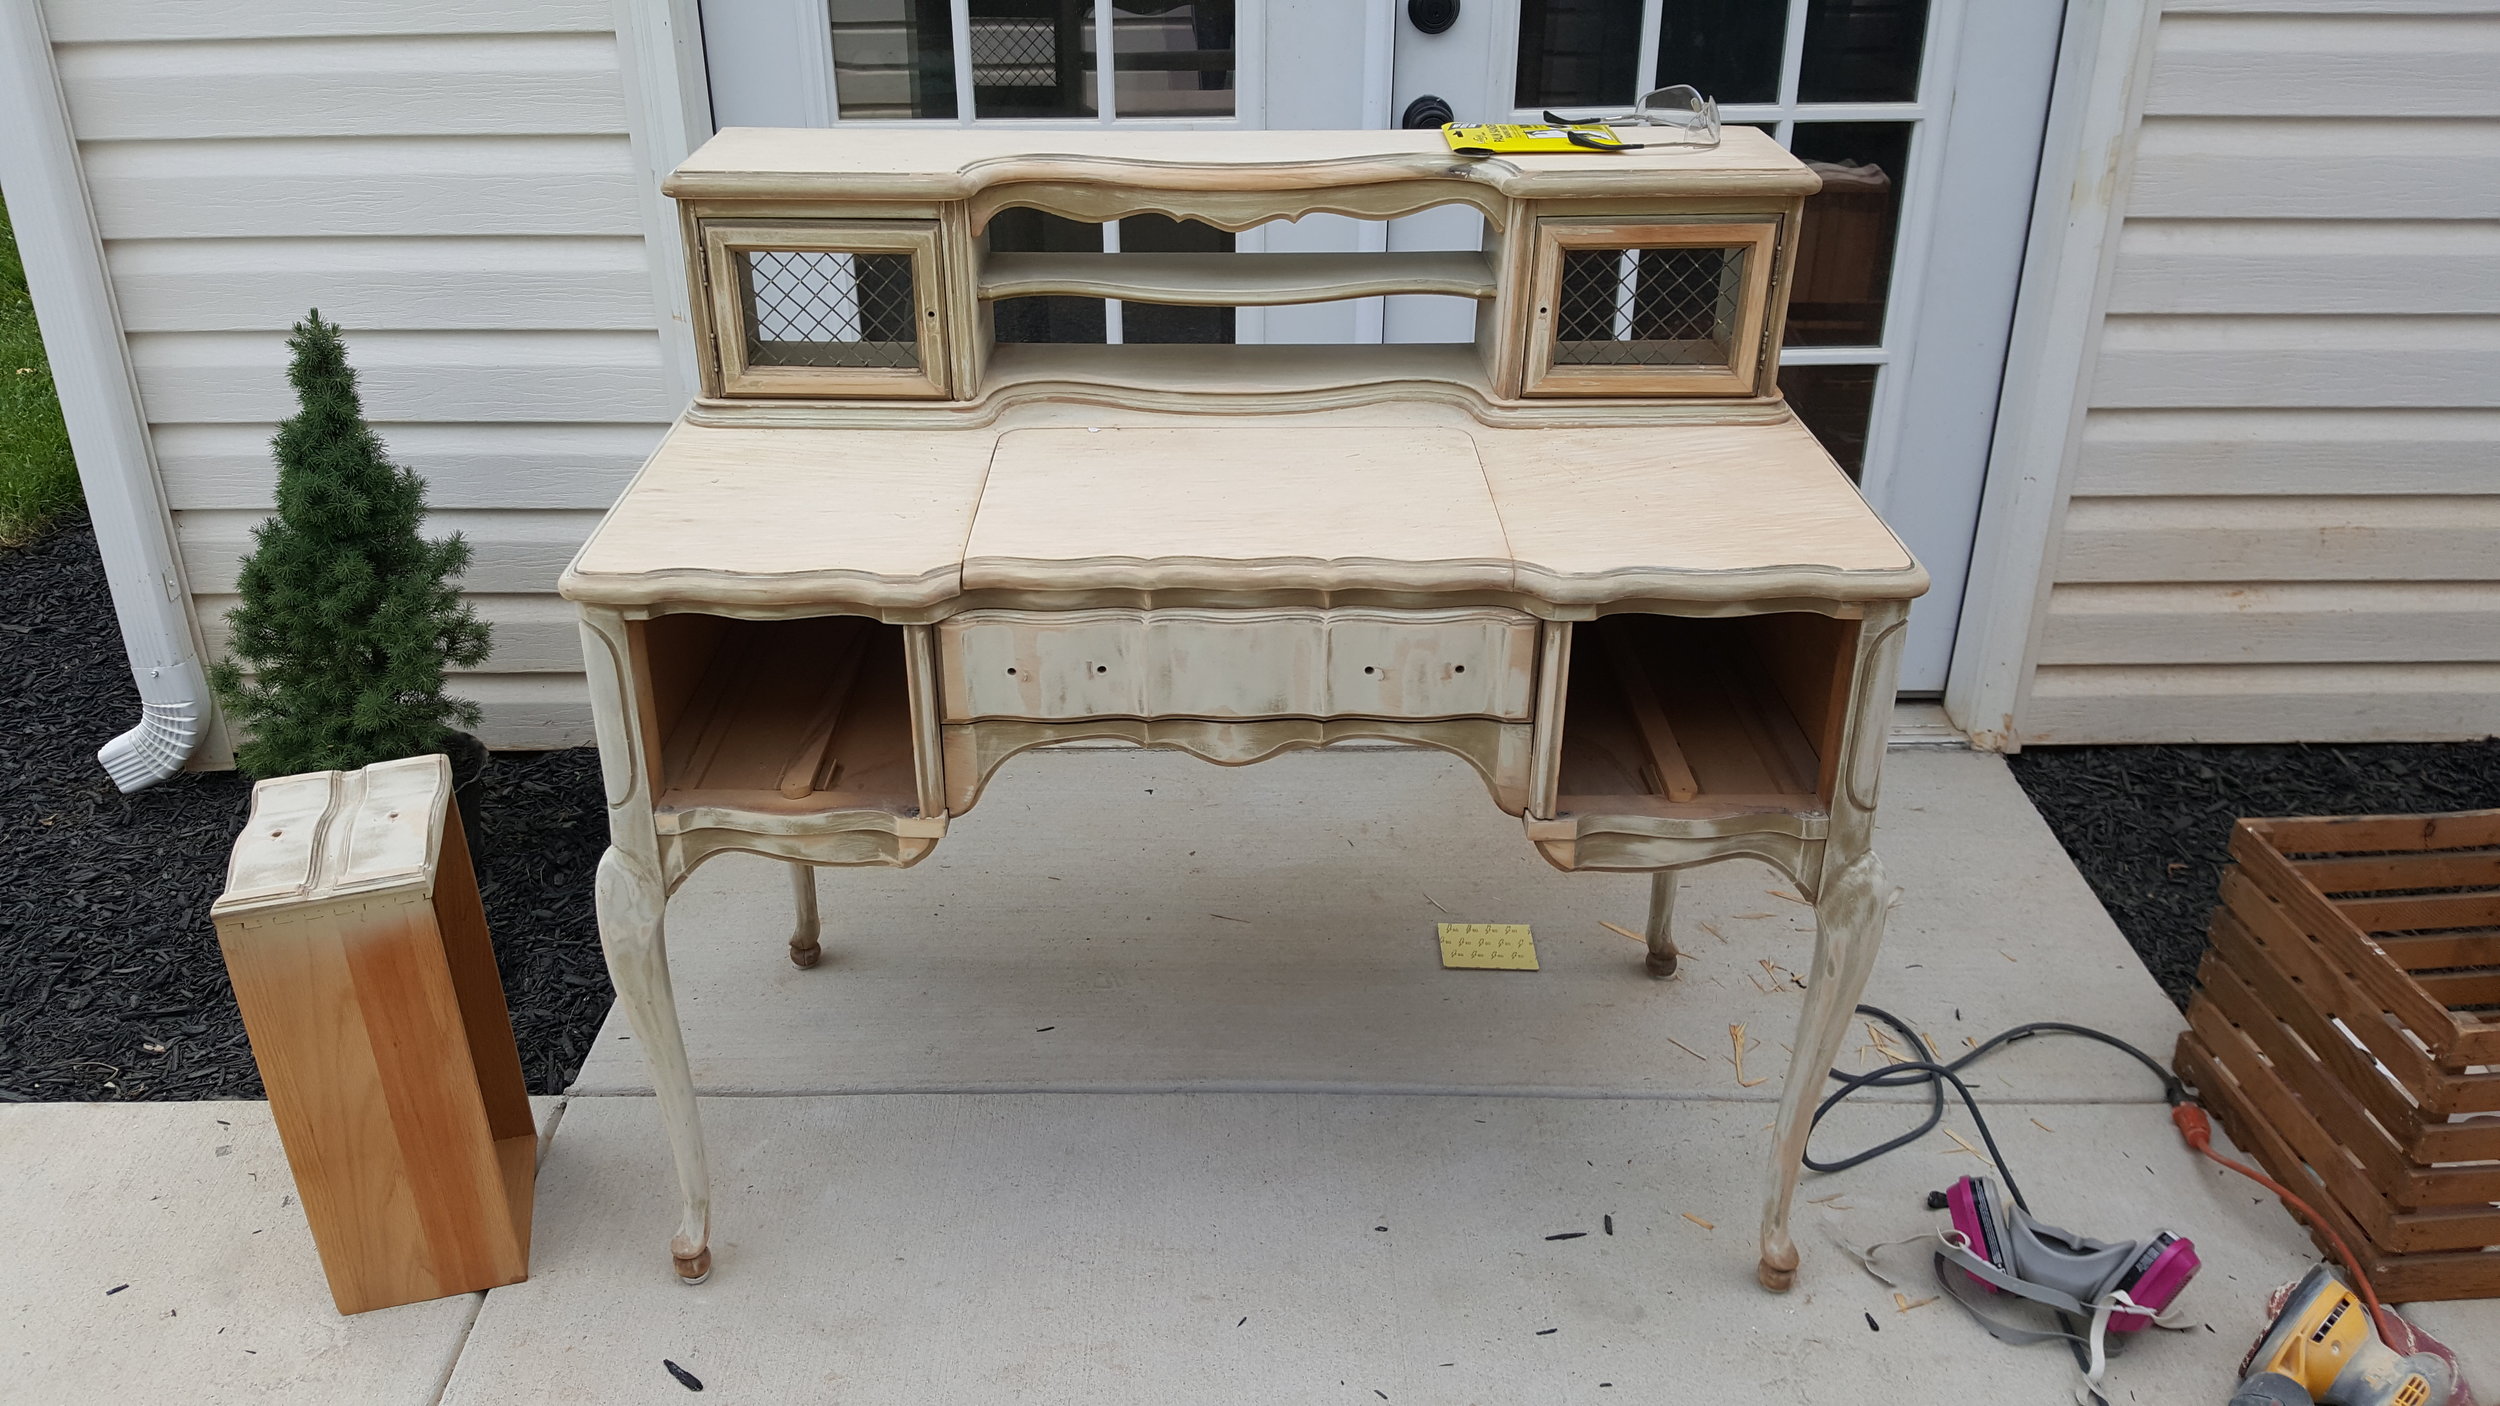
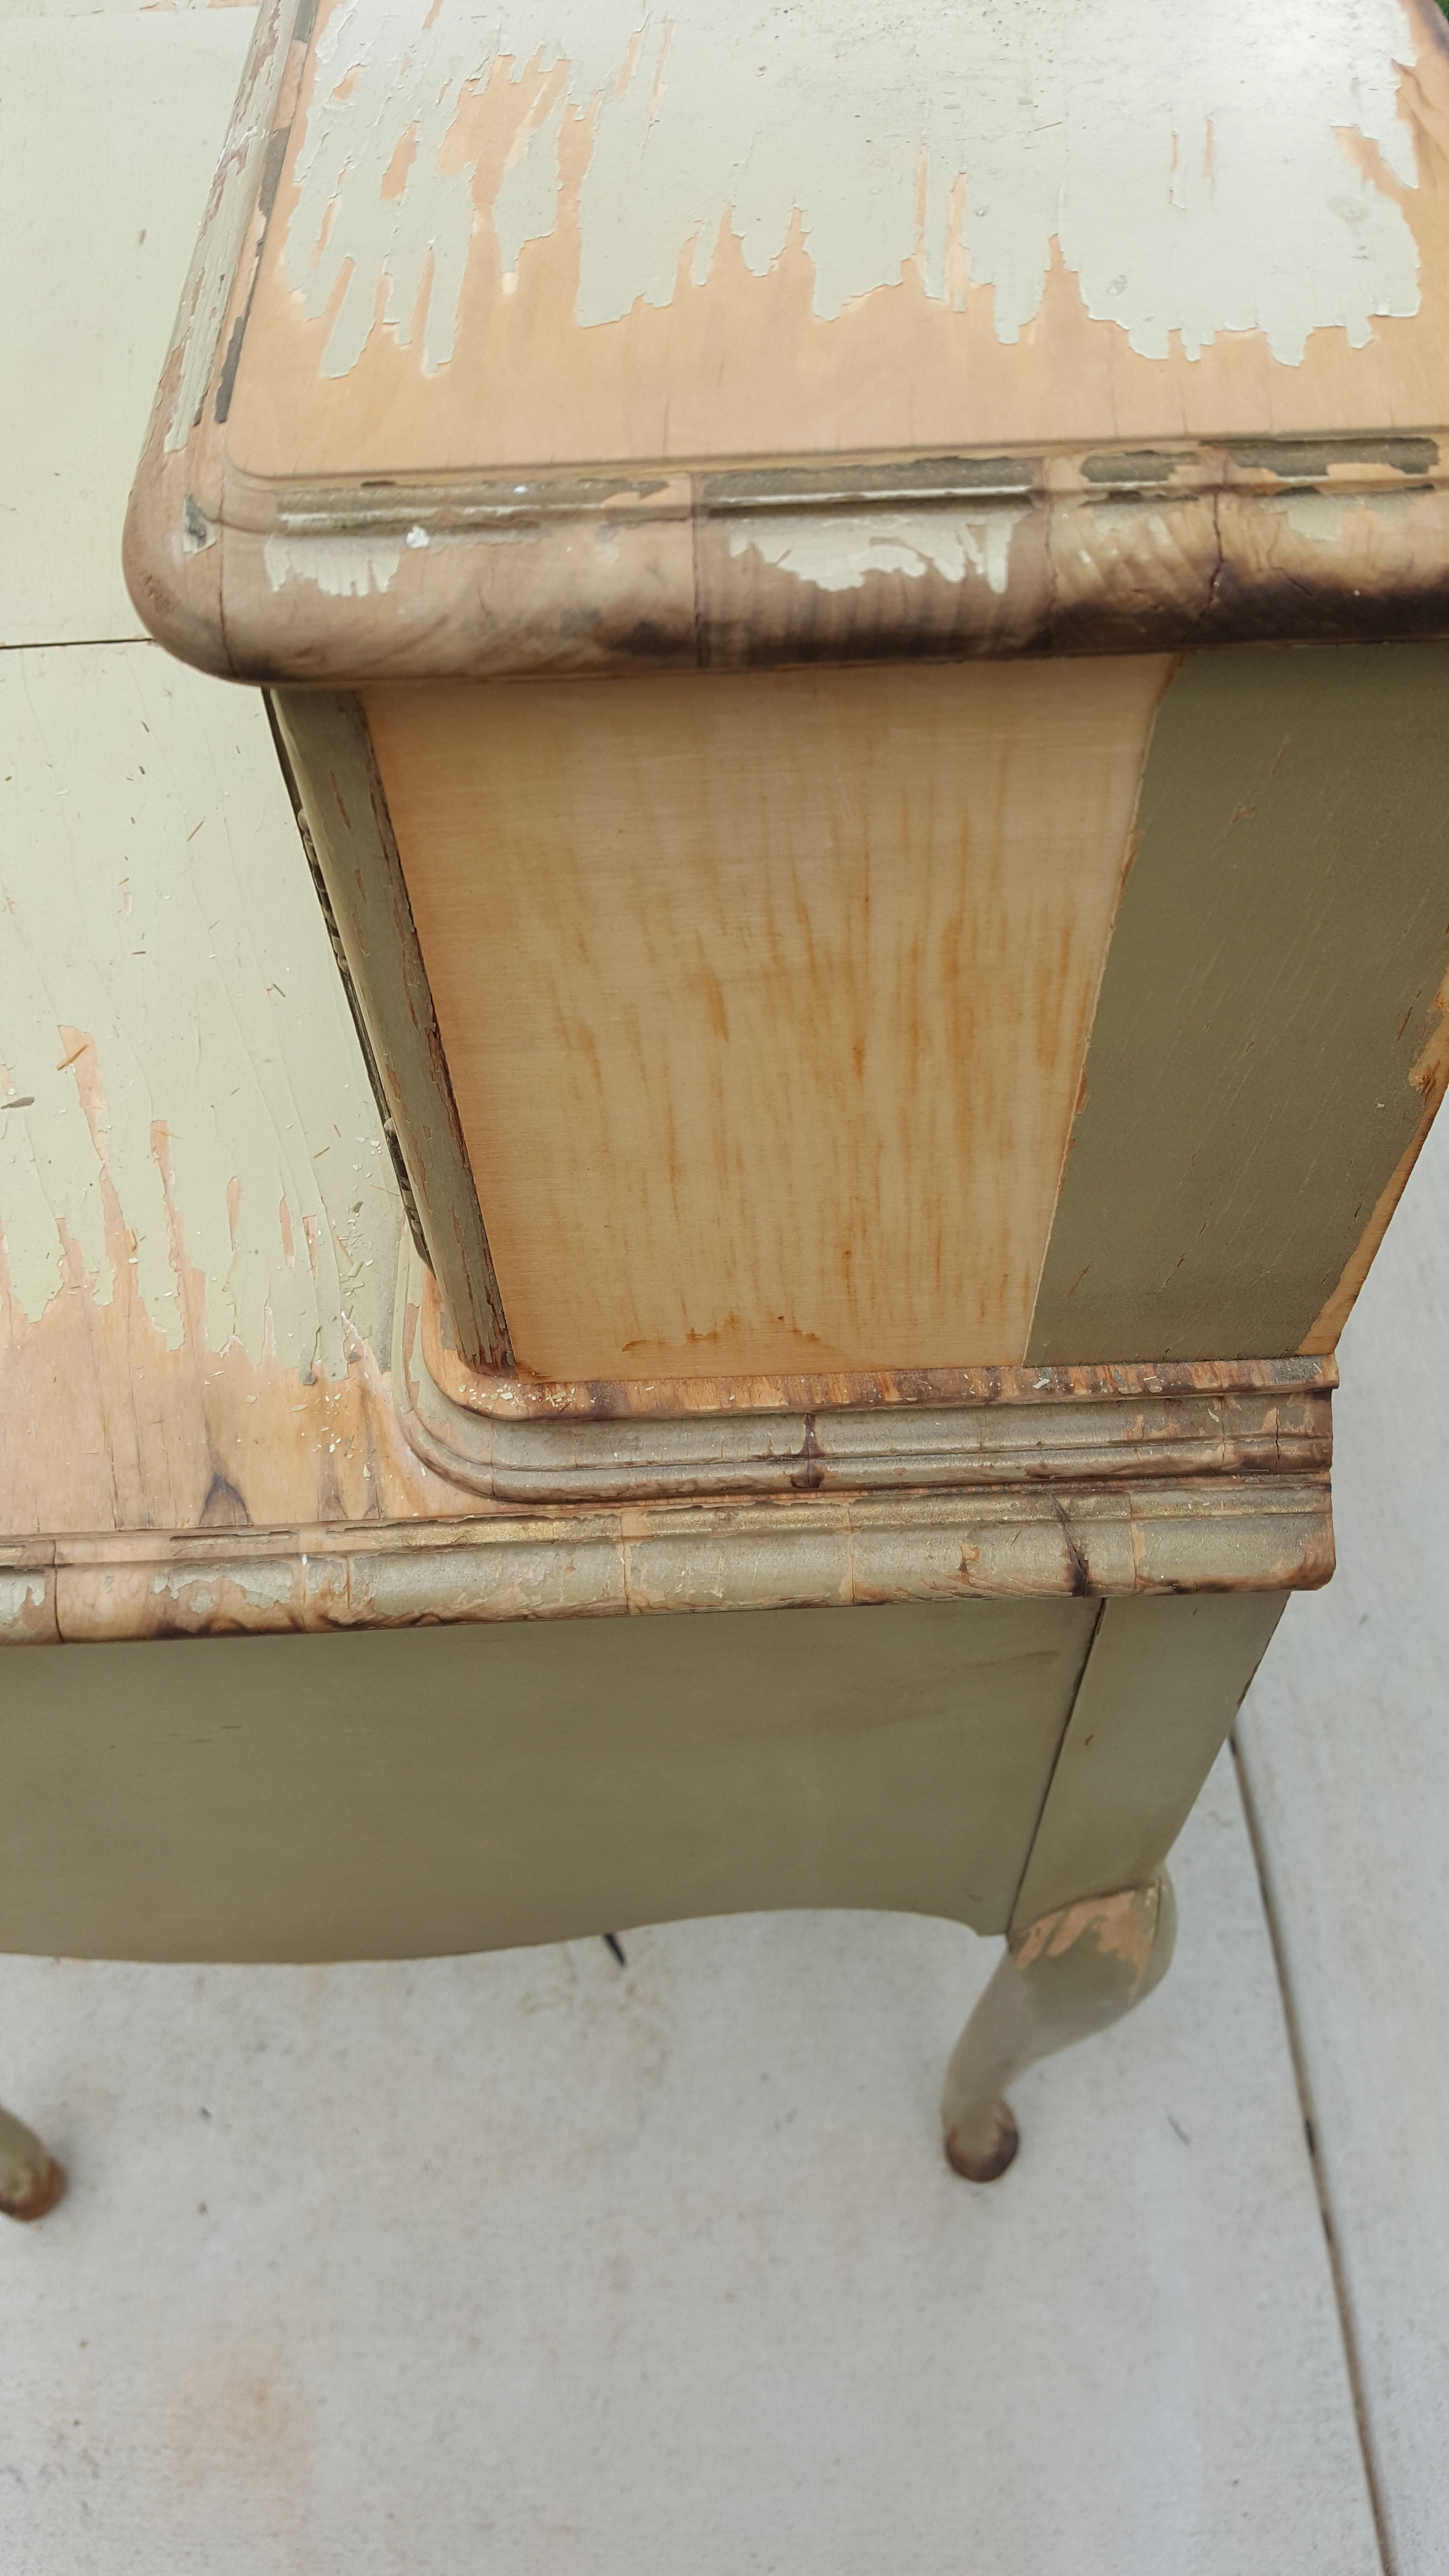
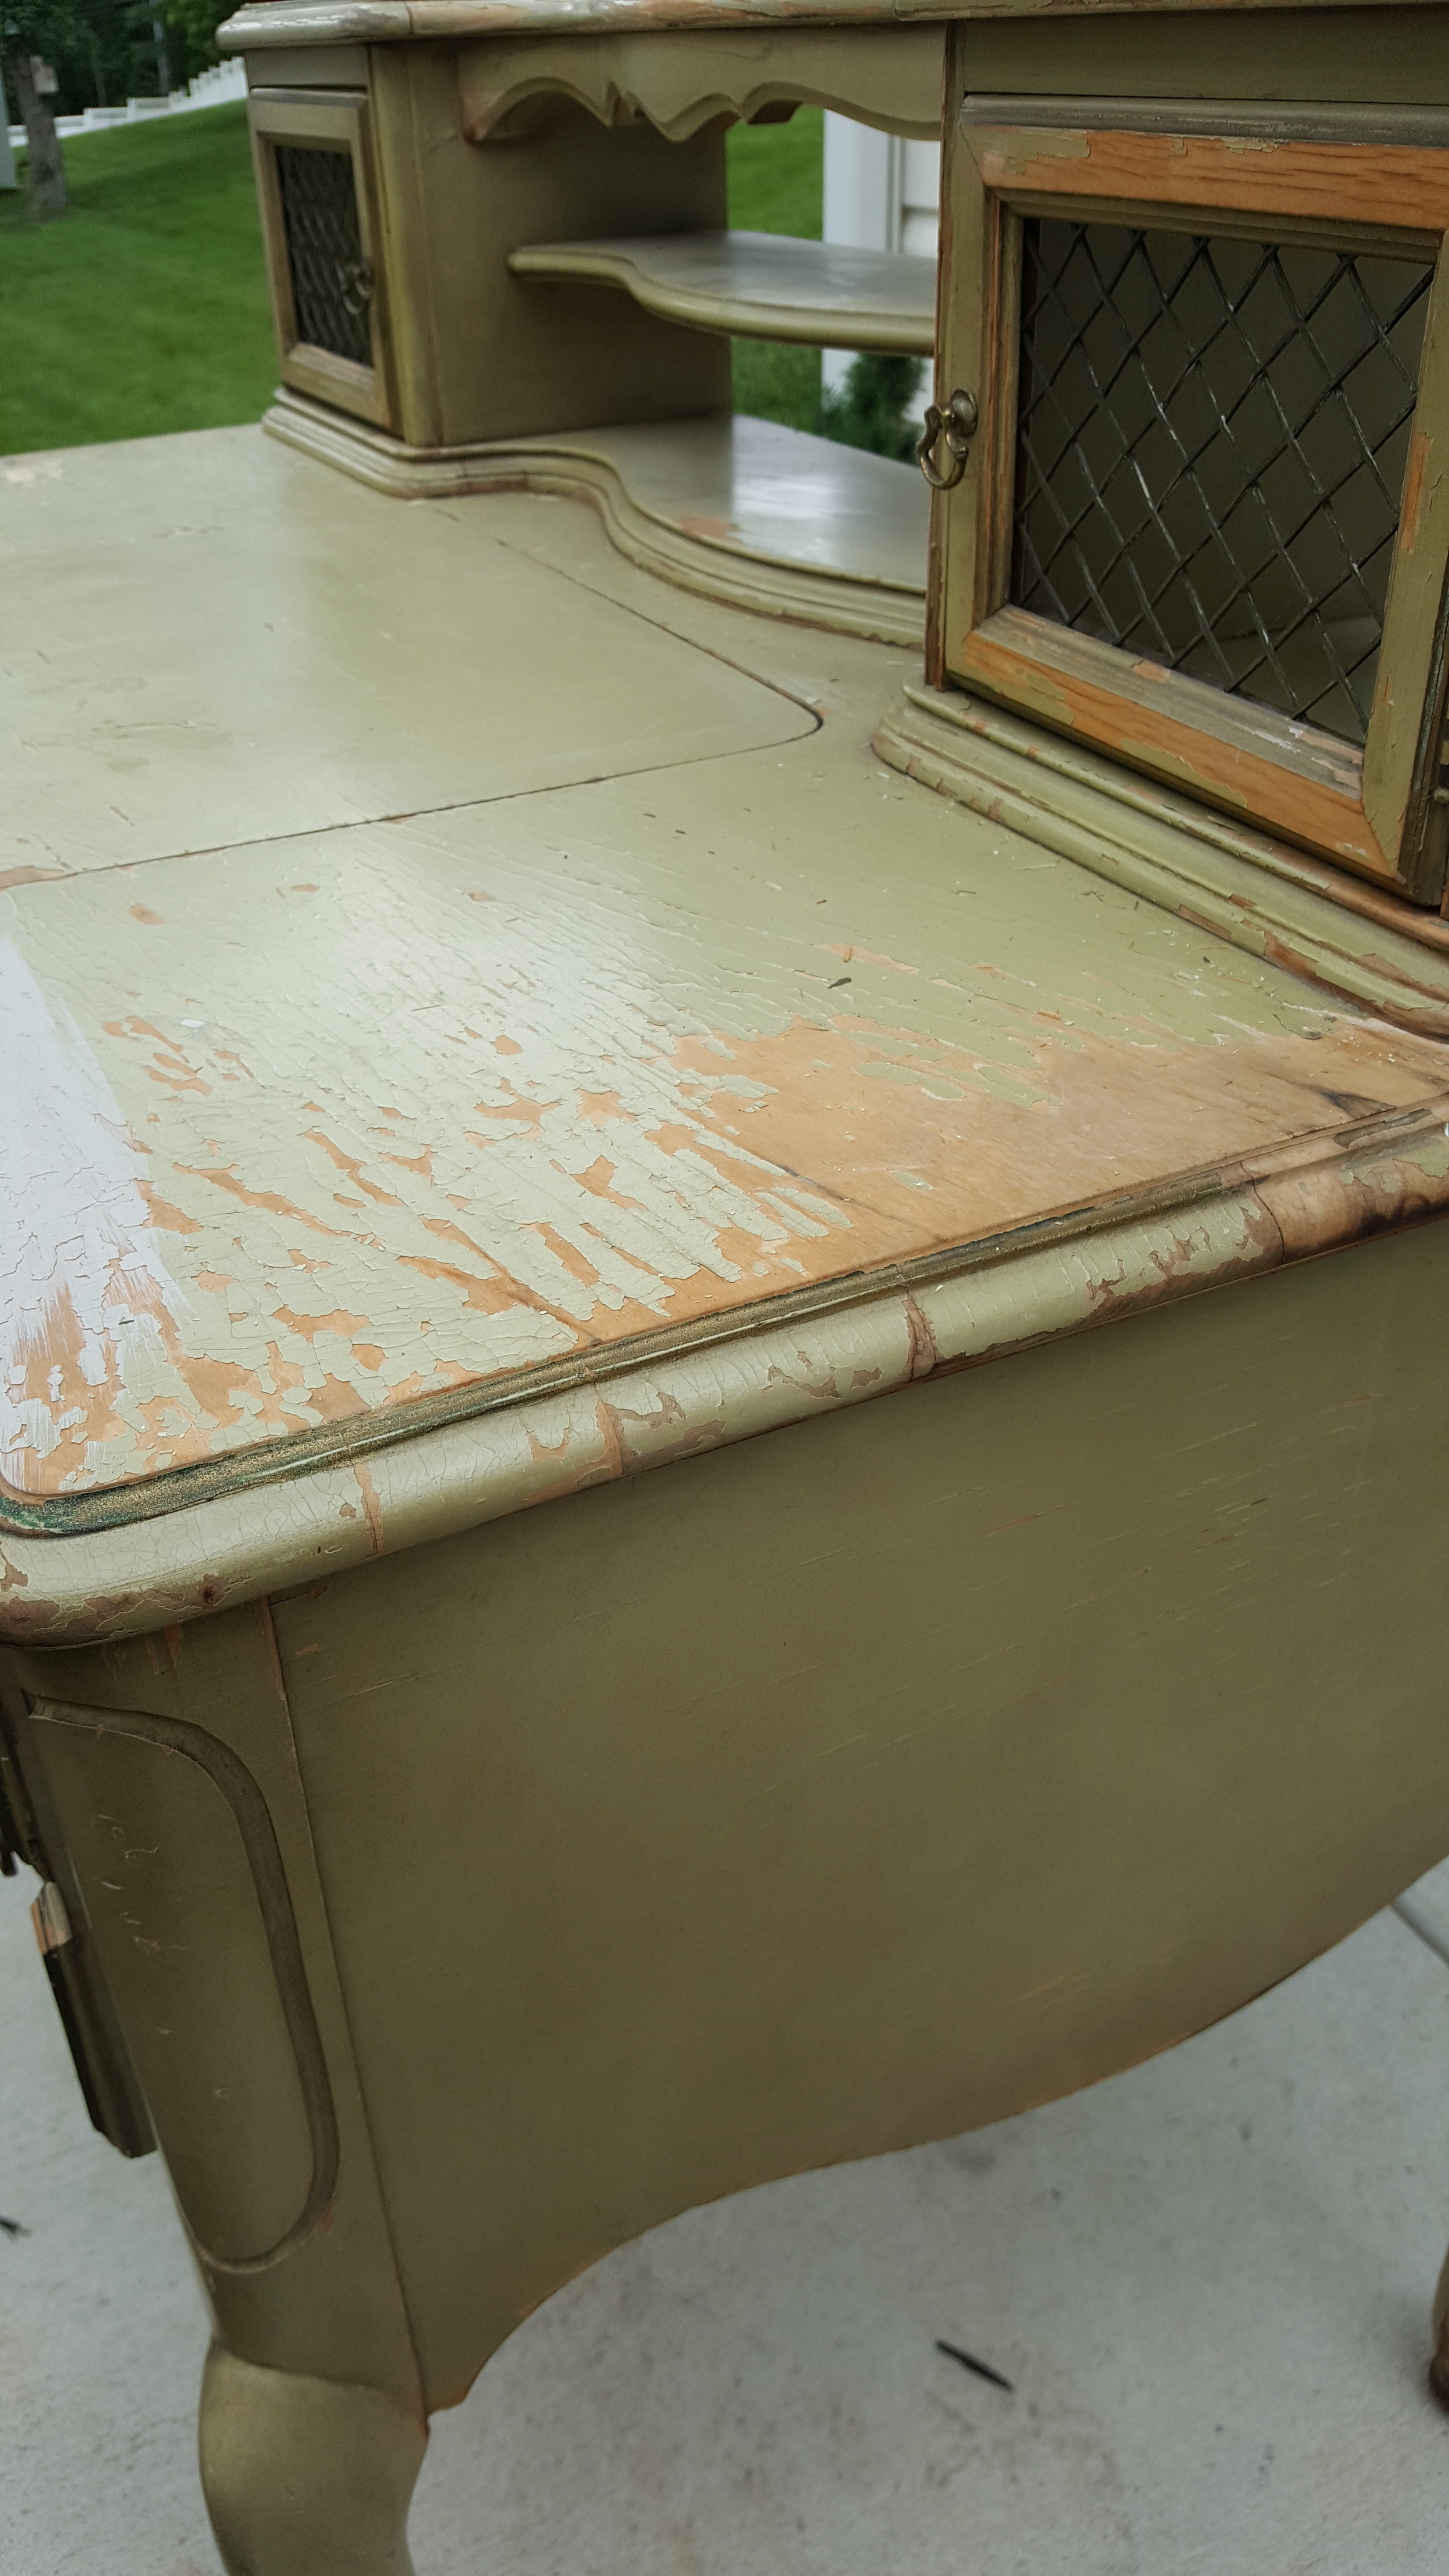
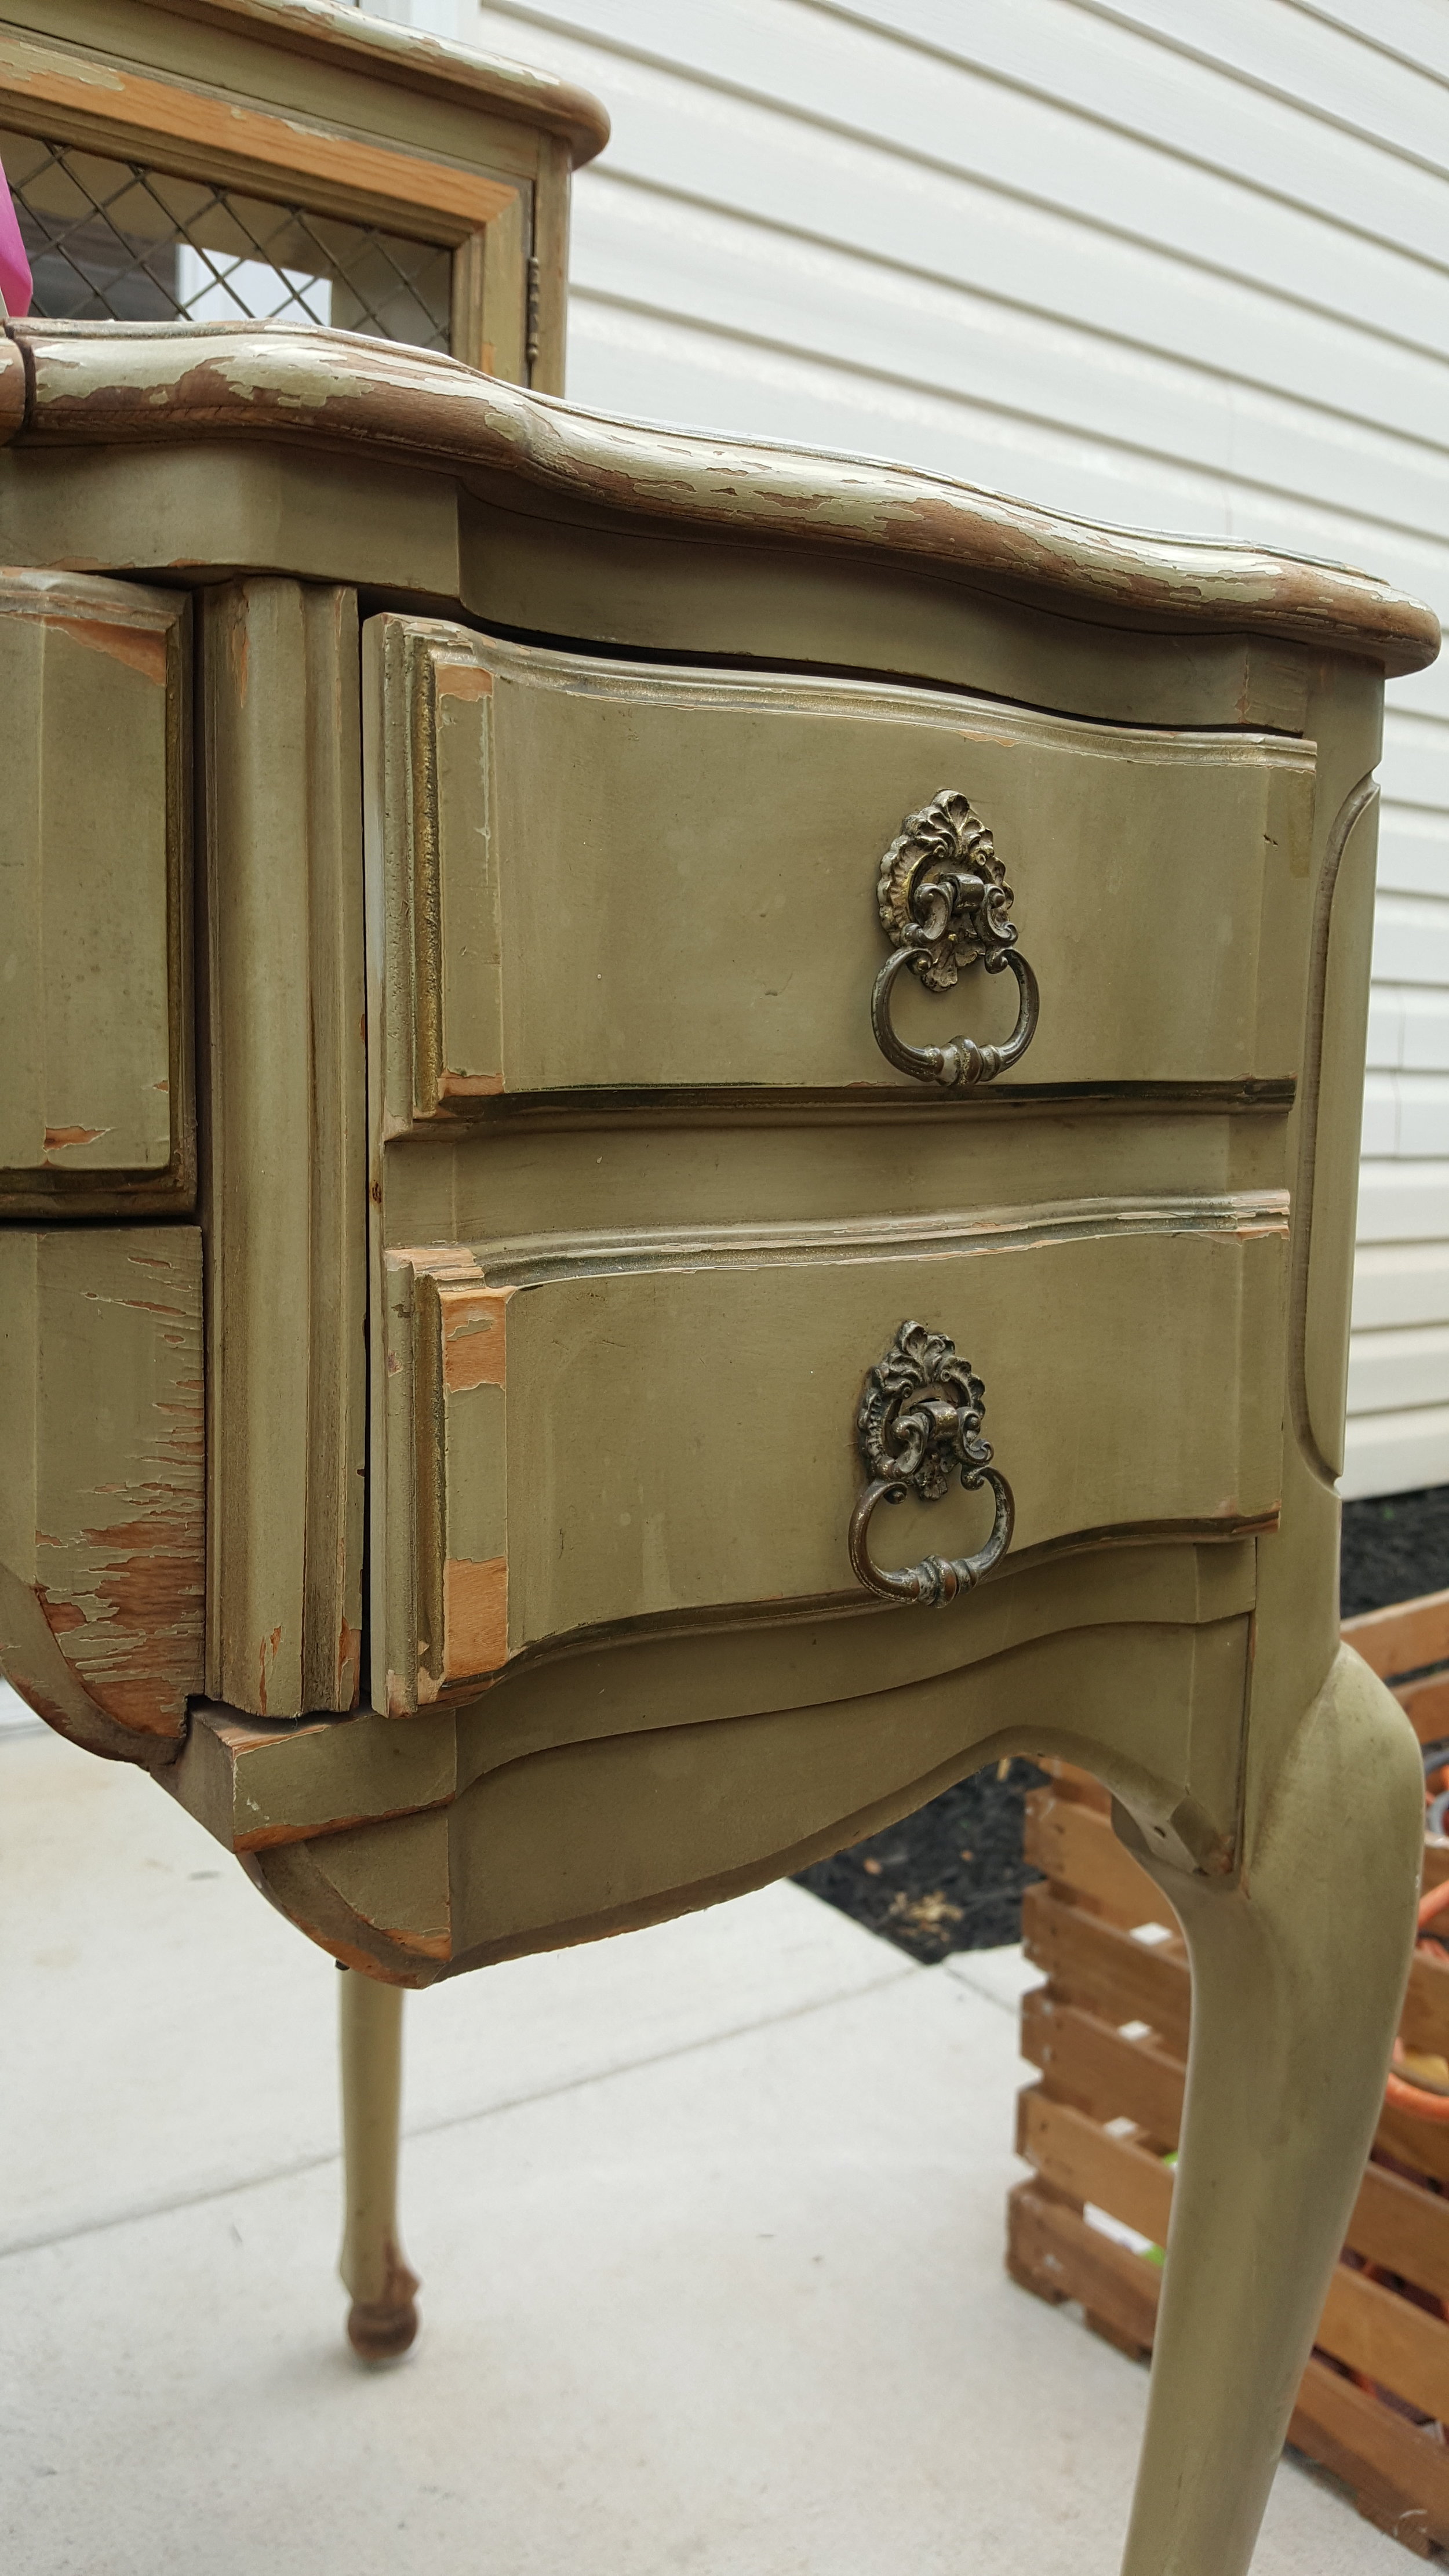
First, I removed the chipping veneer. The veneer was messed up on the right side of the piece because that was where the water leaked on it. The water got underneath the veneer making it hard to repair so I ended up scraping and chipping it all off with a hammer and metal putty knife/scrapper. There were a few stubborn spots, but thankfully most of it came off pretty easily.
I removed the back of the piece because it was falling apart.
I glued and clamped any areas that had cracked due the moisture from the water. I clamped each section together where it had separated. This process took at extra day because there were a lot small cracks all over the piece and I wanted to make sure the glue had ample time to dry.
Once the veneer was completely removed and everything was fixed/glued, I used 60 grit sandpaper on my orbital sander because I needed something really course to get rid of any leftover glue
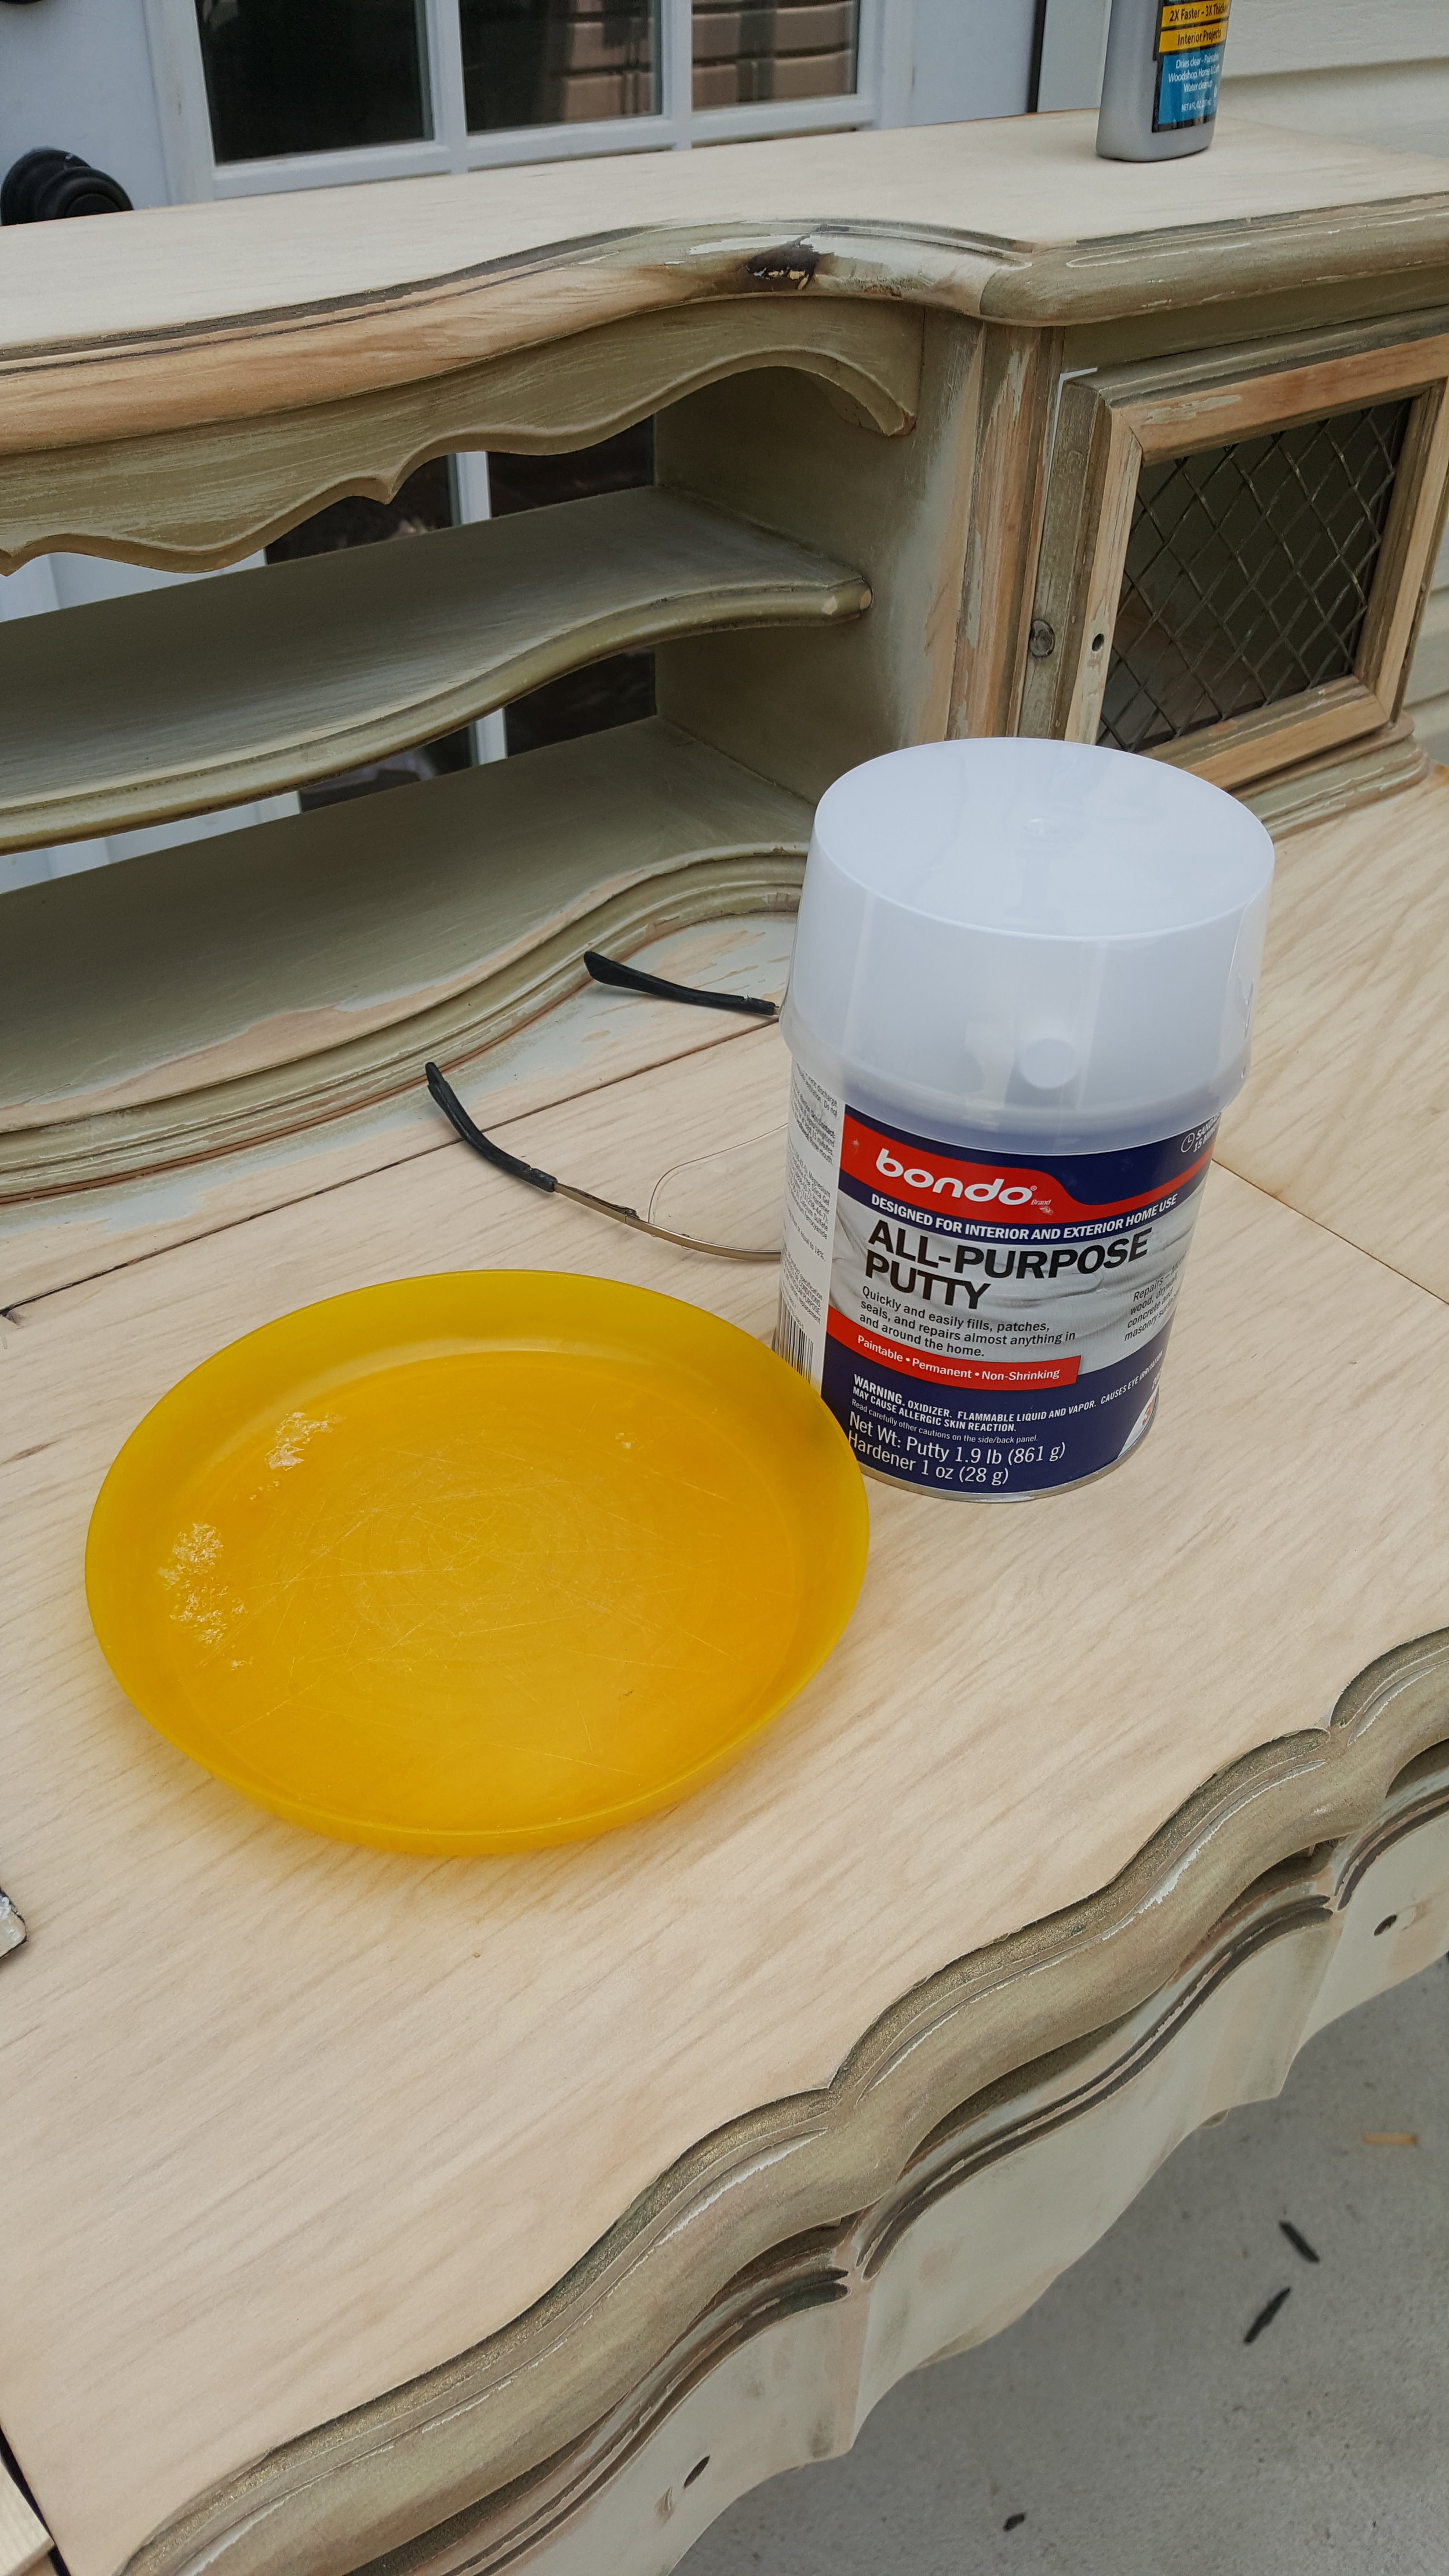
I then applied Bondo to the areas that I applied glue in the cracks. I wanted to make sure the seams from the cracks were smooth and wouldn’t separate again over time.
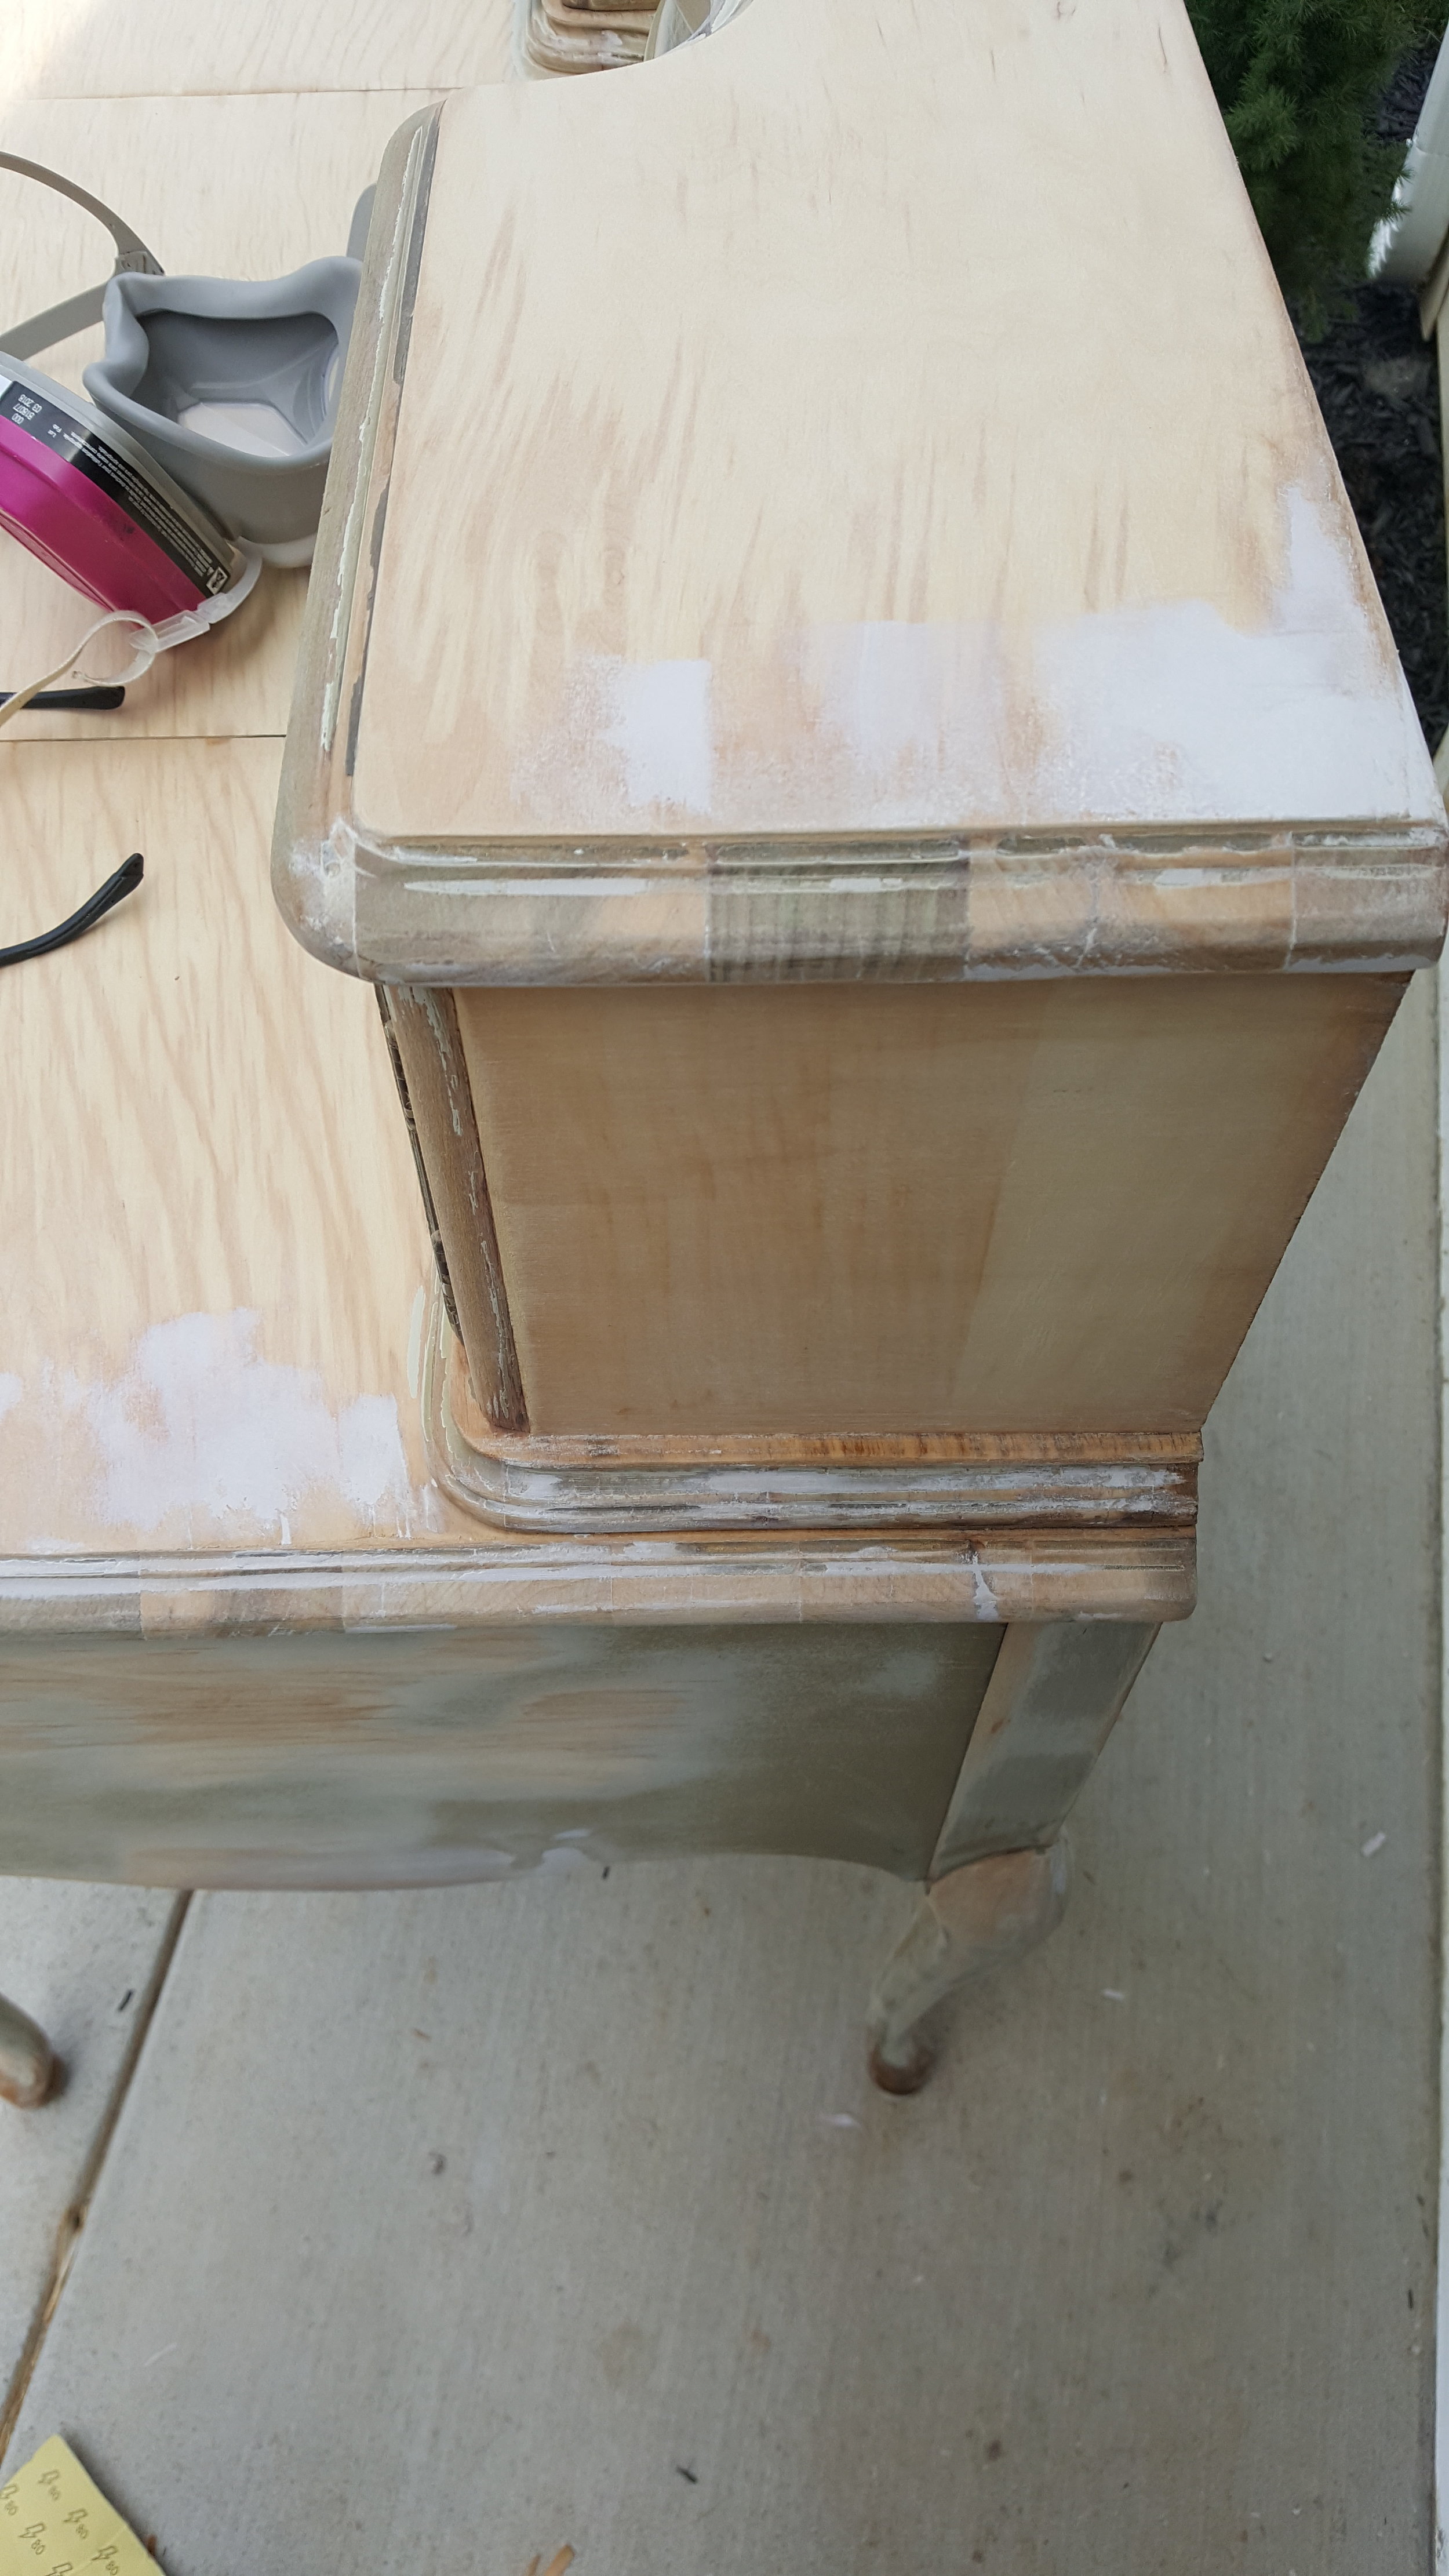
I sanded with 120 grit sandpaper to get rid of any rough spots from the Bondo followed by 220 grit on my sander to smooth everything out
I then wiped everything down with Mineral Spirits. Once it was nice and dry I started the painting process

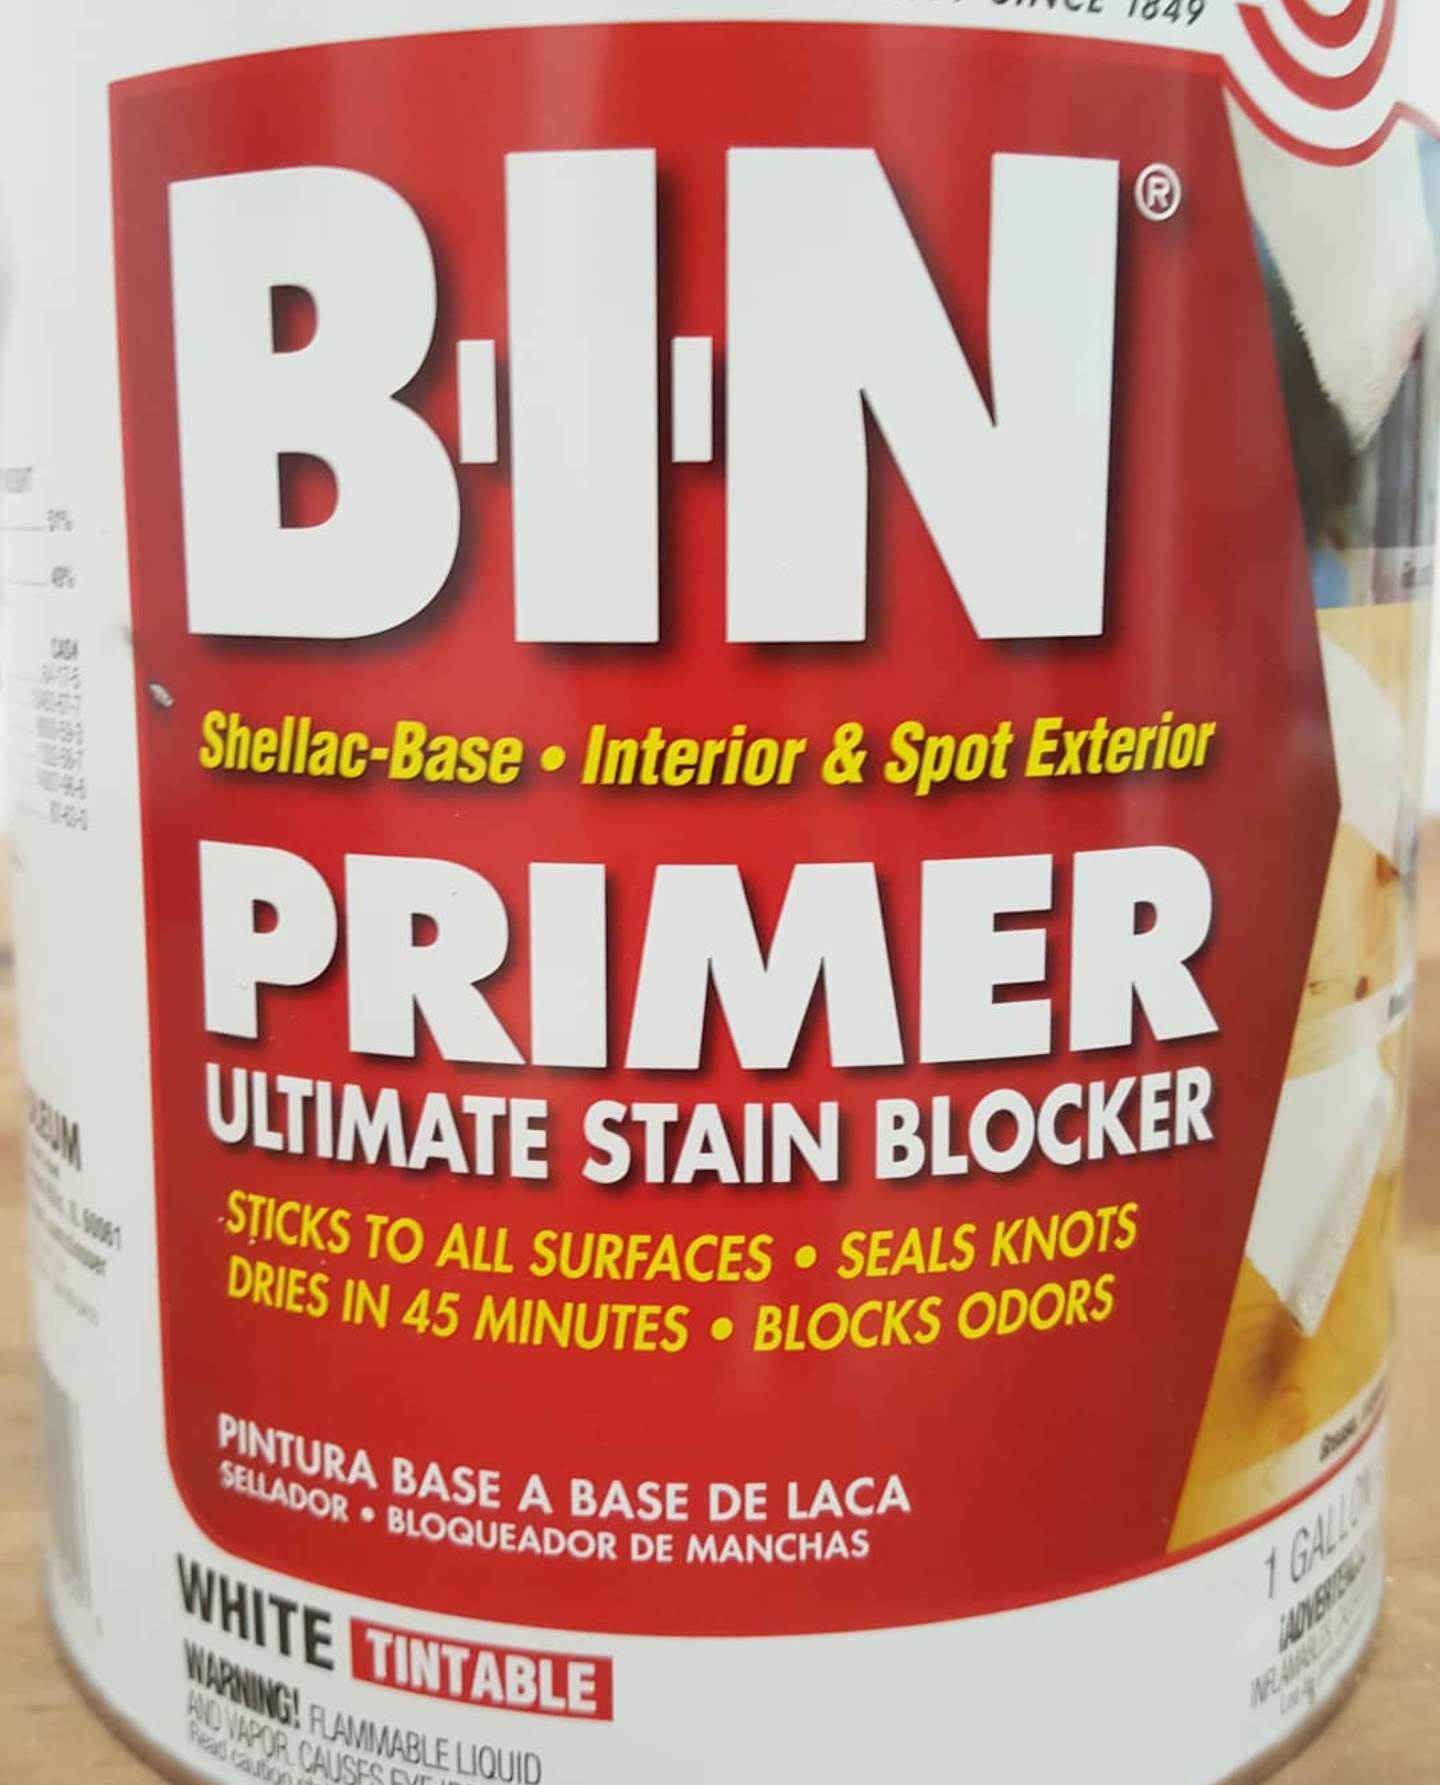
THE PRIMING & PAINTING PROCESS:
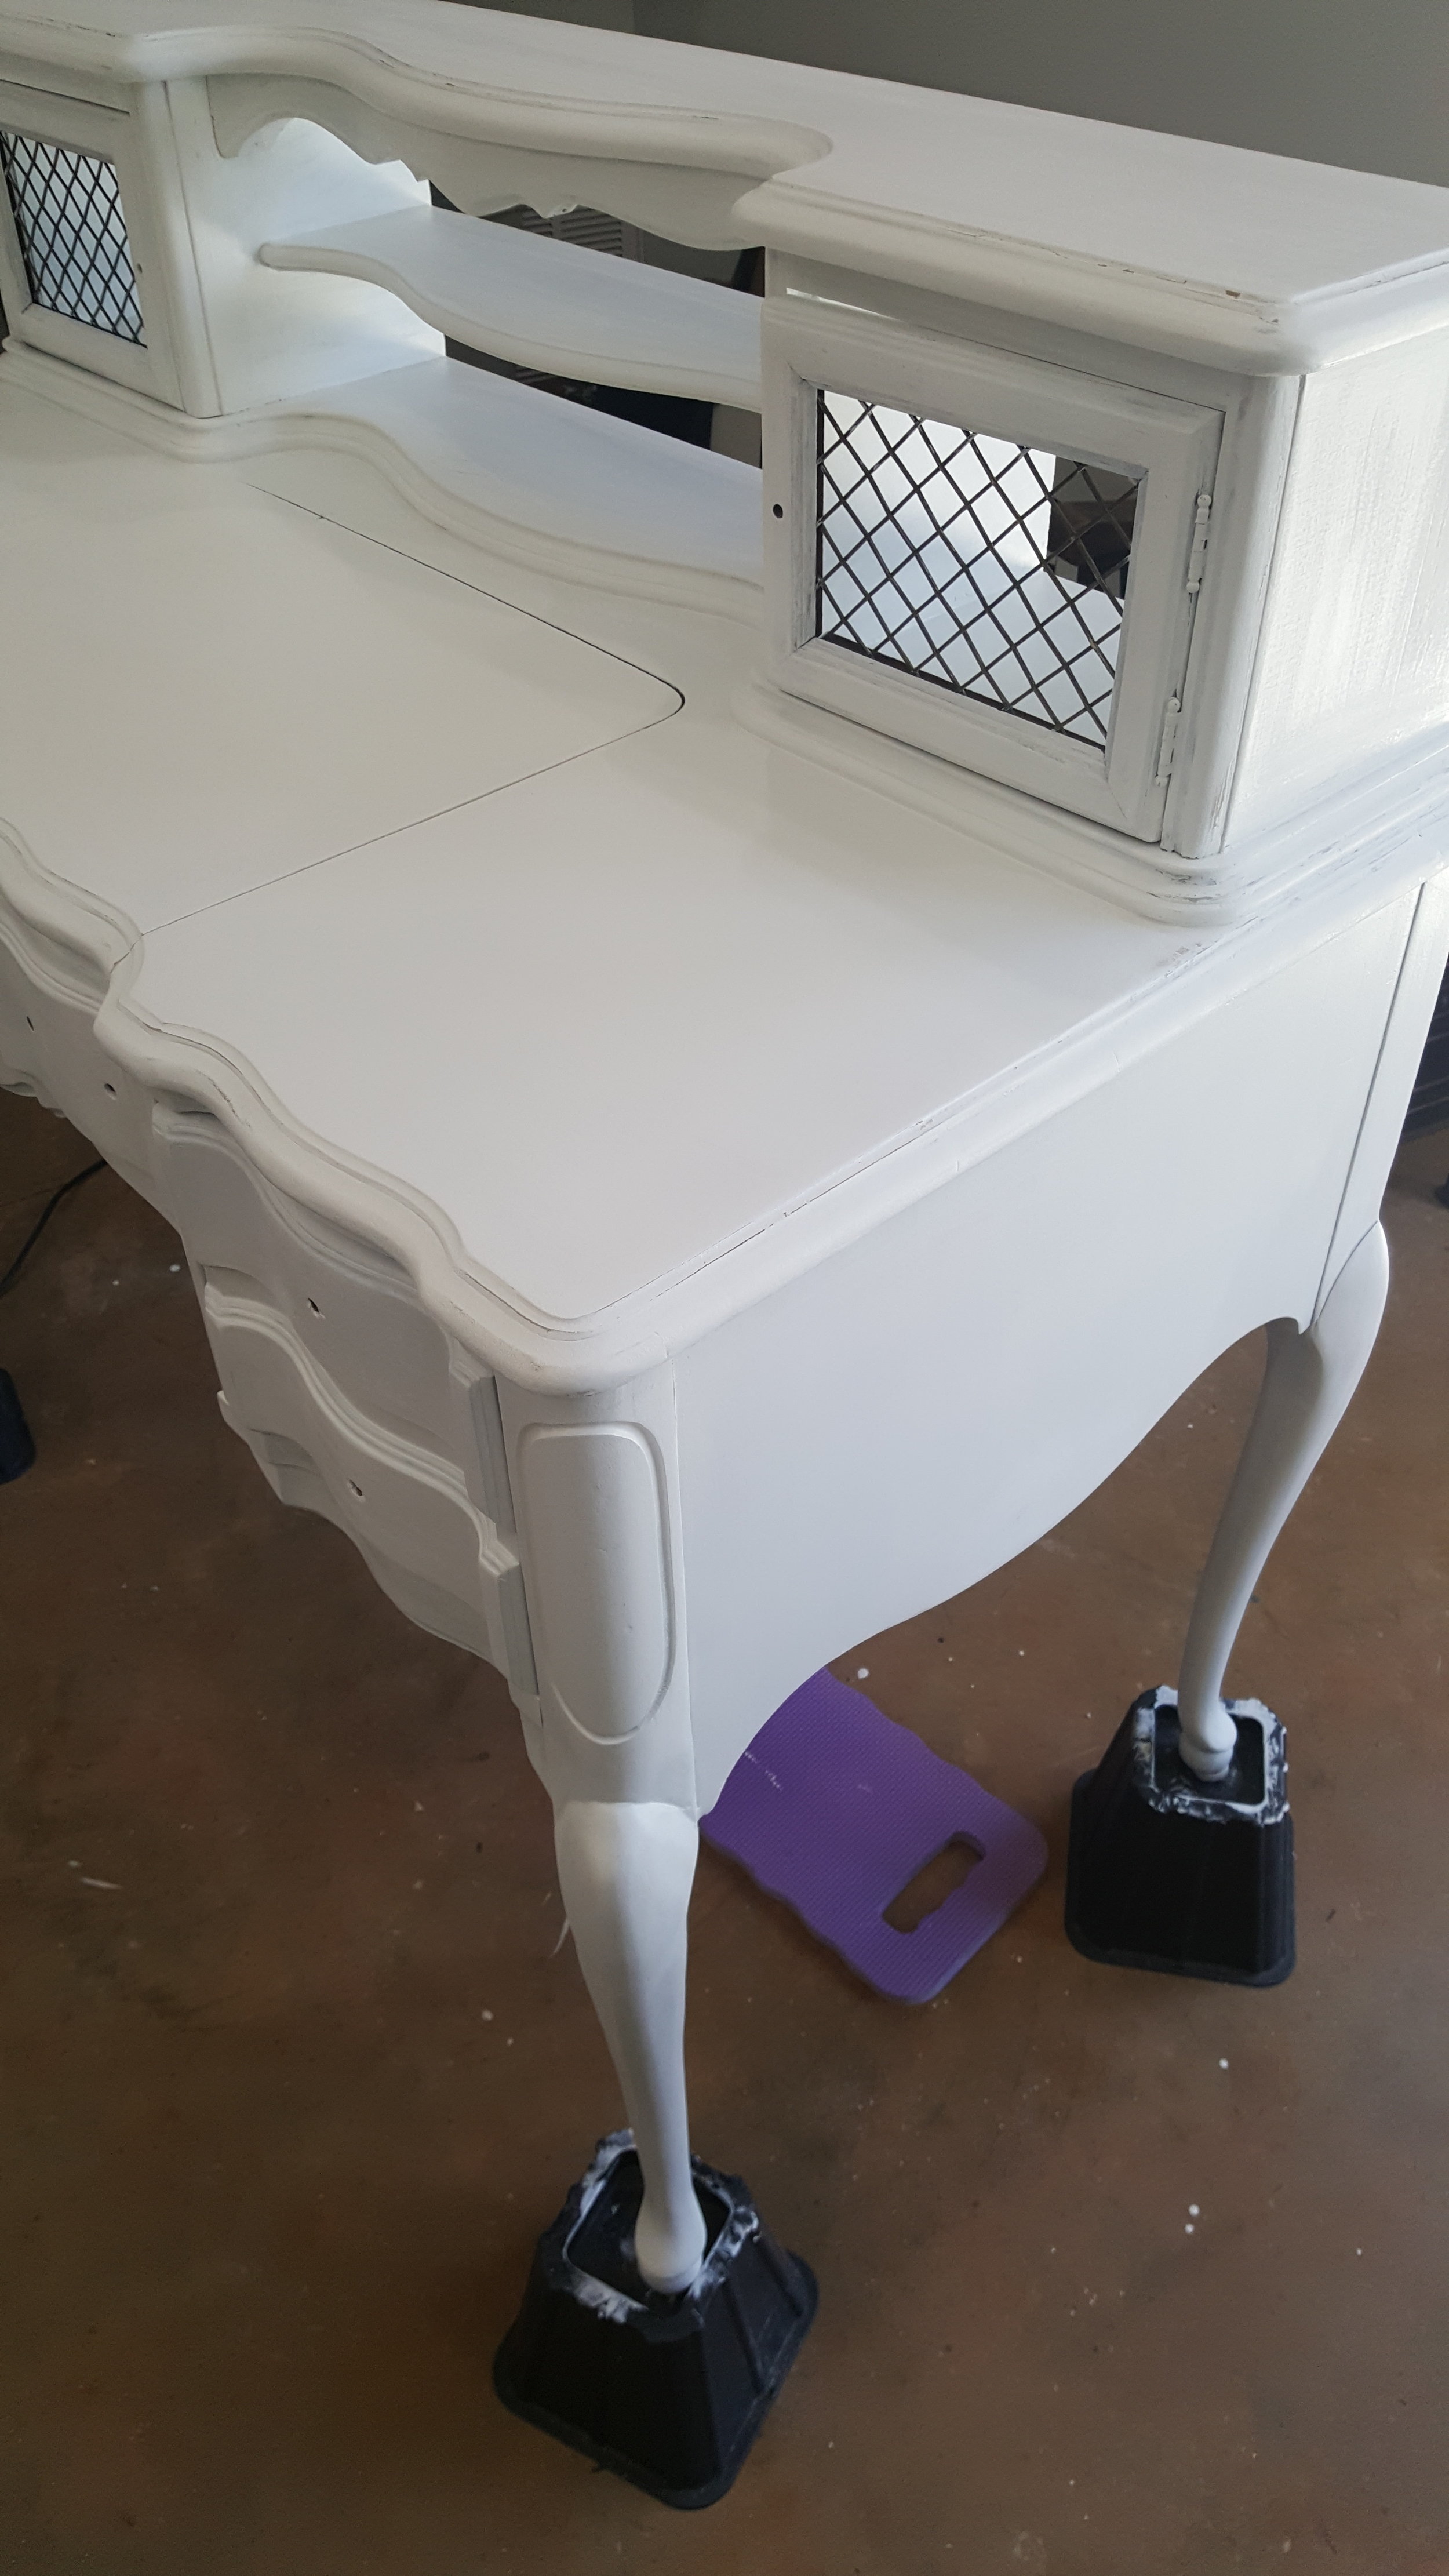
I started by priming the whole piece with two coats of BIN Primer
I hand sanded the whole piece to make sure the primer was nice and smooth with 220 grit sandpaper.
Vacuumed the sanding dust
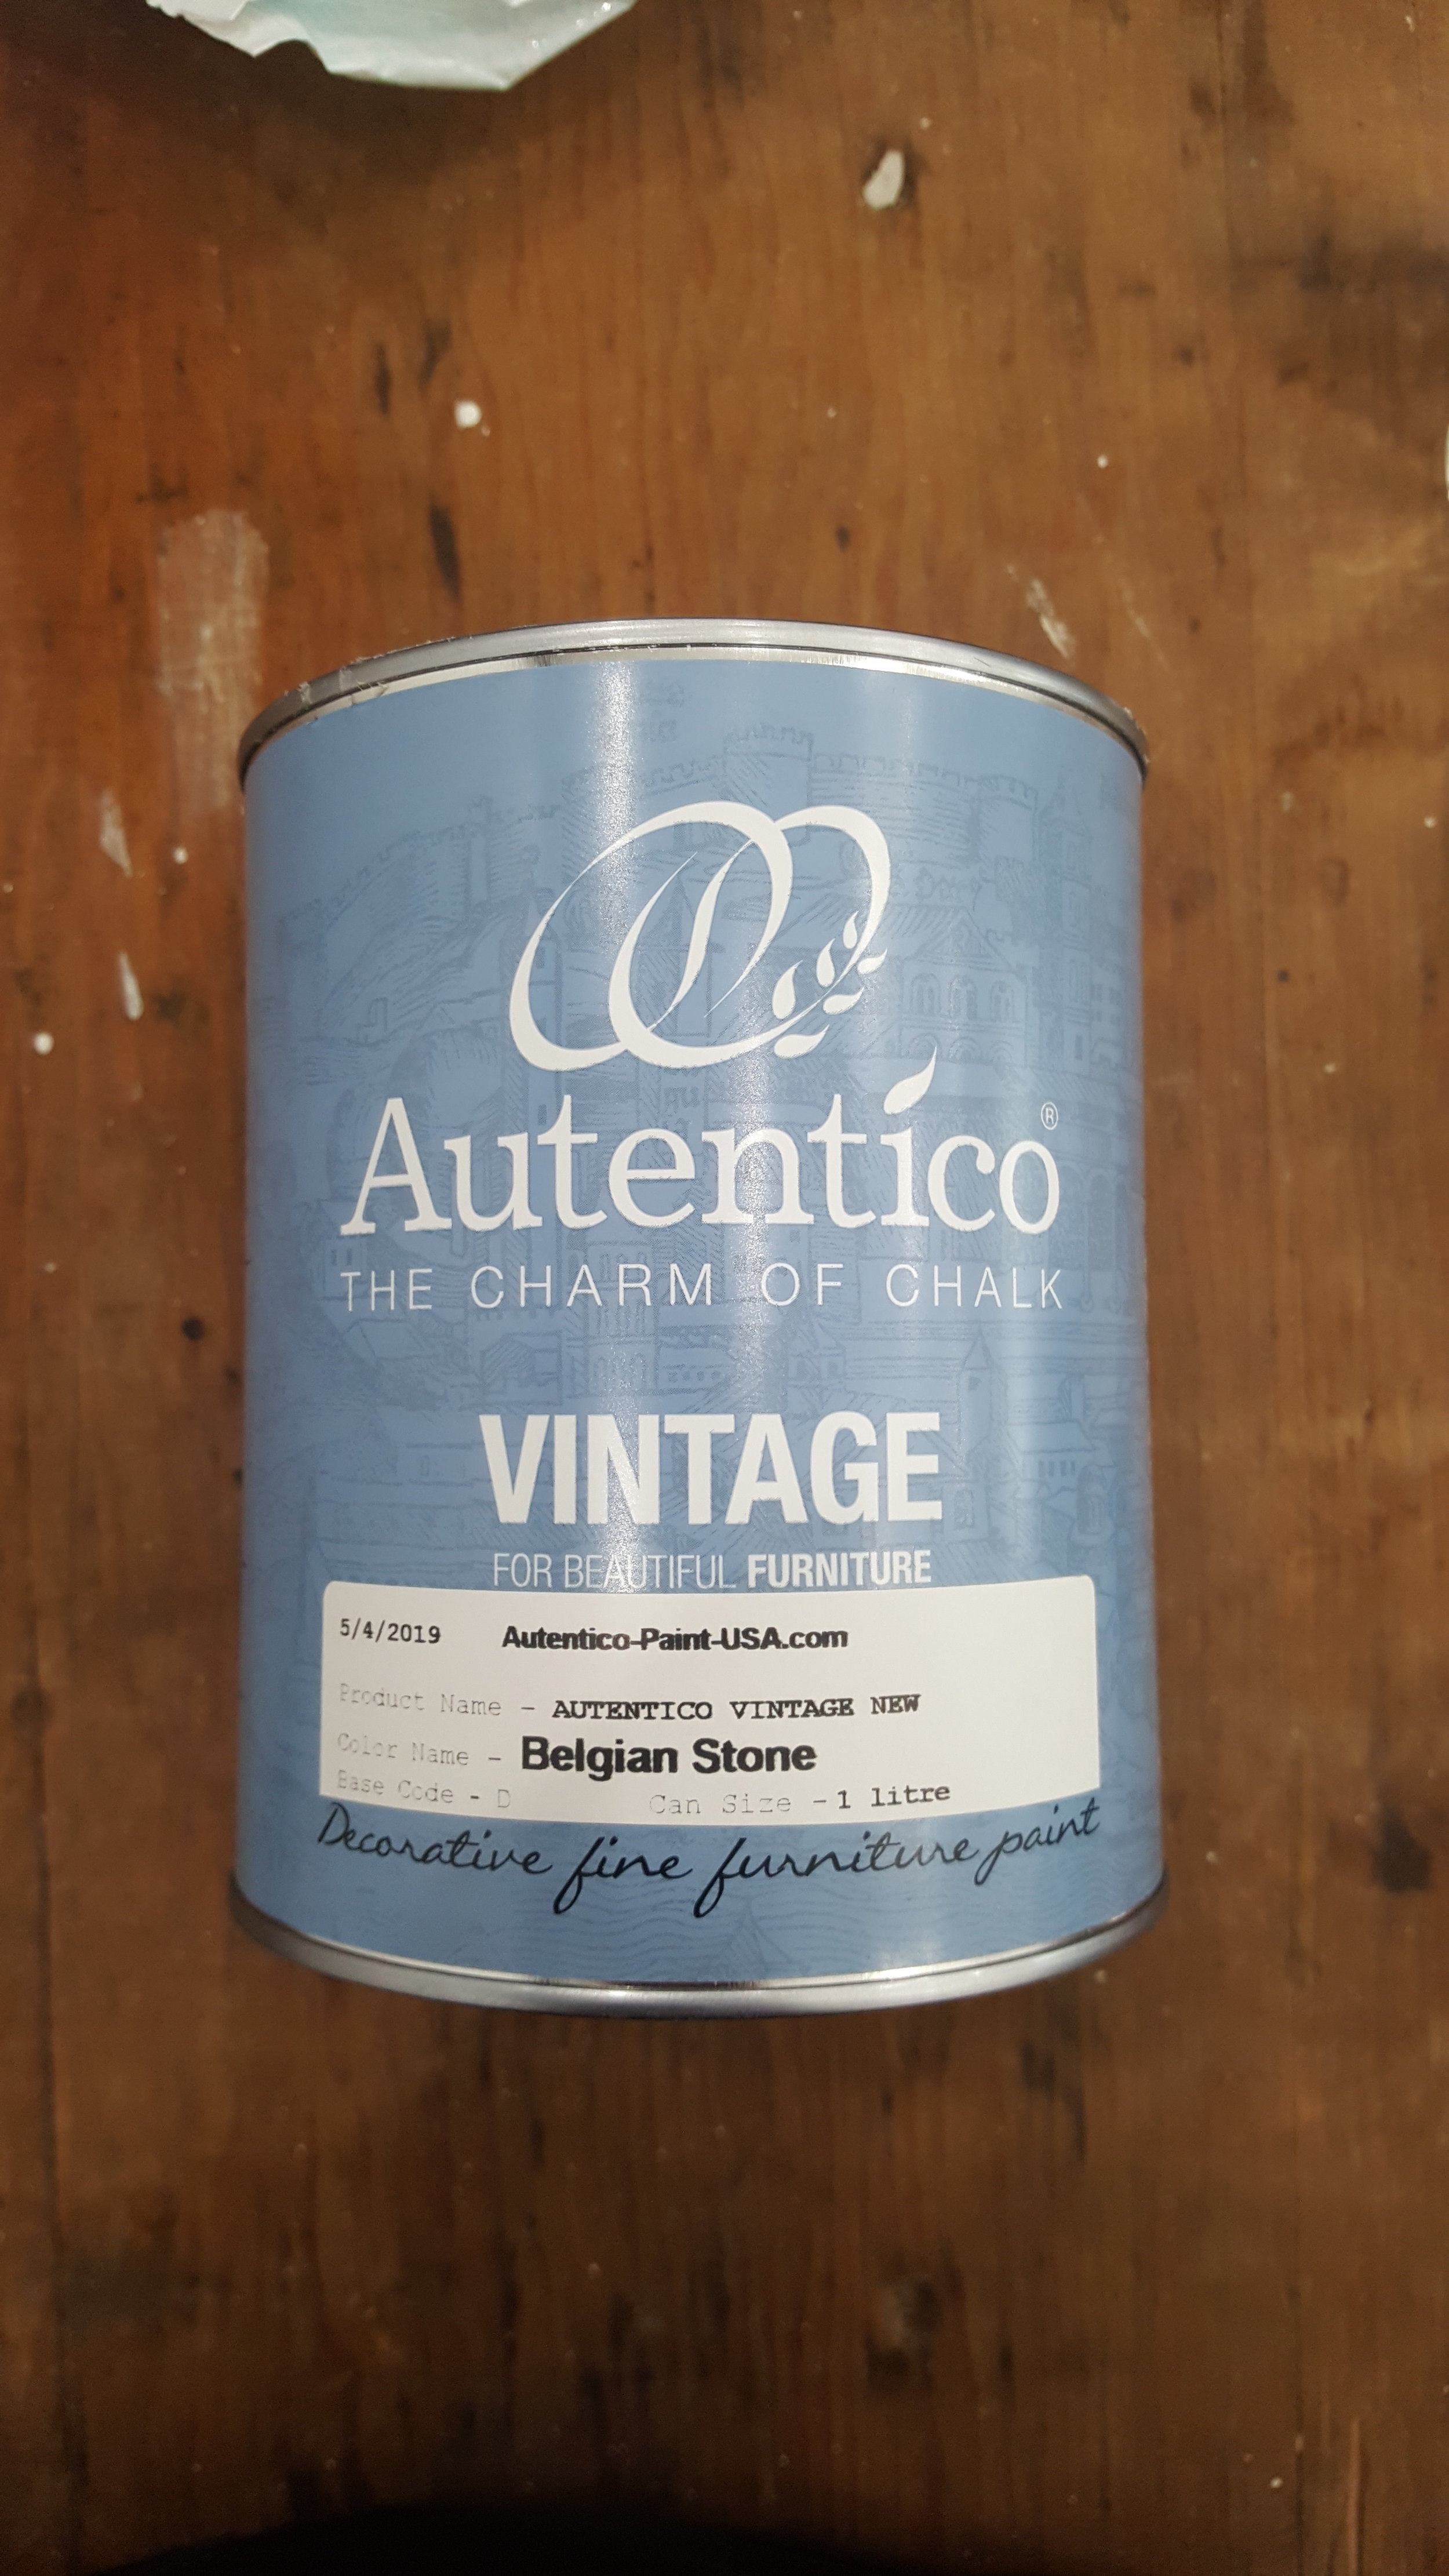
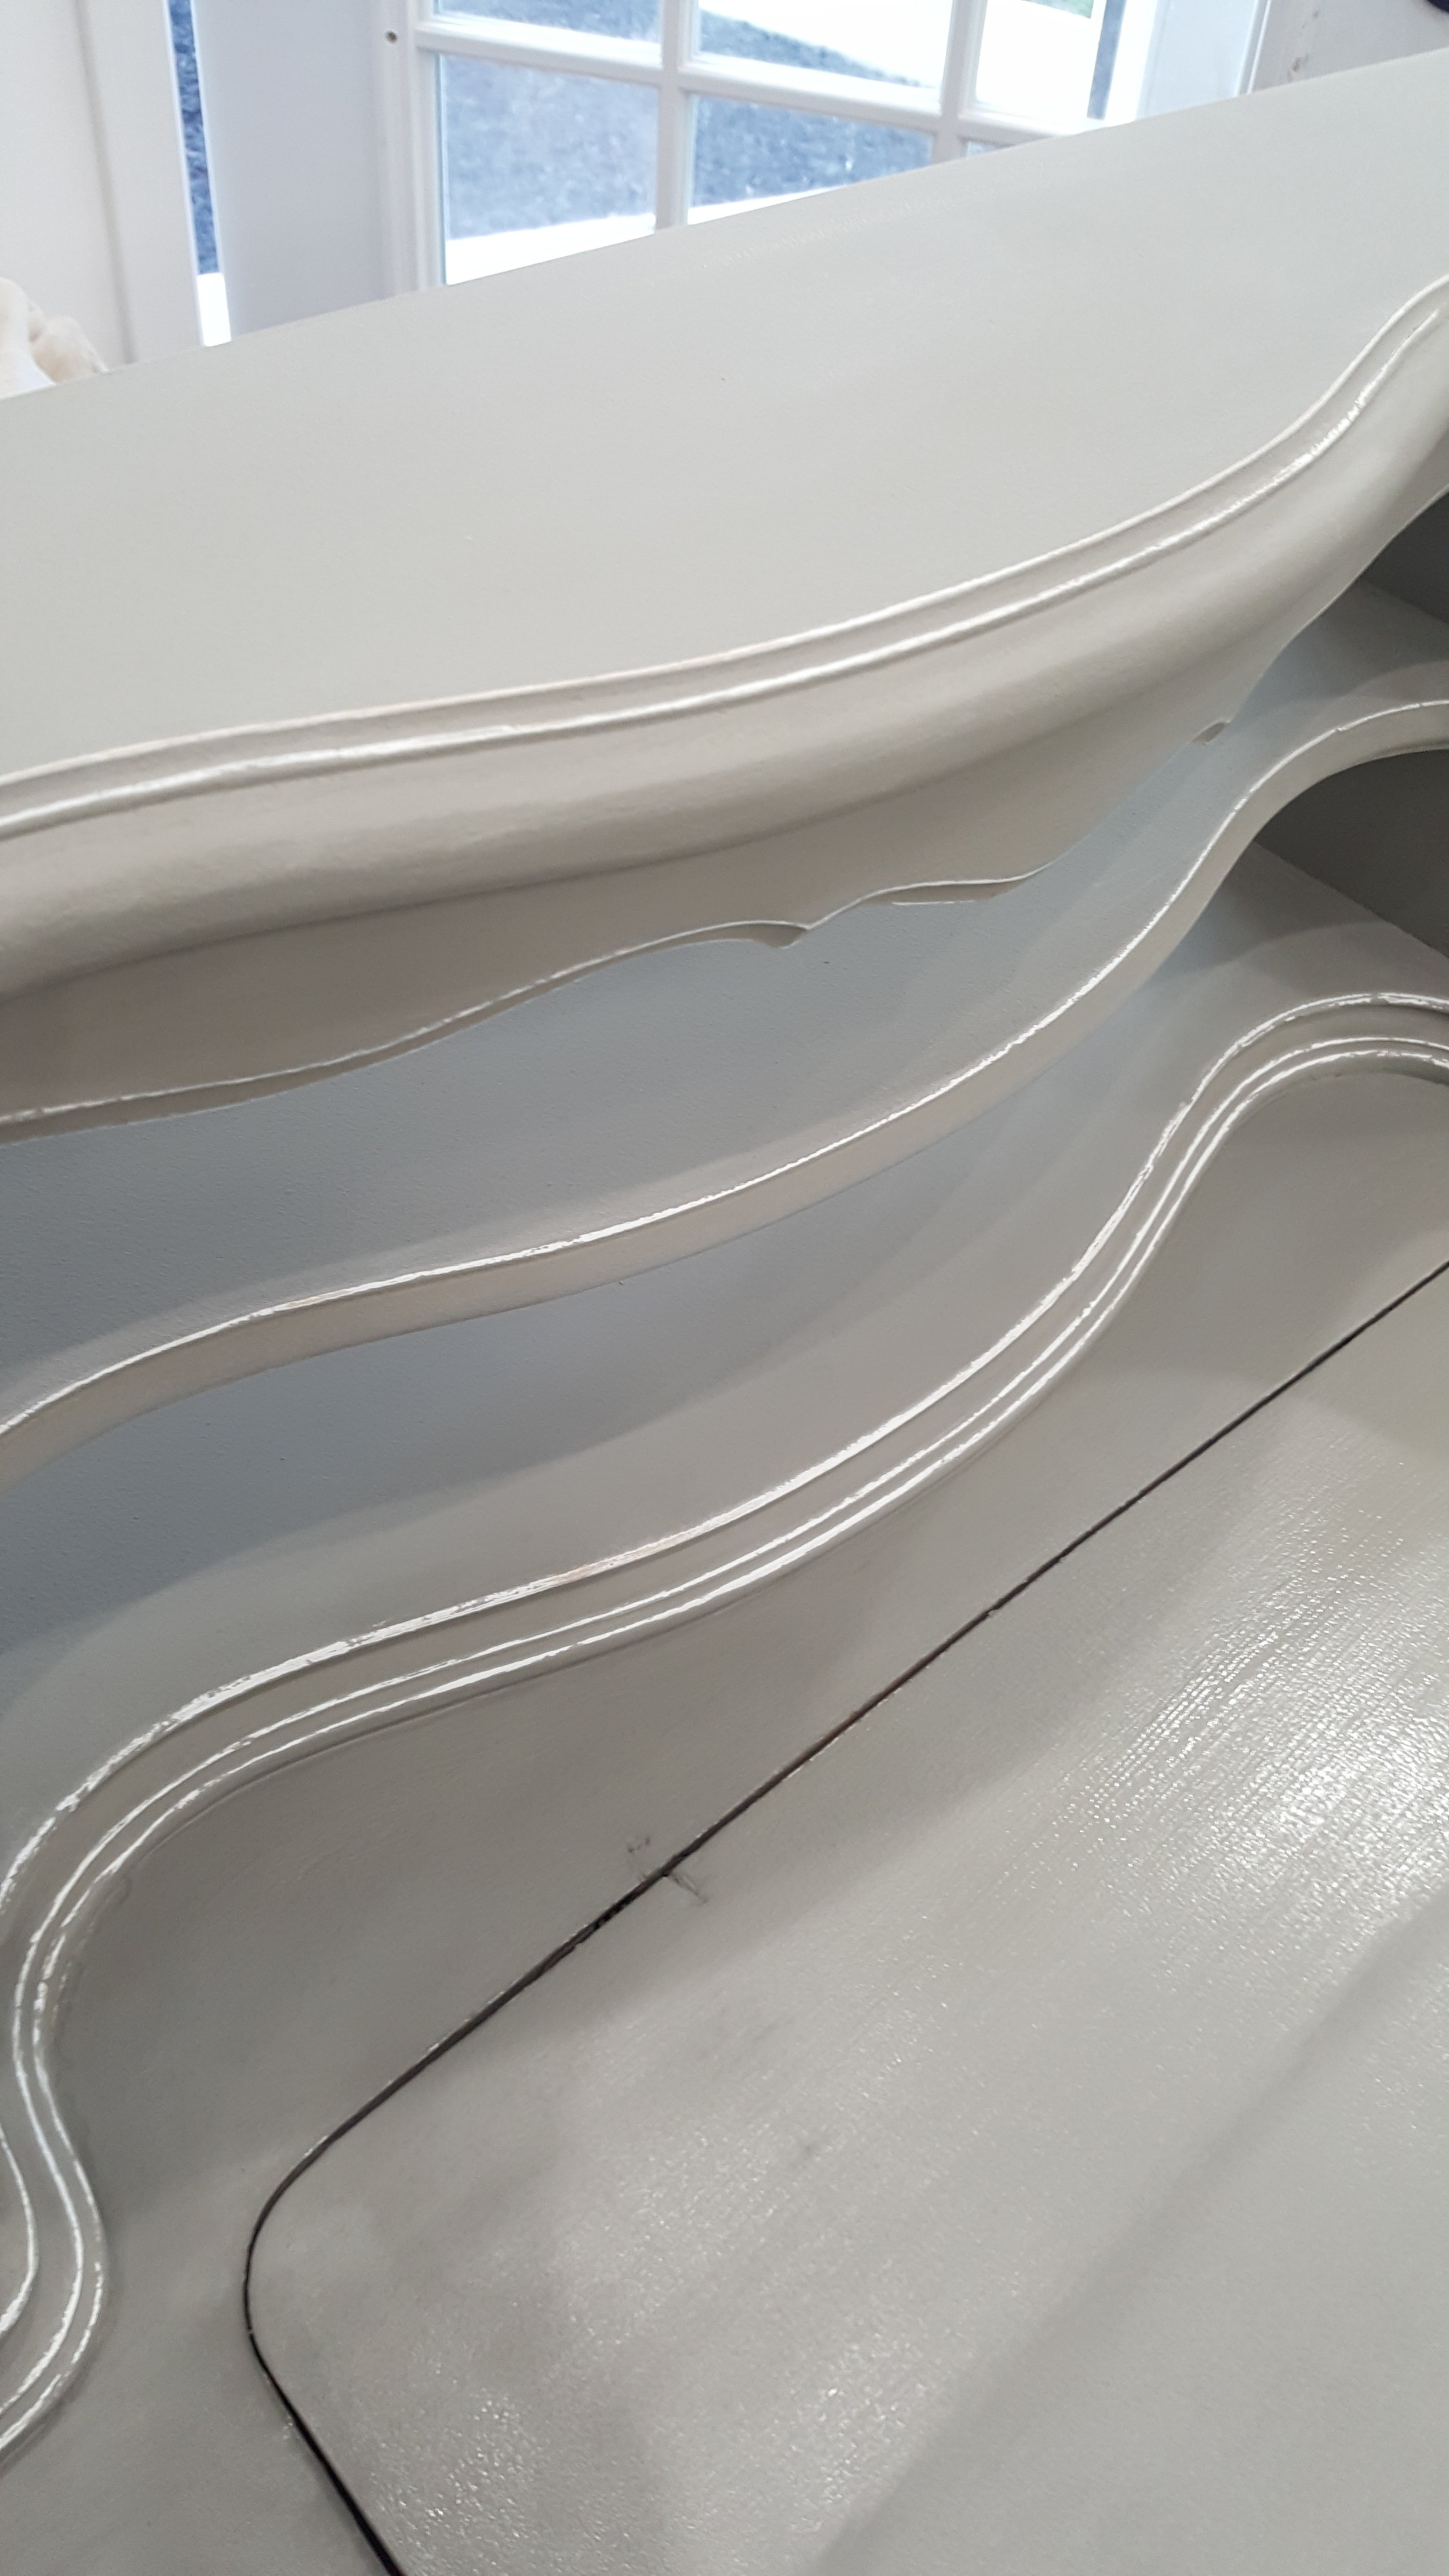
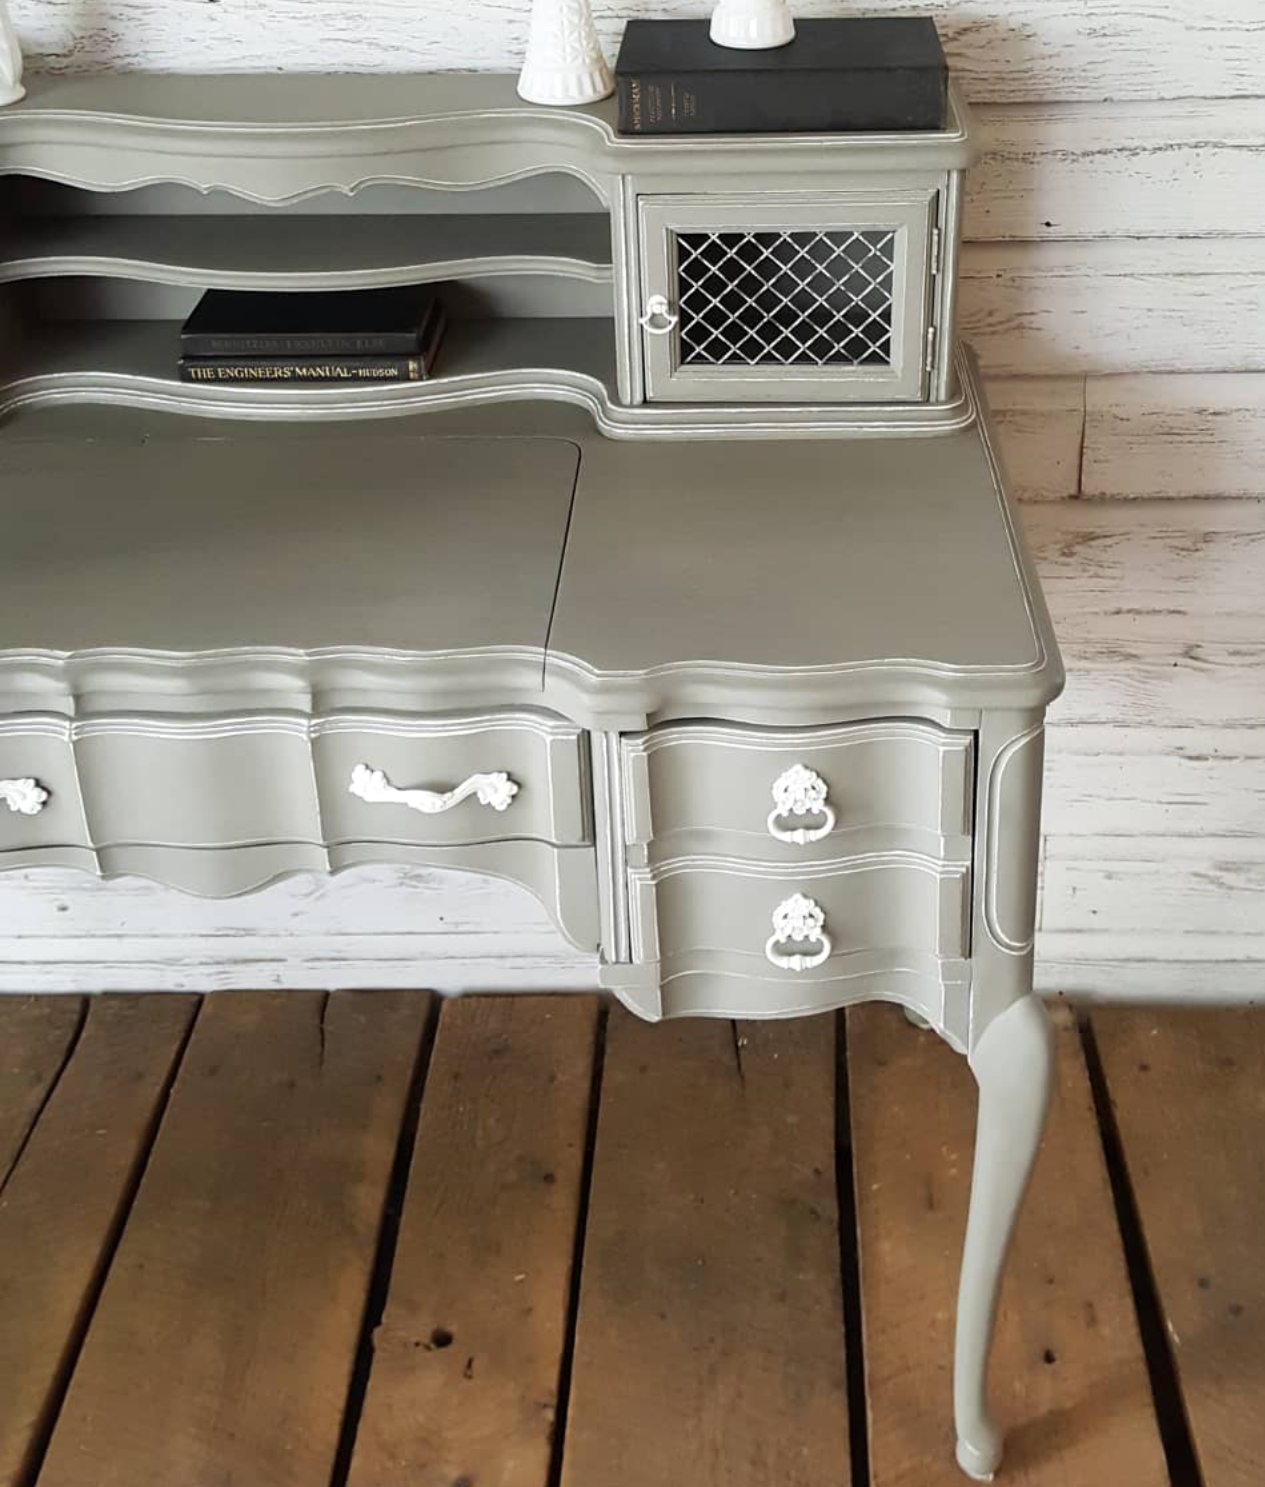
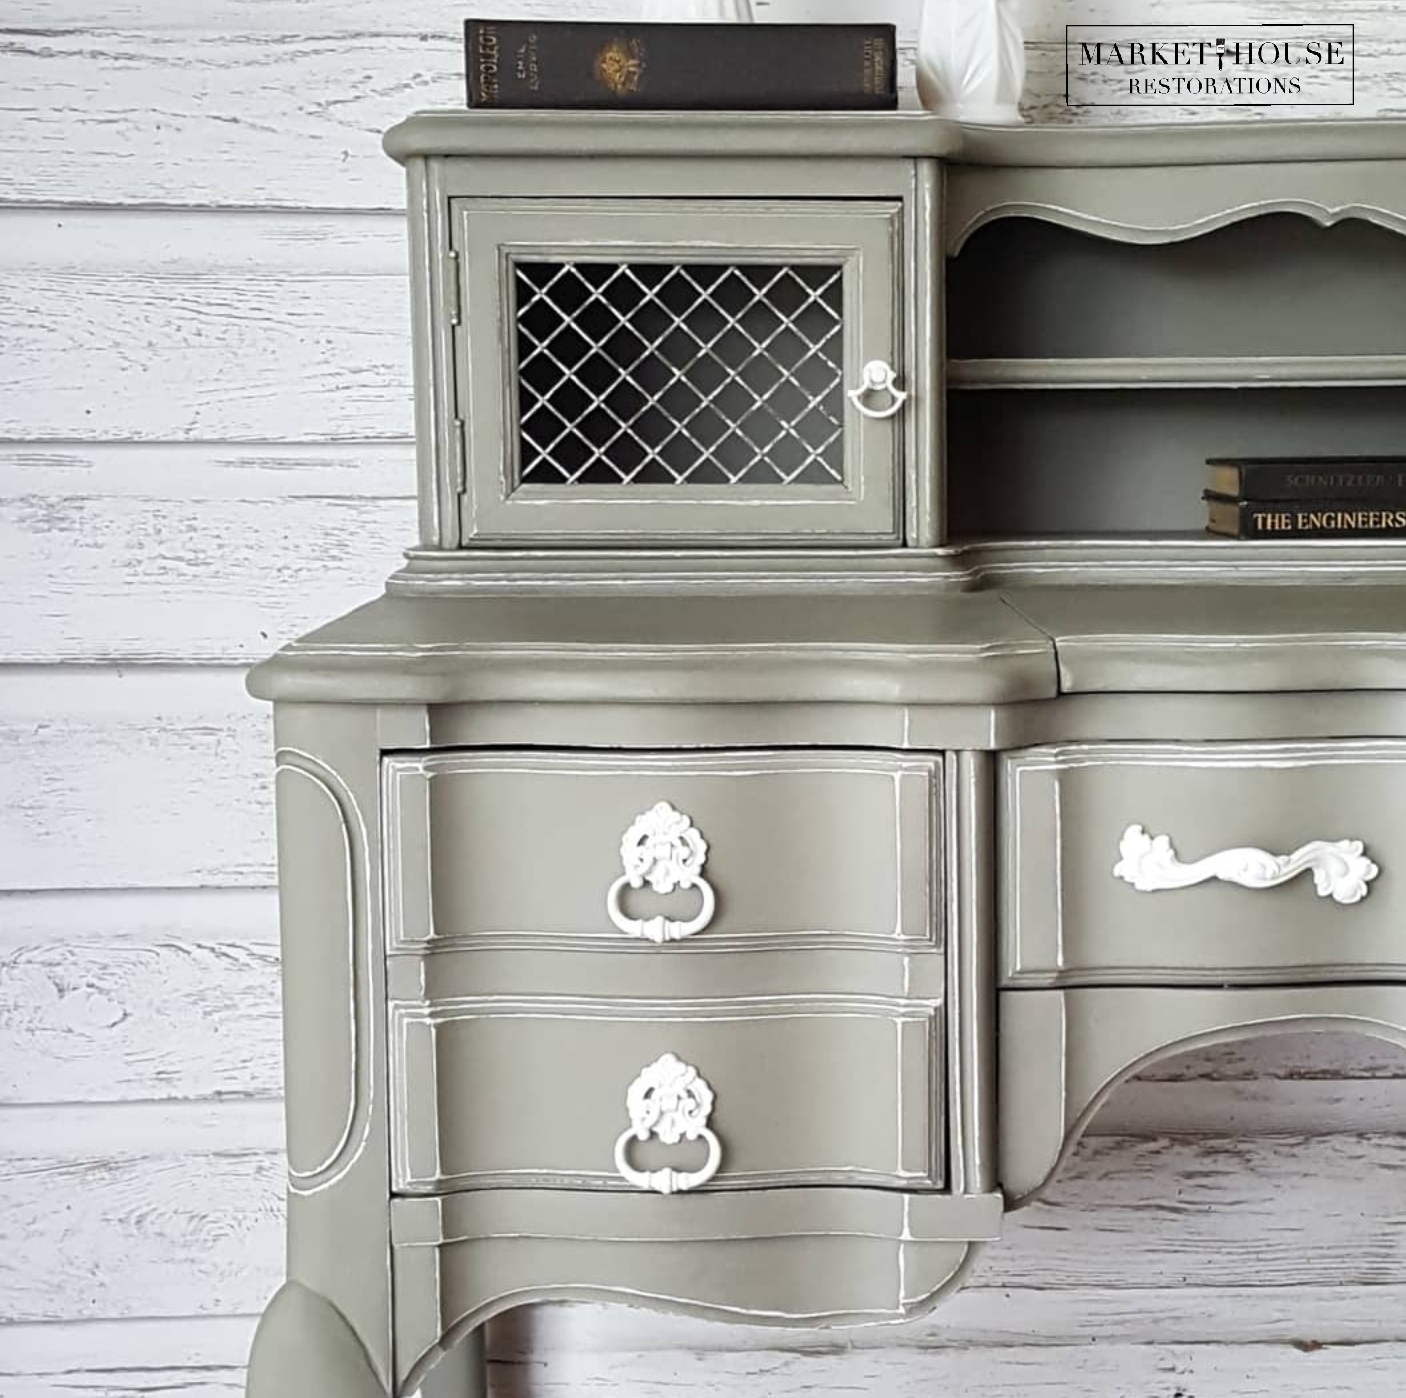
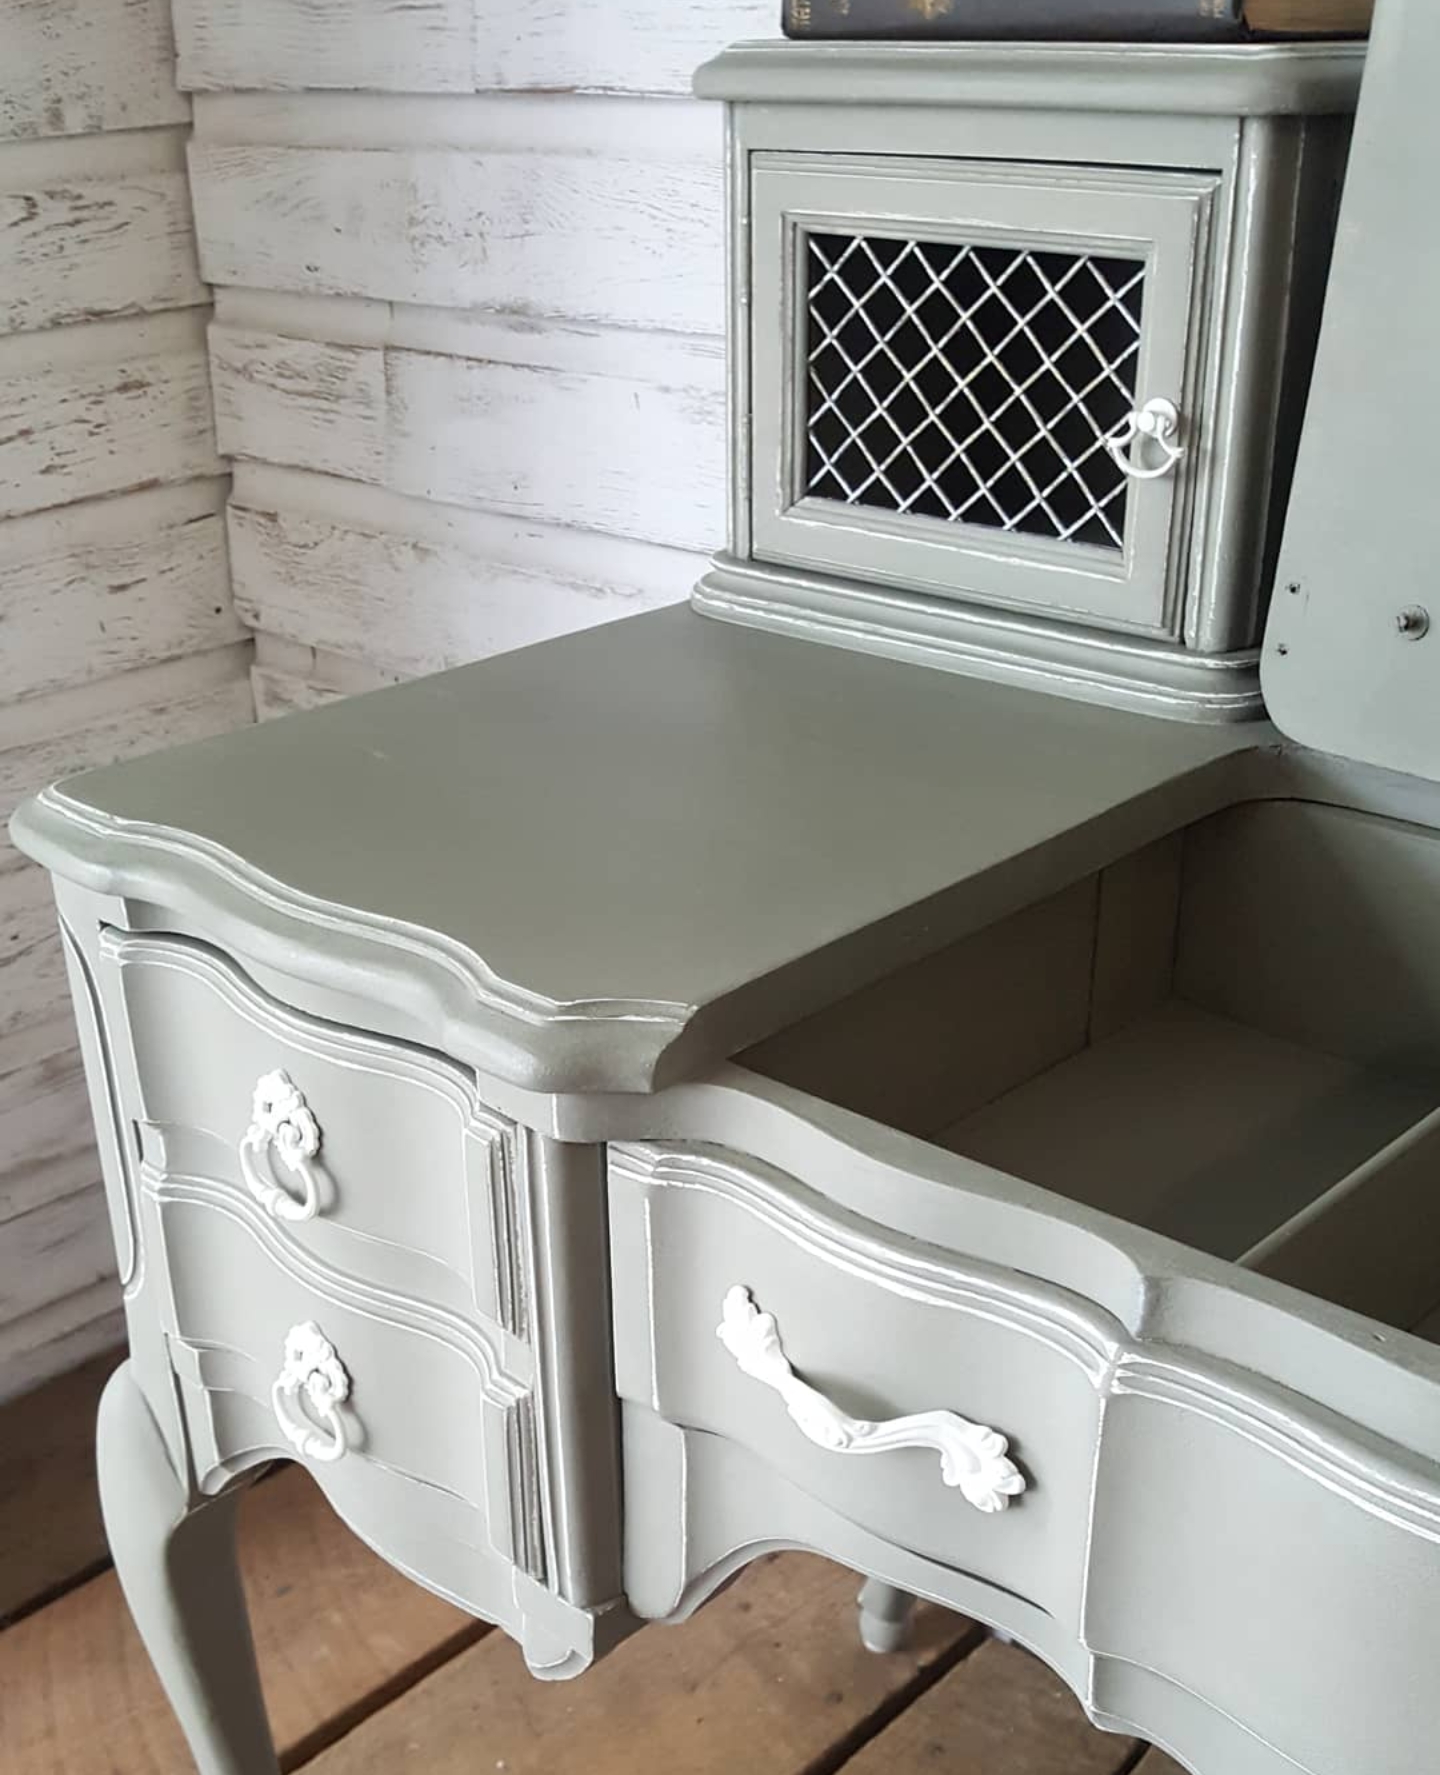
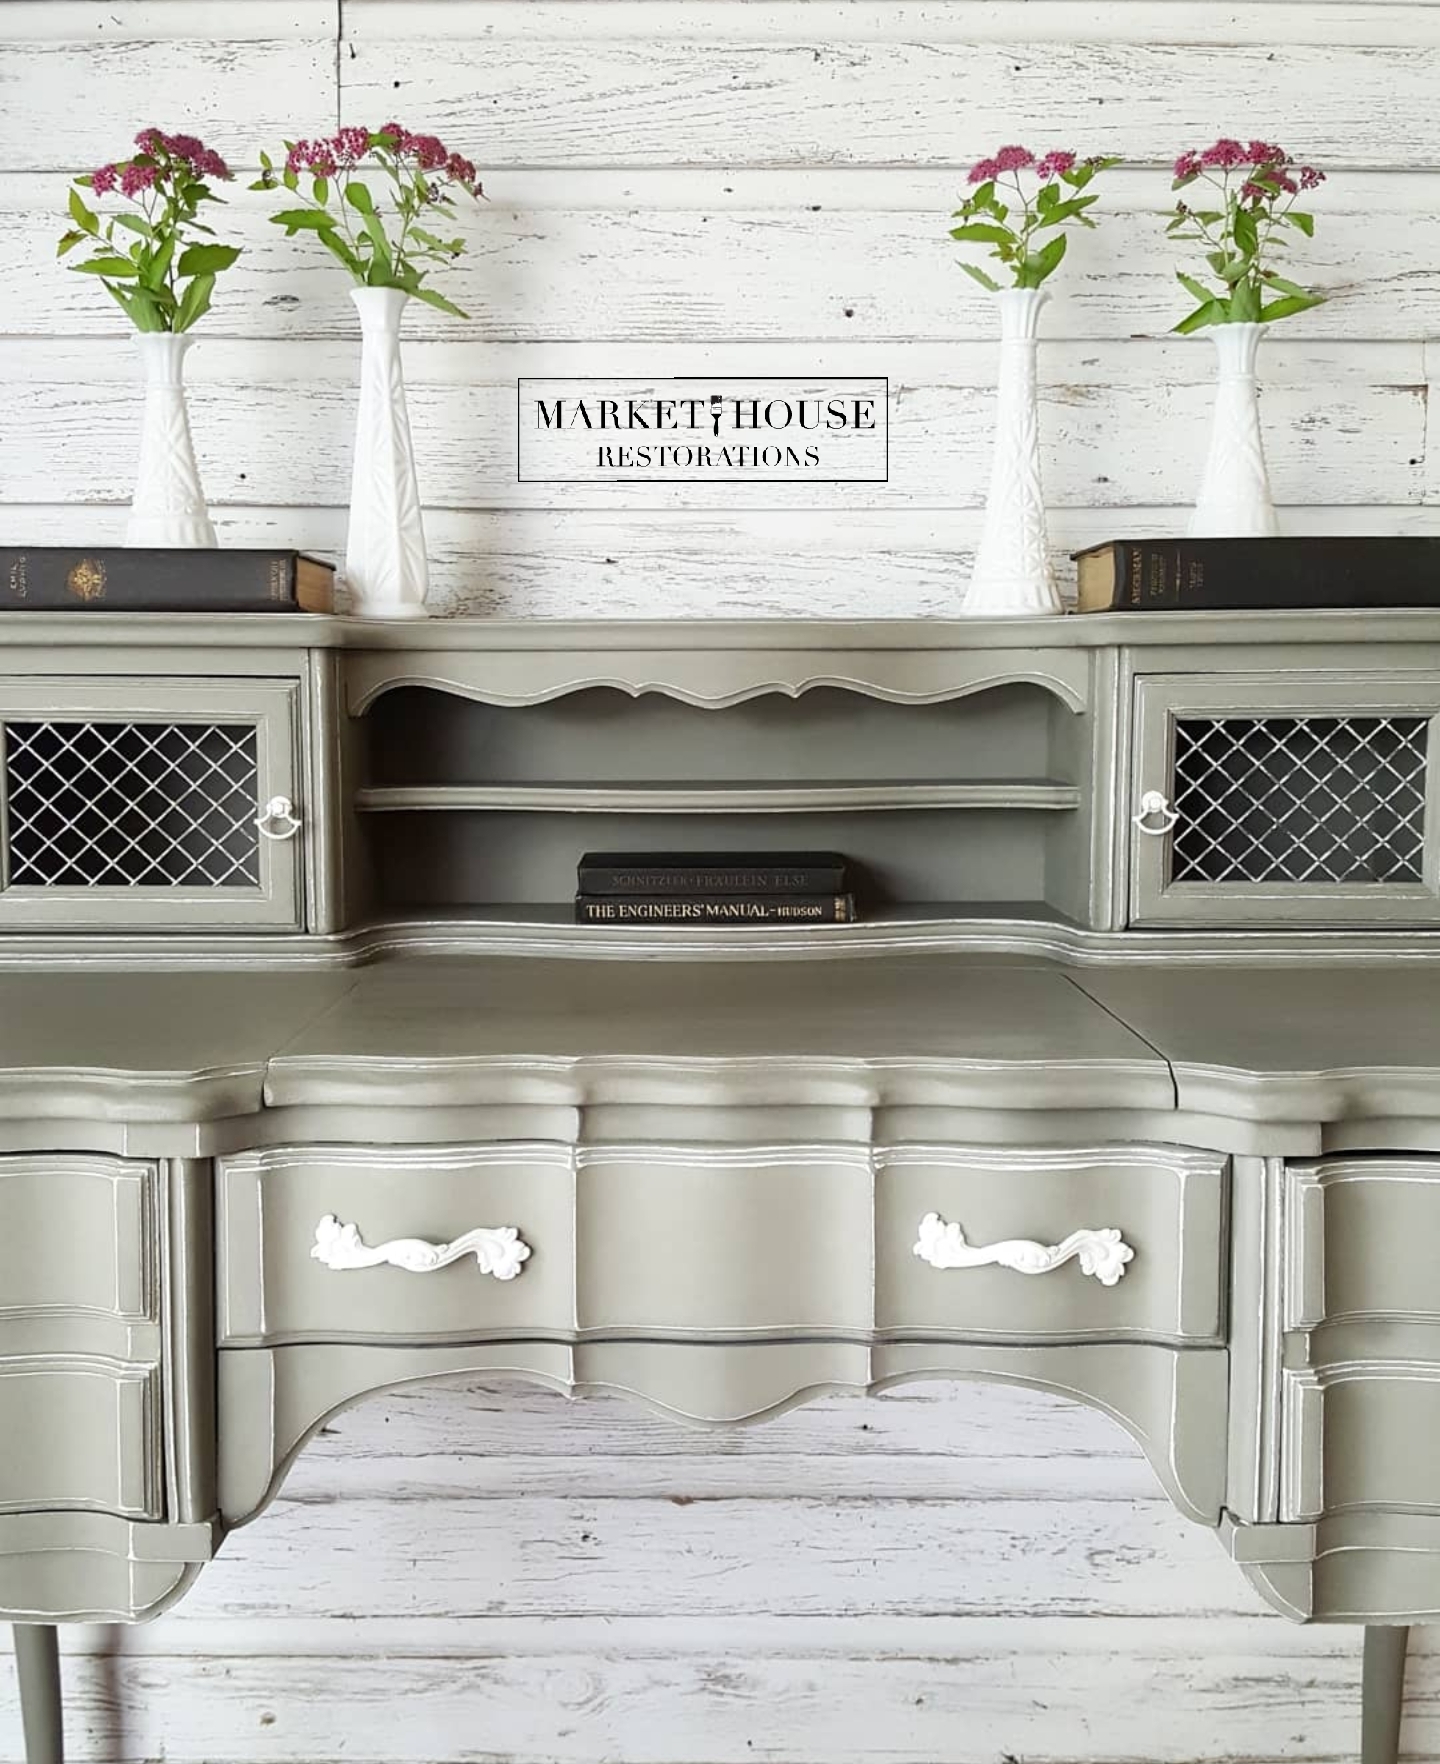
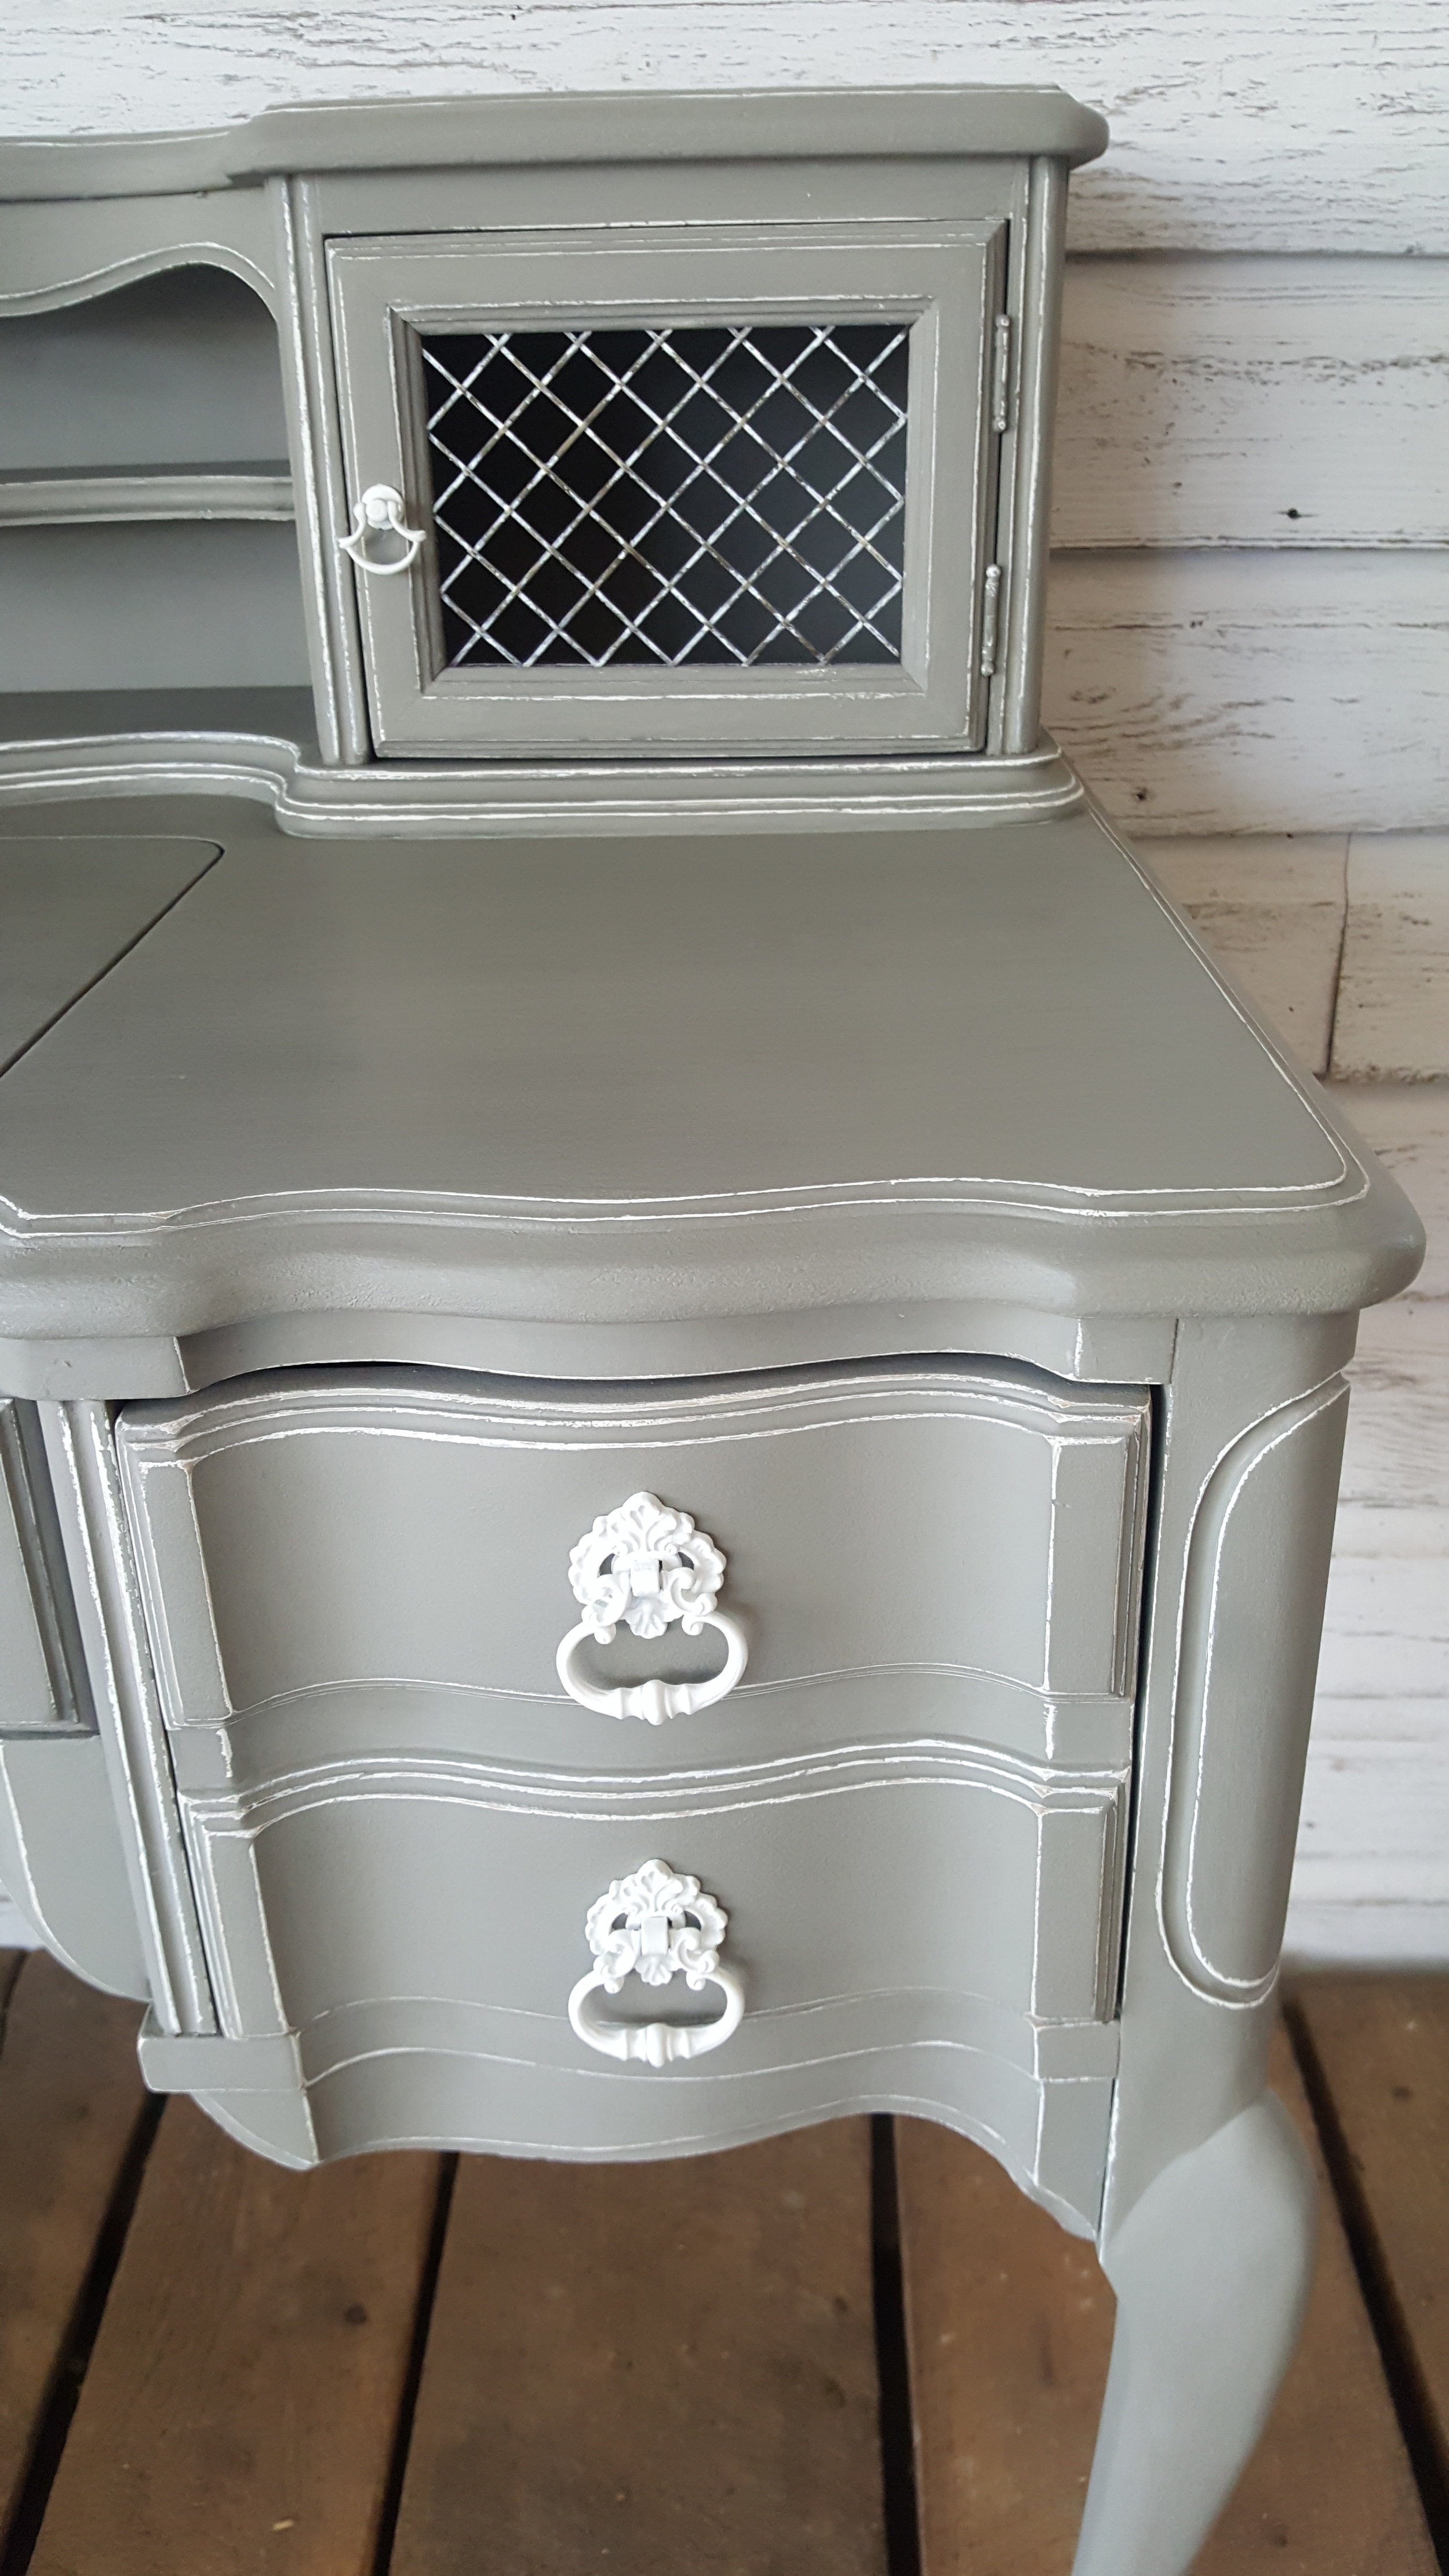
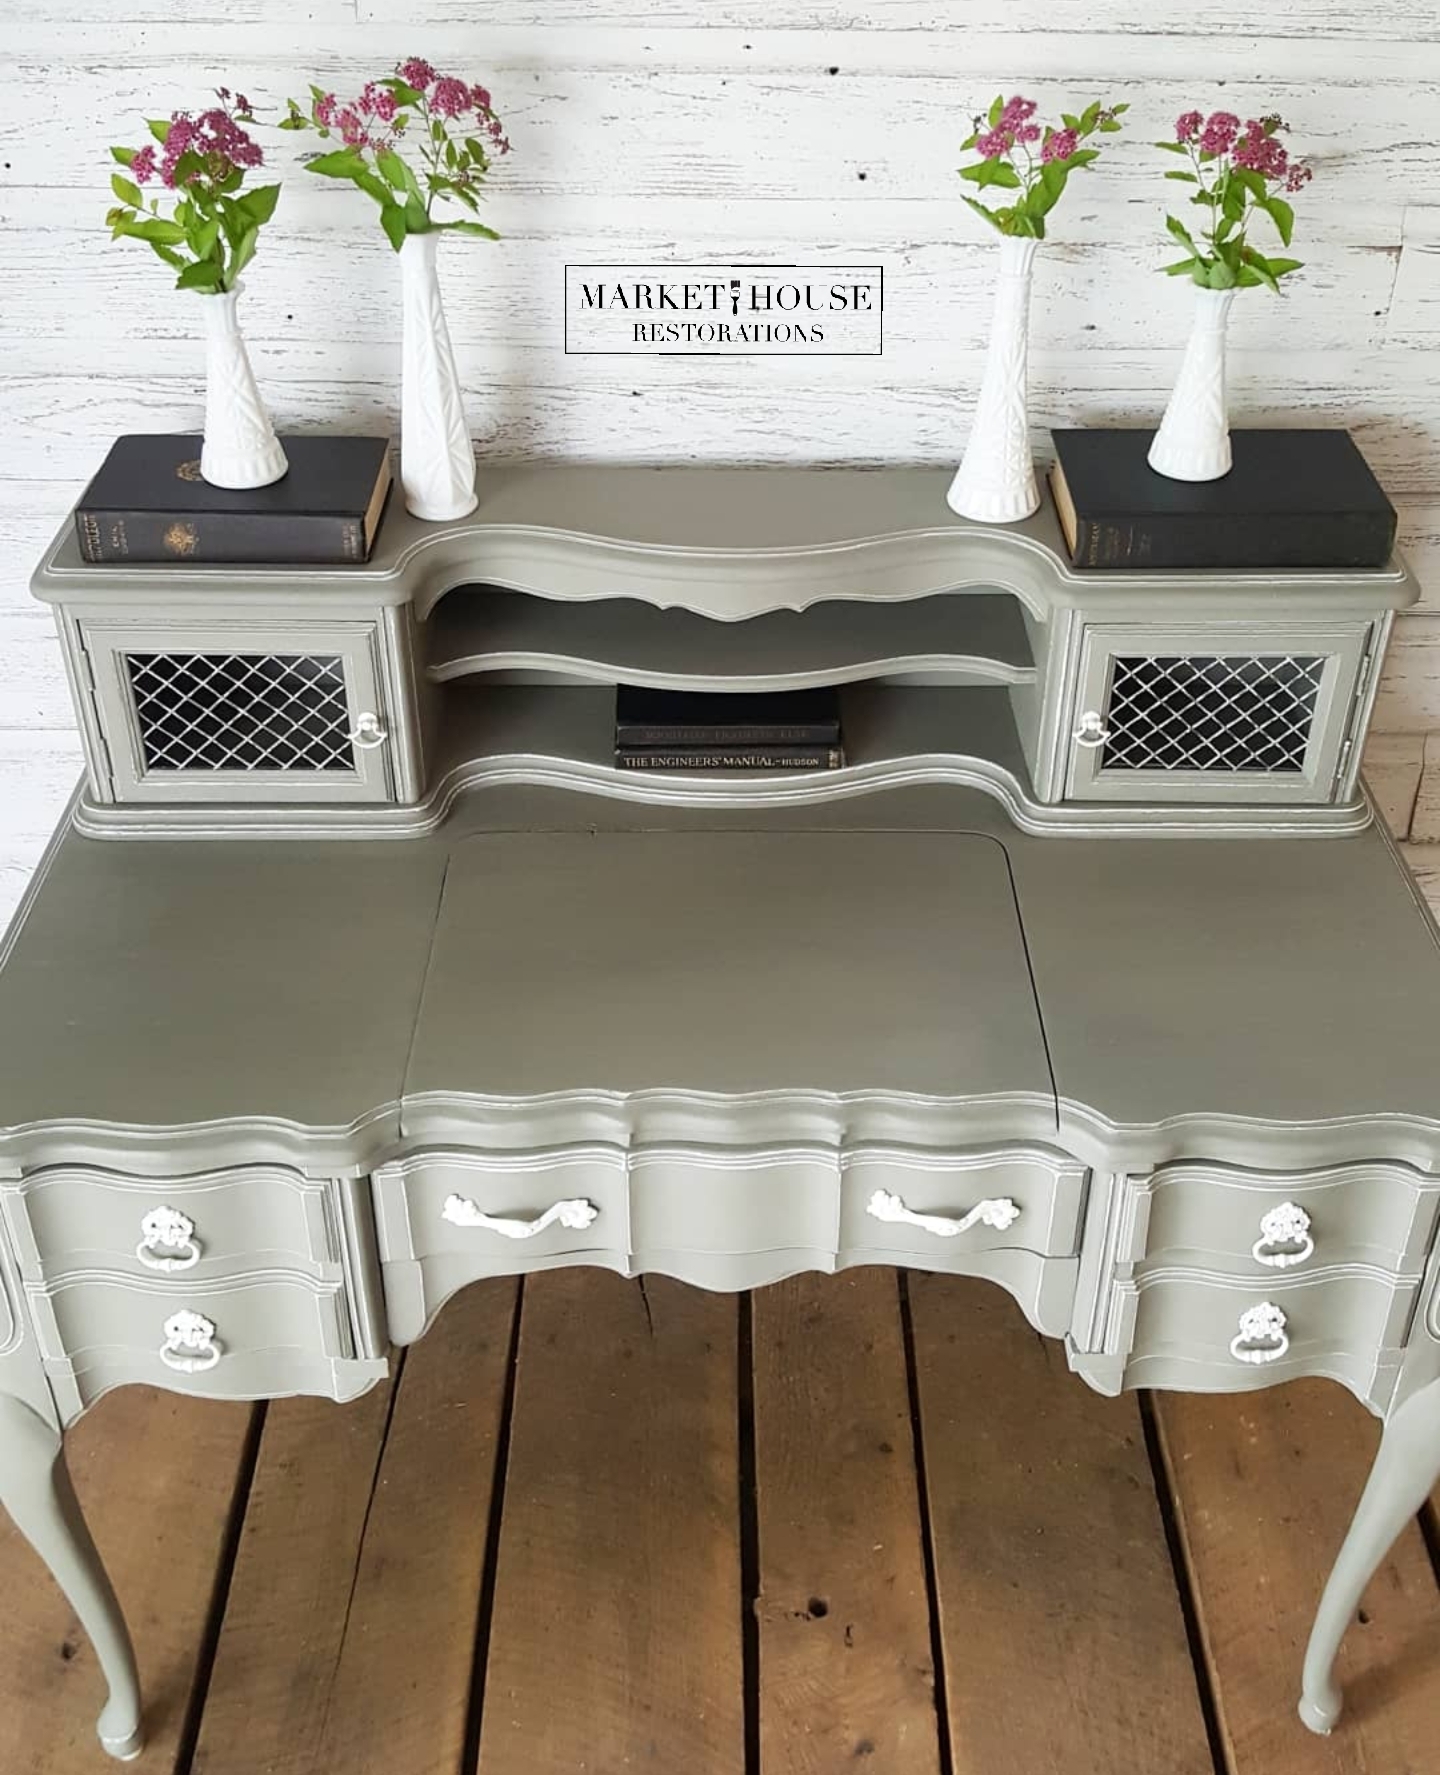
Applied 3 coats of Autentico Vintage Paint in the color Belgian Stone.
I lightly distressed all of the edges to bring the white through. I used 220 grit sandpaper to achieve the look I was going for.
Vacuumed the sanding dust
I painted, sealed and added a new piece of plywood to the back of the piece to replace the old one that was falling apart.
I spray painted the hardware white to match the white that was peeking through the grey where I distressed it.
I white washed the “lattice” so that you could still see through it and made sure it tied in well with the rest of the piece.
I then sealed the whole piece with Autentico Clear Wax, buffed it about 30 minutes after I applied the wax and then applied a second coat. Once the second coat sat on the piece for about 15 minutes, I buffed it one more time to give the piece a little shine.
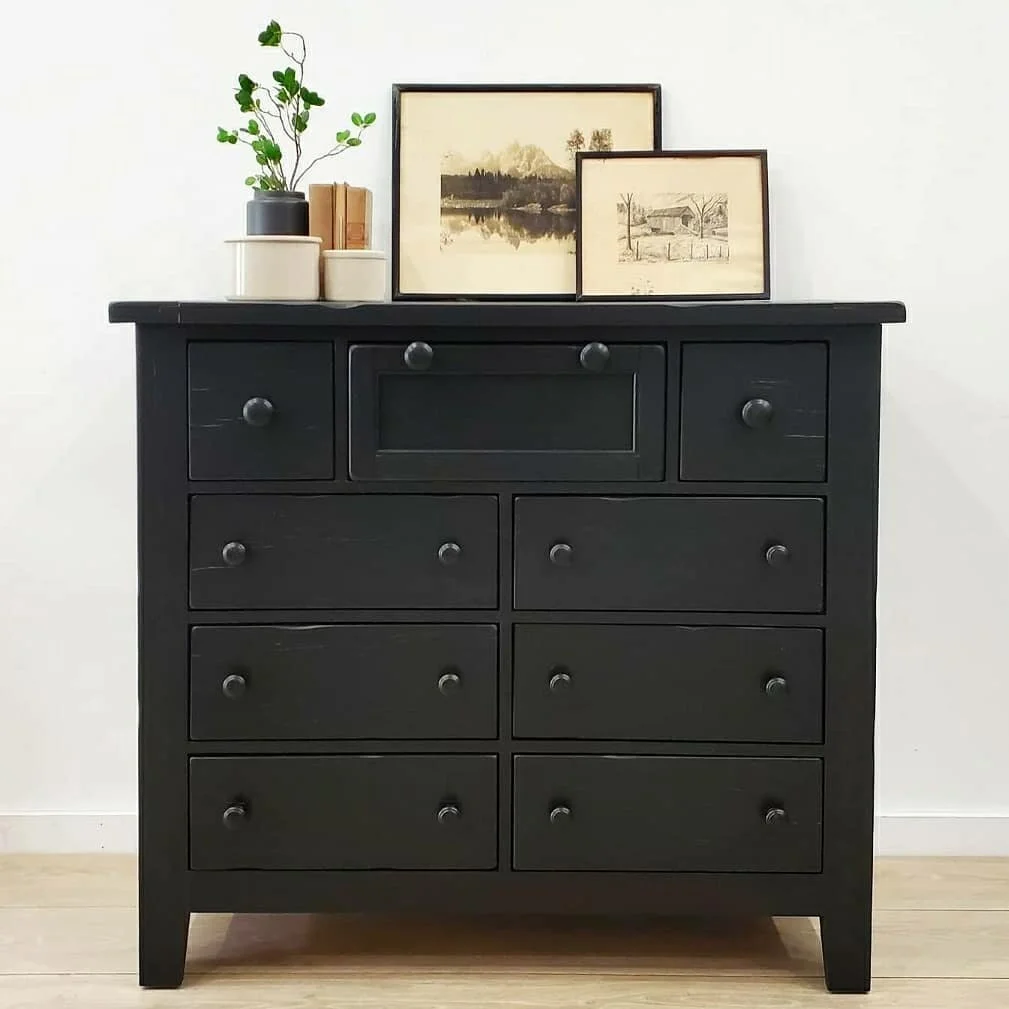
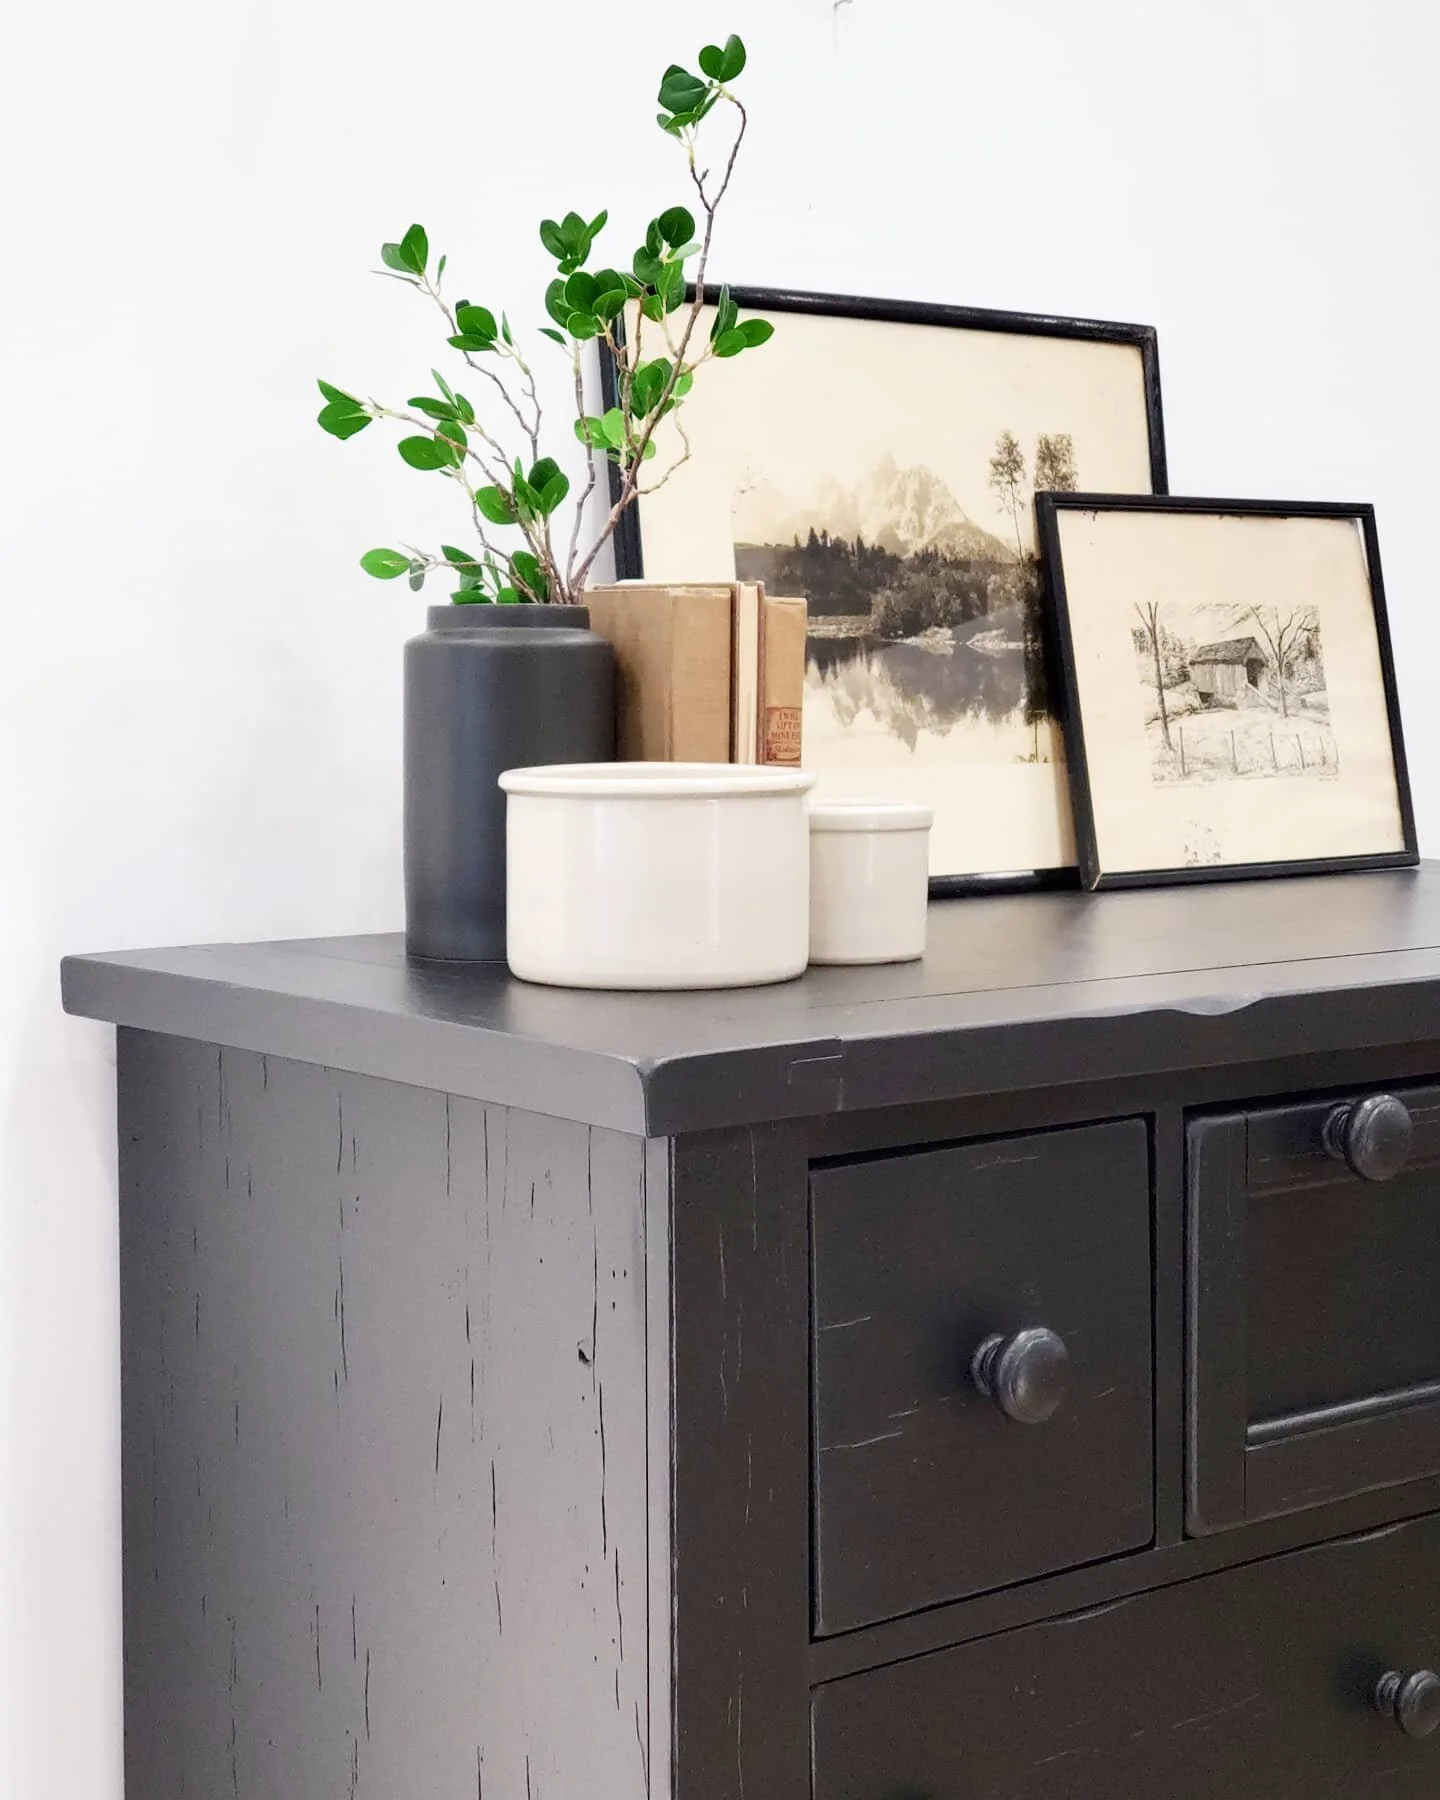
BEFORE AND AFTERS:


As always, thank you so much for tuning in for #MondayMakeoversWithFallon. If you want to save this blog post so you can refer back to it, make sure you pin it to your Pinterest page and/or feel free to share it elsewhere. Don’t forget to check out my previous #MondayMakeoversWithFallon blog posts below as well as my other educating #TuesdayTipsWithFallon video tips/tutorials!
*Please note, this post does contain affiliate links.


Did you know I have an eBook plus three different staging and styling guides that help you stage your furniture!? Between all three guides you receive over 500 different ways to style and stage different pieces of furniture. Yes, 500!! They are not just for the furniture artist either. Maybe you are planning on selling your home and need help staging your furniture so it doesn’t look cluttered or maybe you just have no clue how to style the furniture that you currently have and you want it to look nice?! No worries! These are for you!! Between all three guides and my second edition eBook you get over 200 pages of information! You do not have to worry about staging and styling your furniture ever again!!Here is the link to my eBook, Your Virtual Storefront. The Complete Guide to Staging Painted Furniture. It jammed packed information that will help you take your staging to the next level! I also have three separate staging and styling guides that help you stage specific pieces of furniture.
Here is a breakdown of my eBook and Guides:
*Your Virtual Storefront. The Complete Guide to Staging Your Painted Furniture. 2nd EDITION: Everything you need to know to help you stage your furniture from, photography, the photo editing process, lighting, staging areas/locations, information about logo/watermarks…just to name a handful of the topics.
*The Bedroom Furniture Guide: Staging and Styling Chest of Drawers, Dressers, Nightstands, Wardrobes, Blanket Chests, Vanities, Beds and Bedroom Sets)
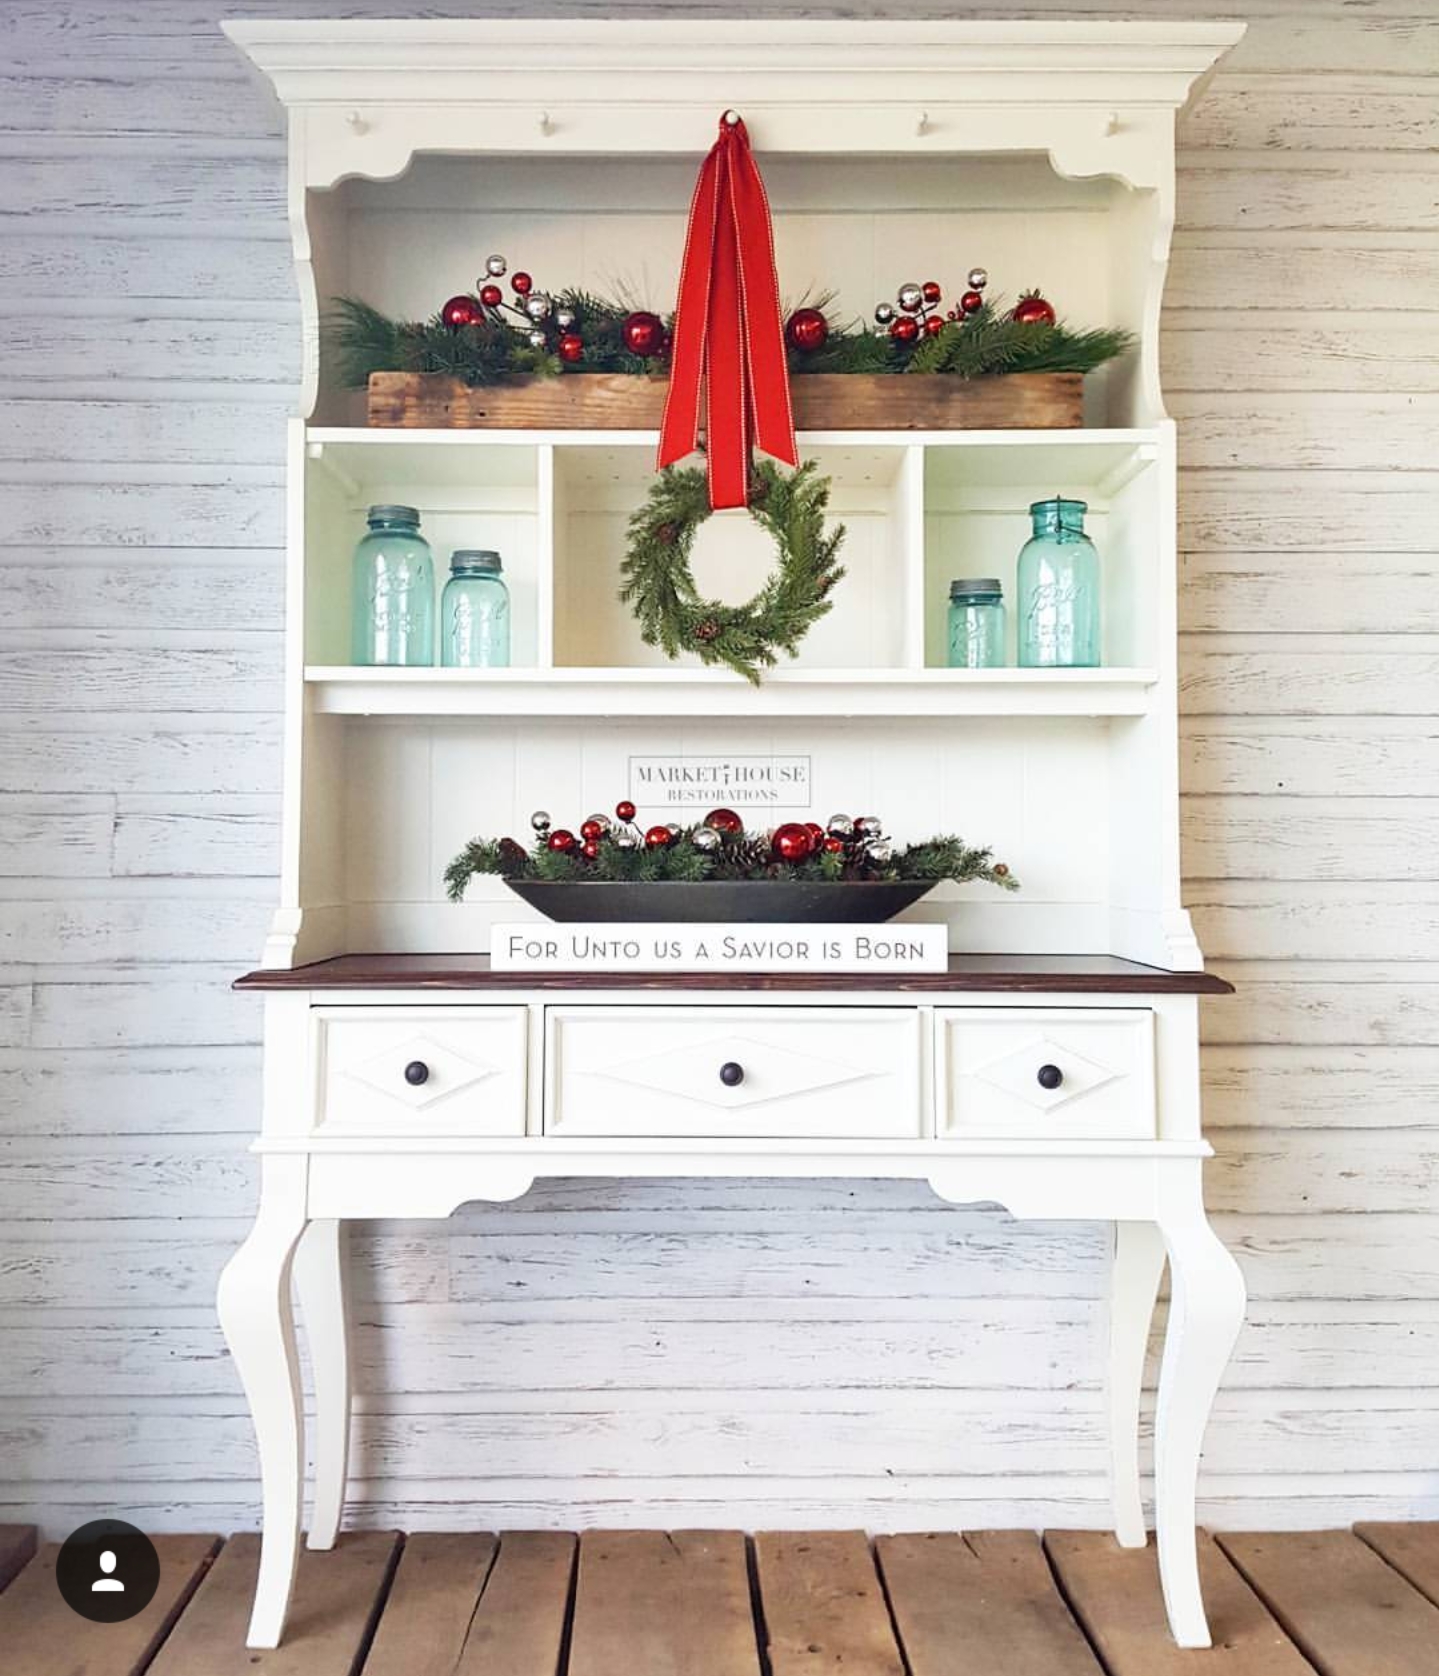
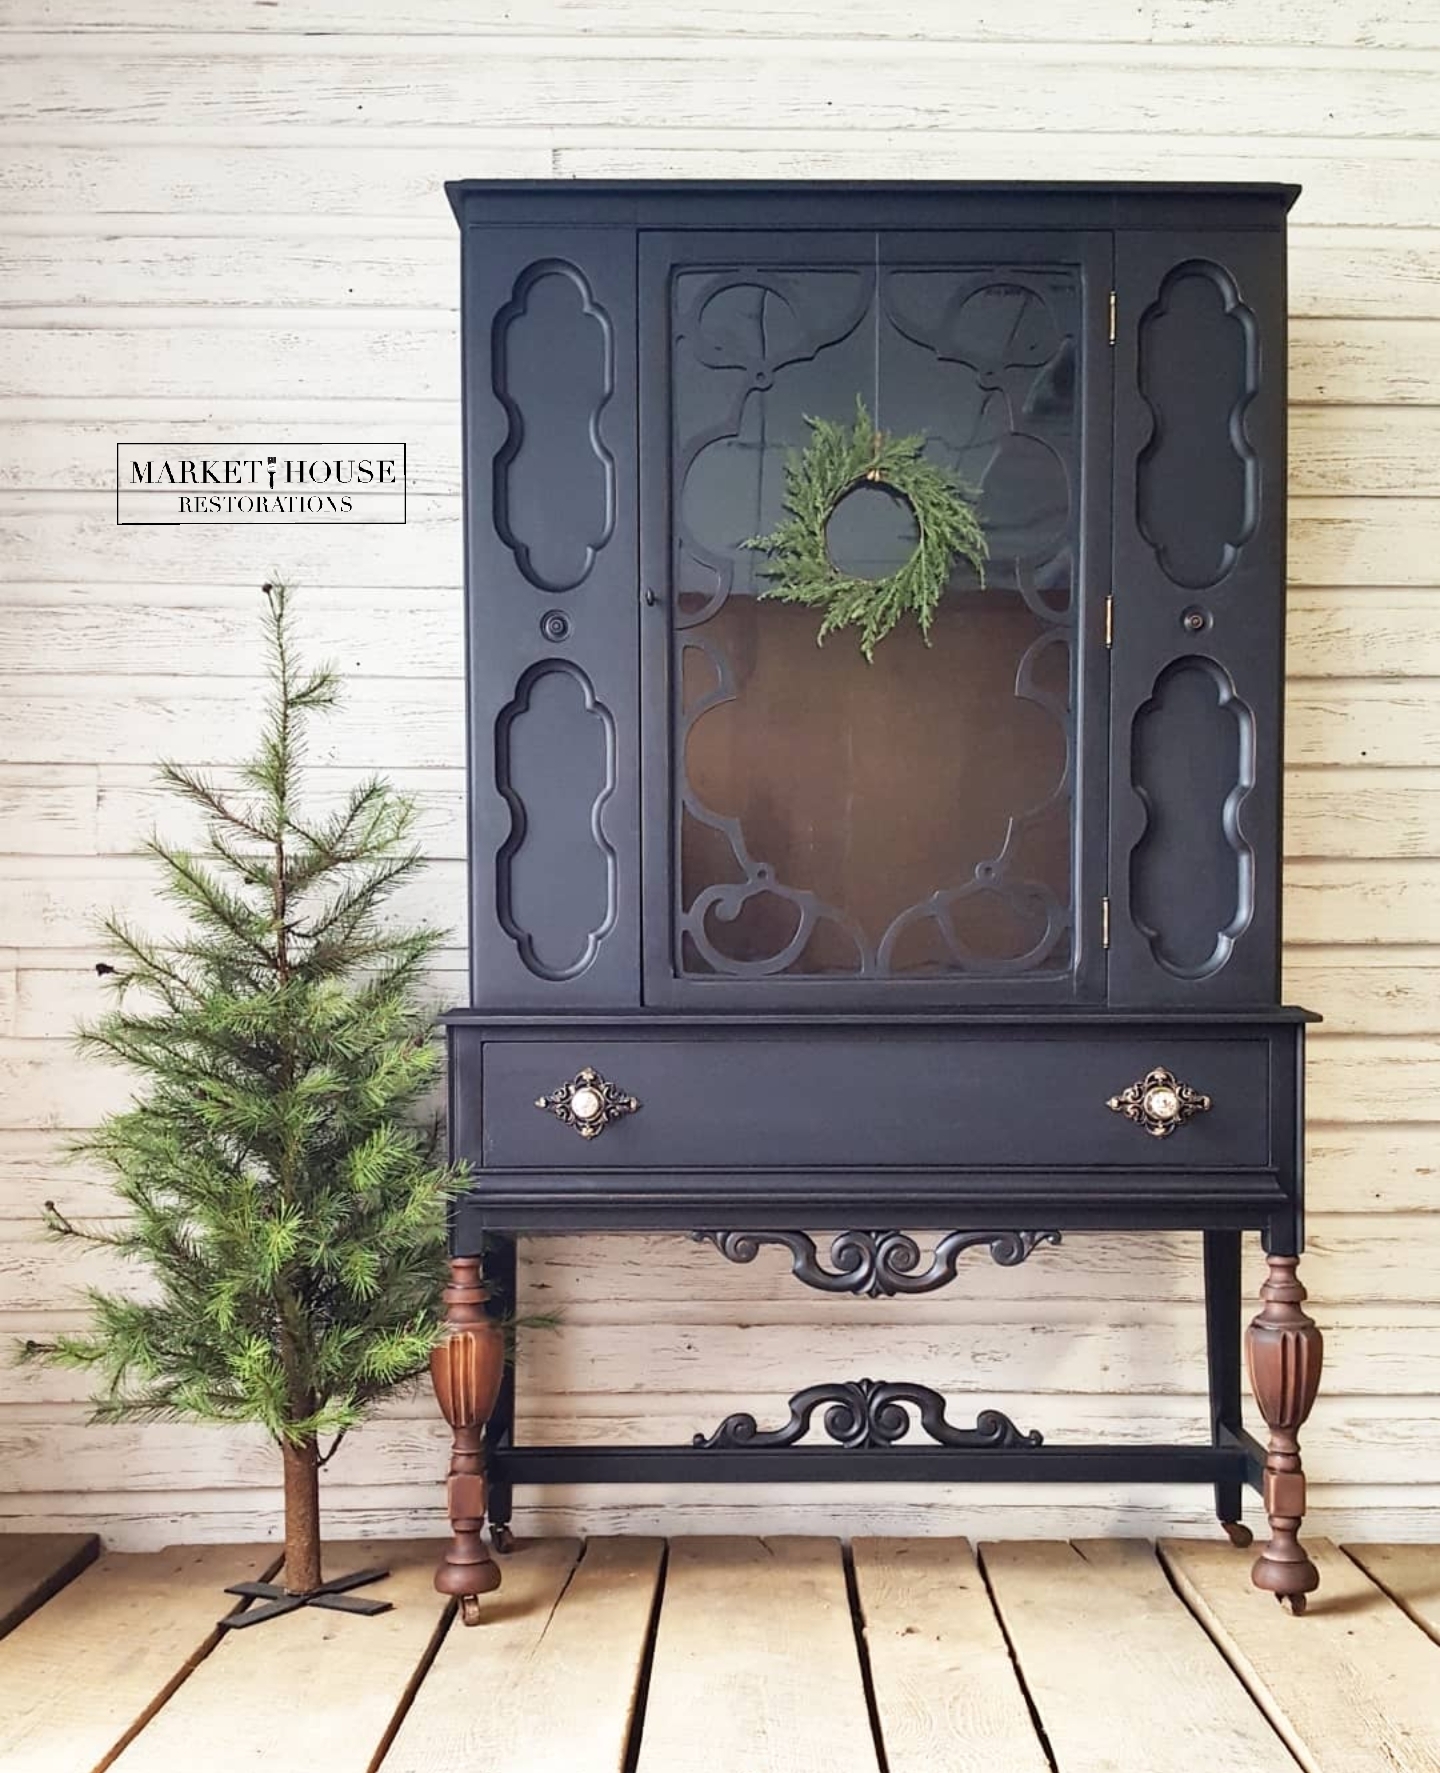
*The Dining Room Furniture Guide: Staging and Styling Buffets/Sideboards, China Hutches, Glass Front China Cabinets and Tables & Chairs
*The Everyday Living Furniture Guide: Staging and Styling Desks, Multi-Purpose Pieces, Sofa Tables, TV Stands, Side Tables, Coffee Tables, Benches and Bookshelves
I appreciate you stopping by!!
Make sure you check out my other #MondayMakeoversWithFallon blog posts below!