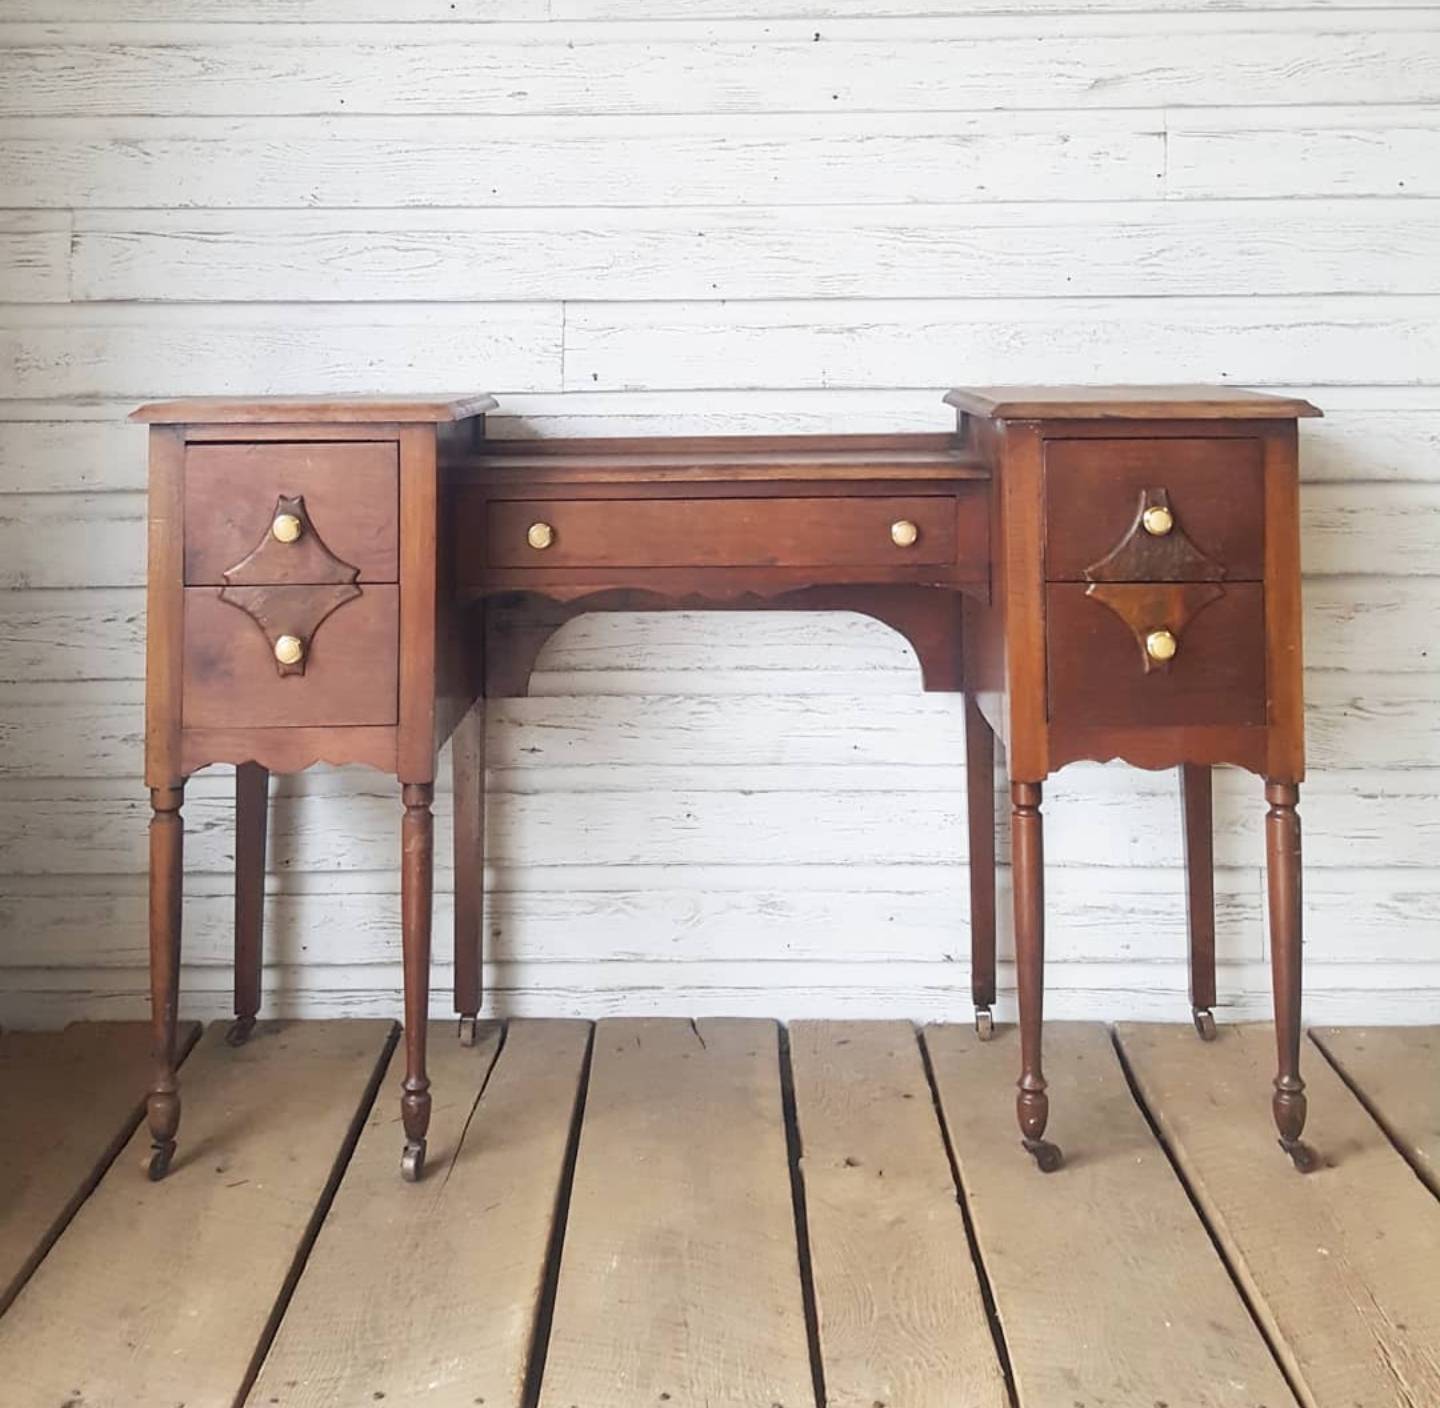
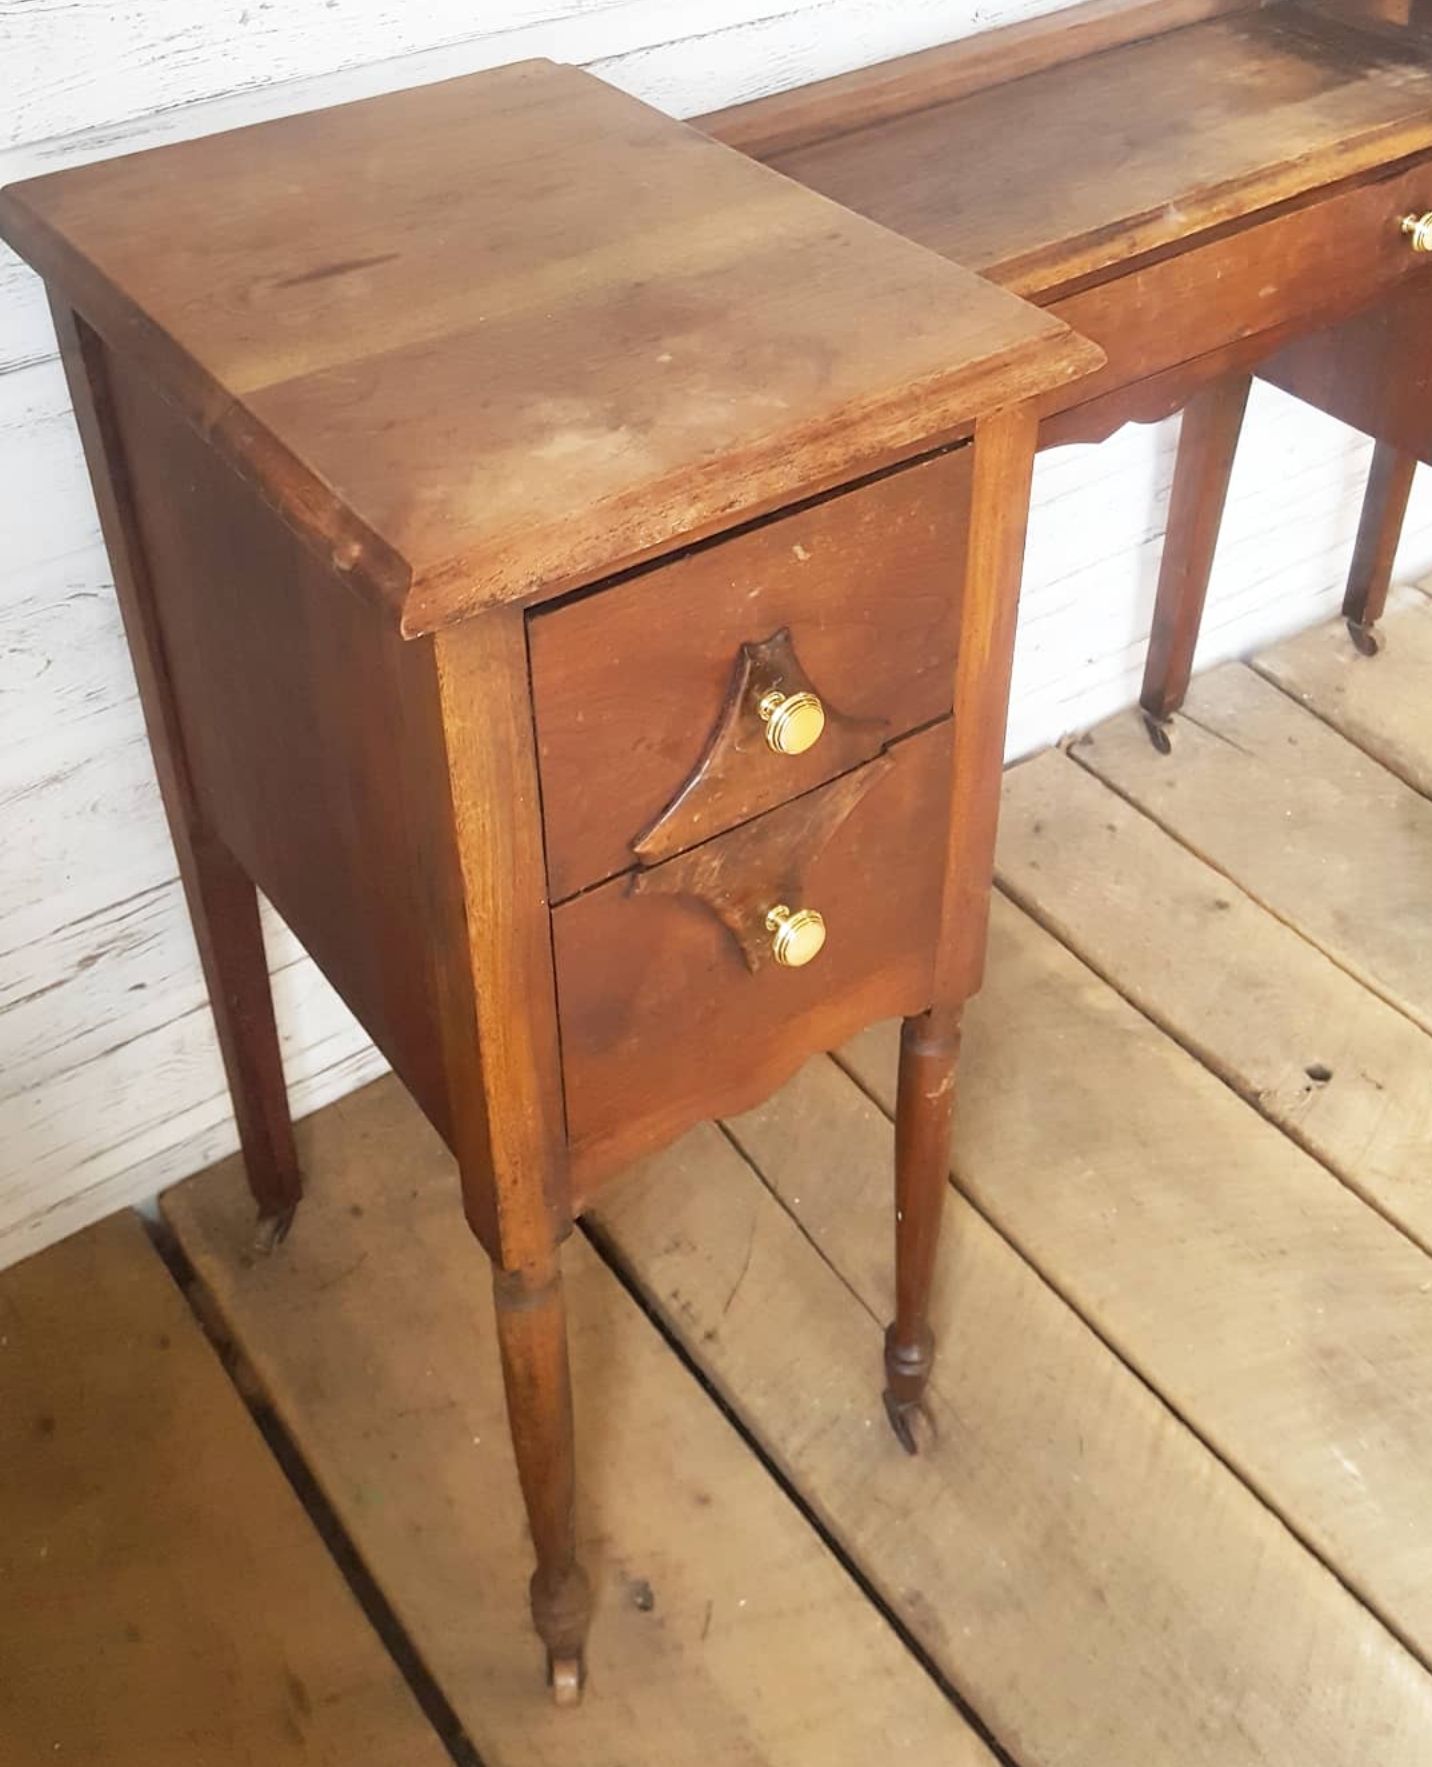
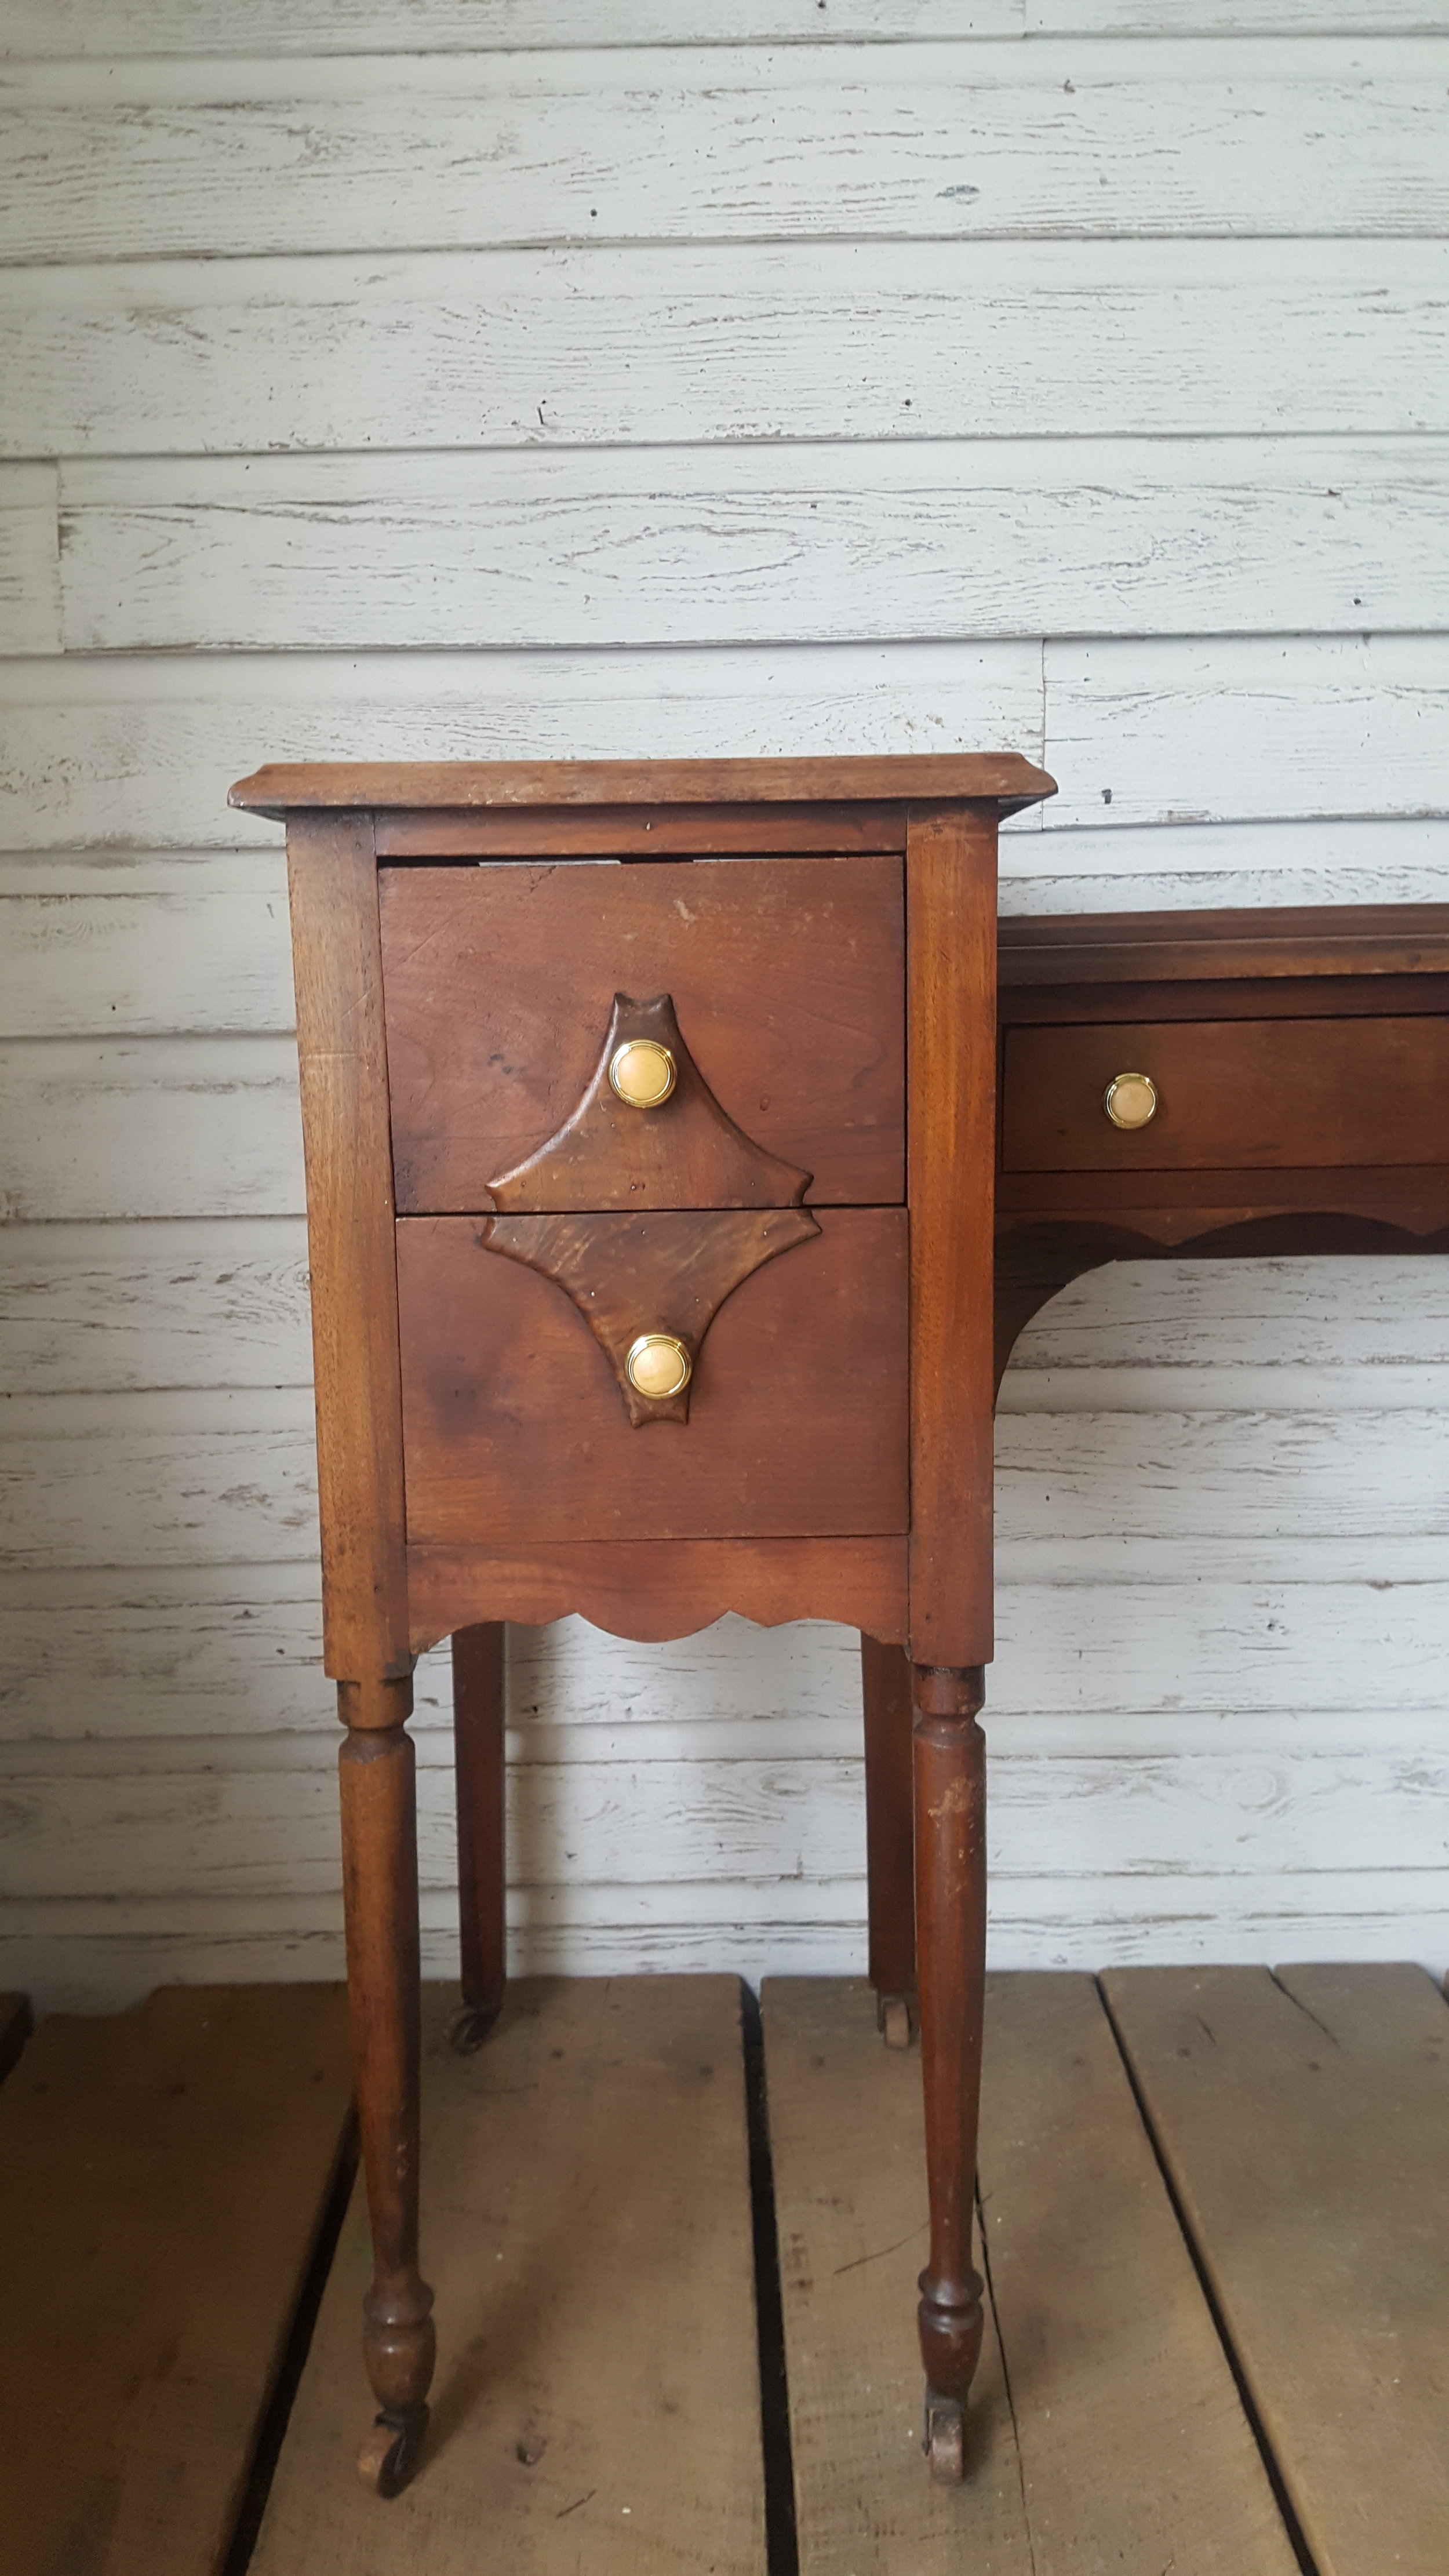
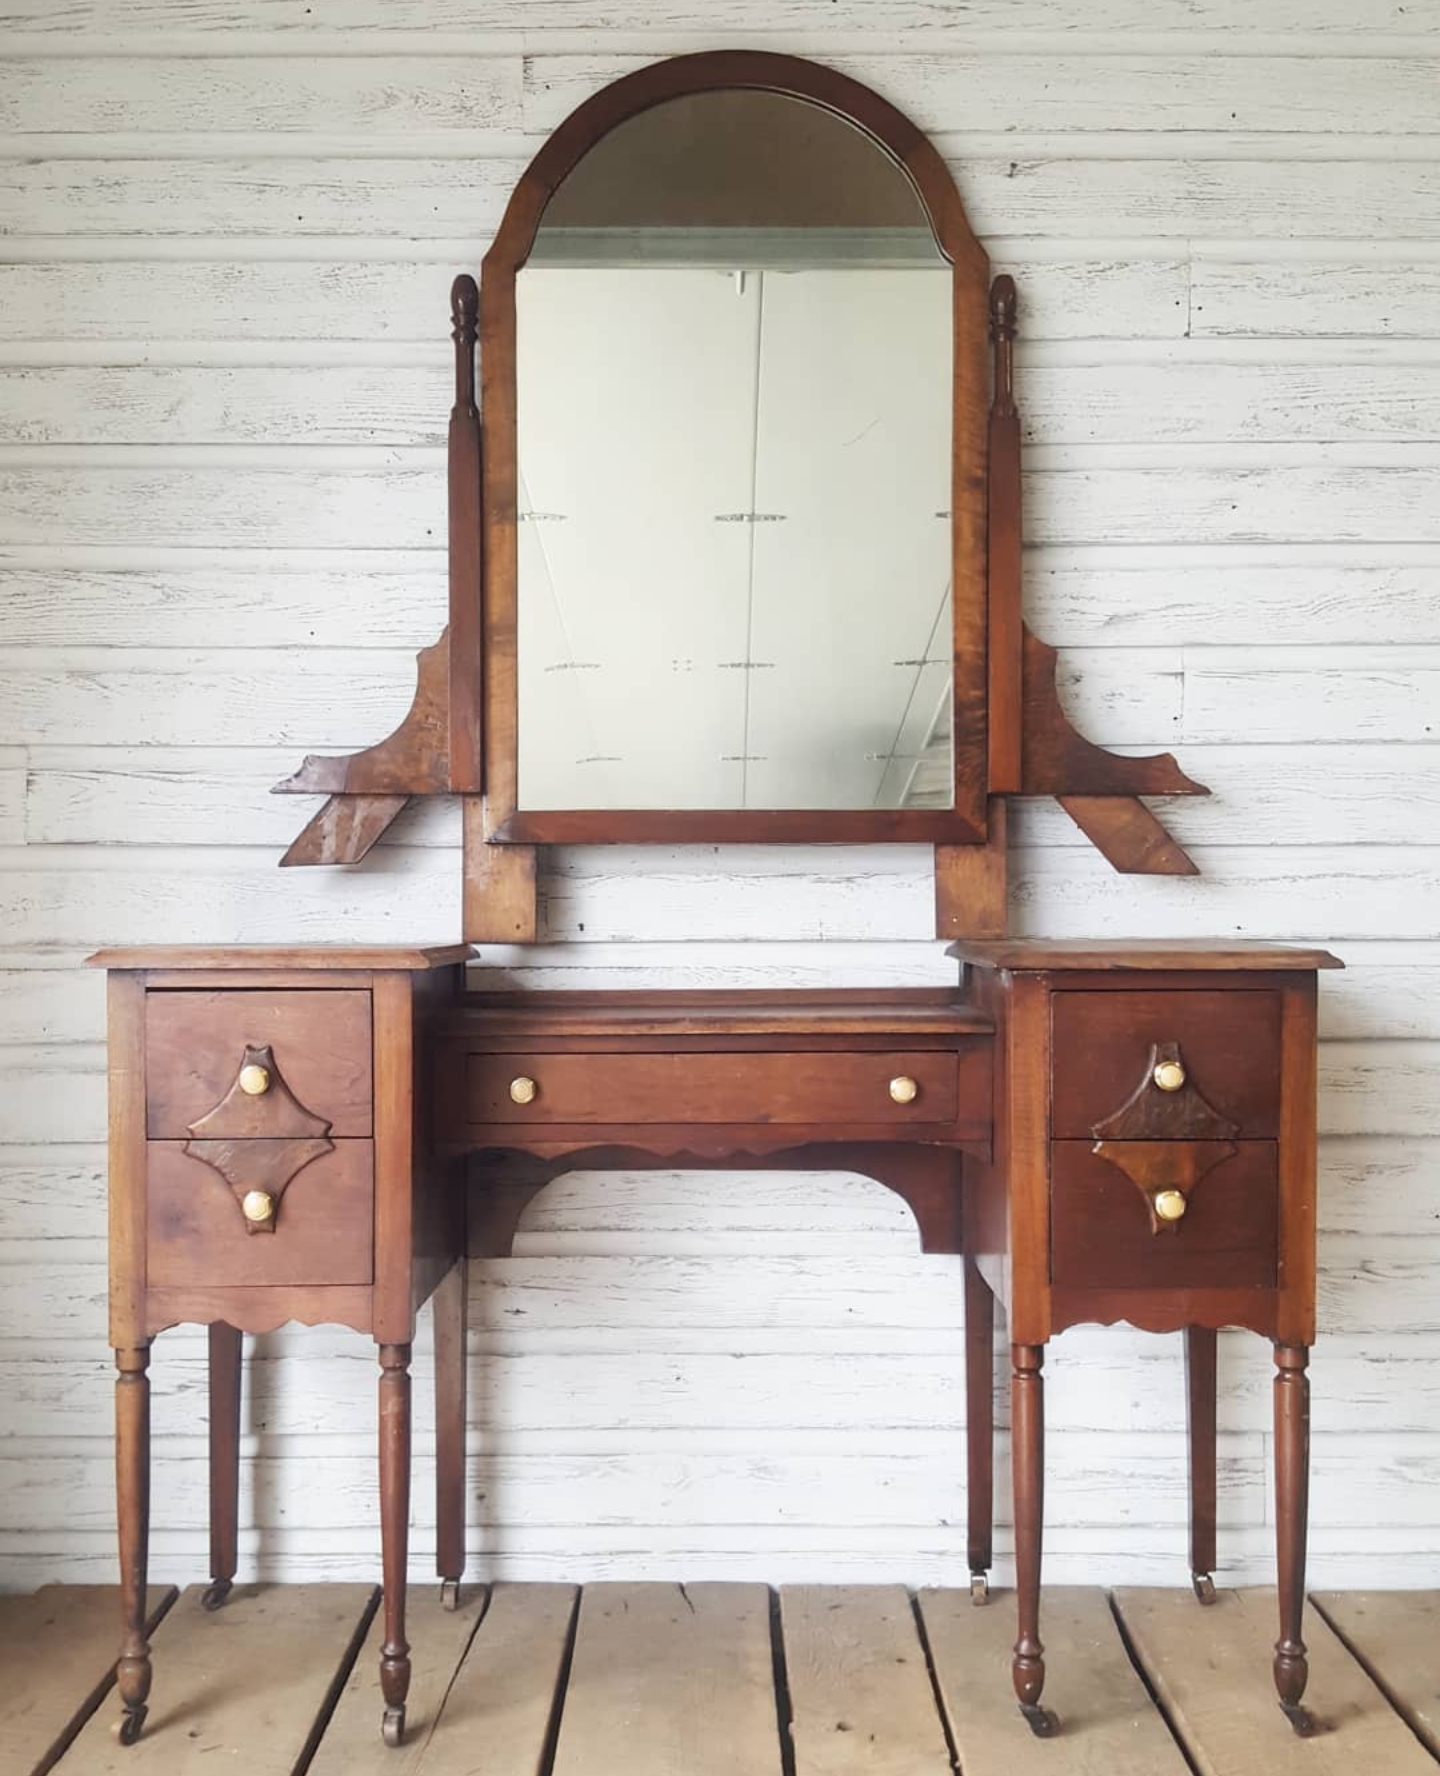
Complete Tutorial On How To Transform An Antique Vanity To Nightstands!
/#MondayMakeoversWithFallon


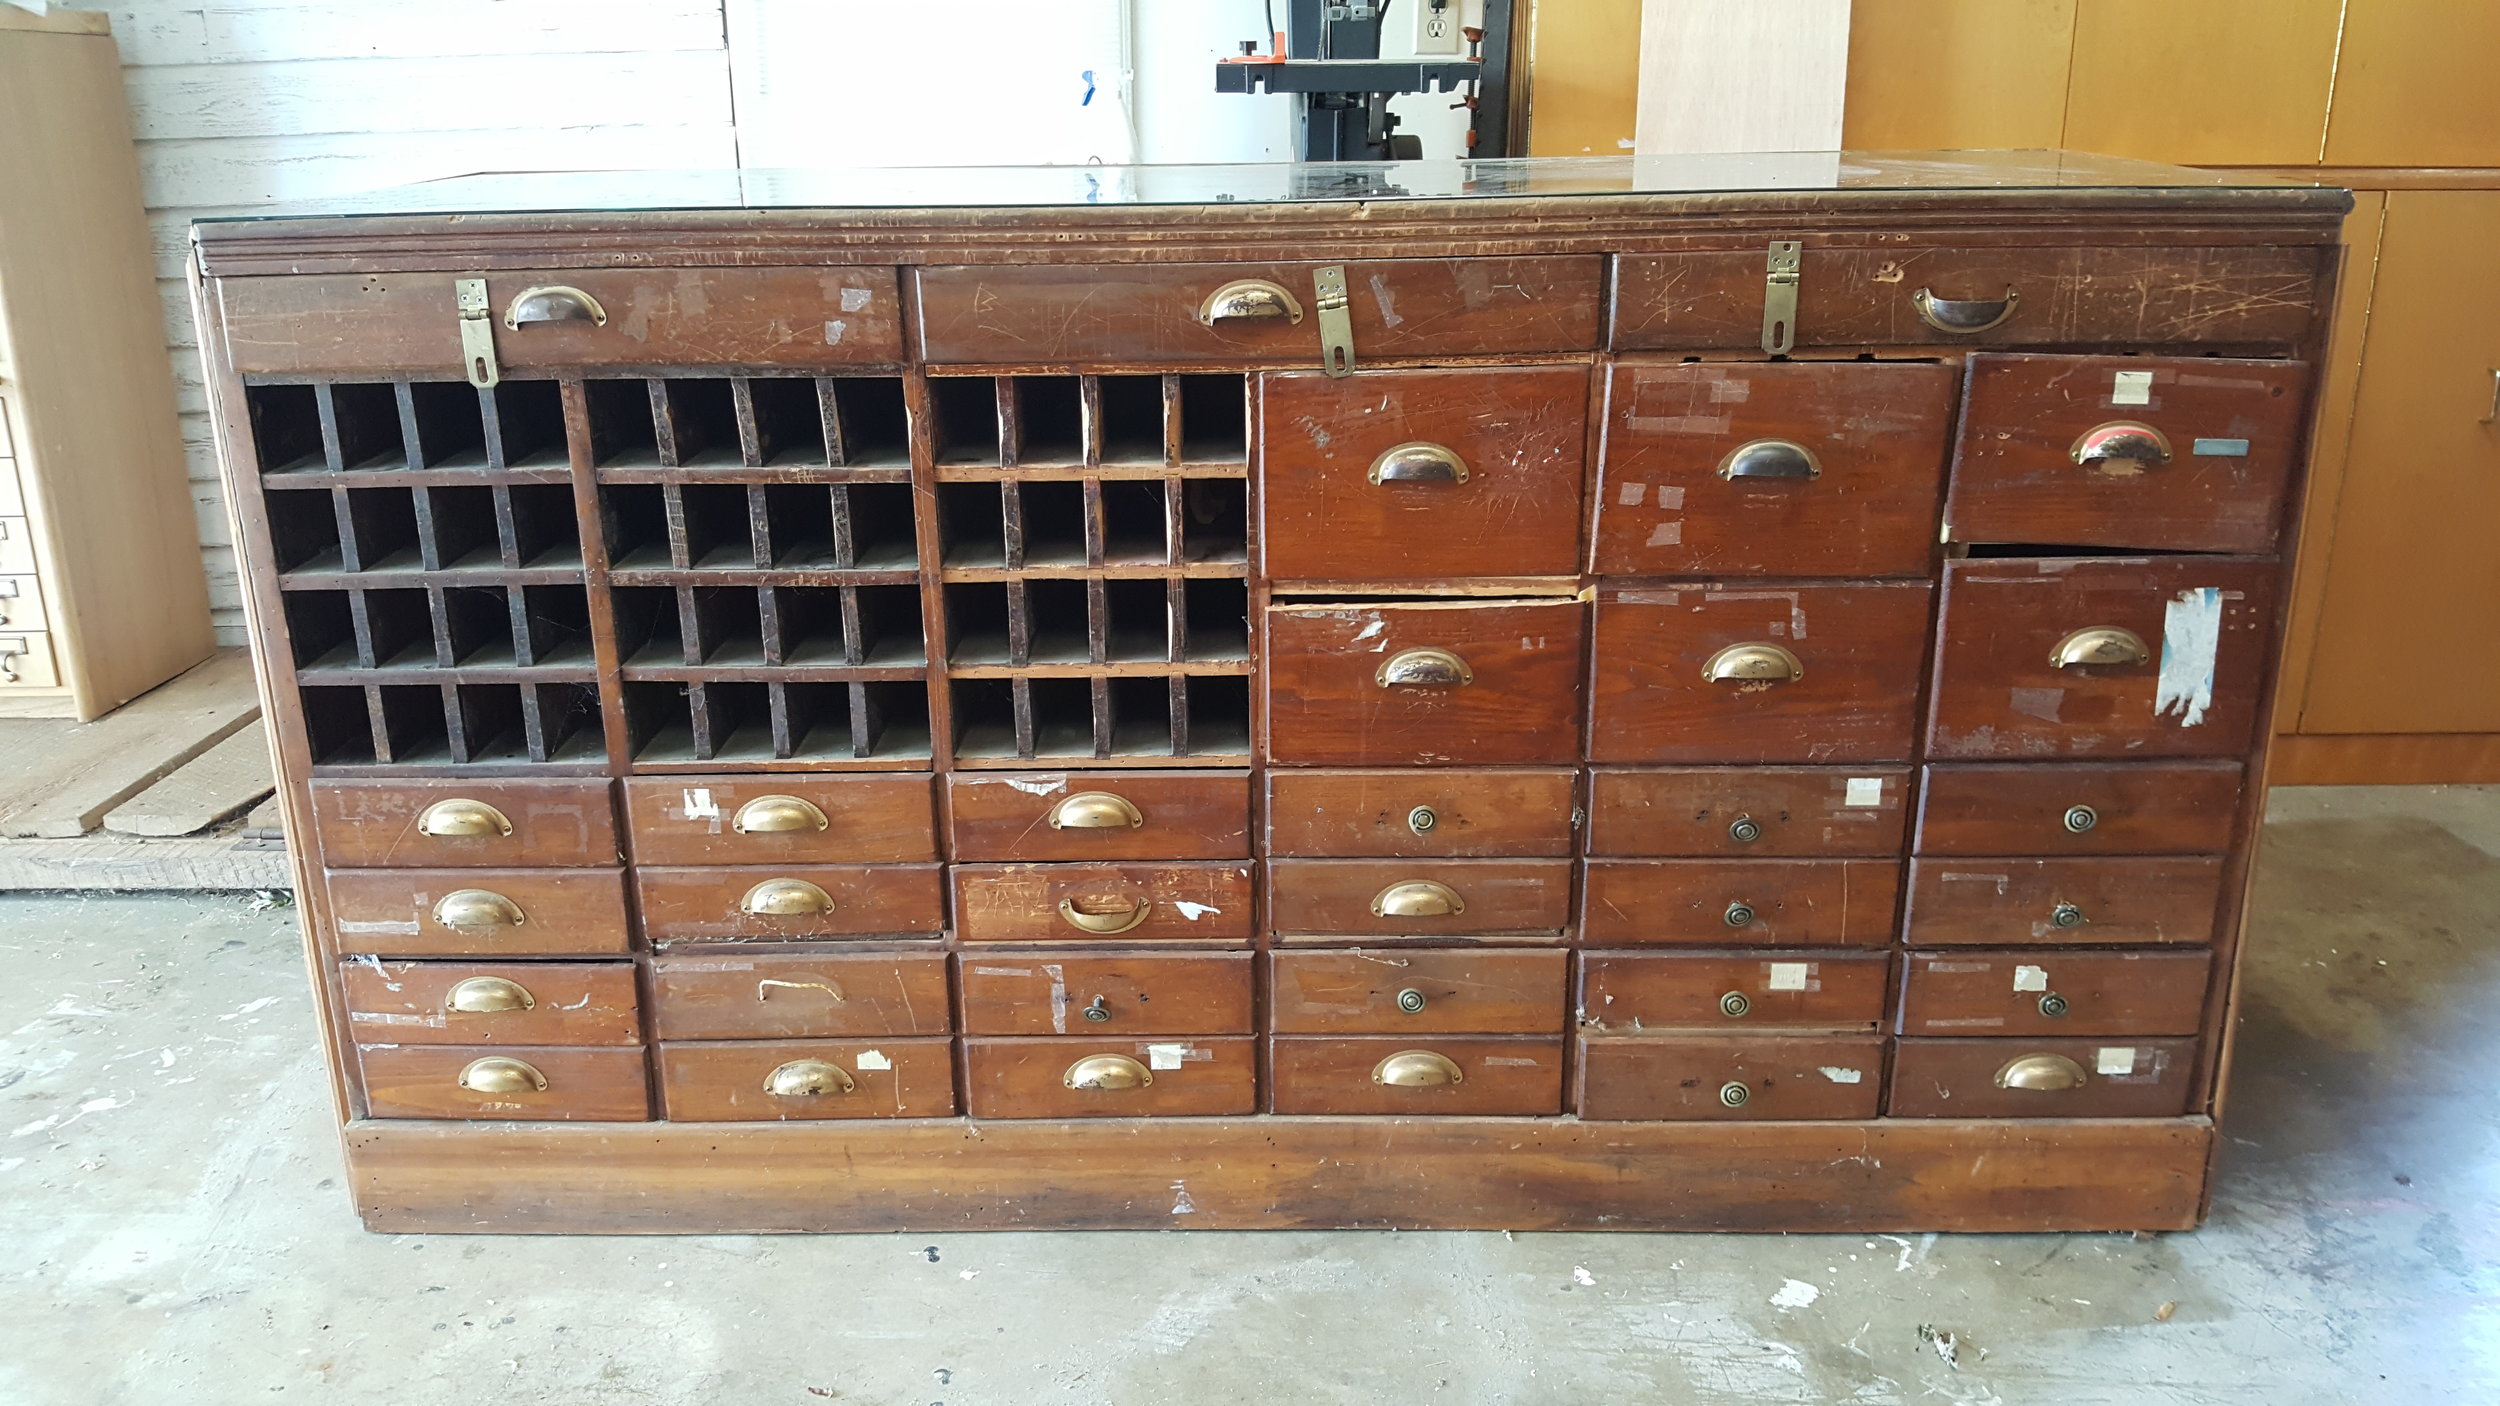
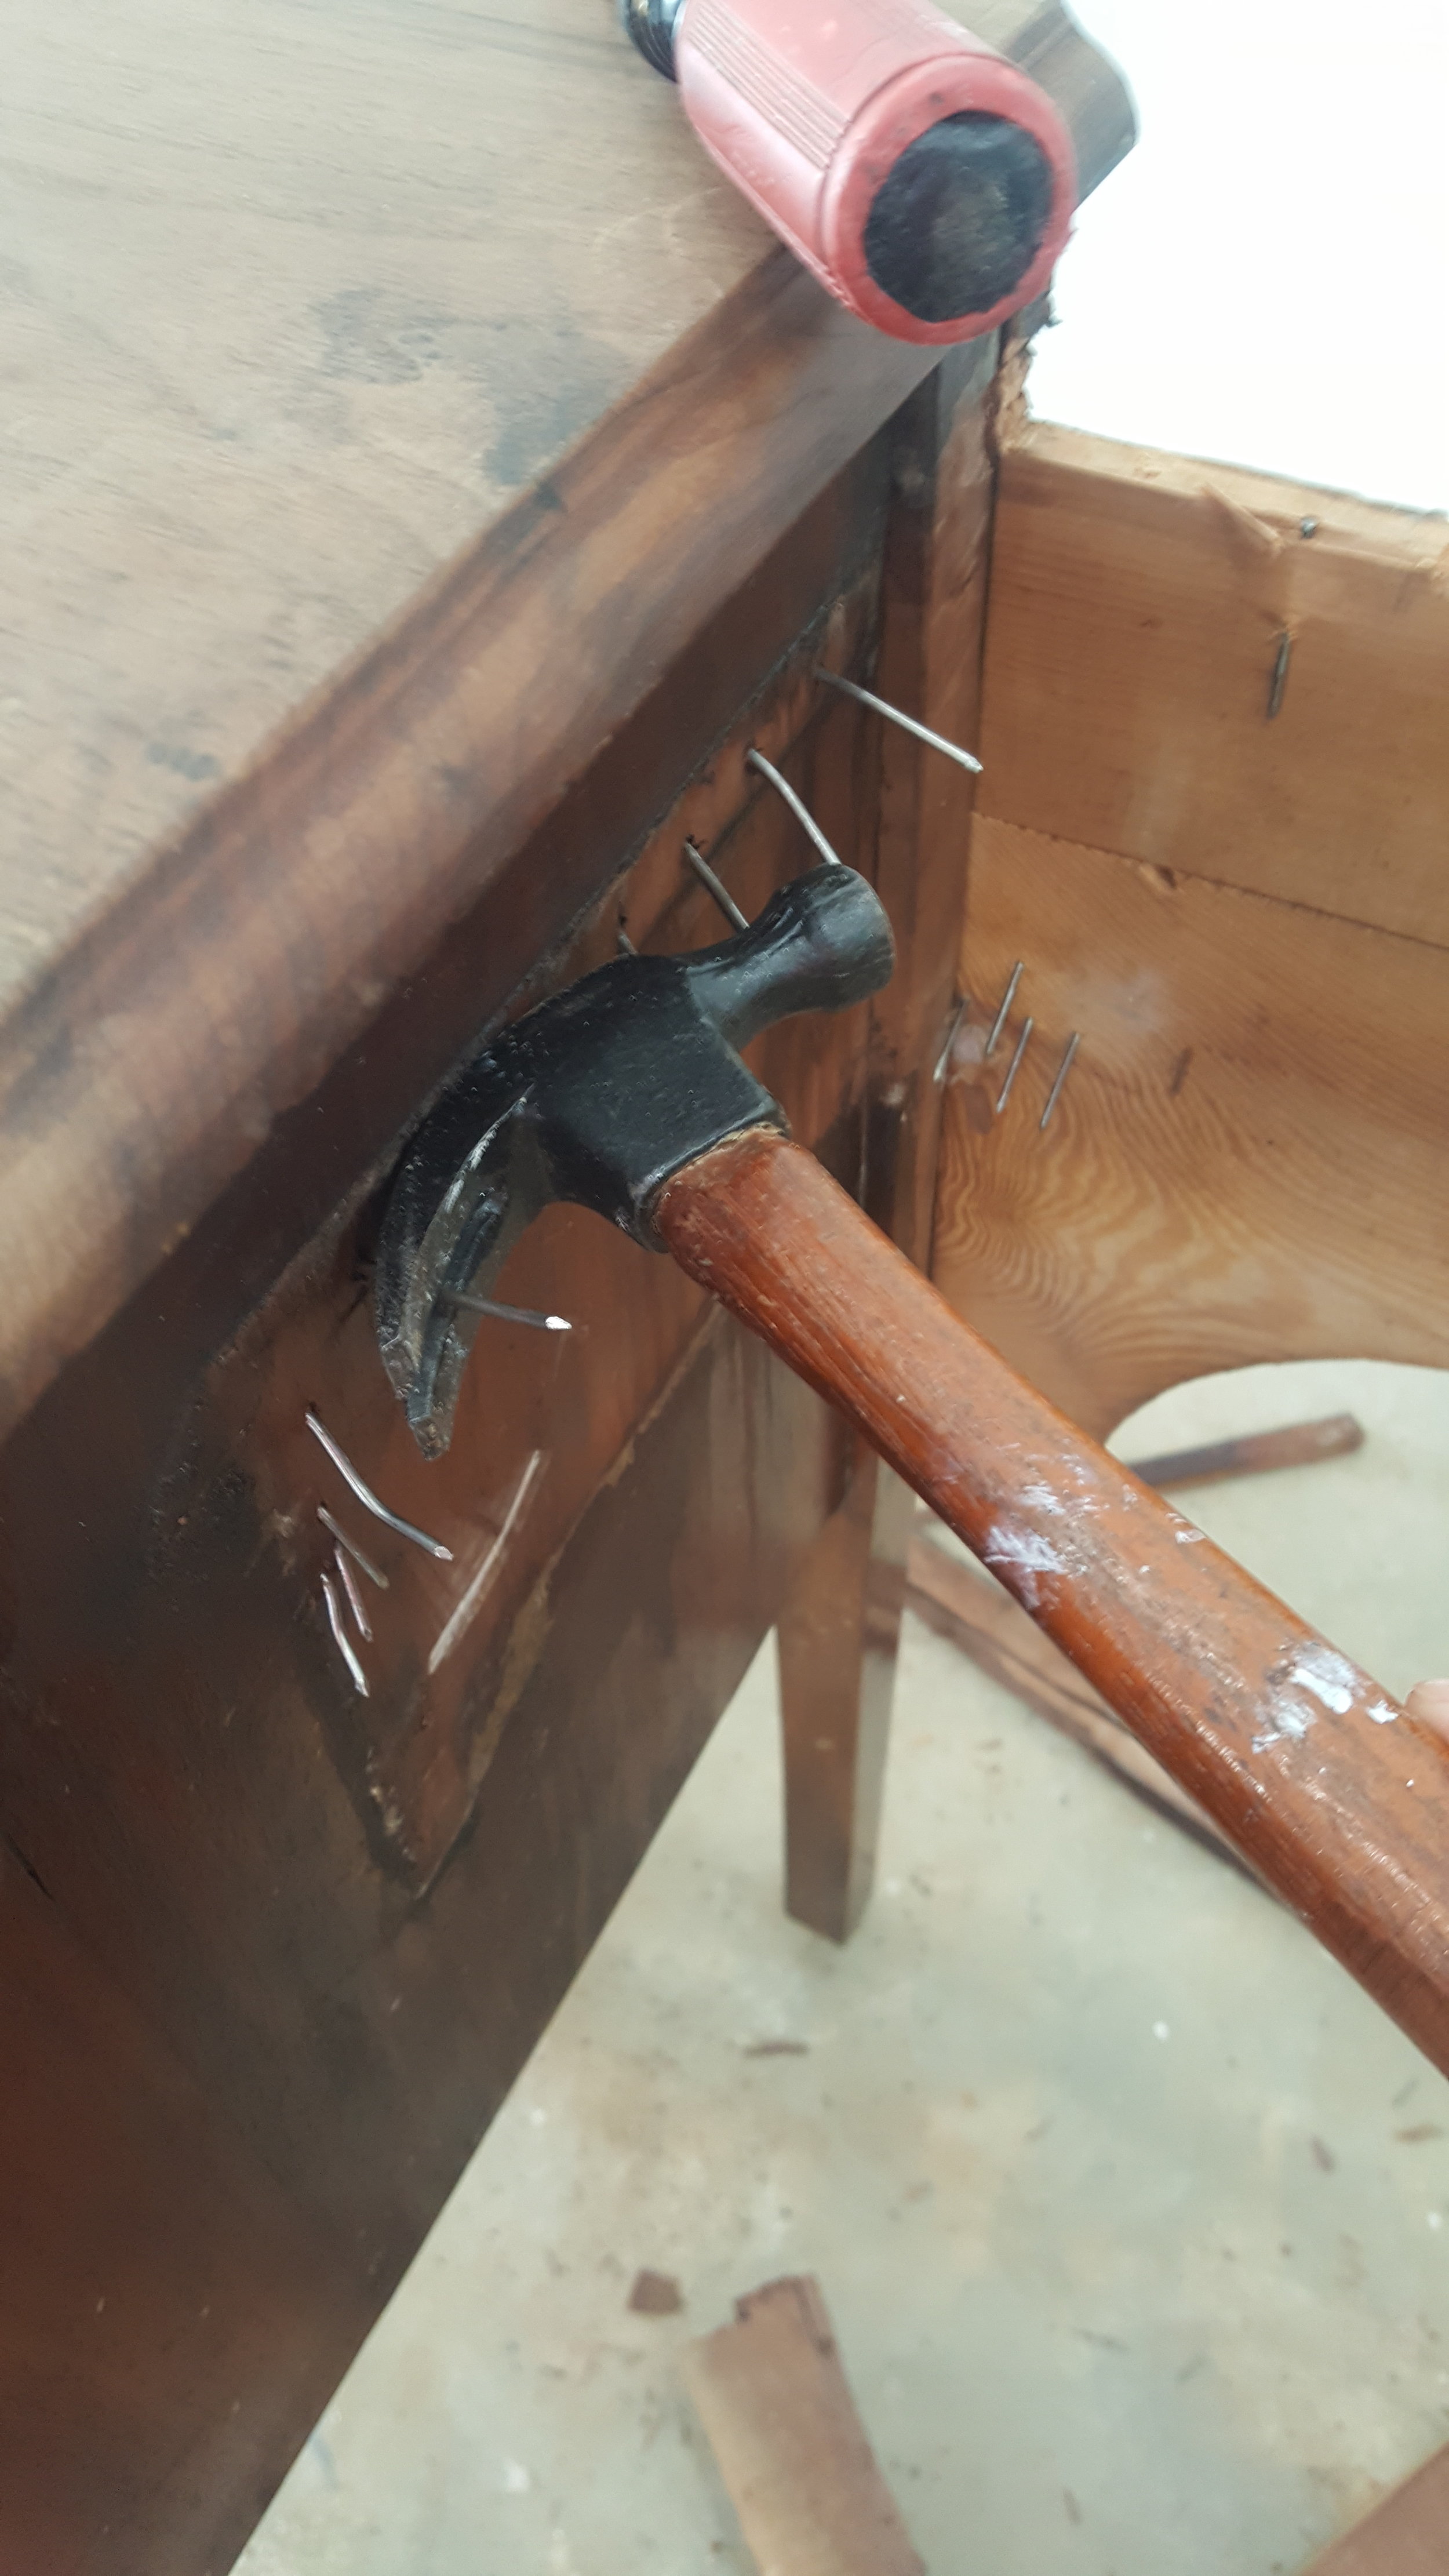
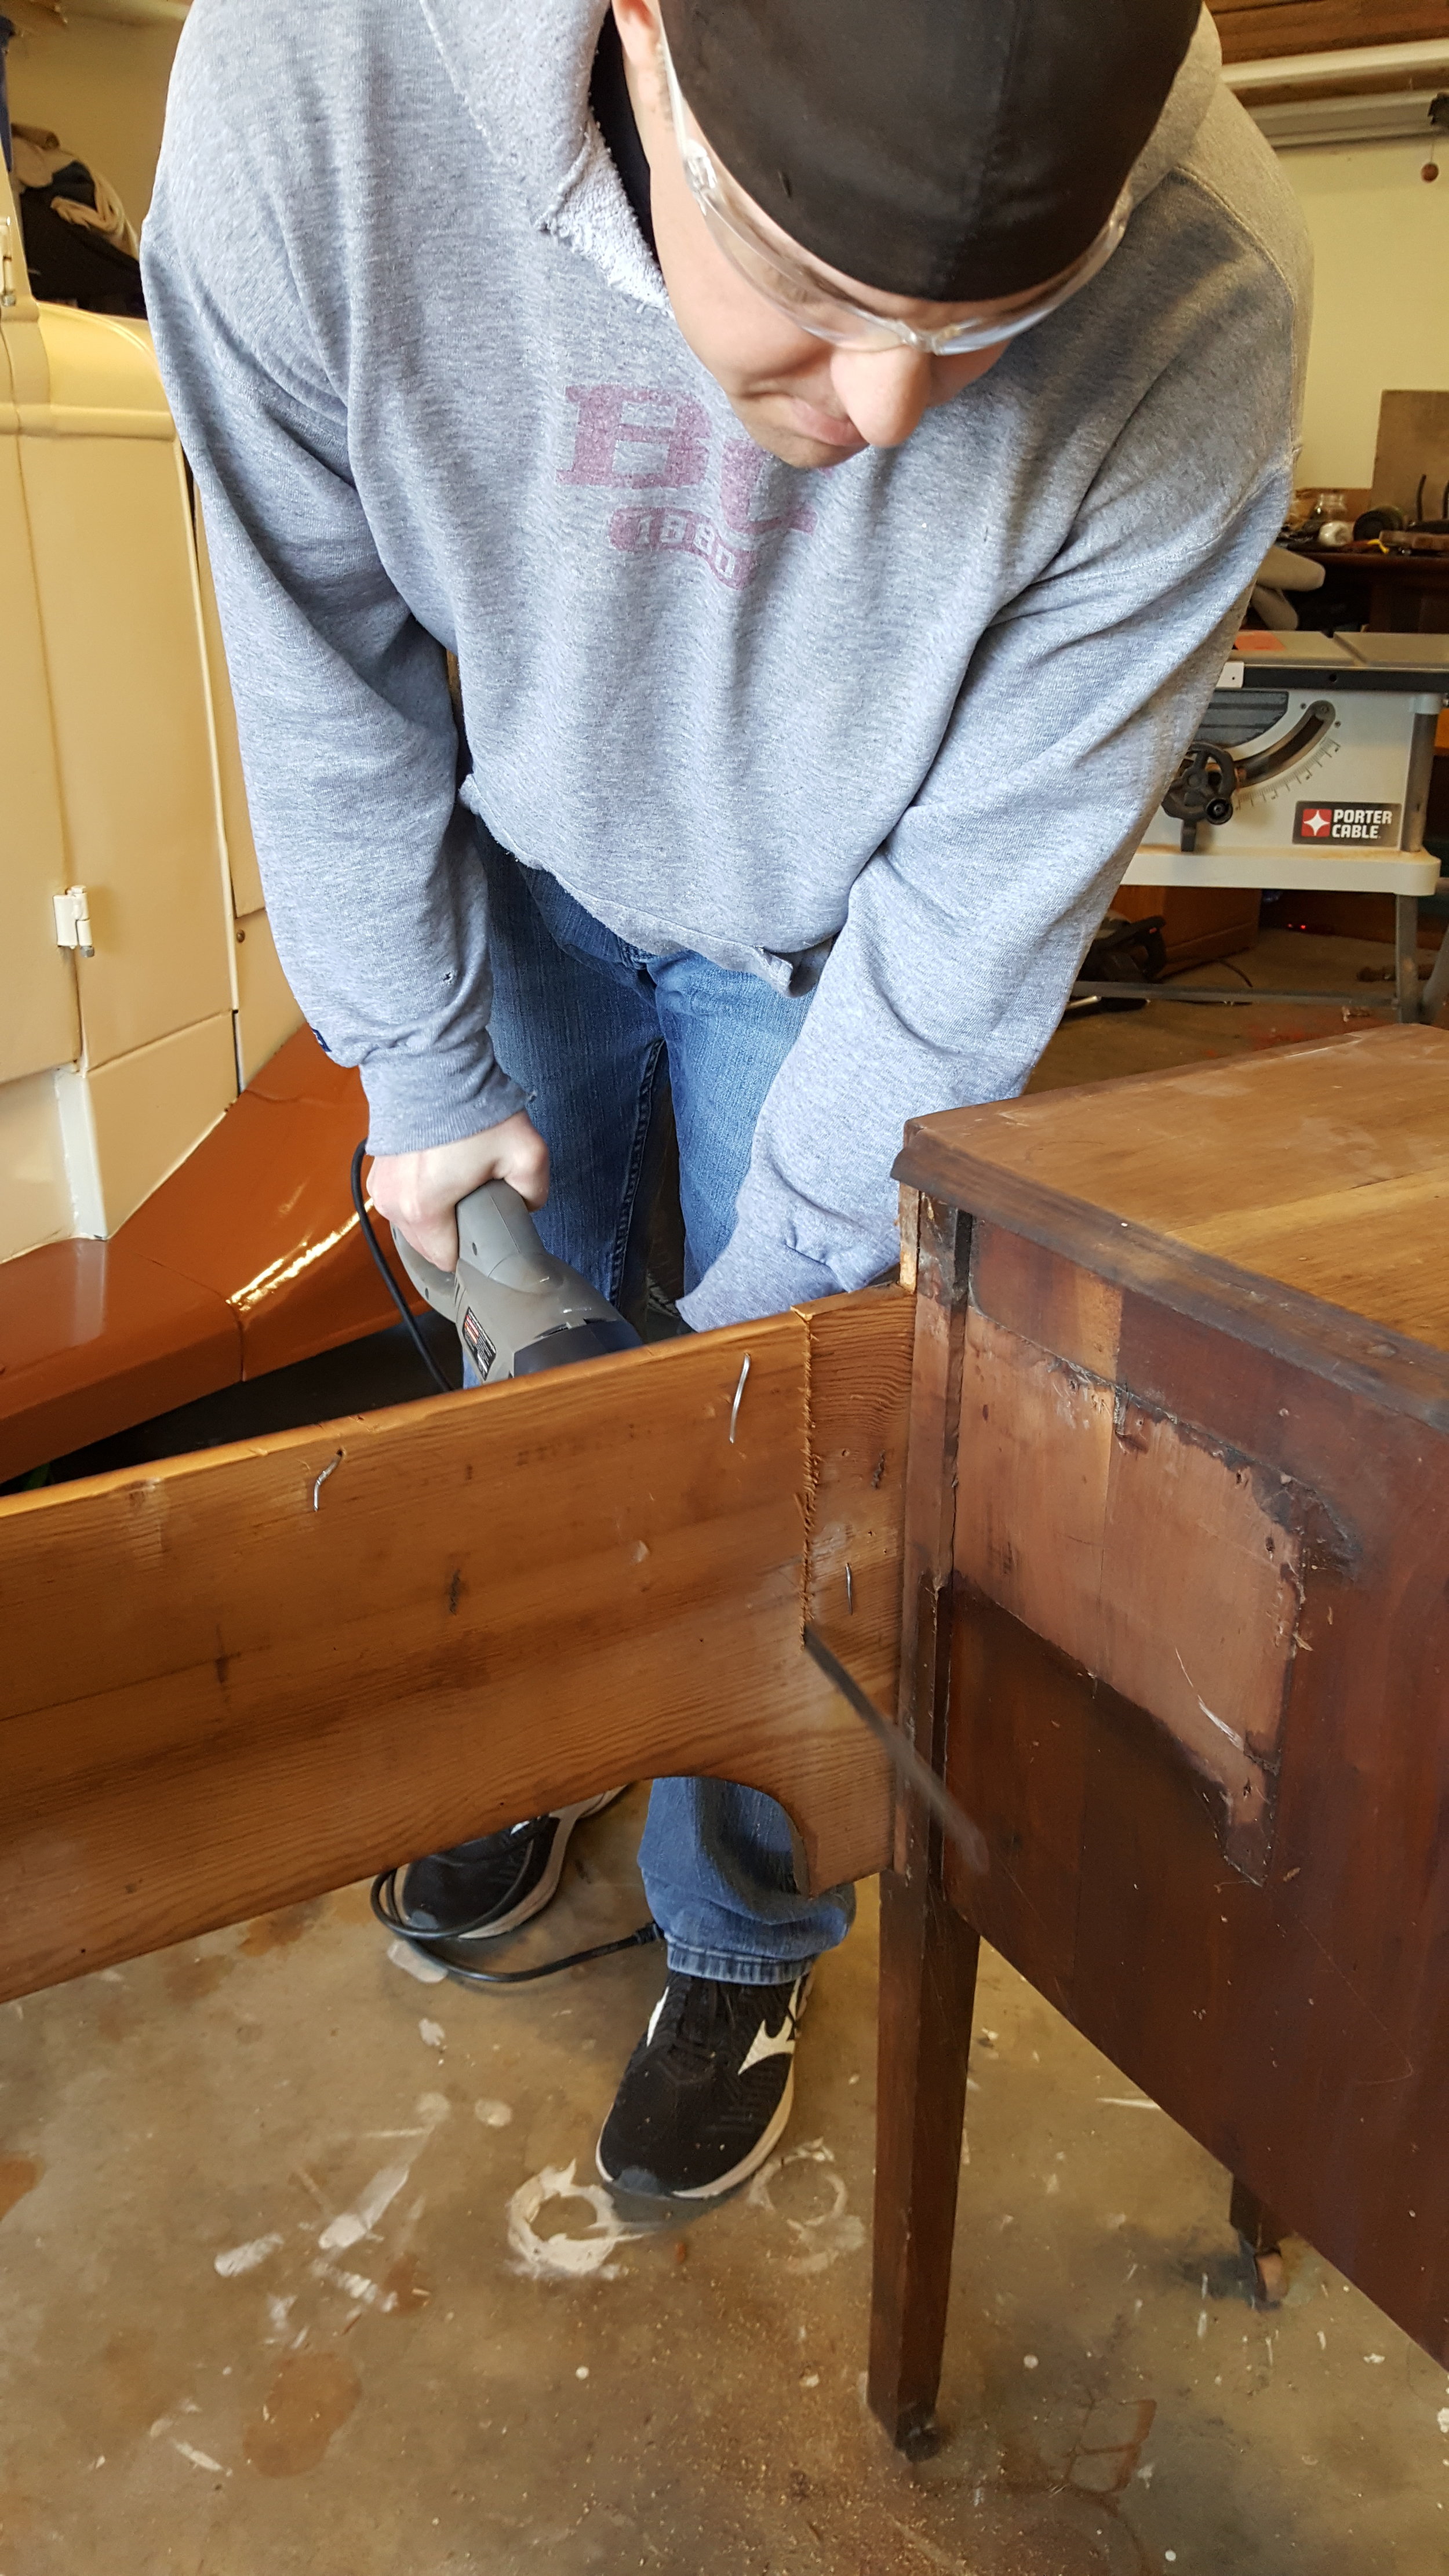
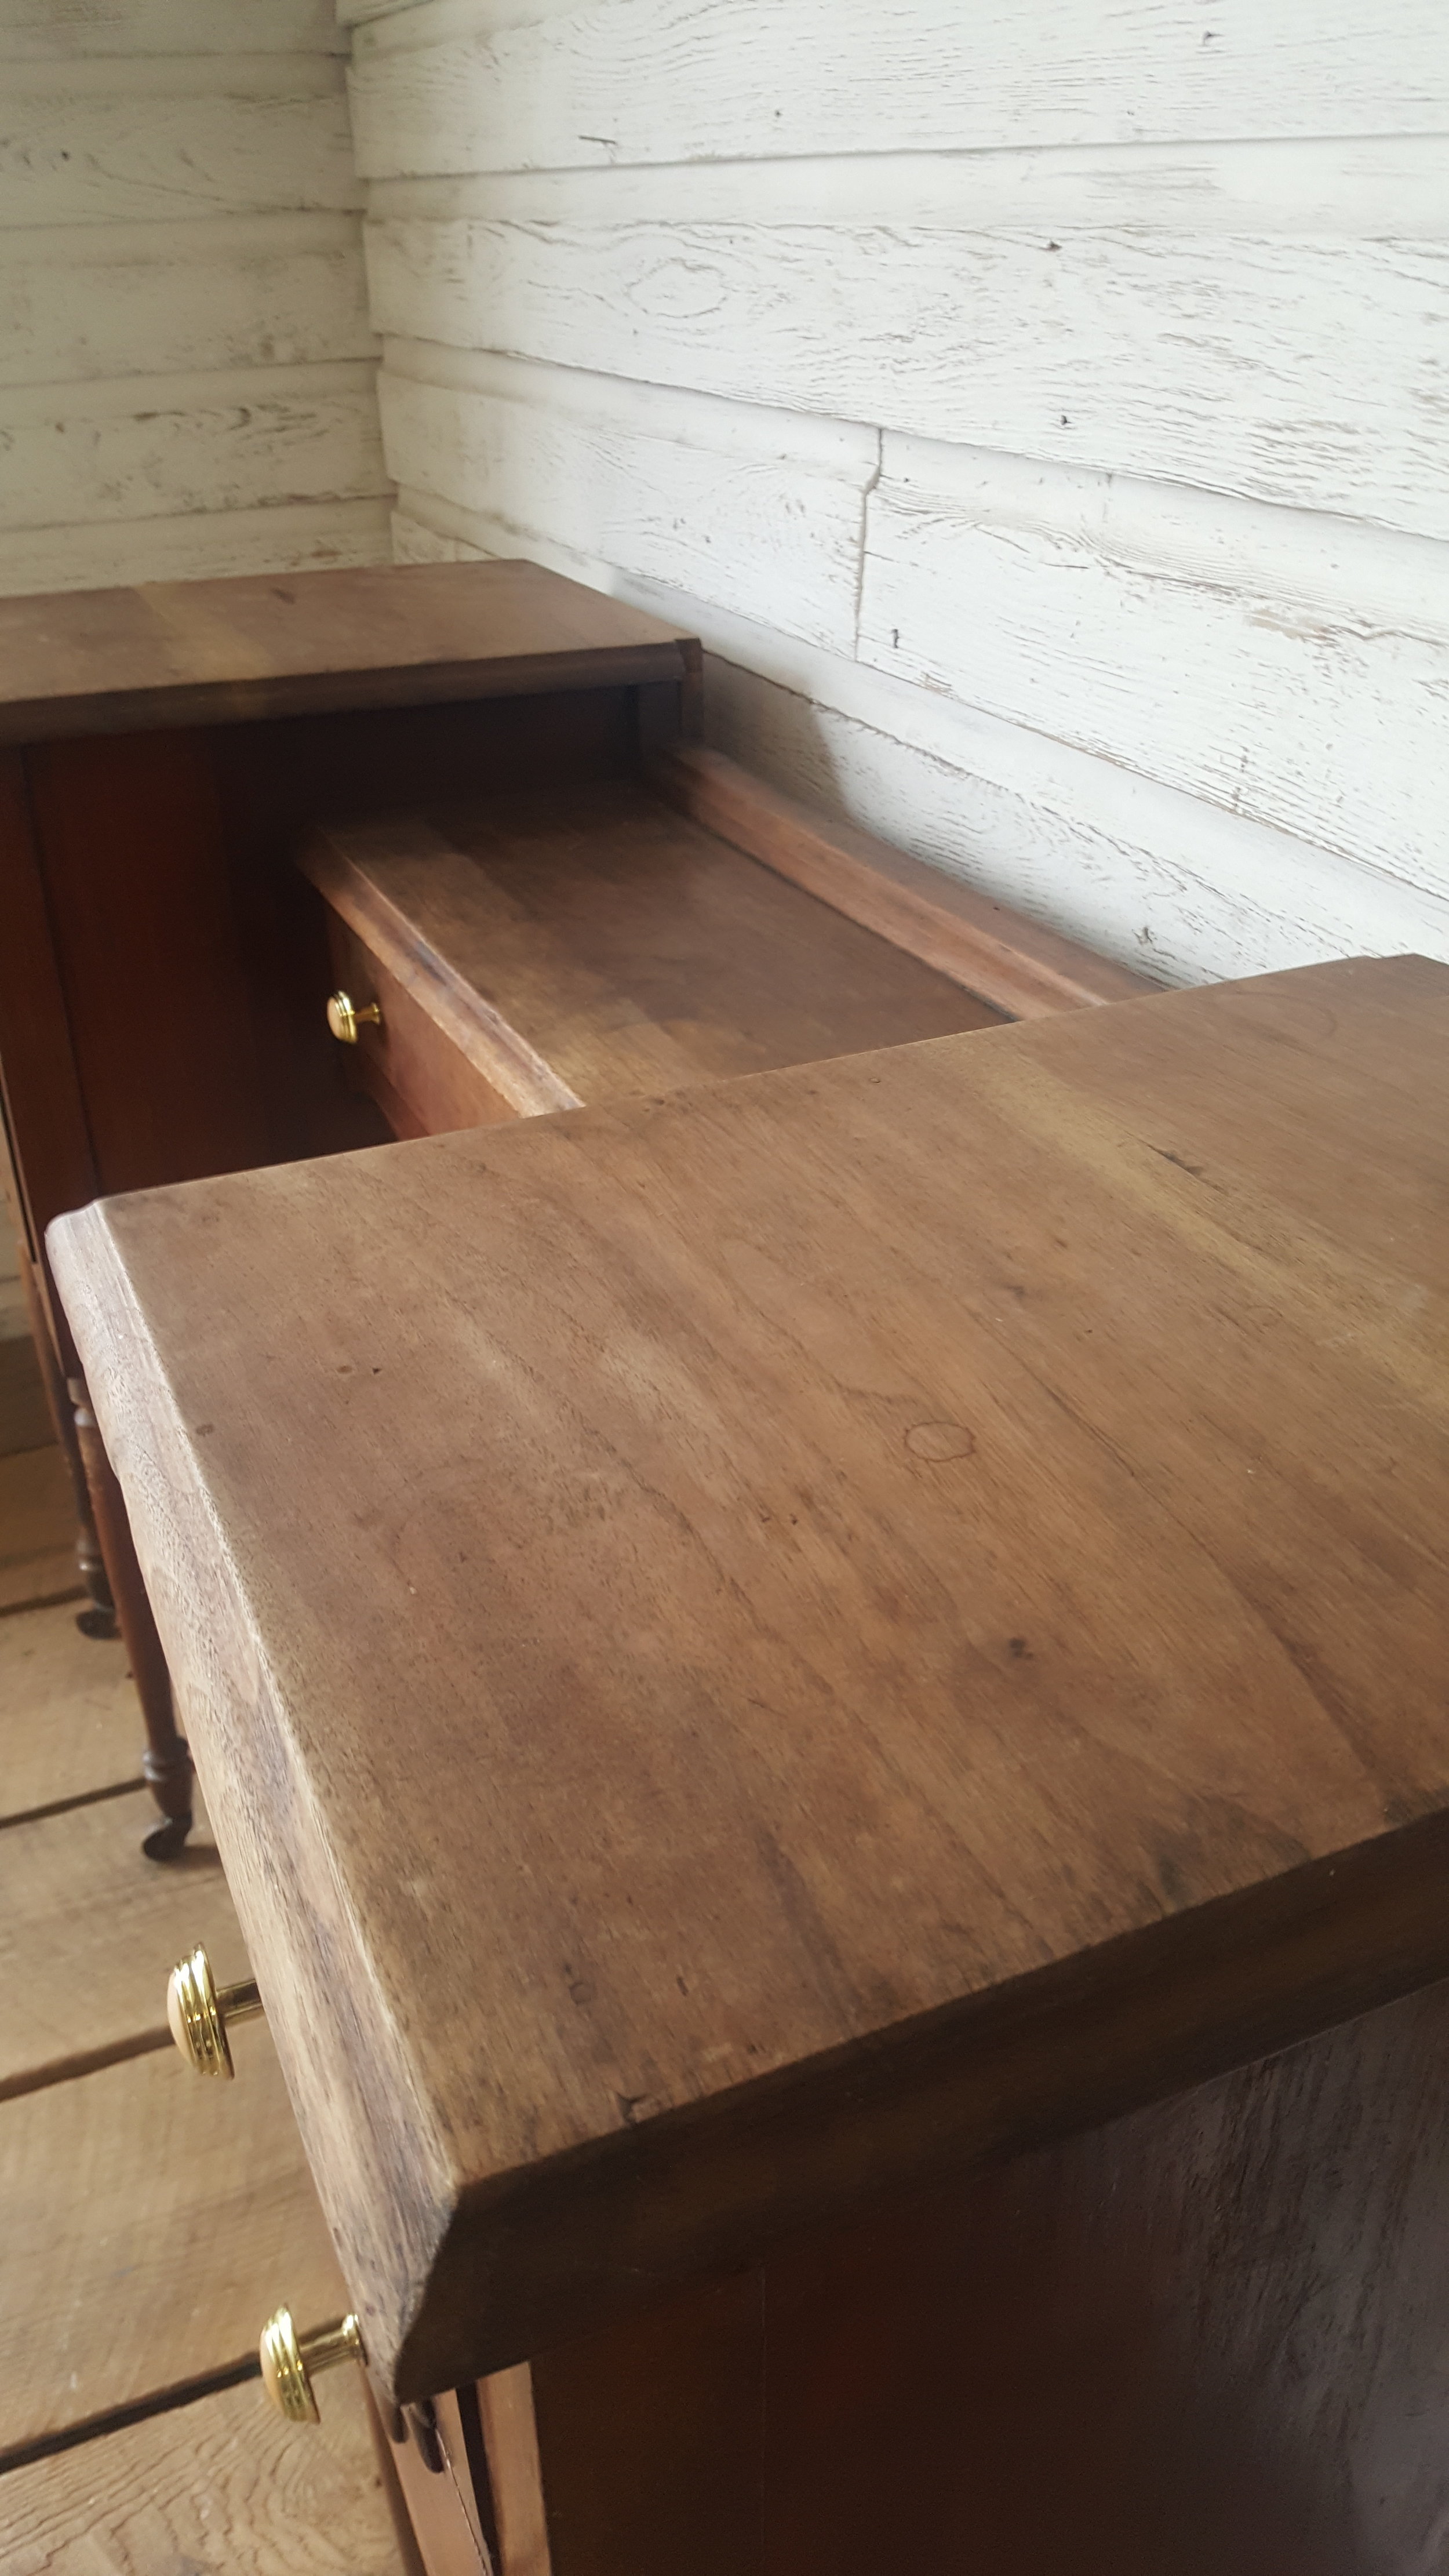
Step 1: Separate pieces. Each piece of furniture is different. I wish I could tell you to “do it exactly like this” but sometimes the pieces are connected with screws and other times they are connected with nails. I have even seen both used on the same piece, so just be prepared with a screw driver and hammer in hand. Also, make sure you protect your eyes with safety glasses when you’re removing these pieces!
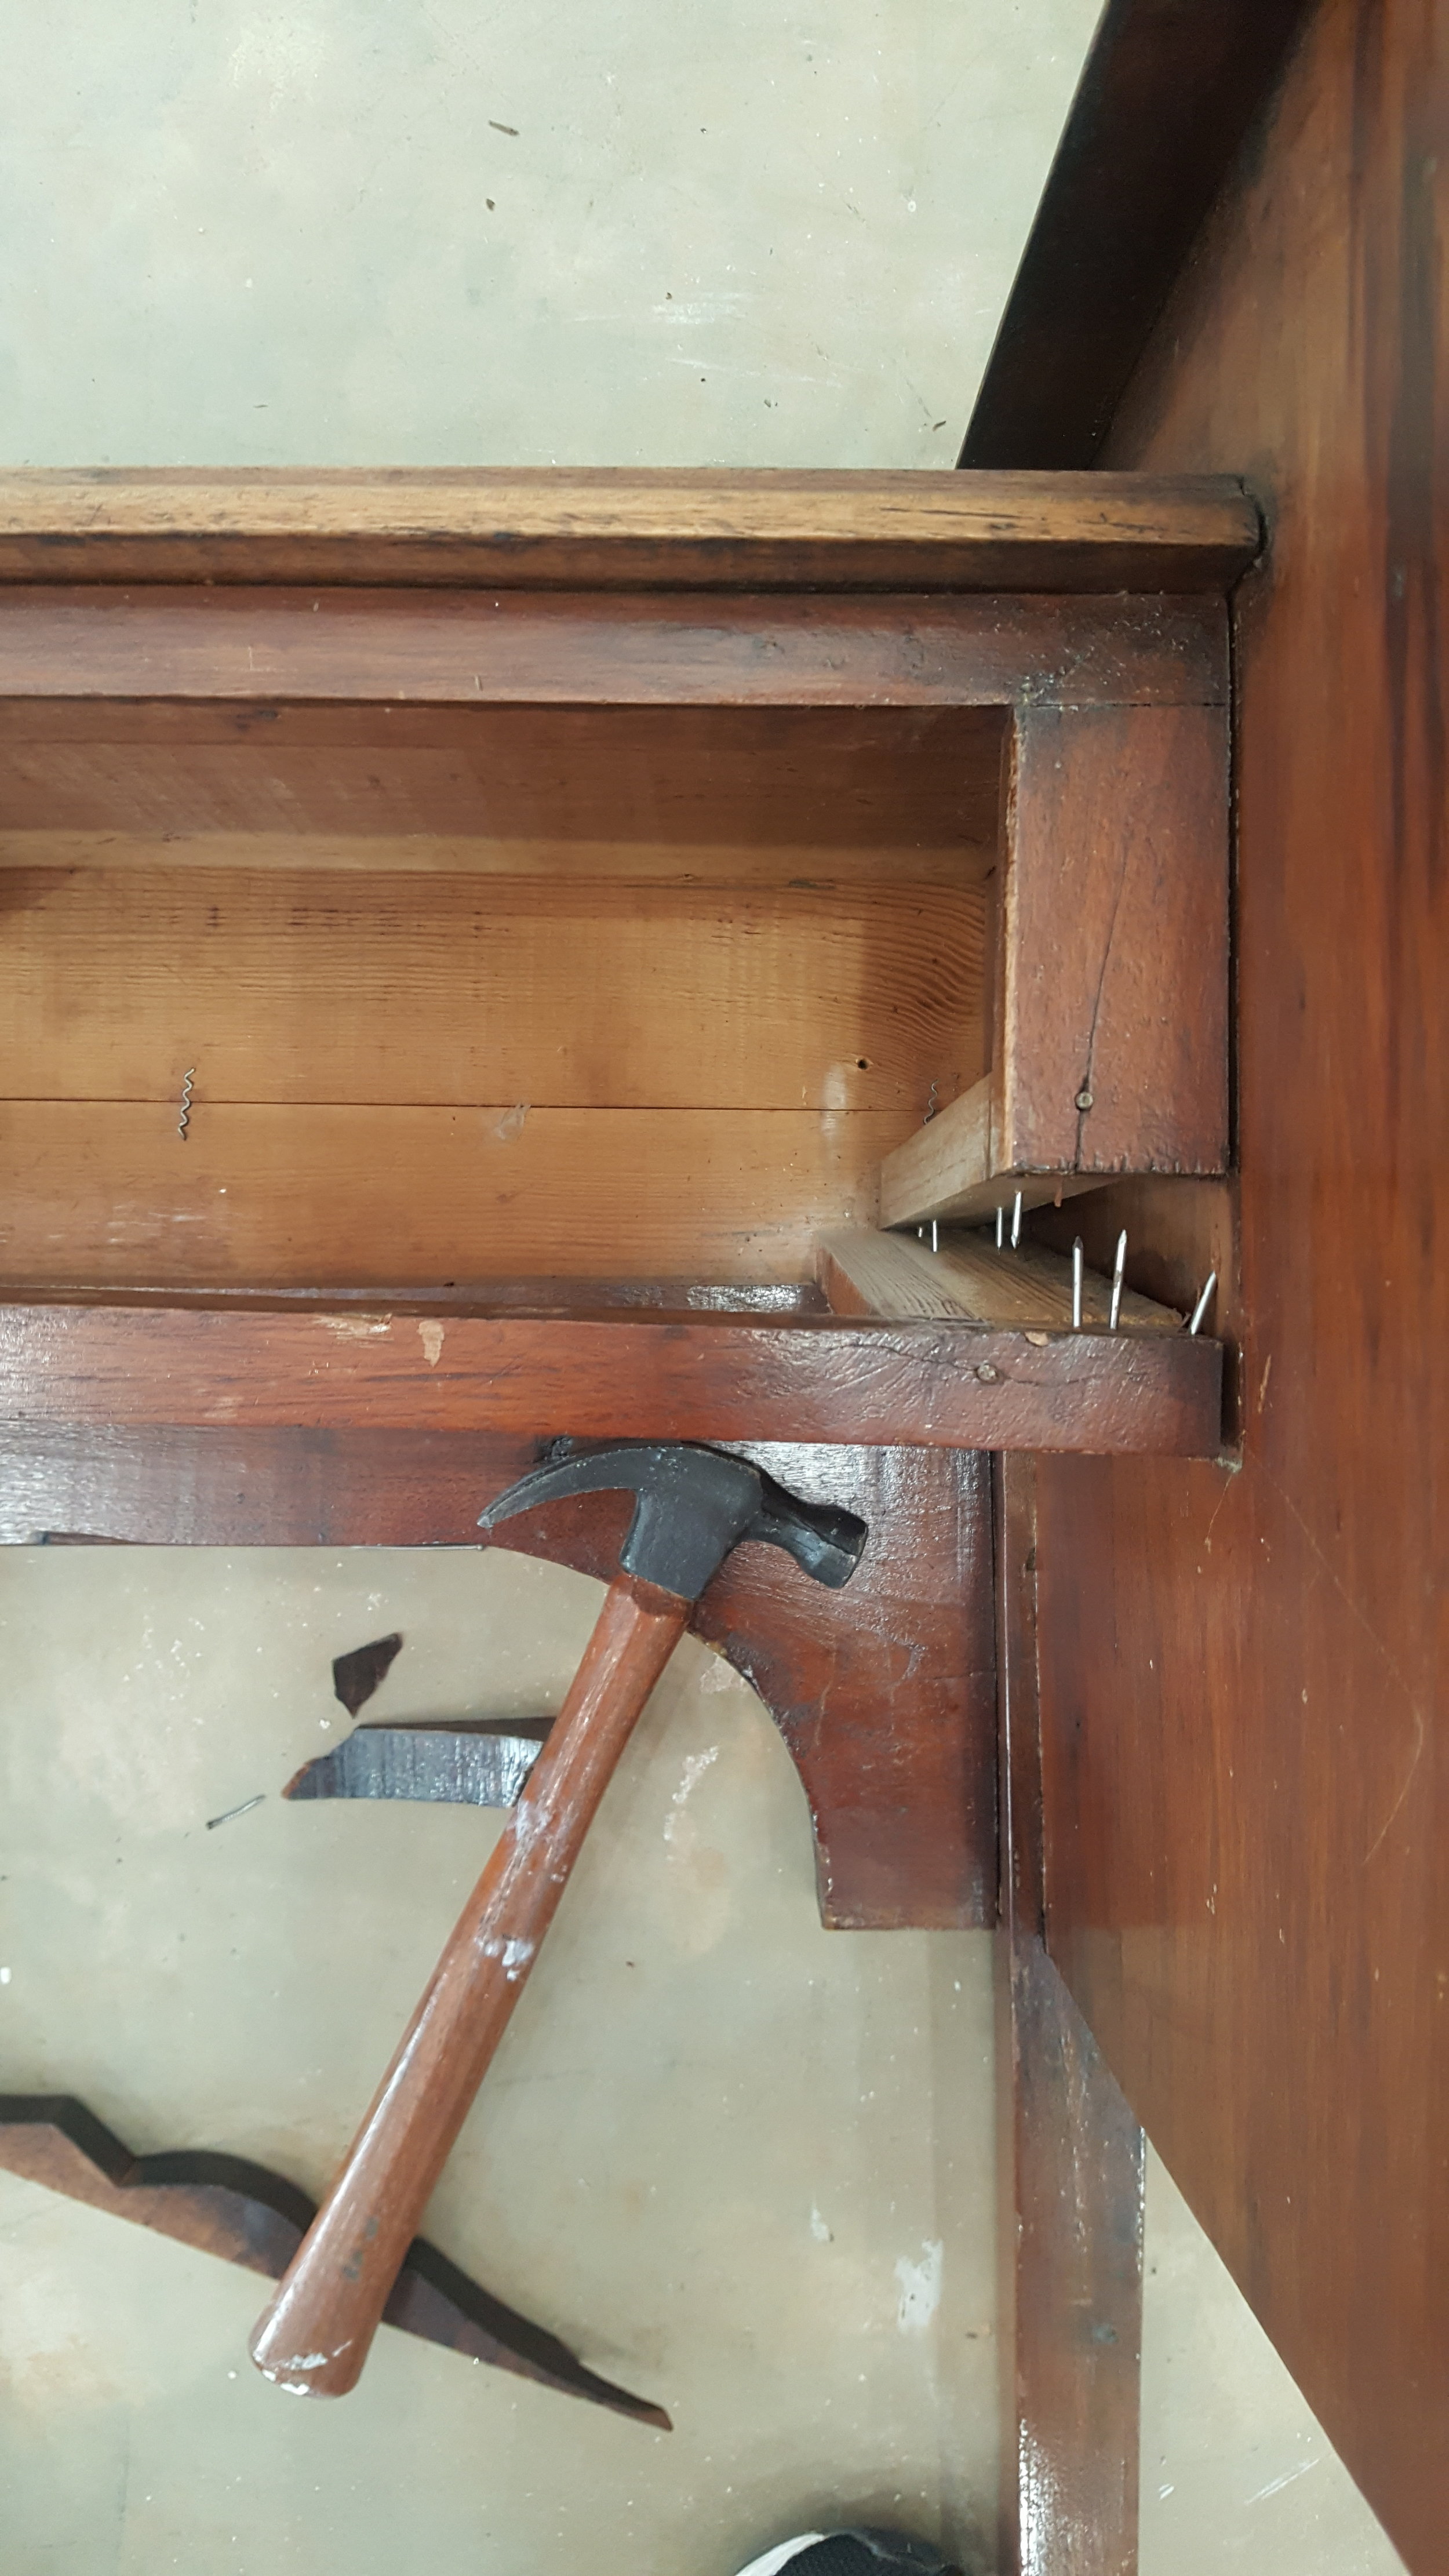
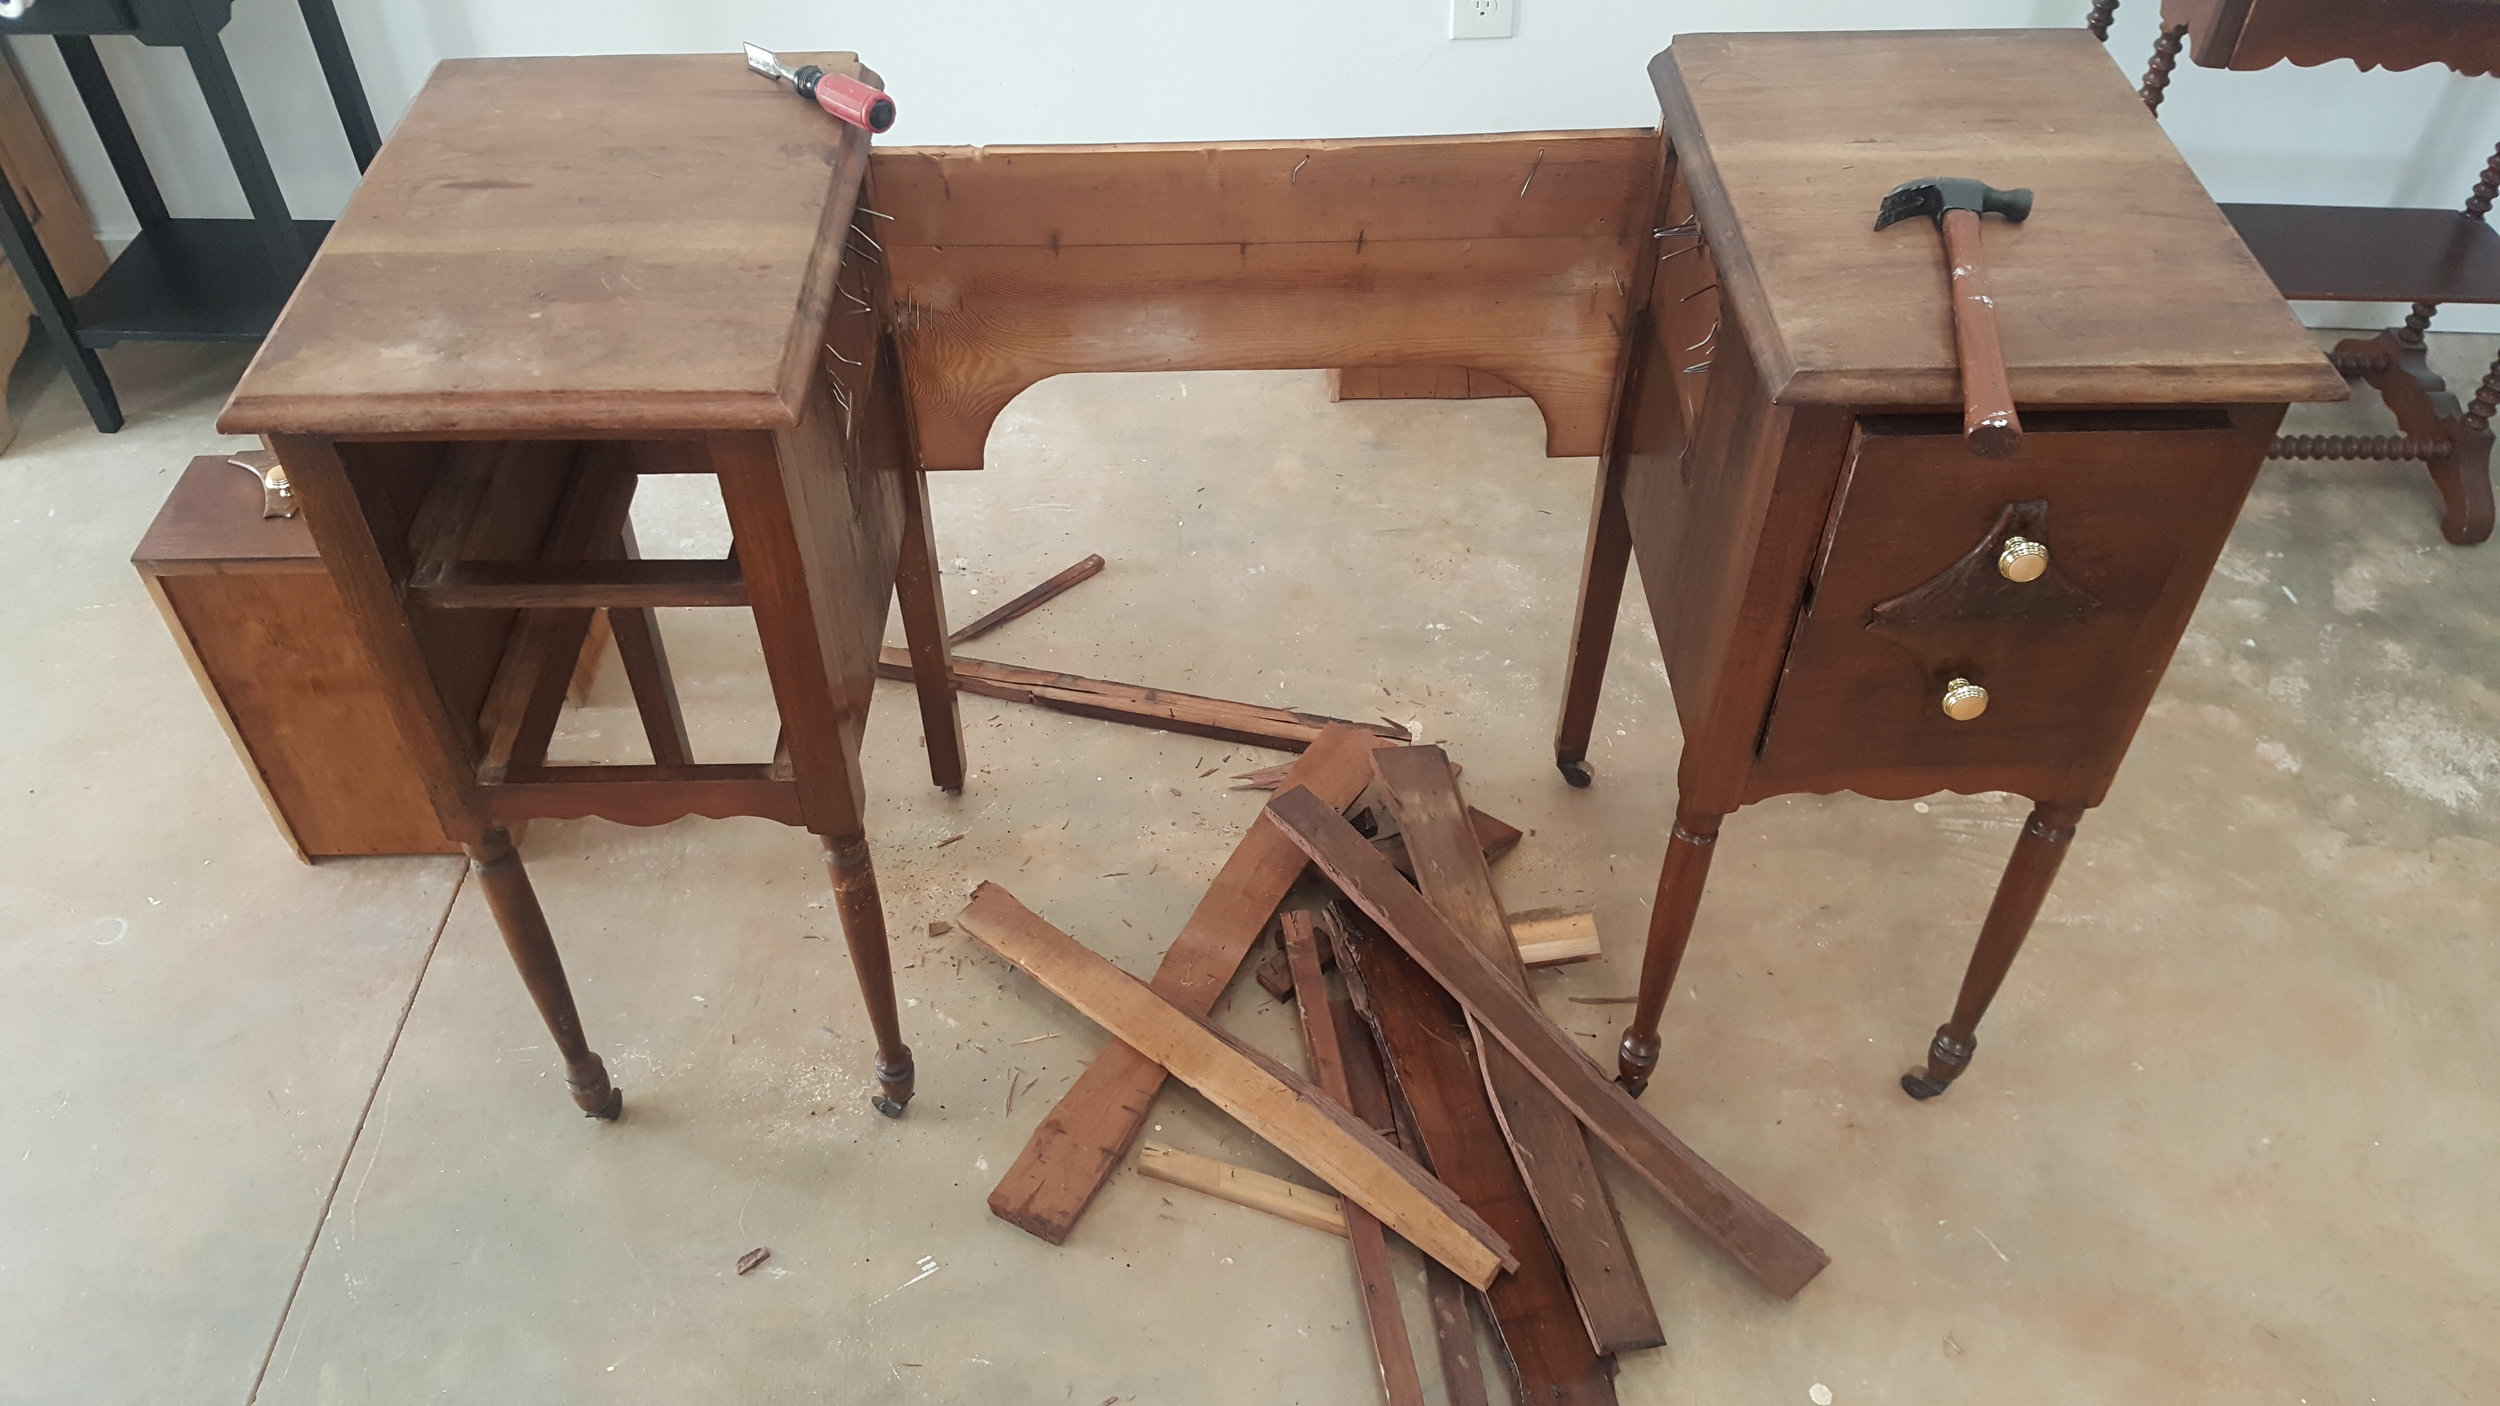
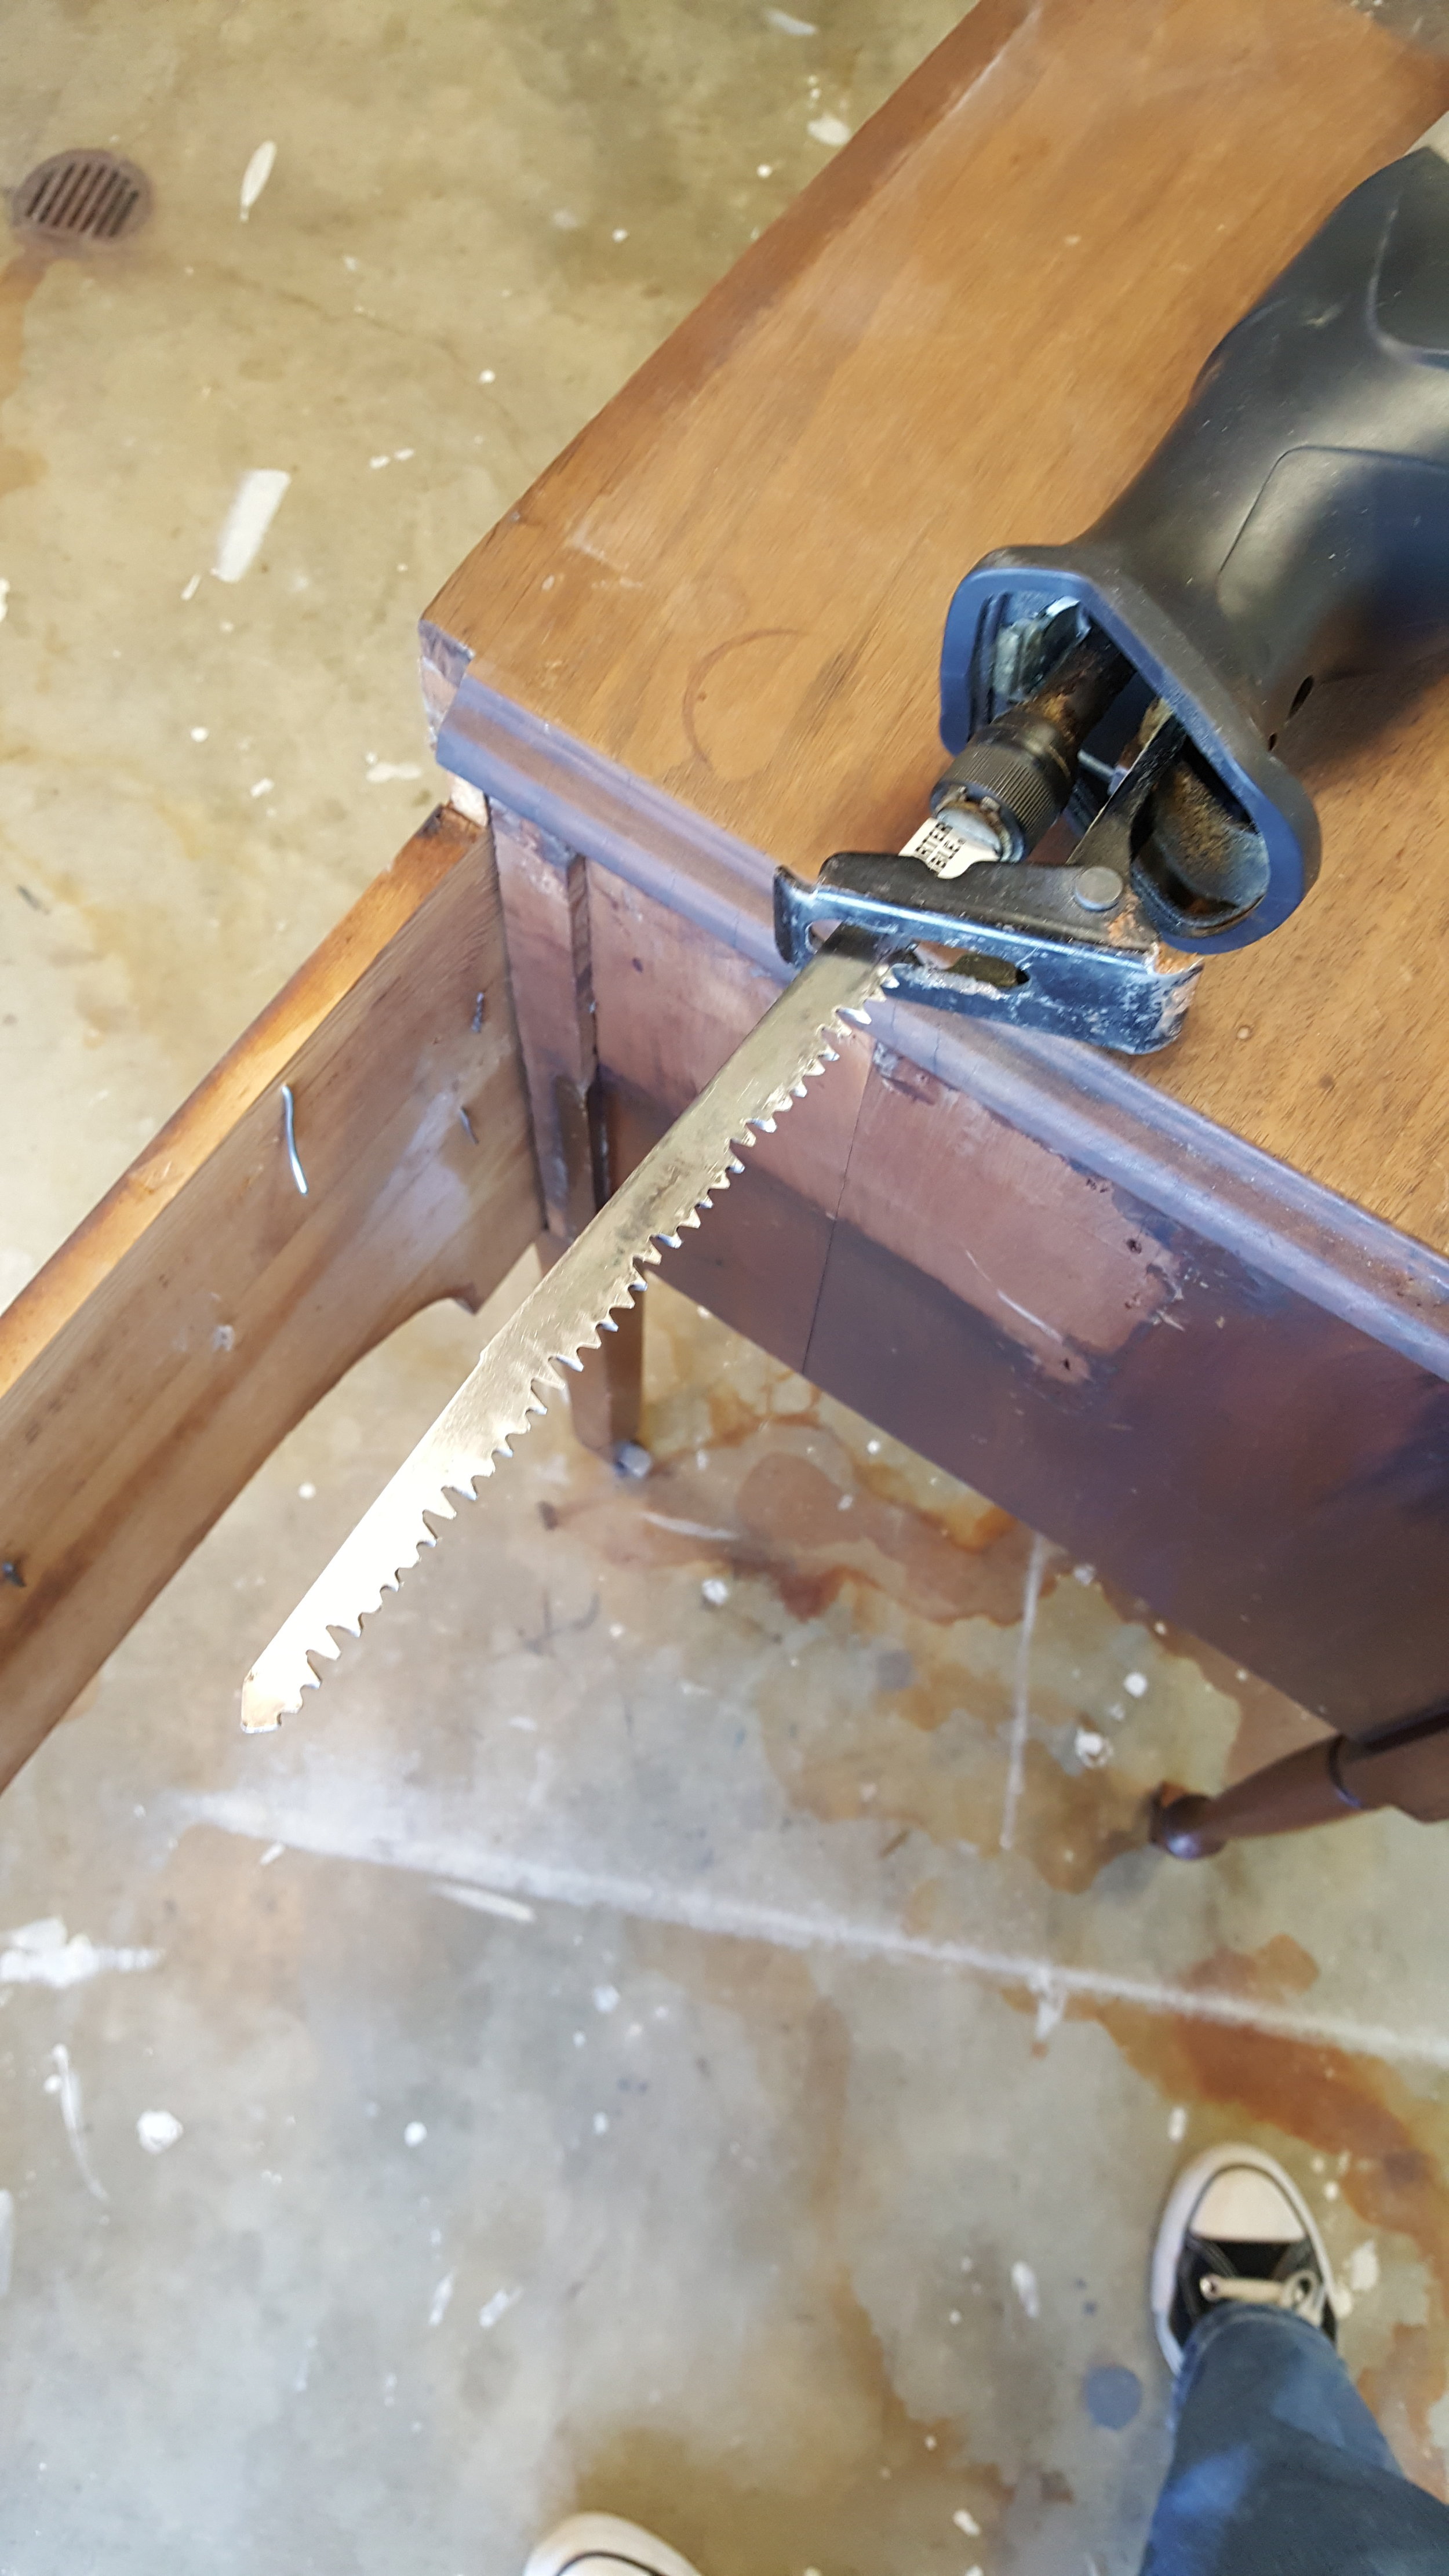
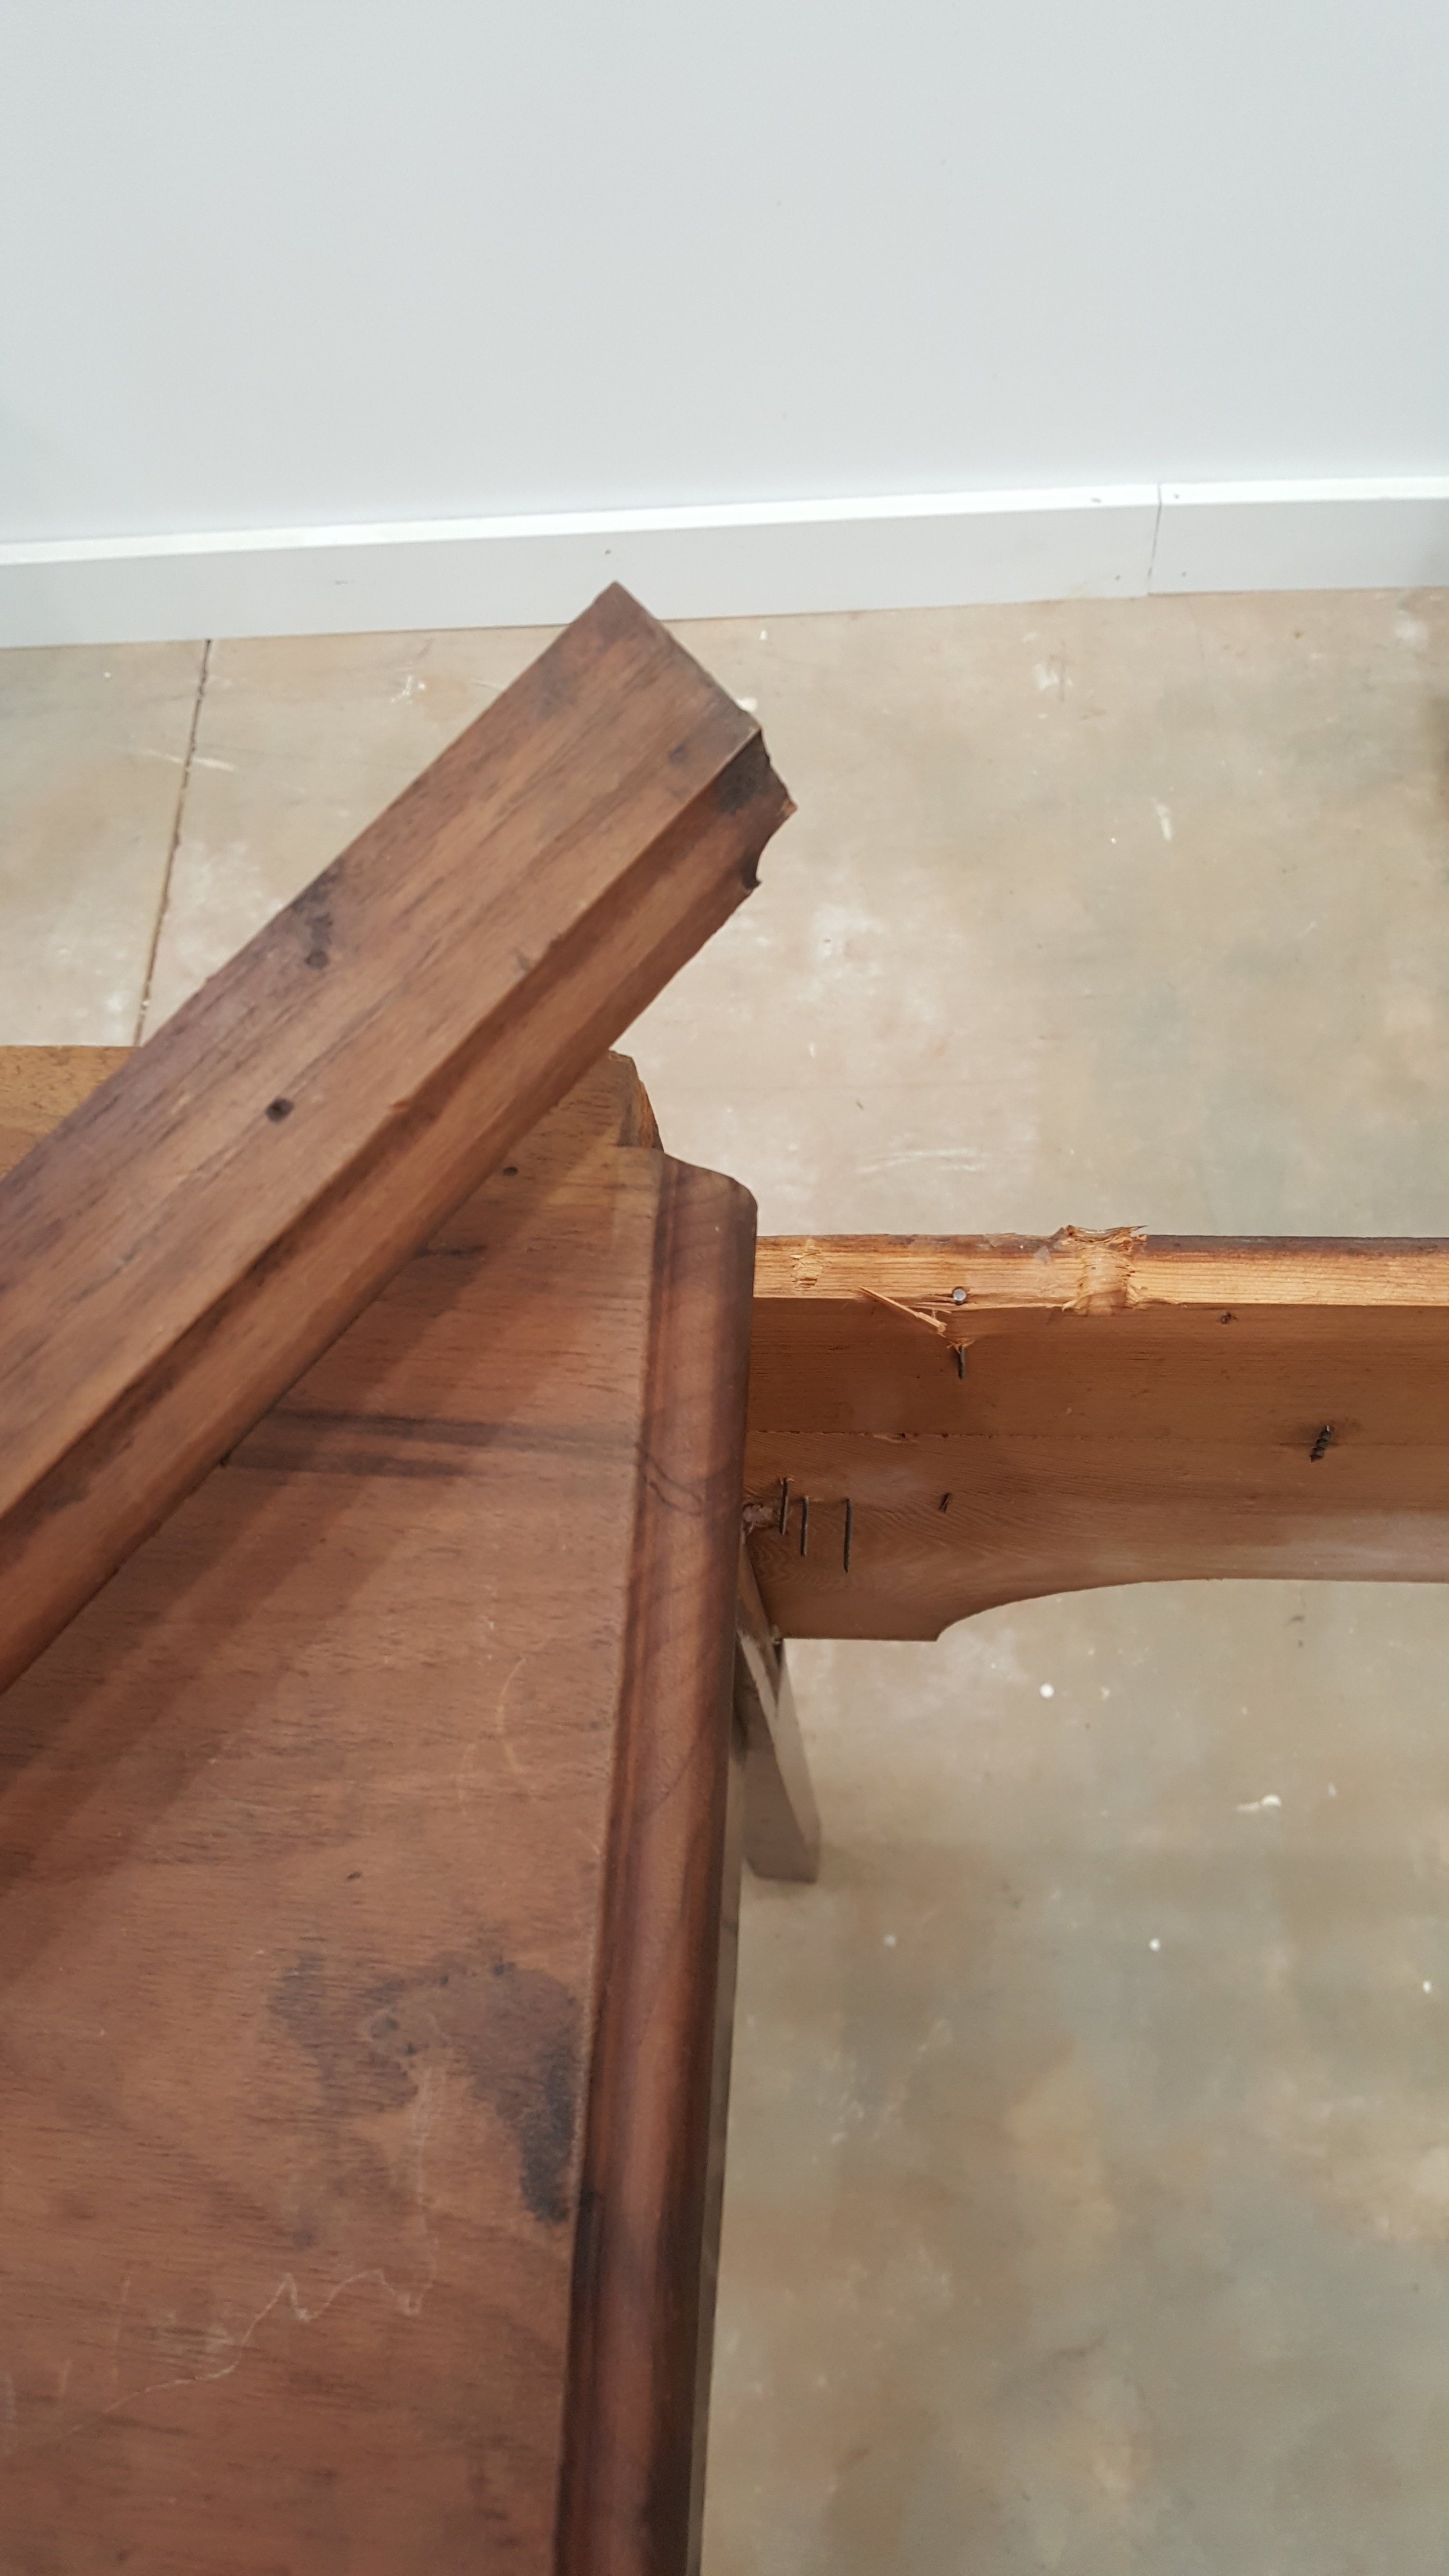
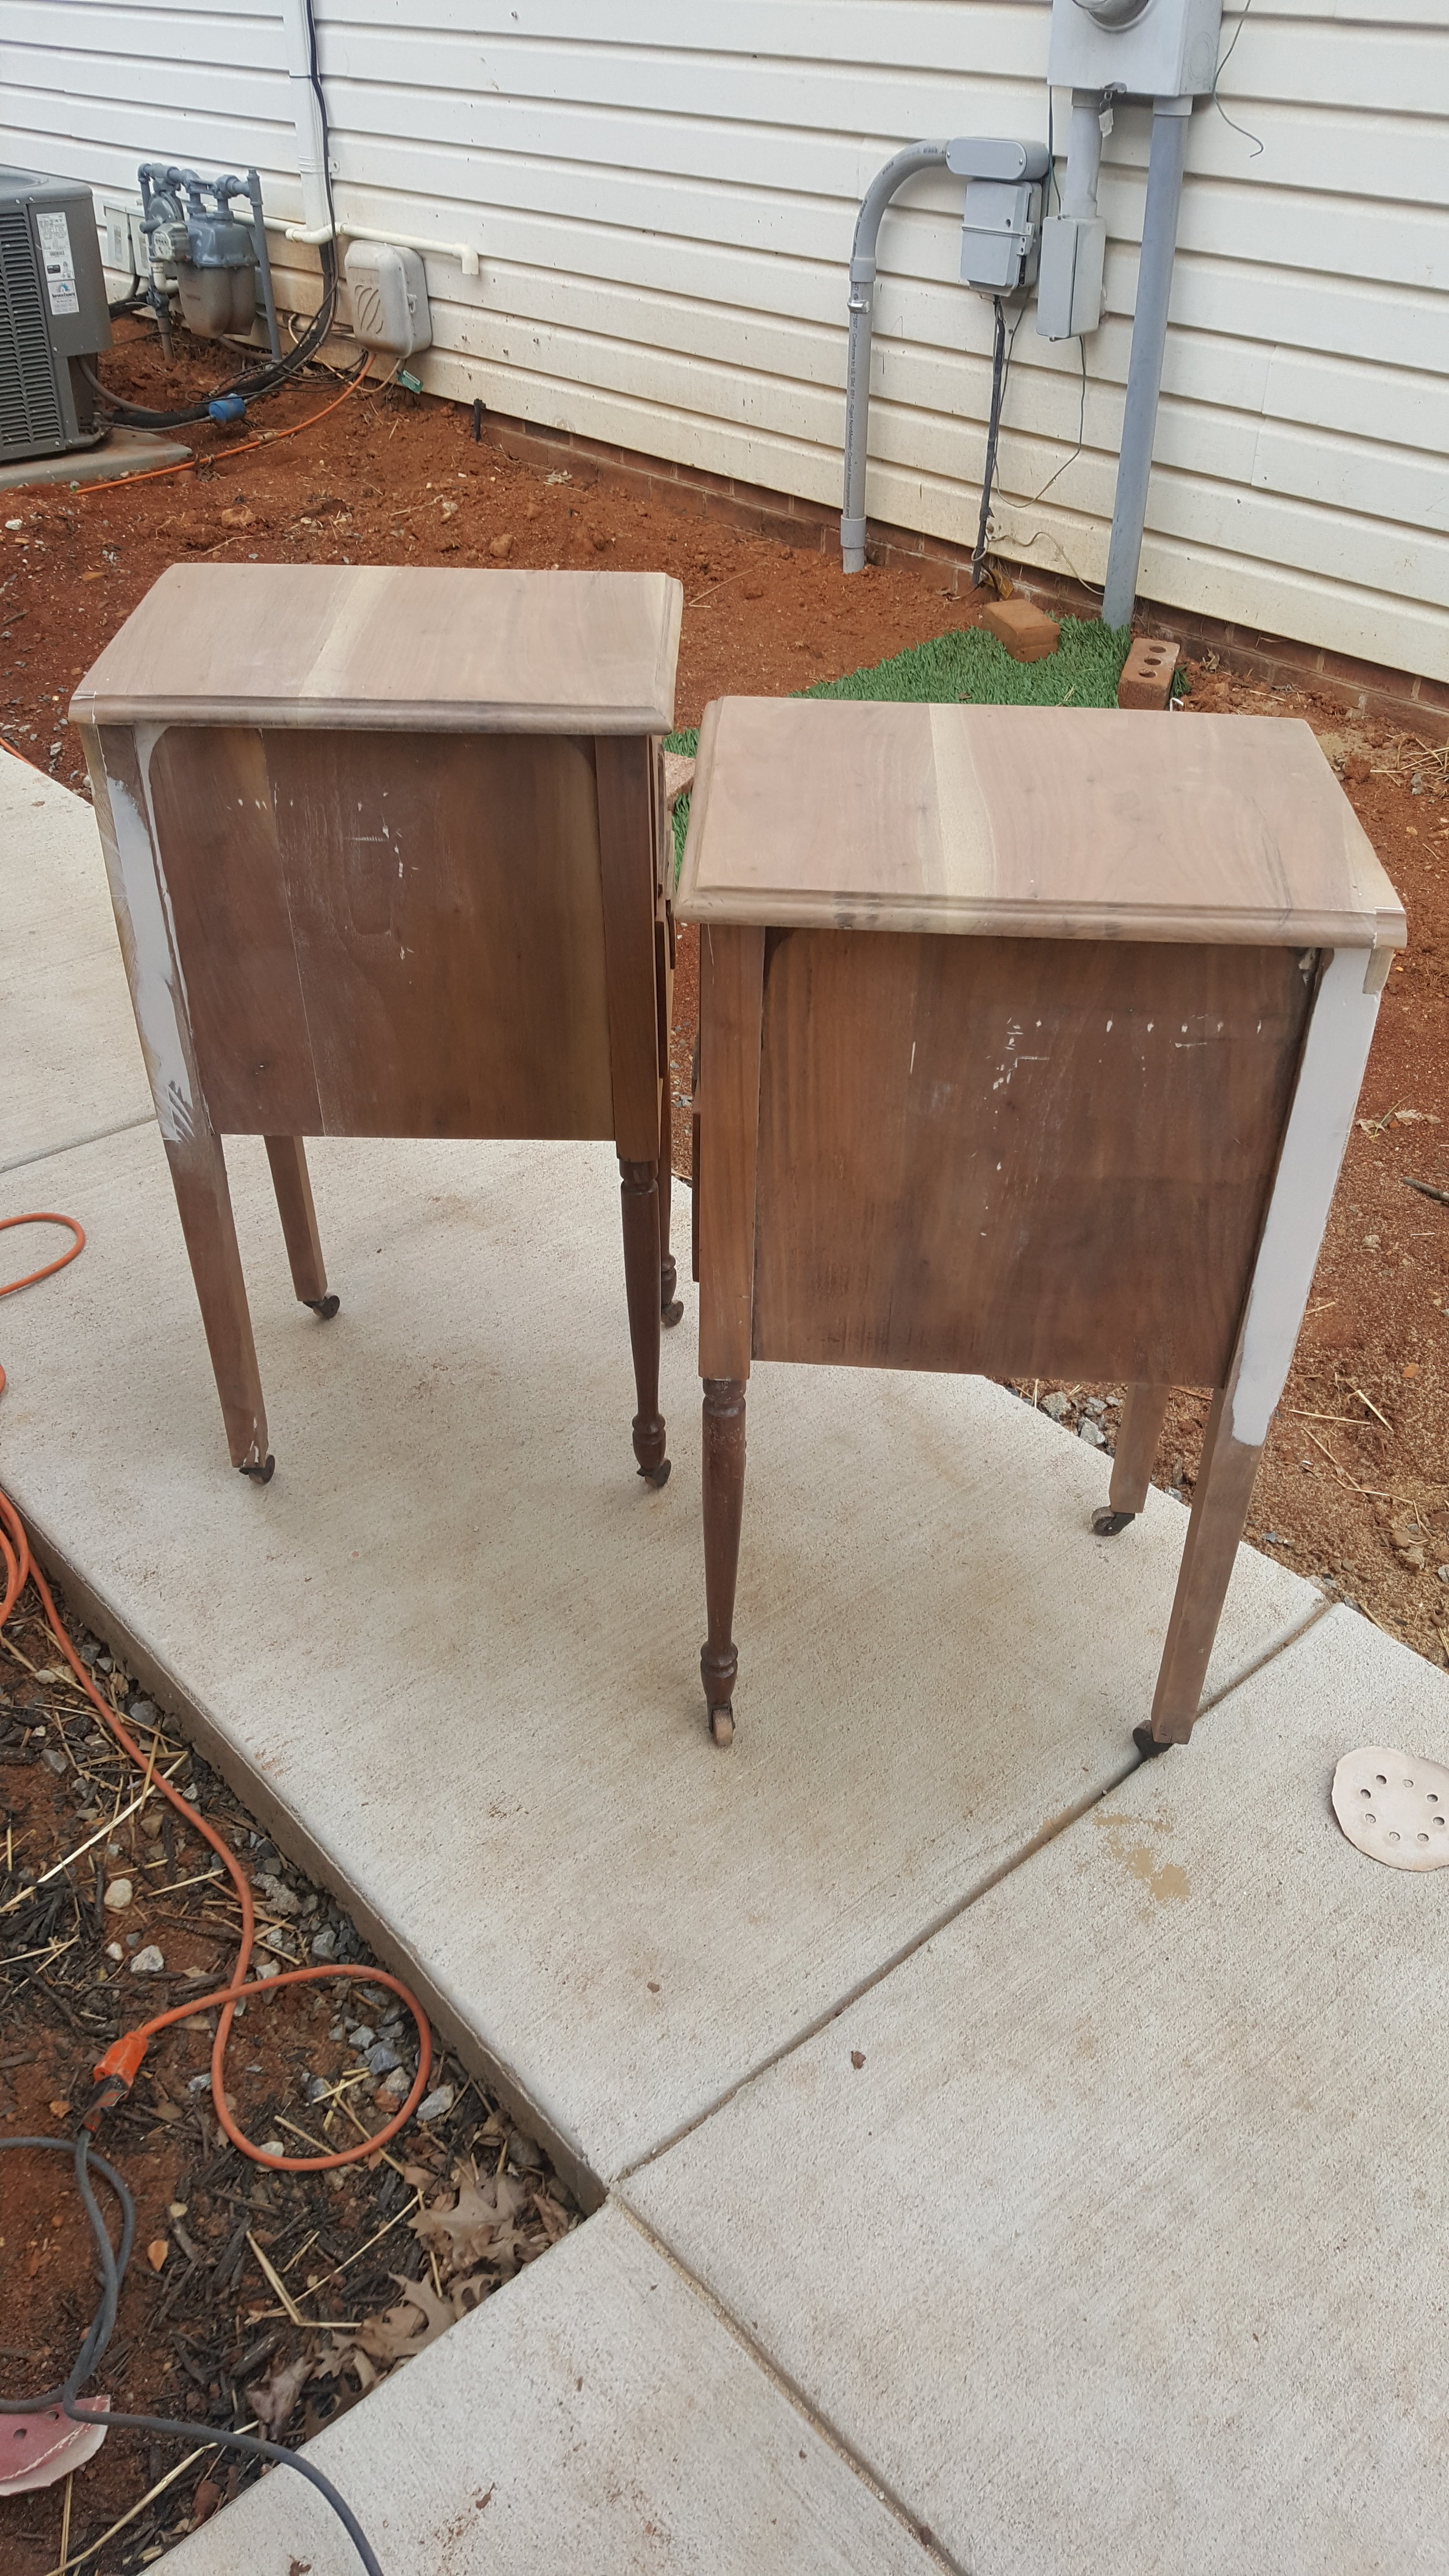
Step 2: Cut apart. My husband helped me cut the last piece off that connects to the backside of the tables. First he used the reciprocating saw to separate them (you could also use a circular saw) and he then ran the tables through the table saw to get a super clean cut.
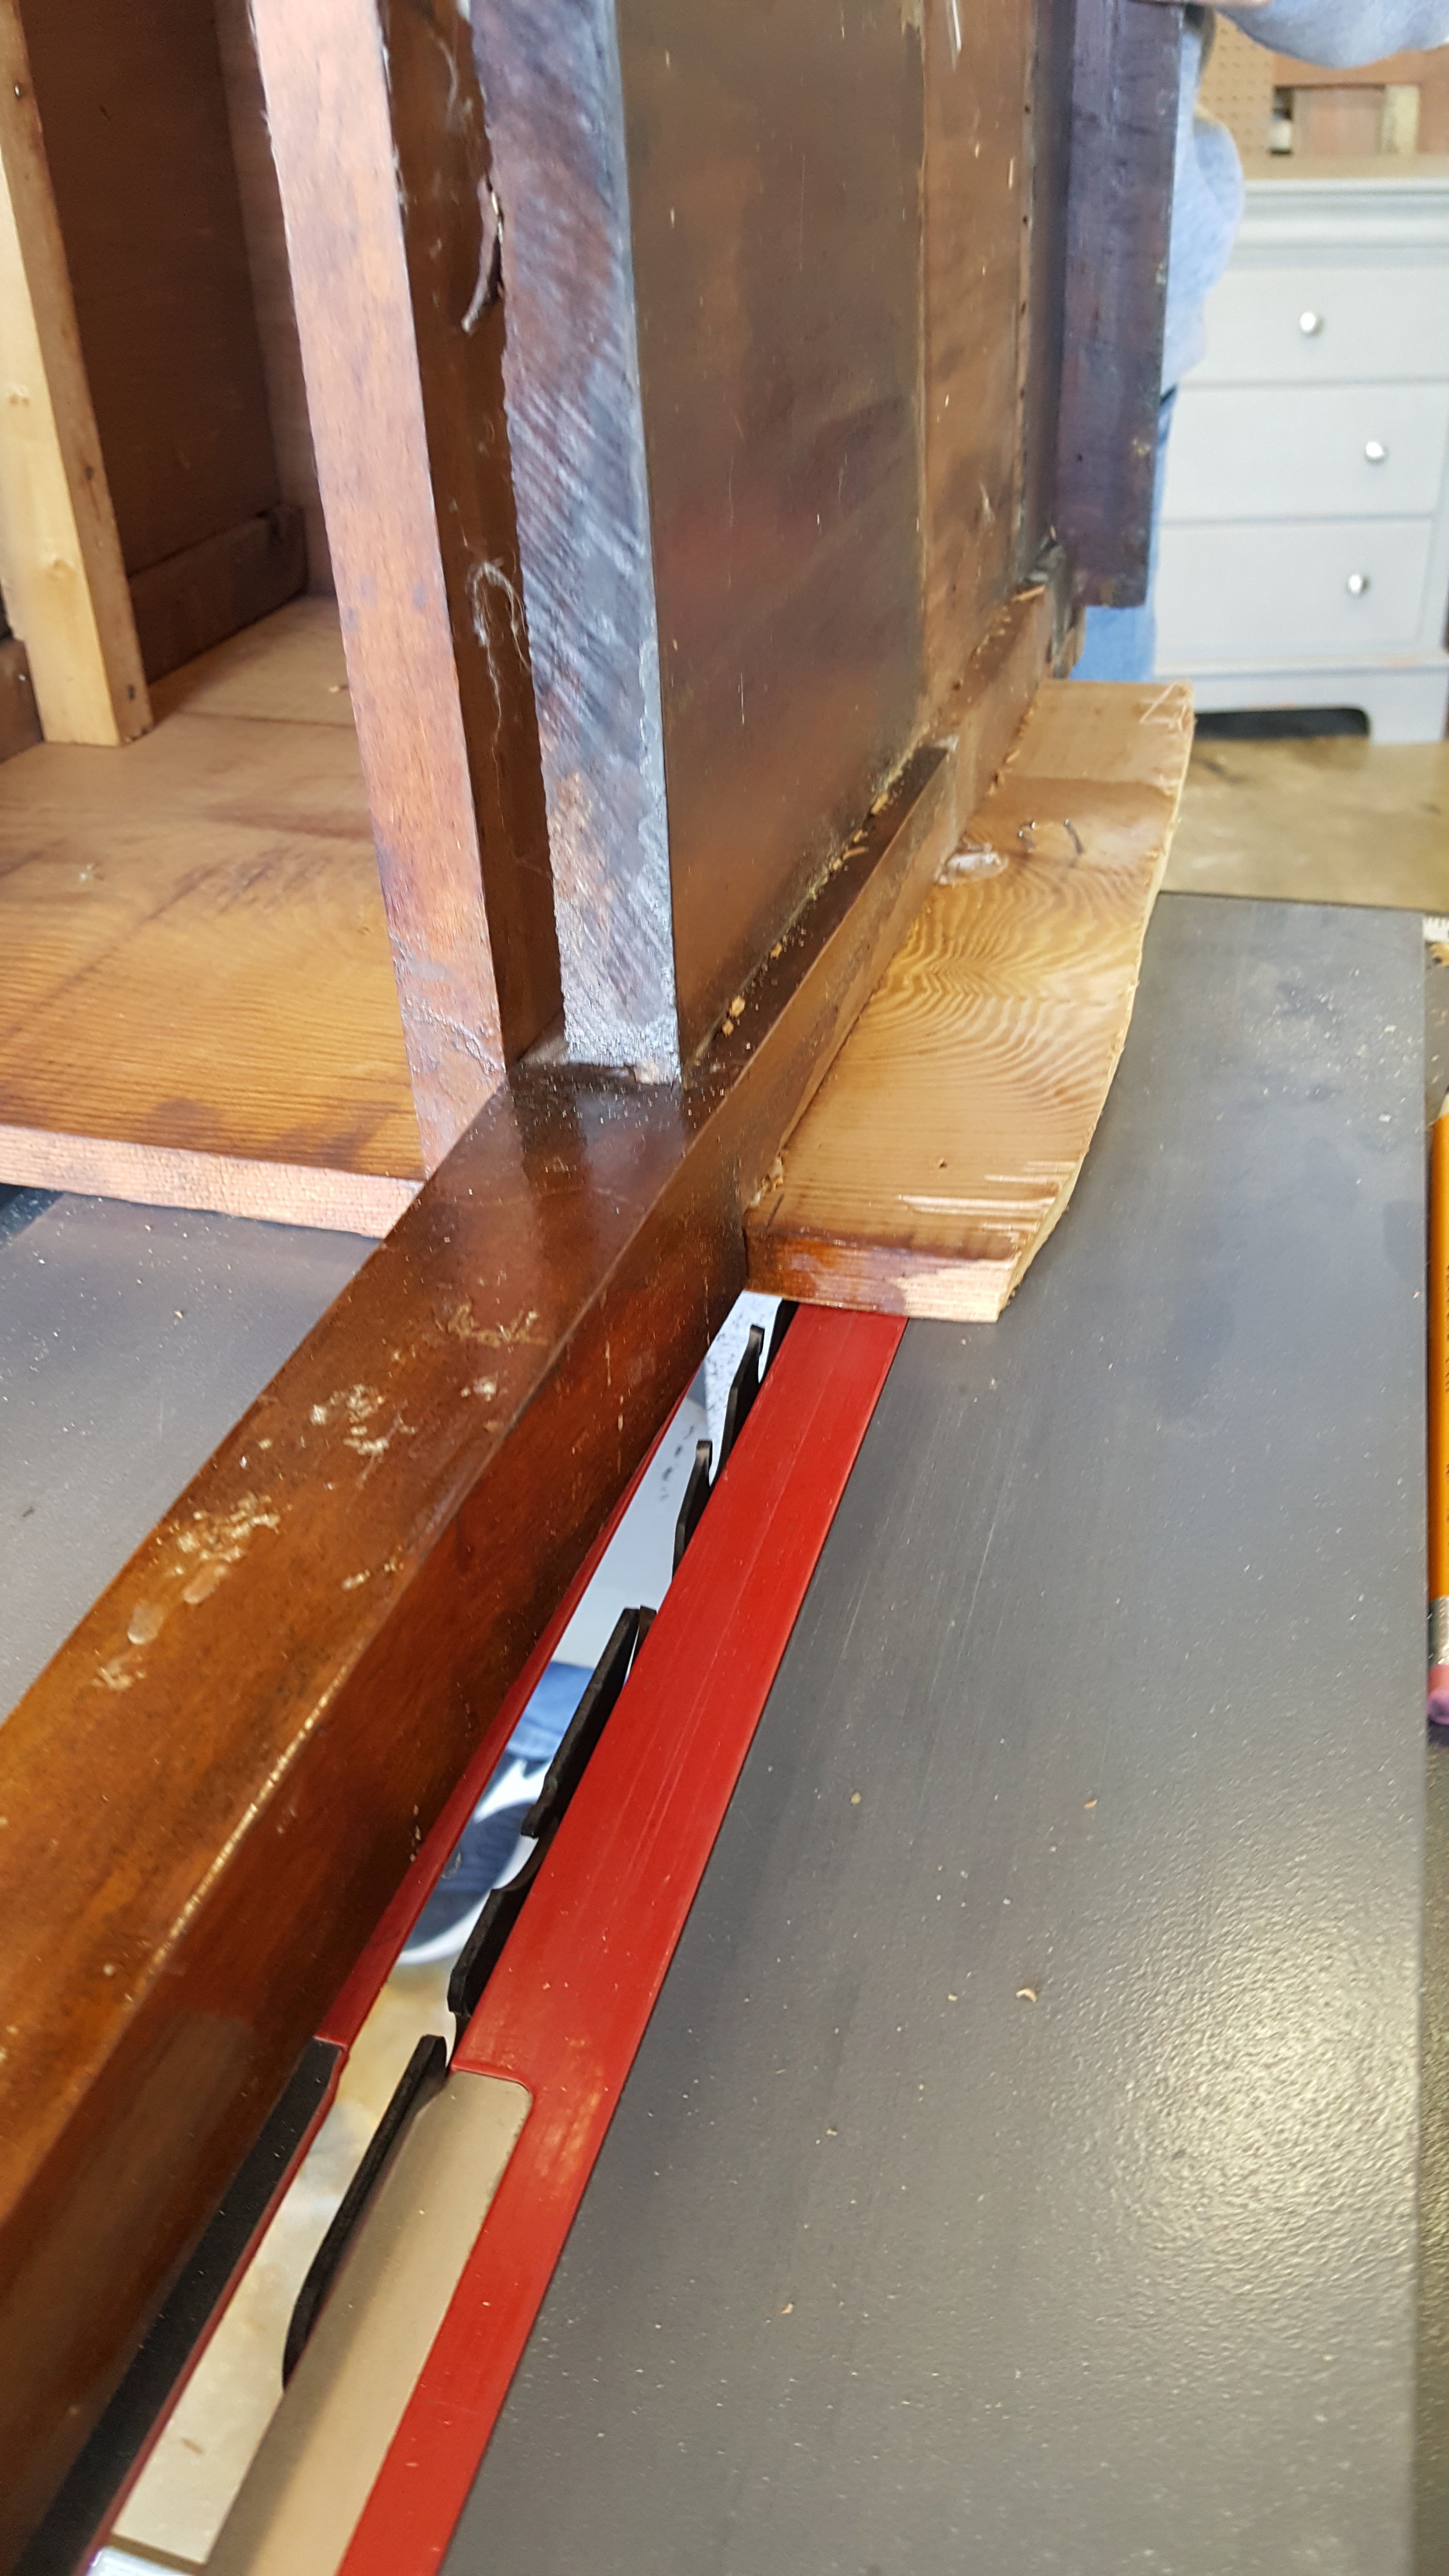
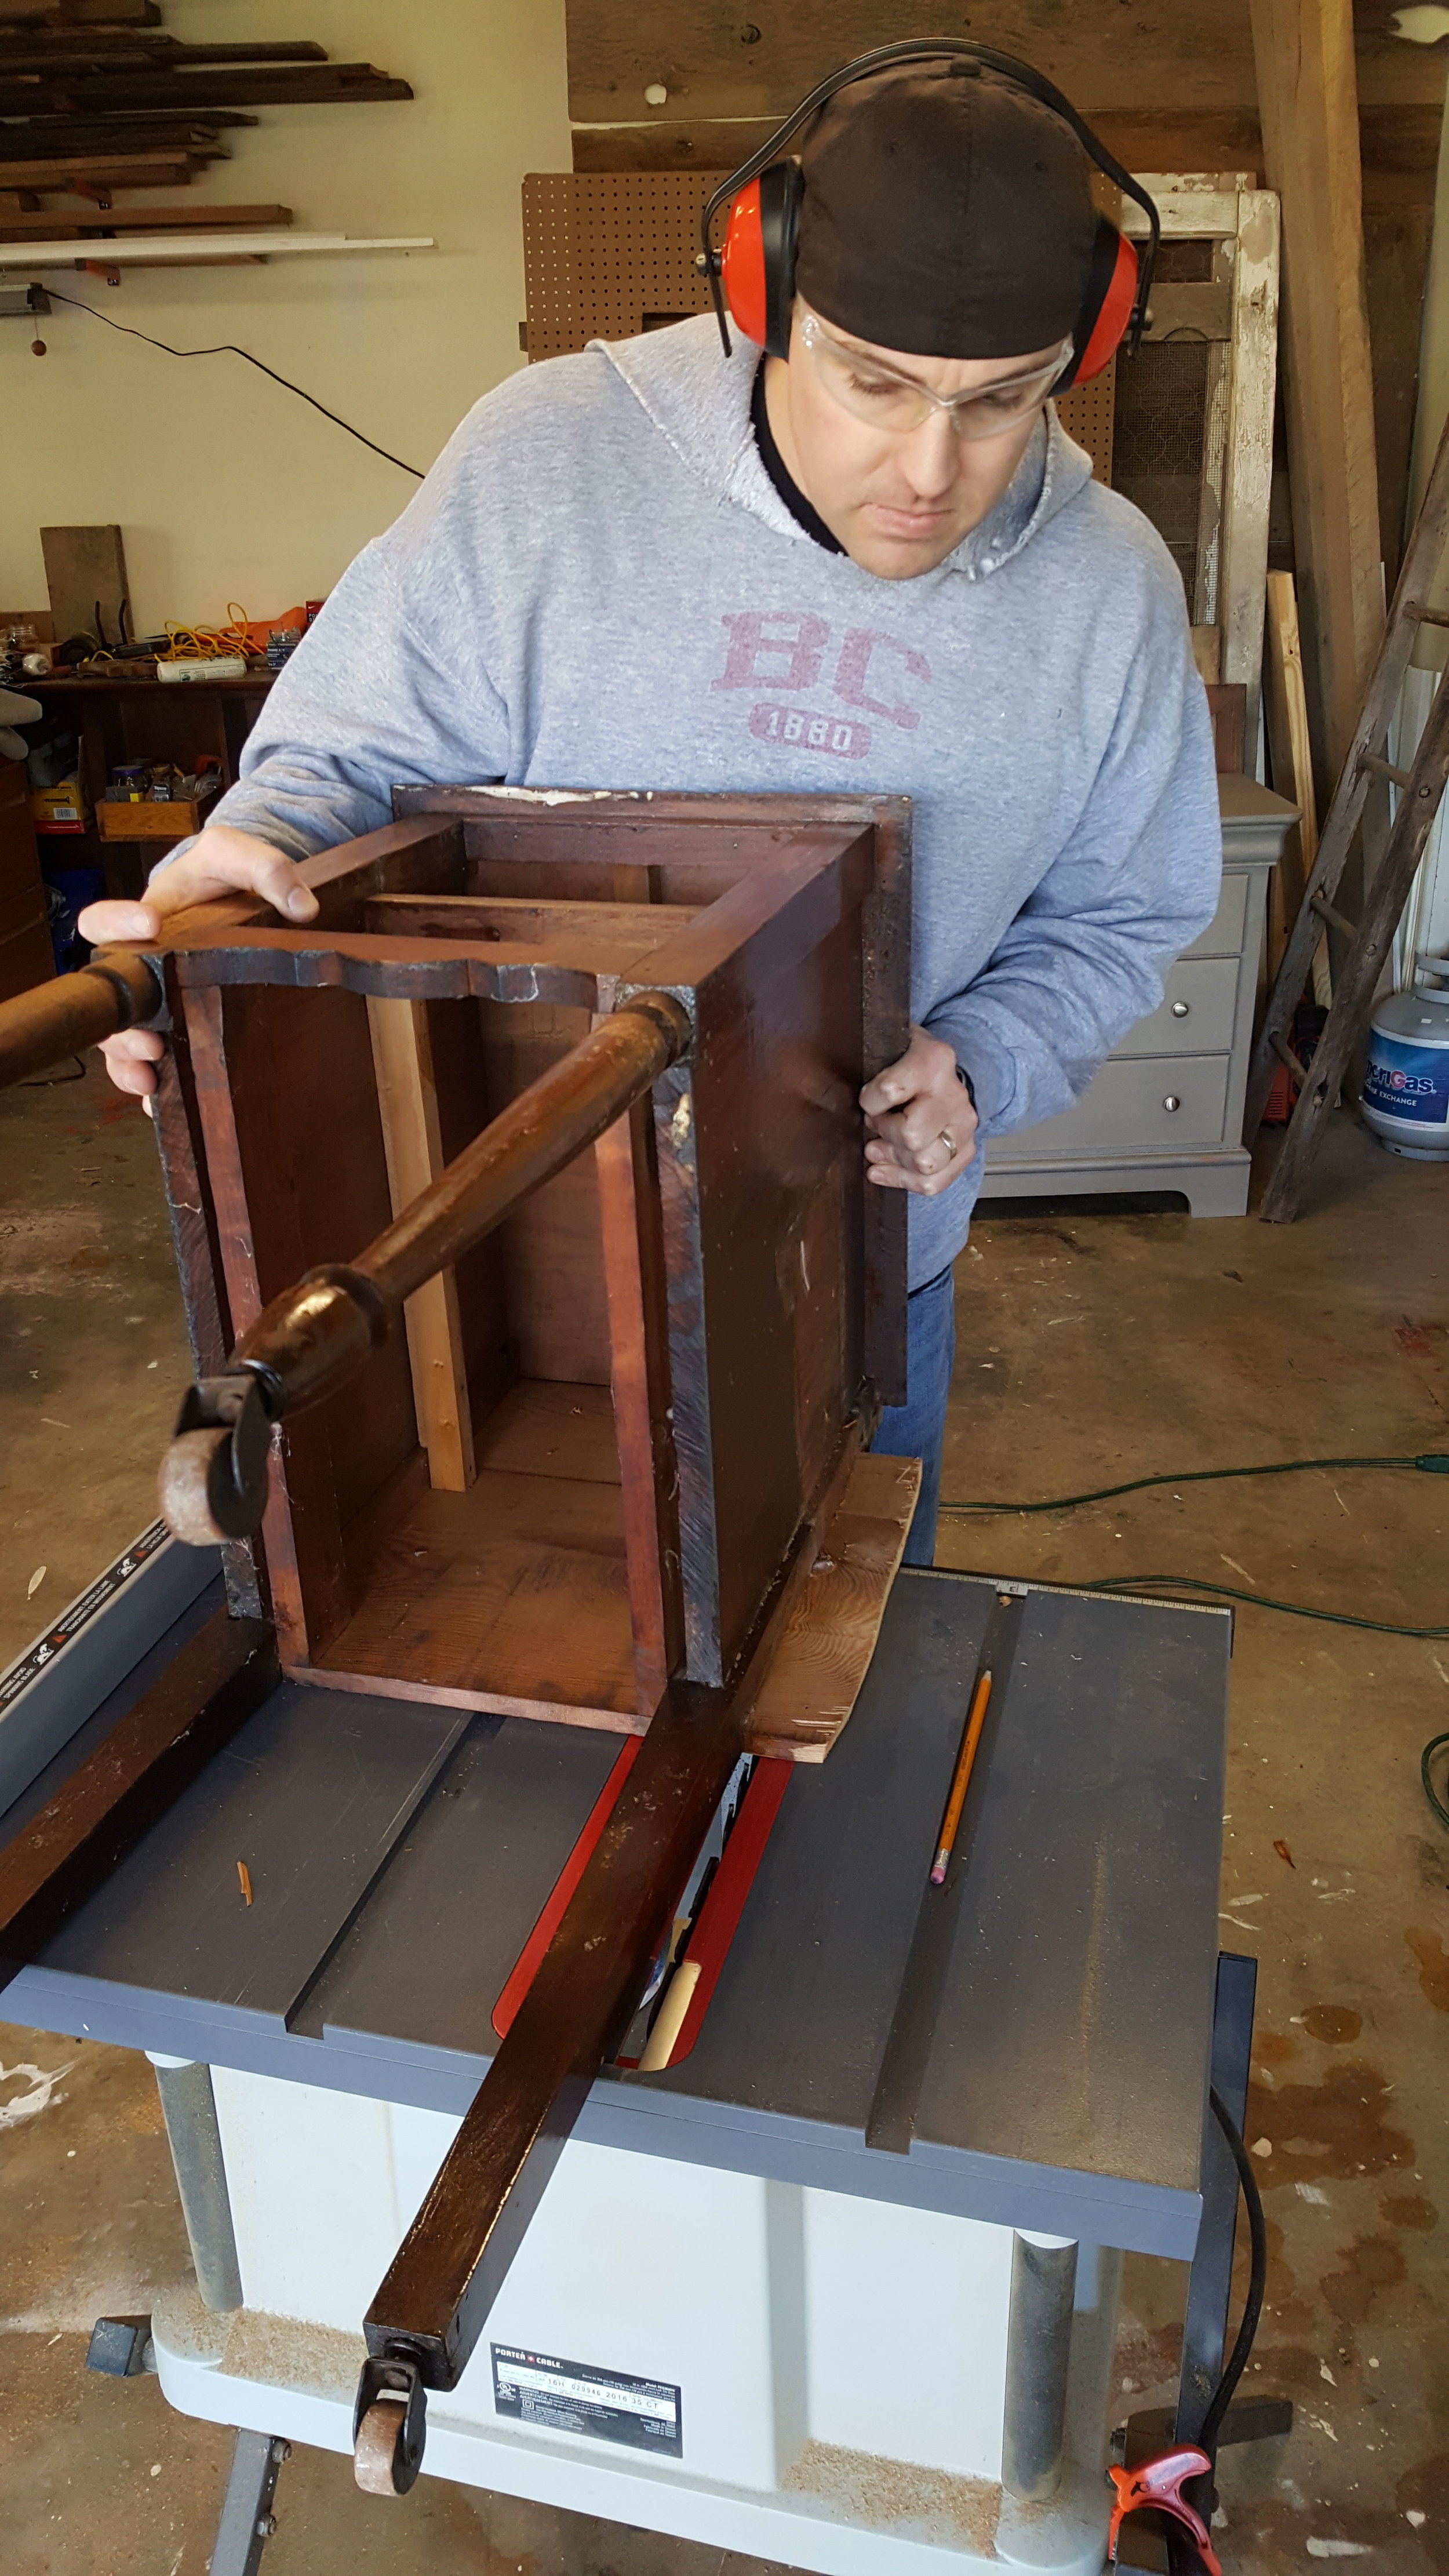
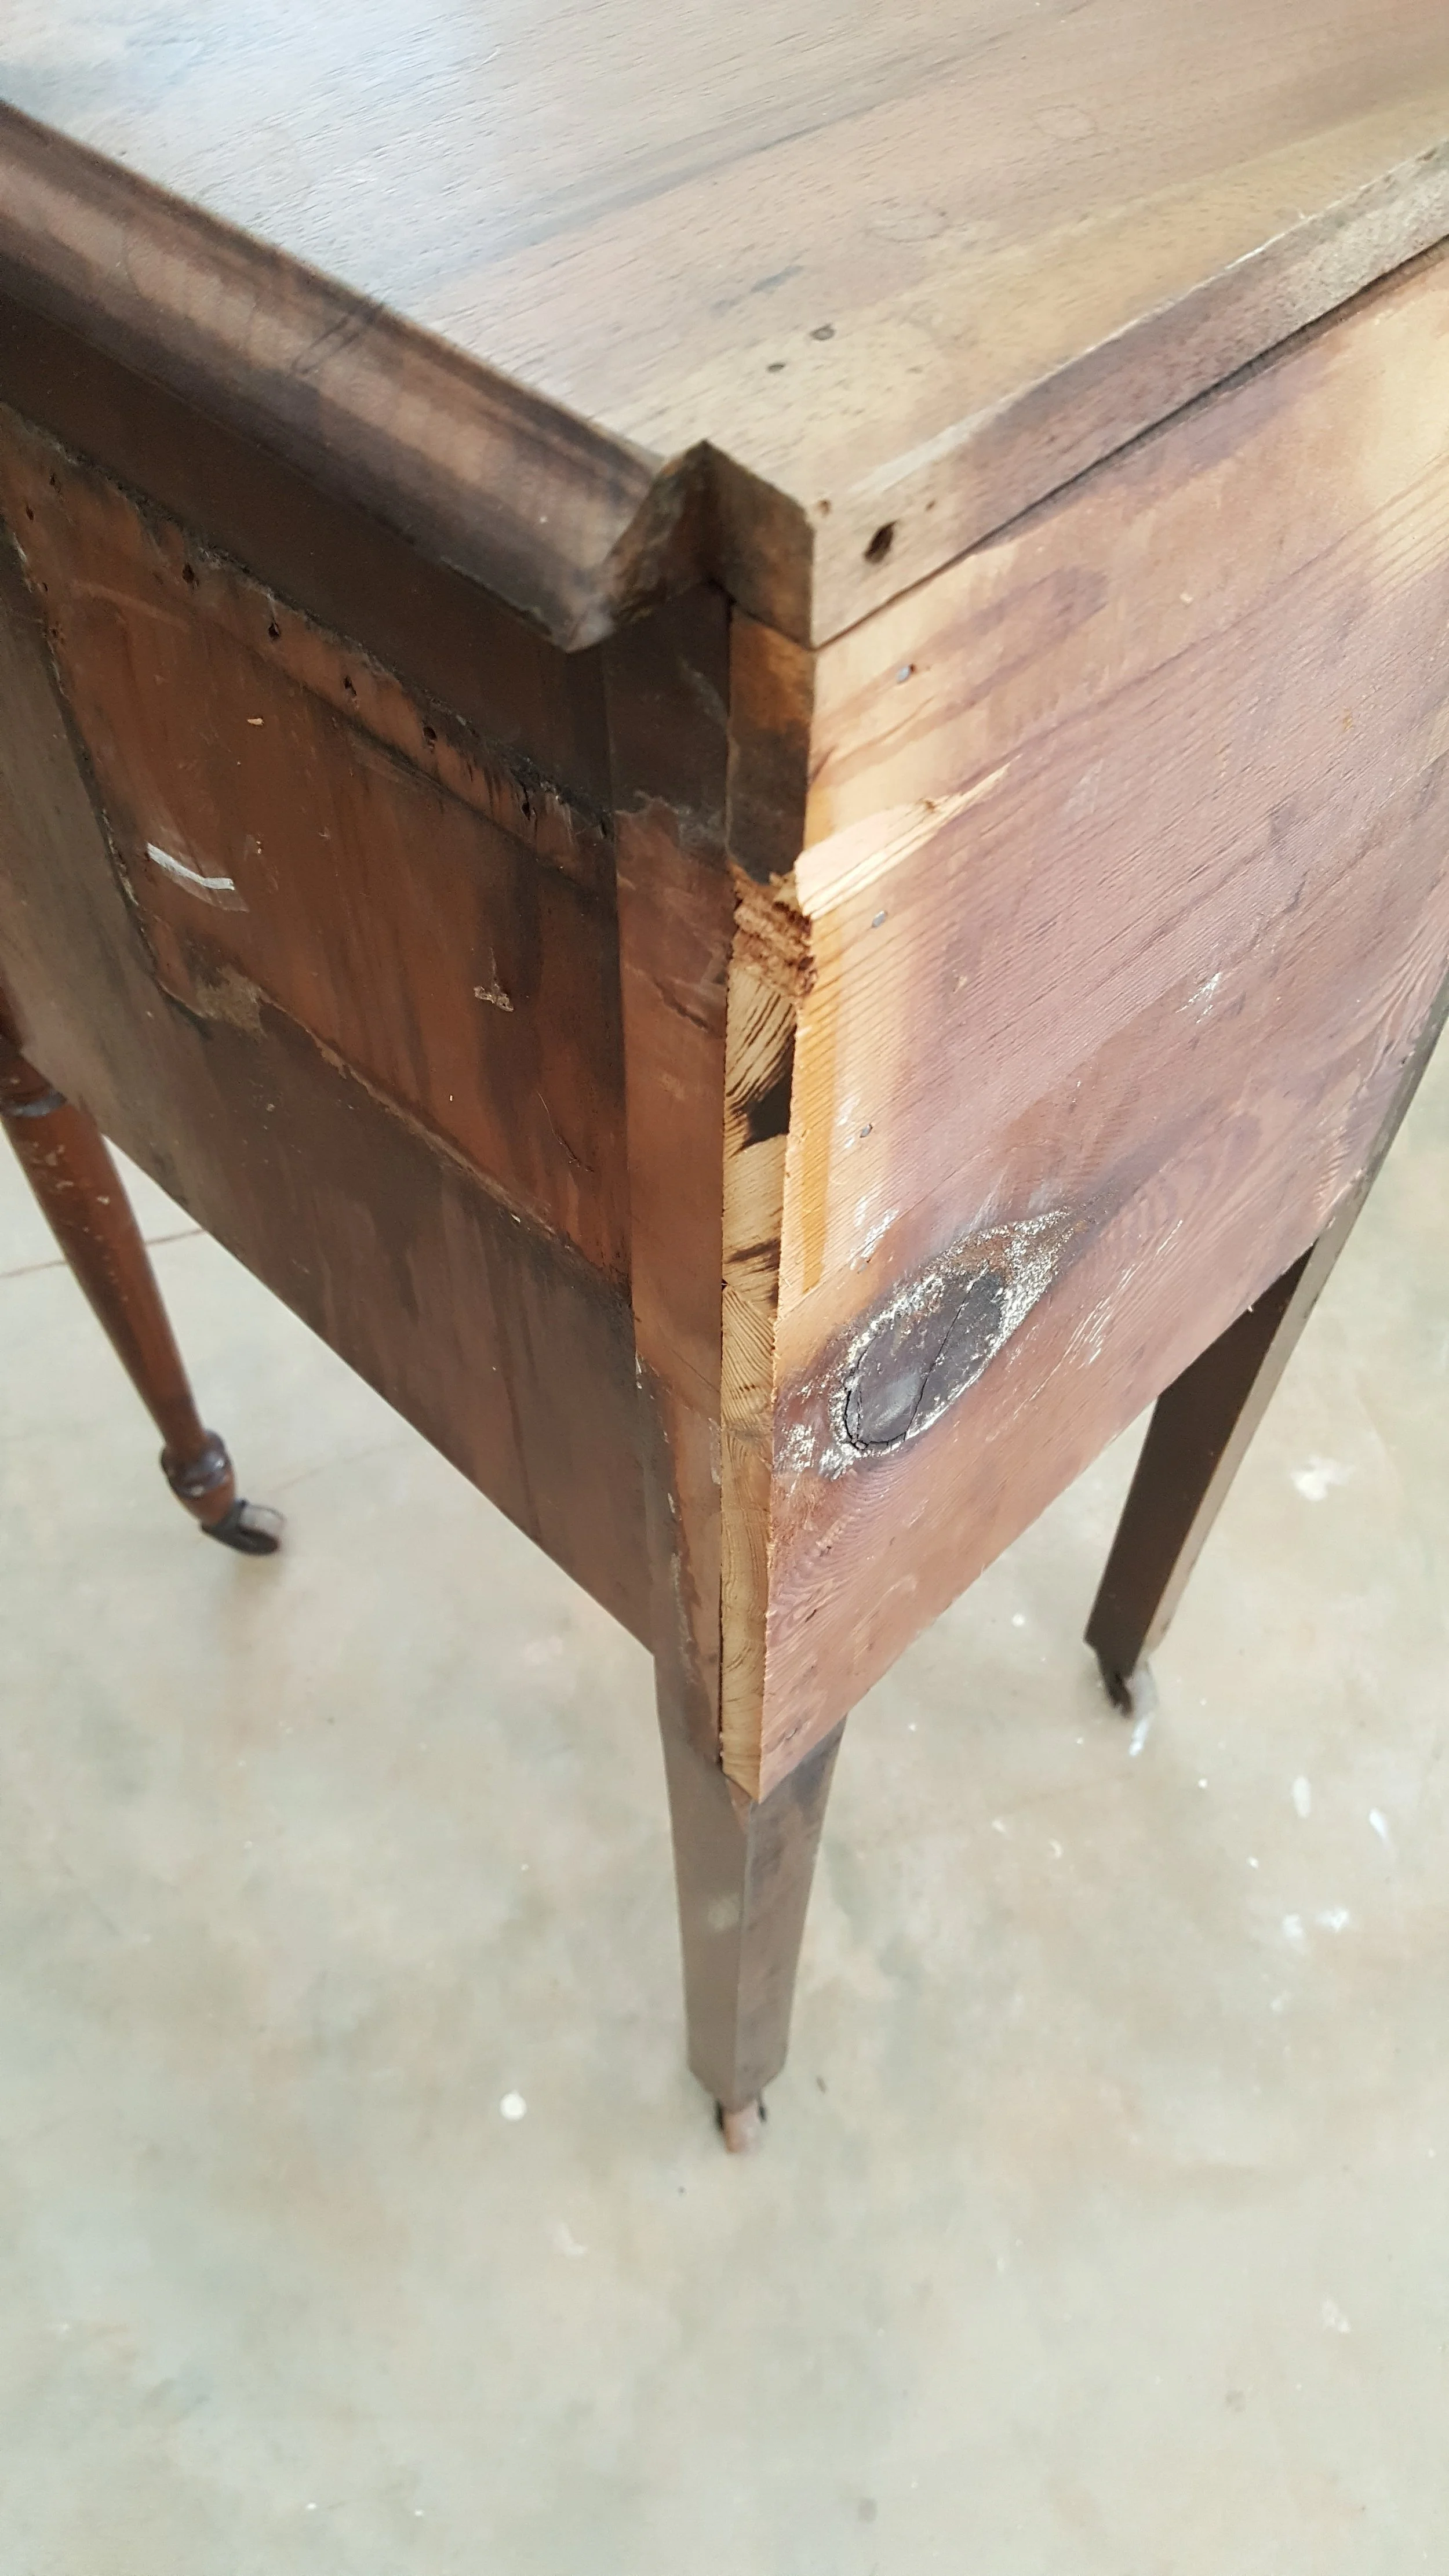
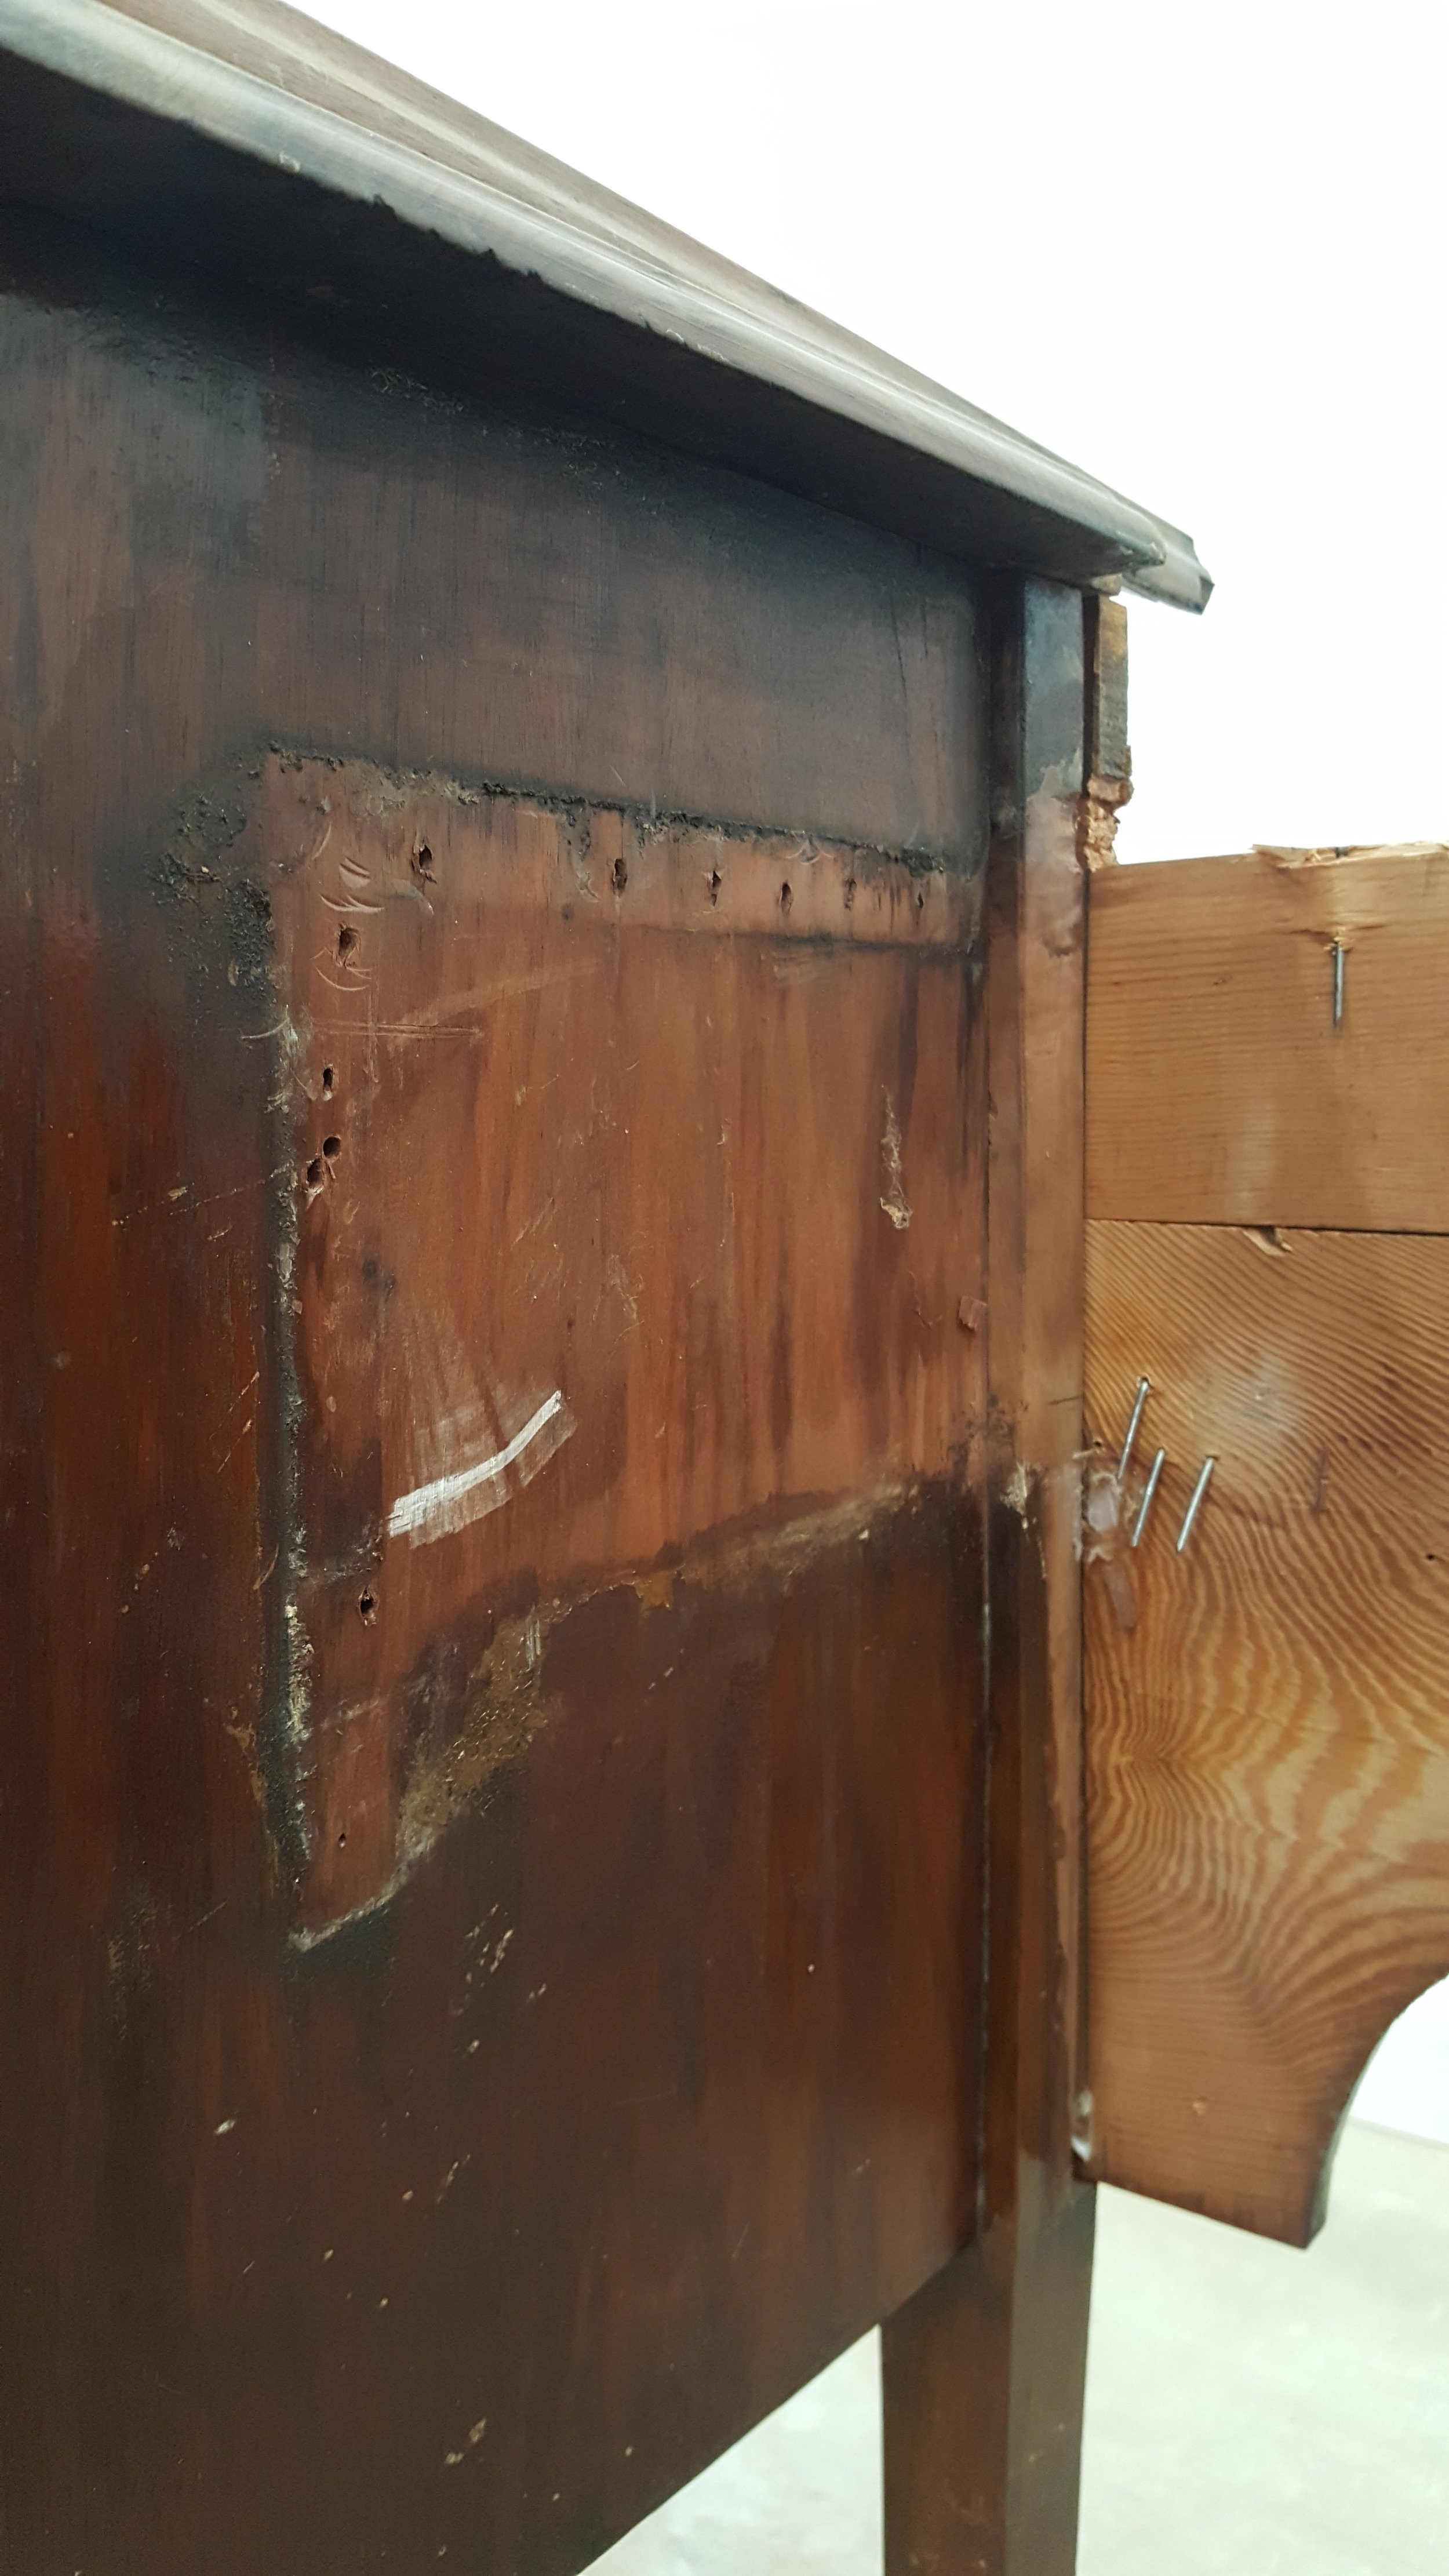
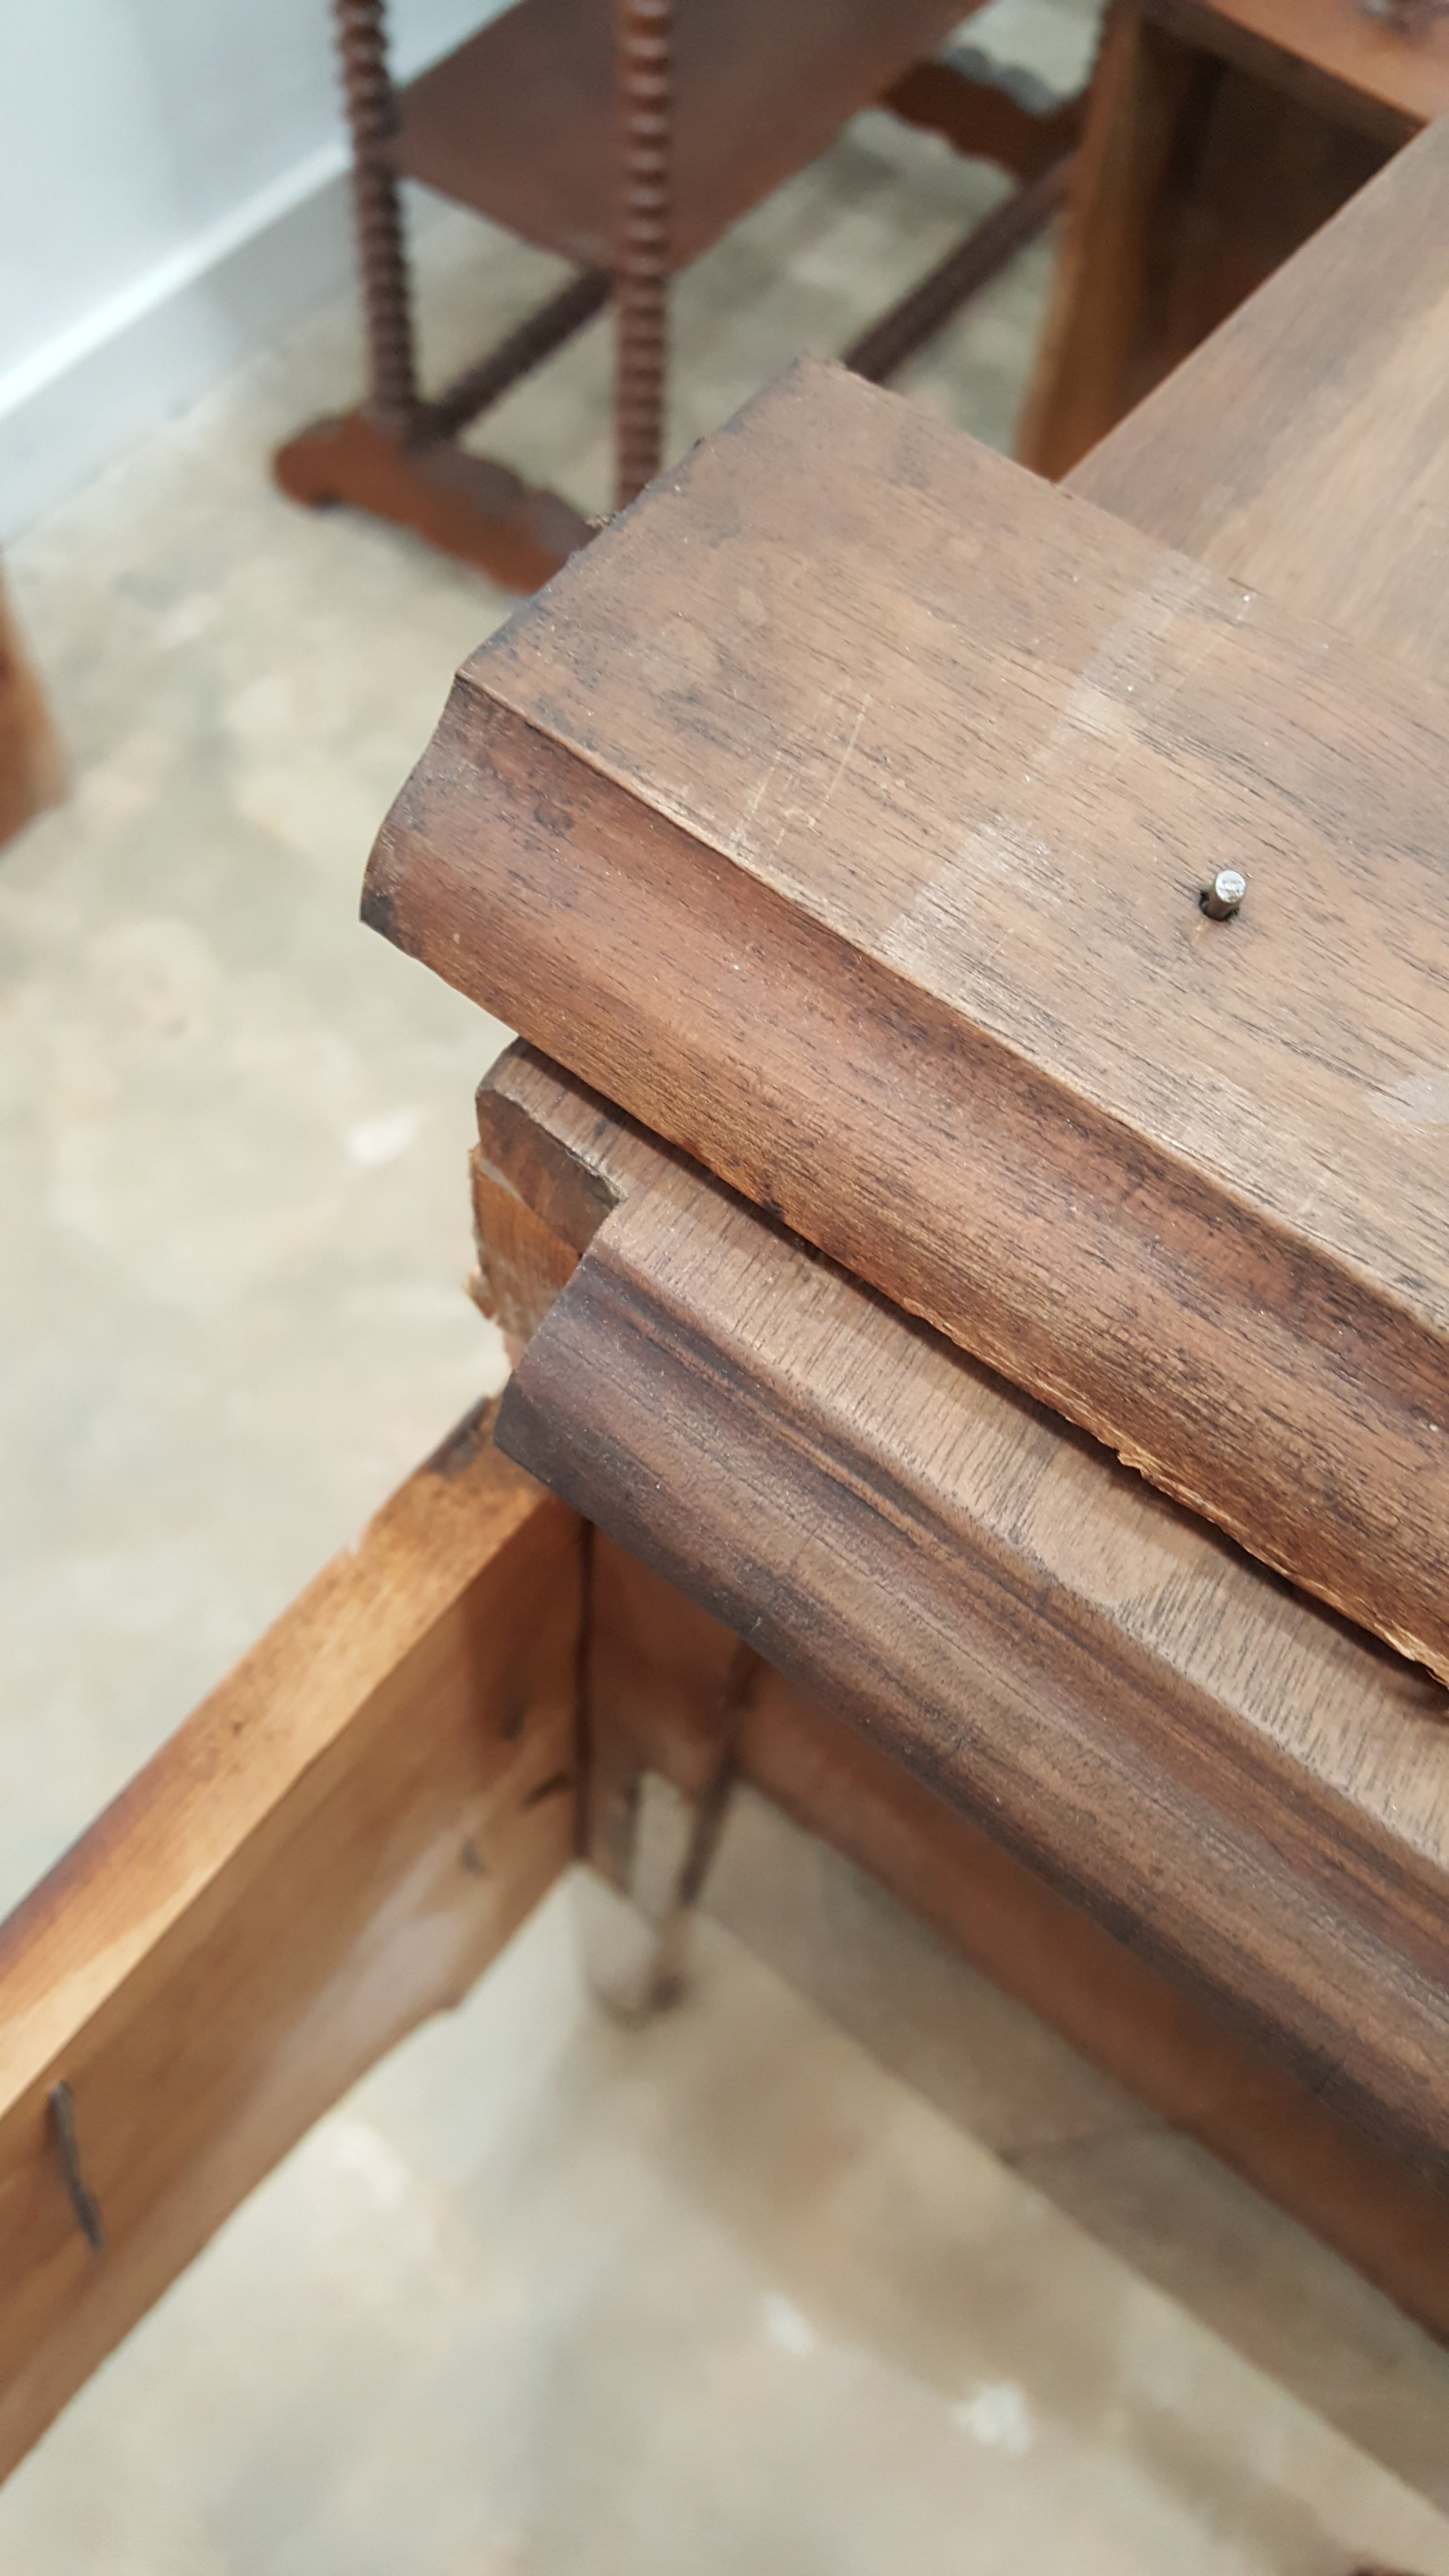
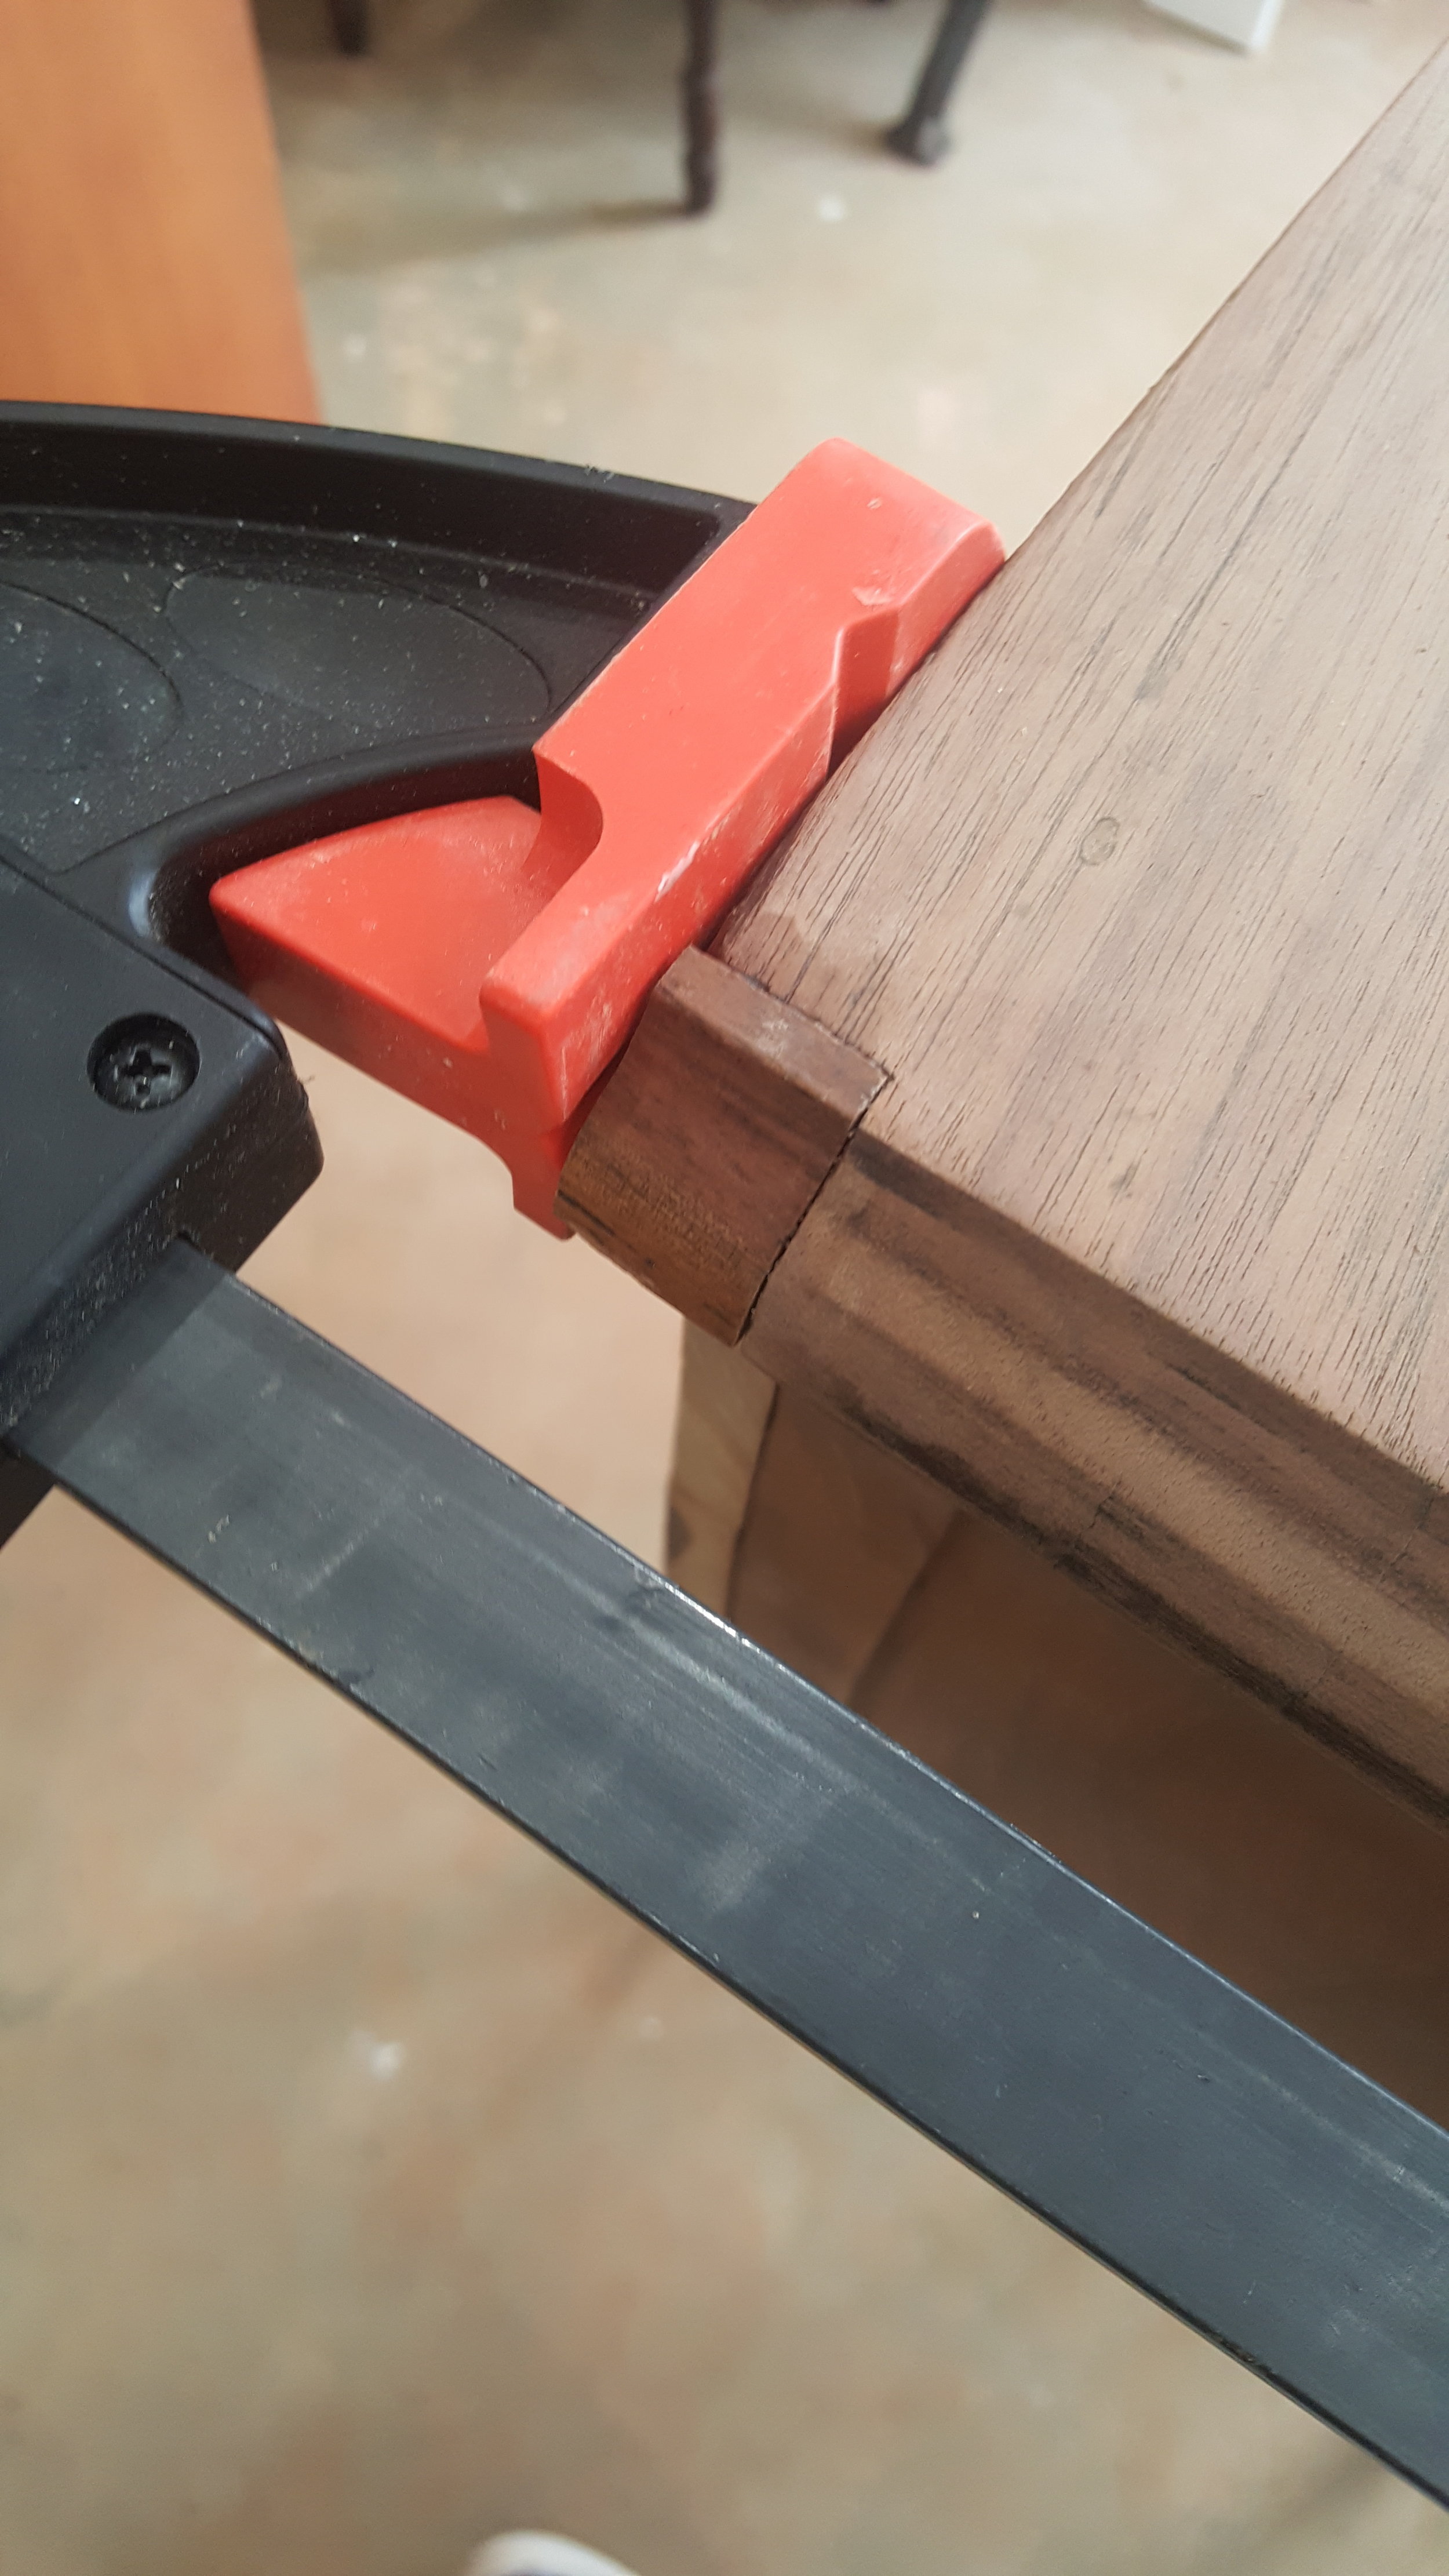
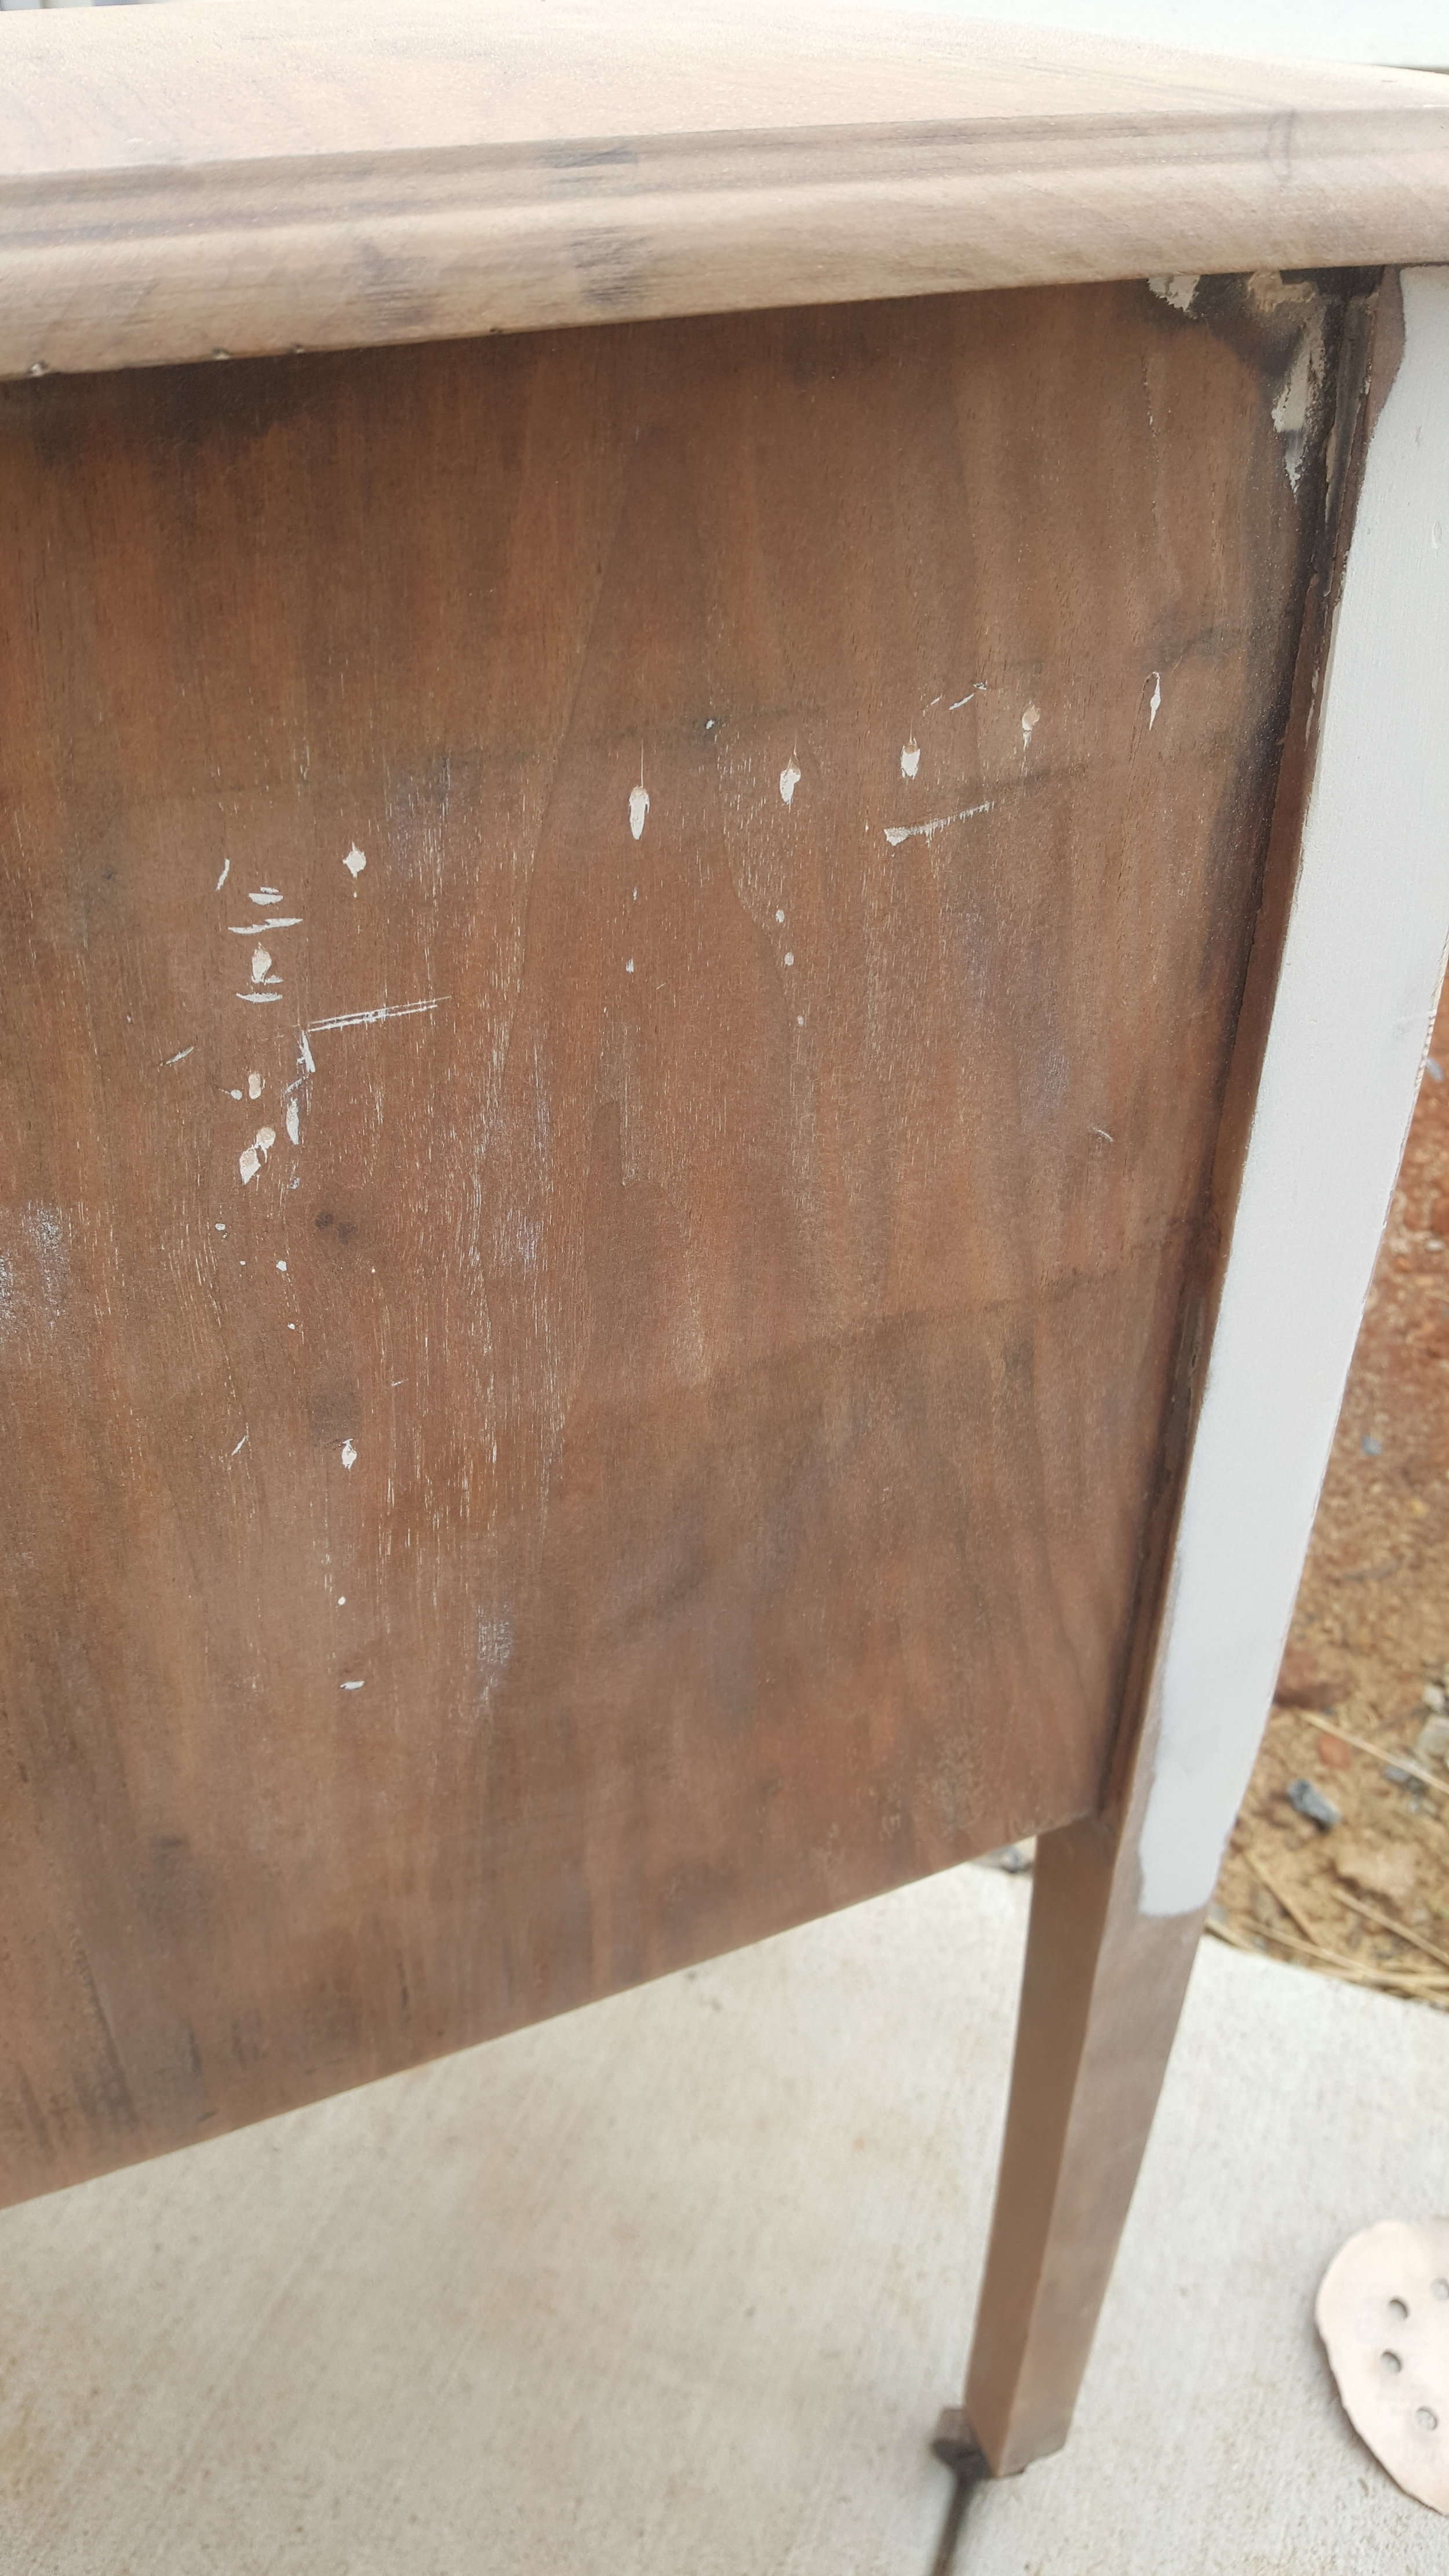
Step 3: Add missing piece of molding. Since the piece was separated into two different sections, part of the molding was taken off leaving a gap towards the back of the tables. To fix this, I took a piece off molding from the scraps that I removed in the beginning, cut the molding down with a miter saw, then glued and clamped it to the table. From there, I used Bondo (see step 5) and sanded the area really well so you wouldn’t be able to tell the molding wasn’t original.

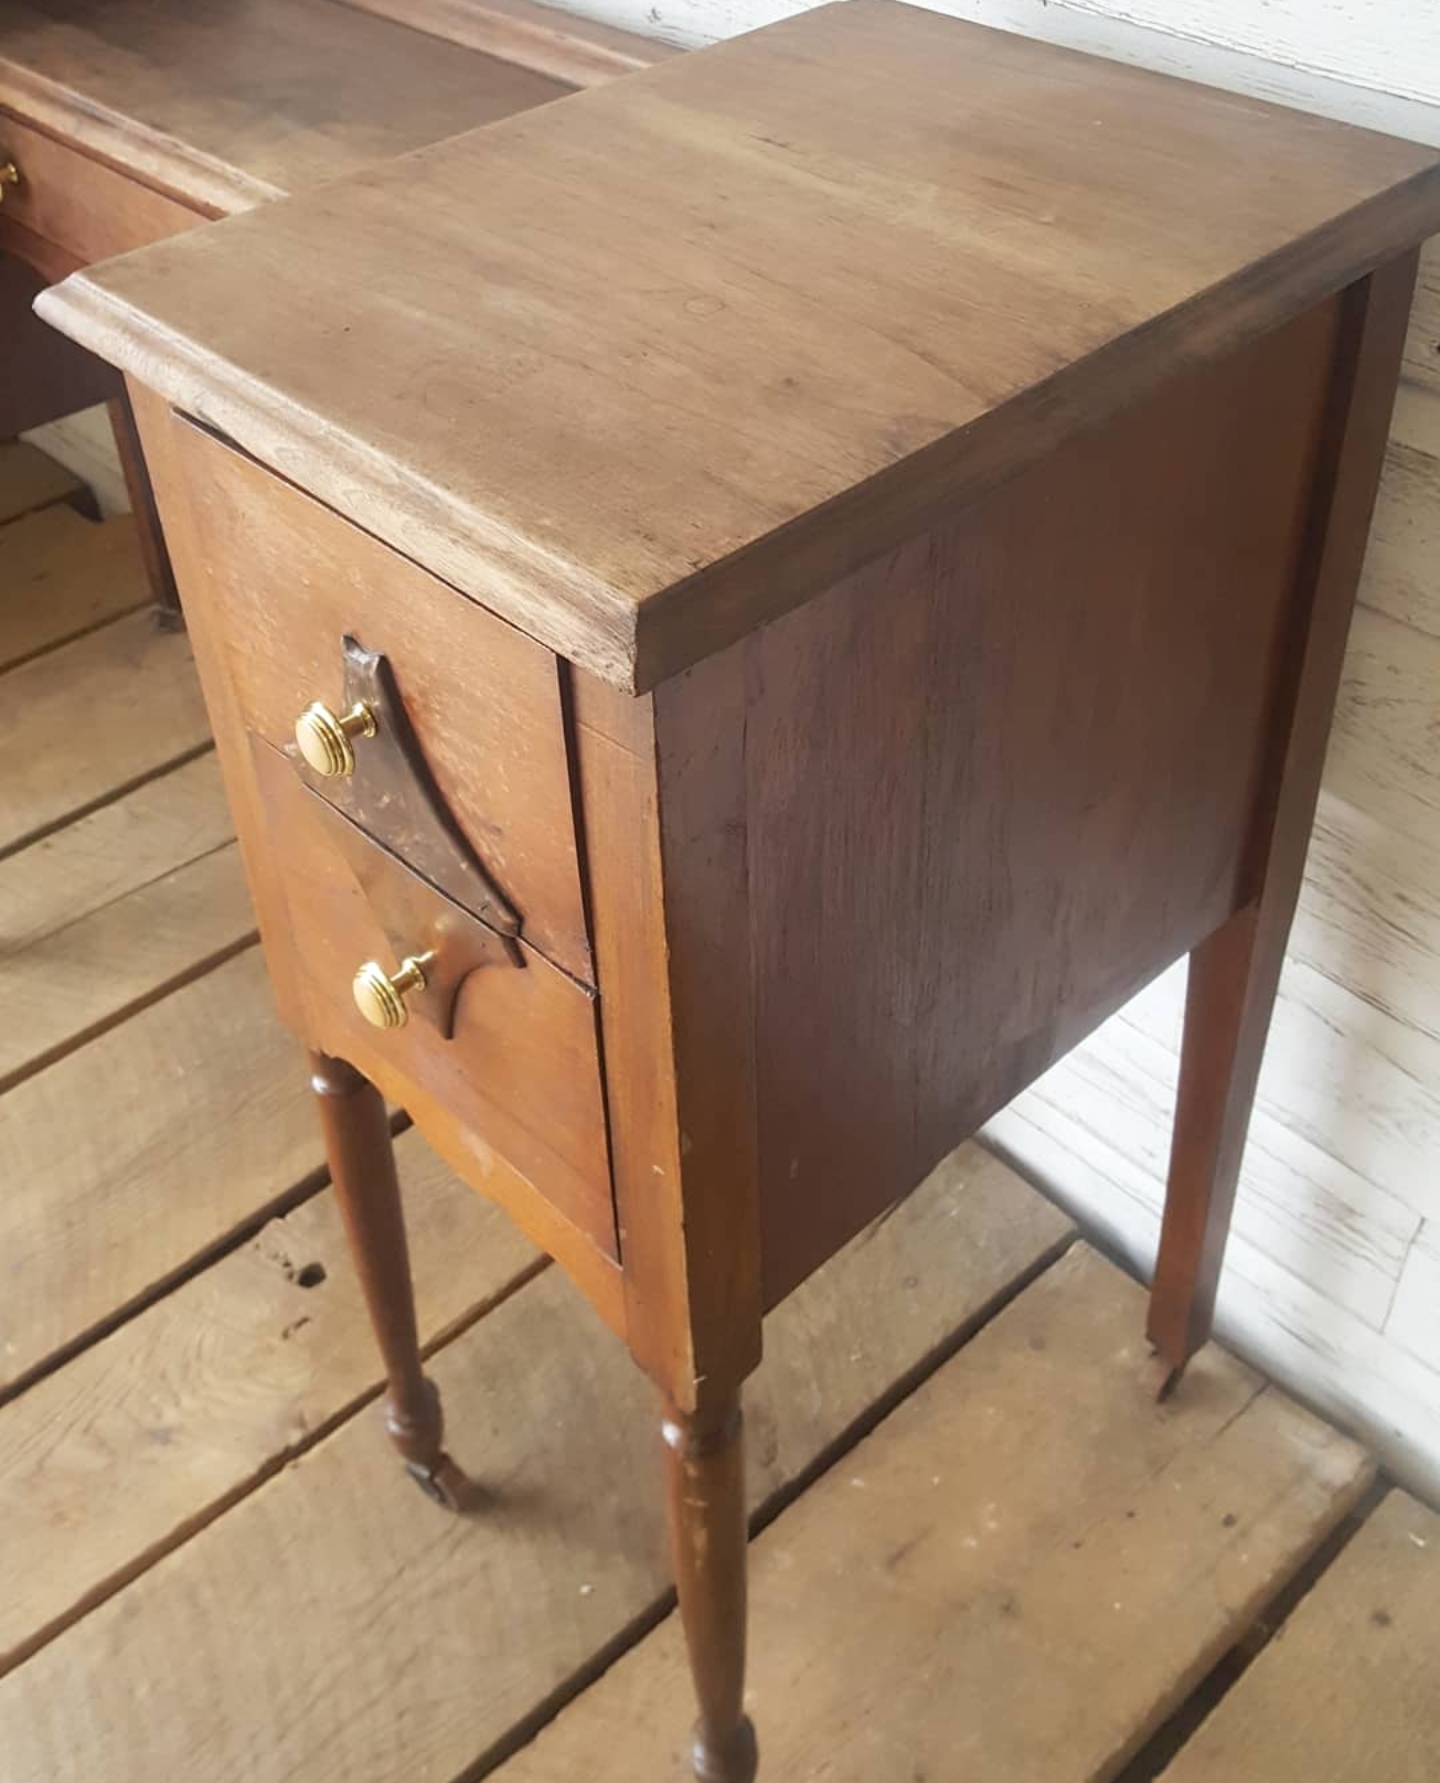
Step 4: Clean and sand smooth after cutting. I cleaned the piece inside out with TSP, let it dry really well, then sanded the areas where we cut. I also sanded down the areas where I removed all of the old nails. I wanted to make sure I had a nice clean surface so that when I applied the Bondo to the sides, it would stick well and leave me with a smooth finish.

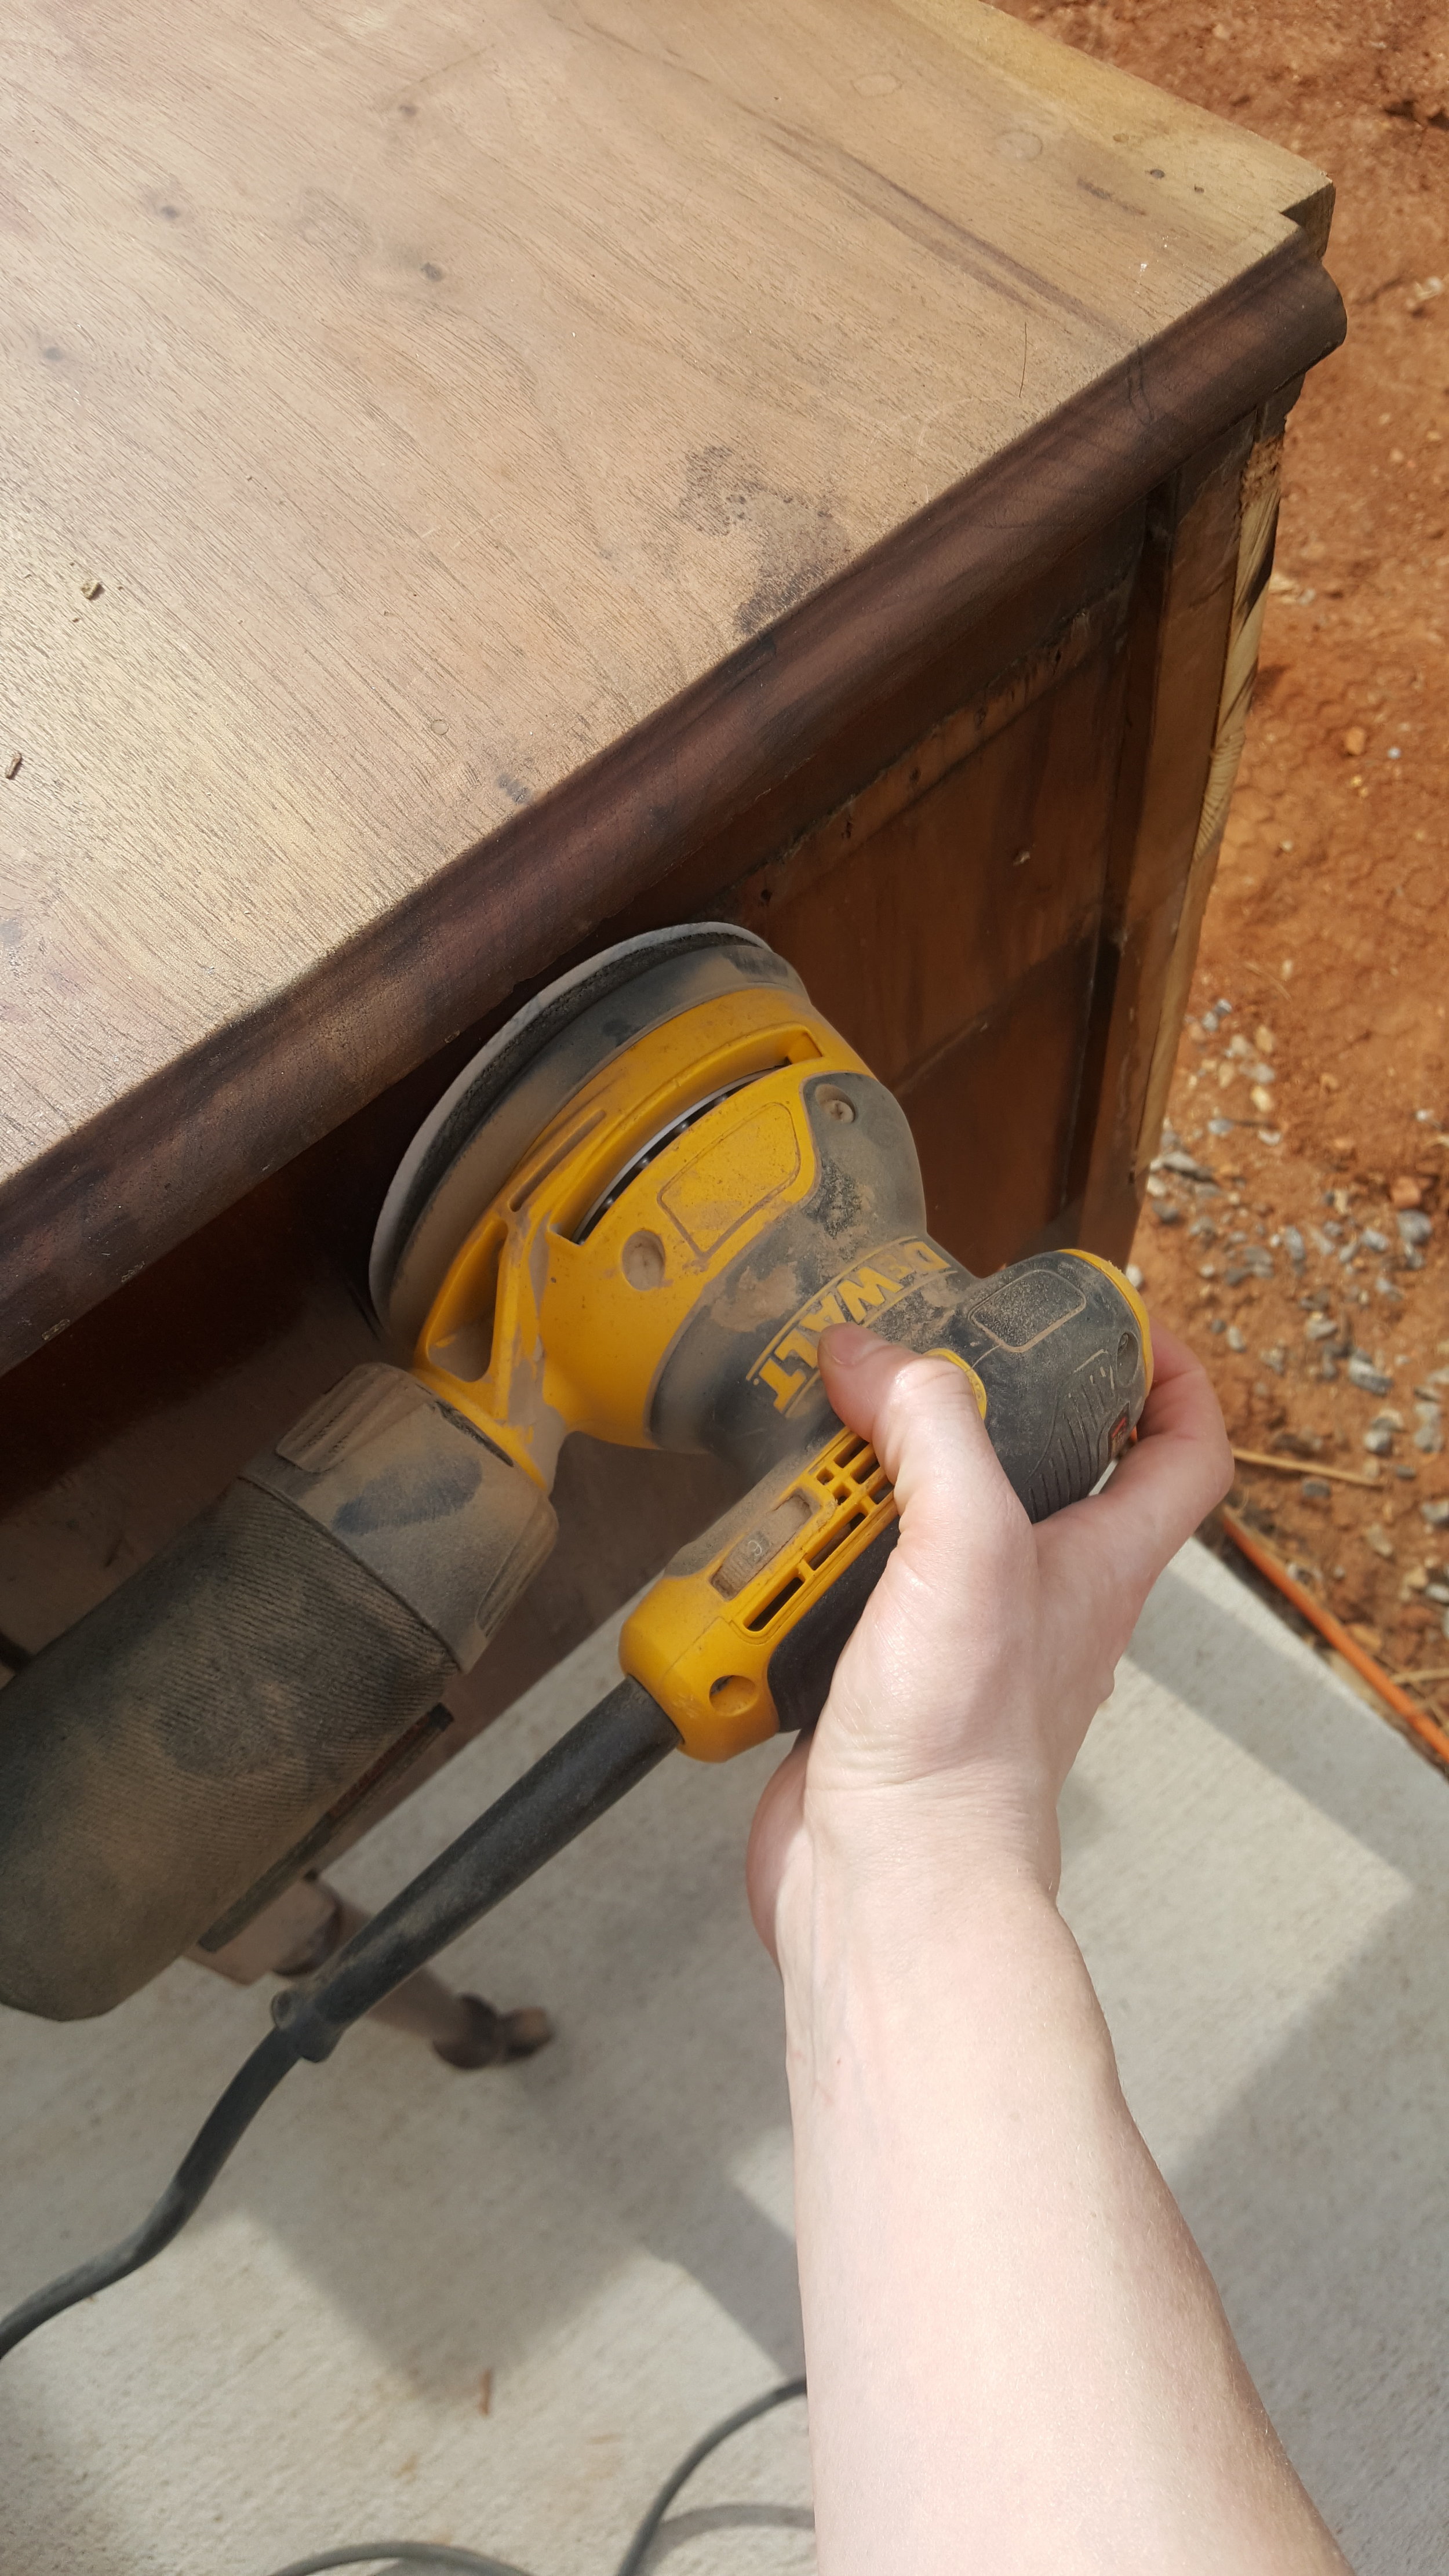
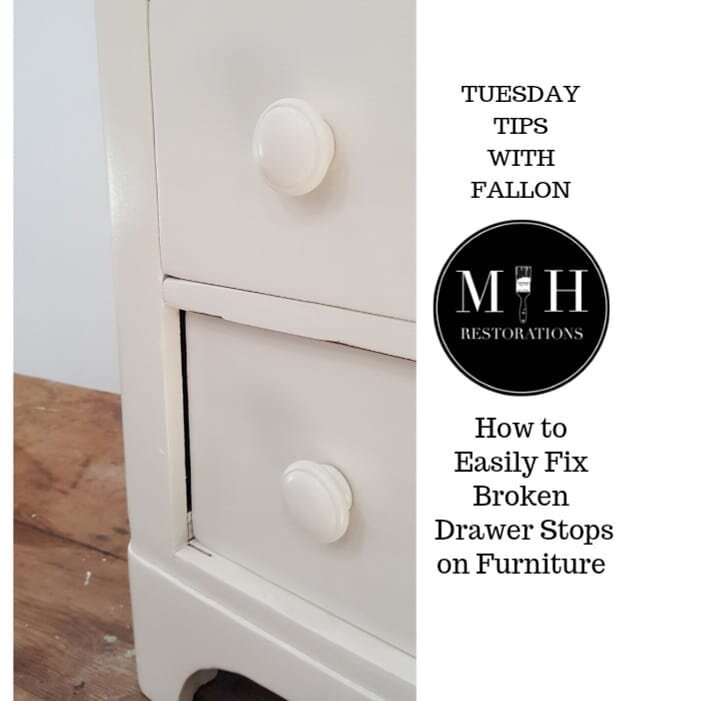
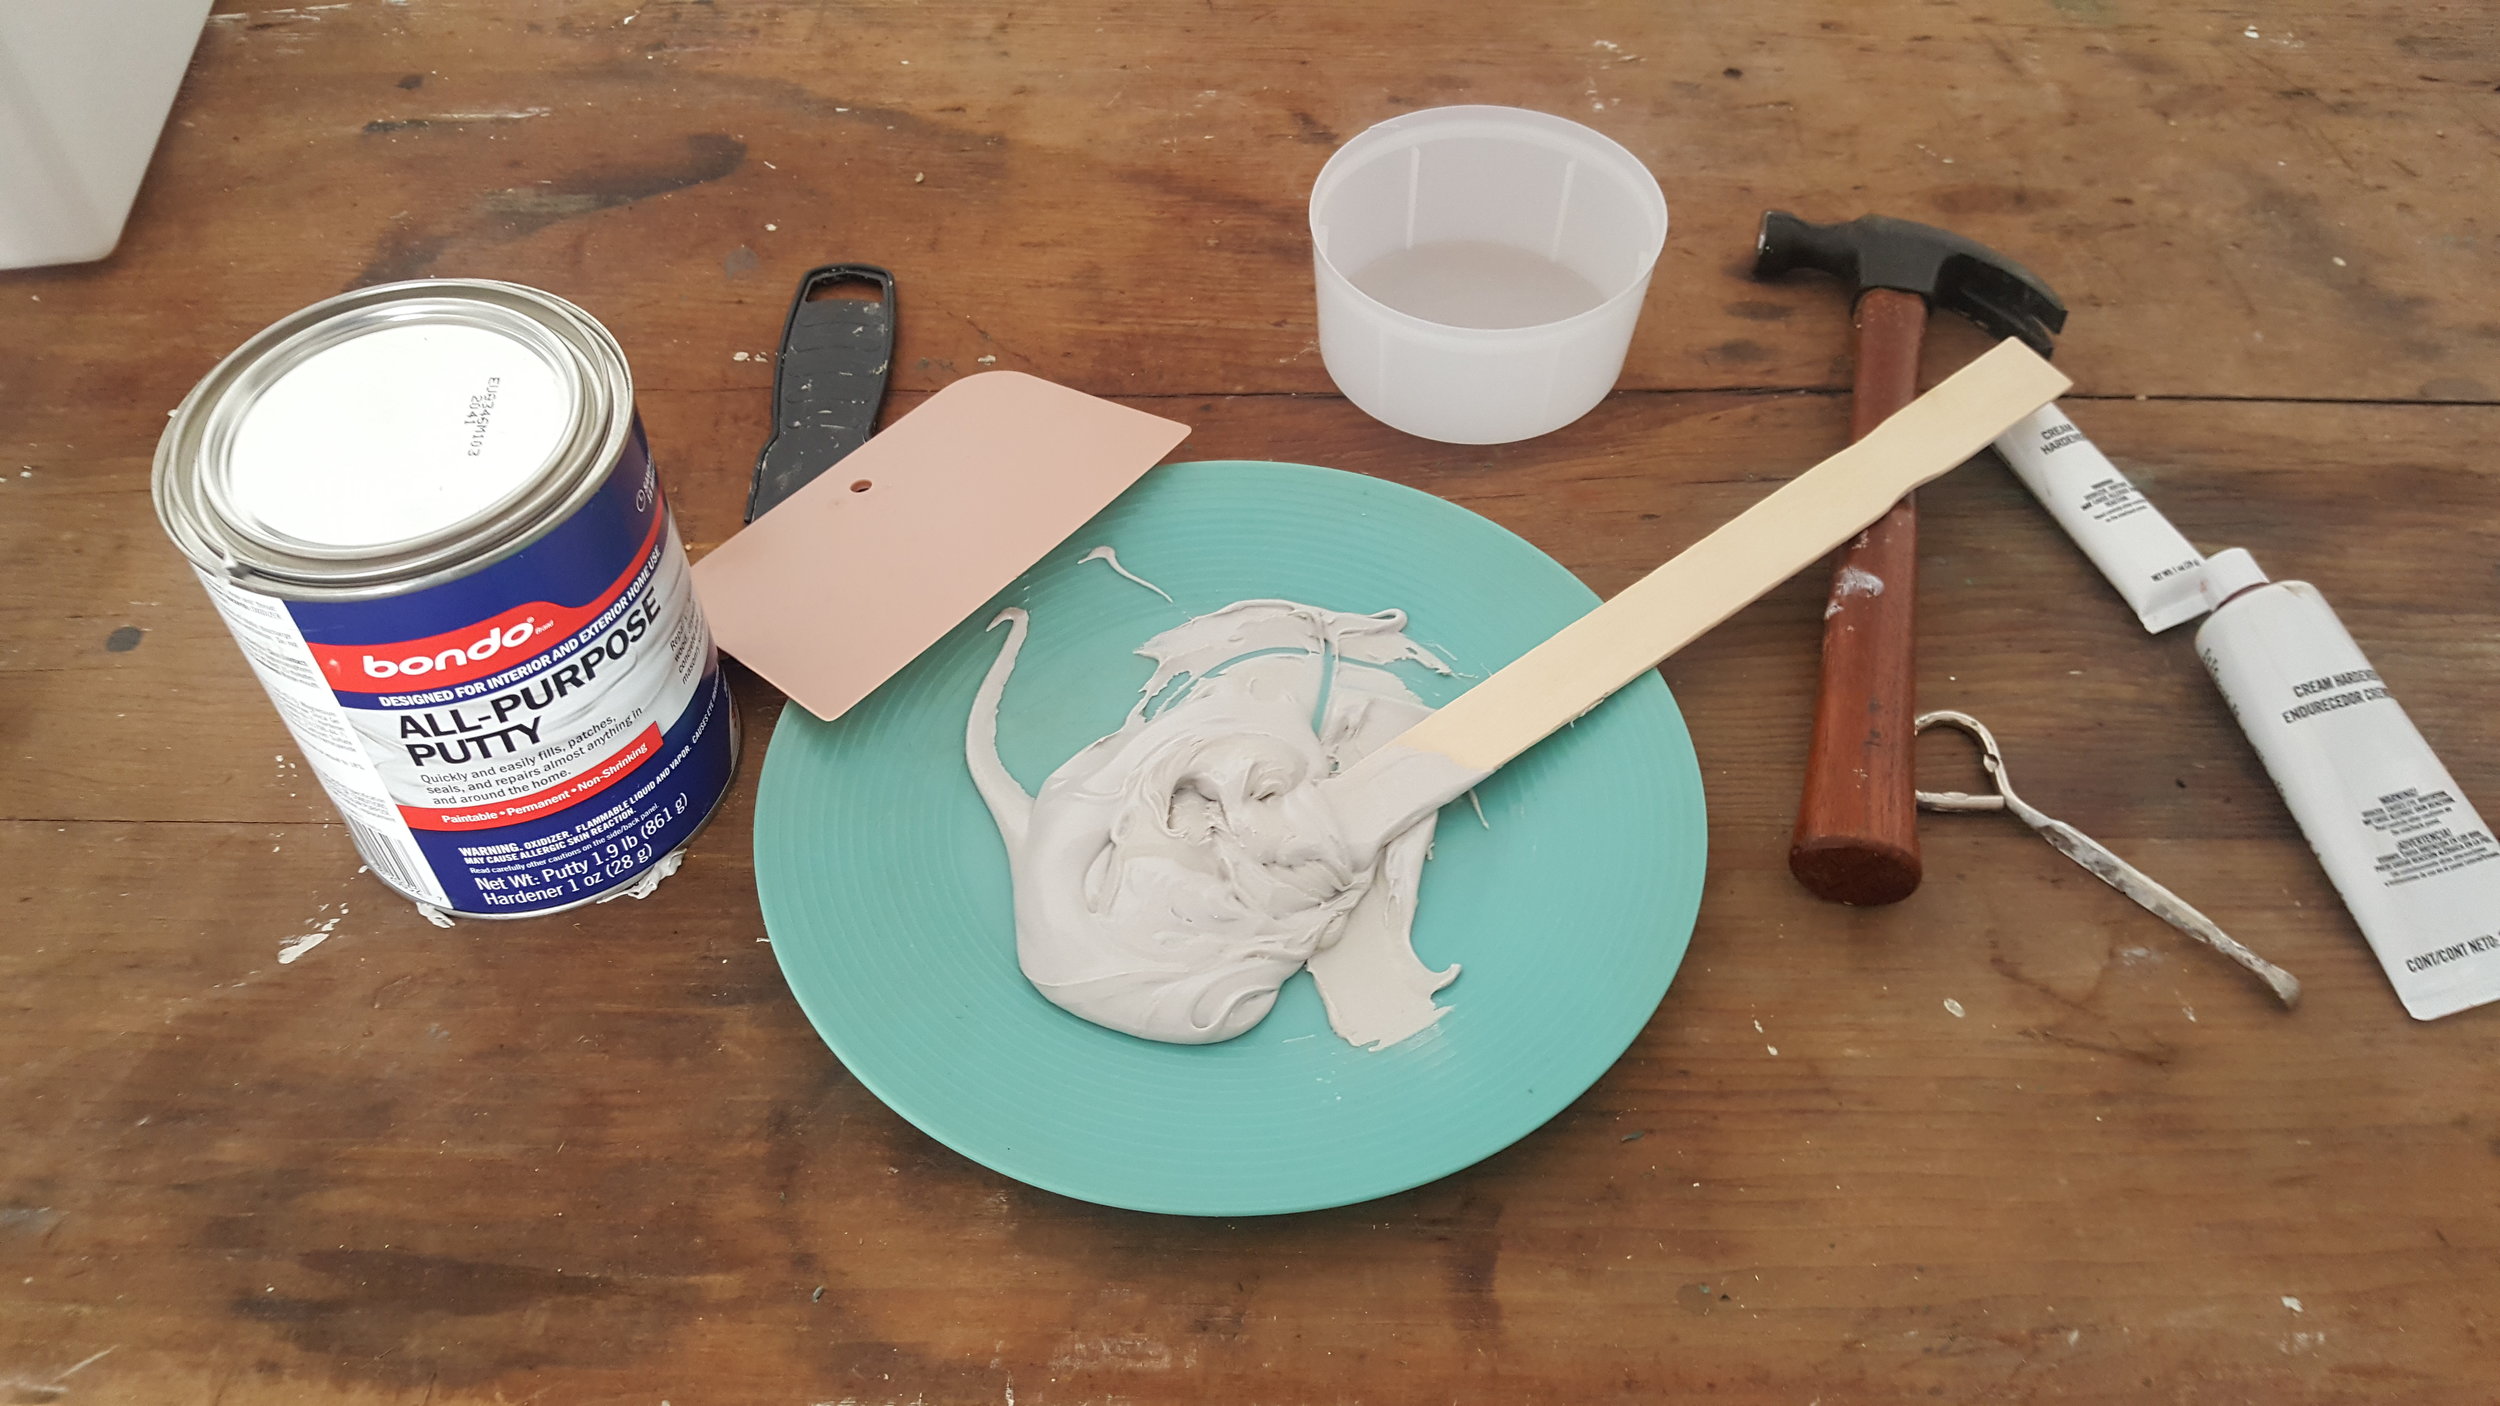
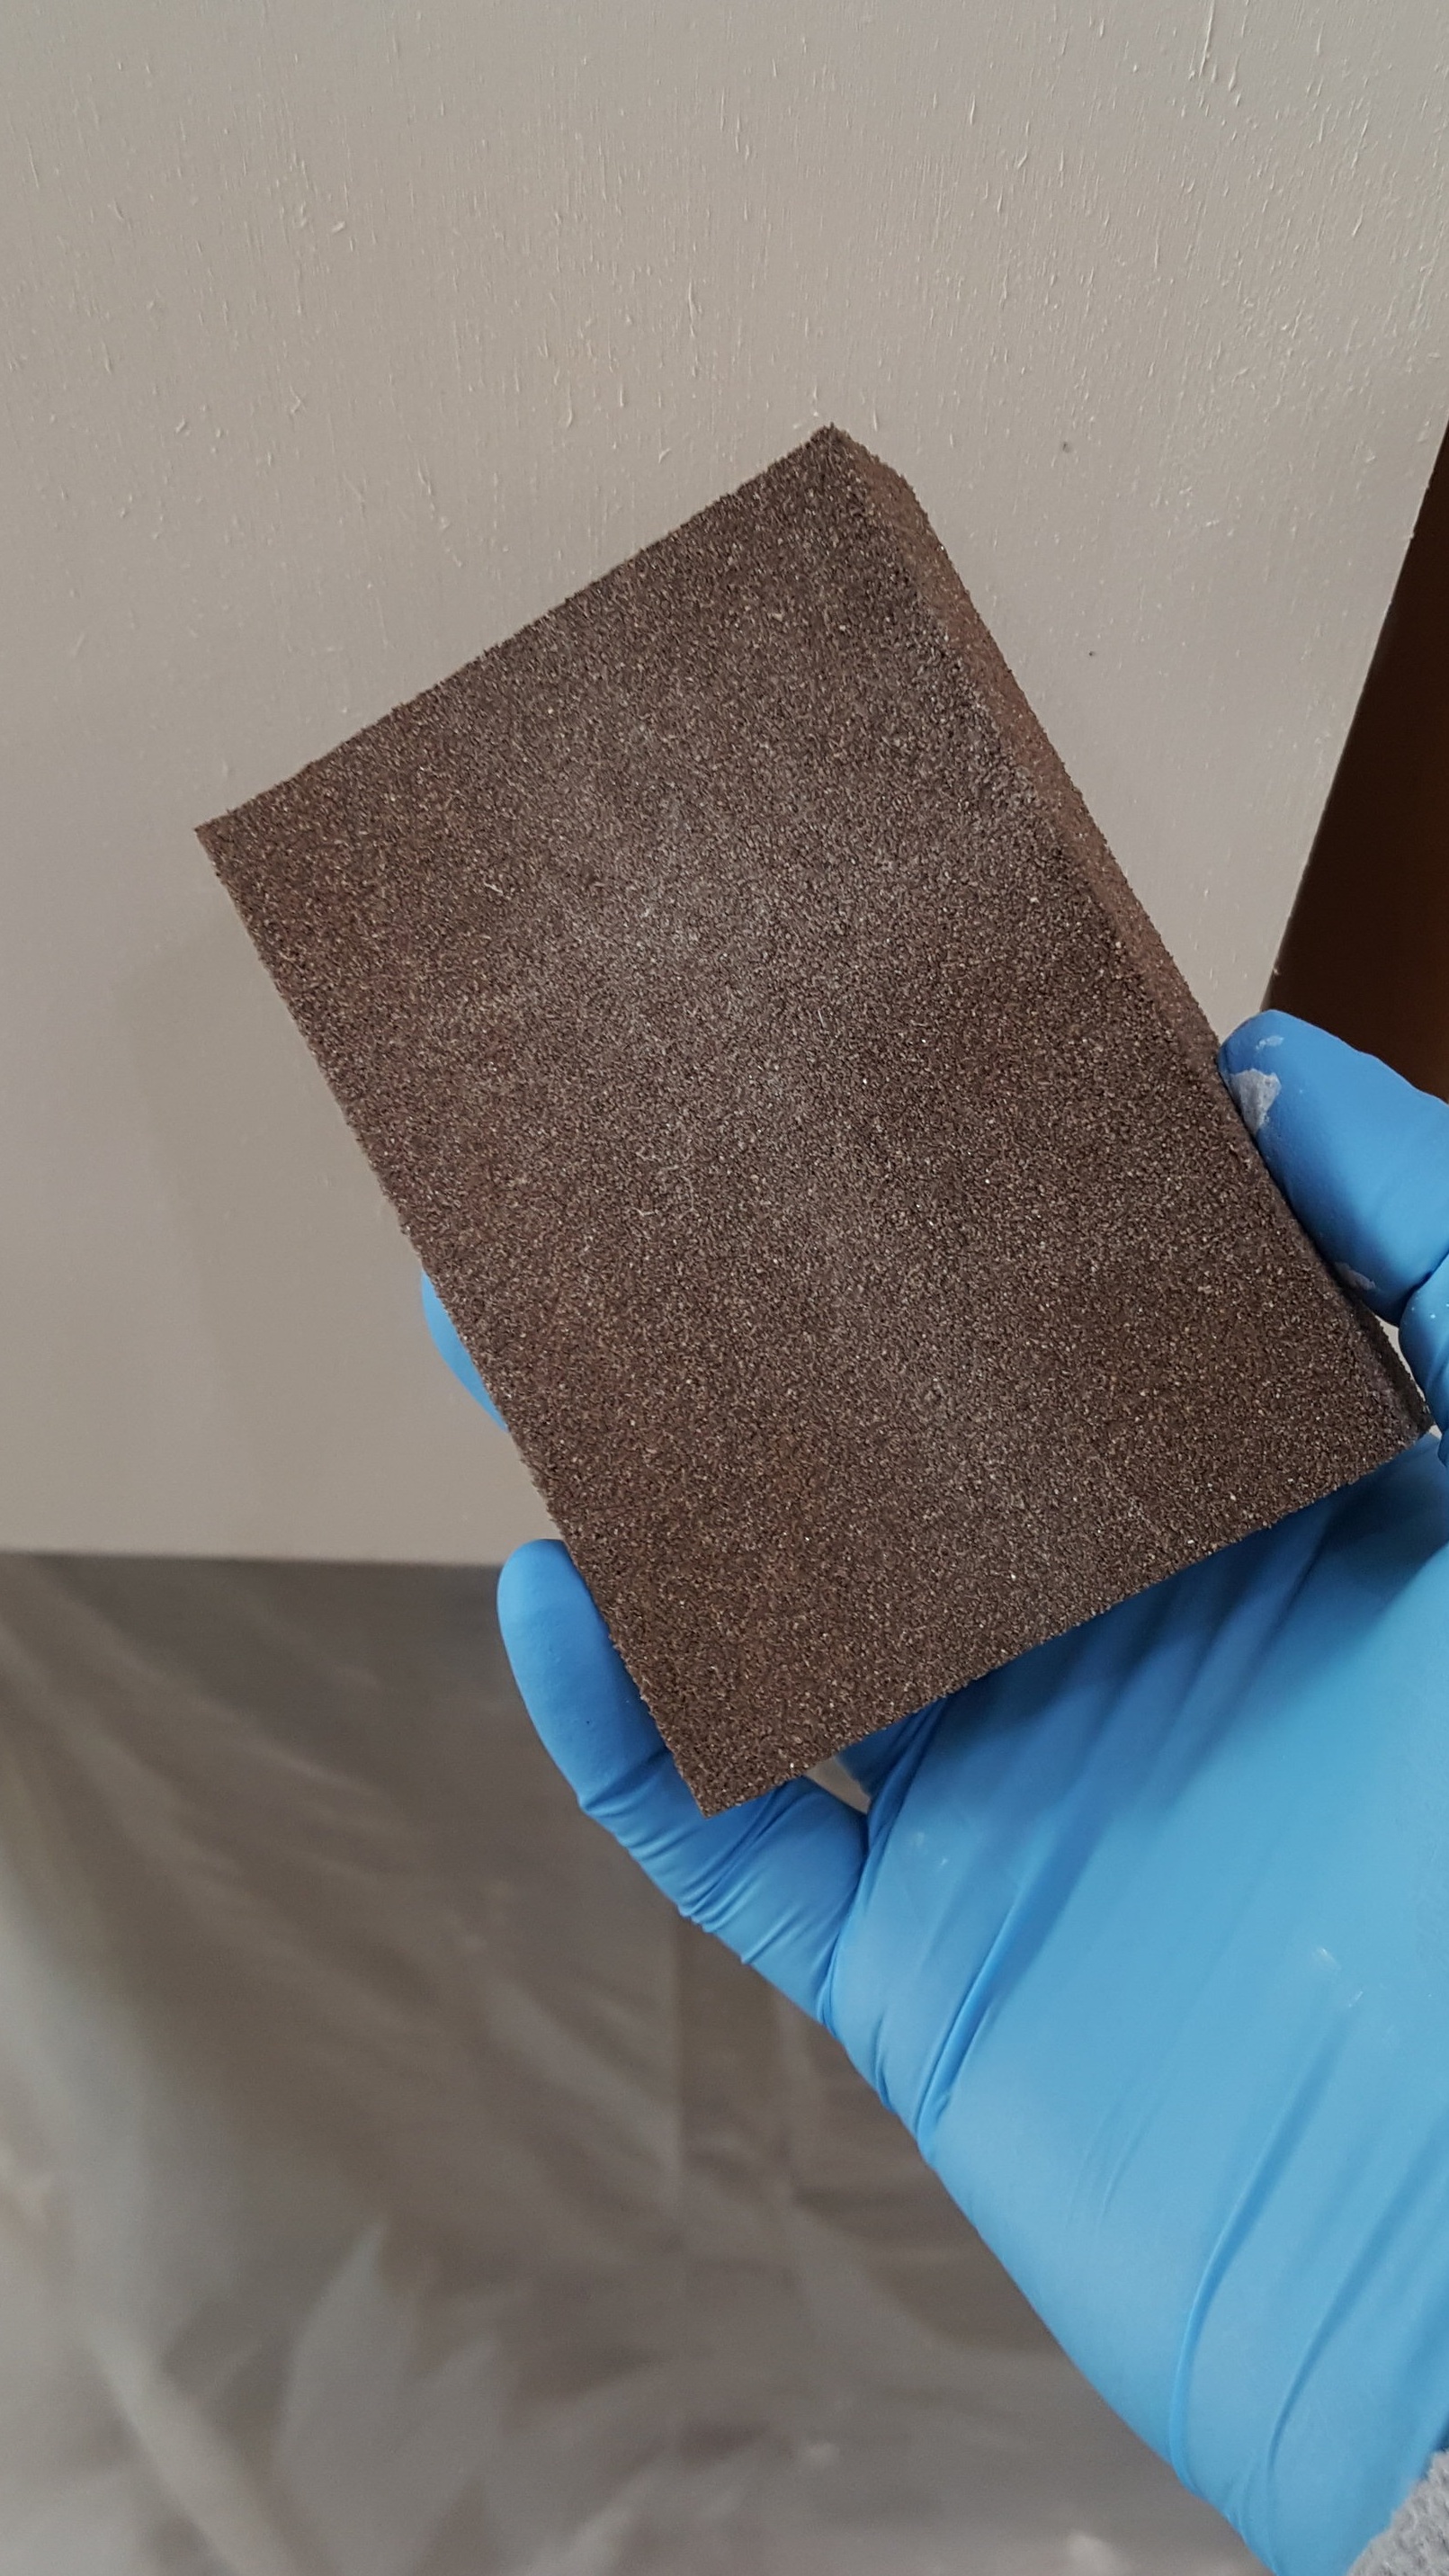
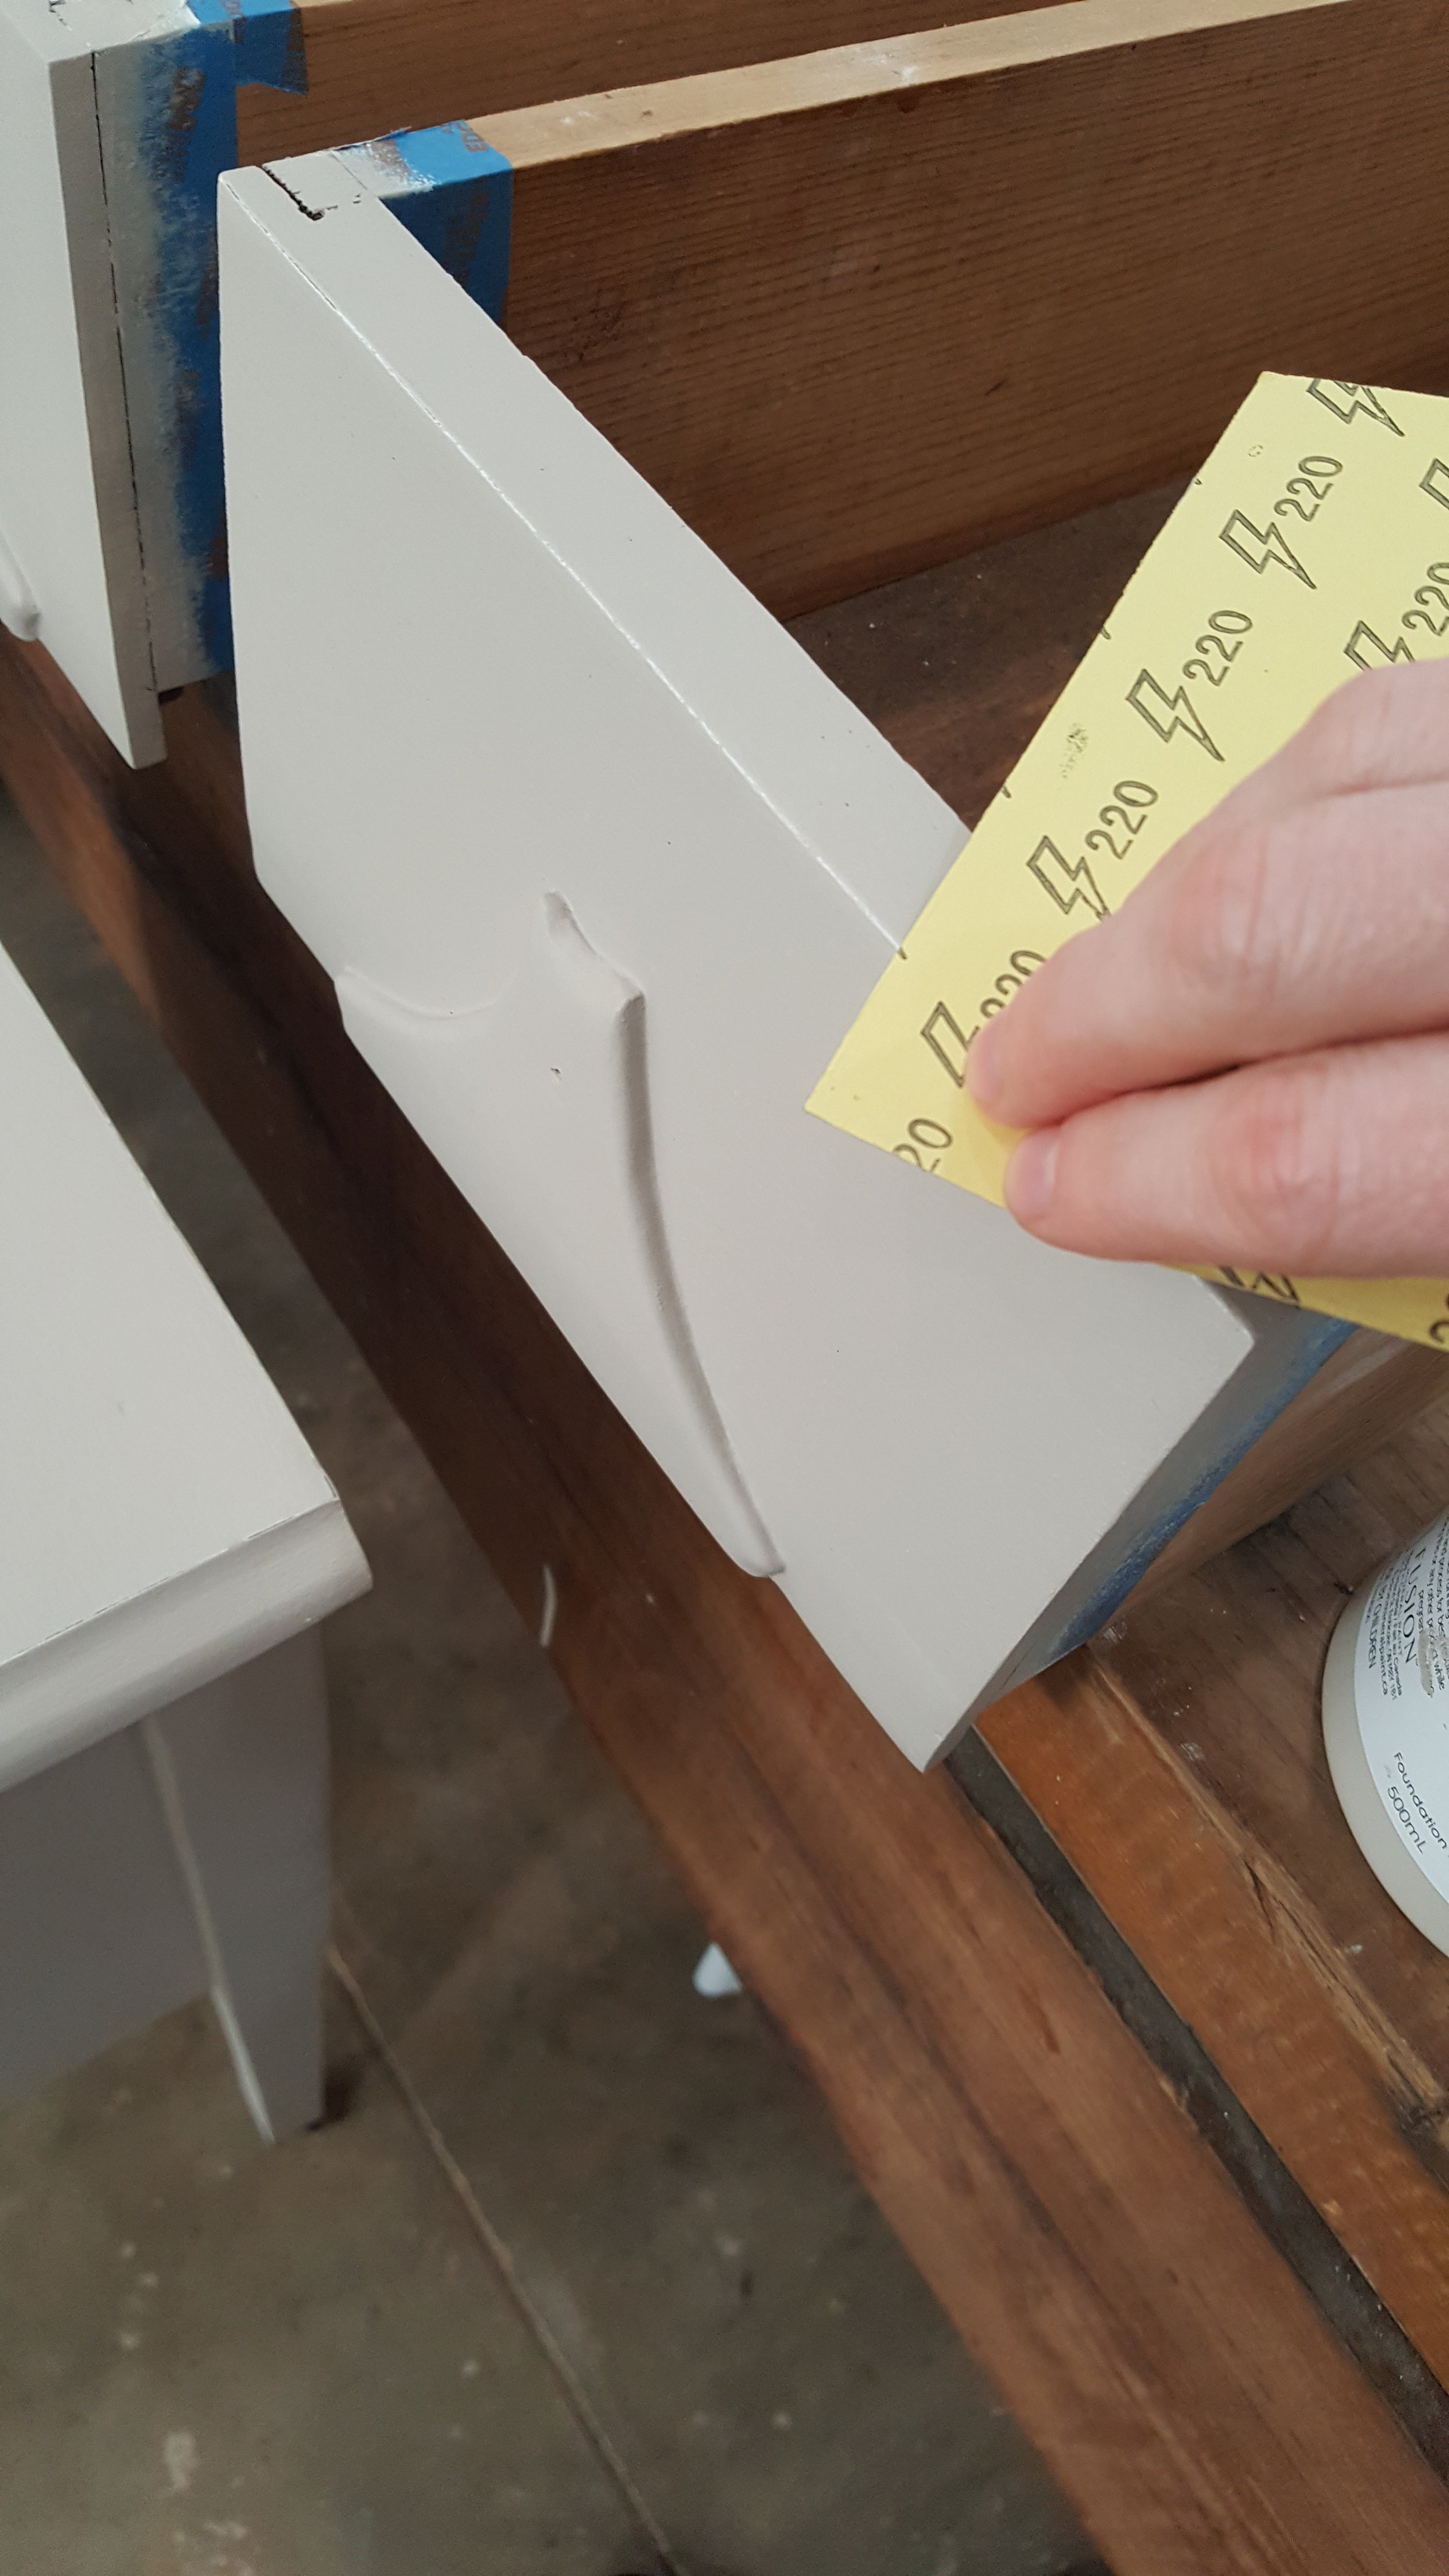
Step 5: Fill holes. I know, this part looks scary but this is the part that brings everything together! I applied Bondo to each hole and area that had been cut to smooth out the surface. I had to repeat this process a few times to get exact look I wanted. Once the Bondo was dry, I sanded it with 80 grit sandpaper, followed by 220 grit sandpaper on my Random Orbital Sander. Click HERE for a #TuesdayTipsWithFallon tutorial on how I apply Bondo.
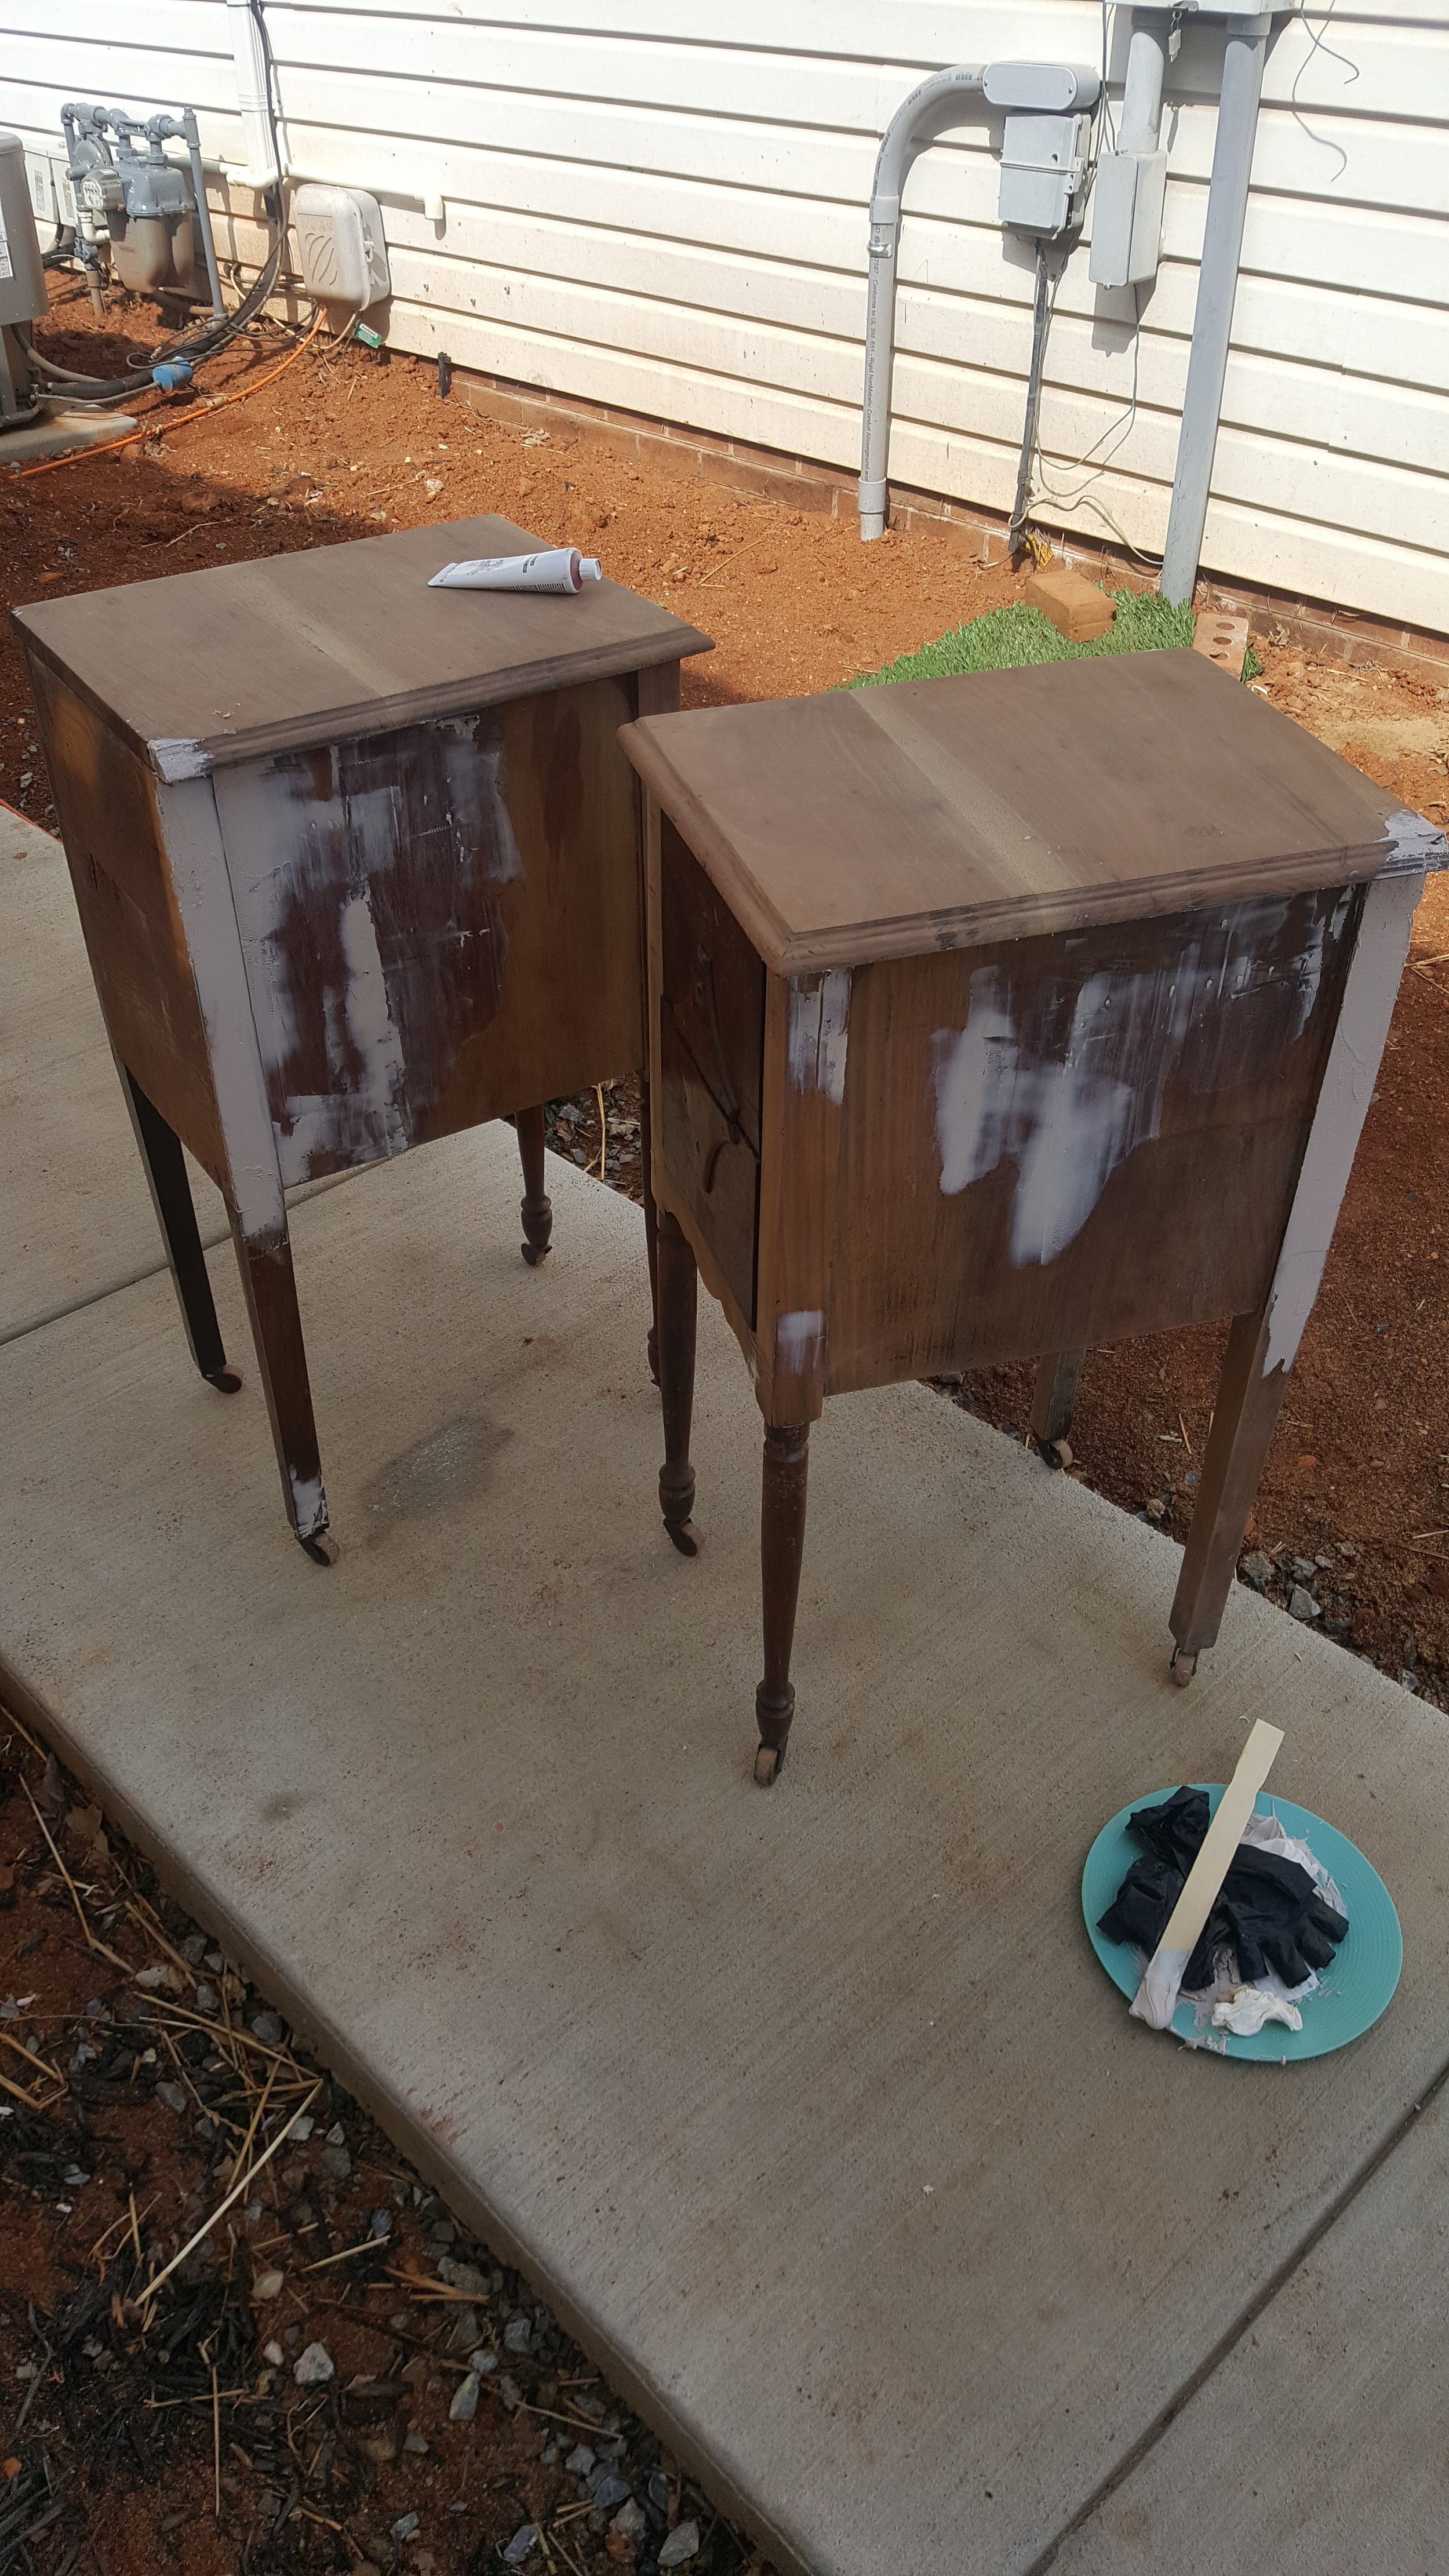
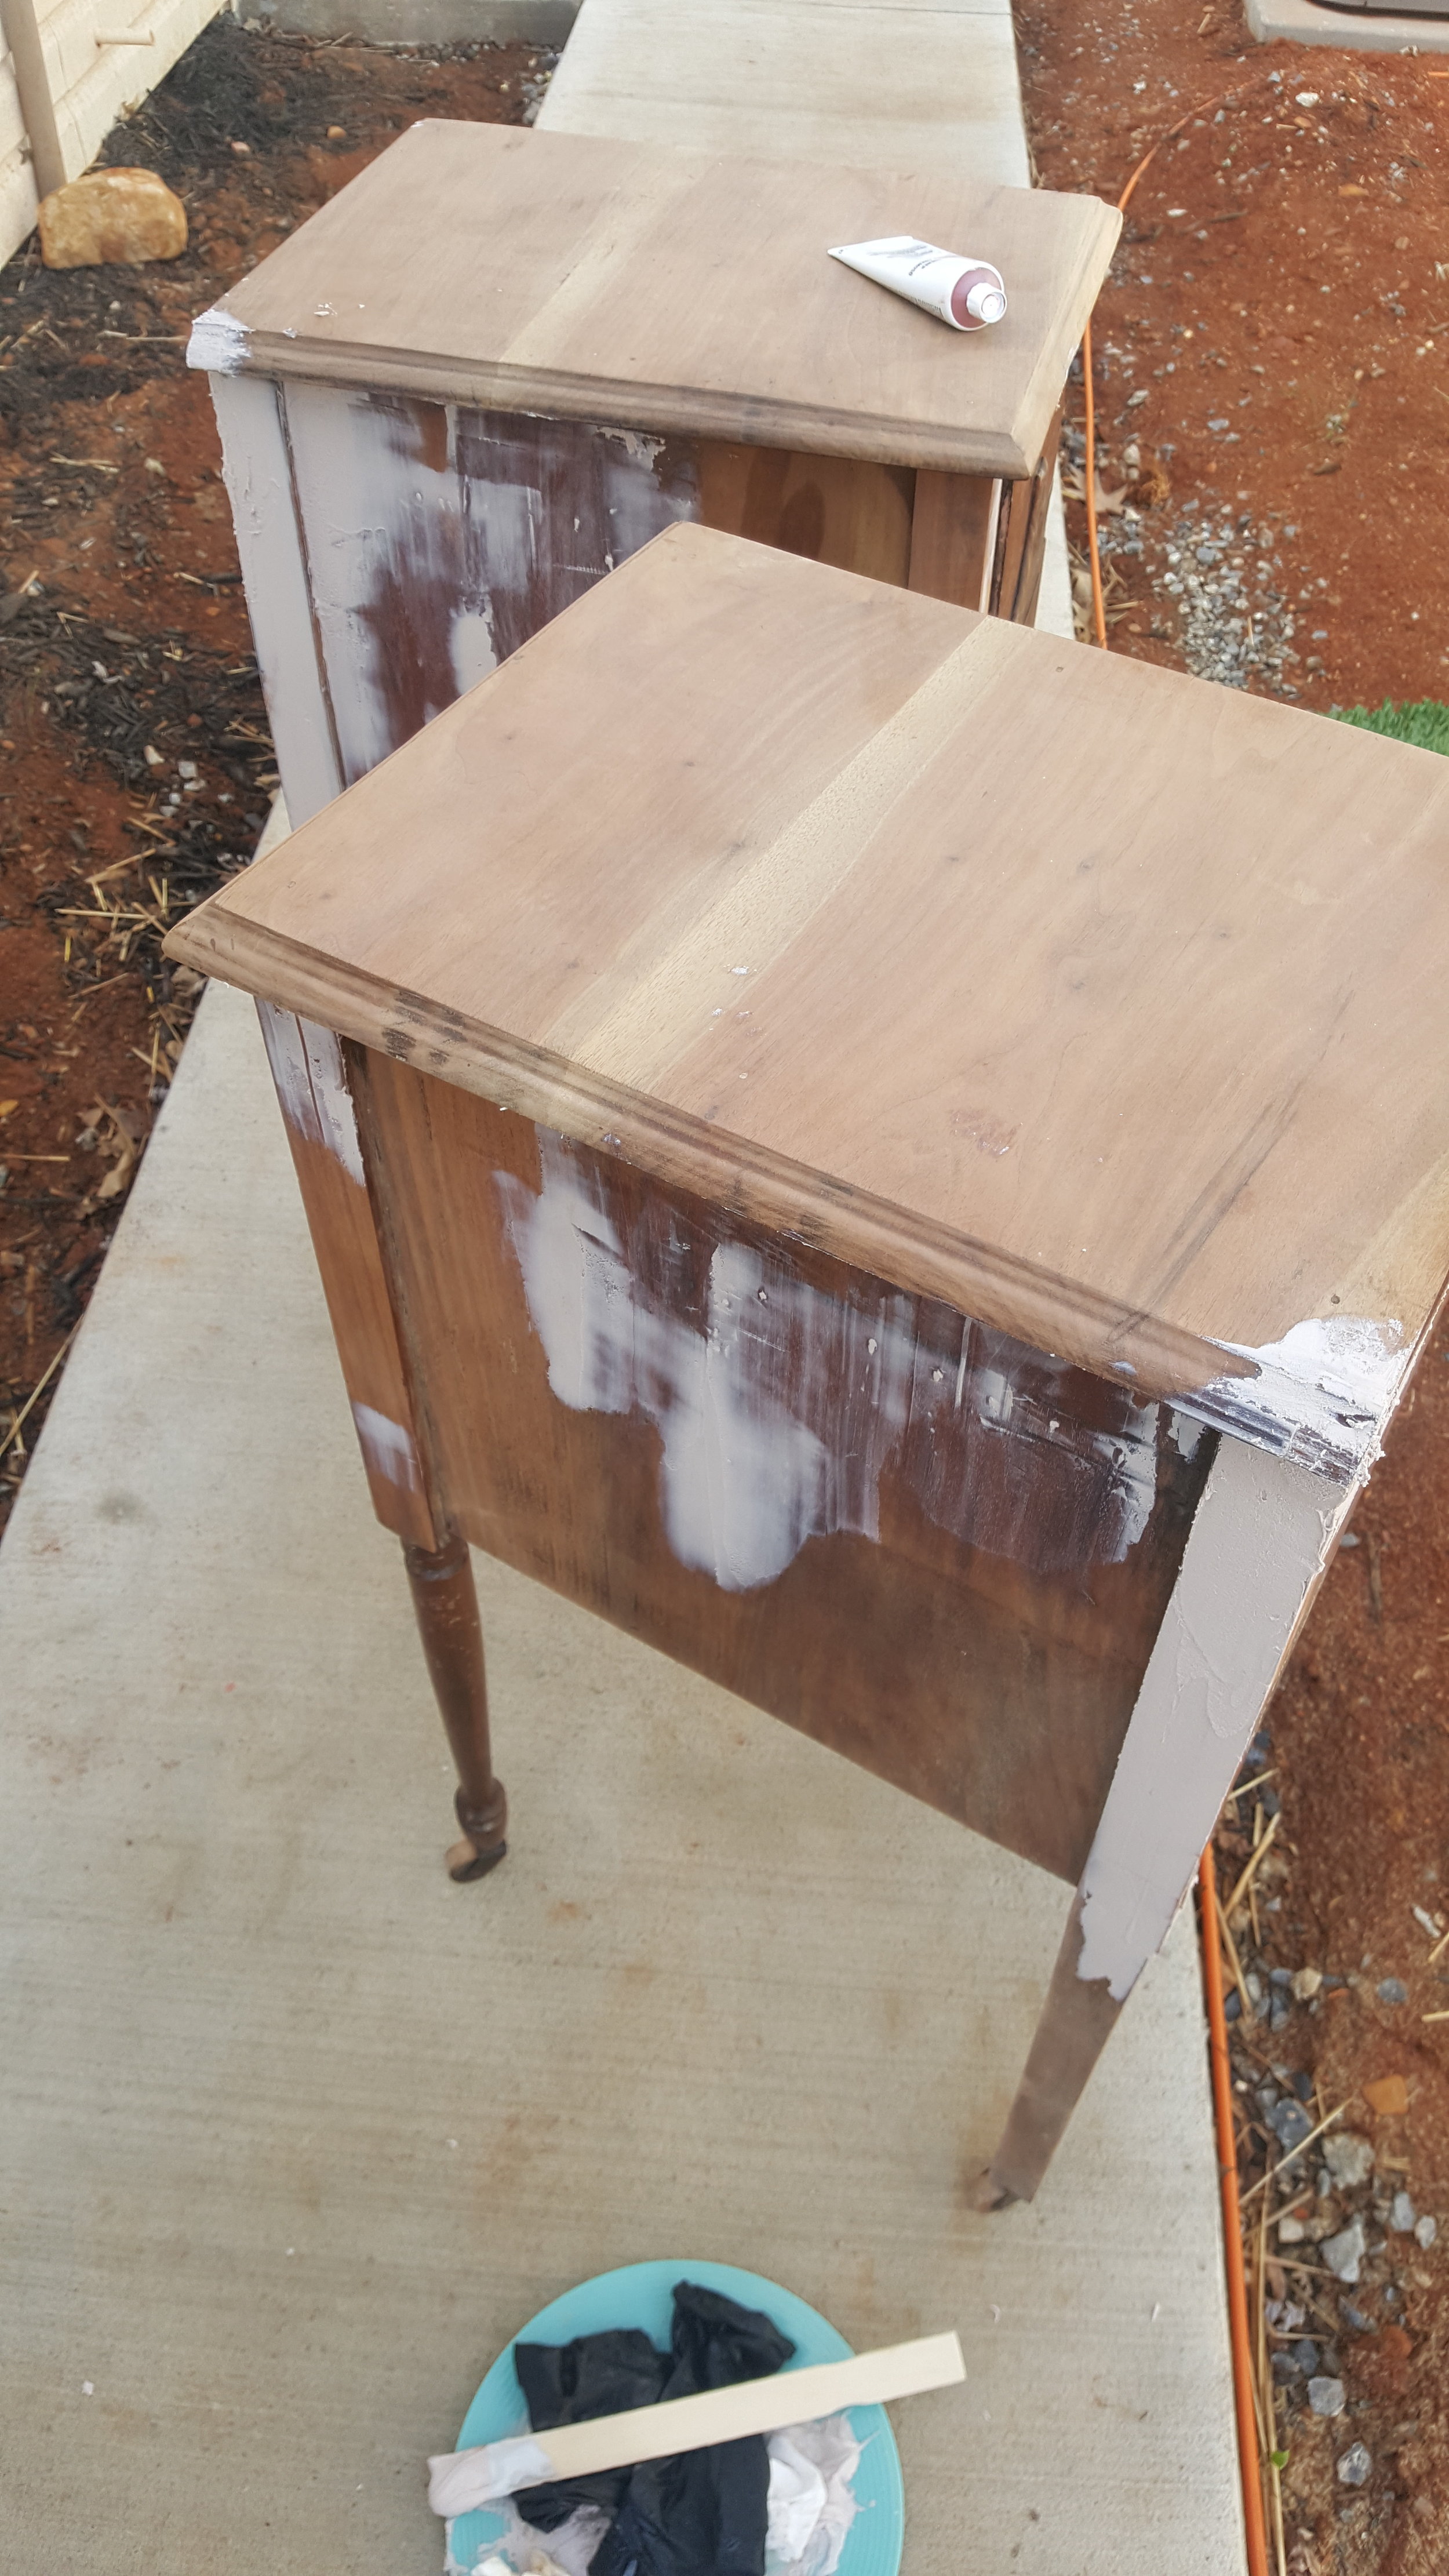
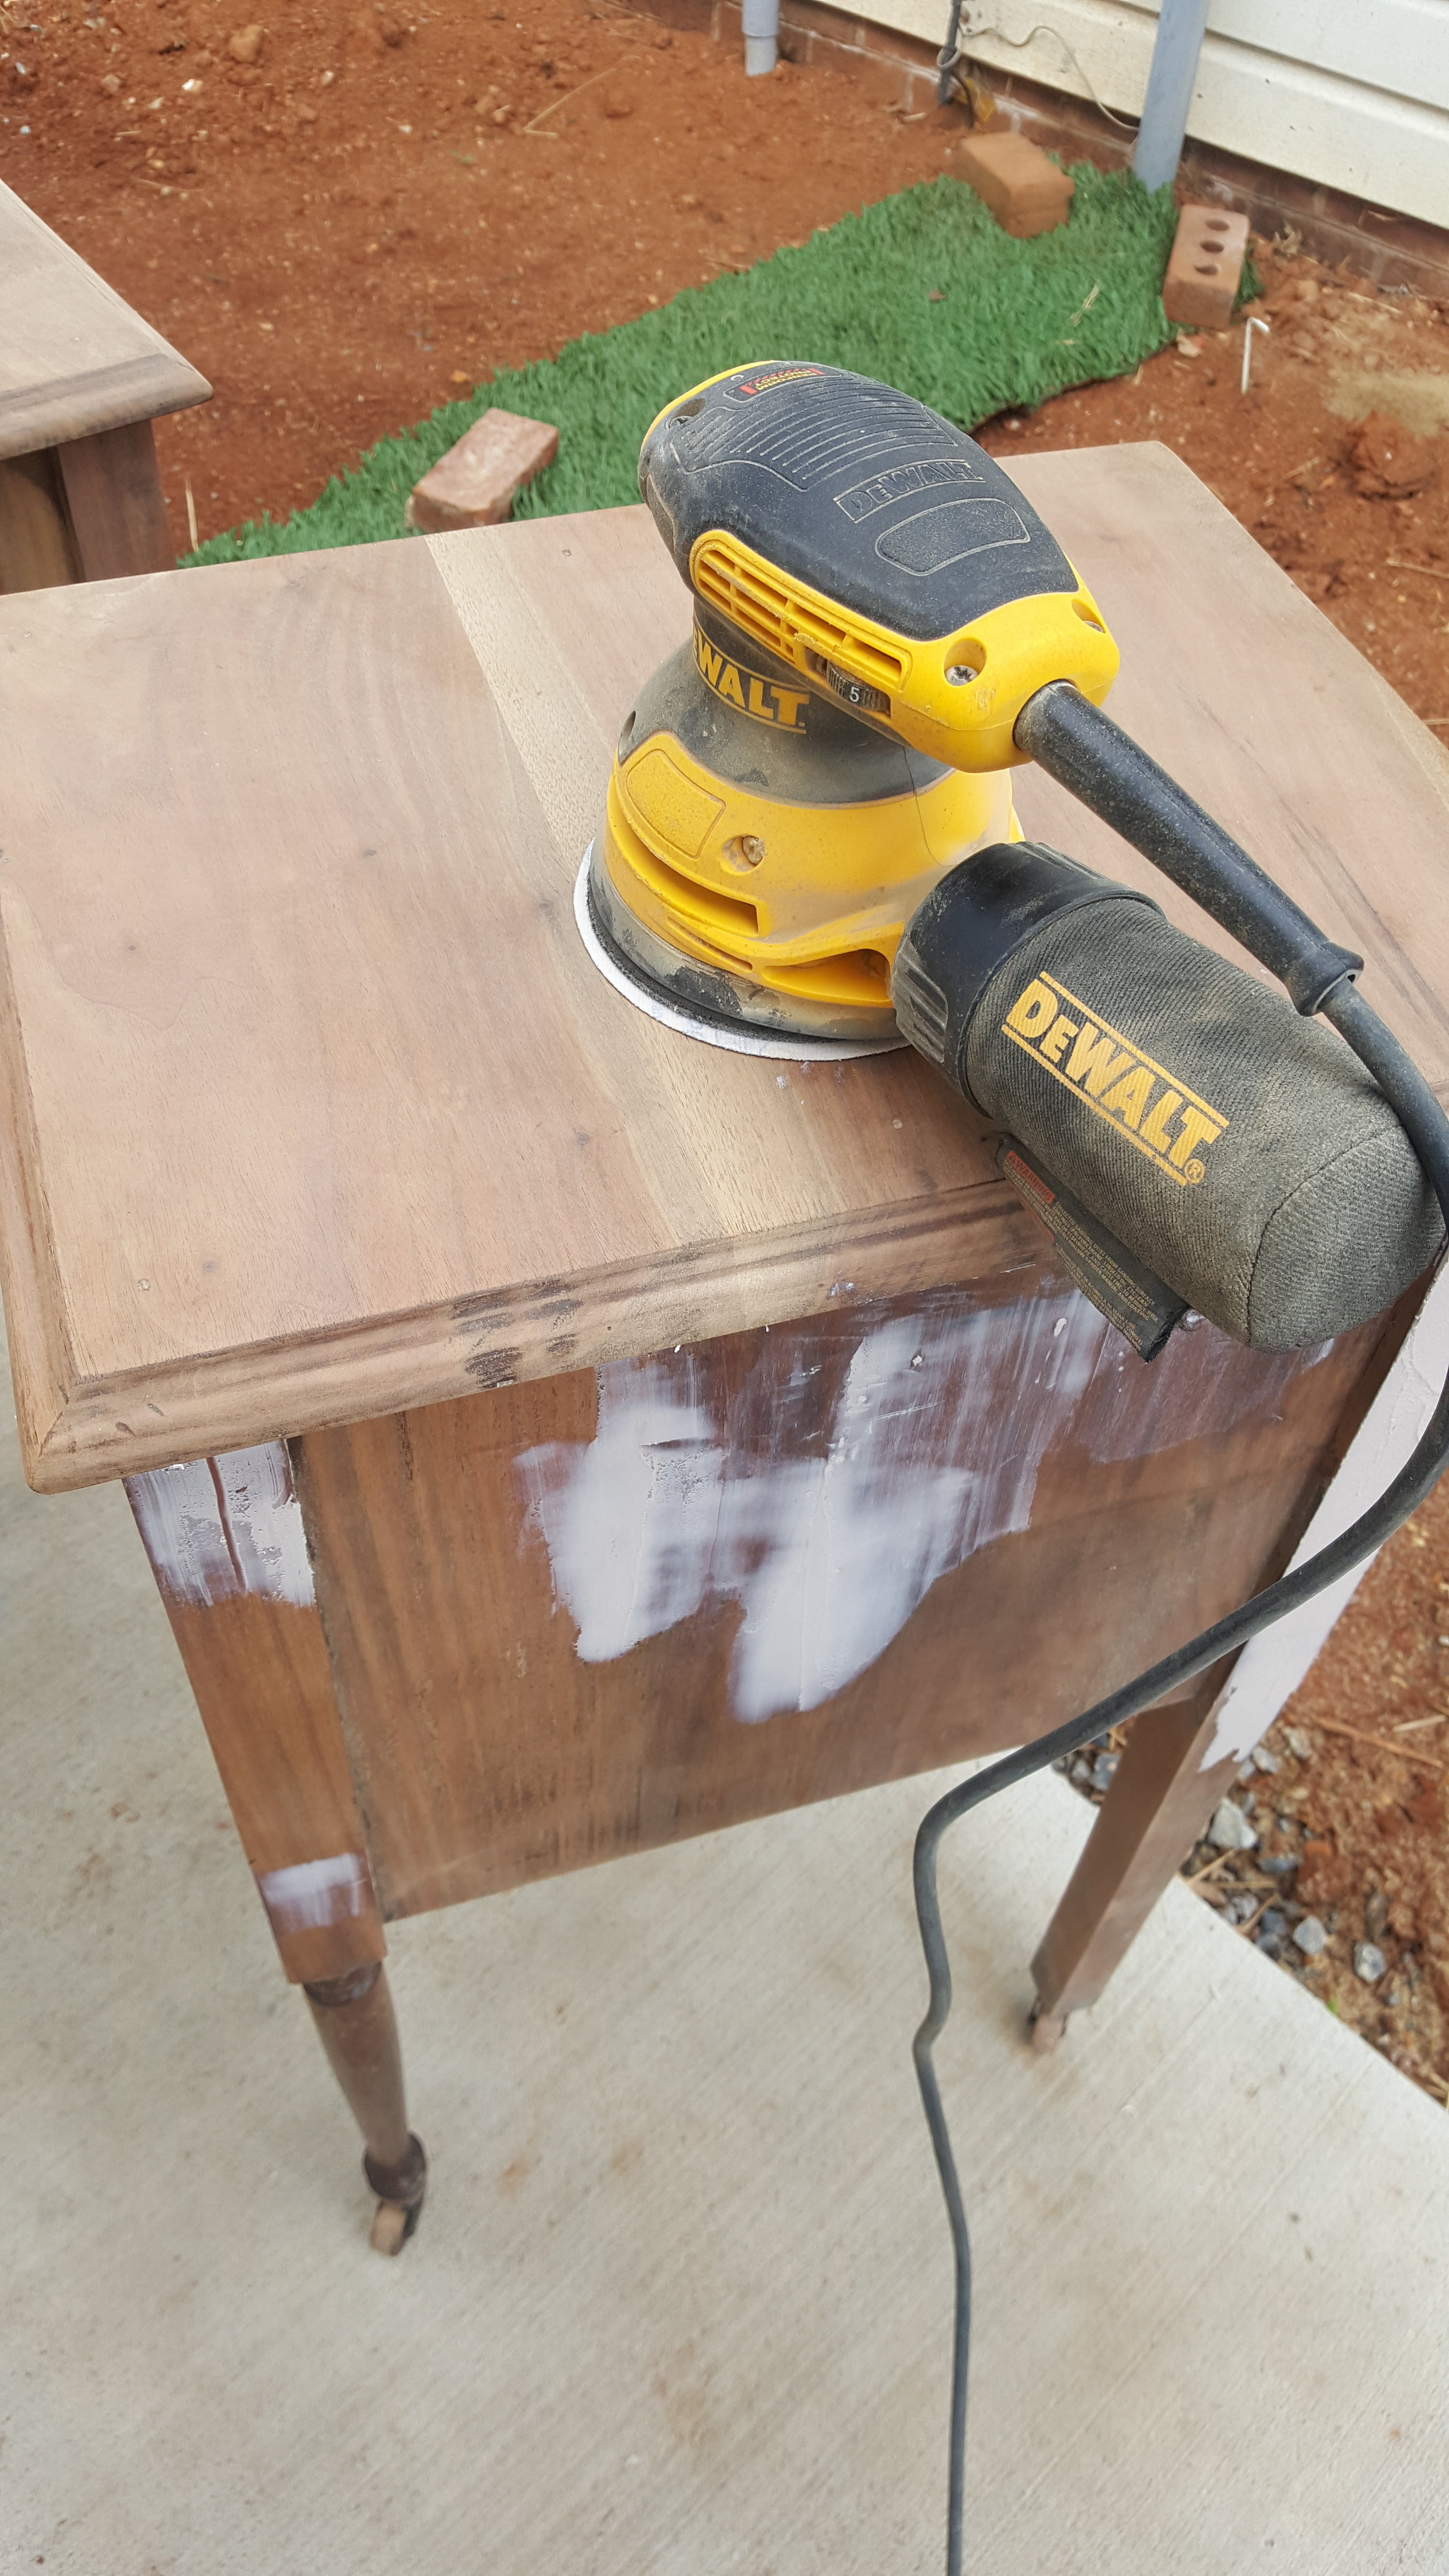

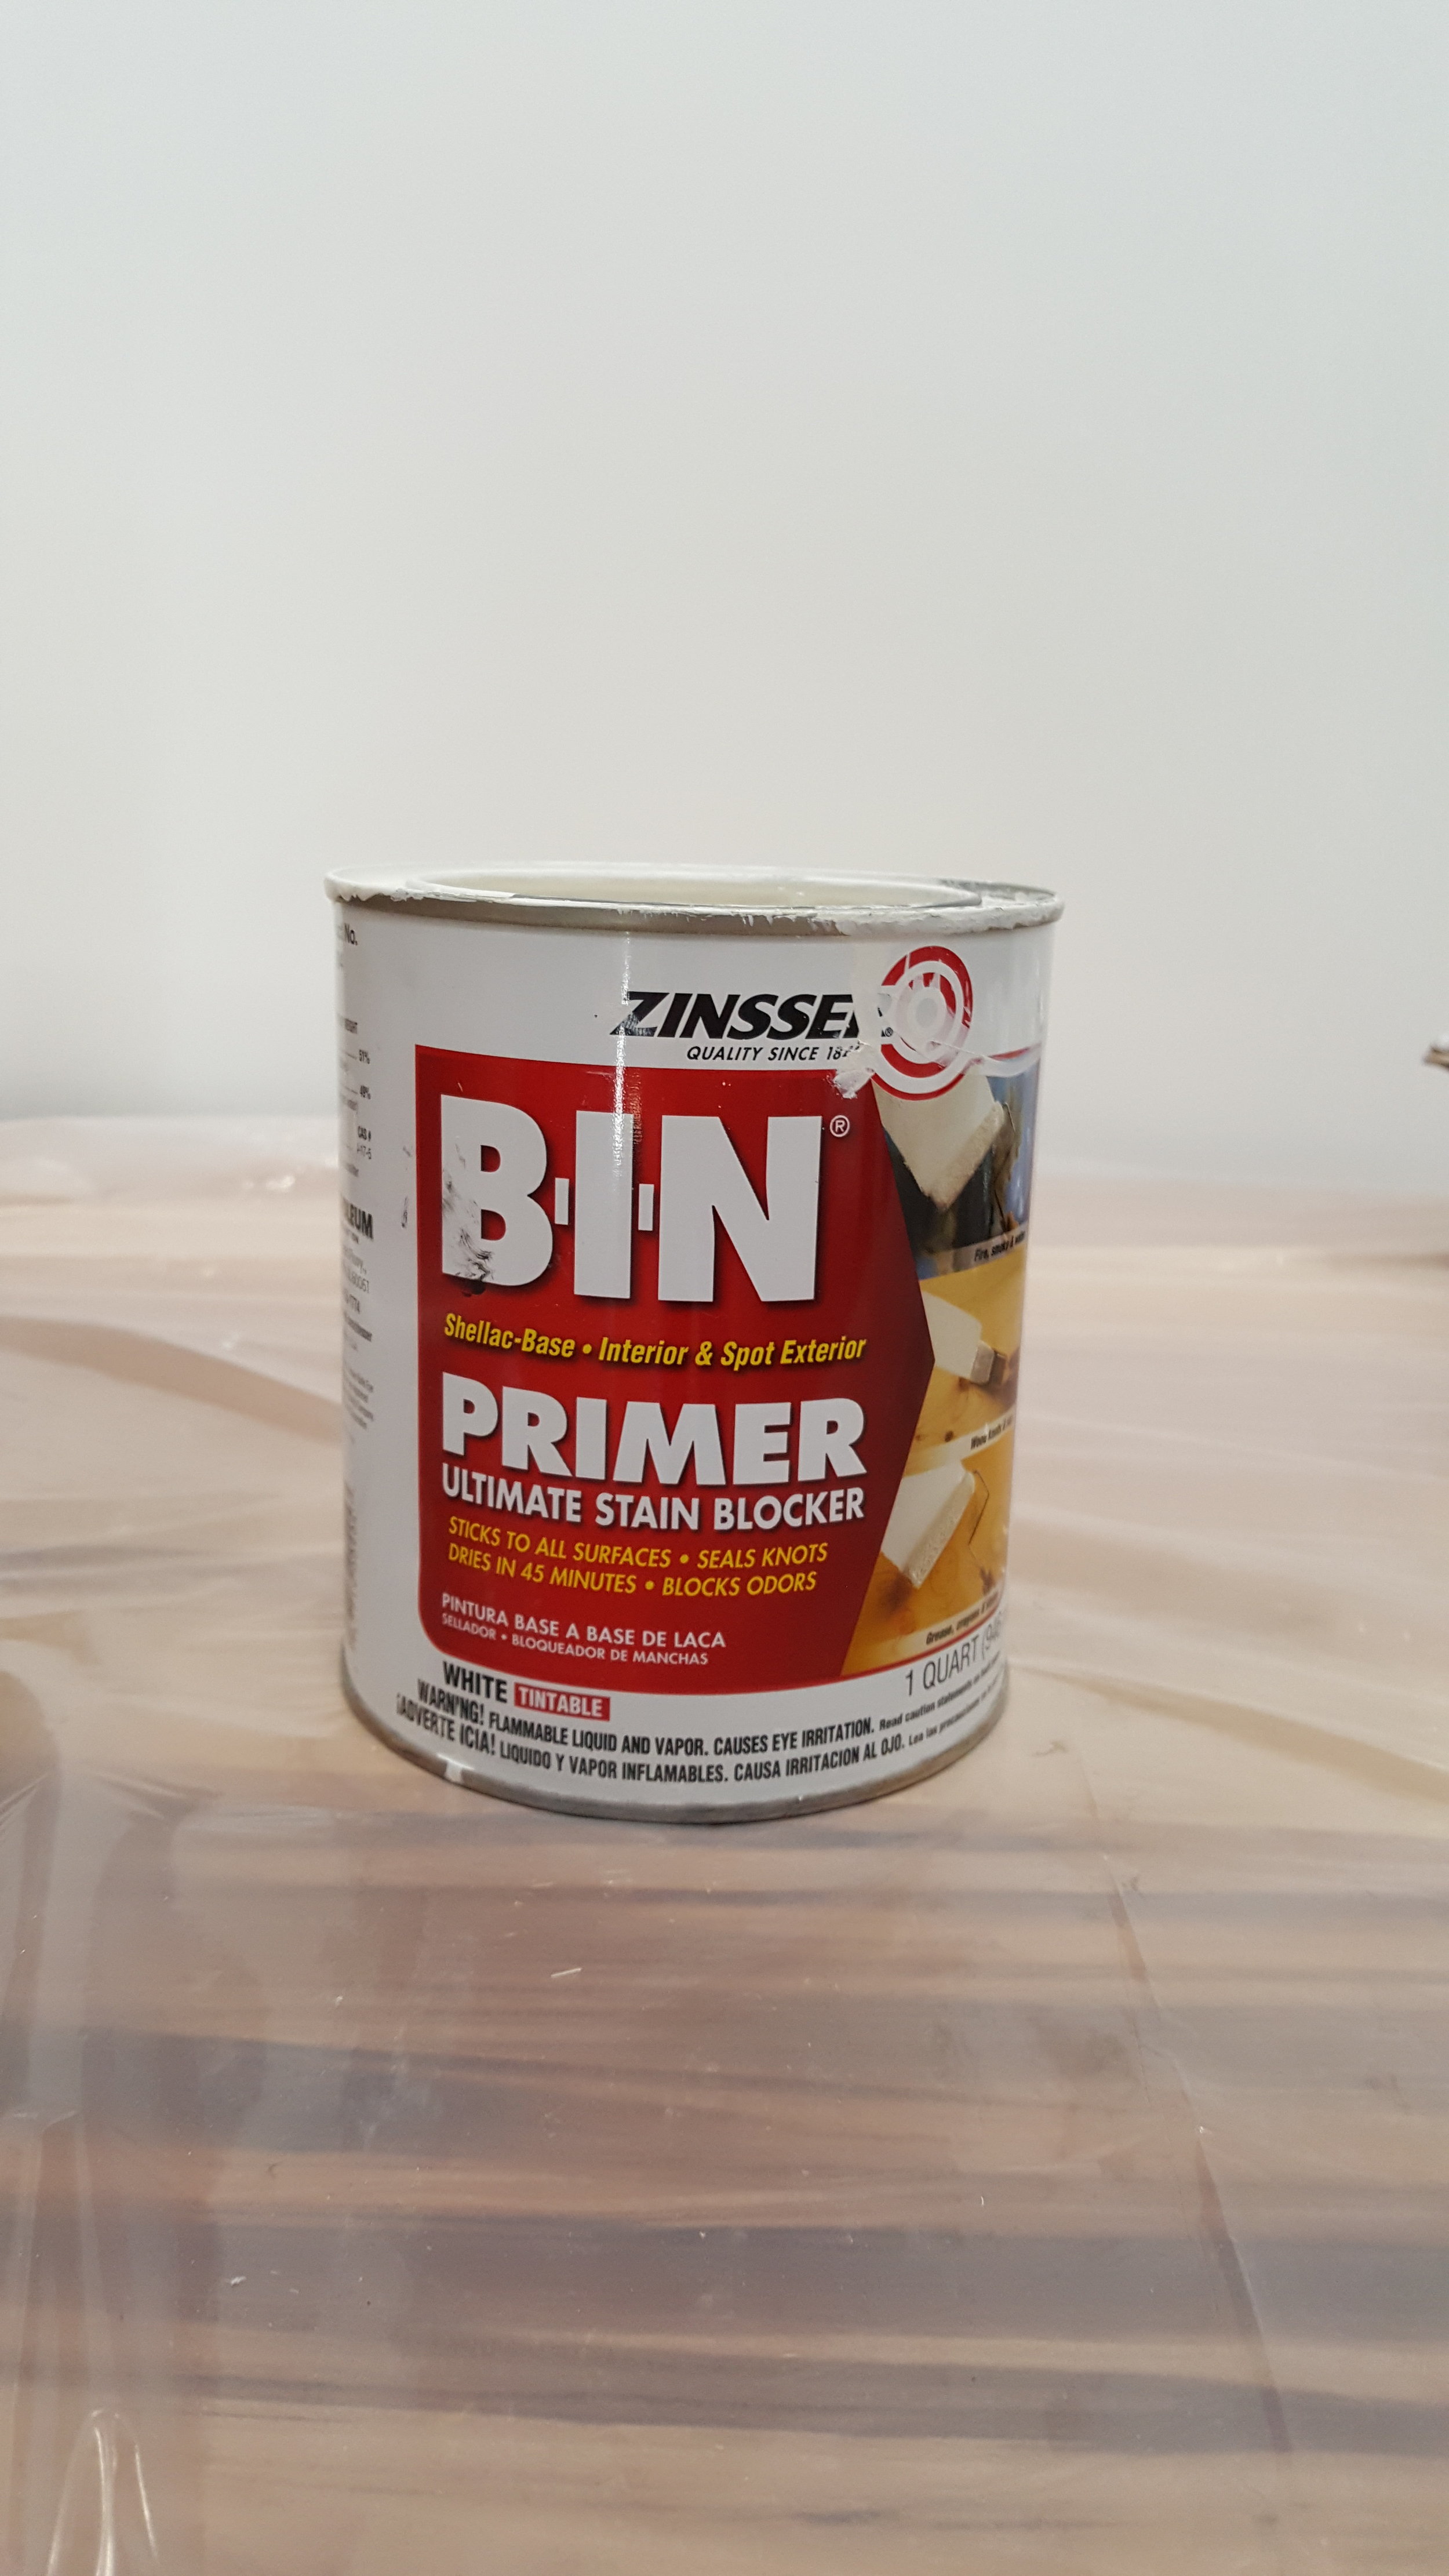
Step 6: Clean, Vacuum, Prime, Sand. After I sanded the Bondo to a smooth finish, it was time to clean everything again. I vacuumed off all the sanding dust, scrubbed each piece with TSP and then once everything was completely dry, I applied 2 coats of BIN Shellac Primer. Once the primer was dry, I sanded it to smooth finish with a 220 grit sanding pad. Of course, I vacuumed everything one more time from where I sanded the primer.

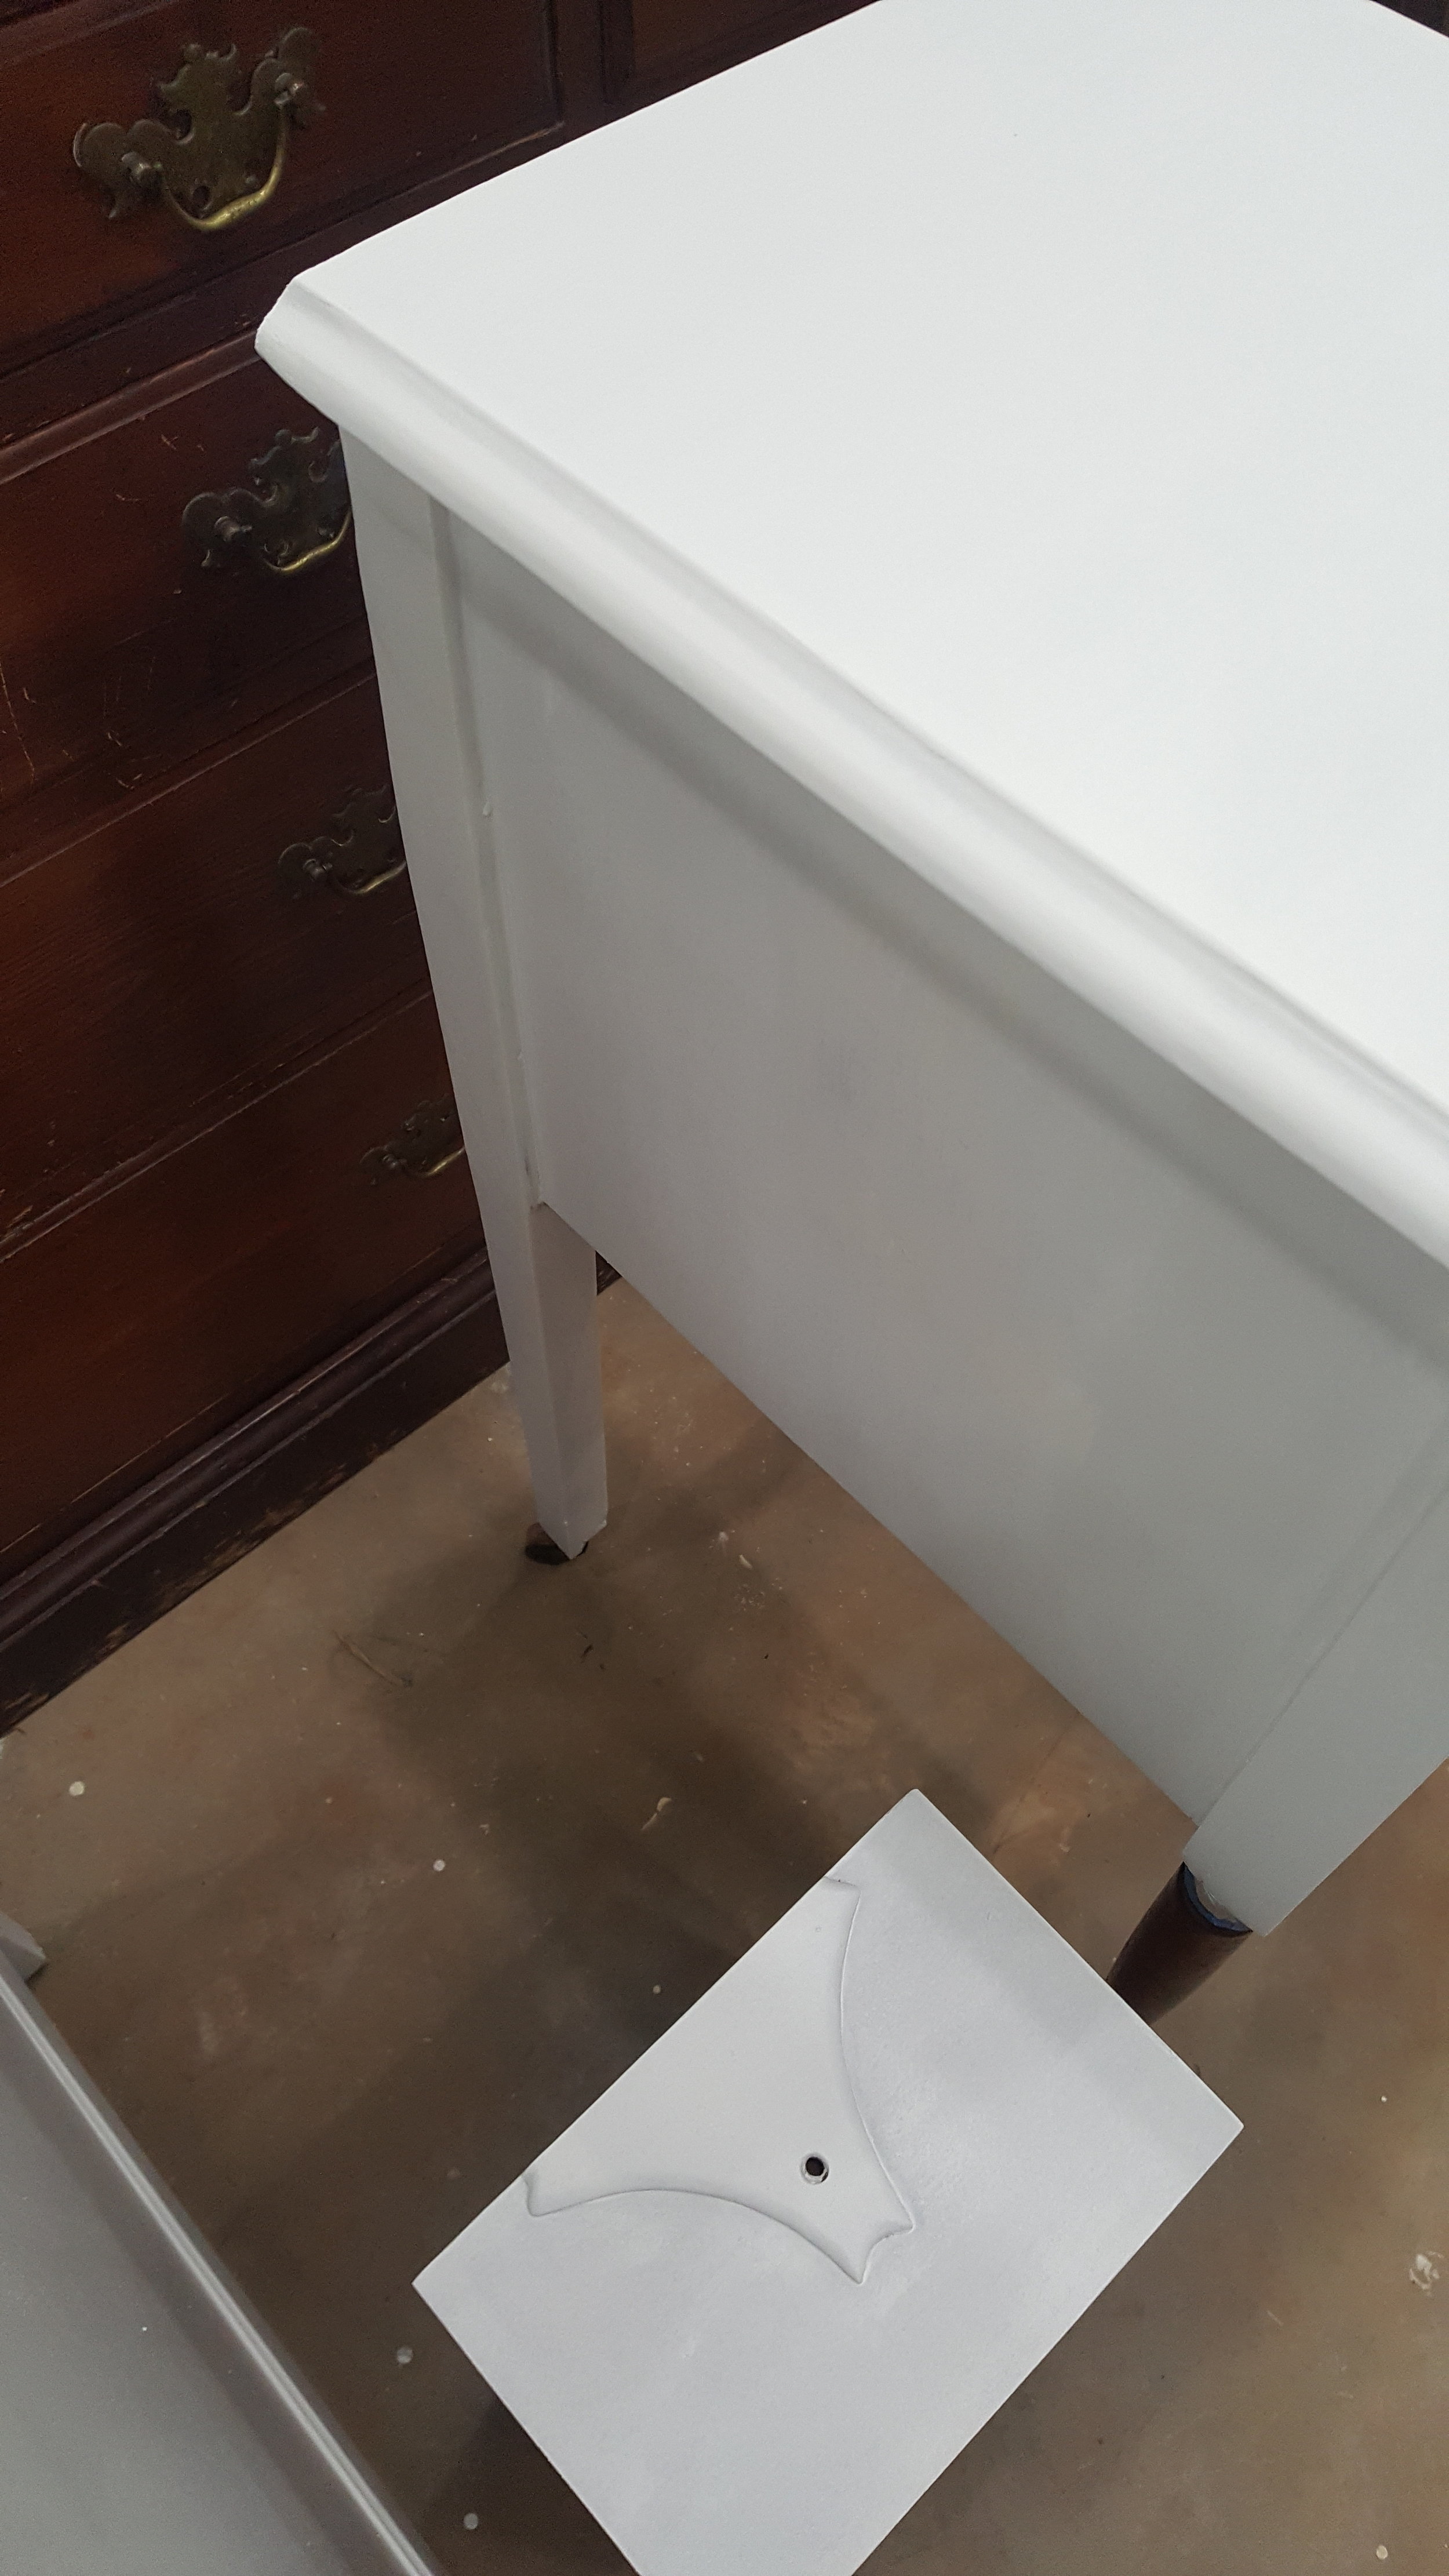
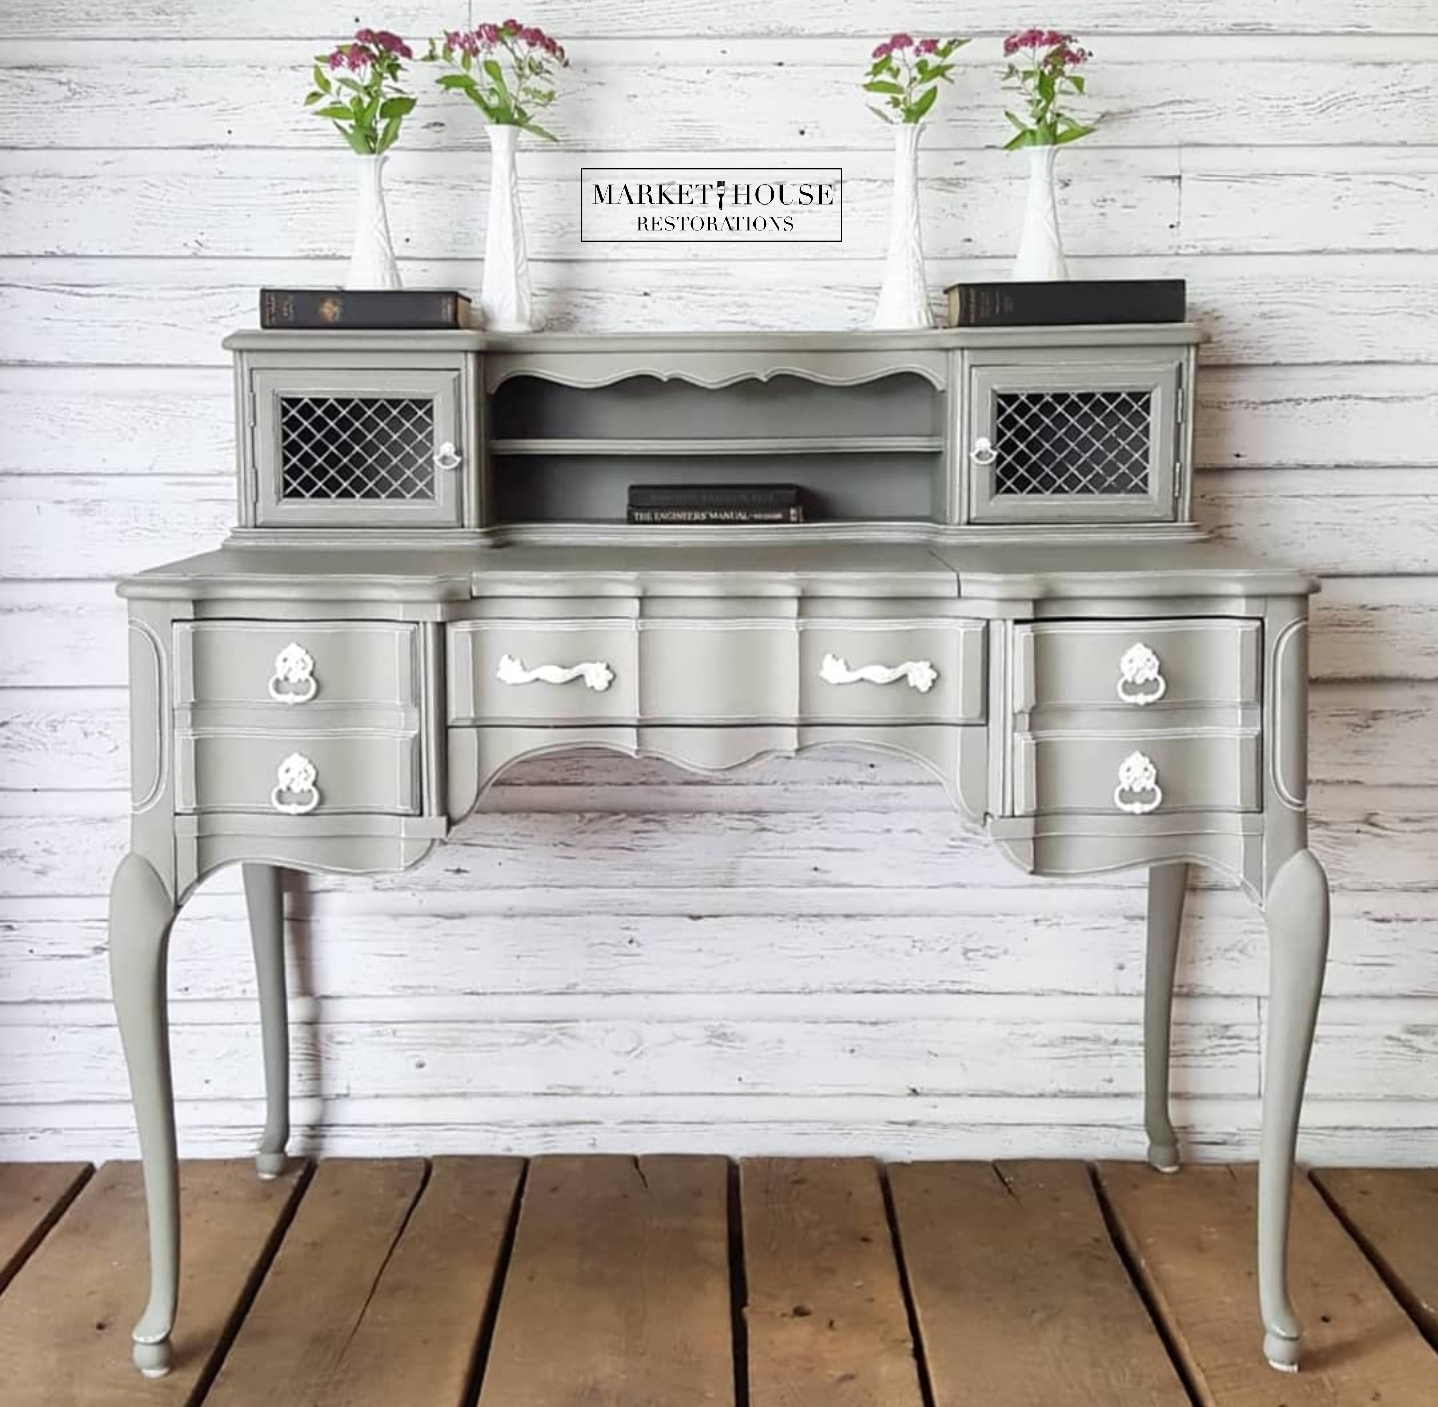
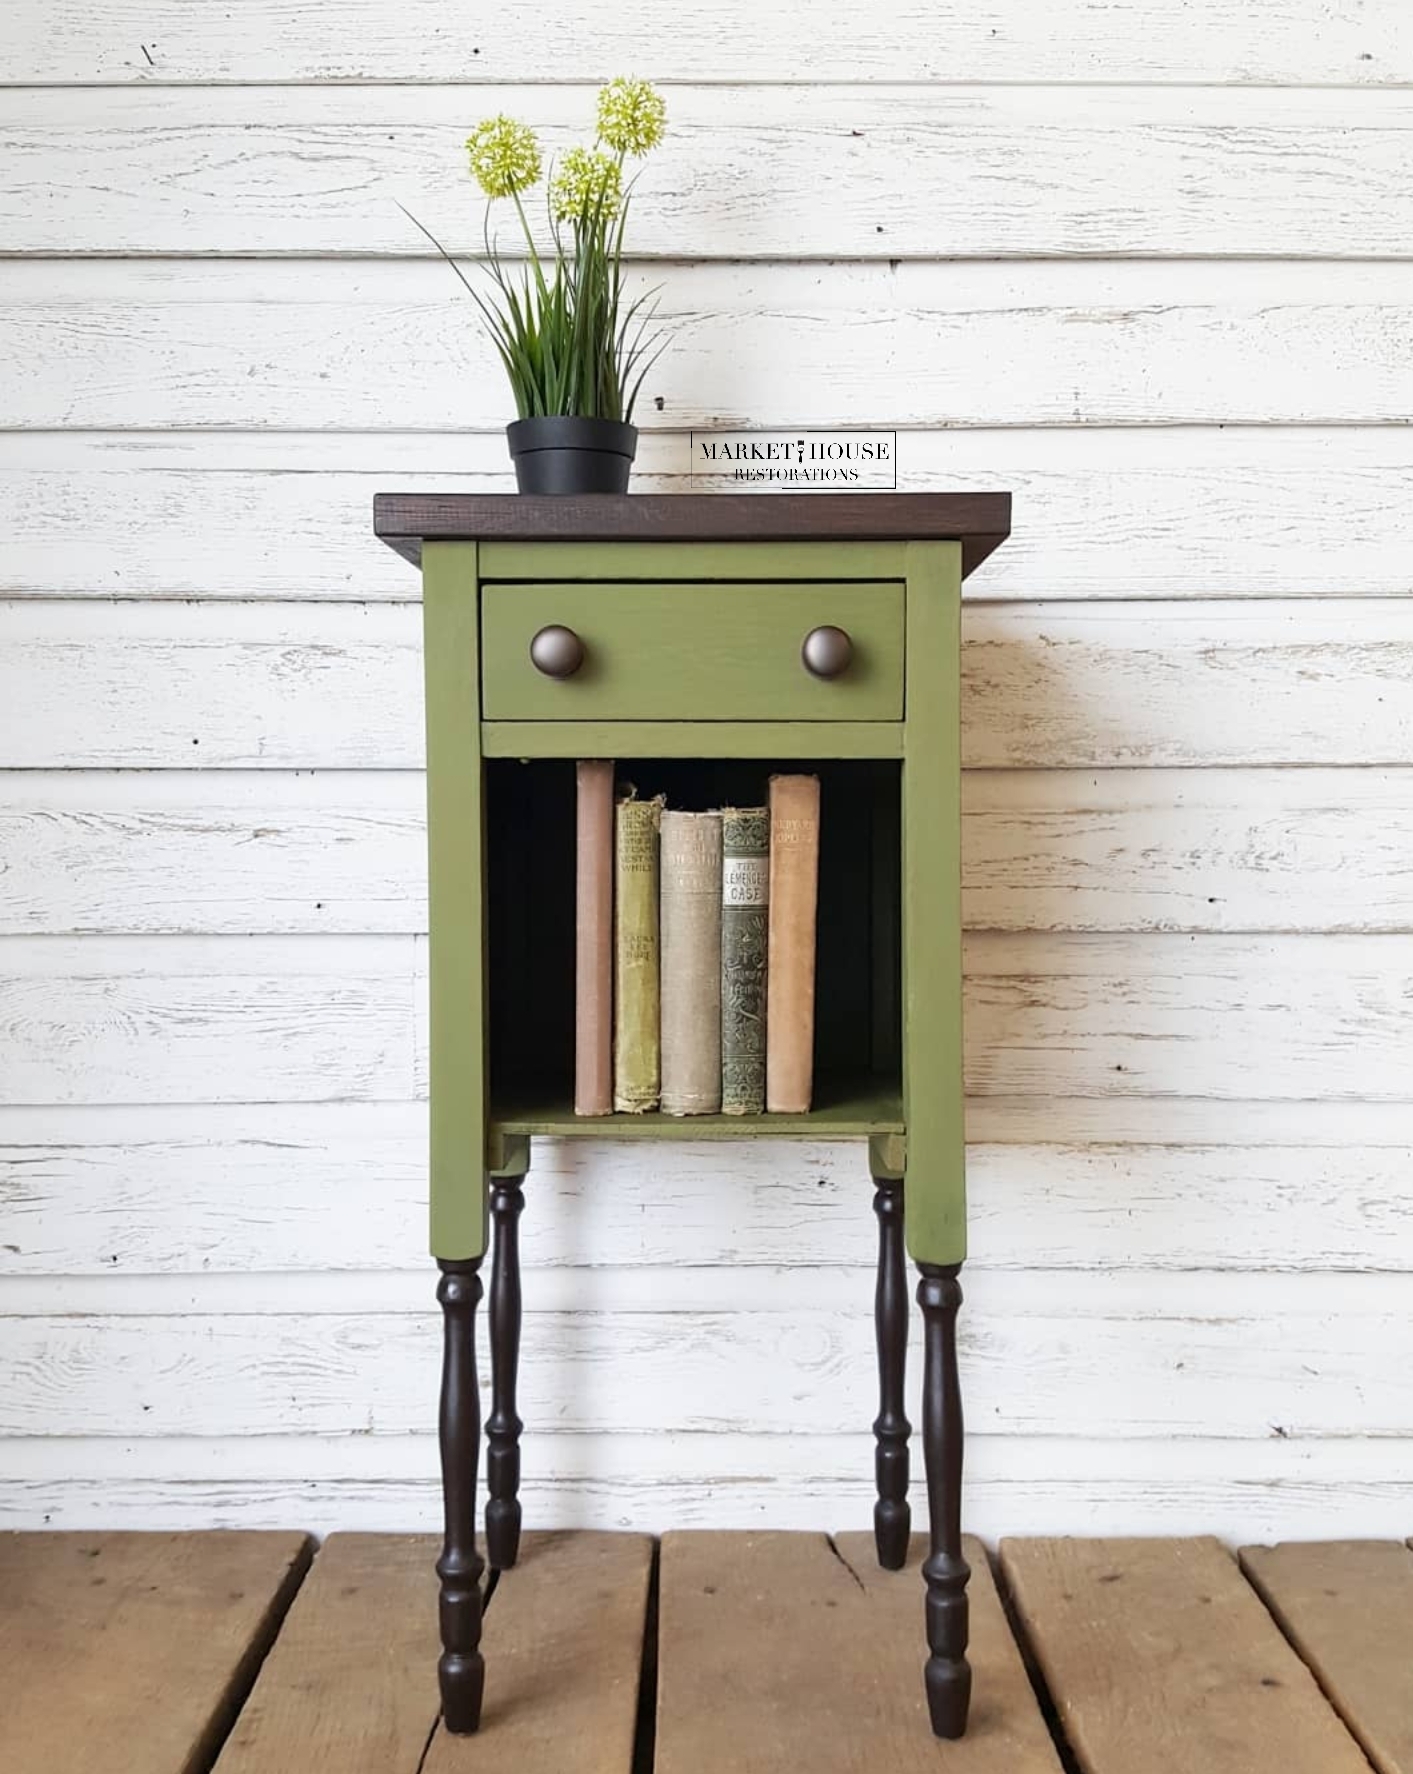
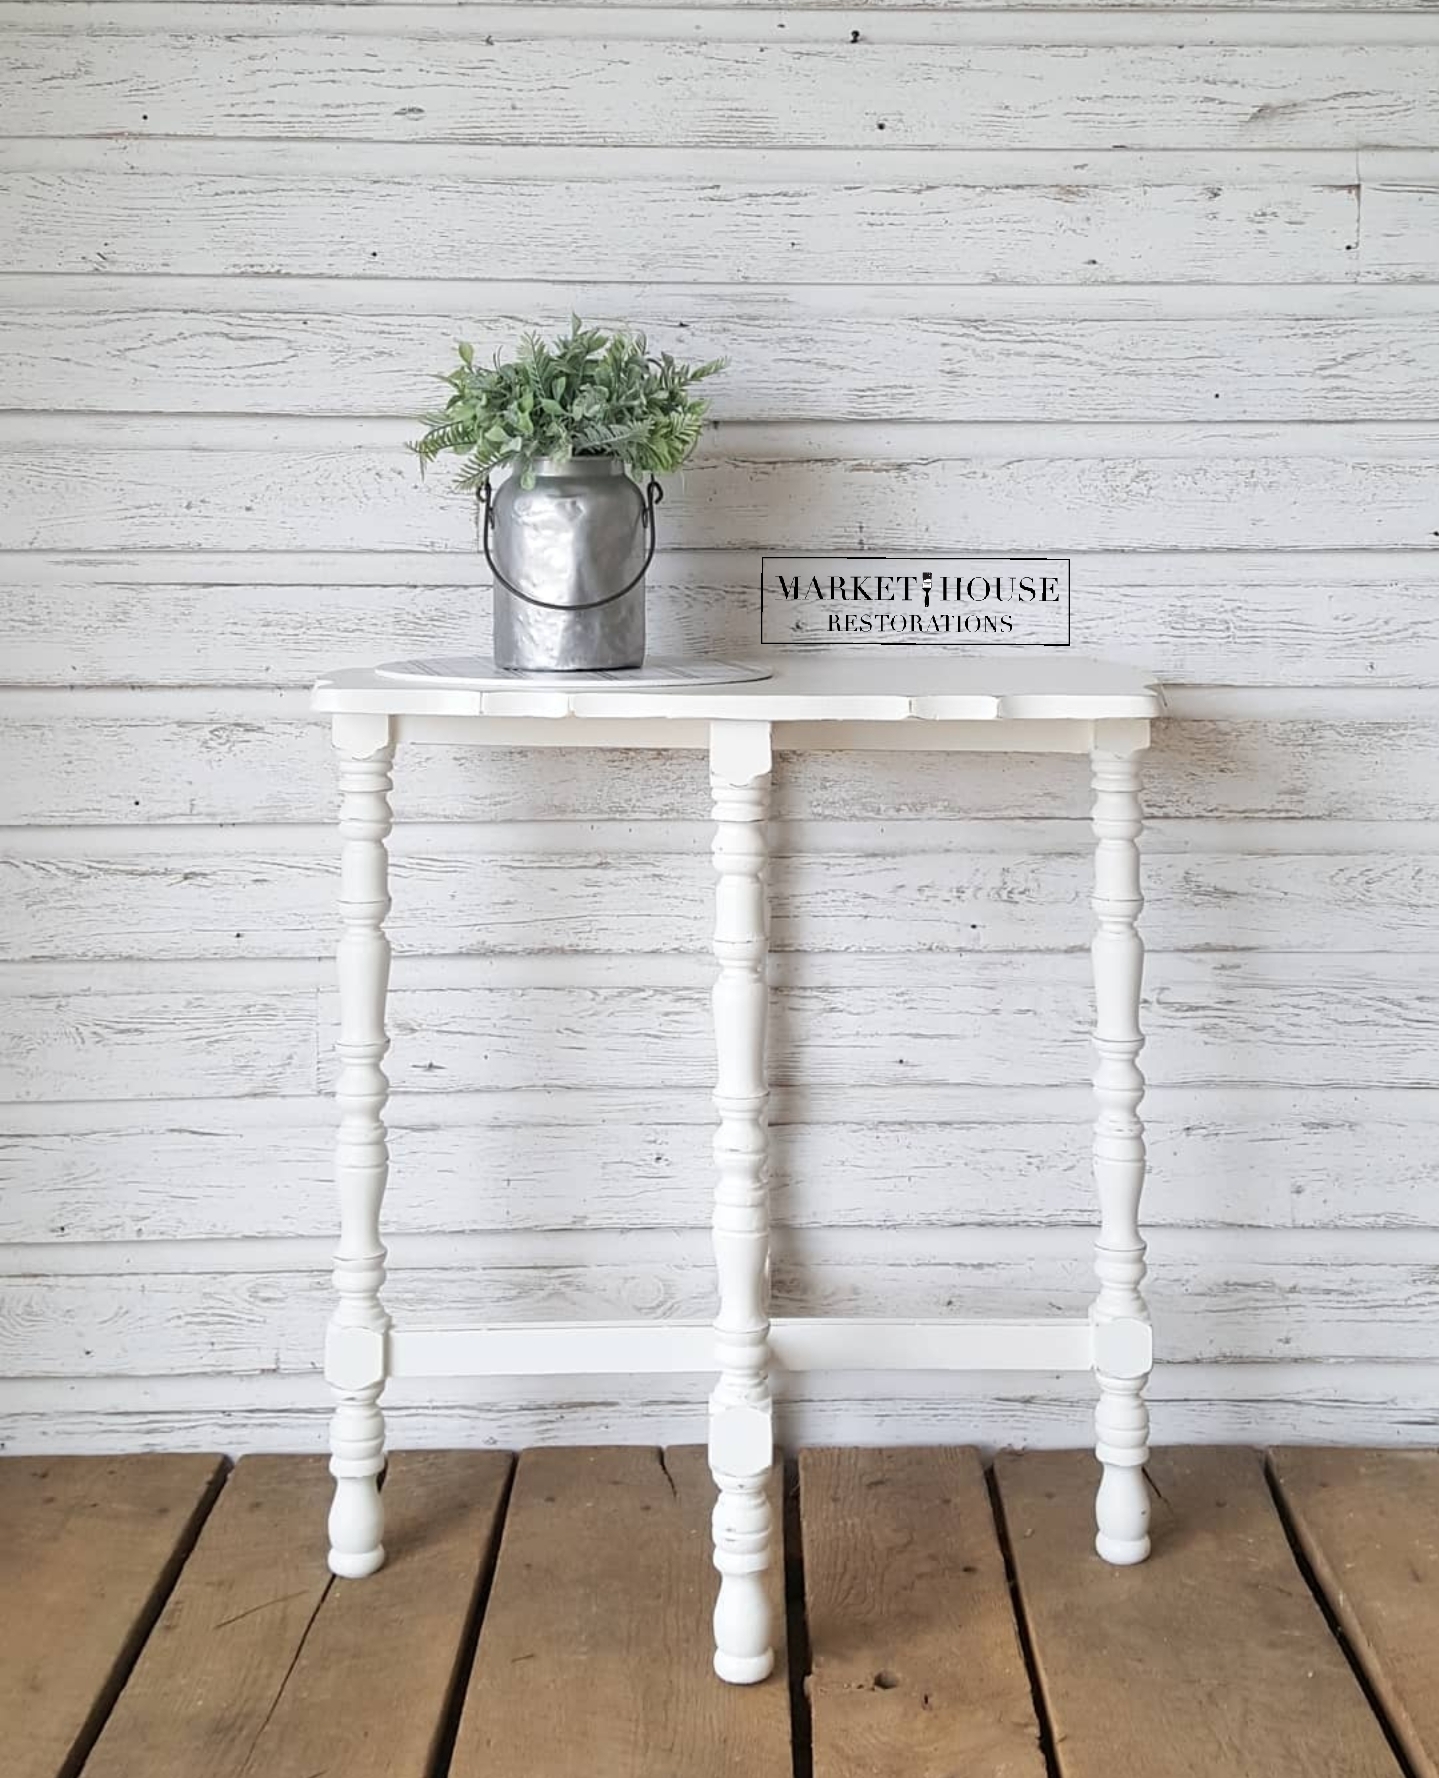
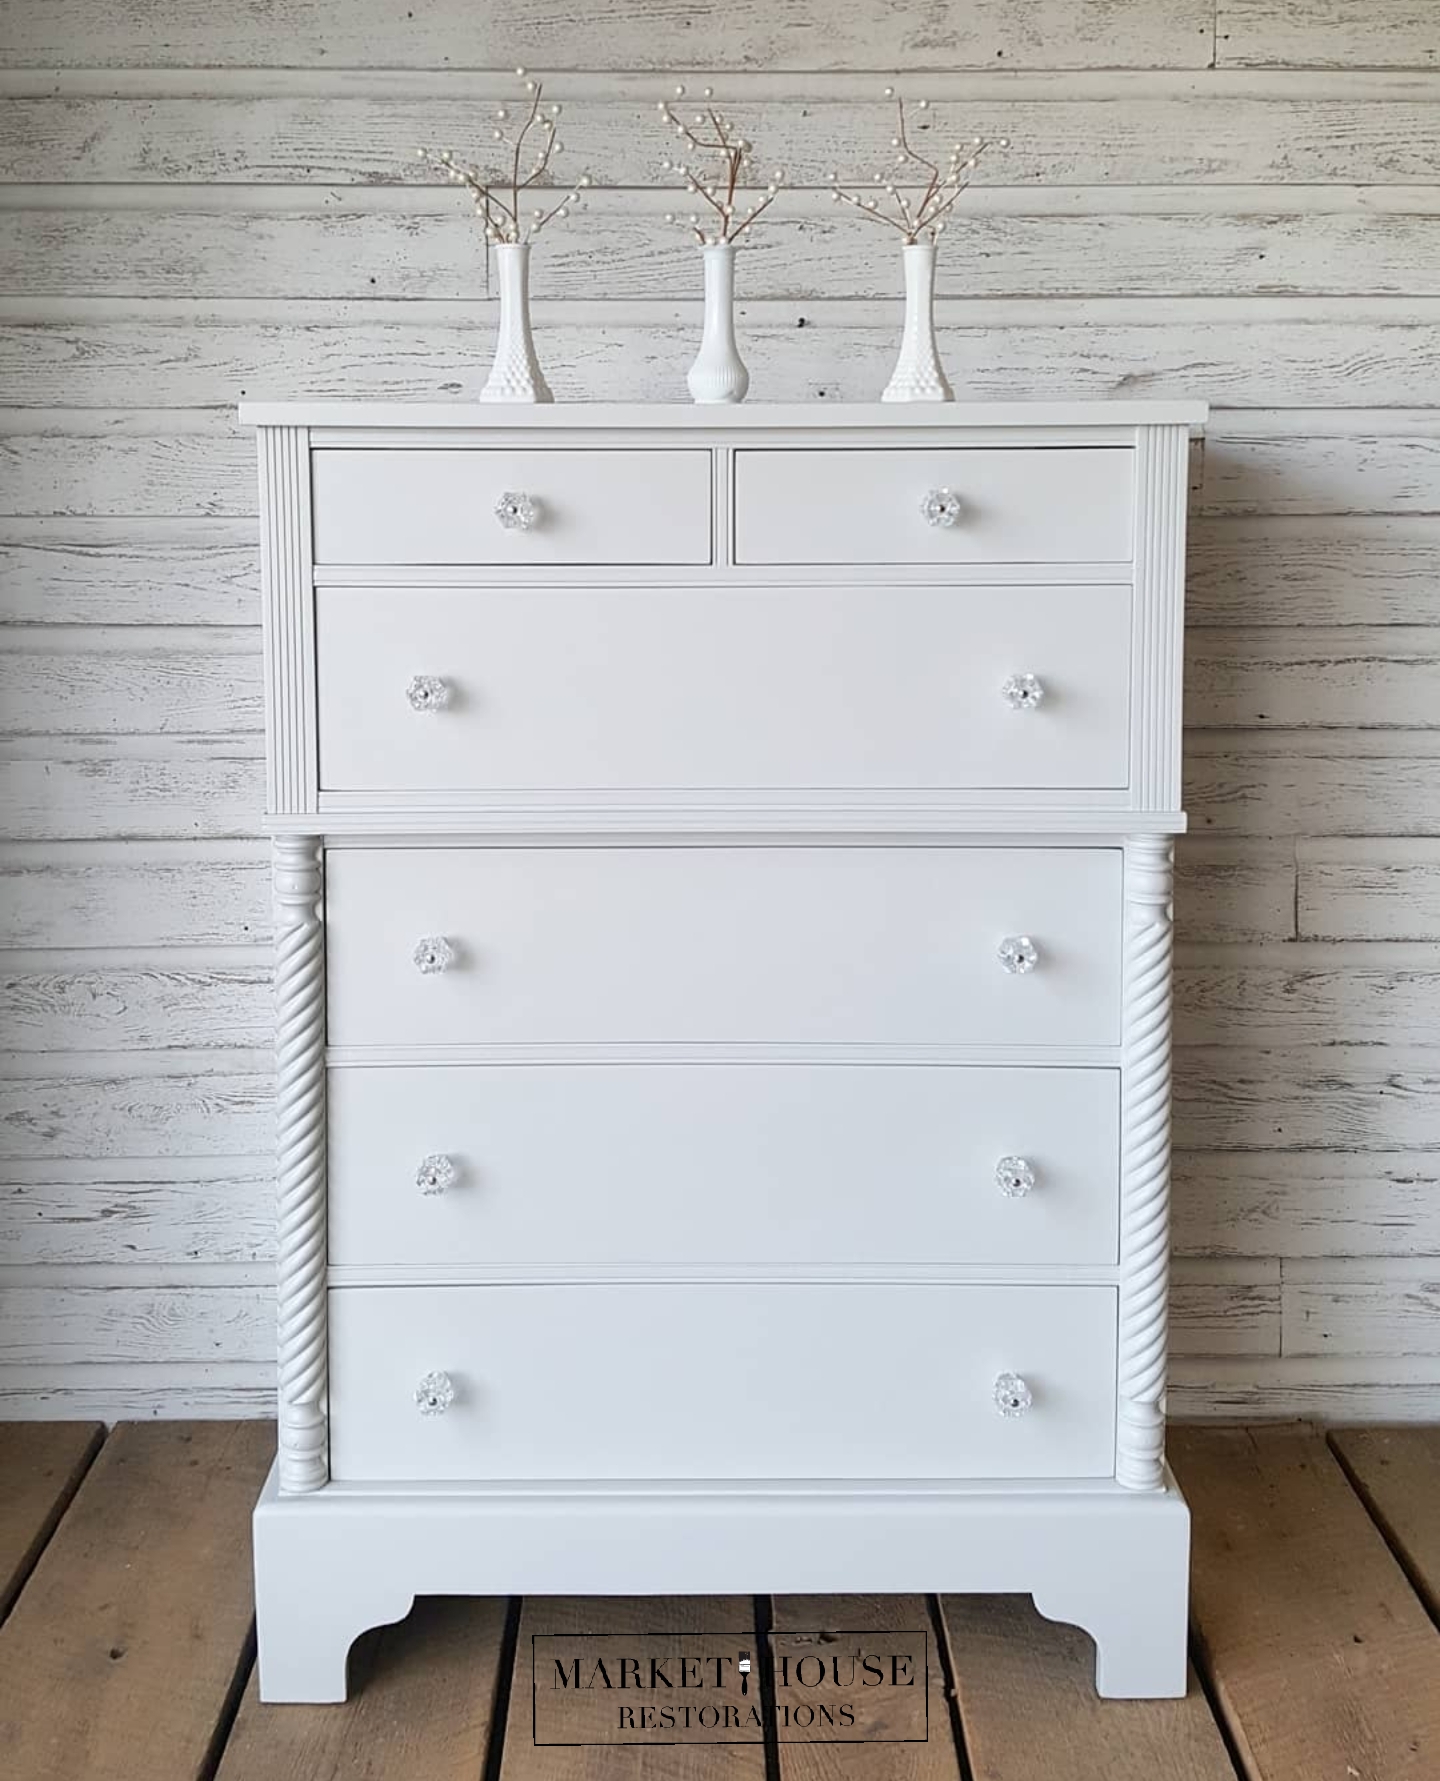
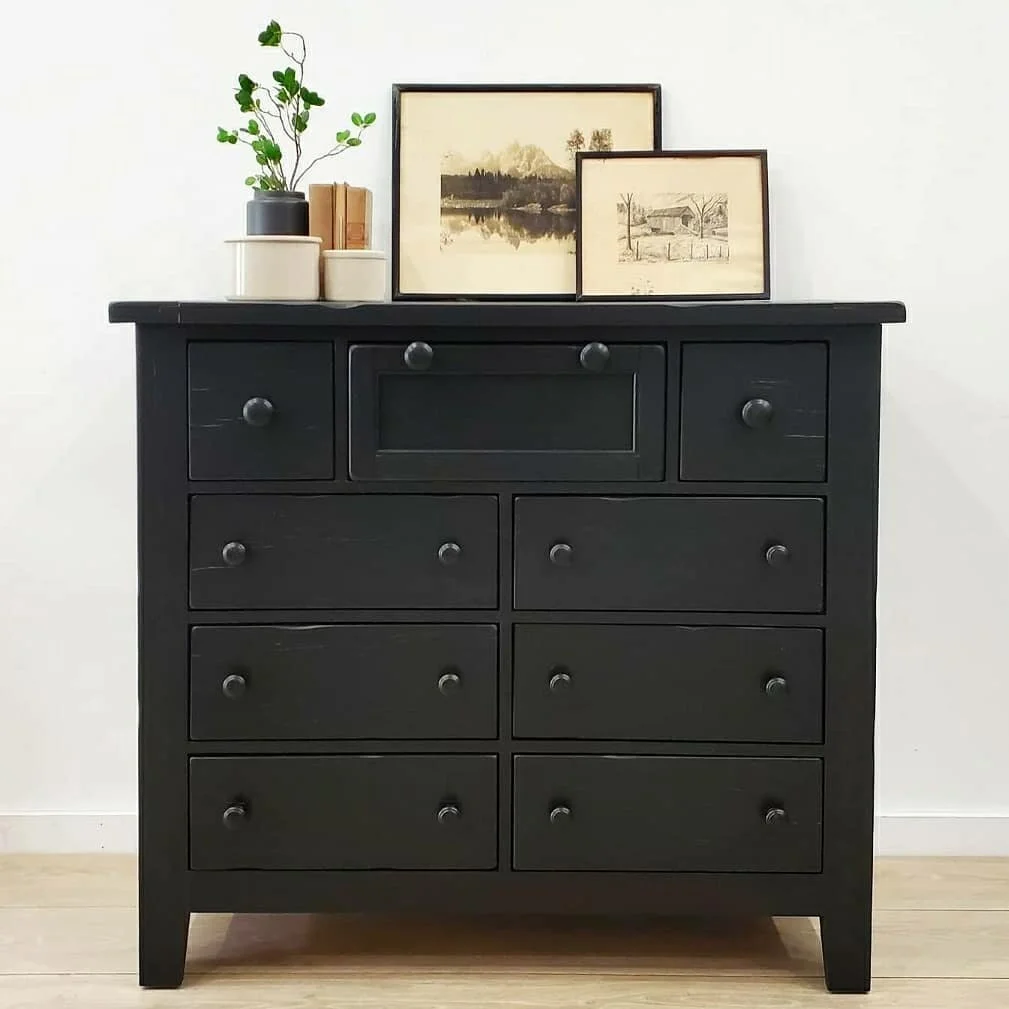
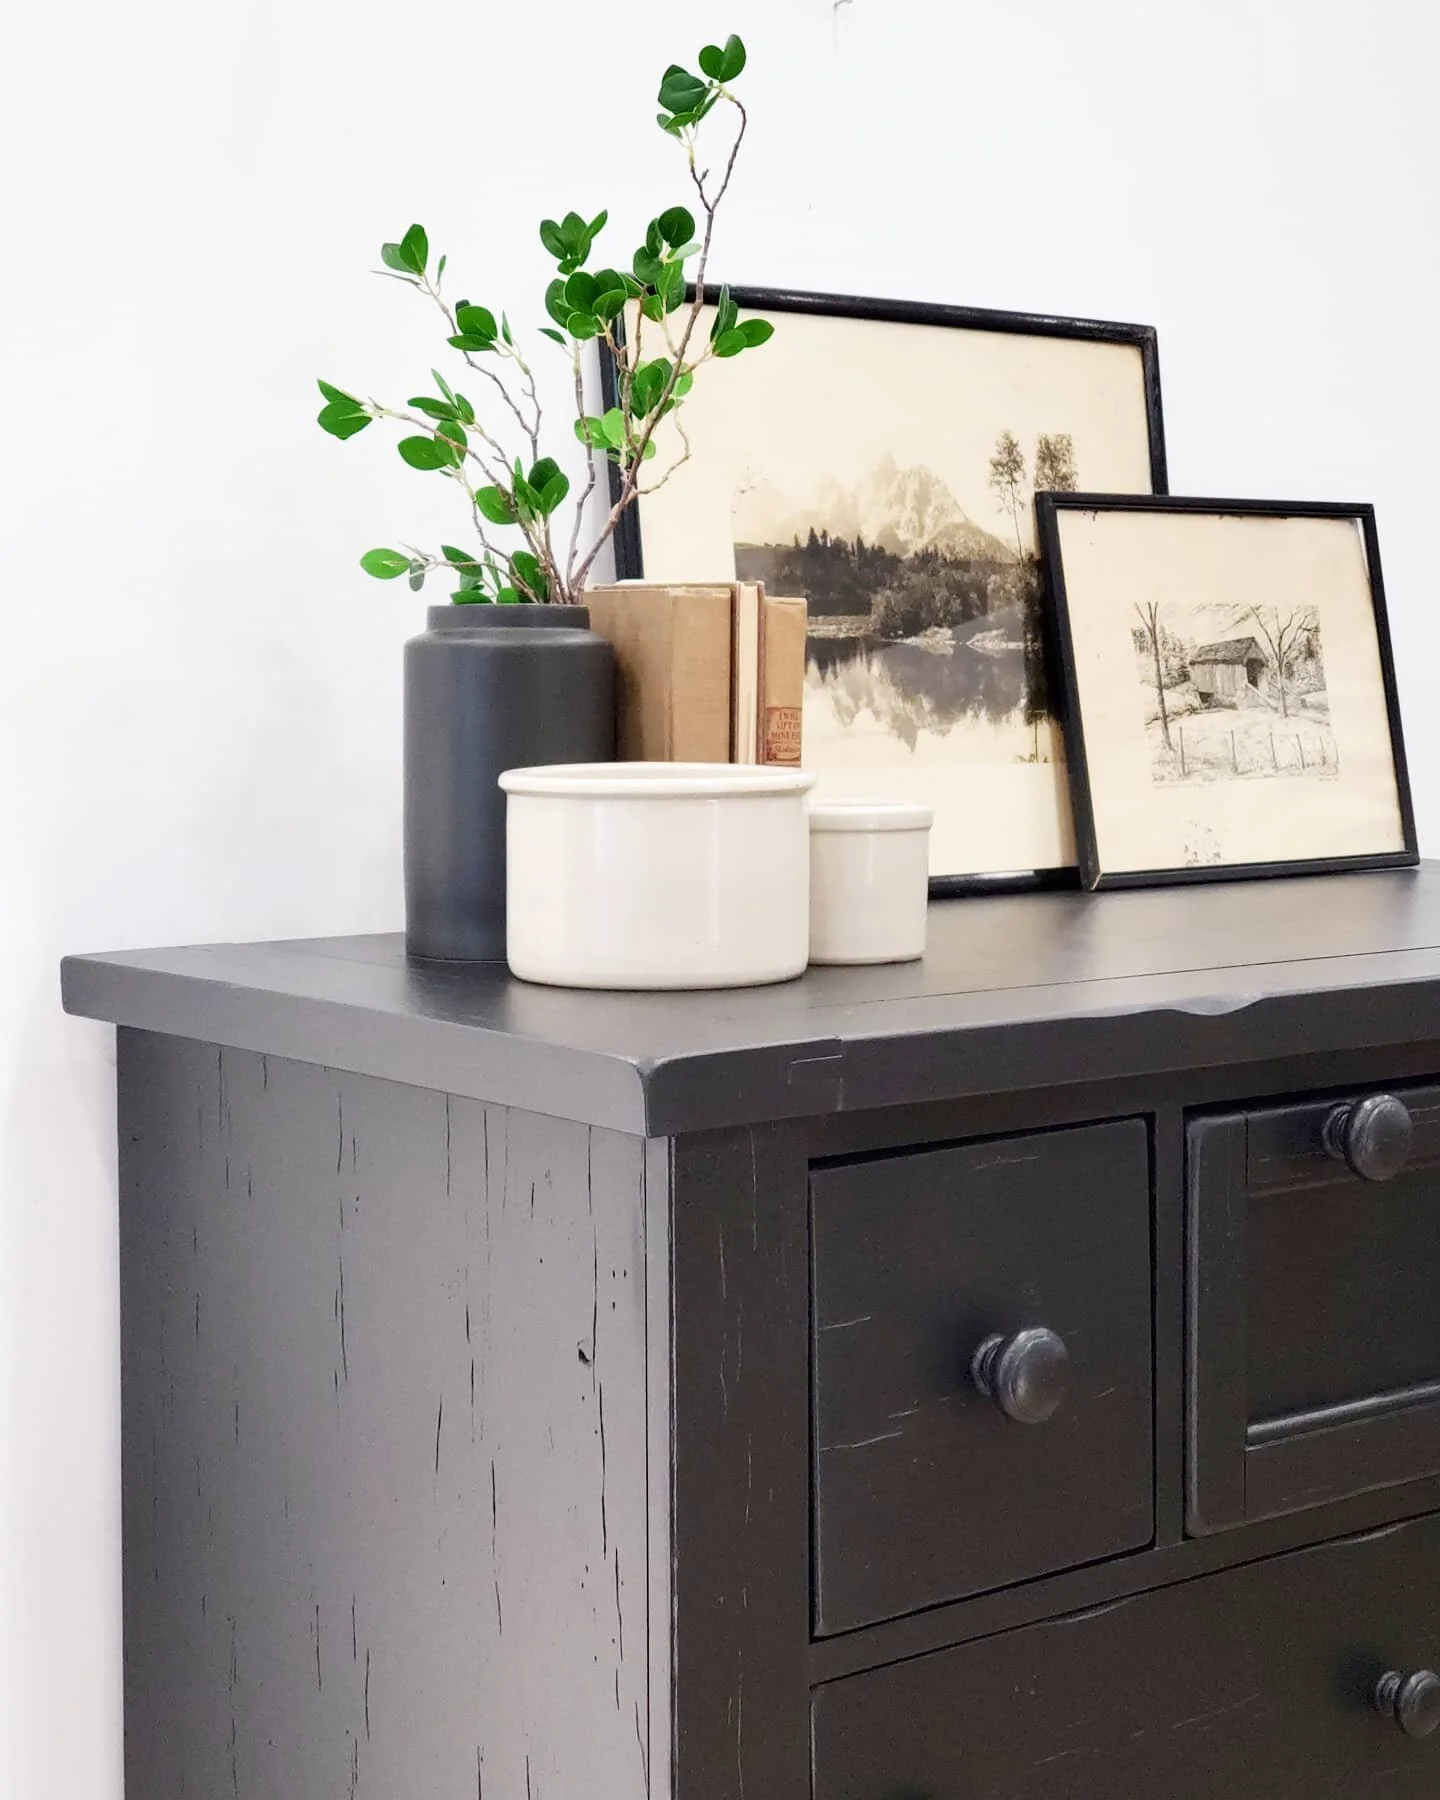
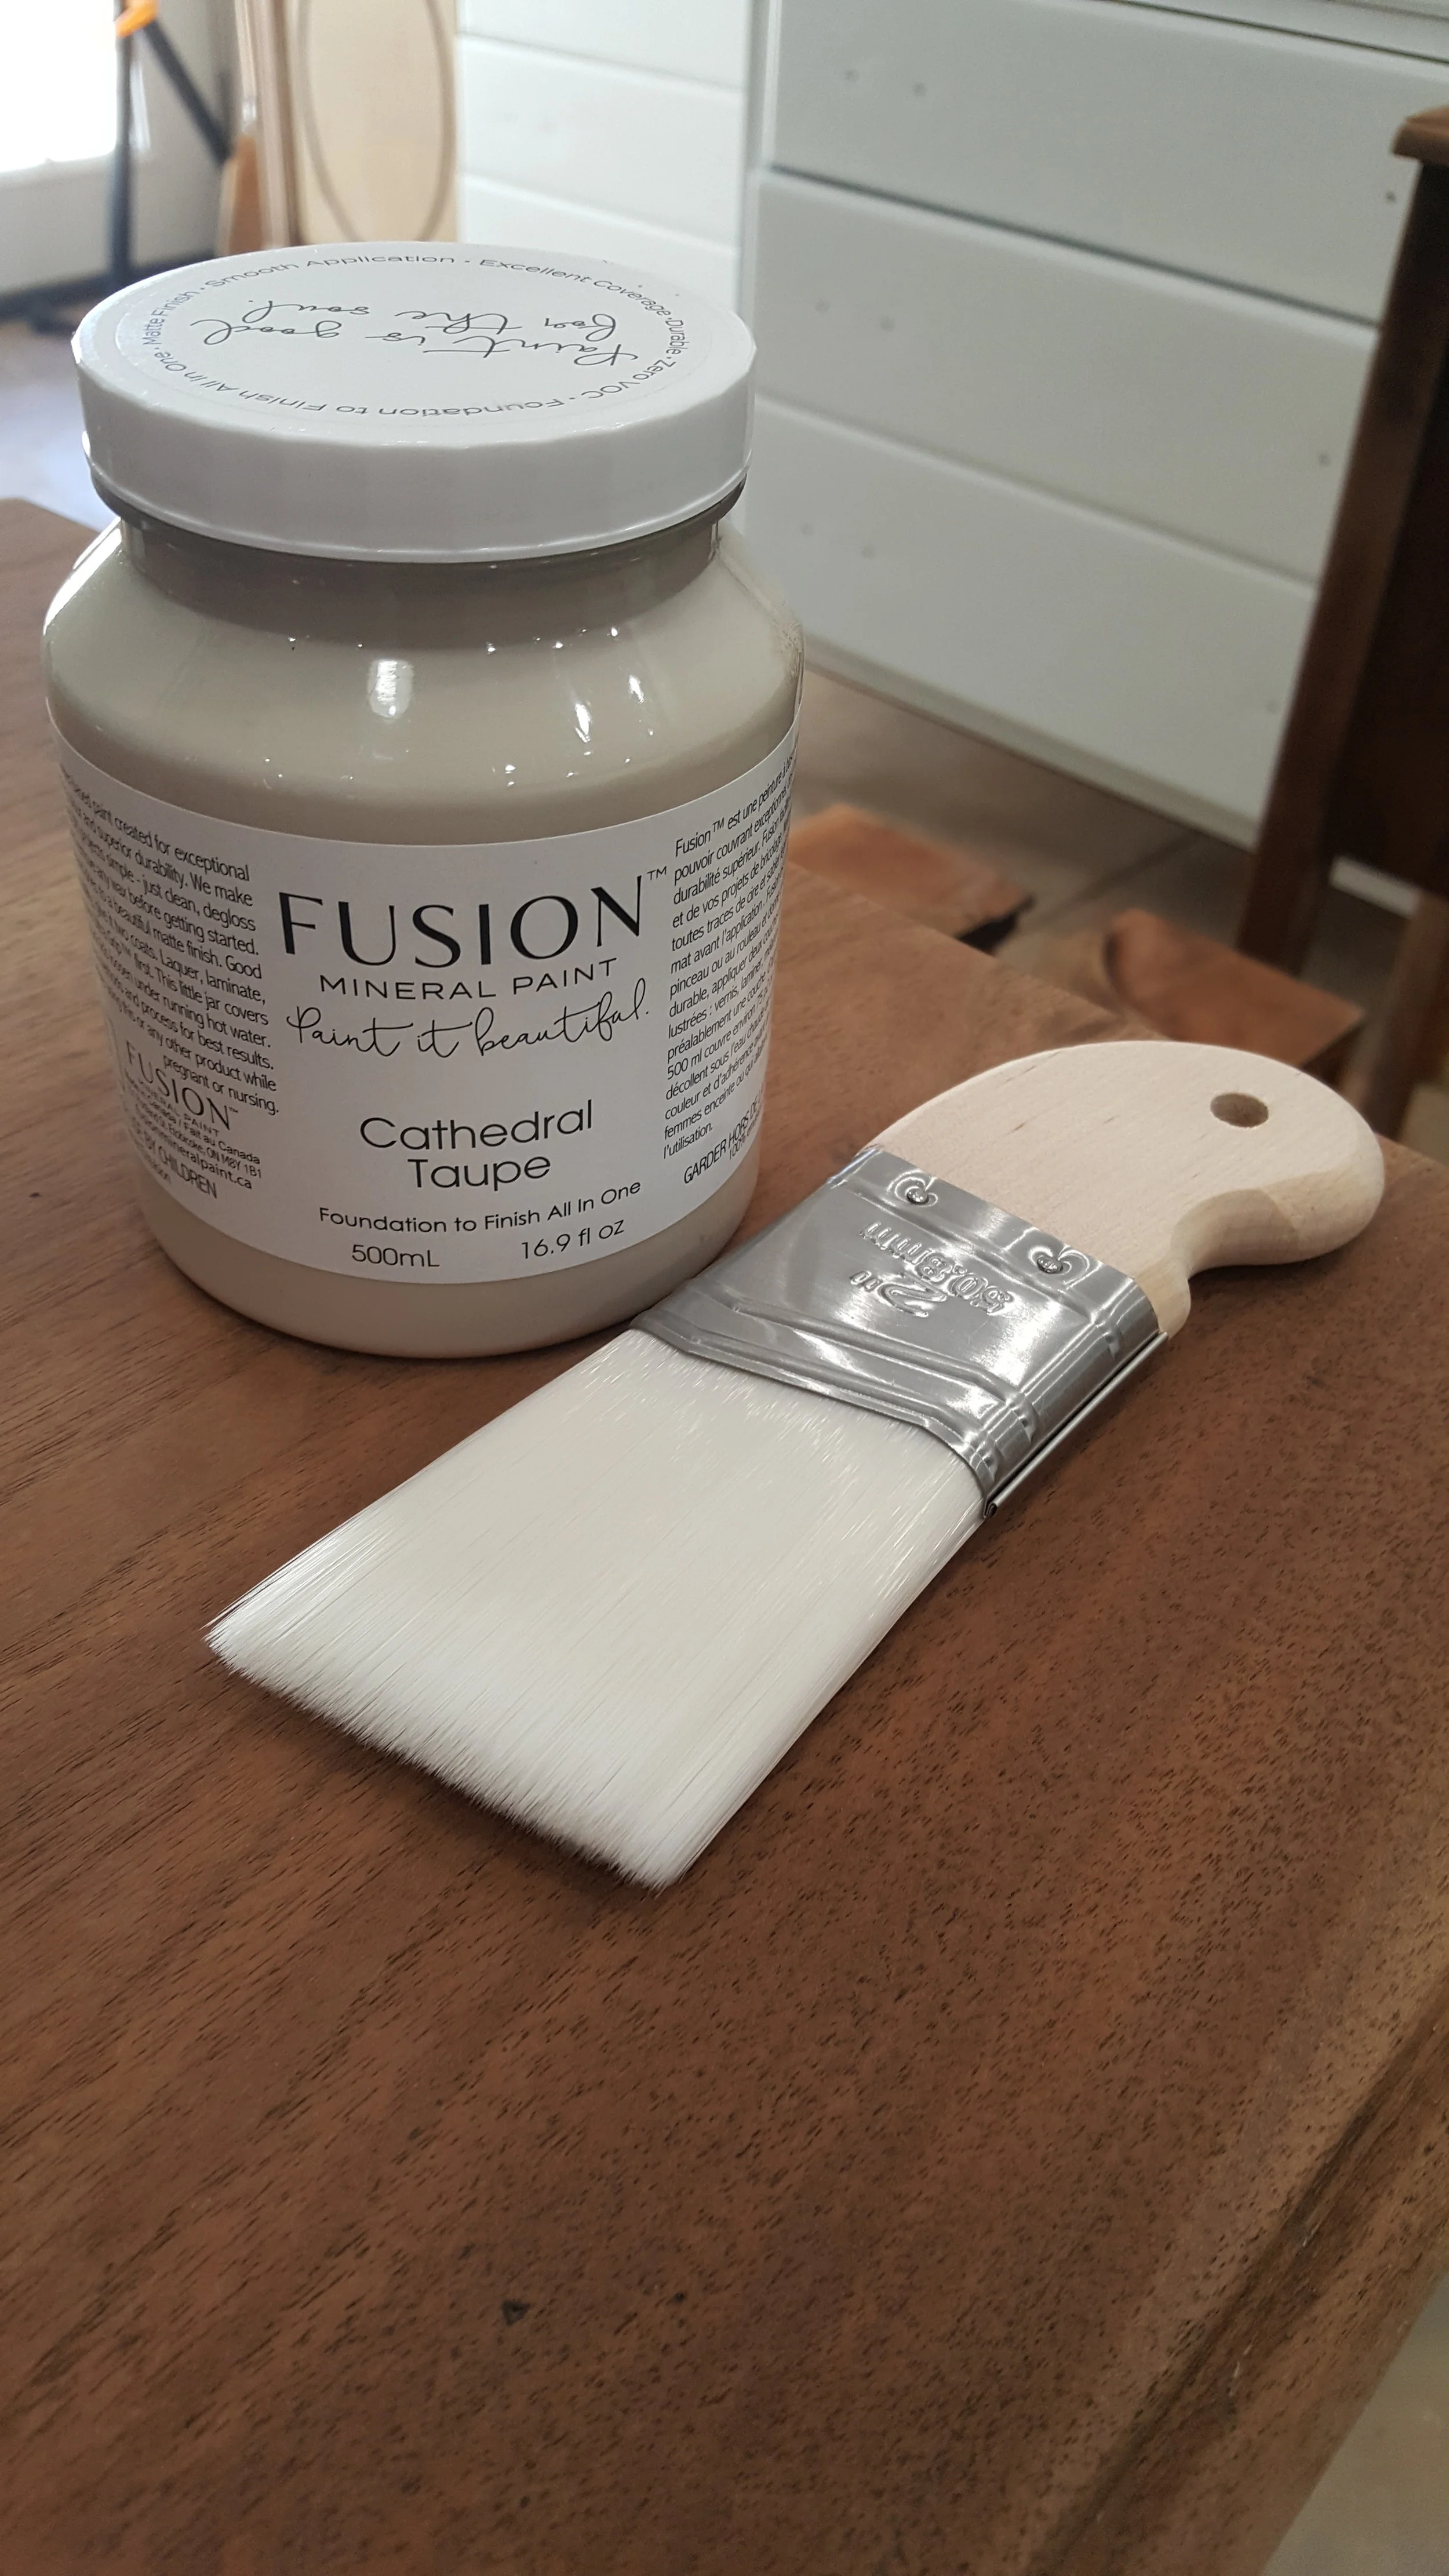
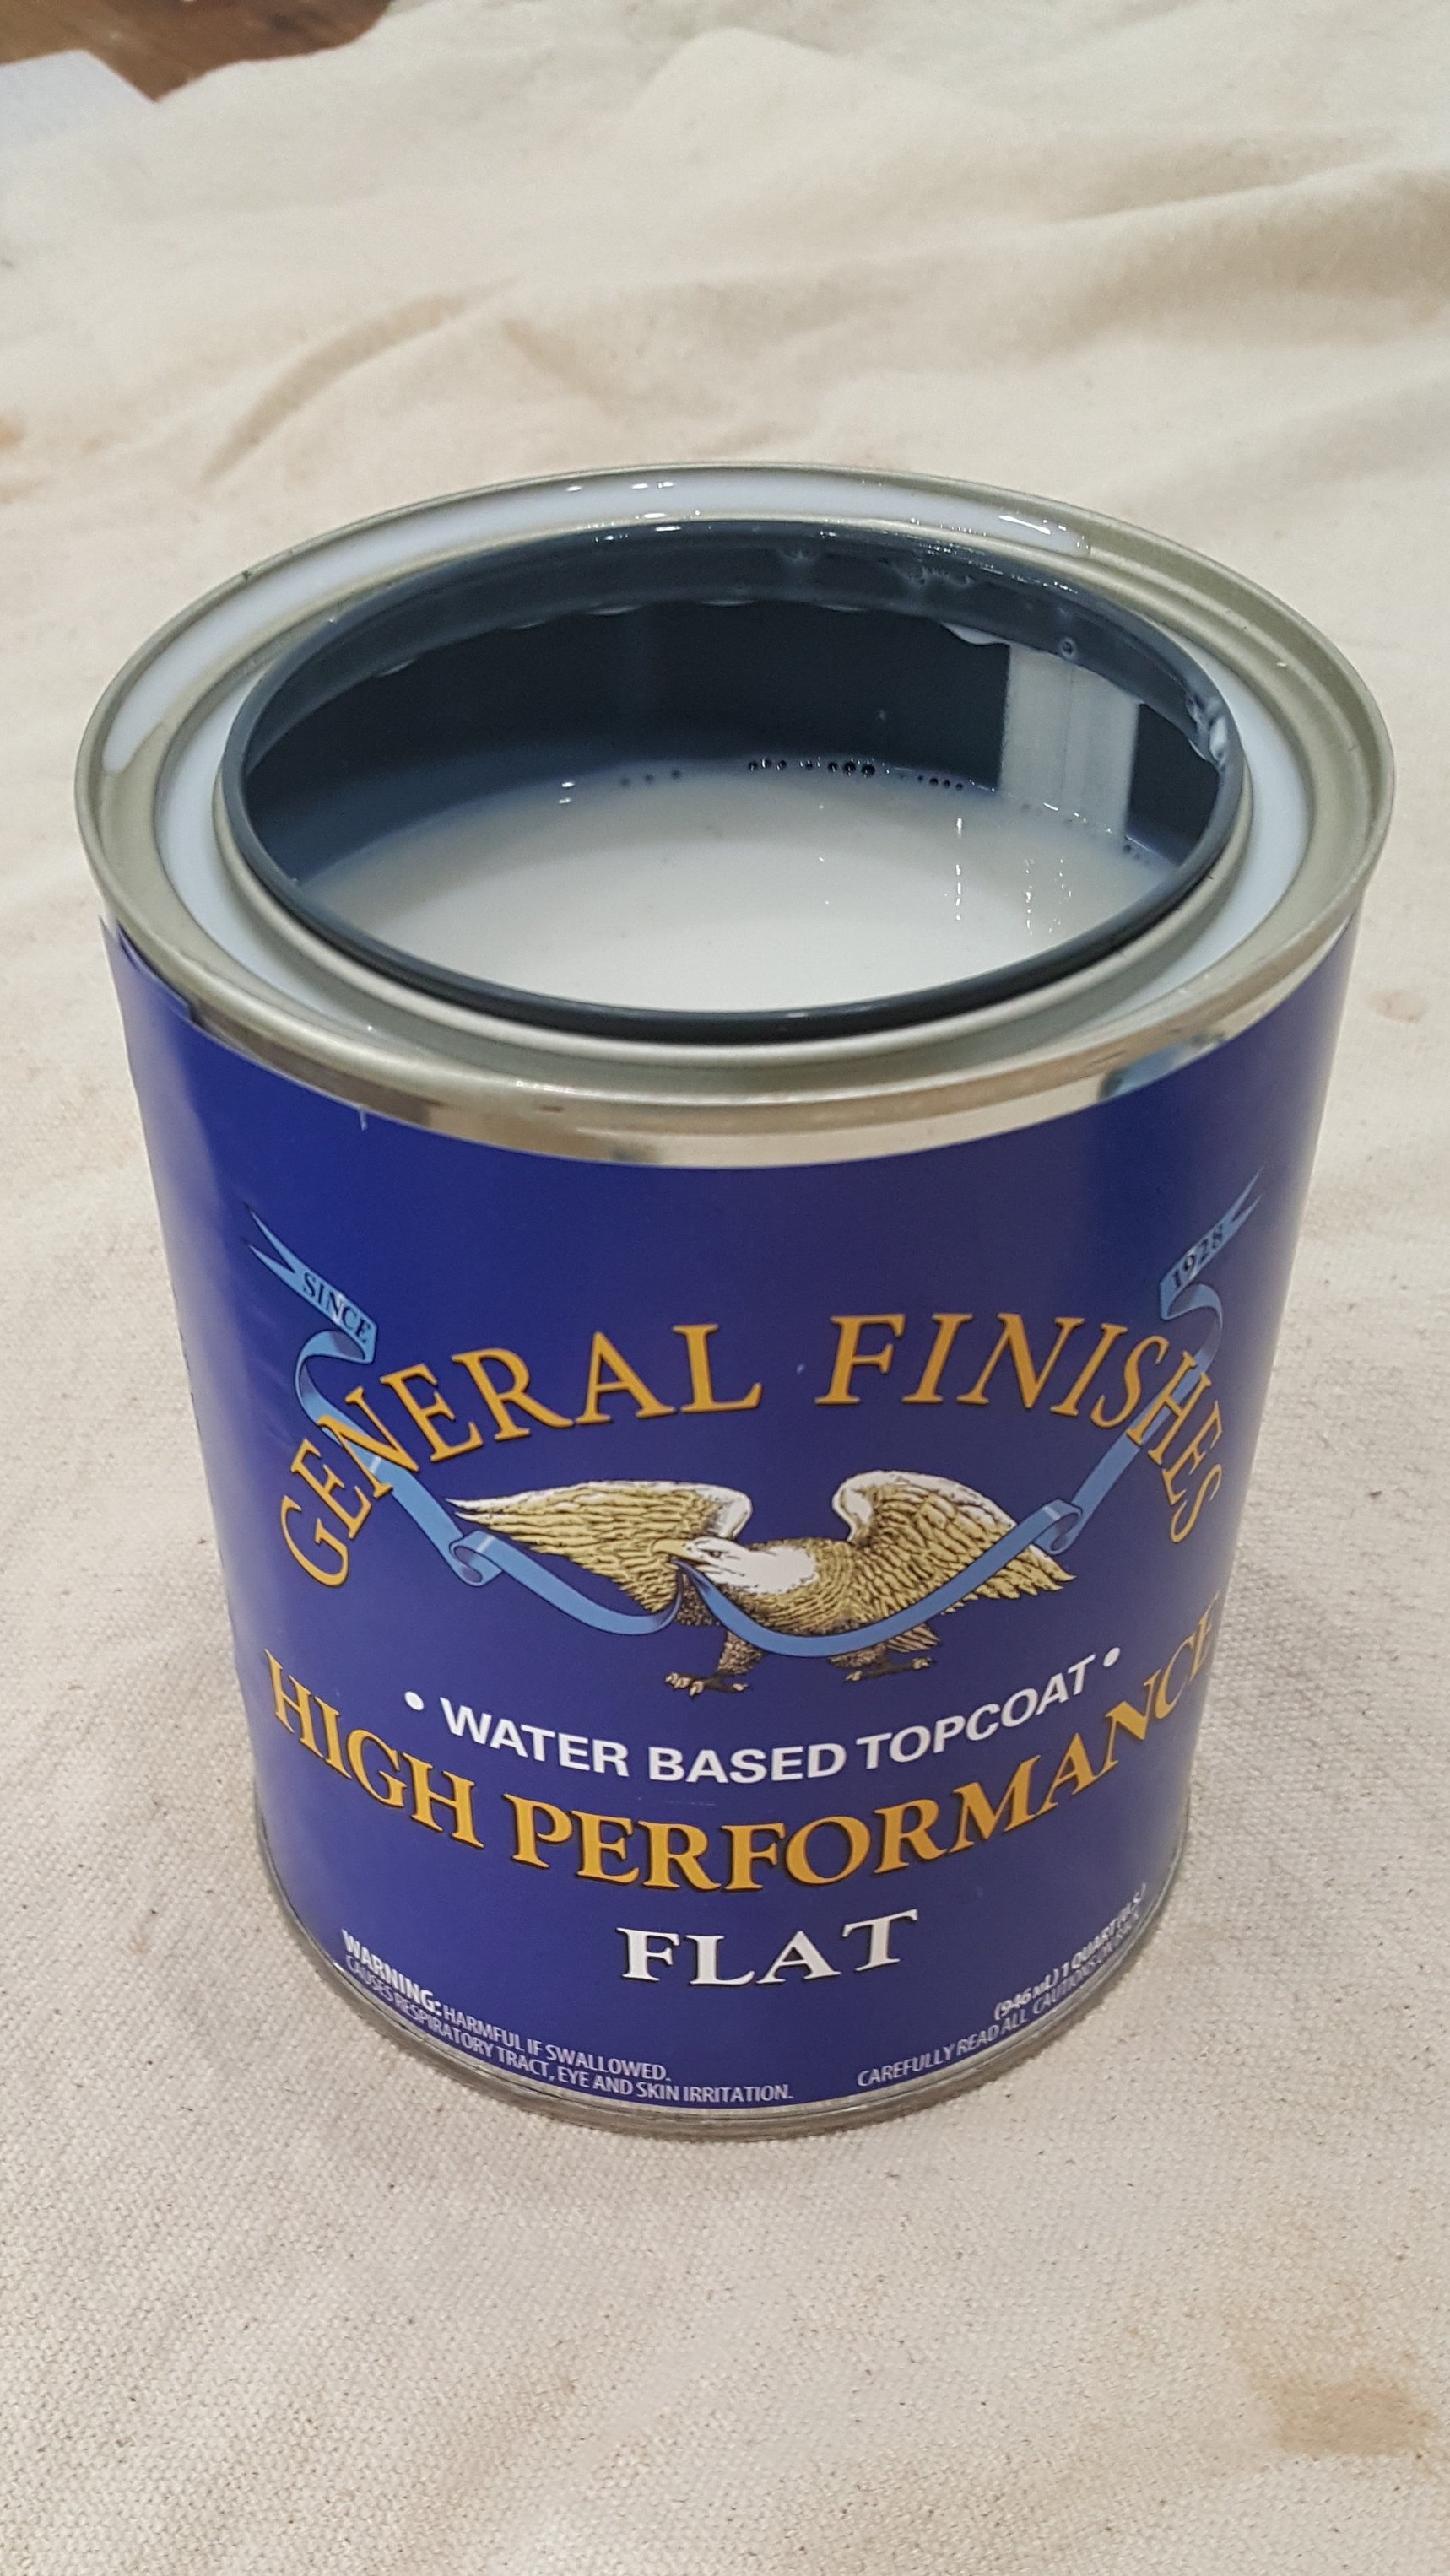
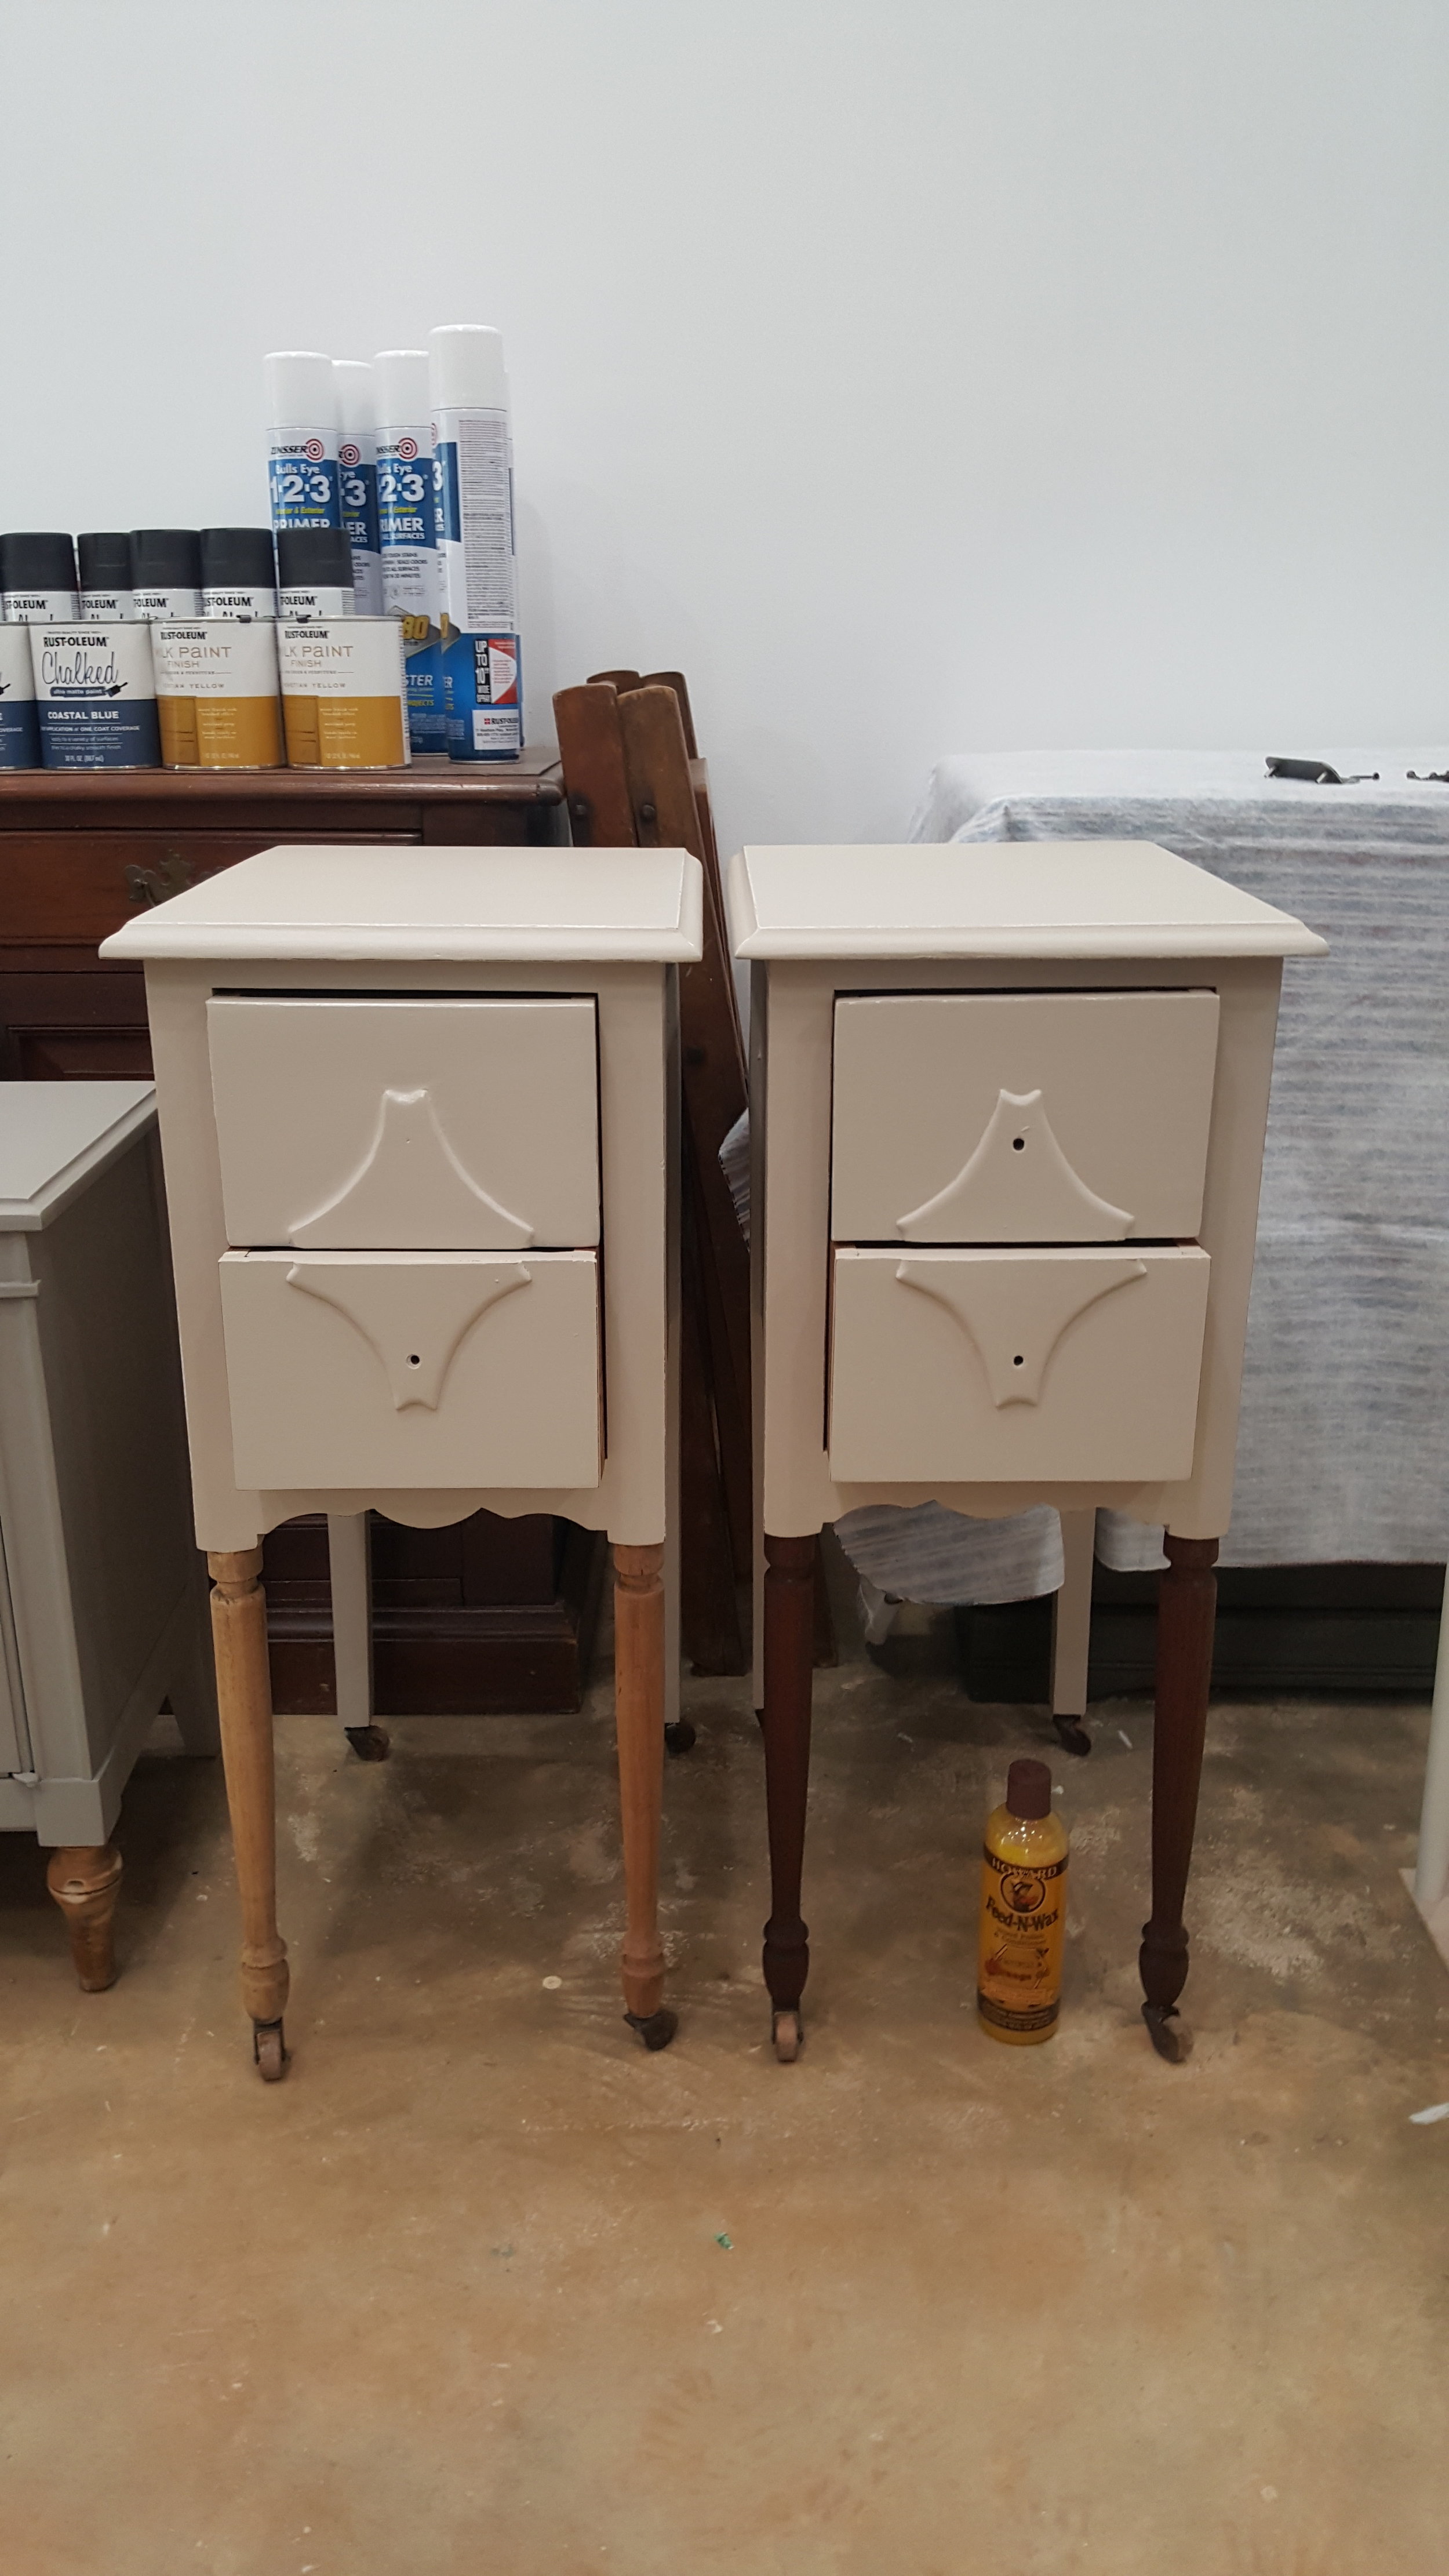
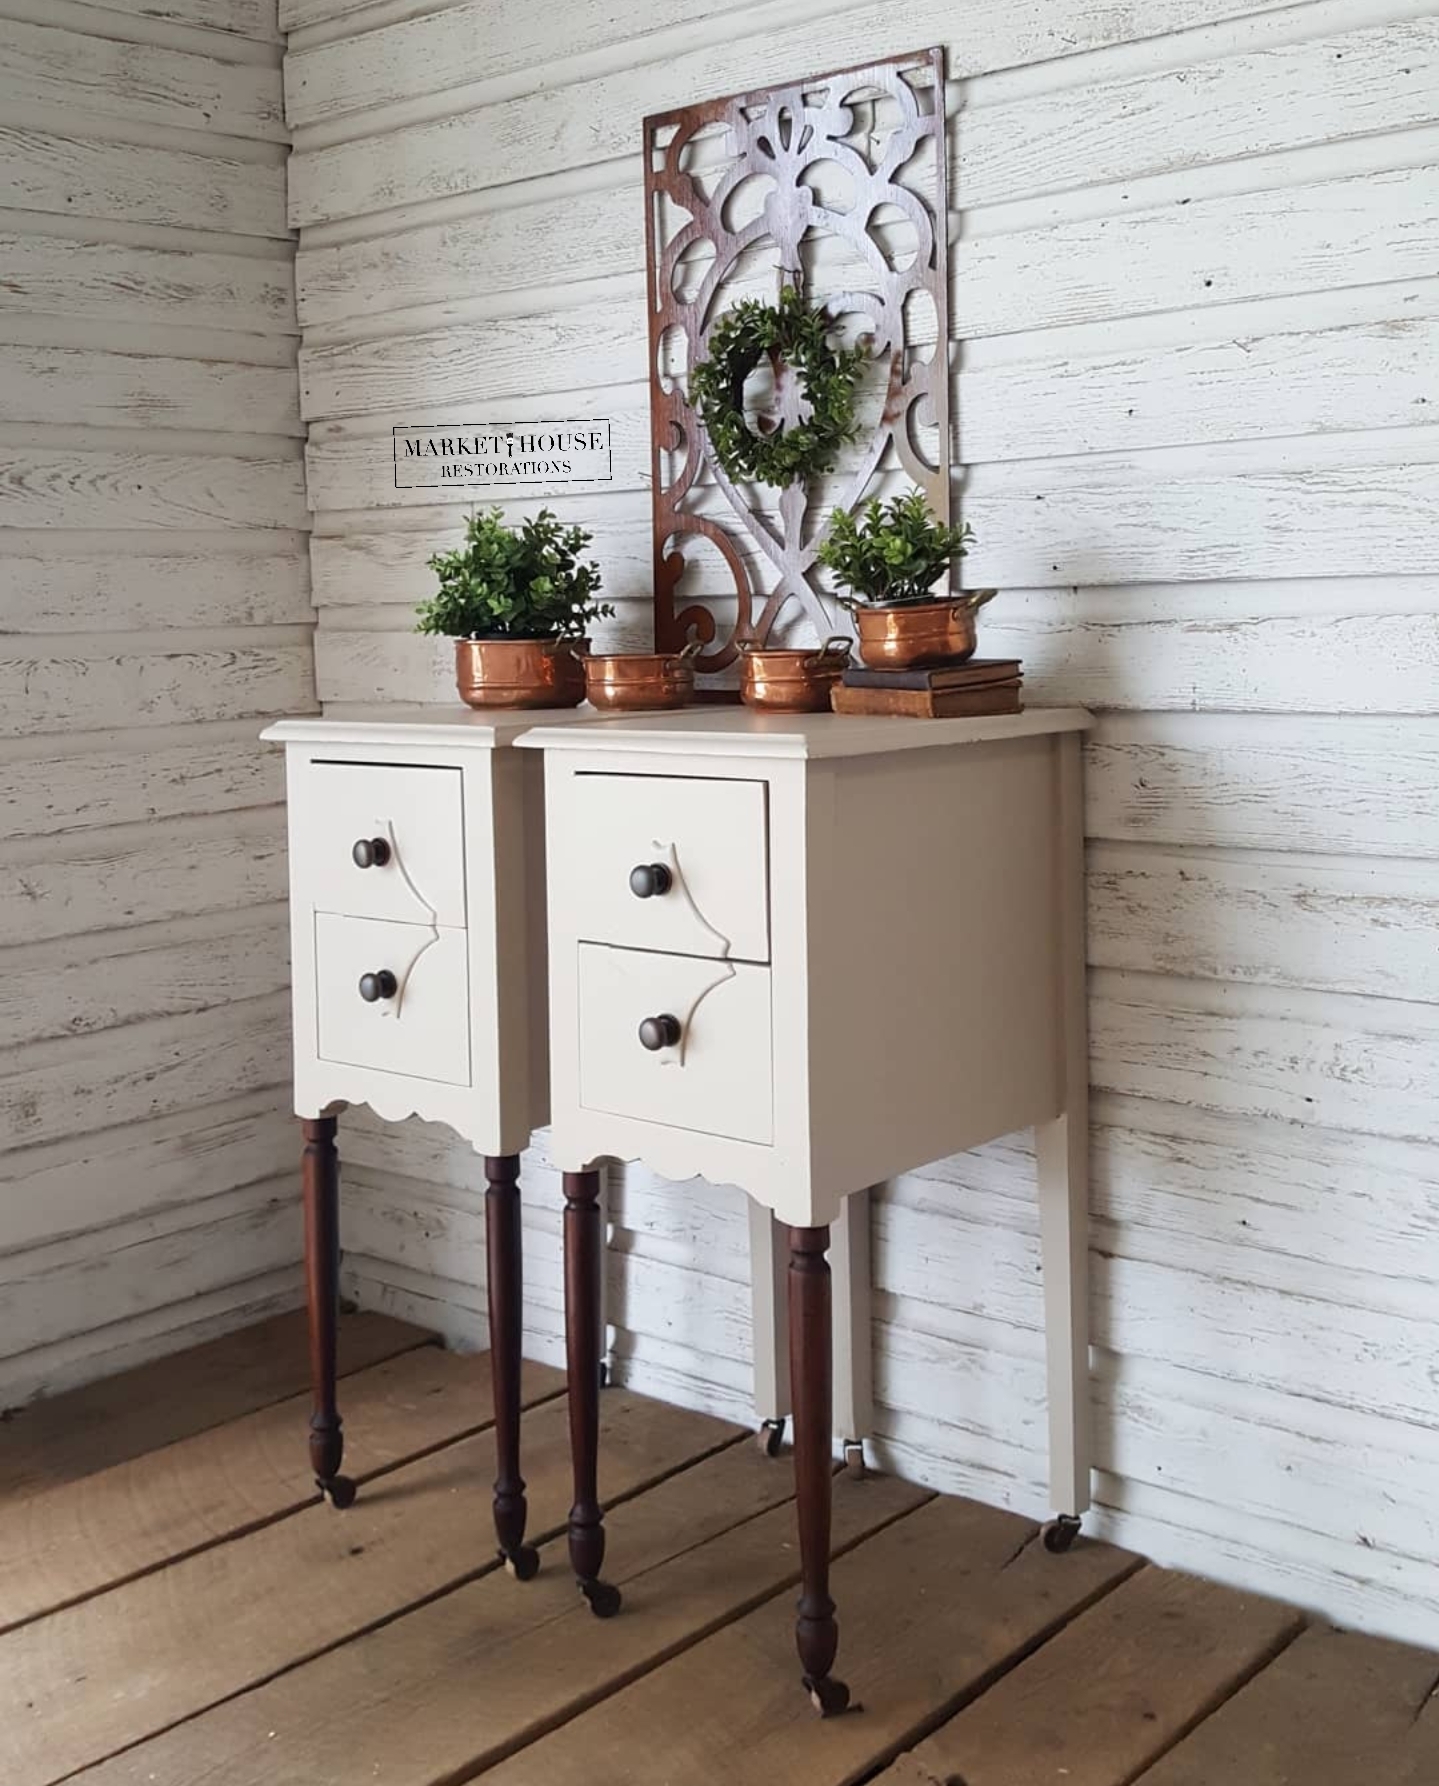
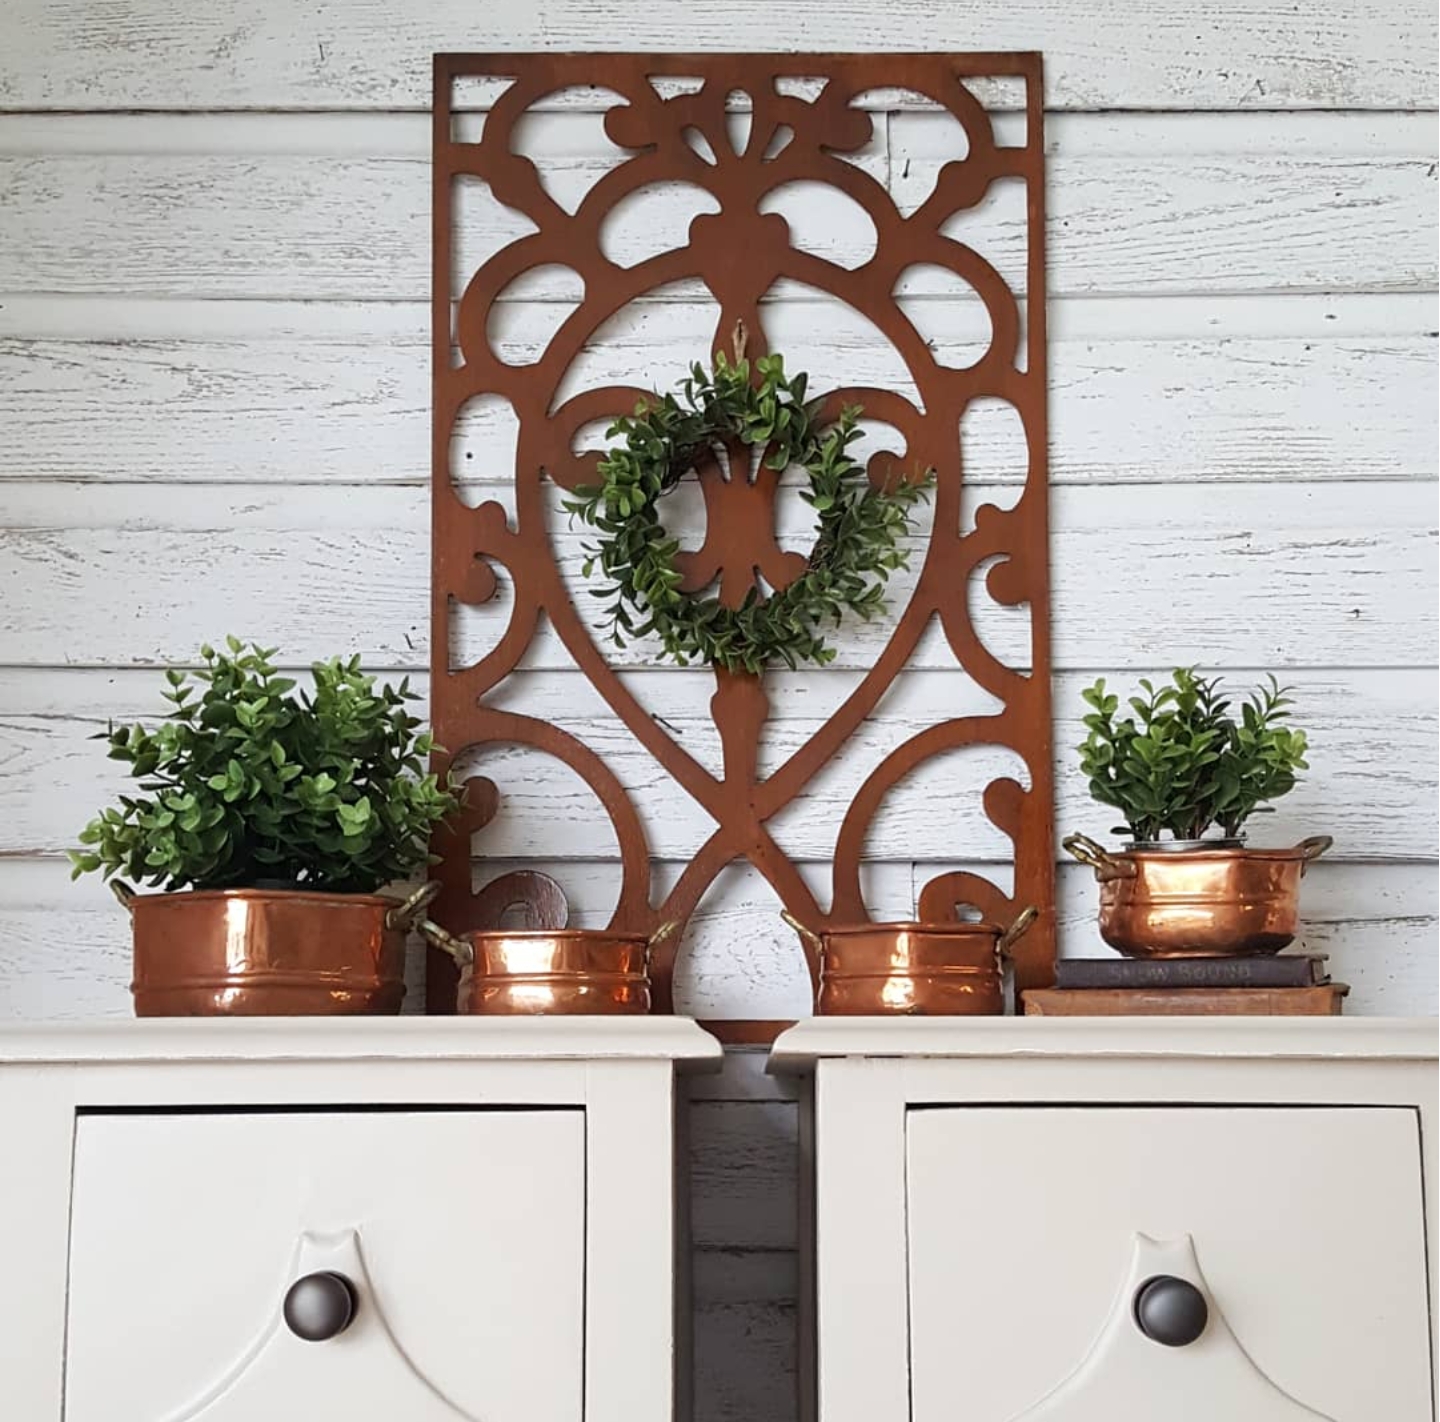
Step 7: Apply Paint Color, Distress Edges, Seal with Top Coat. I applied 3 coats of Cathedral Taupe by Fusion Mineral Paint with my 2'“ Palm Pro by Zibra. I lightly hand-distressed the edges with 220 grit sandpaper and sealed each piece with 3 coats of General Finishes High Performance Top Coat in Flat.

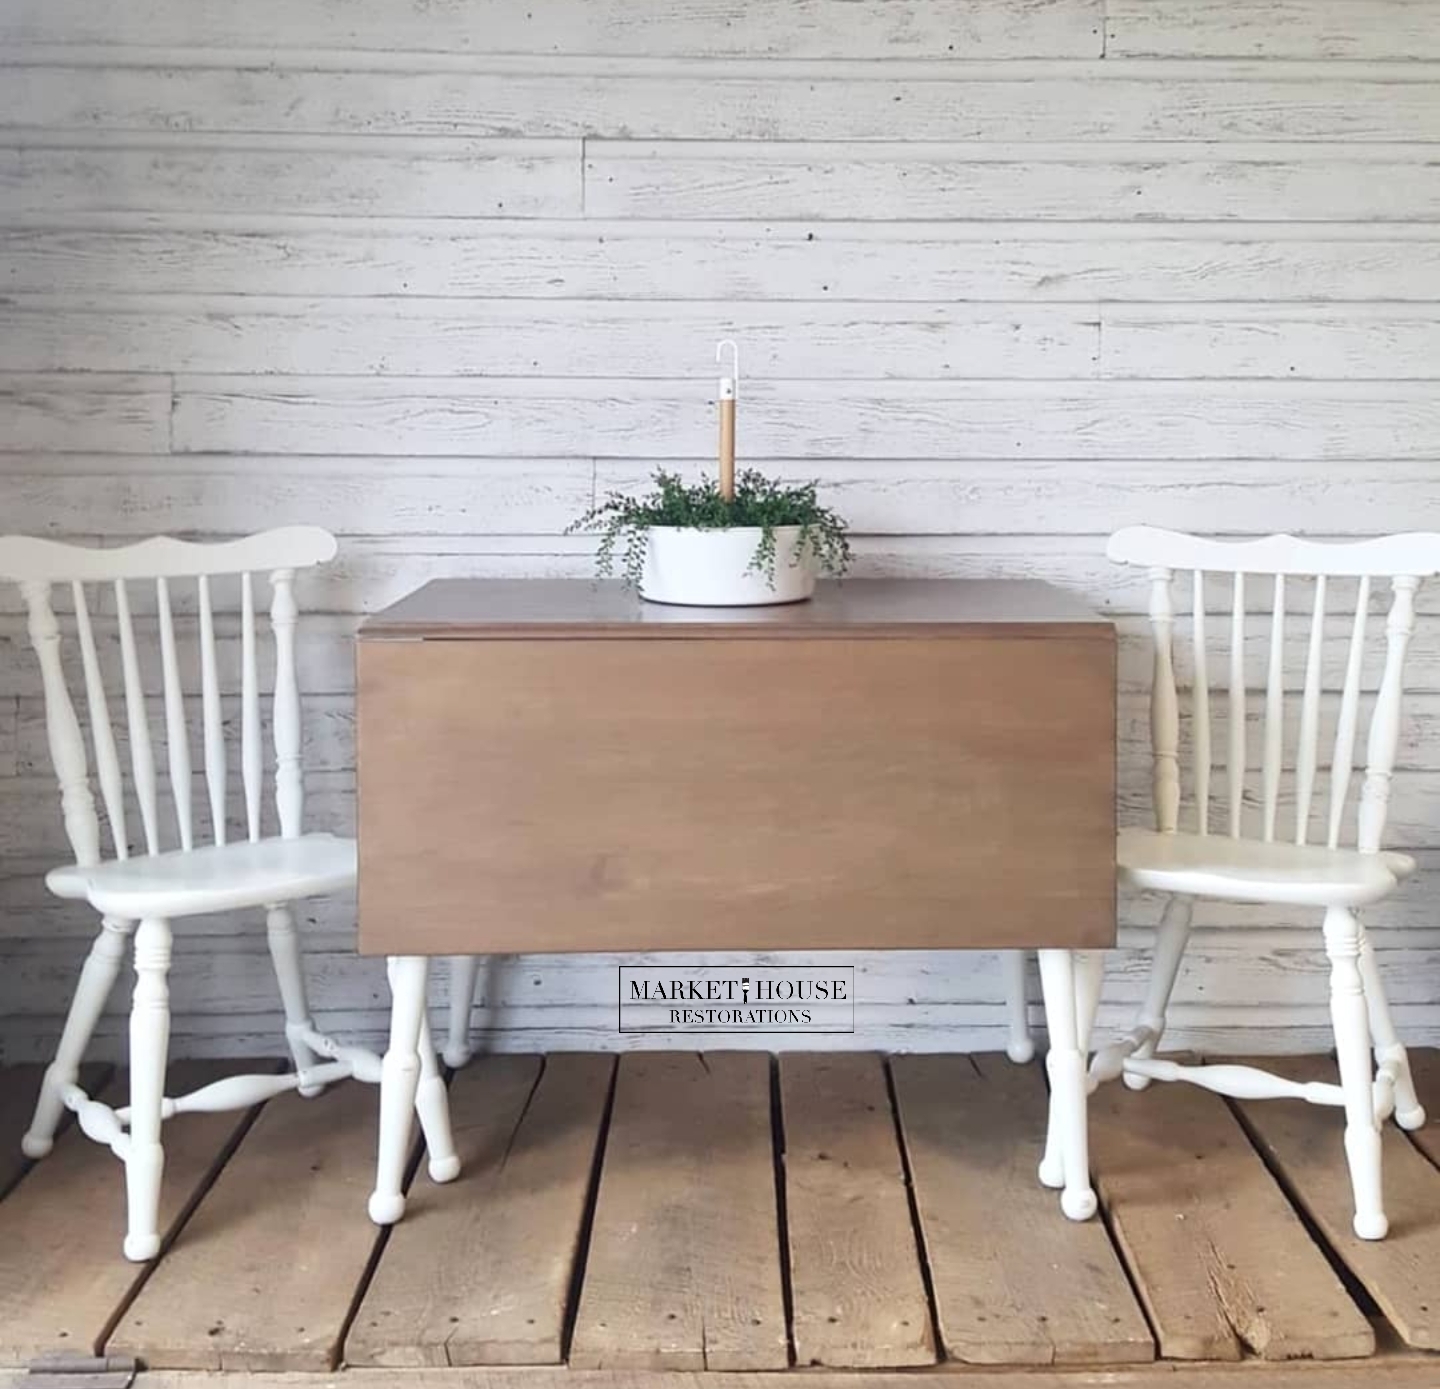
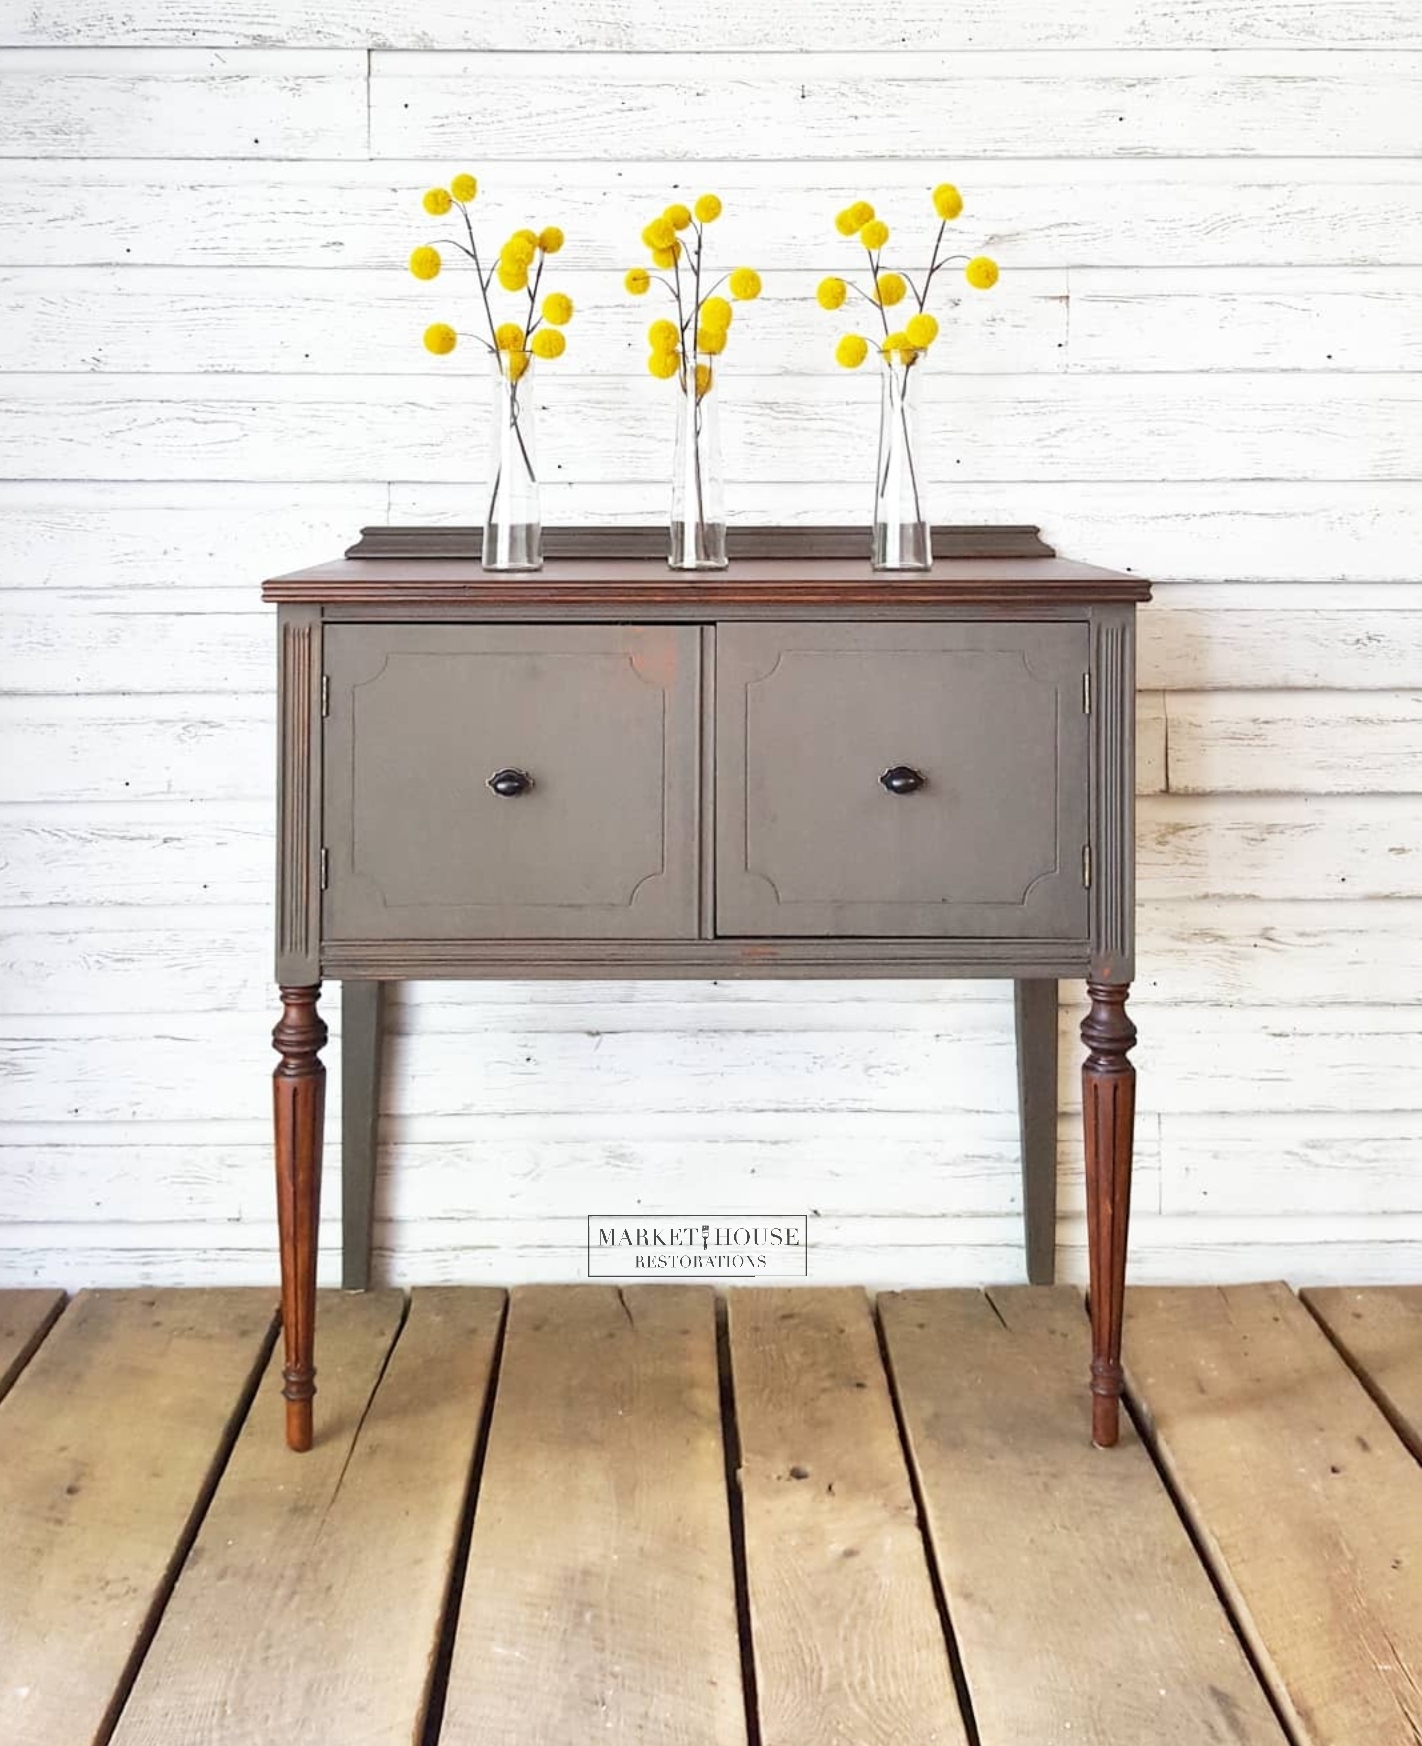
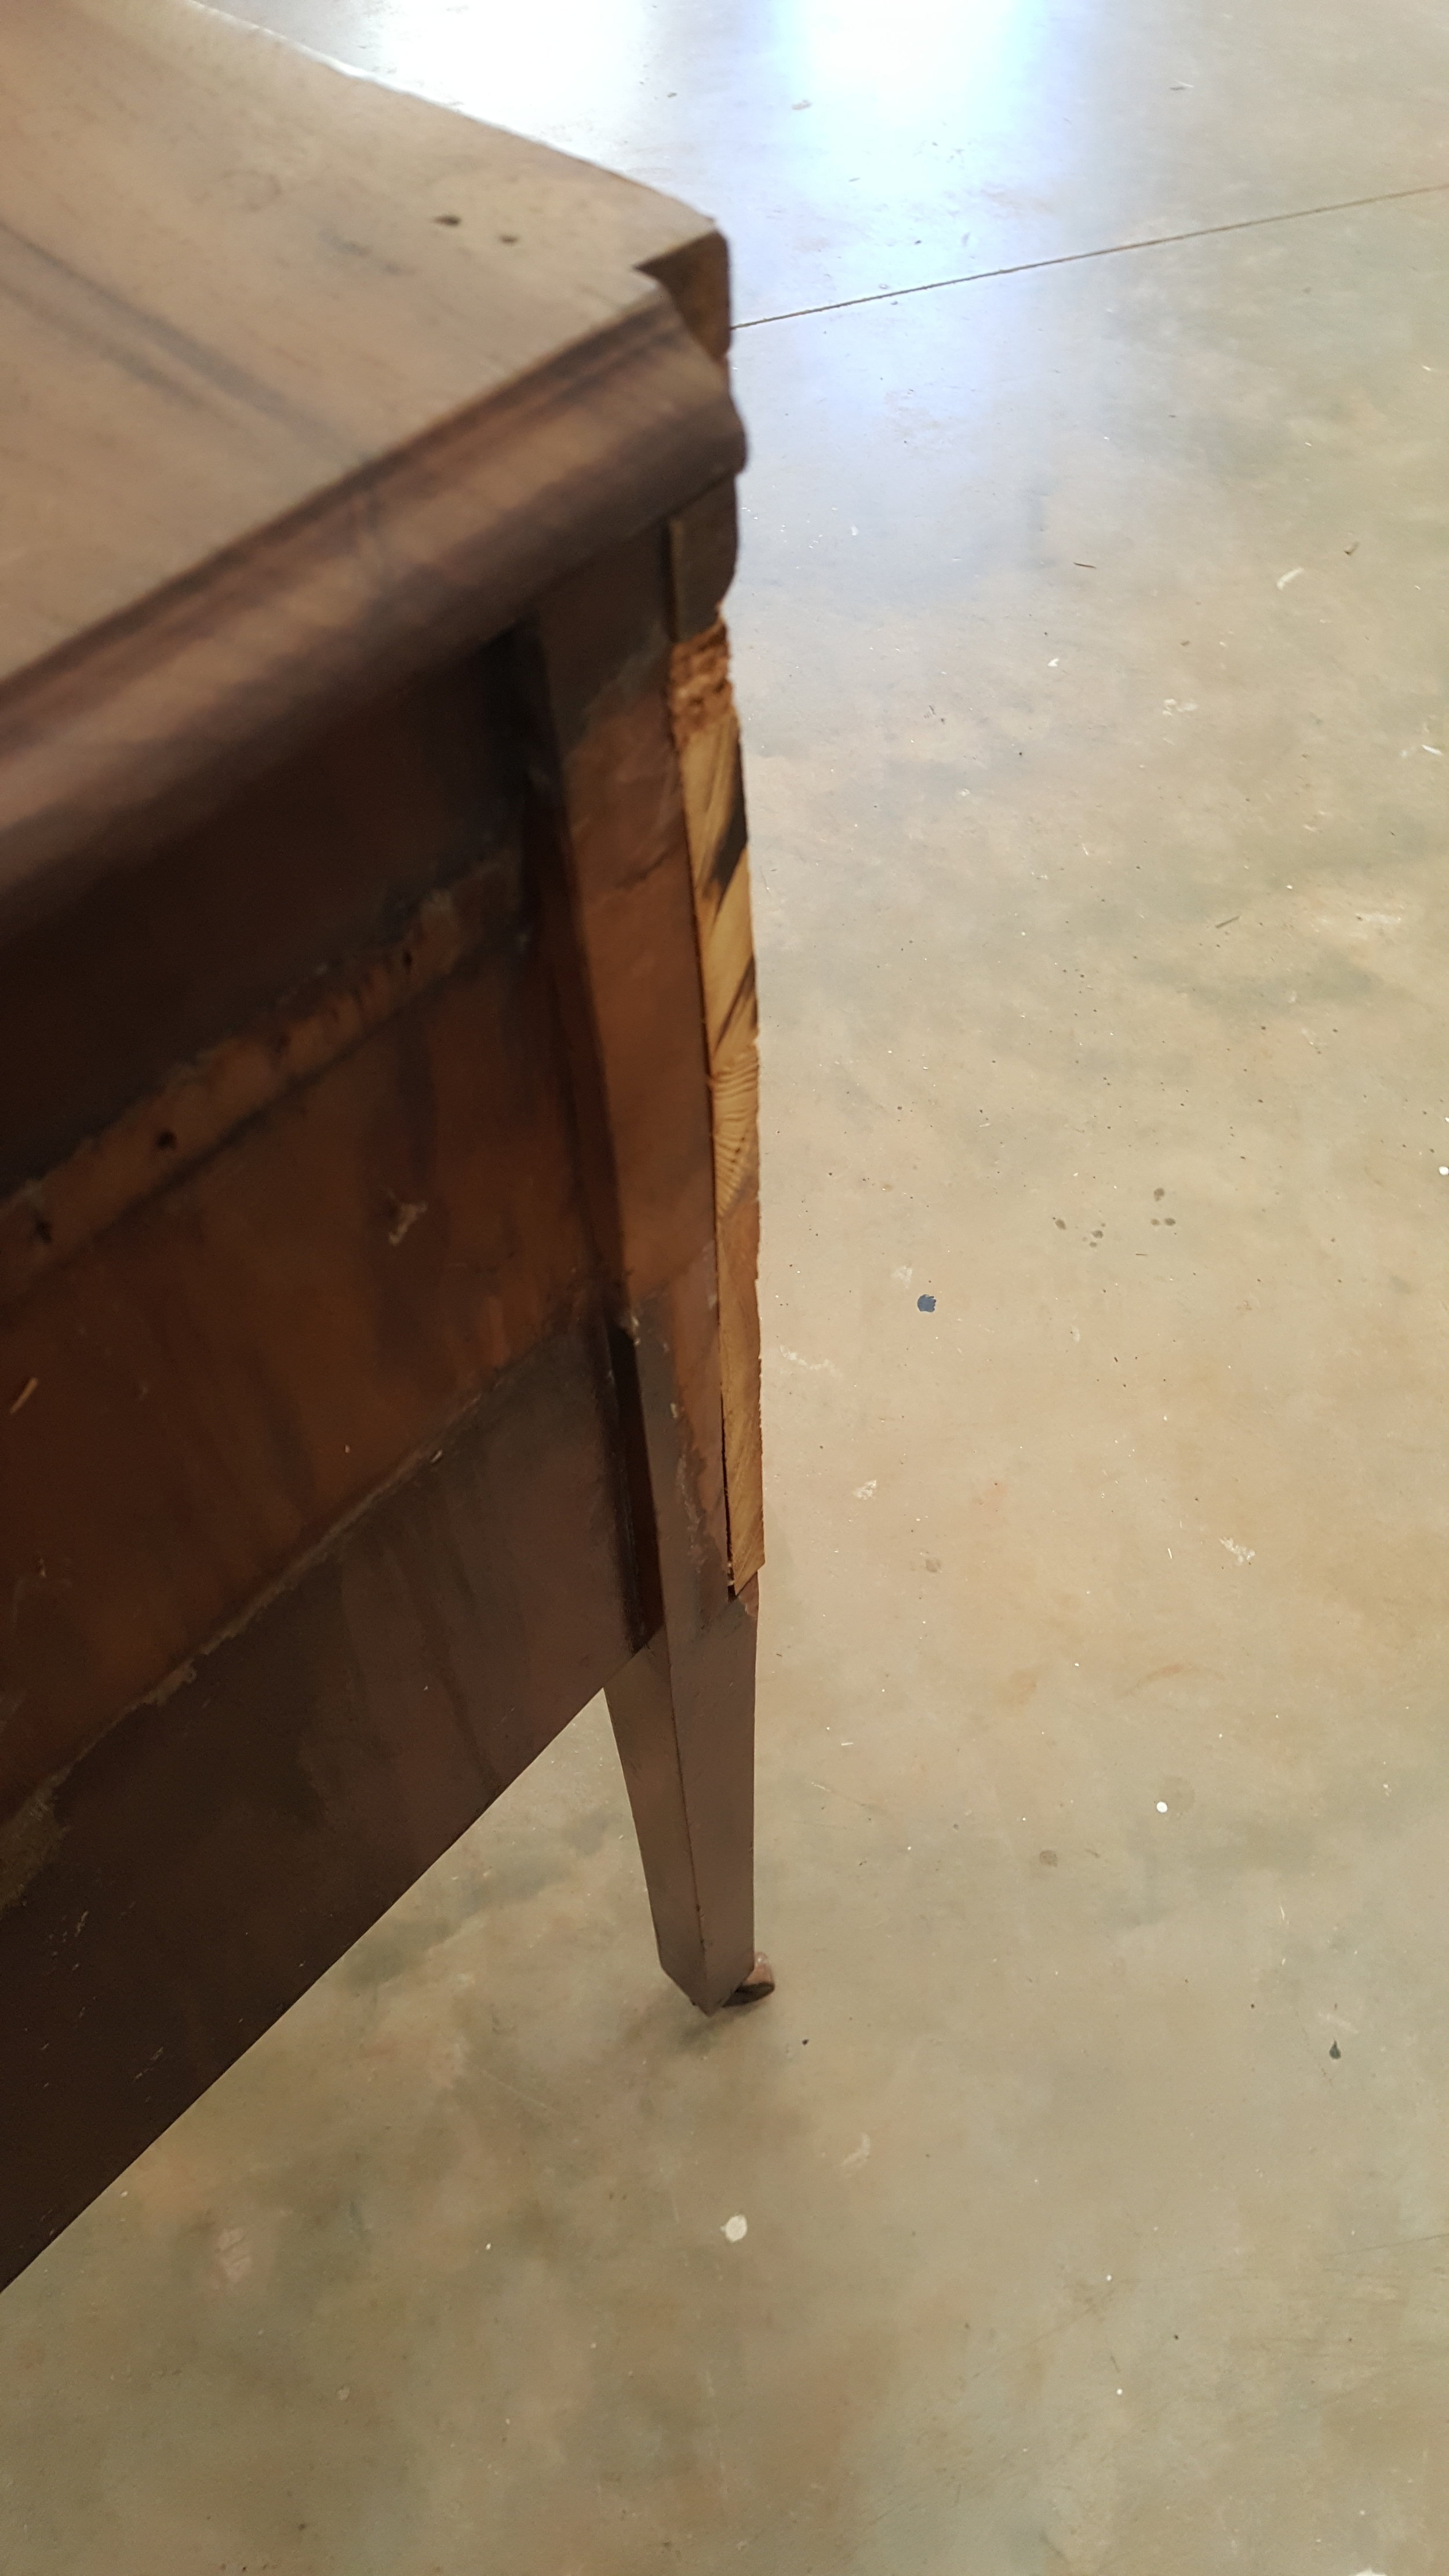
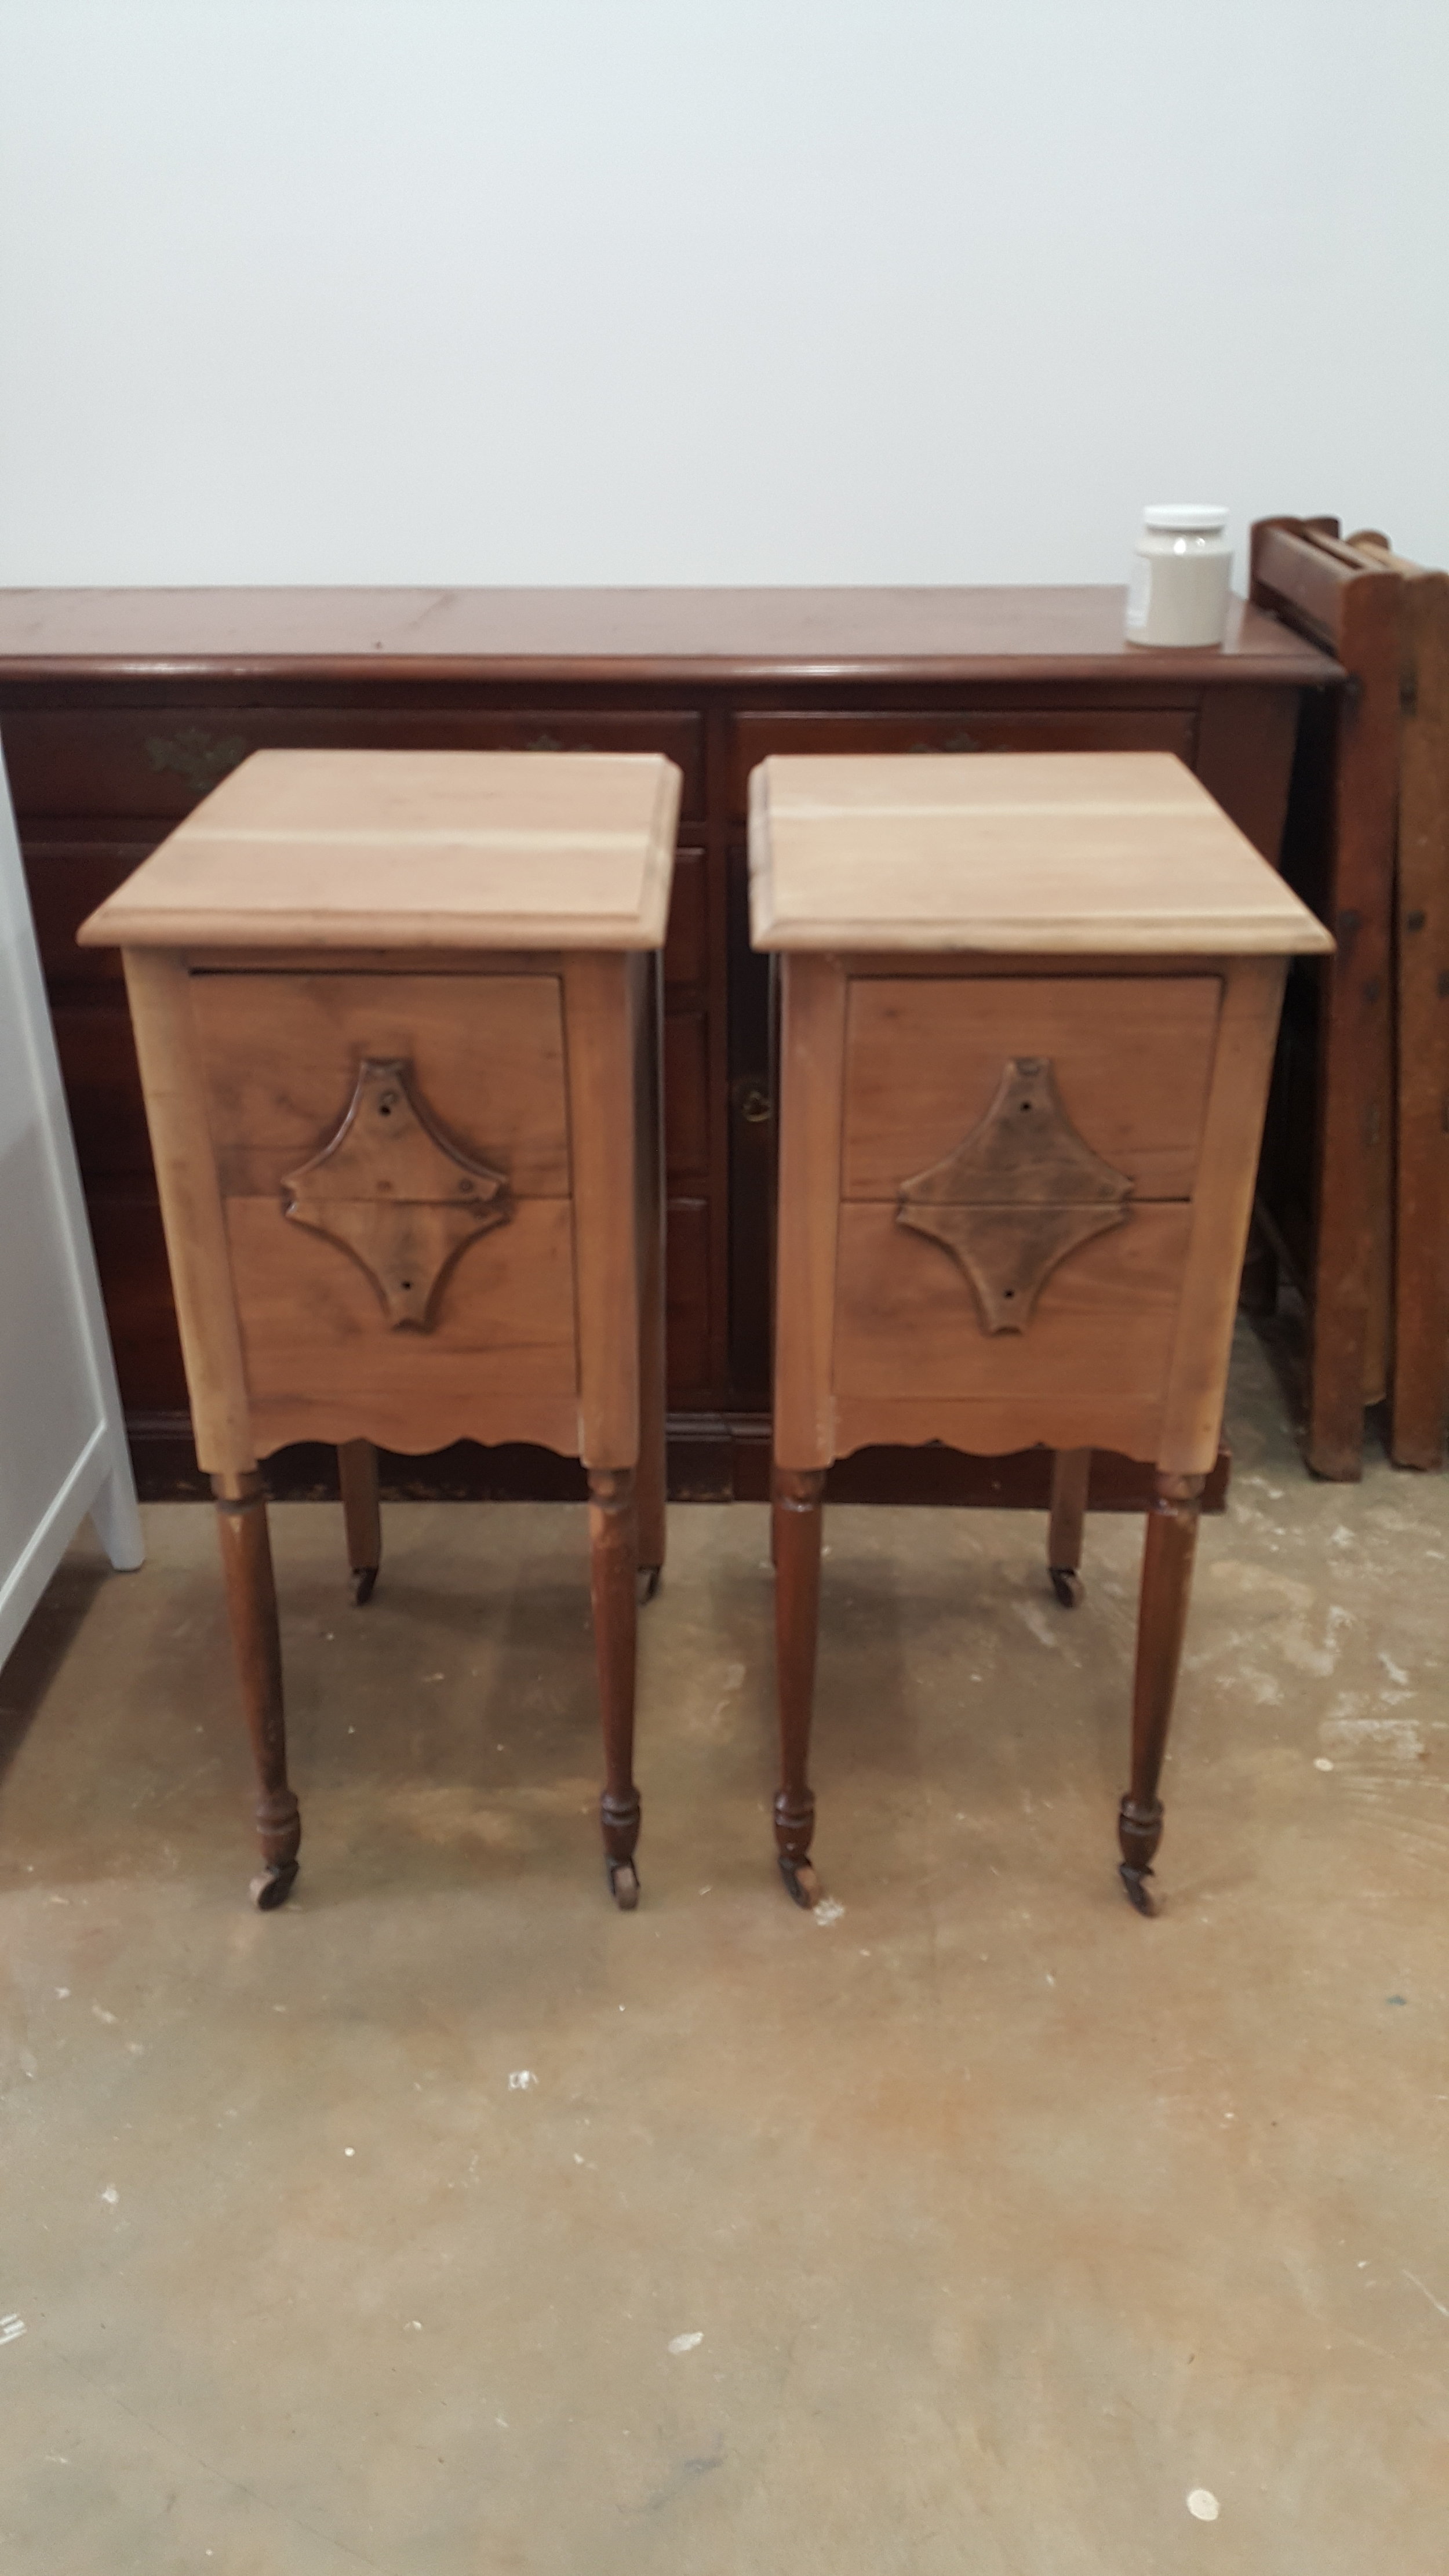
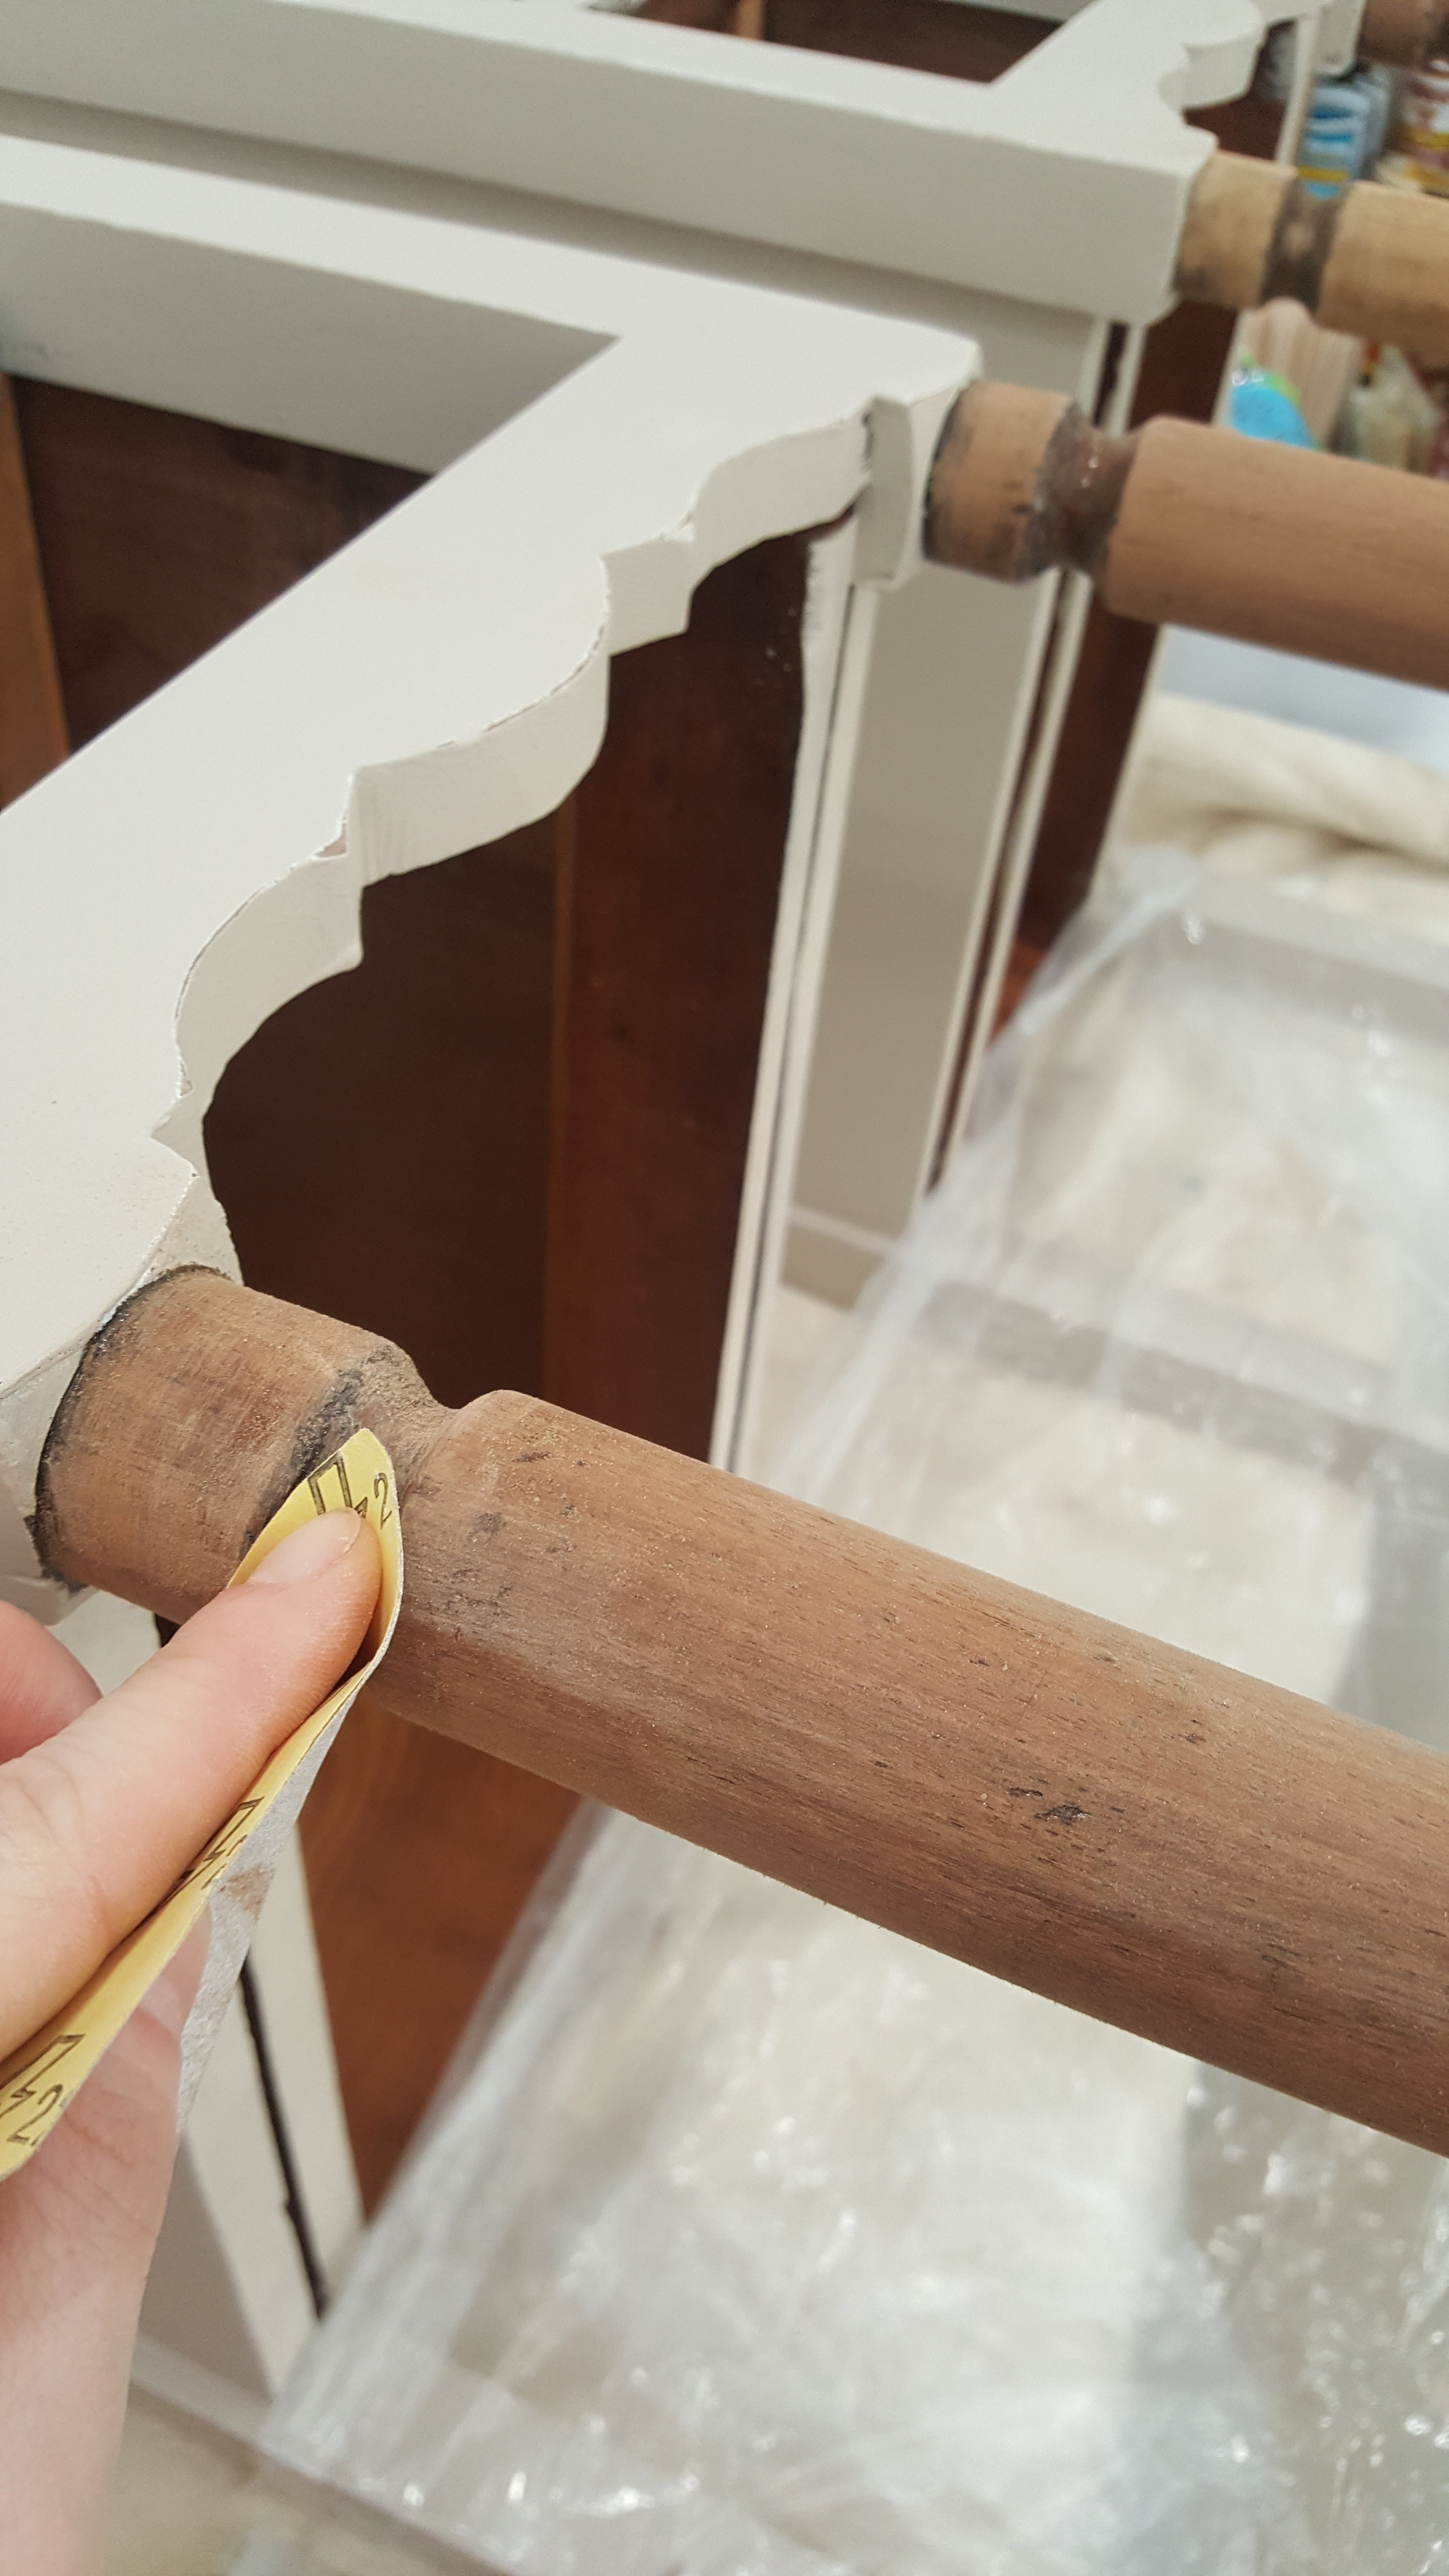
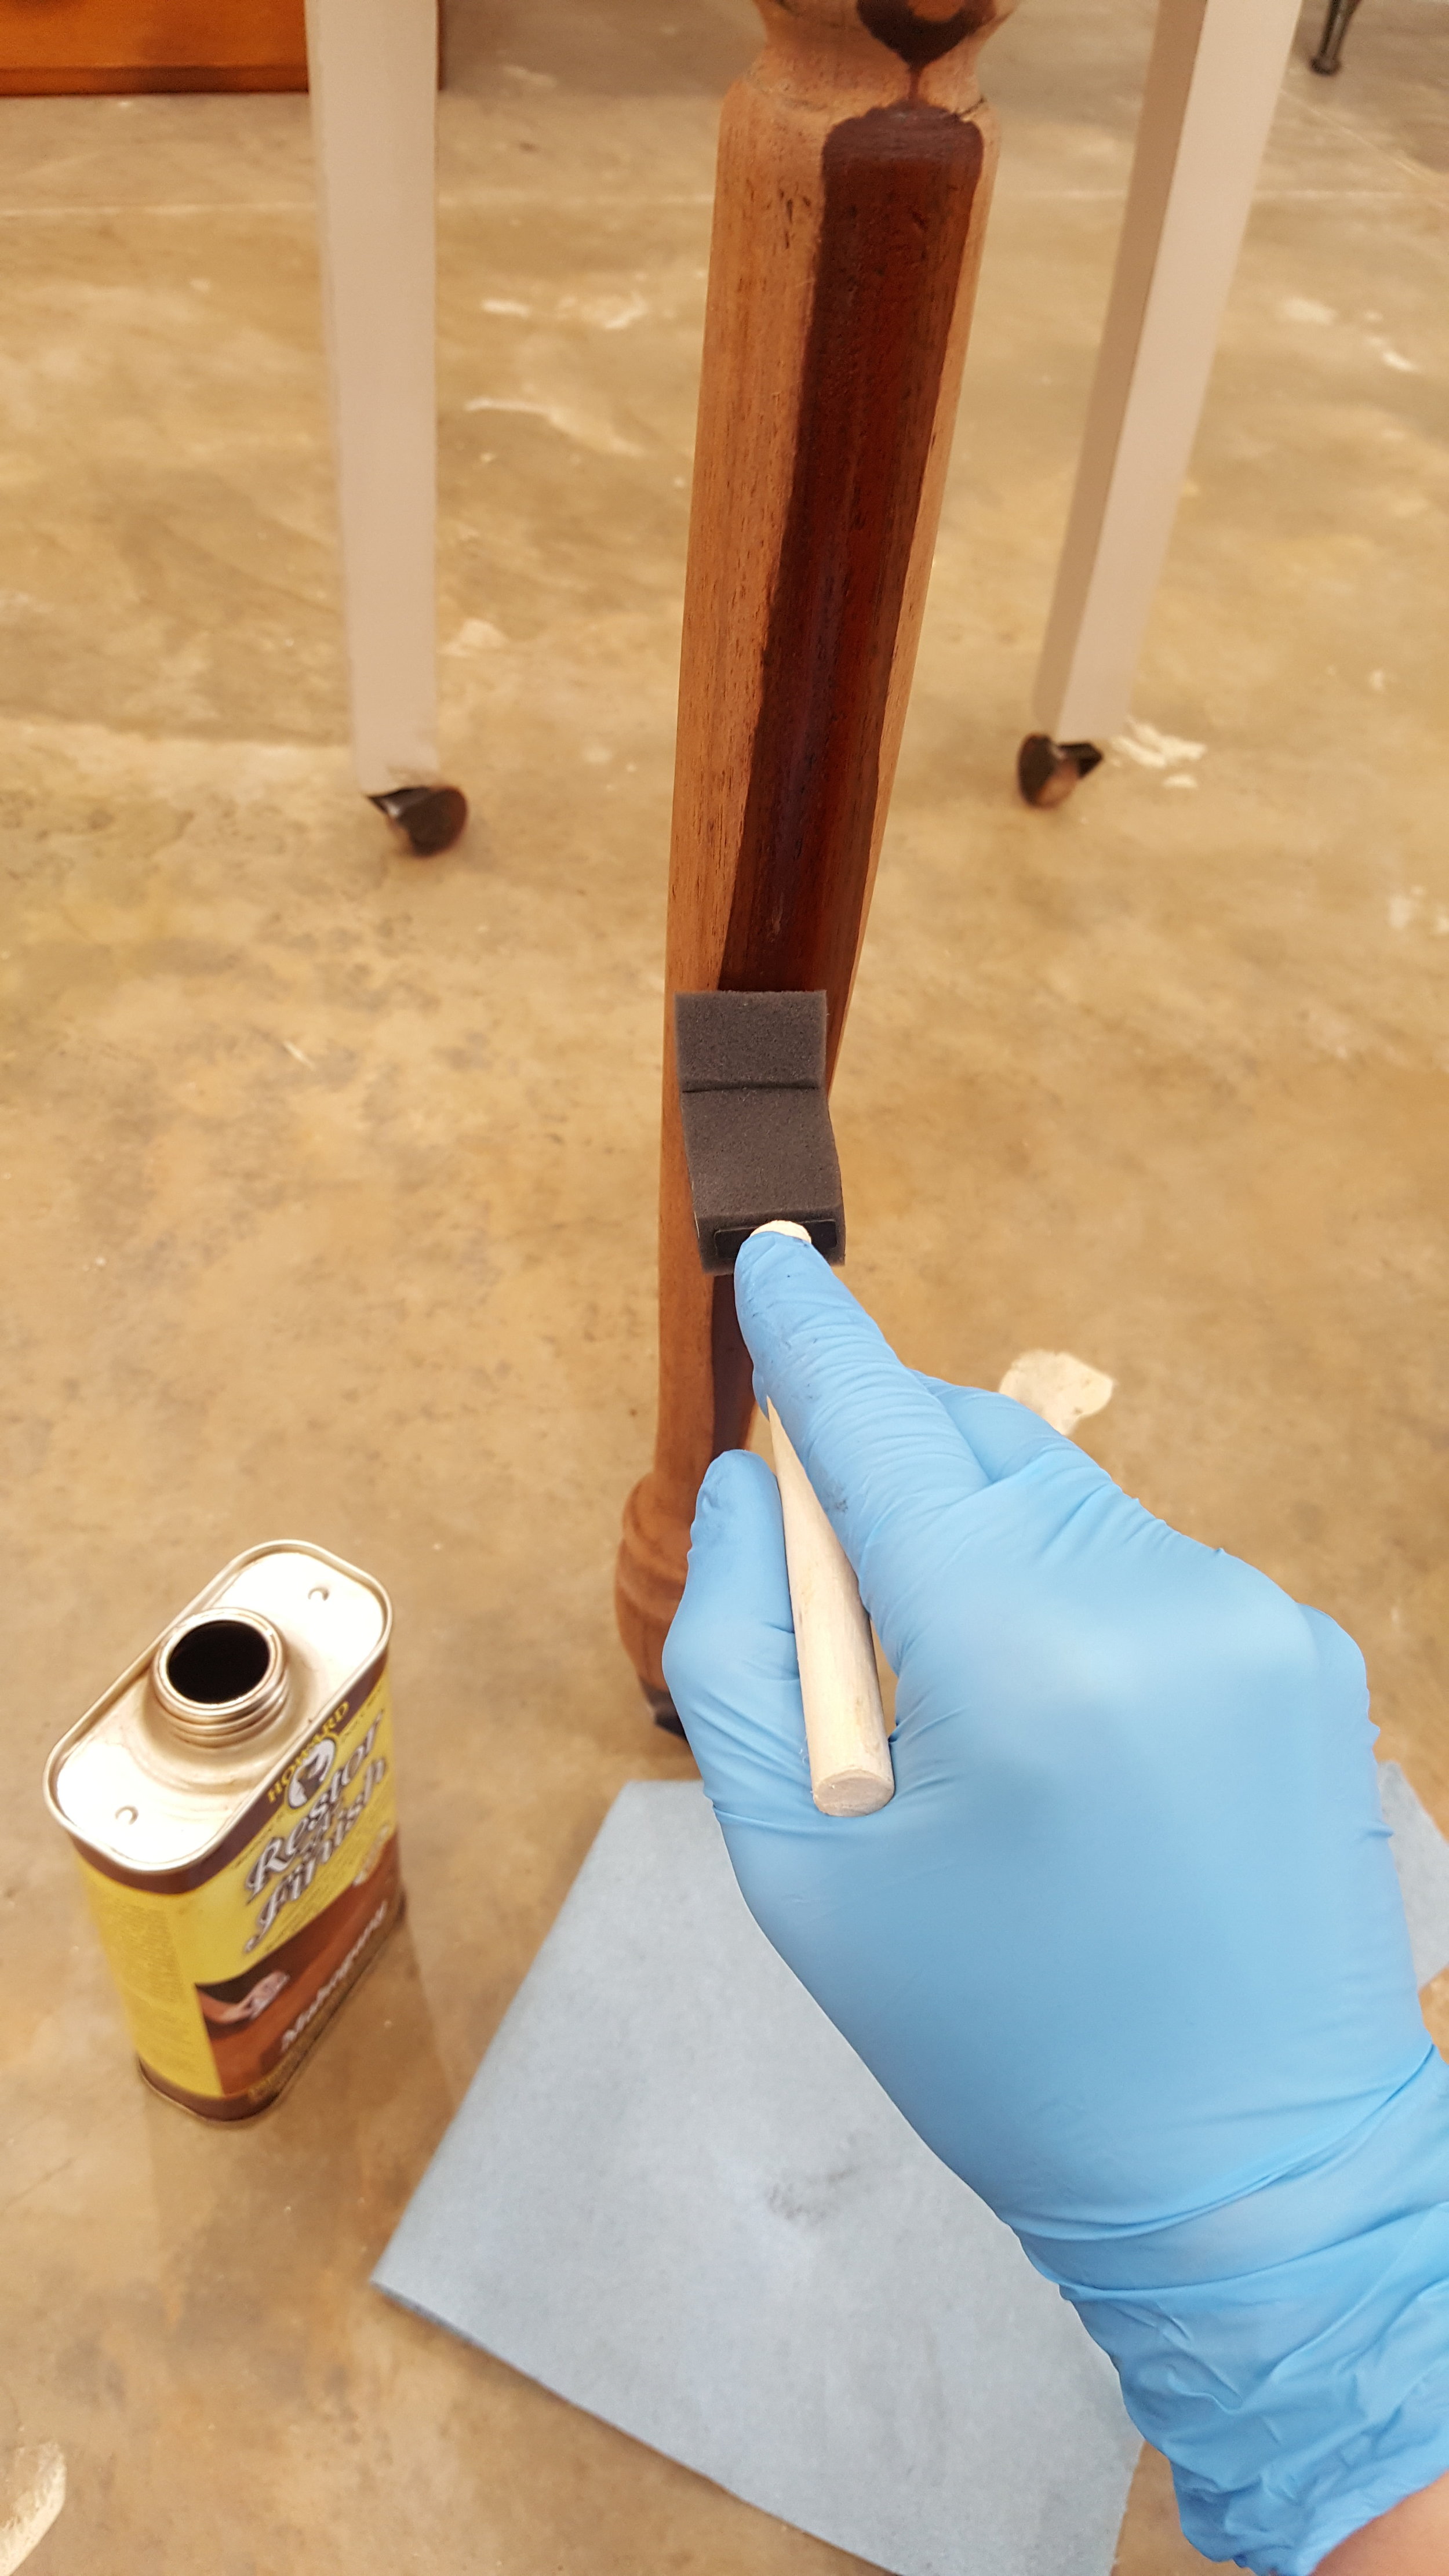
Step 8: Sand Legs and Apply Howard’s Restore-A-Finish. Since the original finish was starting to come off, I decided to go ahead remove it to give the legs a fresh look. I hand sanded them with 150 grit sandpaper and then applied Howard’s Restor-A-Finish in Mahogany. After that I applied Howard’s Feed and Wax to preserve and protect the color that I just applied.

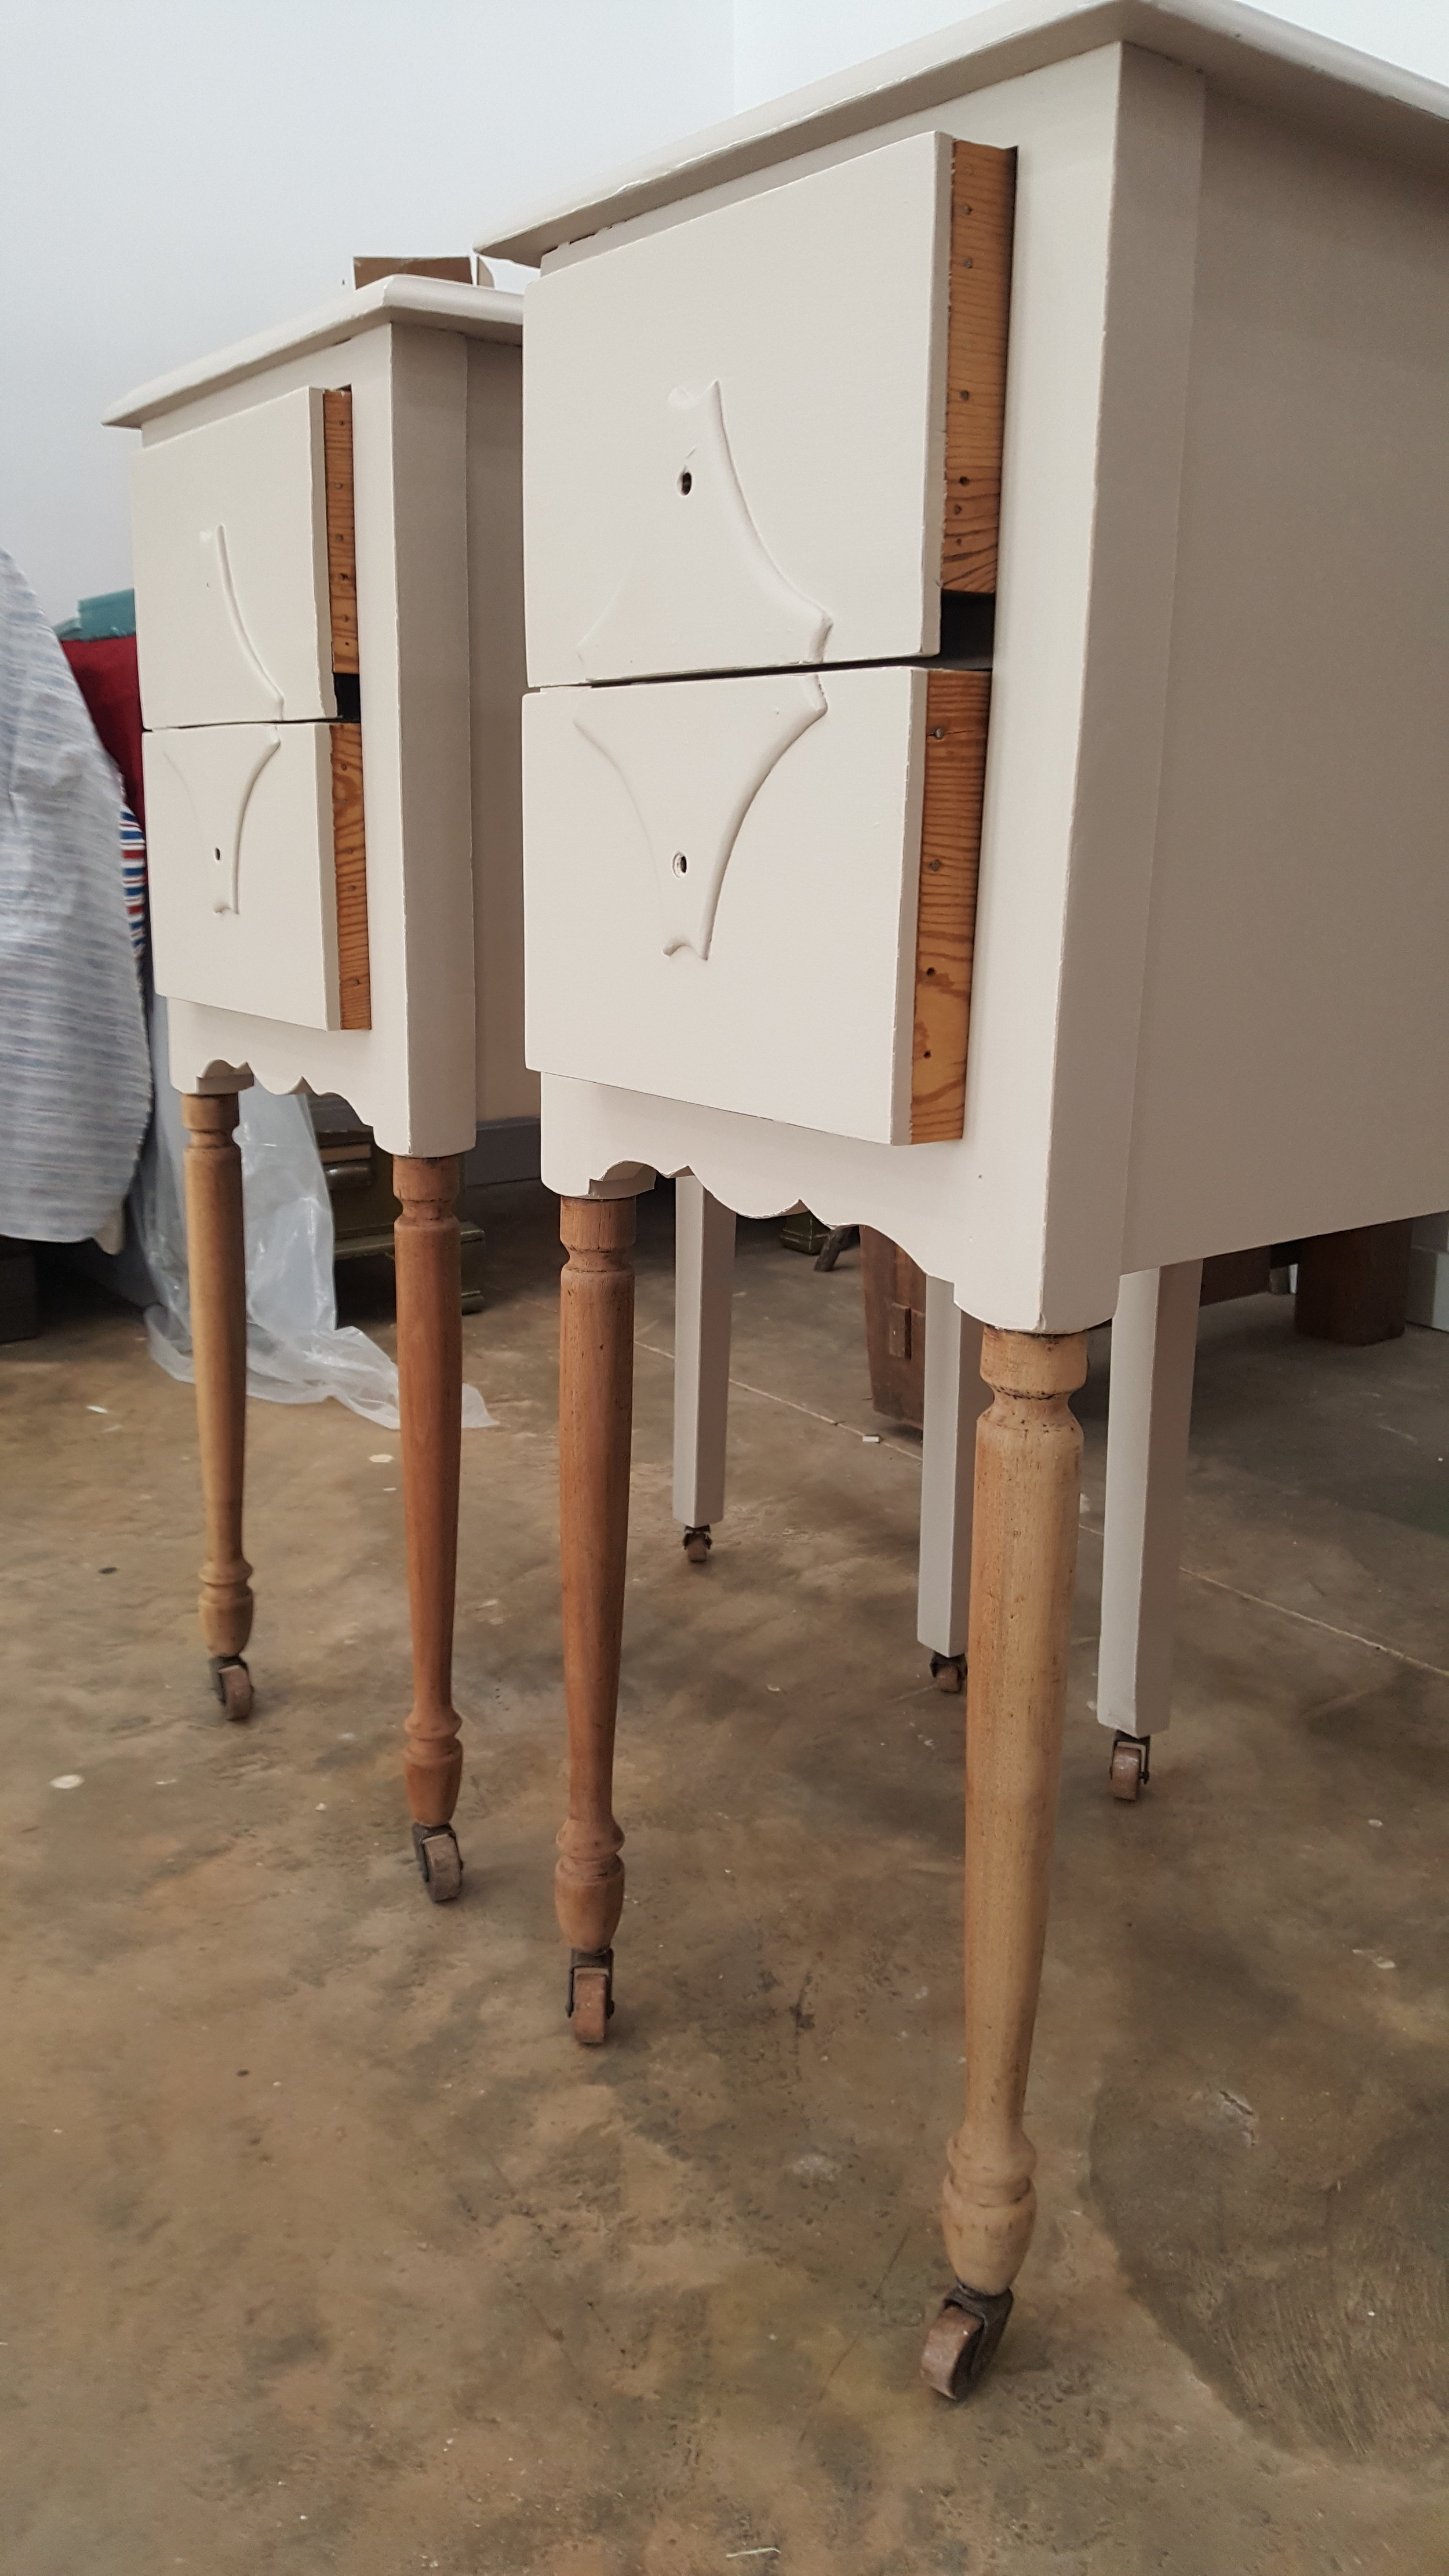
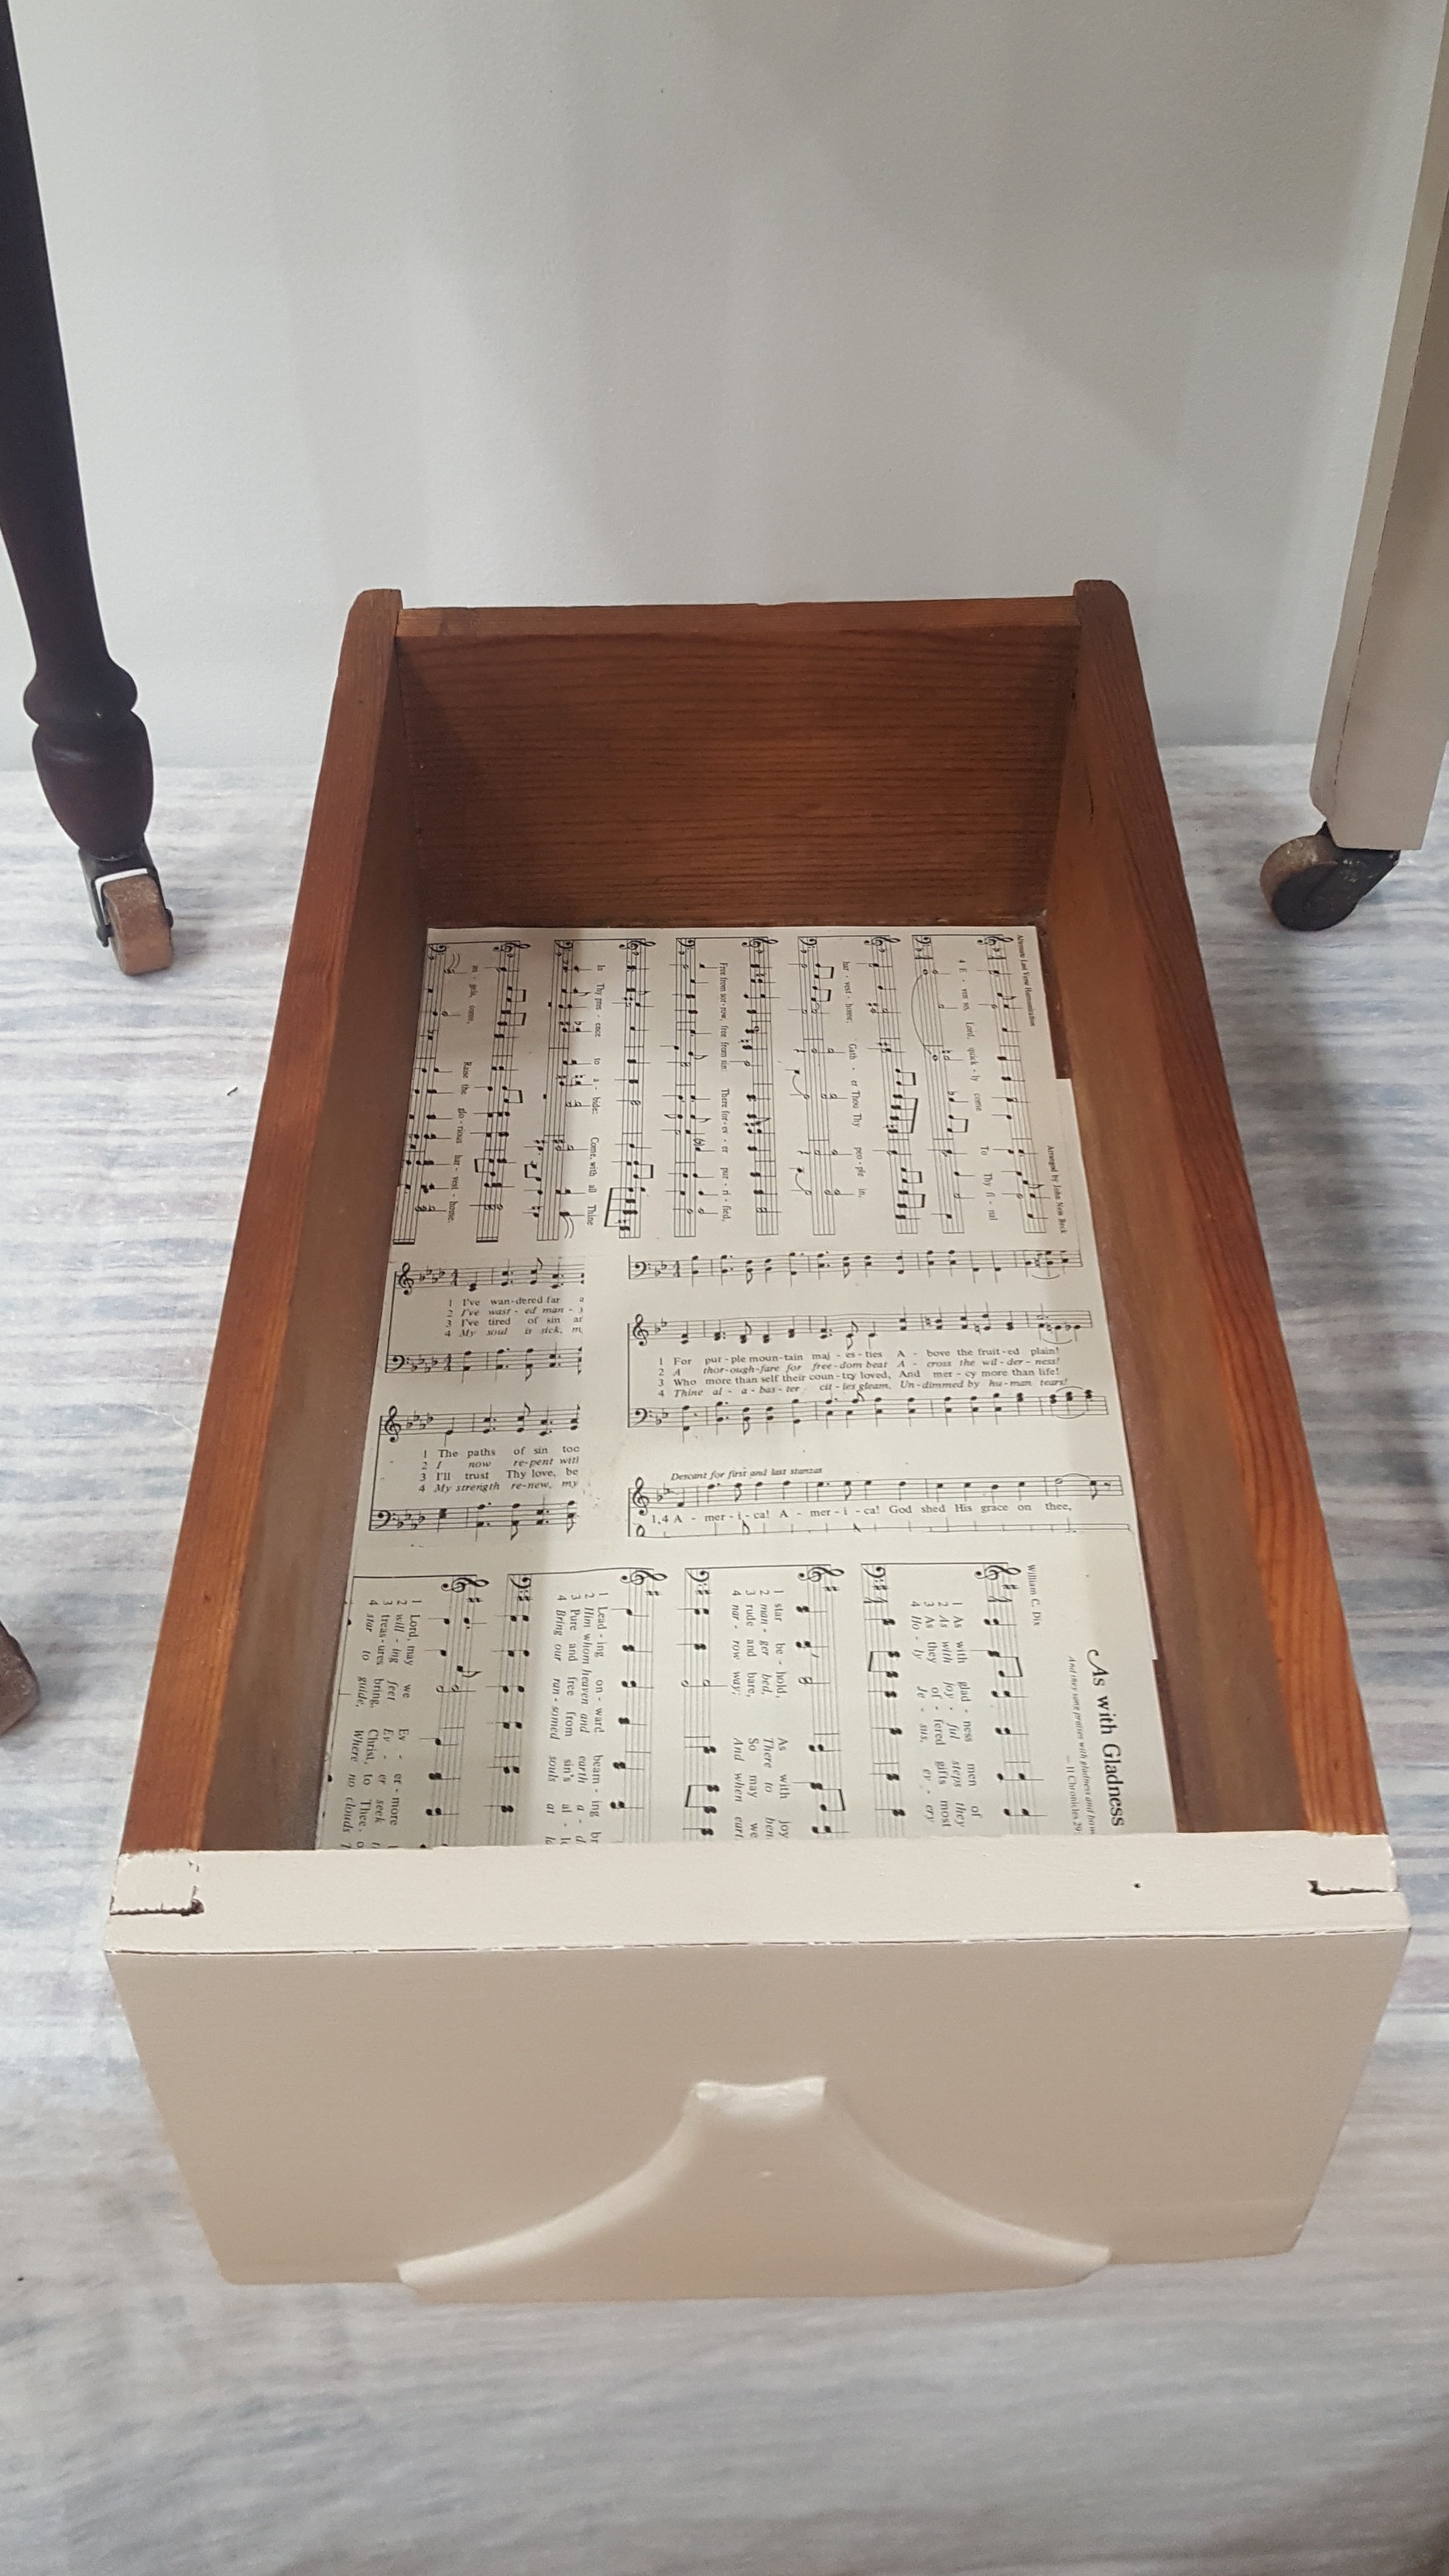
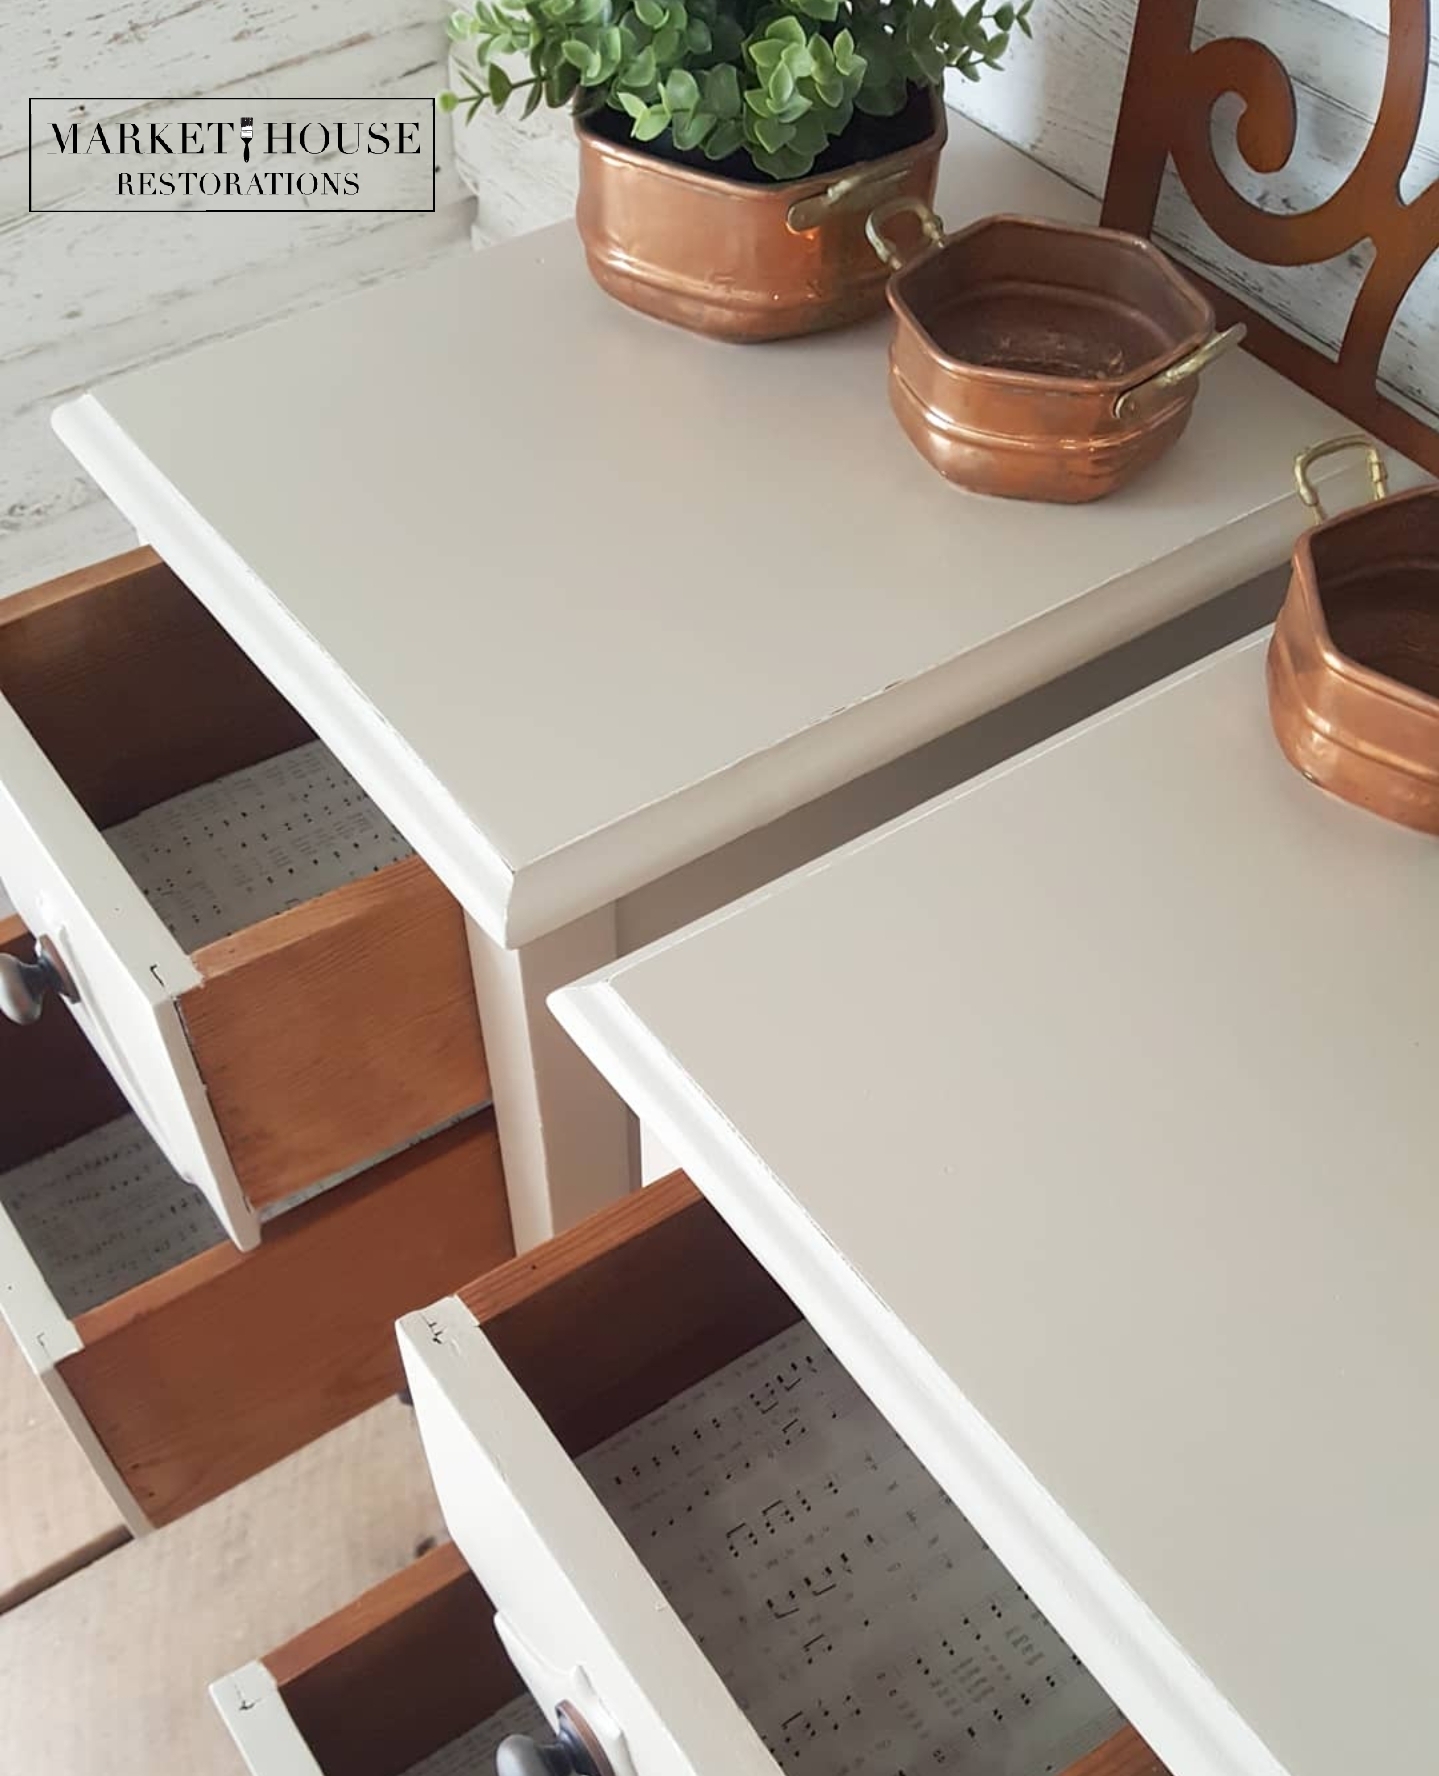
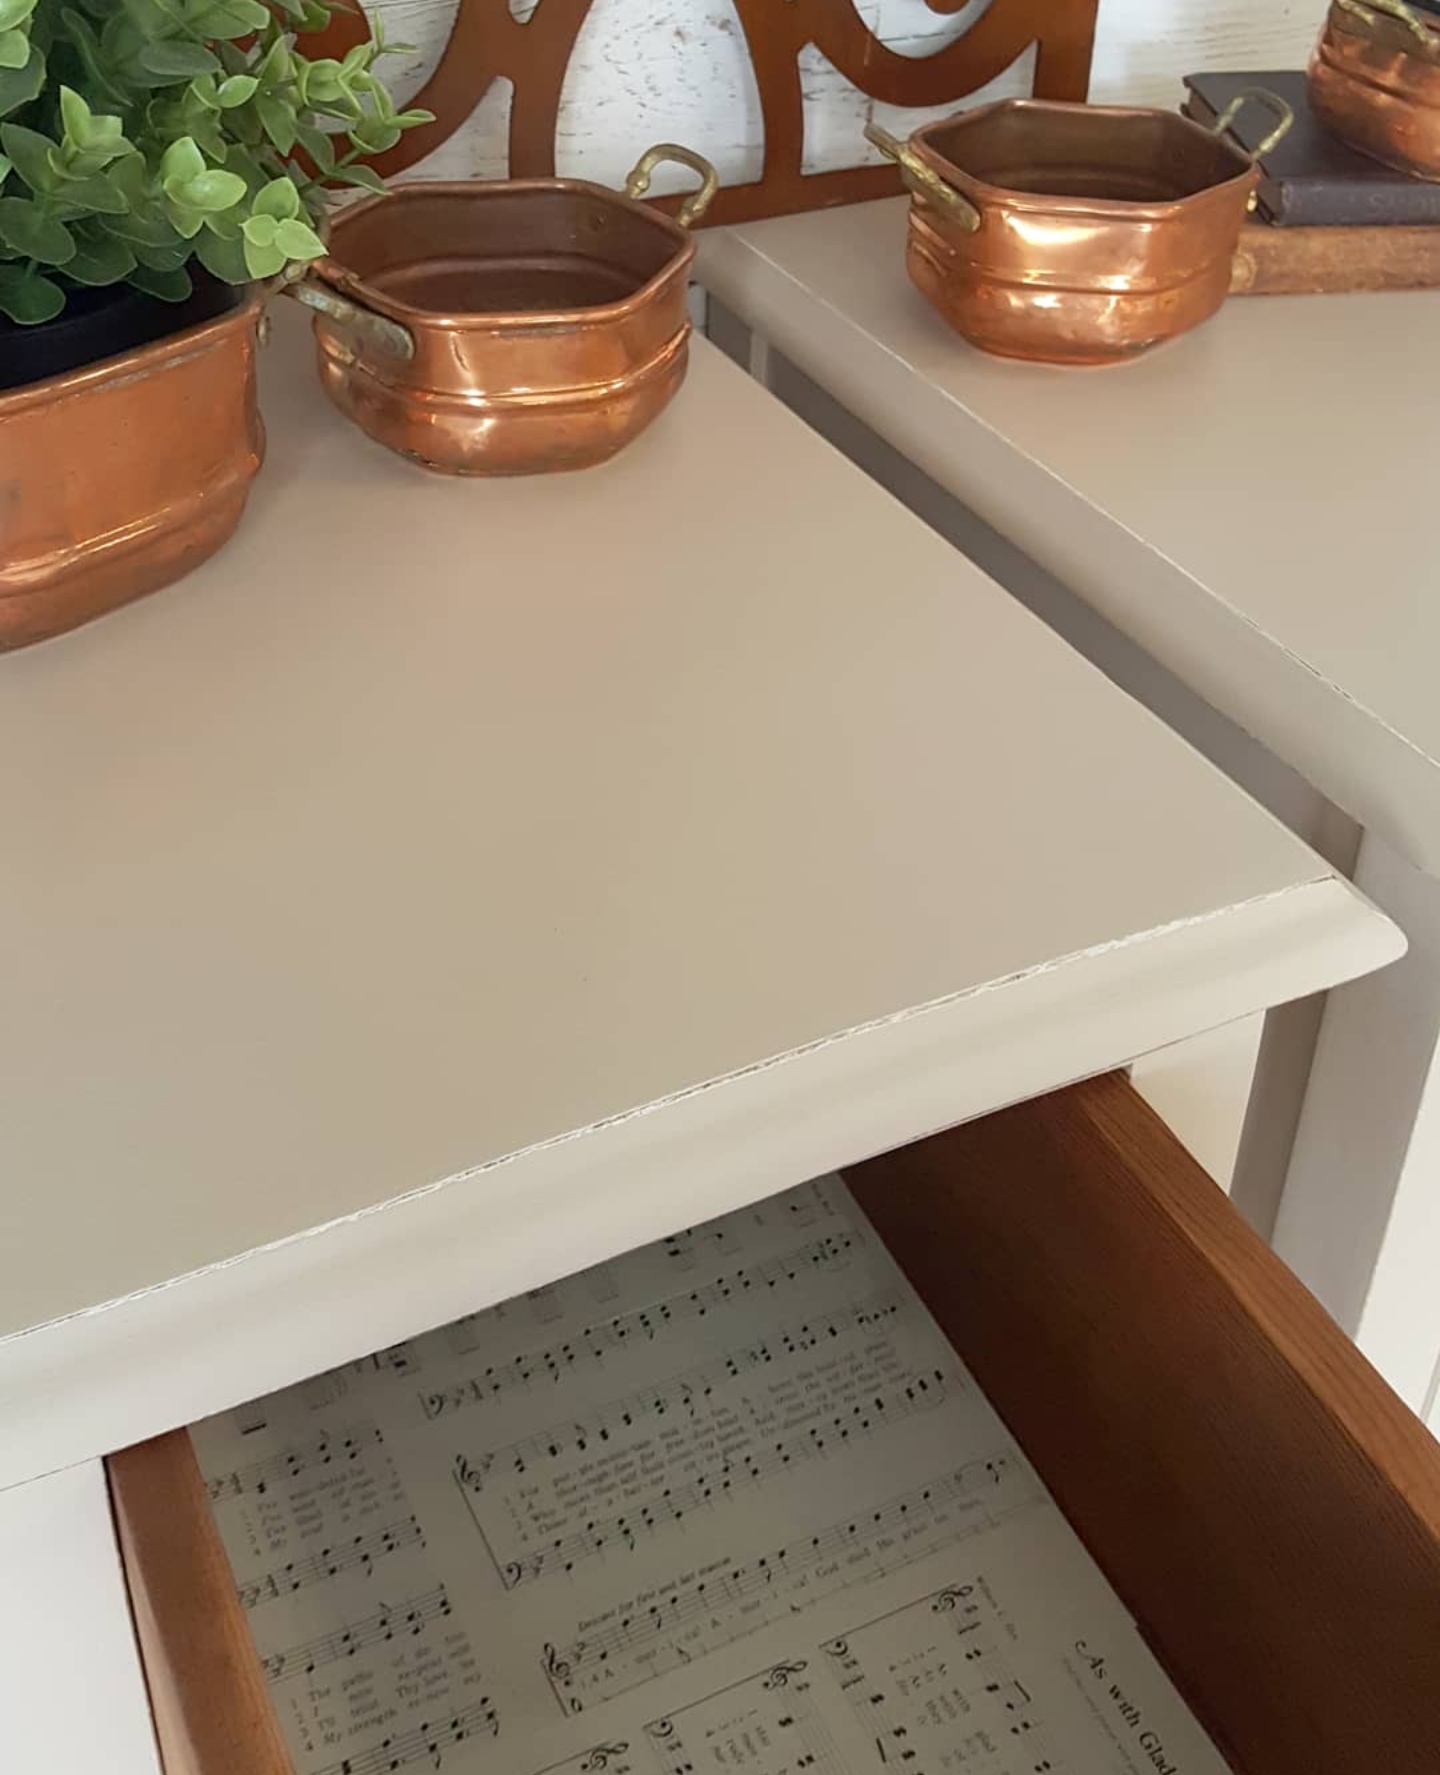
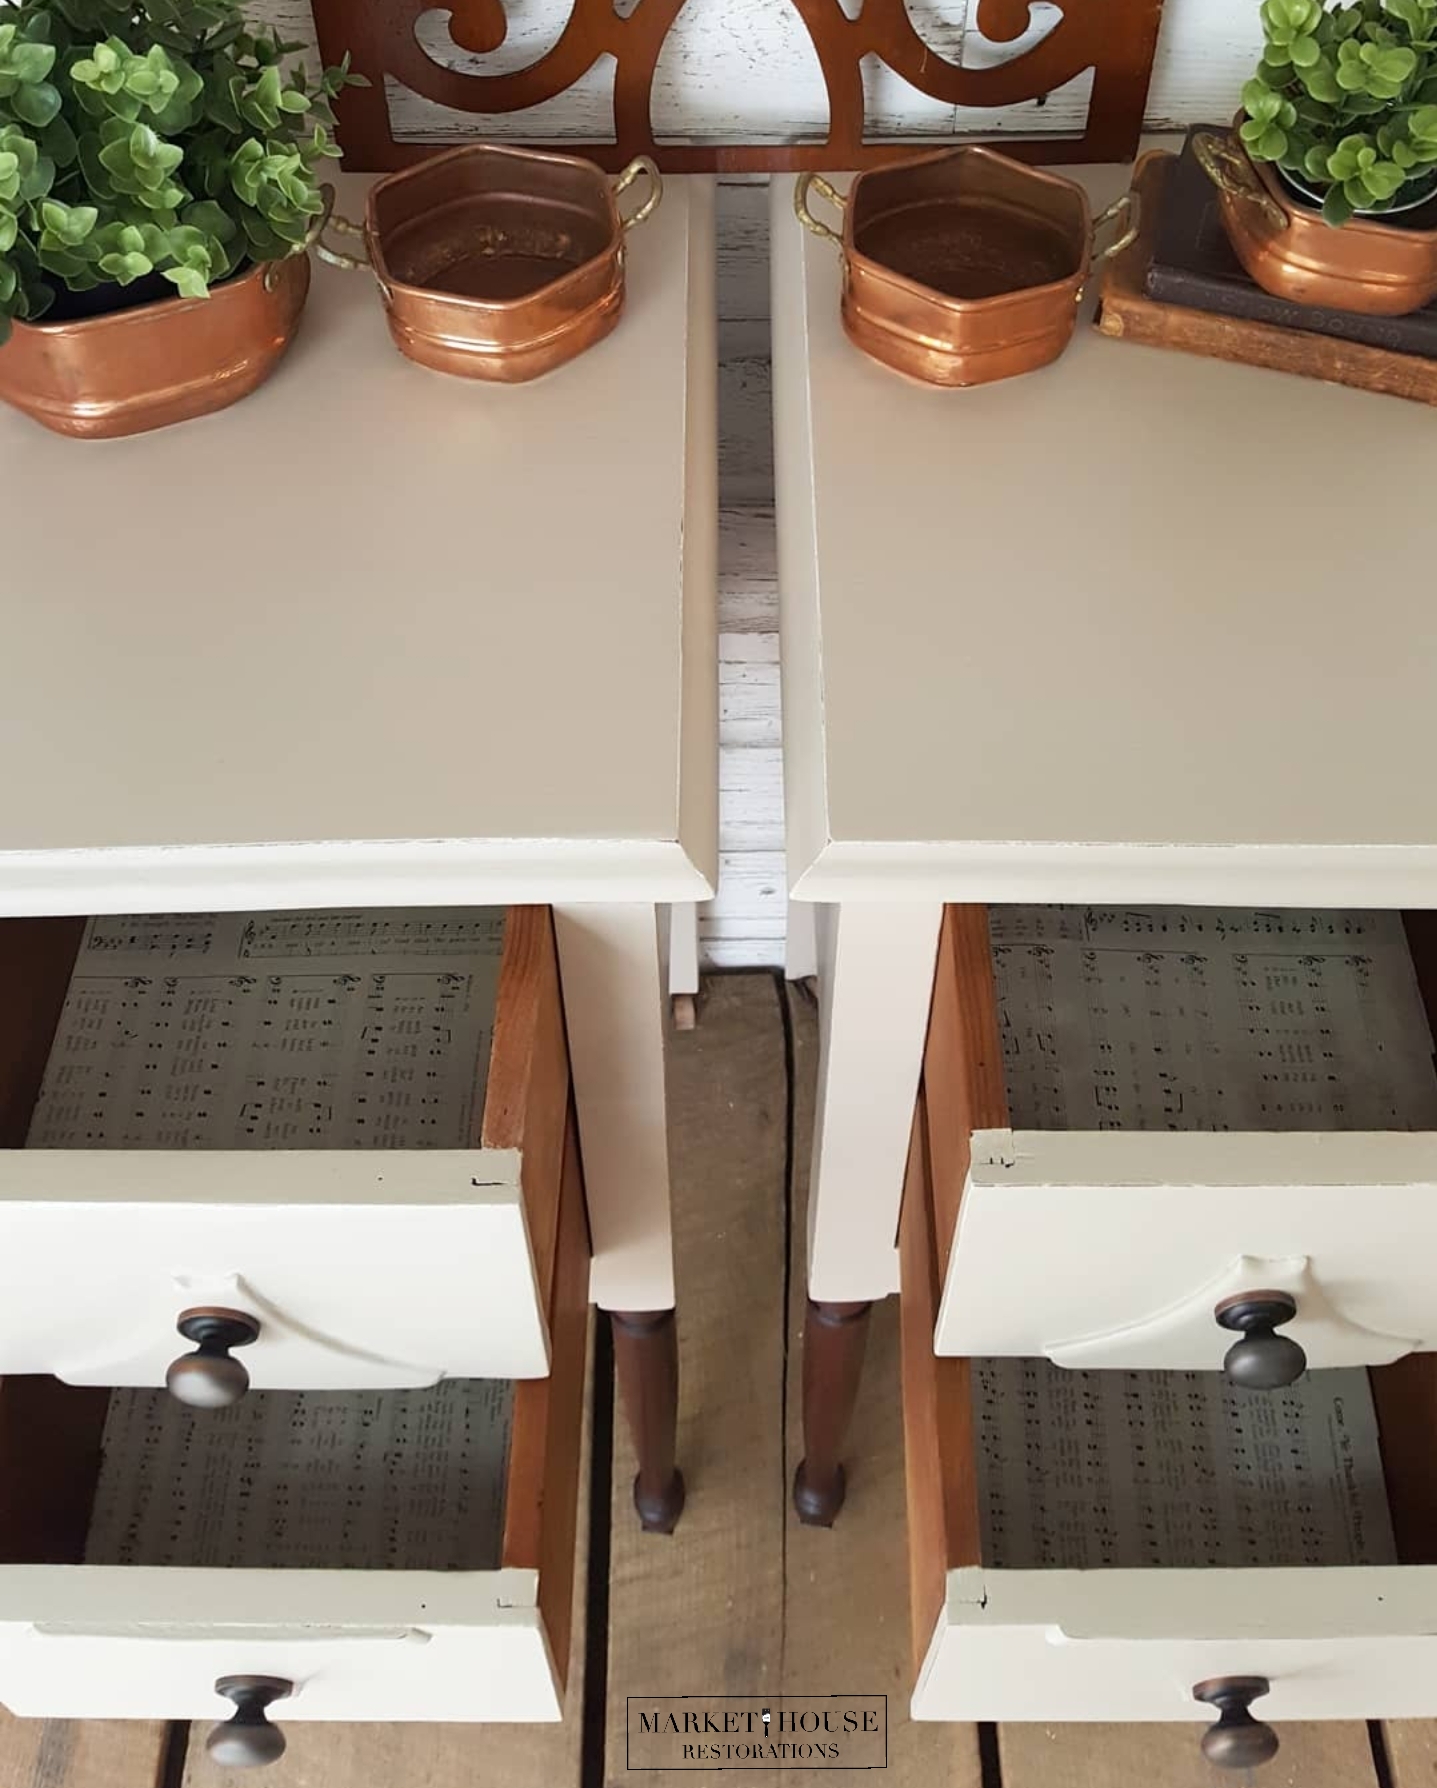
Step 9: Wipe down drawers with Howard’s Restore-A-Finish, Line Drawers with Paper, Add New Knobs. First, I wiped the drawers down with Howard’s Restor-A-Finish to bring them back to life. Click HERE for #TuesdayTipsWithFallon tutorial on how I apply Howard’s Restor-A-Finish to drawers. From there, I added vintage hymns as drawer liners and finished each piece off with new knobs!
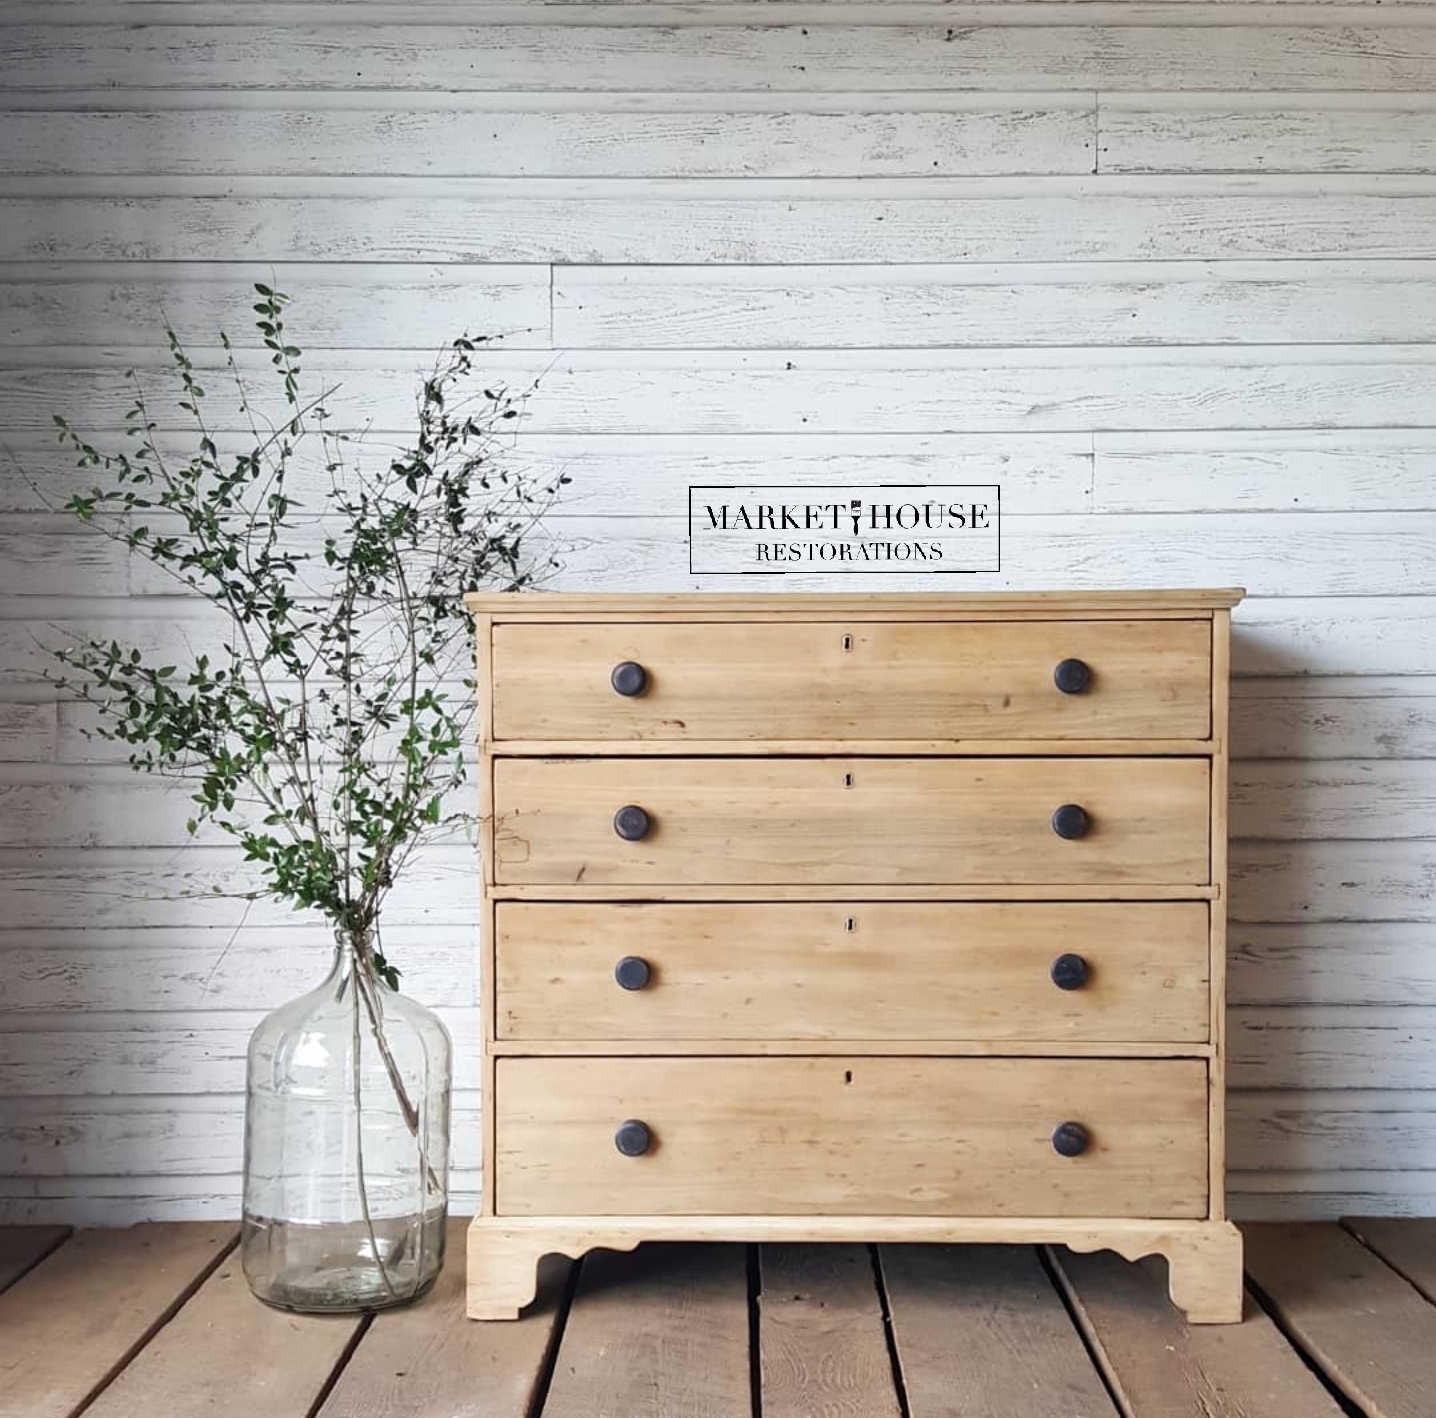
Before-and-After Pictures:
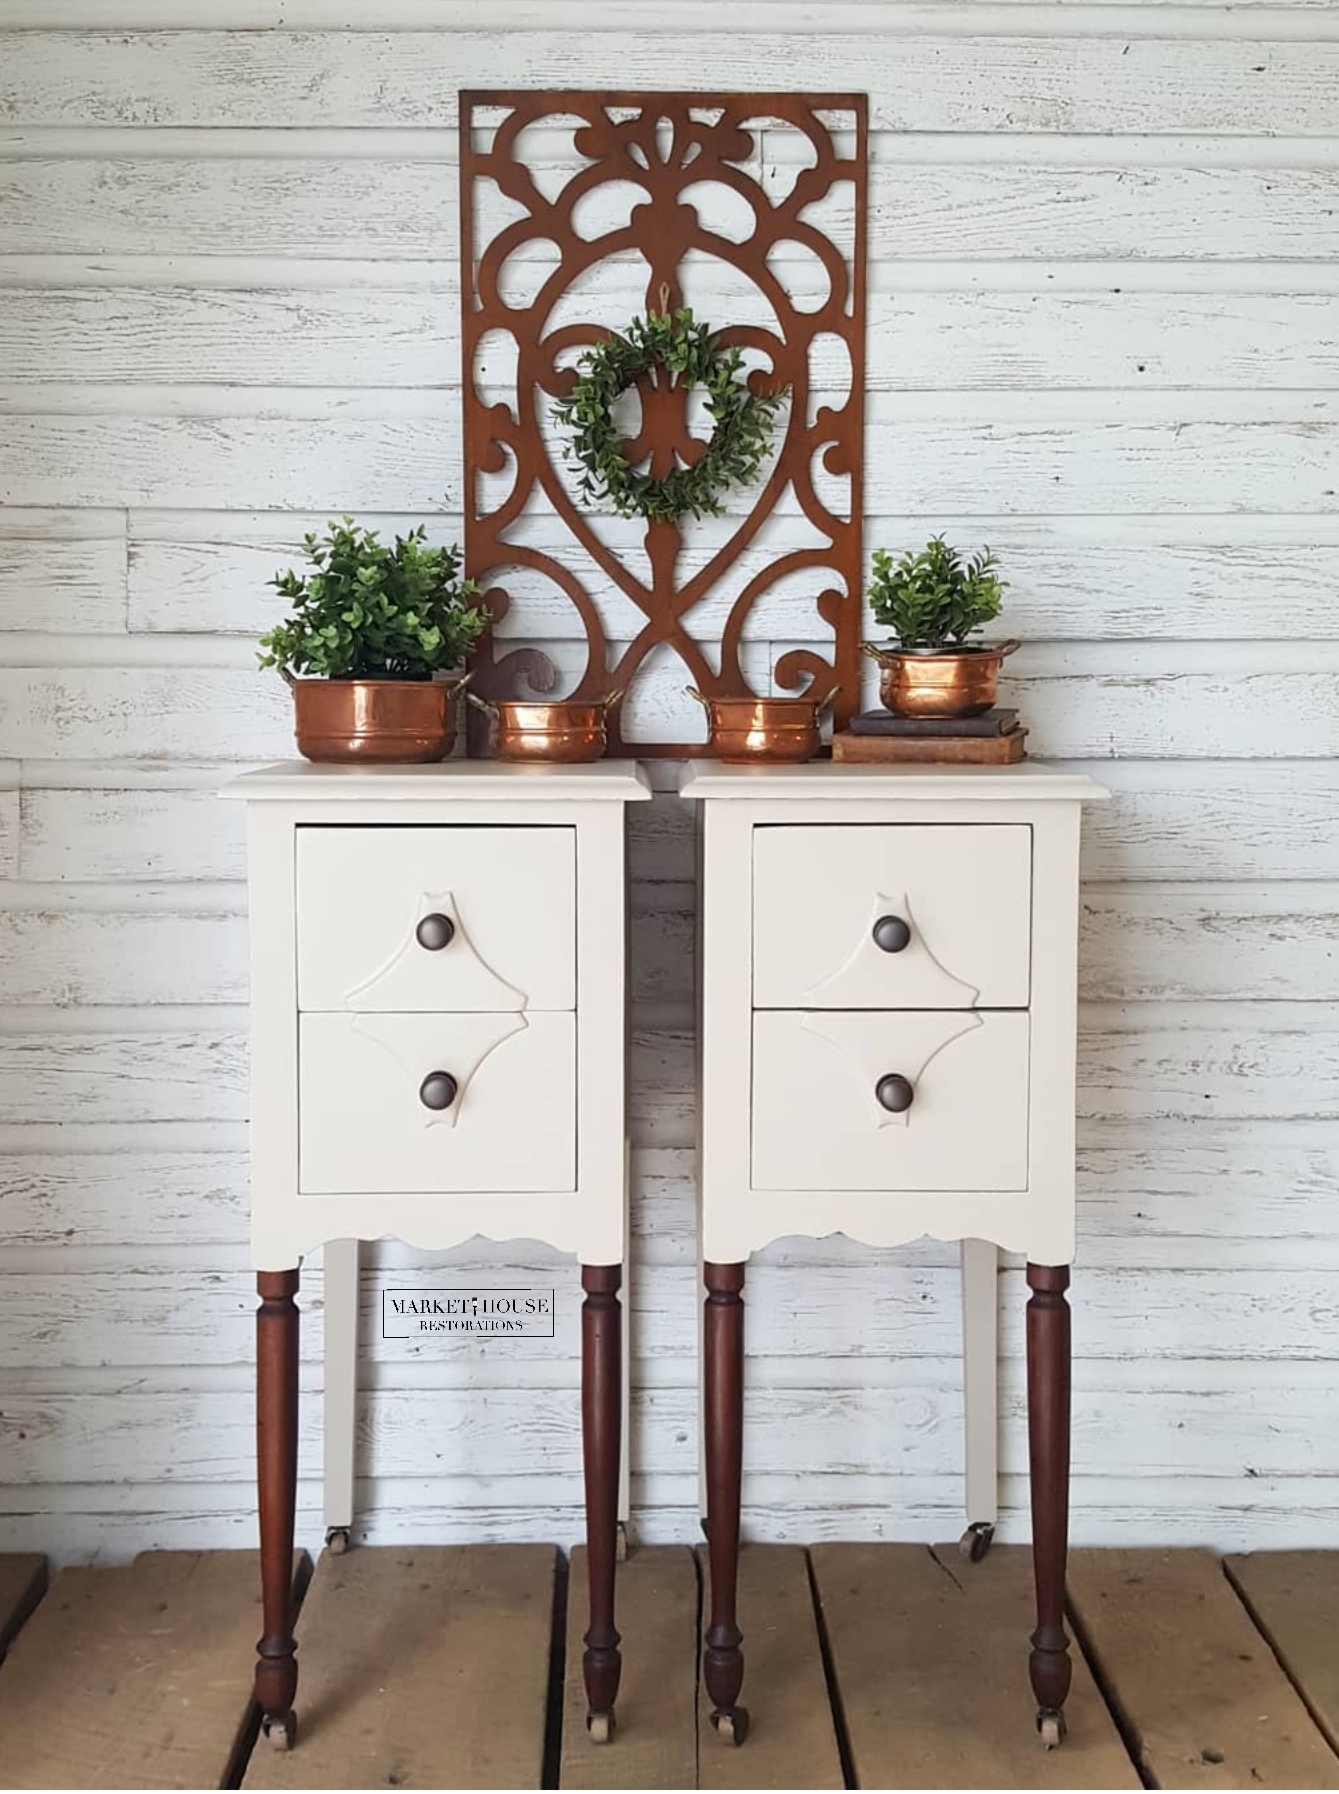
Guess what!? These are for sale, too!! Click HERE for the listing!!
As always, thank you so much for tuning in this week for #MondayMakeoversWithFallon. If you want to save this blog post so you can refer back to it, make sure you pin it to your Pinterest page and/or feel free to share it elsewhere. I look forward being with you next Monday and don’t forget to tune in tomorrow for my educating video tutorial/tip for #TuesdayTipsWithFallon!!
*Please note, this post does contain affiliate links.


Did you know I have an eBook plus three different staging and styling guides that help you stage your furniture!? Between all three guides you receive over 500 different ways to style and stage different pieces of furniture. Yes, 500!! They are not just for the furniture artist either. Maybe you are planning on selling your home and need help staging your furniture so it doesn’t look cluttered or maybe you just have no clue how to style the furniture that you currently have and you want it to look nice?! No worries! These are for you!! Between all three guides and my second edition eBook you get over 200 pages of information! You do not have to worry about staging and styling your furniture ever again!!Here is the link to my eBook, Your Virtual Storefront. The Complete Guide to Staging Painted Furniture. It jammed packed information that will help you take your staging to the next level! I also have three separate staging and styling guides that help you stage specific pieces of furniture.
Here is a breakdown of my eBook and Guides:
*Your Virtual Storefront. The Complete Guide to Staging Your Painted Furniture. 2nd EDITION: Everything you need to know to help you stage your furniture from, photography, the photo editing process, lighting, staging areas/locations, information about logo/watermarks…just to name a handful of the topics.
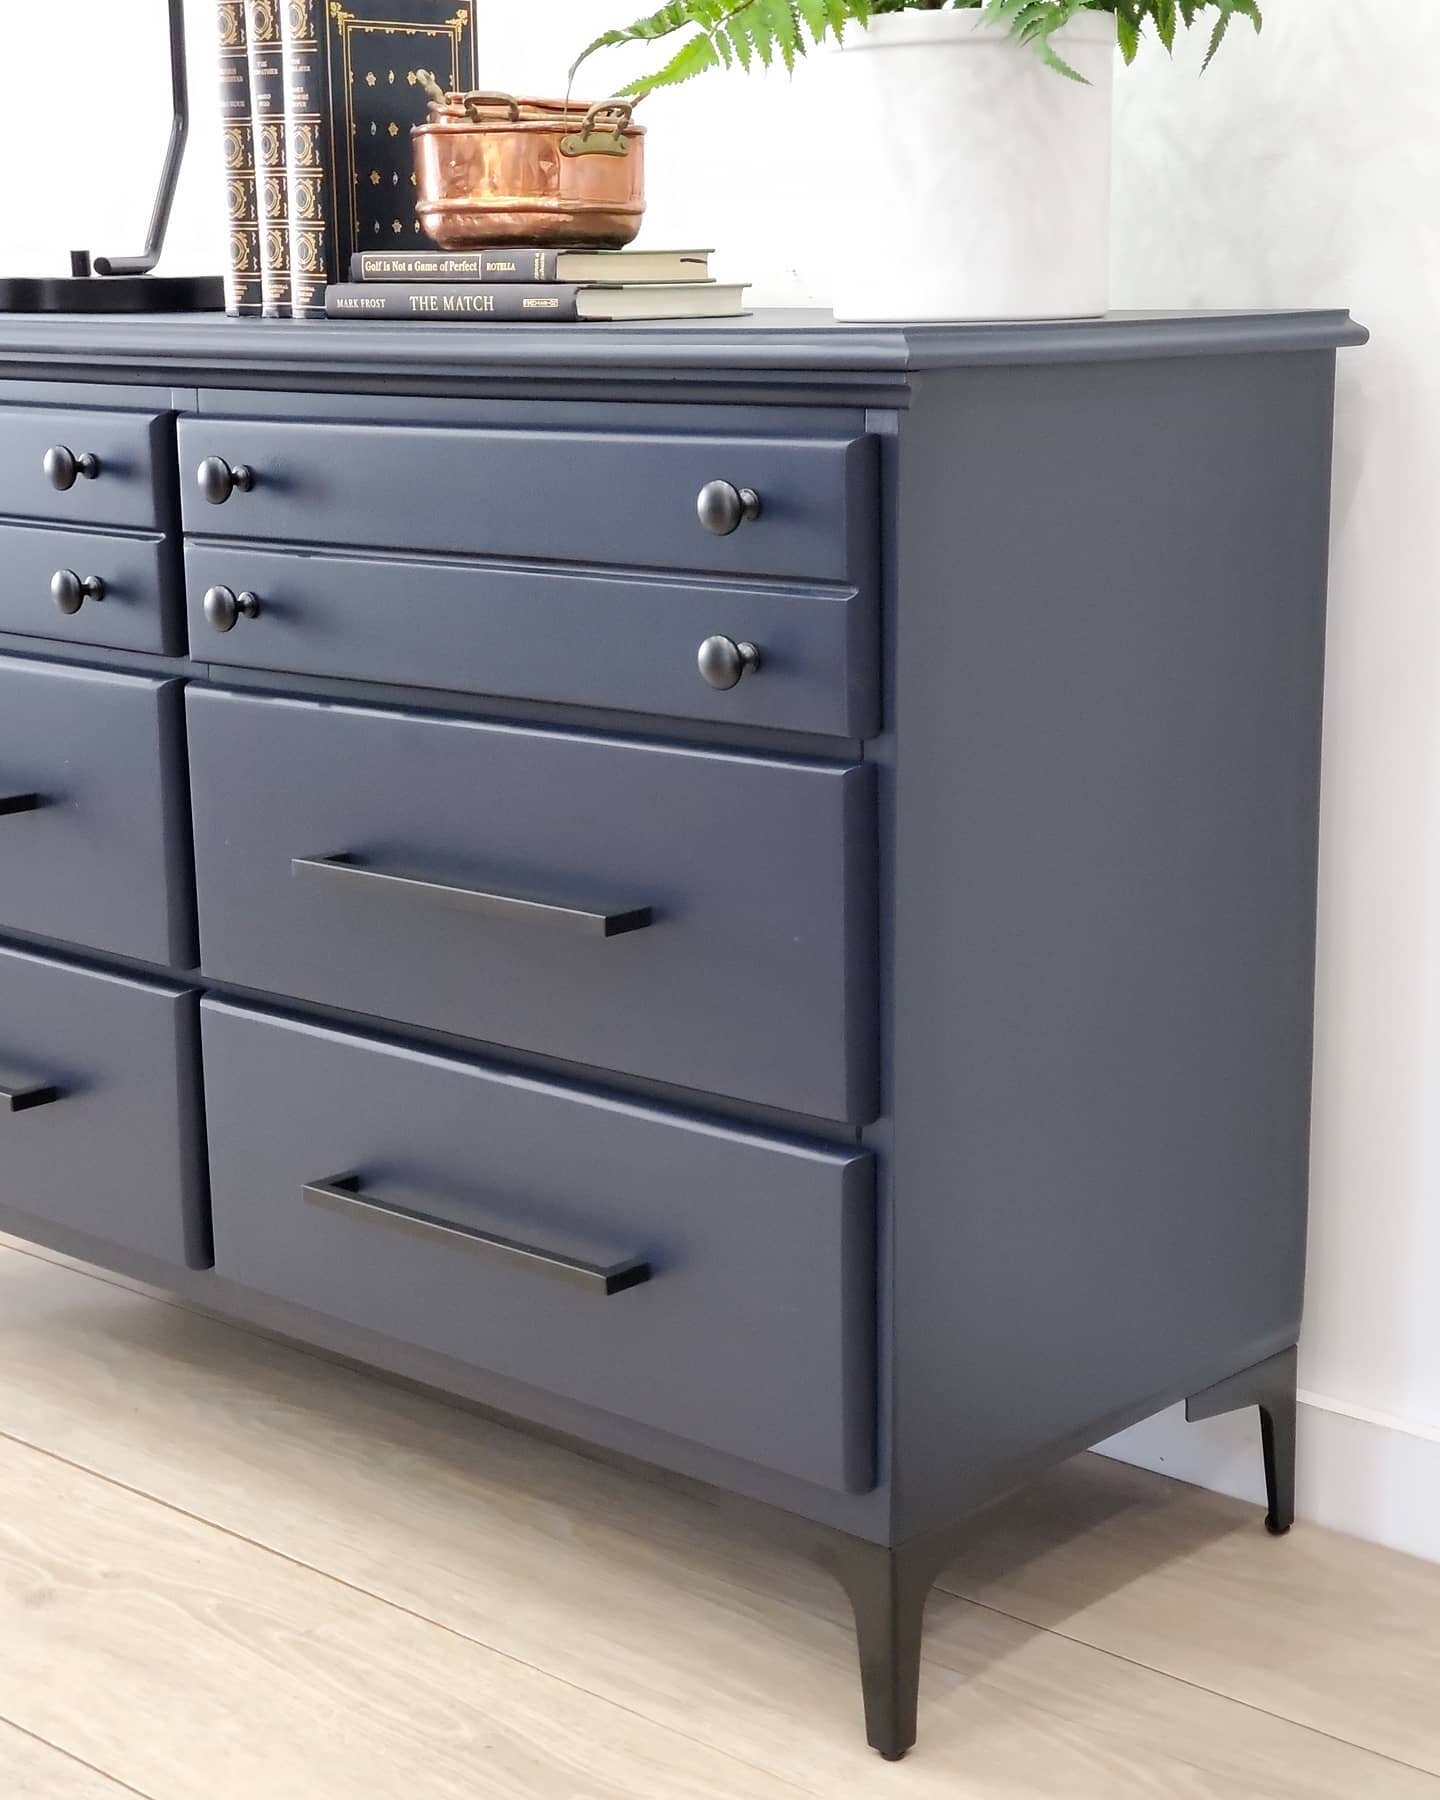
*The Bedroom Furniture Guide: Staging and Styling Chest of Drawers, Dressers, Nightstands, Wardrobes, Blanket Chests, Vanities, Beds and Bedroom Sets)
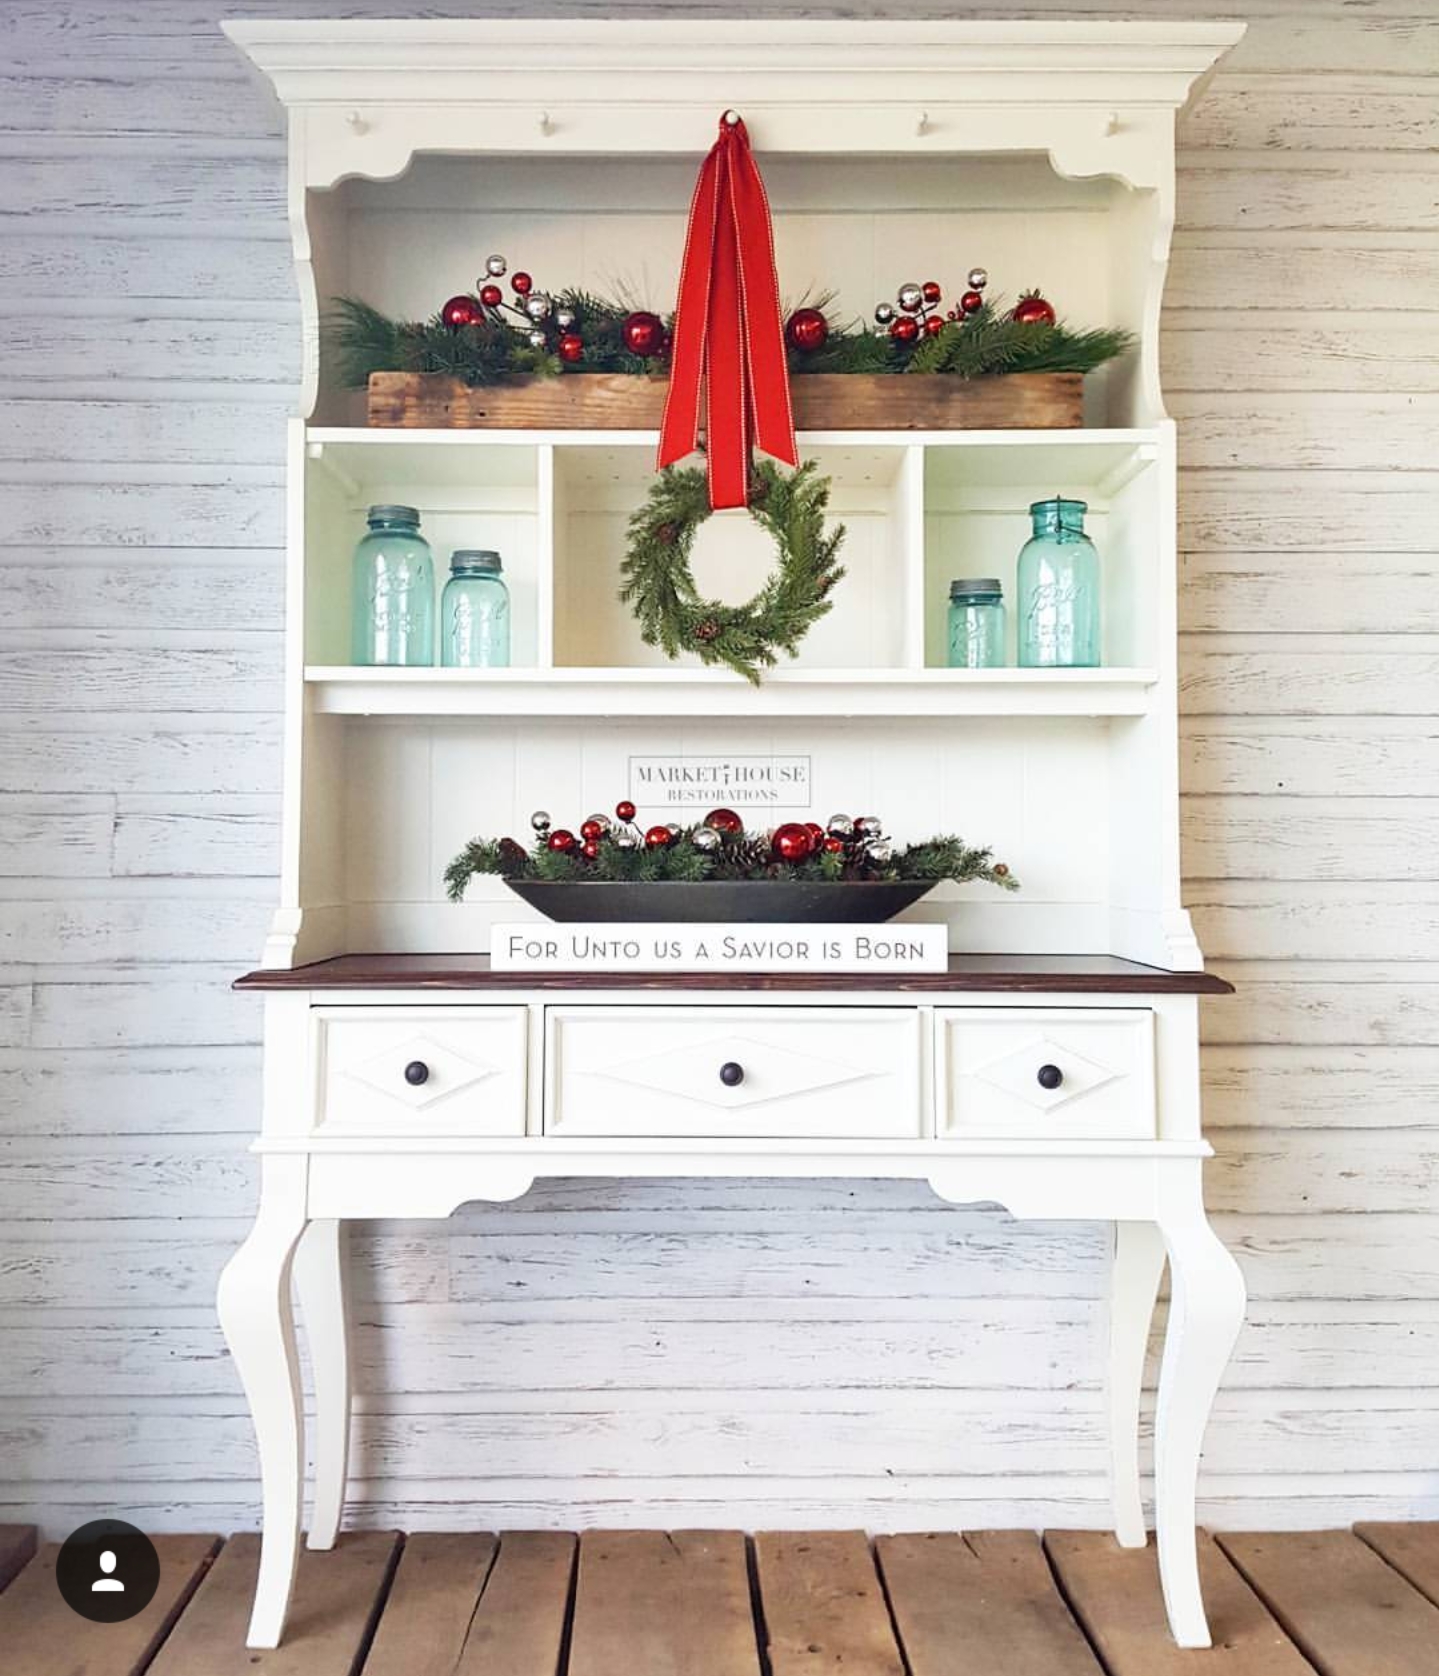
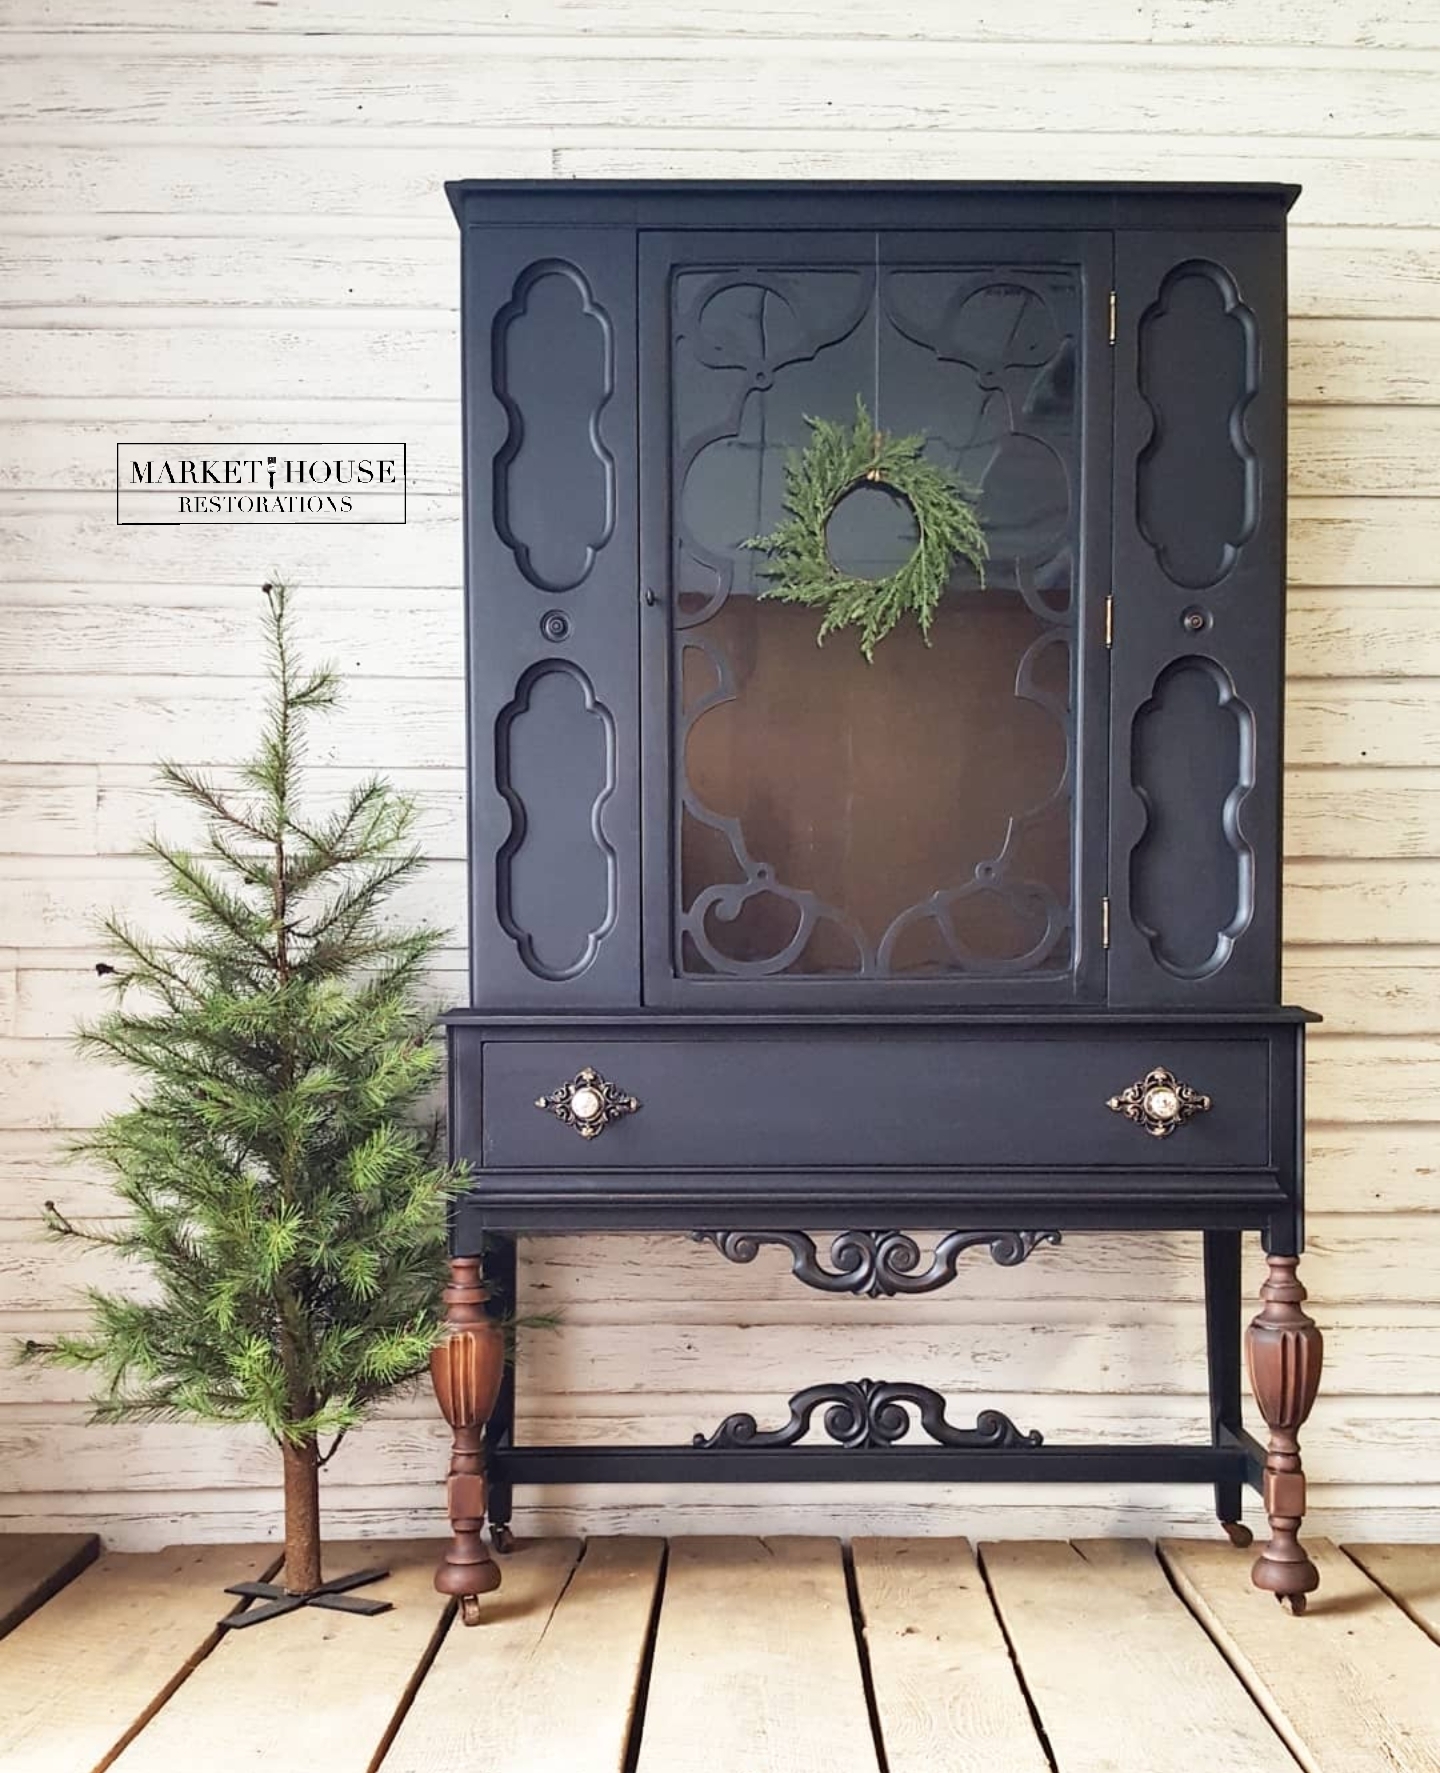
*The Dining Room Furniture Guide: Staging and Styling Buffets/Sideboards, China Hutches, Glass Front China Cabinets and Tables & Chairs
*The Everyday Living Furniture Guide: Staging and Styling Desks, Multi-Purpose Pieces, Sofa Tables, TV Stands, Side Tables, Coffee Tables, Benches and Bookshelves
I appreciate you stopping by!!
Make sure you check out my other #MondayMakeoversWithFallon blog posts below!