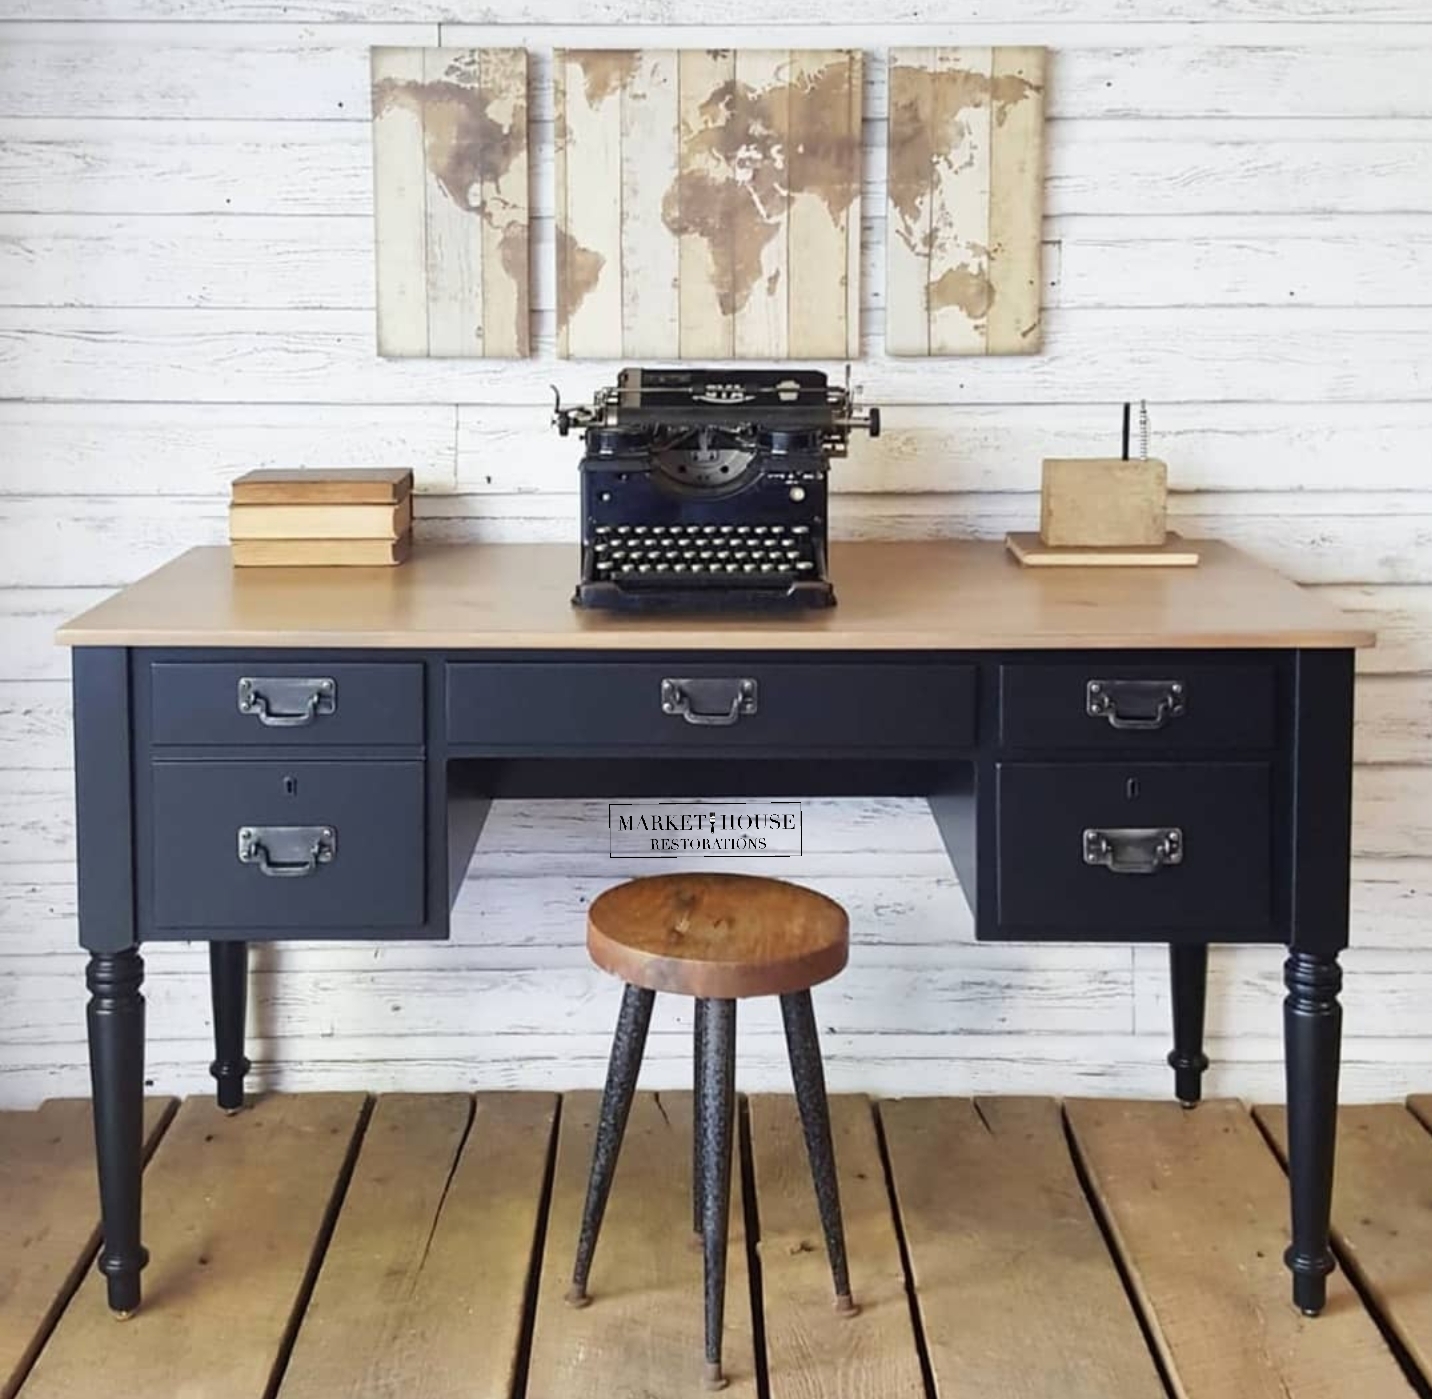
Step-by-Step guide to The Bacon Desk Makeover!
/#MondayMakeoversWithFallon
Trash to Treasure!
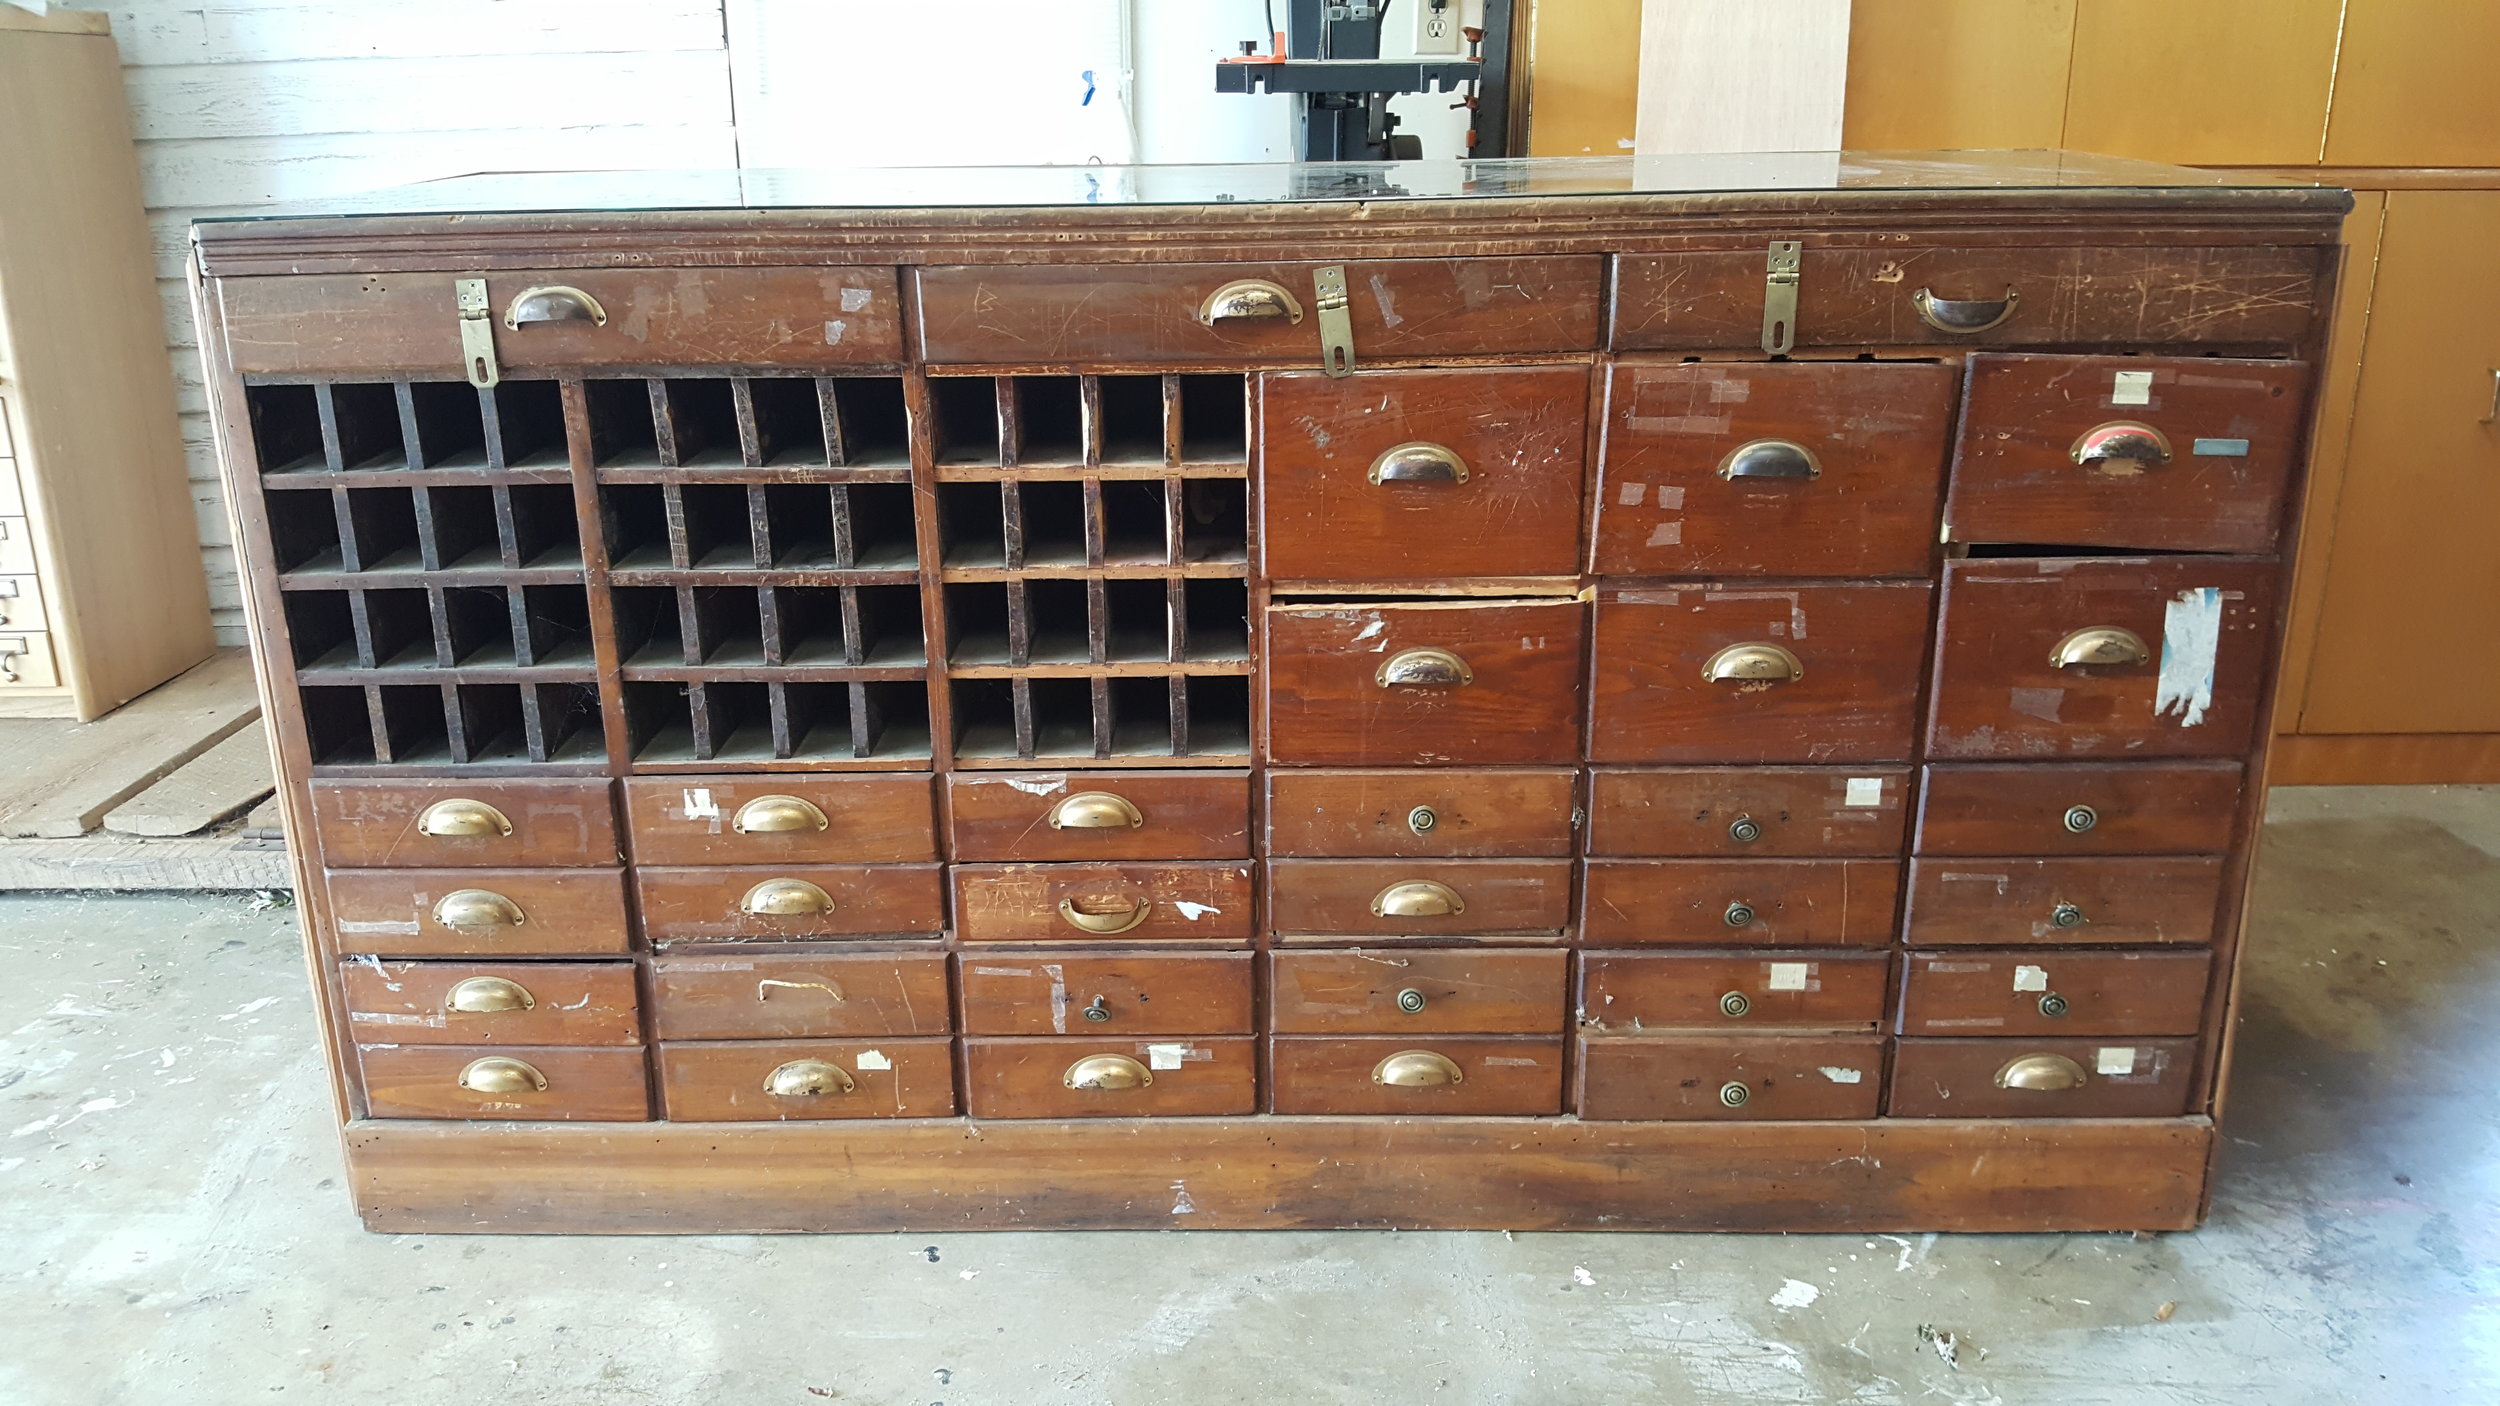
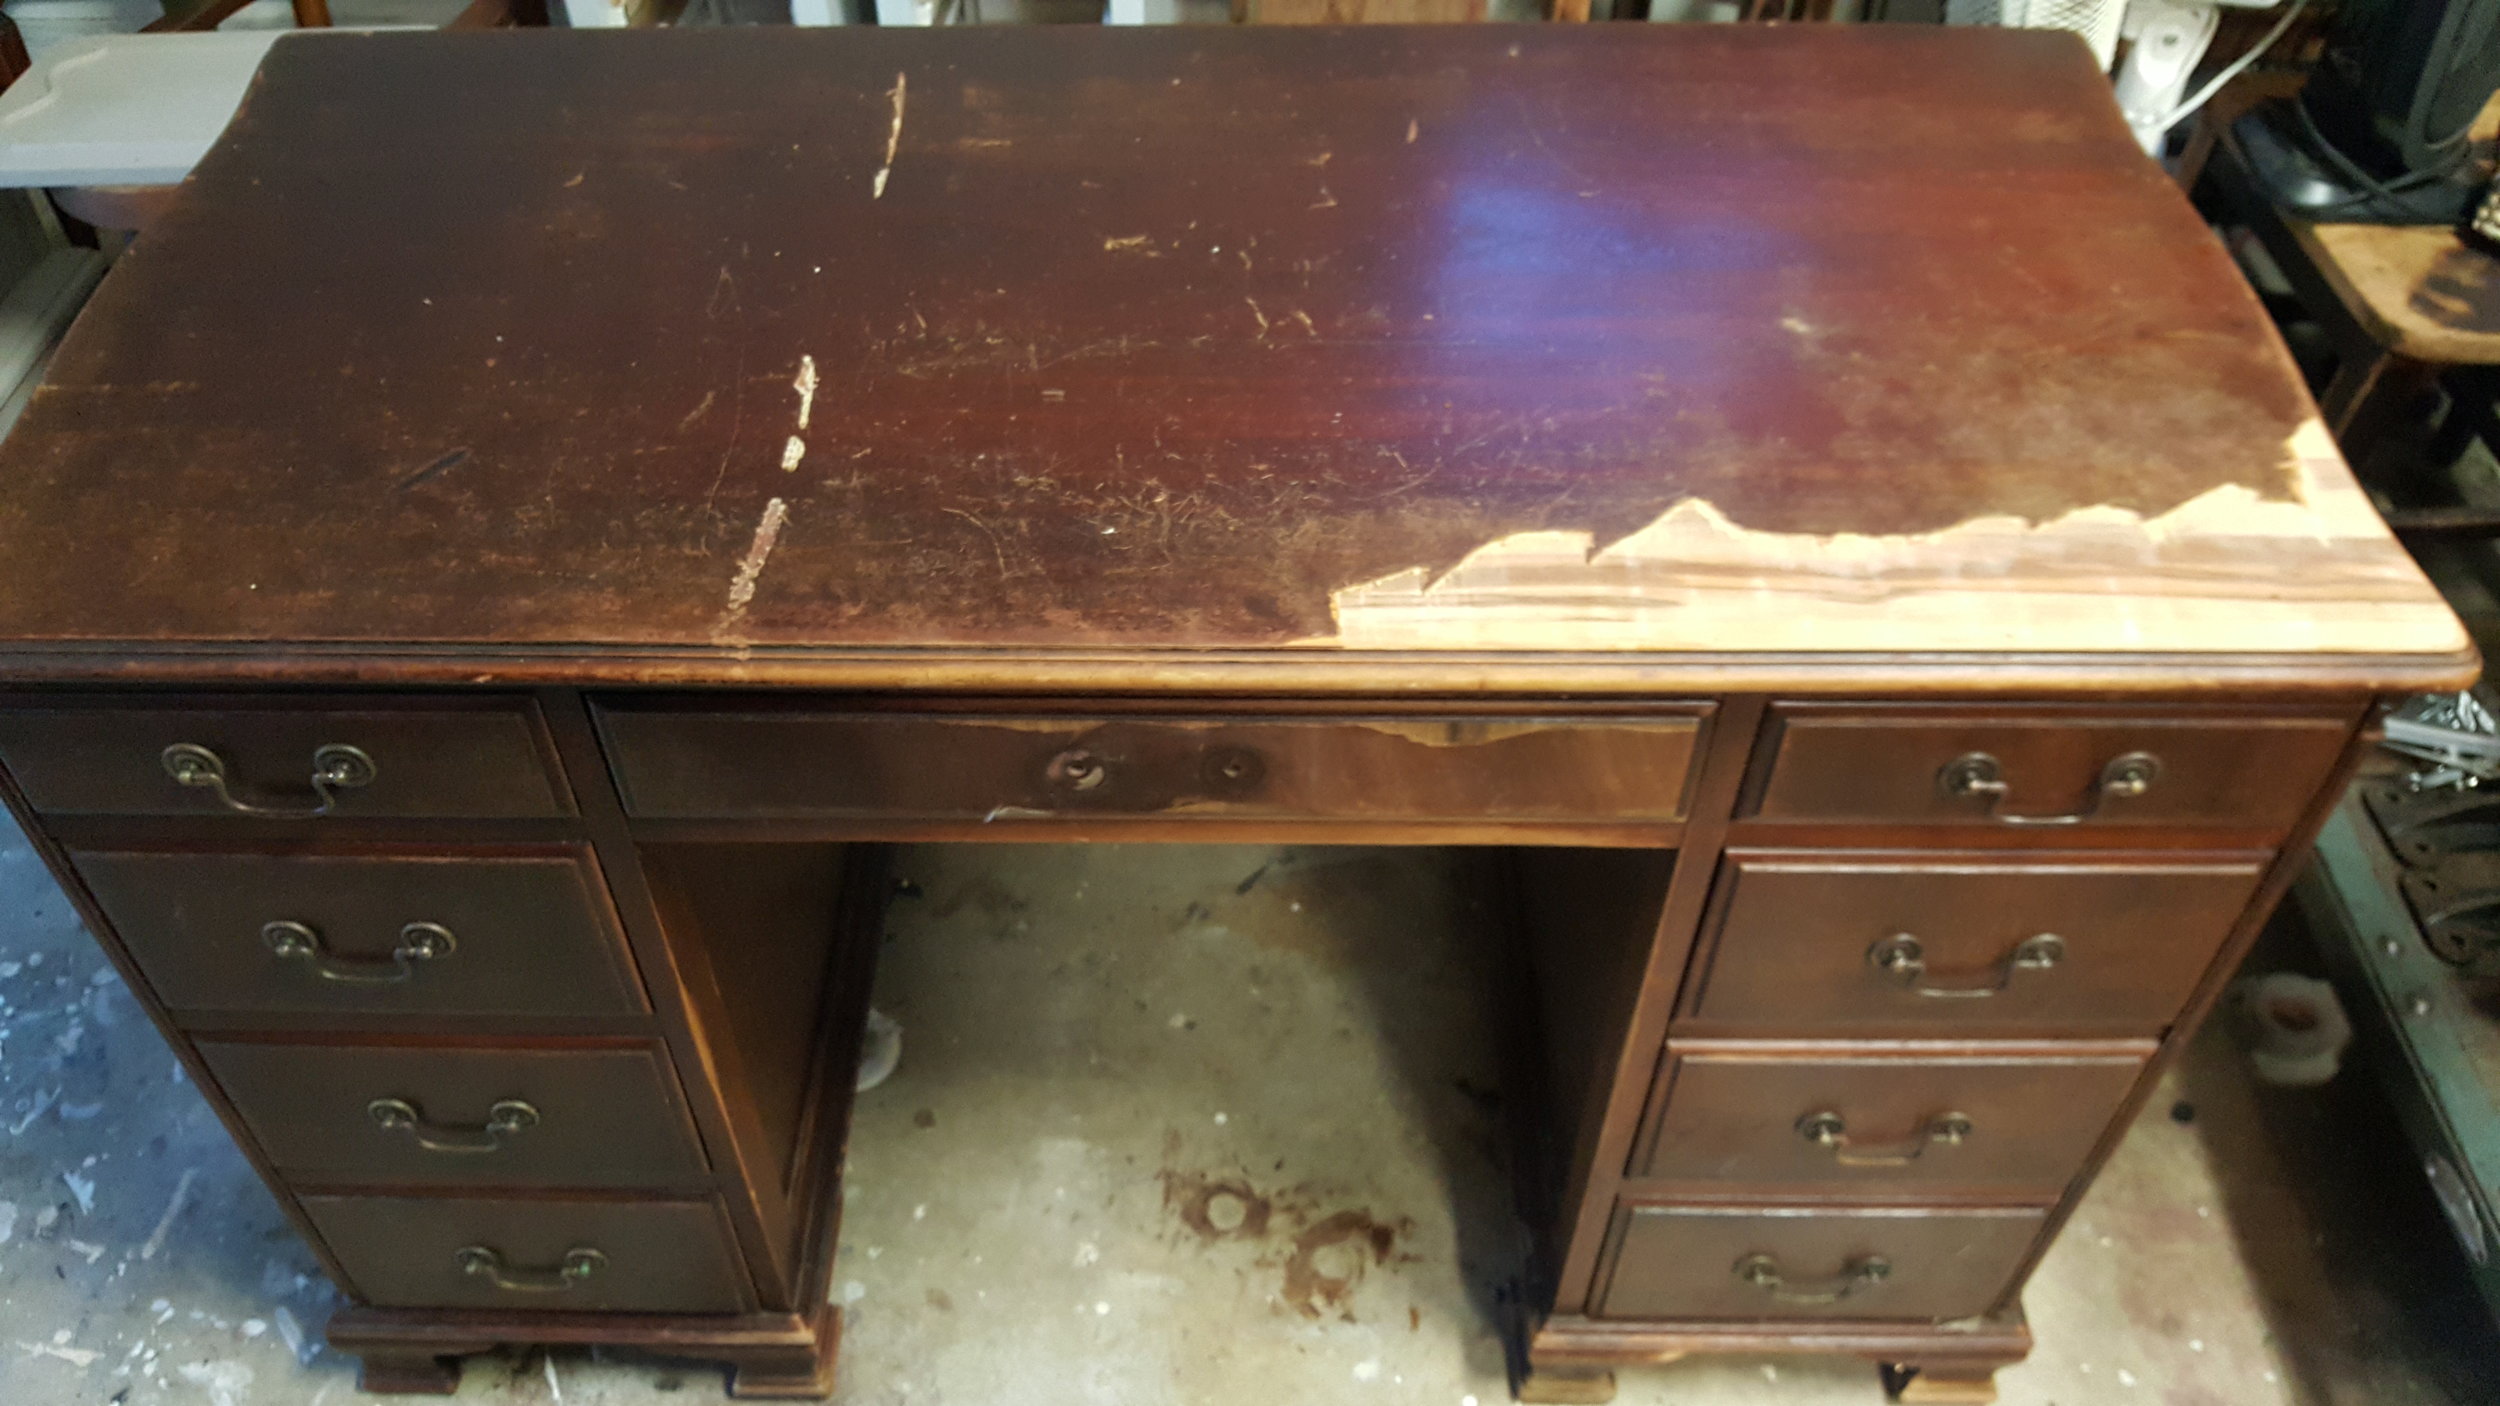
A friend of mine saw this desk in a trash pile, sent me a picture and then put it in her driveway until we could pick it up. About an hour later my husband went and picked it up for me and the rest was history!
See before-and-after pictures and the process below…
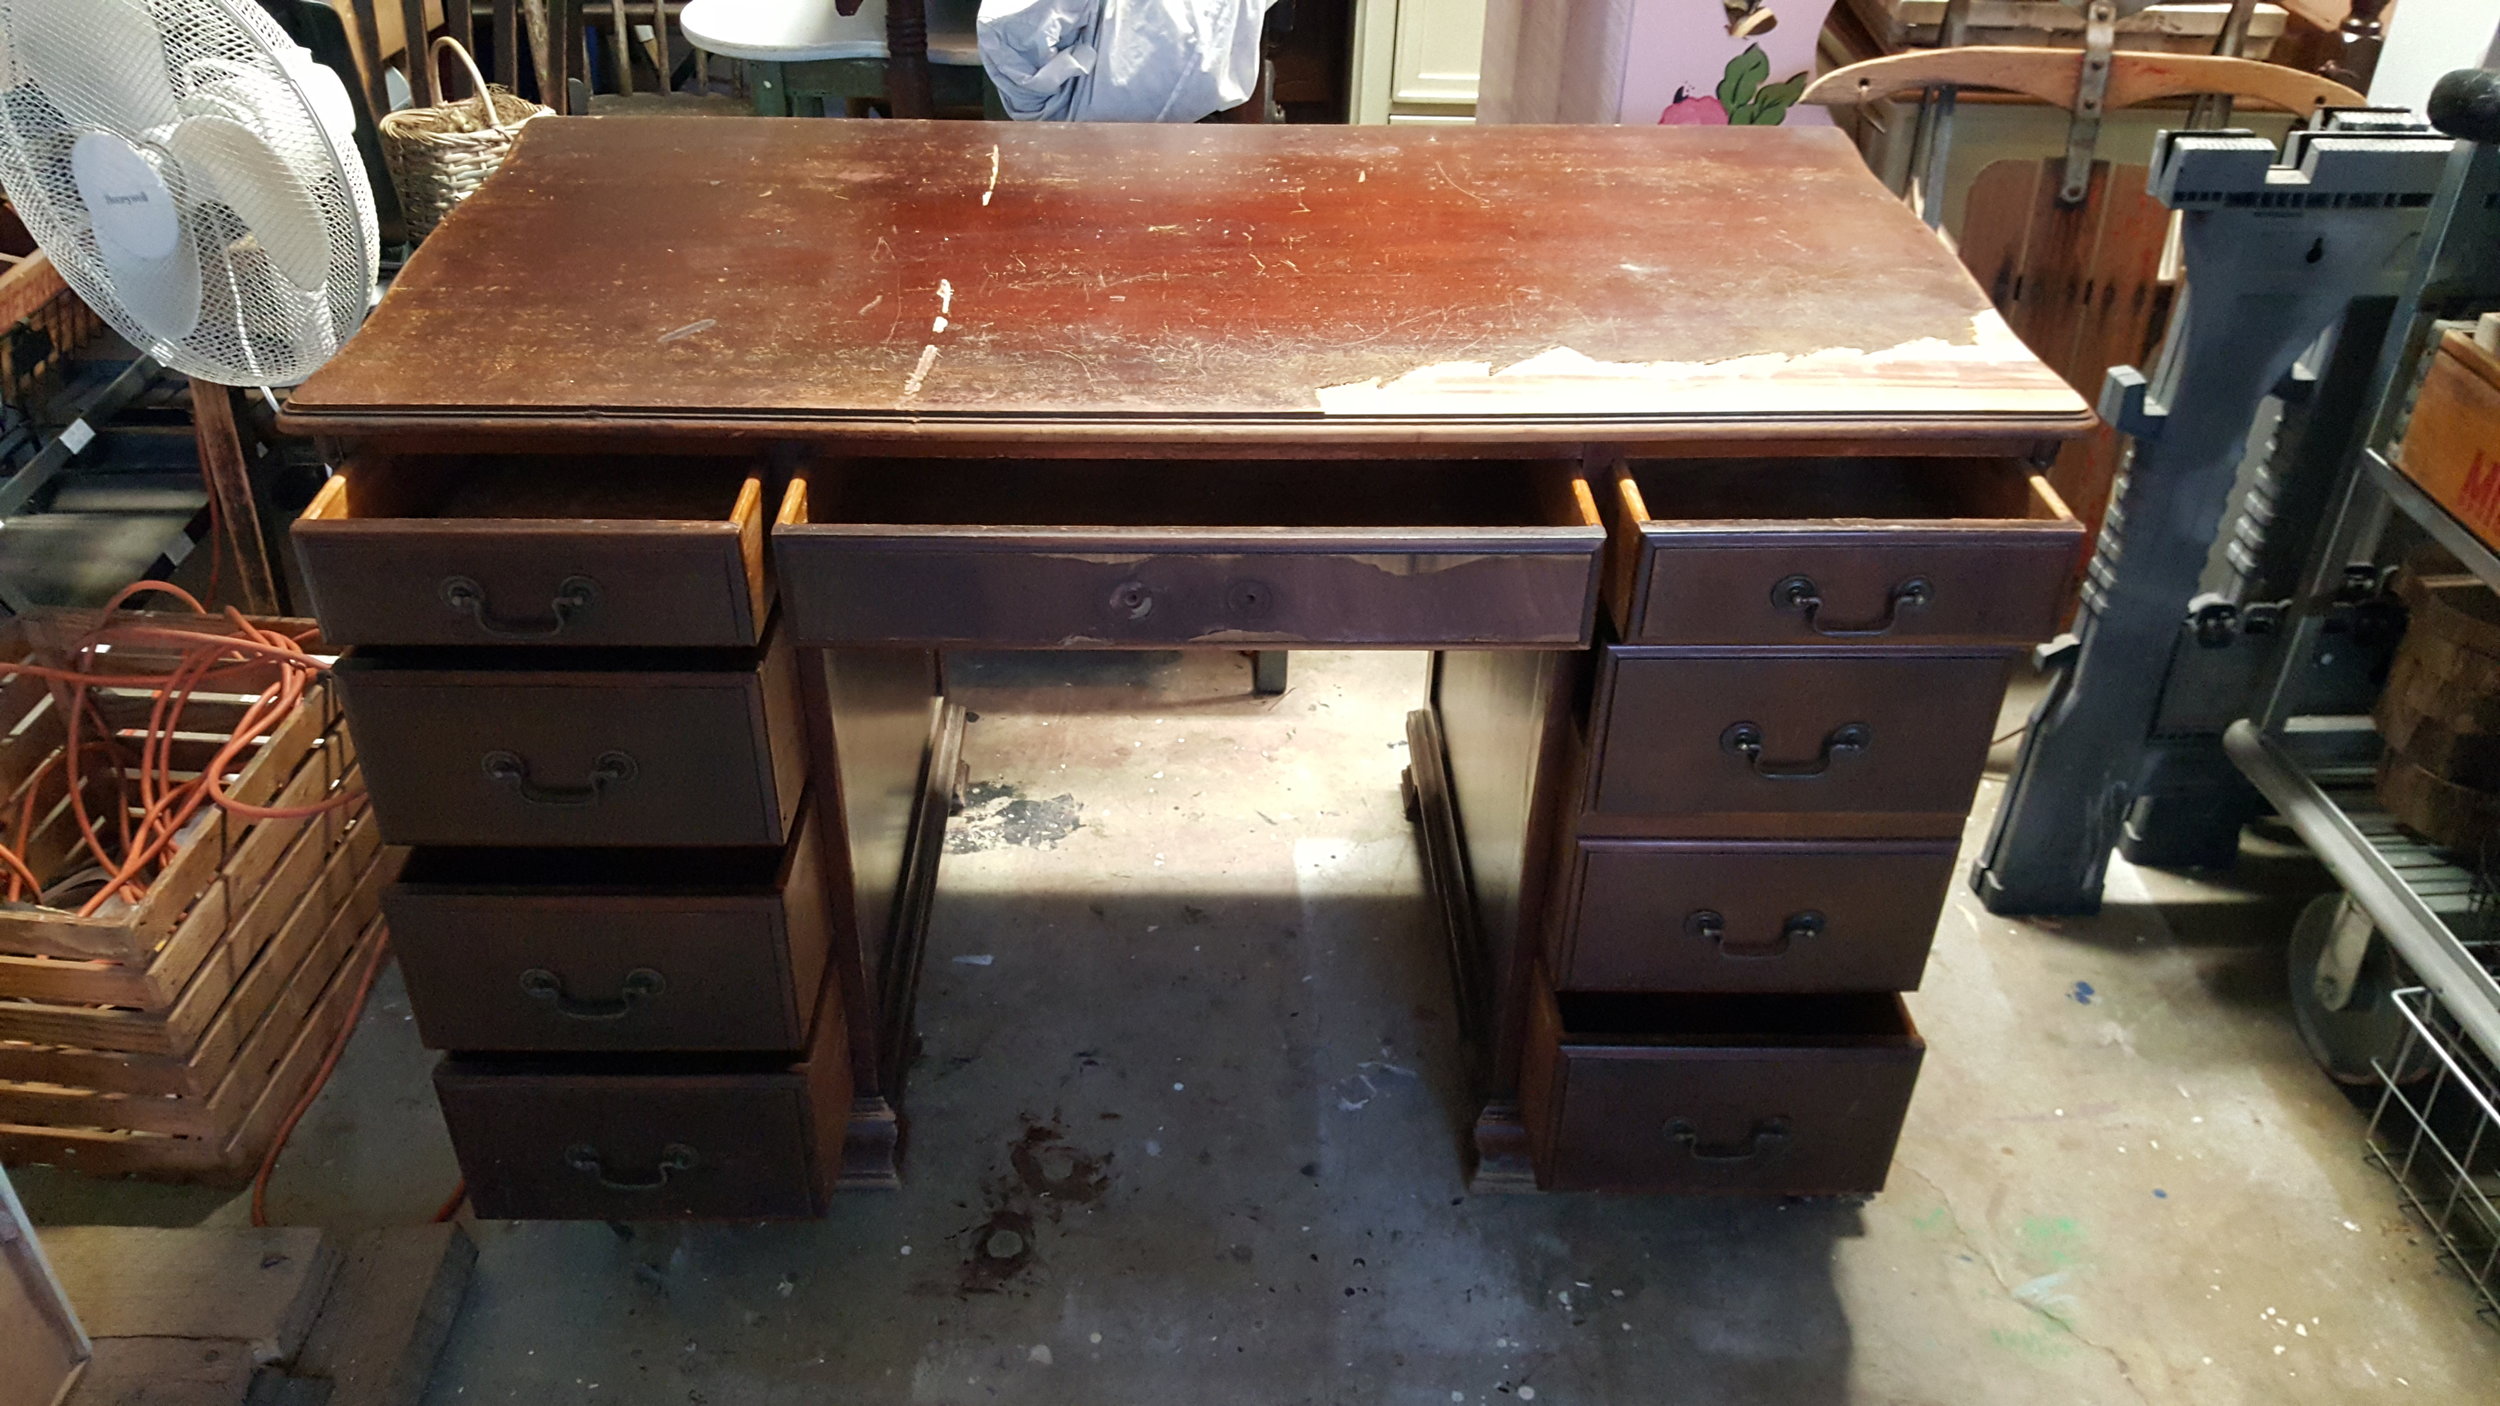
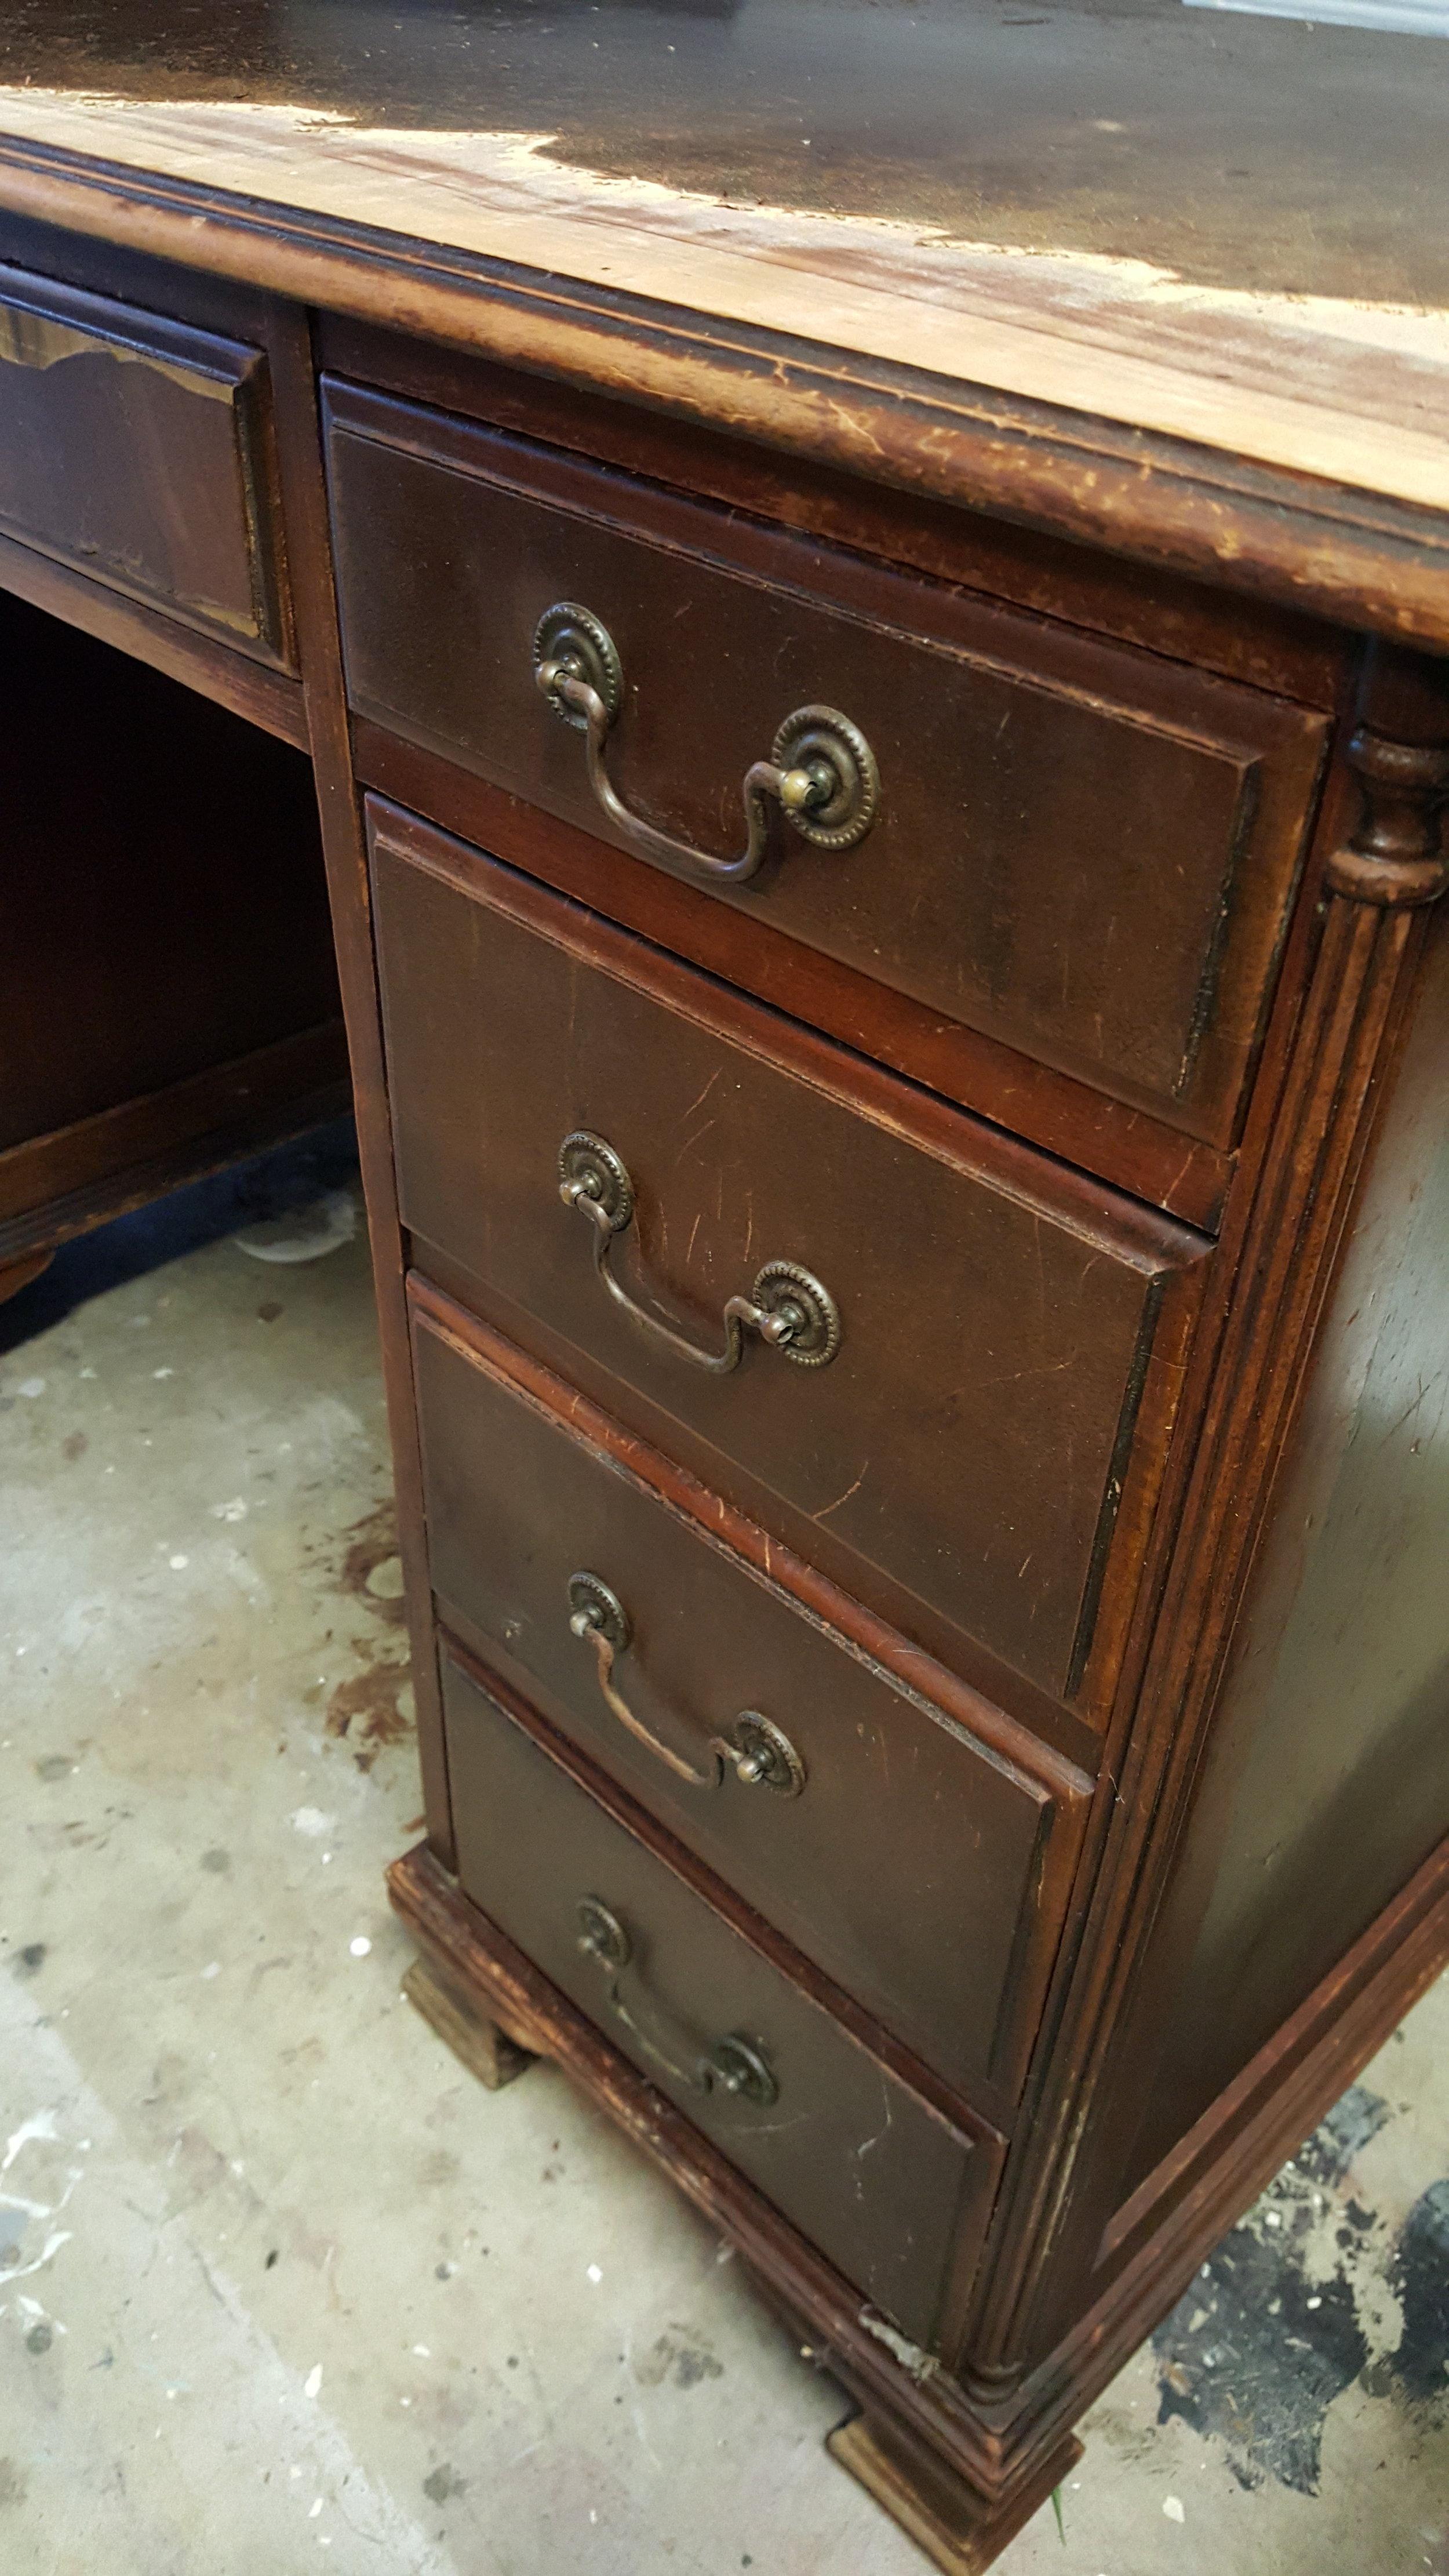
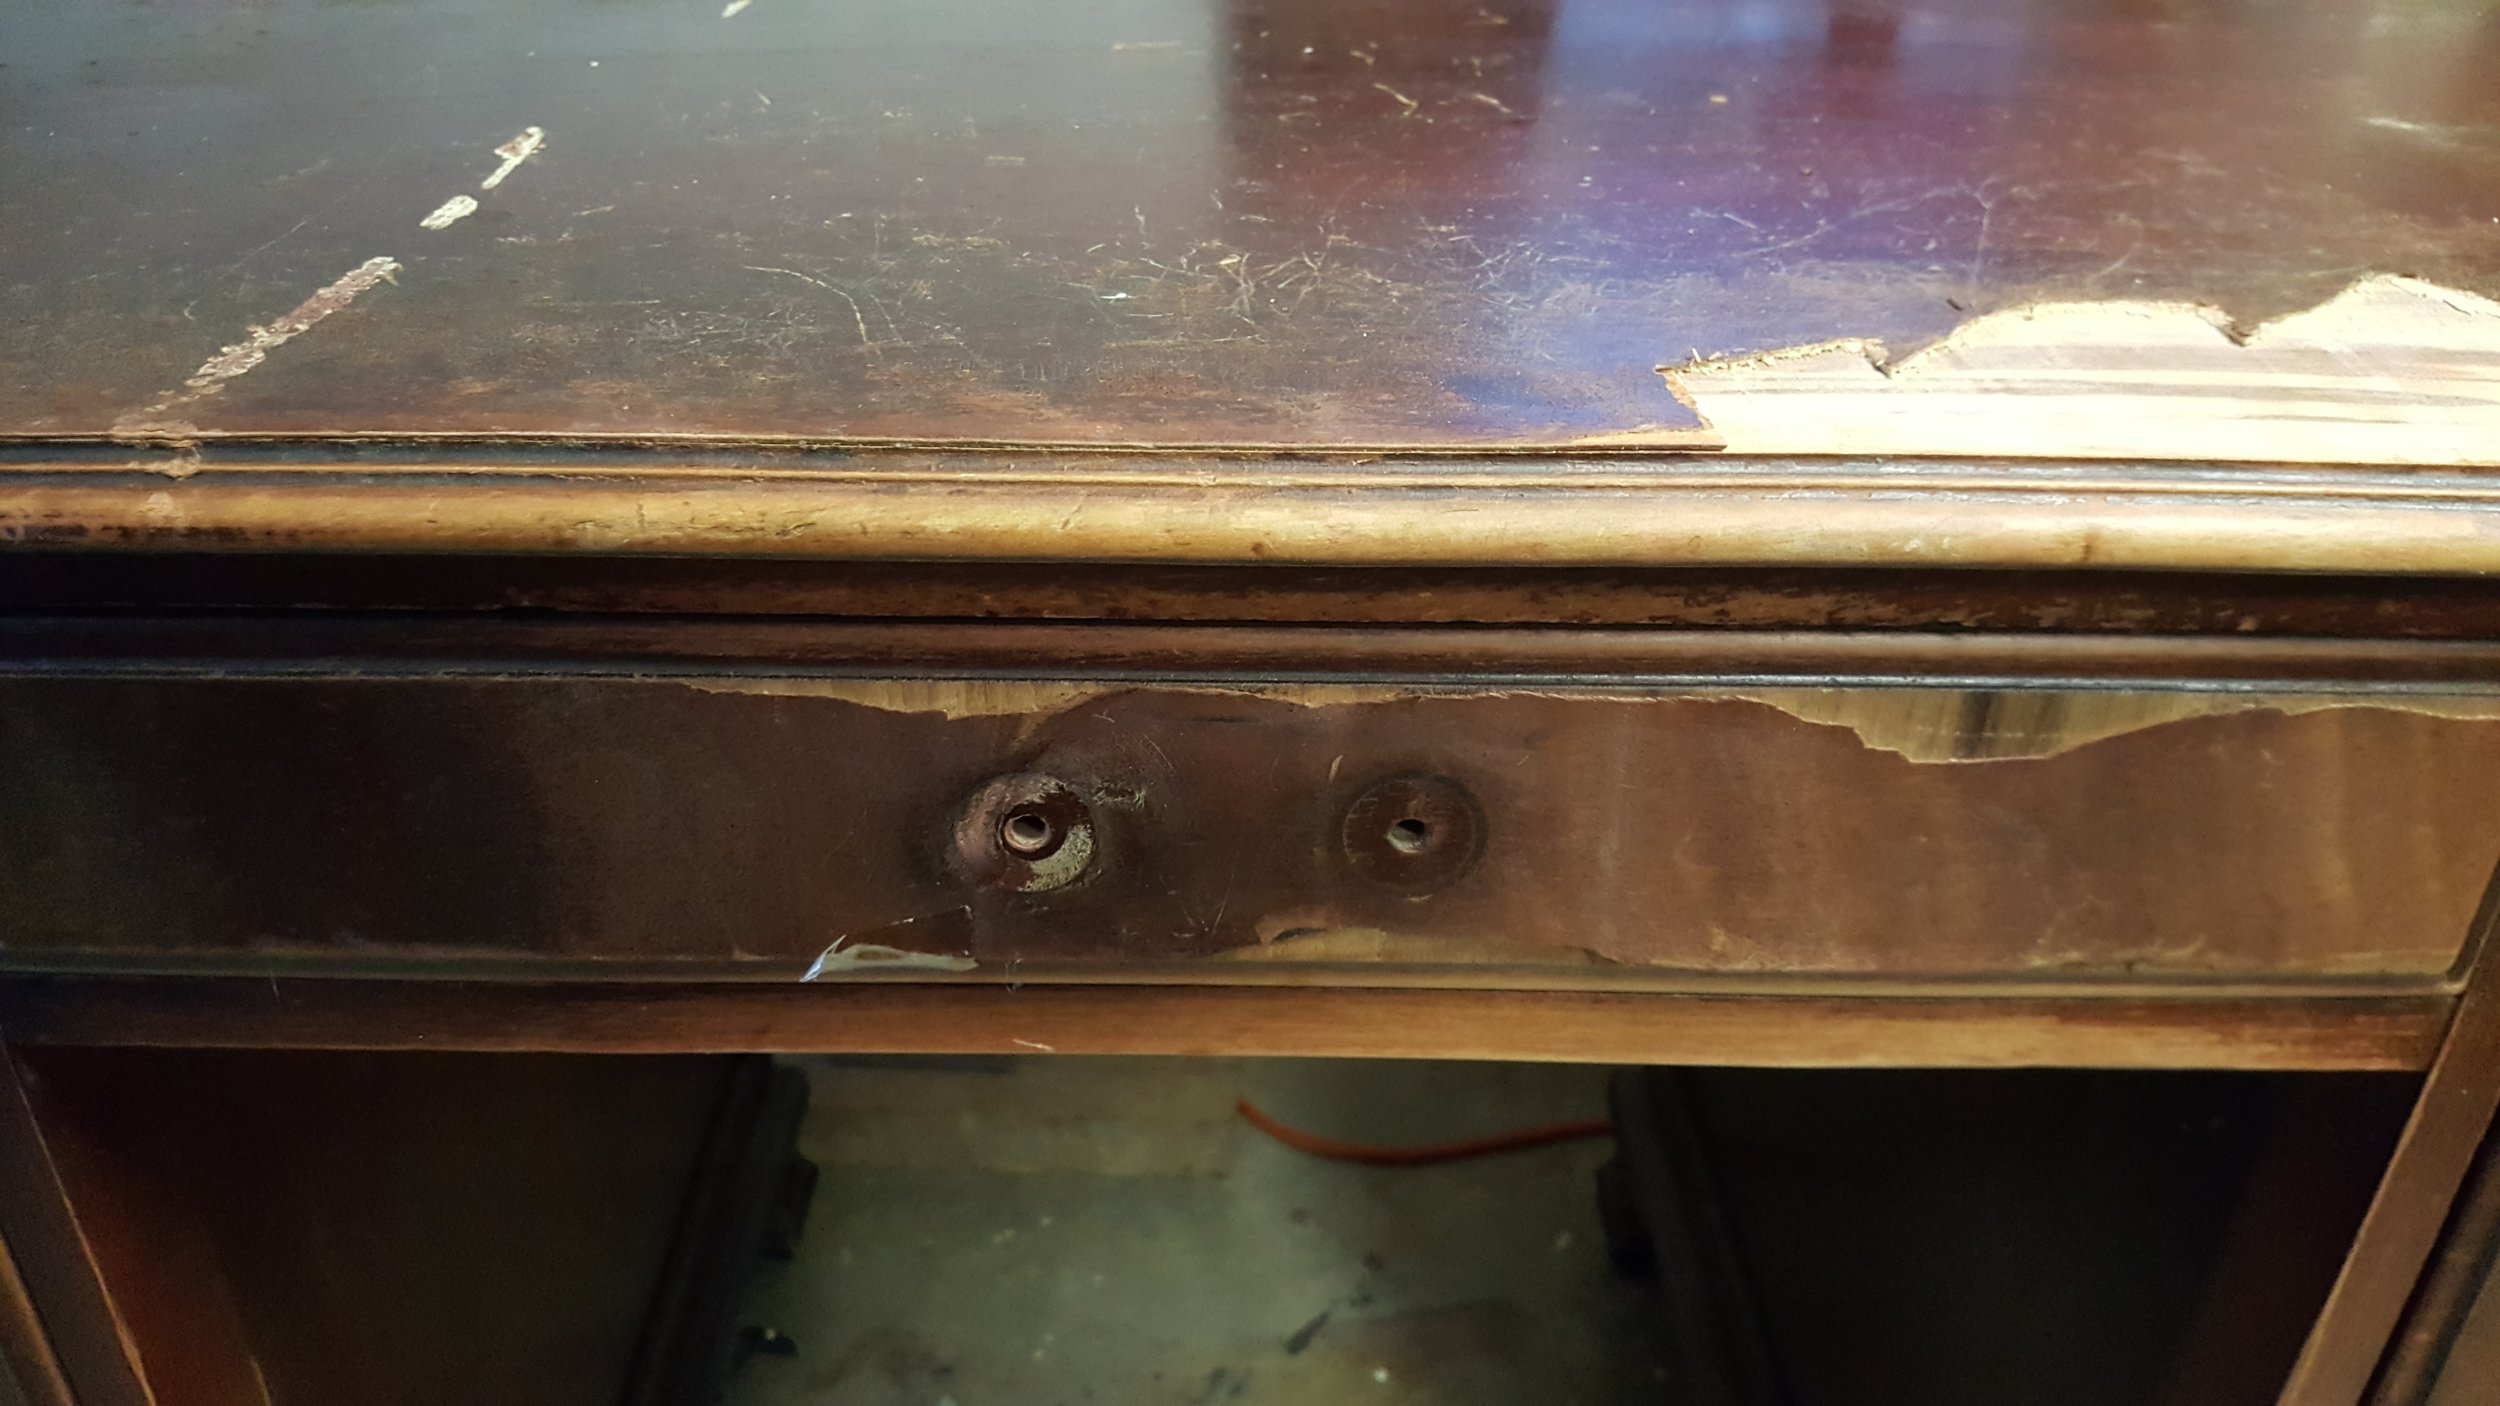
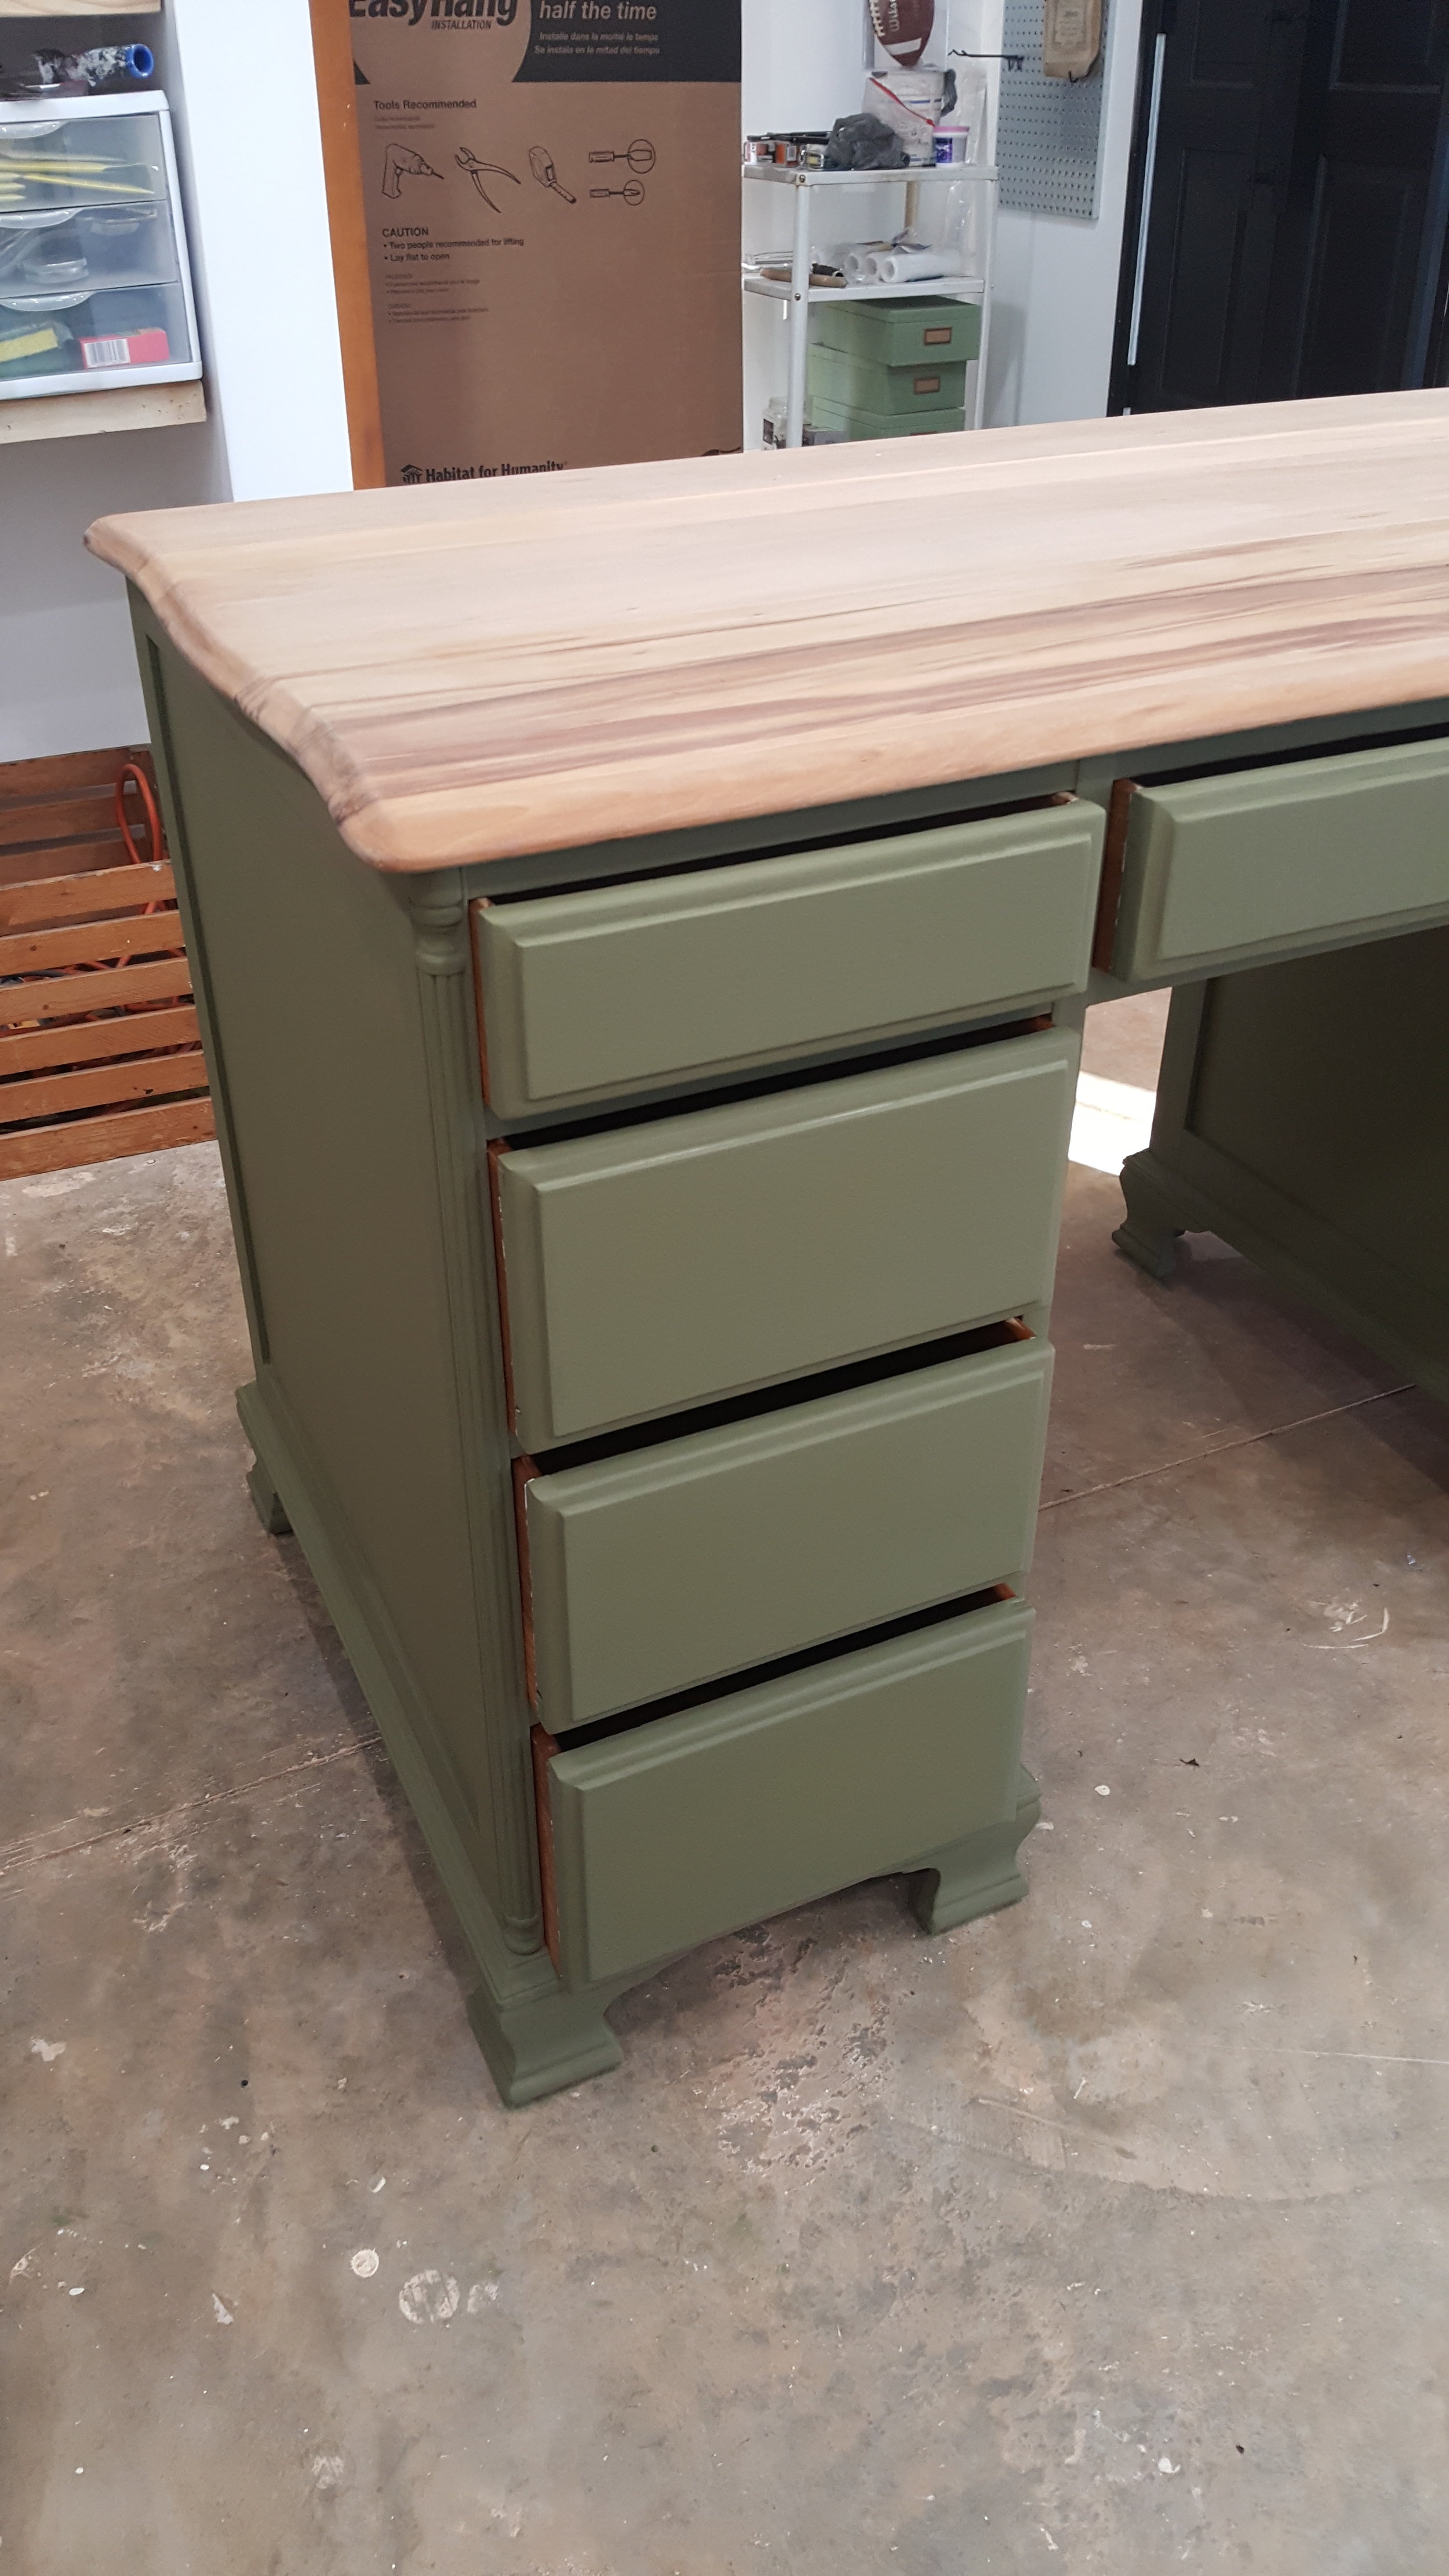
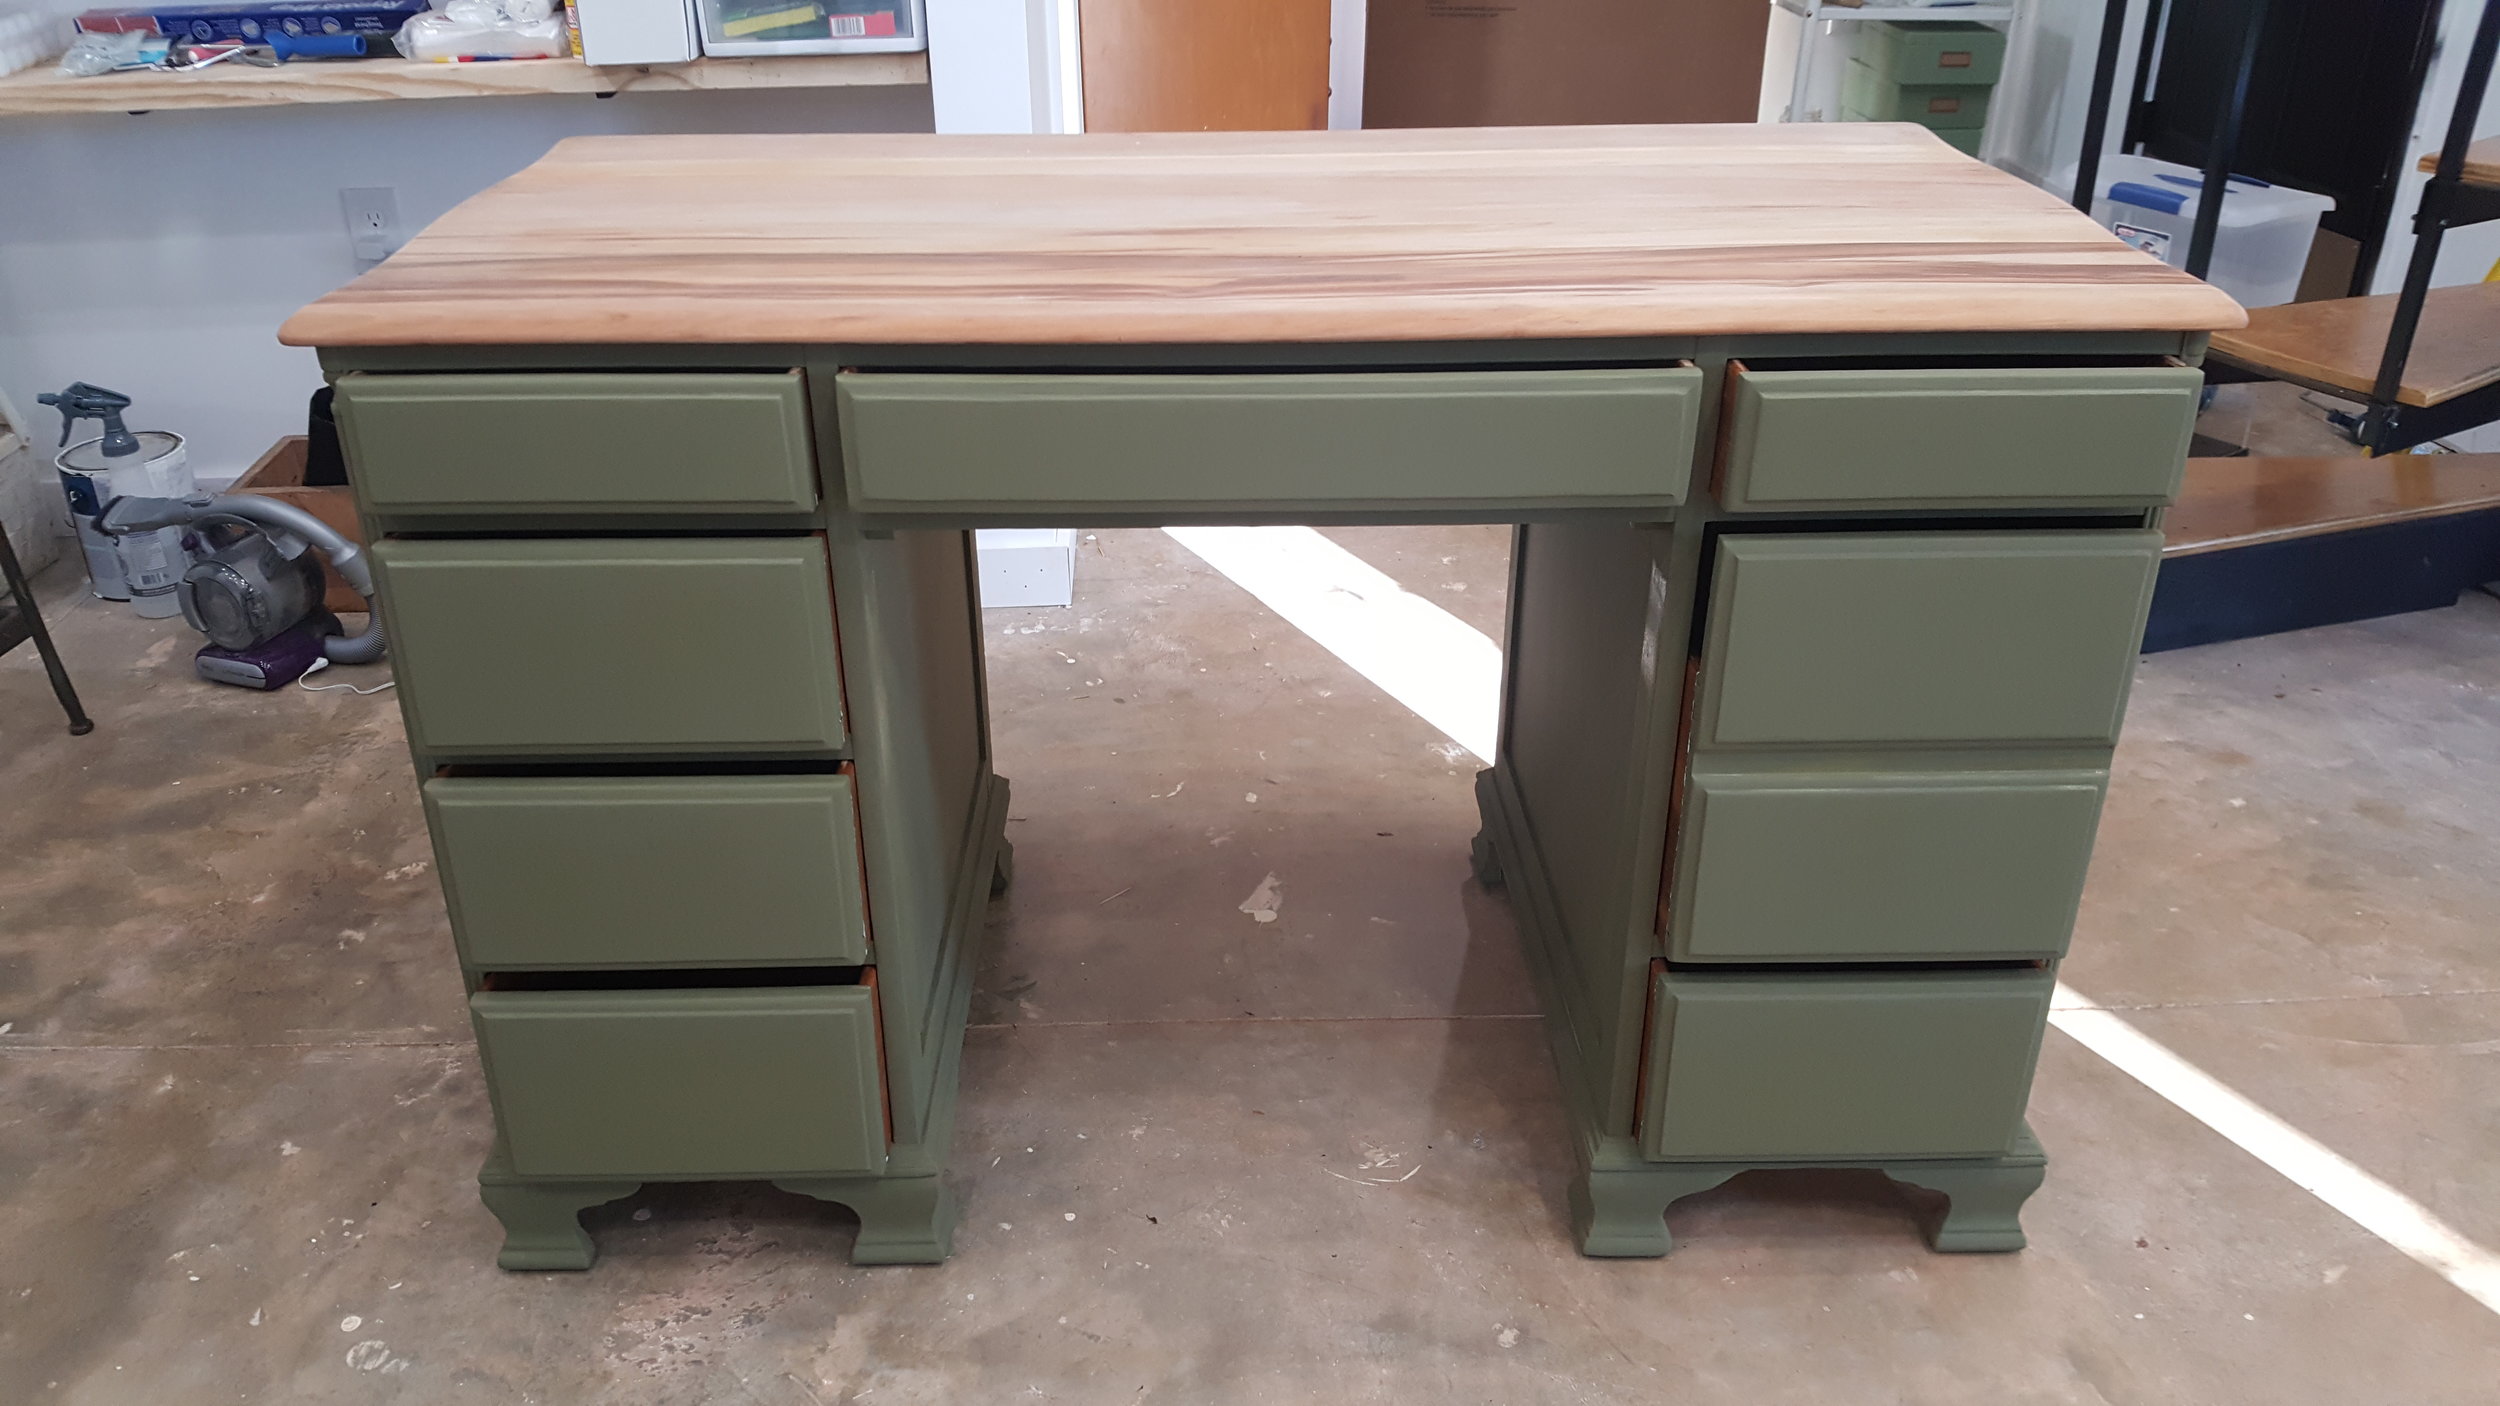
When my husband brought it home, I immediately went to town on it. I loved that it was an executive style desk and I could see that it had a lot of potential, but man, did it need a lot of work! The body of the piece was in decent shape. It just needed to be cleaned and sanded really well. The top, however, was a different story.


The Prep Process:
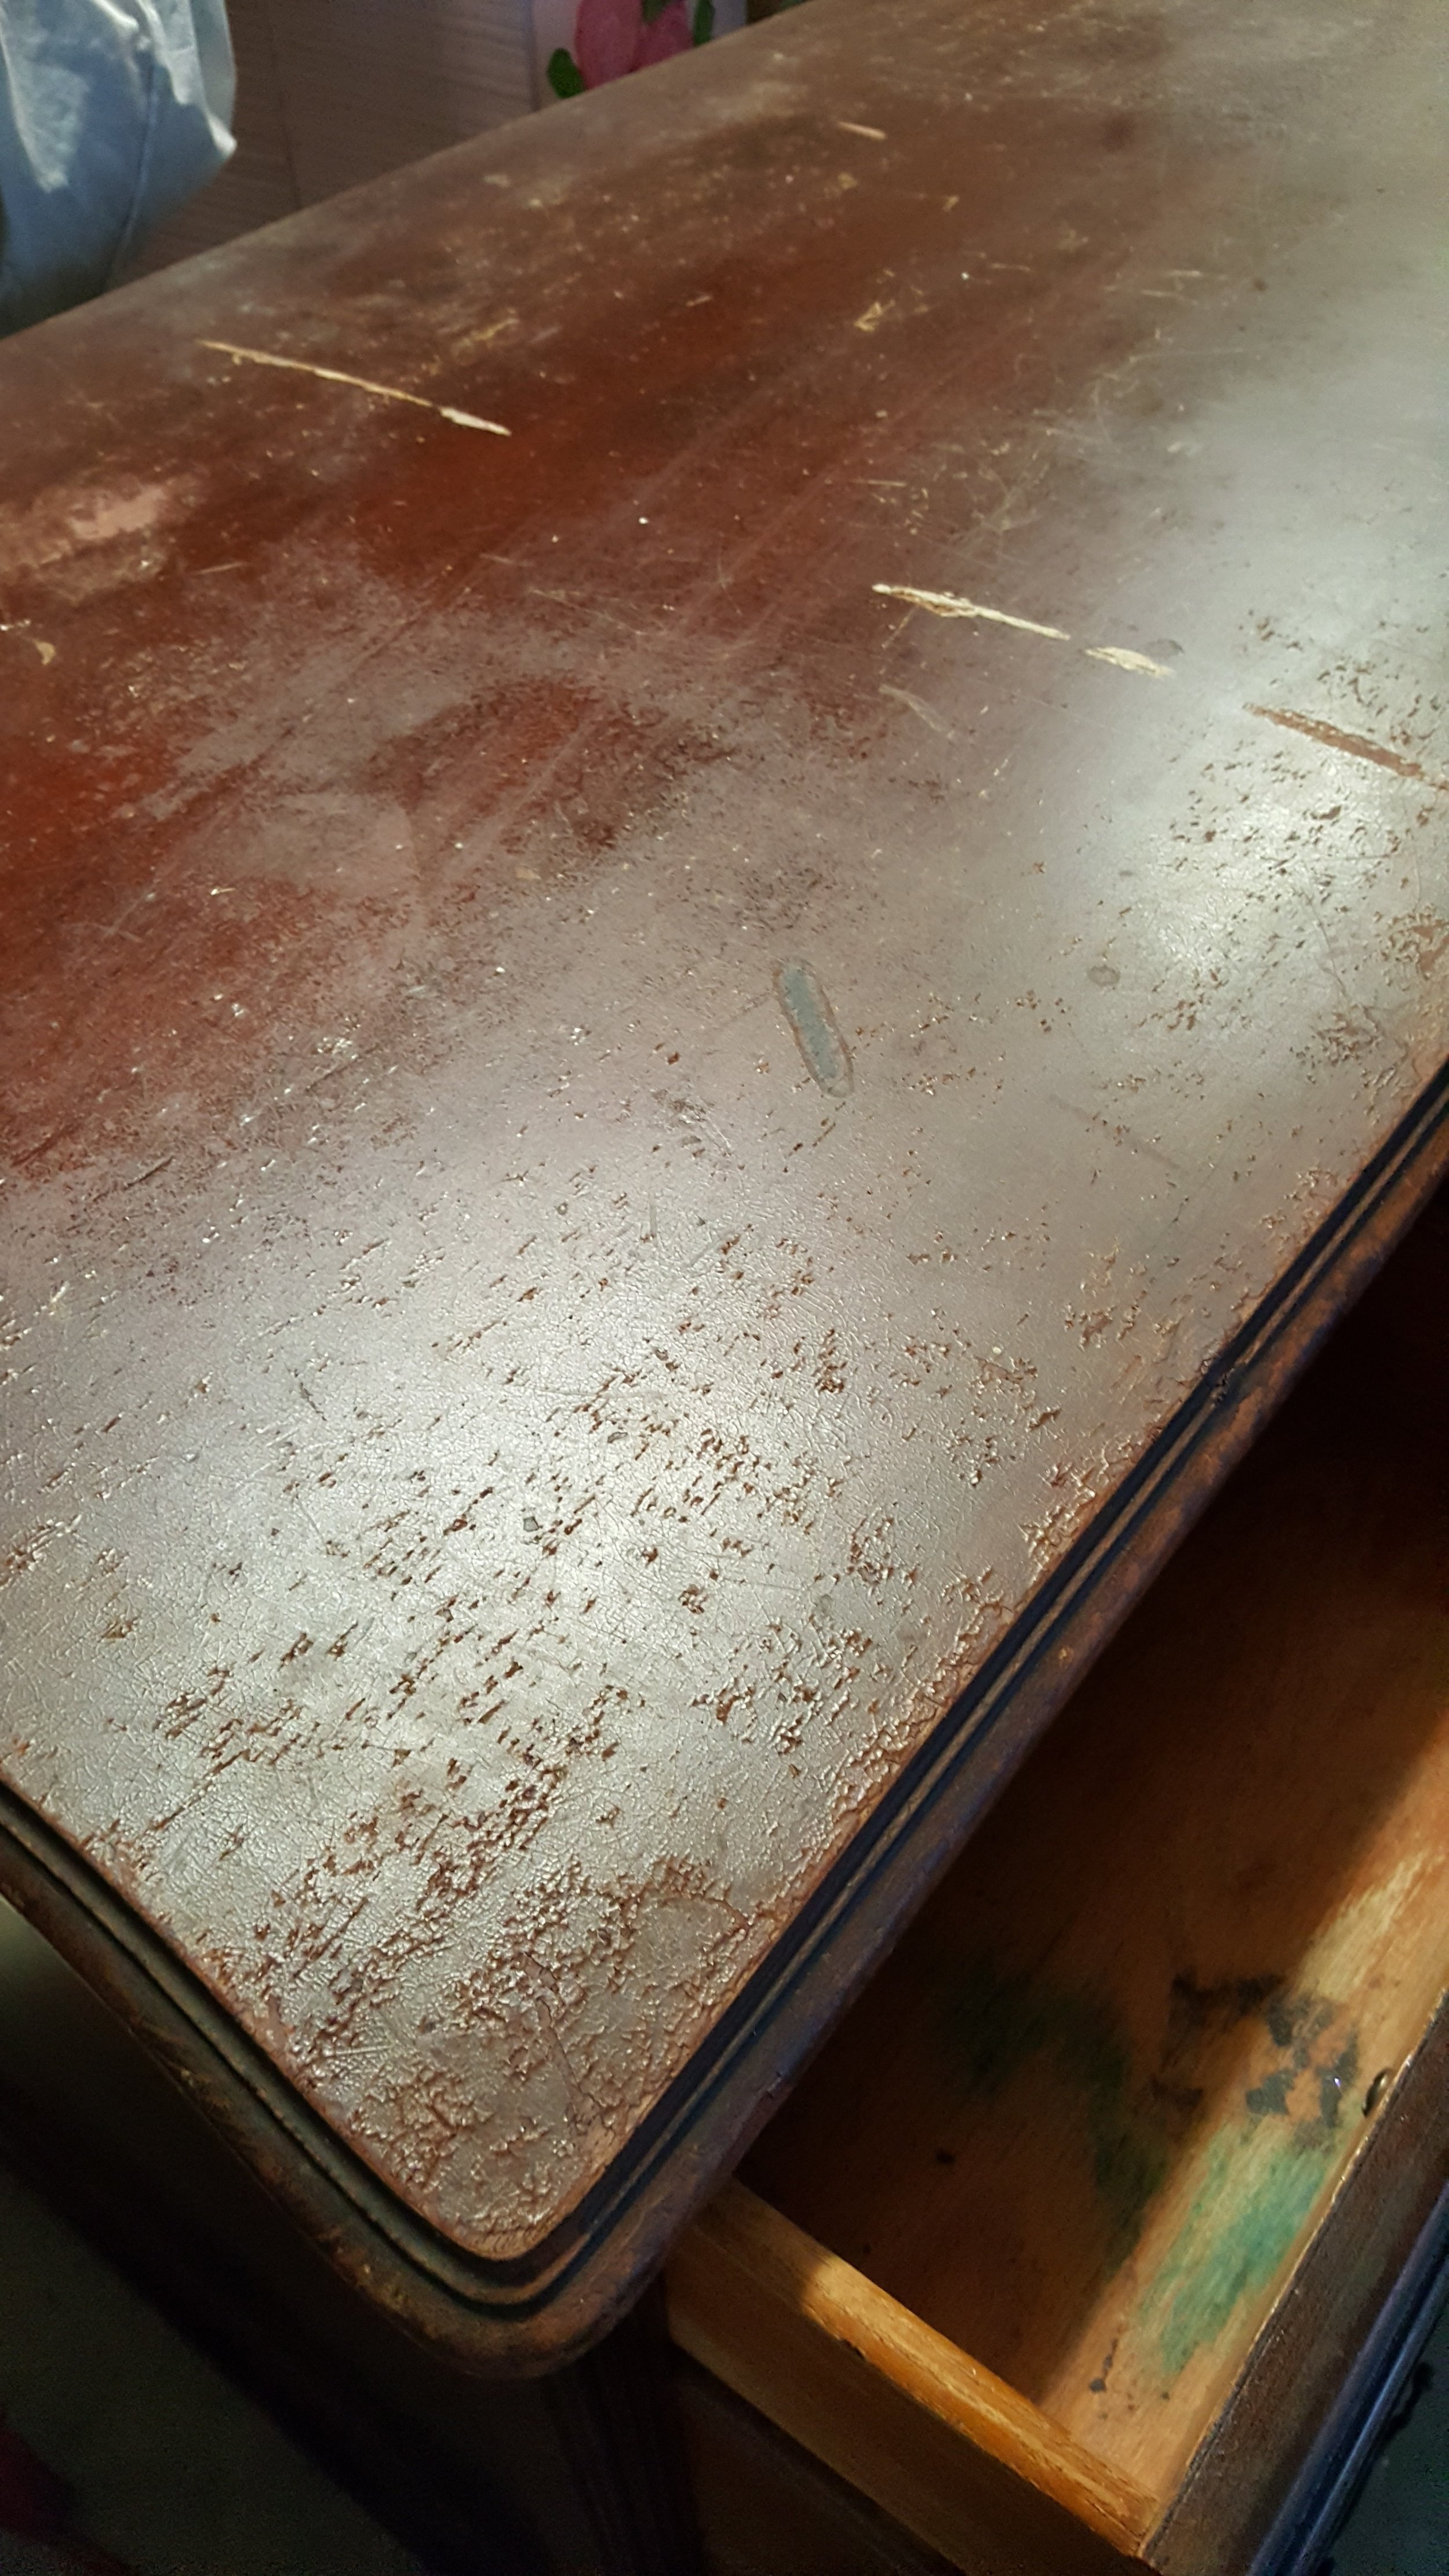
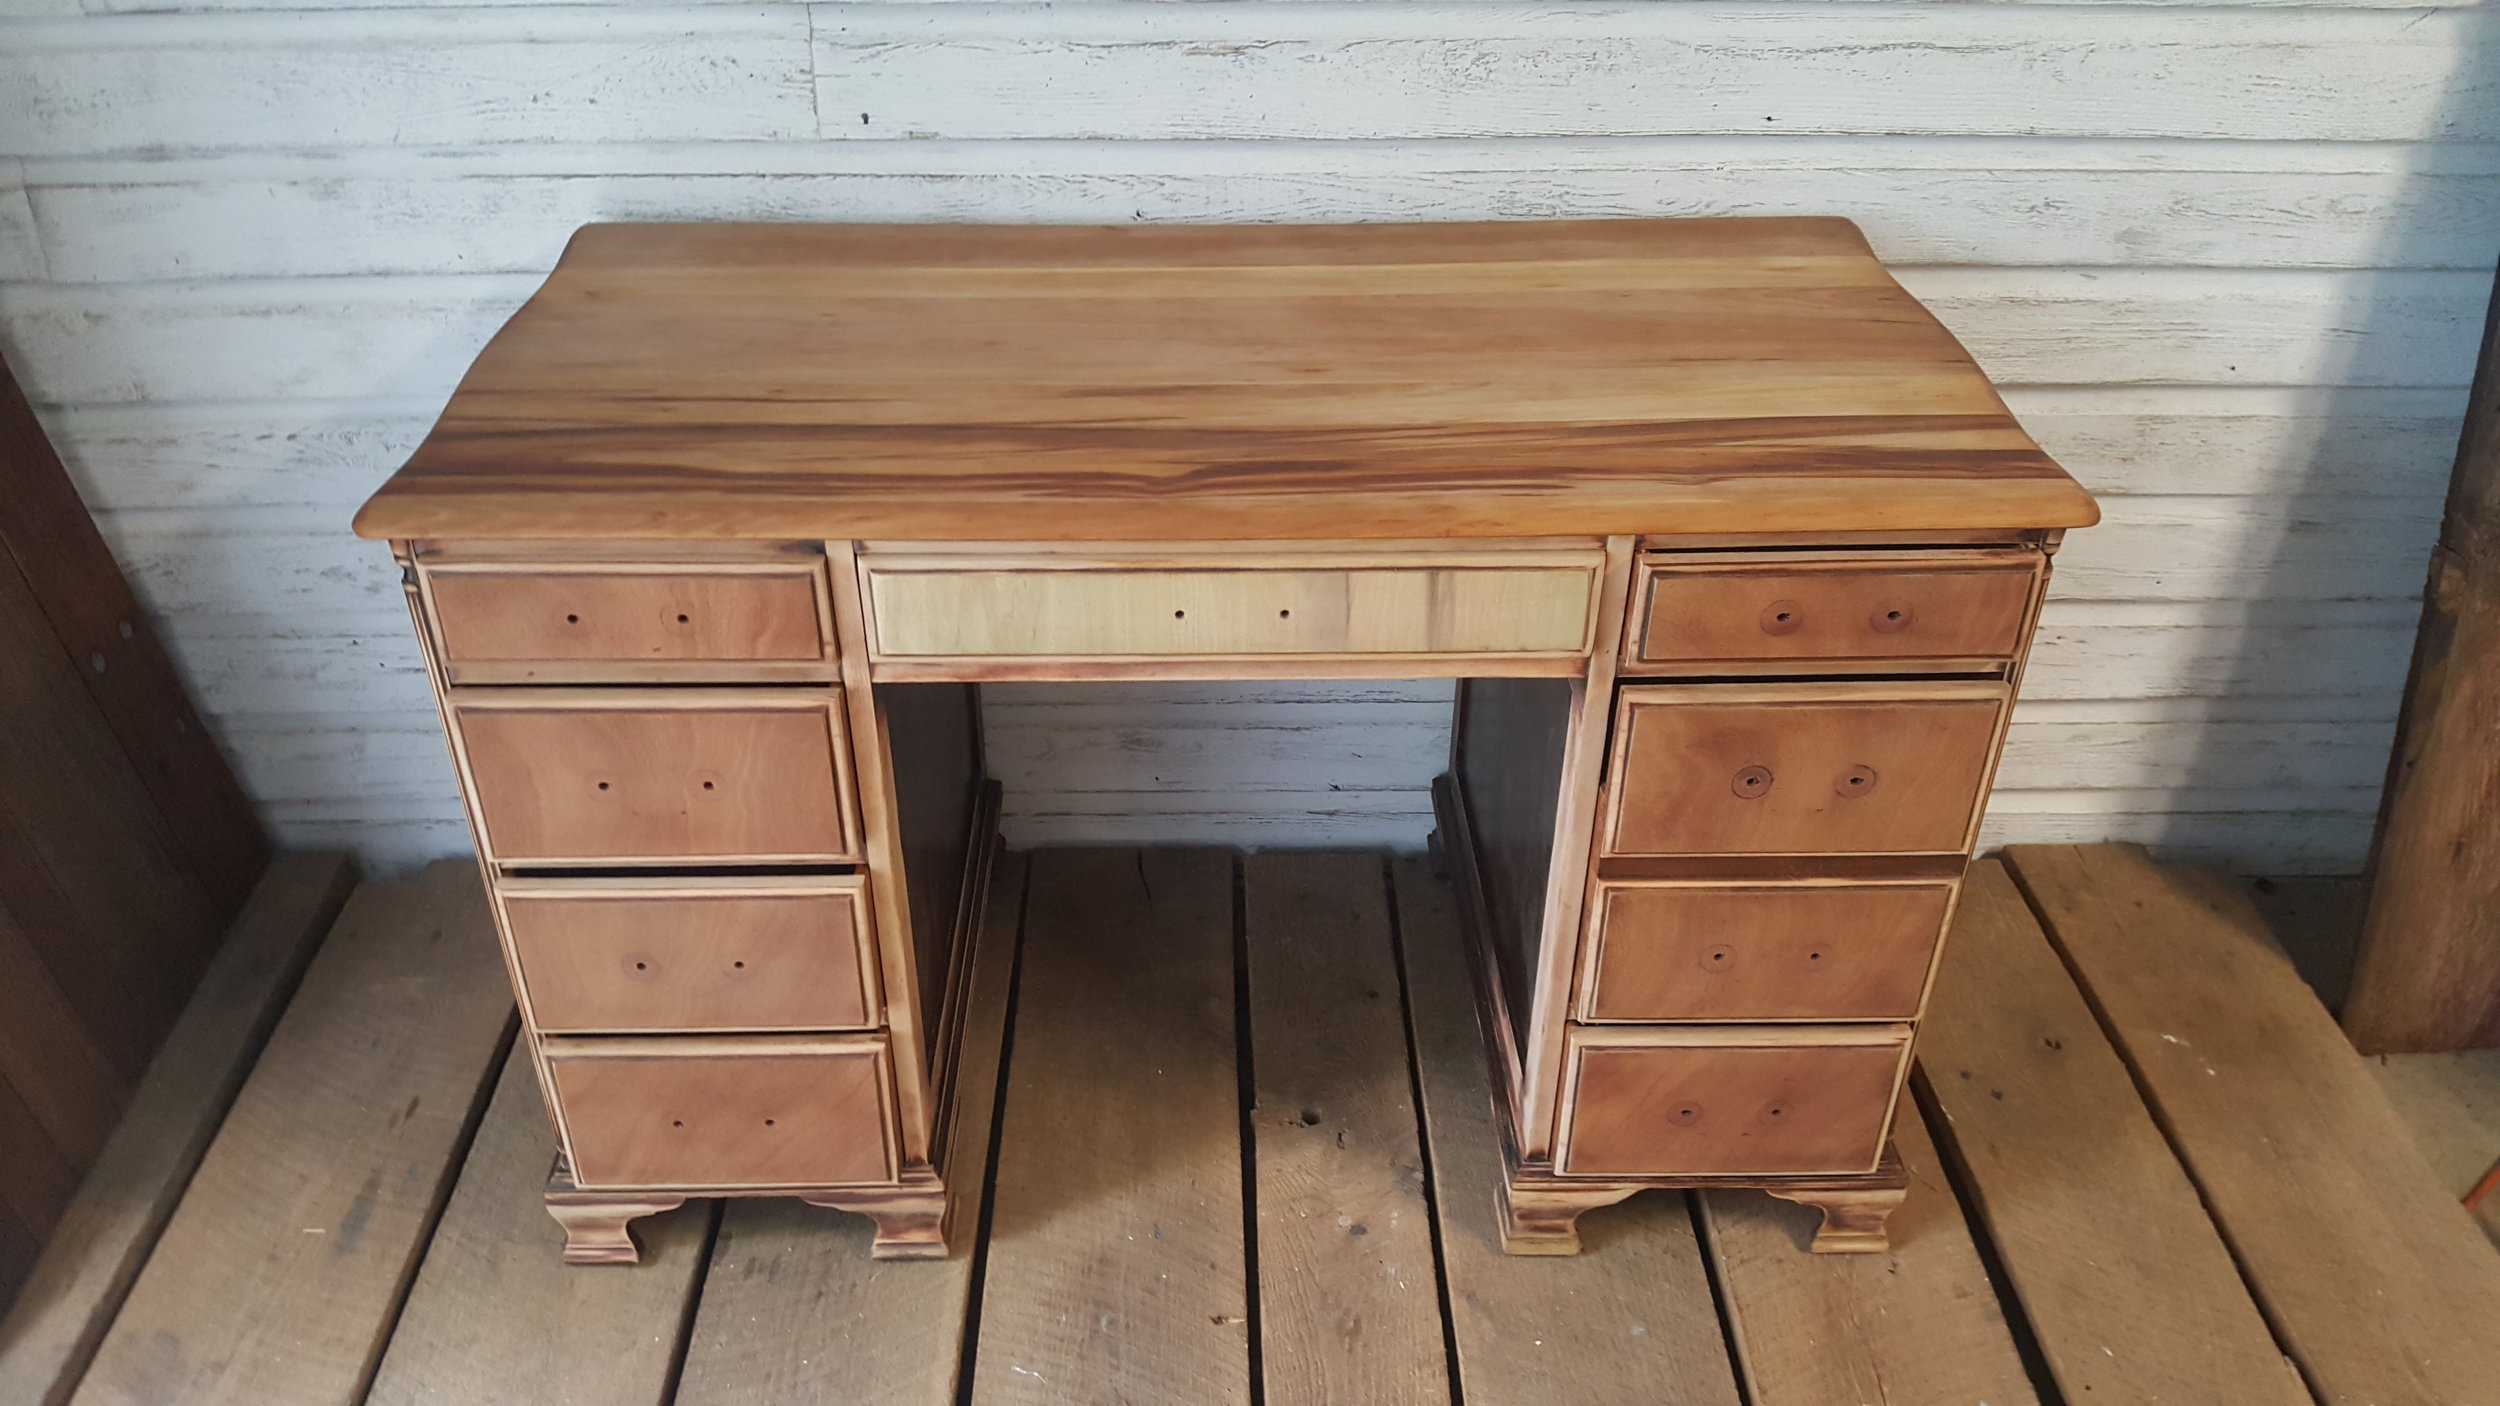
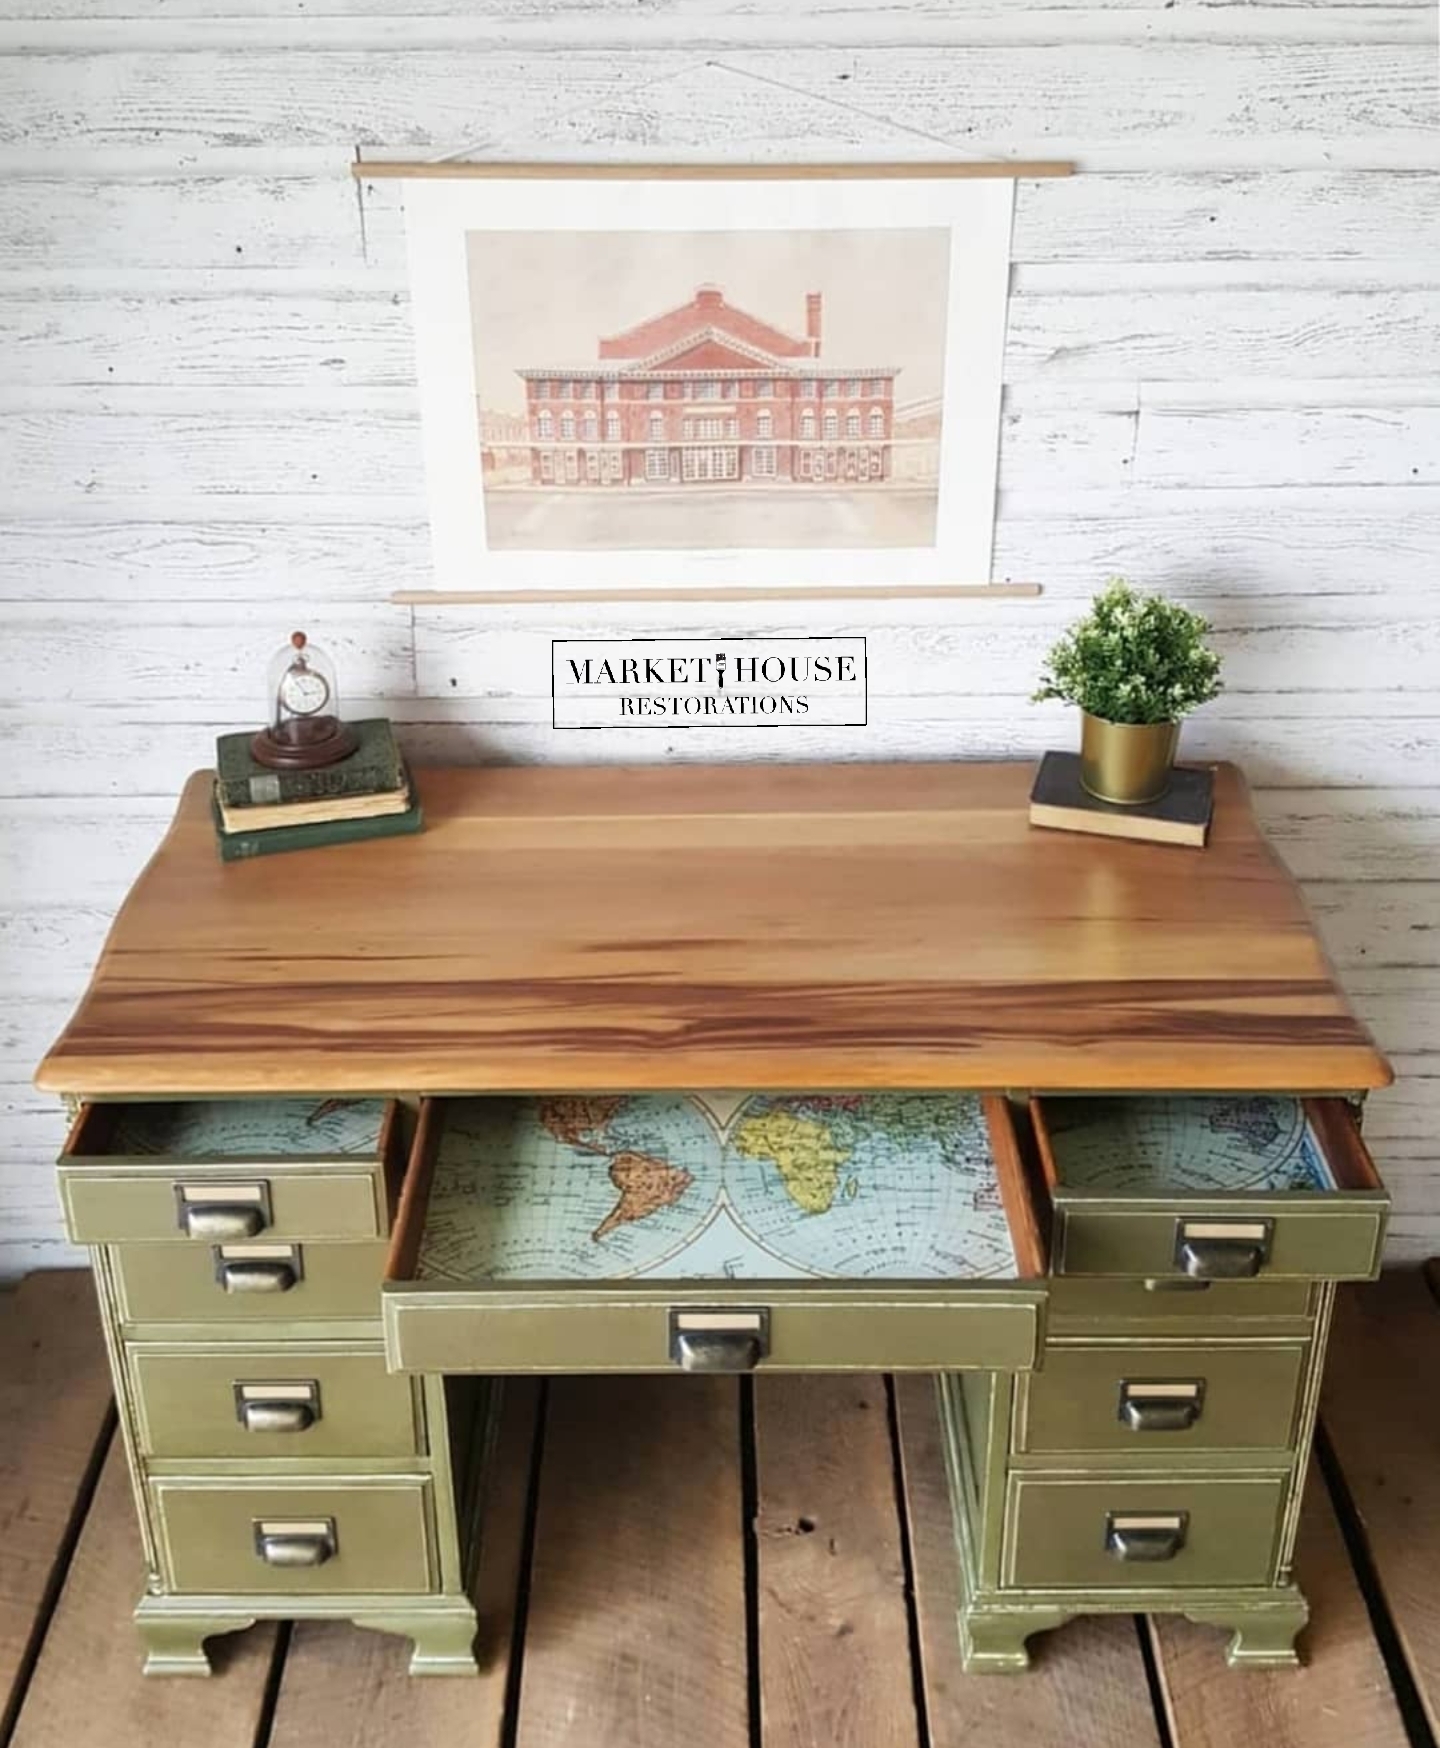
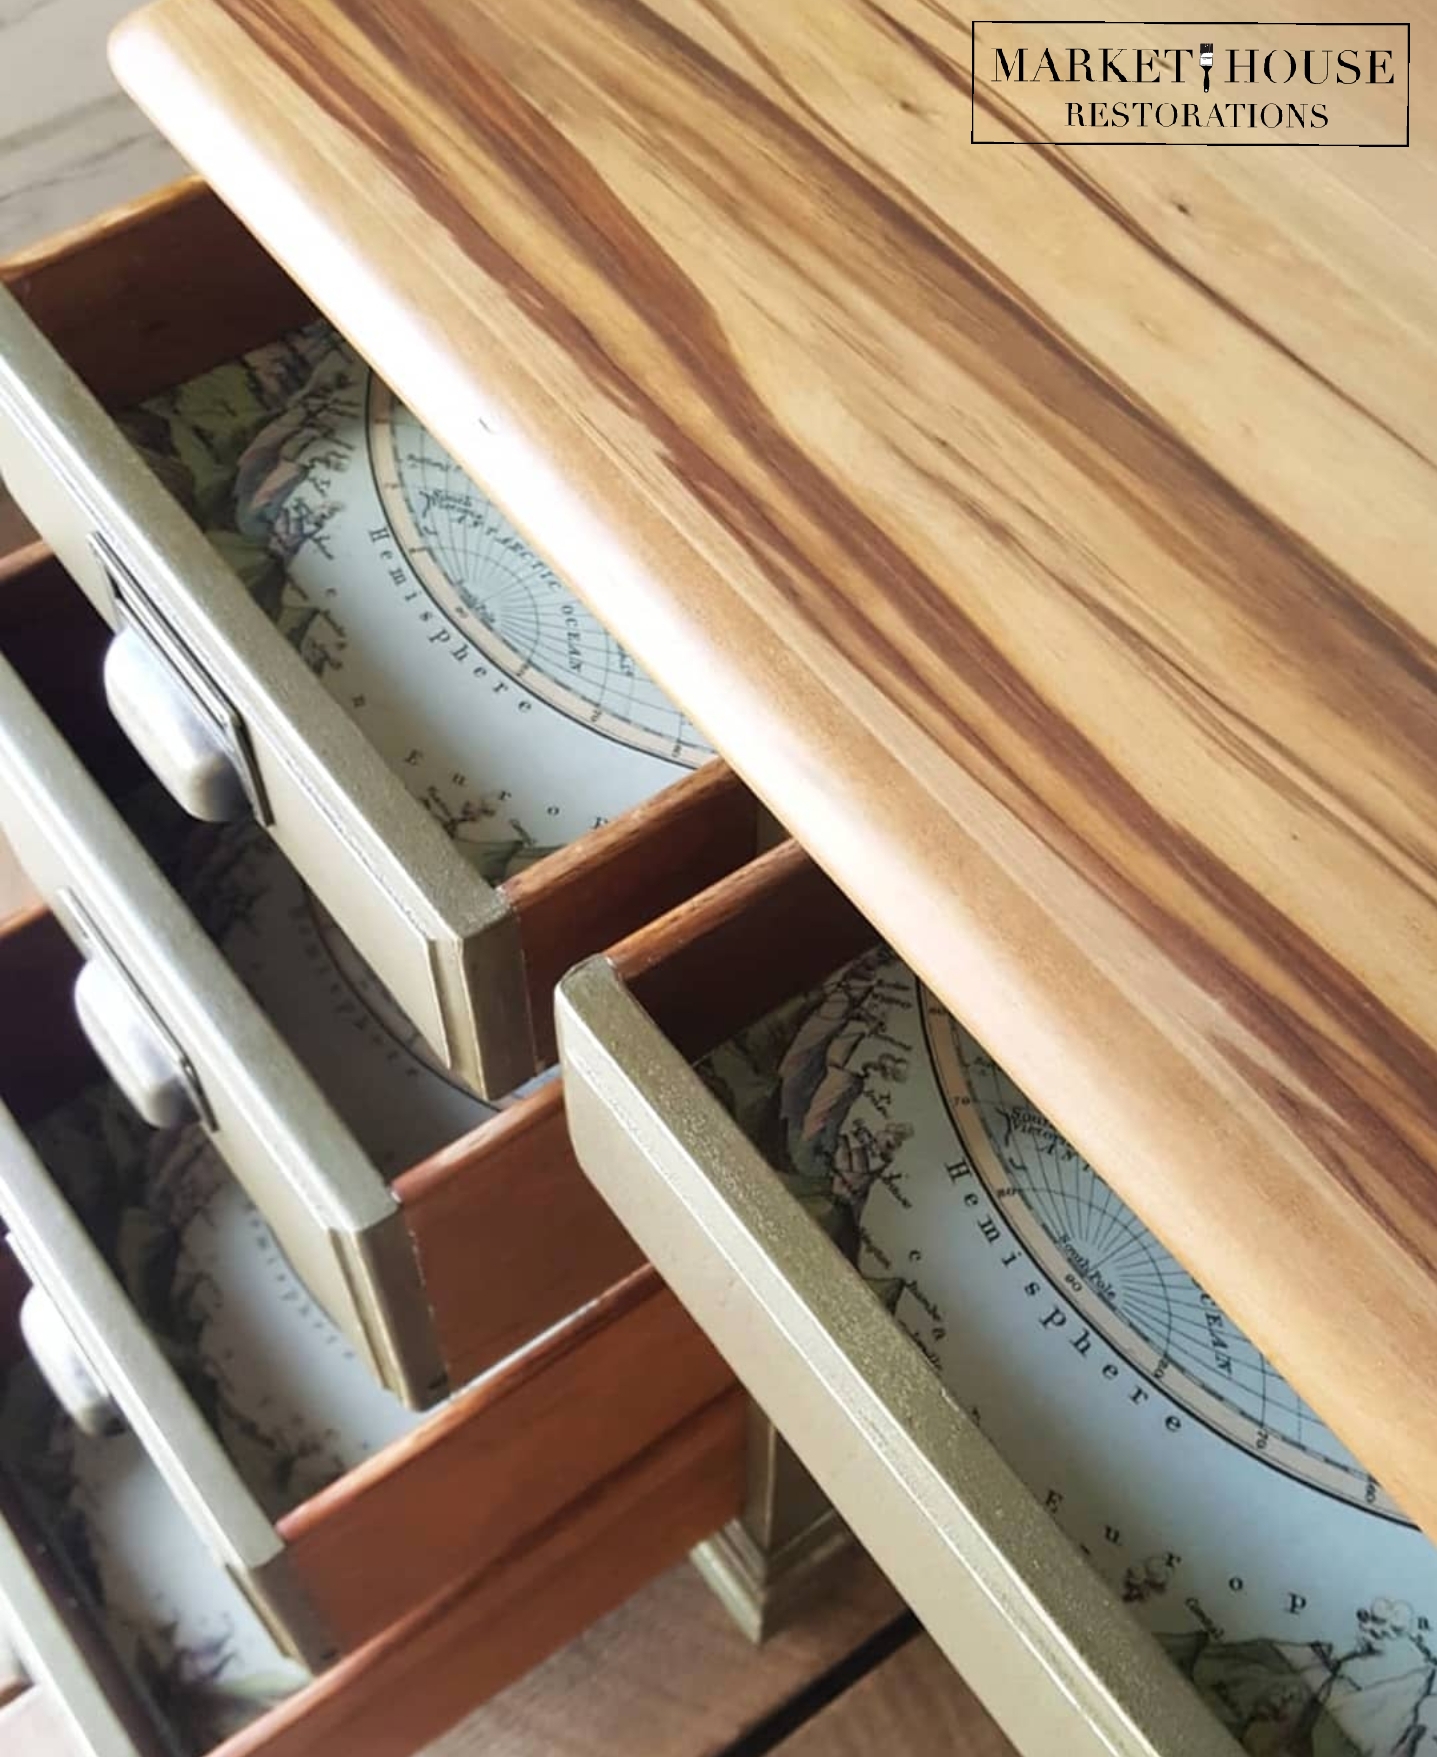
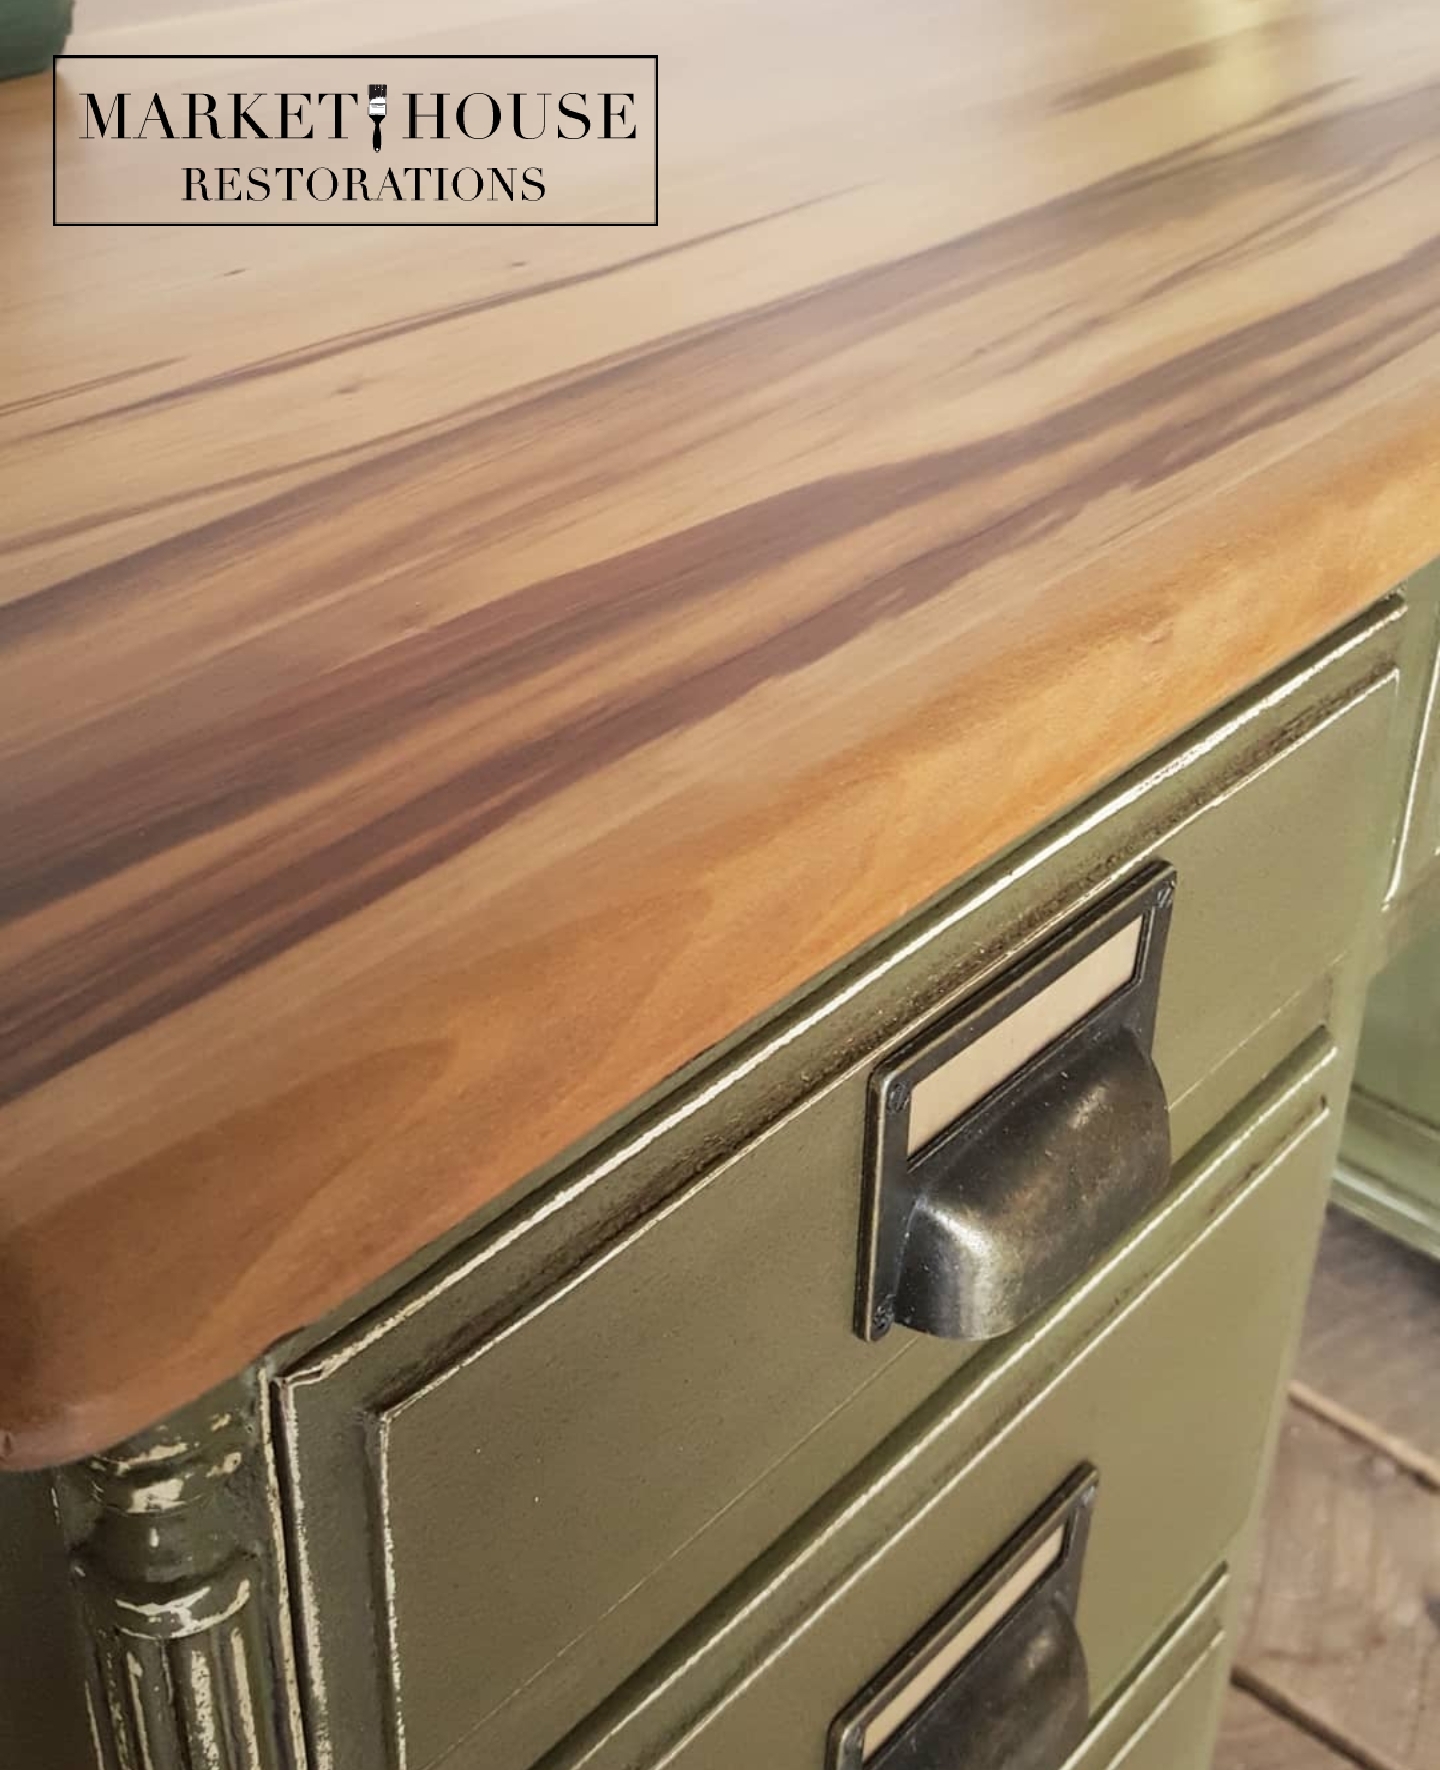
Step 1: I removed all of the veneer that was on the top. The veneer was really messed up and beyond repair so my only option was to take it all off. I was not able to do all of this in one day. I had to tackle it an hour or two at a time over a week long period. I think I only busted my knuckles about 4 times, ha! I ended up scraping and chipping it all off with a hammer and metal putty knife/scrapper. I tried a hair dryer, the iron and towel trick and I also tried a heat gun, but the glue from the veneer was not budging, so I literally sanded-and-sanded…and sanded…until all of the glue was off the top. I used 40 grit sandpaper on my Orbital Sander because I needed something really course to get rid of the glue. Shew! I’m going to say I spent at least 10 to 15 hours on just the top part…BUT, look at the awesome grain underneath!!! It was totally worth it in my book.
Step 2: I filled a few deep scratches on the base of the desk and repaired and tighten any other loose areas.
Step 3: I vacuumed it first and then I cleaned it really well. I gave this one a nice long bath with TSP. Inside and out.
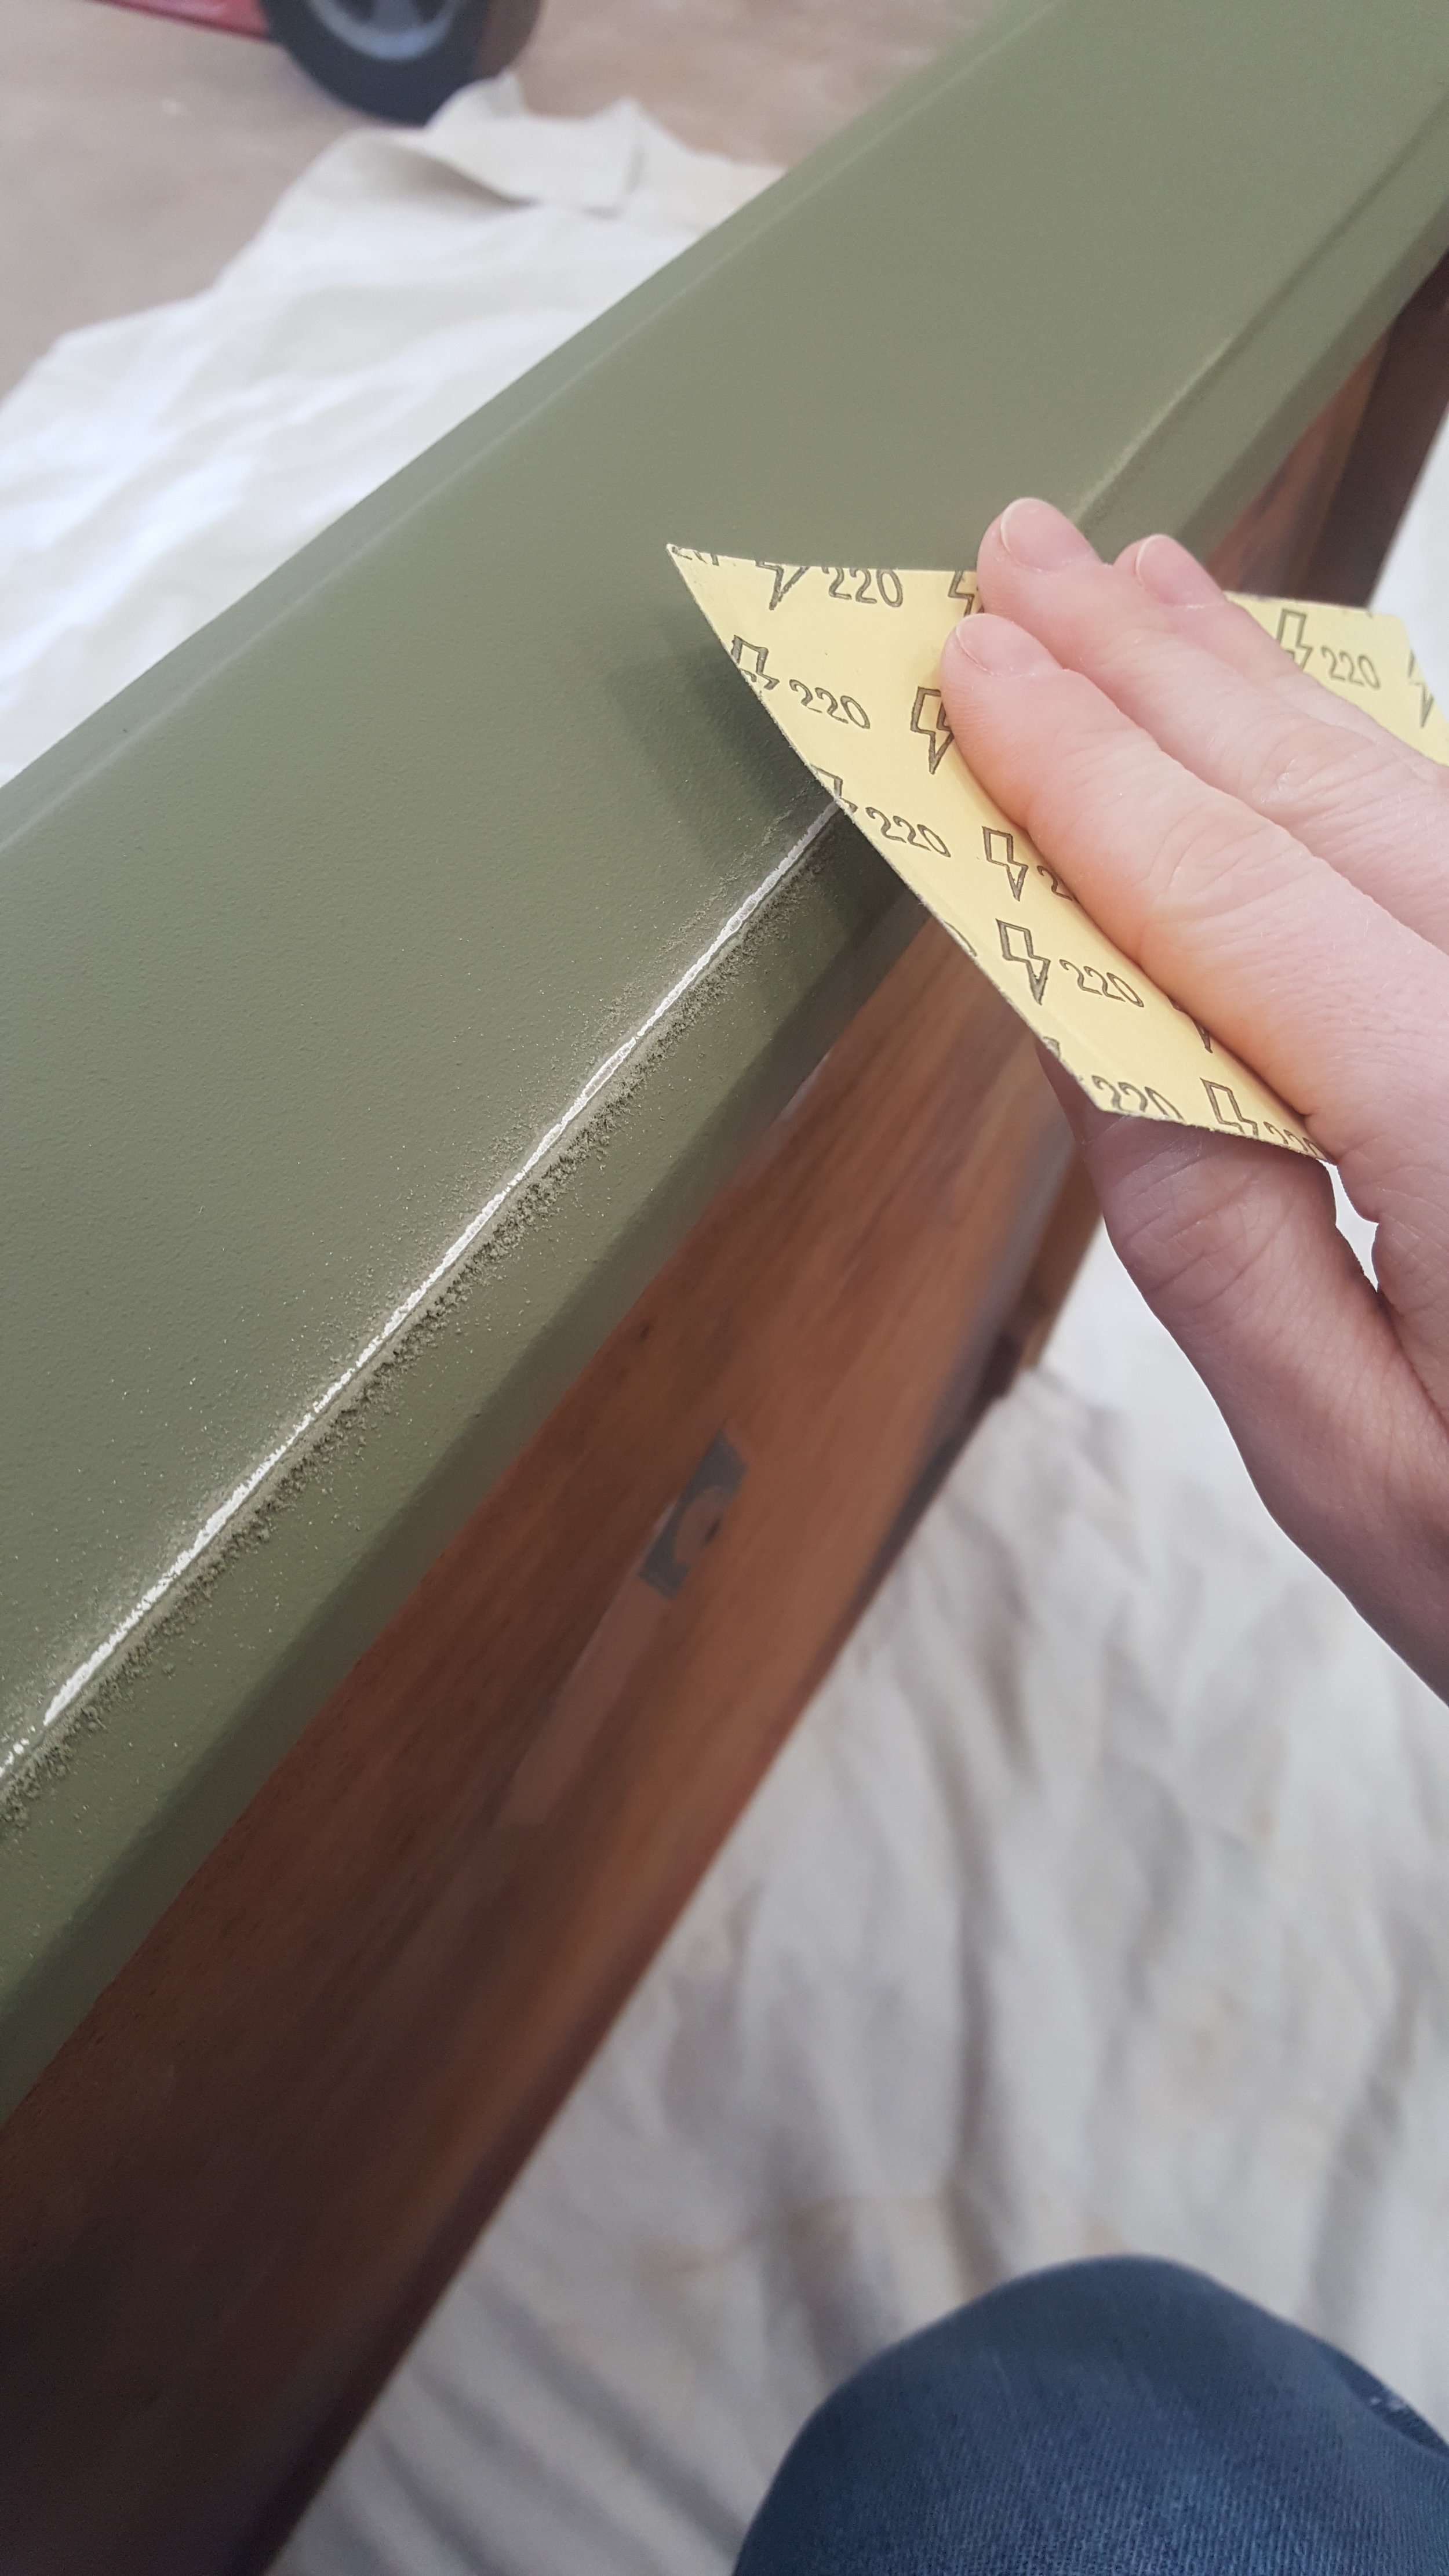
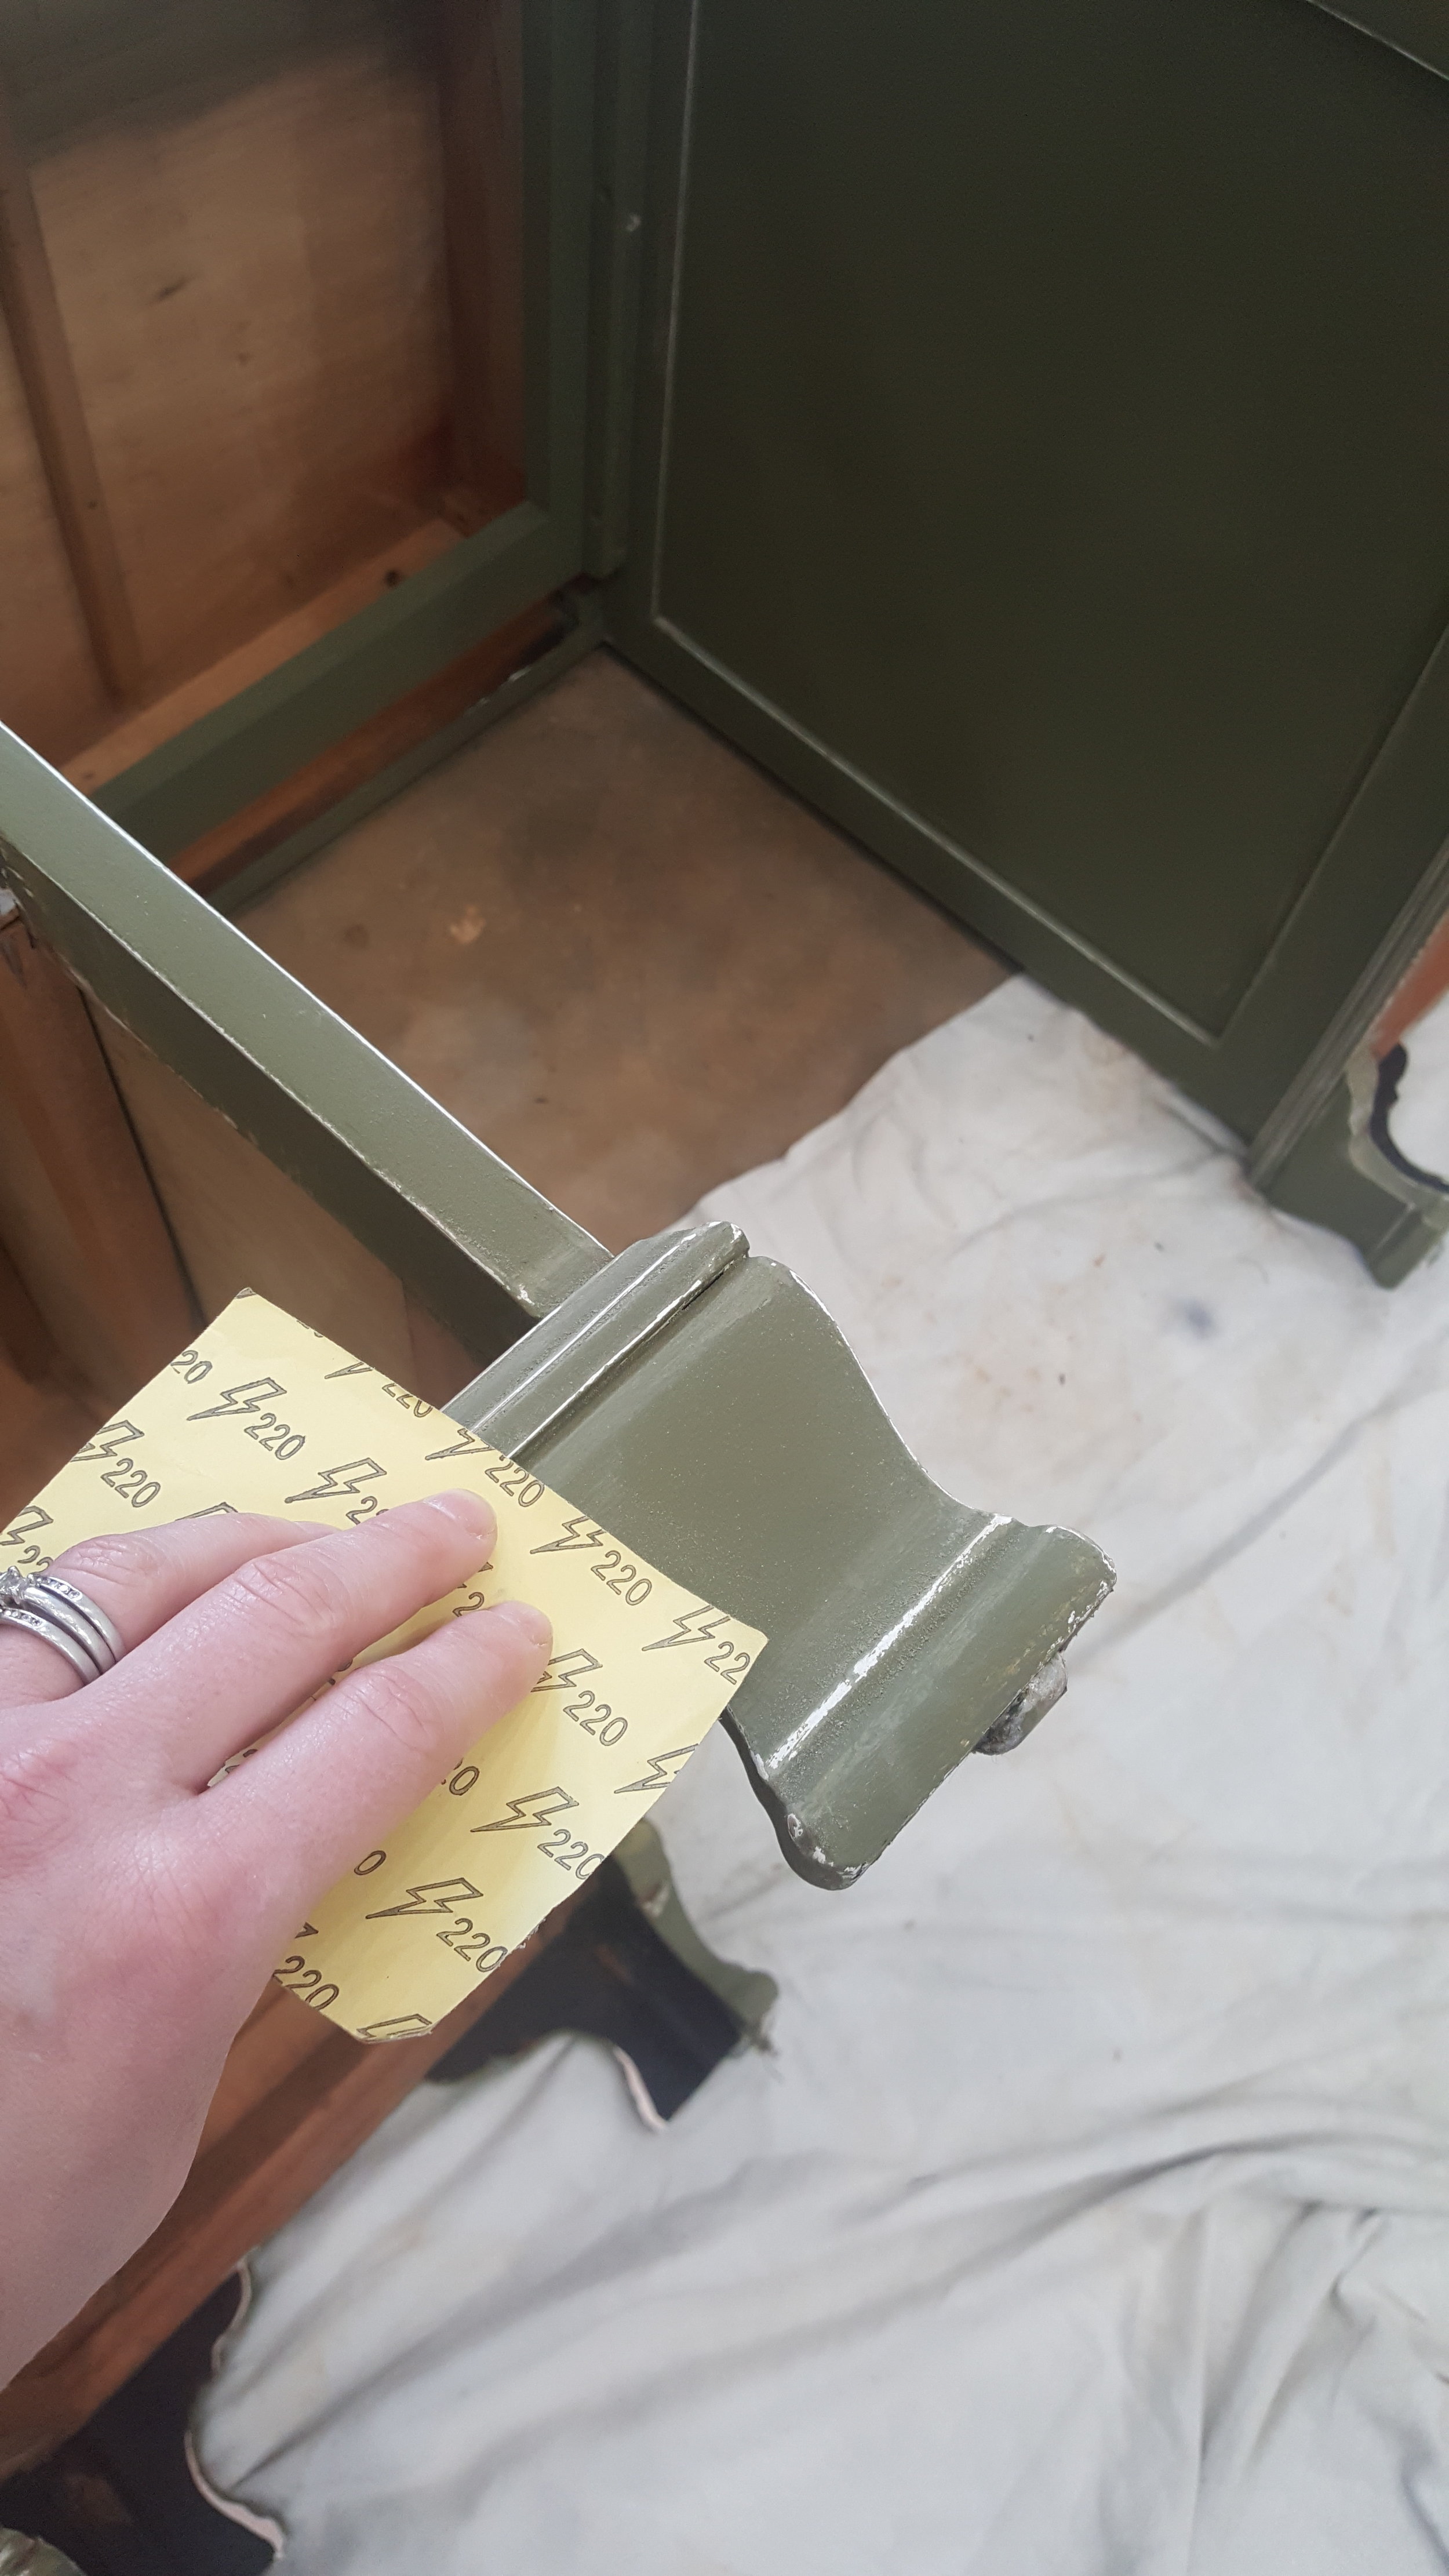
Step 4: I sanded every inch of it with my Orbital Sander. At this point I was just sanding the drawers and the body of the desk since I had already sanded down the top really well. Being that the piece was in rough shape to begin with, I wasn’t afraid of scratching it up so I put 120 grit sandpaper on my sander and smoothed everything out. followed by 220 grit to clean up the roughness from the 120 grit.
Step 5: I then used my pre-paint cleaner by Krud Kutter and cleaned the whole thing again. Once it was nice and dry I started the painting process.
The Painting Process:

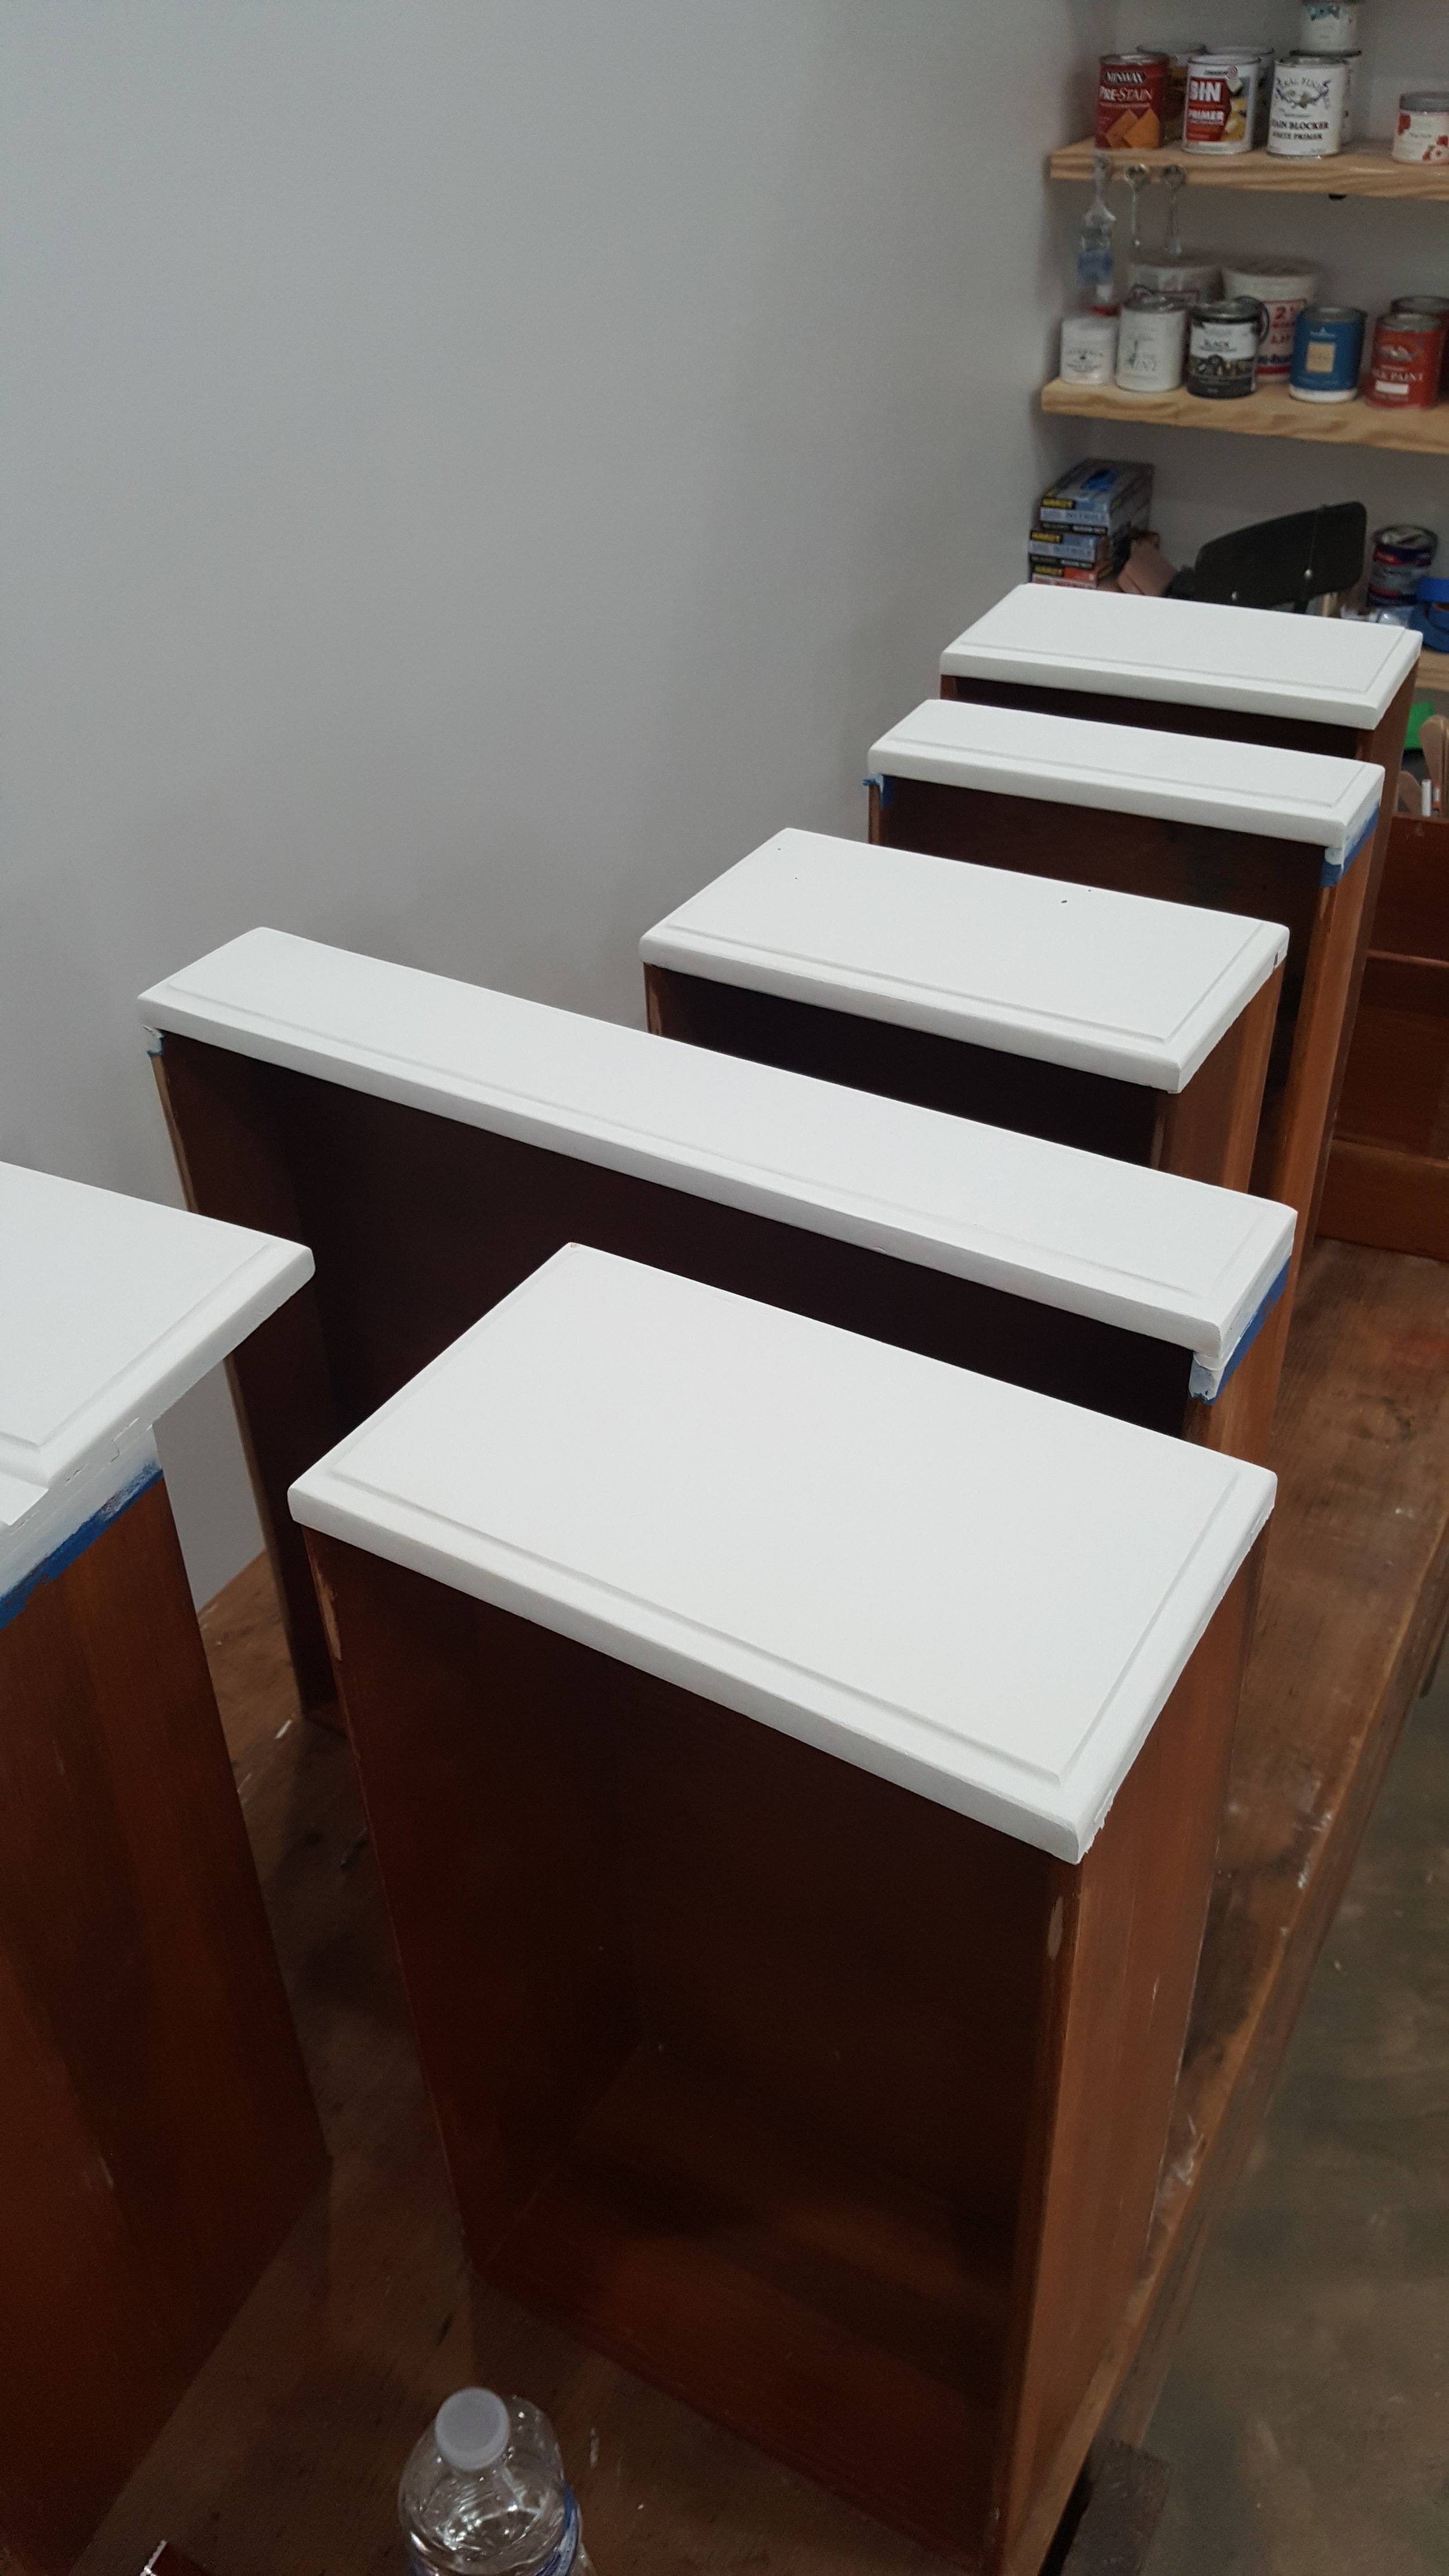


Step 1: Tape off all the edges of the drawers with painter’s tape and fill the current hardware holes with wood filler. Sand. Repeat x2.
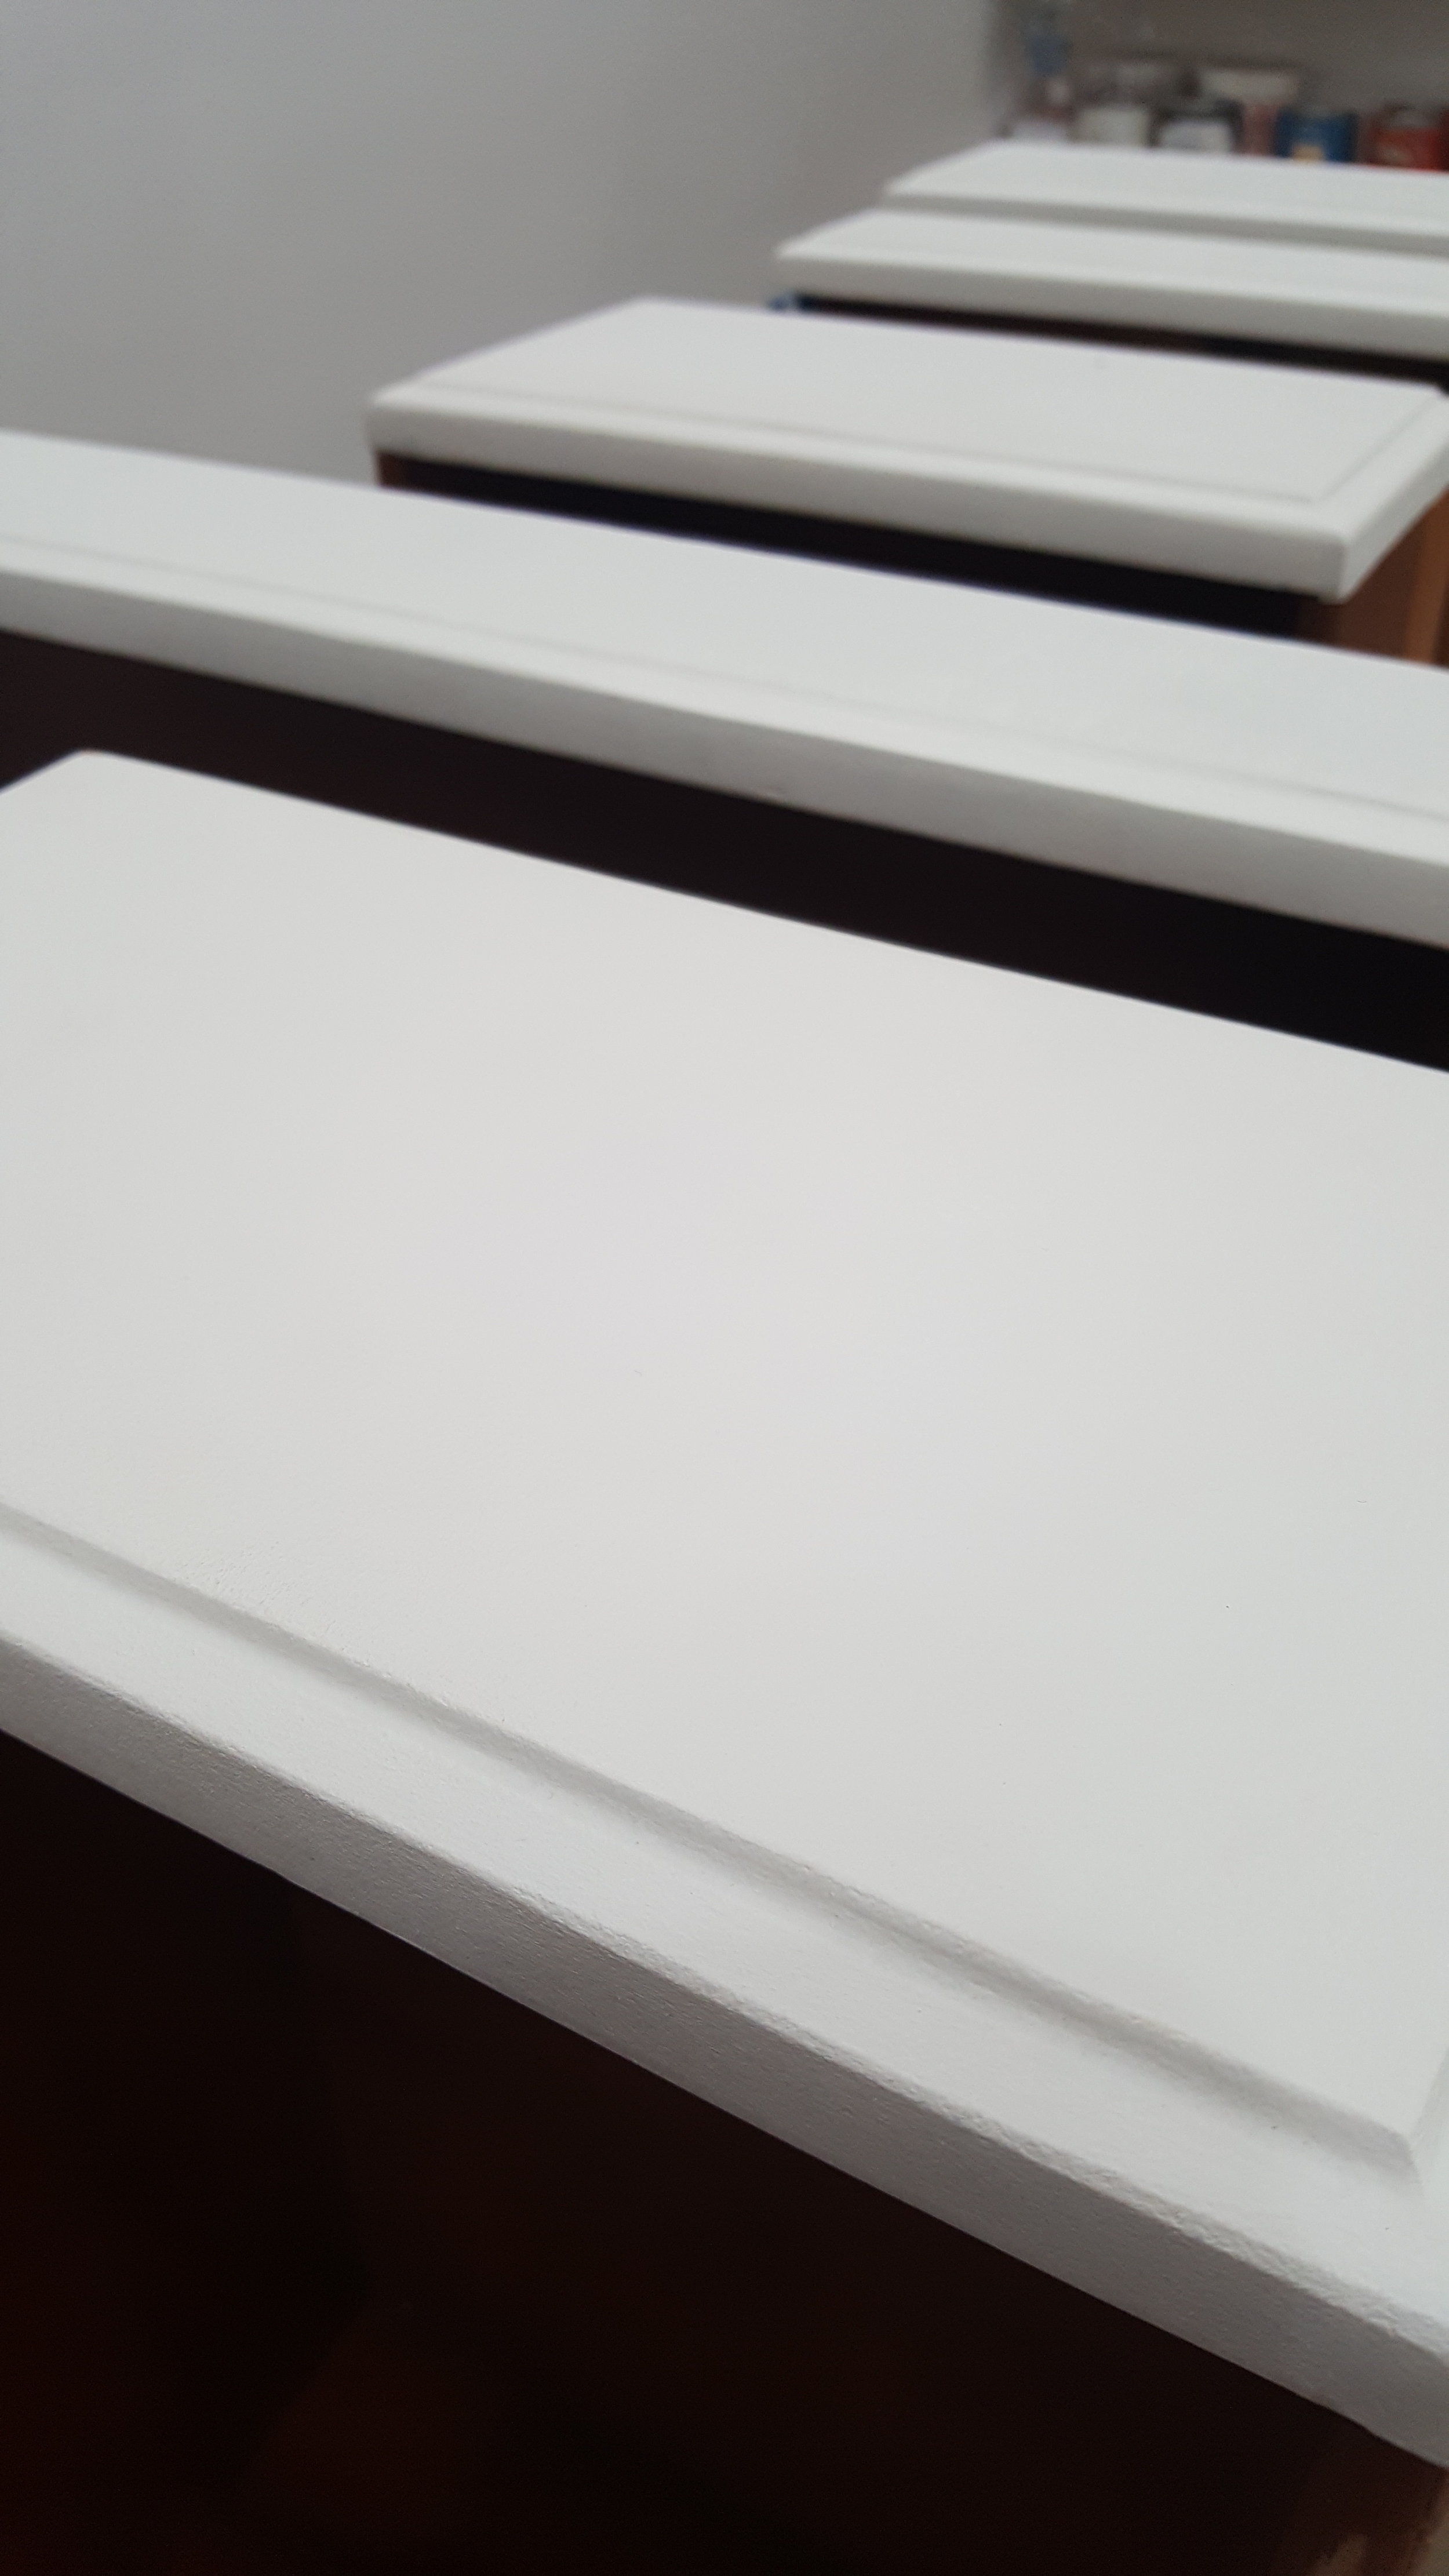
Step 2: I applied 2 coats of BIN Primer to the base of the desk and all of the drawers because I could just tell that this piece was going to be a bleeder.
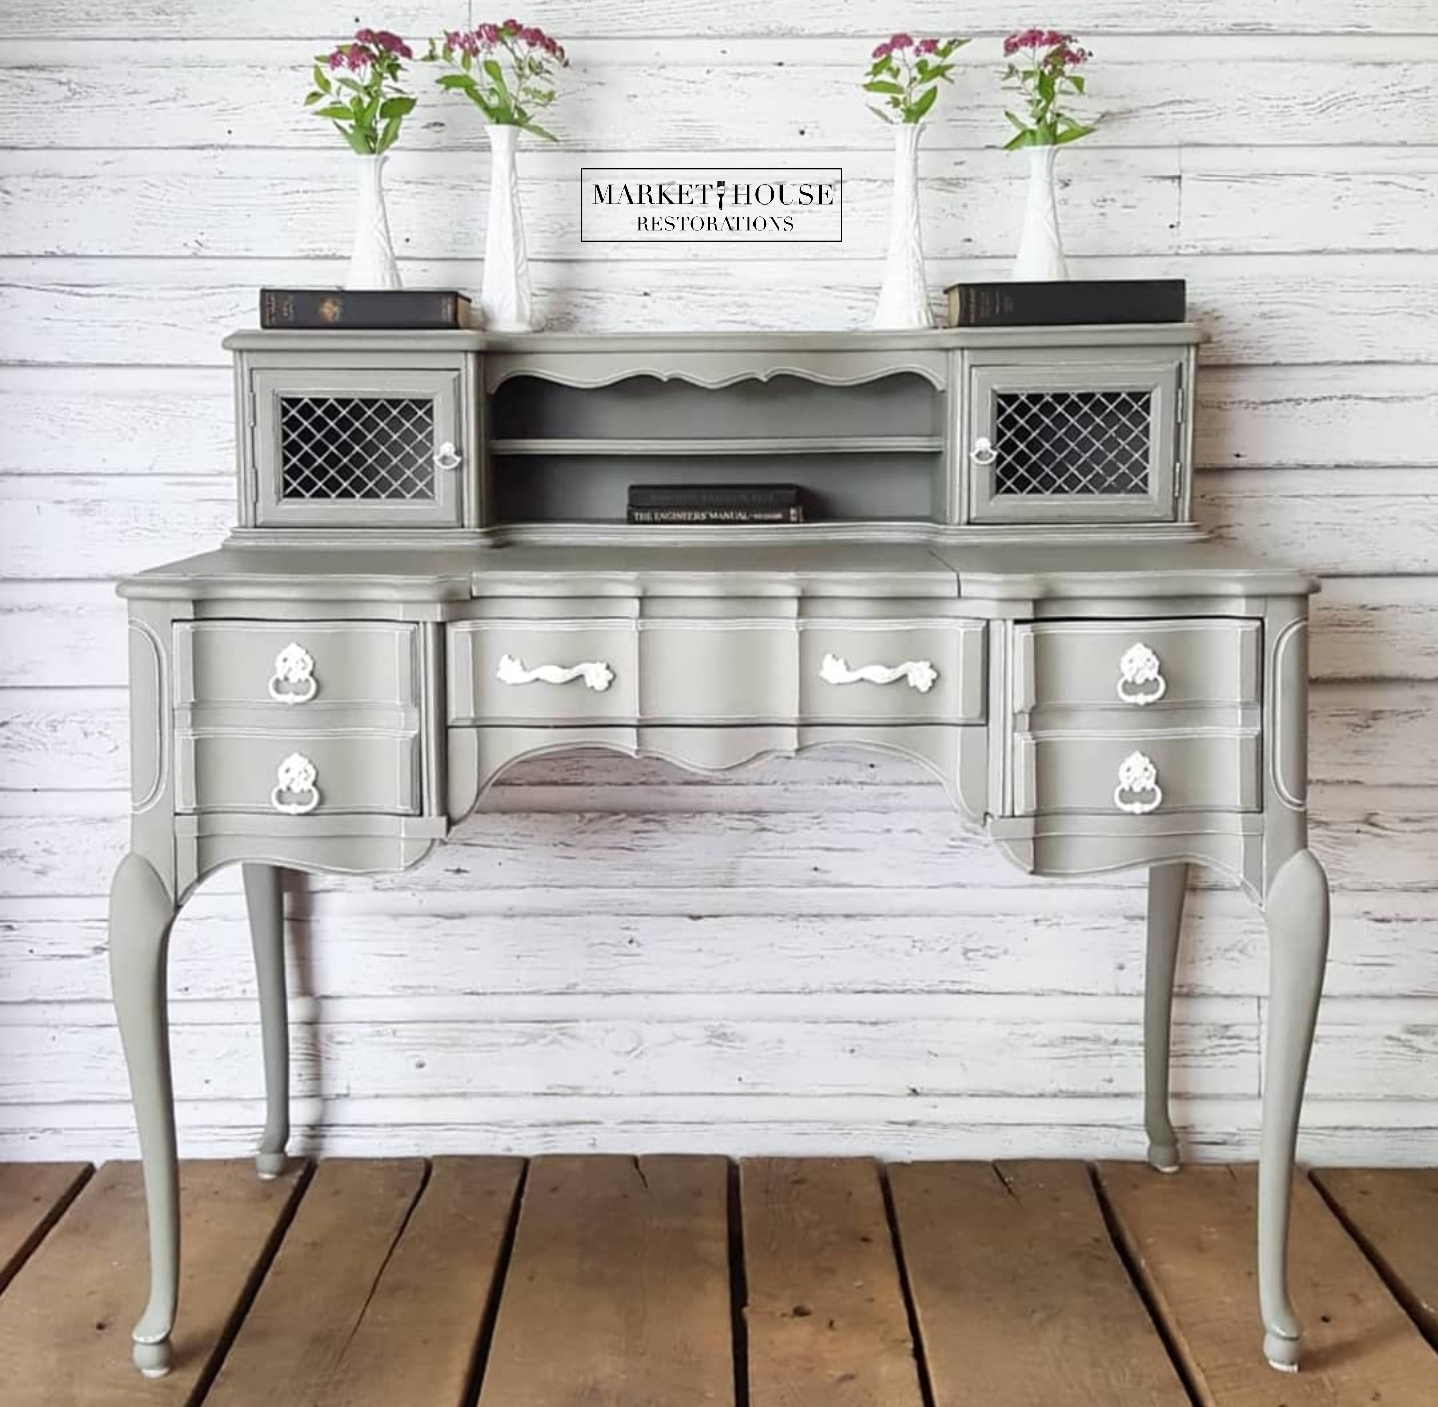
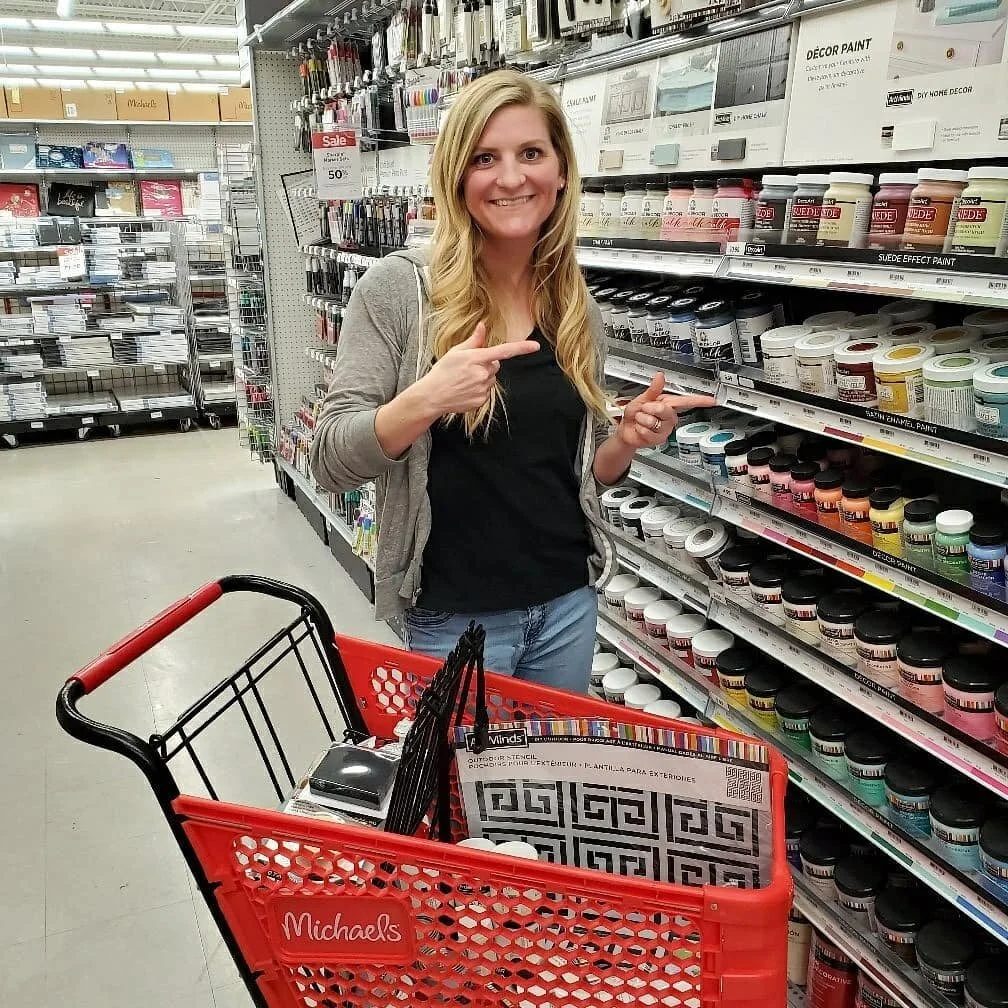
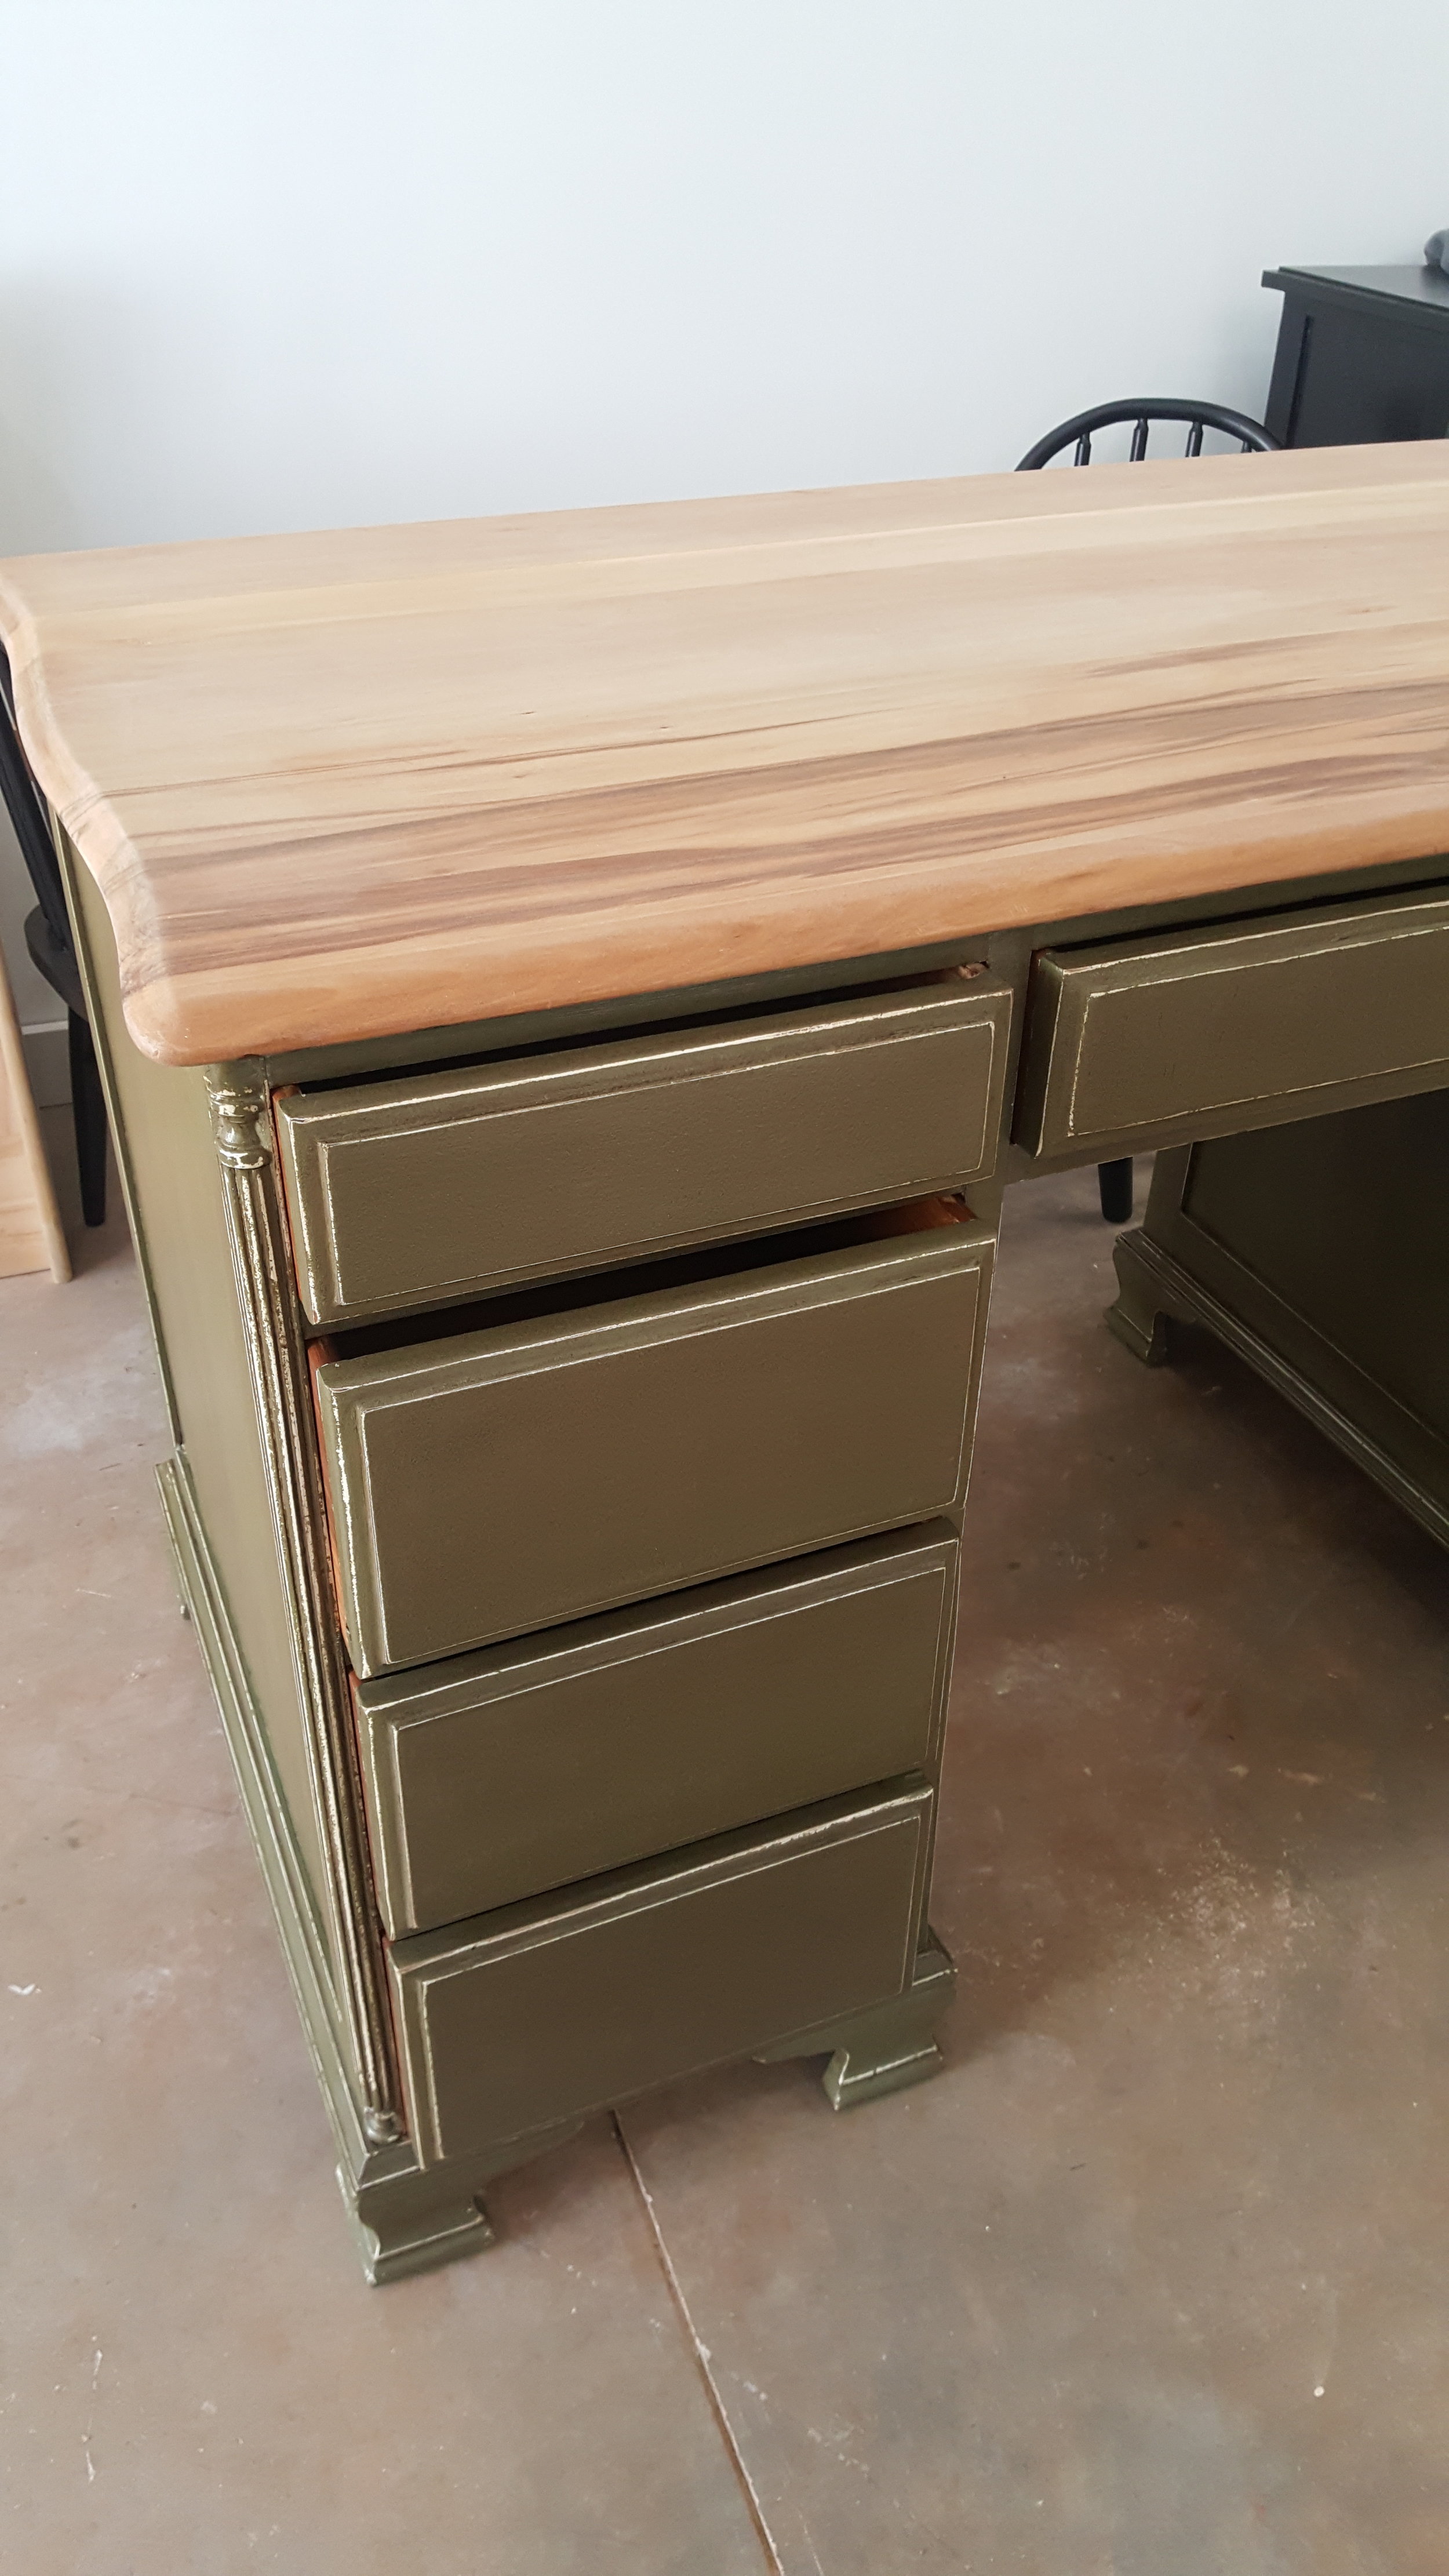
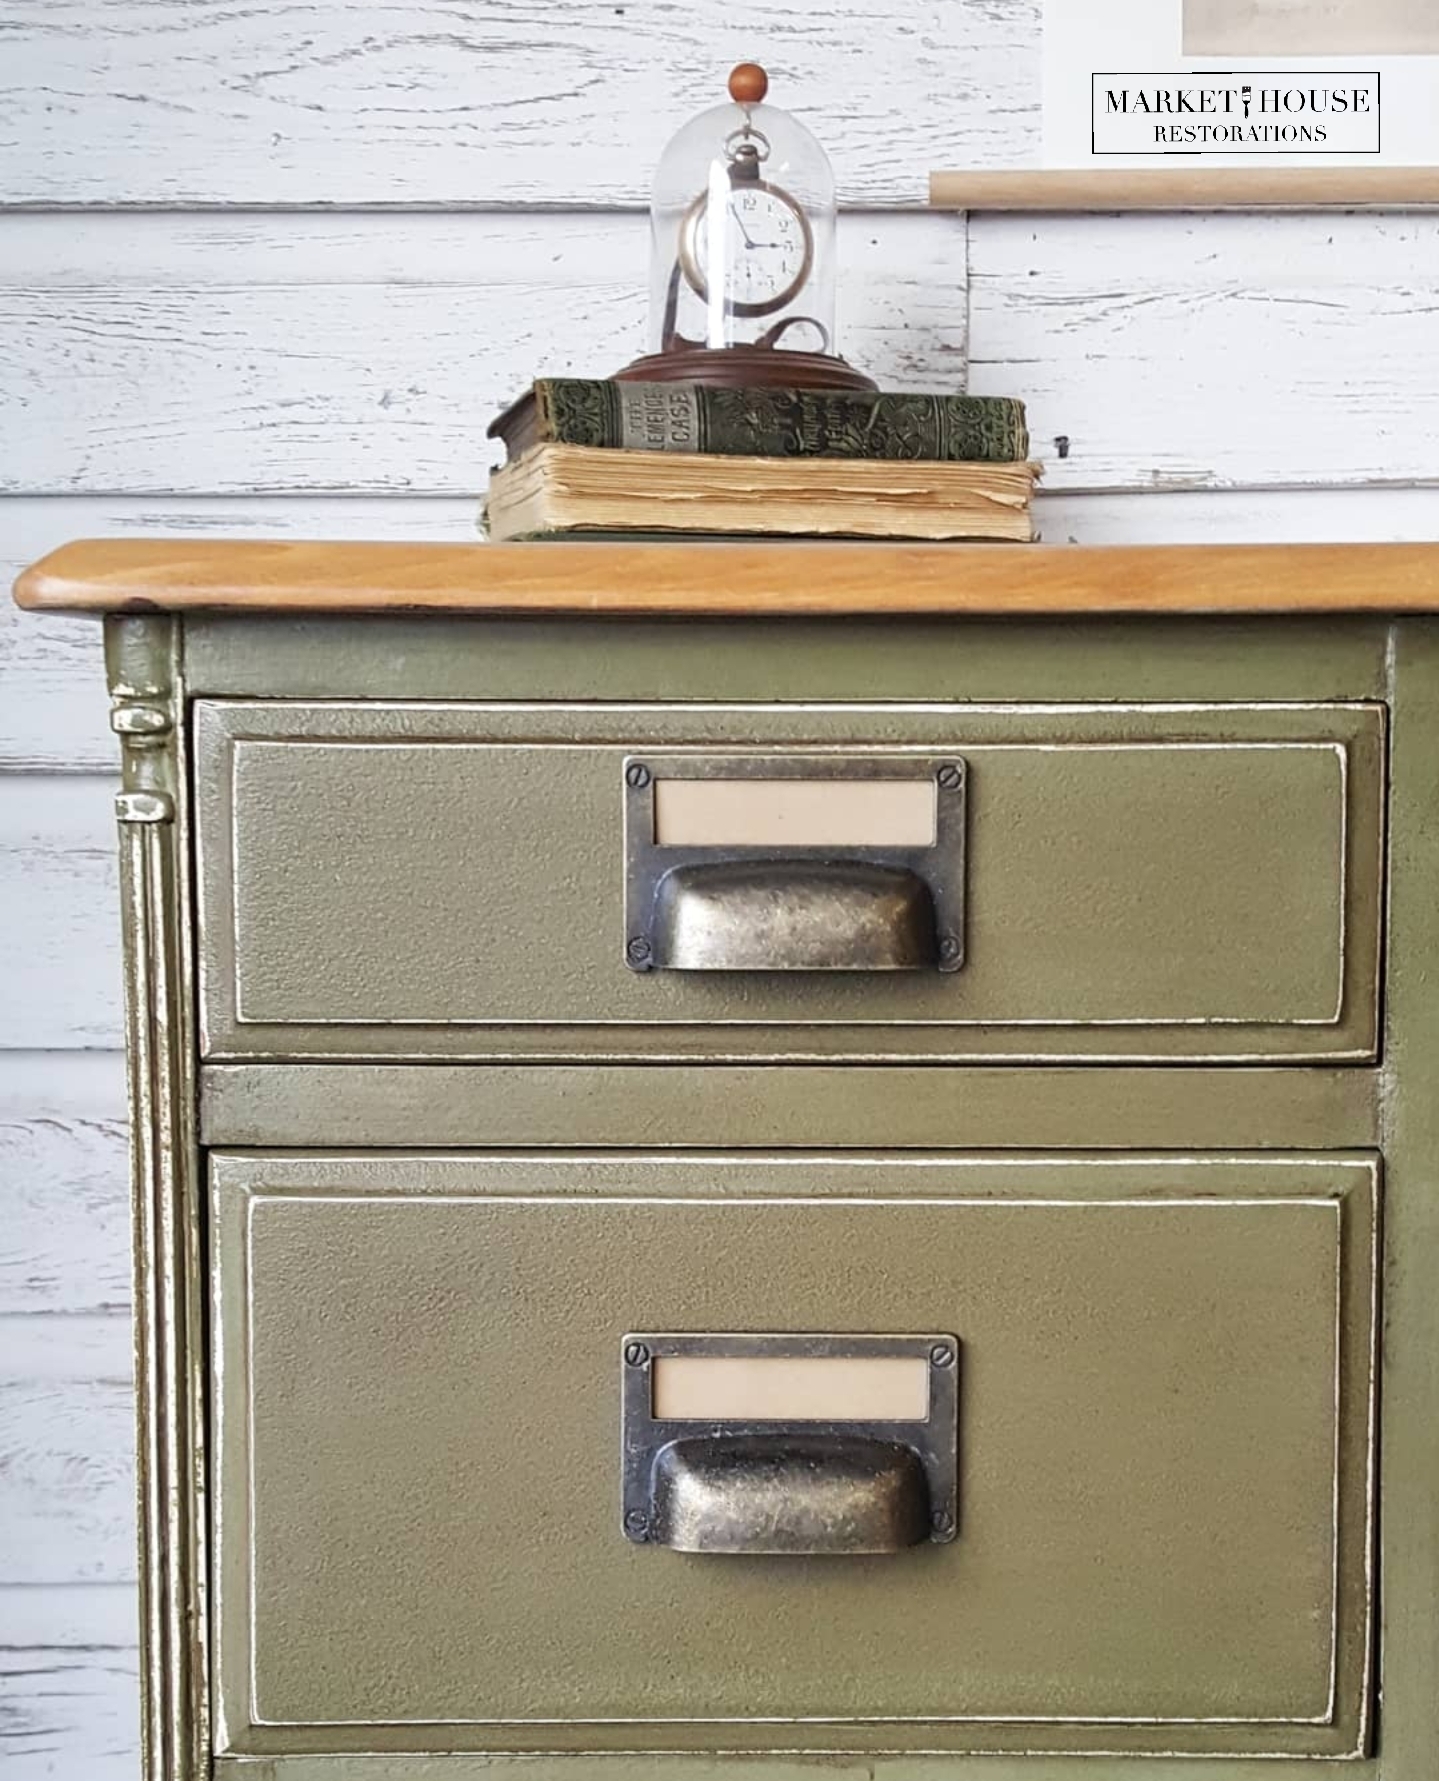
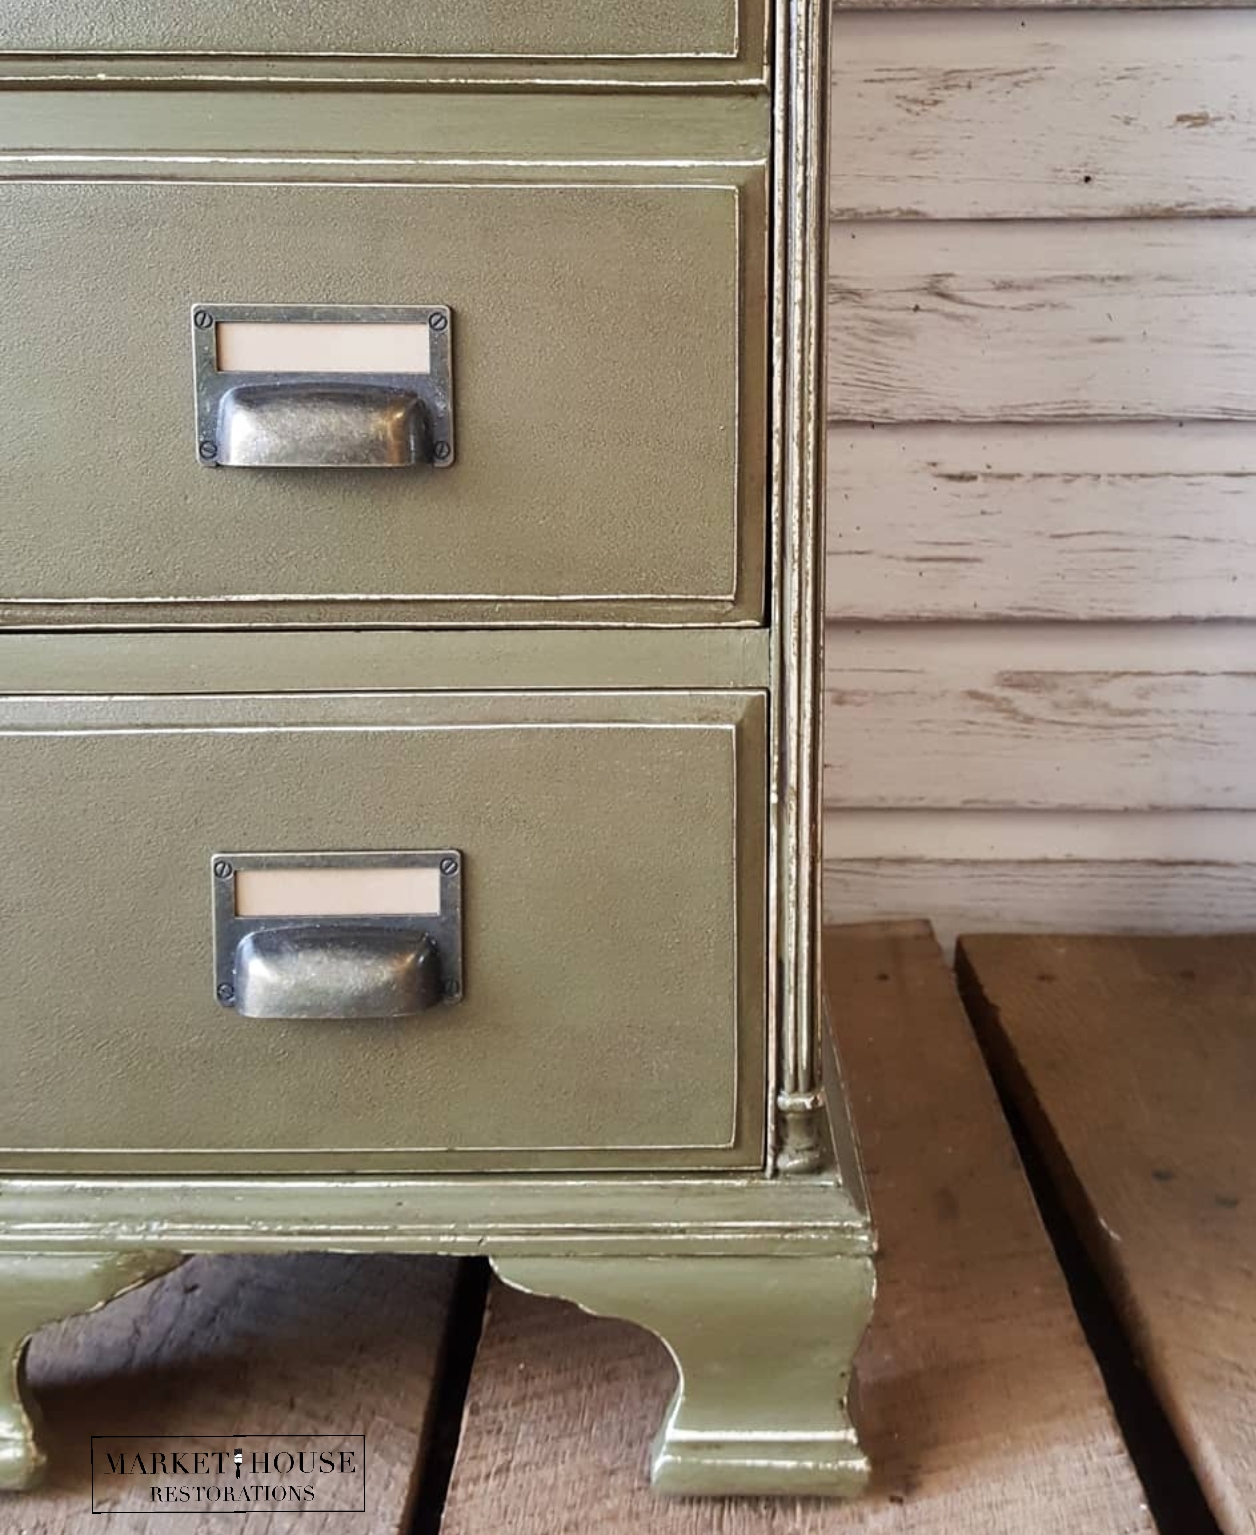
Step 3: I decided I wanted to go with an earthy color so it would look cohesive with the natural wood top. As soon as I saw, Conquer, by Country Chic Paint I knew it would be the perfect fit (Use code: MARKETHOUSE10 at checkout if you’re interested in purchasing this color). I applied three coats to all drawers and base of the desk.
Step 4: I lightly the distressed the edges so you could see the white coming through. I loved how it made the piece “pop.”
Step 5: I applied 3 coats of Country Chic Top Coat to the base and the top of the desk.
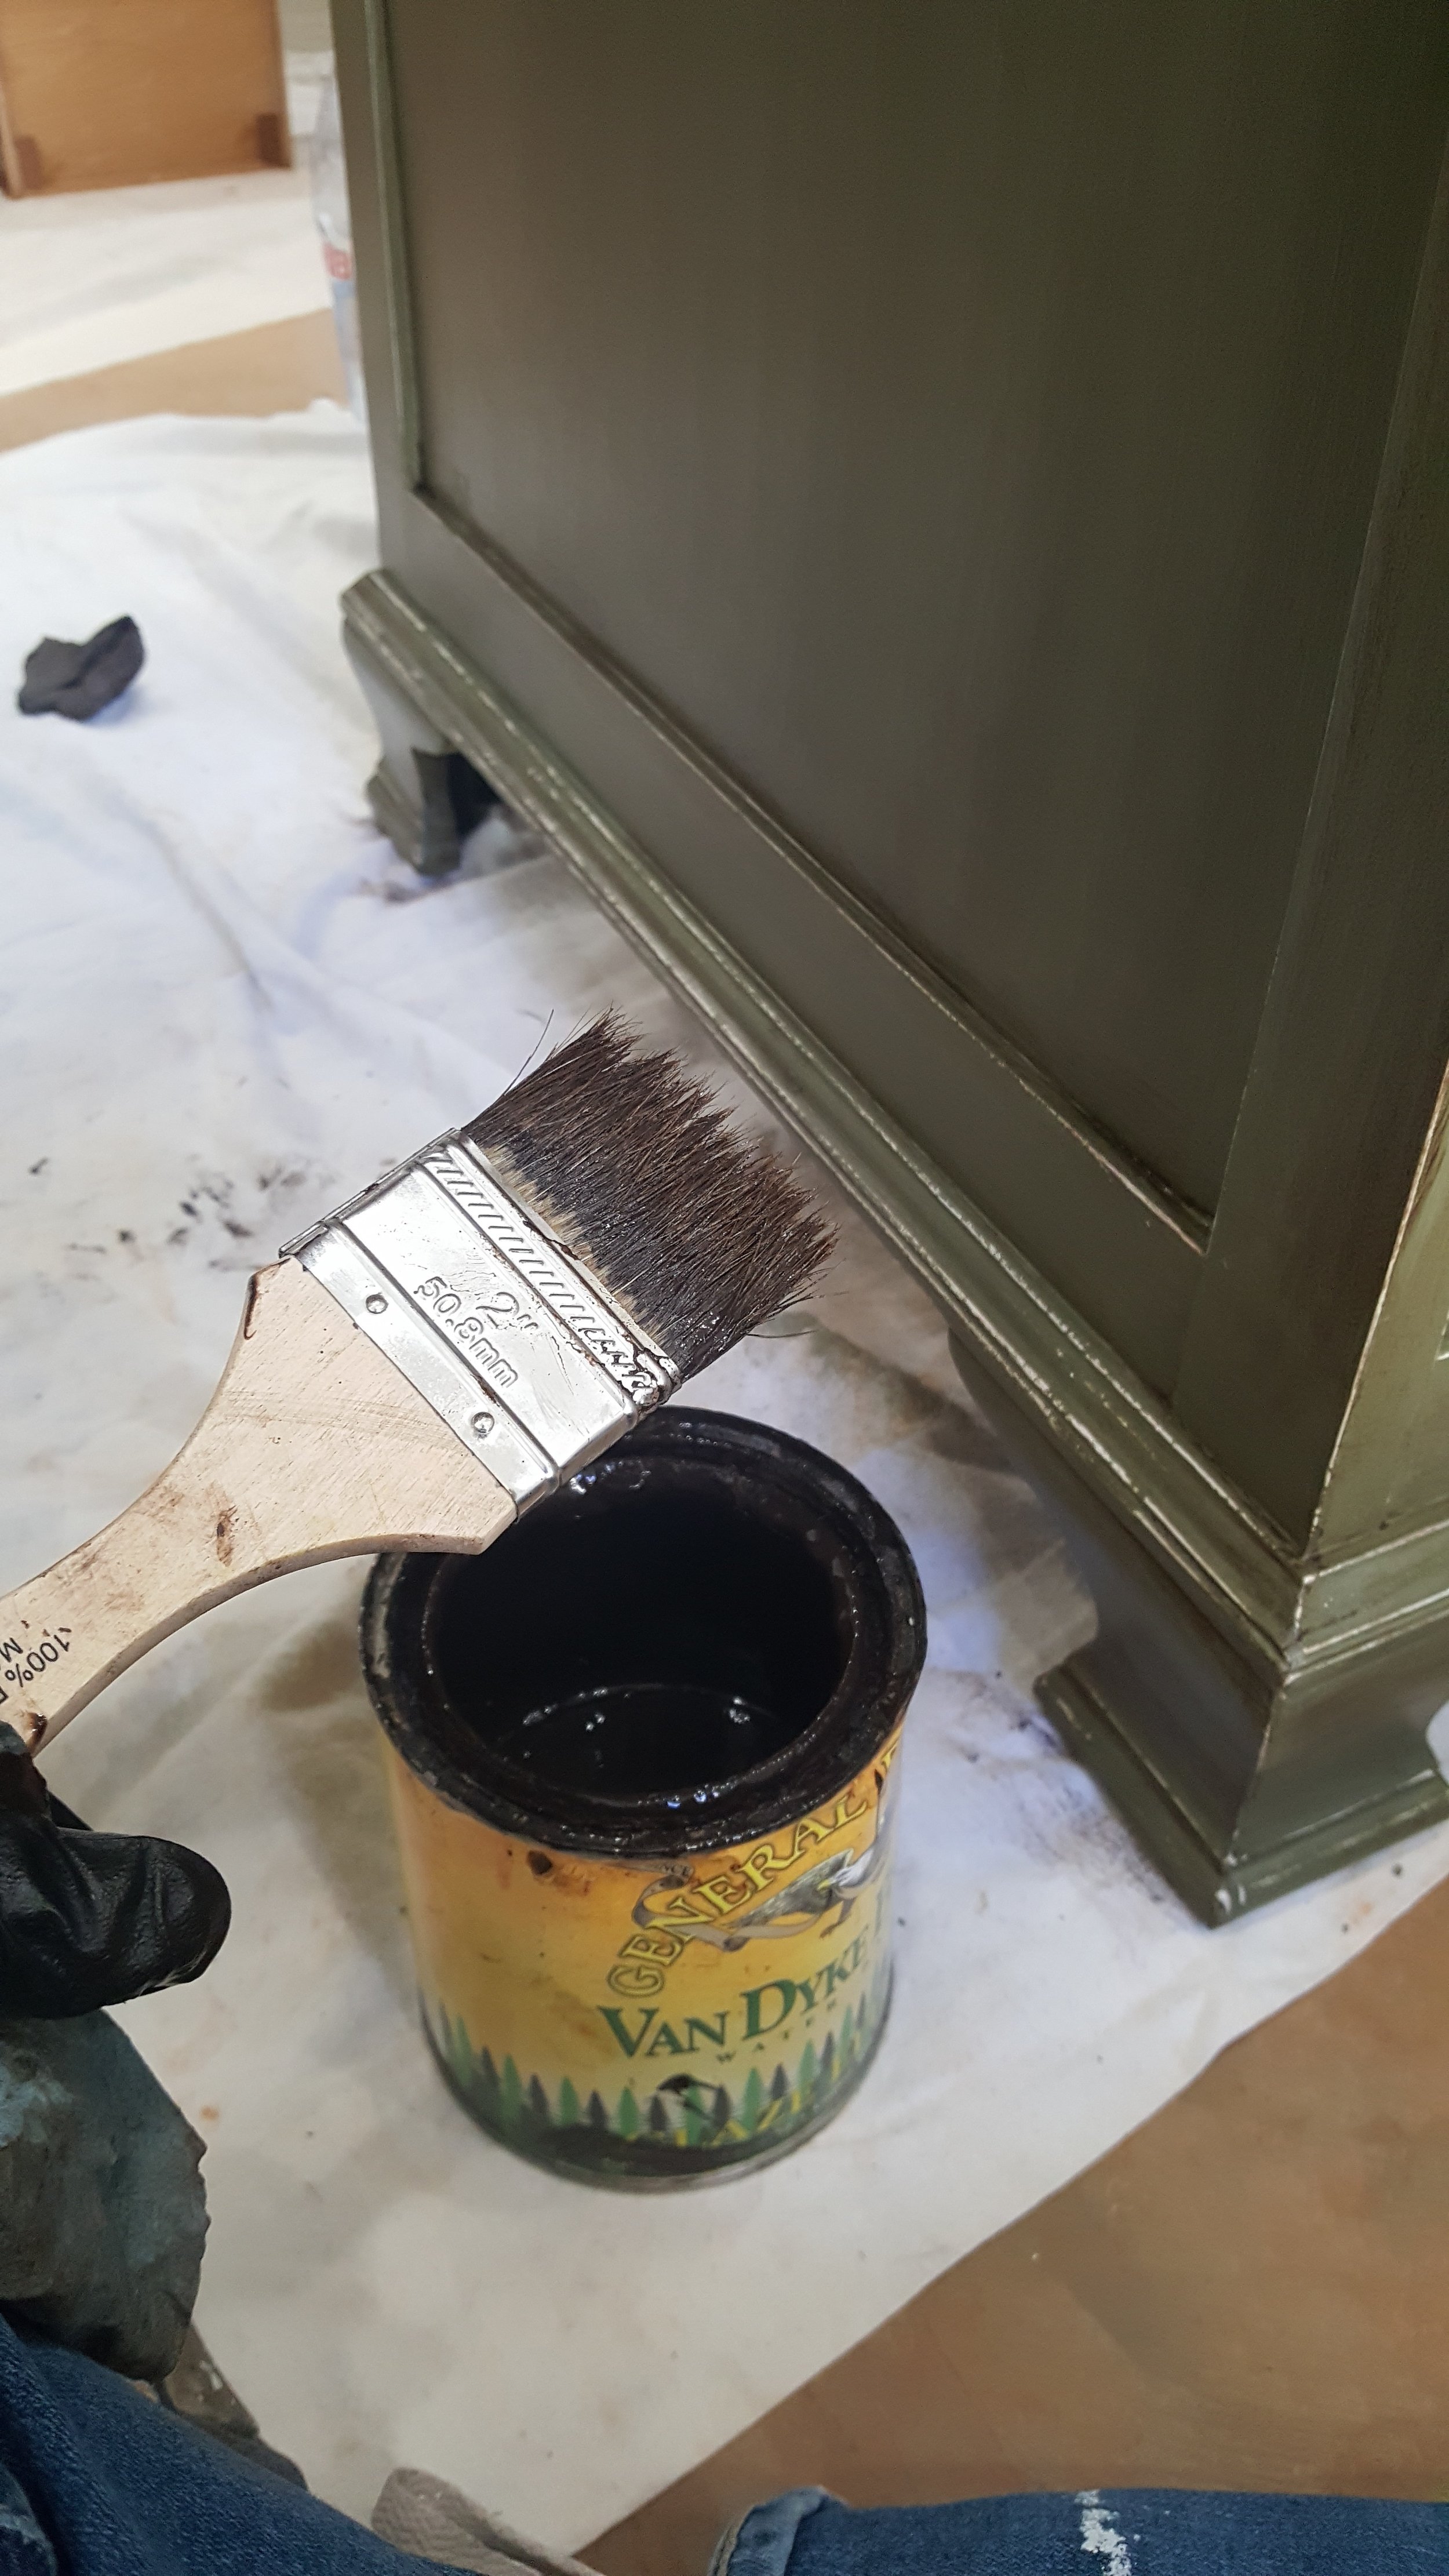
Step 6: I added a brown glaze by General Finishes to bring everything together. By adding the glaze it helped the earthy hues from the paint and the wood top tie together nicely.
Step 7: Once the painting was done, I added maps as drawer liners and used Oil and Wax by Old Barn Milk Paint on the sides of the drawers.
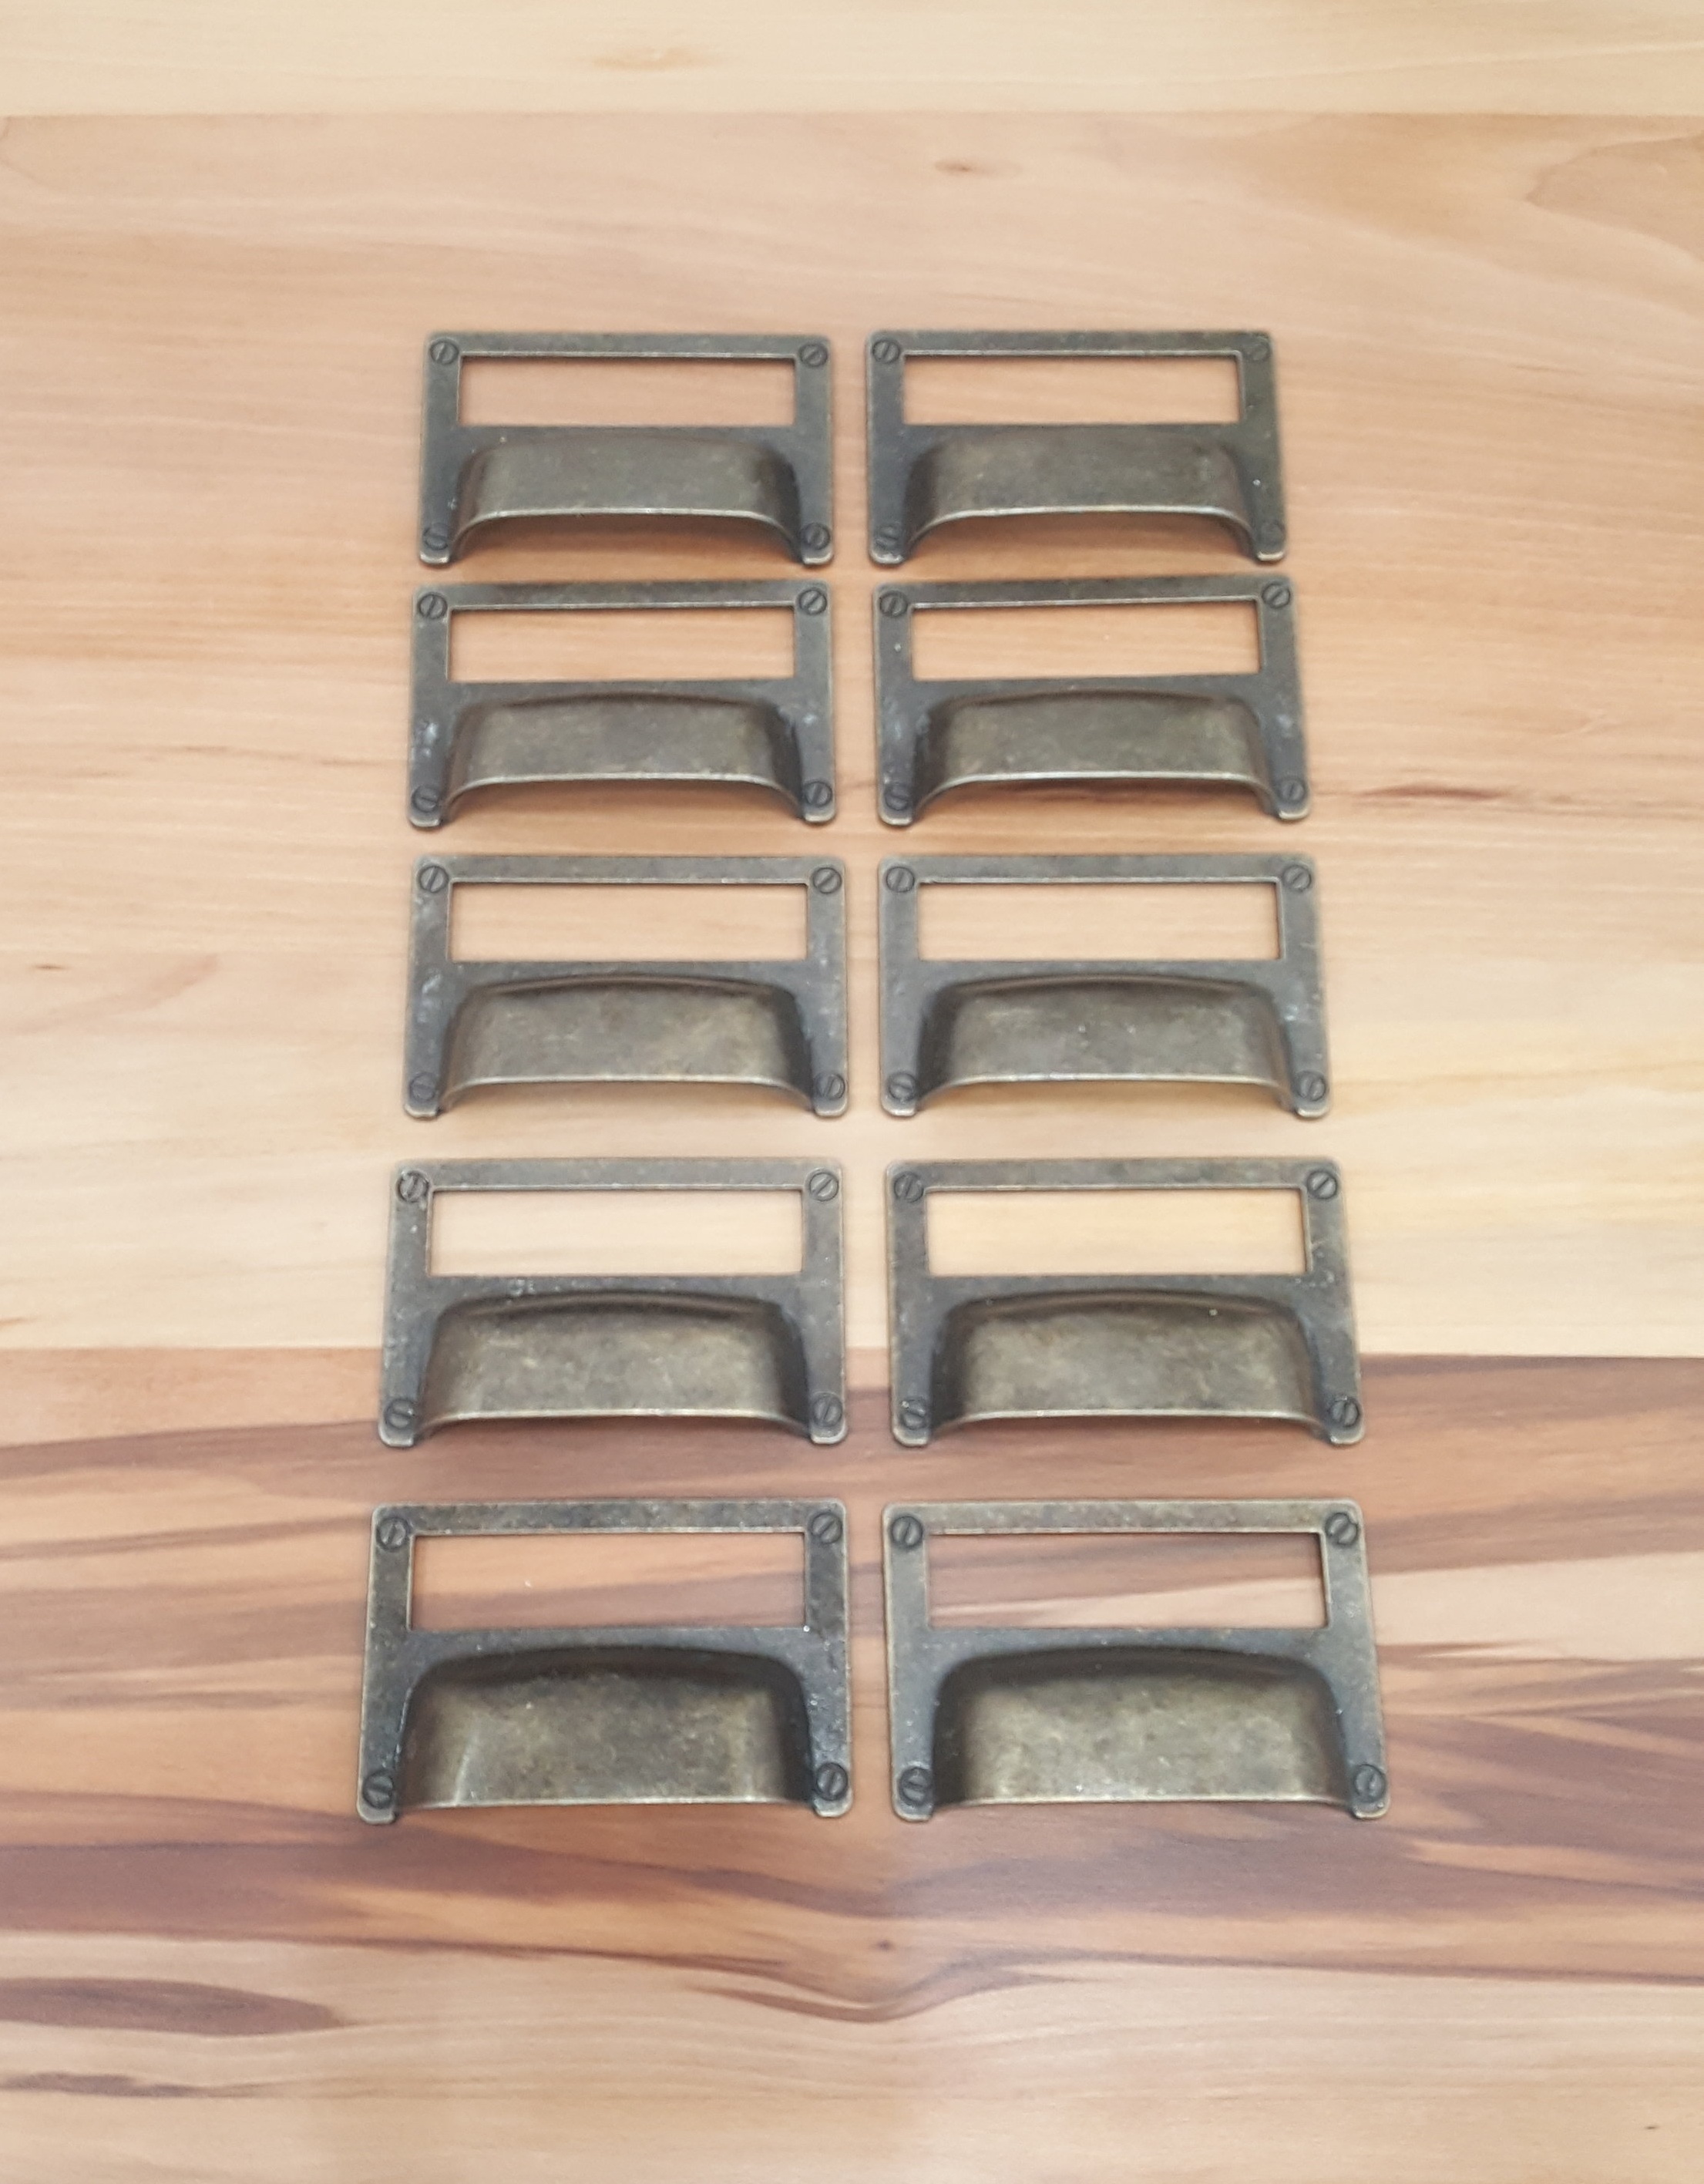
Step 8: I honestly liked the hardware that was originally on the desk, but I decided I wanted something a little bigger, so I purchased new drawer pulls from Amazon and my husband installed them for me!

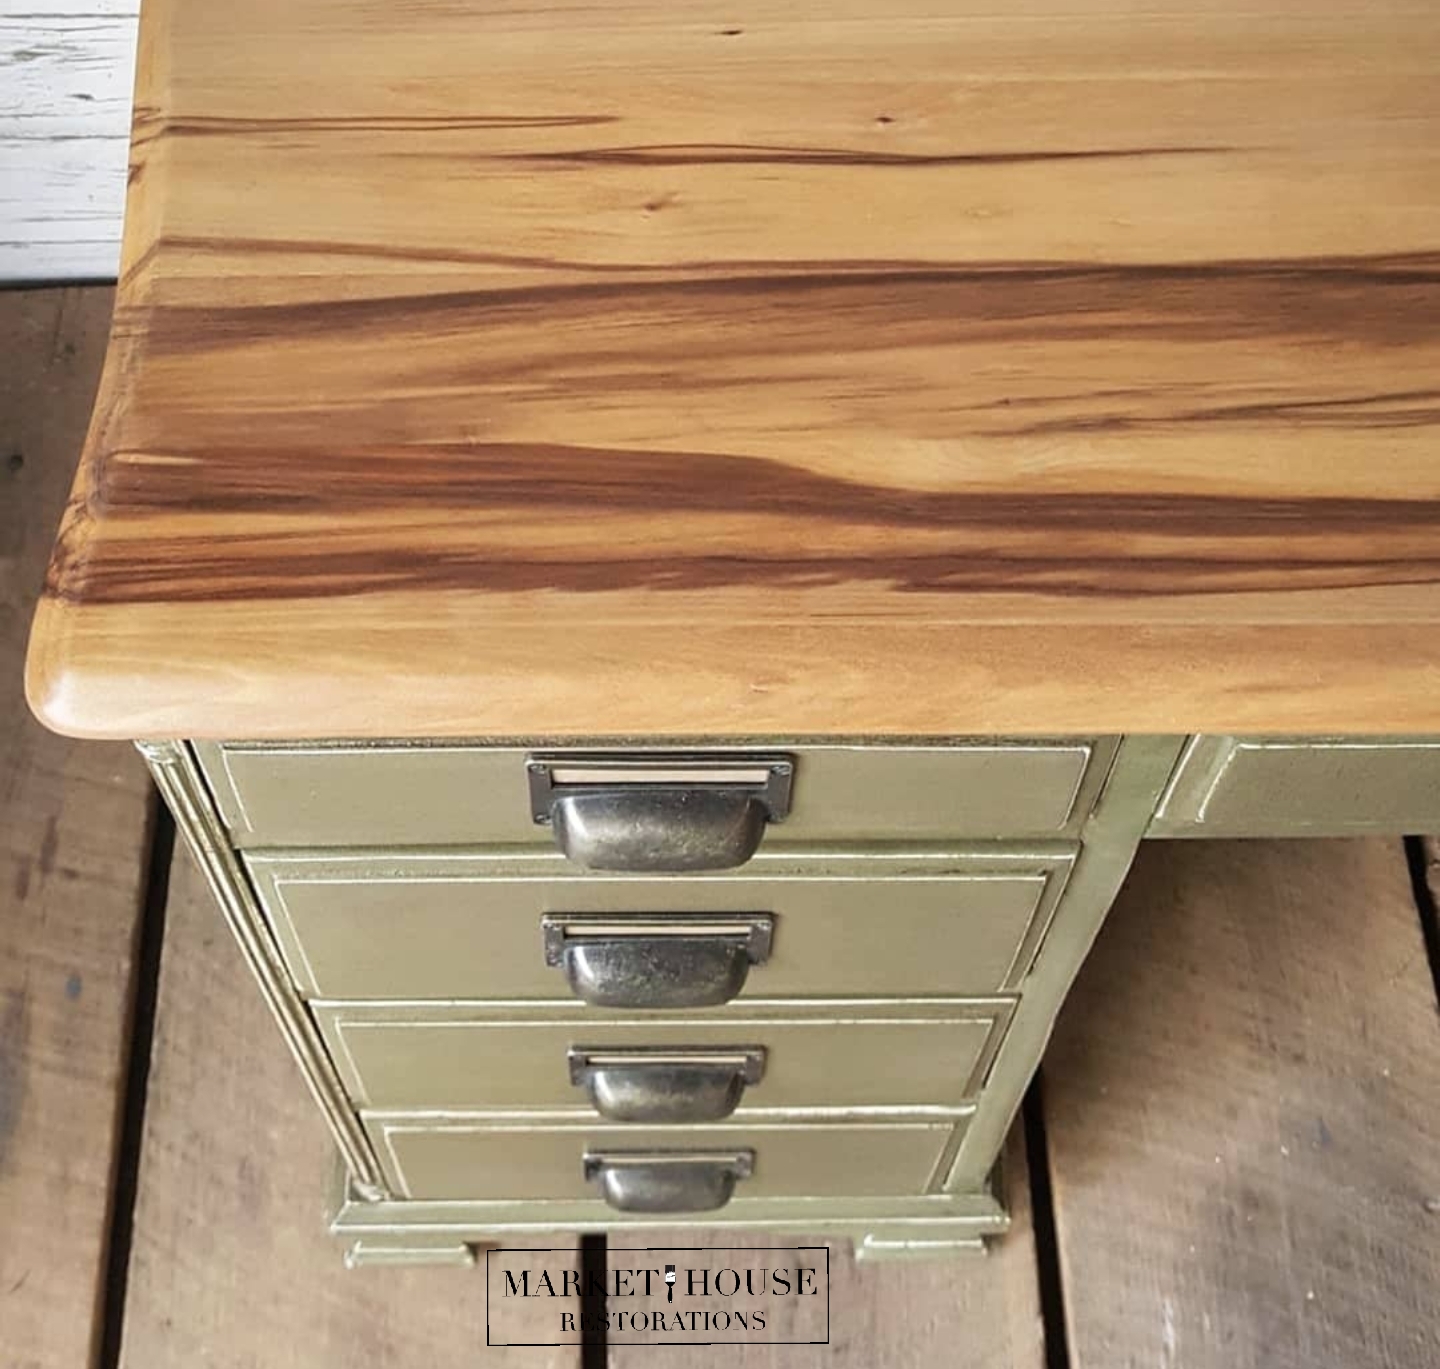
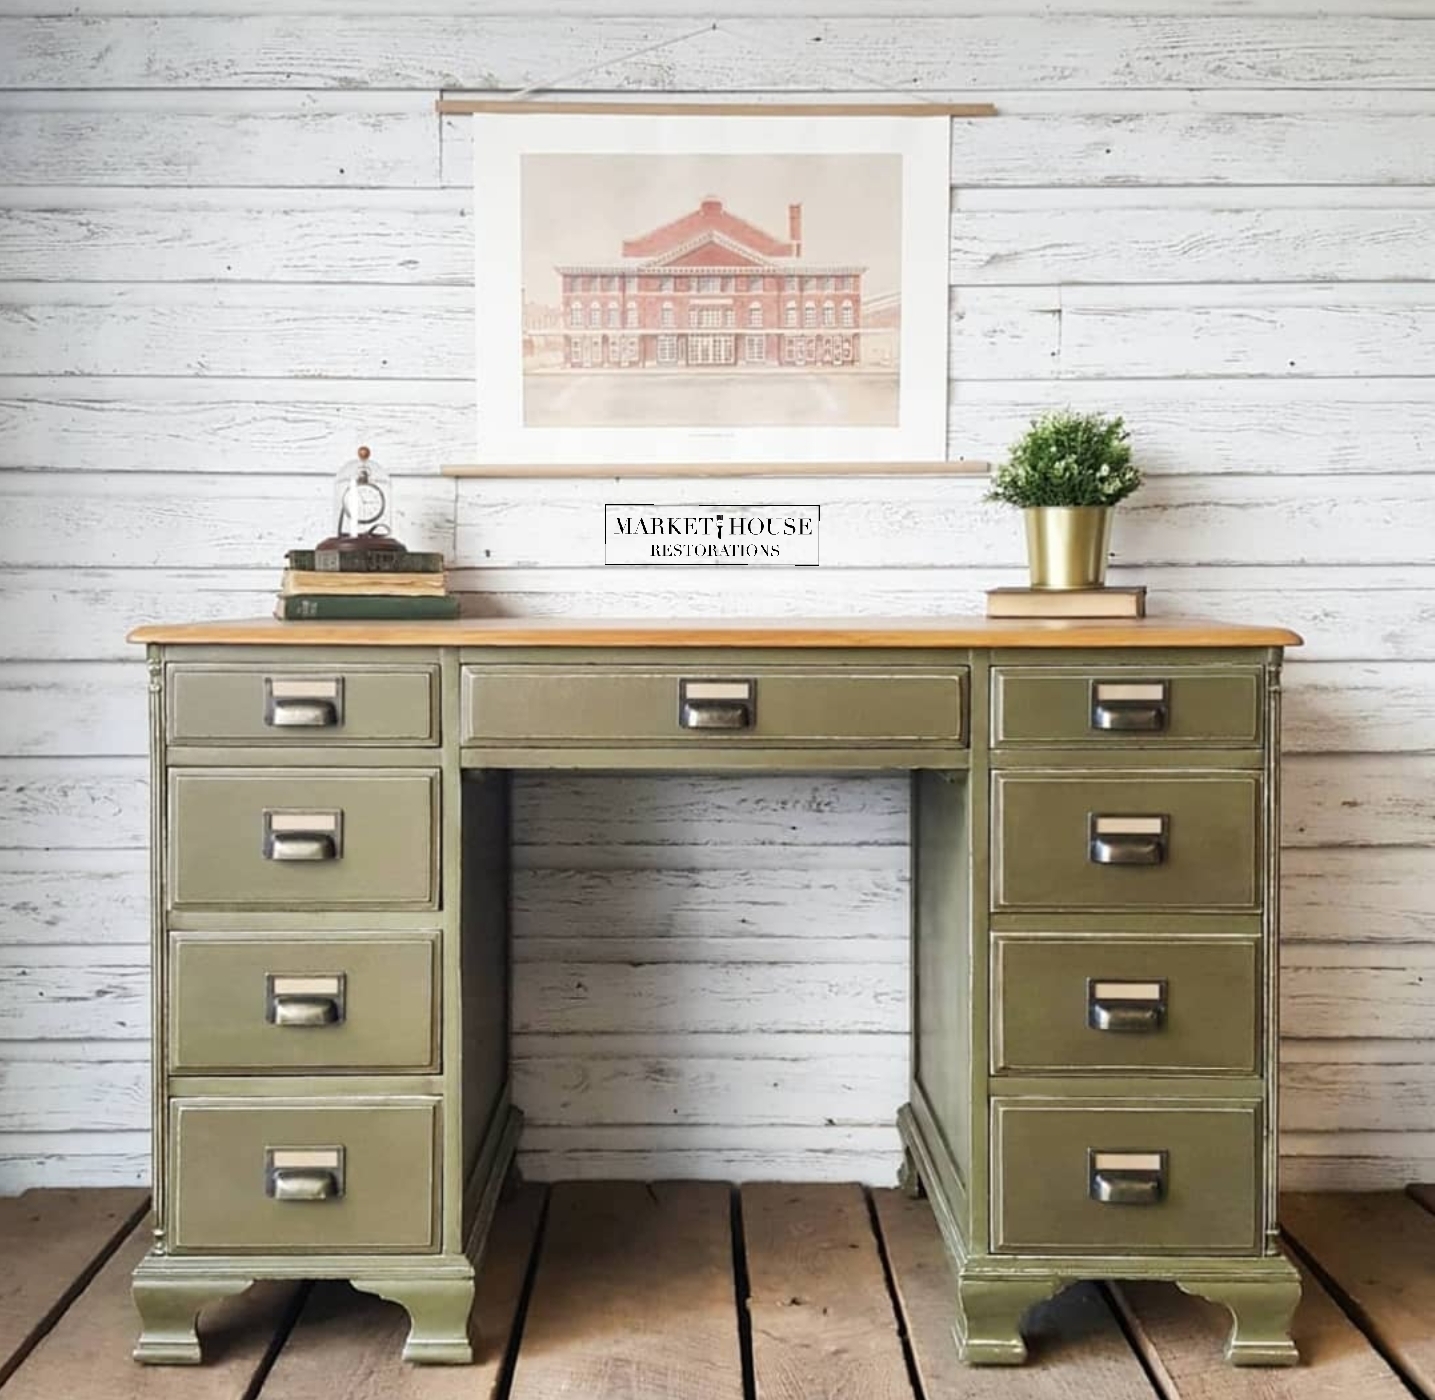


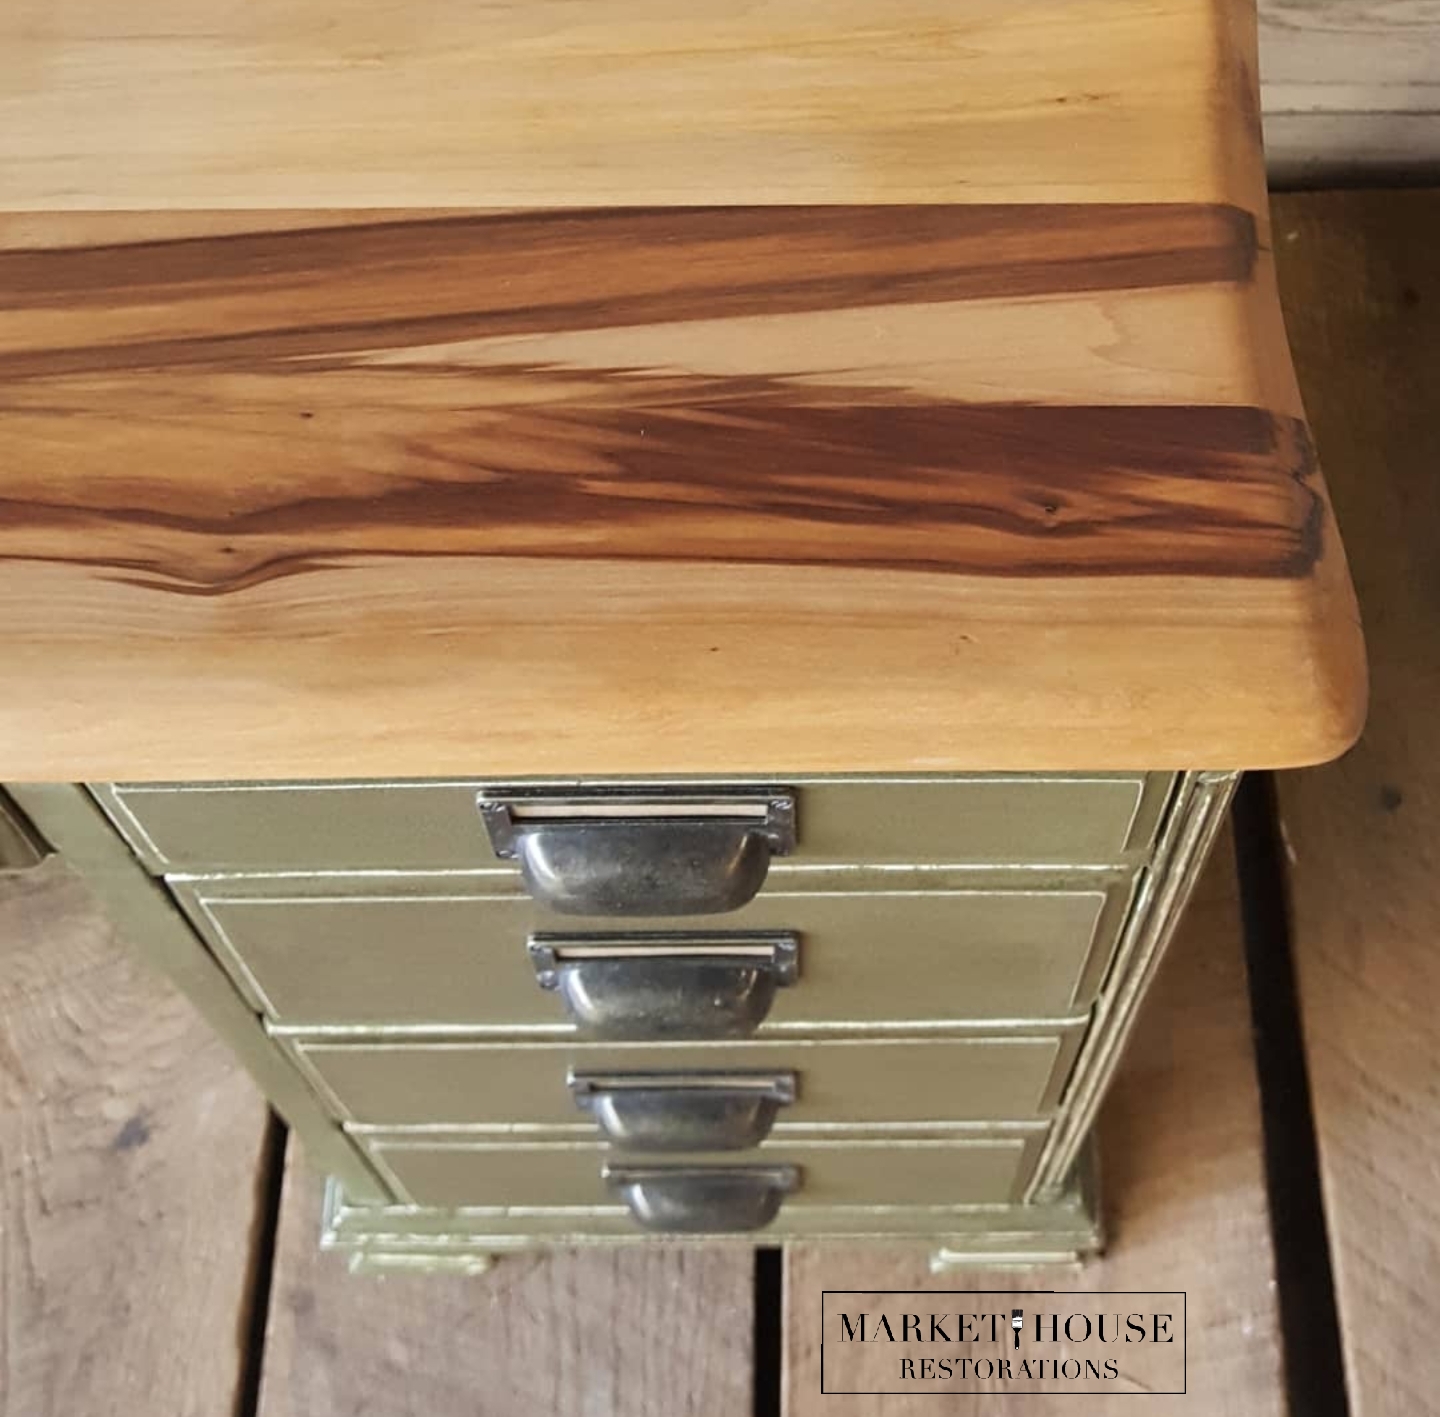
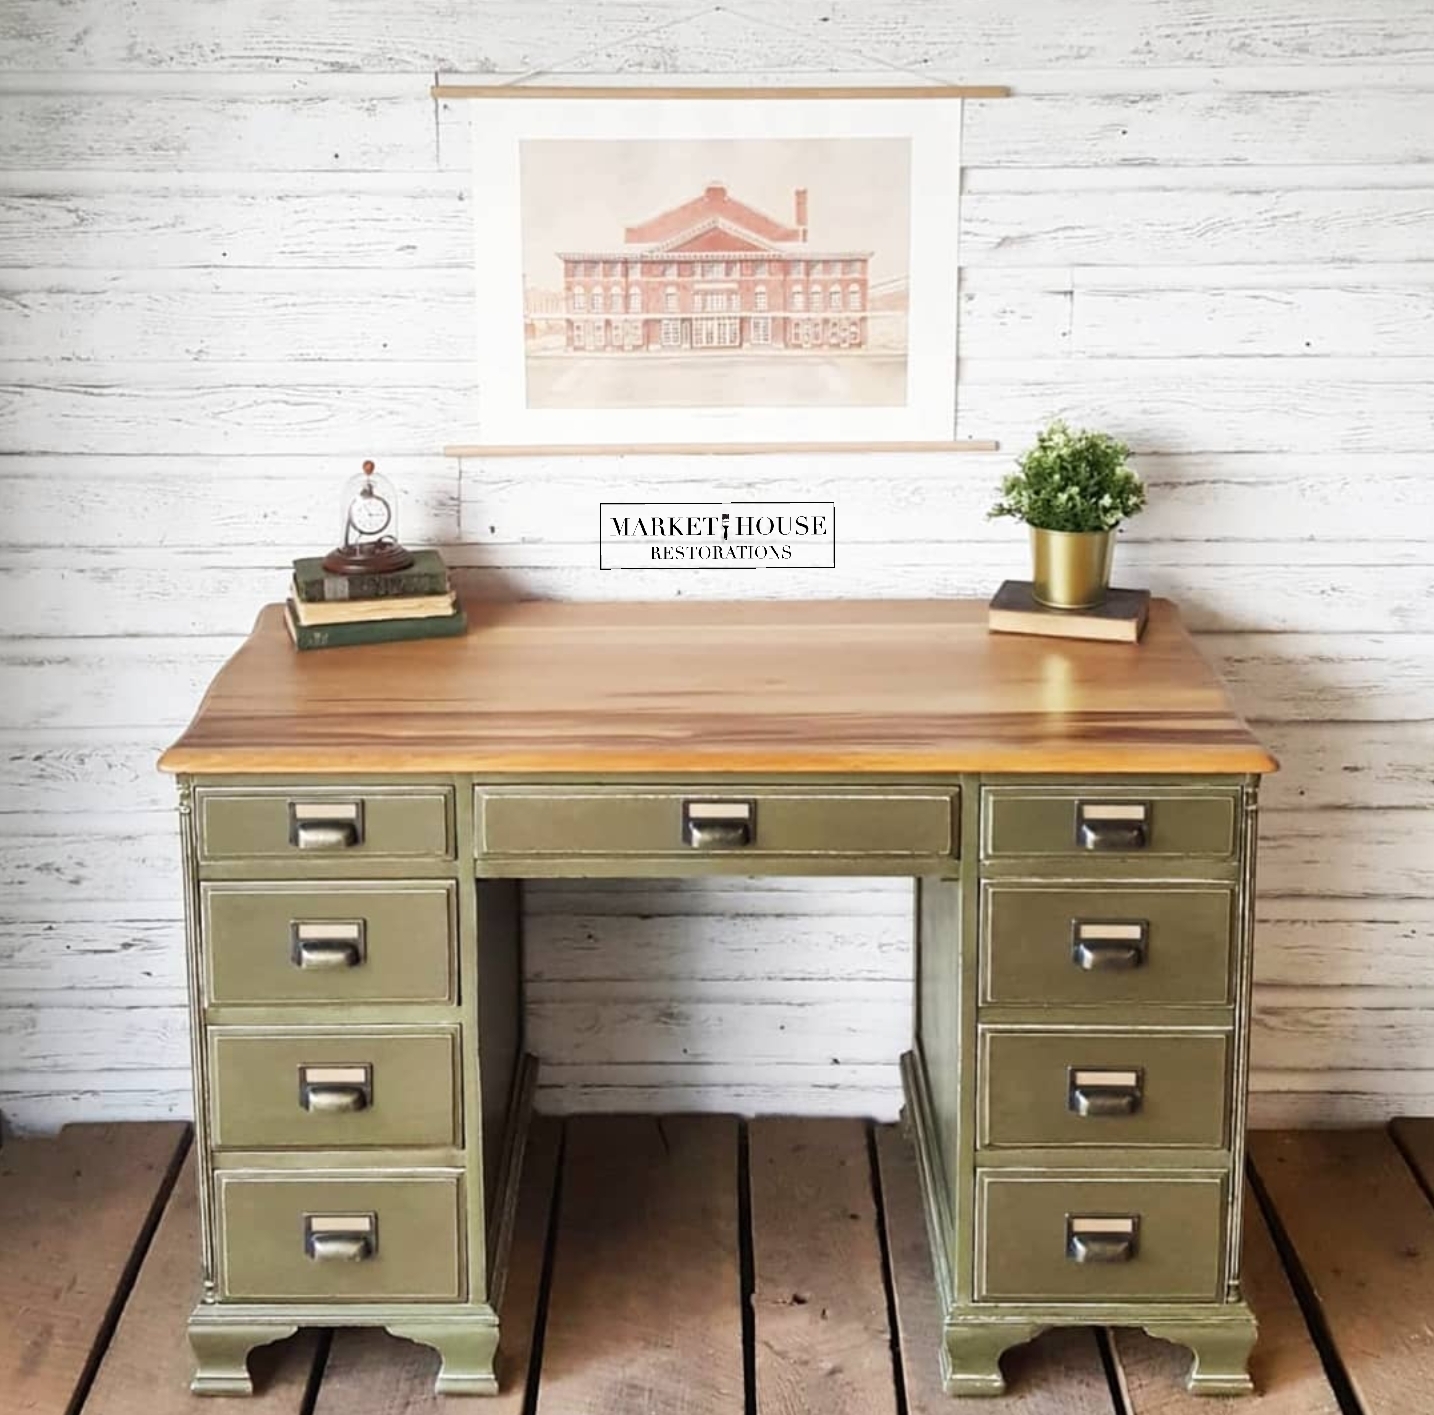
This piece was definitely a labor of love and I spent more hours on it than I probably should have, but that’s okay because I love the end result. I mean after all, who doesn’t love a desk top that looks like it has a piece of bacon laying across it? If that doesn’t make you want to “bring home the bacon,” I don’t know what will! If you are interested in seeing the listing, here is the direct link to my Online Marketplace.
Thank you so much for tuning in this week for #MondayMakeoversWithFallon. If you want to save this blog post so you can refer back to it, make sure you pin it to your Pinterest page and/or feel free to share it elsewhere. I look forward being with you next Monday and don’t forget to tune in tomorrow for my educating video tutorial/tip for #TuesdayTipsWithFallon!!
*Please note, this post does contain affiliate links.


Did you know I have an eBook plus three different staging and styling guides that help you stage your furniture!? Between all three guides you receive over 500 different ways to style and stage different pieces of furniture. Yes, 500!! They are not just for the furniture artist either. Maybe you are planning on selling your home and need help staging your furniture so it doesn’t look cluttered or maybe you just have no clue how to style the furniture that you currently have and you want it to look nice?! No worries! These are for you!! Between all three guides and my second edition eBook you get over 200 pages of information! You do not have to worry about staging and styling your furniture ever again!!Here is the link to my eBook, Your Virtual Storefront. The Complete Guide to Staging Painted Furniture. It jammed packed information that will help you take your staging to the next level! I also have three separate staging and styling guides that help you stage specific pieces of furniture.
Here is a breakdown of my eBook and Guides:
*Your Virtual Storefront. The Complete Guide to Staging Your Painted Furniture. 2nd EDITION: Everything you need to know to help you stage your furniture from, photography, the photo editing process, lighting, staging areas/locations, information about logo/watermarks…just to name a handful of the topics.
*The Bedroom Furniture Guide: Staging and Styling Chest of Drawers, Dressers, Nightstands, Wardrobes, Blanket Chests, Vanities, Beds and Bedroom Sets)
*The Dining Room Furniture Guide: Staging and Styling Buffets/Sideboards, China Hutches, Glass Front China Cabinets and Tables & Chairs
*The Everyday Living Furniture Guide: Staging and Styling Desks, Multi-Purpose Pieces, Sofa Tables, TV Stands, Side Tables, Coffee Tables, Benches and Bookshelves
I appreciate you stopping by!!
Make sure you check out my other #MondayMakeover tutorials below!