How To Fill Hardware Holes In Wooden Furniture #TuesdayTipsWithFallon
/#TuesdayTipsWithFallon
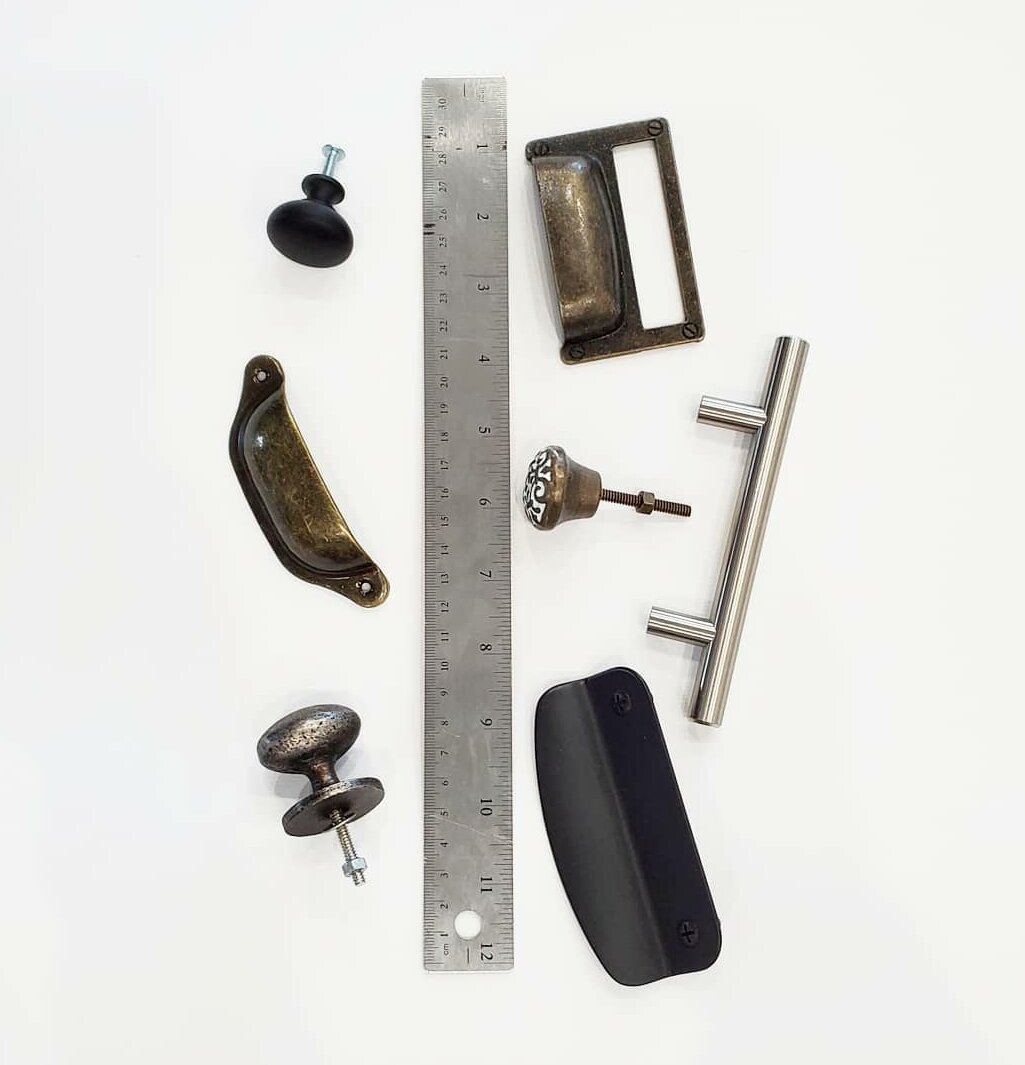
Filling holes in the drawers of your wooden furniture is something that you should definitely know how to do if you want to change or update the look. The standard measurement for hardware handles/pulls is typically 2.5” – 3.0” from center-to-center. Meaning, if you take off the handle/pull and look at the back of it, this is the space in between the center of the screw holes. A lot of times, people plan on using new hardware, but then they get to the end and realize that the new hardware they had in mind does not fit the old holes. AH! This is the worst! So, to fix that problem, I just go ahead and fill the holes 90% of the time. The reason behind this is because a lot of times I do not pick out my pulls or knobs until the end of the restoration so I can see what the paint looks like first, but if you want to plan ahead, just measure up-front and purchase the current hole-to-hole size. Watch the video below to see how I do this!
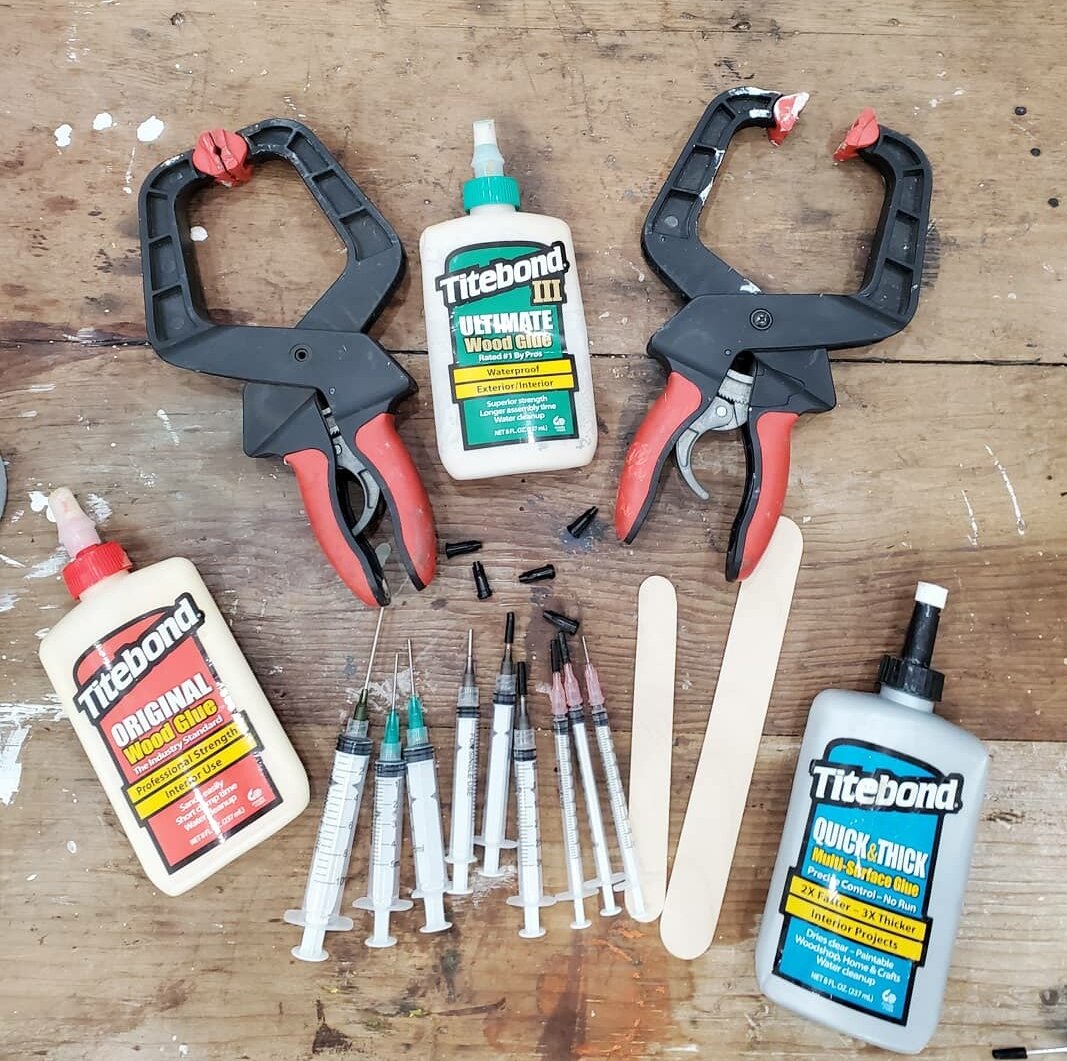
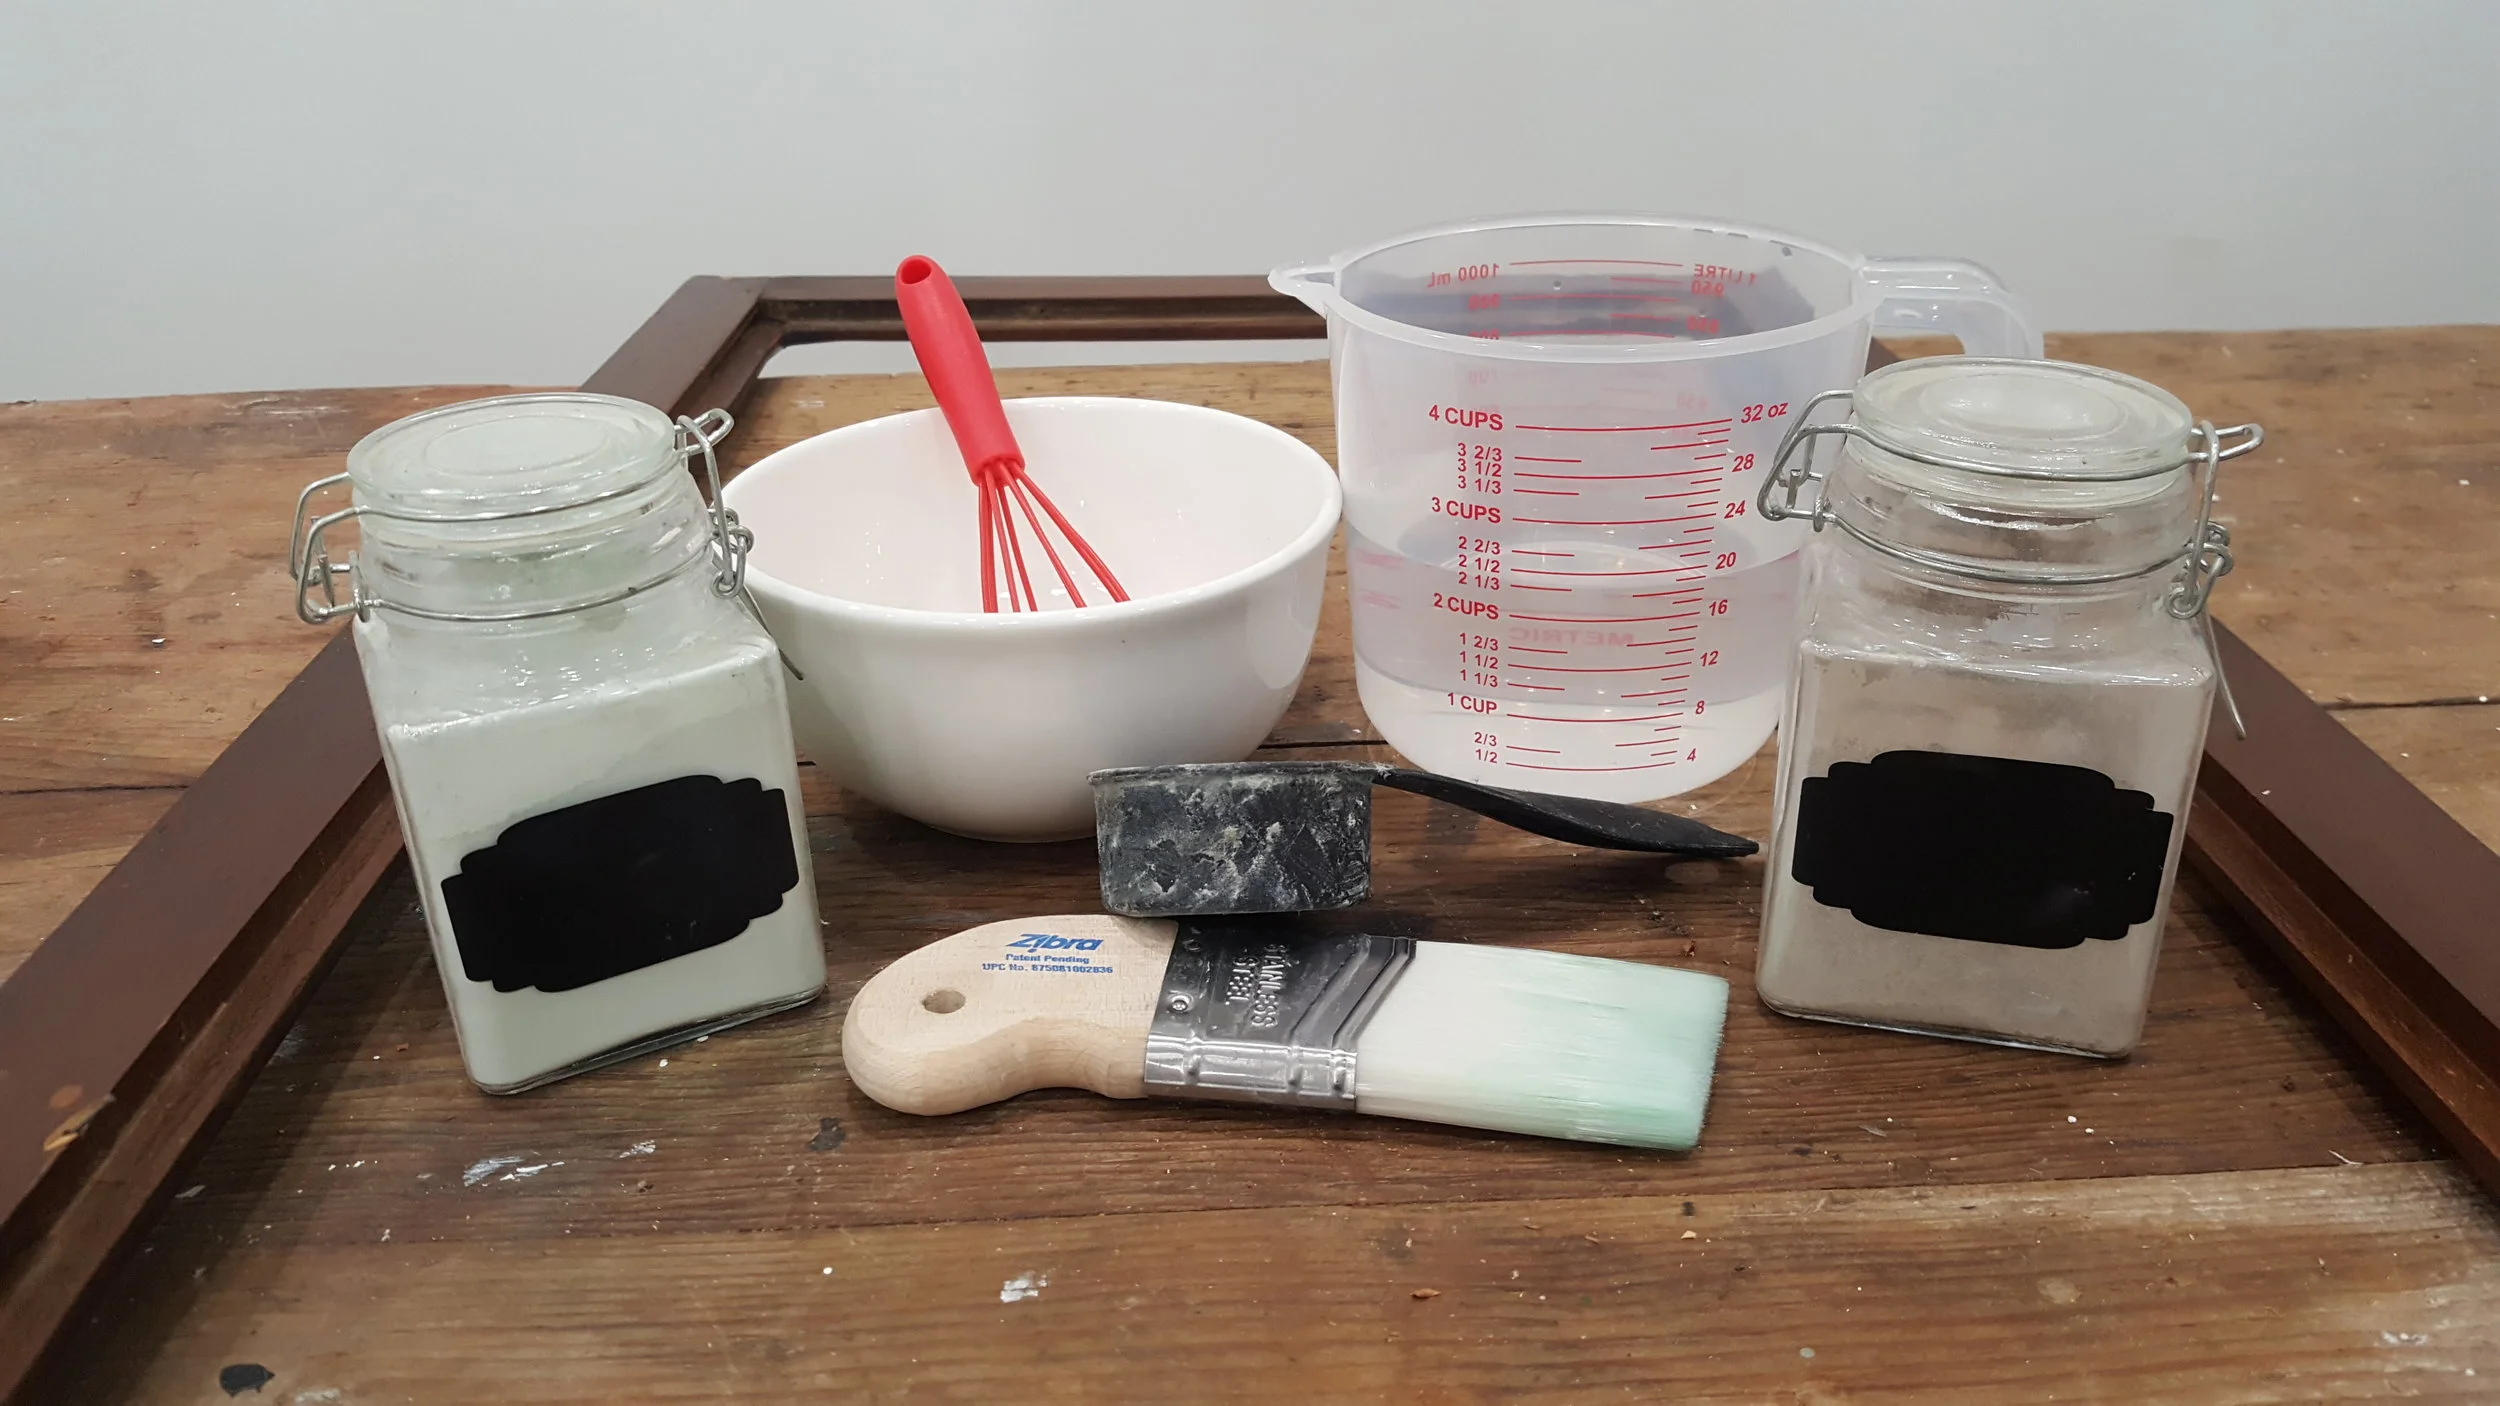
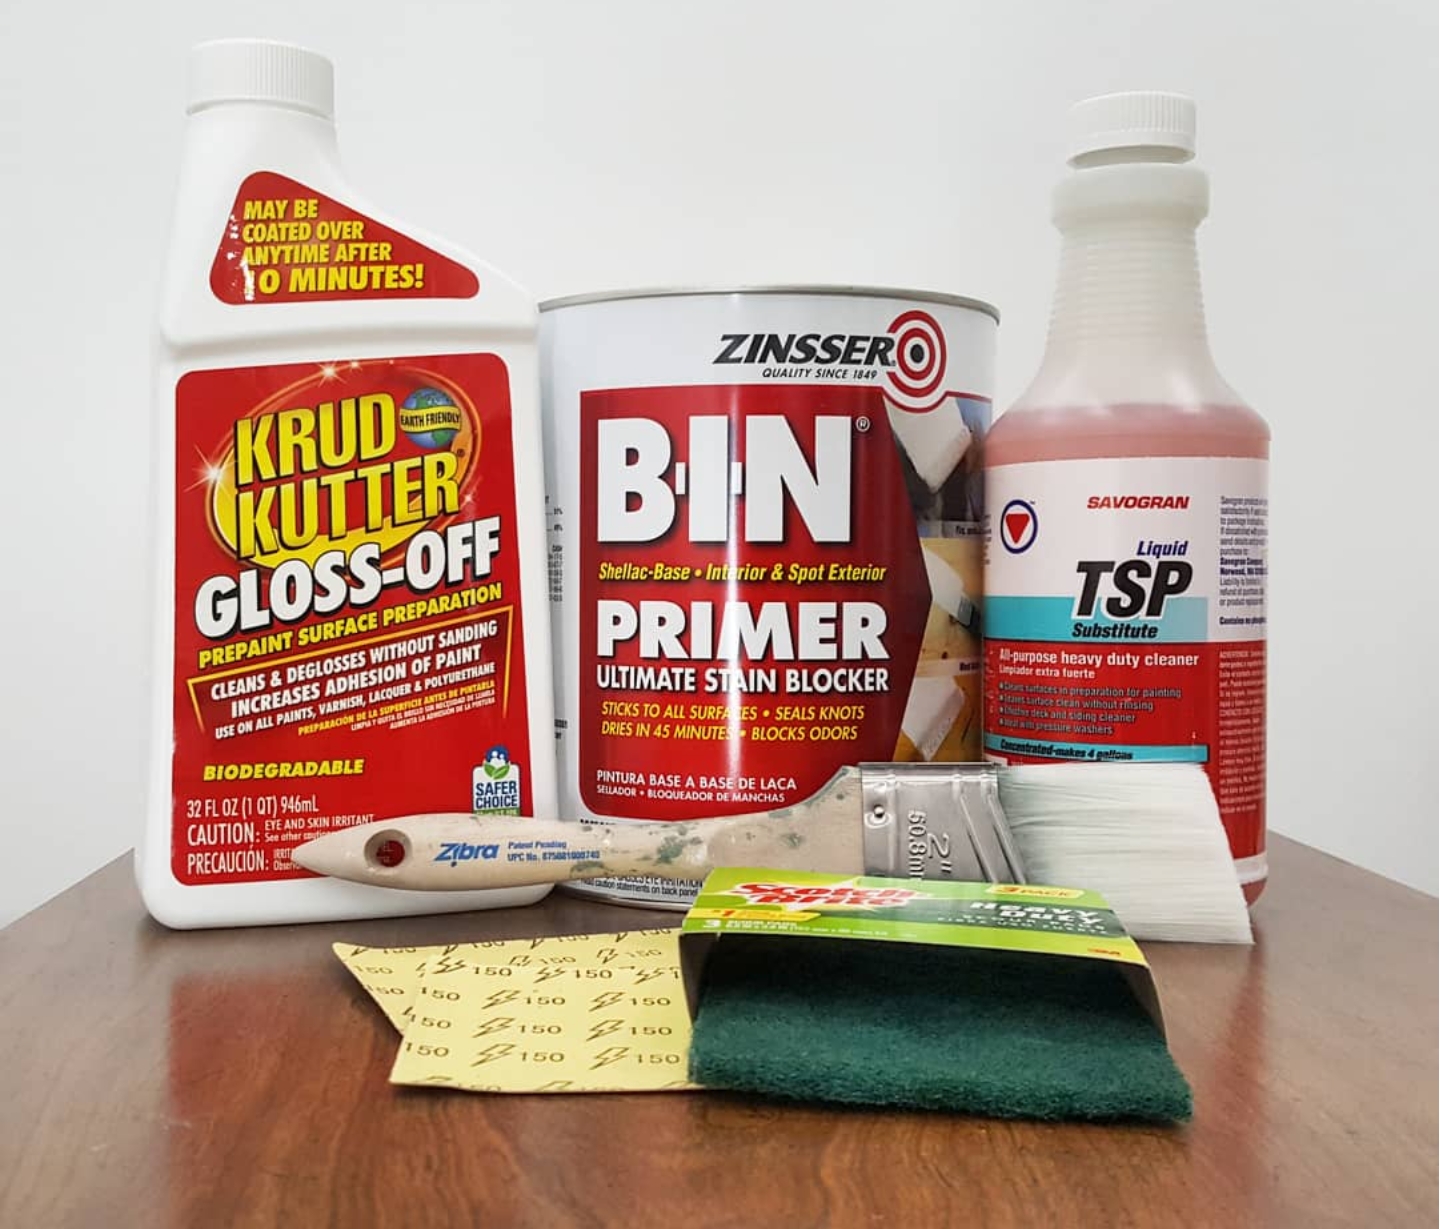
Materials Needed:
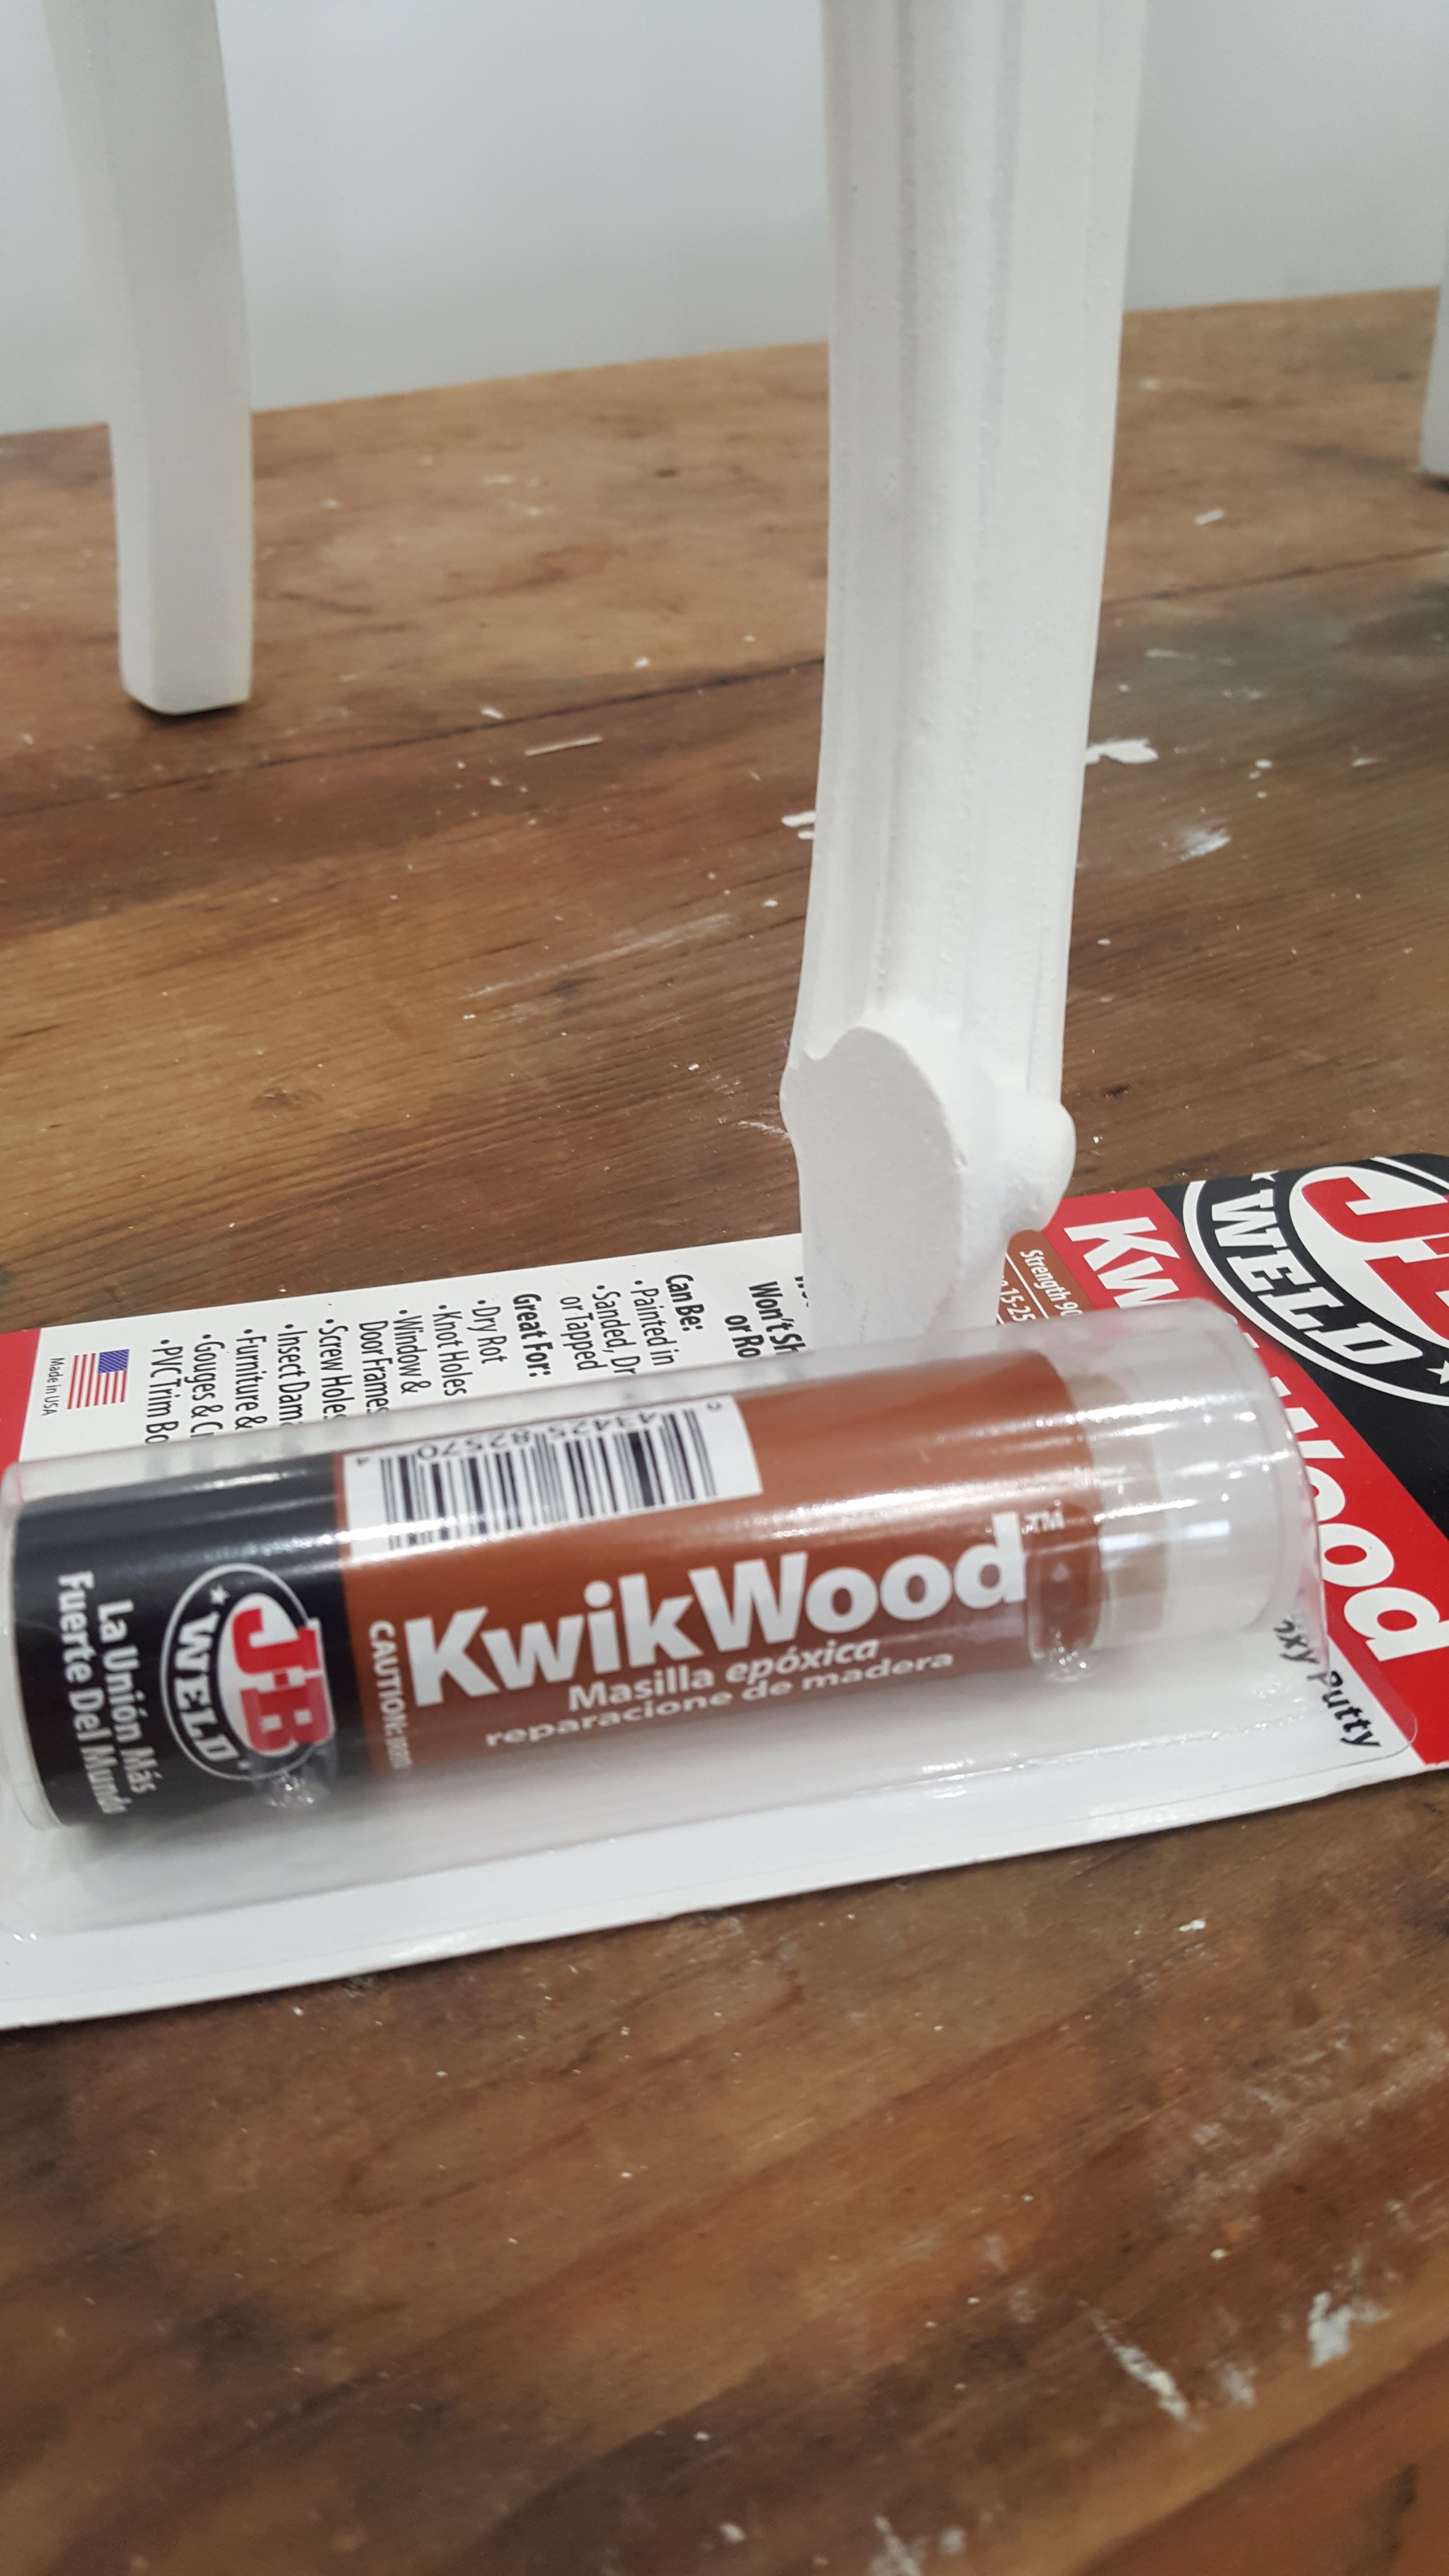
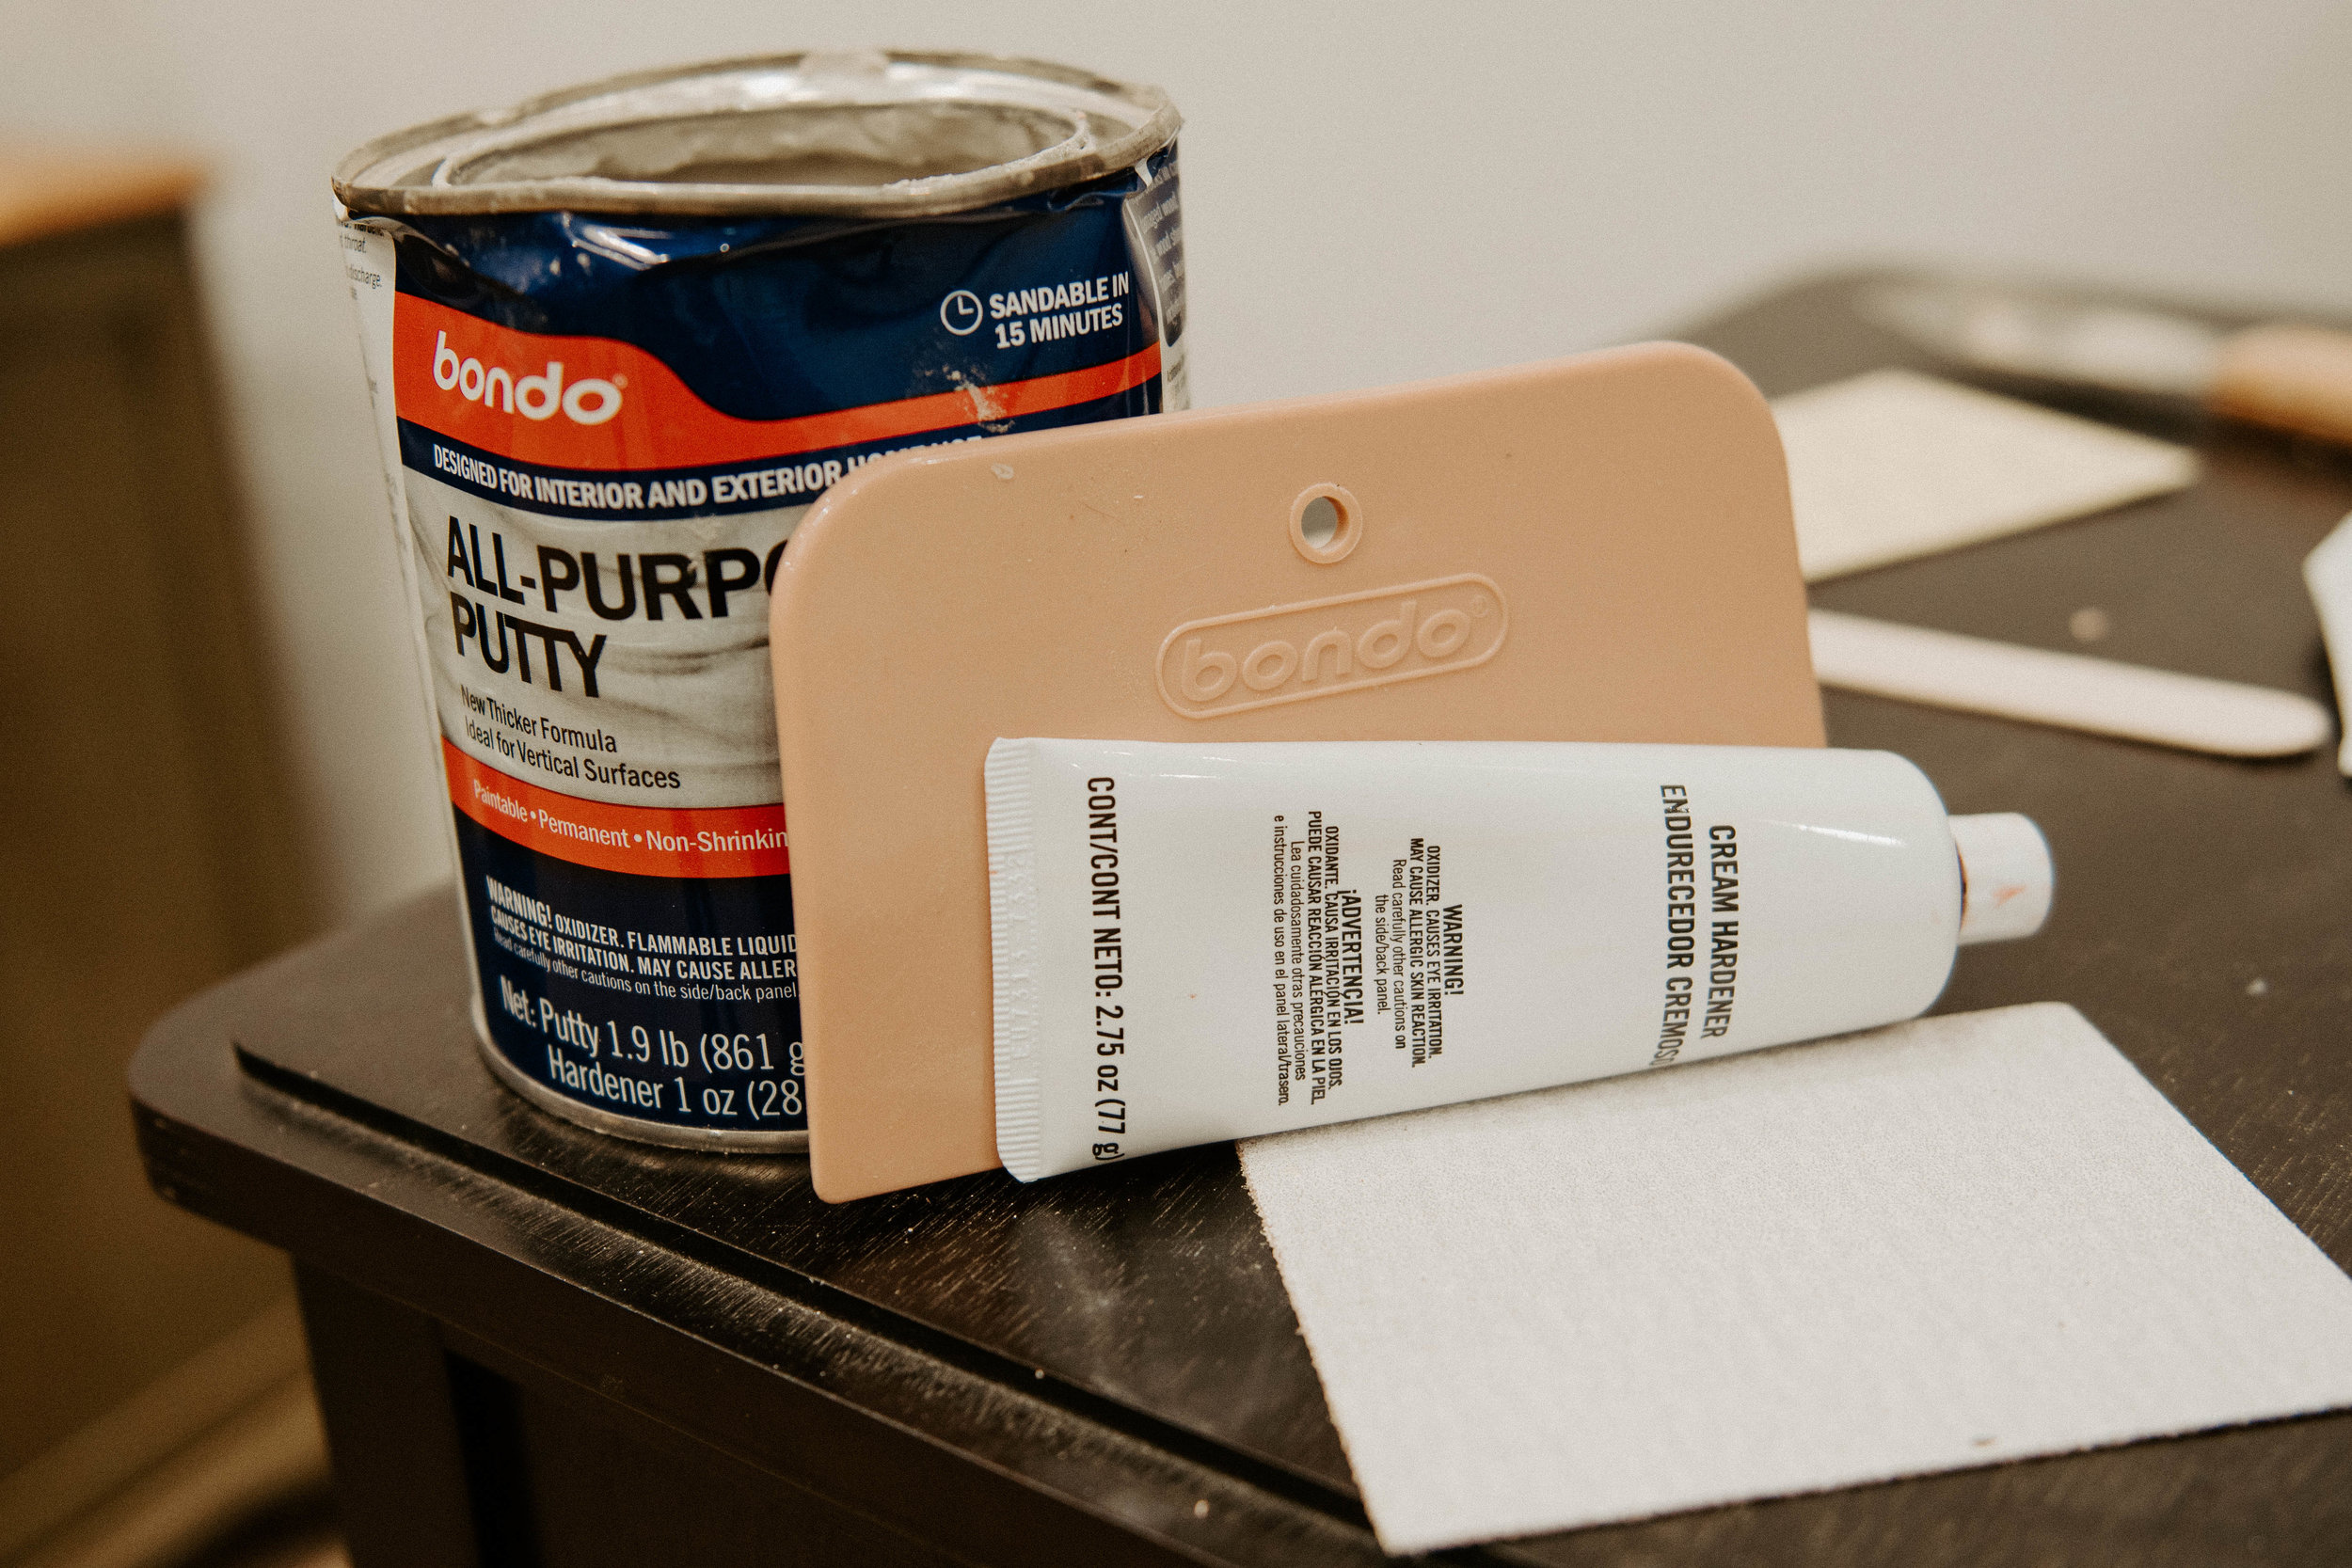
1. Wood Filler
4. Painters Tape or Masking Tape
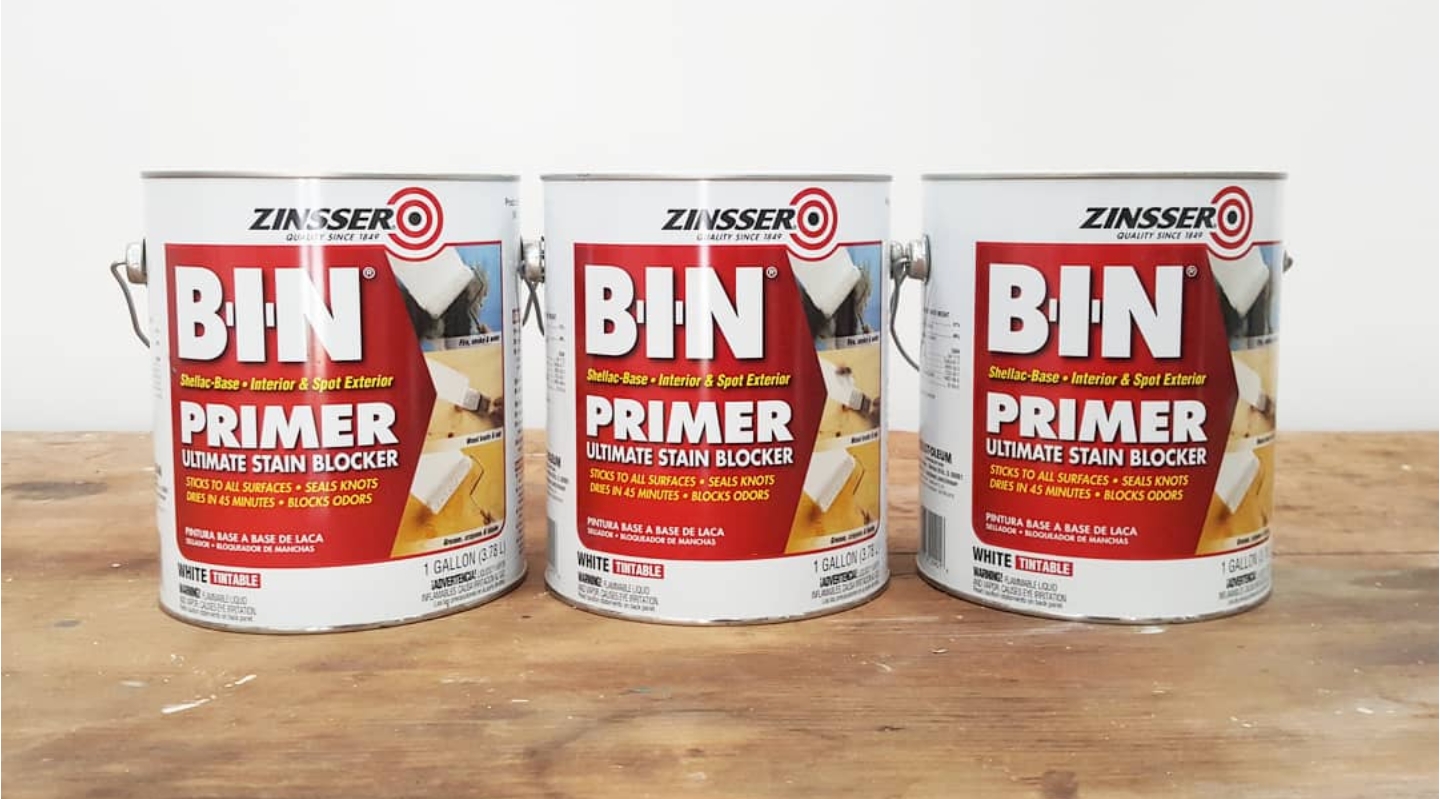
5. Primer
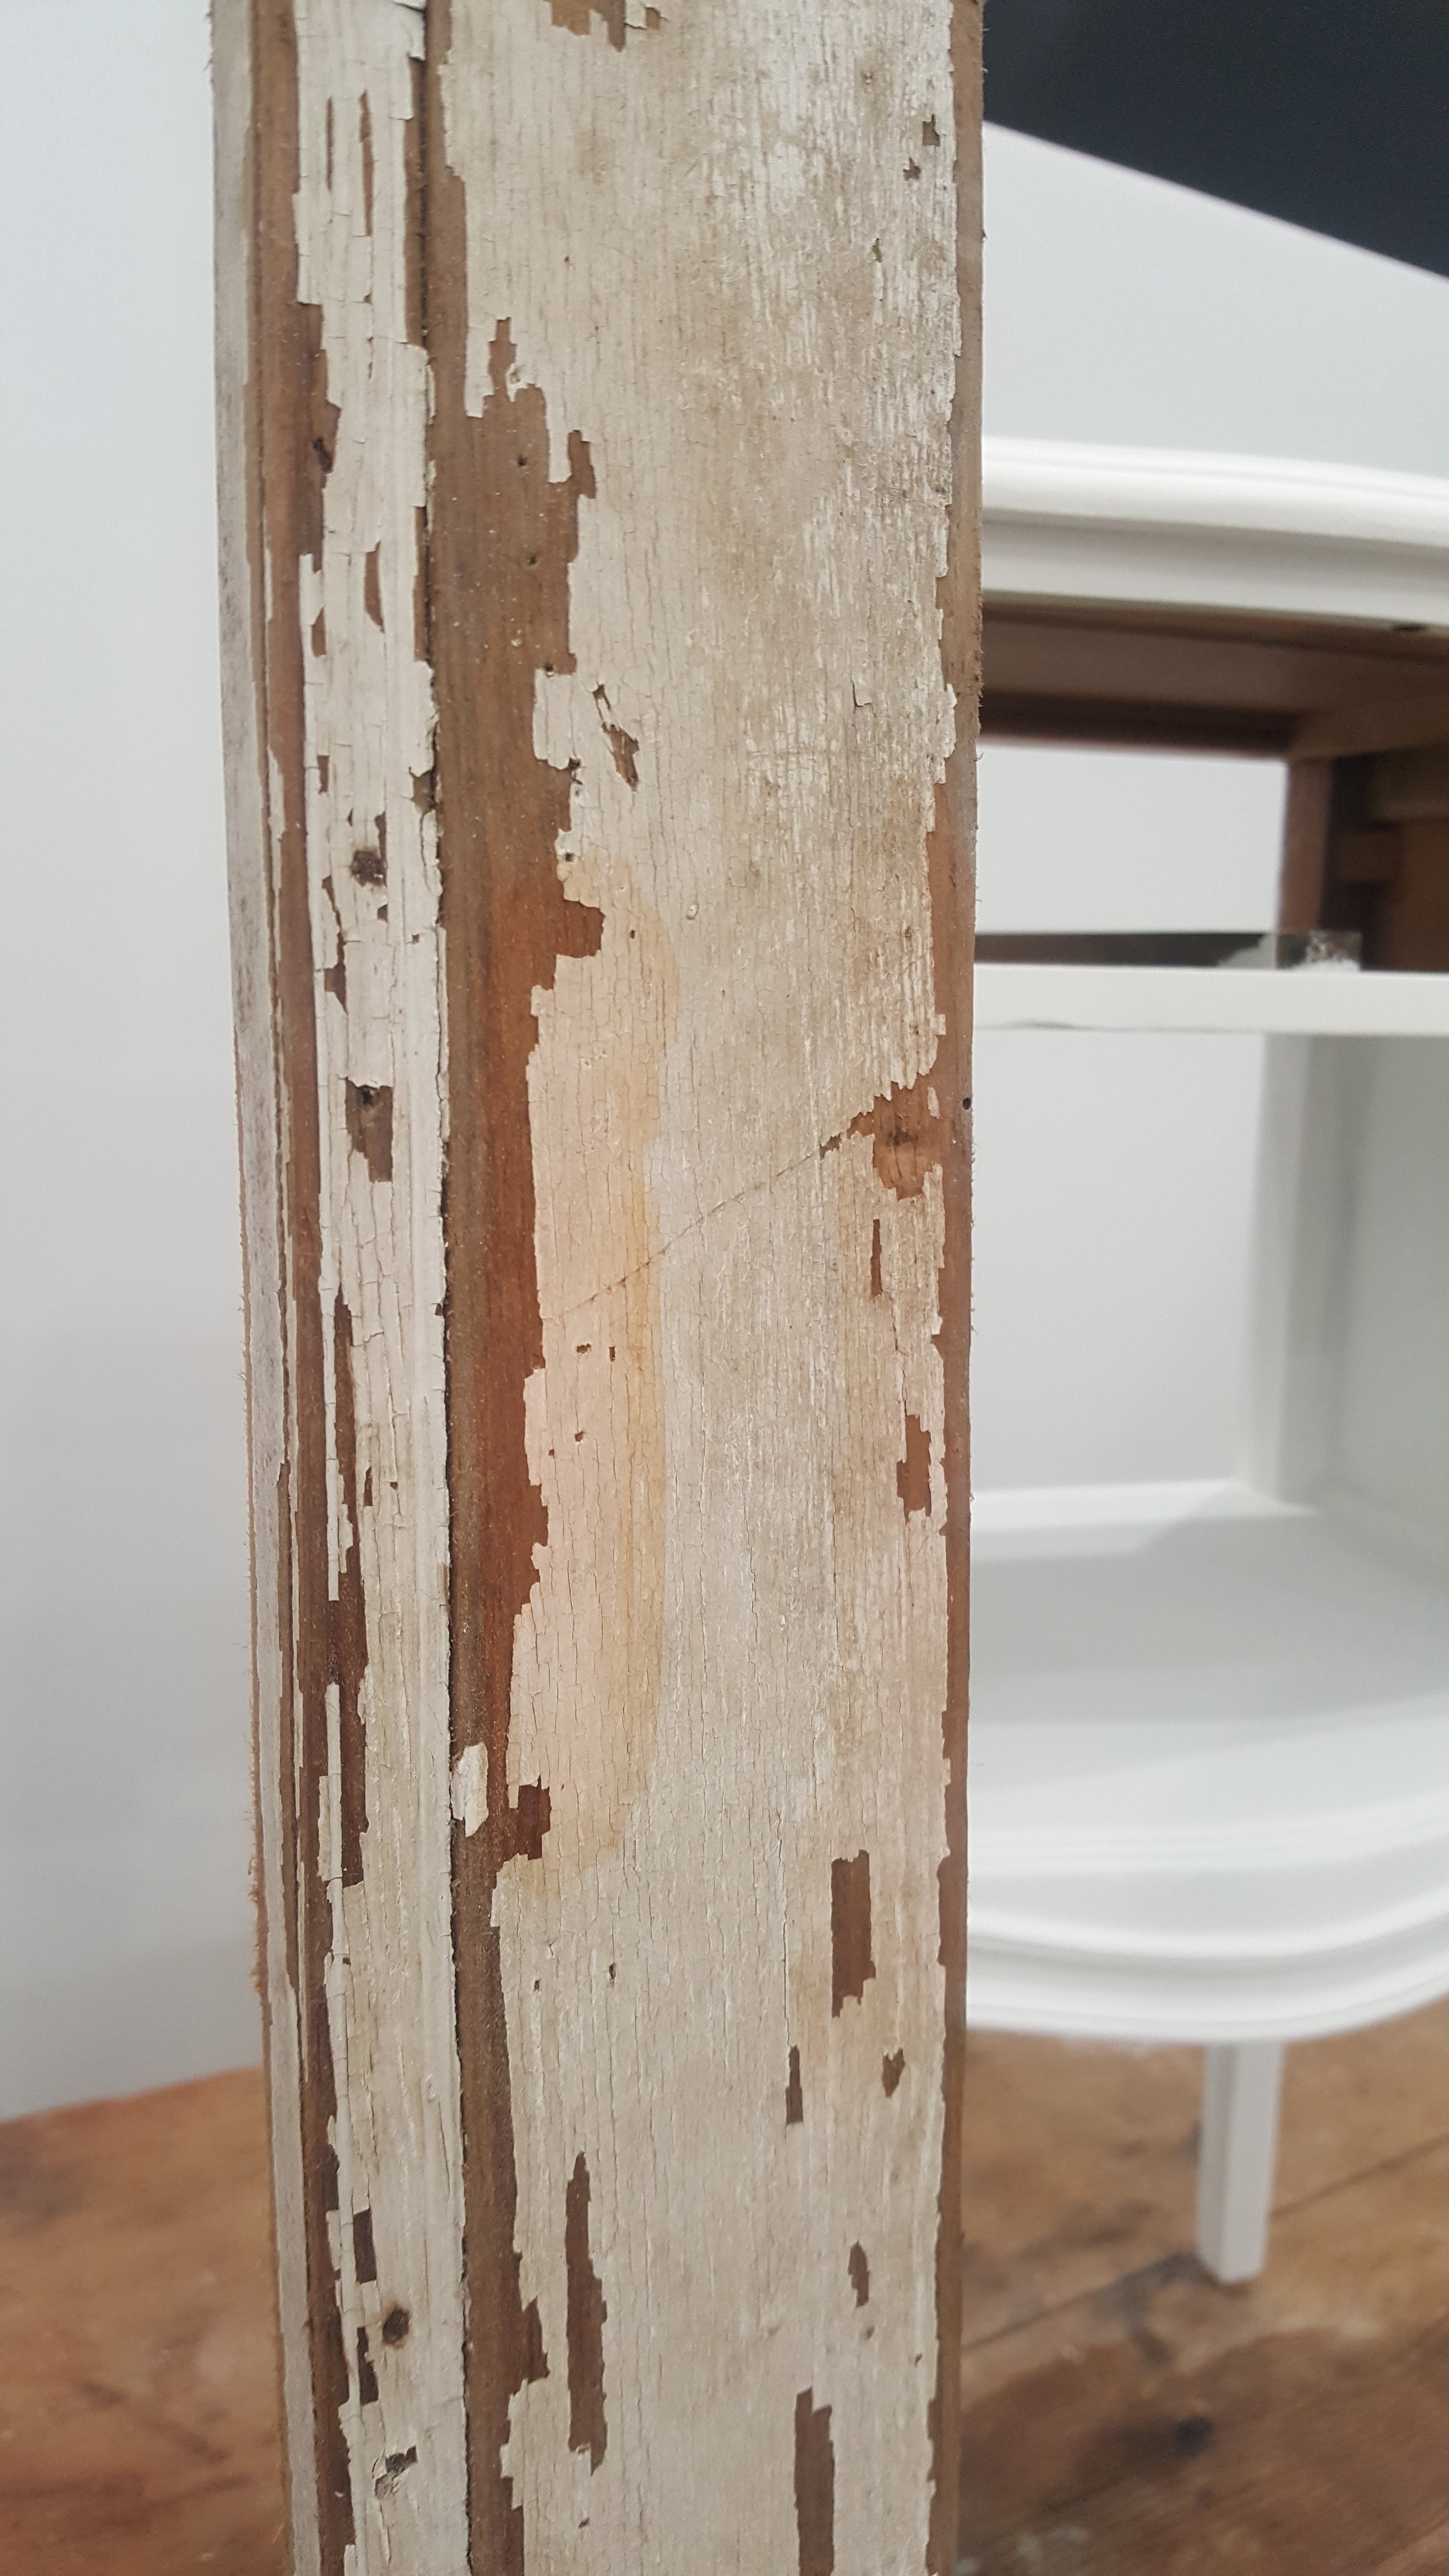
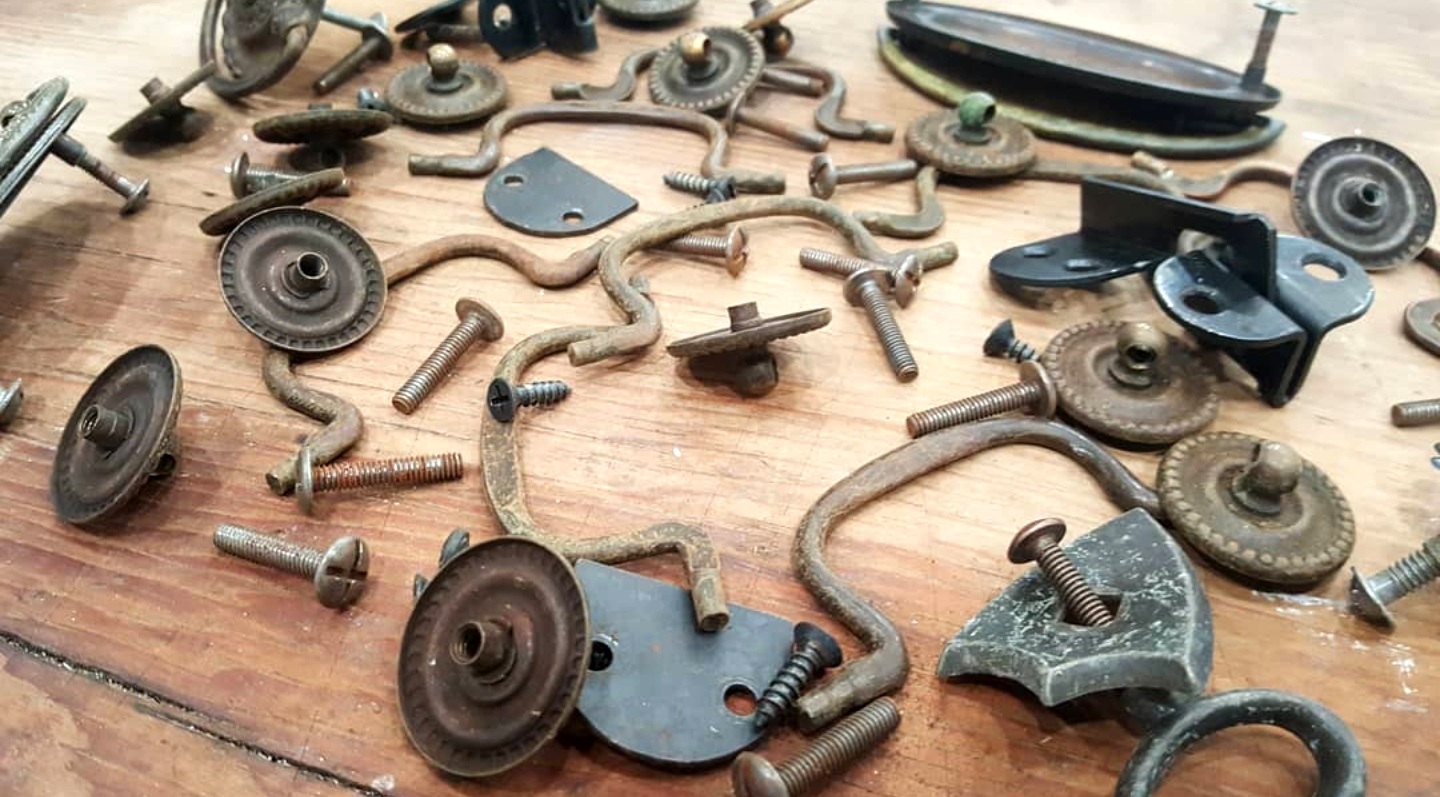
Step 1: Take off your current hardware (Pulls, Knobs or whatever is currently on your piece of furniture) and put them in a baggie. Even if I am not planning on reusing this hardware, I like to keep them on hand in case something accidentally goes wrong and I need to reuse them. Also, it is important to keep them on hand because sometimes when you purchase new knobs or pulls, the length of the screws are different from what you used before, causing the screws to not fit correctly. This way you can just use the original screws and it works out perfectly!
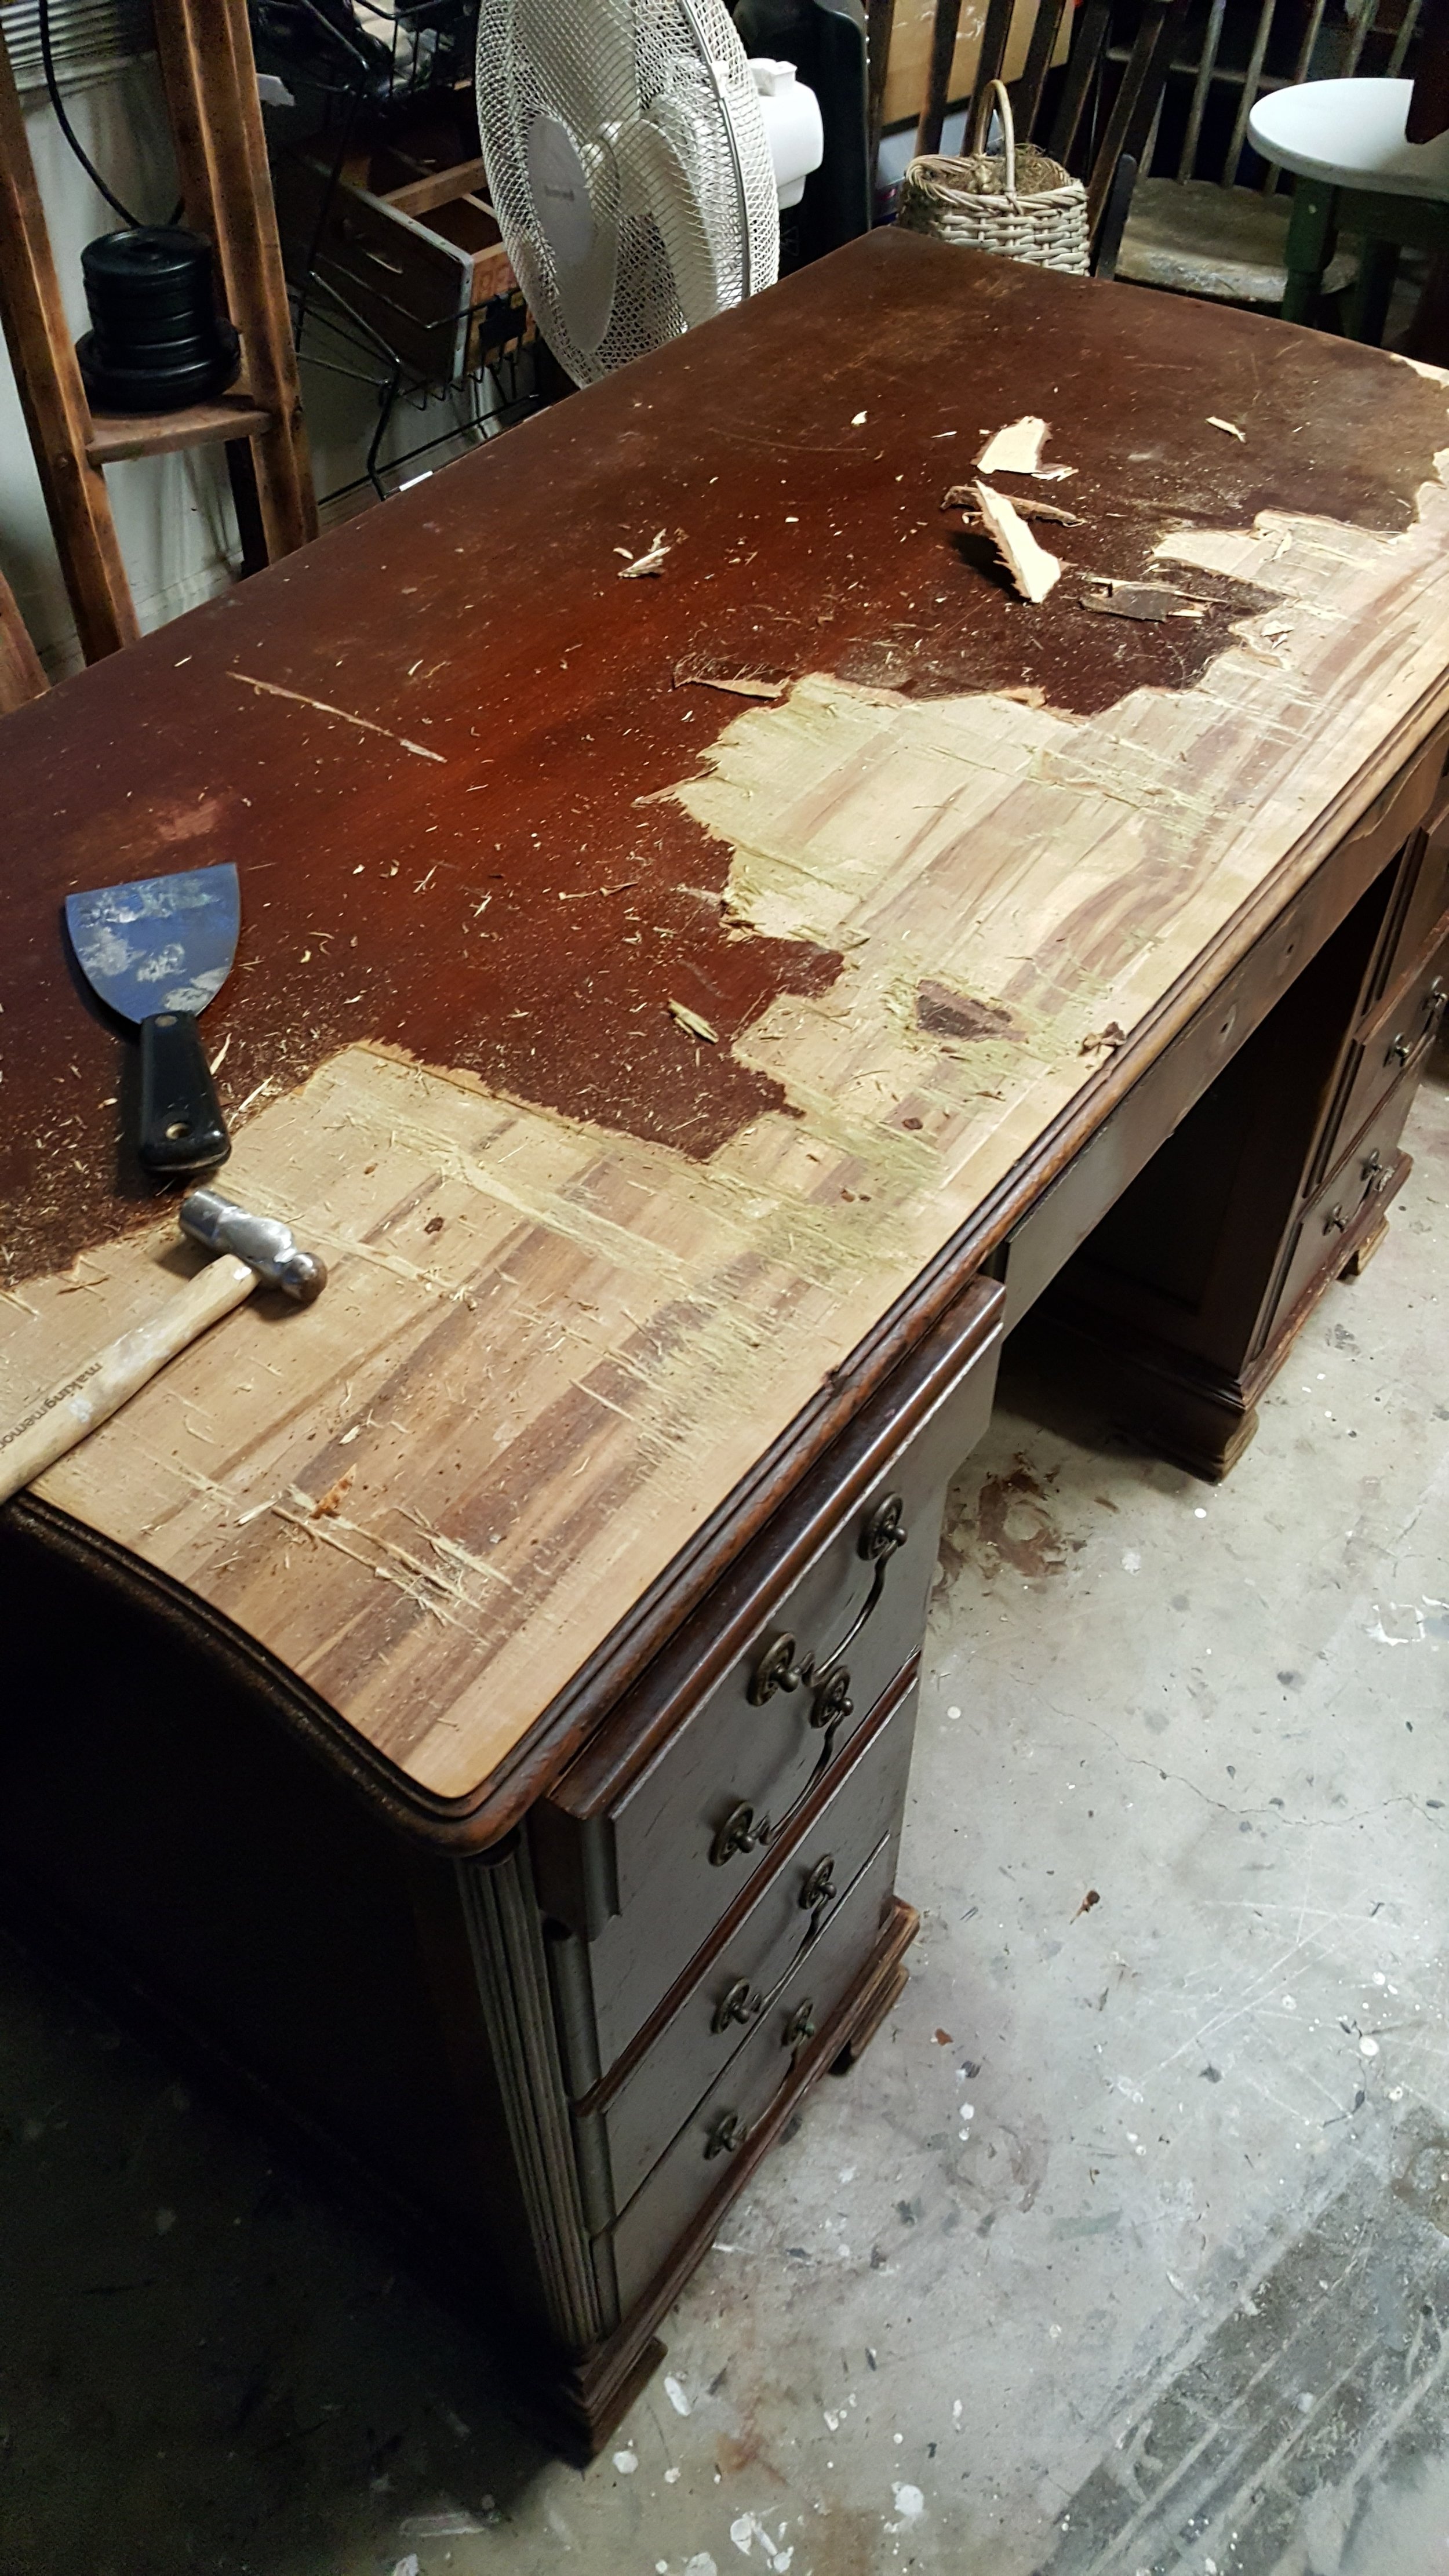
**Sometimes there is some grit and grim around the edges where the hardware sat for years, so if necessary, I take a 150 grit piece of sandpaper and sand down those areas until everything is even and smooth. I like to clean it off with a baby wipe or a damp paper towel as I go.
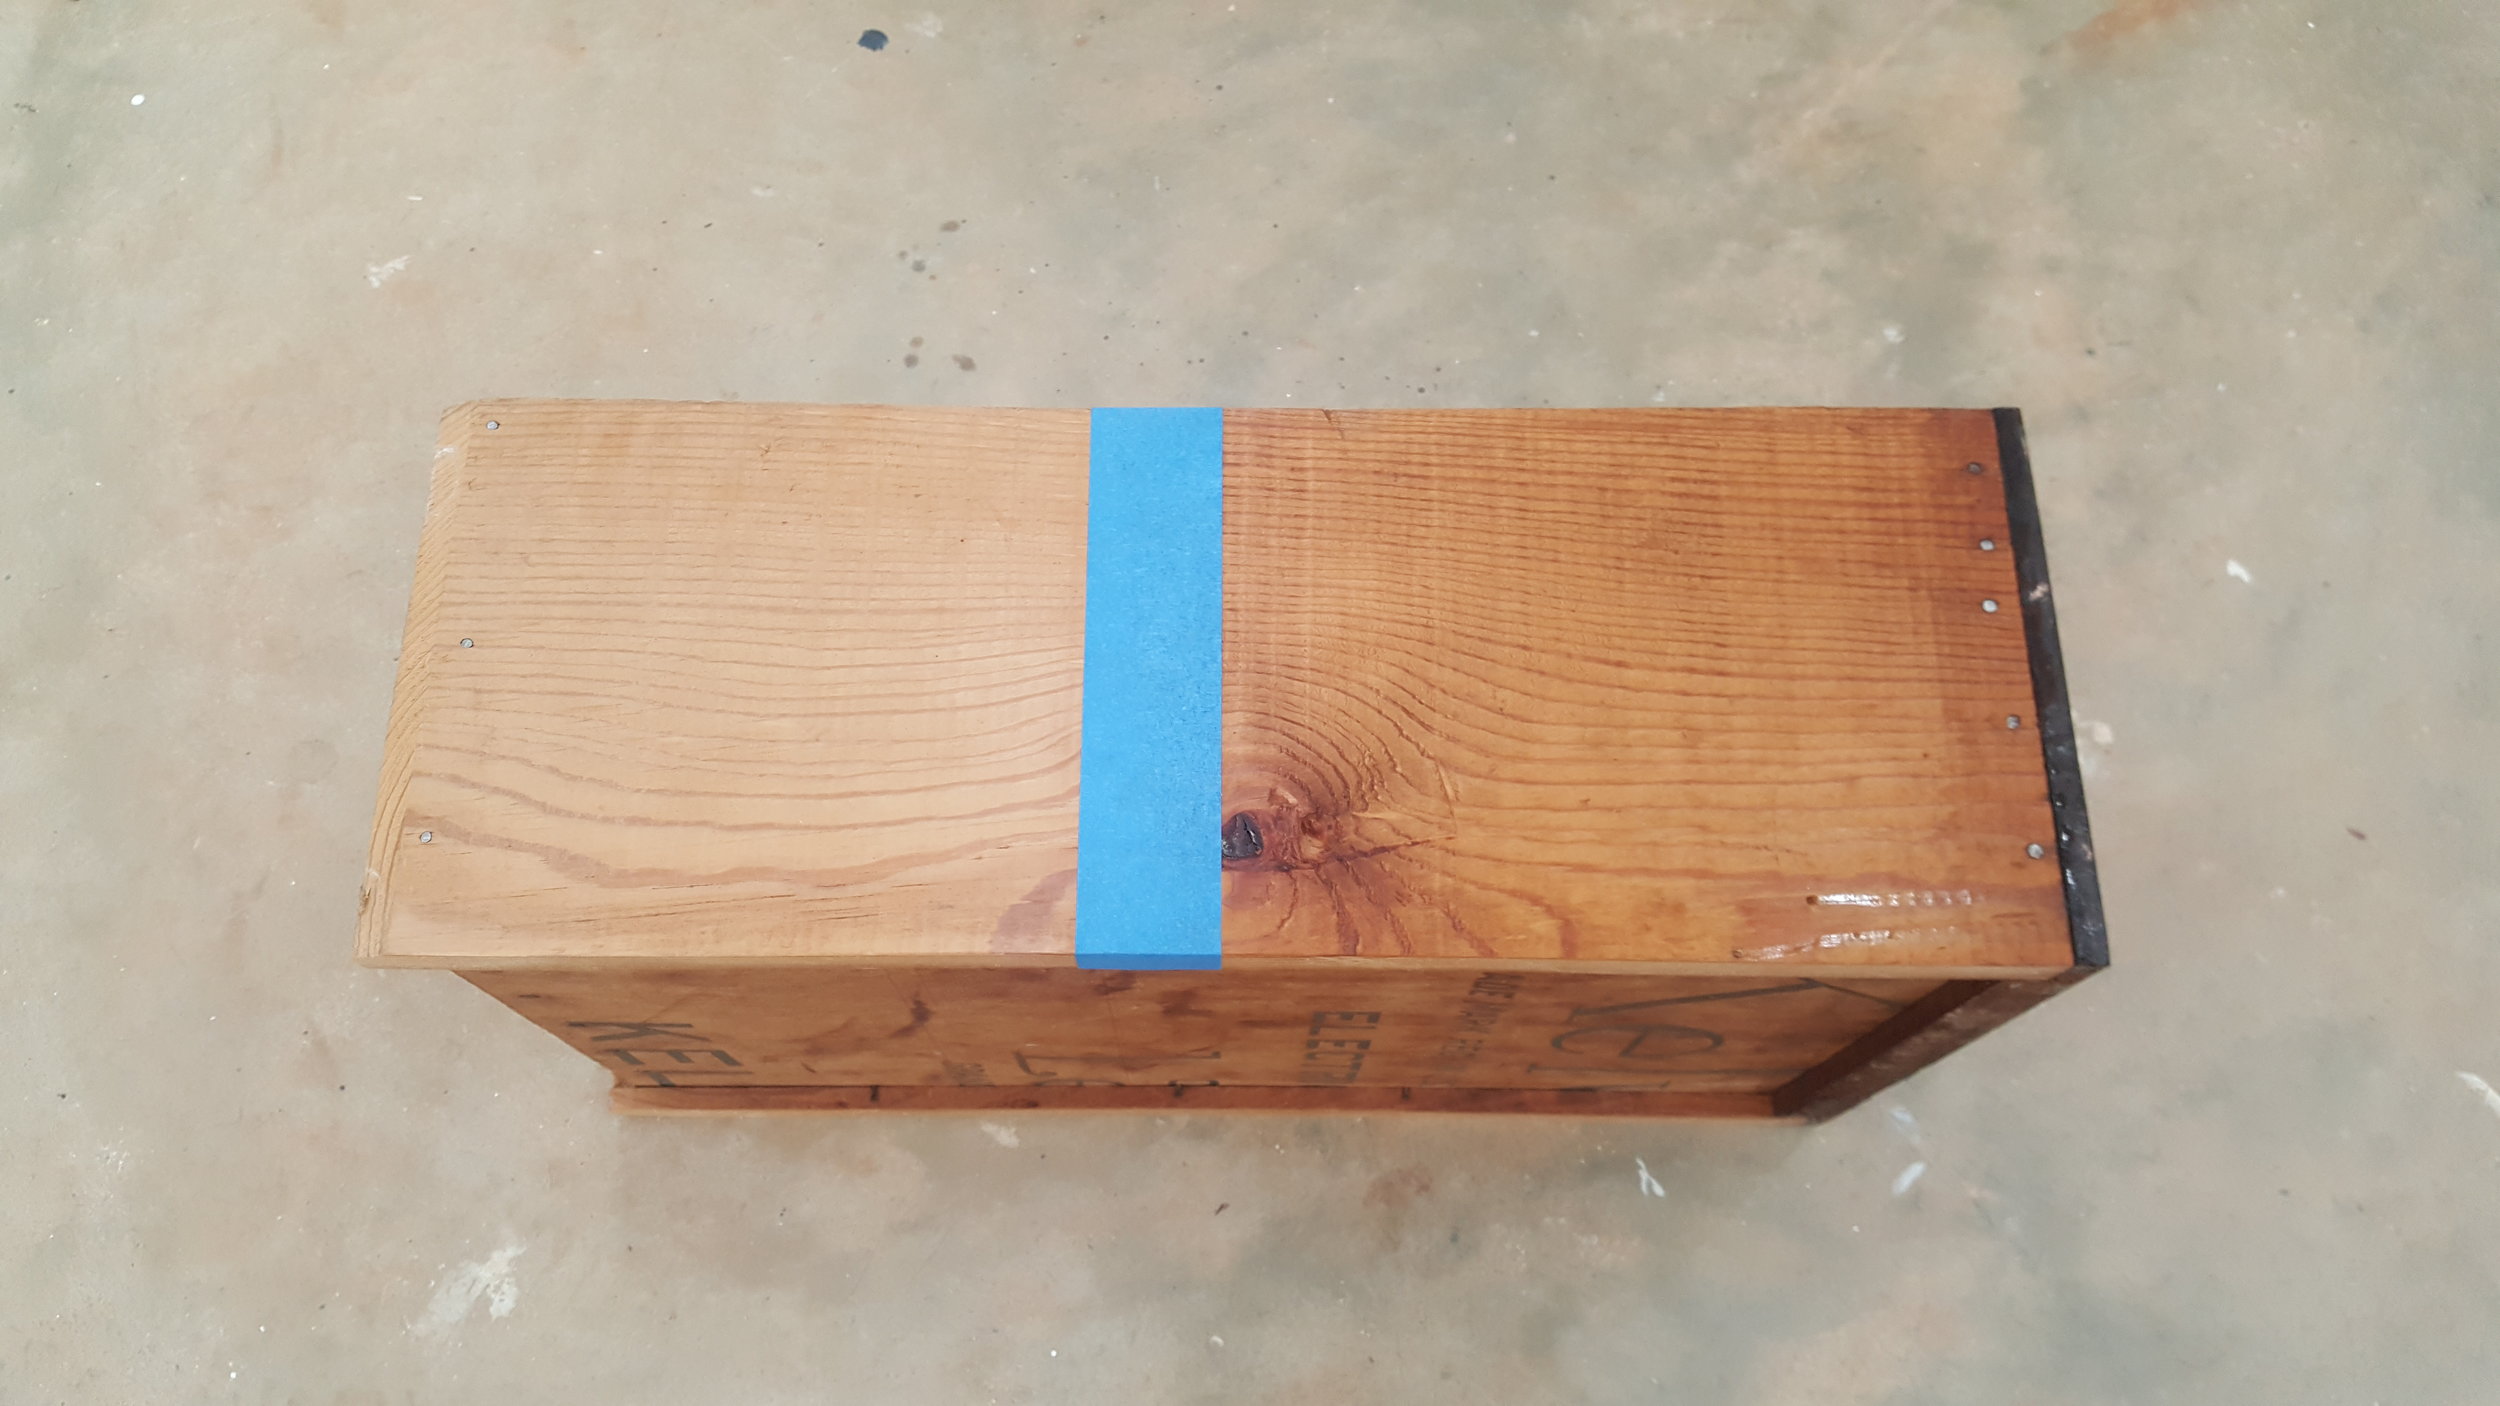
Step 2: Take a small piece of painters tape or masking tape, large enough to cover the hole, and place it on the inside of the drawer/door so that you can no longer see the hole. This helps prevent the Wood Filler from oozing out the other side. I keep the tape on until the very end of the project, too, so that the Wood Filler has time to dry nice and hard.
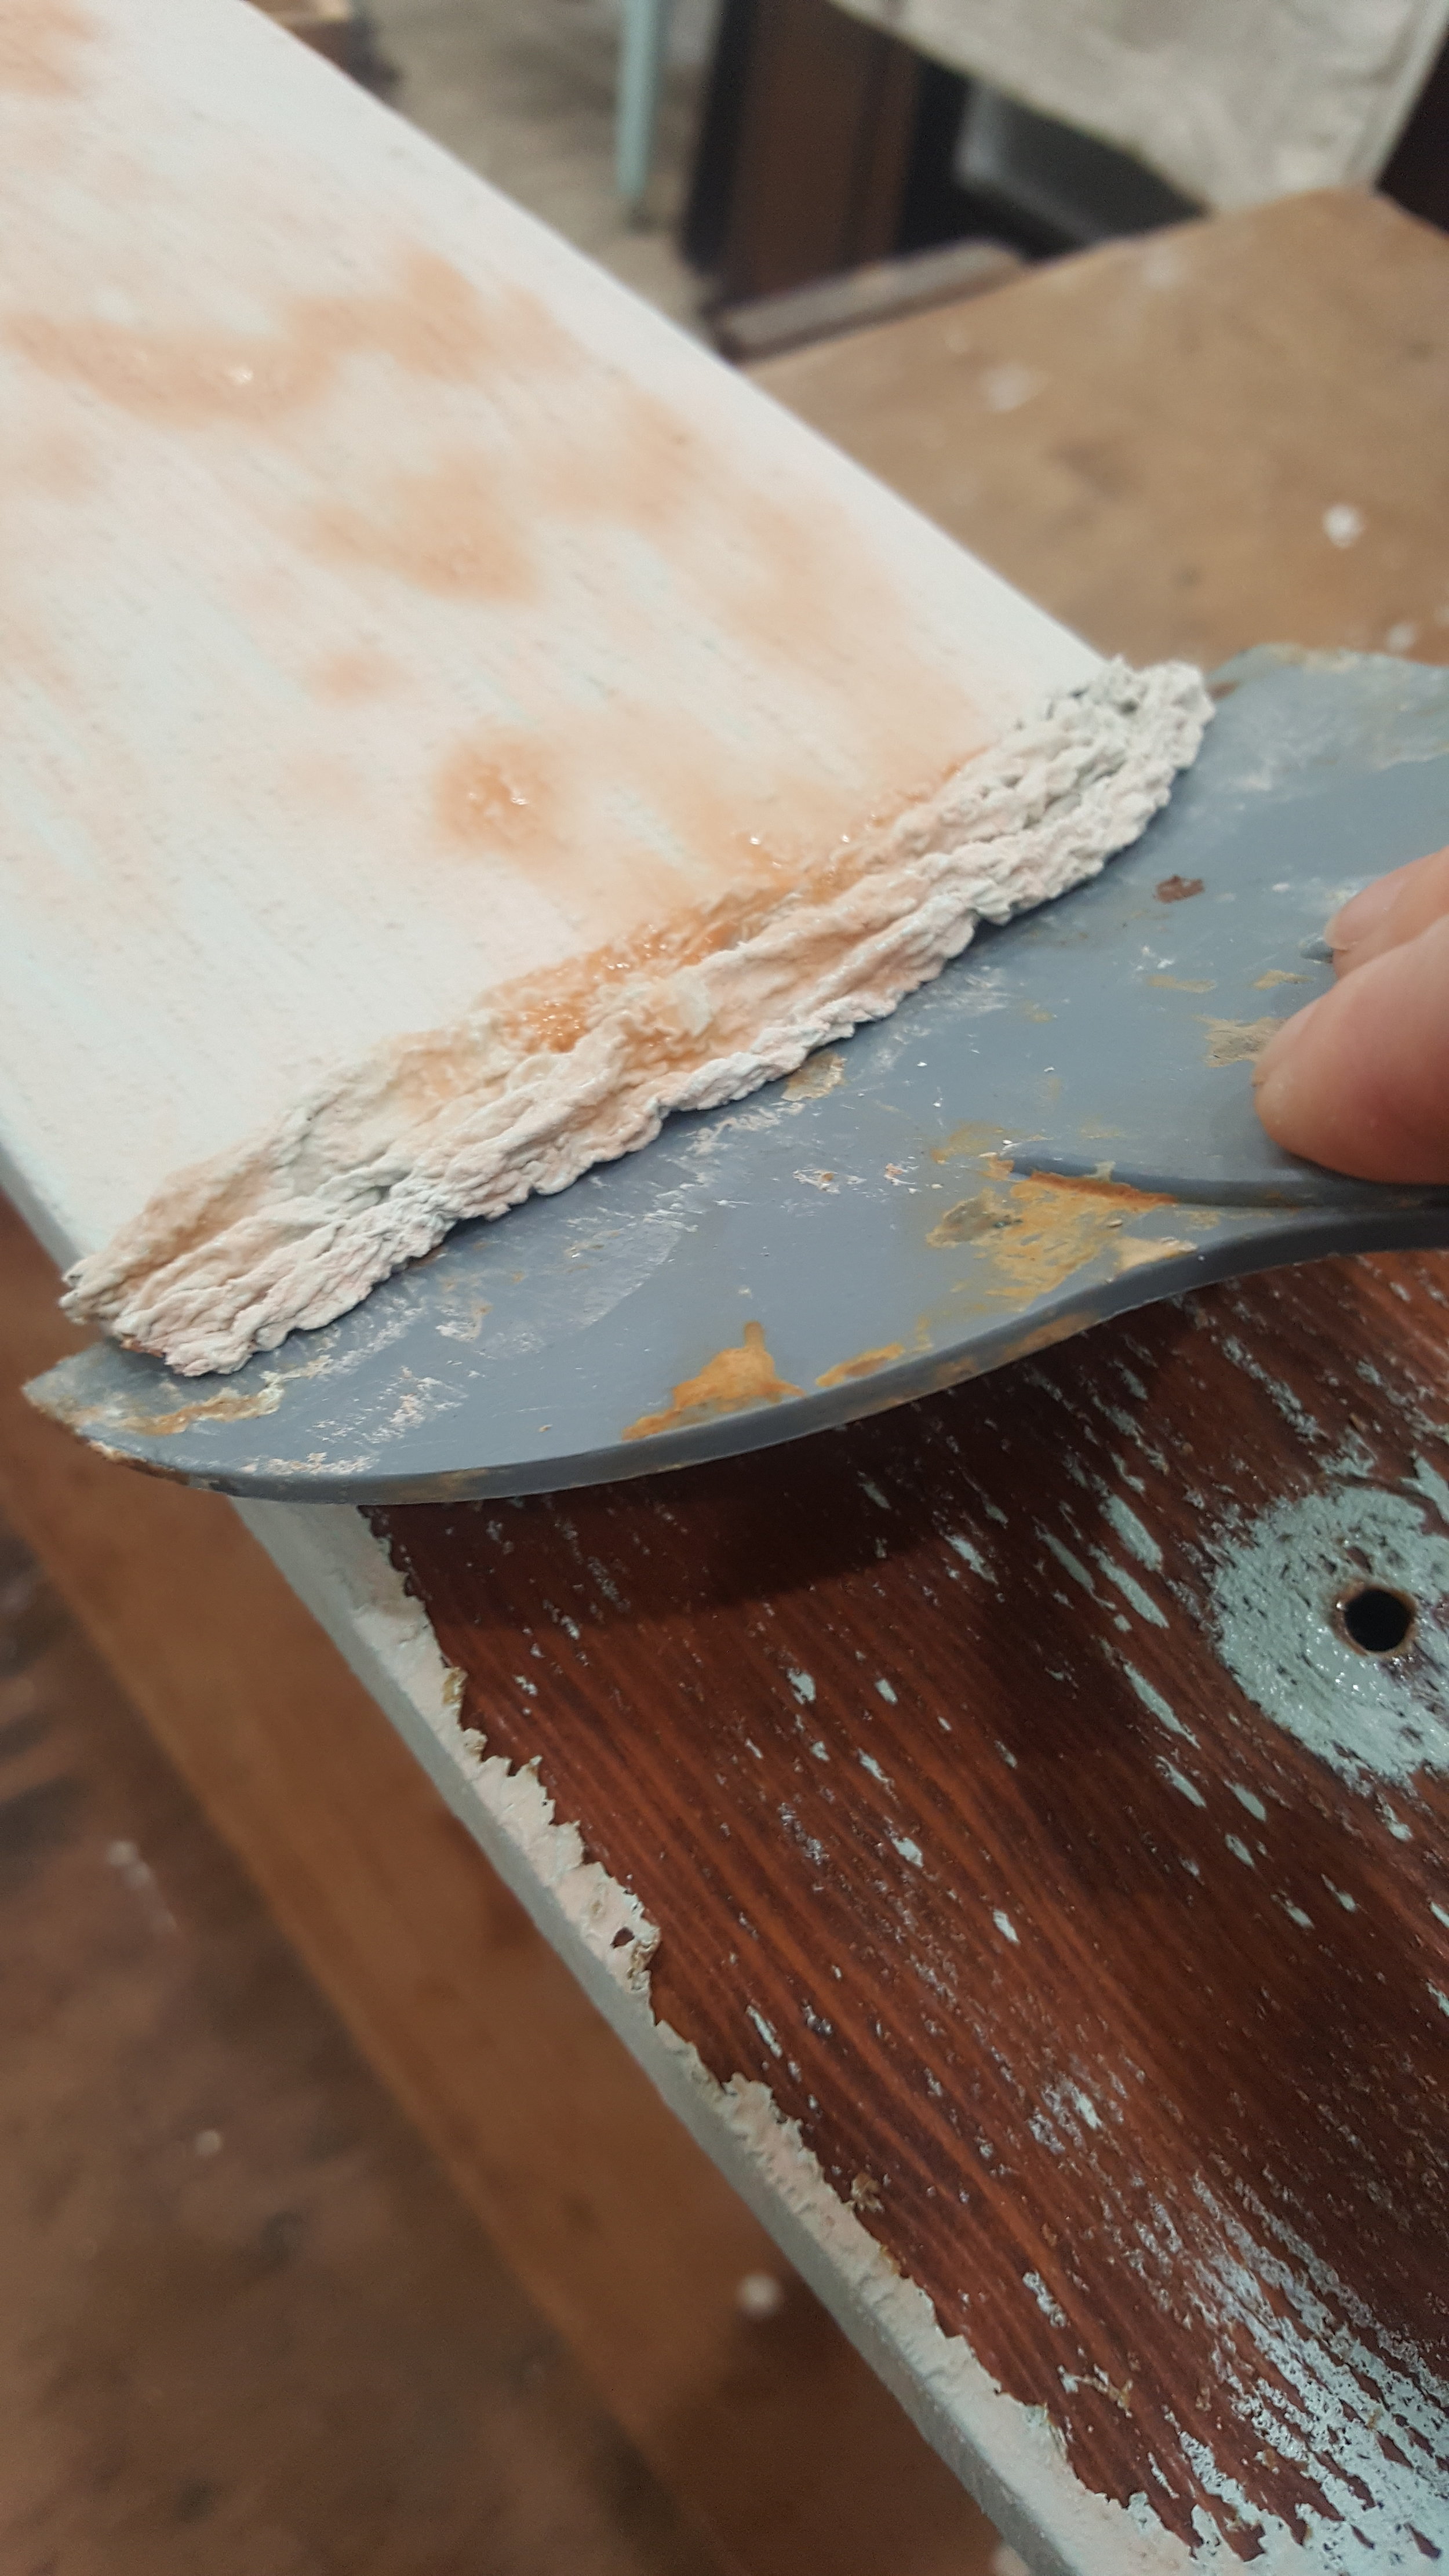
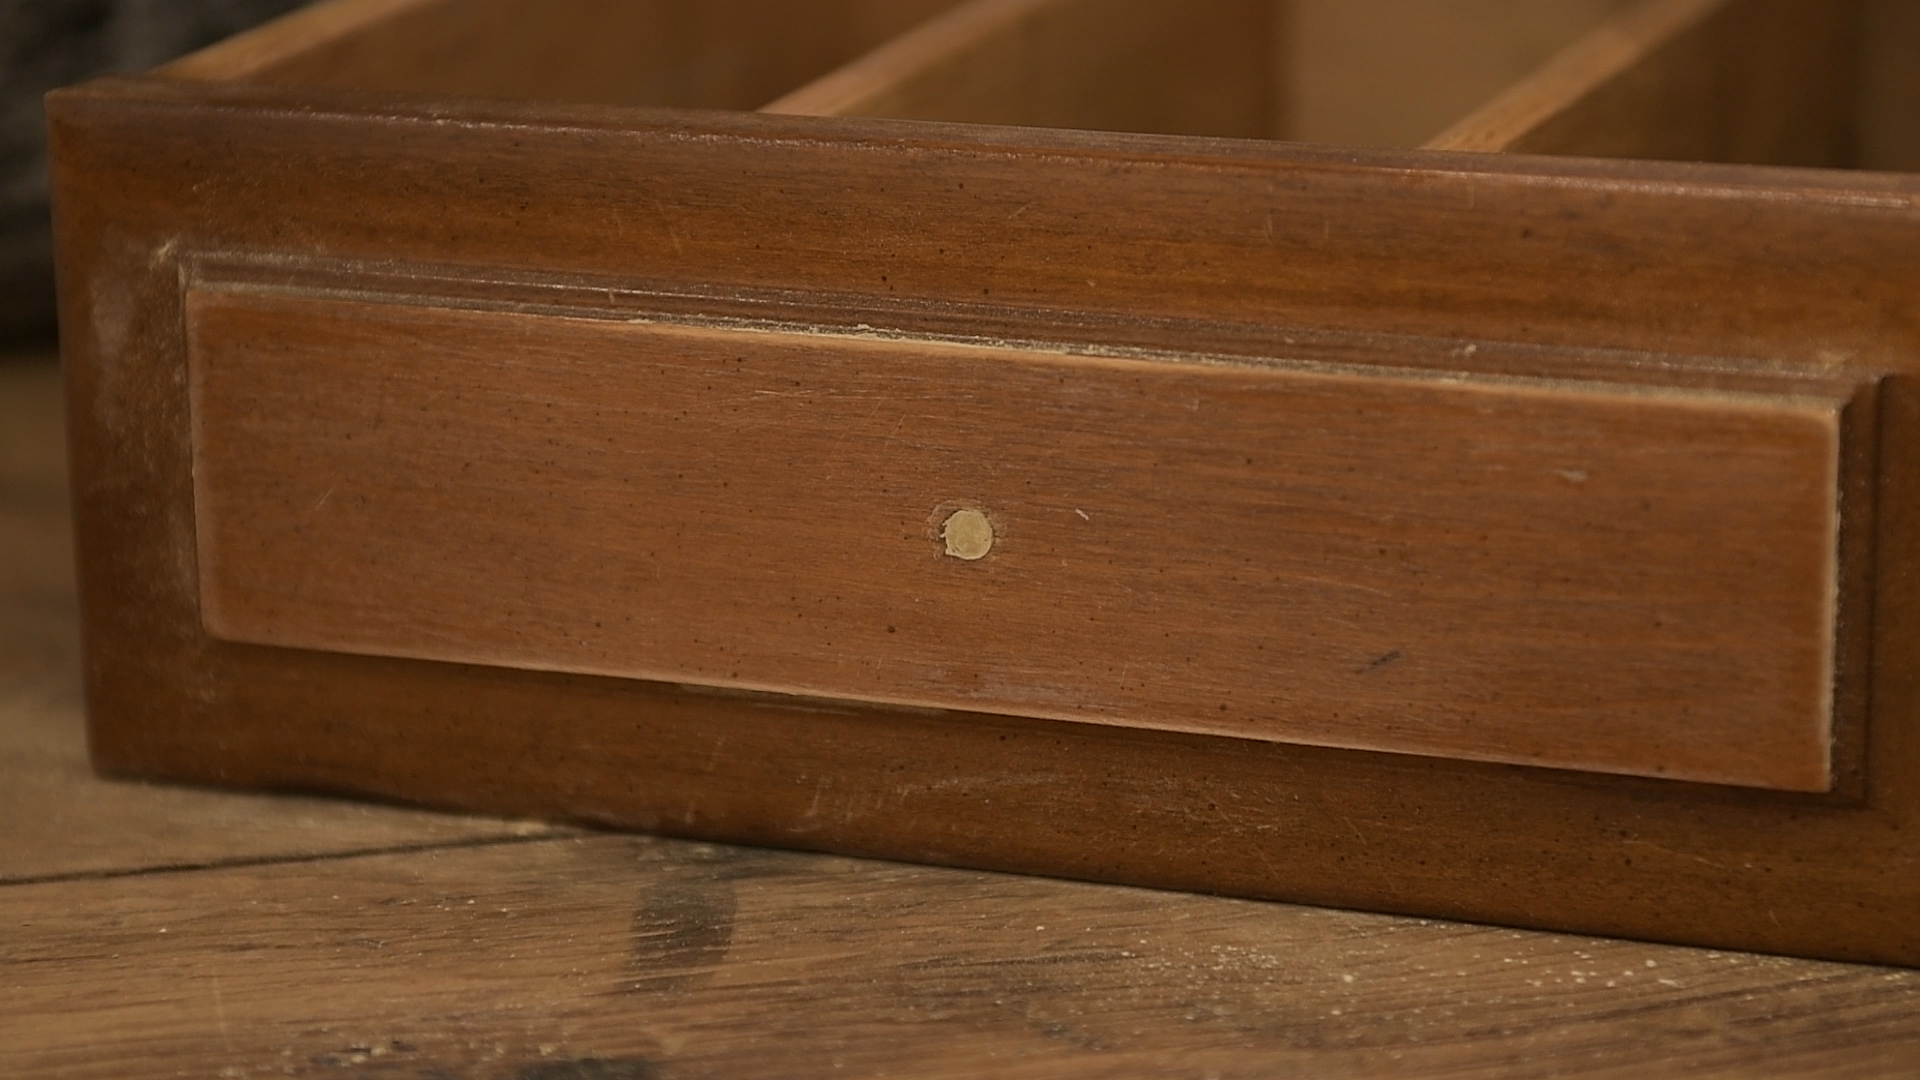
Step 3: Take the Wood Filler and Plastic Putty Knife and fill in the hole and any indention’s that the previous hardware may have left in your drawer/door.
Step 4: After the Wood Filler from Step 3 has dried, take a piece of 220 grit sandpaper and smooth it out. You may have to repeat Steps 3 and 4 if there are still indention’s. There have been situations where I have had to do this 3 times, just to make it nice and smooth. Each piece is different.
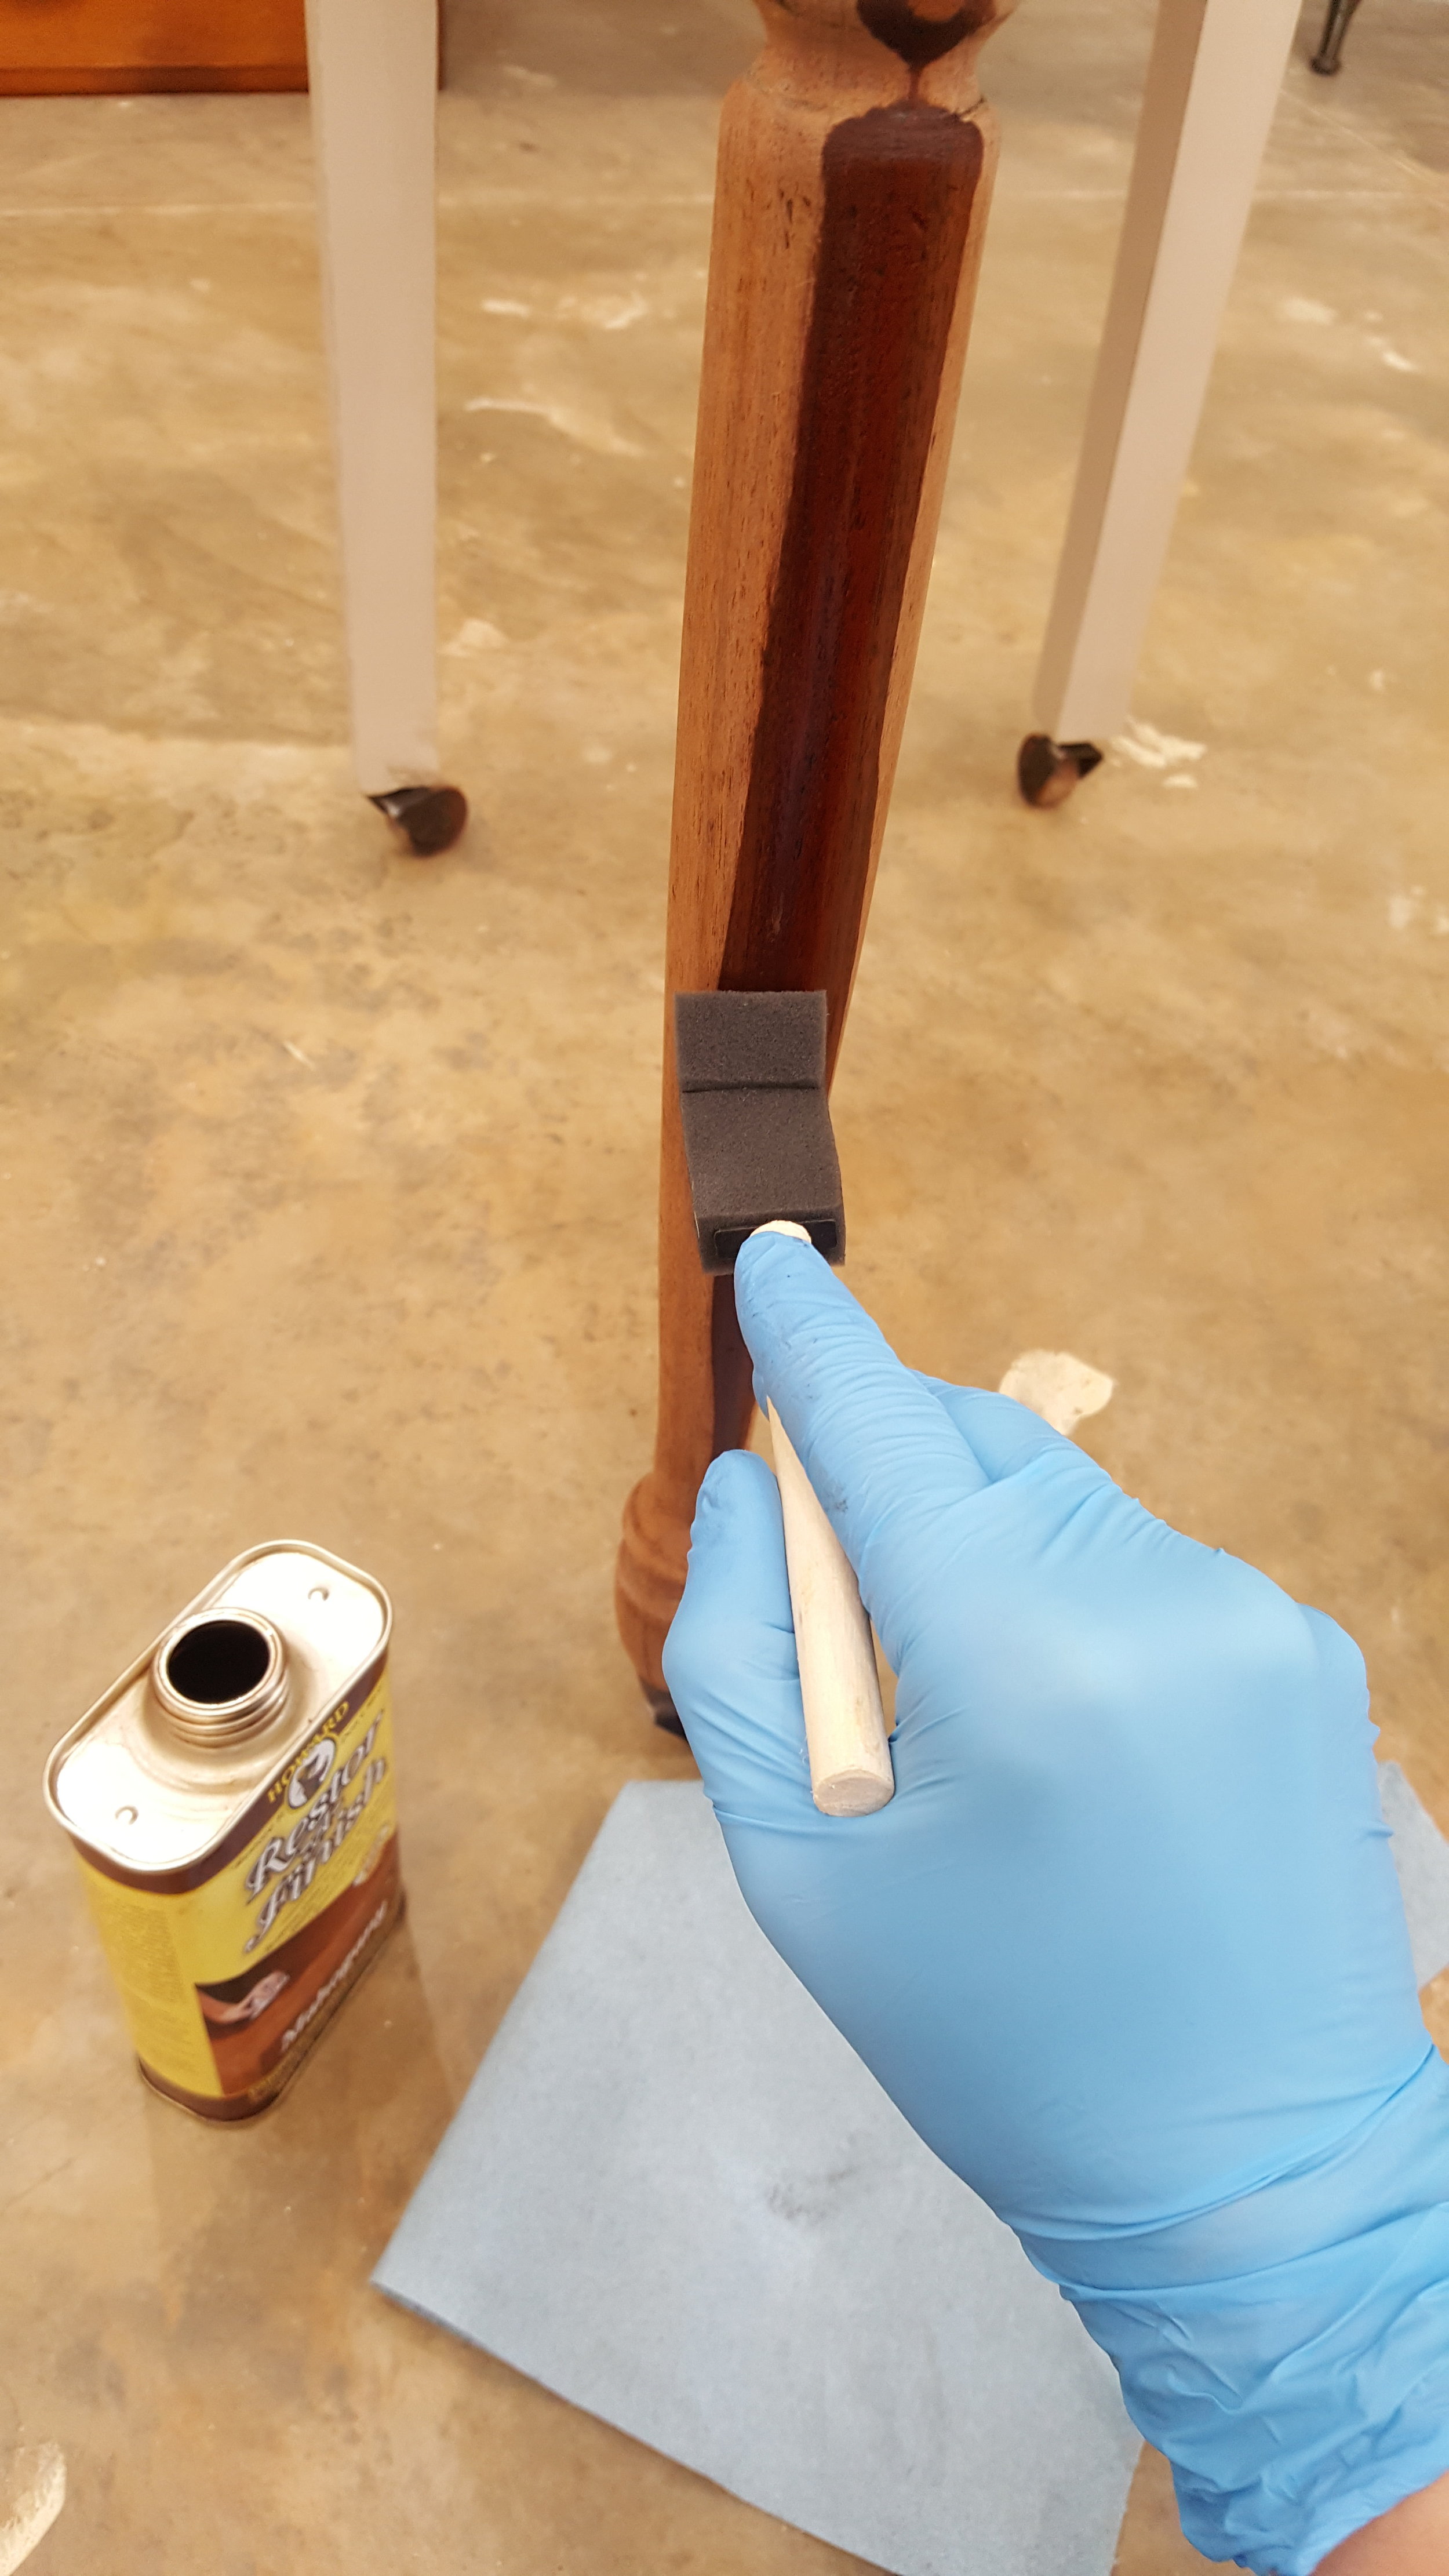
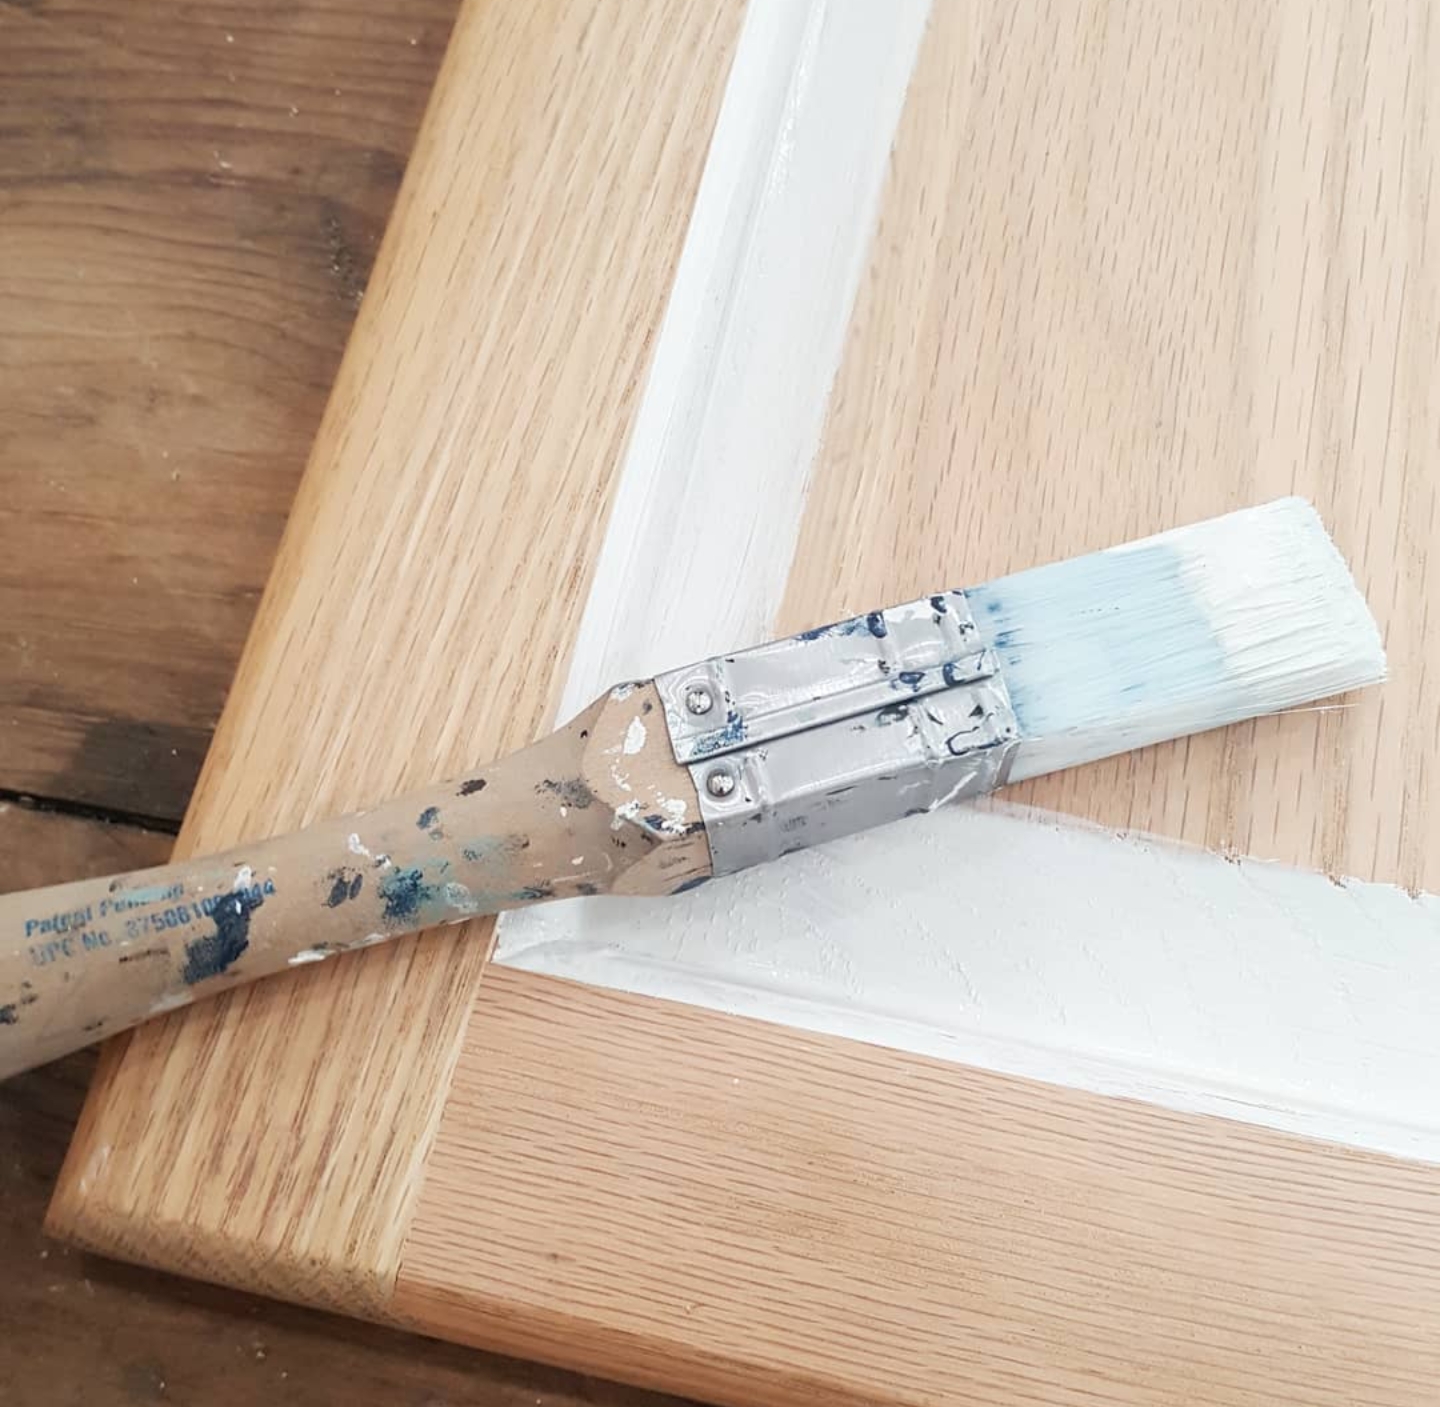
Step 5: Once you are satisfied with your filled holes, wait the recommend time that the Wood Filler indicates and then apply primer. Some people skip the priming step, but I think it is important because it helps smooth out the Wood Filler even more and it also helps prevent your paint from being splotchy in the areas you just filled.
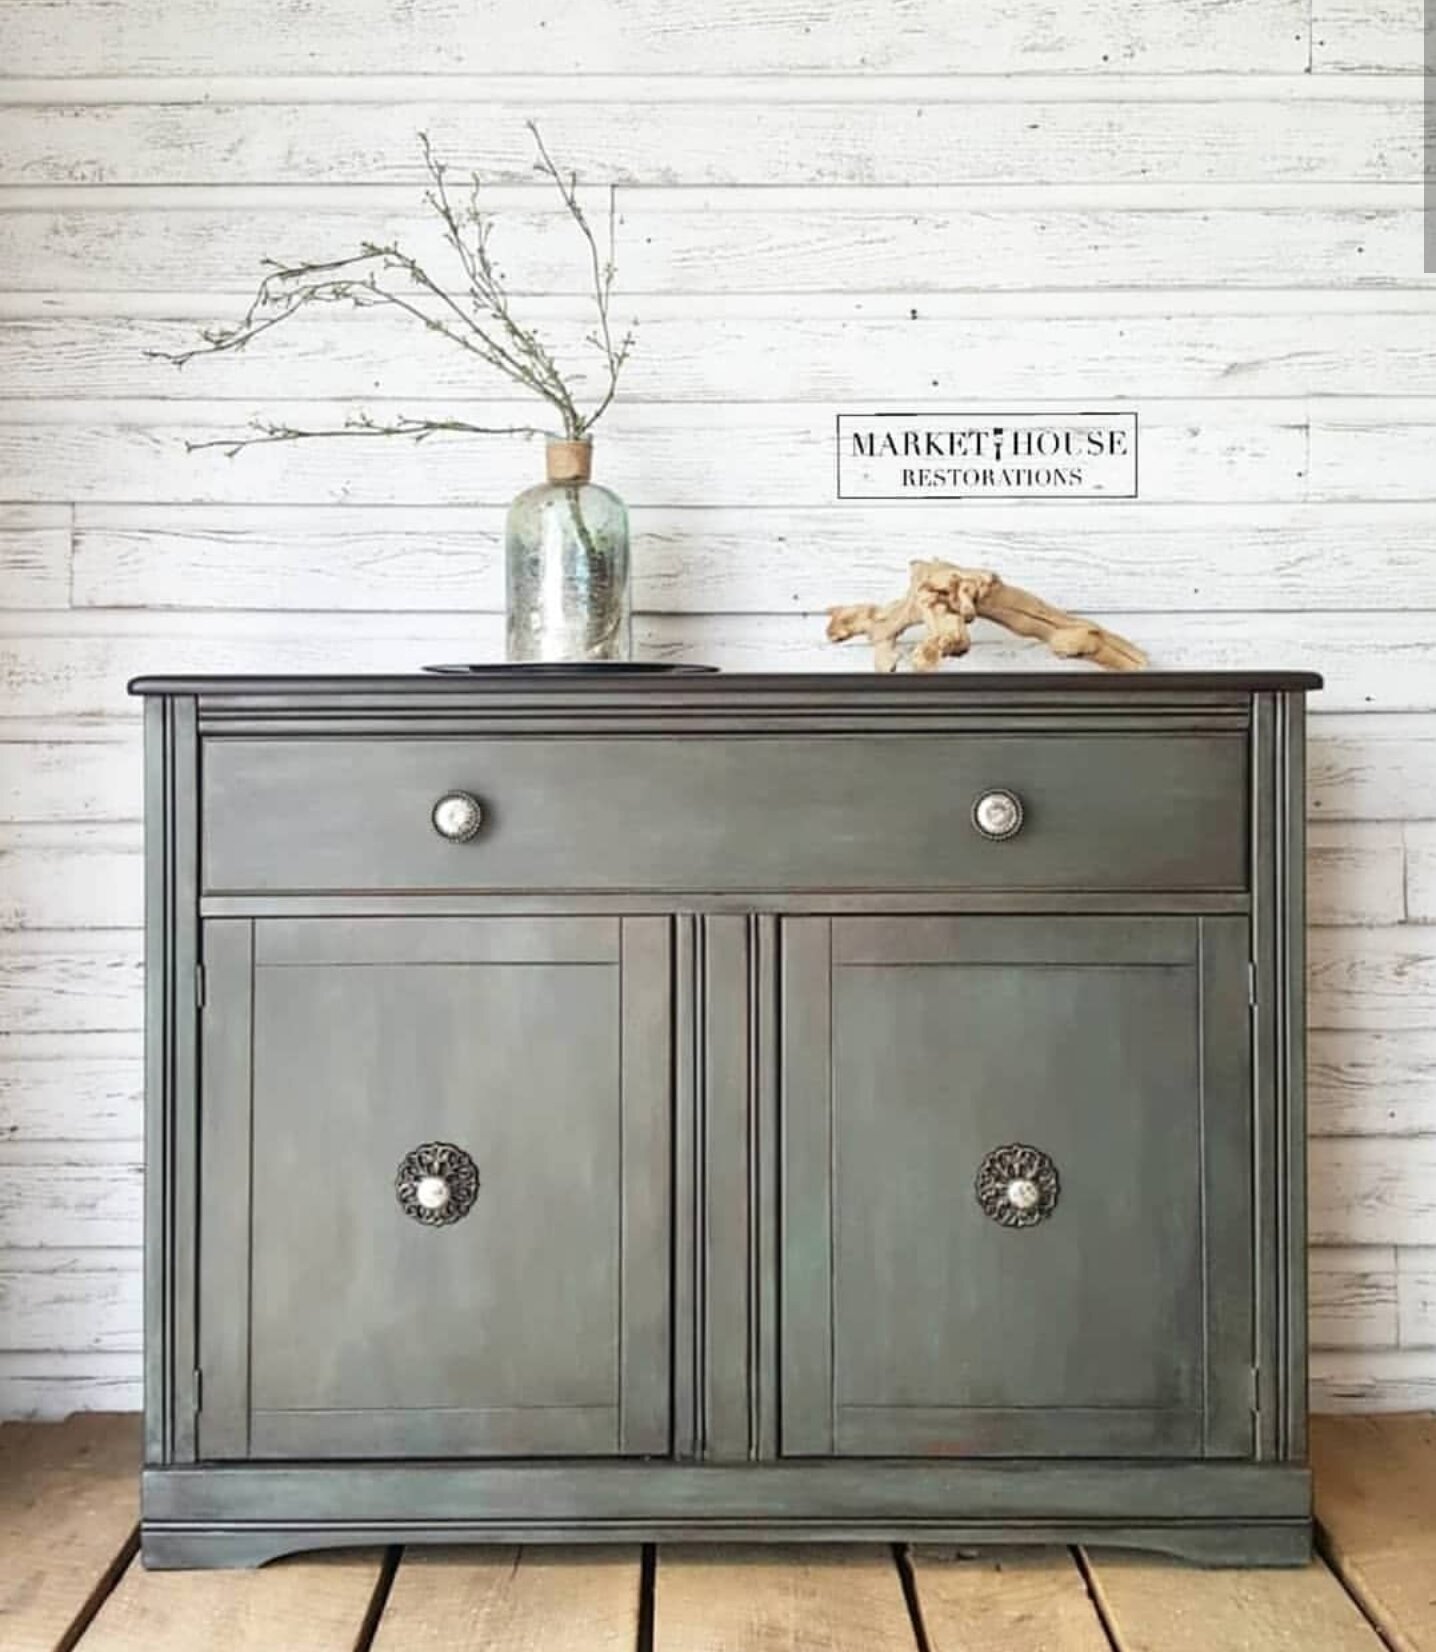
Now you are ready for paint and you can purchase whatever hardware you want!
Thank you so much for stopping by for #TuesdayTipsWithFallon! Make sure you tune in every other week for a new tip! If you want to save this blog post, just pin it to your Pinterest page and/or feel free to share it elsewhere. Thanks again! Happy filling!!
*Please note, this blog post does contain affiliate links.


Don’t forget to check out my other #TuesdayTipsWithFallon videos and blog posts below!!