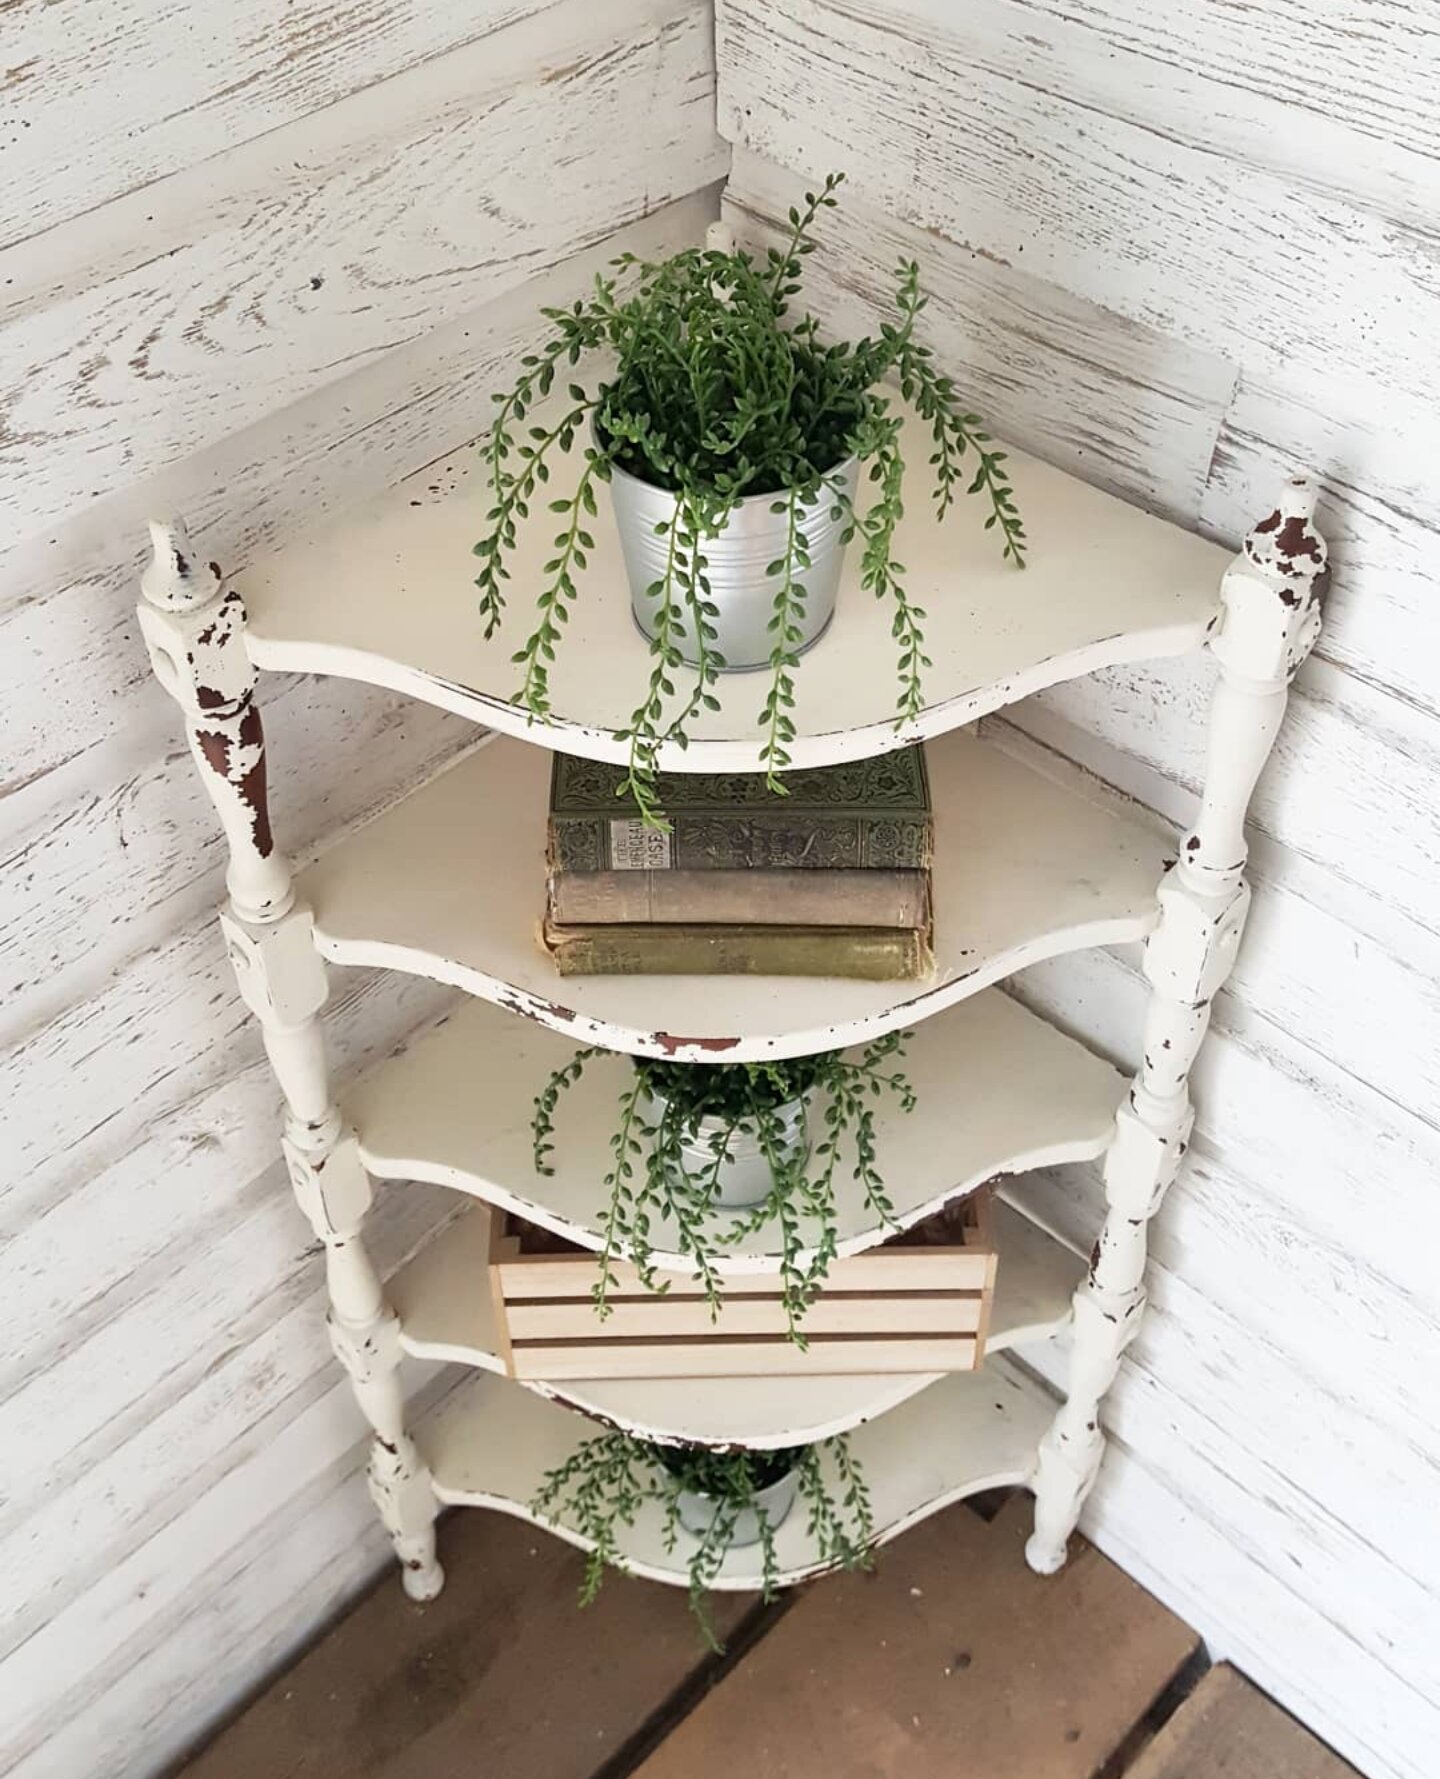
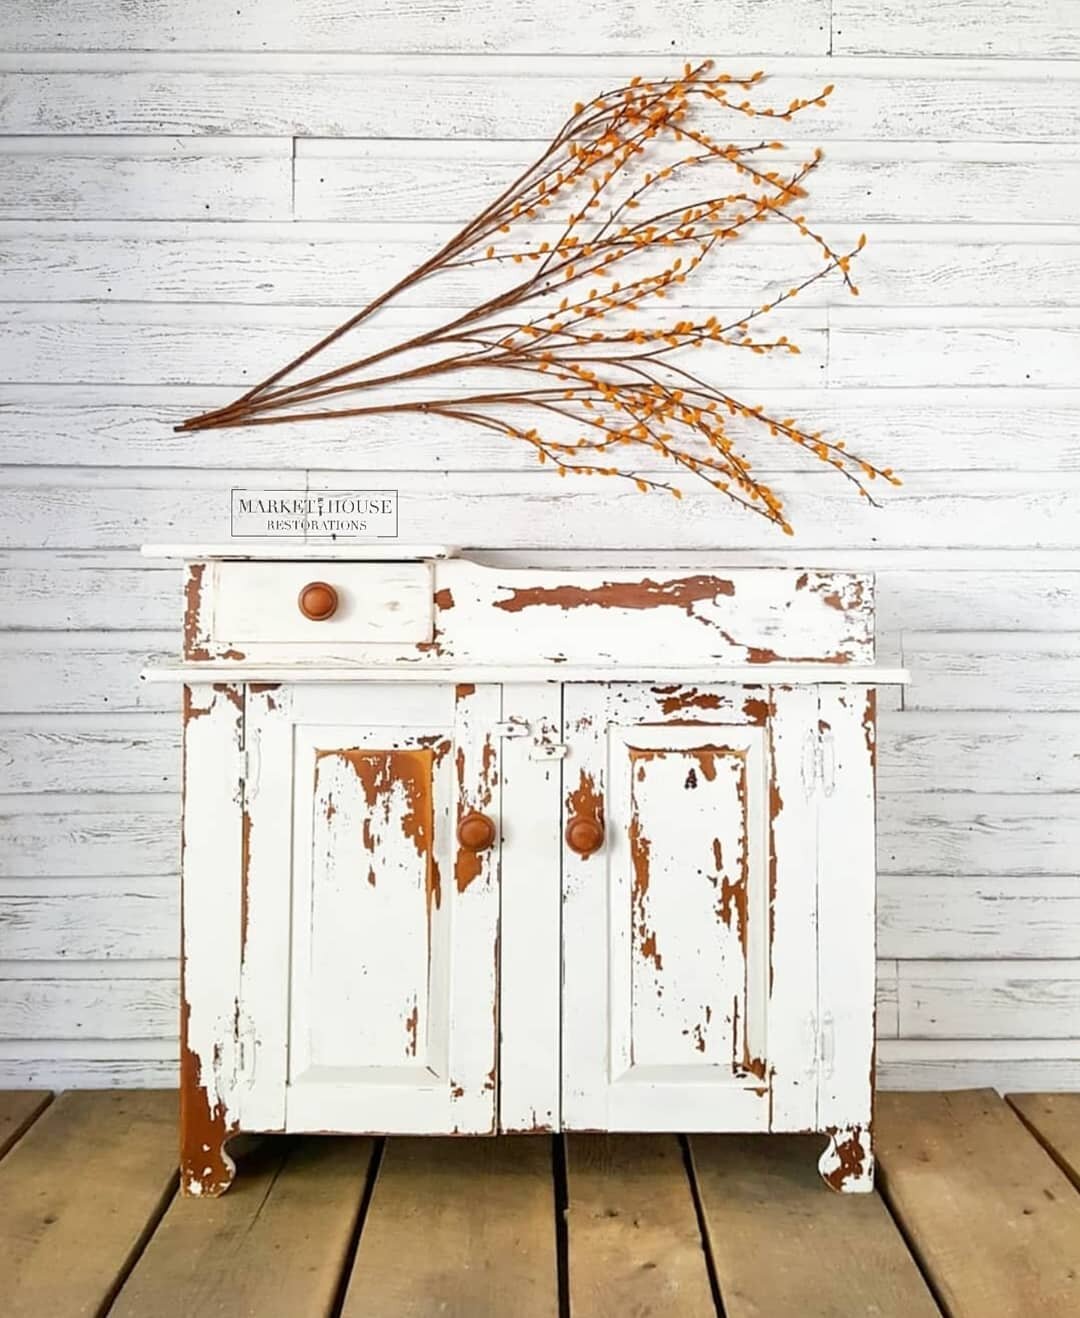
How to Get the "Chippy" Look When Painting a Piece of Furniture. #TuesdayTipsWithFallon
/Please note, this post does contain affiliate links.
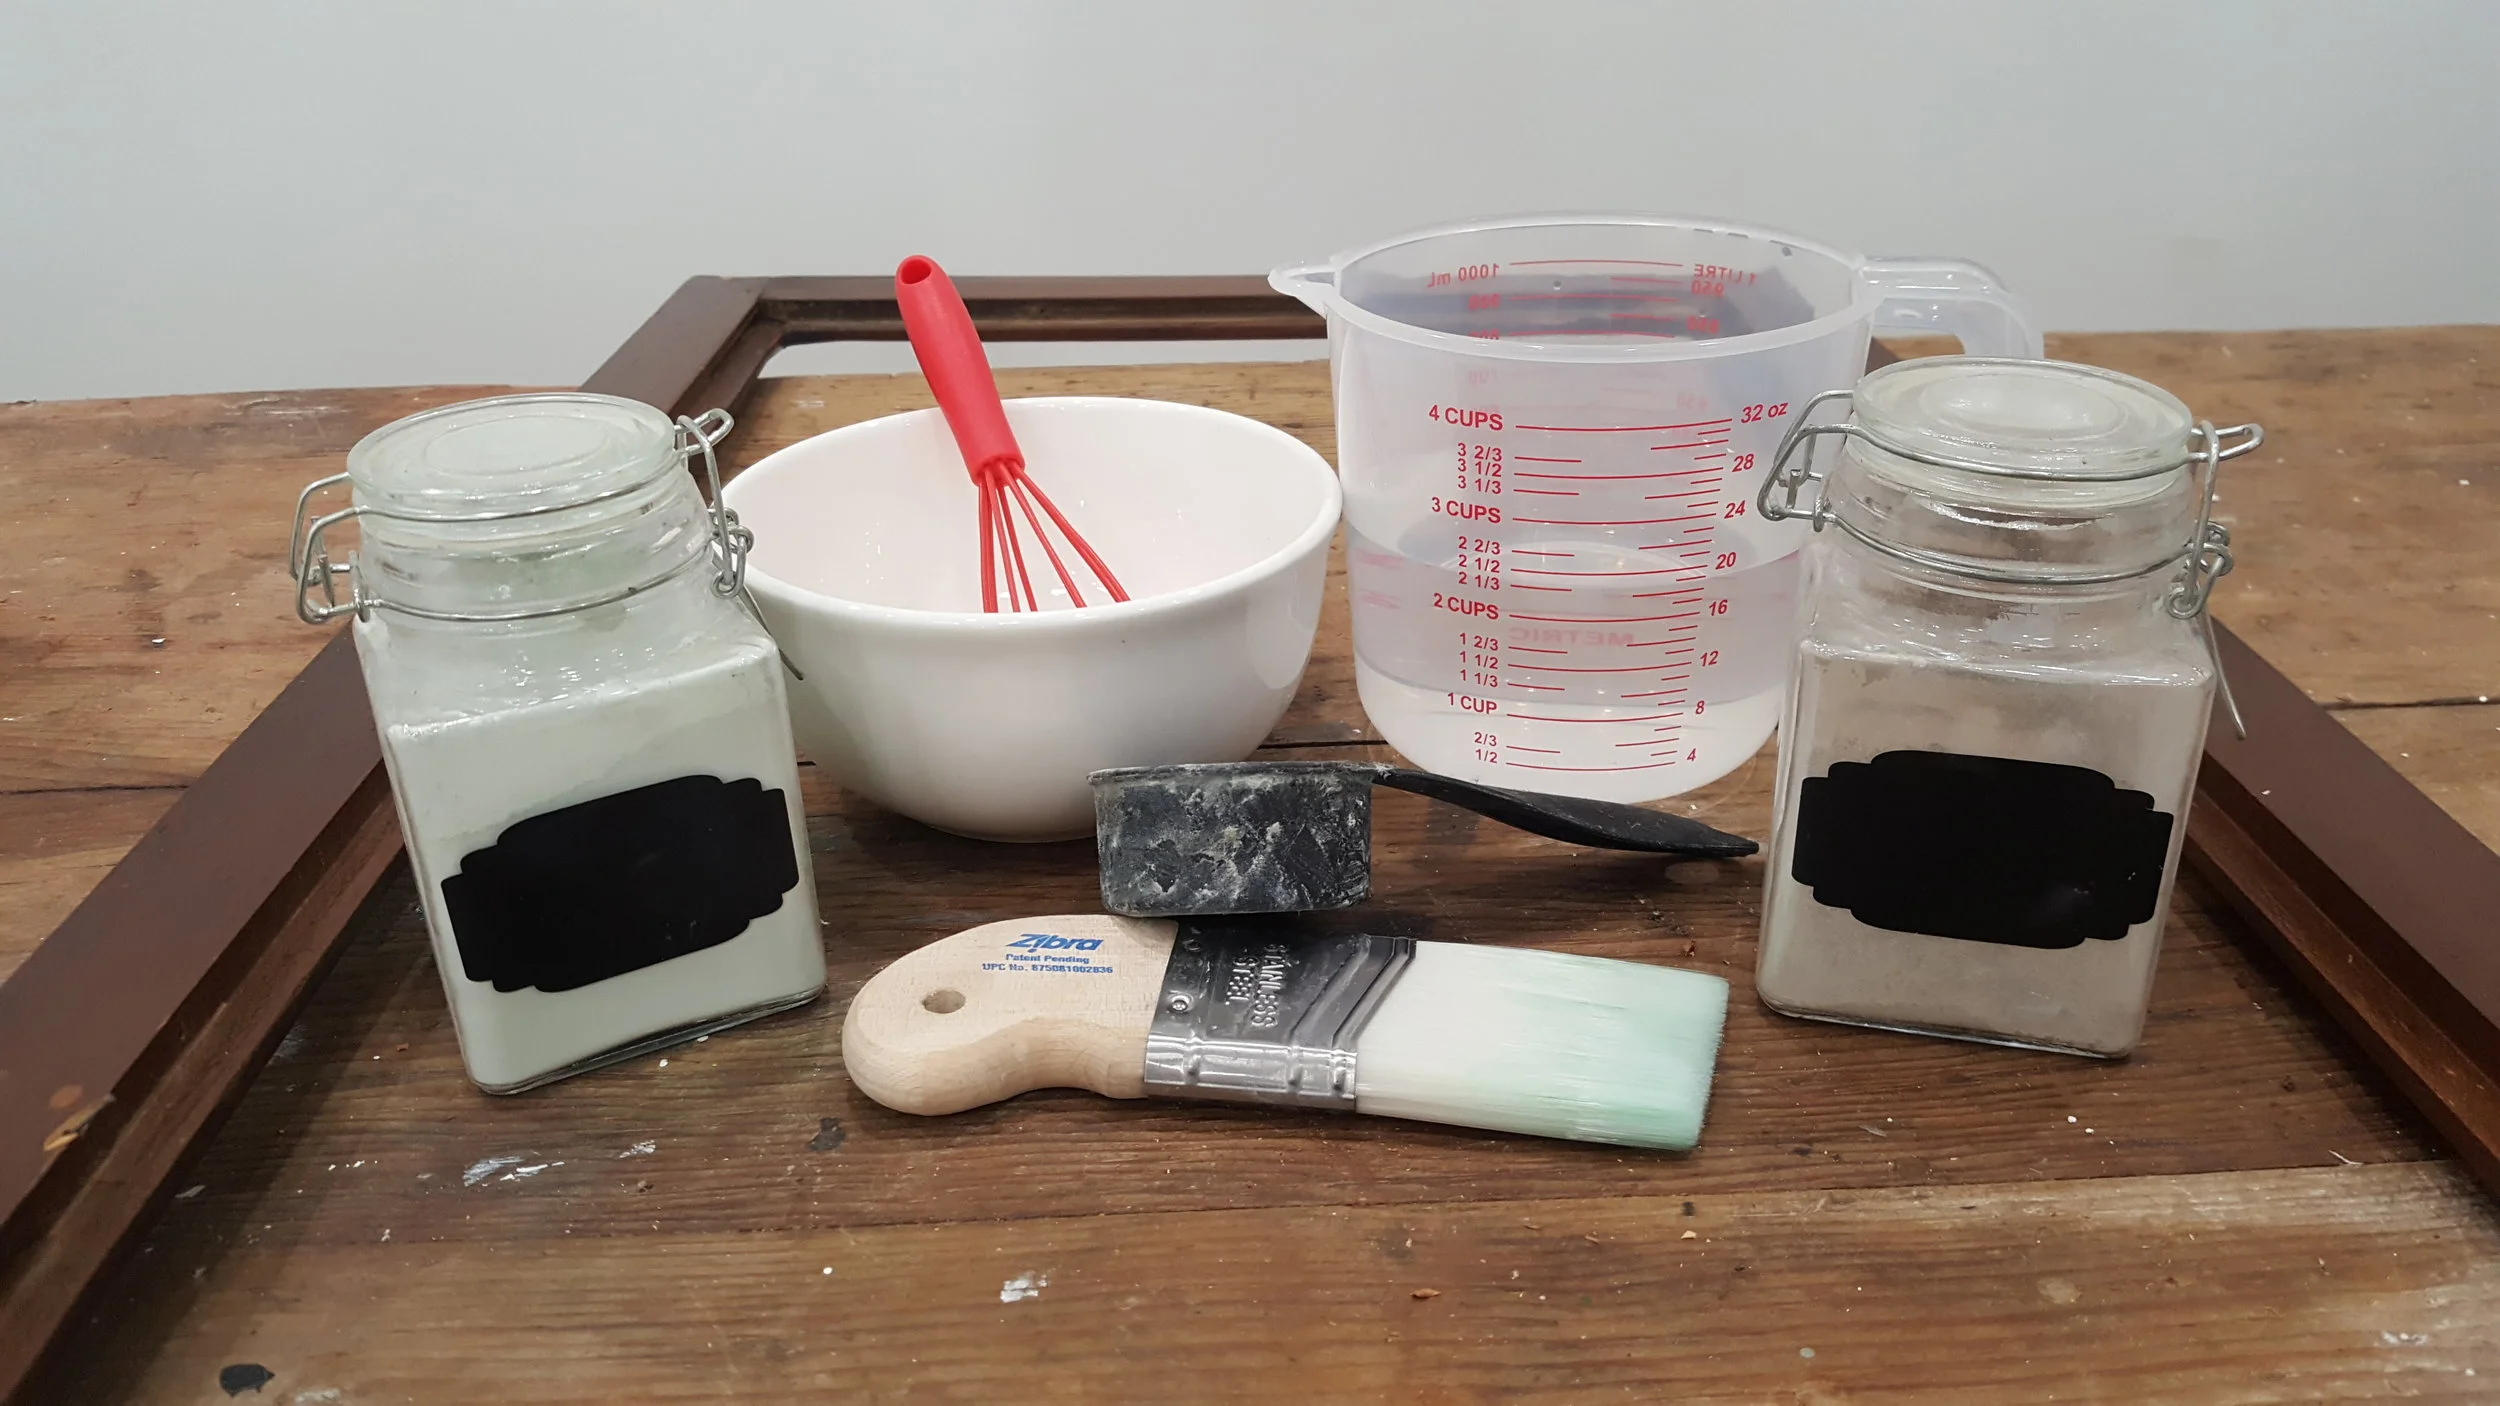
Previously on another #TuesdayTipsWithFallon I did a tutorial on how to mix powered milk paint to make it easy for application. Now, I am going to show you how to control it once it has been applied. Milk paint has a mind of its own and can be unpredictable, but you can maneuver it a little bit with practice.
Since I get a lot of questions about milk paint, I thought I would do a 2 part series on this topic. I am going to give you some suggestions on how to help milk paint “chip” during this week’s #TuesdayTipWithFallon and next week I am going to show you how to prevent it from chipping. While it is not necessary to perform any of these suggestions, at least you will have a list ways to help if you’re going for a certain look.
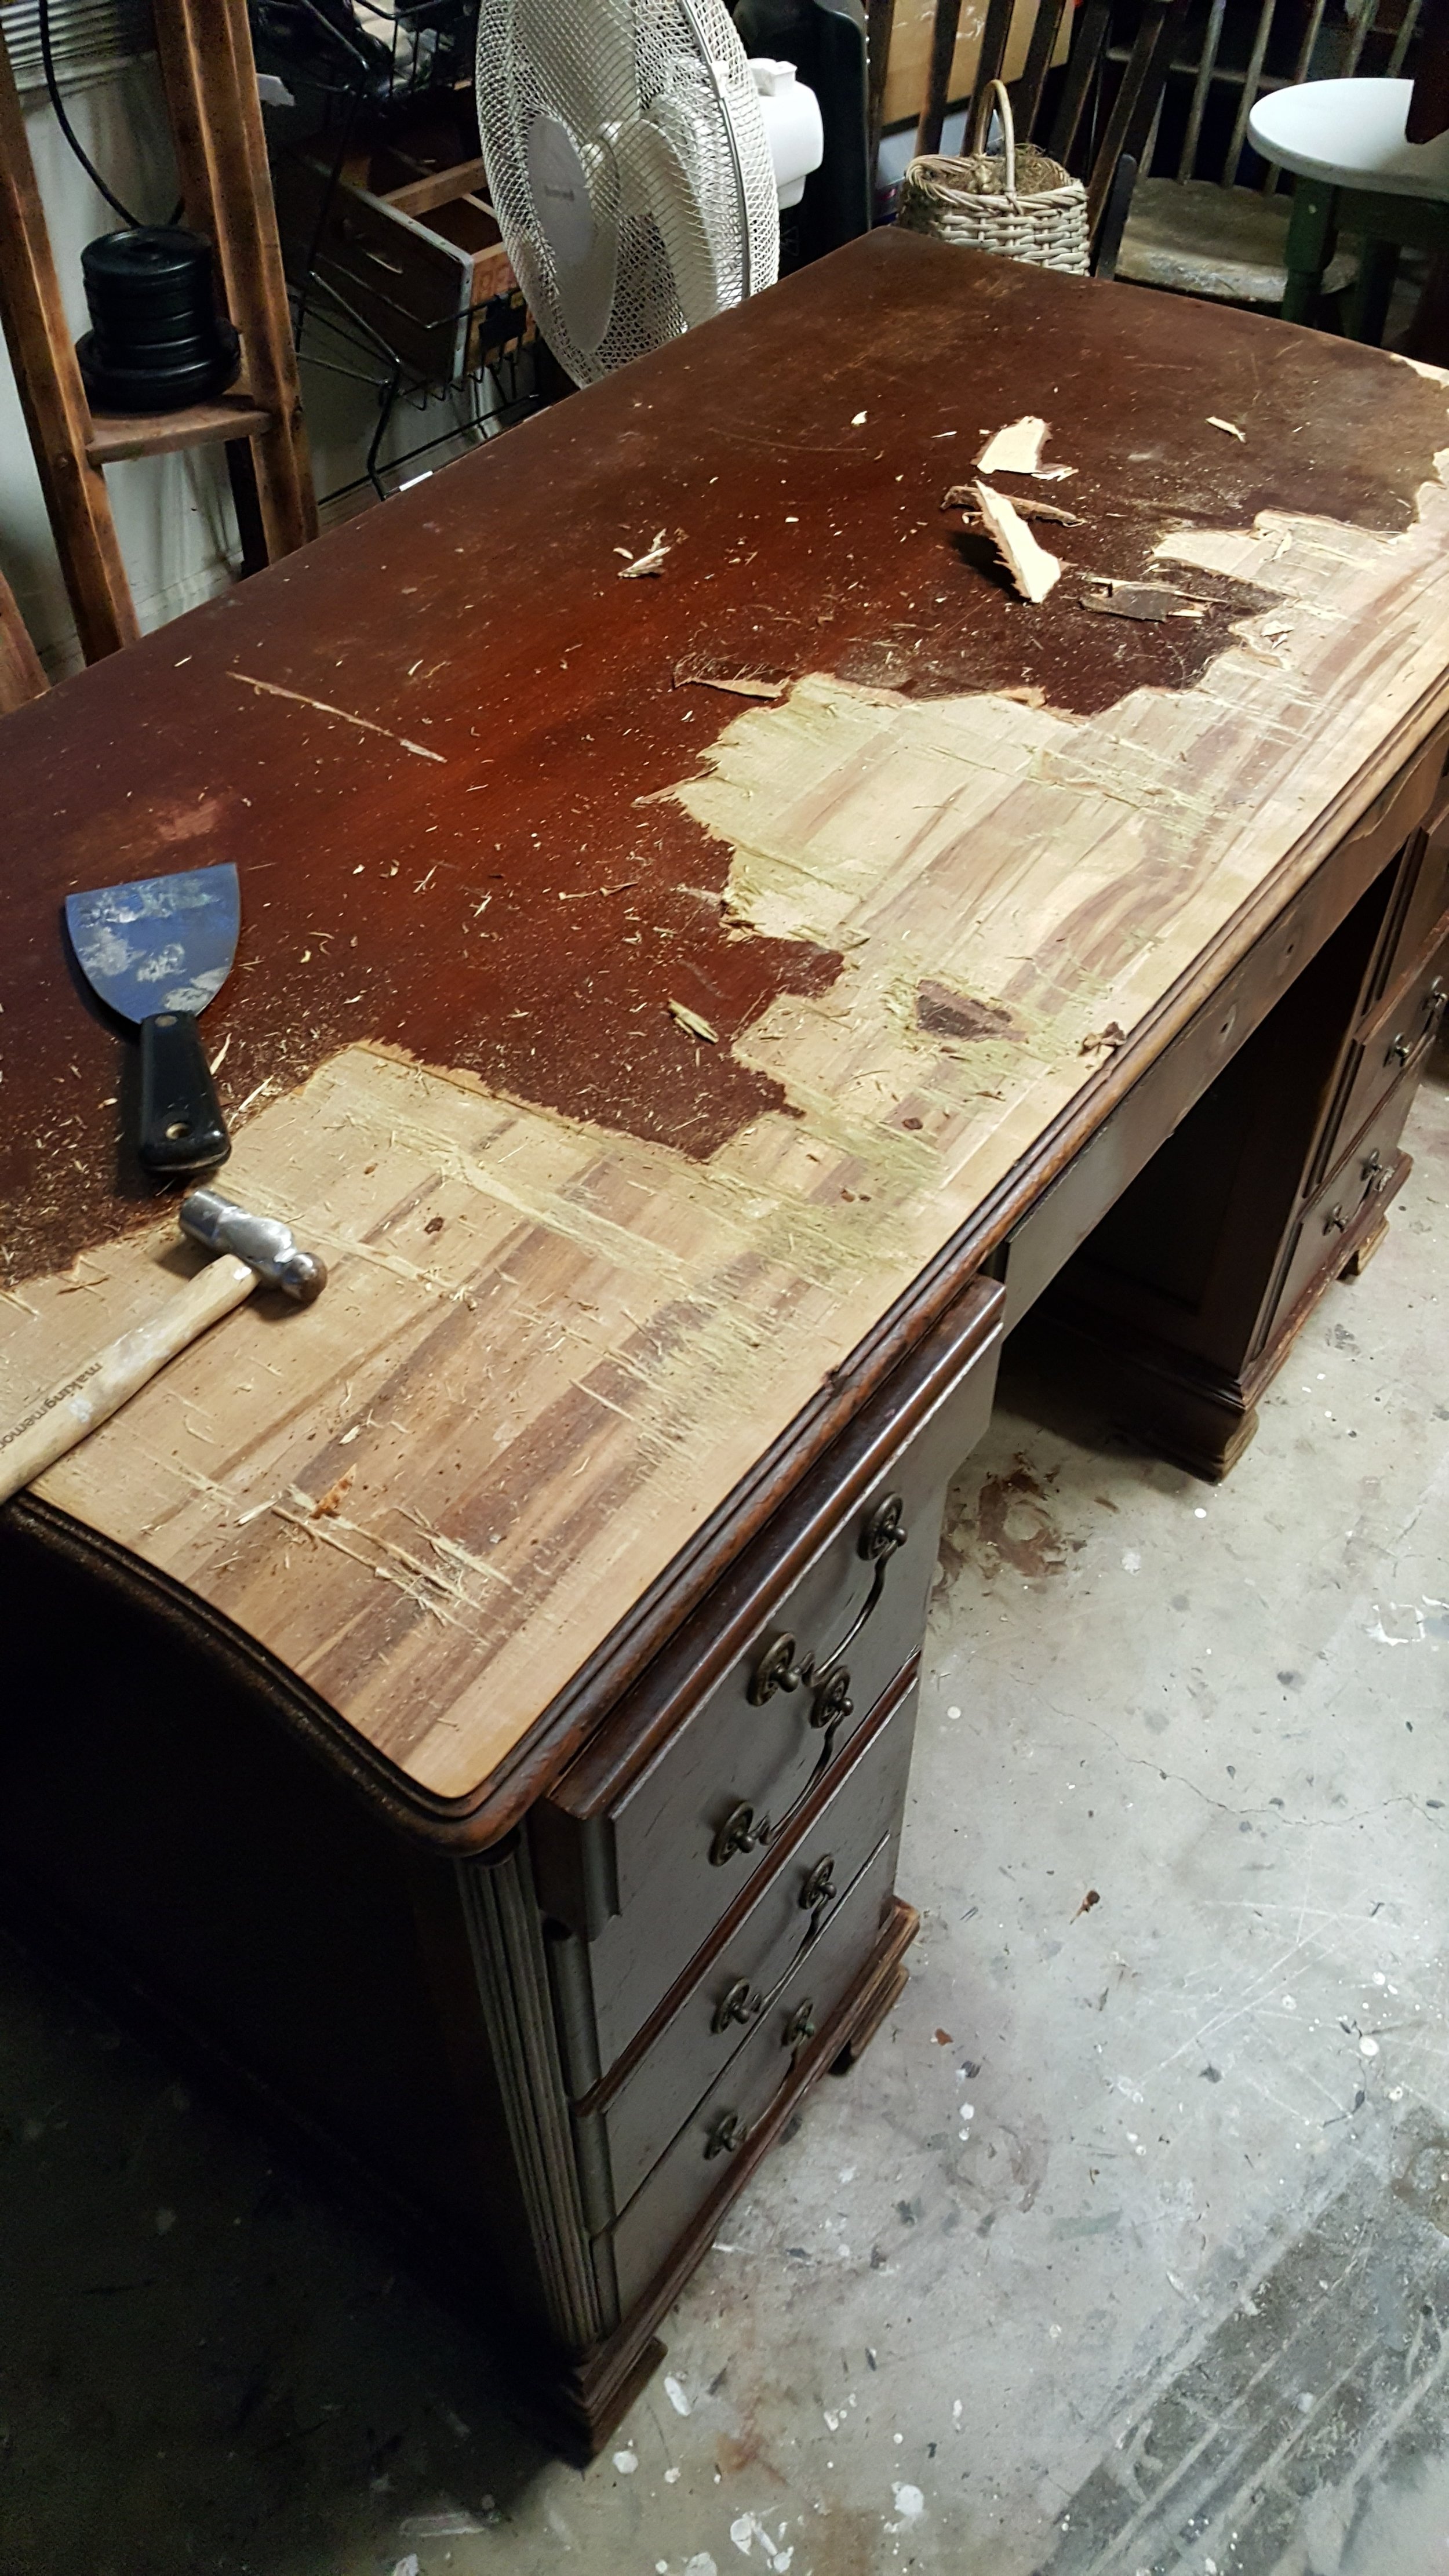
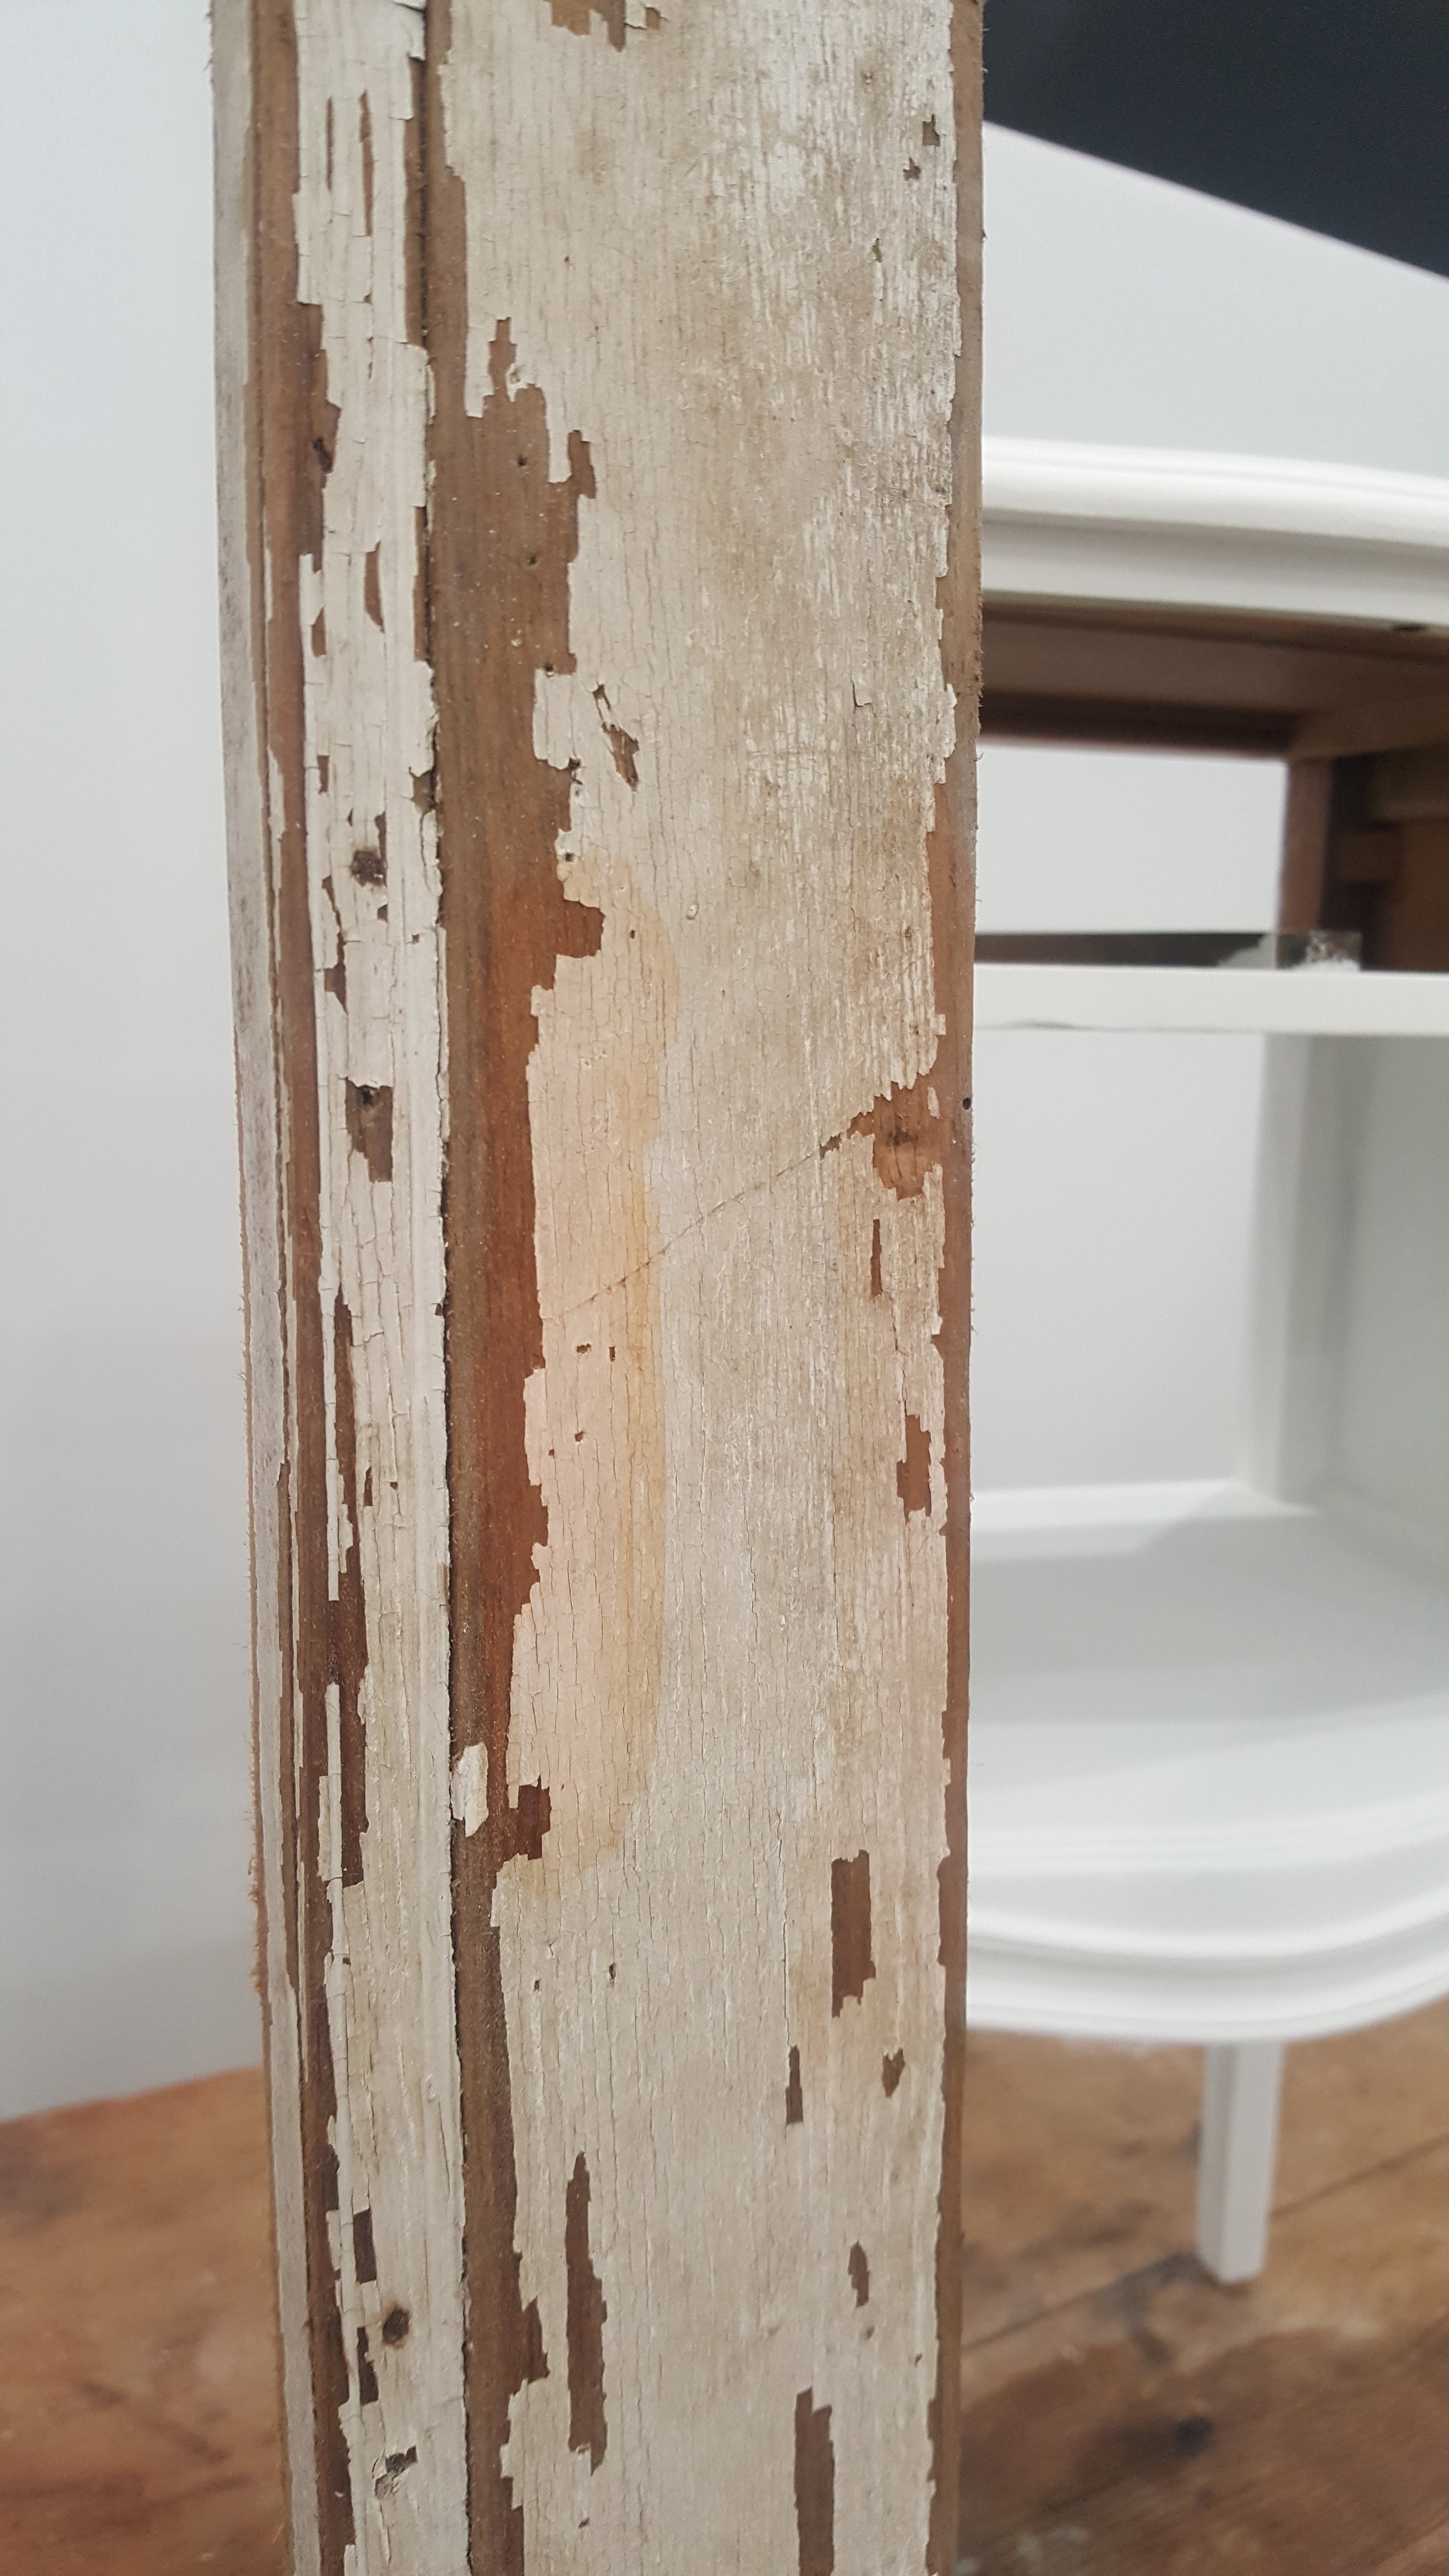
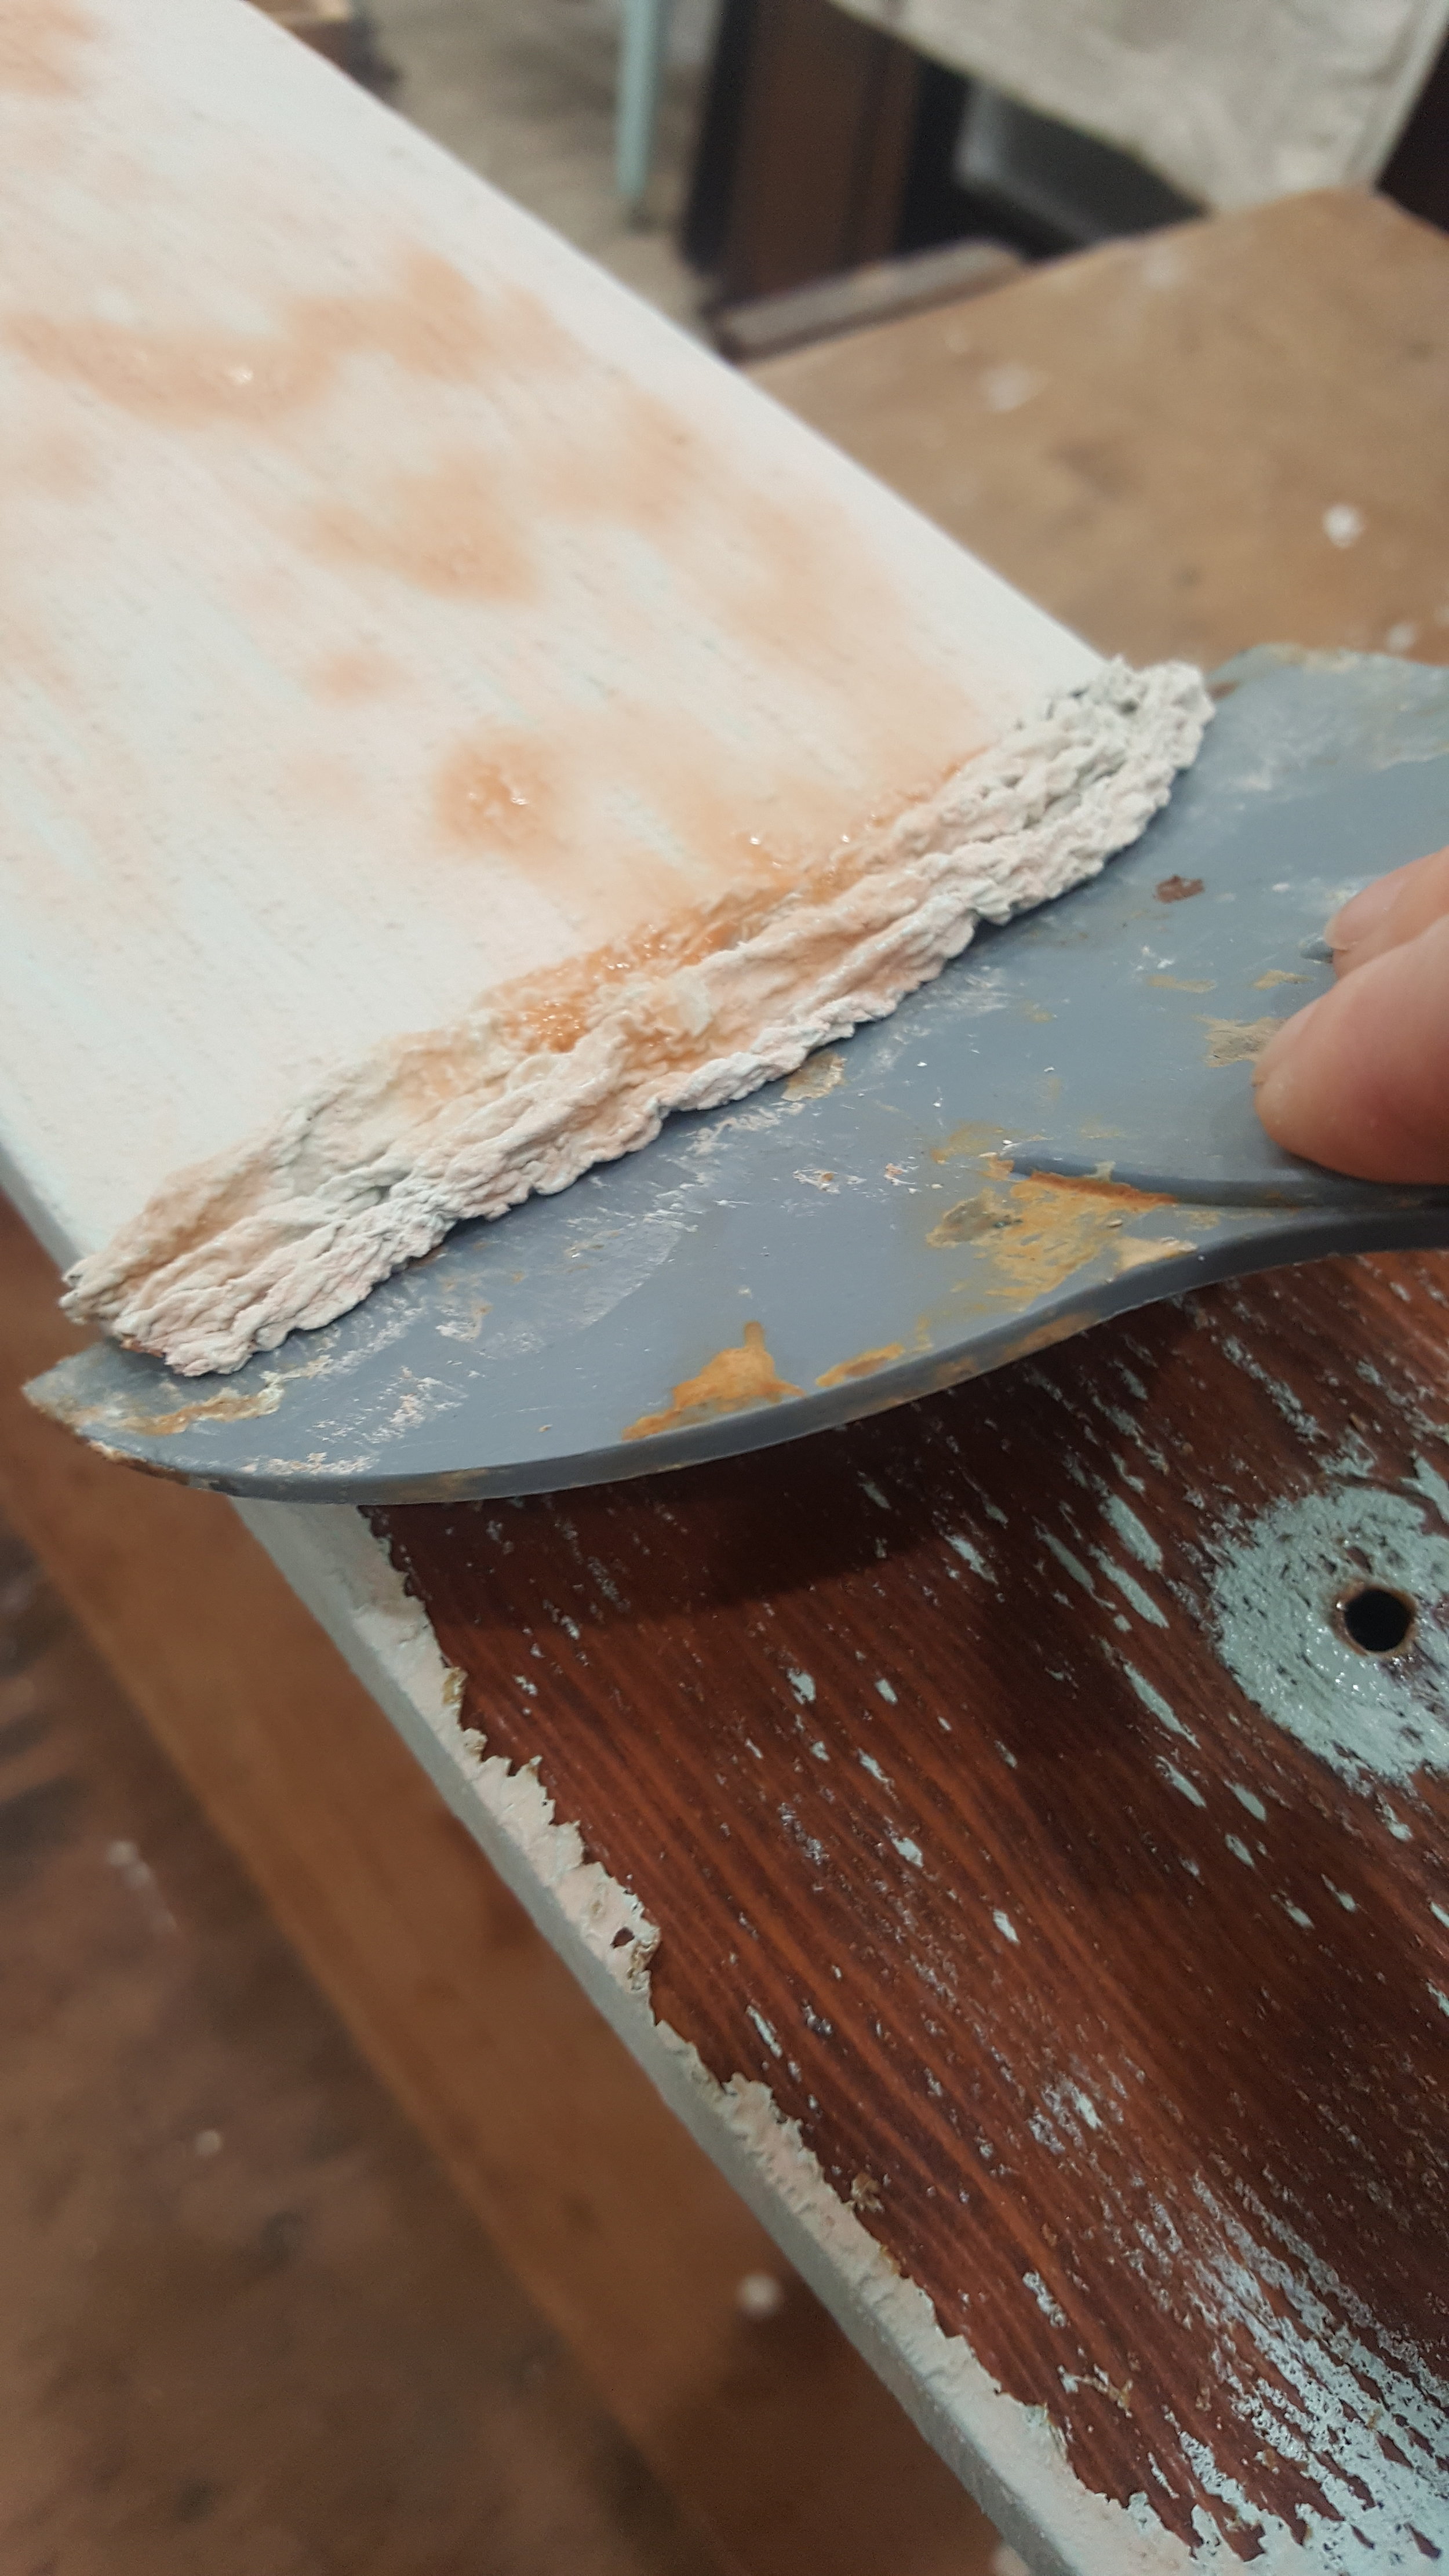
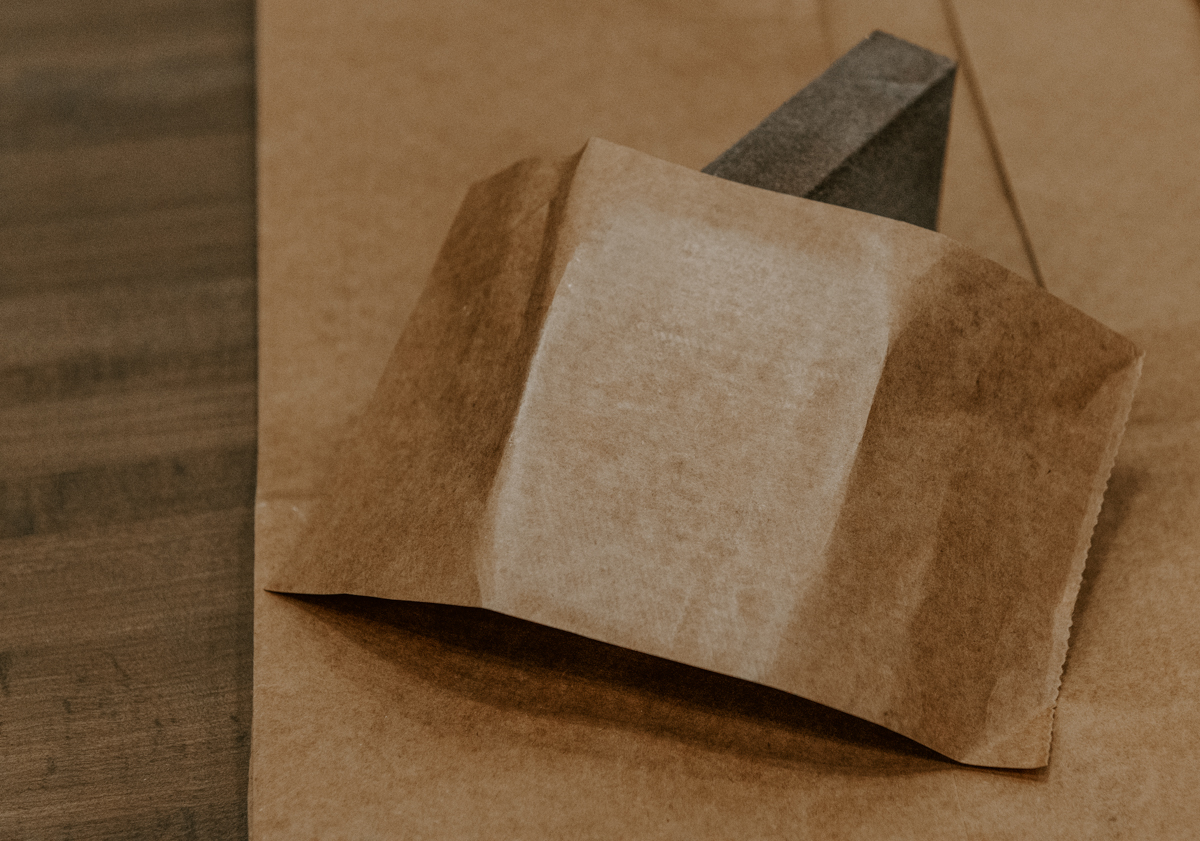
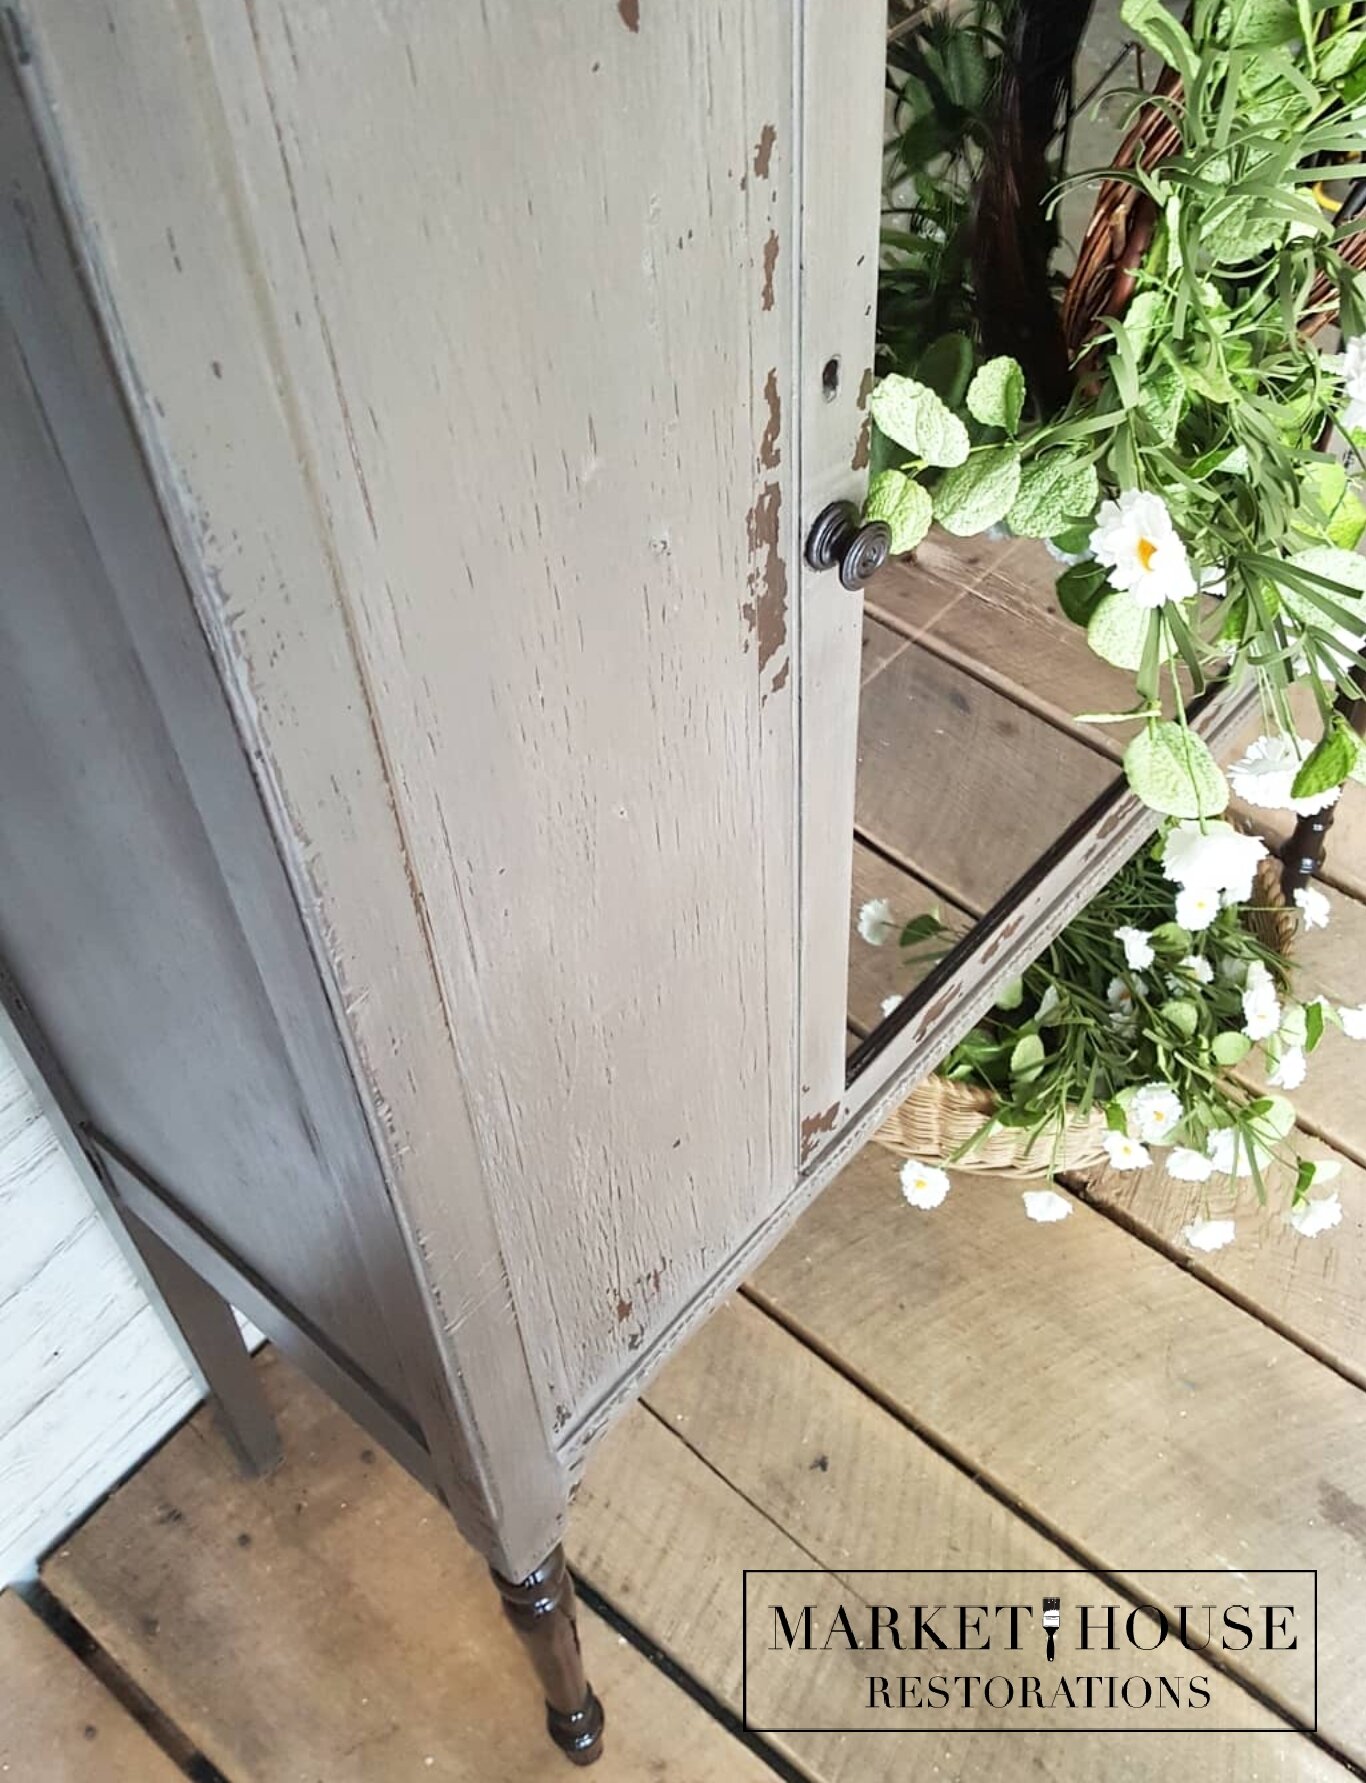
It is important to keep in mind that “chipping” is different than distressing. Distressing is intentionally done by hand. It is when you take a piece of sandpaper (or tool of choice) and run it across or over the edges of a painted piece of furniture to show the color or wood that is underneath. Chipping, however, is done by the paint. It is when the paint on your furniture comes off in the form of a flake or it bubbles (when air or a product gets between the paint and the piece of furniture), which allows it to easily come off with a scrubbing pad or a 220 grit piece of sandpaper.
Watch the video below and see the written examples under this video.
How to make powered milk paint chip:
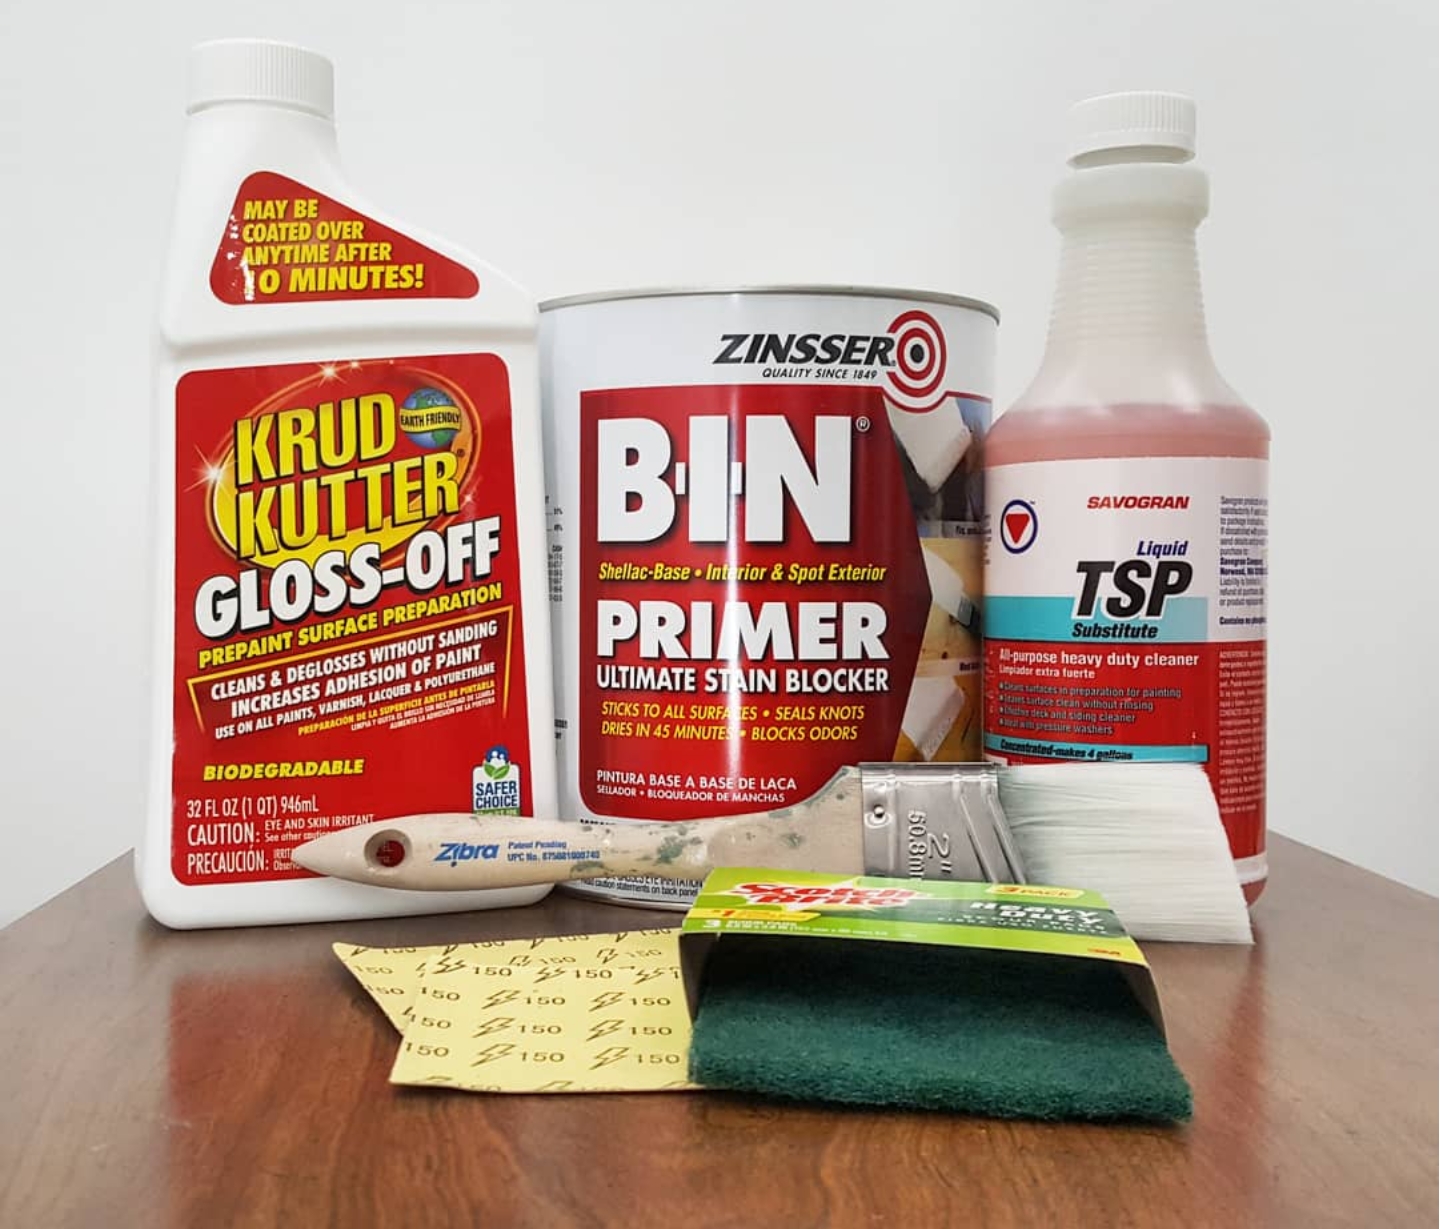
Suggestion 1: Lightly clean the surface of the furniture, but do not clean off the gloss. The gloss causes a barrier between the piece of furniture and the paint, which “hopefully” helps it chip. Sometimes this works and sometimes and doesn’t, but I personally think it is worth a shot to try this option first!
Suggestion 2: Use a hair dryer or heat gun to dry the paint. This will help the paint chip. Also, if you place a hair dryer directly over the milk paint it will help it to “craze” as we call it in the painting world, which is similar to a crackle effect.
Suggestion 3:. Use a space heater while painting and when the paint is drying. I discovered this by accident a few year ago. It was starting to get cold in my garage so I placed a small heater towards the paint as it was drying and it caused it to chip really well. I thought it was a fluke, so I tried it again and it worked again! It was awesome.
Suggestion 4: Direct sunlight. This is a great option if it is really hot out. Paint your piece in the direct sun light and let it hit the paint while it is drying. Don’t keep it out there too long though, because you don’t want the sun to warp the wood. Just keep it in the direct sunlight until the paint is dry.
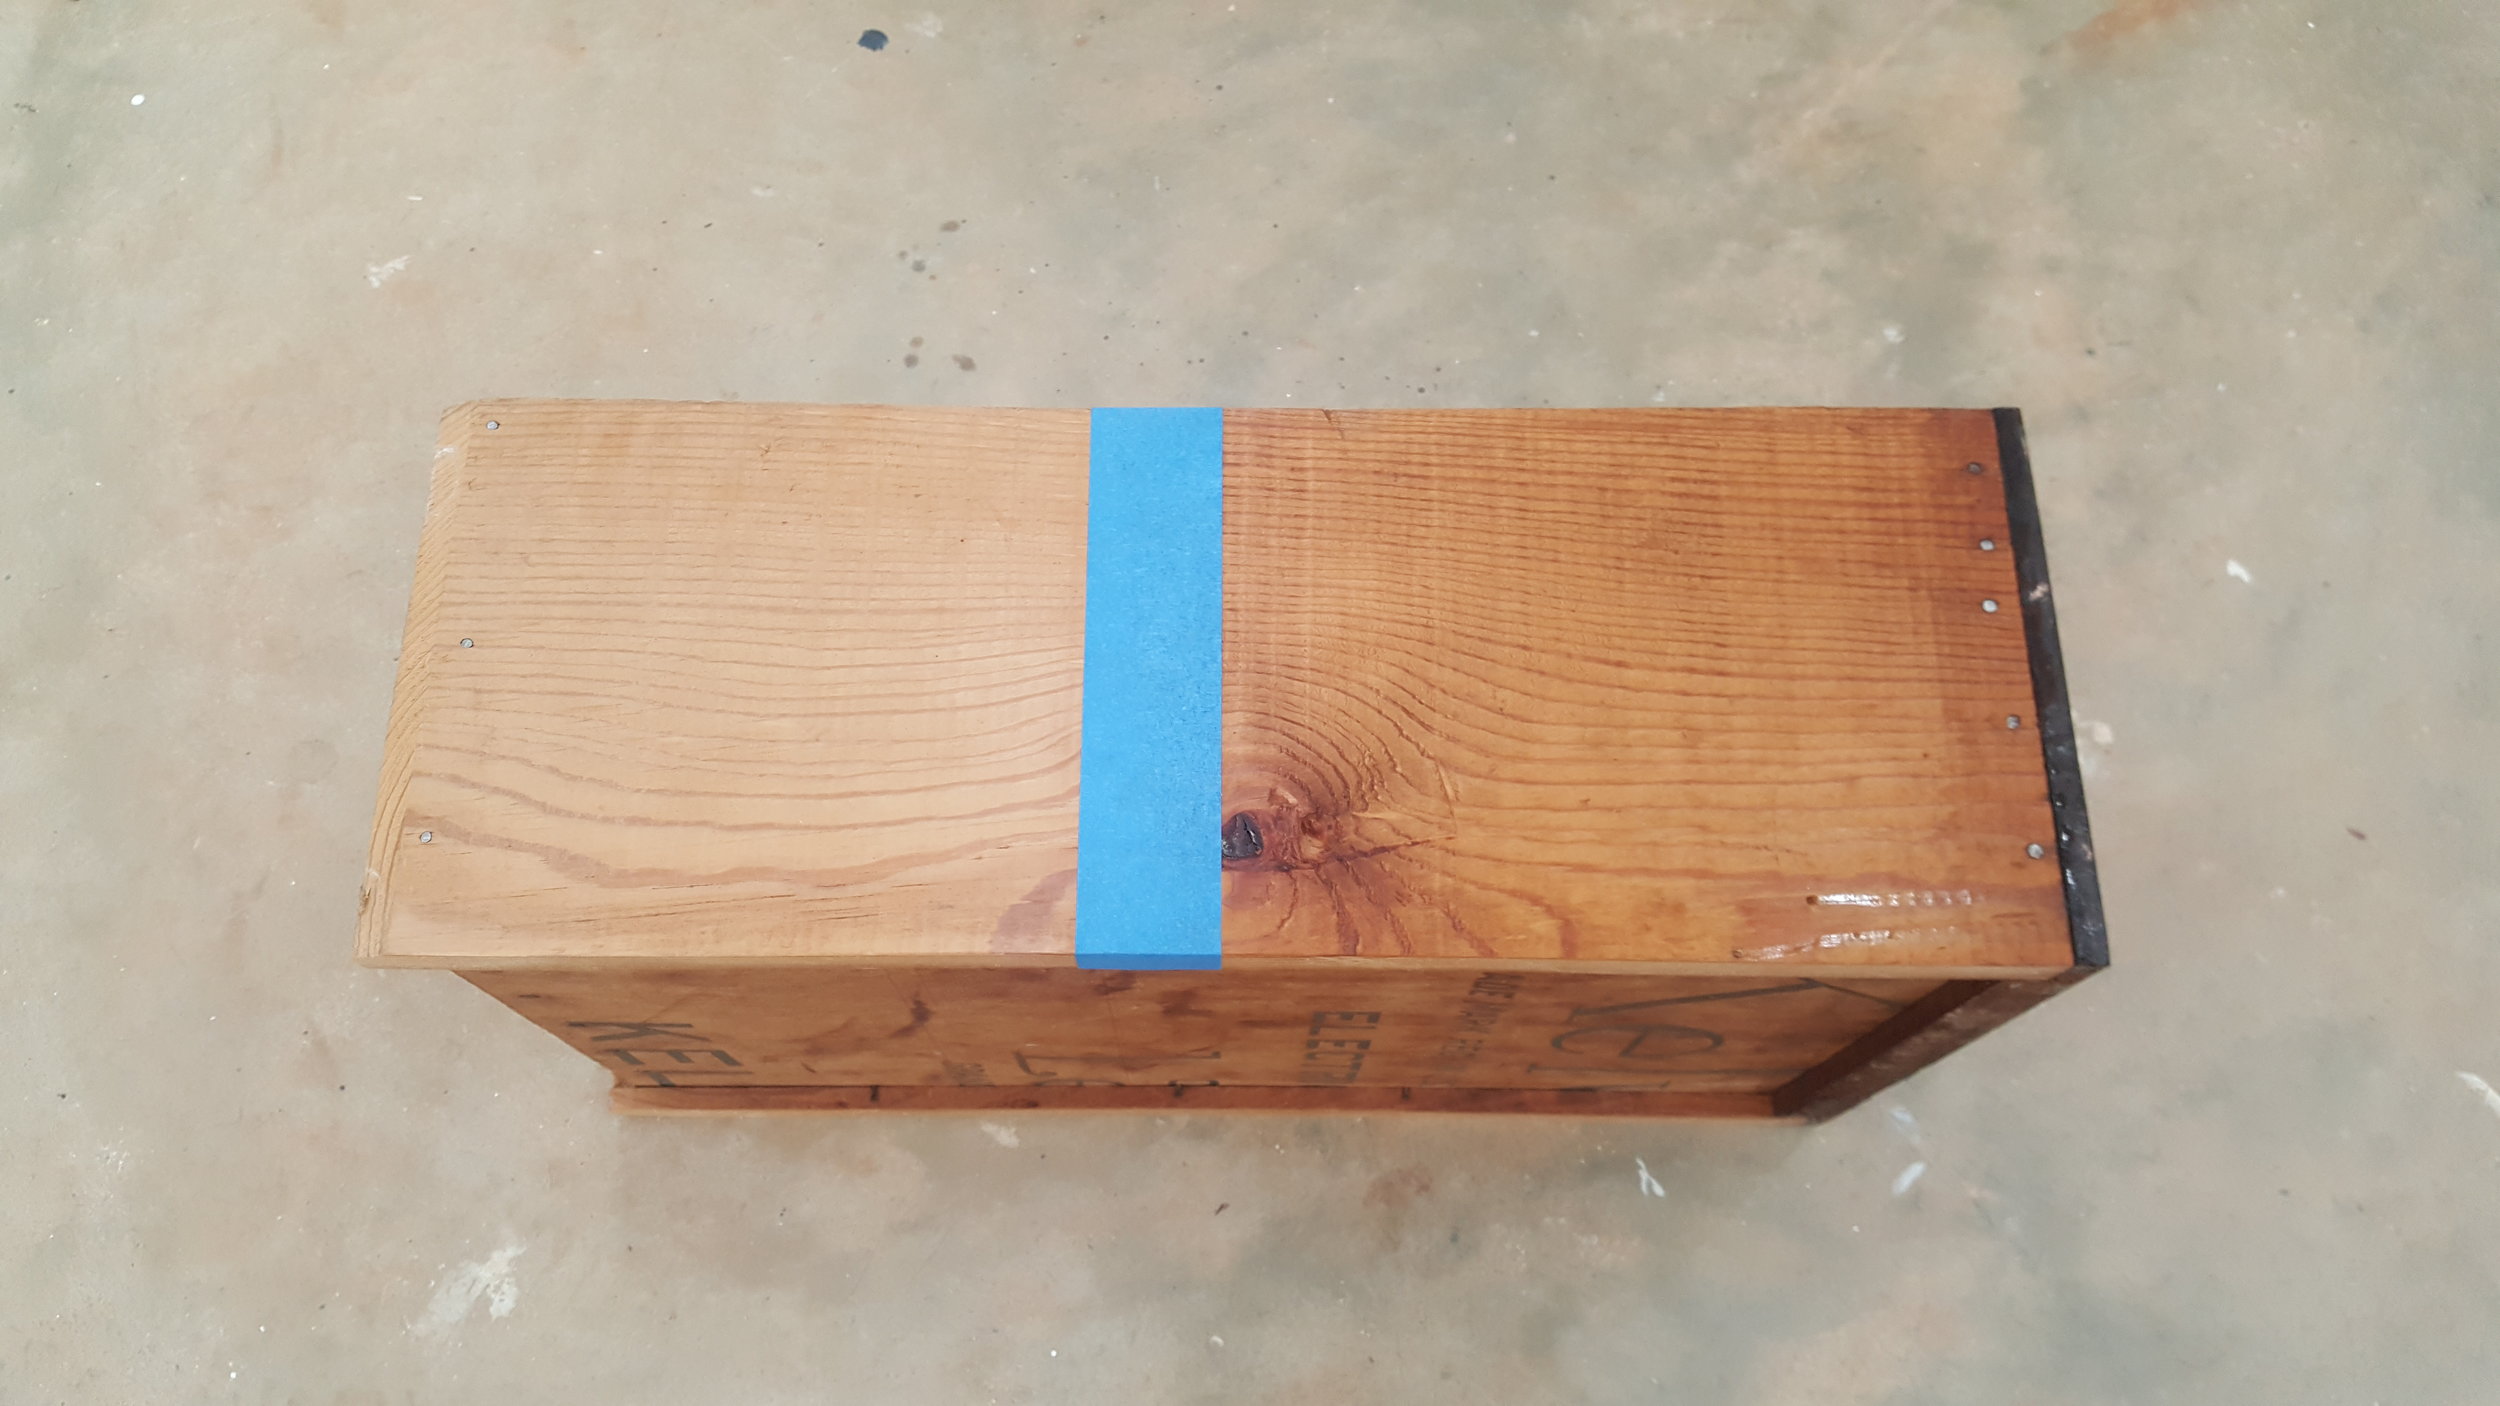
Suggestion 5: Wax sporadically by putting clear wax on the piece so that the paint does not adhere in that area.
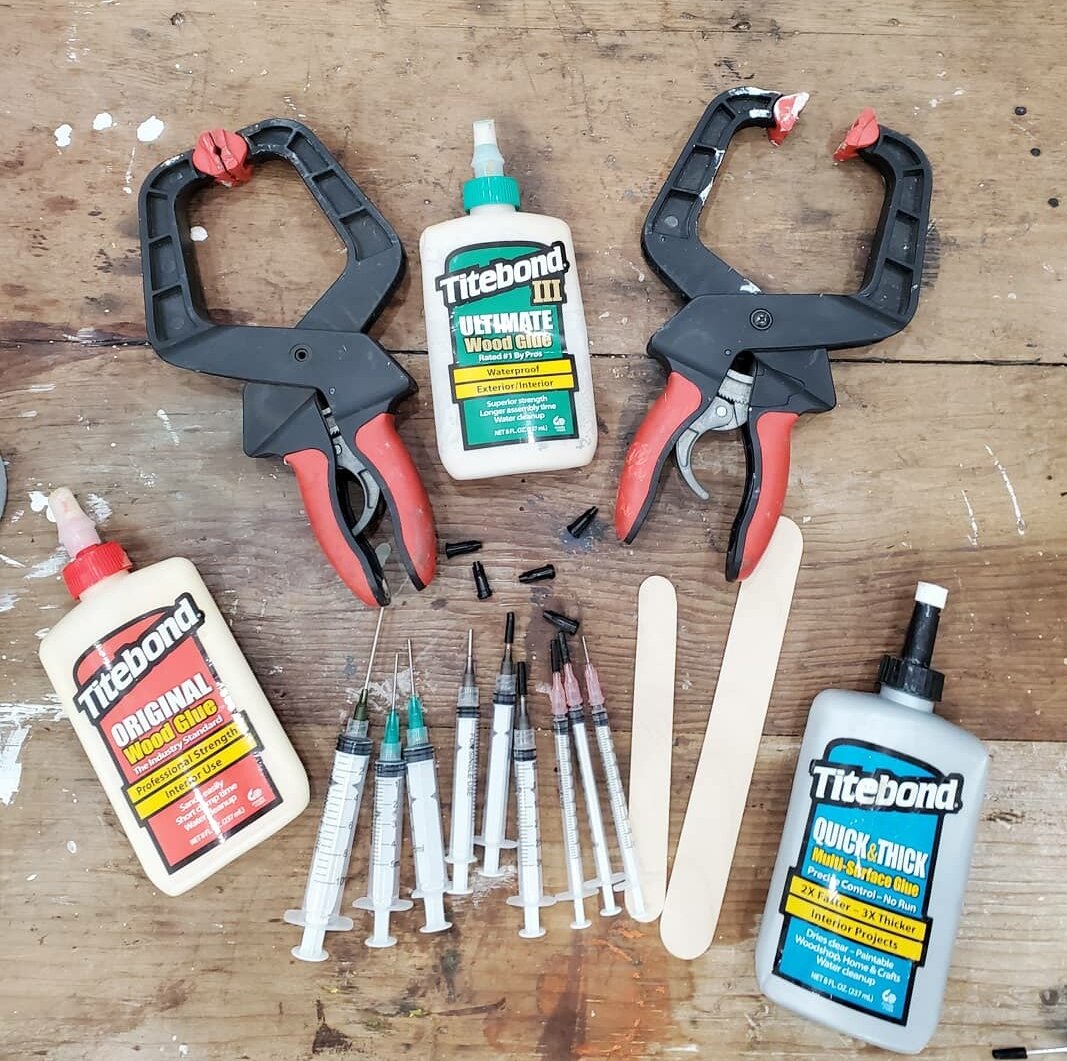
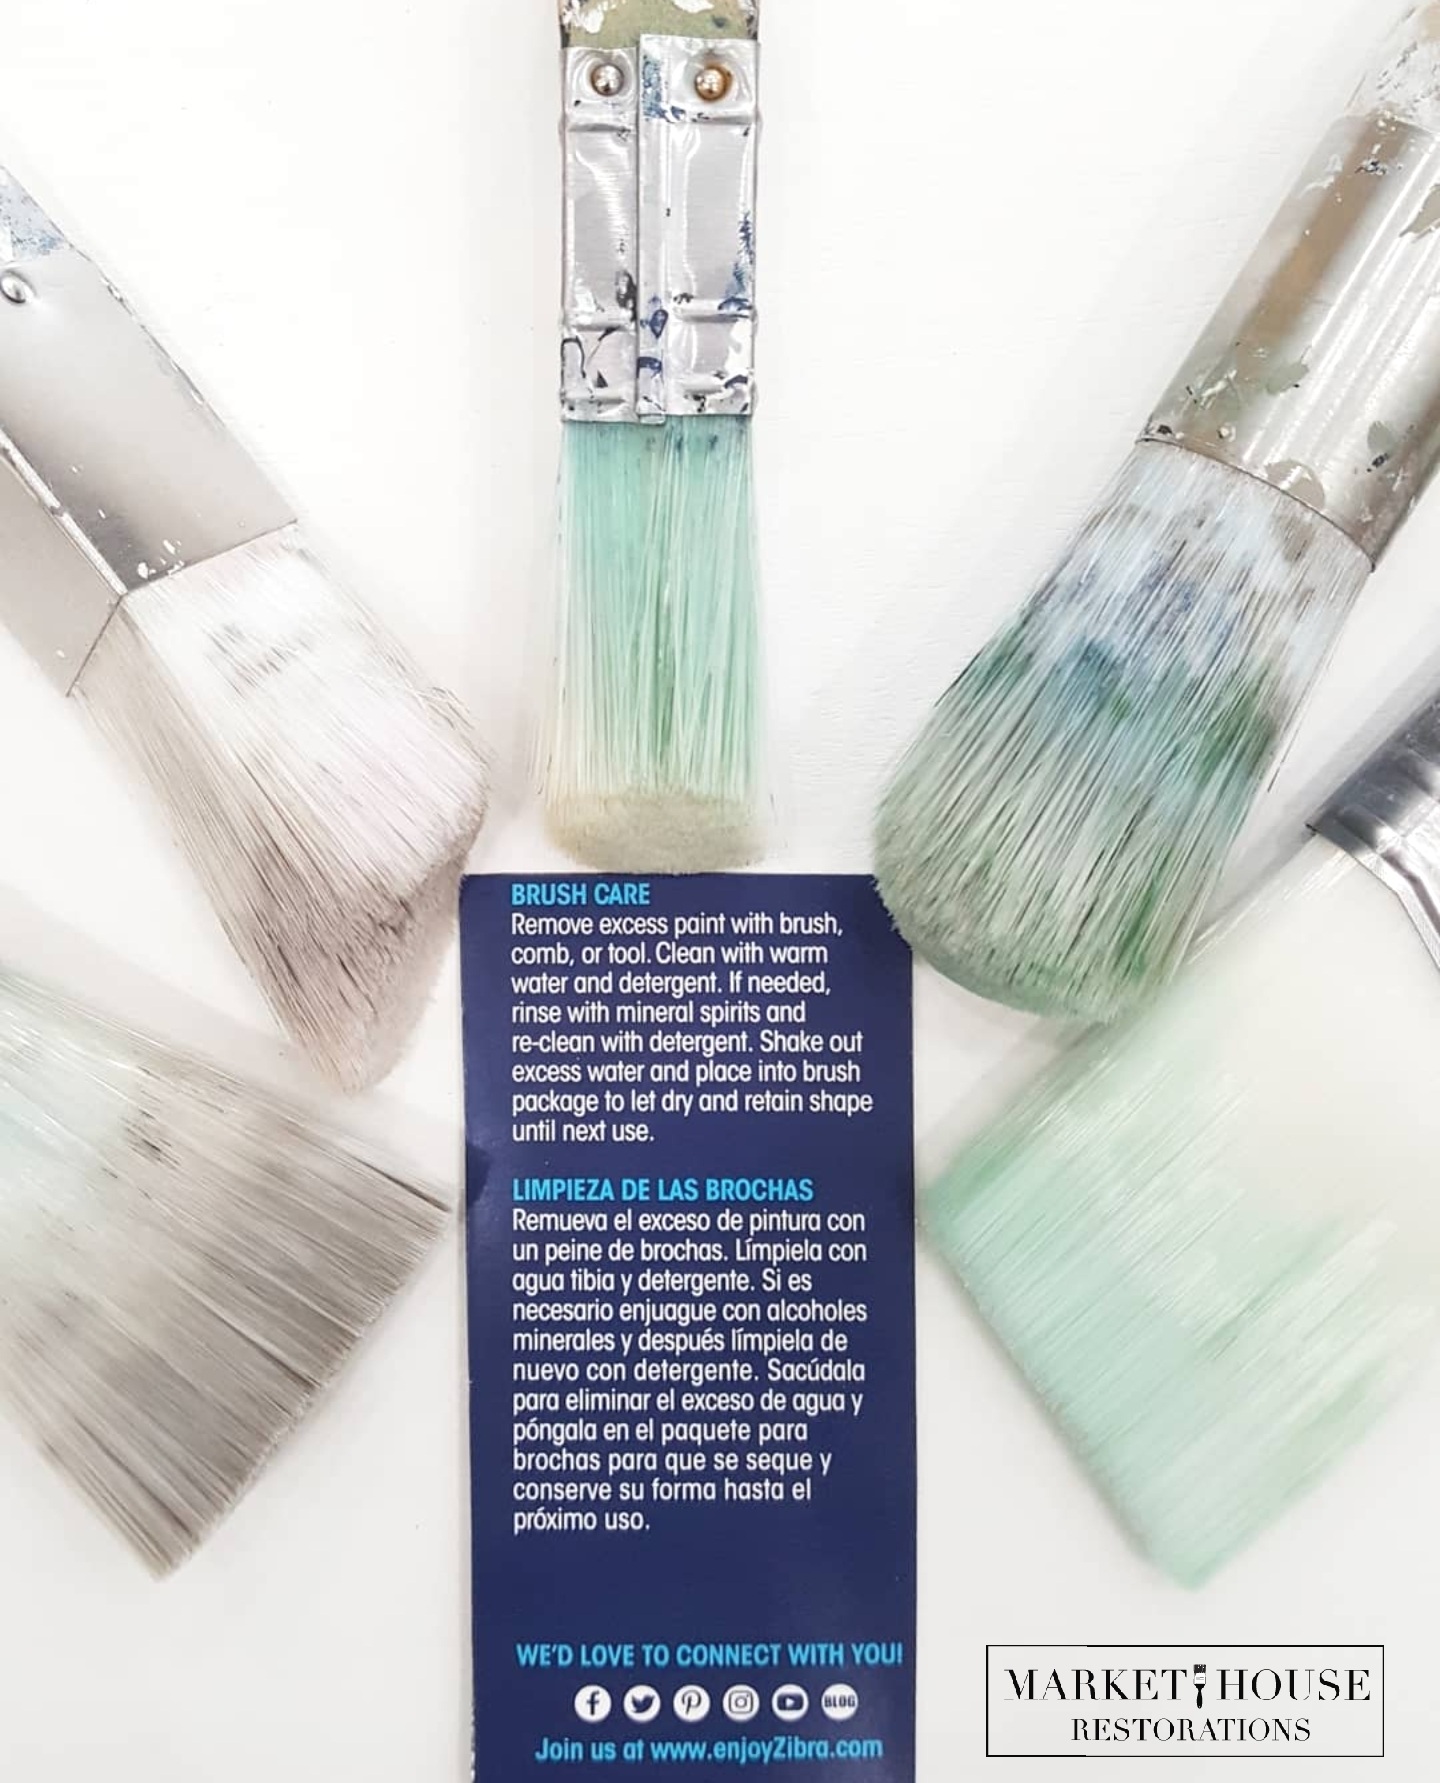
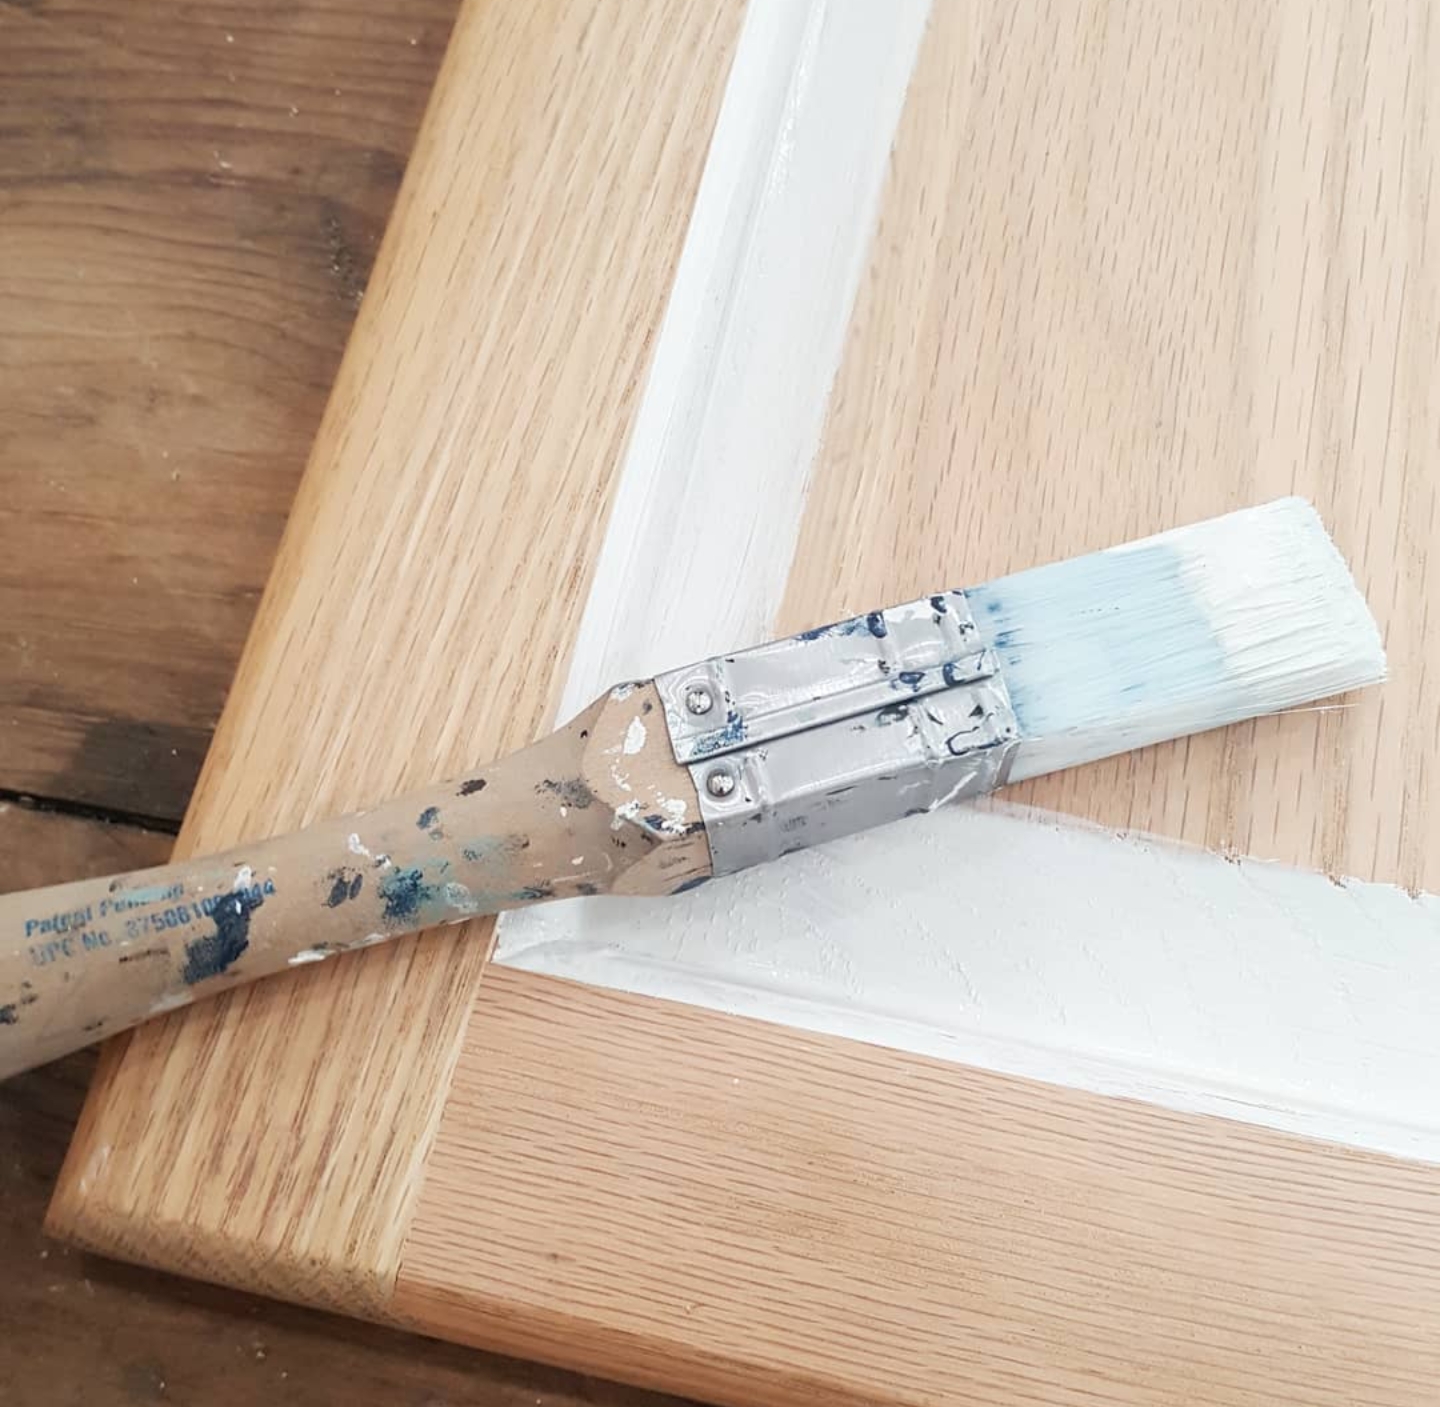
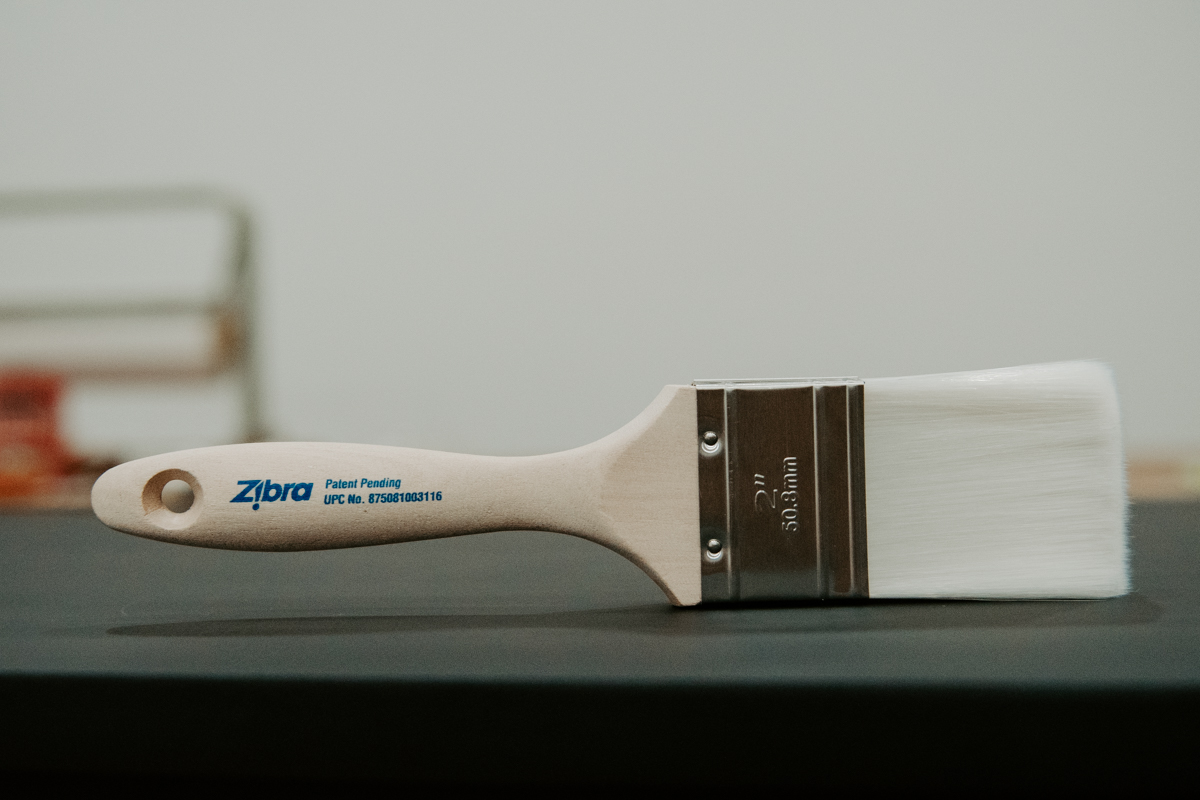
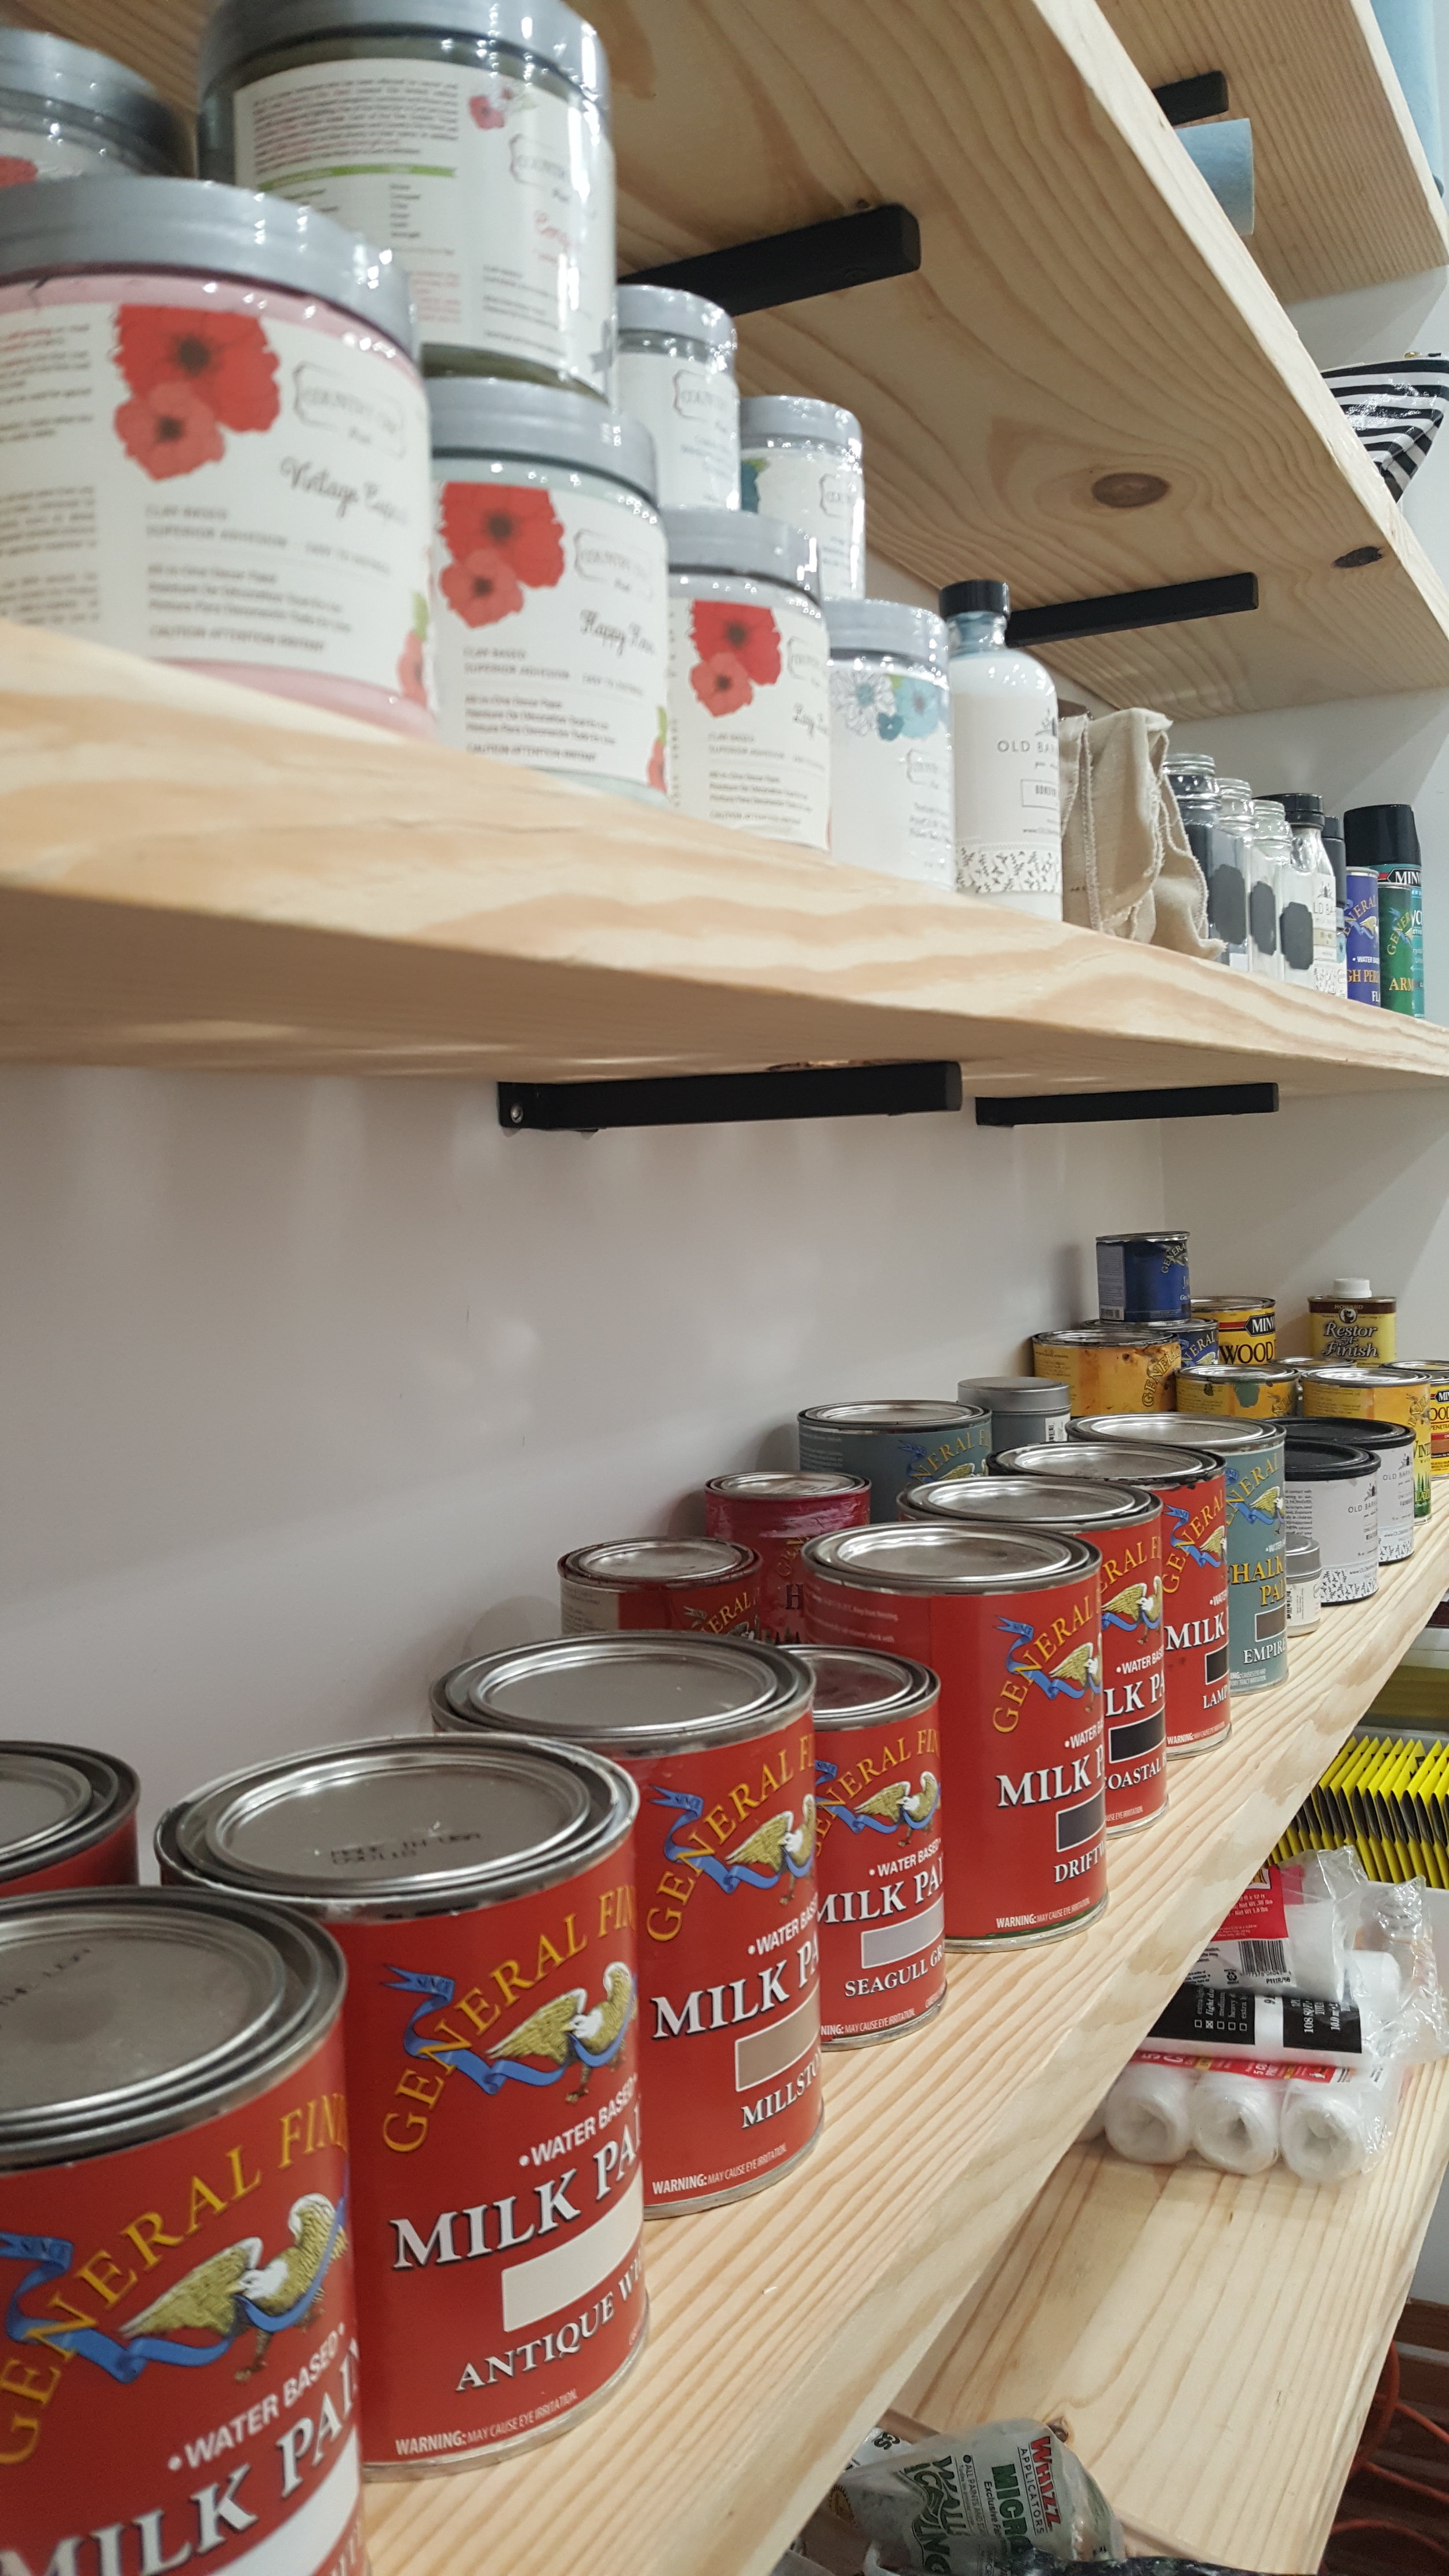
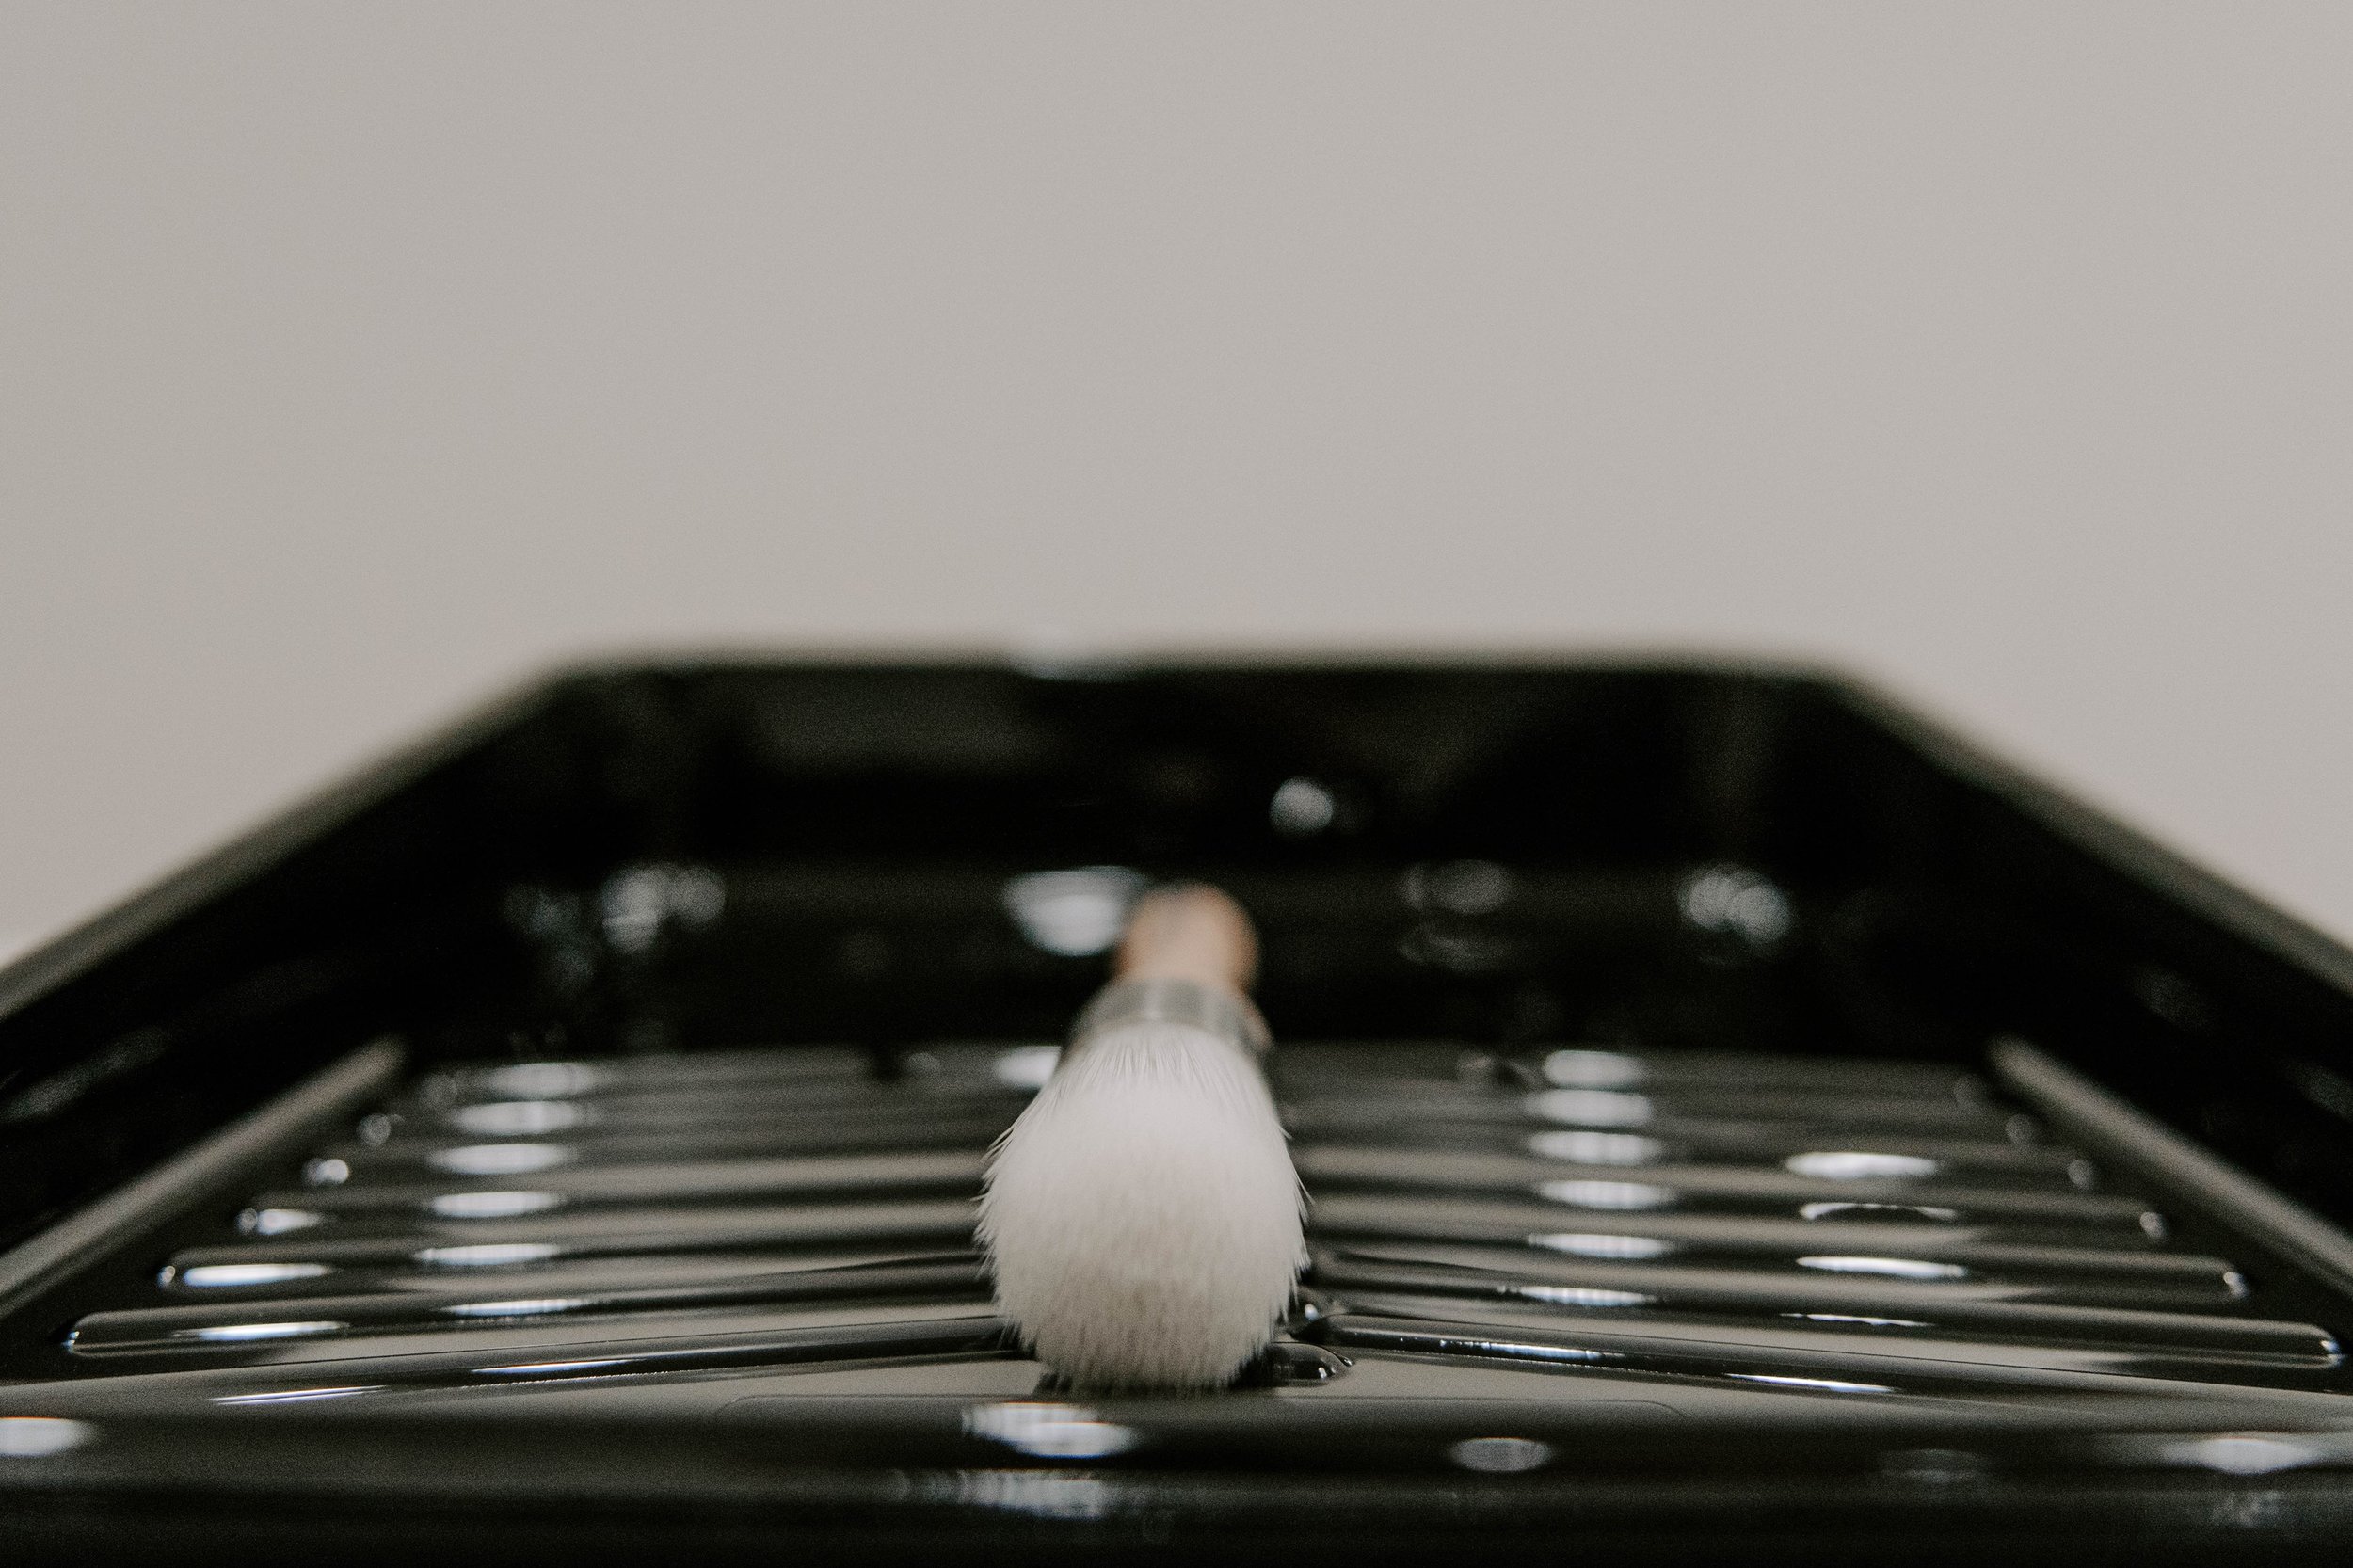
When it comes time to paint, make sure you use a Zibra Paint brush for the smooth application! I am using the 2” Palm Pro in the video. If you’re curious to know what type of Milk Paint I like to use, I recommend Shackateau Interiors Milk Paint !
Thank you so much for stopping by for #TuesdayTipsWithFallon! Make sure you tune in every other Tuesday for a new tip! If you want to save this blog post, just pin it to your Pinterest page and/or feel free to share it elsewhere. Thanks again!
*Please note, this blog post does contain affiliate links.
Don’t forget to check out my other #TuesdayTipsWithFallon videos and blog posts below!!