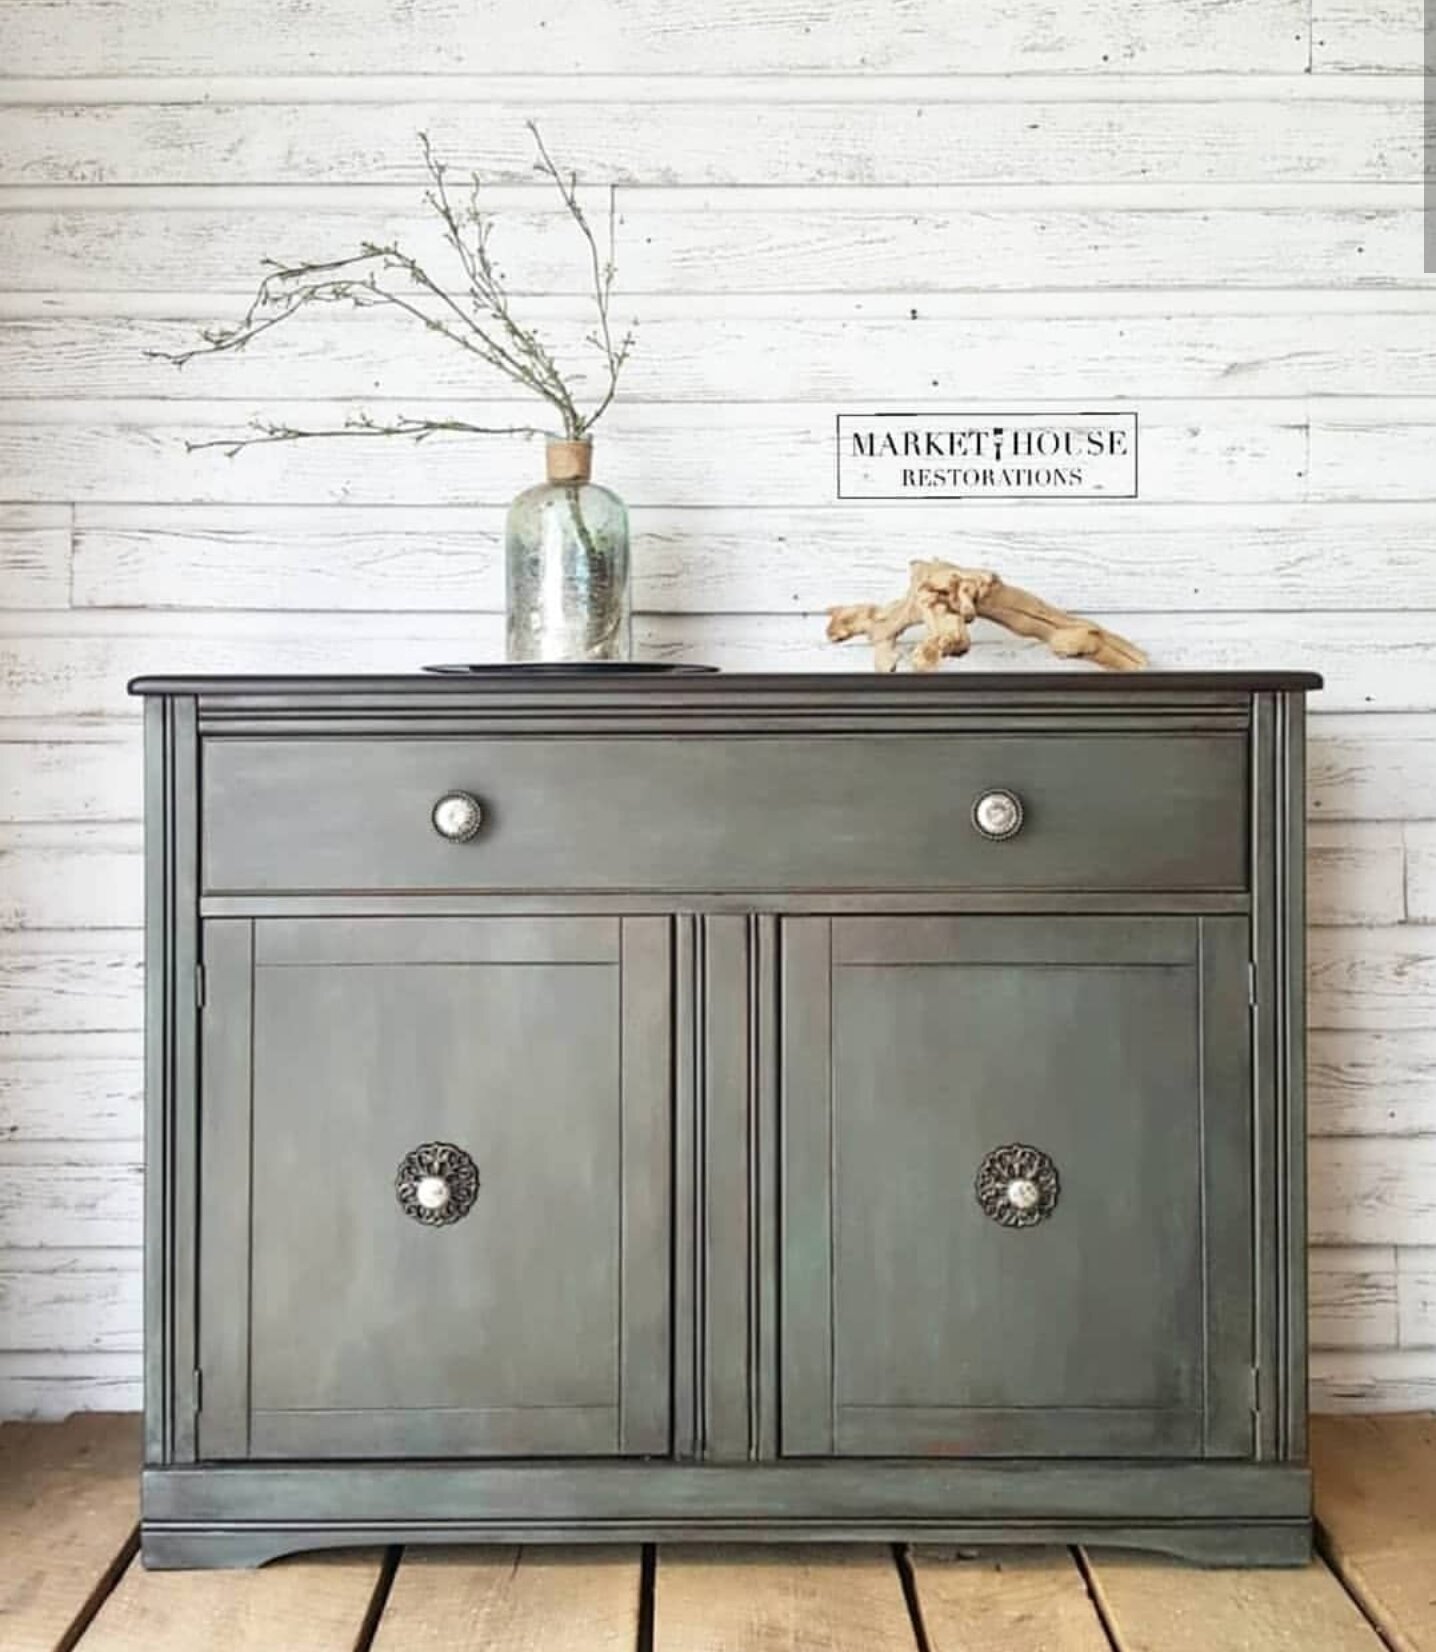
How and When to Use Epoxy When You Restore/Paint a Piece of Furniture. #TuesdayTipsWithFallon
/#TuesdayTipsWithFallon
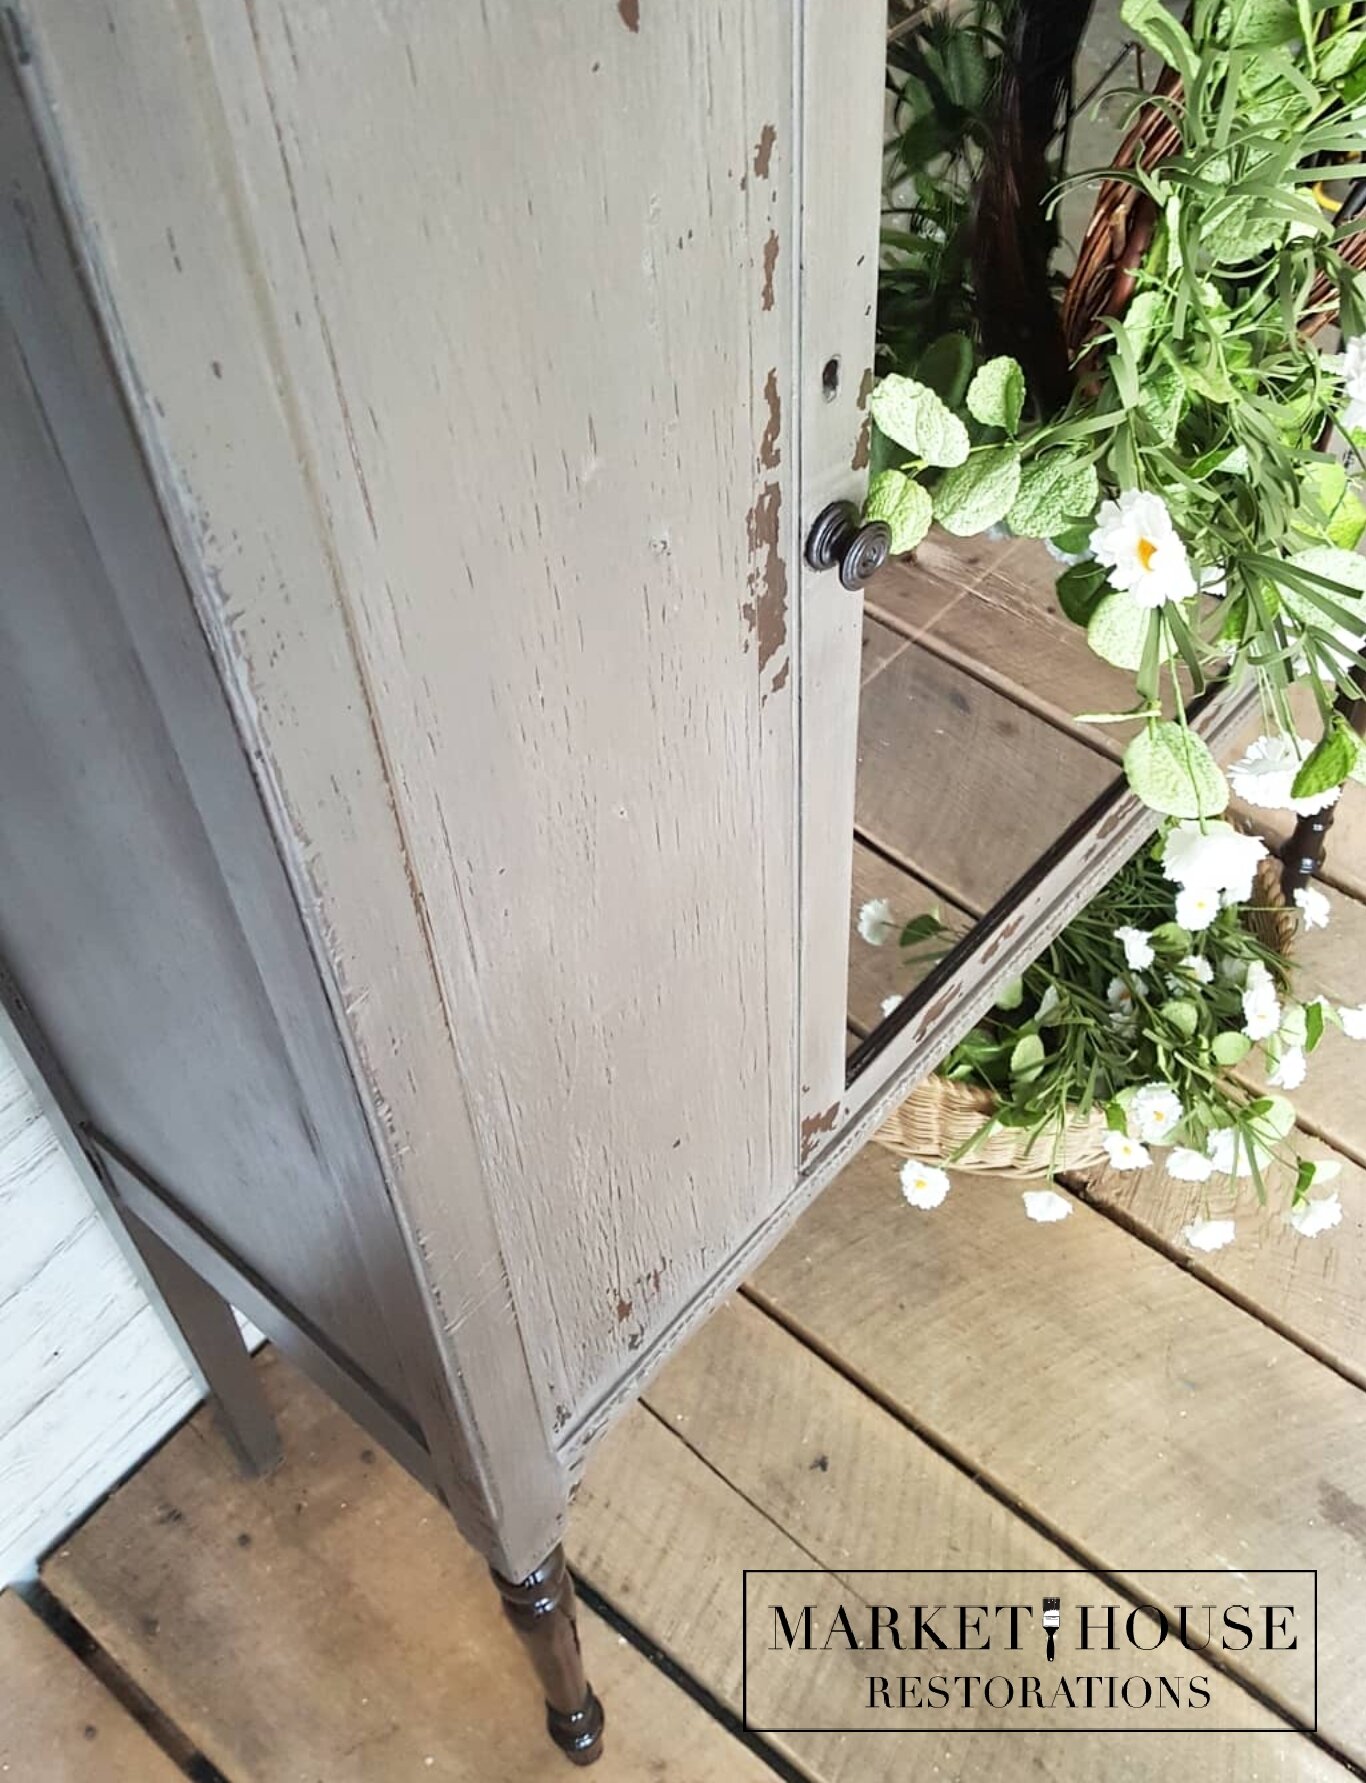
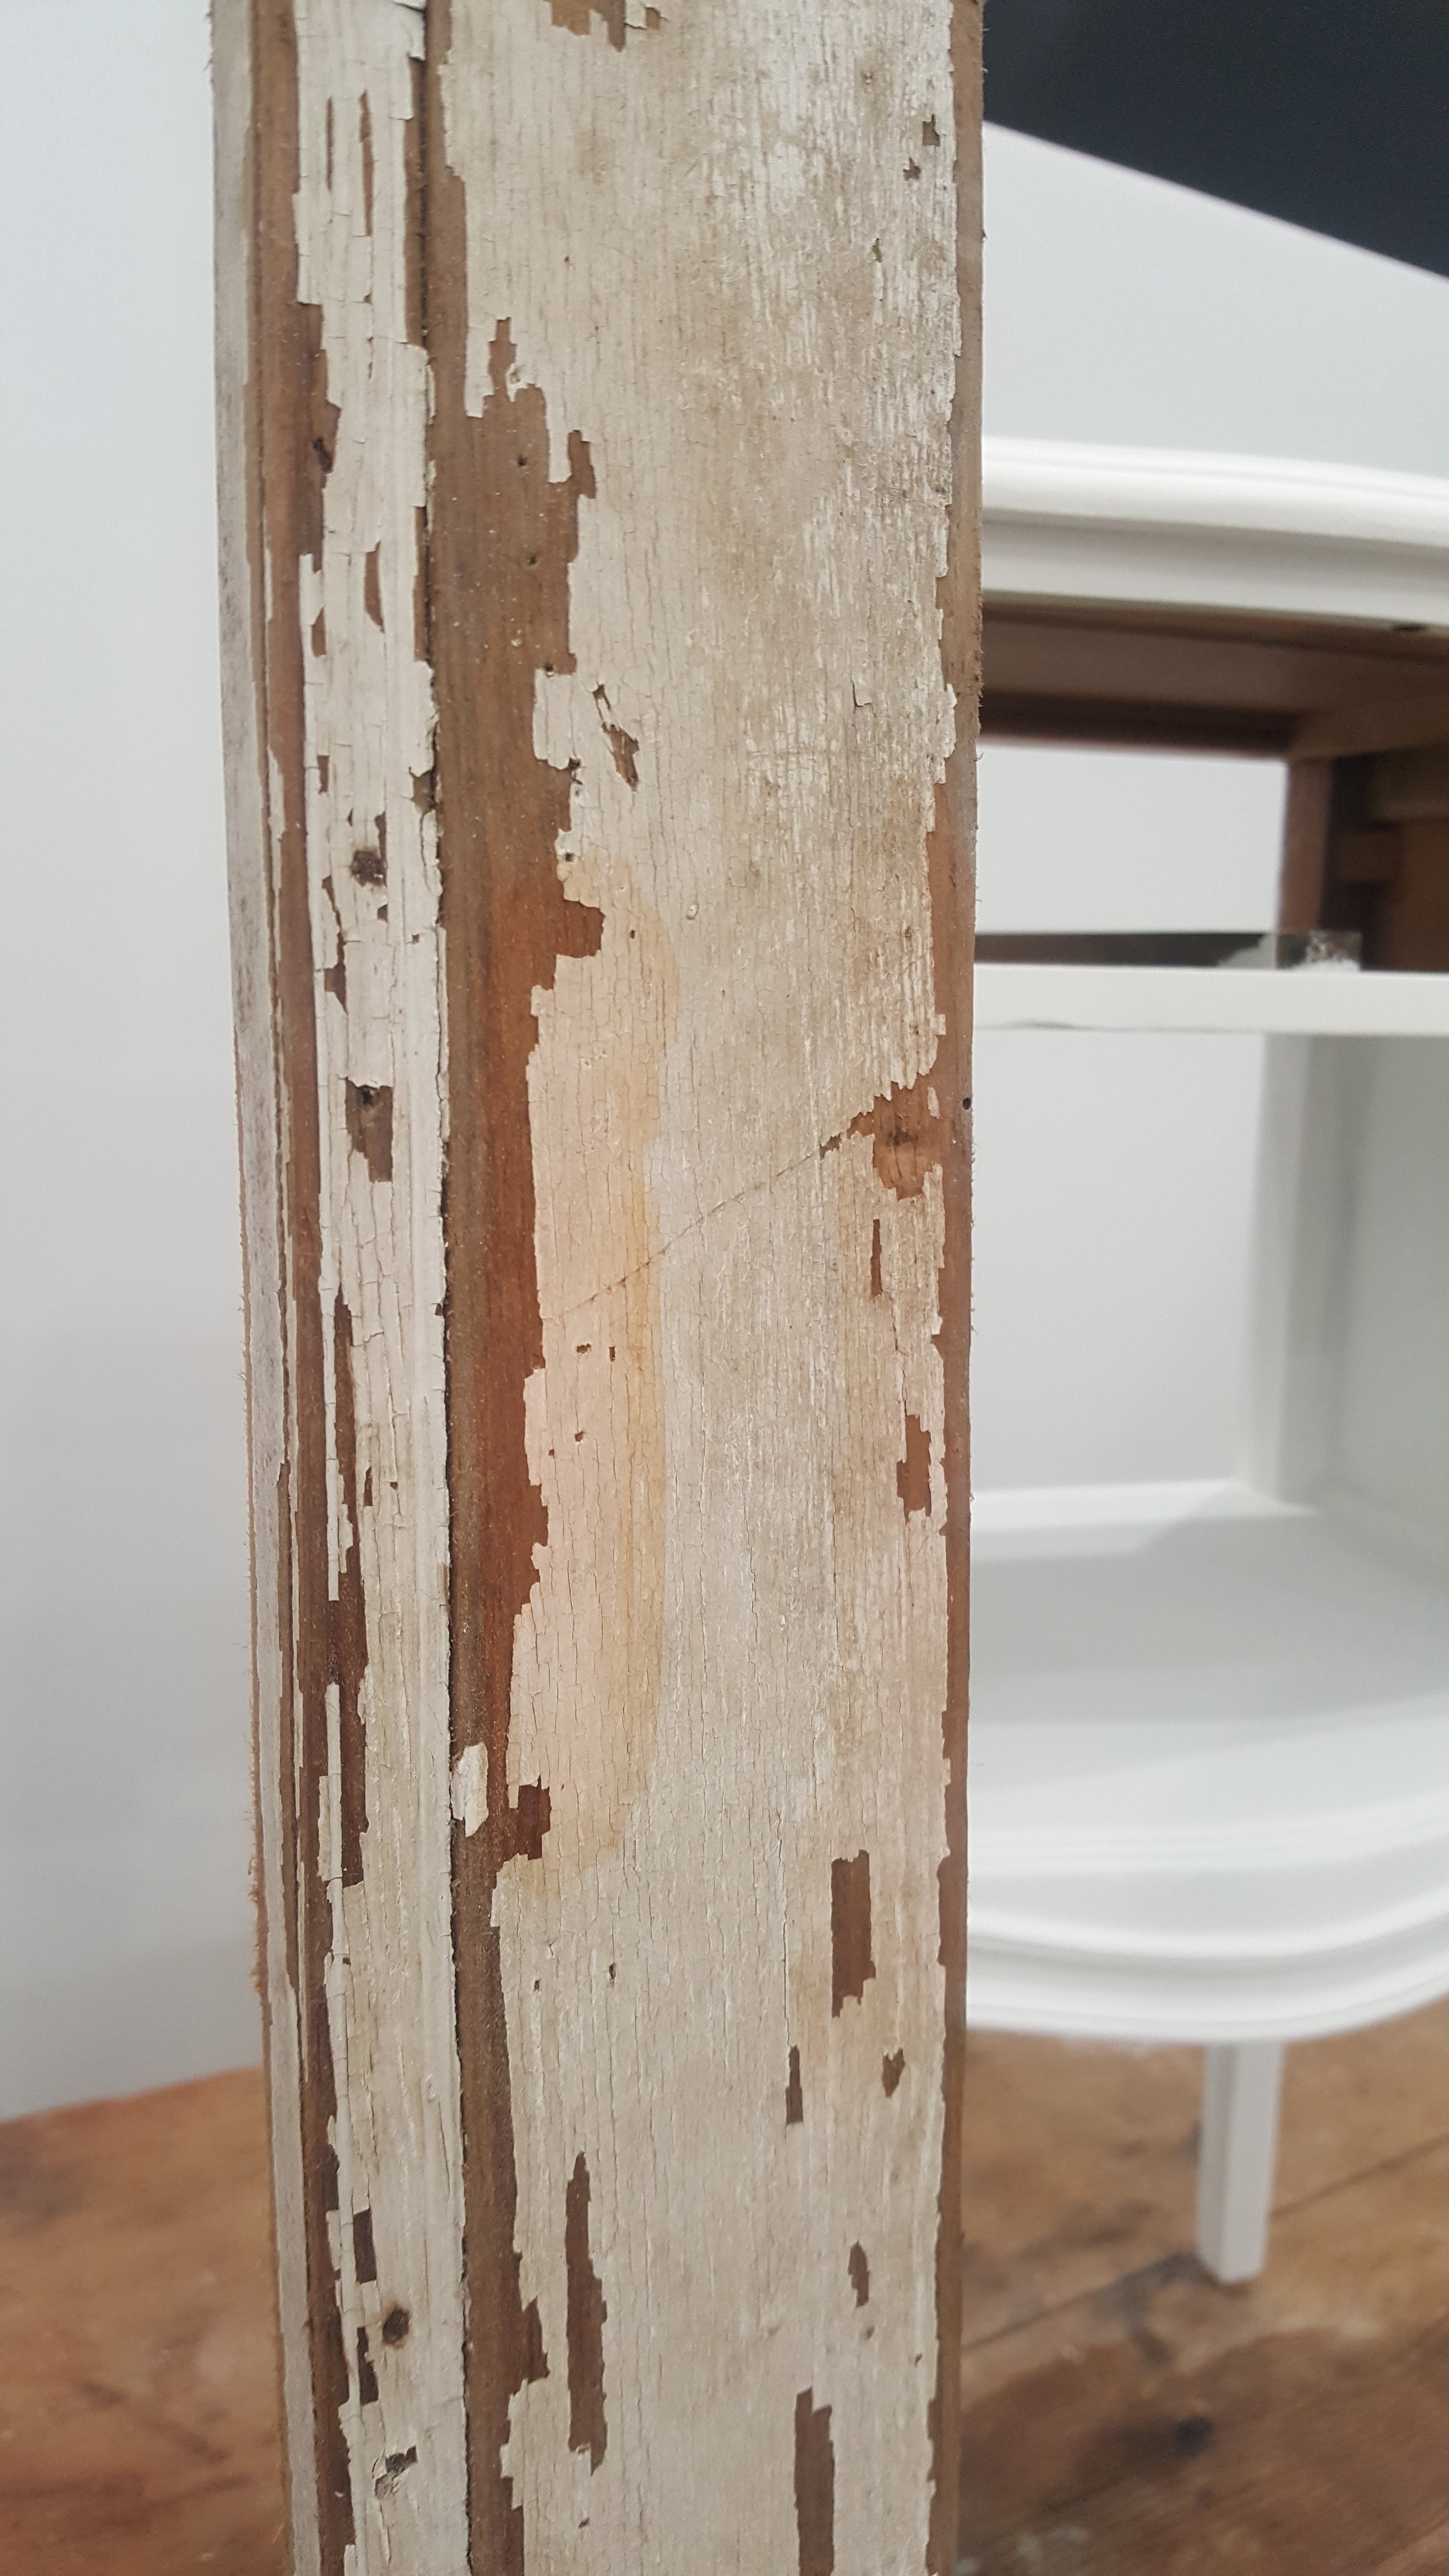
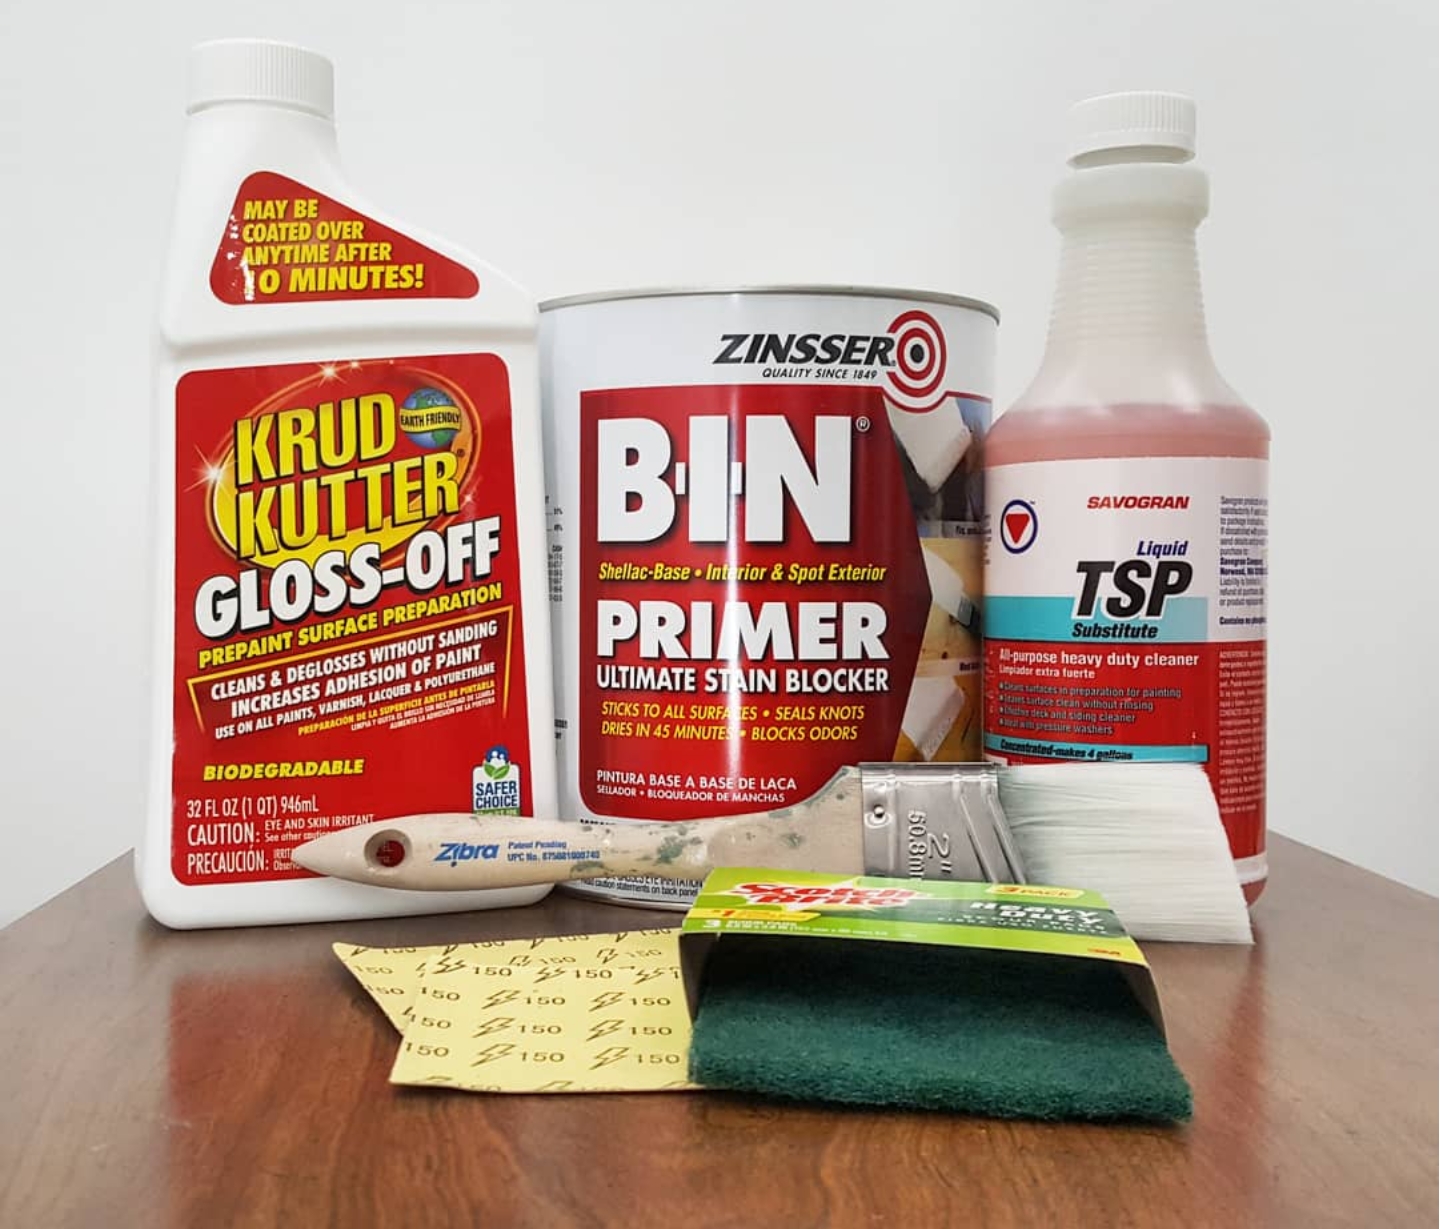
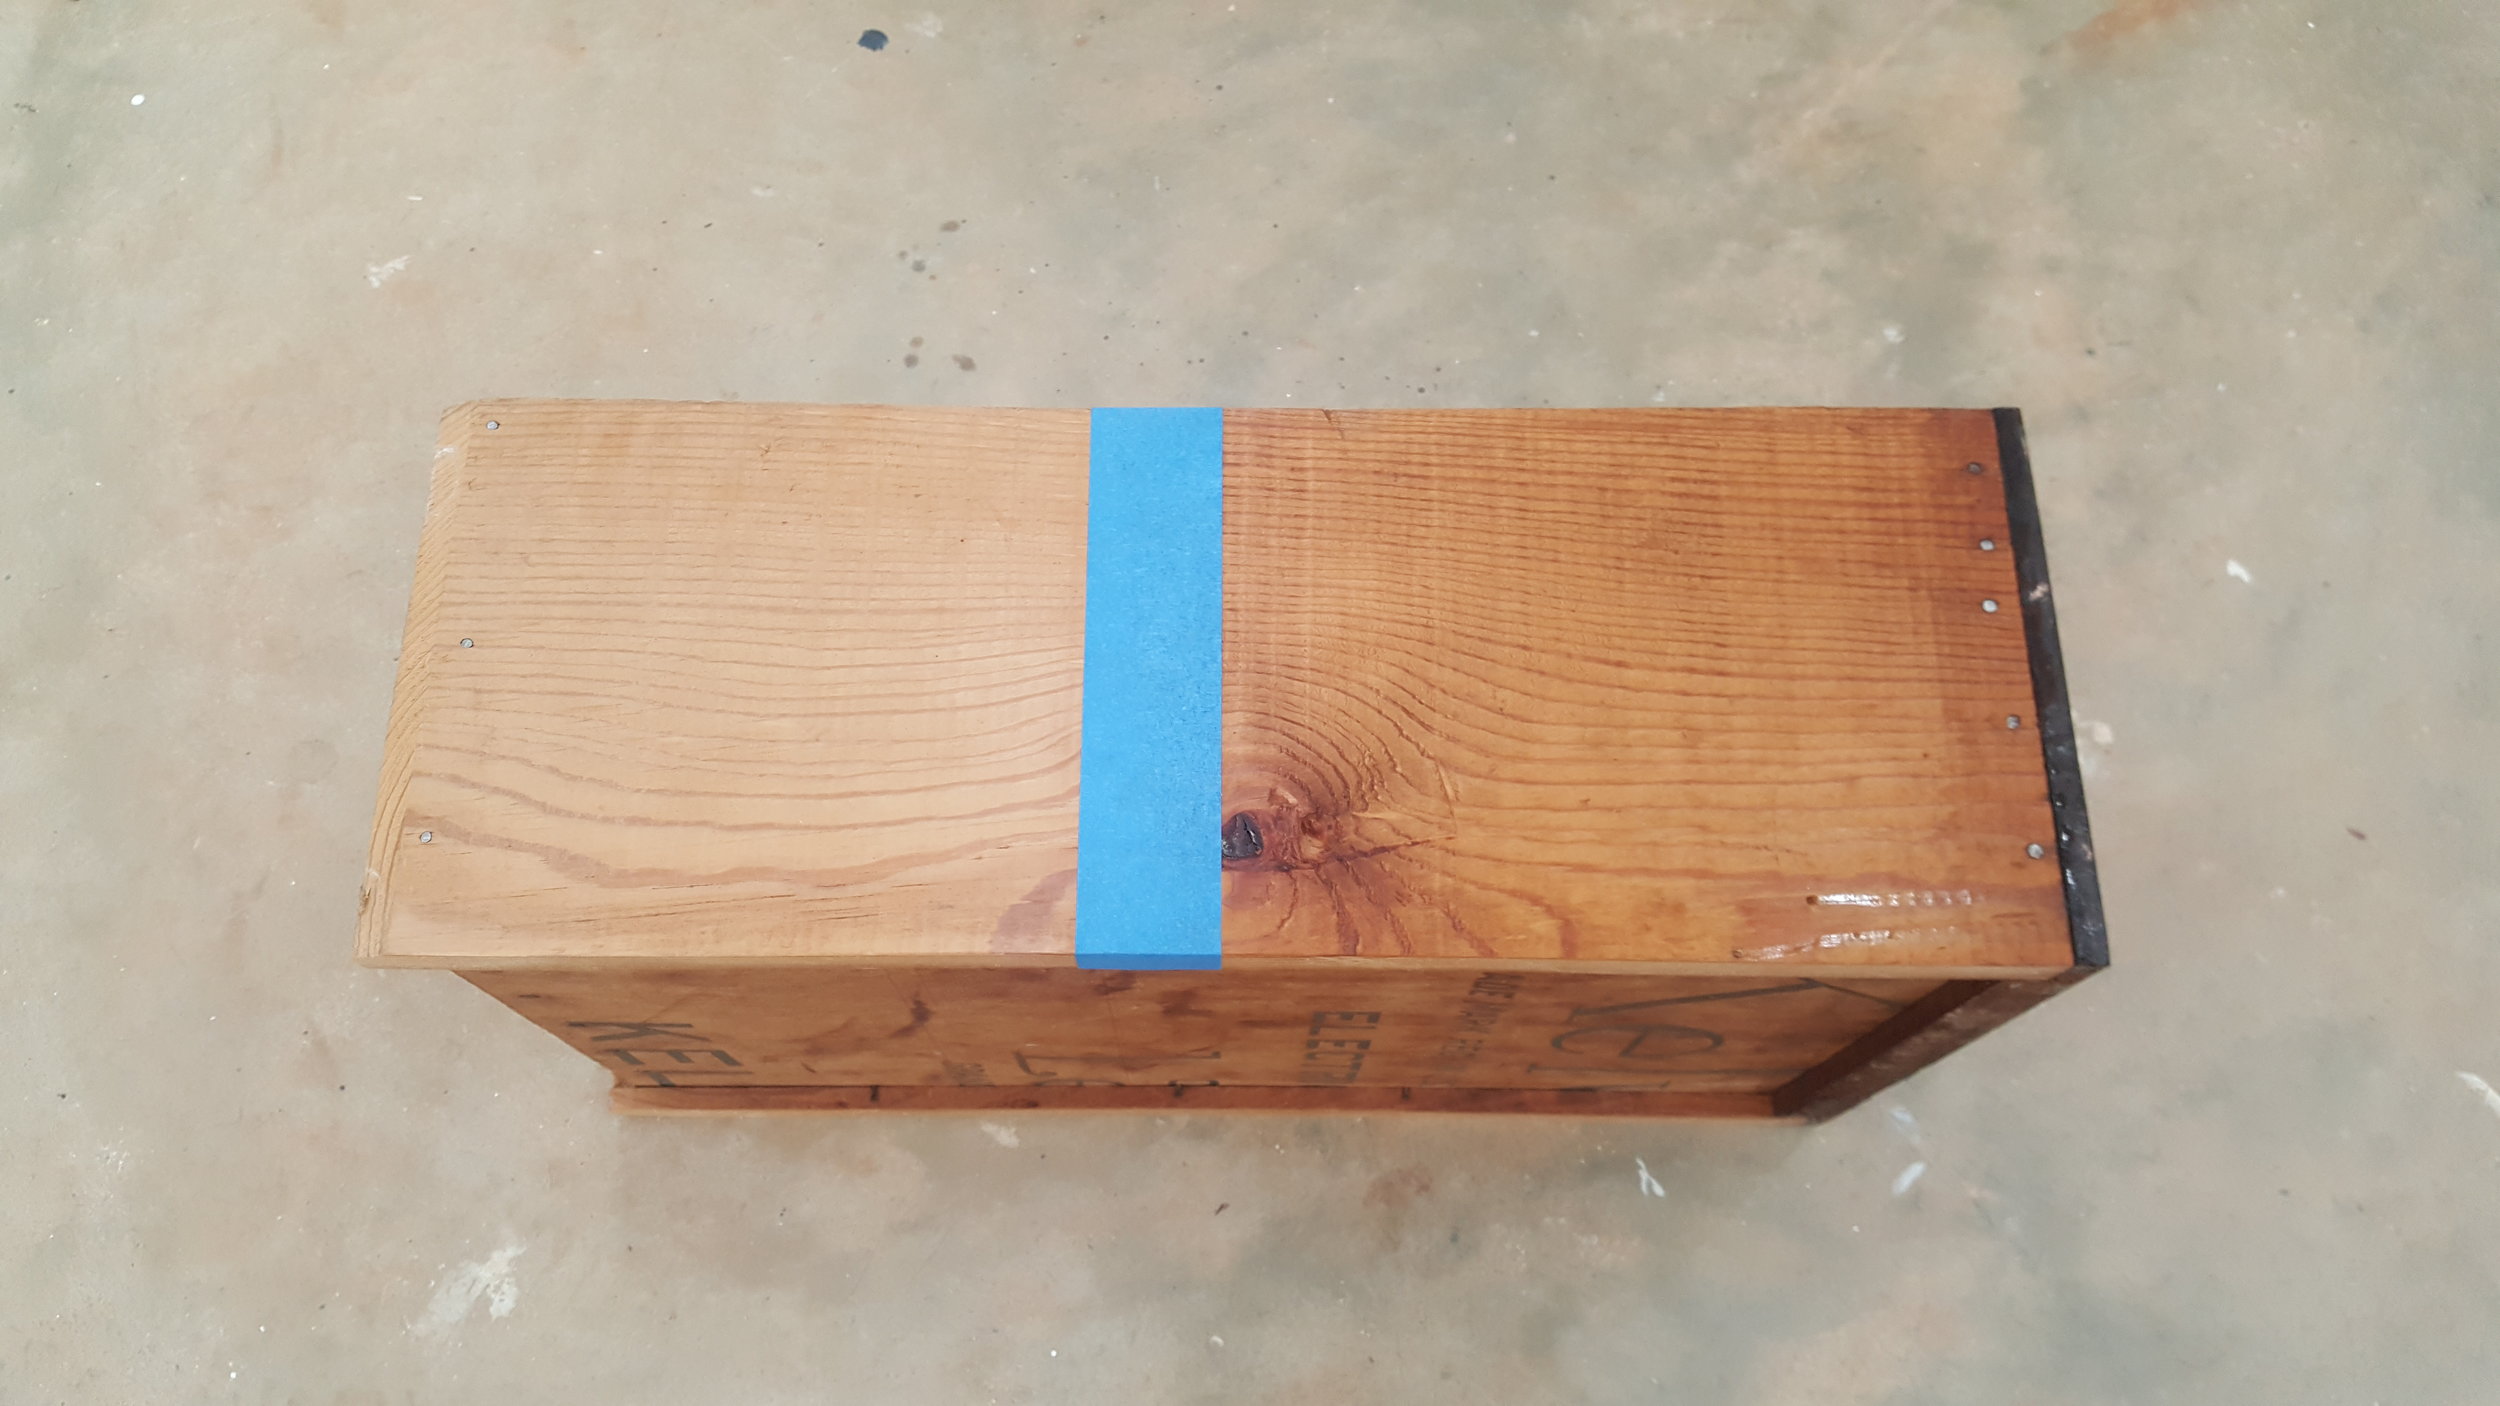
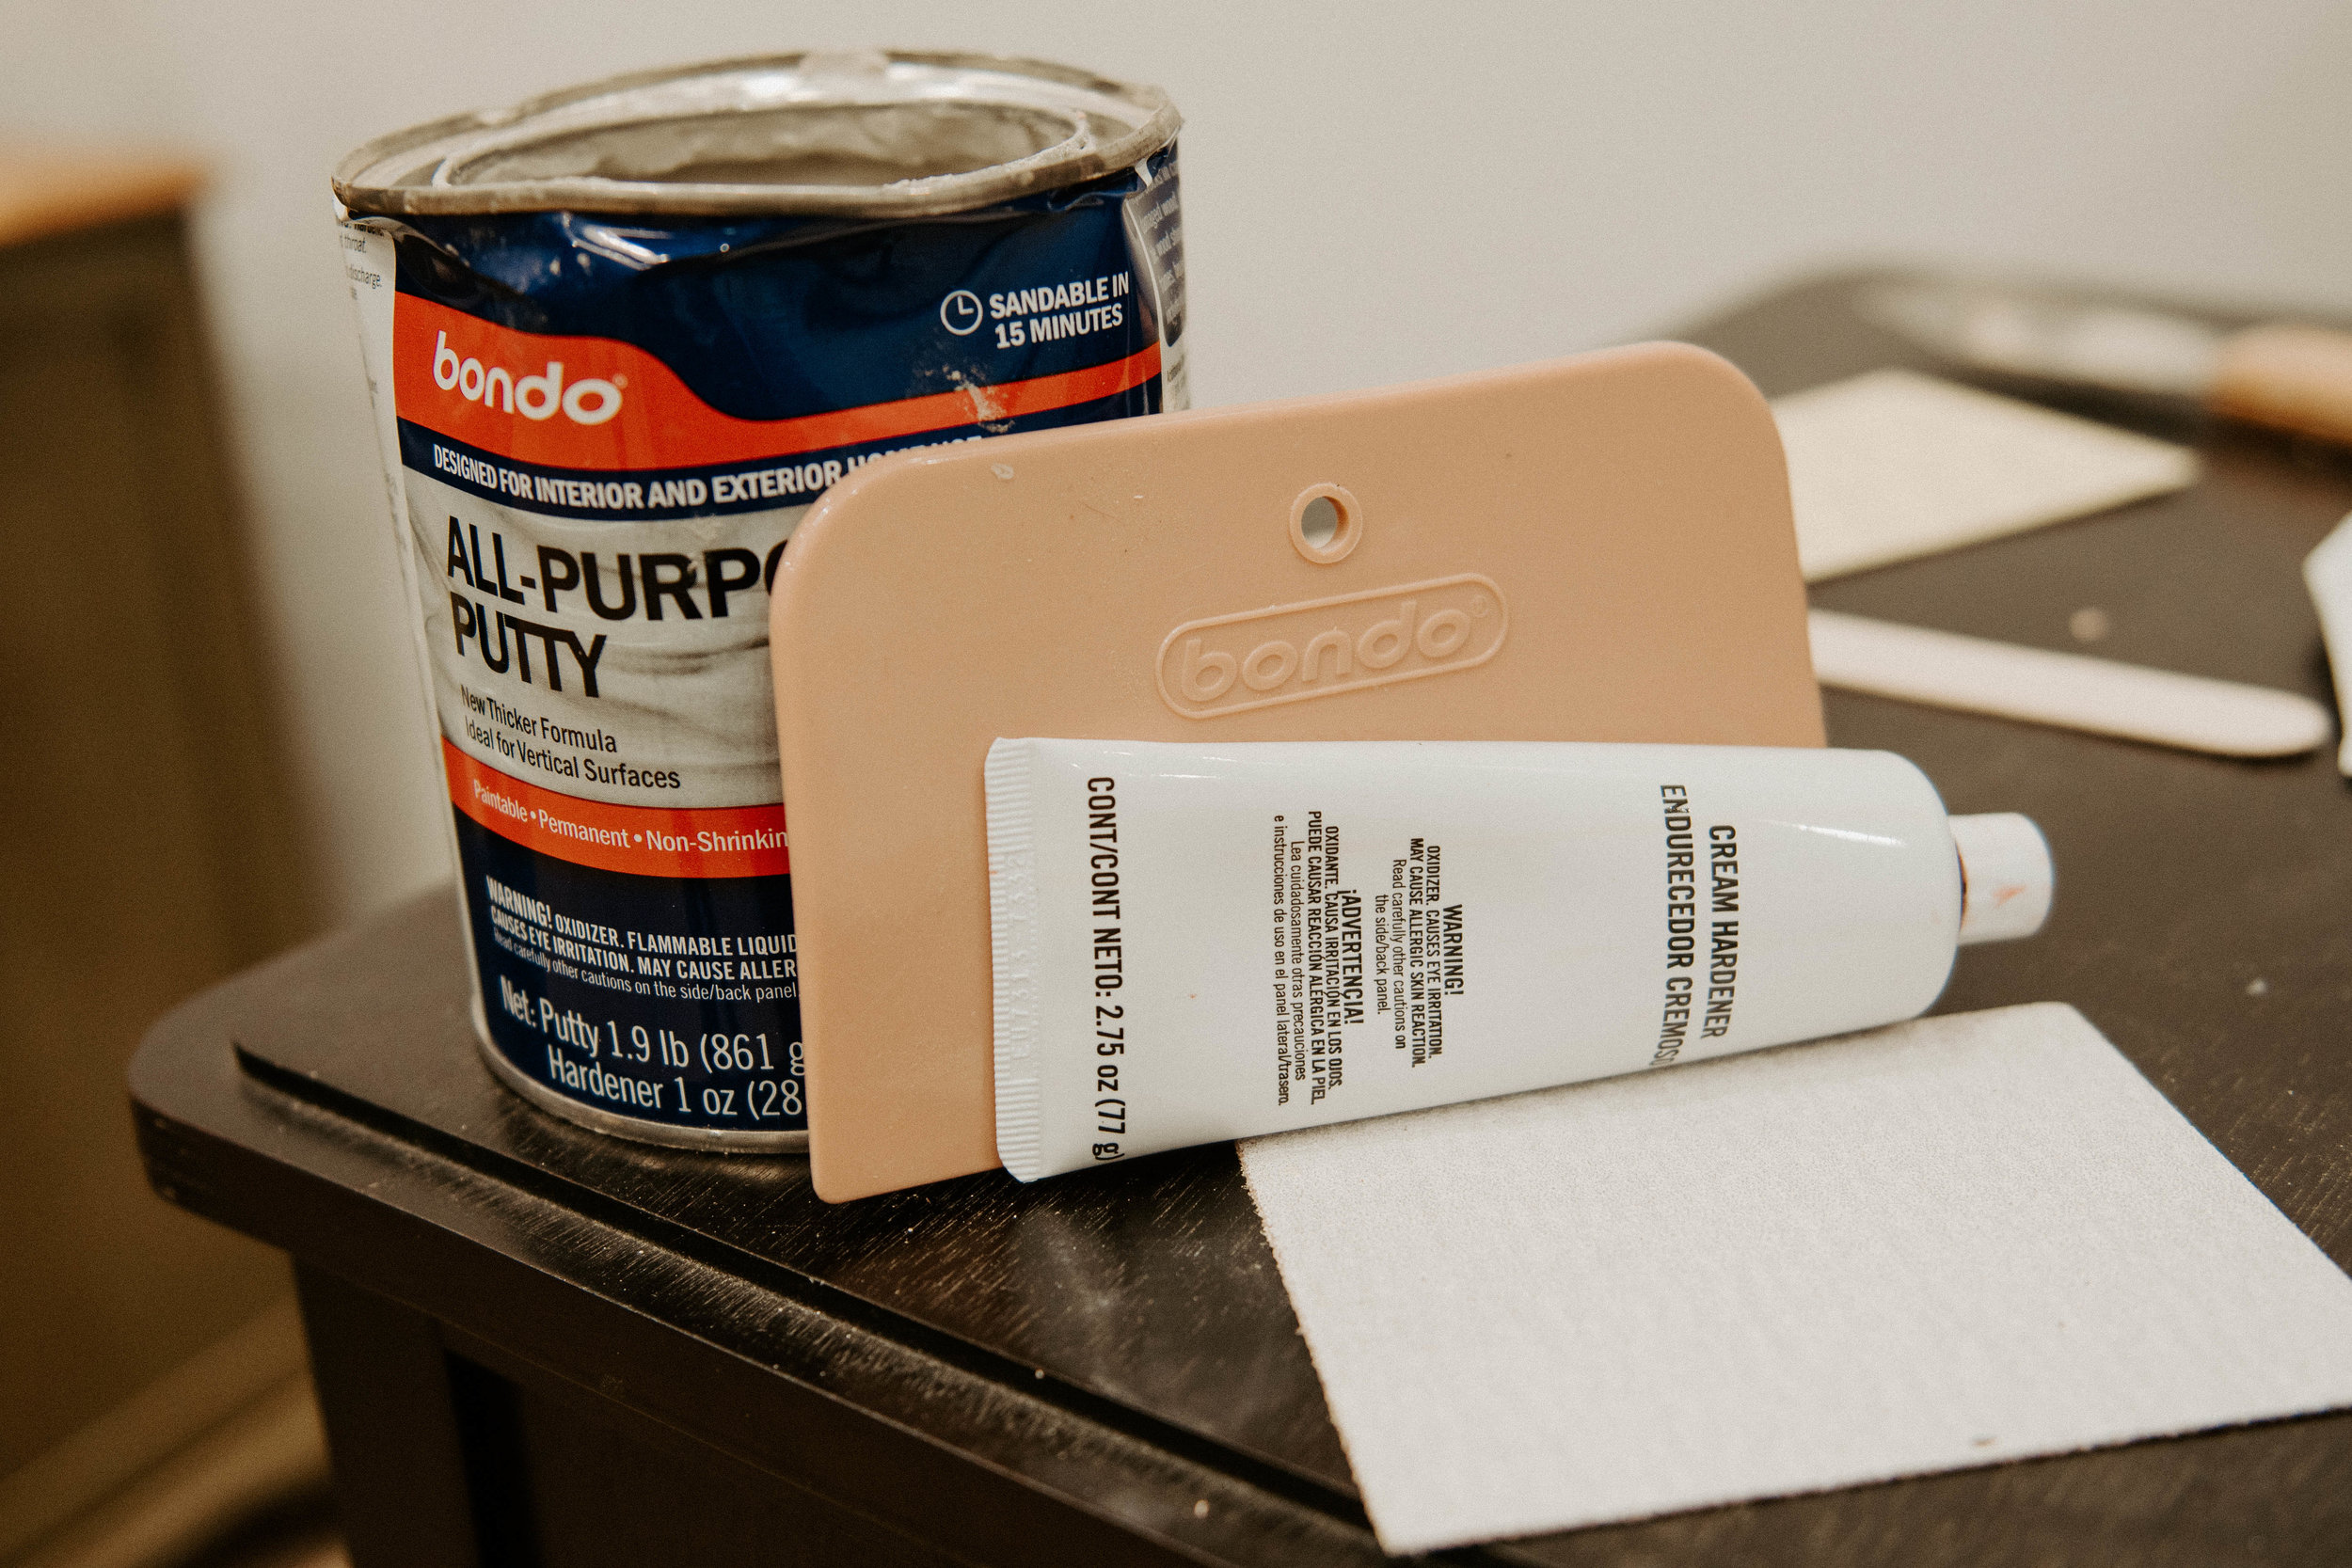
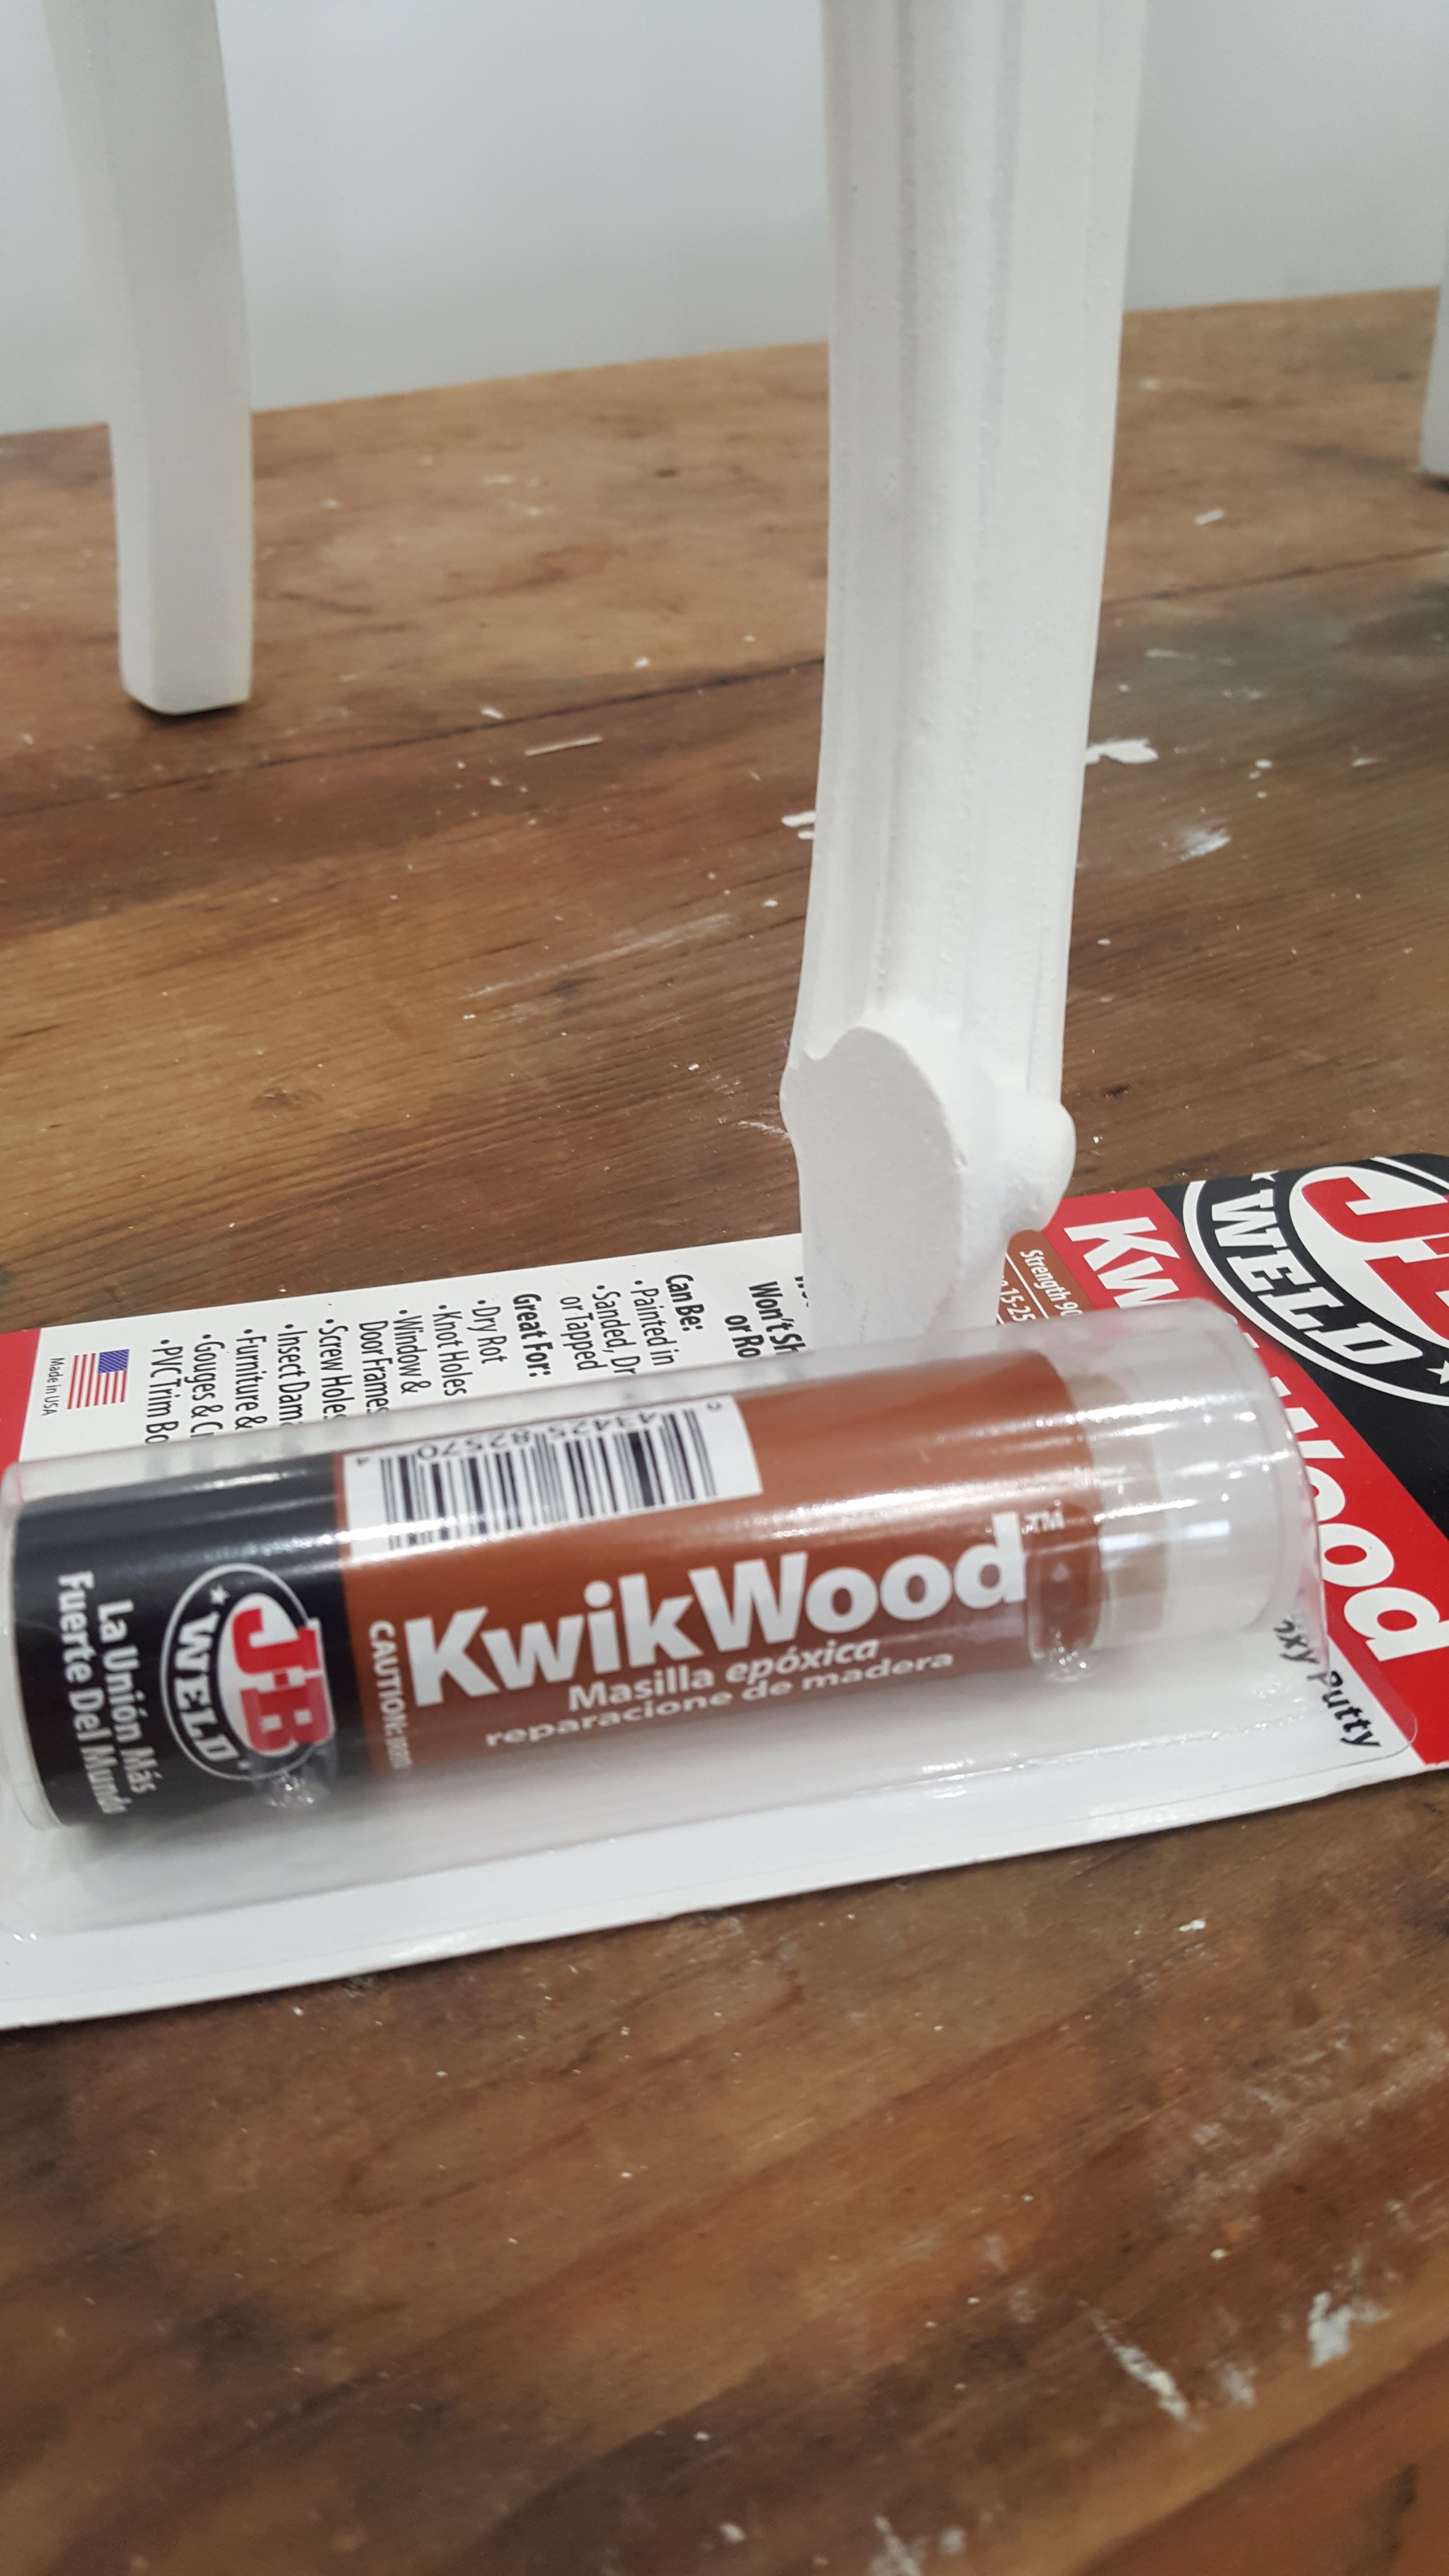
Epoxy Putty is a great option when repairing wooden furniture especially if you need to fix a small area on a piece of furniture that has chipped off or that is missing a piece of wood.
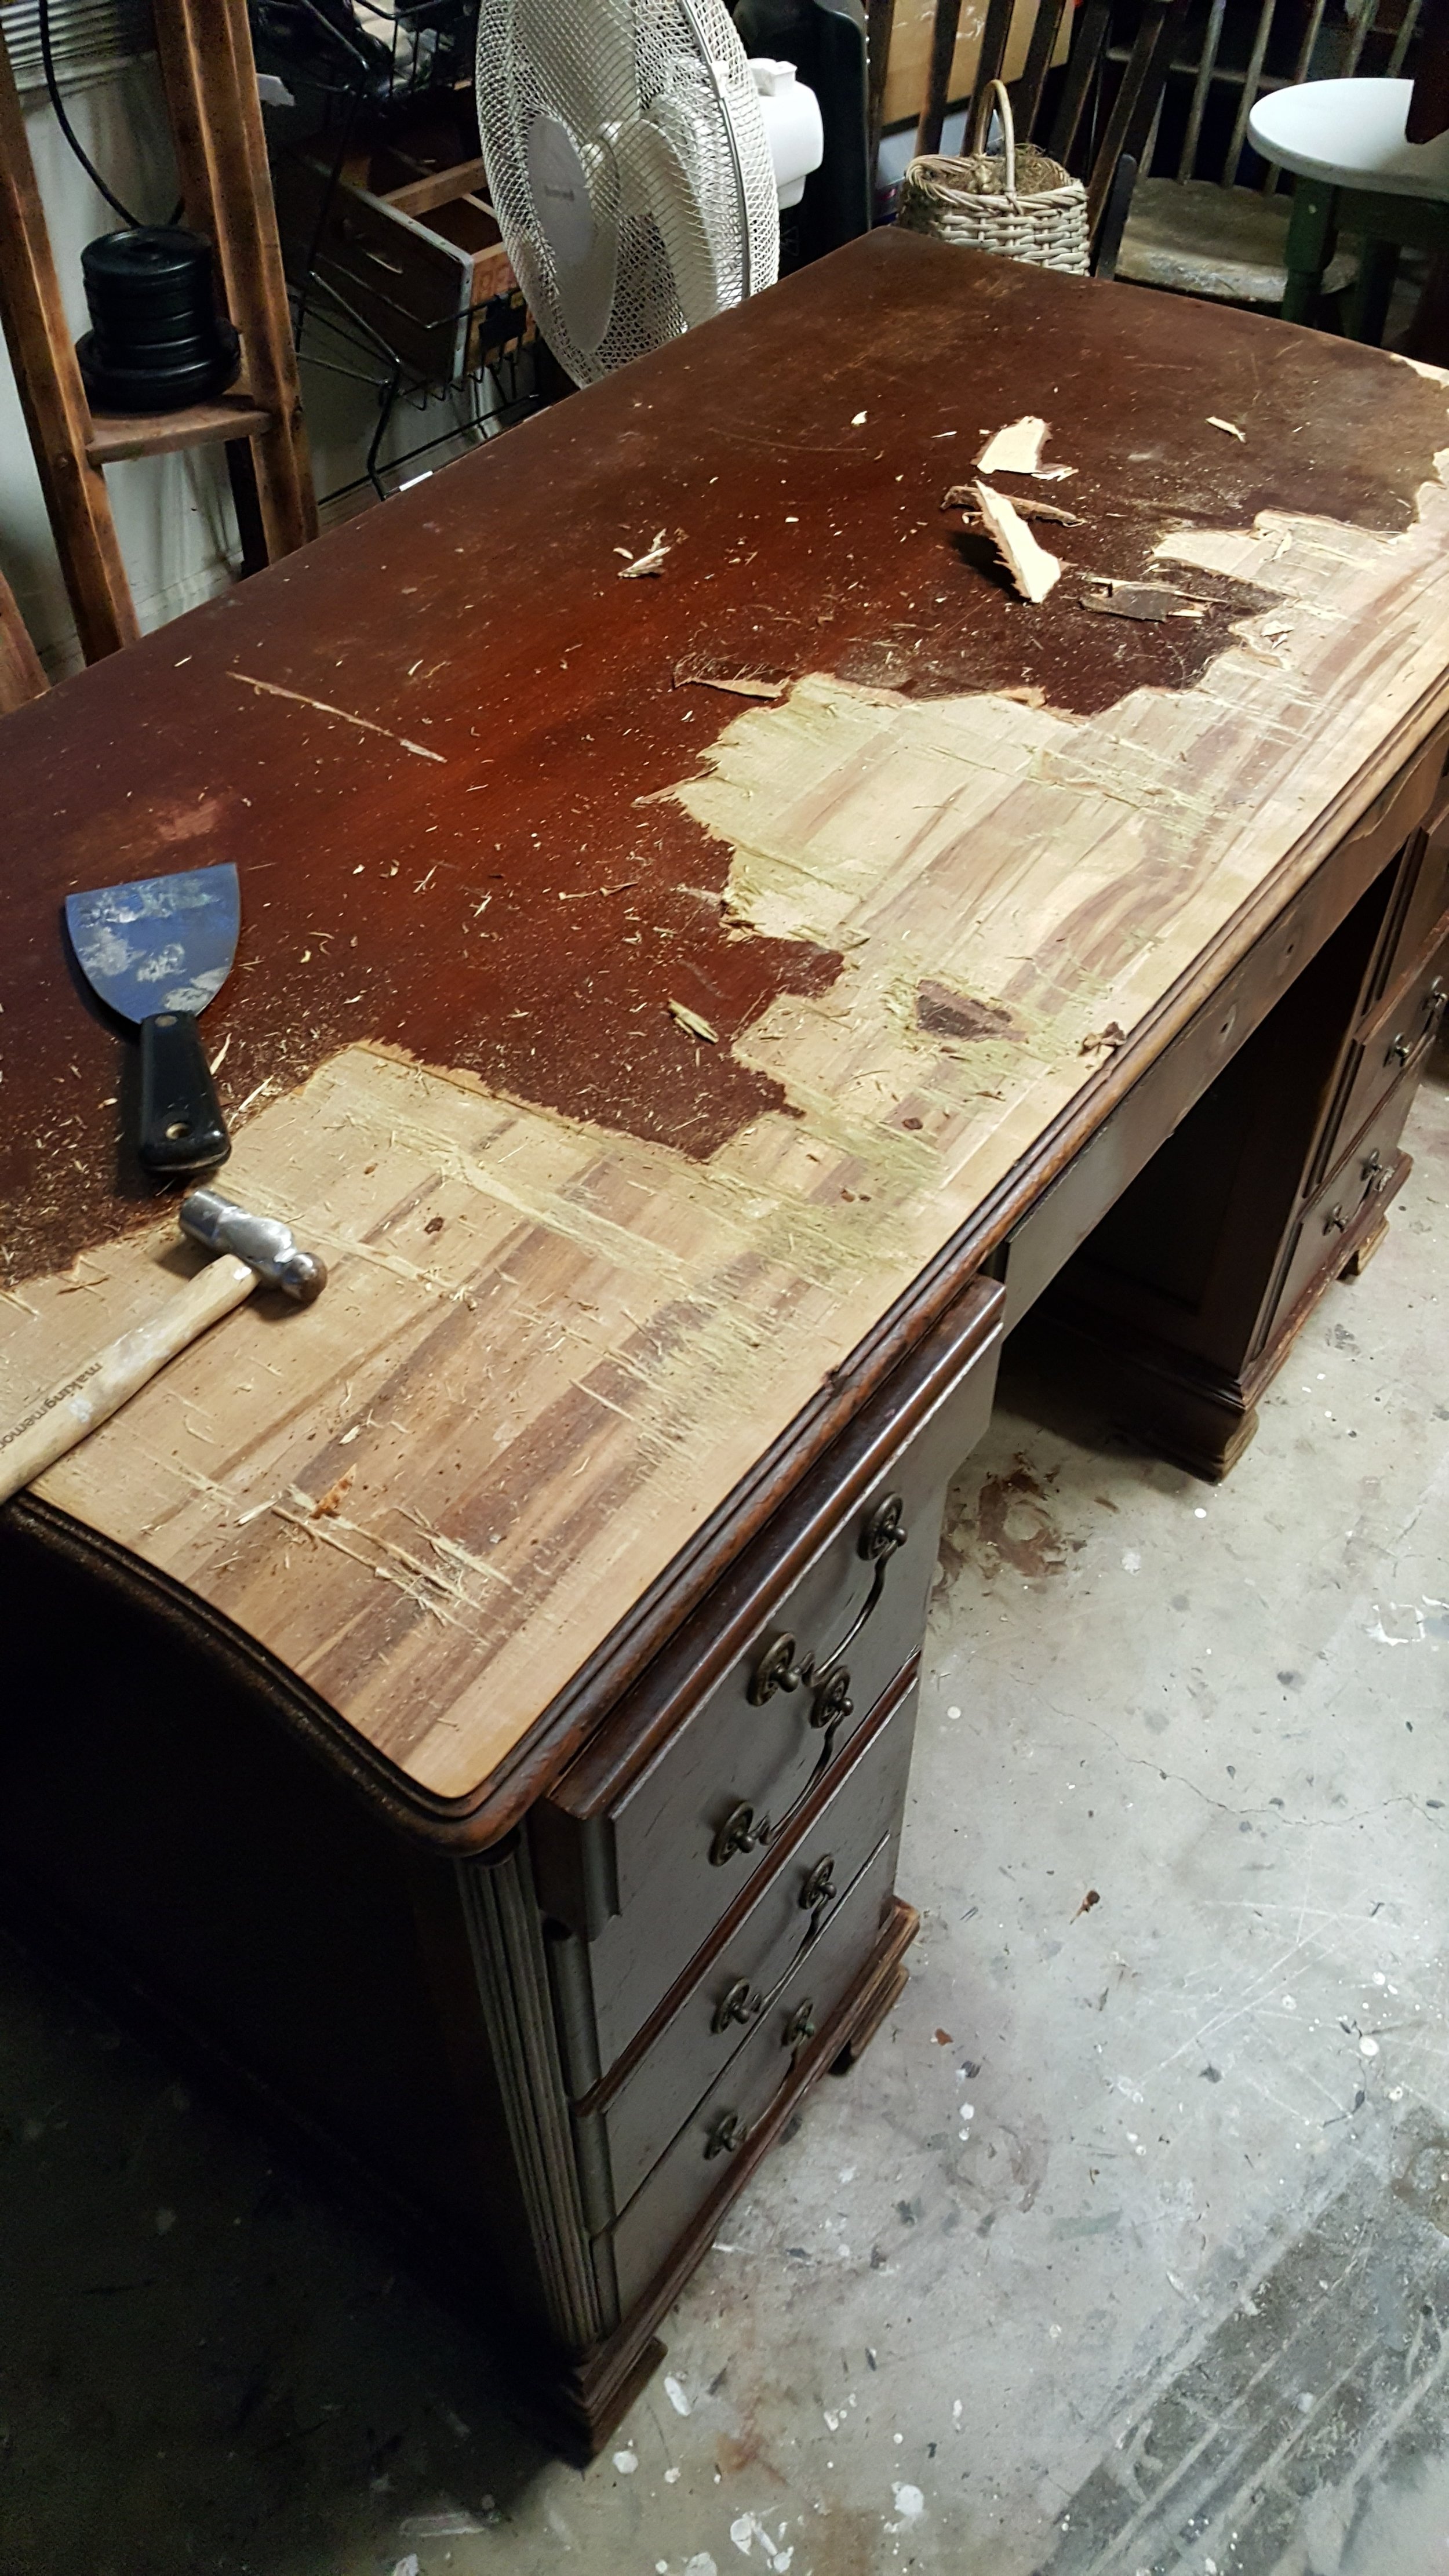
Step 1: Clean the surface. You want to make sure the area that you’re applying the Epoxy Putty to is free of any dirt build-up or grease.
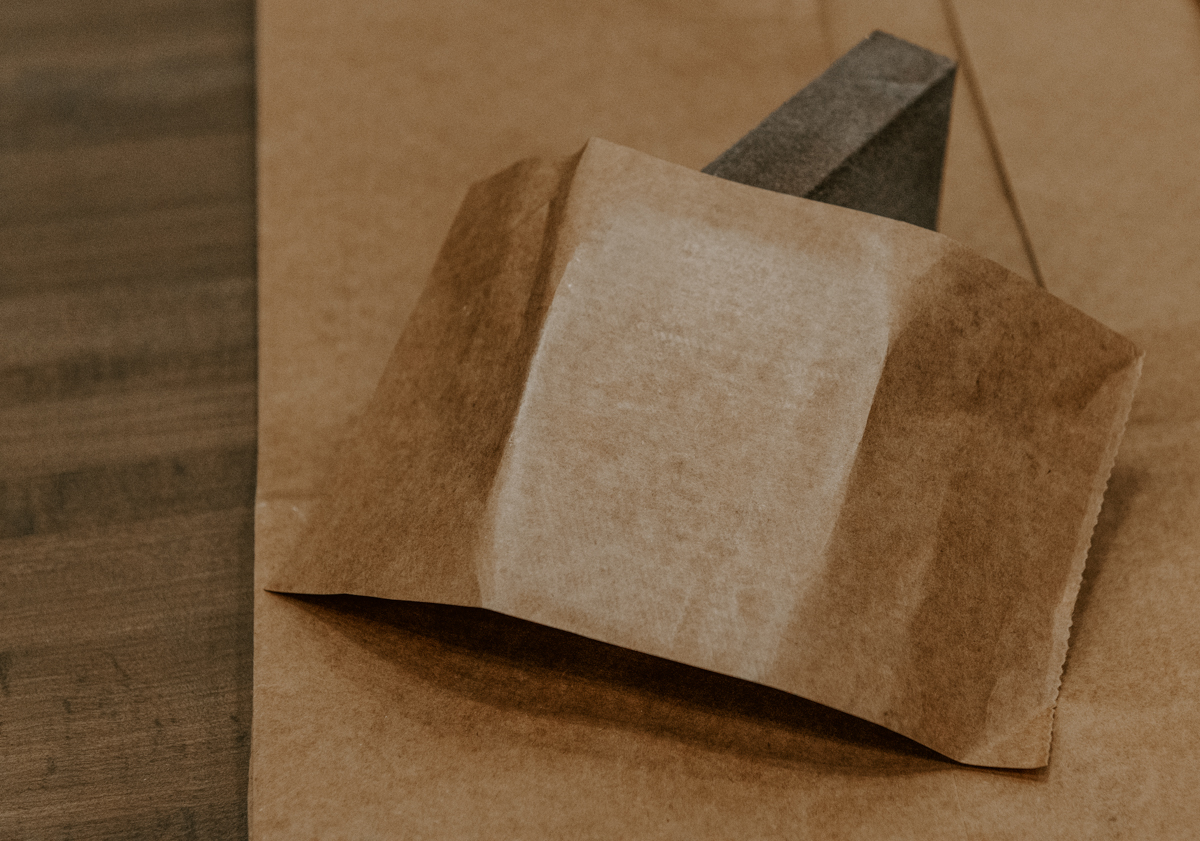
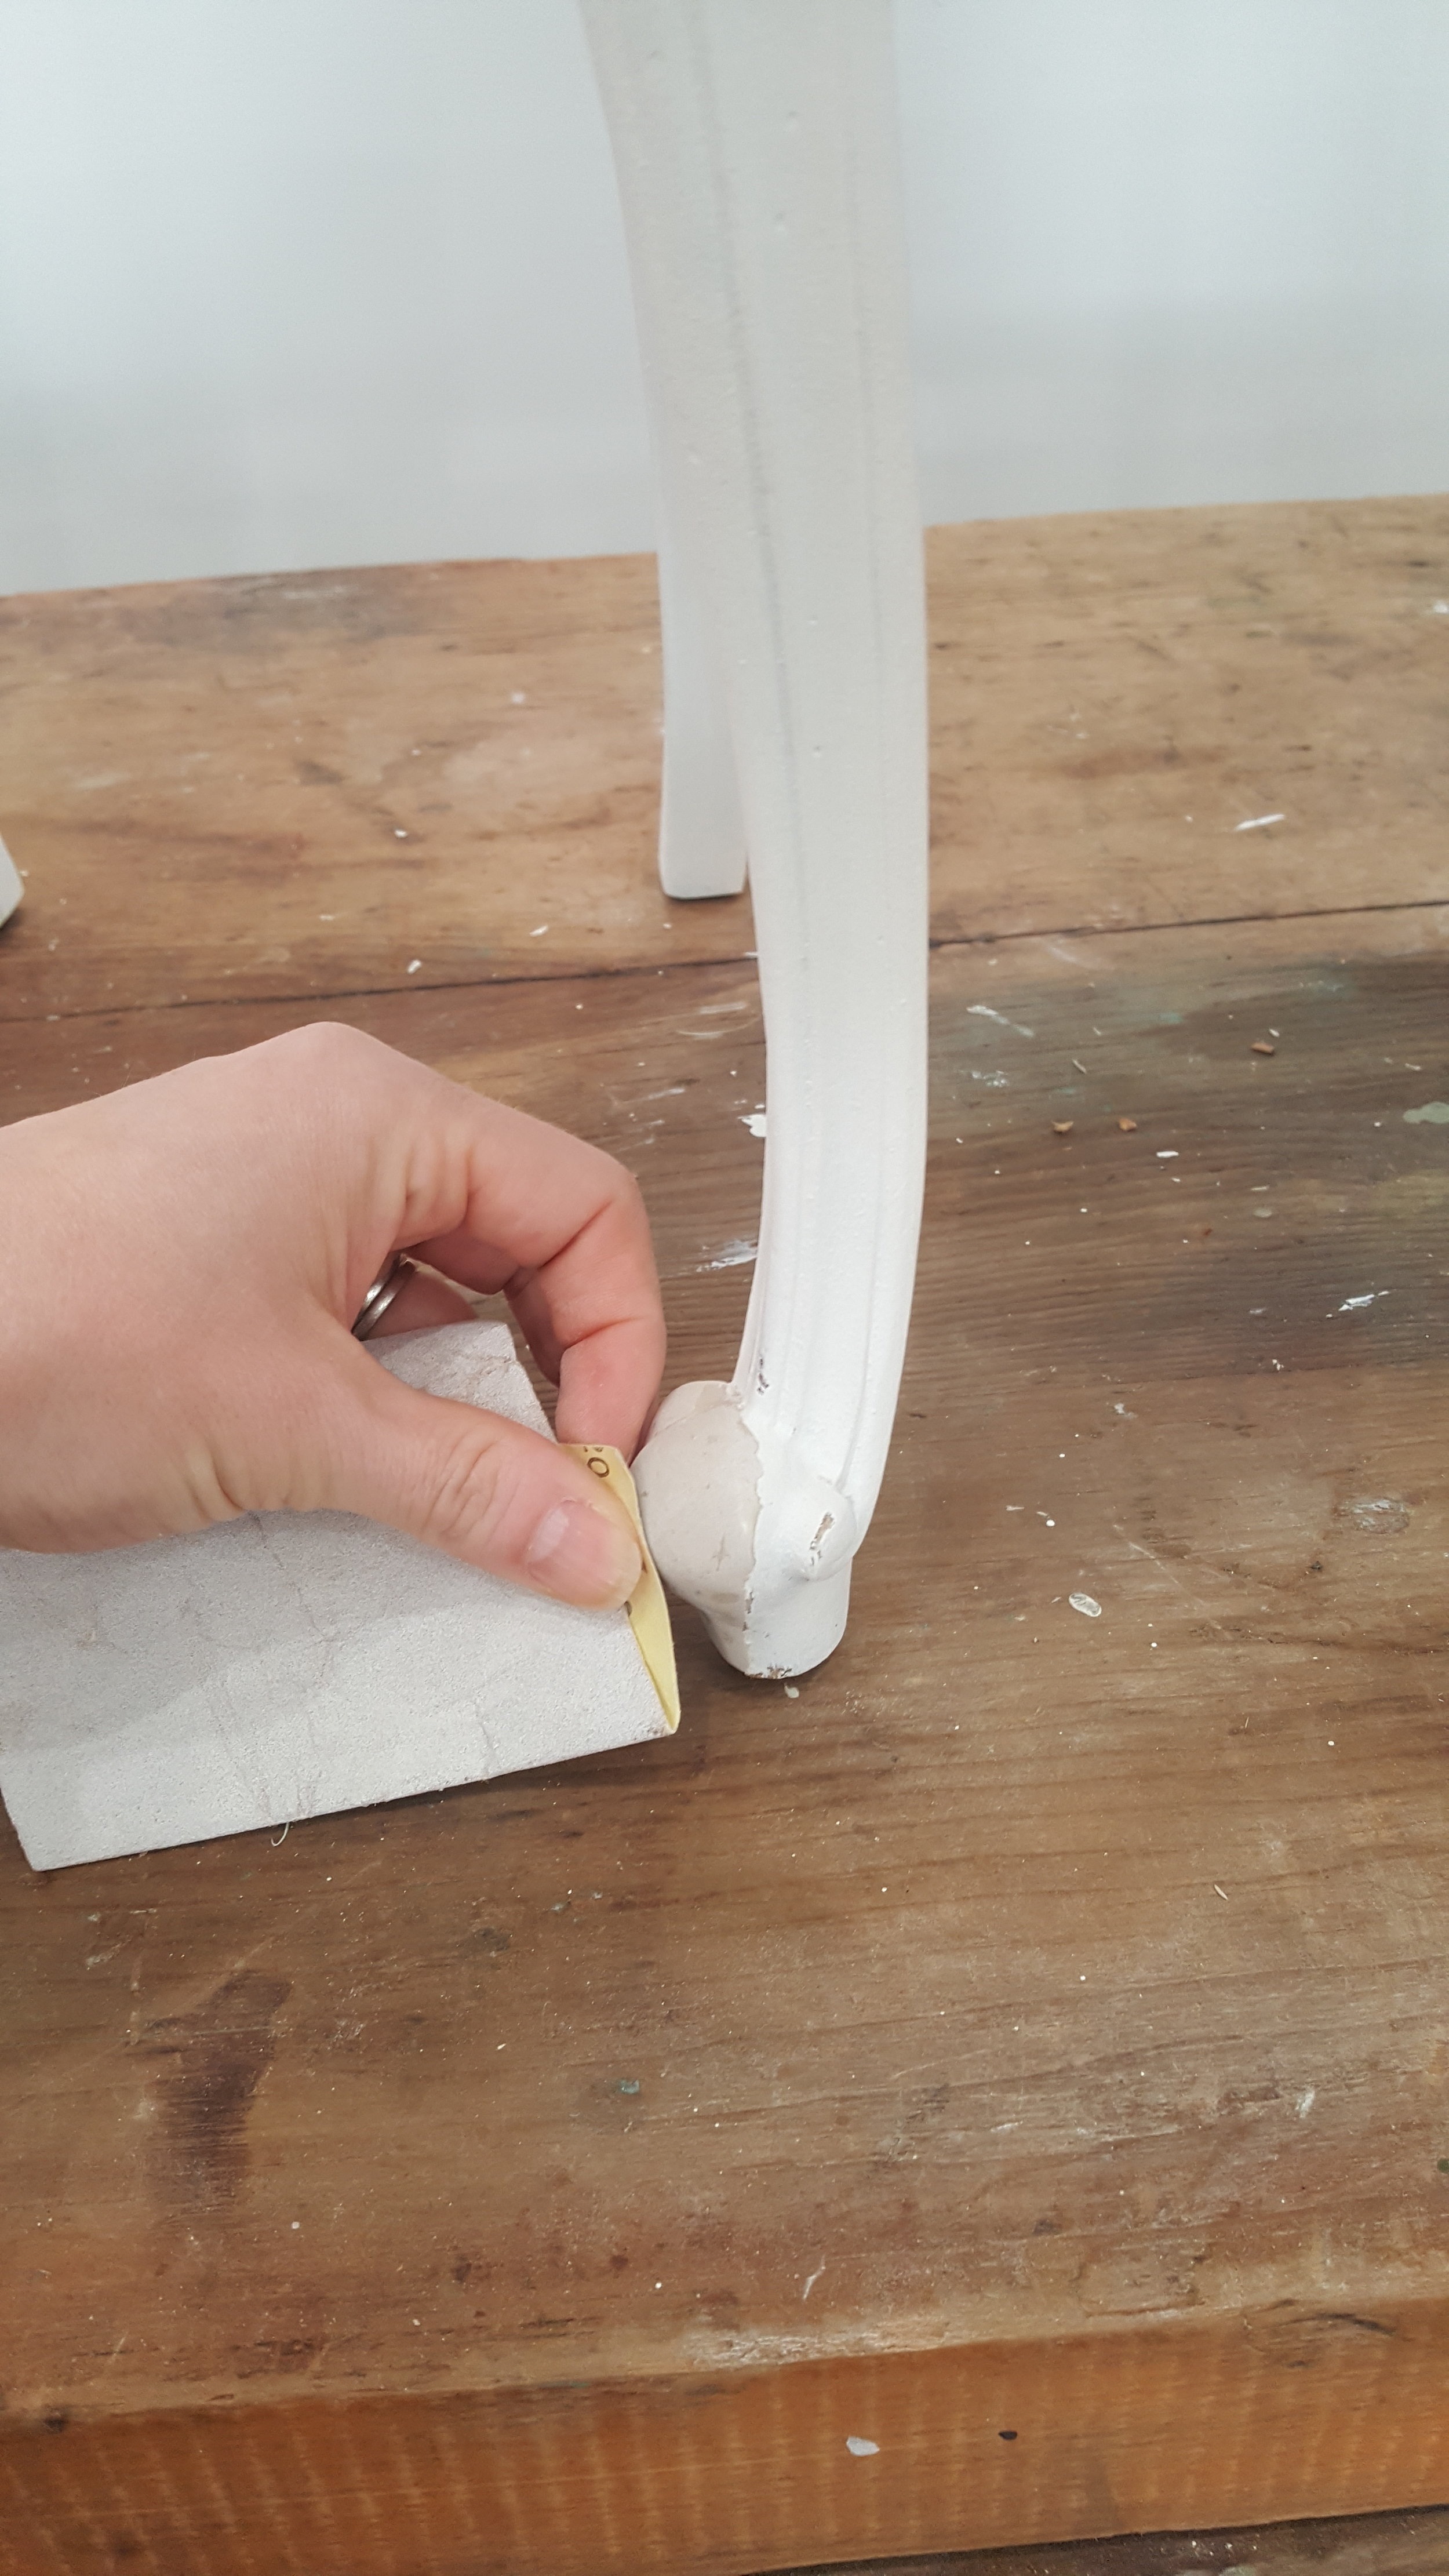
Step 2: Sand the area down with a coarse sandpaper to give it some “teeth” to grab onto.
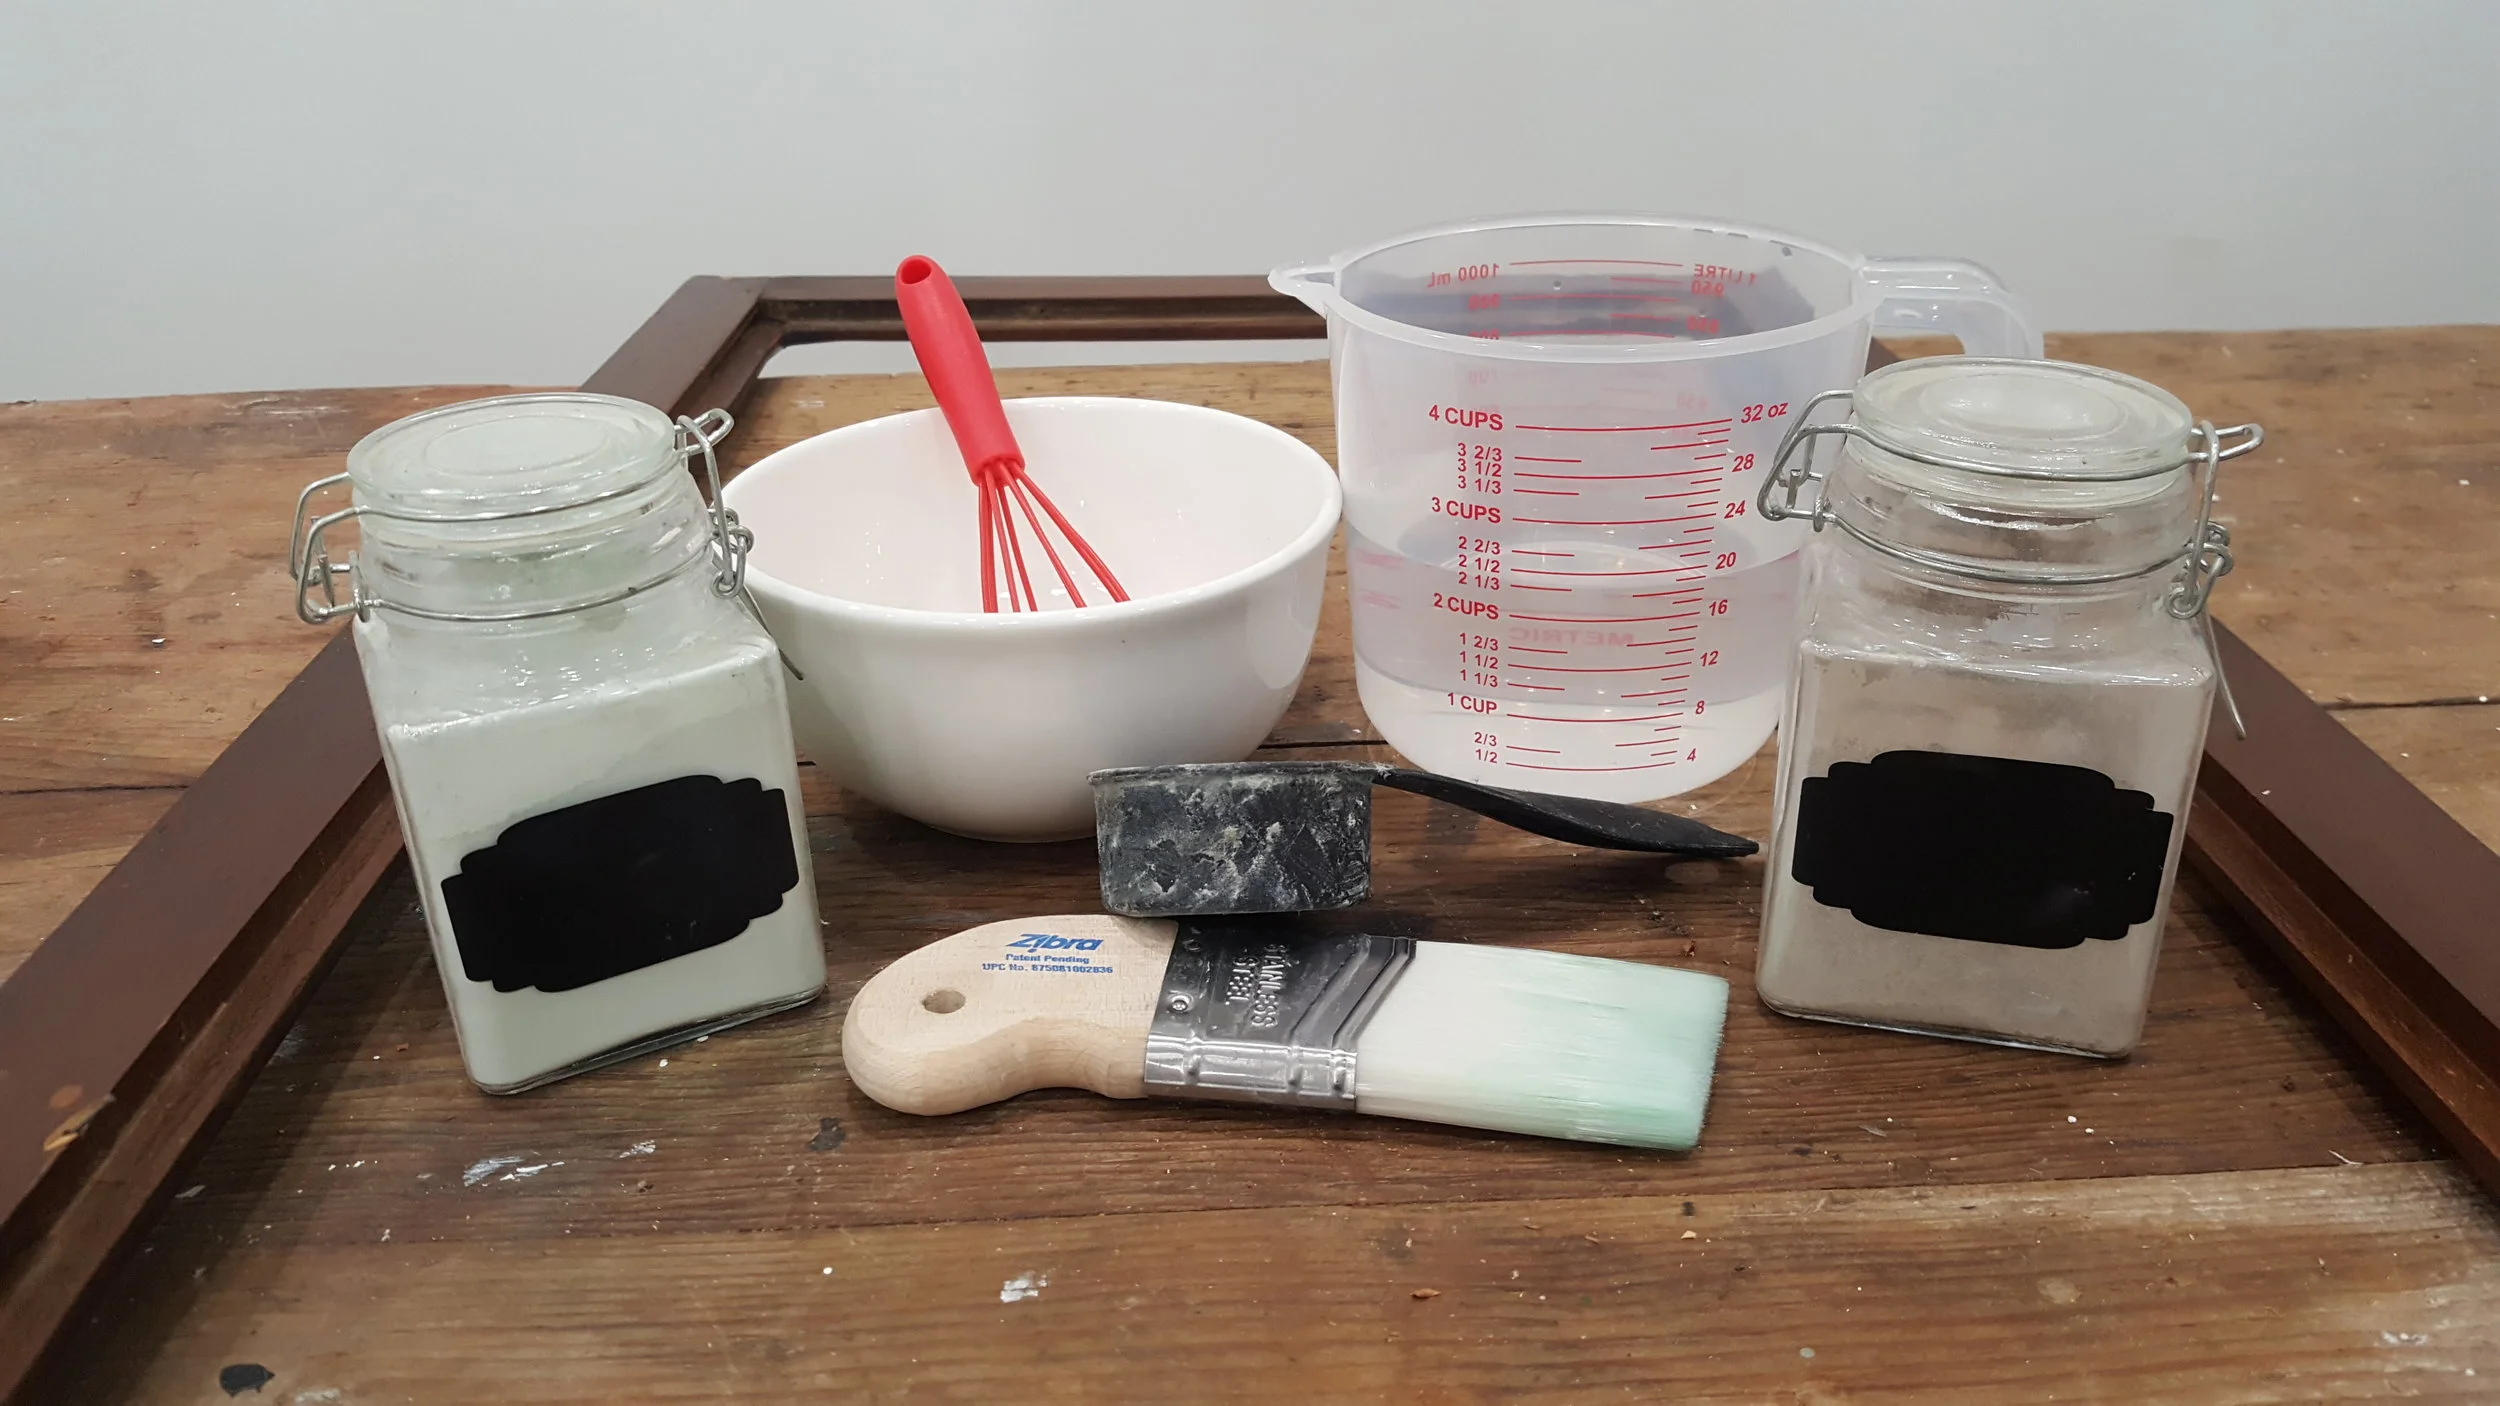
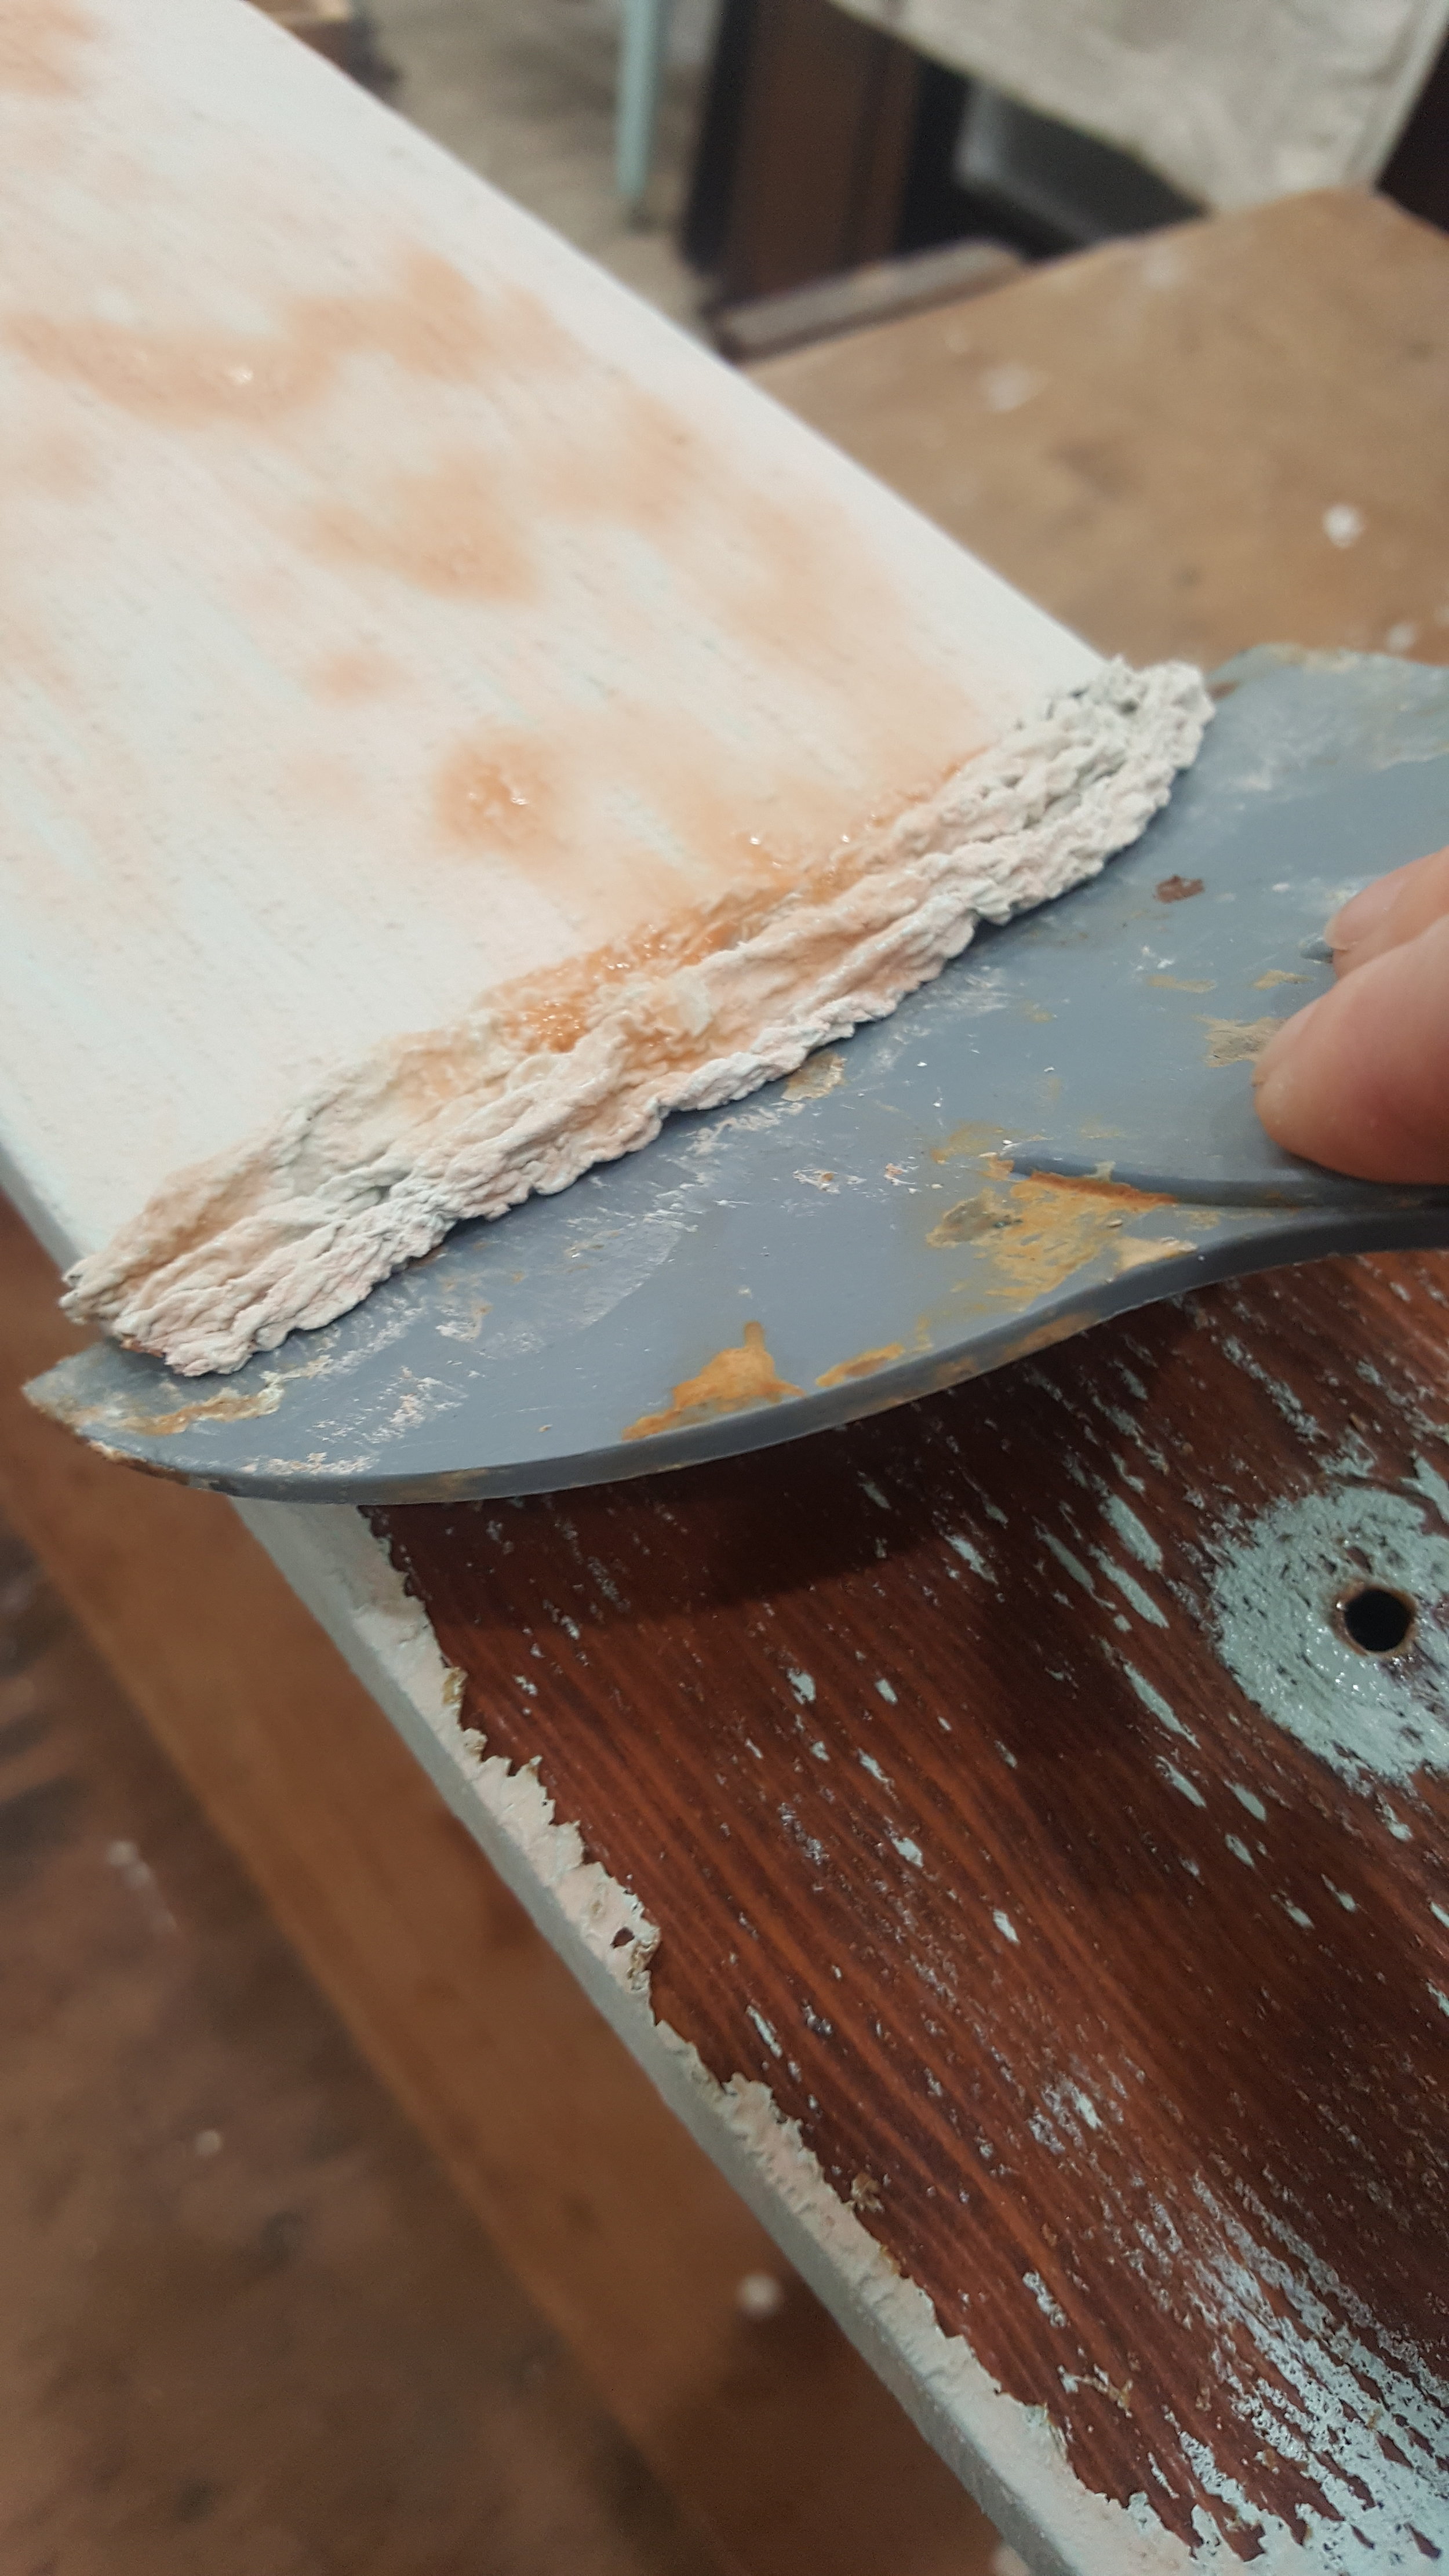
Step 3: Break off the amount of putty that you are going to use, knead it through your fingers until the putty is a uniform color and once its mixed well you firmly press it and form it to the piece of wood. You have about 20 minutes to work with it, which is nice because you don’t have to rush through the process.
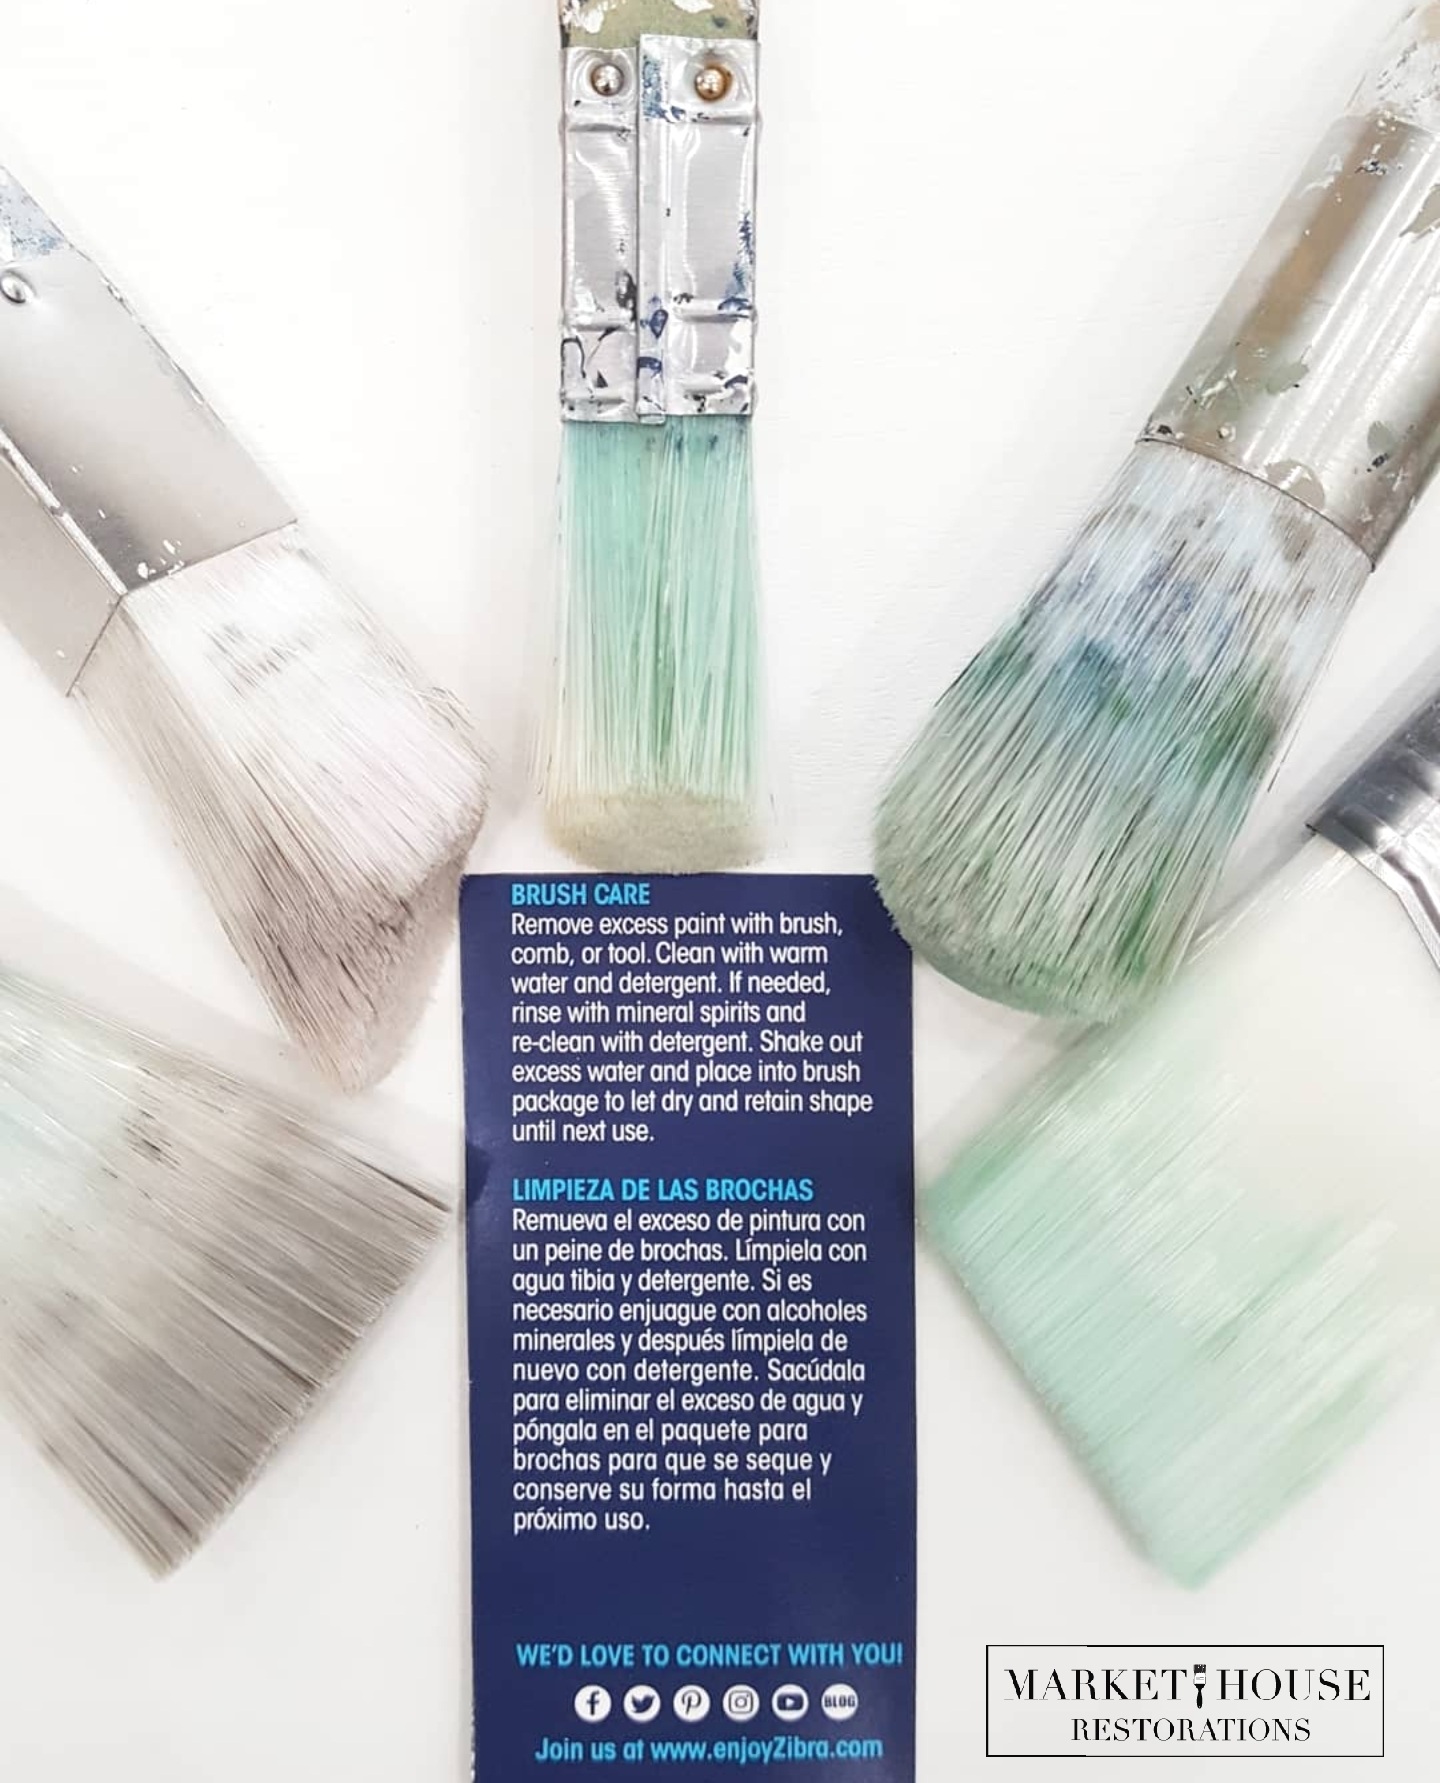
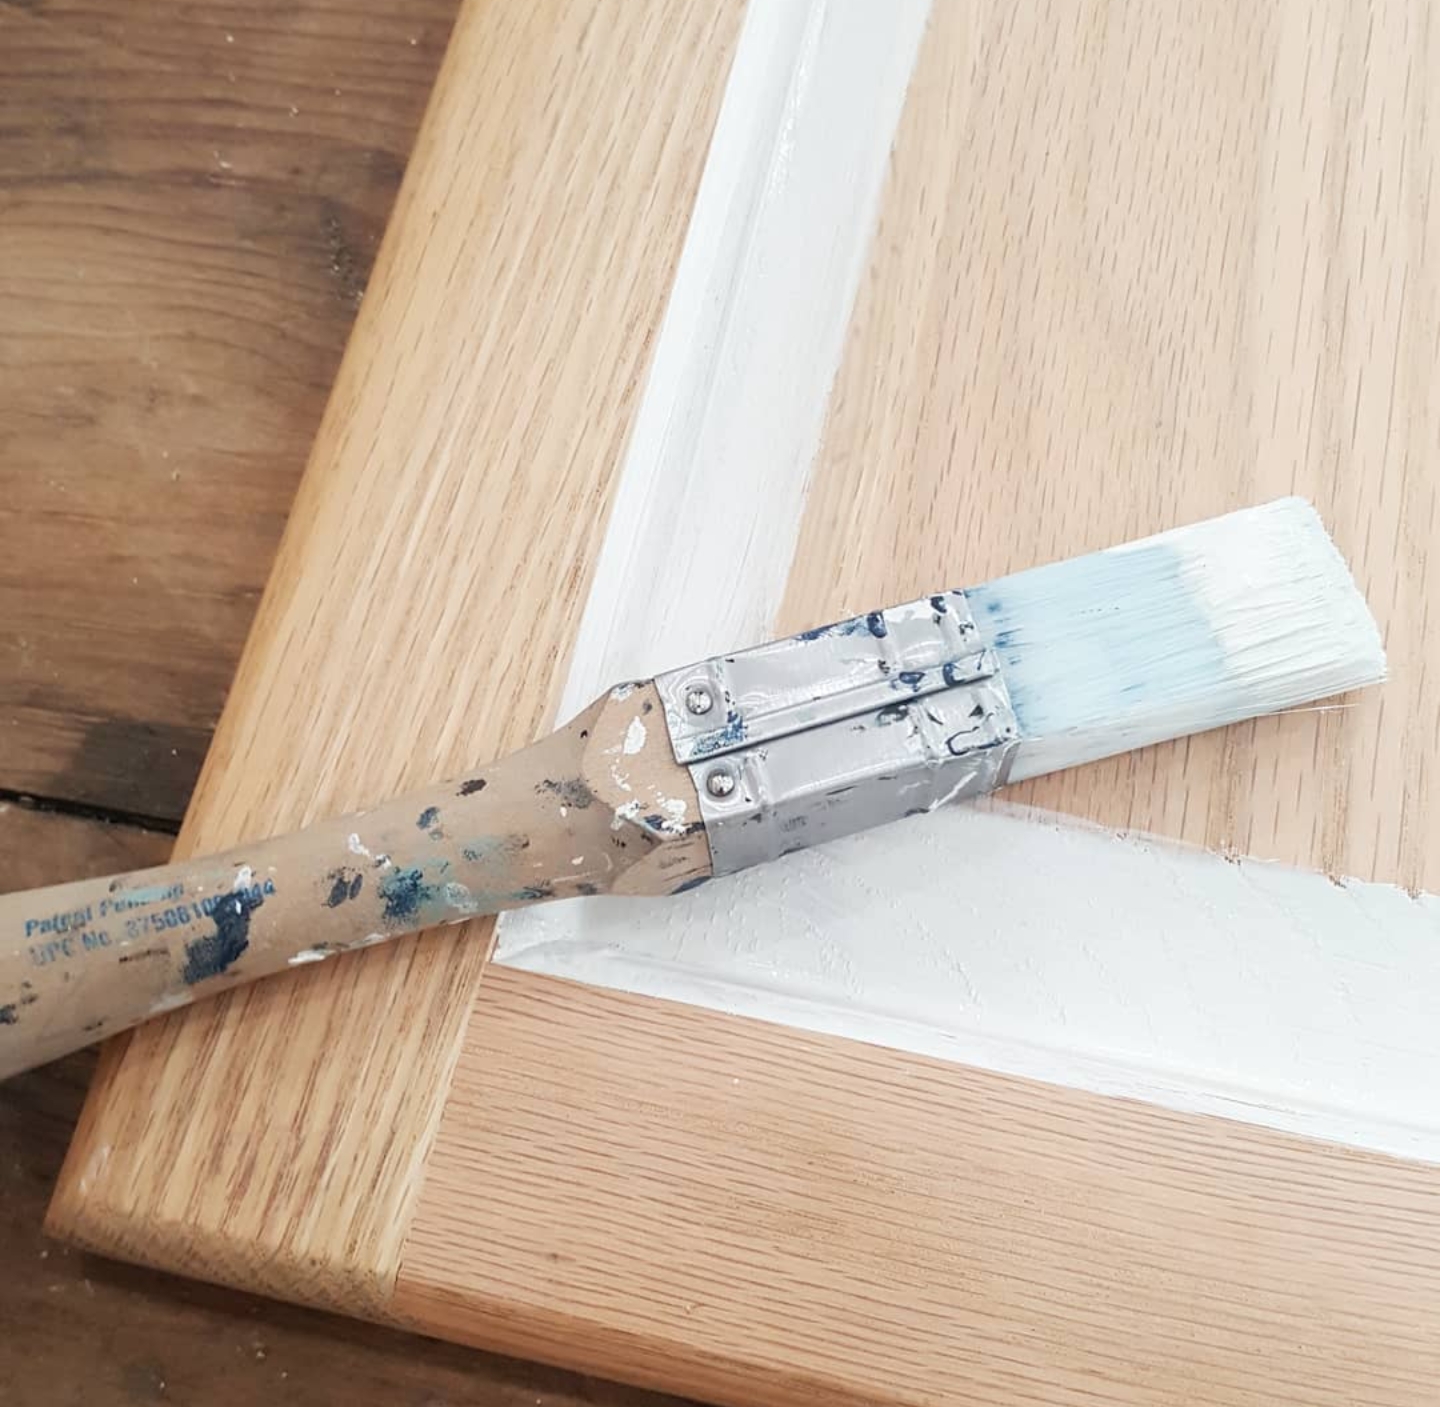
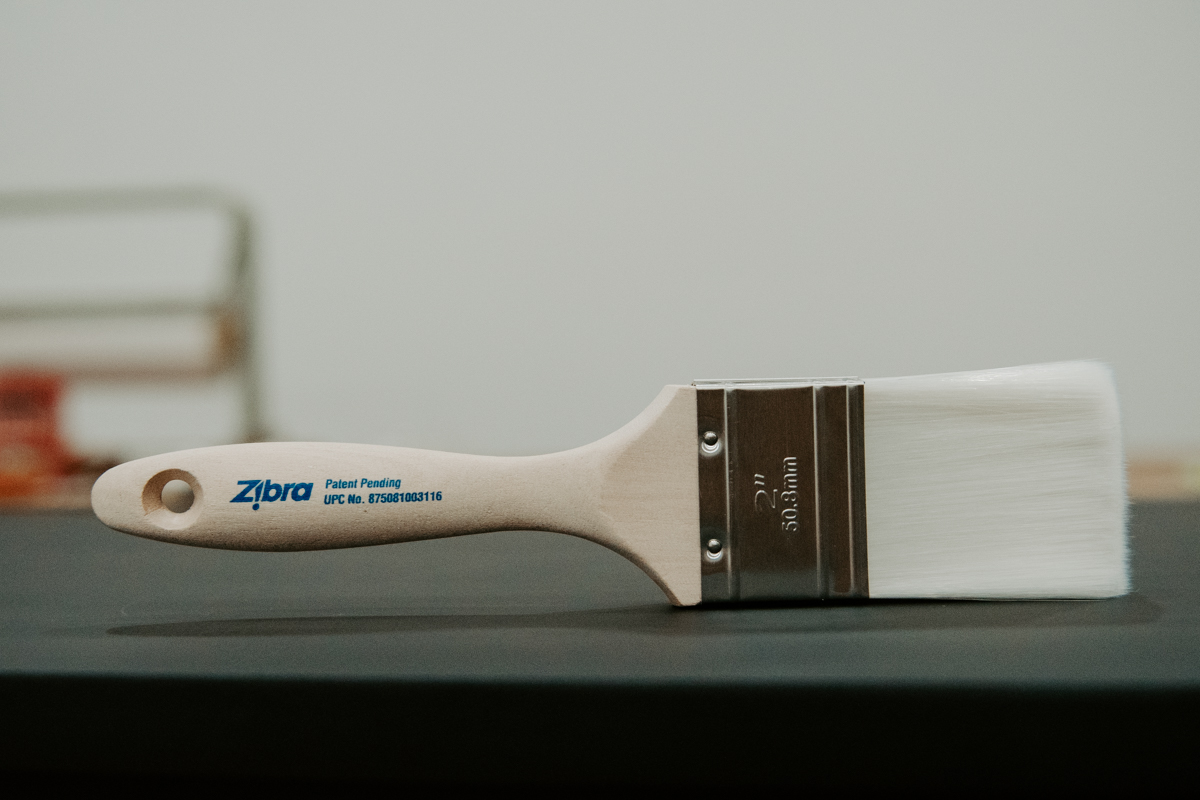
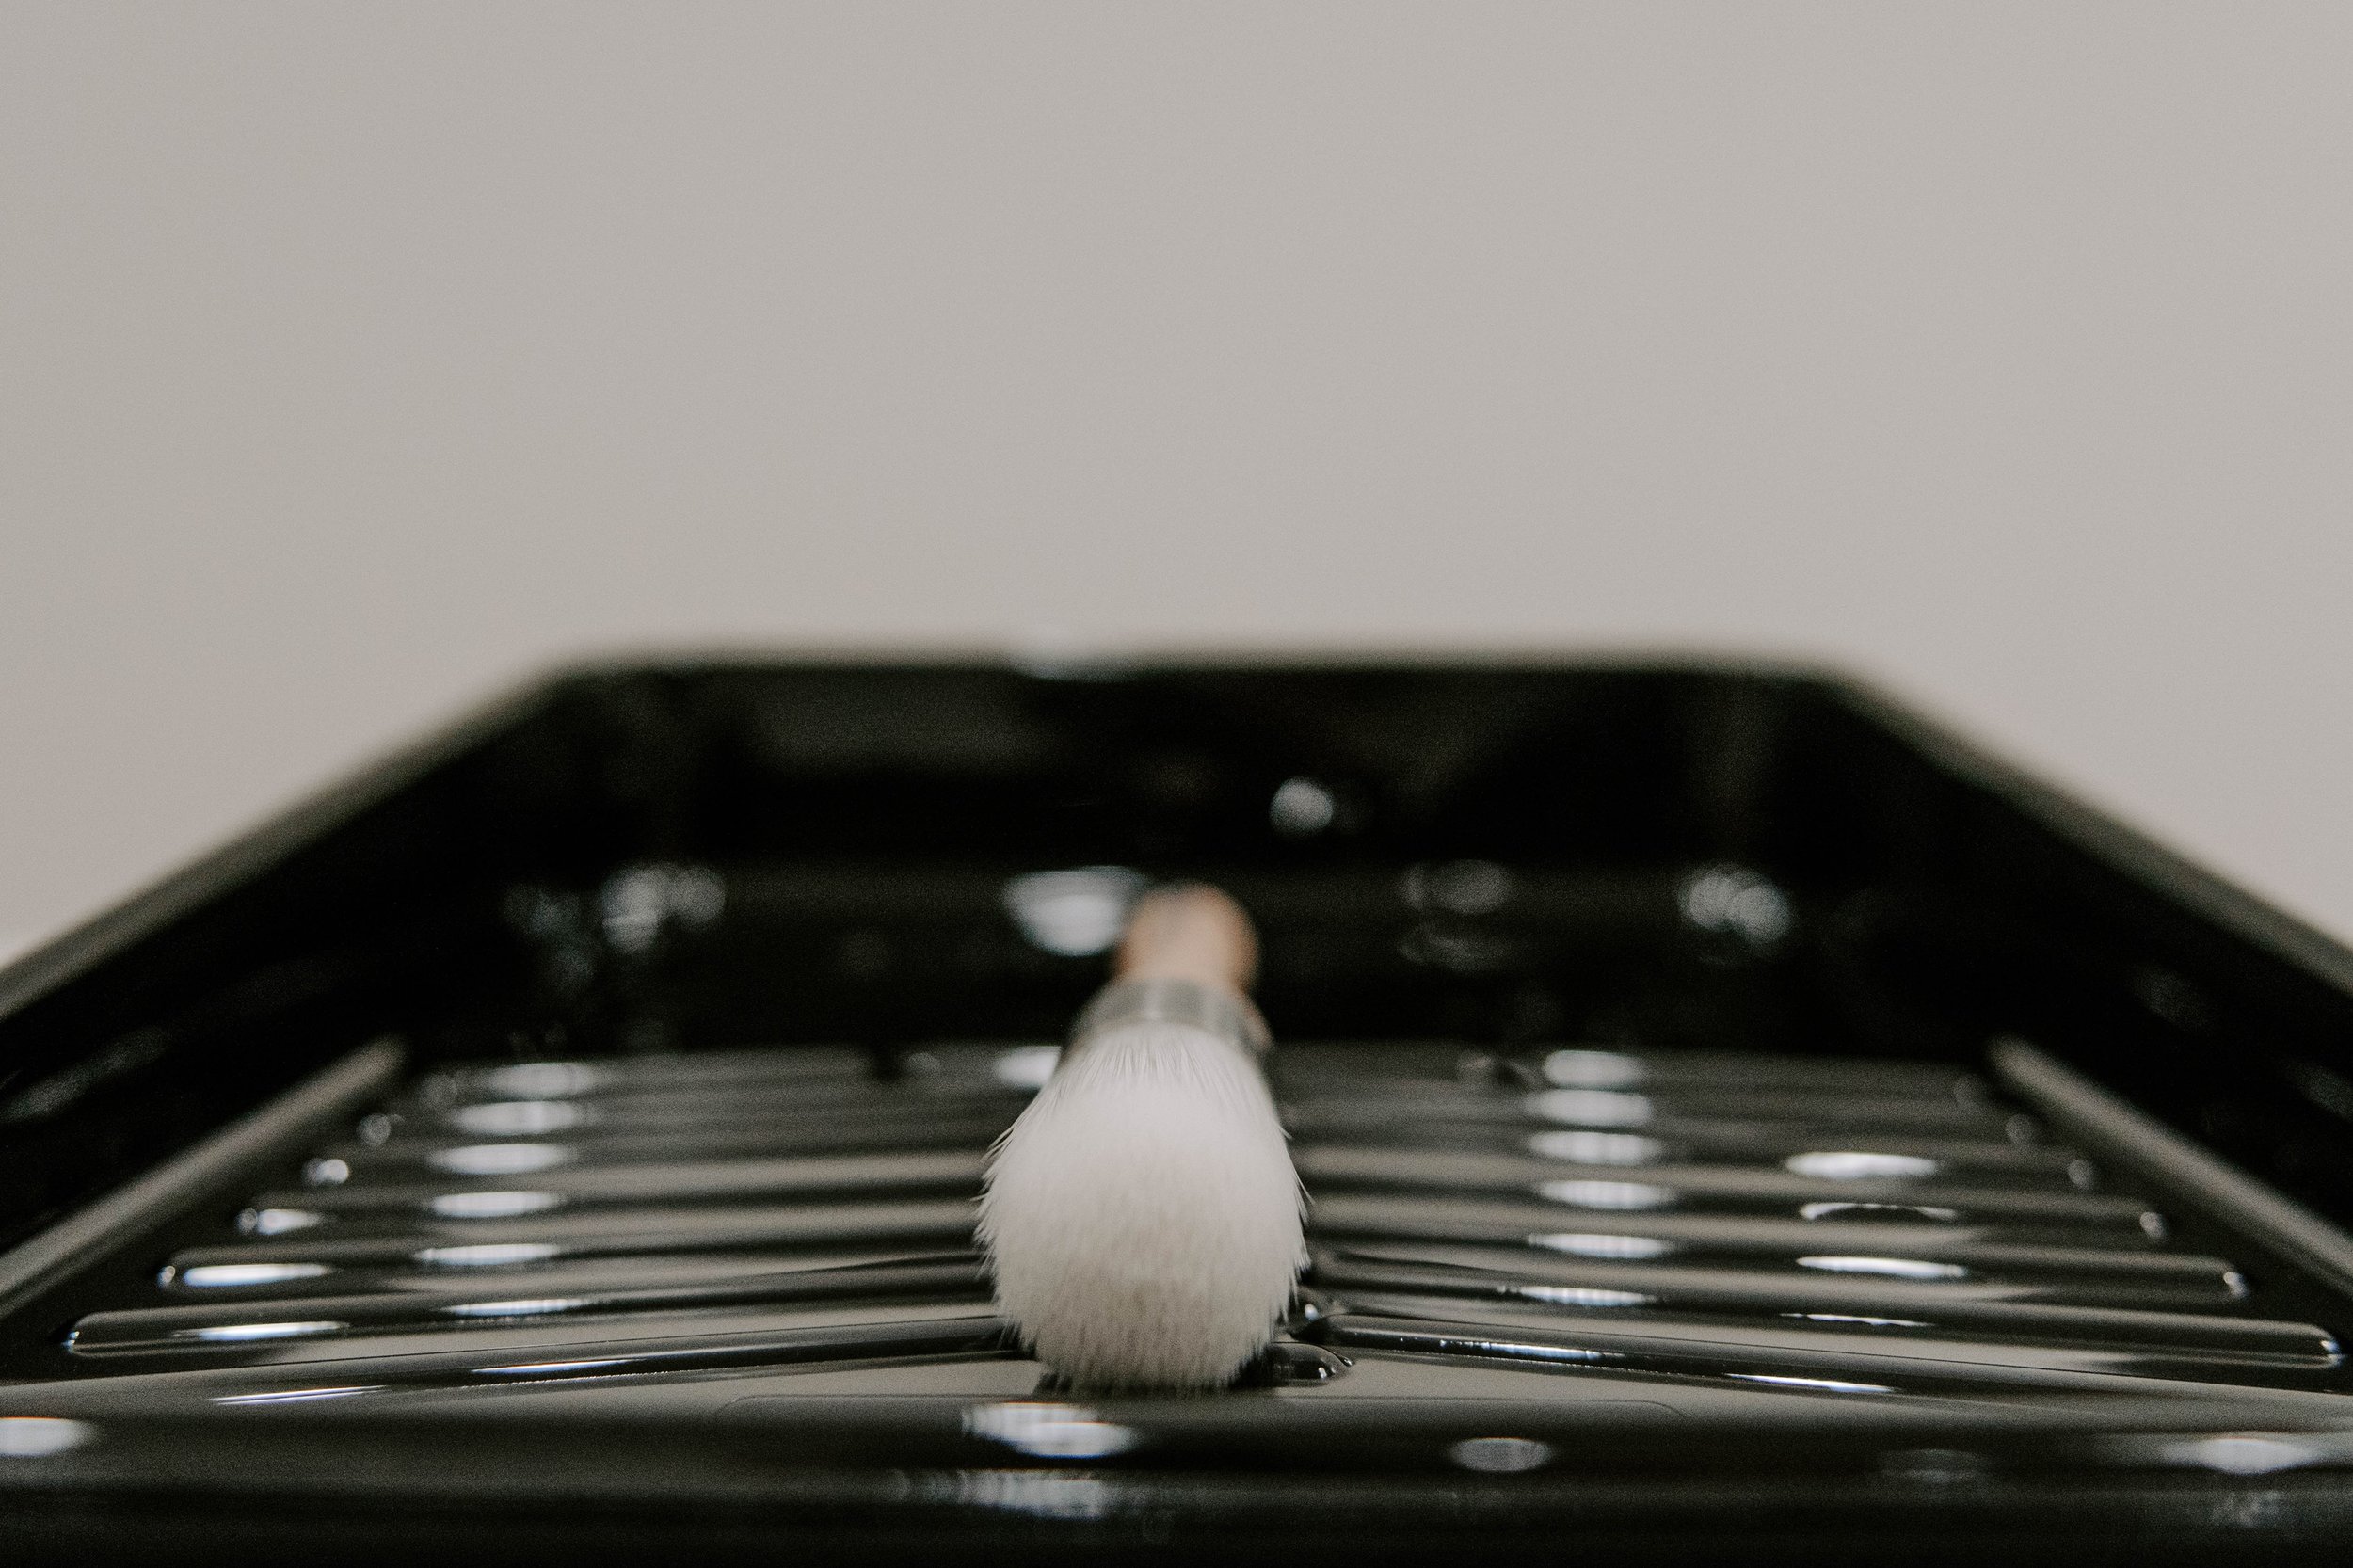
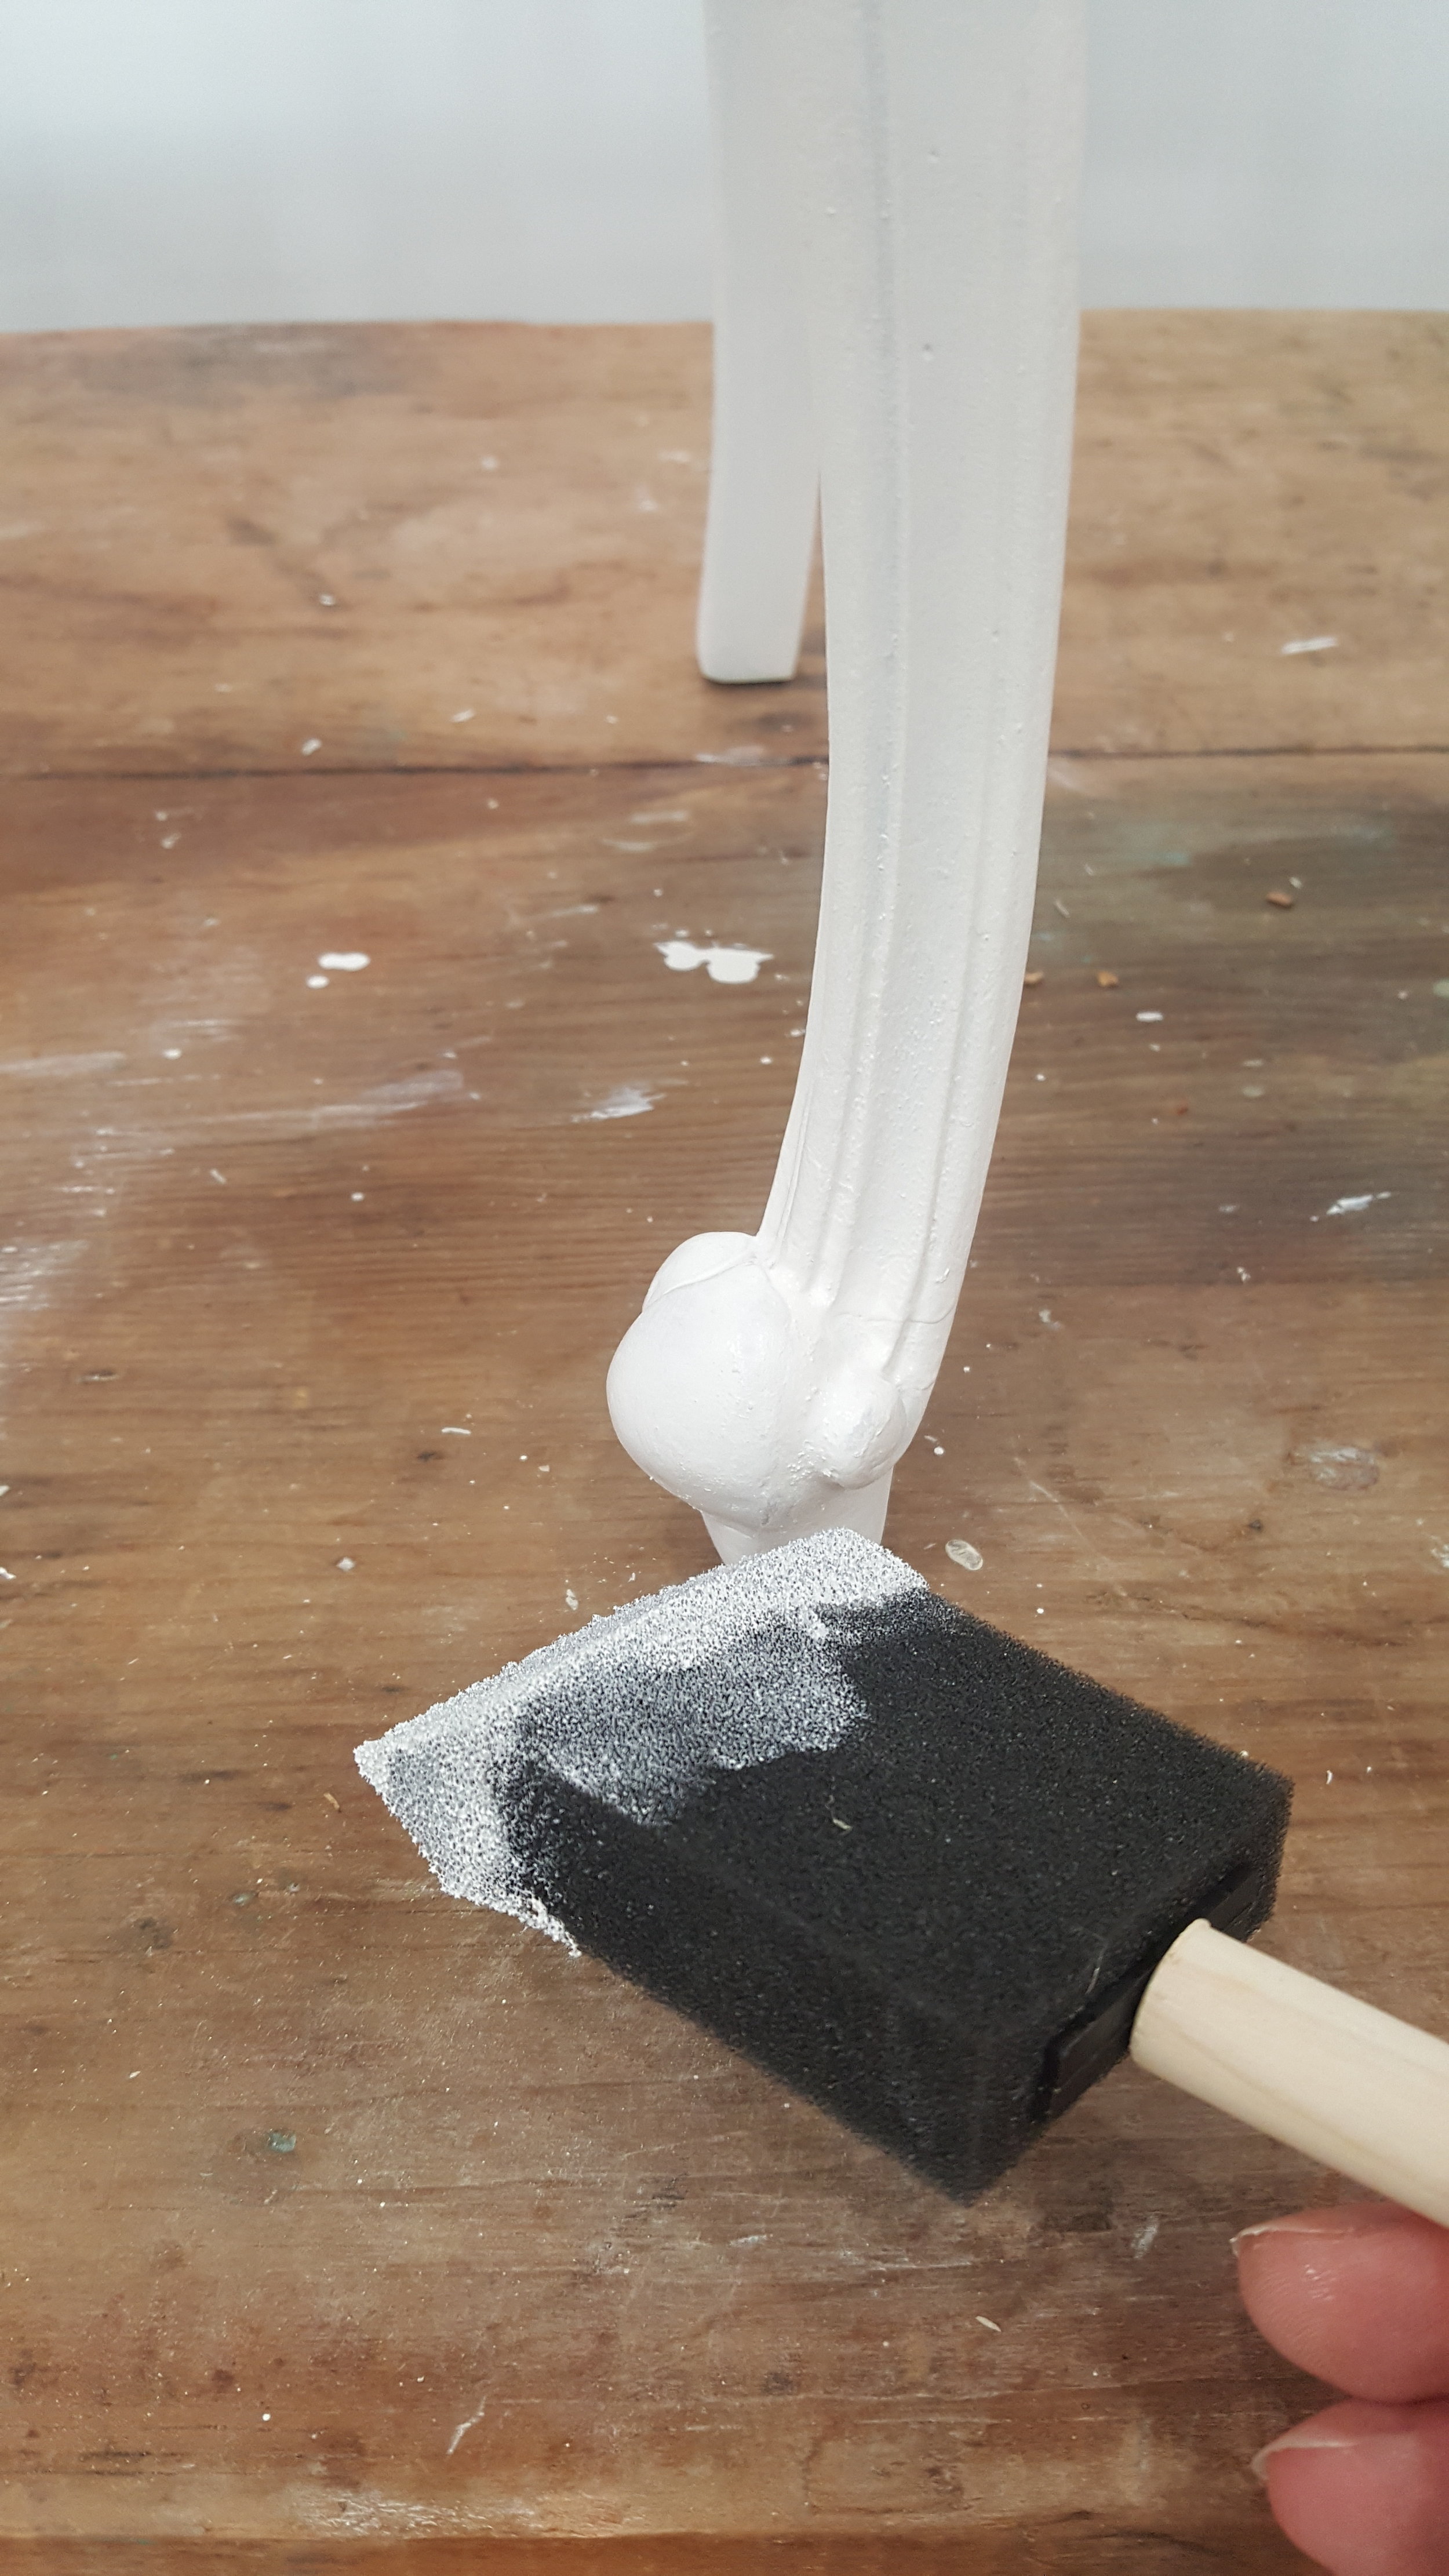
Step 4: The epoxy putty acts like wood once it has cured, which takes about an hour. After that you may sand, drill, file or paint the Epoxy putty as needed. When the time comes to paint, make sure you check out my favorite brushes!!
Again, Epoxy putty is a great option if you need to fix a small piece molding or wood that has chipped off of your furniture. It can also be used on interior and exterior surfaces which is a plus in my book! It has a little bit of a smell, but it’s not too bad overall. I really like it because it’s user friendly and costs less than $10 for a tube.


Thank you so much for stopping by for #TuesdayTipsWithFallon! Make sure you tune in every other Tuesday for a new tip! If you want to save this blog post, just pin it to your Pinterest page and/or feel free to share it elsewhere. Thanks again!
*Please note, this blog post does contain affiliate links.

Don’t forget to check out my other #TuesdayTipsWithFallon videos and blog posts below!!