This simple tip will help you revive the inside of your wooden furniture.
/#TuesdayTipsWithFallon
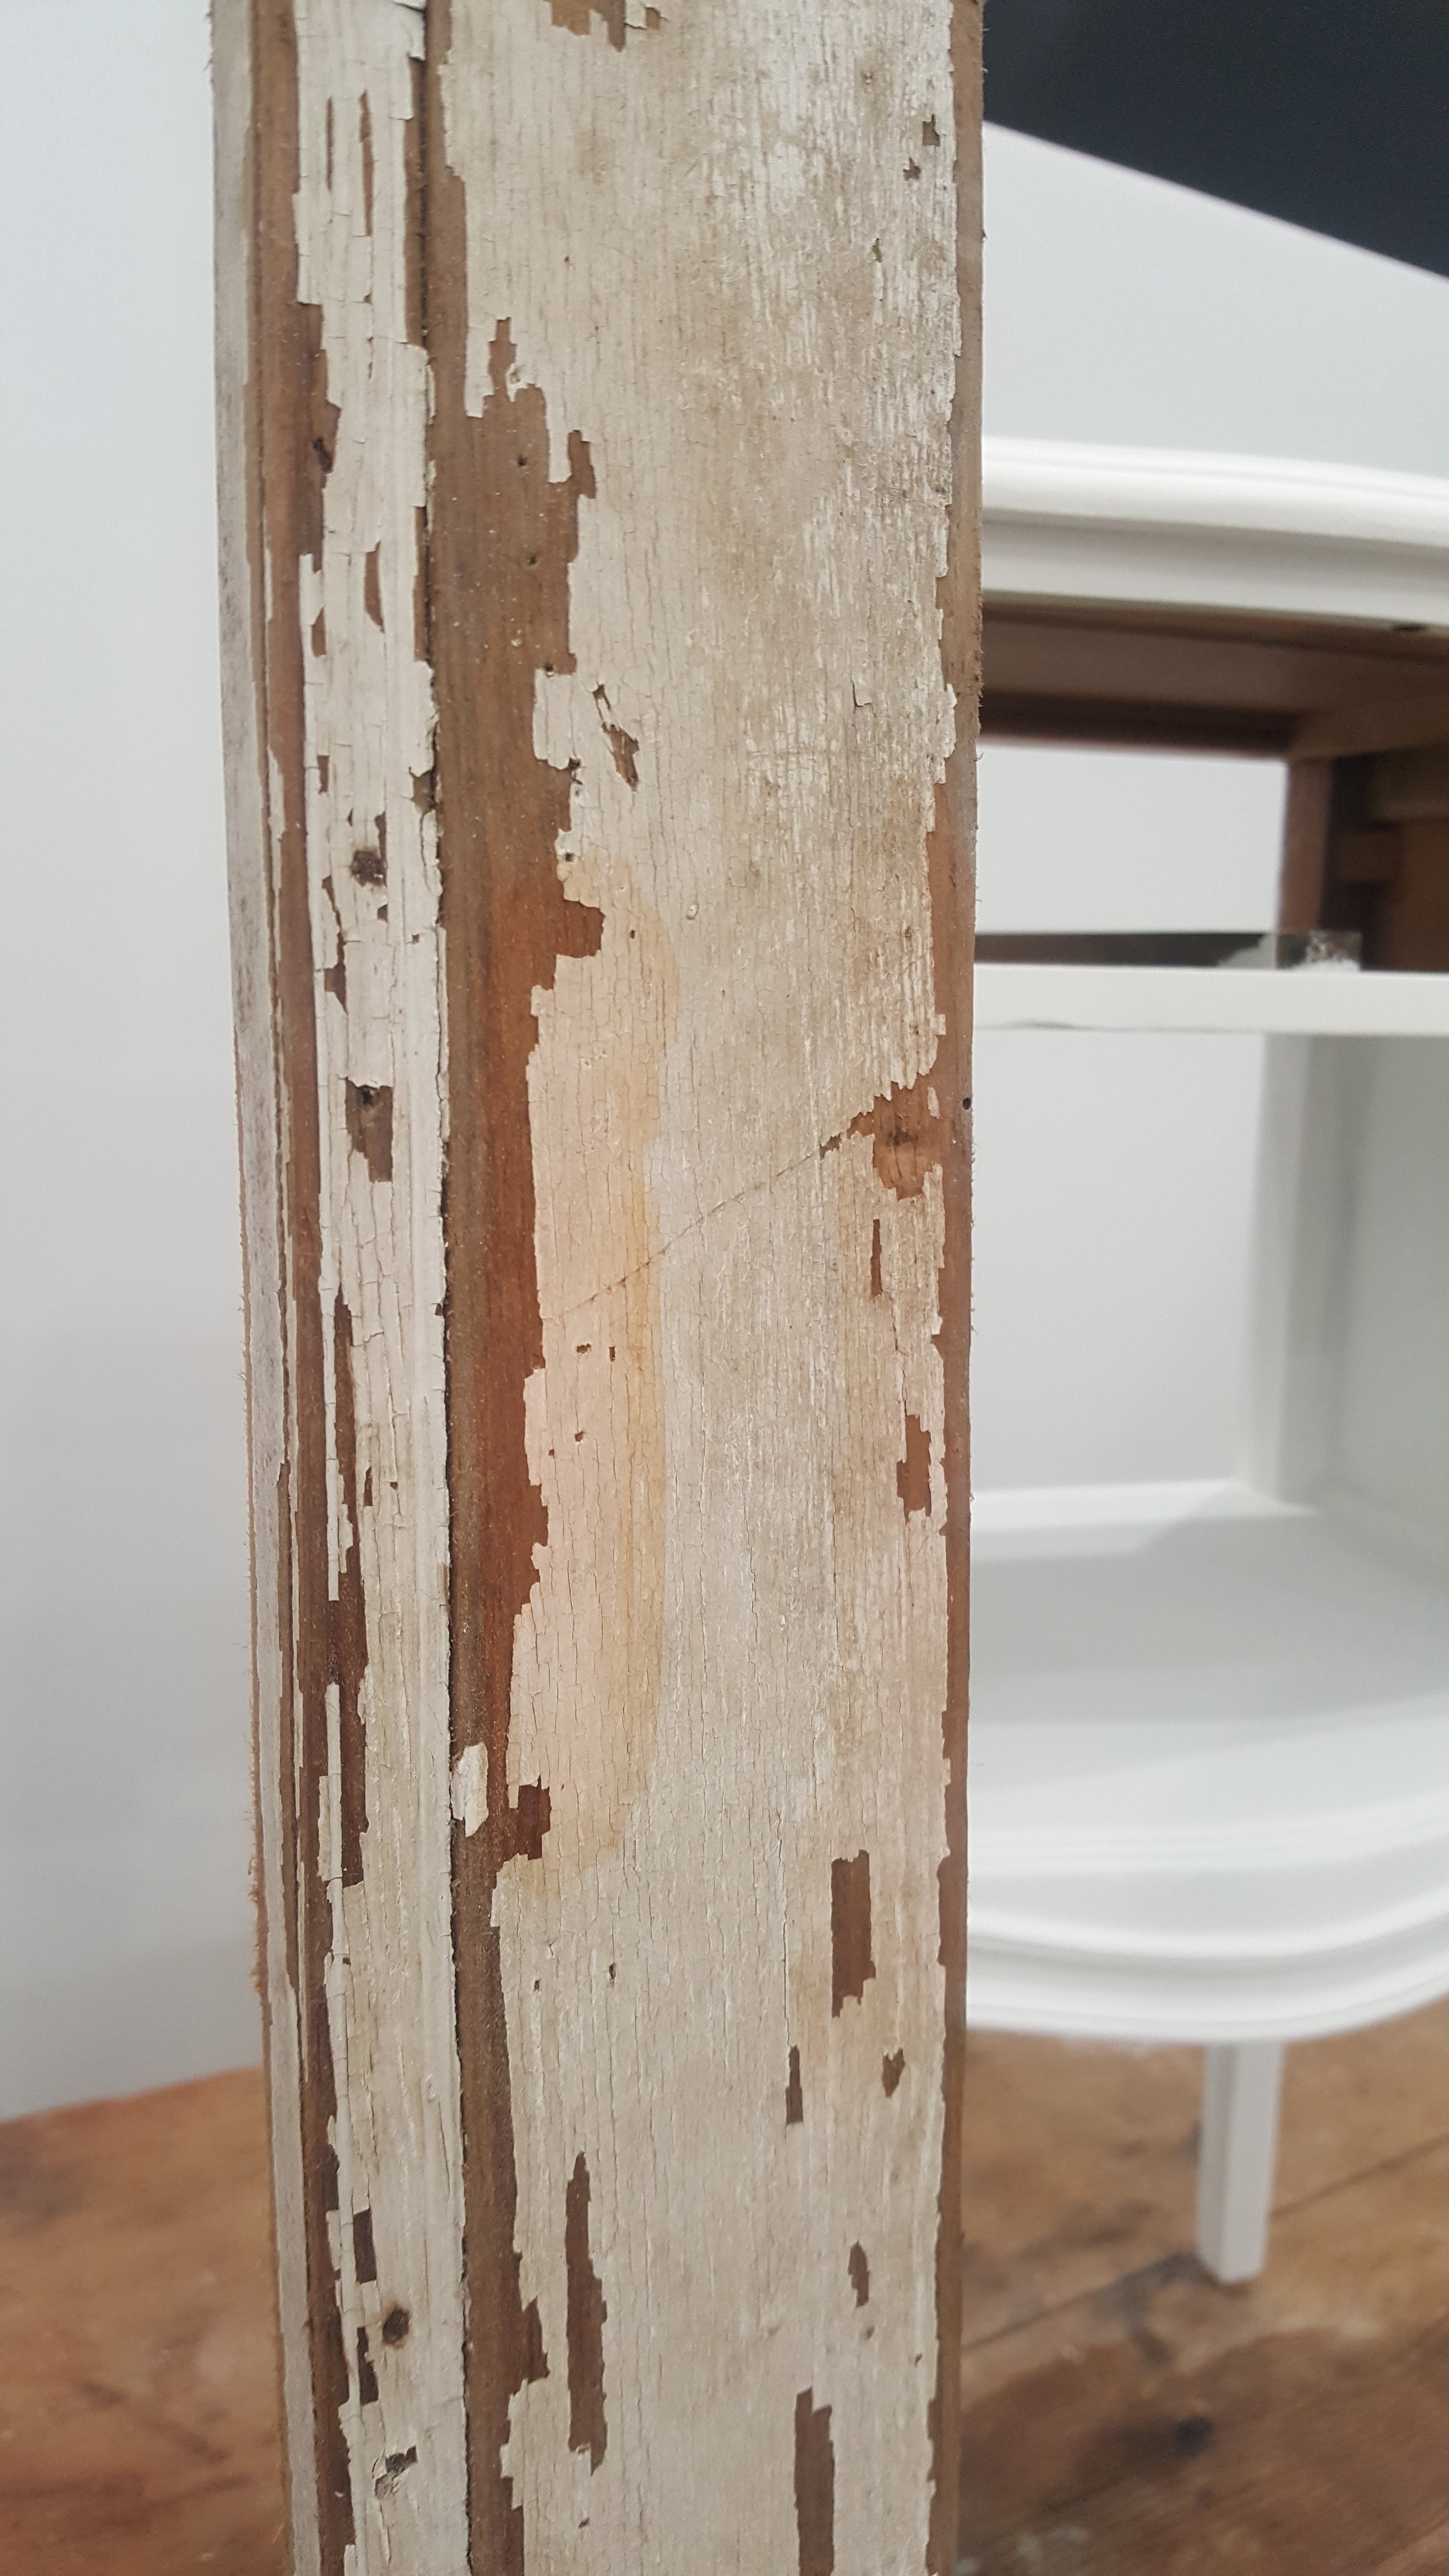
After you have painted and/or restored the outside of your furniture, sometimes the inside needs revamping, too. In this #TuesdayTipsWithFallon you will learn a quick way to bring the scratched, dried out wood back to life without adding any additional color or stains. I will show you a different way to revive the original color/finish in another #TuesdayTipsWithFallon down the road.
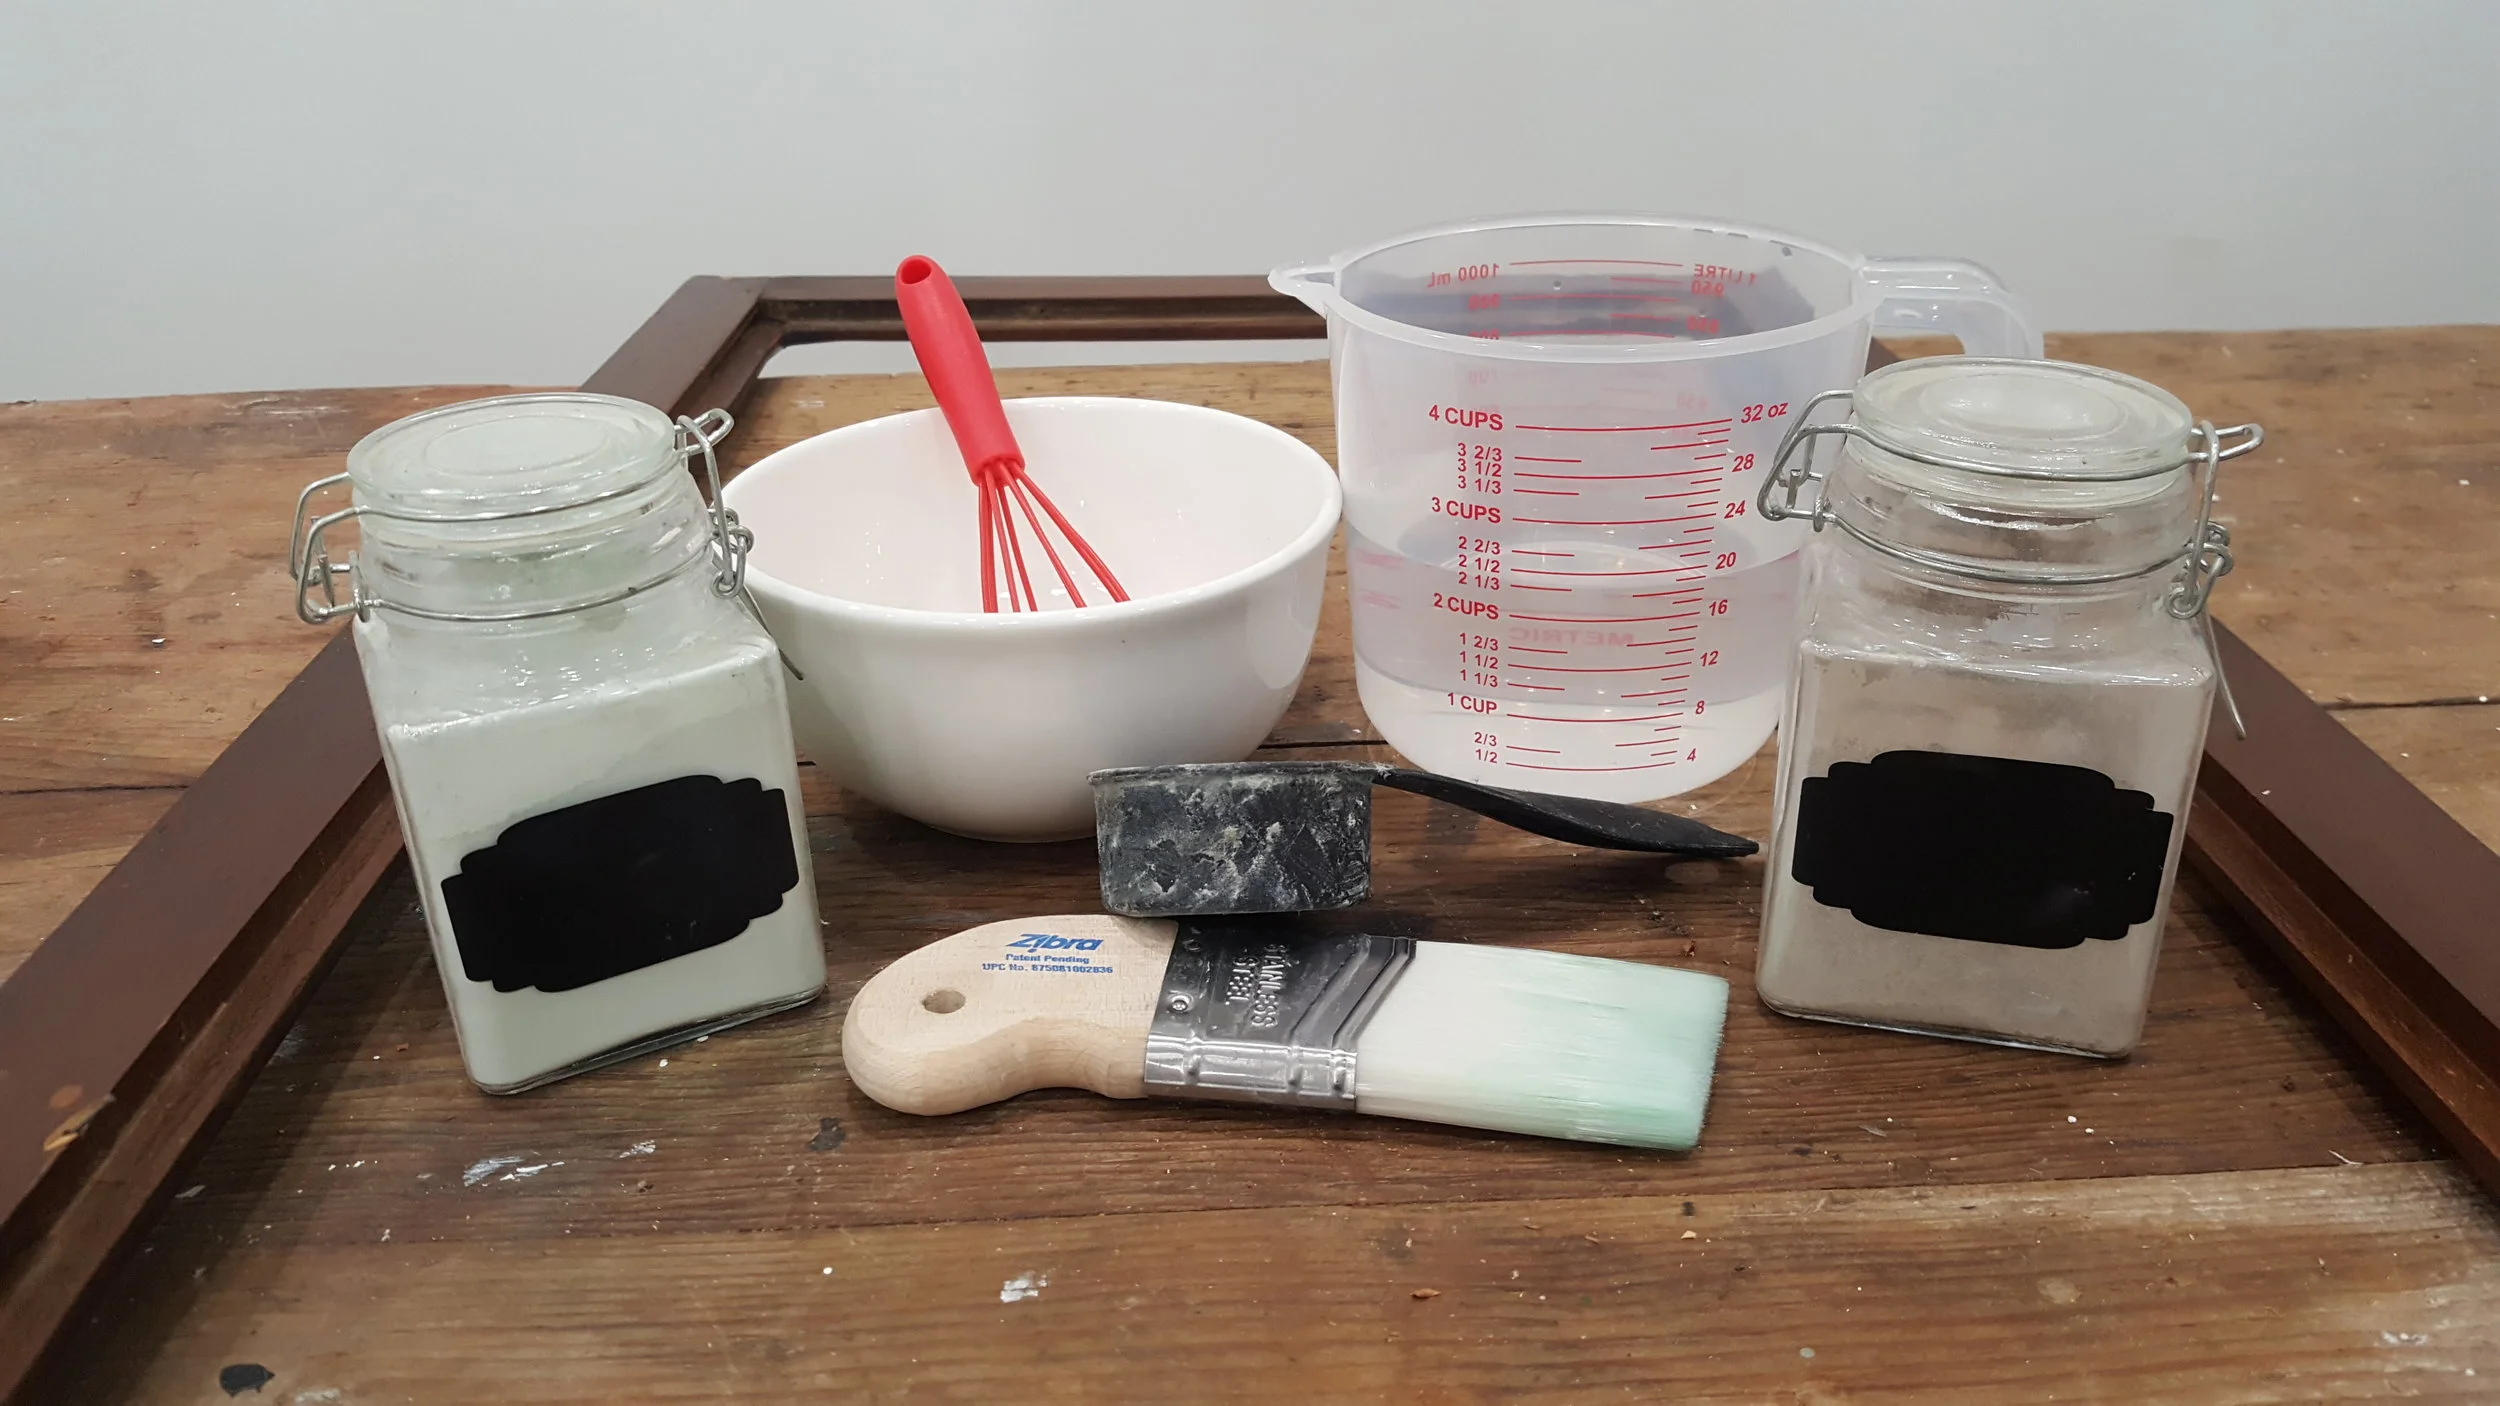
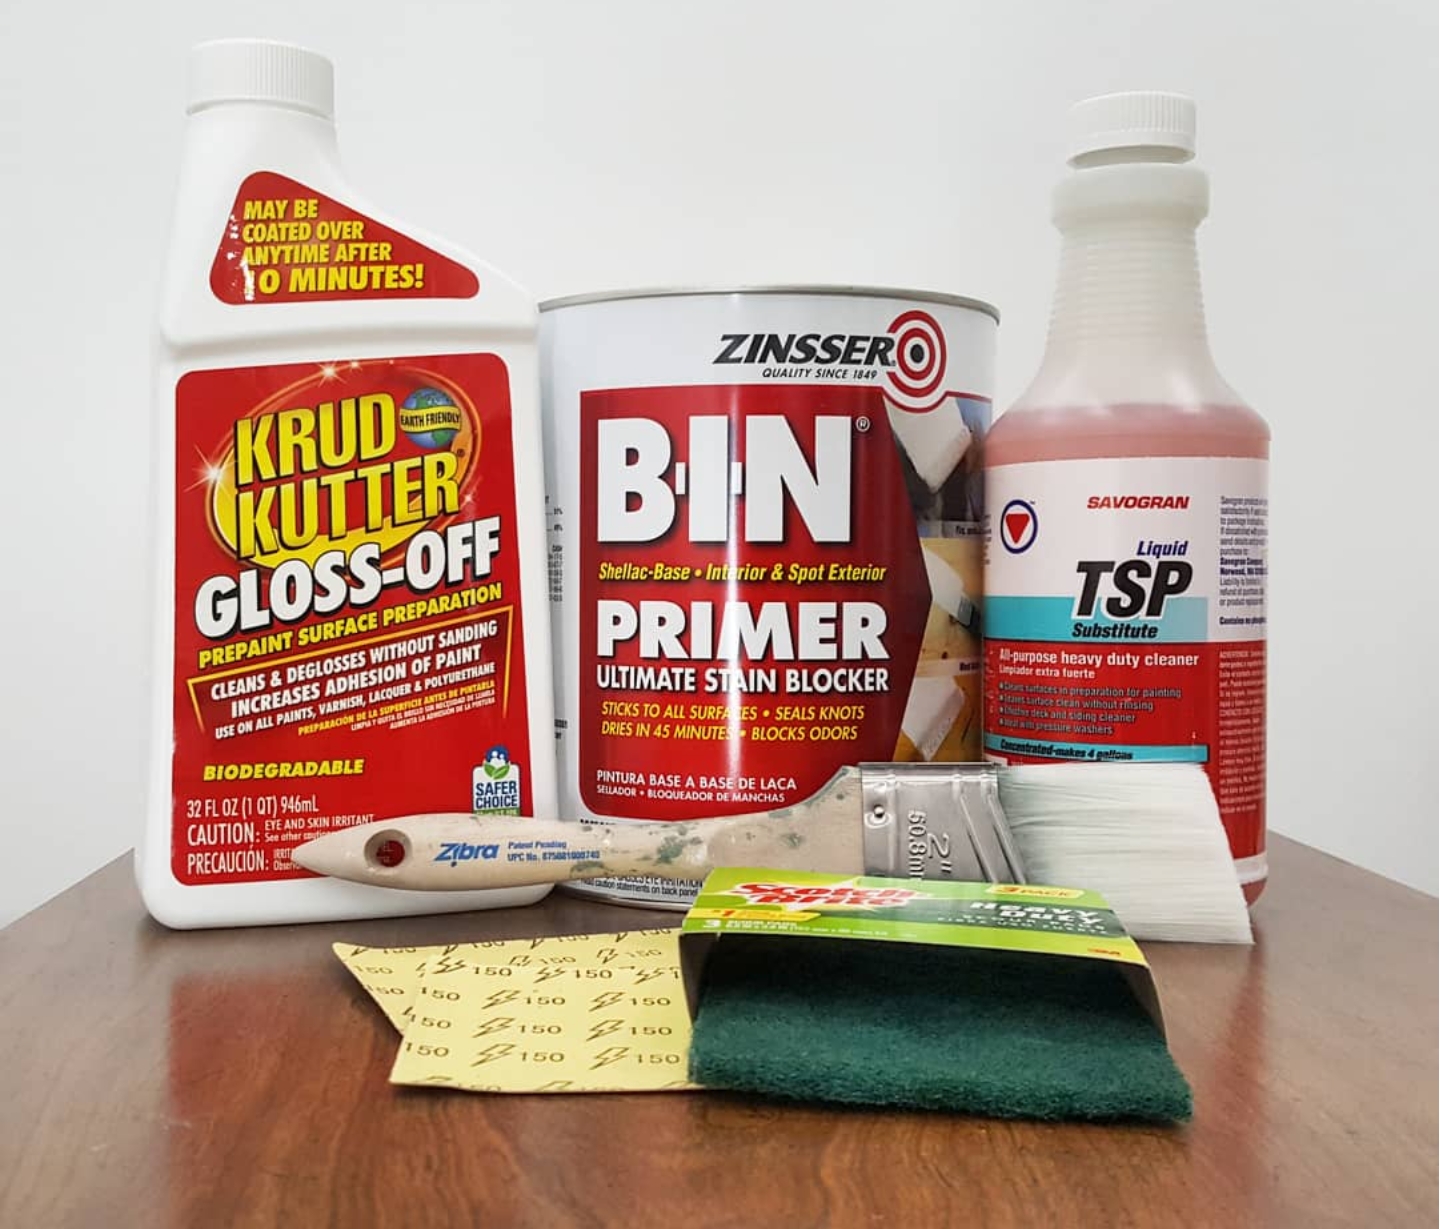
Materials:
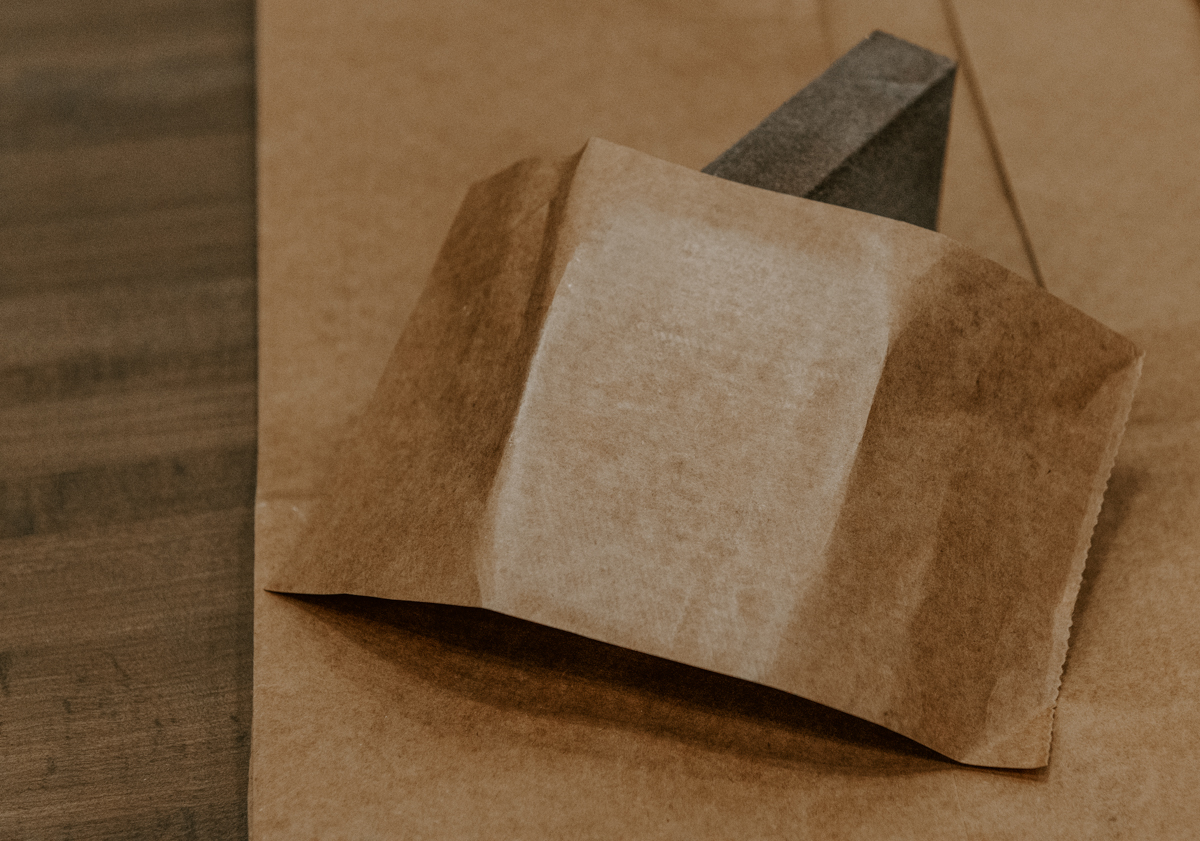
Shop towel or Old Lint Free Cloth/T-Shirt
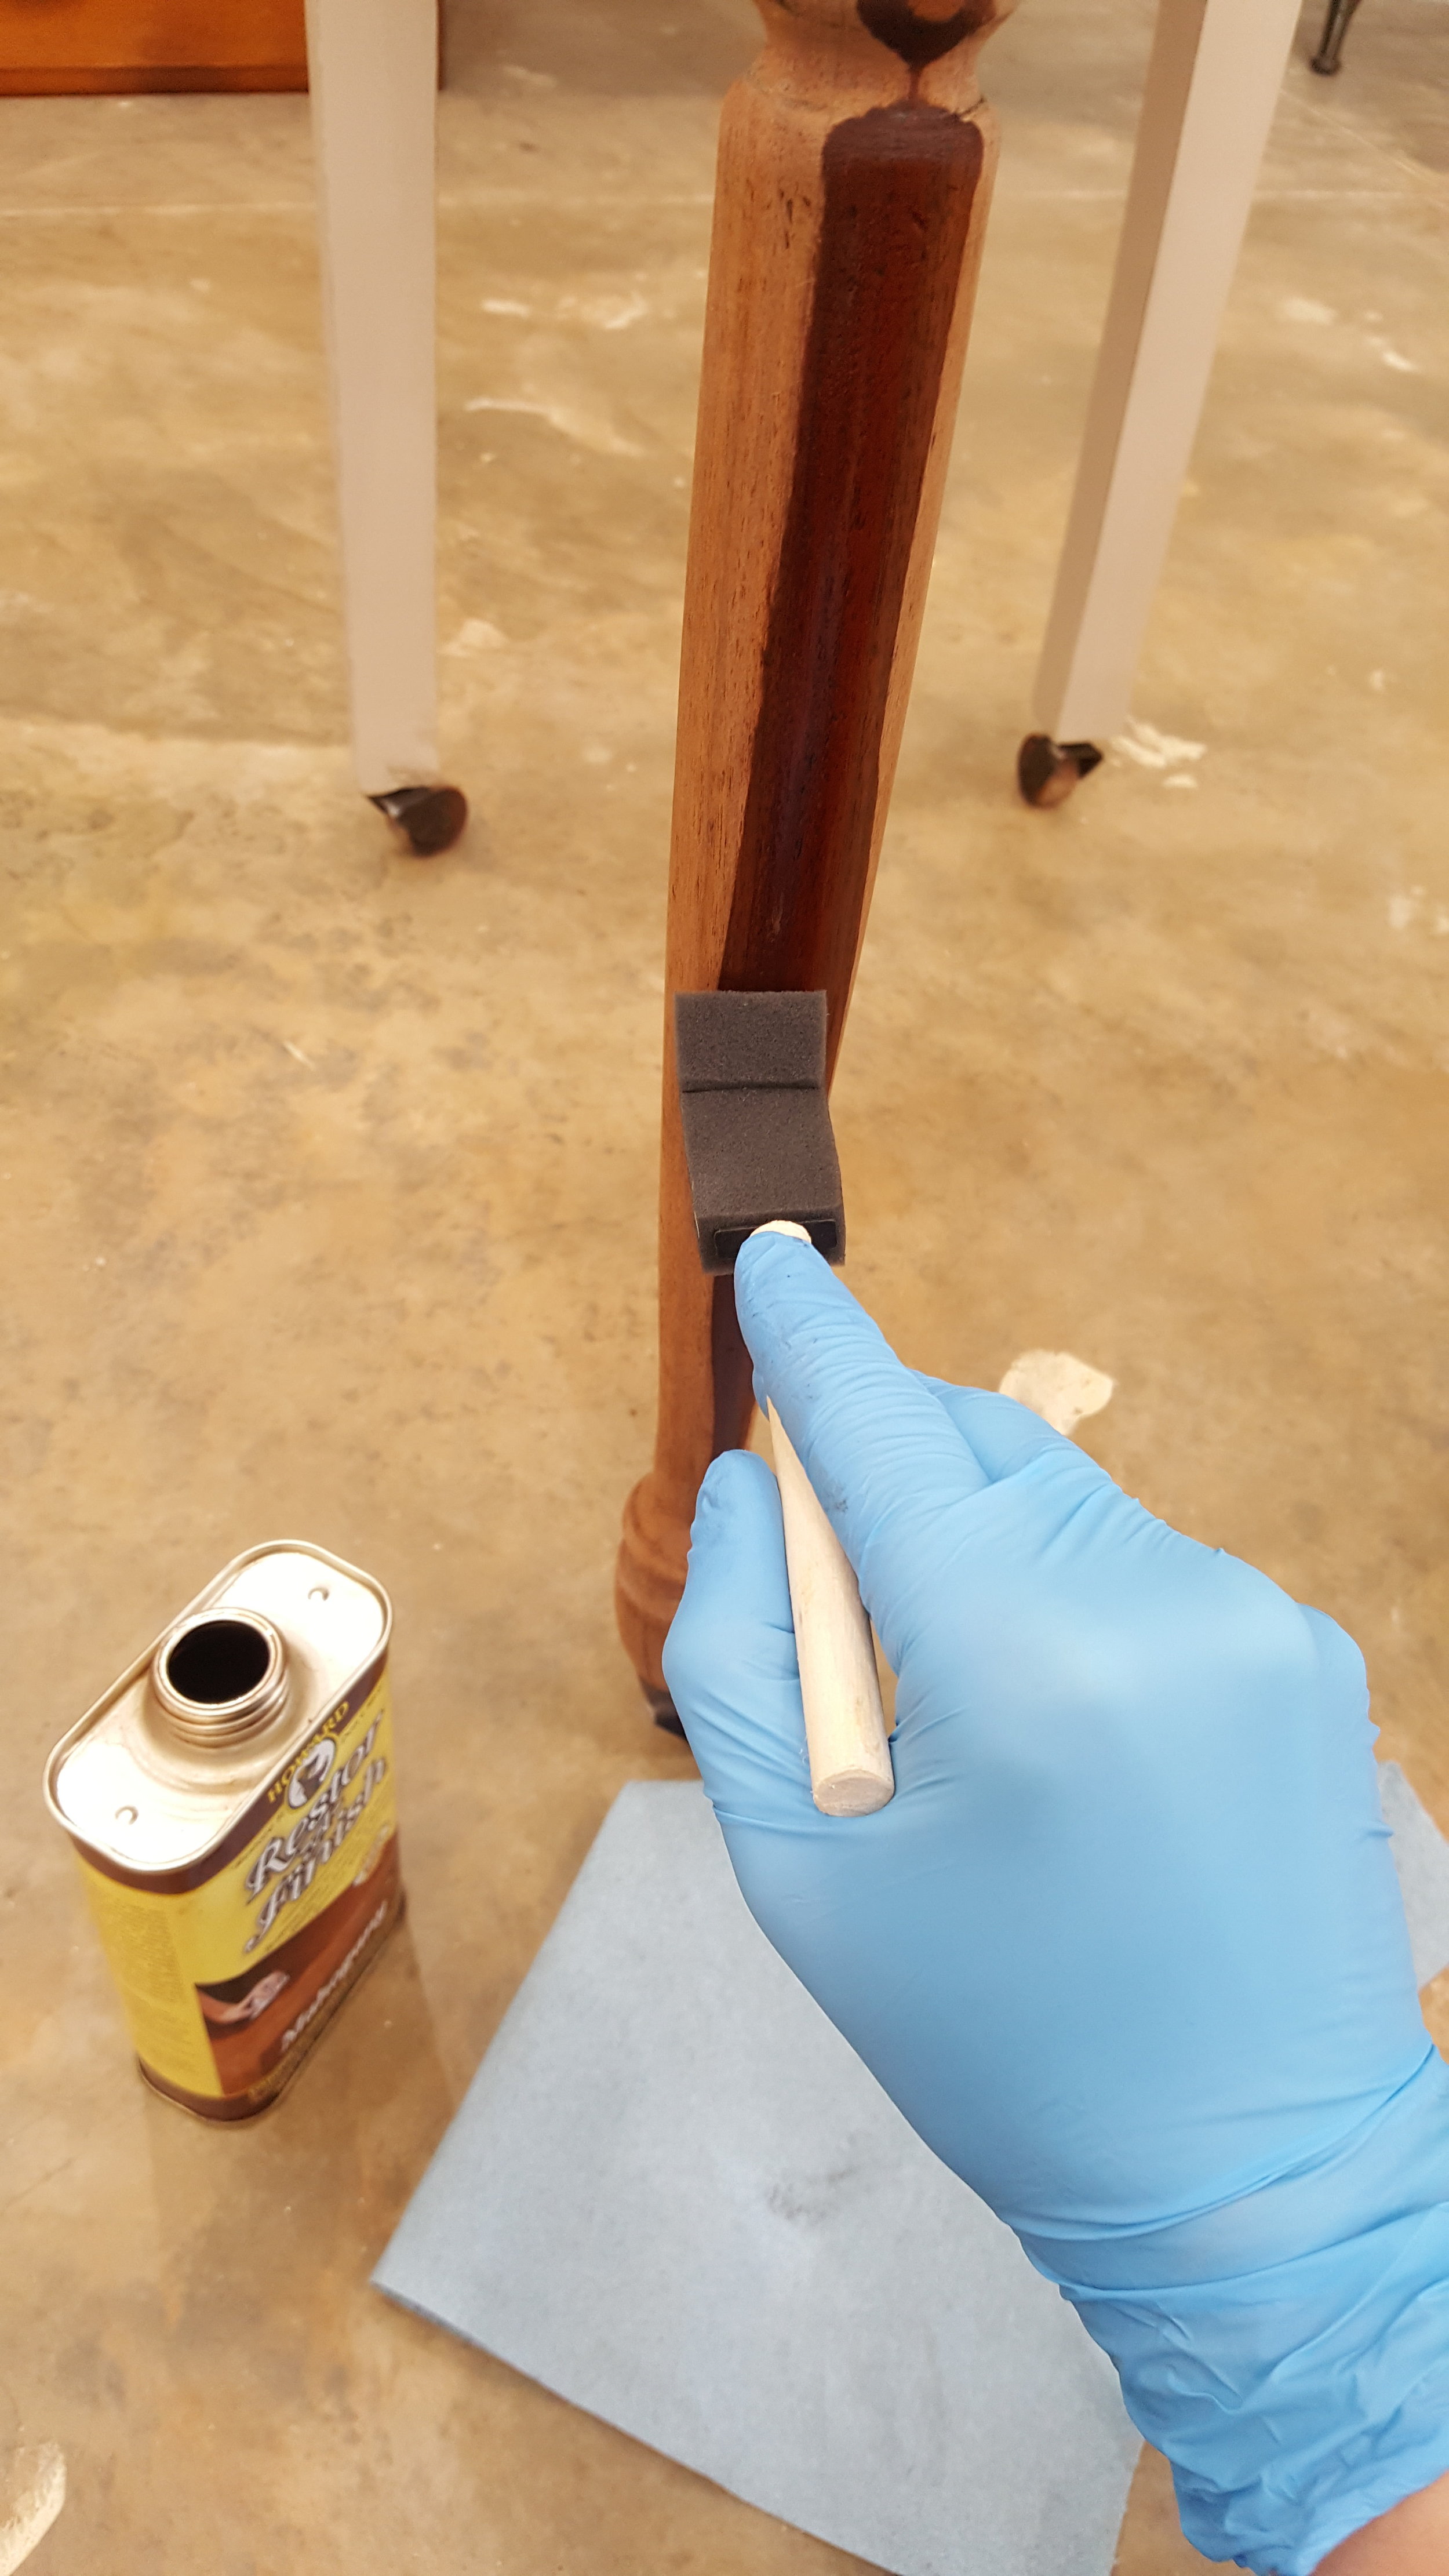
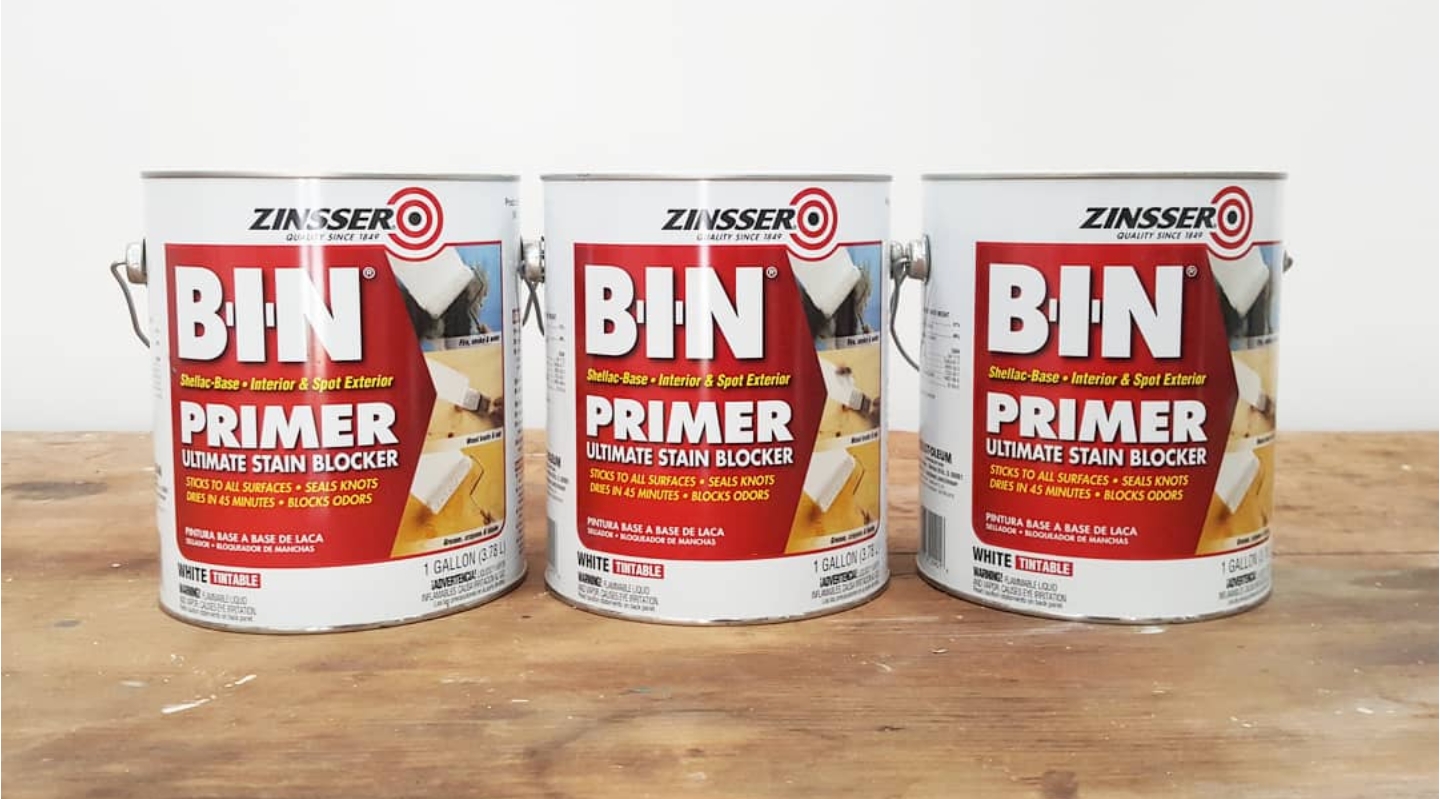
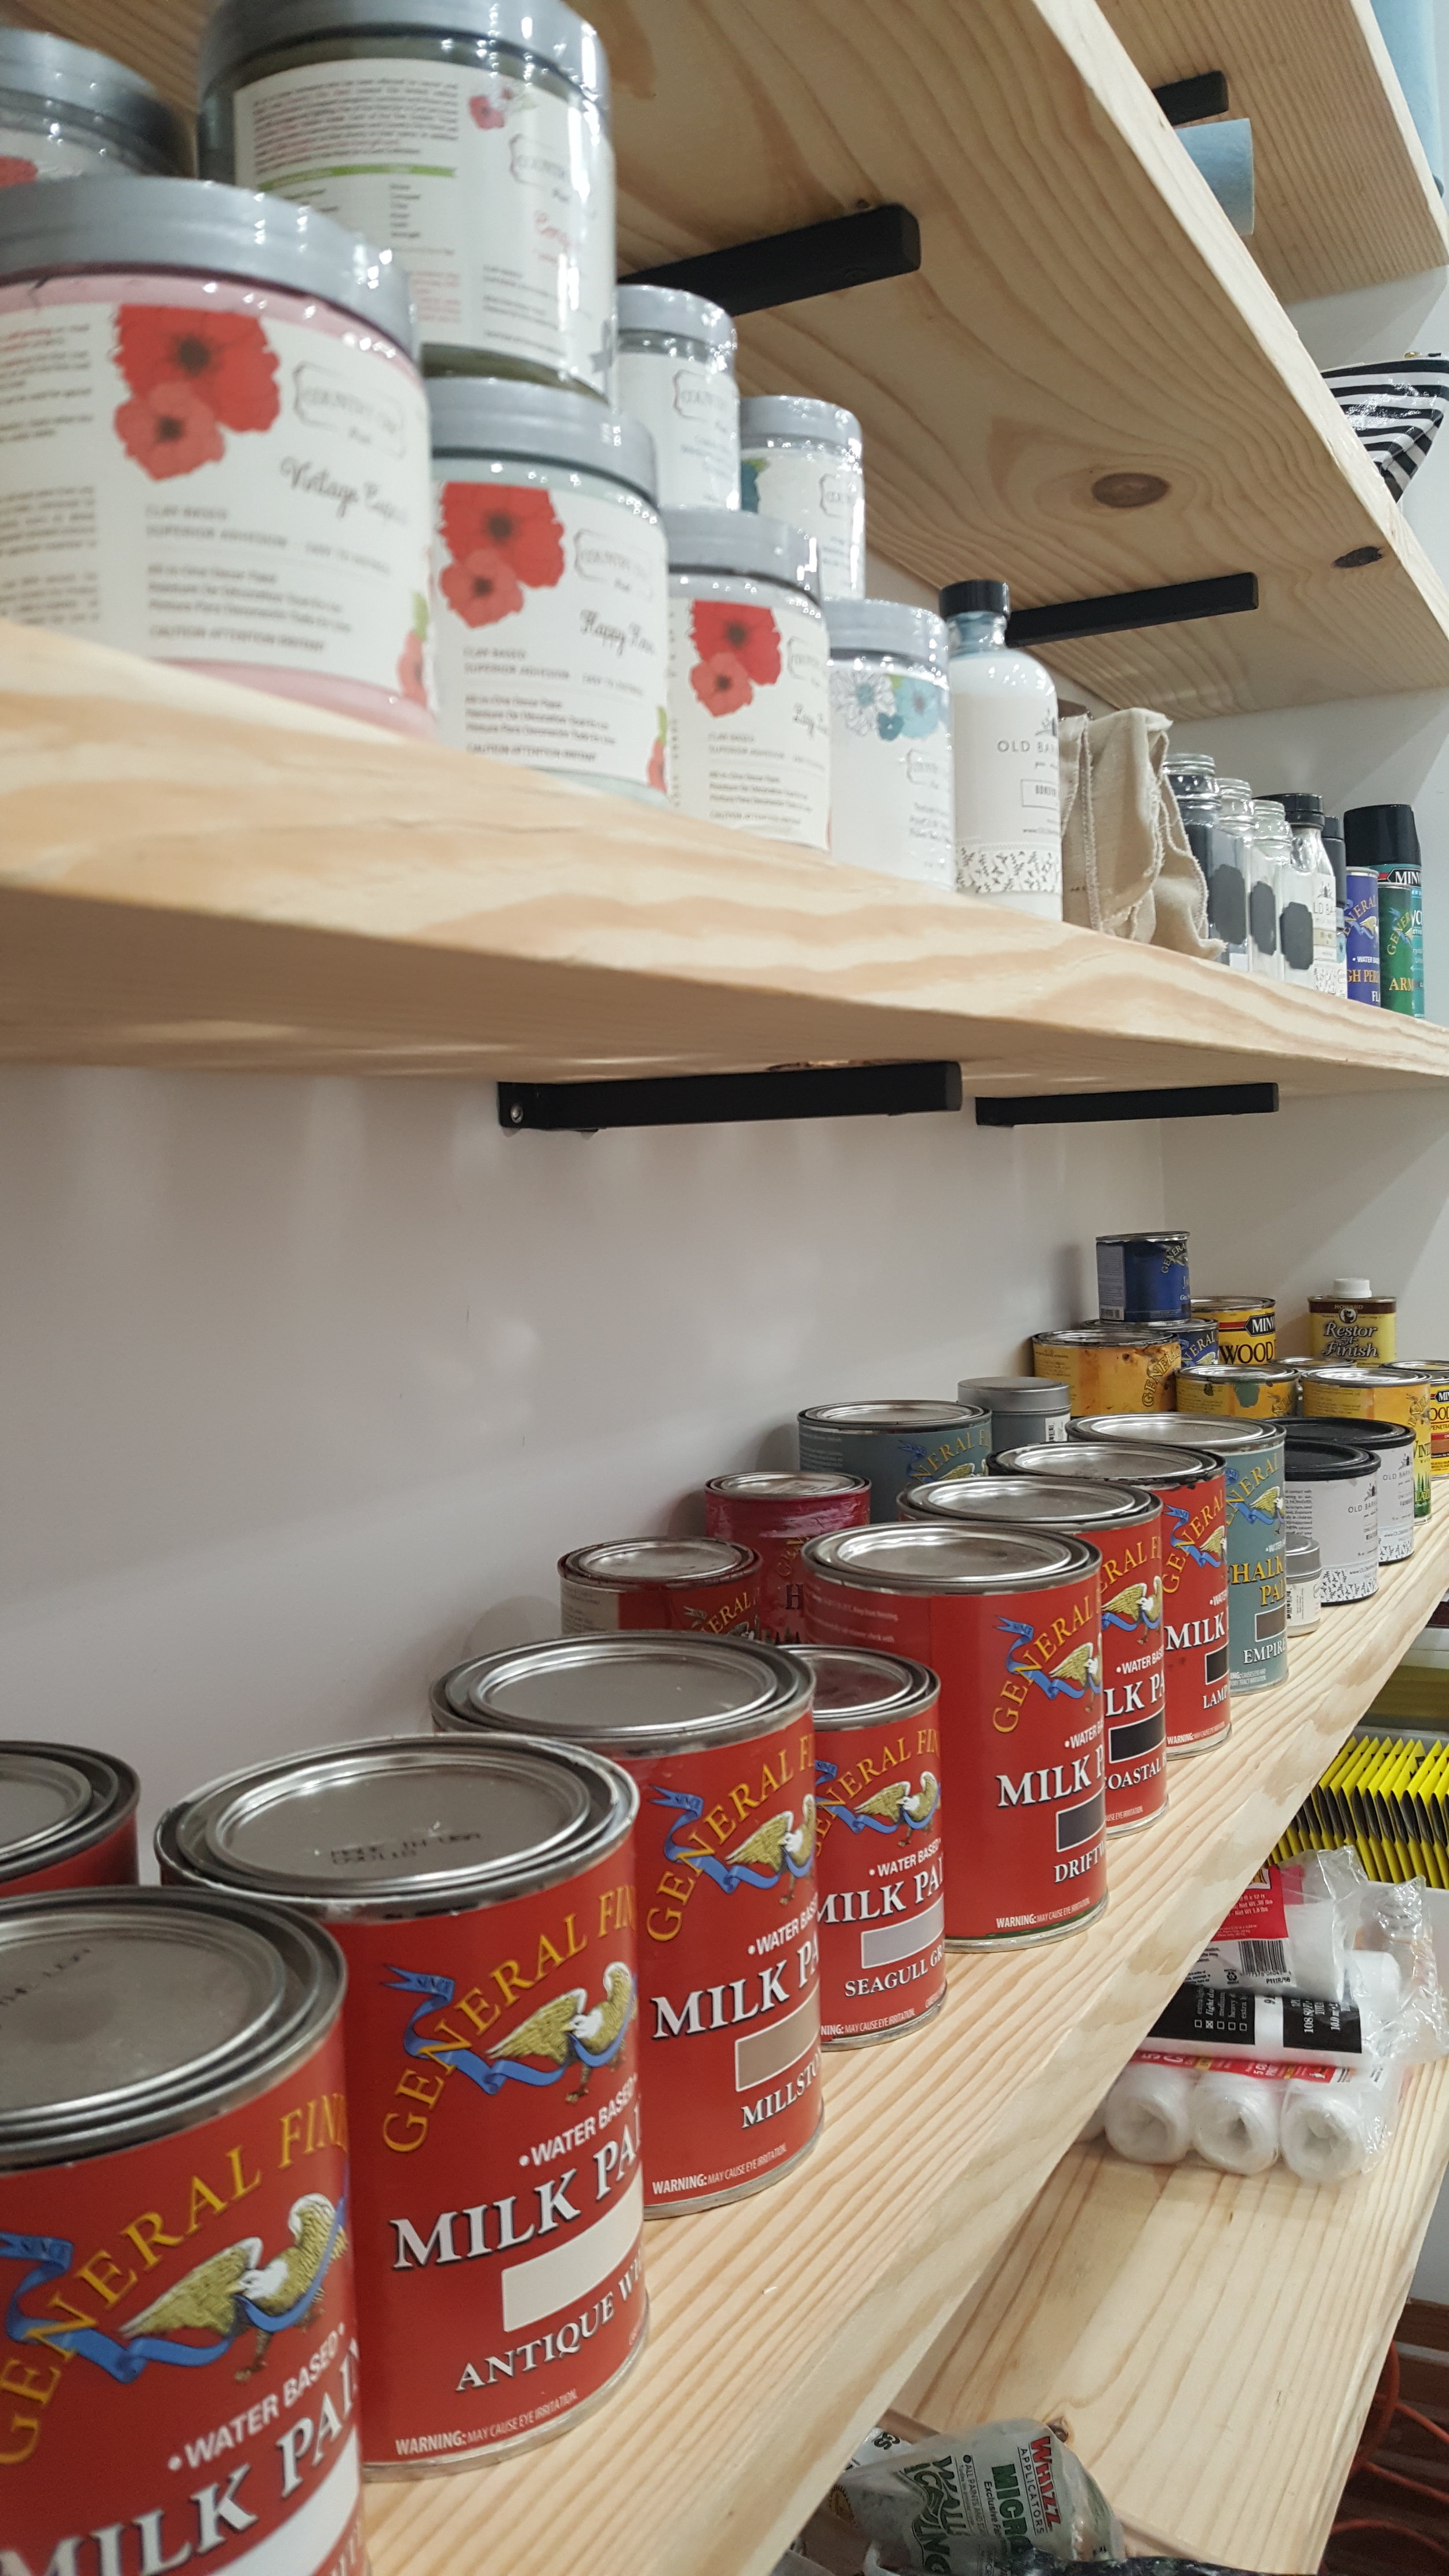
Old Barn Milk Paint, Oil and Wax
Process:
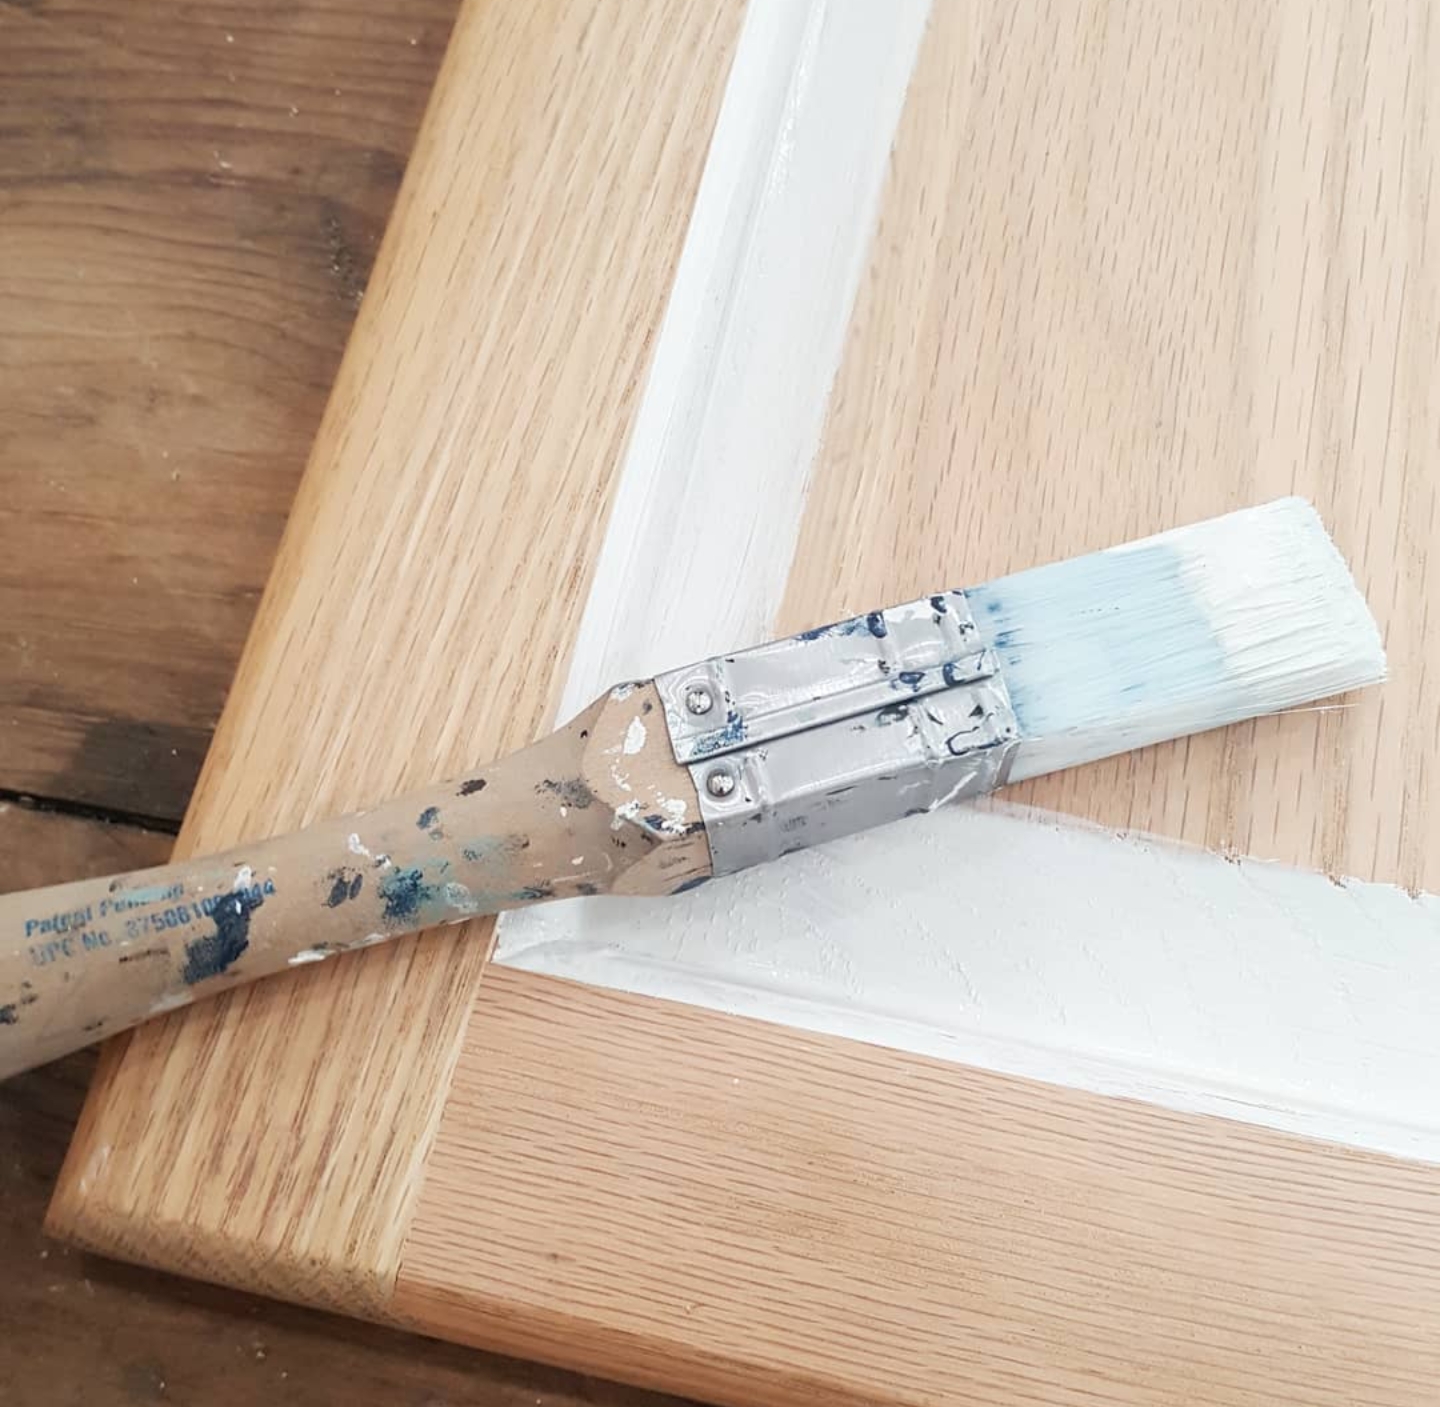
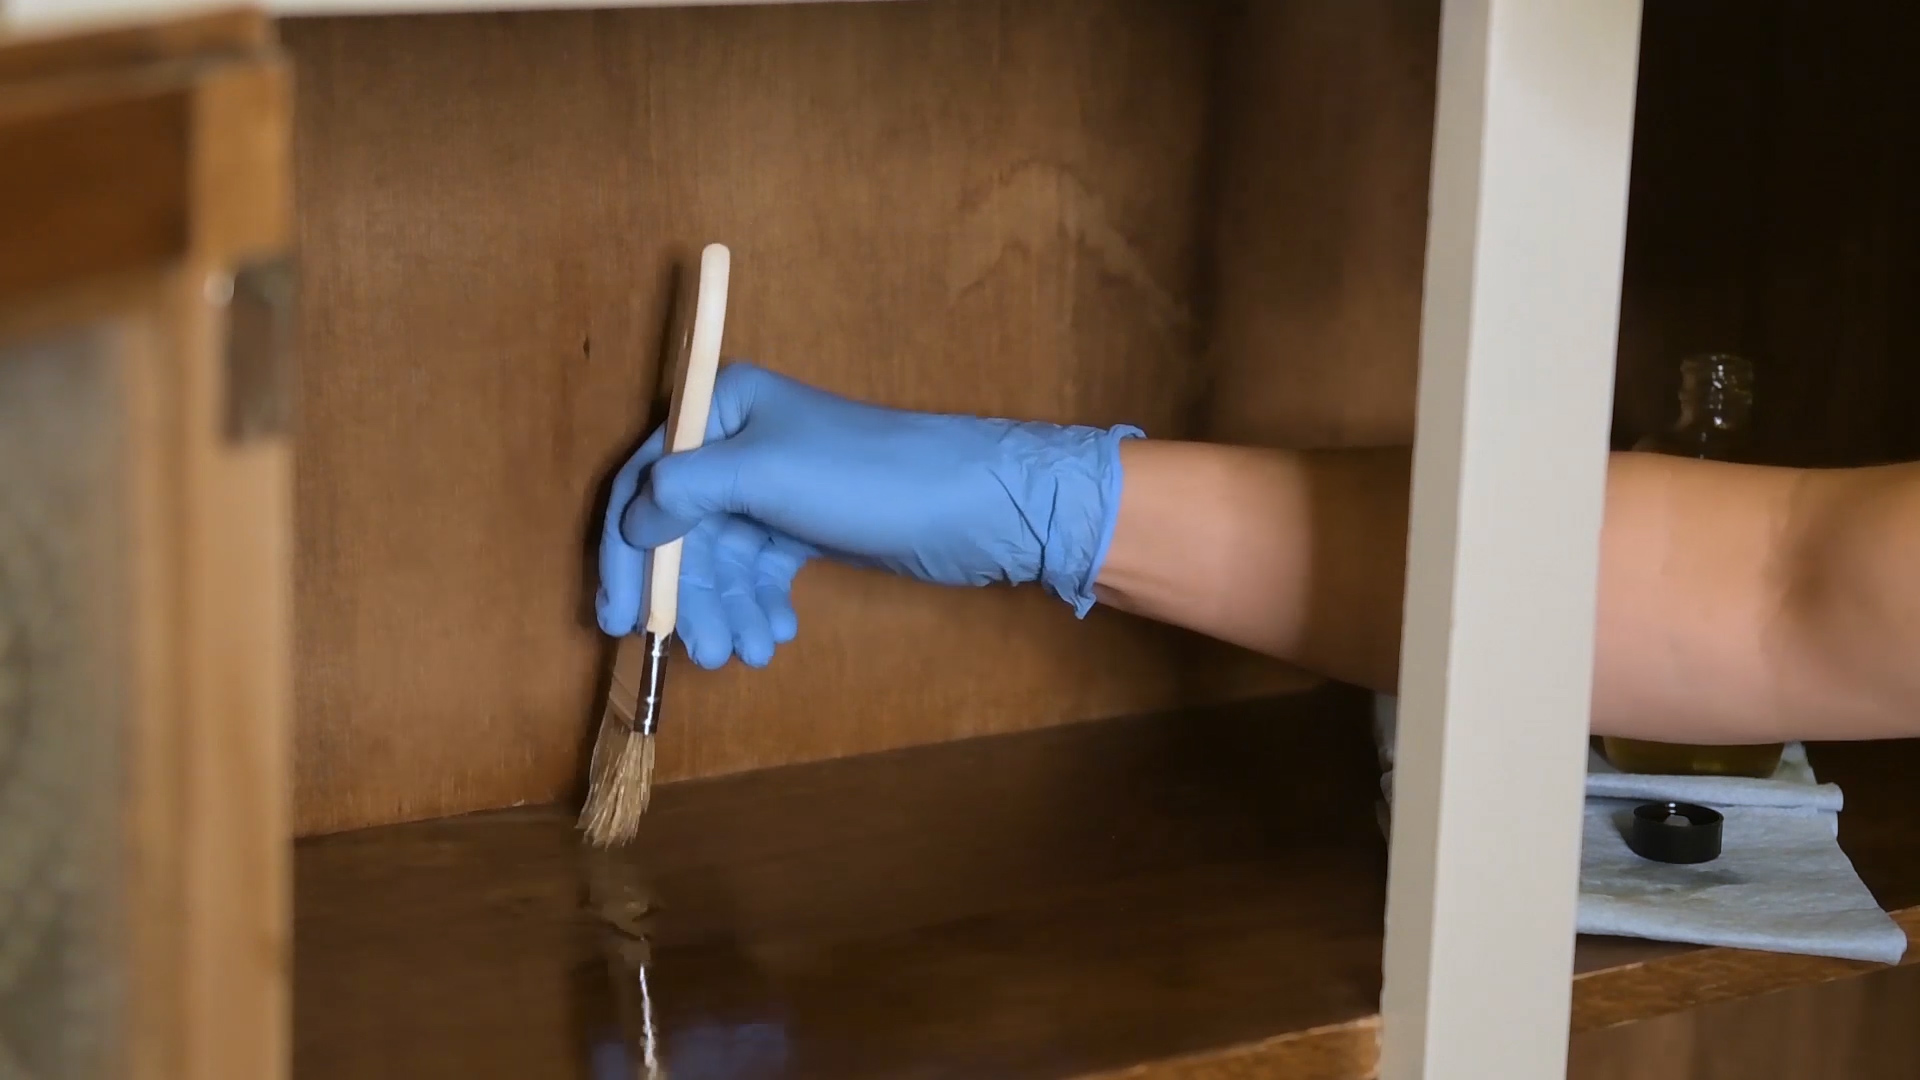
Step 1: Roll the bottle of Oil and Wax from Old Barn Milk Paint. Do not shake to prevent air bubbles. Once it is mixed well, pour a little bit out onto your piece and start spreading it out with your Chip Brush.
Step 2: After you have covered all of the interior areas with the Oil and Wax, grab your cloth and rub the Oil and Wax into the wood. If there is any excess that has gathered in certain areas, rubbing it in will help it absorb quicker and more efficiently.
That’s it! Just makes just it is nice and dry before you place any items on the inside shelves.
*Please note, on the bottle it says you may need 3 coats for better protection, but since this is on the inside of your furniture, one coat should suffice. If you were using this on the top of a table or cutting board, I would recommend additional coats.
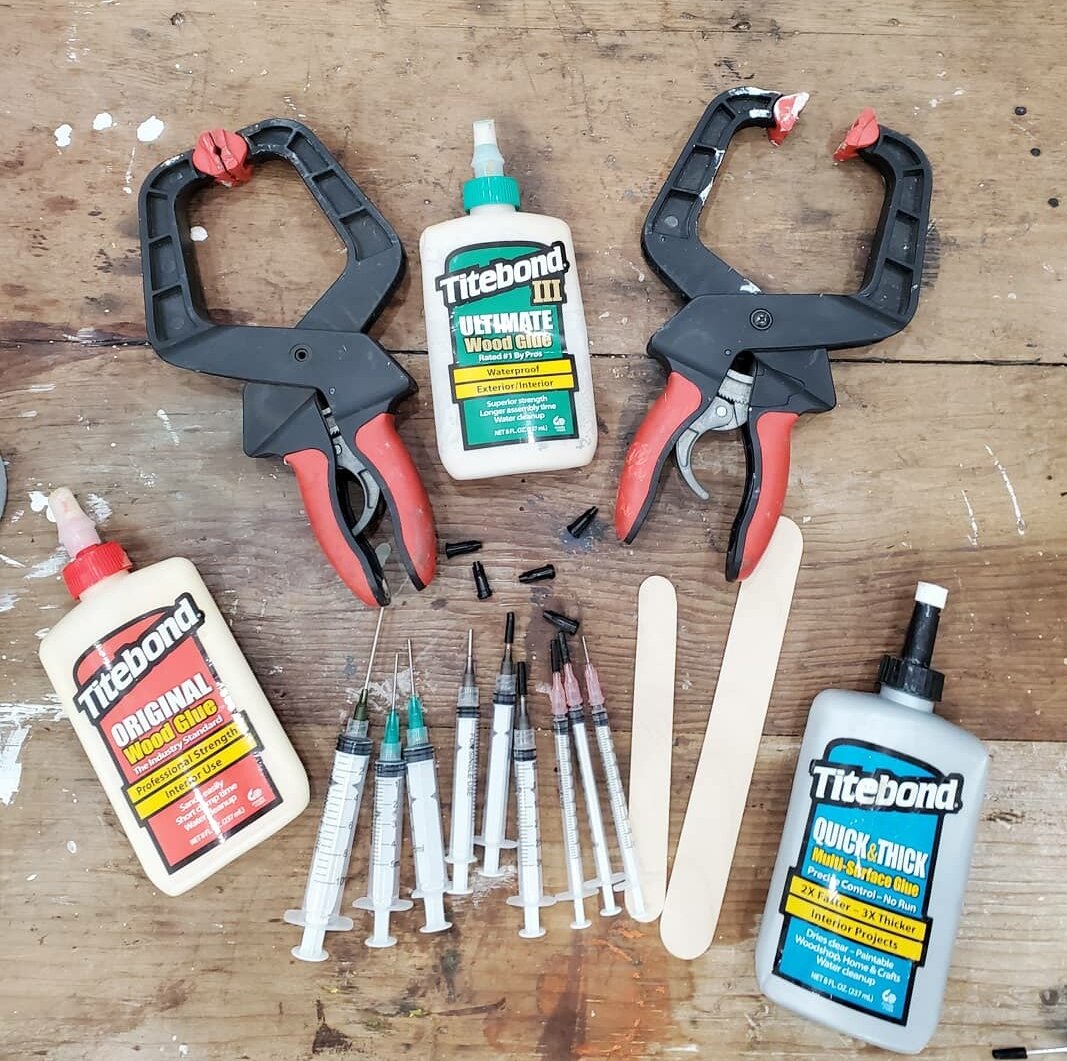
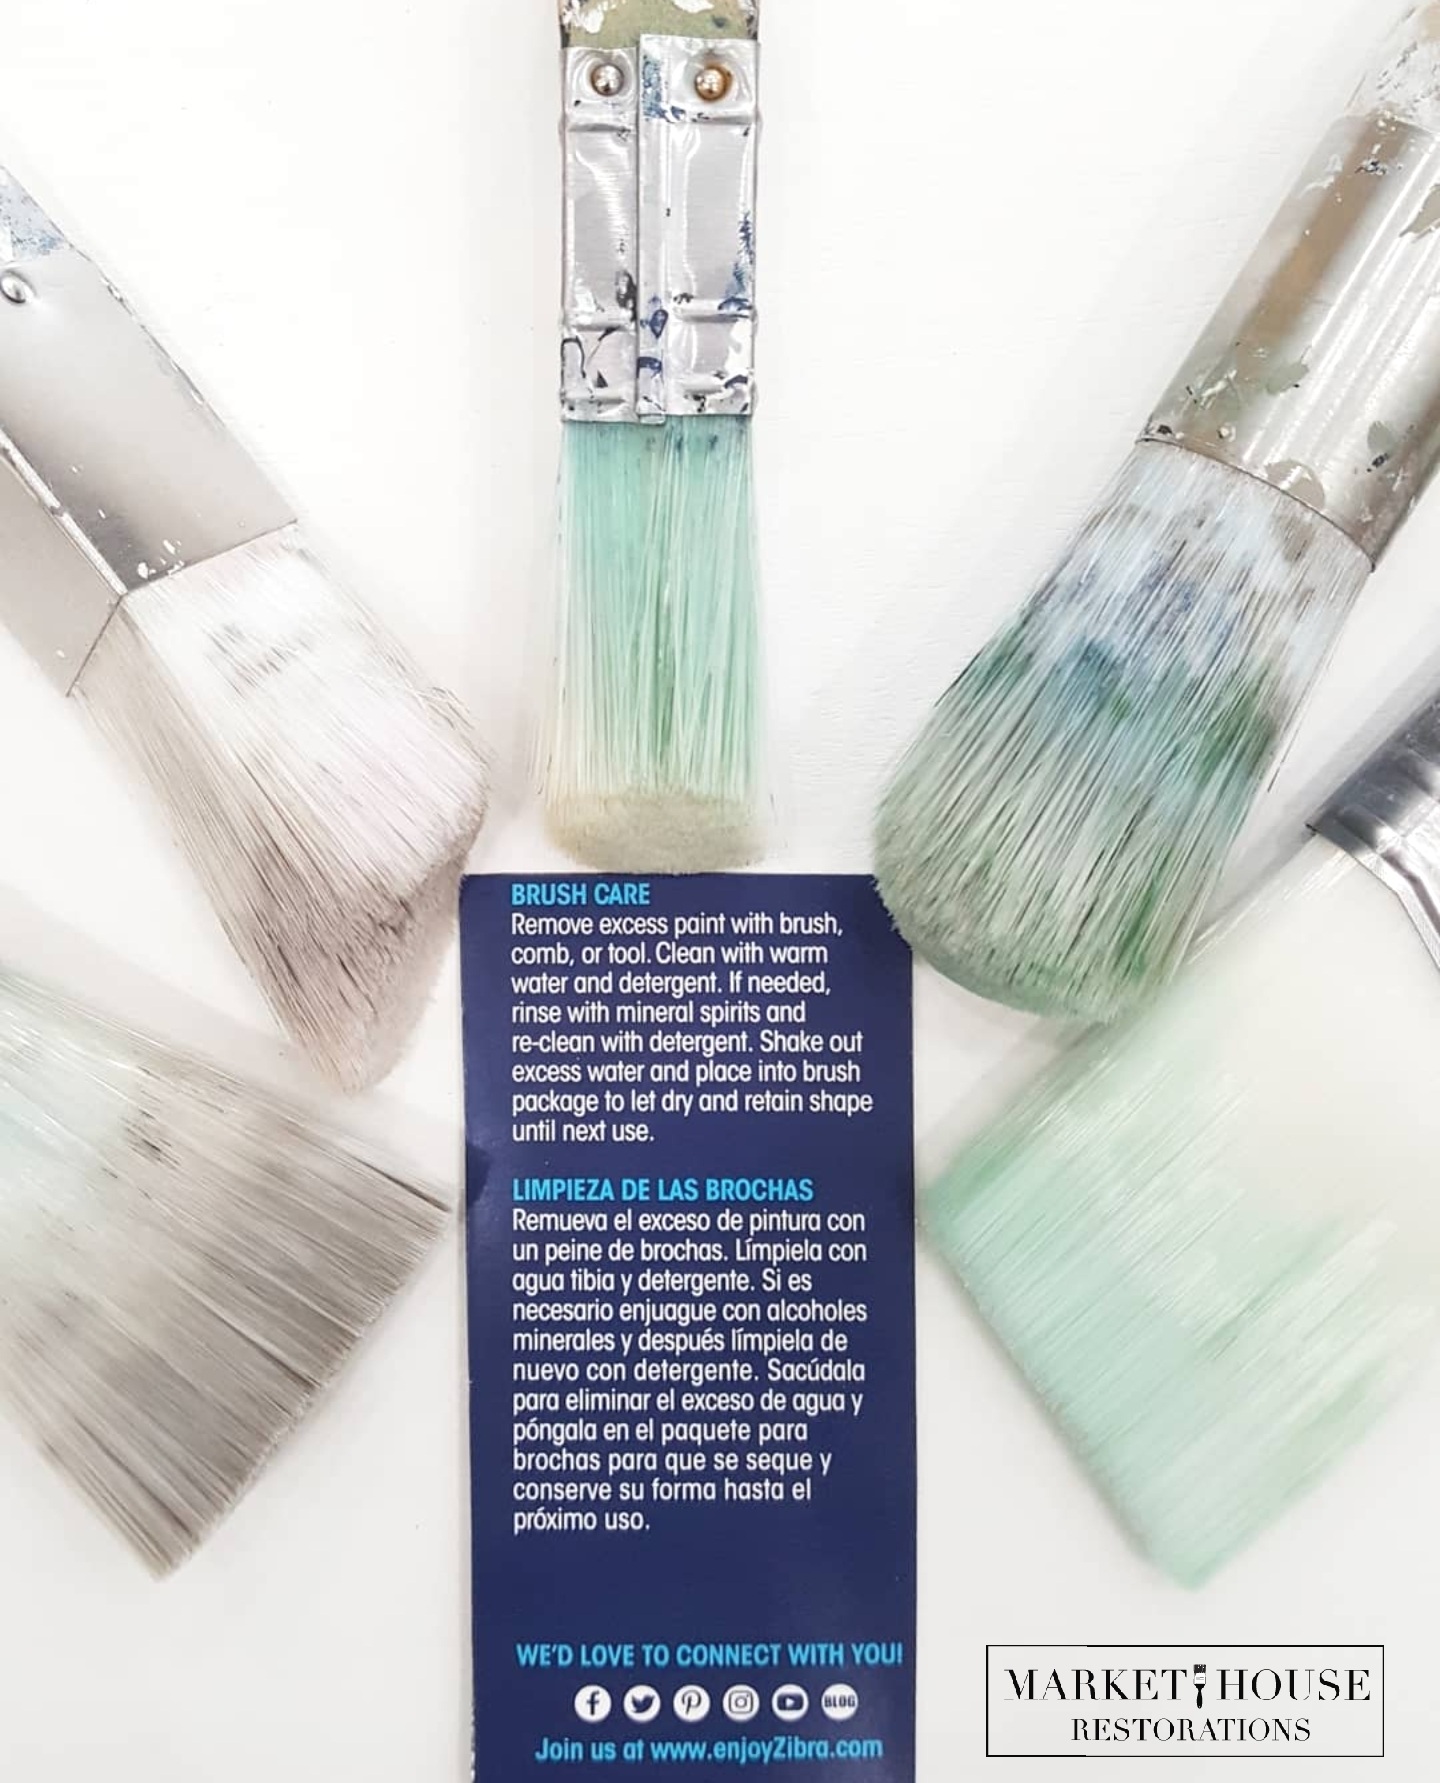
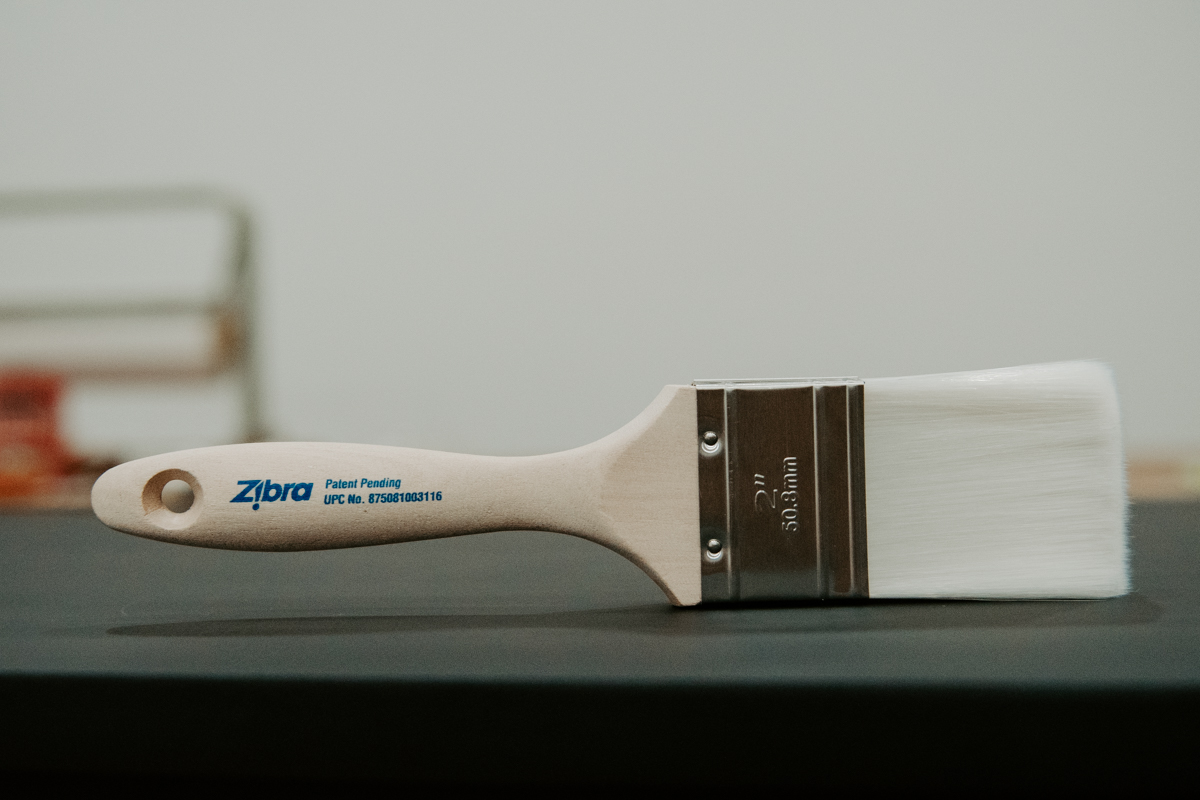
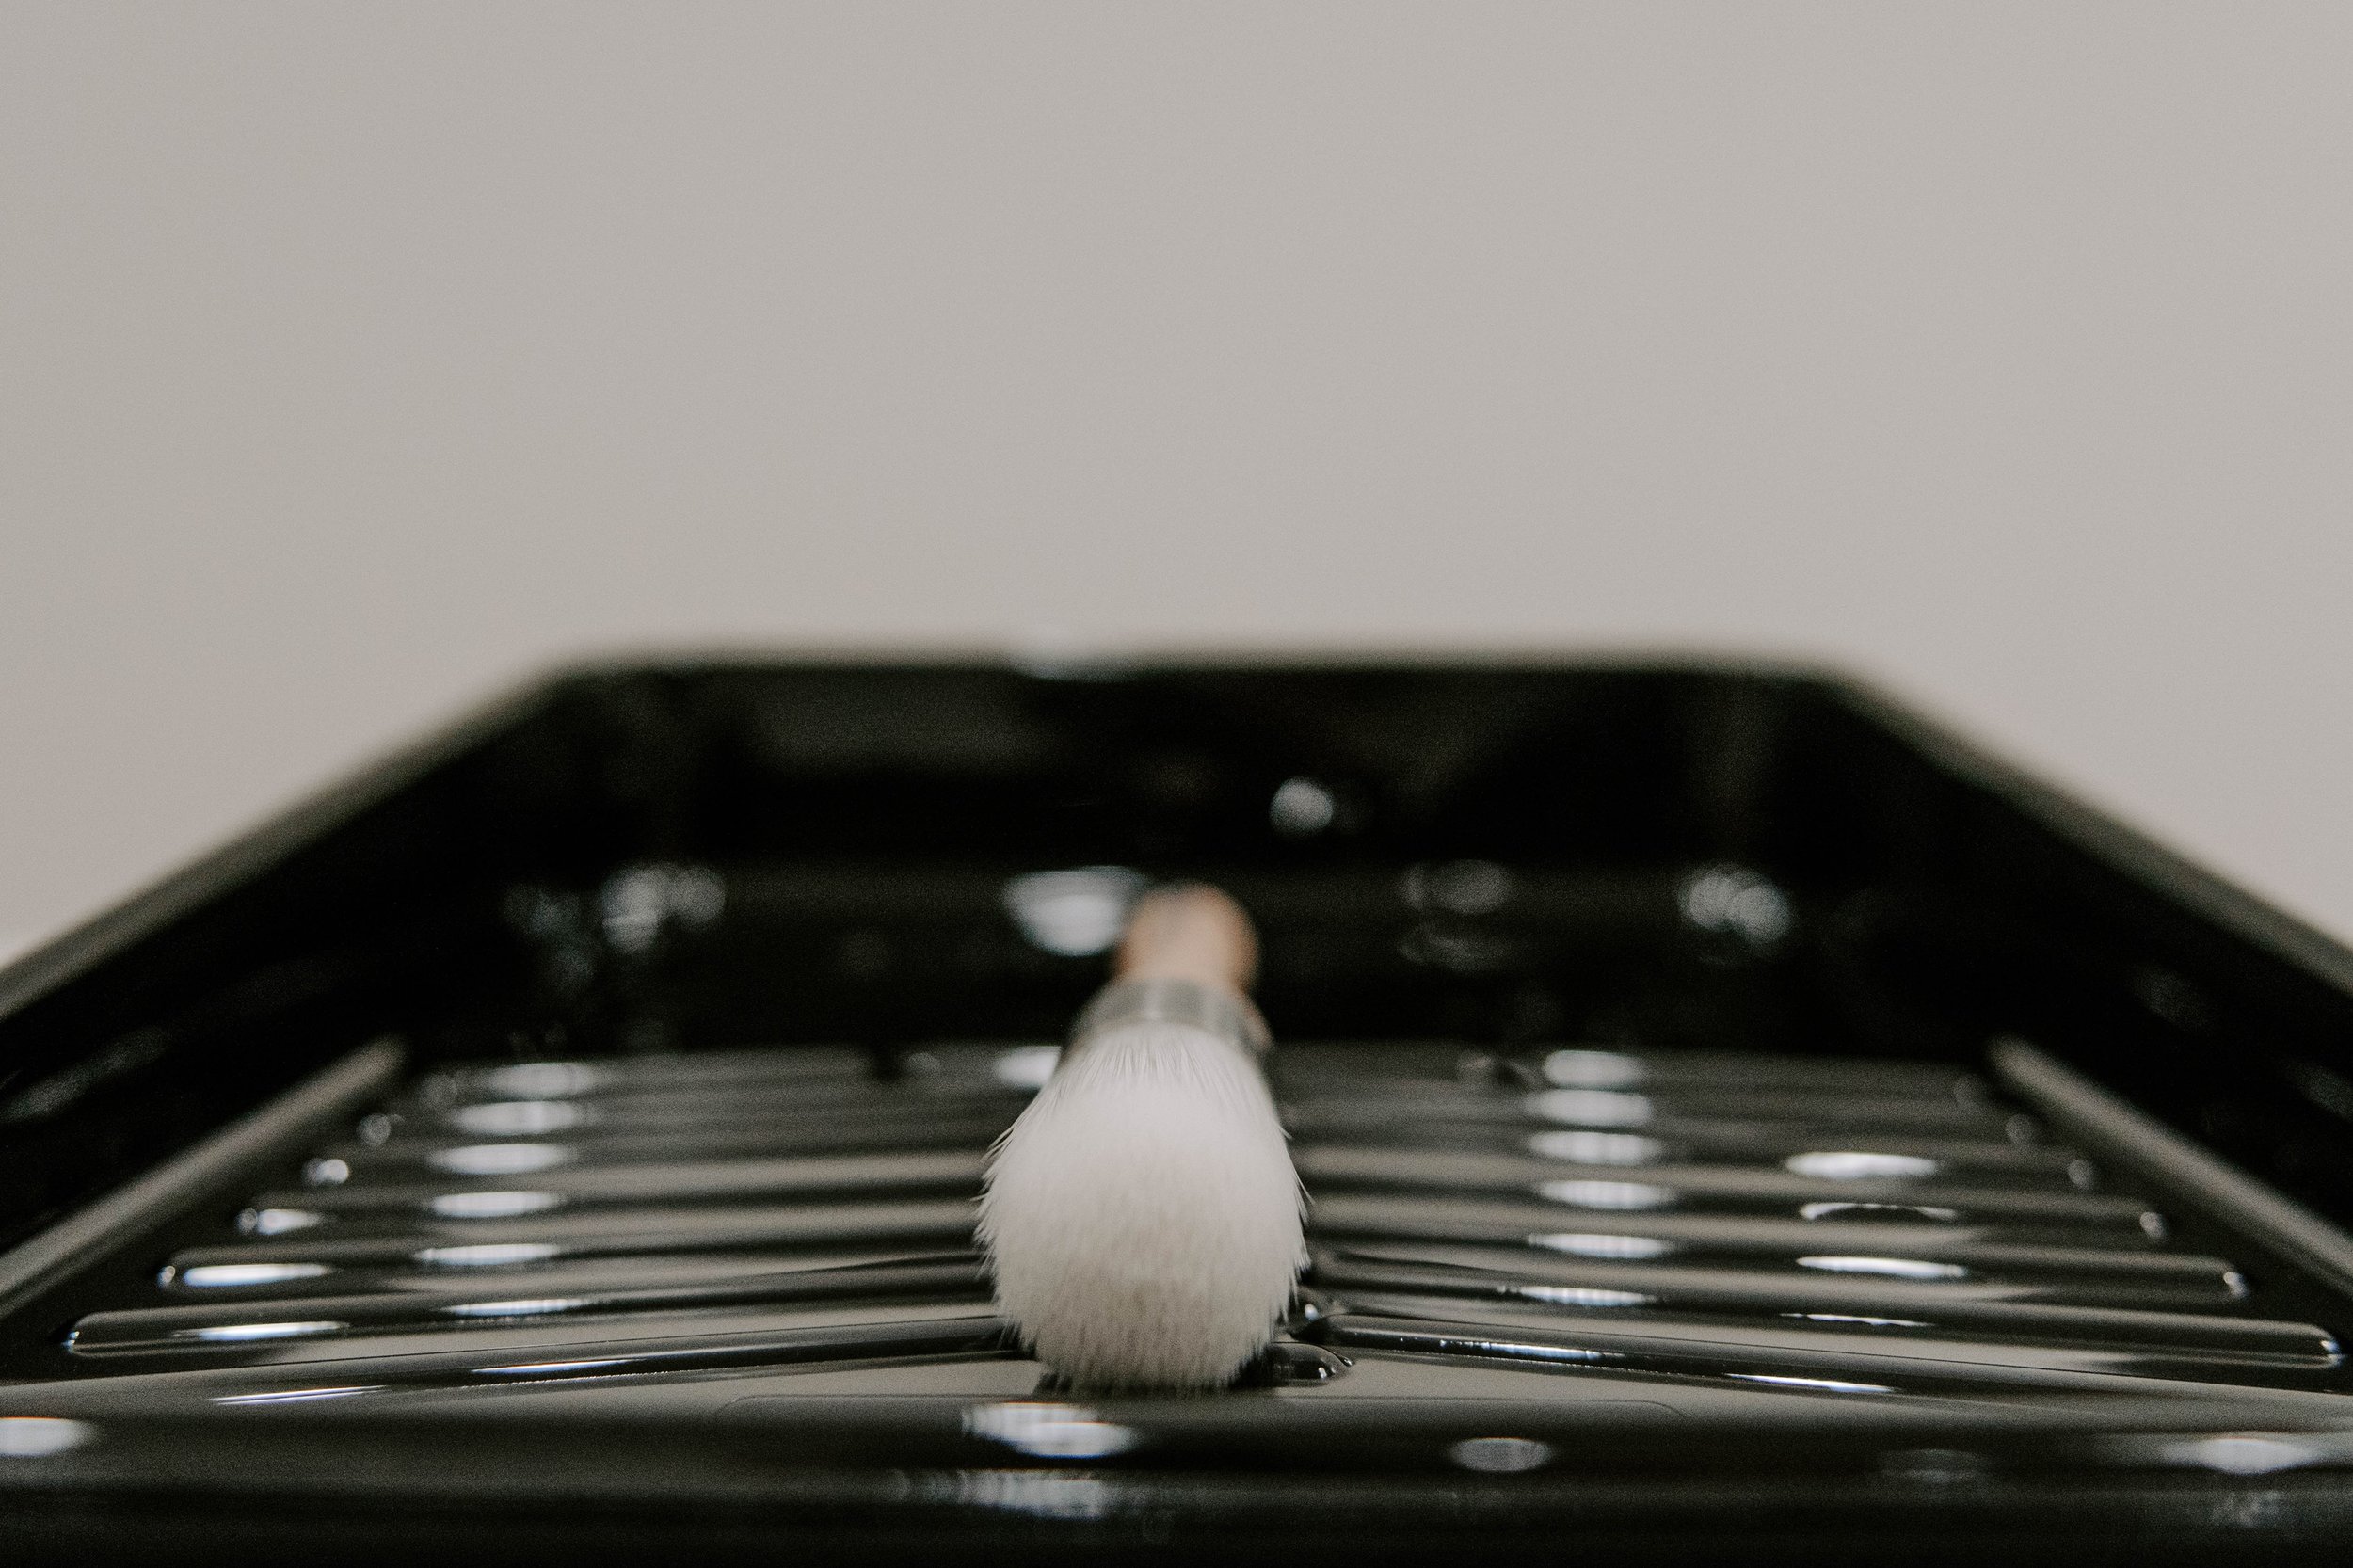
When the time comes to paint, make sure you check out my favorite brushes!!

You can use Oil and Wax for many other things, which I will discuss over time, but this is a great way to start with it!
Thank you so much for stopping by for my #TuesdayTipsWithFallon.! Make sure you tune in ever other Tuesday for a new tip! If you want to save this blog post, make sure you pin it to your Pinterest page and/or feel free to share it elsewhere. Happy revamping!!
Make sure you check out my other #TuesdayTips videos and blog post’s below!