Step-by-Step Guide: Skinny Lap Wall
/#MondayMakeoversWithFallon
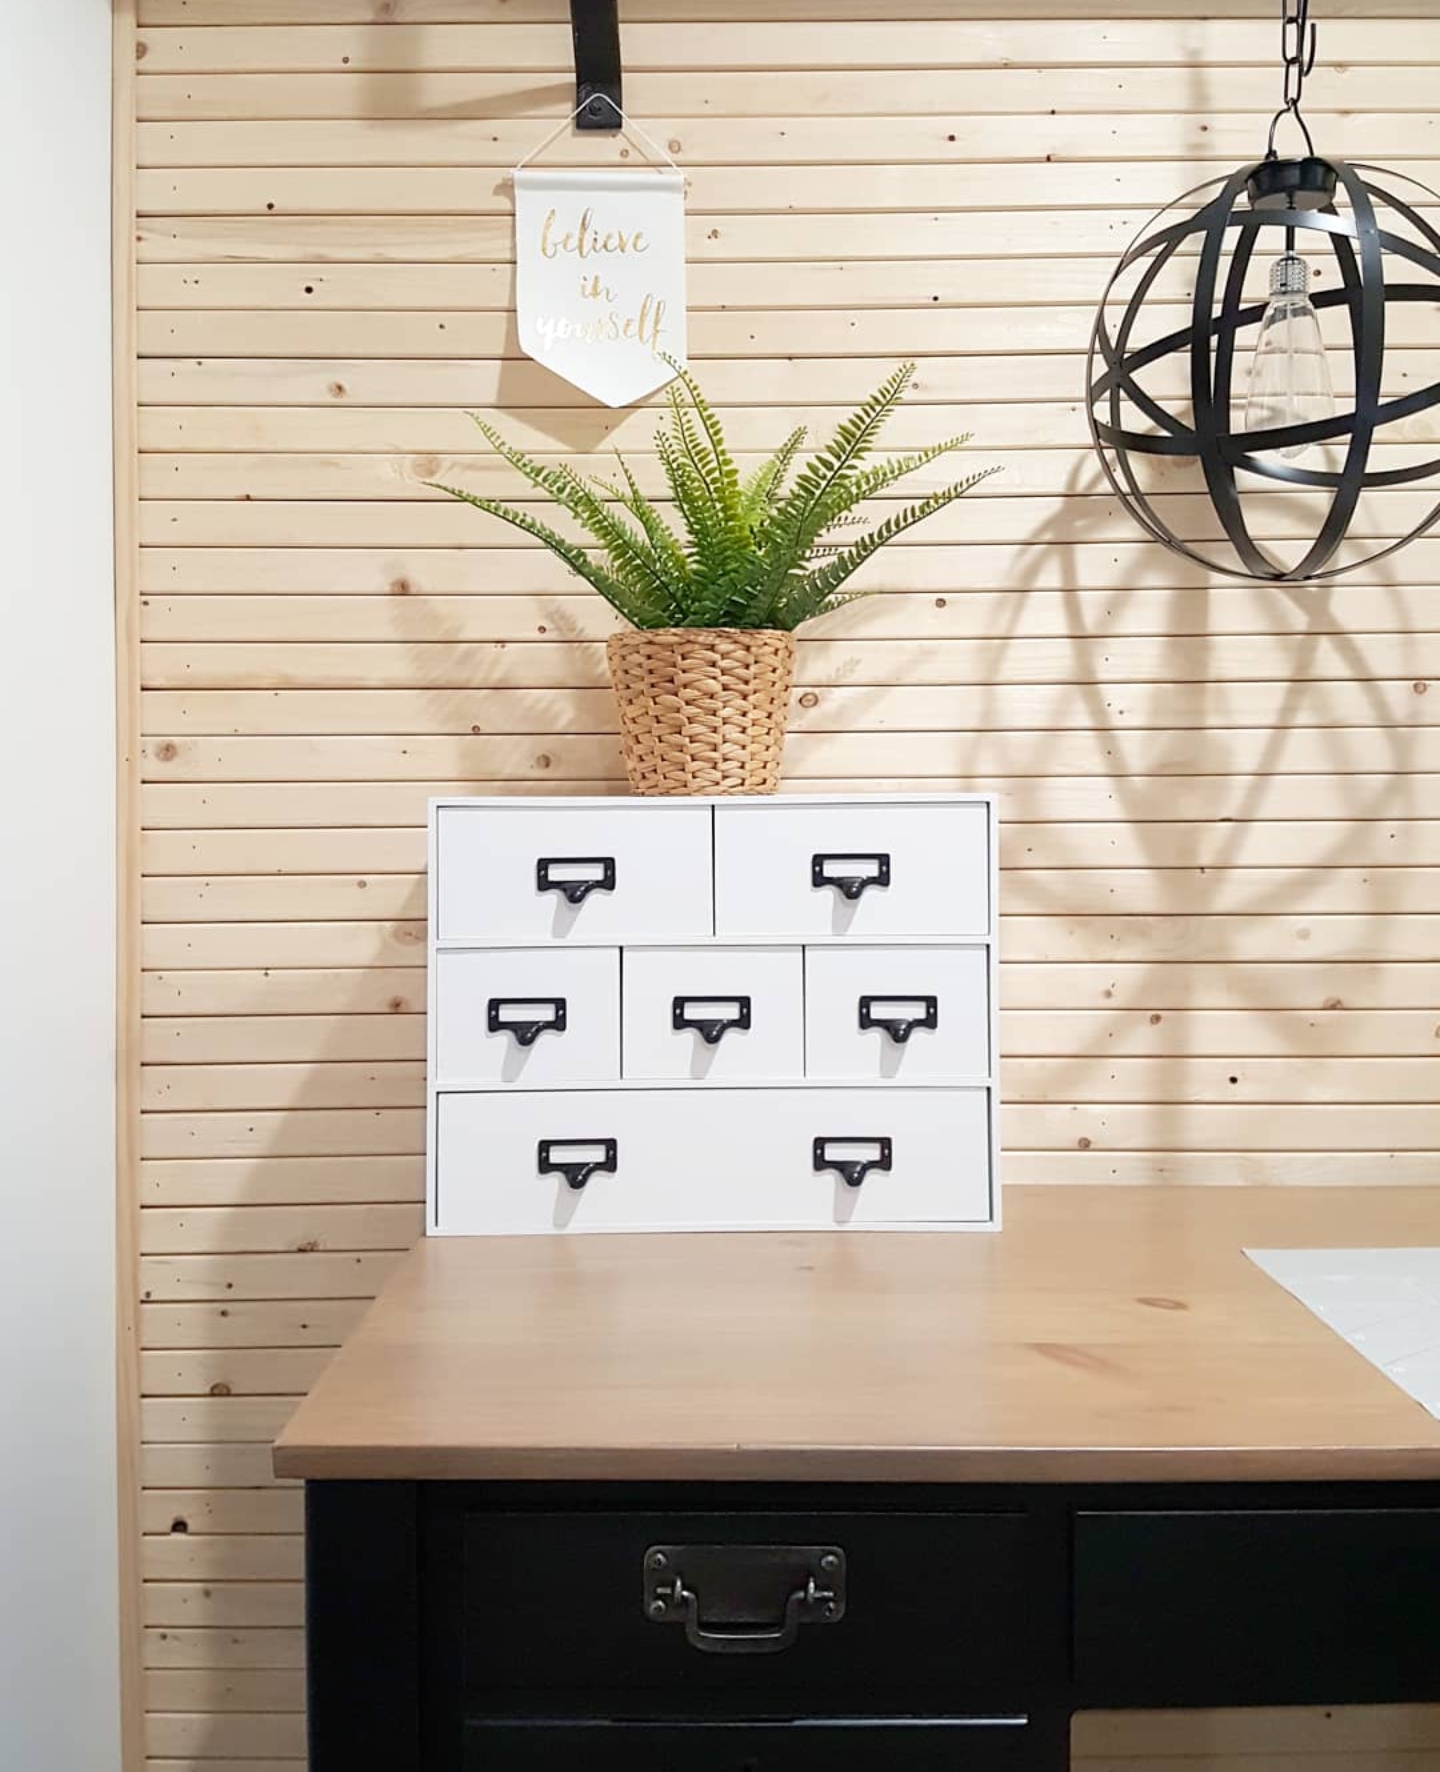
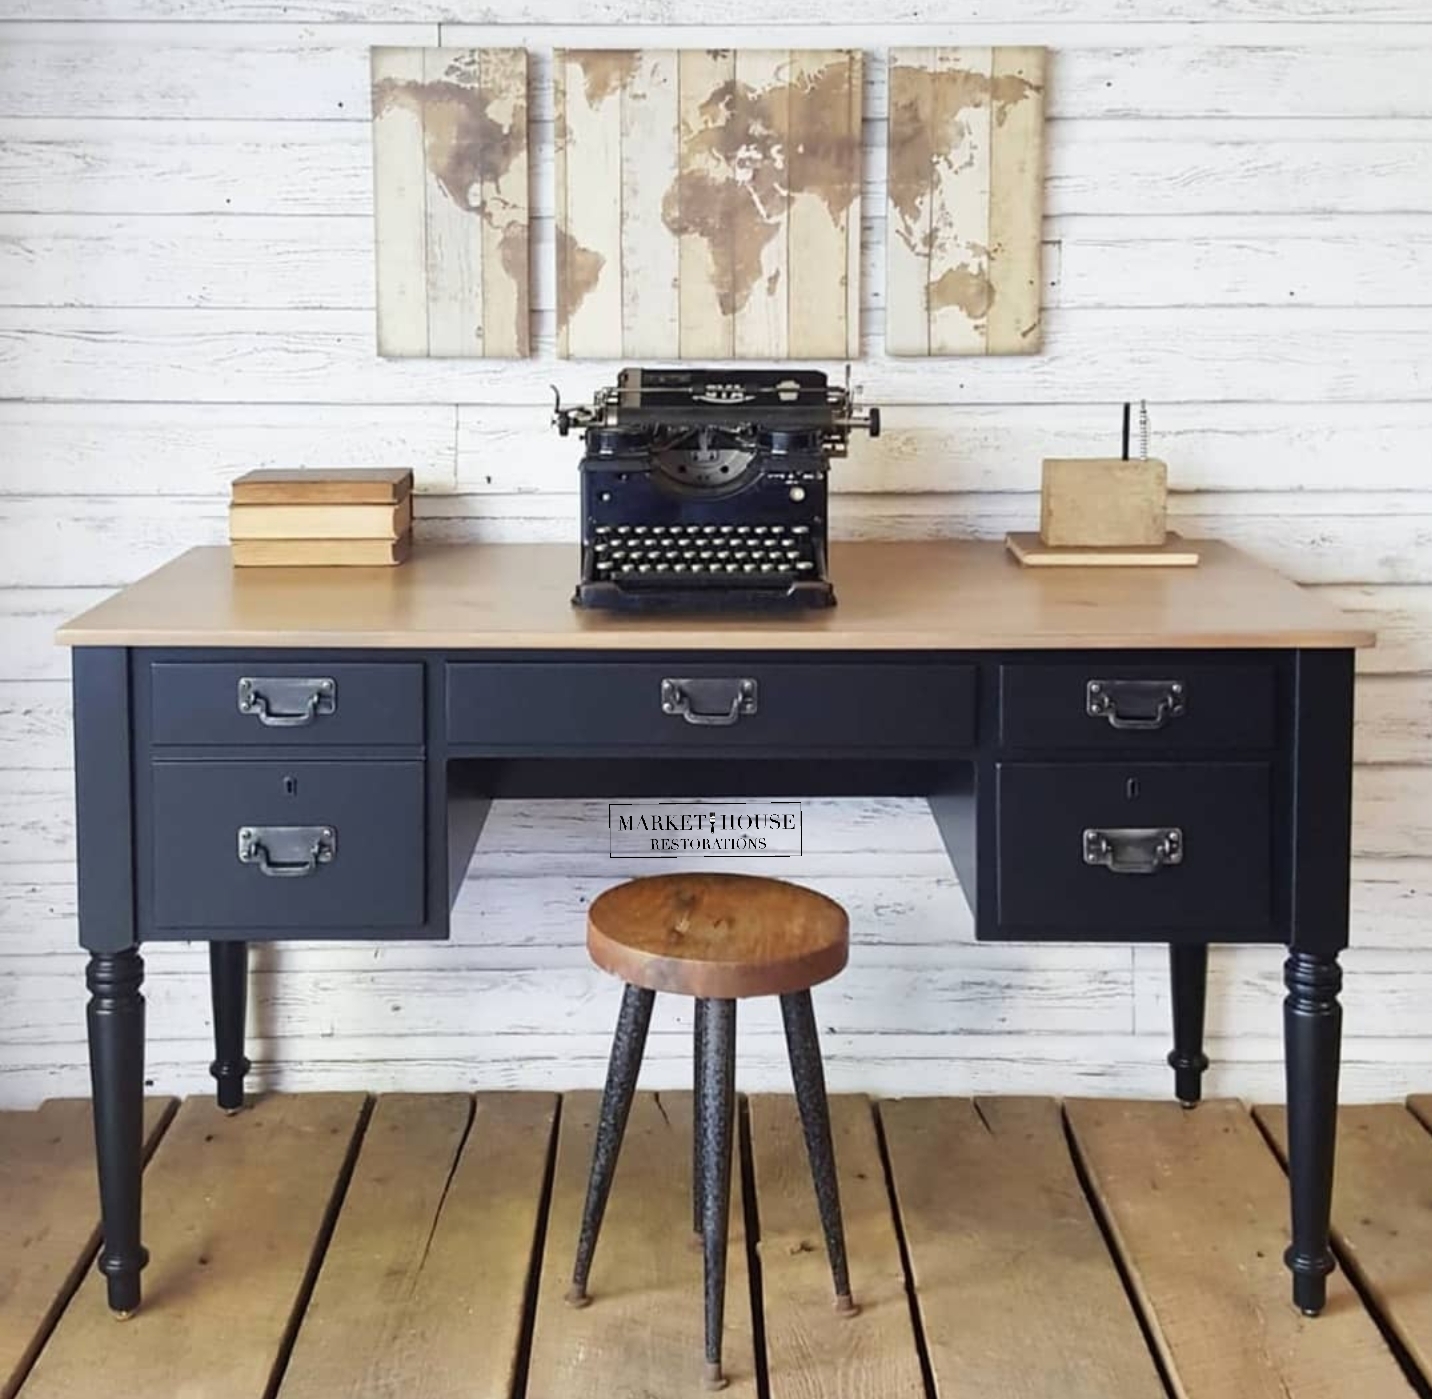
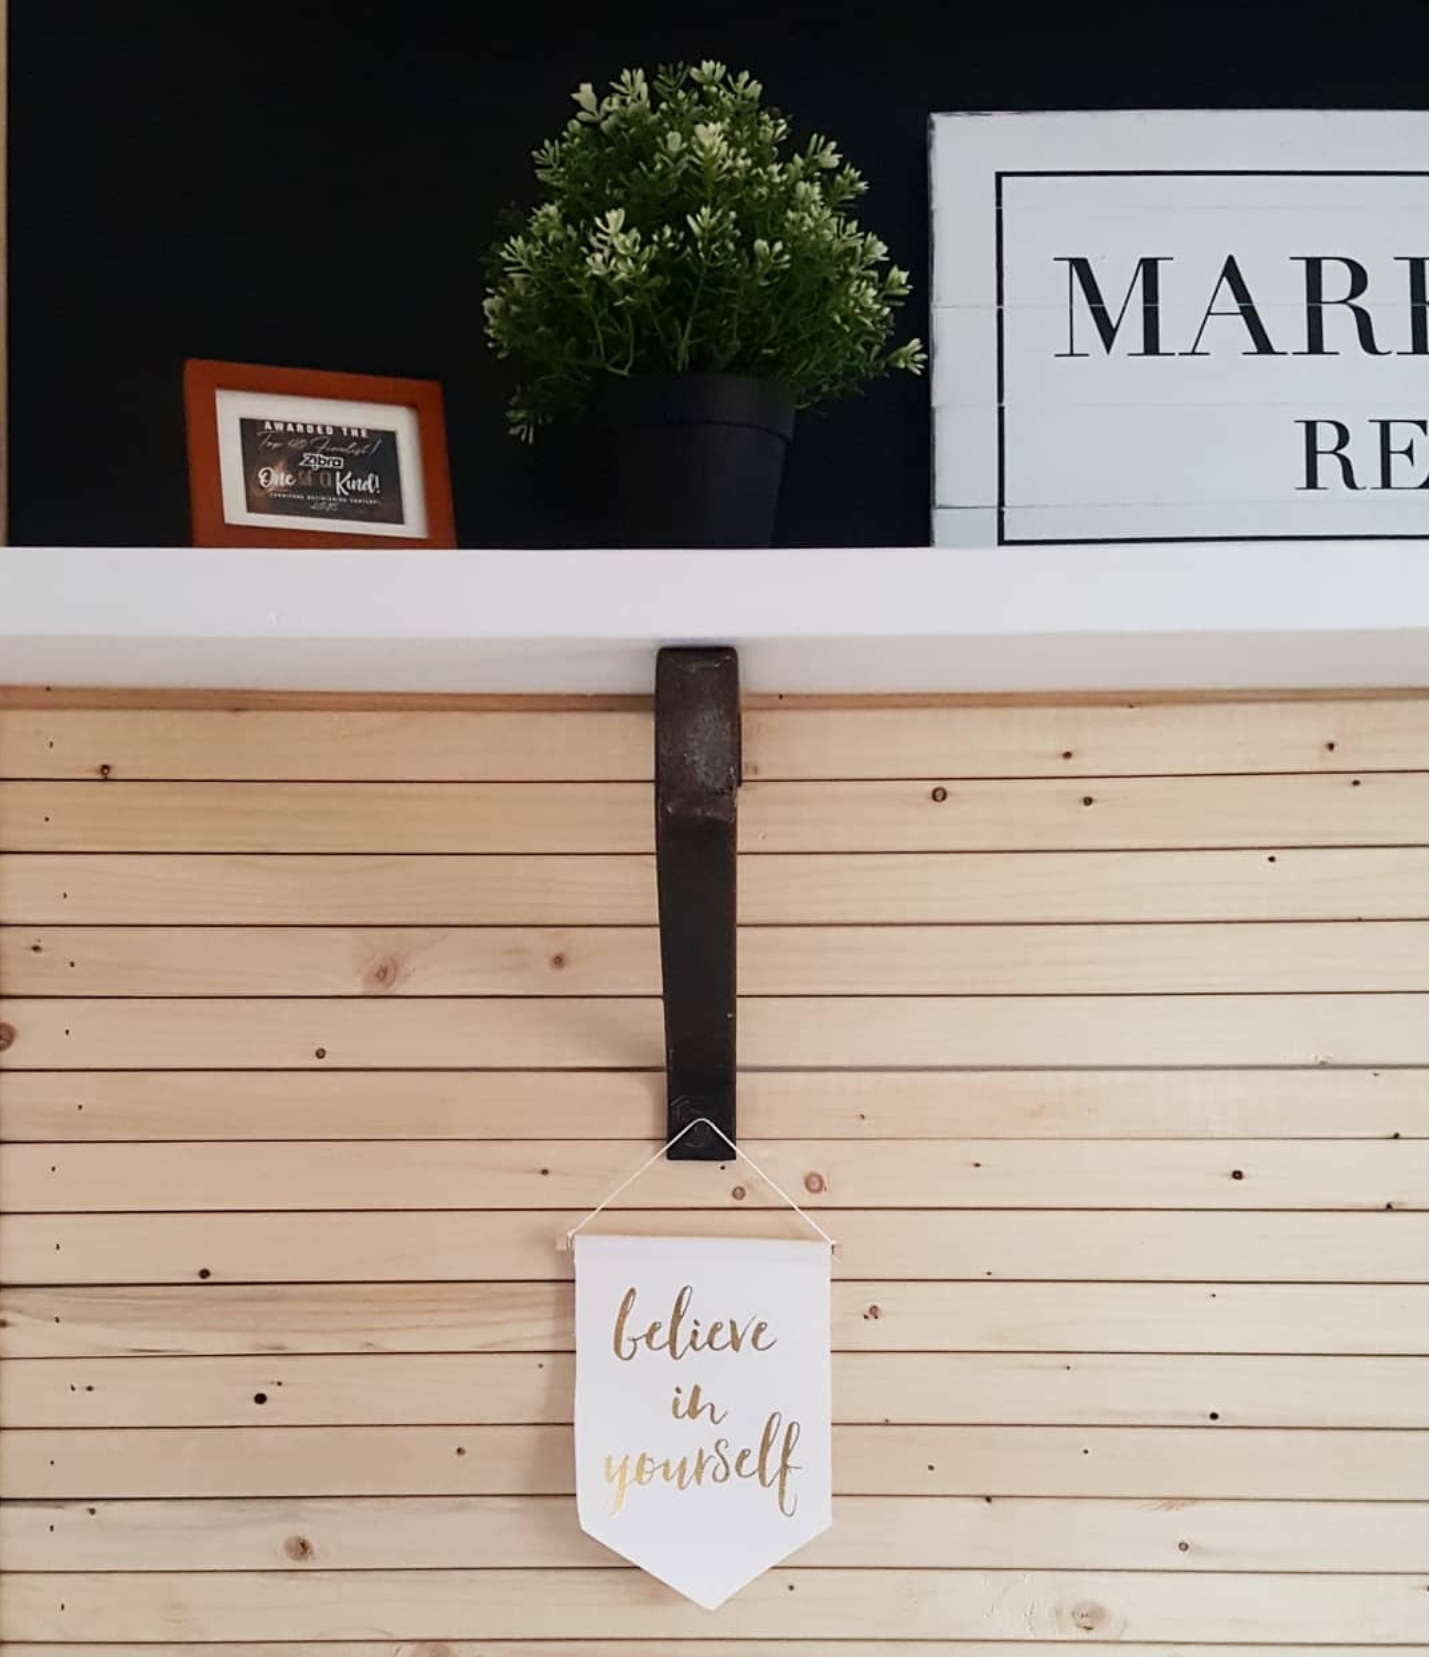
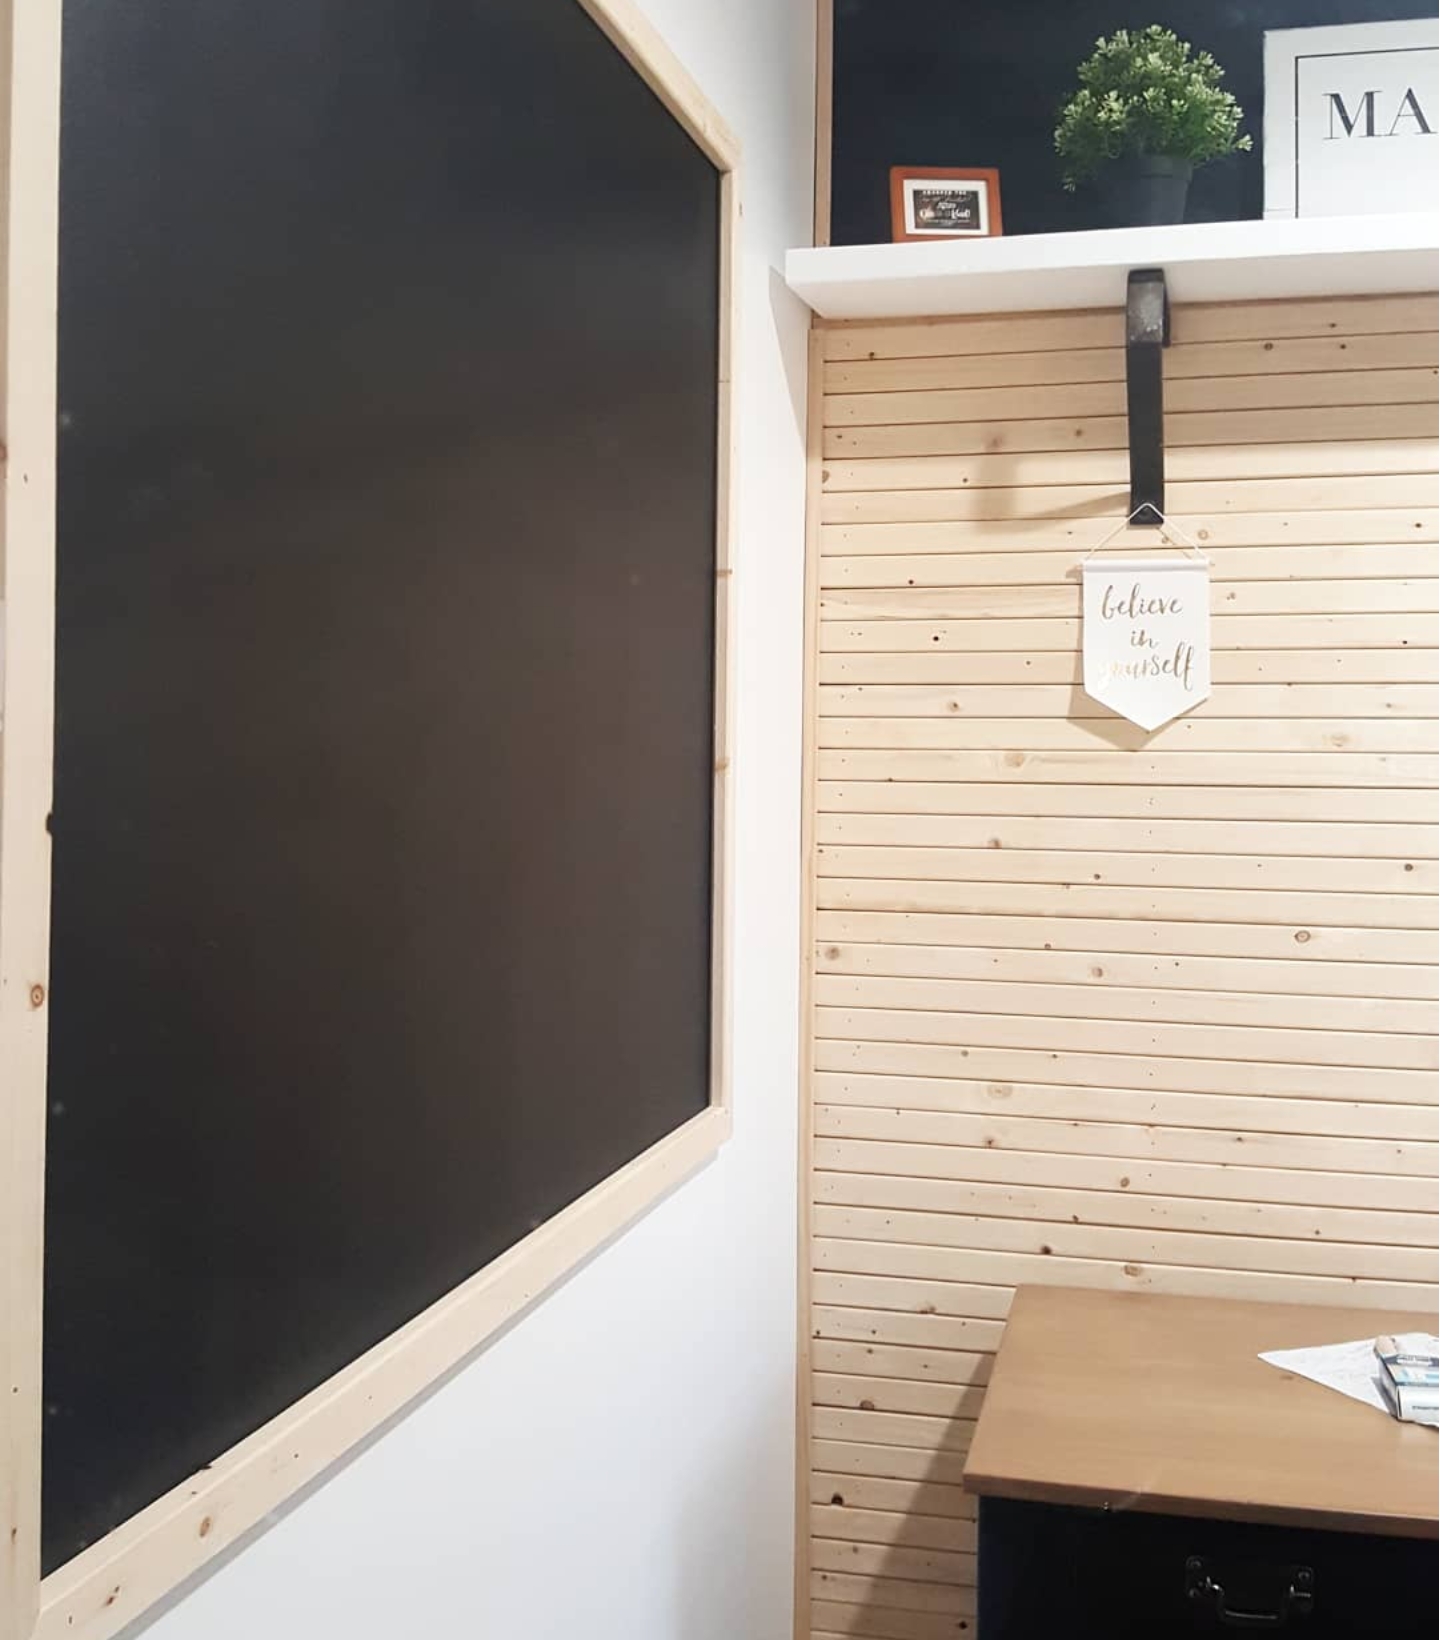
I have had a lot of questions about the “skinny lap” wall that I put up in my office, so I thought I would share all the details for today’s #MondayMakeoversWithFallon. I intentionally made my office space small because I would rather have more painting space in the studio. With that being said, I still wanted to give it some character. so I added a modern skinny-lap accent wall with raw 1x2’s. At first I wasn’t sure if I wanted to paint or keep the wood raw, but once it was up, I decided to keep it as-is and I love how it turned out with my black industrial style desk against it. Read below for all the details!

Materials Needed:
1x2x8ft boards
Thin molding for the sides
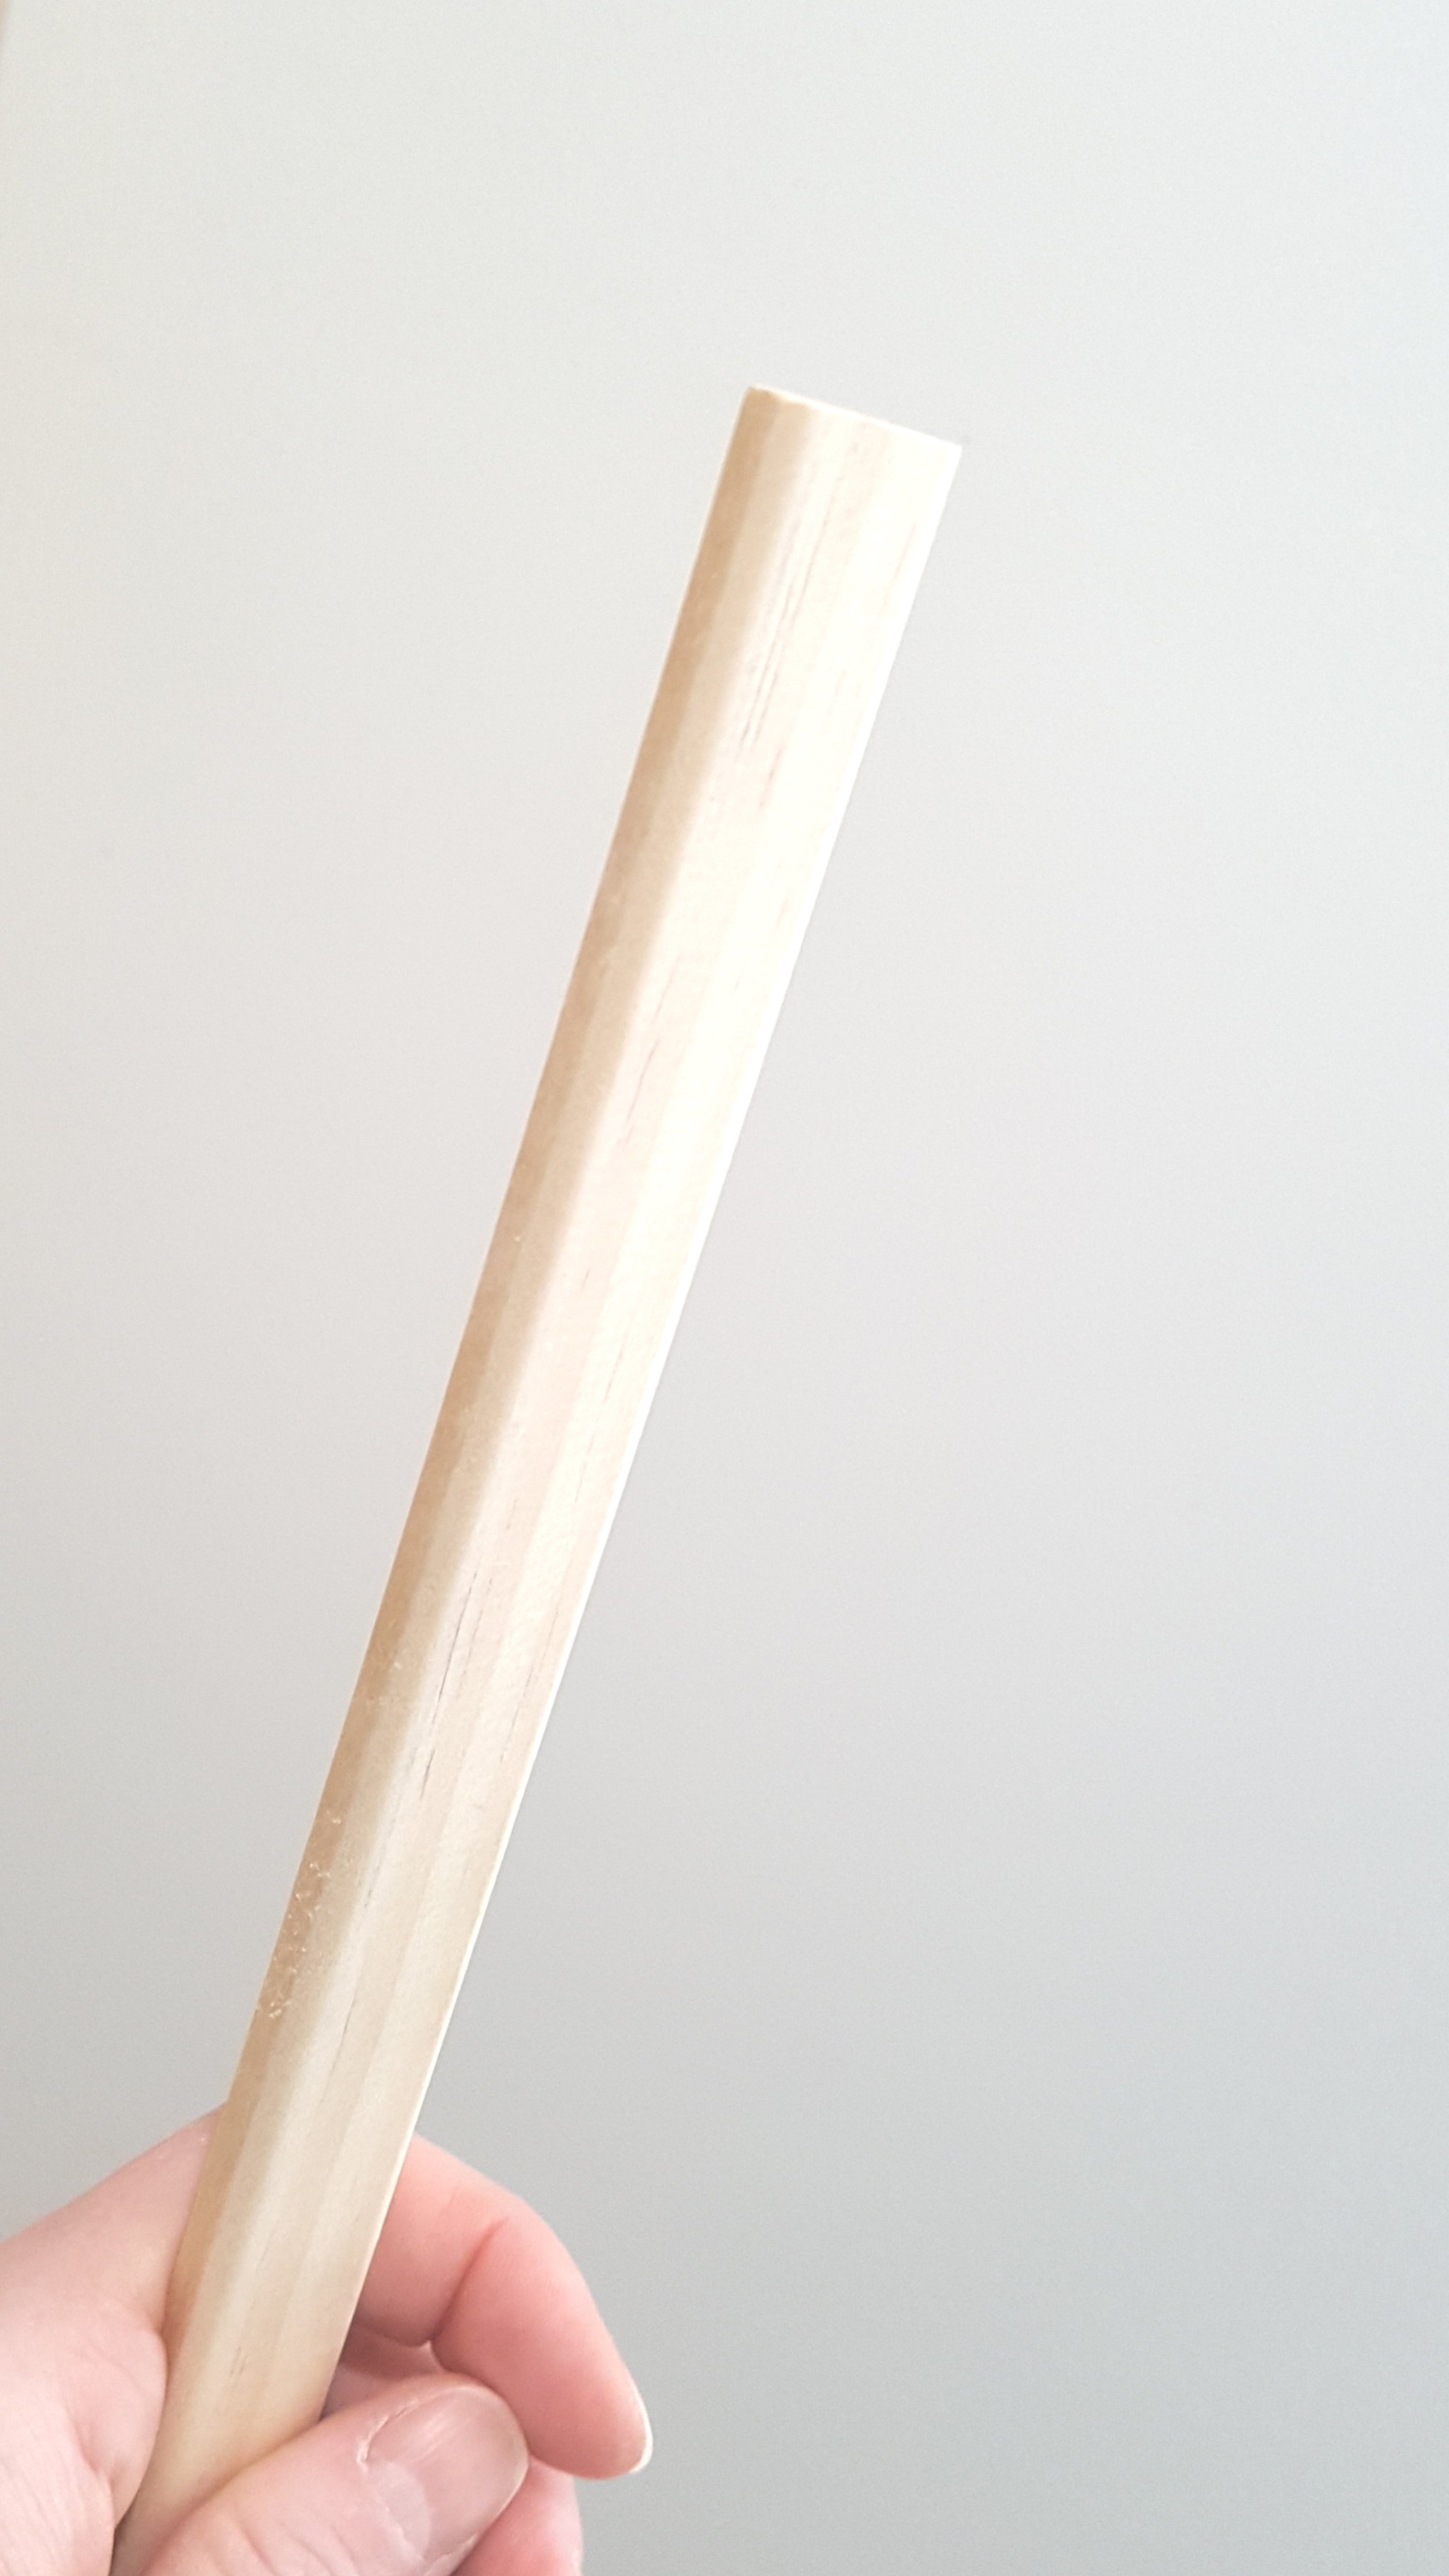
Wide Craft Sticks or Quarters
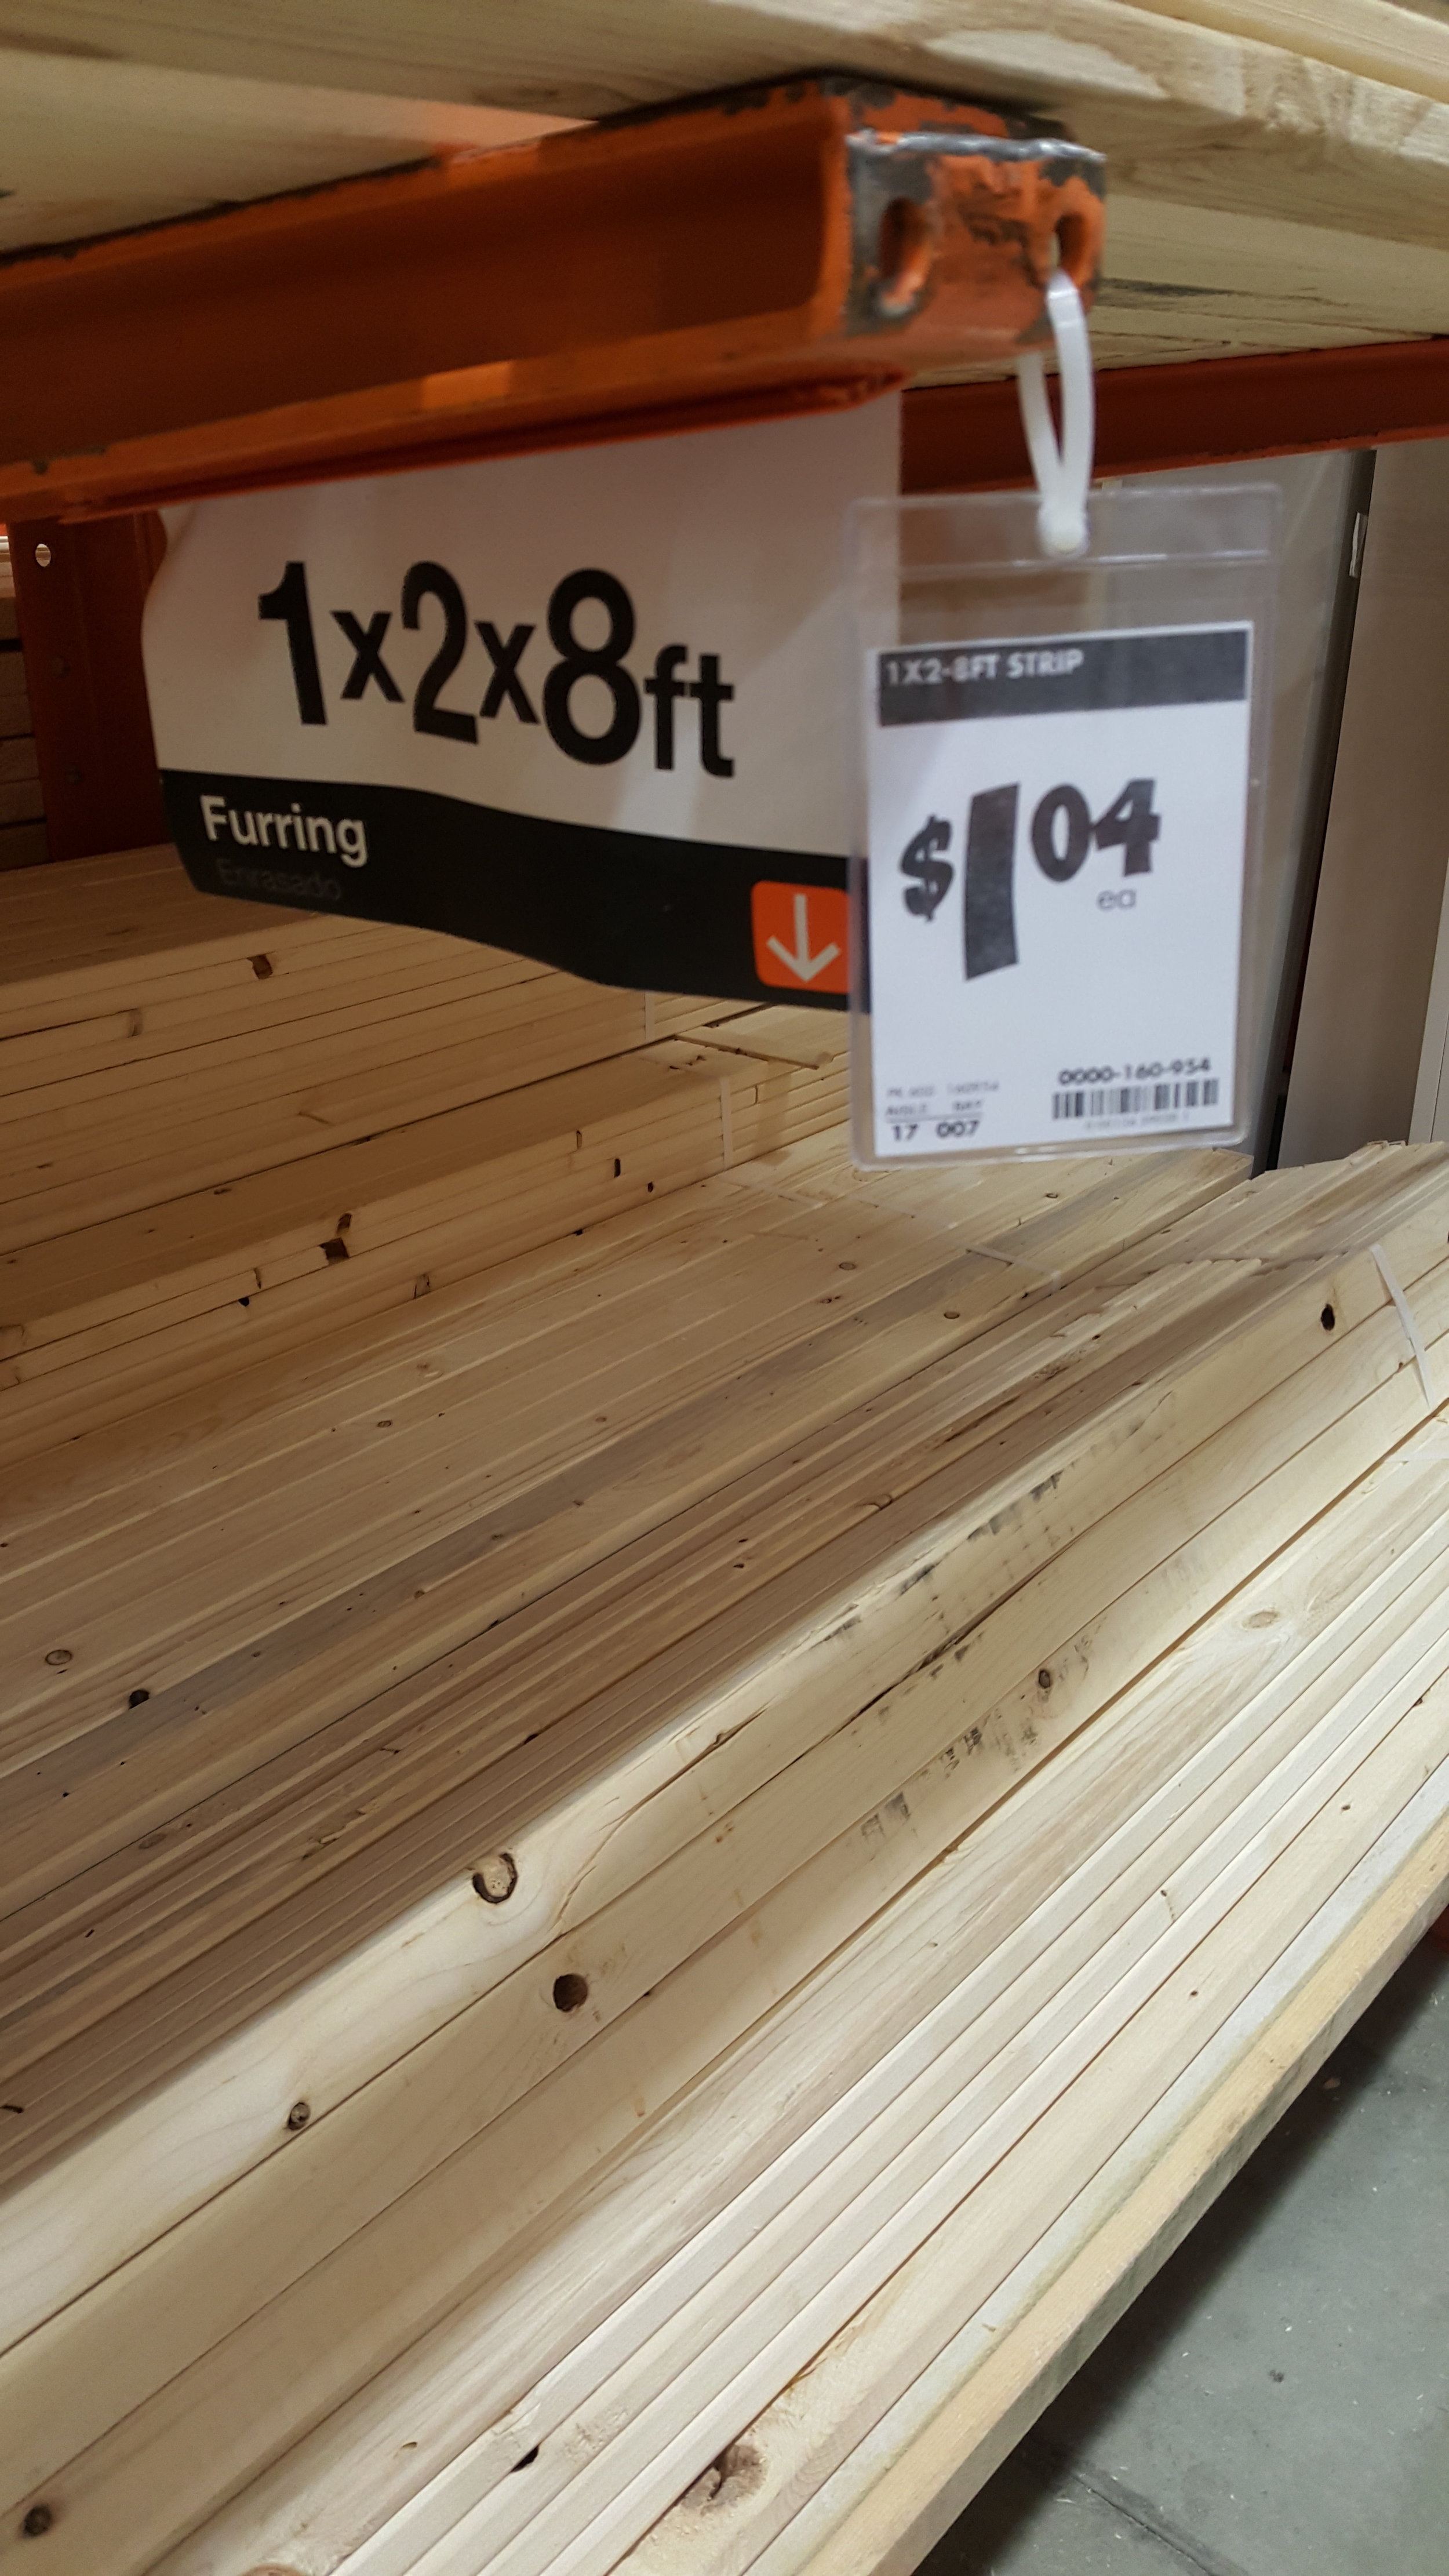
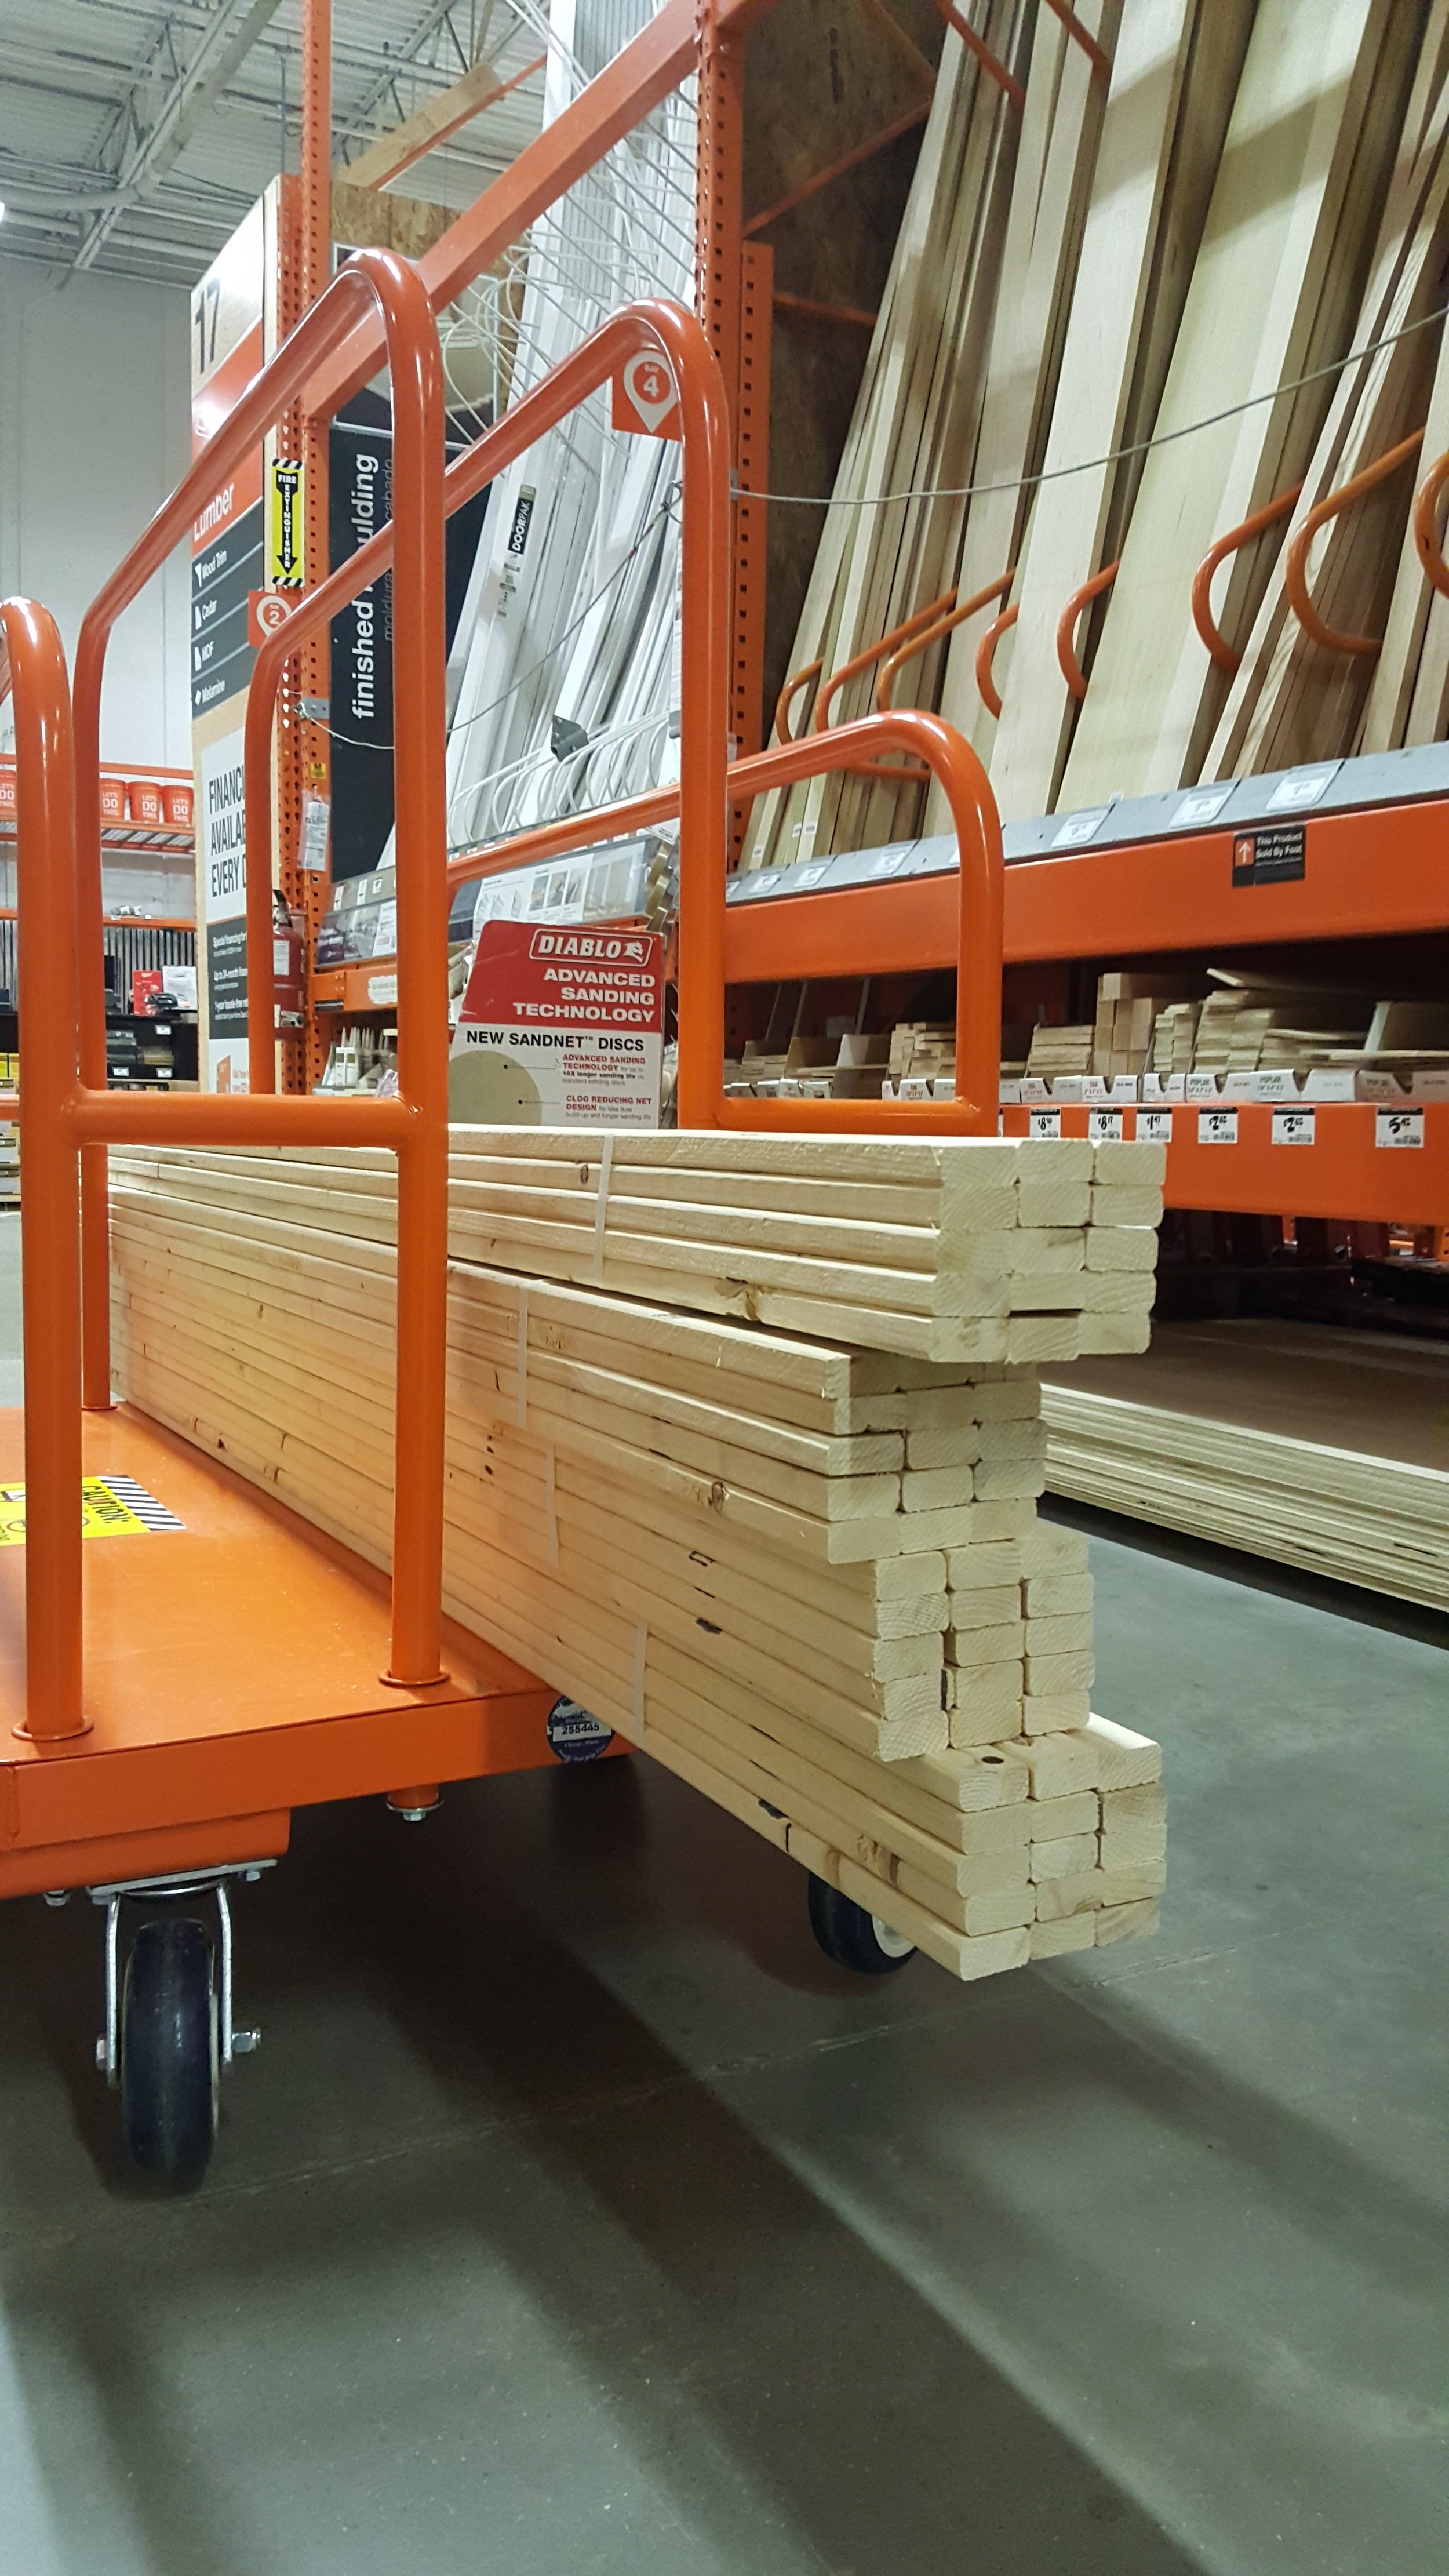
I scoped out the 1x2’s at both Lowe’s and The Home Depot and I liked the way the ones looked at The Home Depot better, so that’s what I went with! Each board is 8ft long and my wall was only 6ft, so we had to cut them down with a Miter Saw to fit. You can get the boards cut at the store if you don’t have a saw at home but after the first cut a lot of stores charge you, so just keep that in mind. I purchased about 20 more boards than I actually needed because I knew some of them would have big holes, splits, divots and/or discoloring, because after all they’re just inexpensive 1x2’s. They come in packs of 15 or you can purchase them individually. When the project was over, I returned the unused boards. If you want to go with pine, oak, poplar, etc, plan on spending a lot more!! As you can see from the picture, each board was only $1.04. Not bad, right!?

Step 1: Lay out the boards the way you want them to look on the wall and measure each one to the length you need them. Note: if you want to go ahead and cut a board and use it as your template for measuring it will make things a lot quicker. Just make sure it’s the correct fit before you mark all of the other boards.
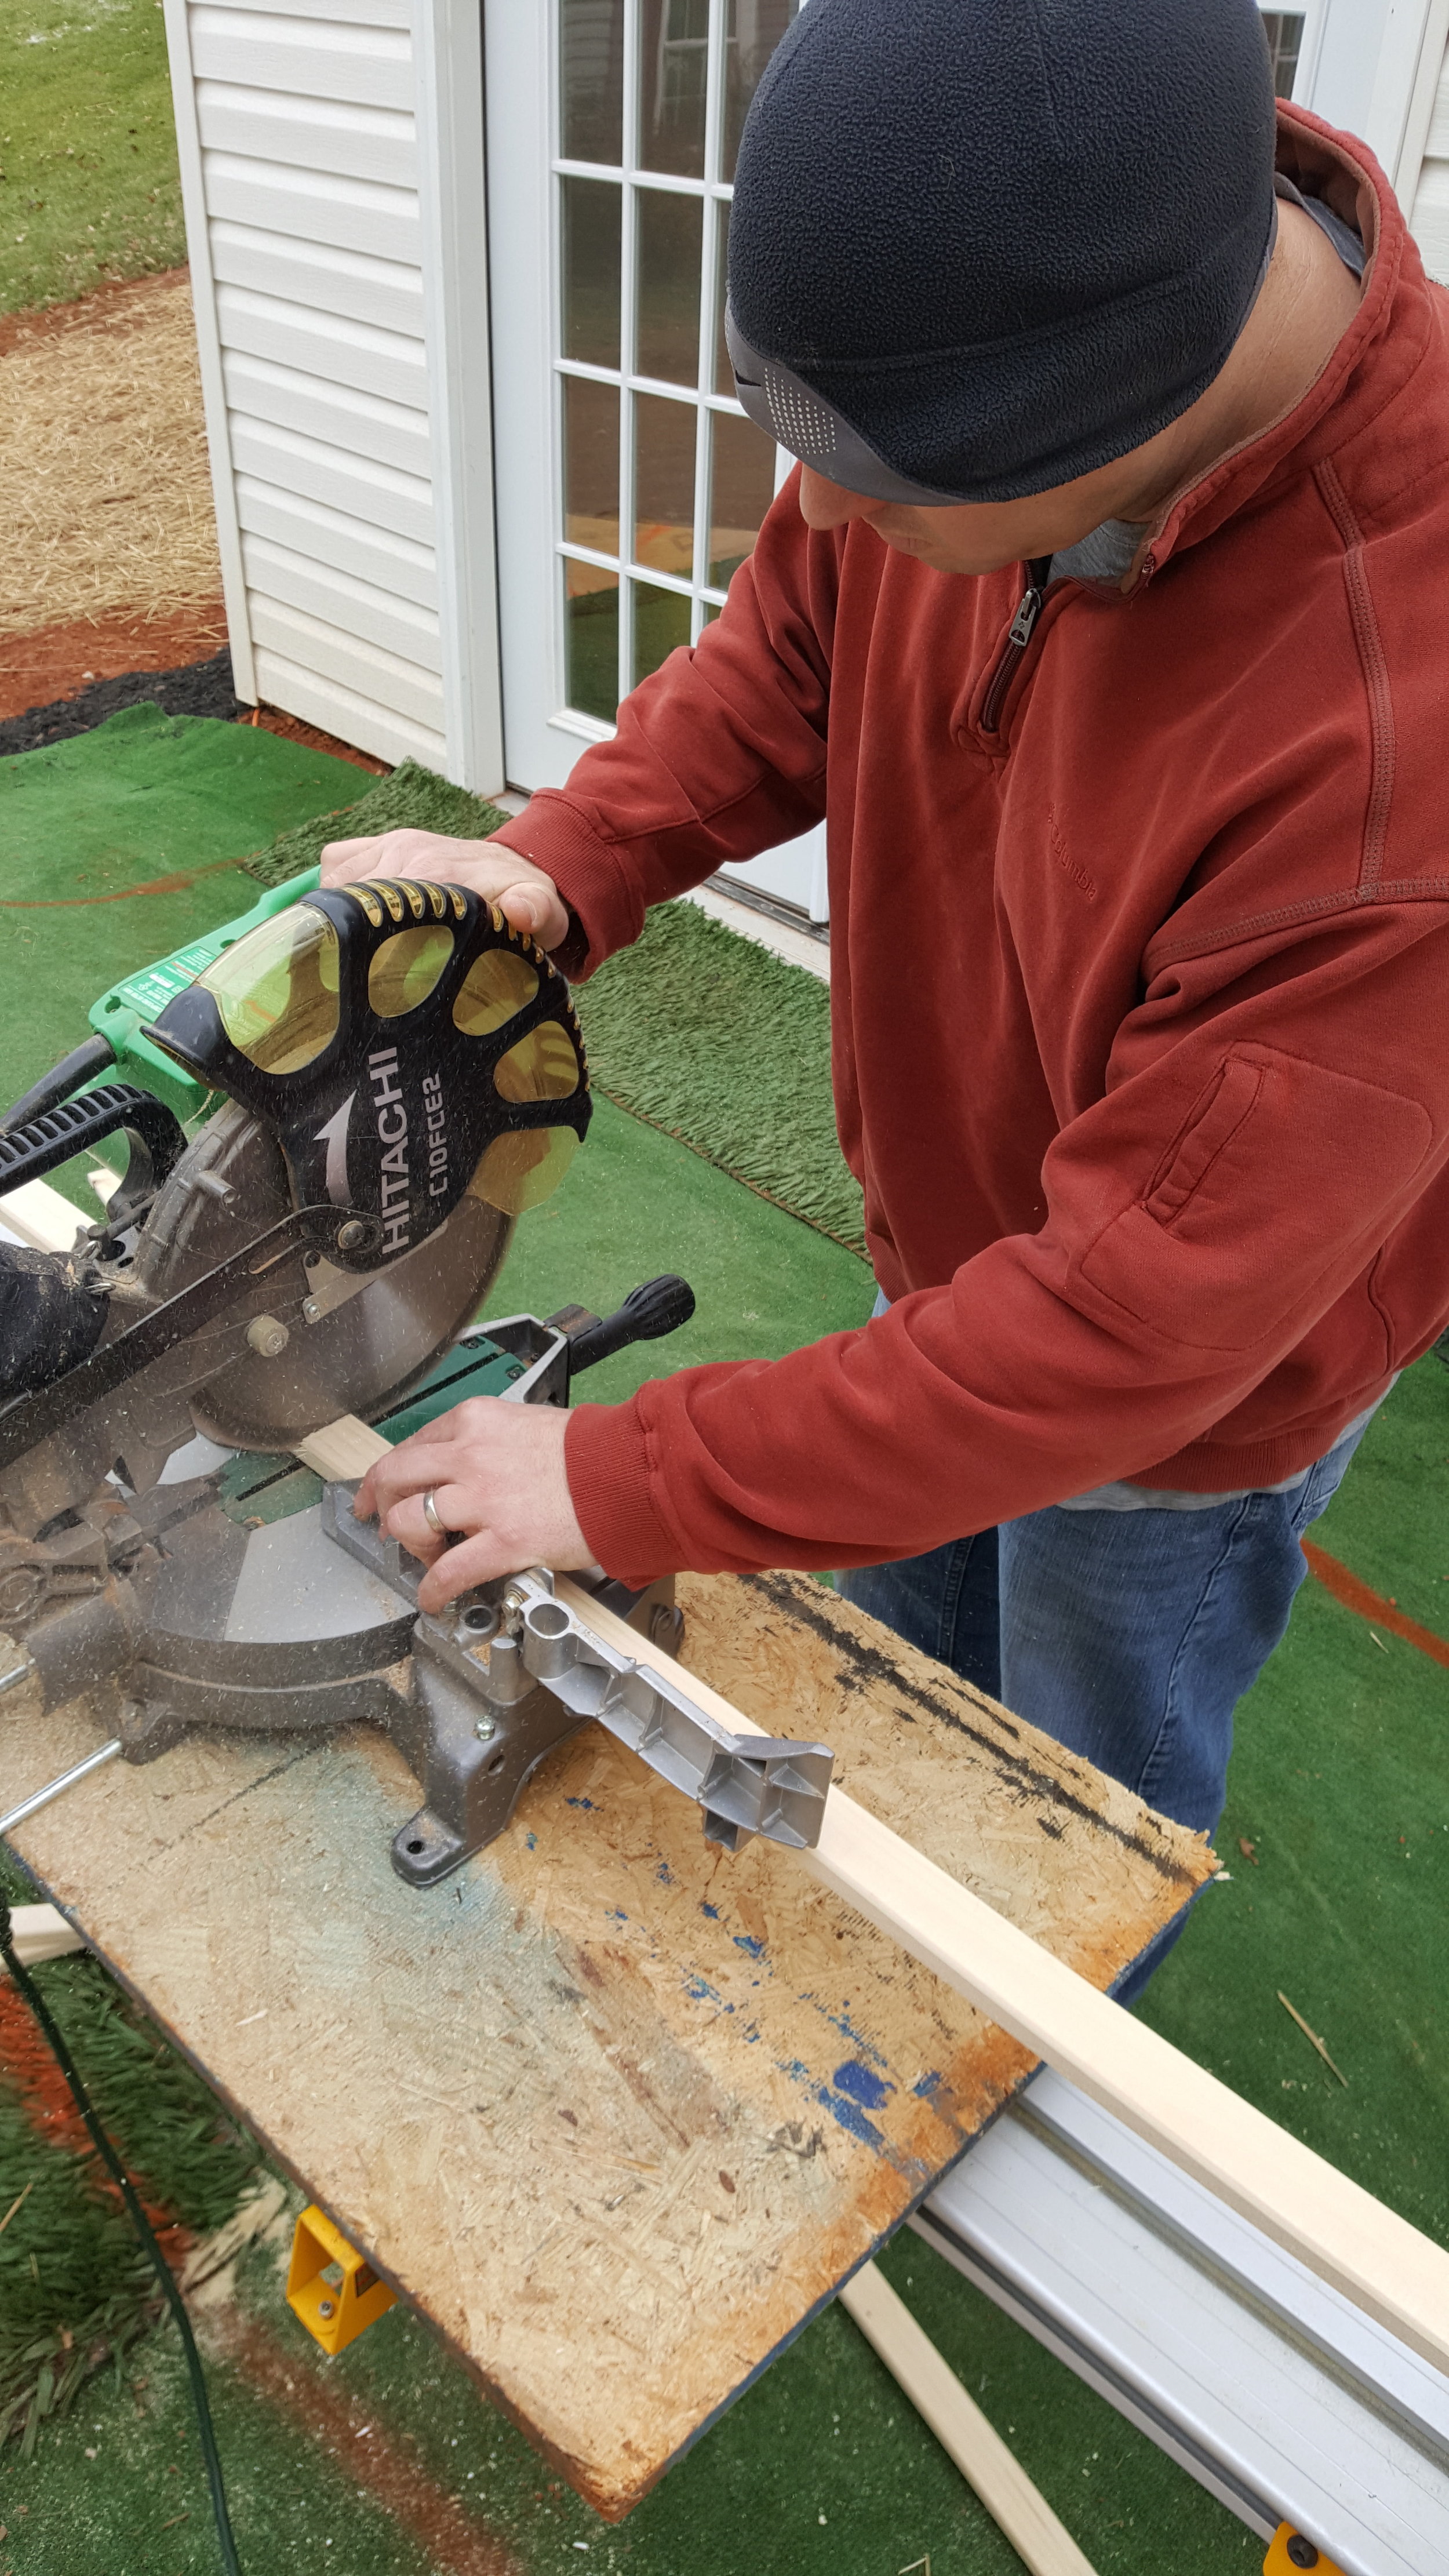
Step 2: Cut boards to measured length. Before you cut every single board, double check a few of them to make sure they fit well on the wall.
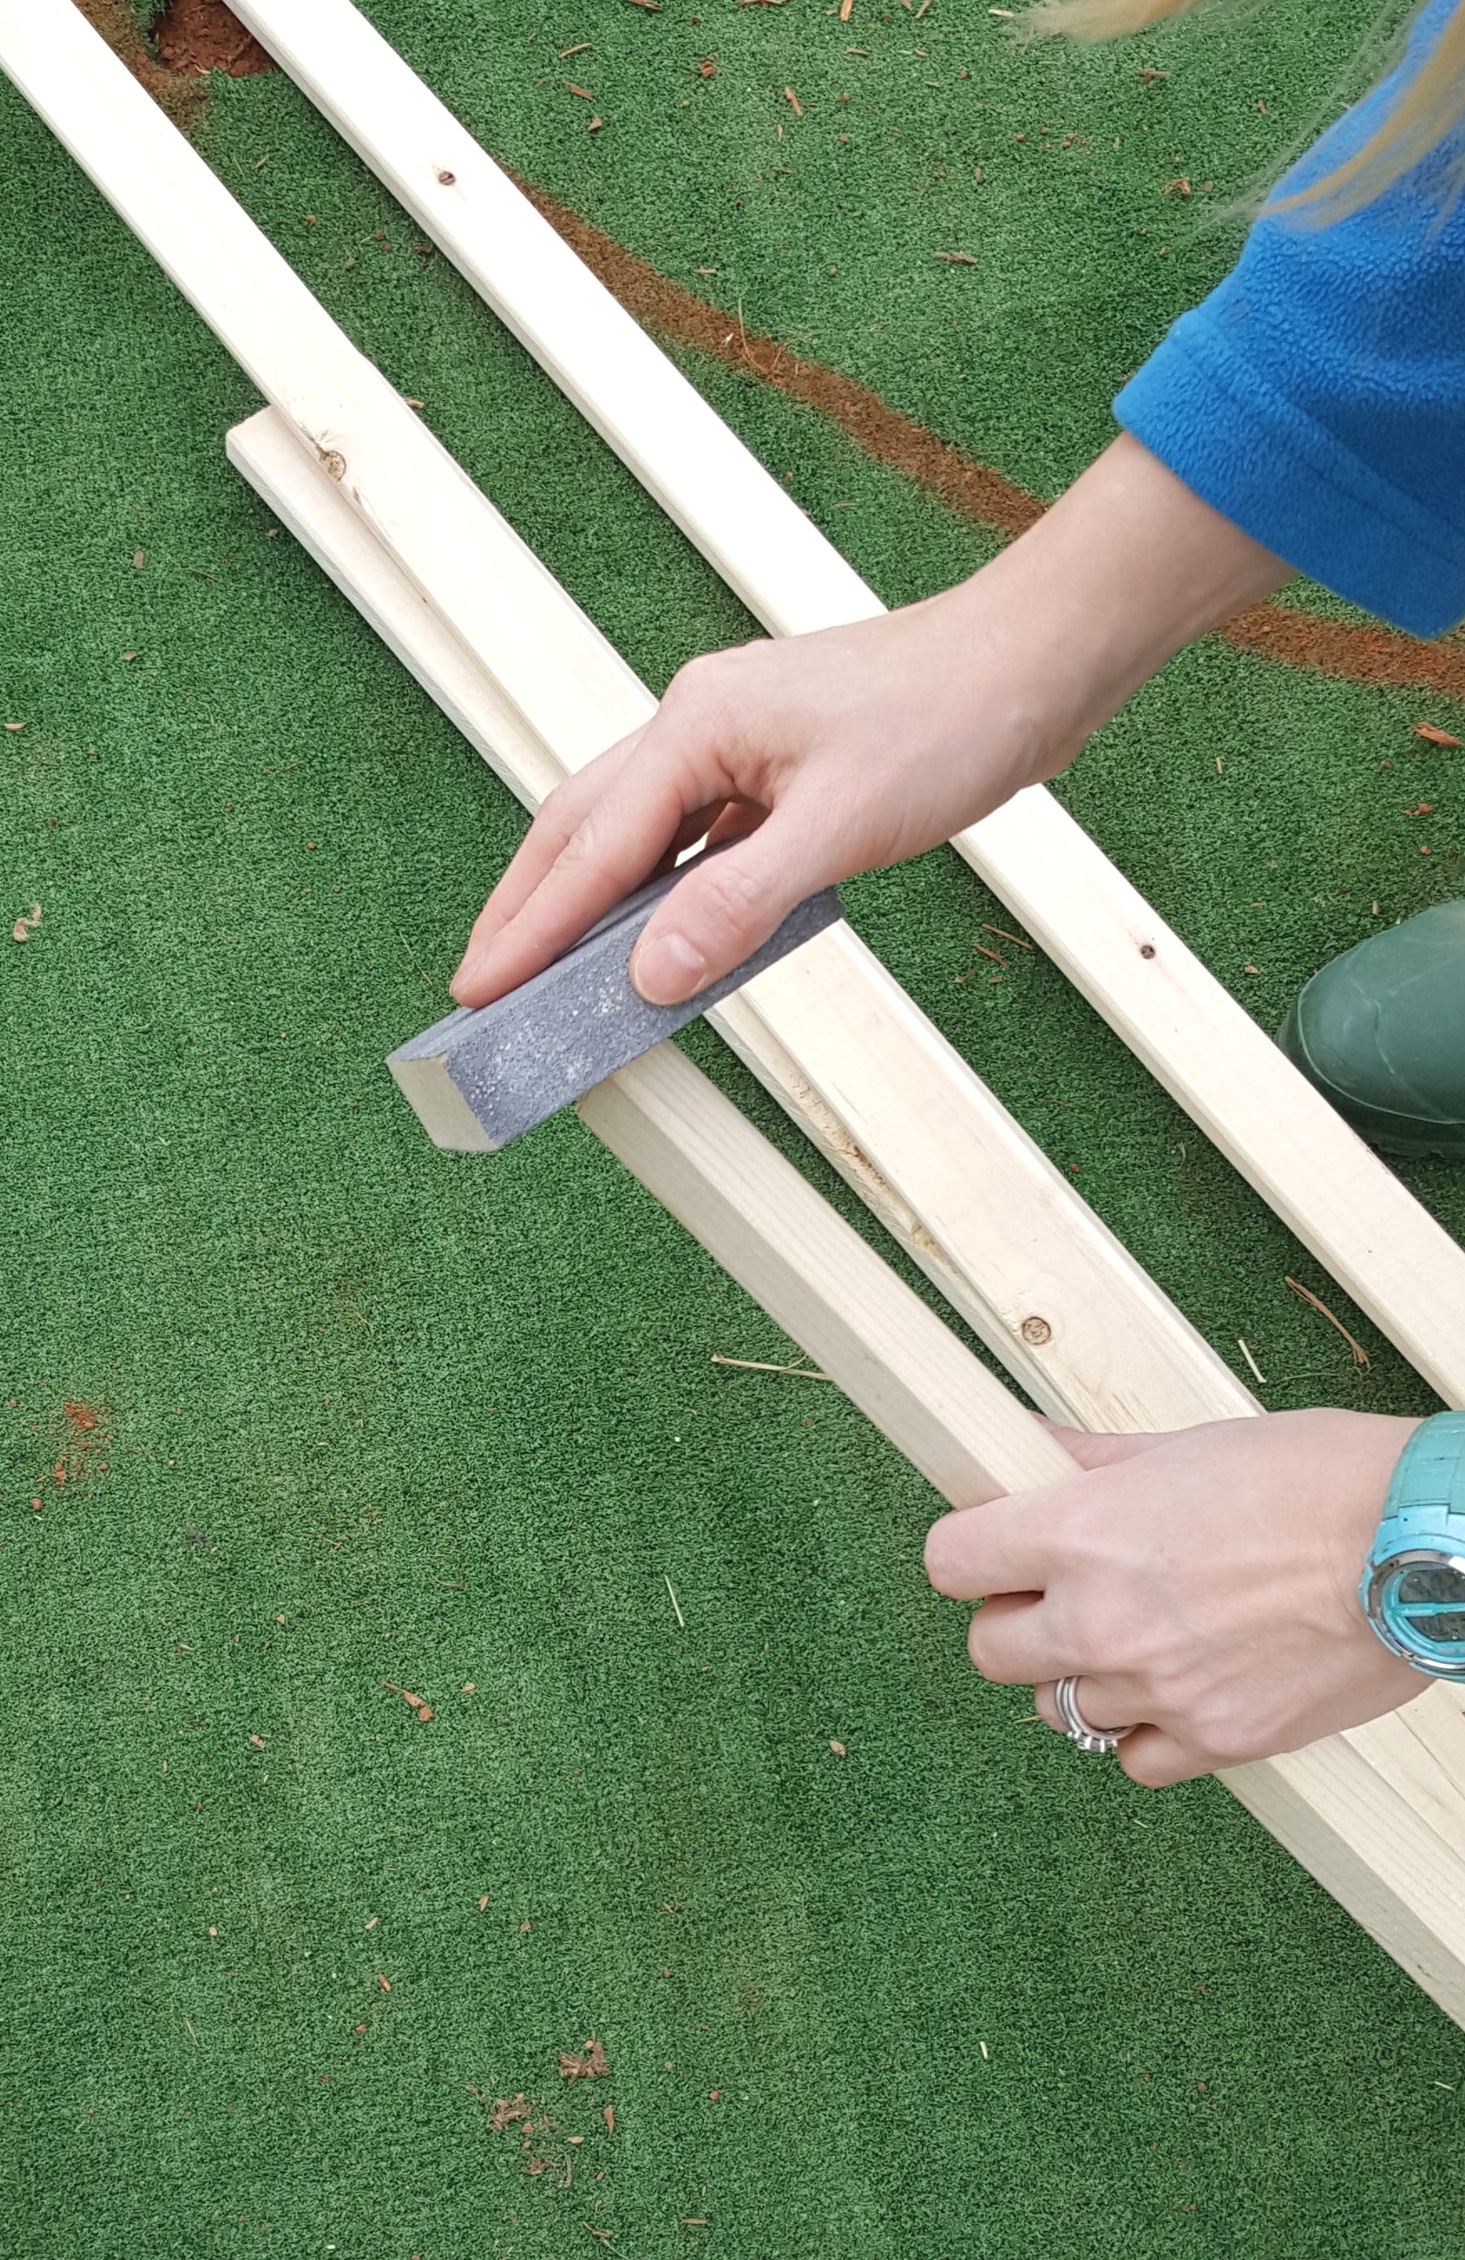
Step 3: Sand the ends of the boards with a 220 grit sanding block where you cut them. Since they aren’t a hardwood, the wood will most likely split a little on the ends. This helps smooth it out so it looks nicer and so you don’t get splinters!

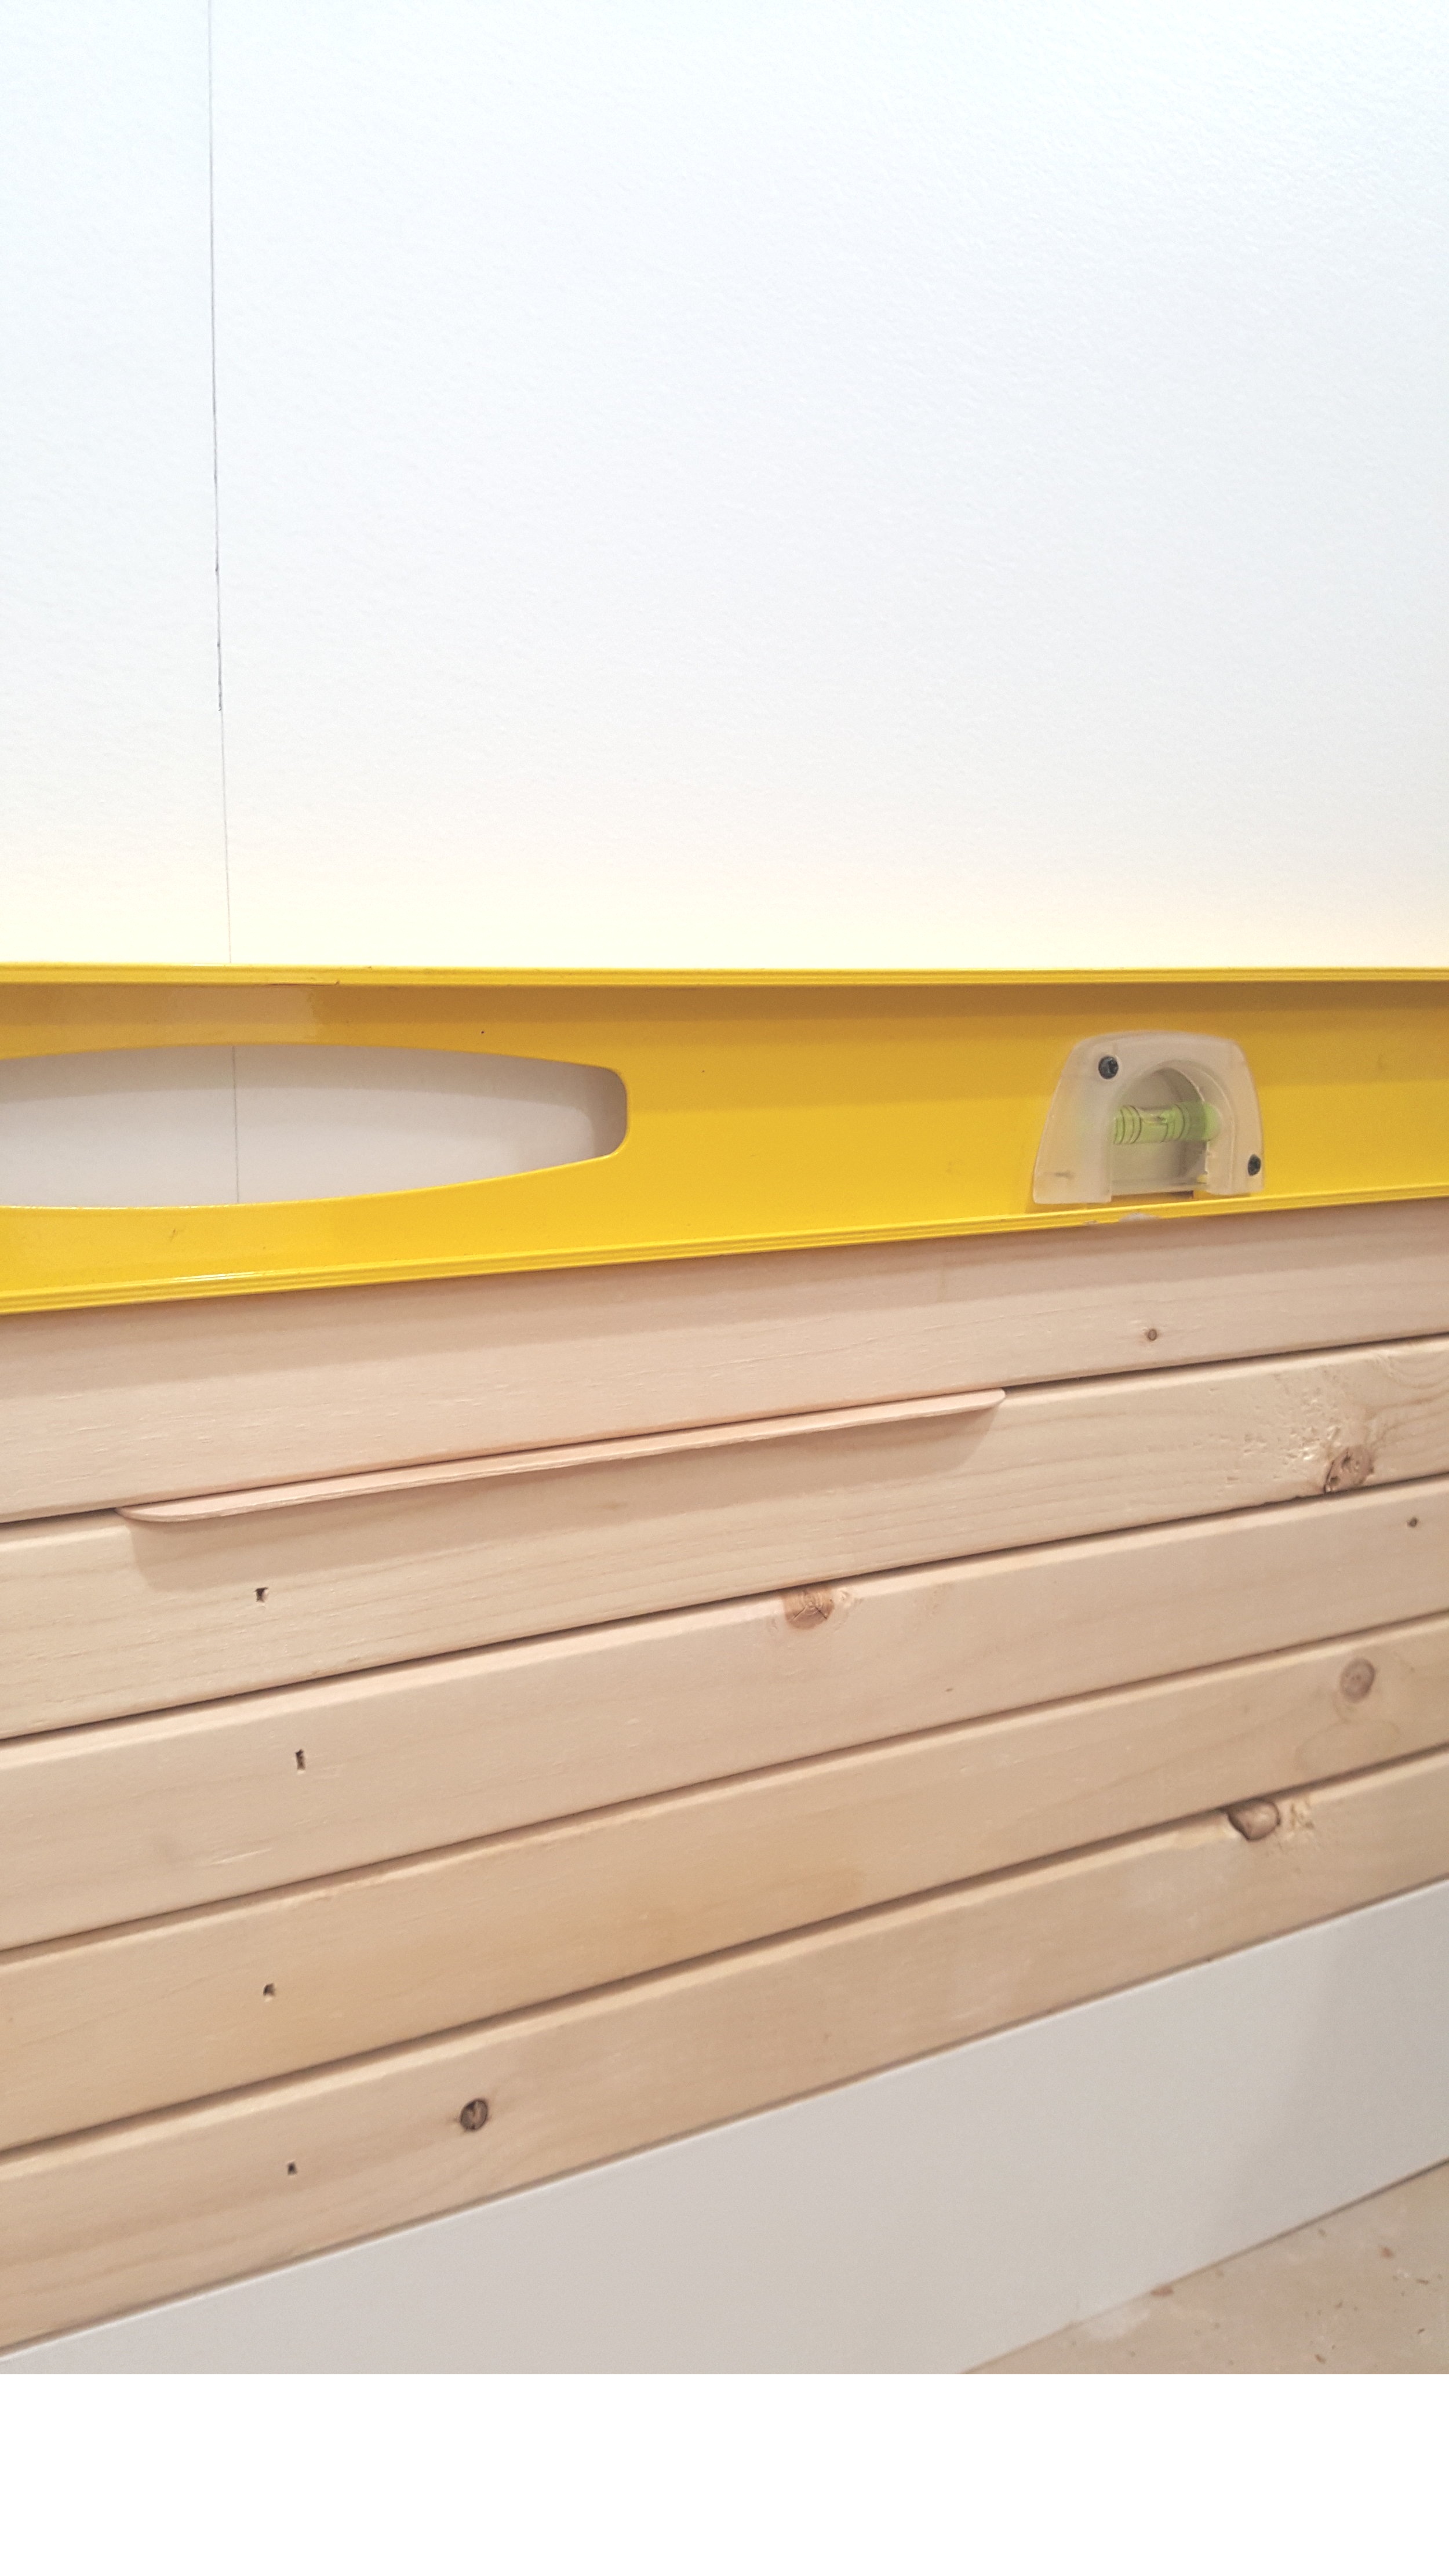
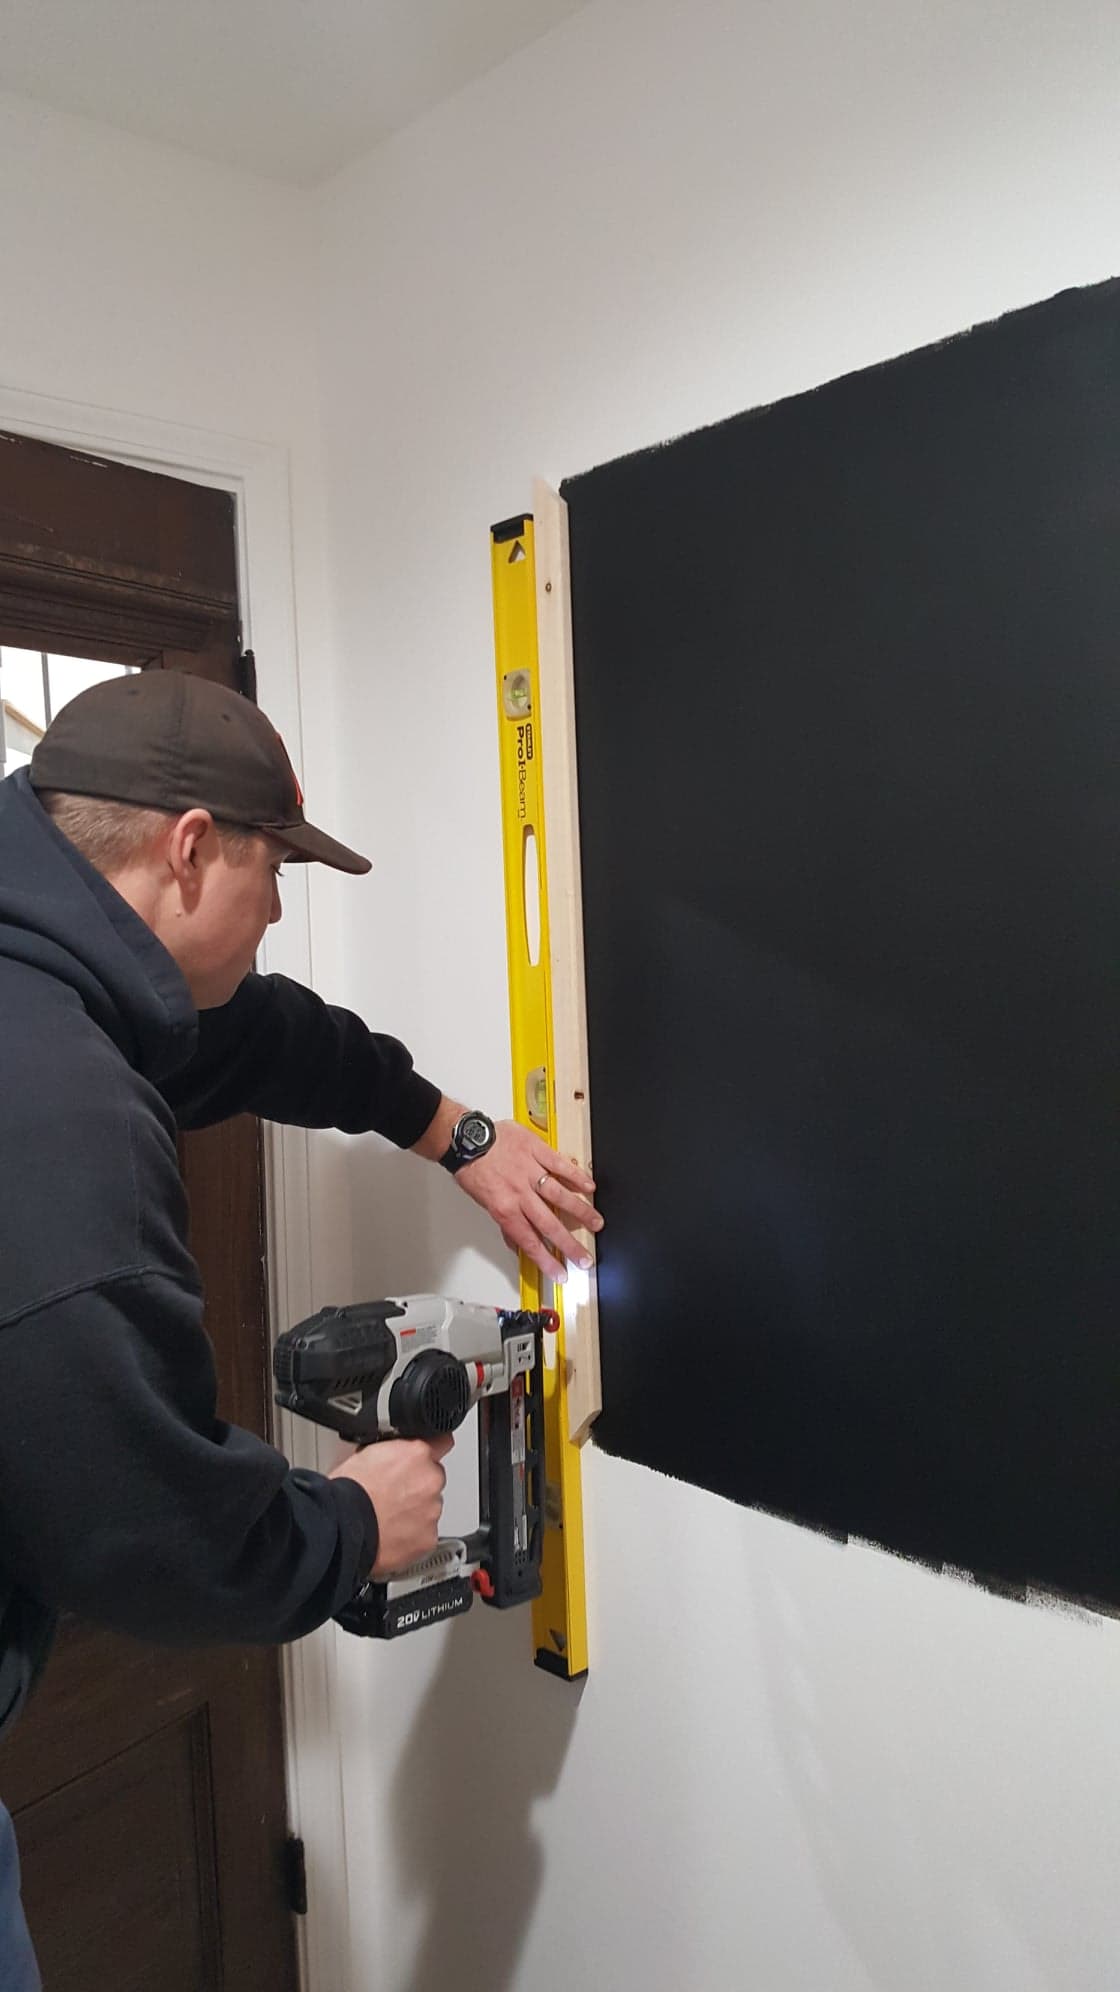
Step 4: Draw a line on the wall where the studs are. You may need to use a stud finder for this. Make sure you use at least a 4ft level so the boards aren’t crooked.
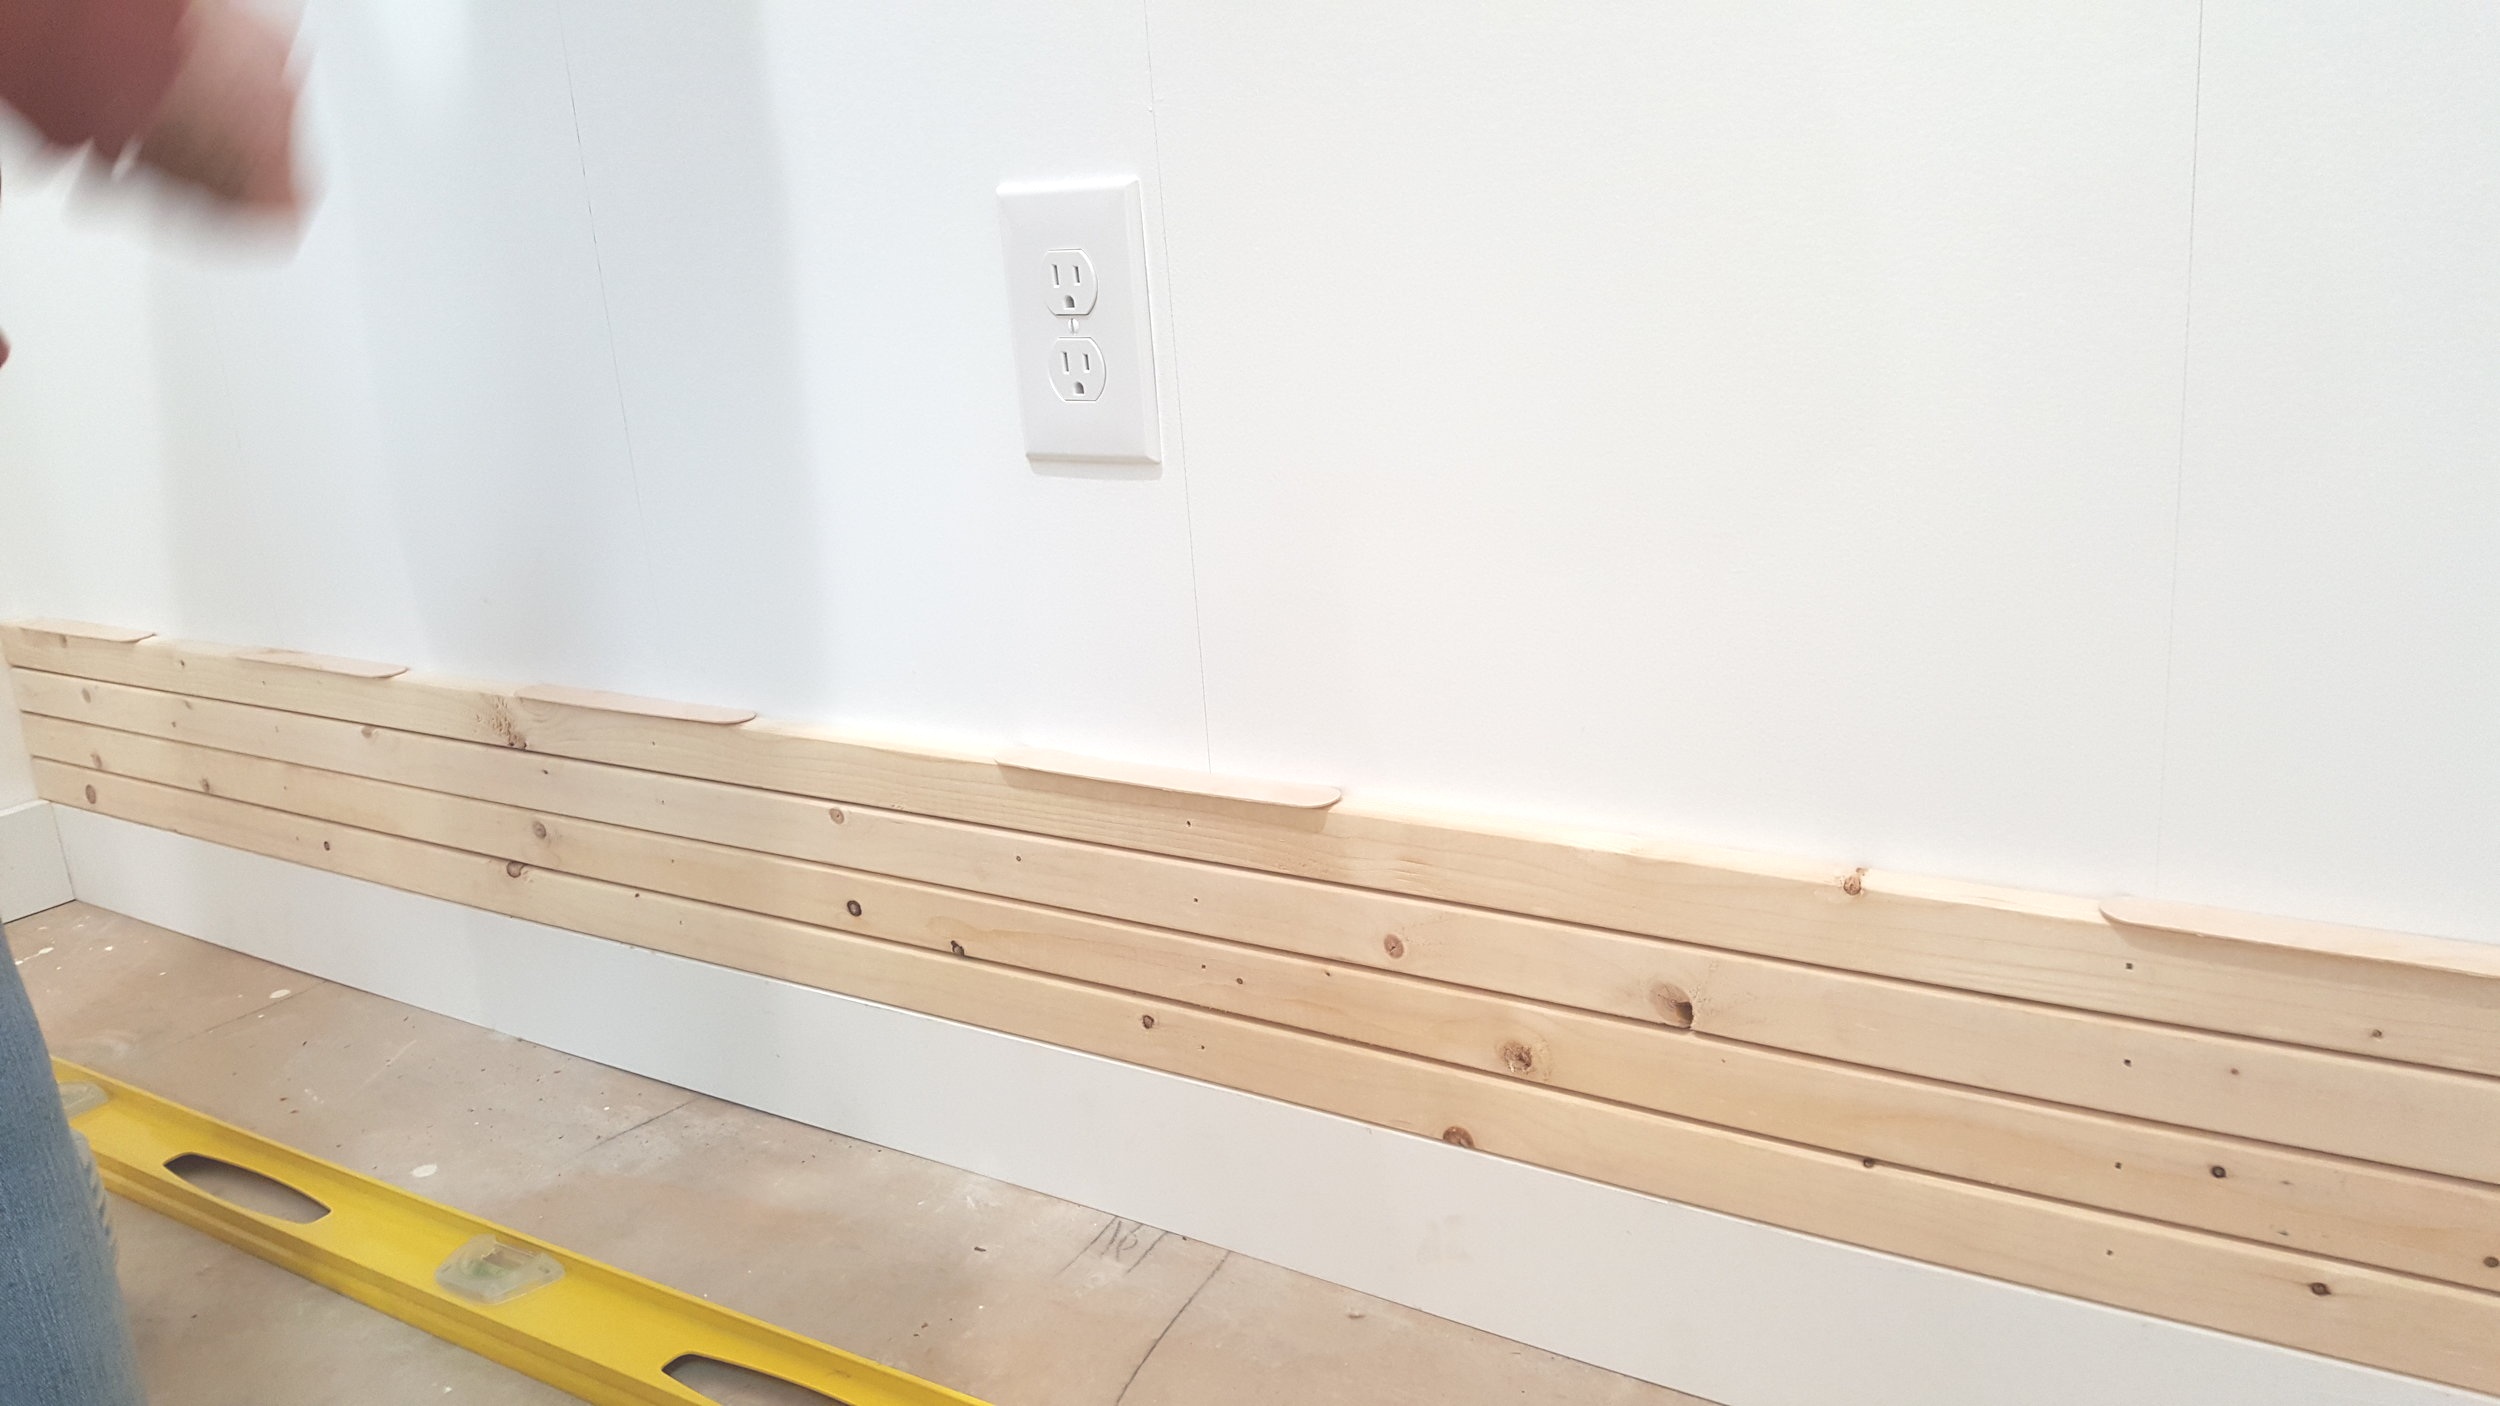
Step 5: Start at the bottom of the wall (this is different than standard Shiplap. Typically you want to start at the top of the wall with Shiplap). Place board on the wall, above the baseboards, nail the board into the wall where you marked the studs. Before you go to the next board, make sure it’s level!
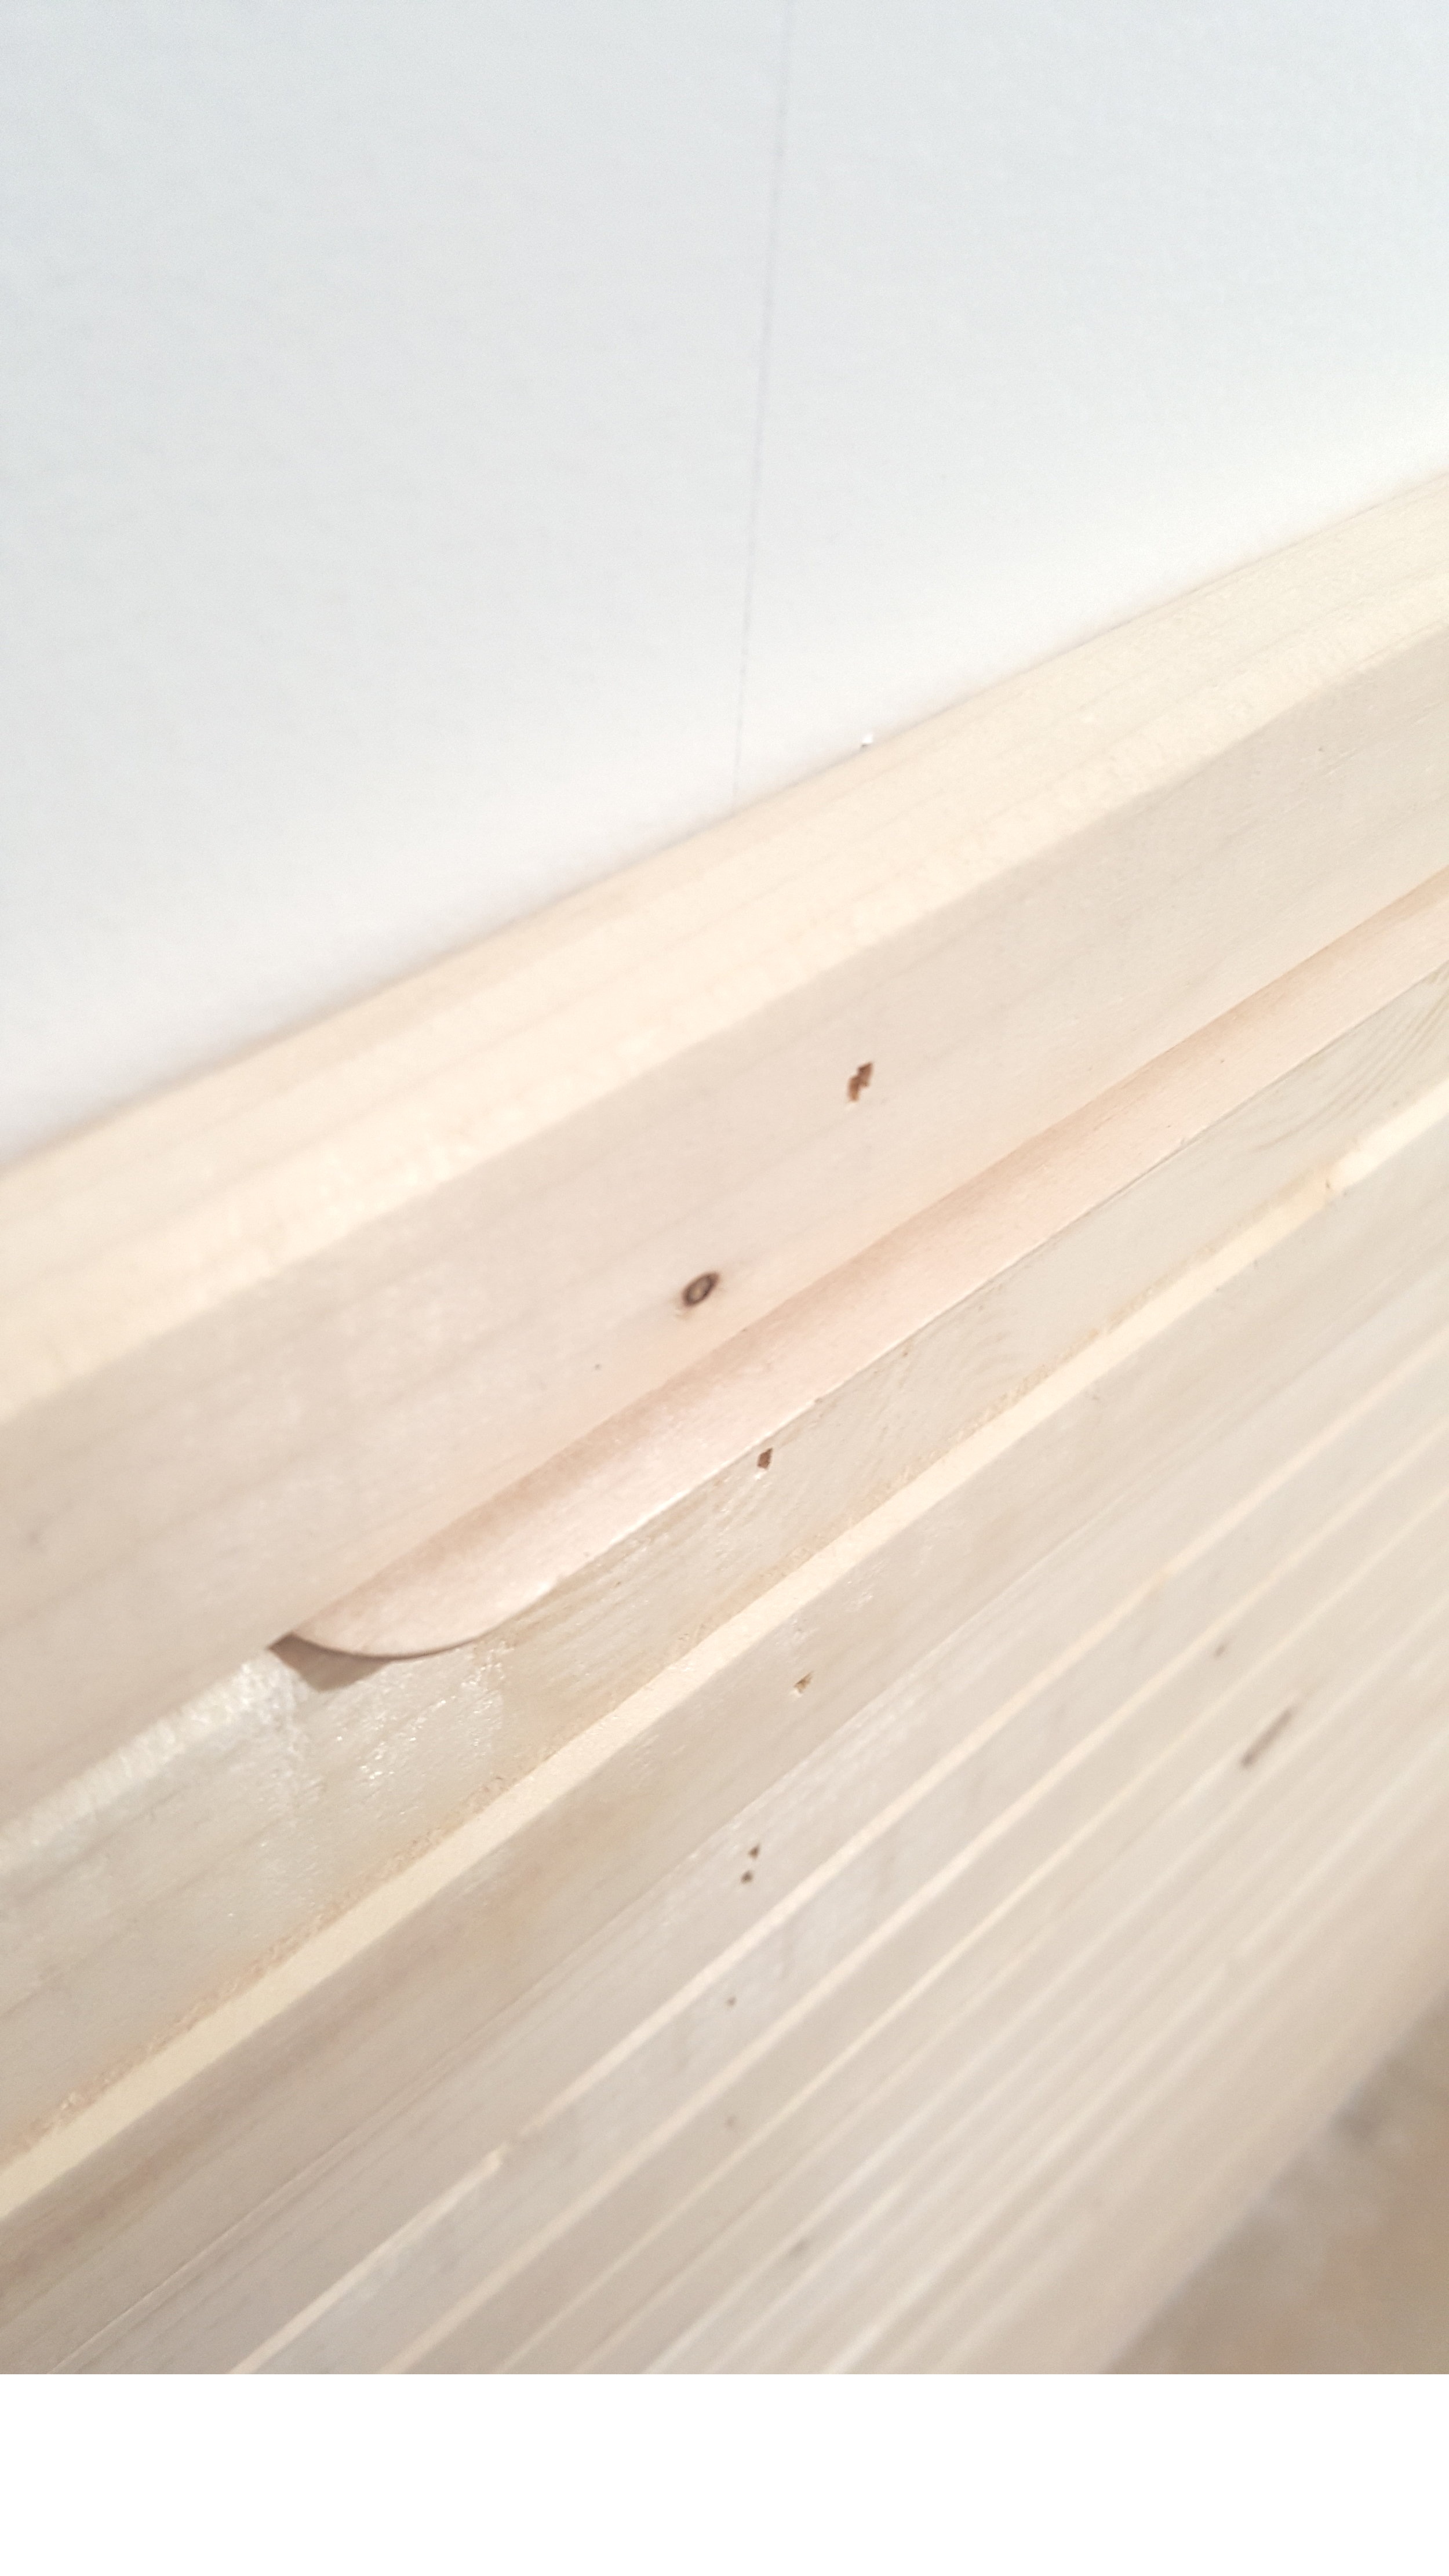
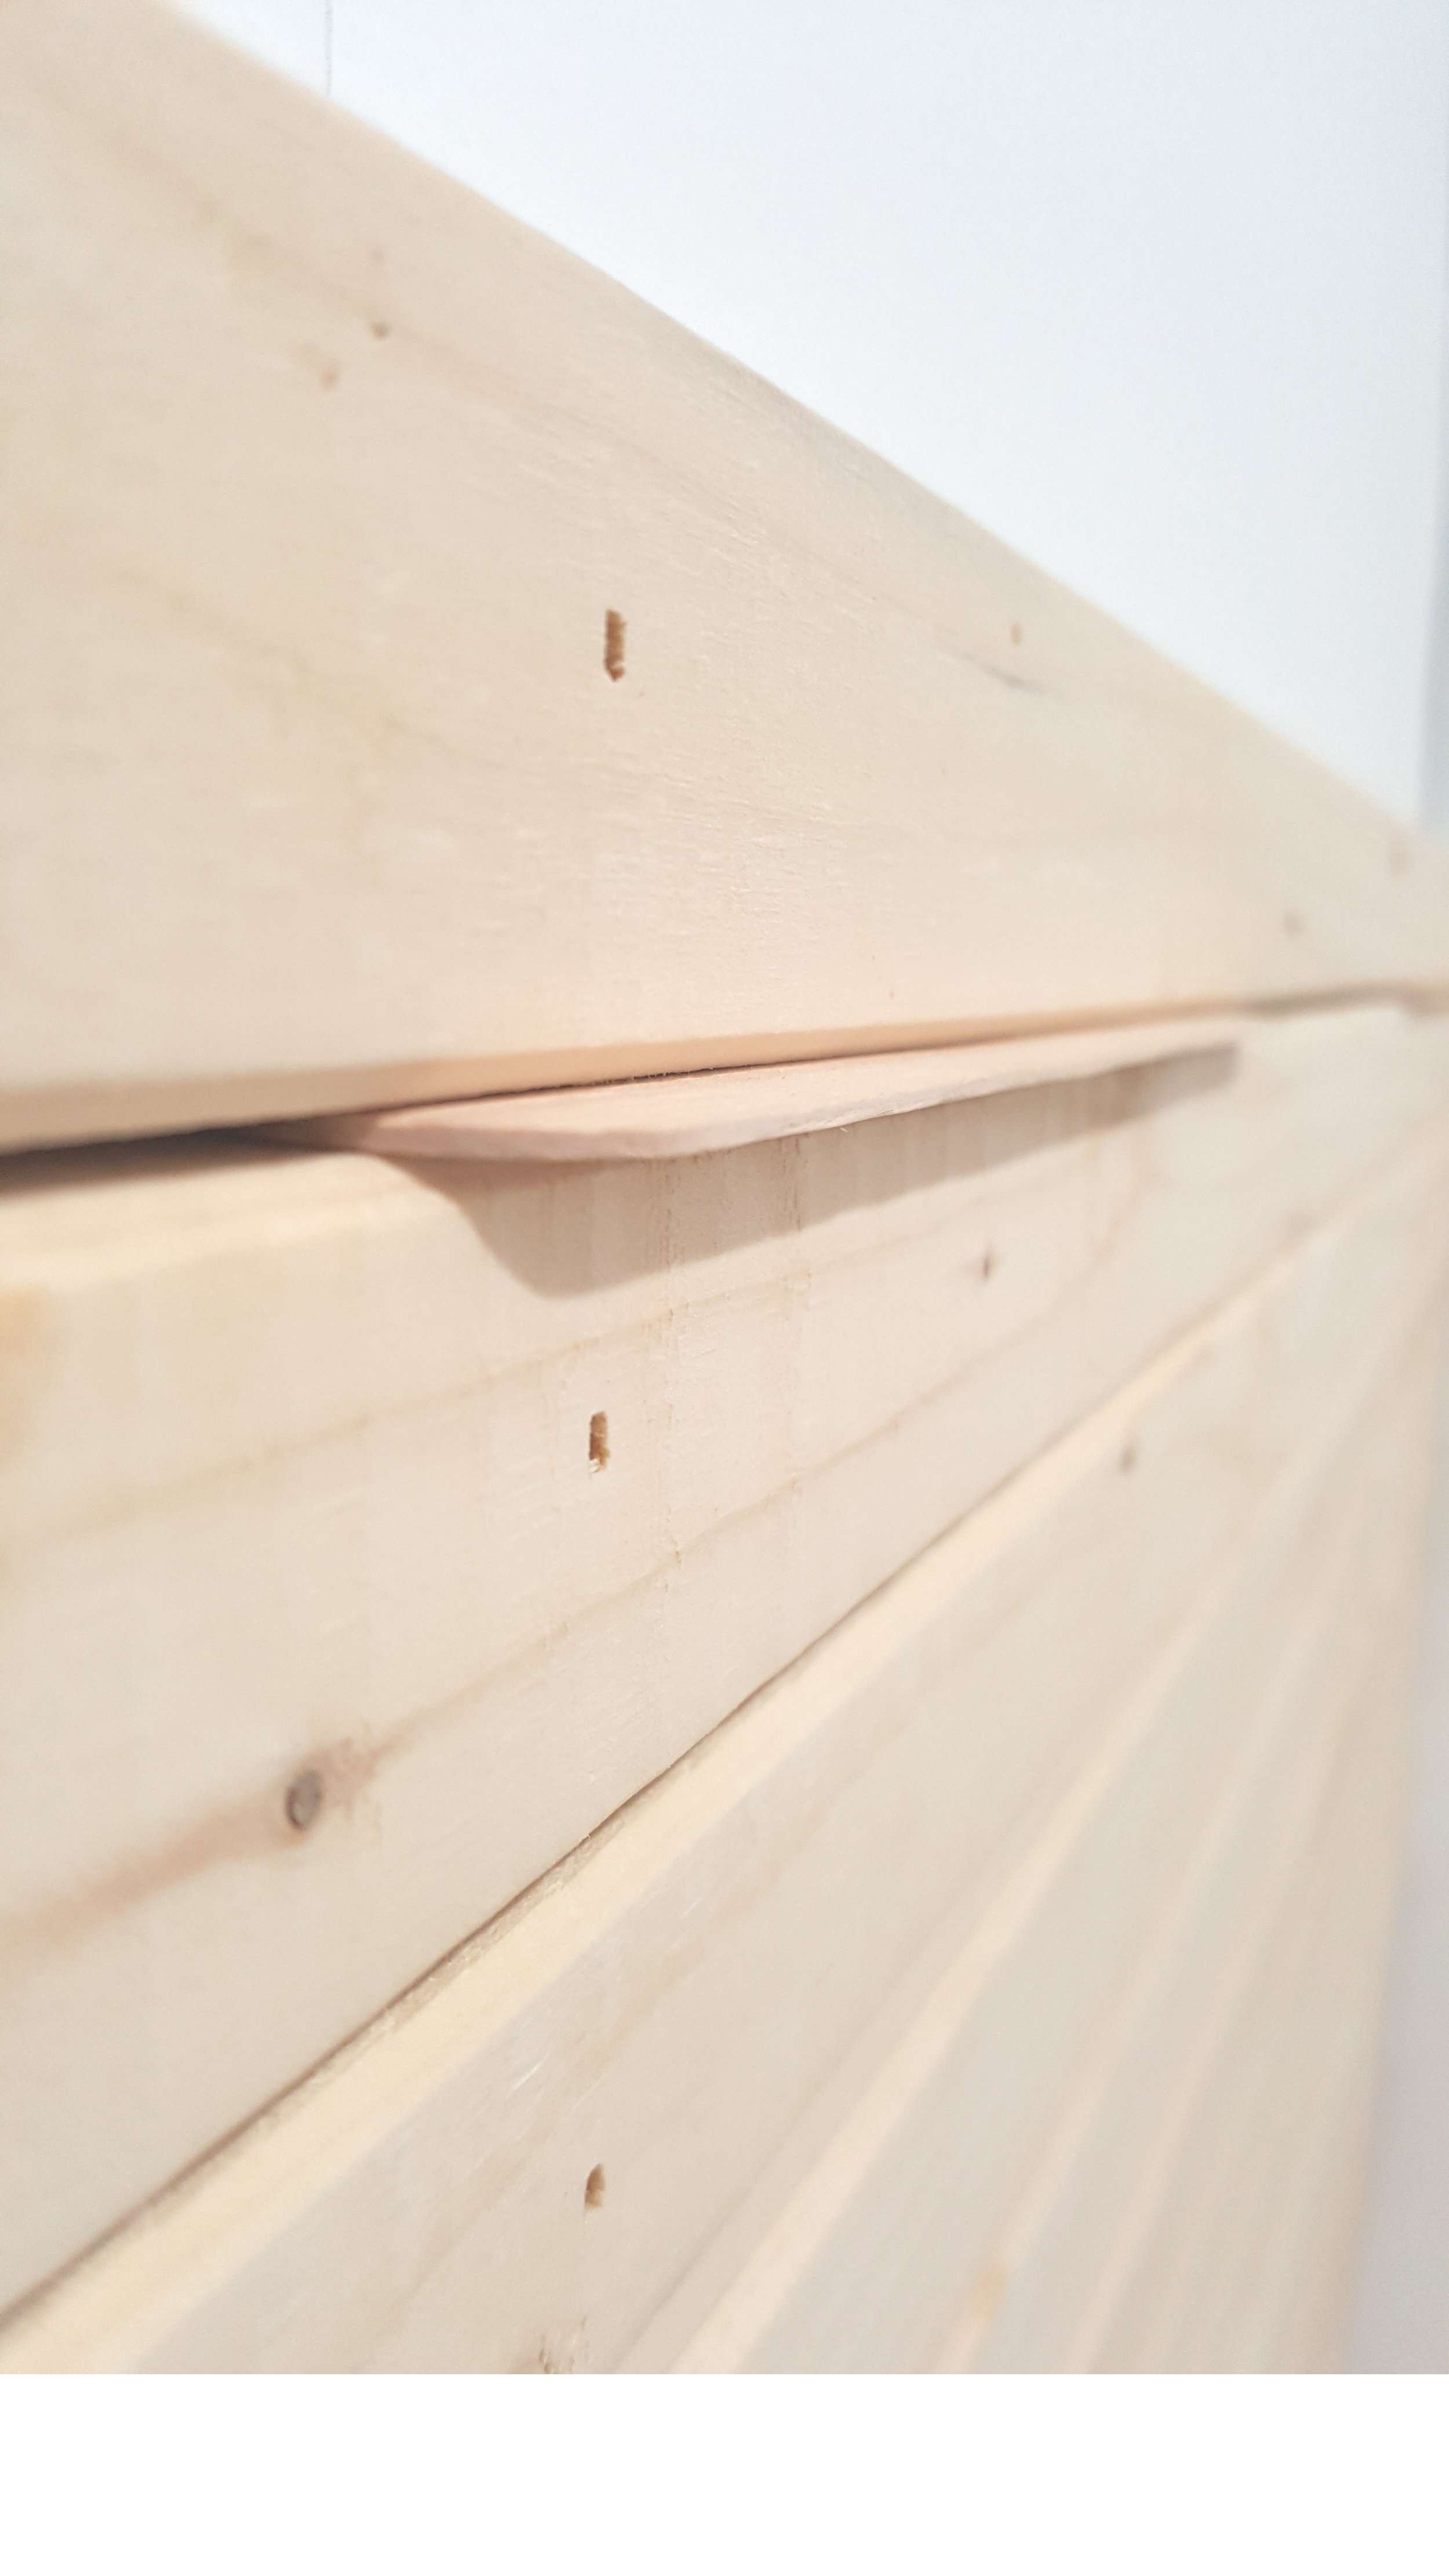
Step 6: Place wide craft sticks across the top of the board that you just nailed to the wall. I chose to use wide craft sticks because they are longer than quarters, allowing them to stay on the wood better. Make sure you get the wide ones though if you go this route. If you get regular size popsicle/craft sticks they will get stuck when you try and pull them out of the crack! The wide craft sticks make it much easier.

Step 7: Grab your next board and start nailing it into the studs. Repeat steps 5 - 8 until you are done! Measure the total height of the boards . I knew I wanted to add a shelf to the top so I only went about 6ft high. Cut your edges to fit this height.
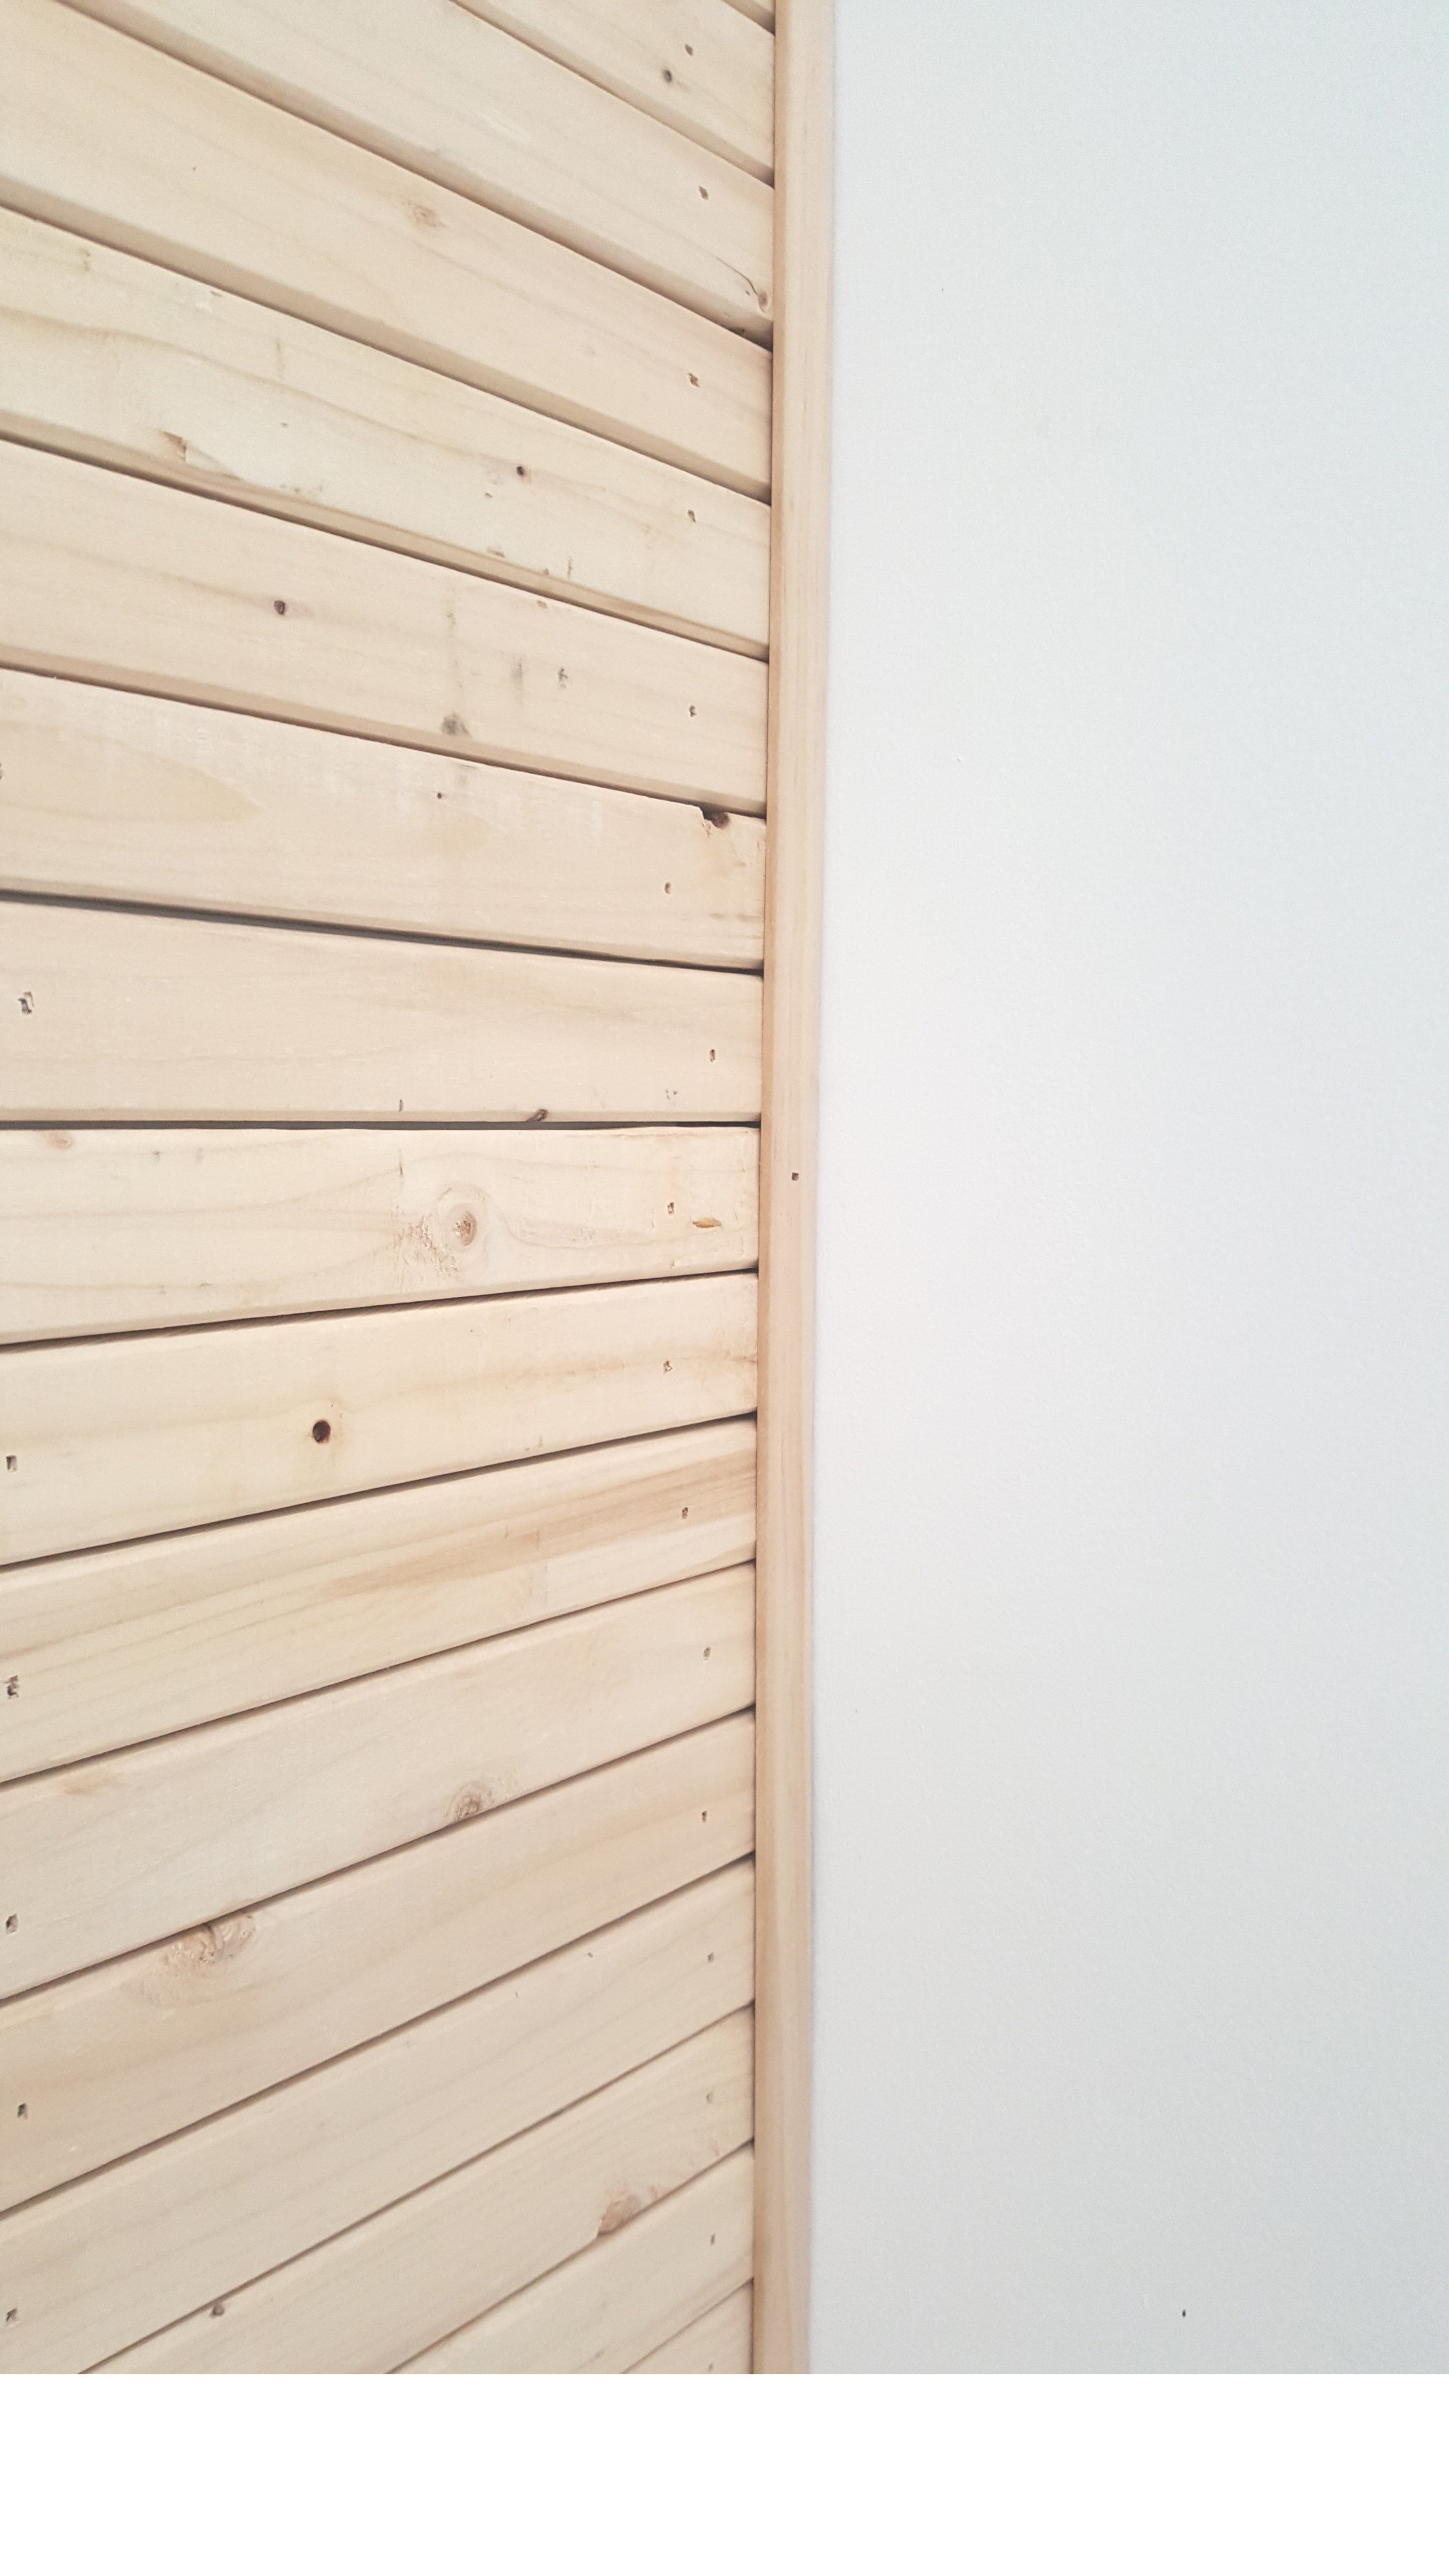
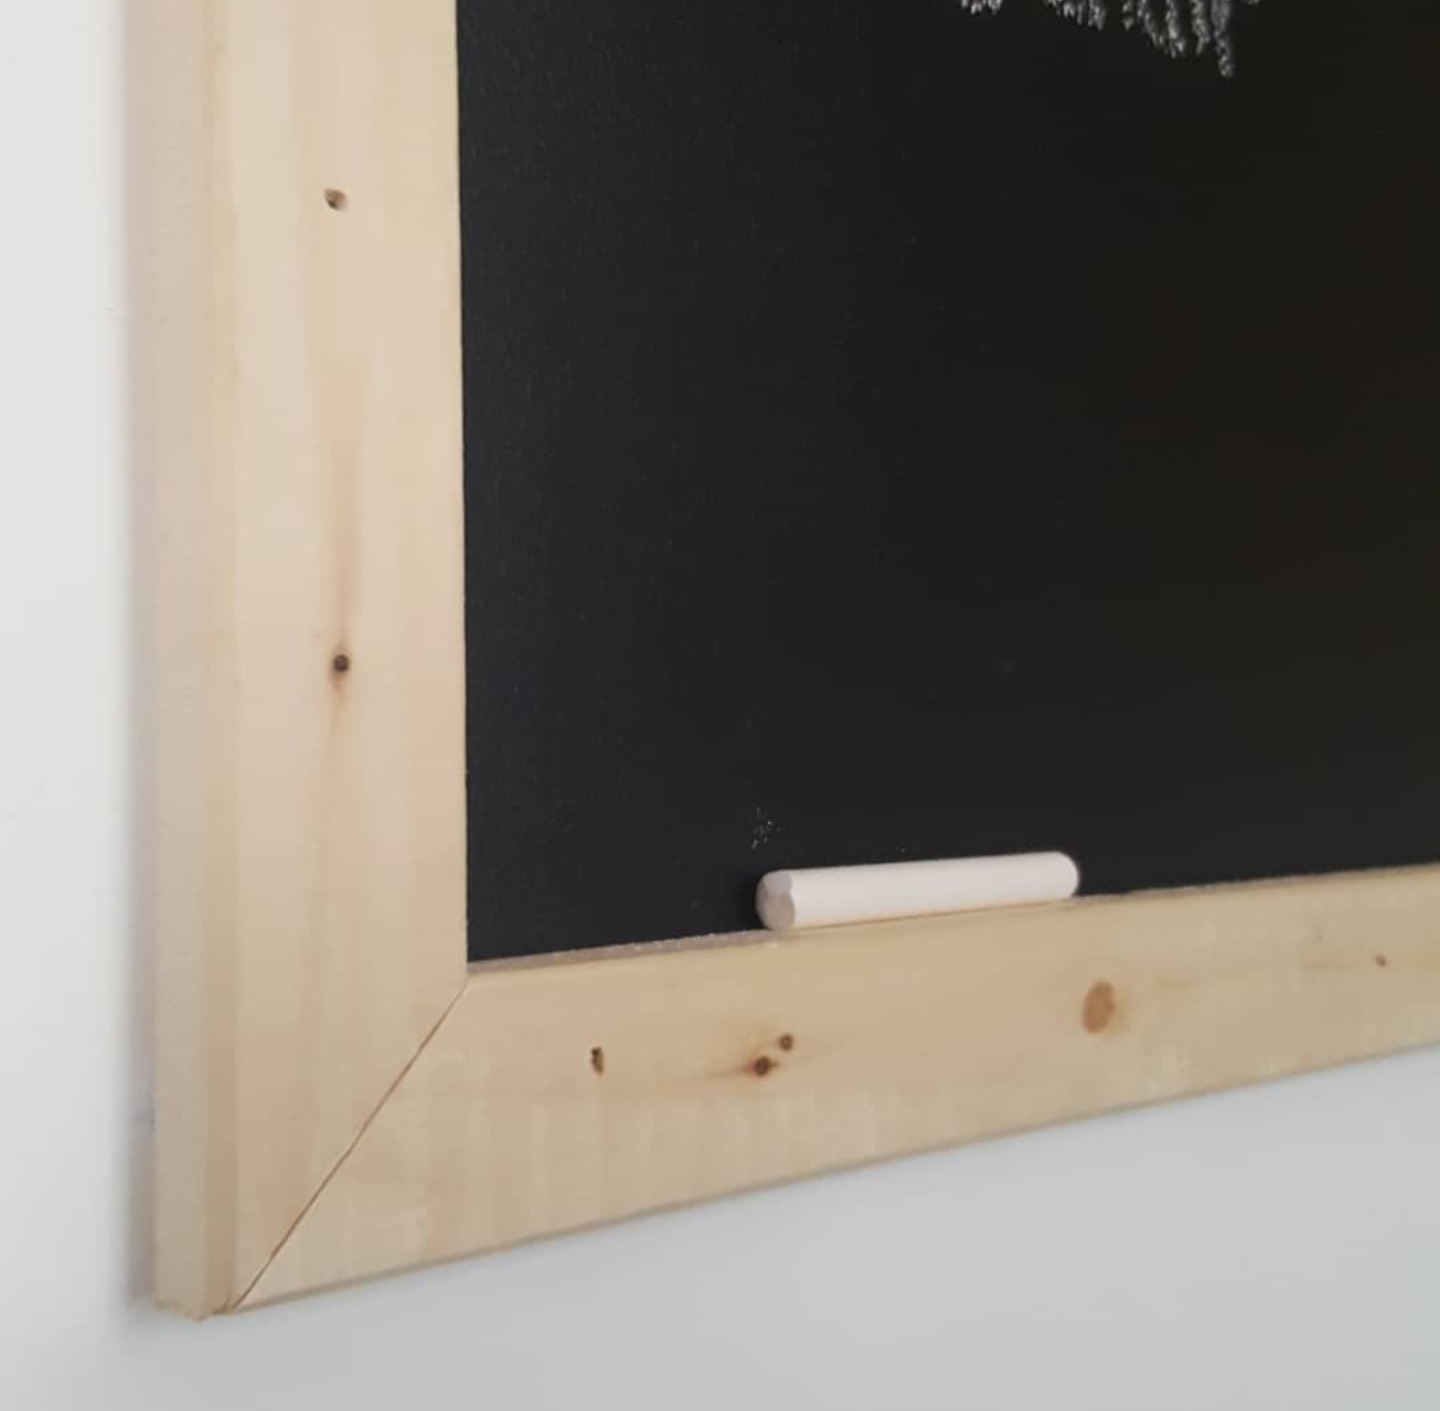
Step 8: Nail the molding to the edges of the 1x2’s. You don’t have to do this part, but I highly recommend it because it ties everything together and it makes the wall look nice and neat. If you go all the way up the wall with your 1x2’s then I also recommend adding a piece of molding to the top where the final 1x2 meets the ceiling. The molding can also be purchased at The Home Depot or Lowe’s.
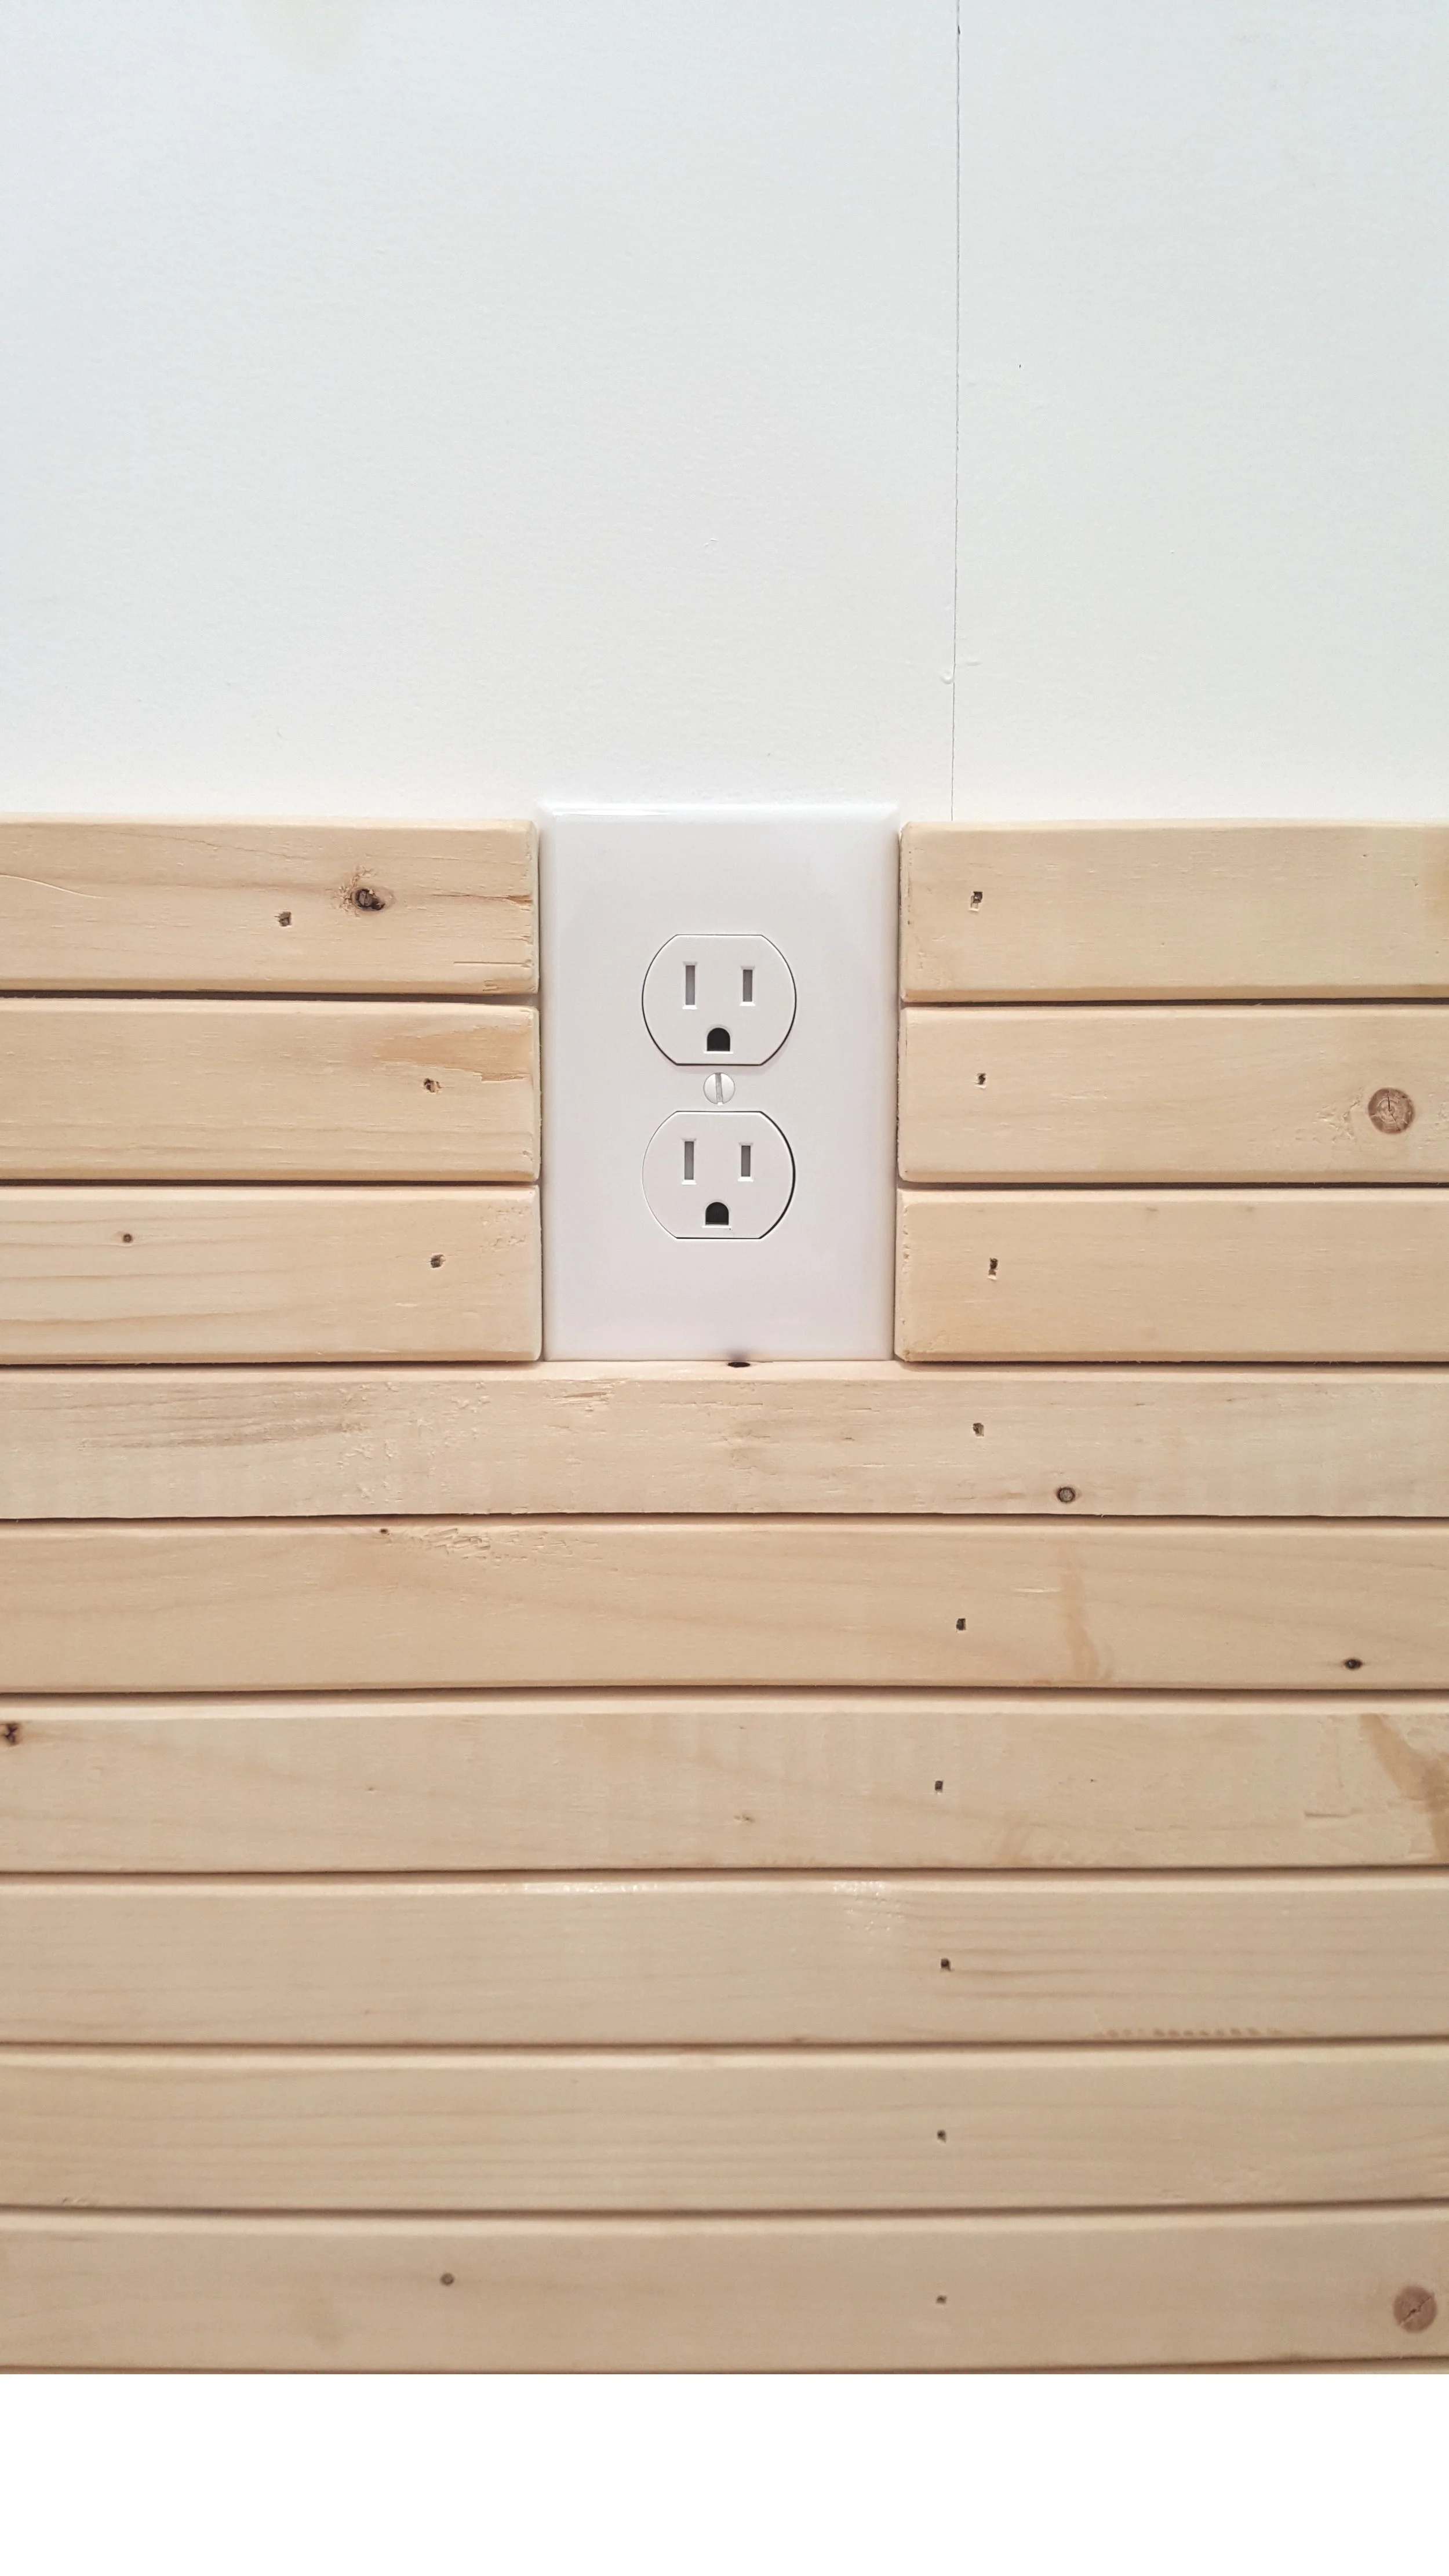
You may be asking, what do I do if I have an outlet in the wall?
Just cut the 1x2’s to fit around it. You can finish the edges around the outlet with molding or keep as-is. I kept mine as-is because my desk is going to hide it, but you may want to clean it up a little by adding molding. I recommend using the same molding that you used on the outside edges in Step #8. Also, if you have an outlet that sits back pretty far after you put the wood up, you can buy an extender that allows the outlet to come out further from the wall, making it easier to access.
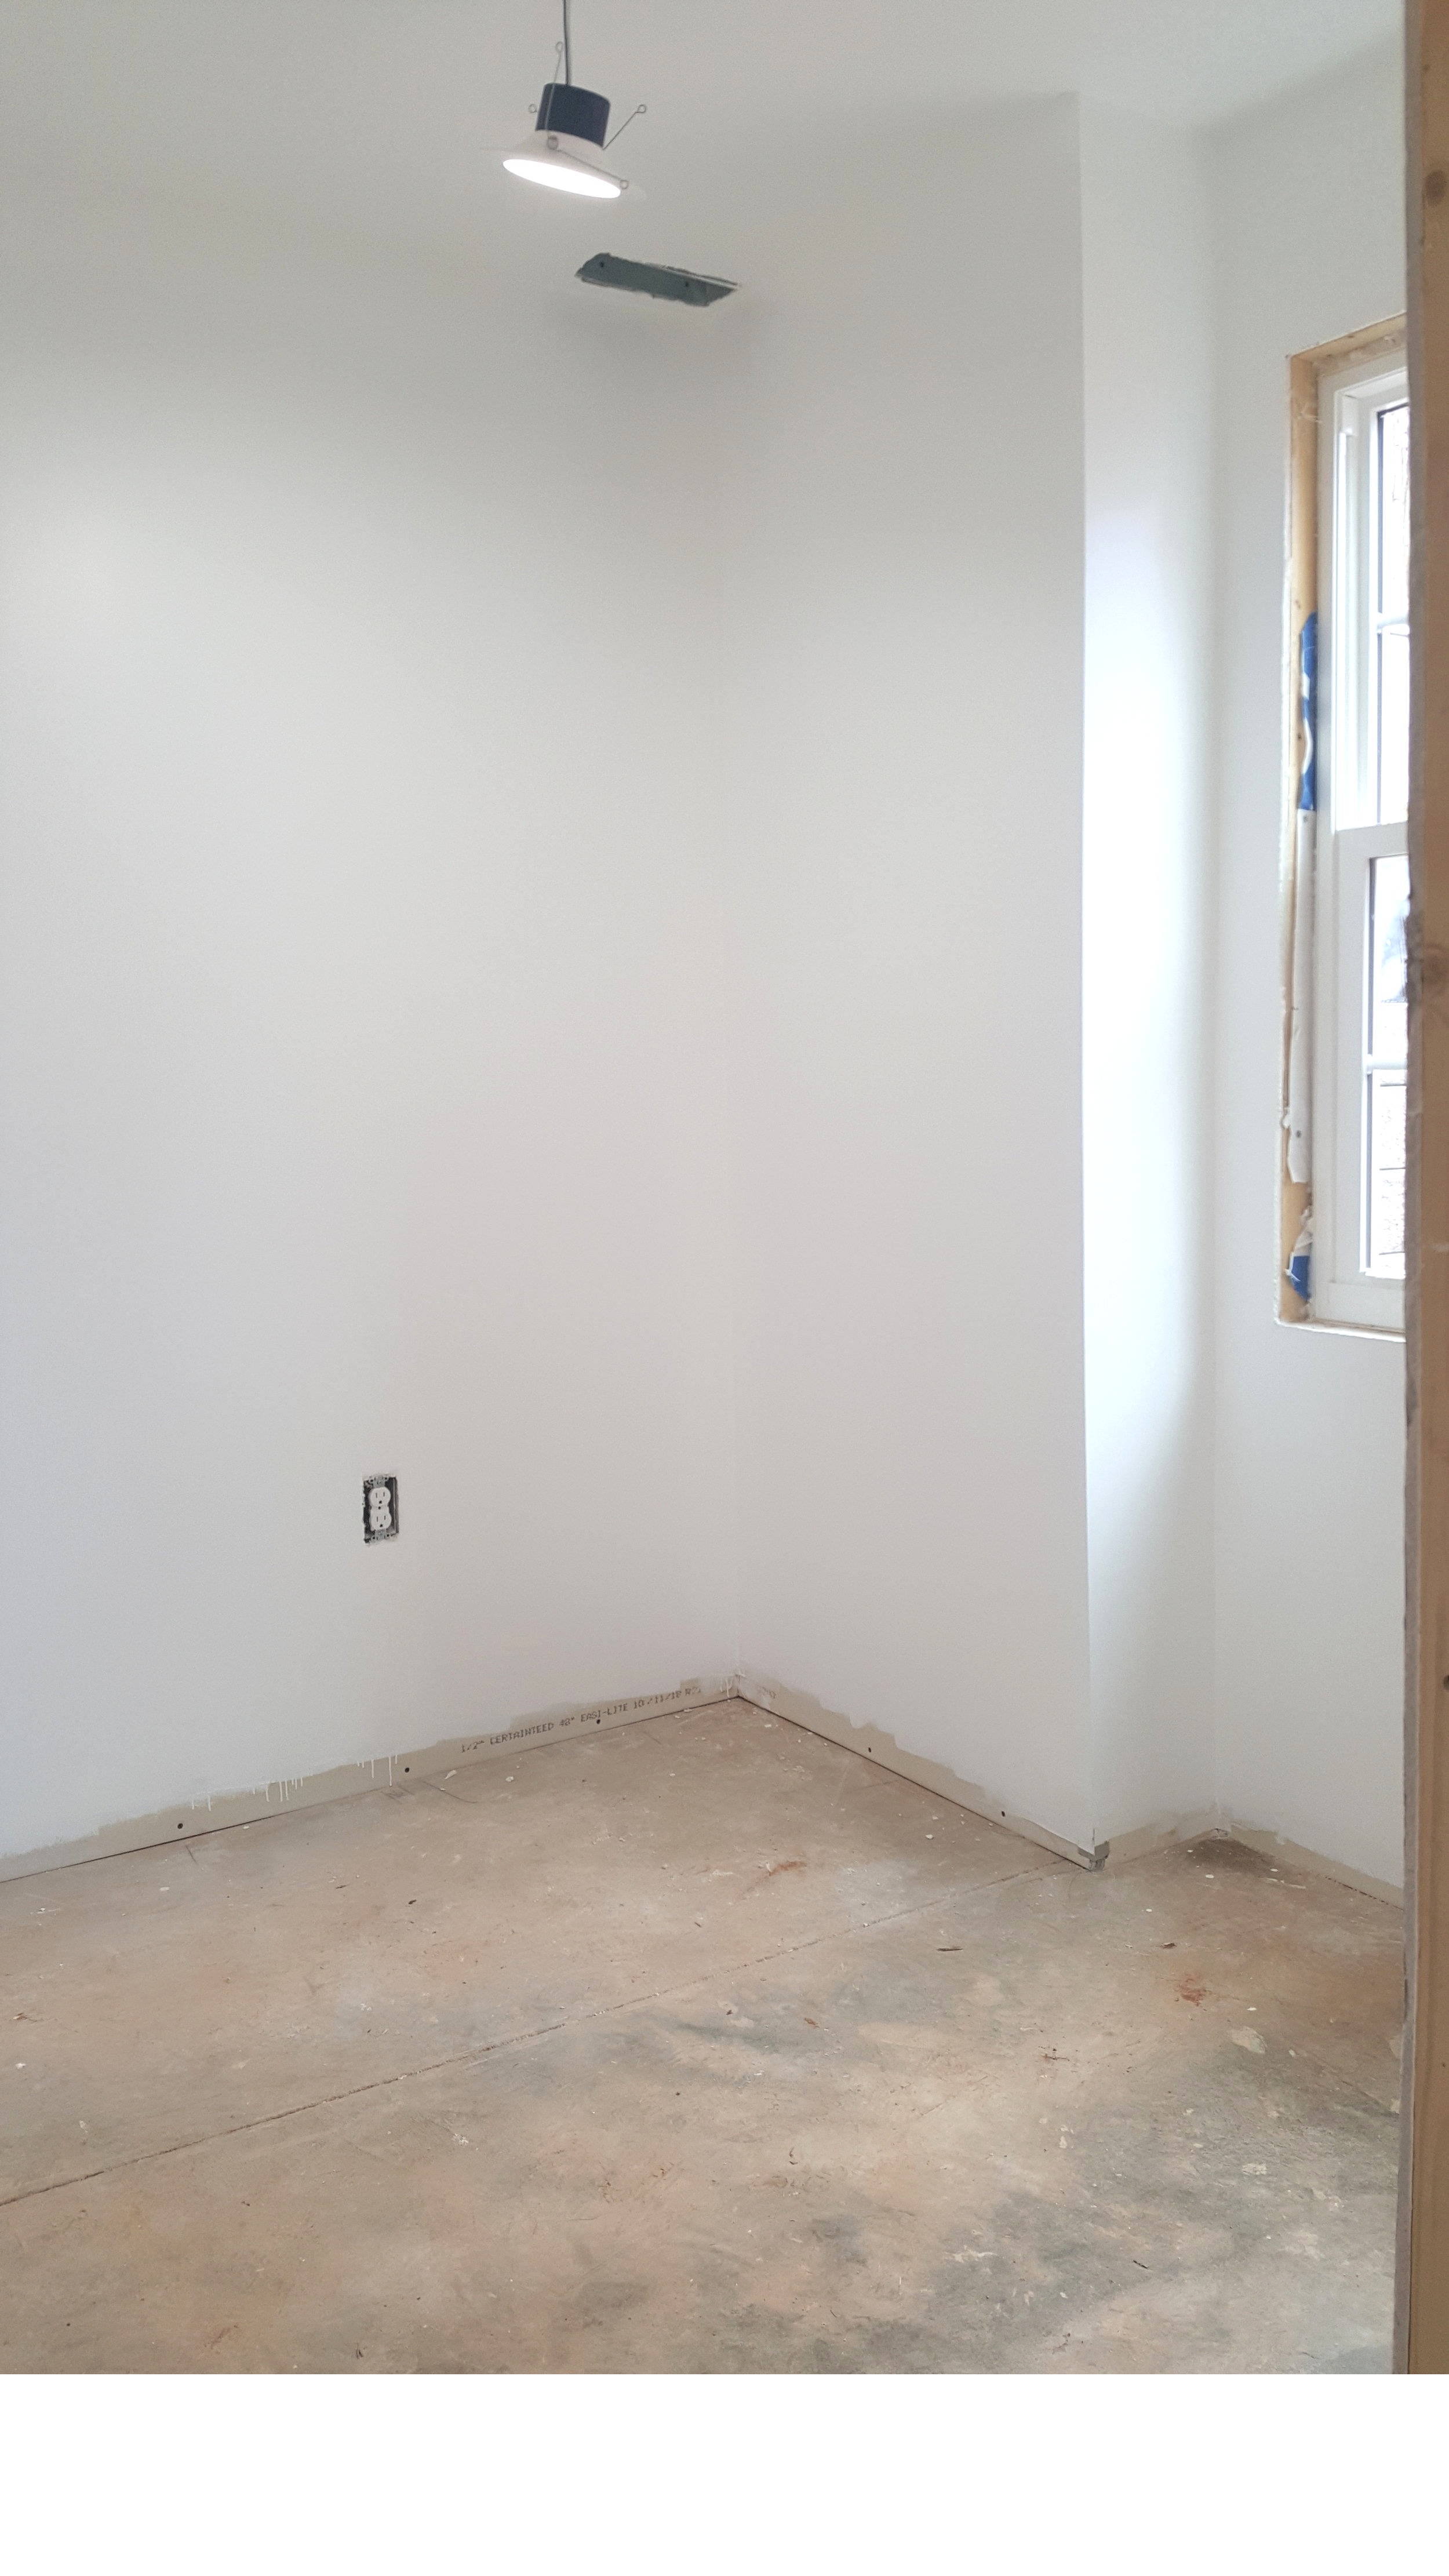
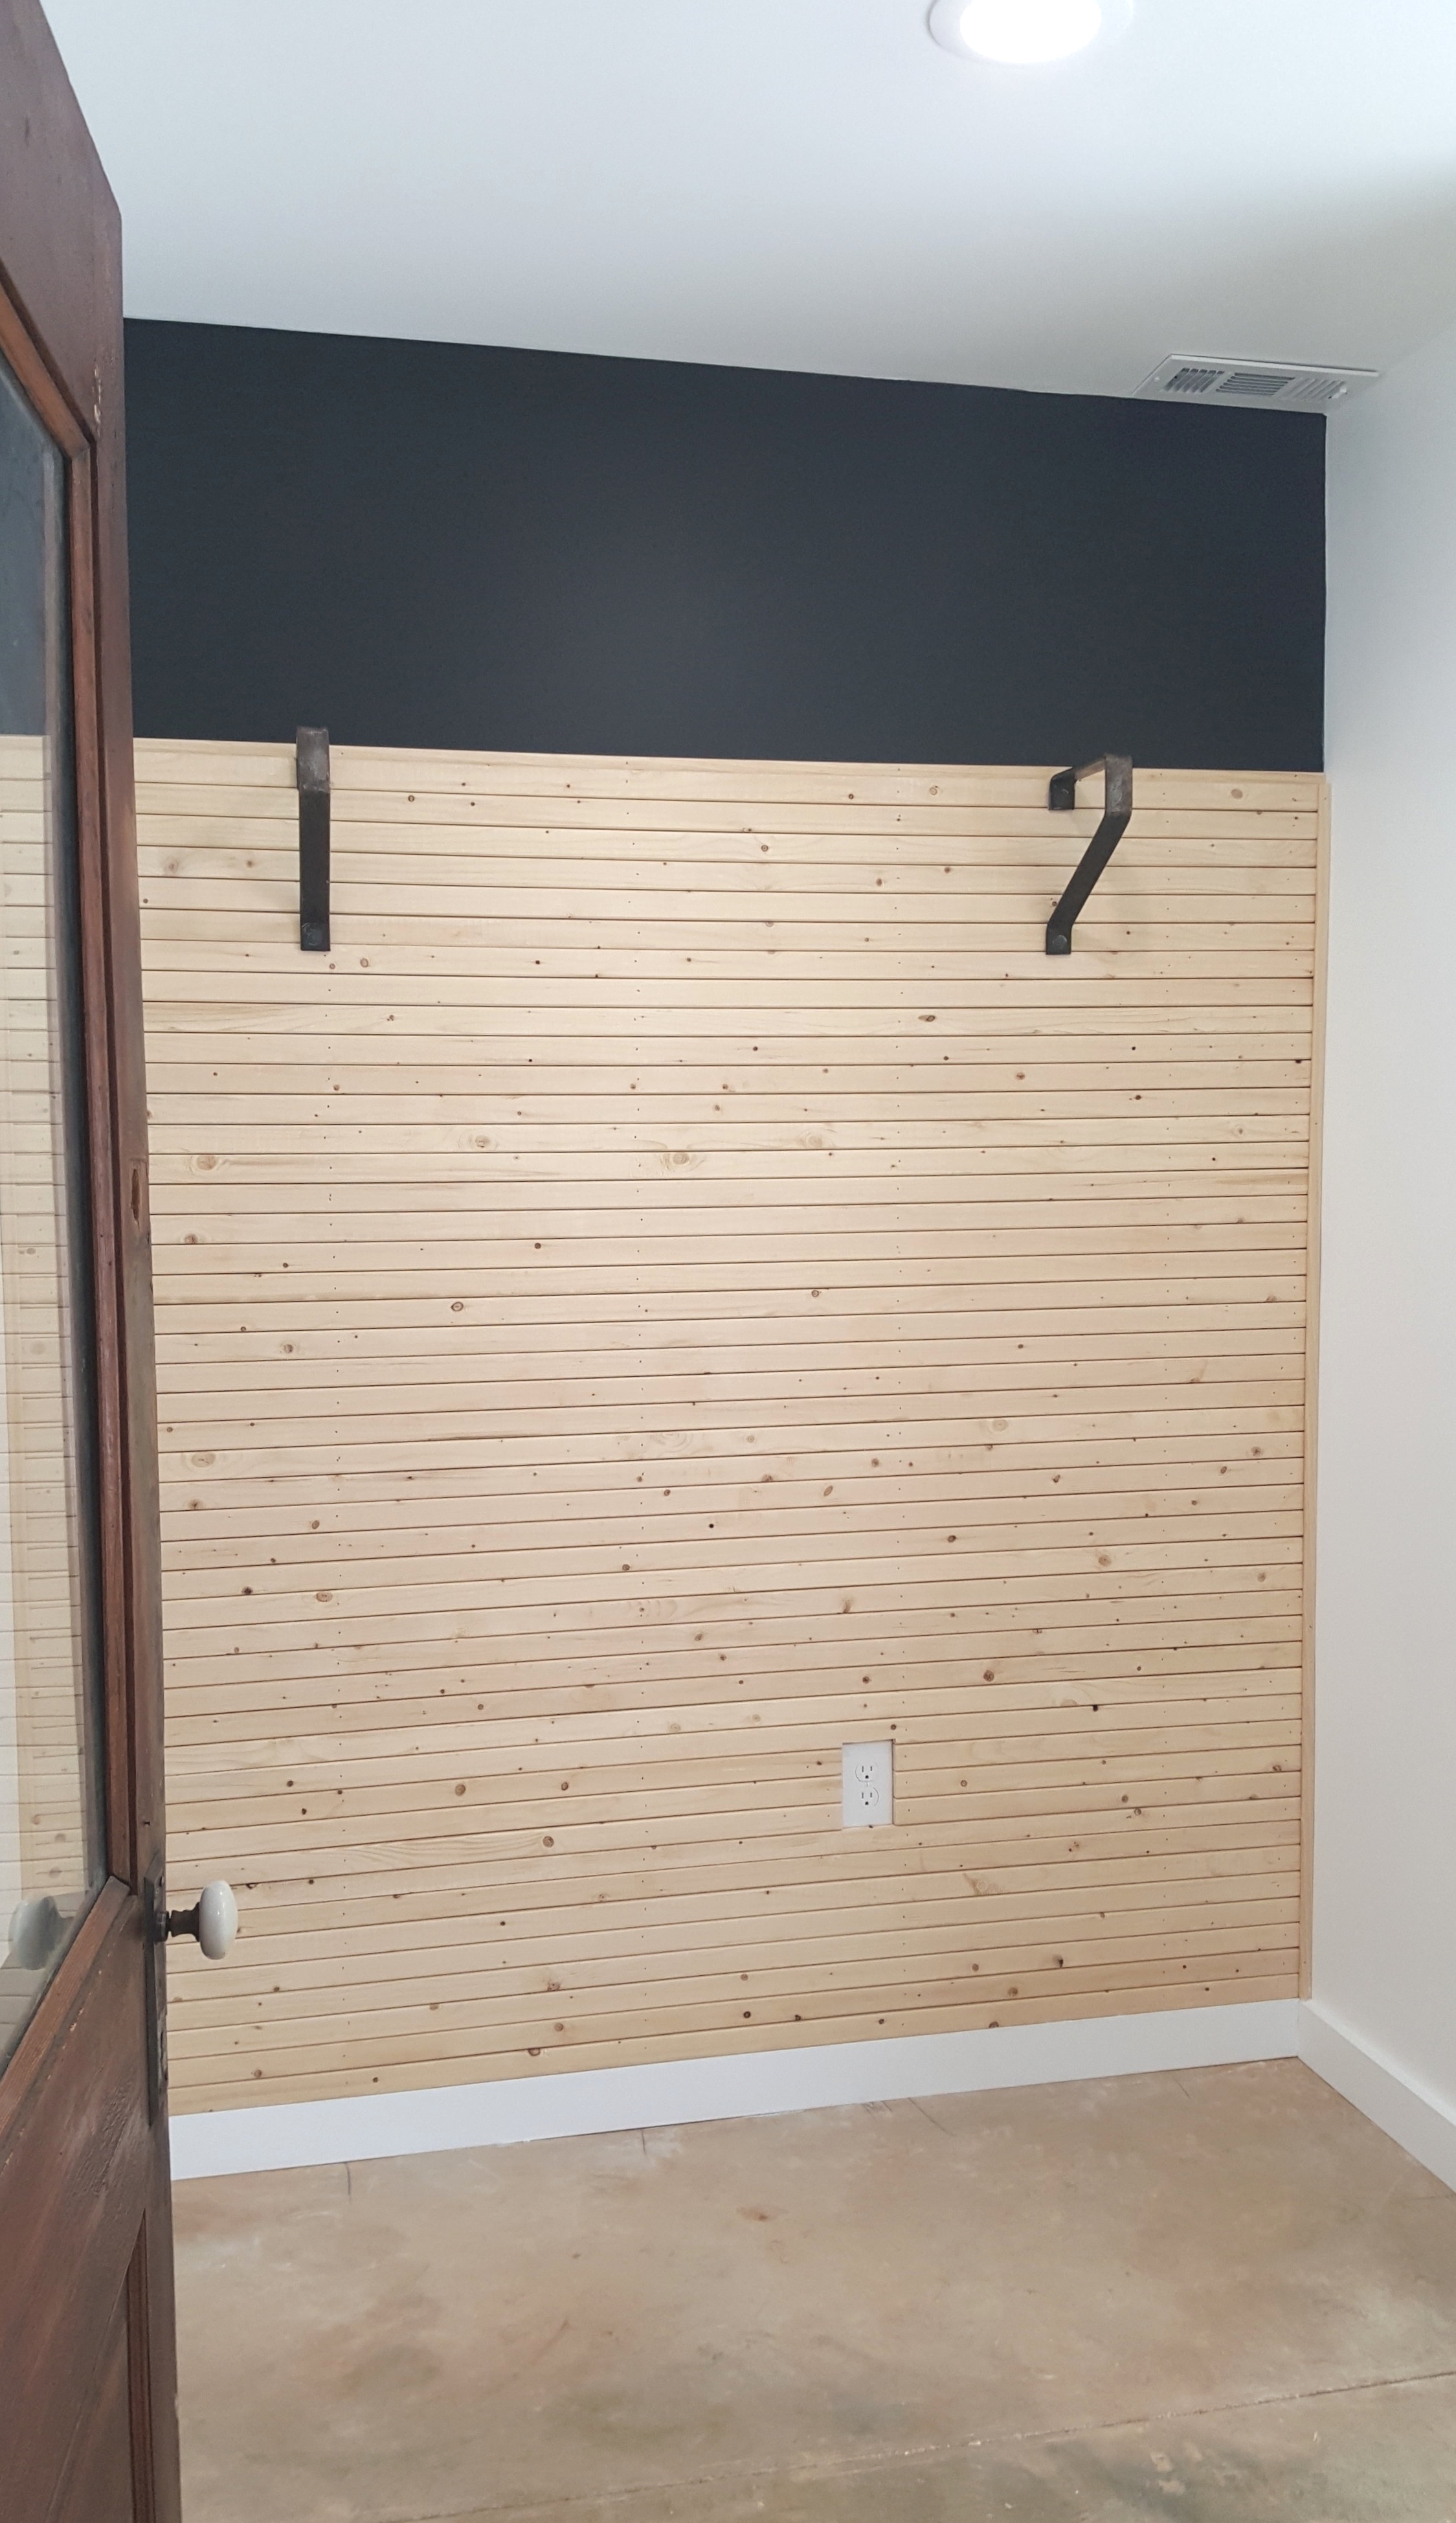
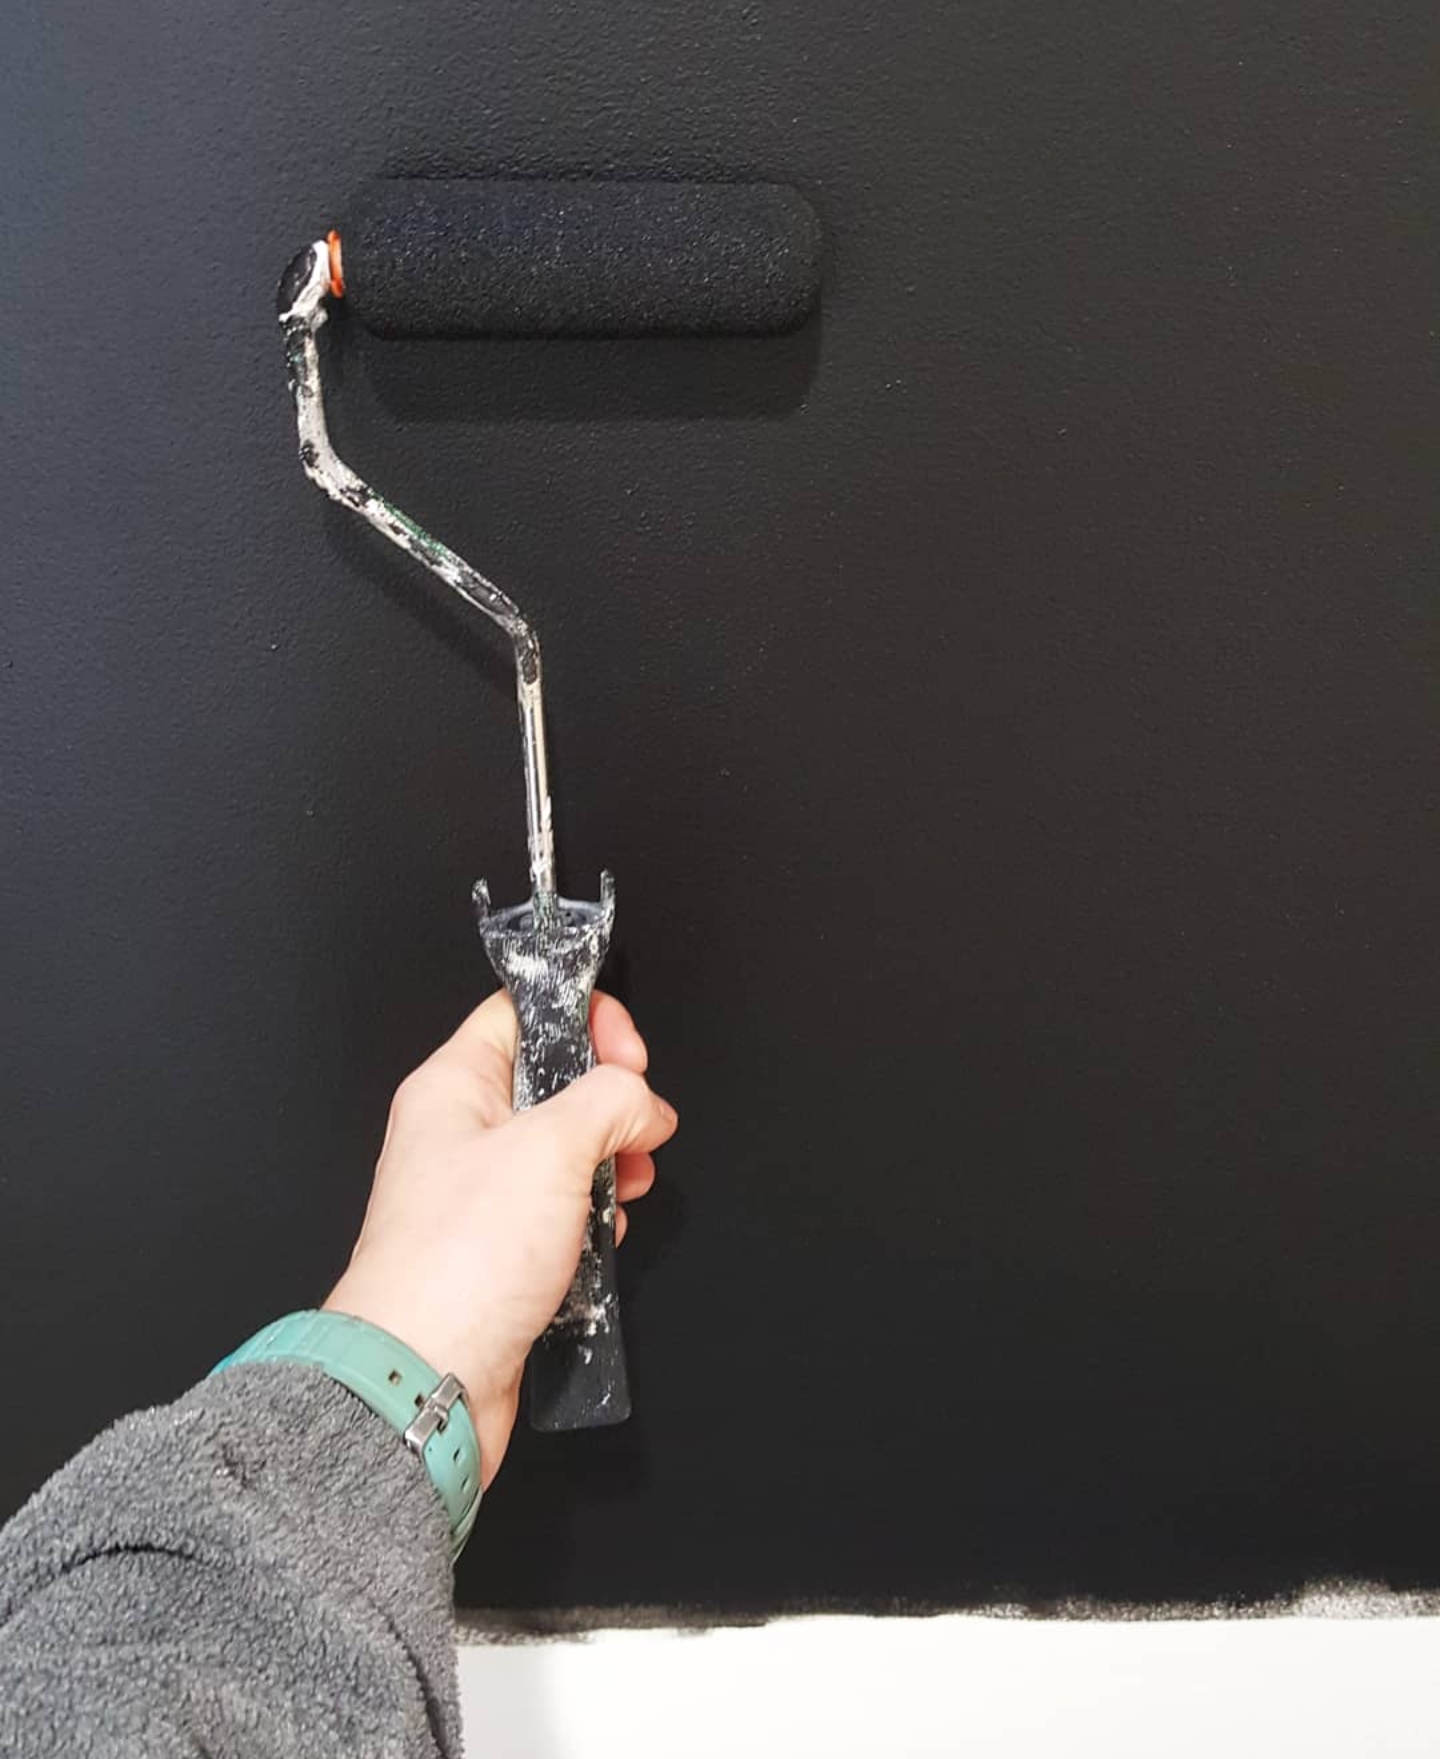
Above are before-and-after pictures of the wall! When we were done putting it up, I decided to use a few more 1x2’s and make a matching chalkboard on the wall beside it to tie everything together. I directly applied the chalkboard paint to the wall (this is not the same type of chalk paint used on furniture), using a foam roller and then my husband nailed the 1x2’s directly to the wall. See pictures below.

I know this wasn’t a typical furniture makeover, but sometimes I will do different tutorials like this for #MondayMakeoversWithFallon. I appreciate you stopping by and if you want to save this blog post so you can refer back to it, make sure you pin it to your Pinterest page and/or feel free to share it elsewhere. I look forward being with you next Monday and don’t forget to tune in tomorrow for my educating video tutorial/tip for #TuesdayTipsWithFallon!!
*Please note, this post does contain affiliate links.


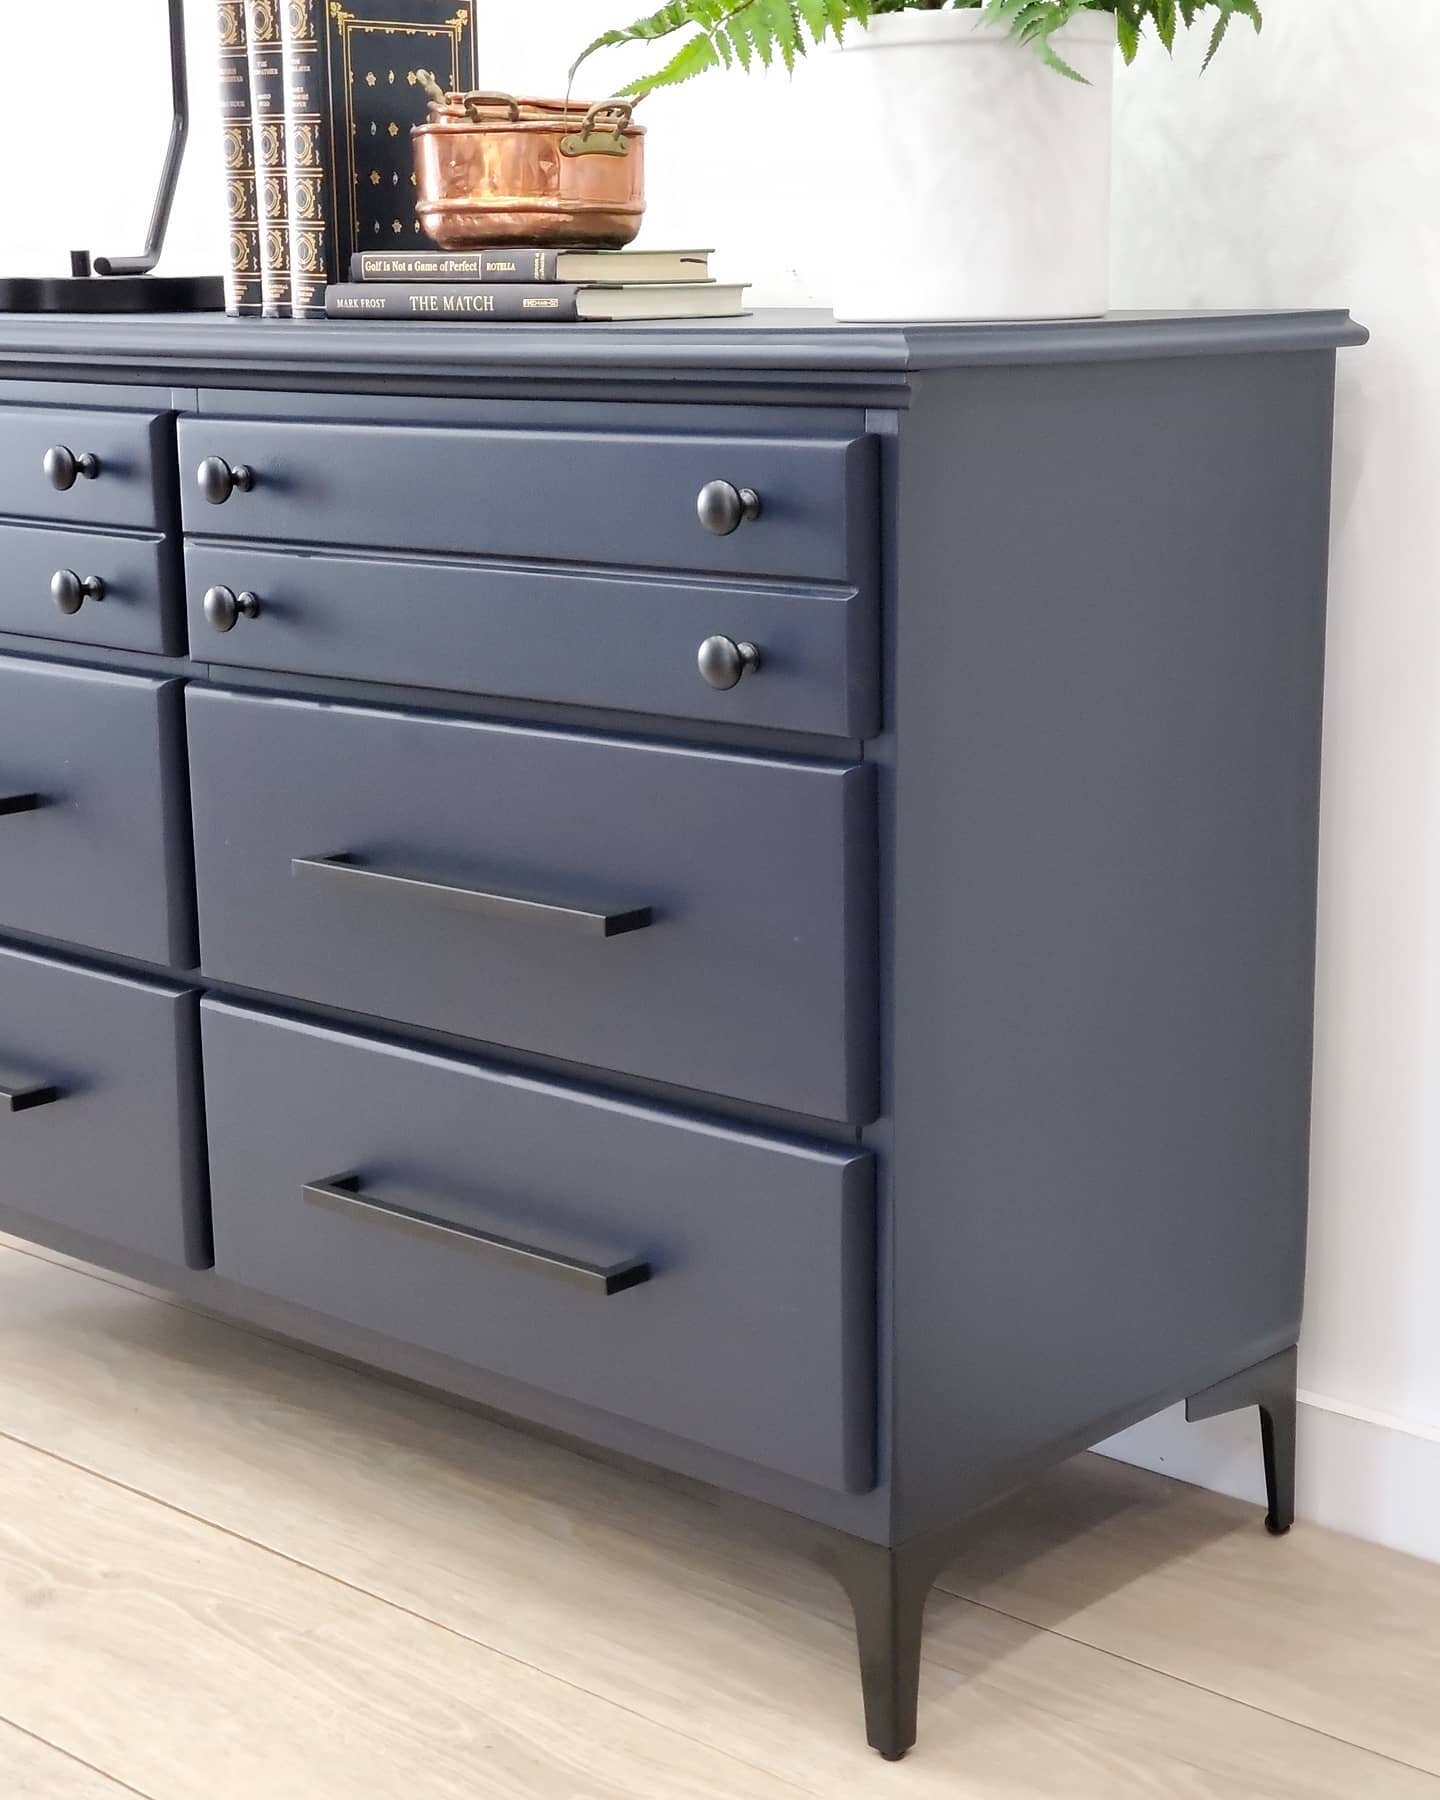
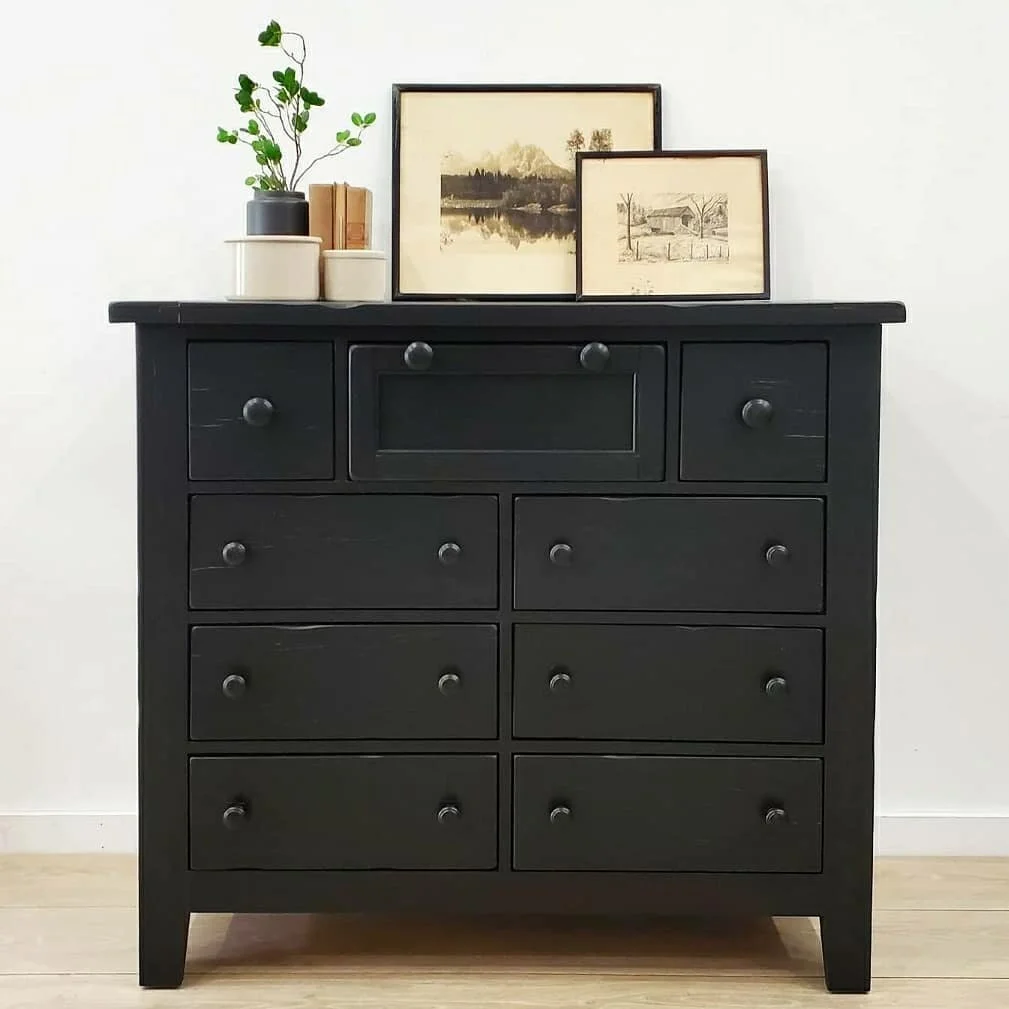
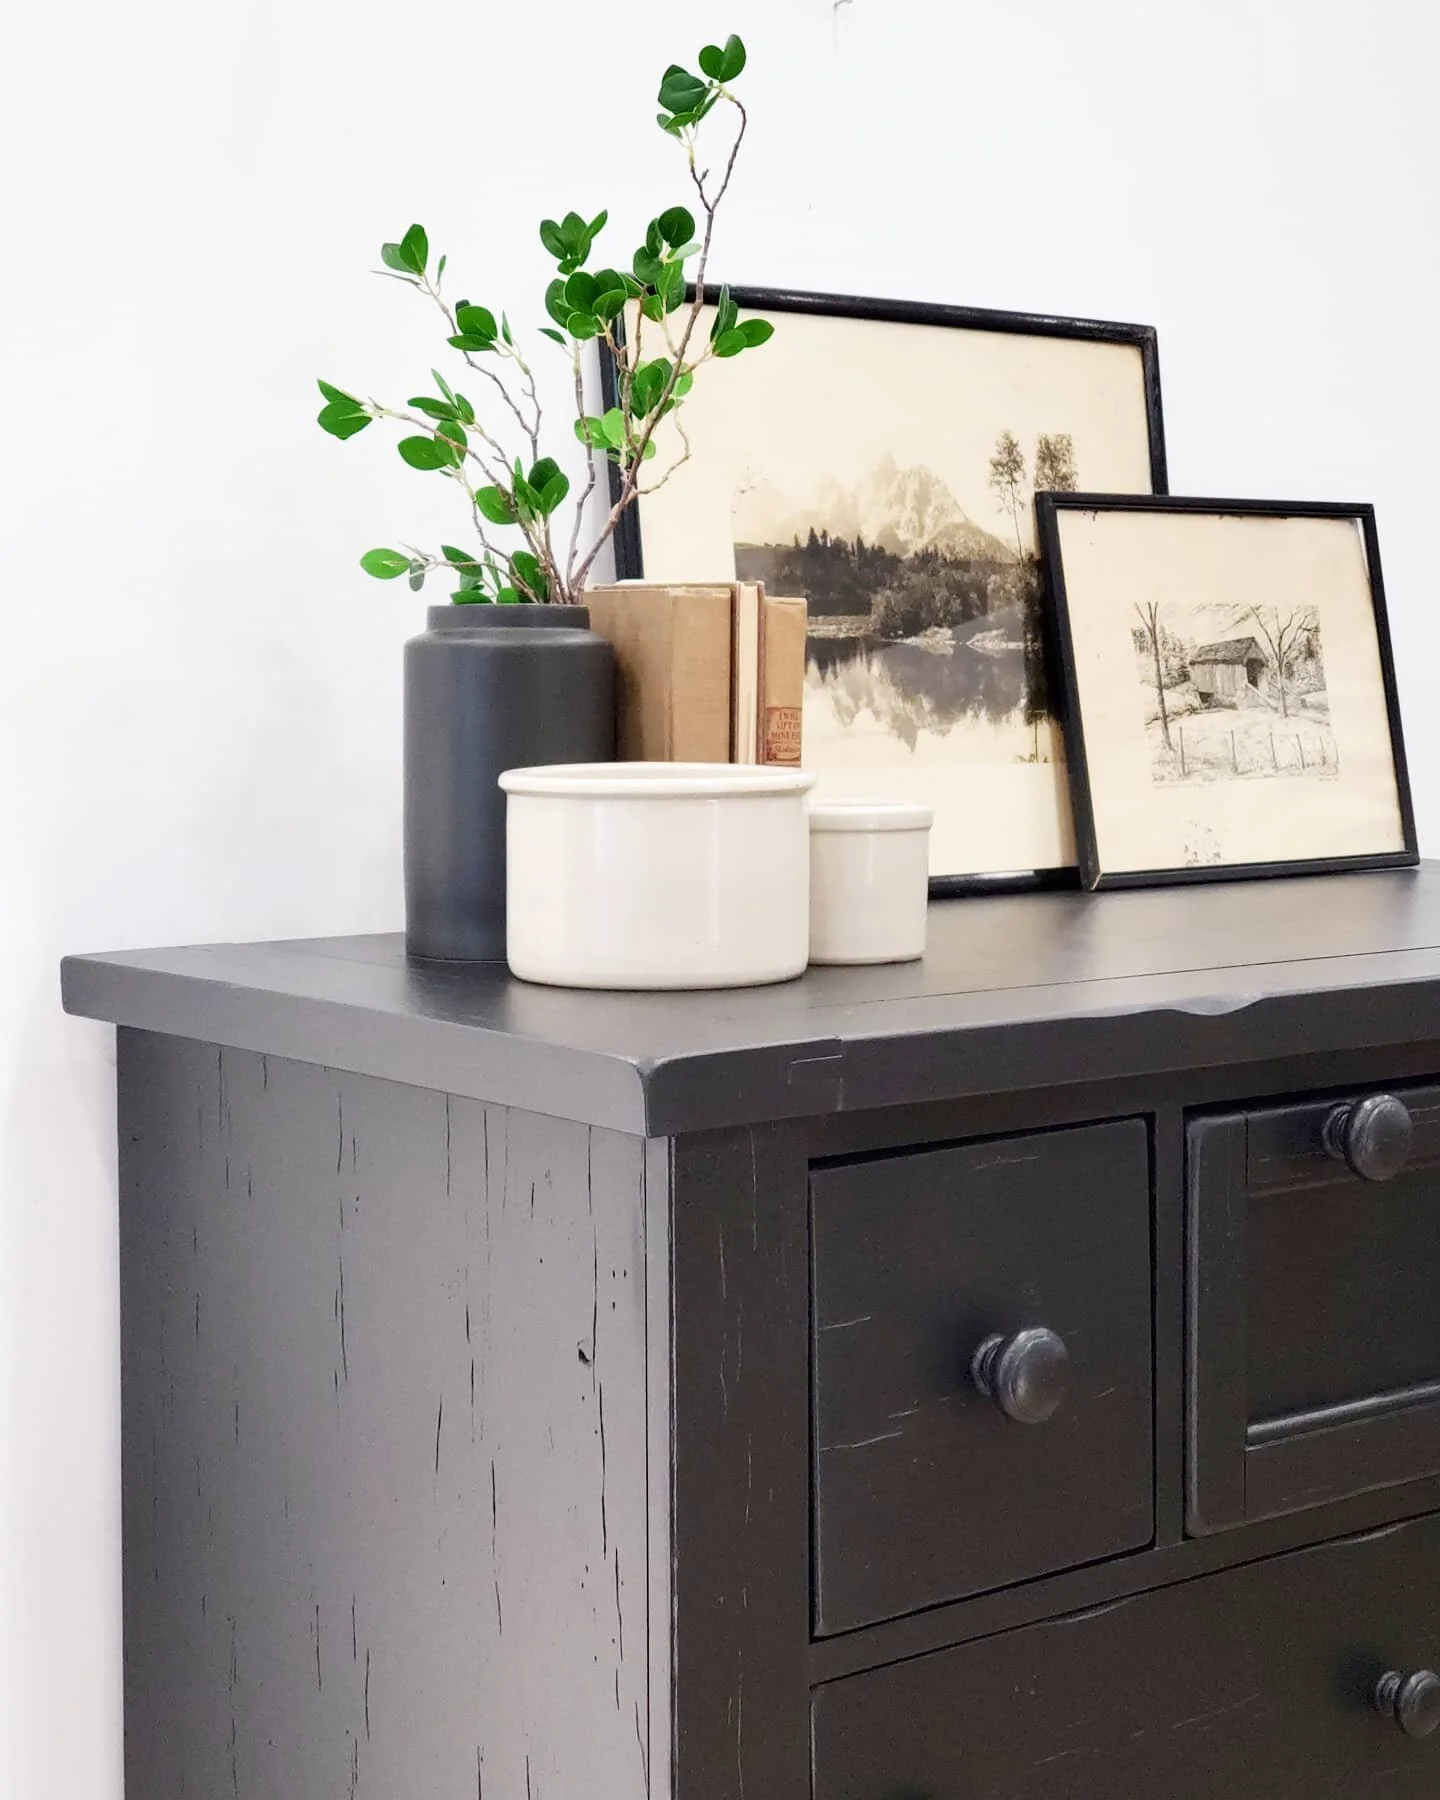
Did you know I have an eBook plus three different staging and styling guides that help you stage your furniture!? Between all three guides you receive over 500 different ways to style and stage different pieces of furniture. Yes, 500!! They are not just for the furniture artist either. Maybe you are planning on selling your home and need help staging your furniture so it doesn’t look cluttered or maybe you just have no clue how to style the furniture that you currently have and you want it to look nice?! No worries! These are for you!! Between all three guides and my second edition eBook you get over 200 pages of information! You do not have to worry about staging and styling your furniture ever again!!Here is the link to my eBook, Your Virtual Storefront. The Complete Guide to Staging Painted Furniture. It jammed packed information that will help you take your staging to the next level! I also have three separate staging and styling guides that help you stage specific pieces of furniture.
Here is a breakdown of my eBook and Guides:
*Your Virtual Storefront. The Complete Guide to Staging Your Painted Furniture. 2nd EDITION: Everything you need to know to help you stage your furniture from, photography, the photo editing process, lighting, staging areas/locations, information about logo/watermarks…just to name a handful of the topics.
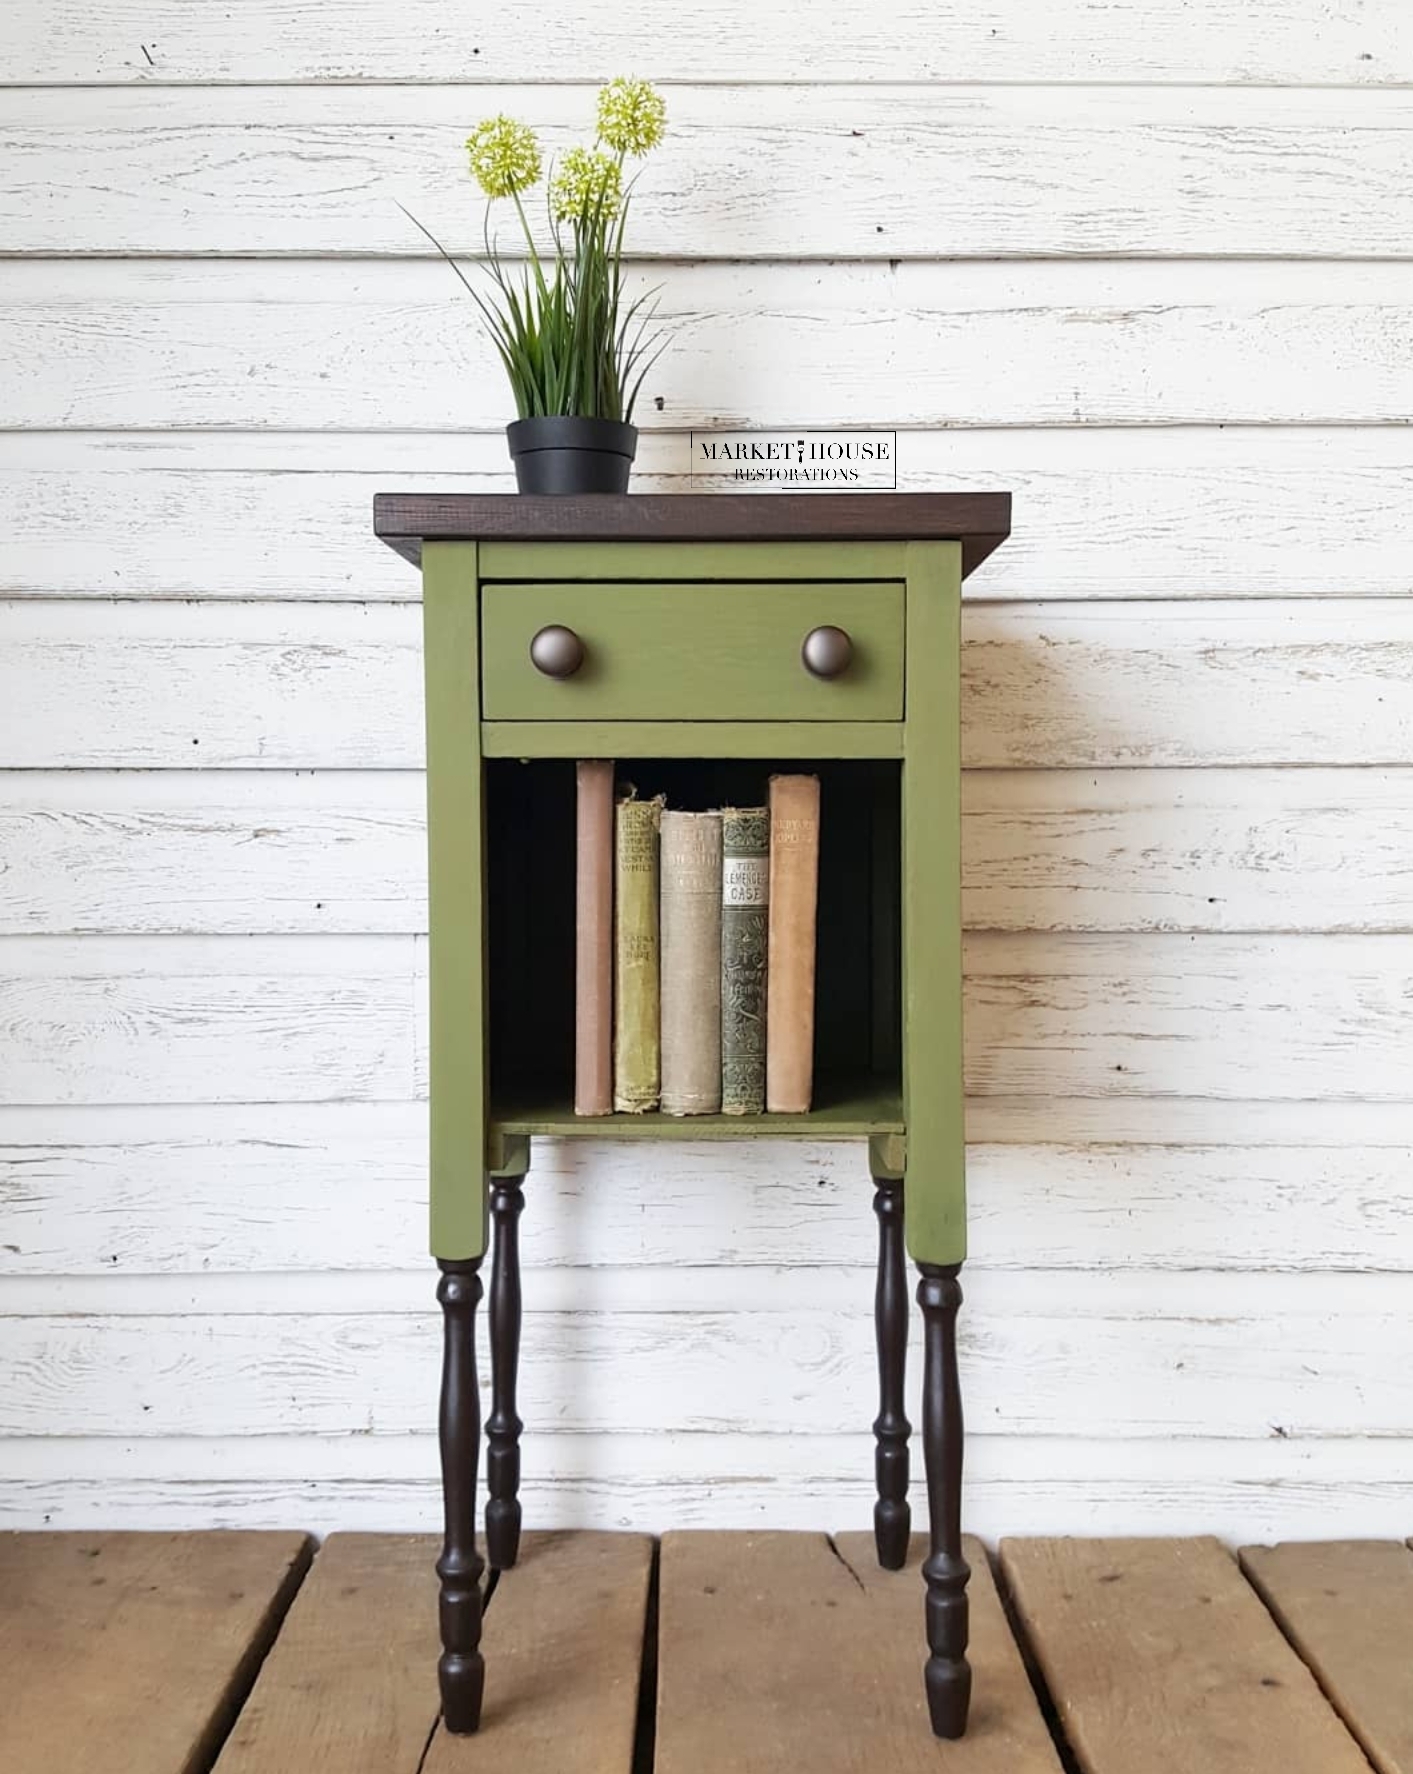
*The Bedroom Furniture Guide: Staging and Styling Chest of Drawers, Dressers, Nightstands, Wardrobes, Blanket Chests, Vanities, Beds and Bedroom Sets)
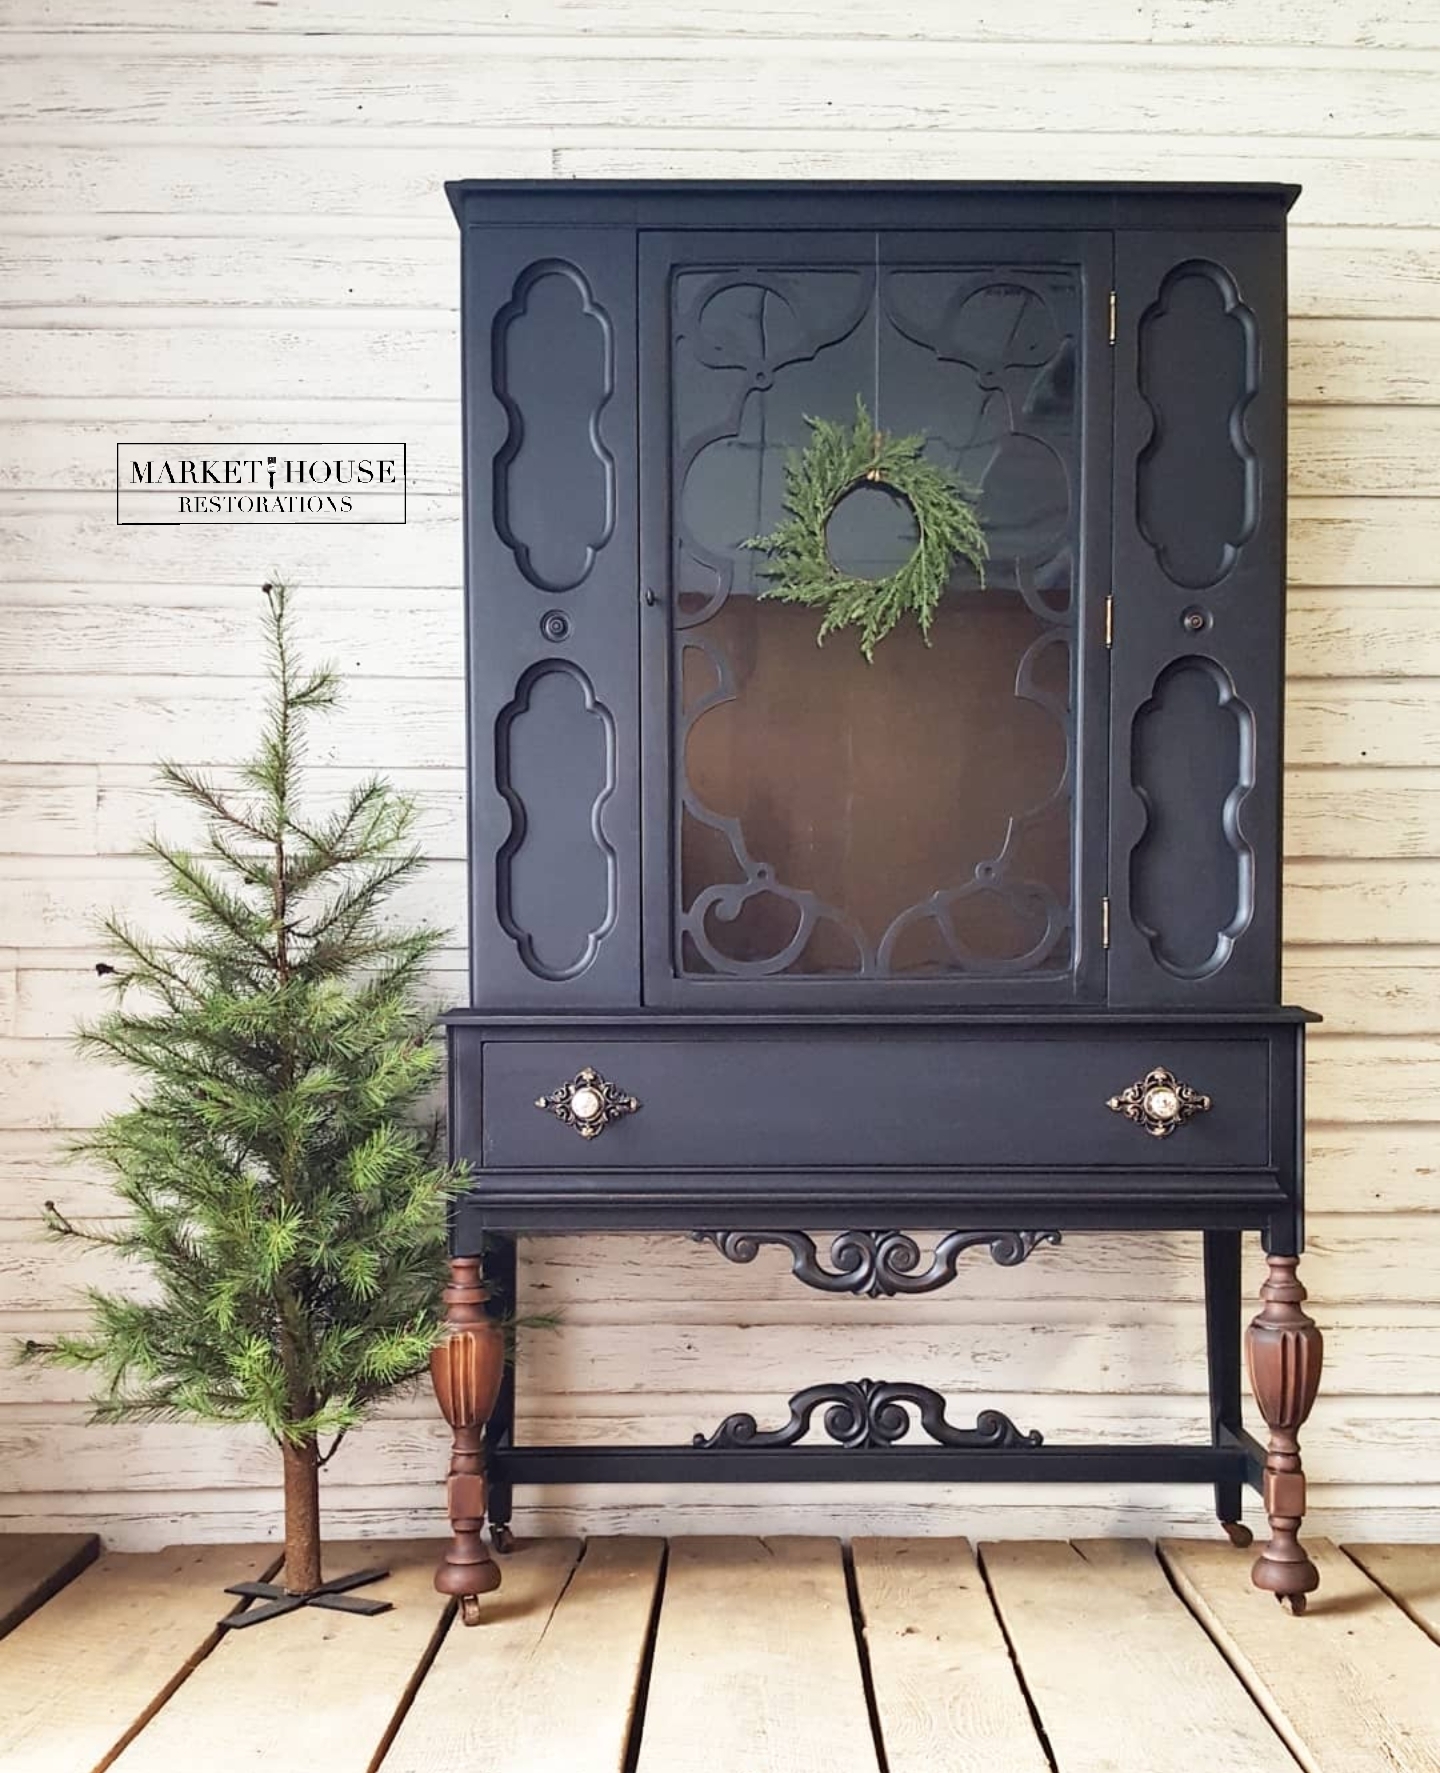
*The Dining Room Furniture Guide: Staging and Styling Buffets/Sideboards, China Hutches, Glass Front China Cabinets and Tables & Chairs
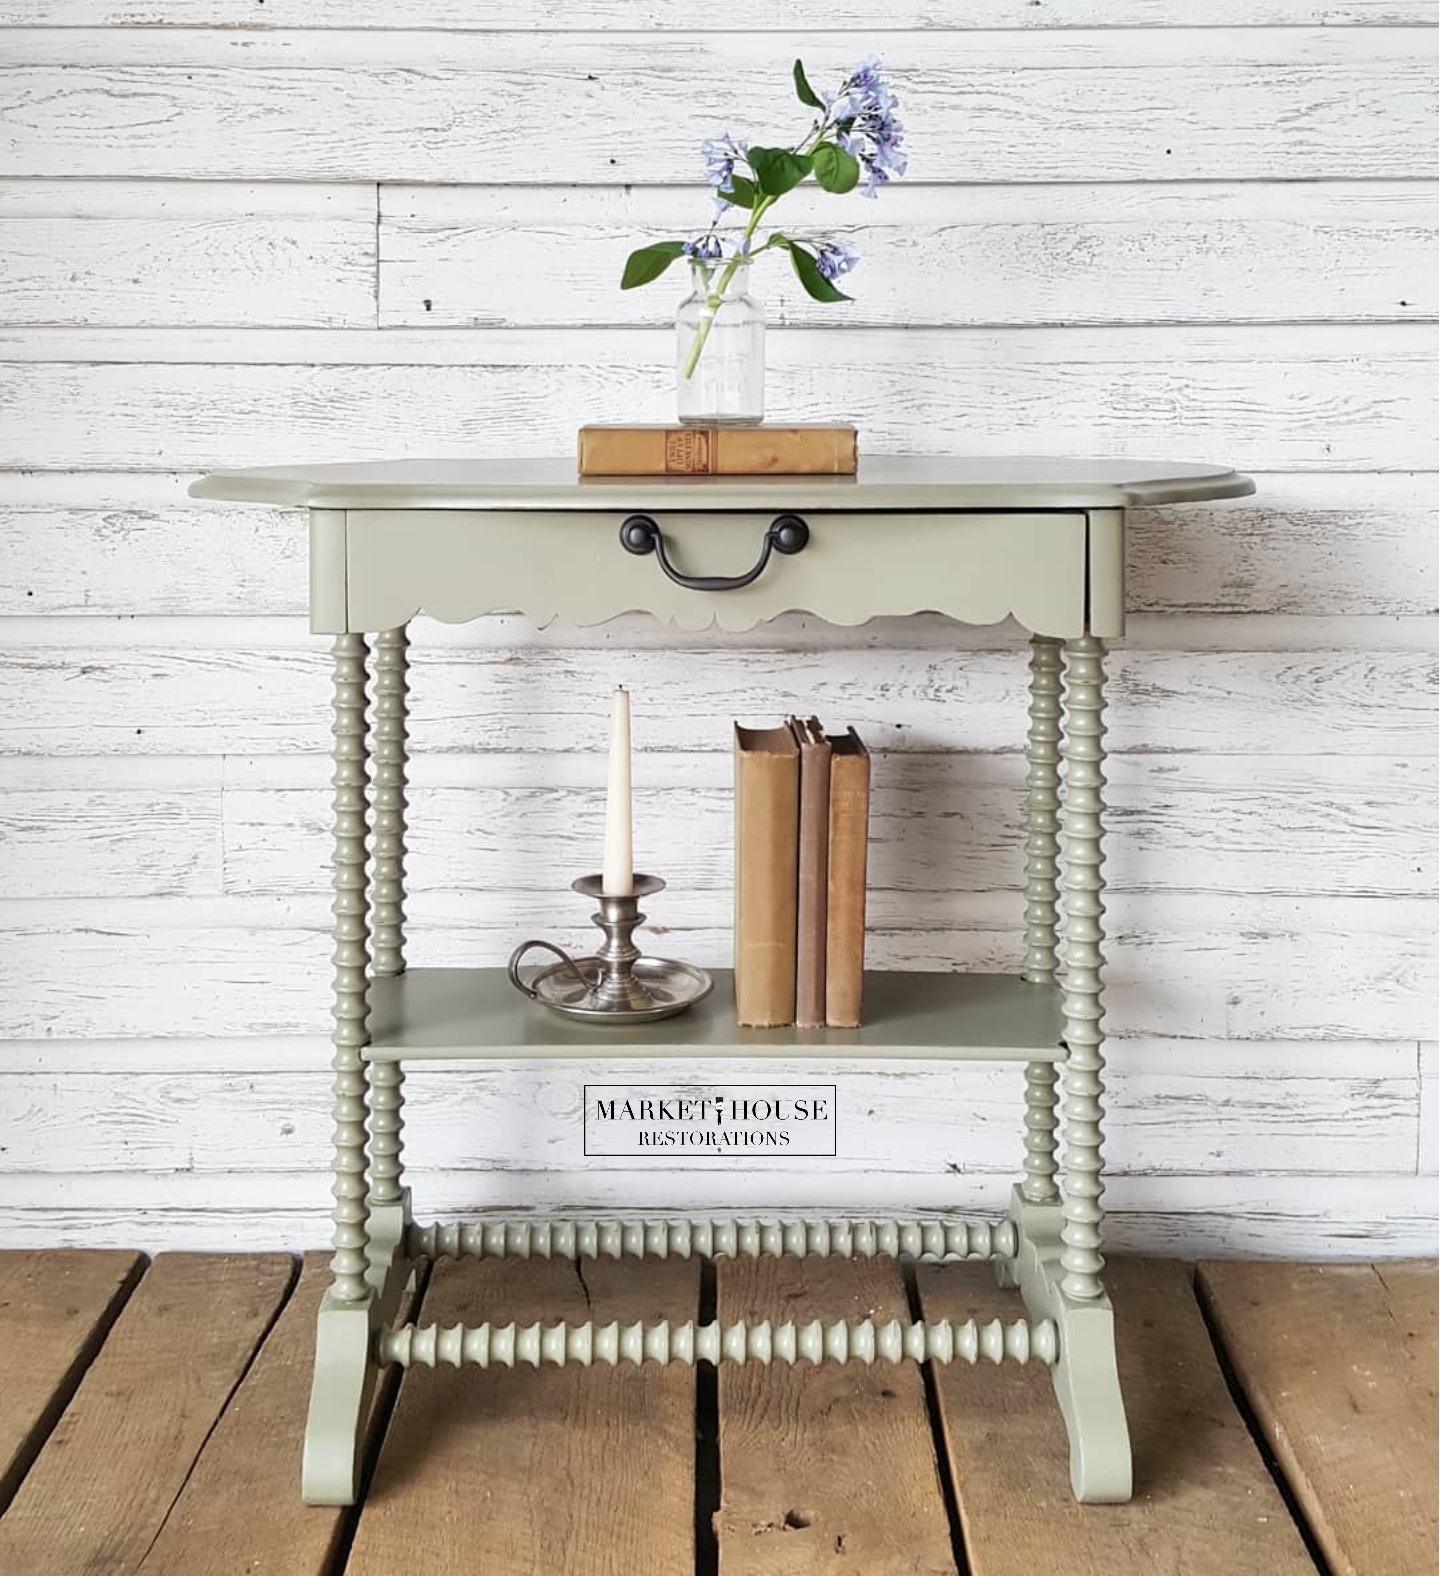
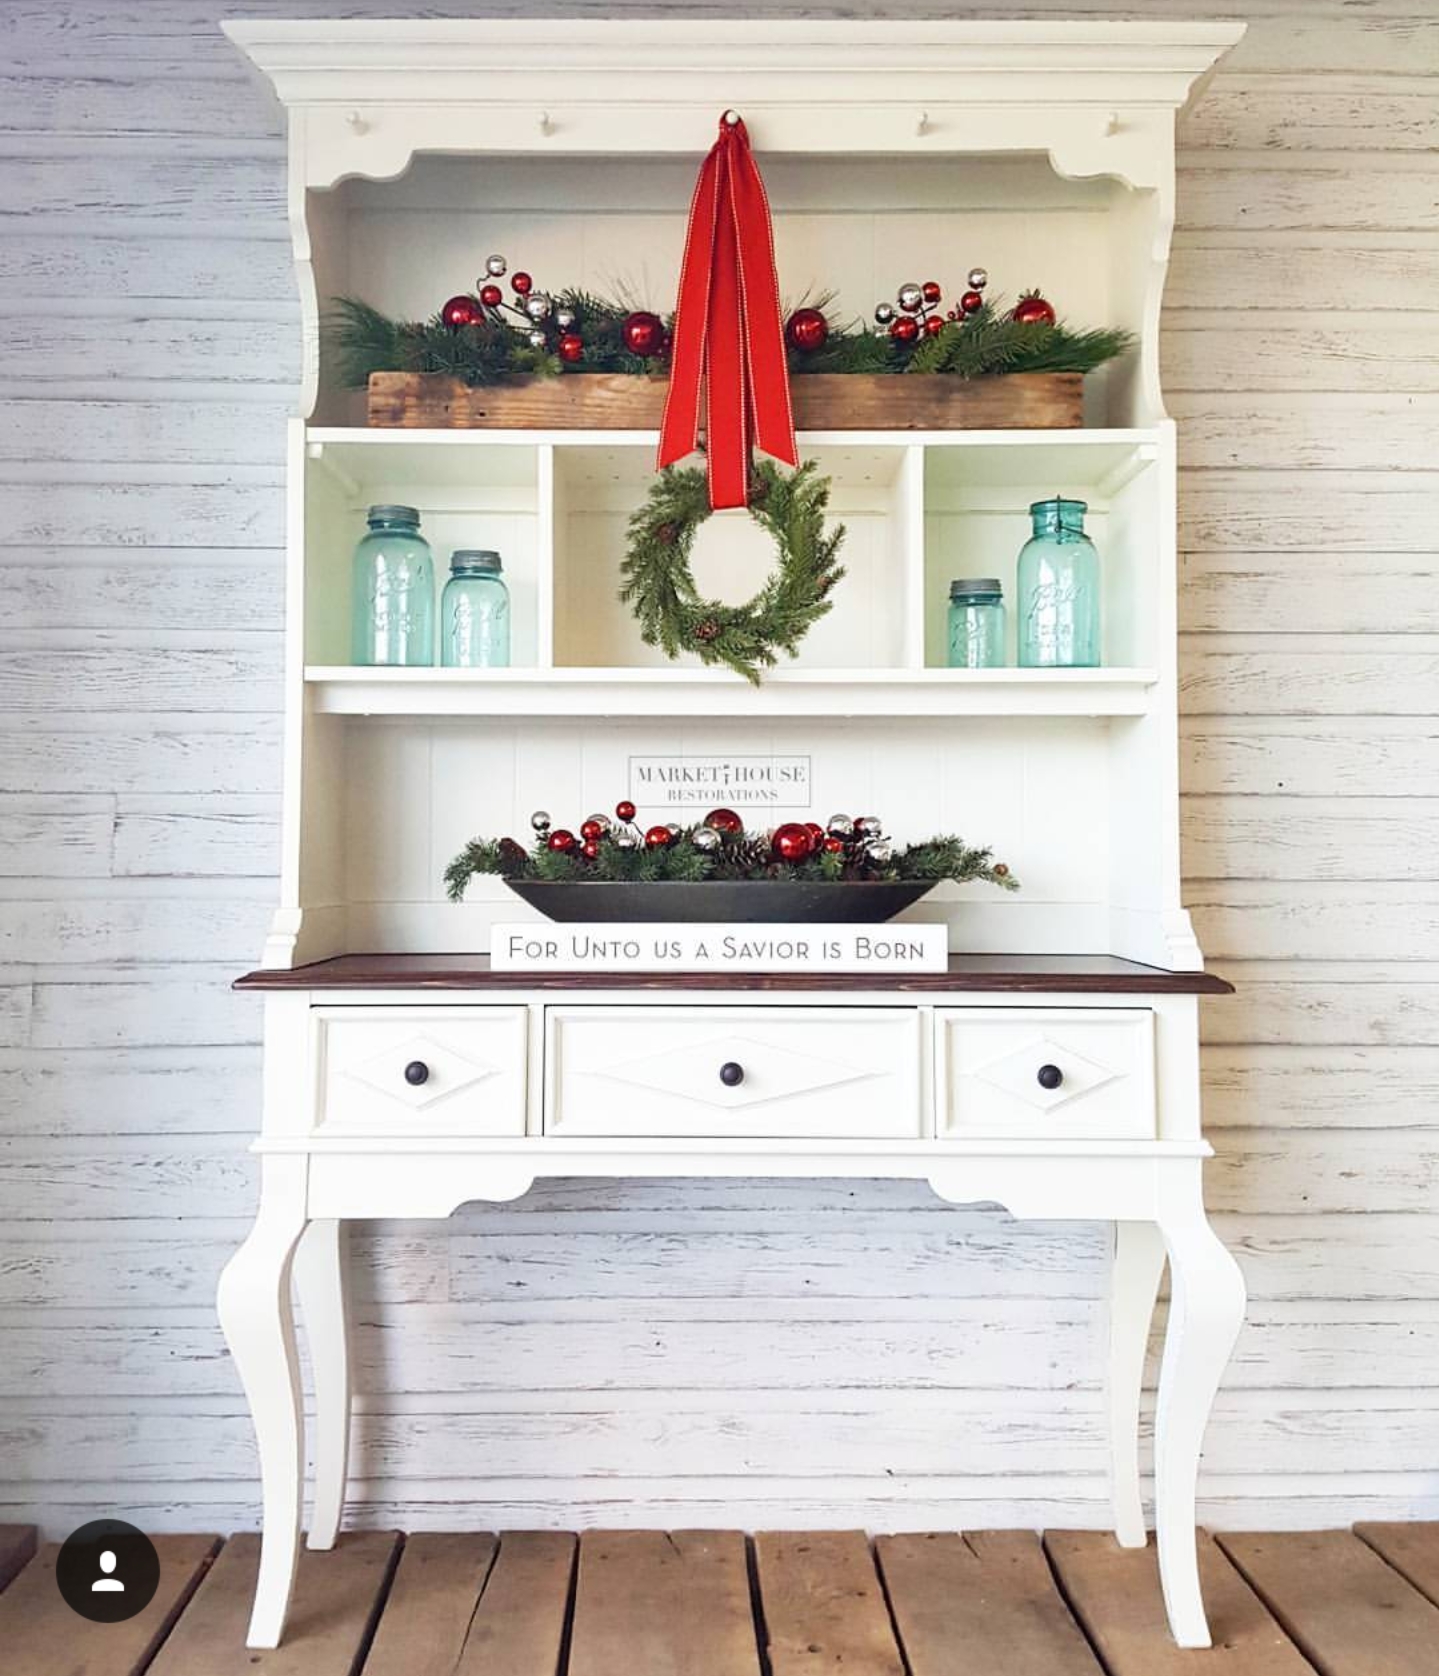
*The Everyday Living Furniture Guide: Staging and Styling Desks, Multi-Purpose Pieces, Sofa Tables, TV Stands, Side Tables, Coffee Tables, Benches and Bookshelves
I appreciate you stopping by!!
Make sure you check out my other #MondayMakeoversWithFallon tutorials below!