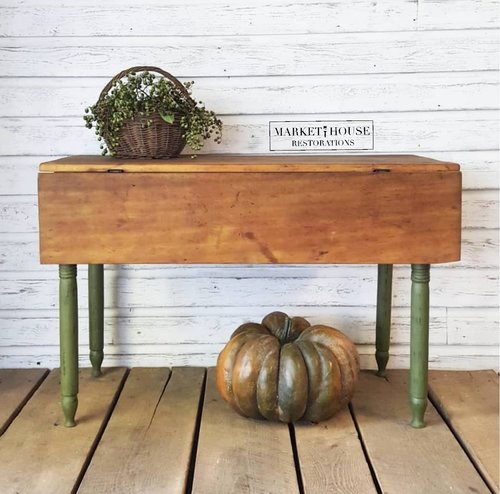
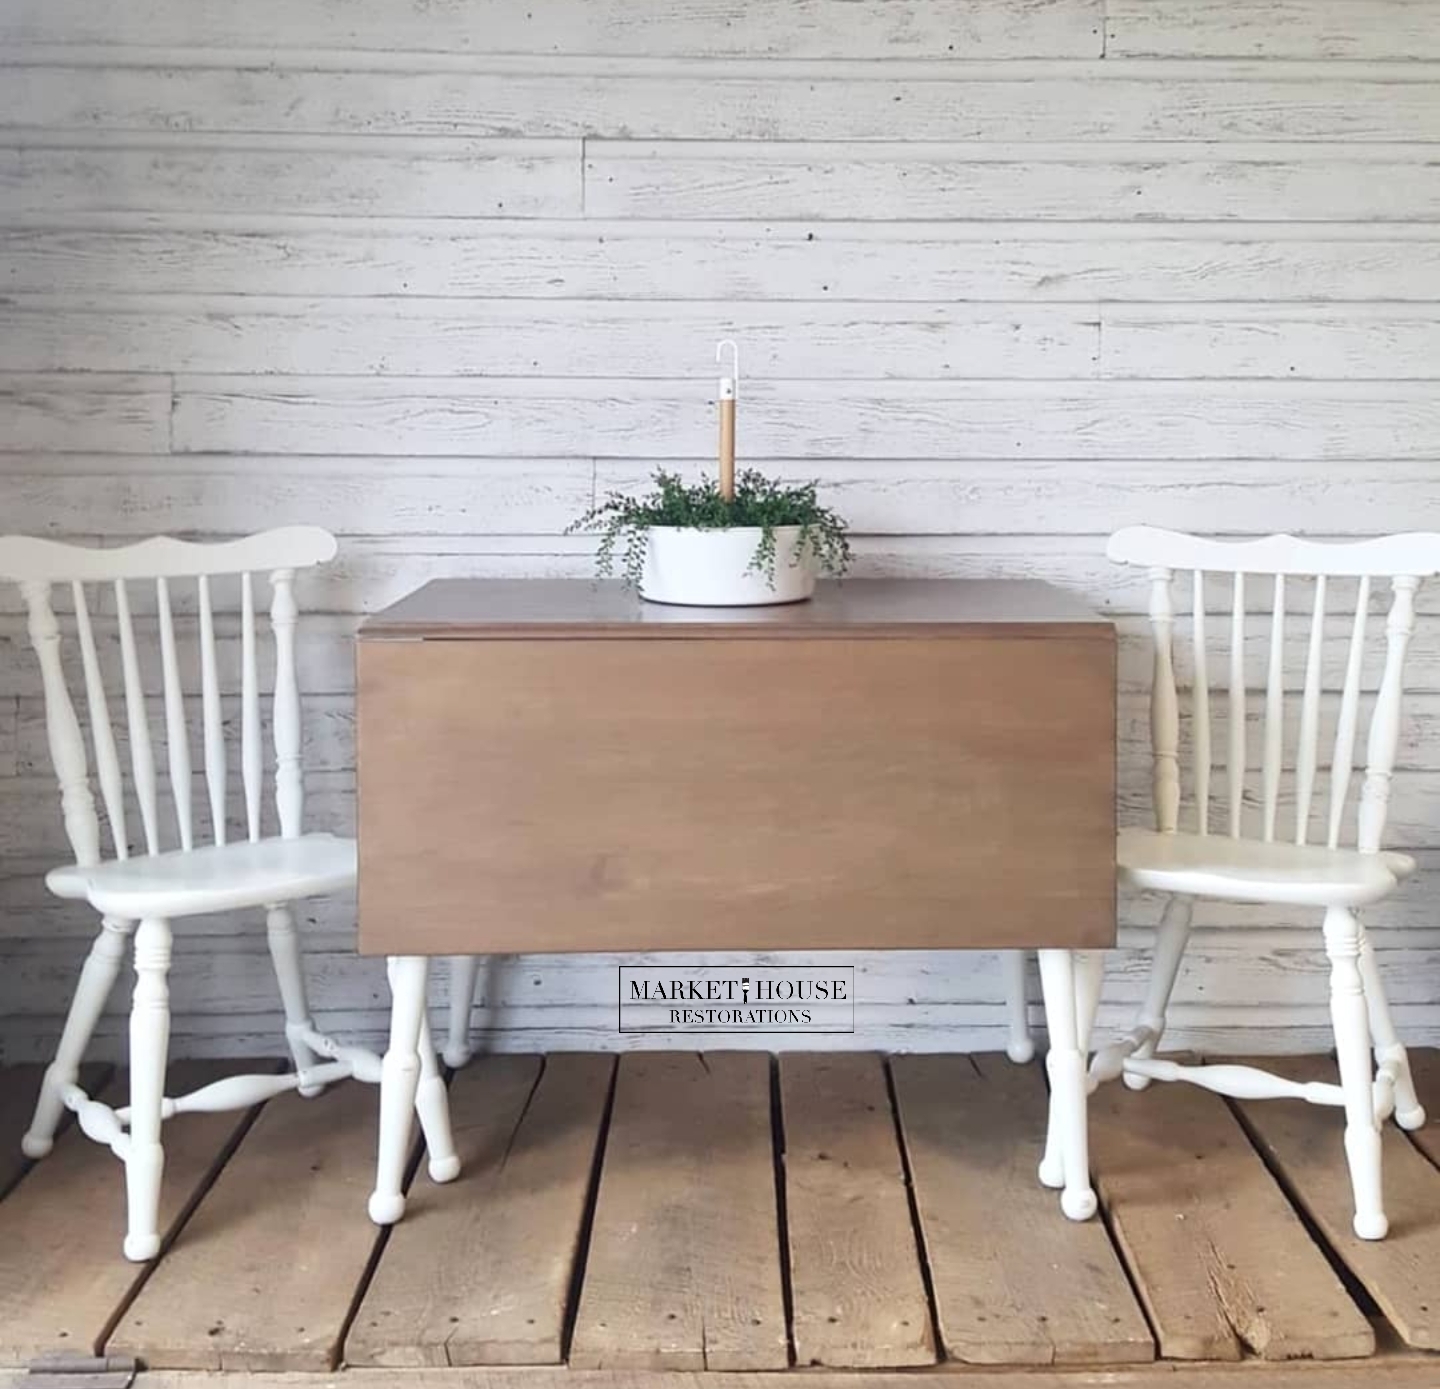
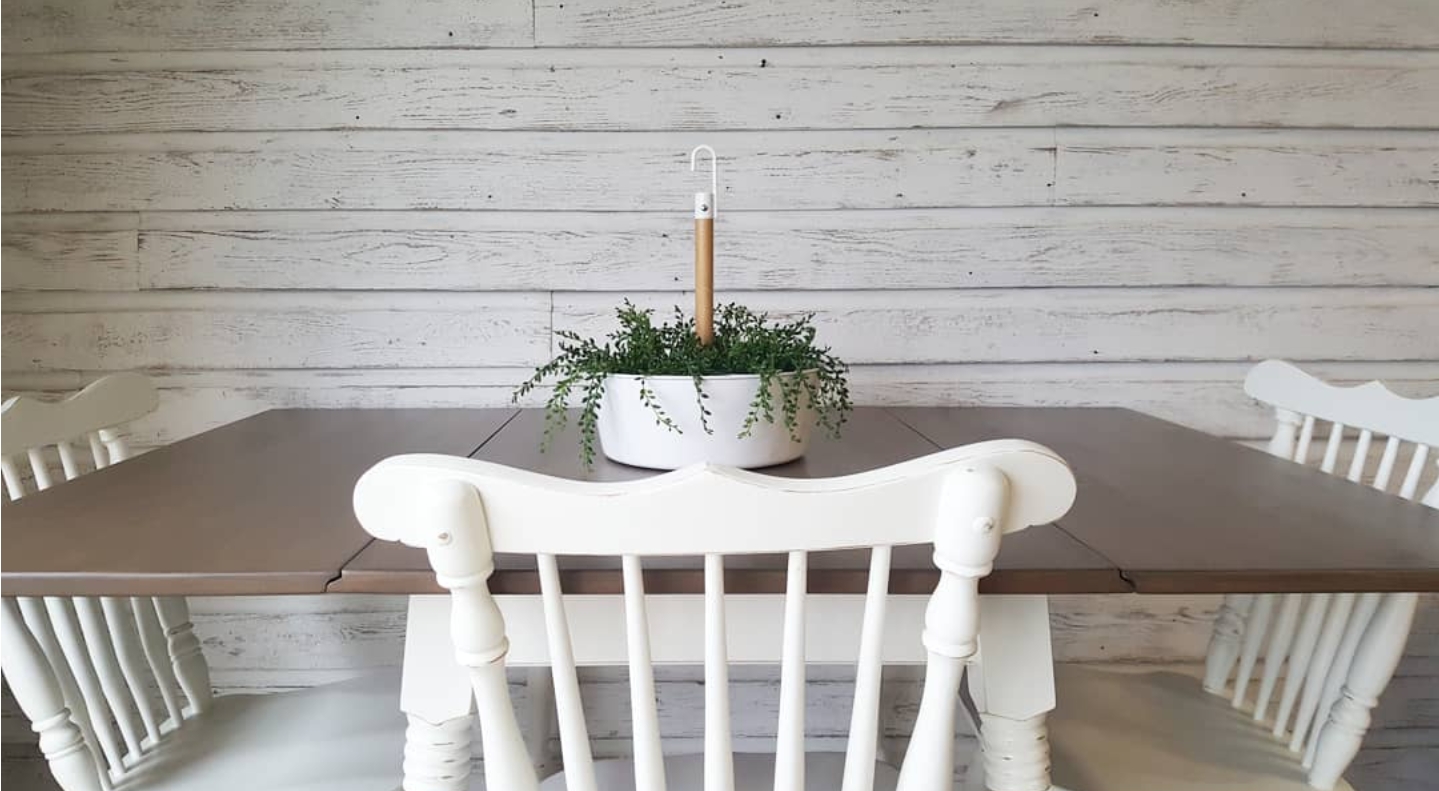
OH NO!! This Drop Leaf Table Makeover Didn’t Go As Planned!!
/#MondayMakeoversWithFallon
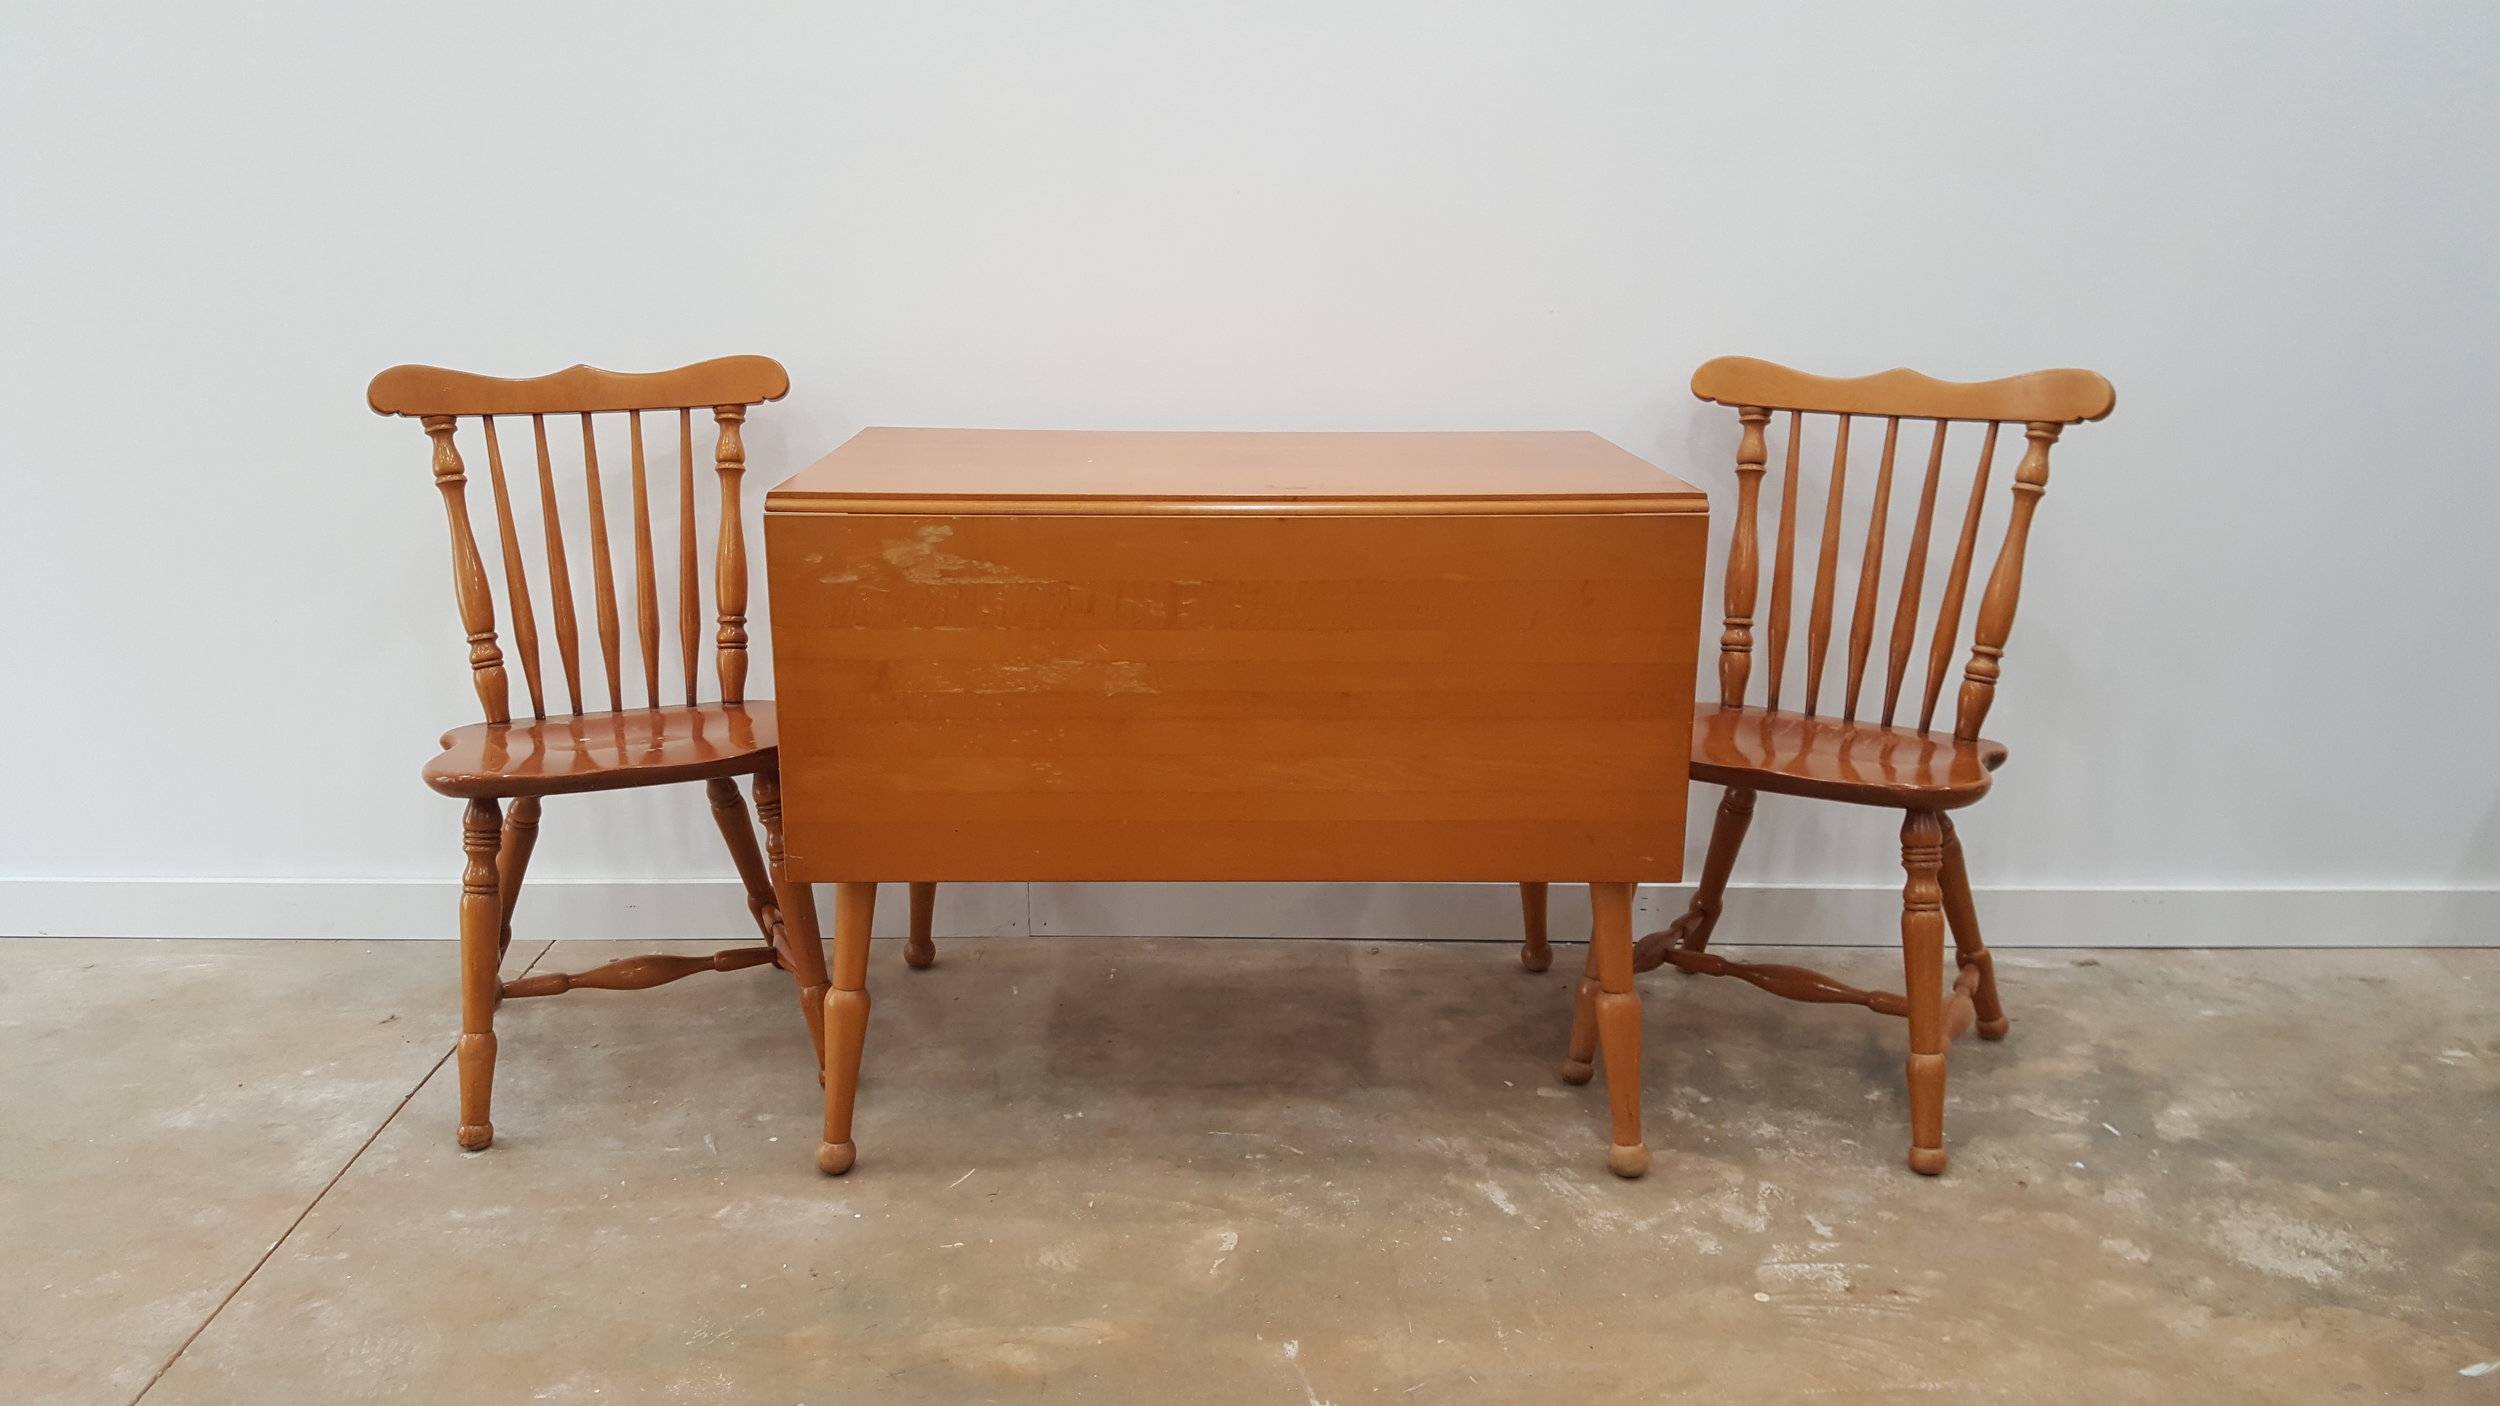
As promised, I wrote a blog post on the restoration process of the tricky maple table and chairs. This is the part you don’t typically see, but I wanted to share because it was a learning experience for me which will hopefully turn into a learning experience for you!

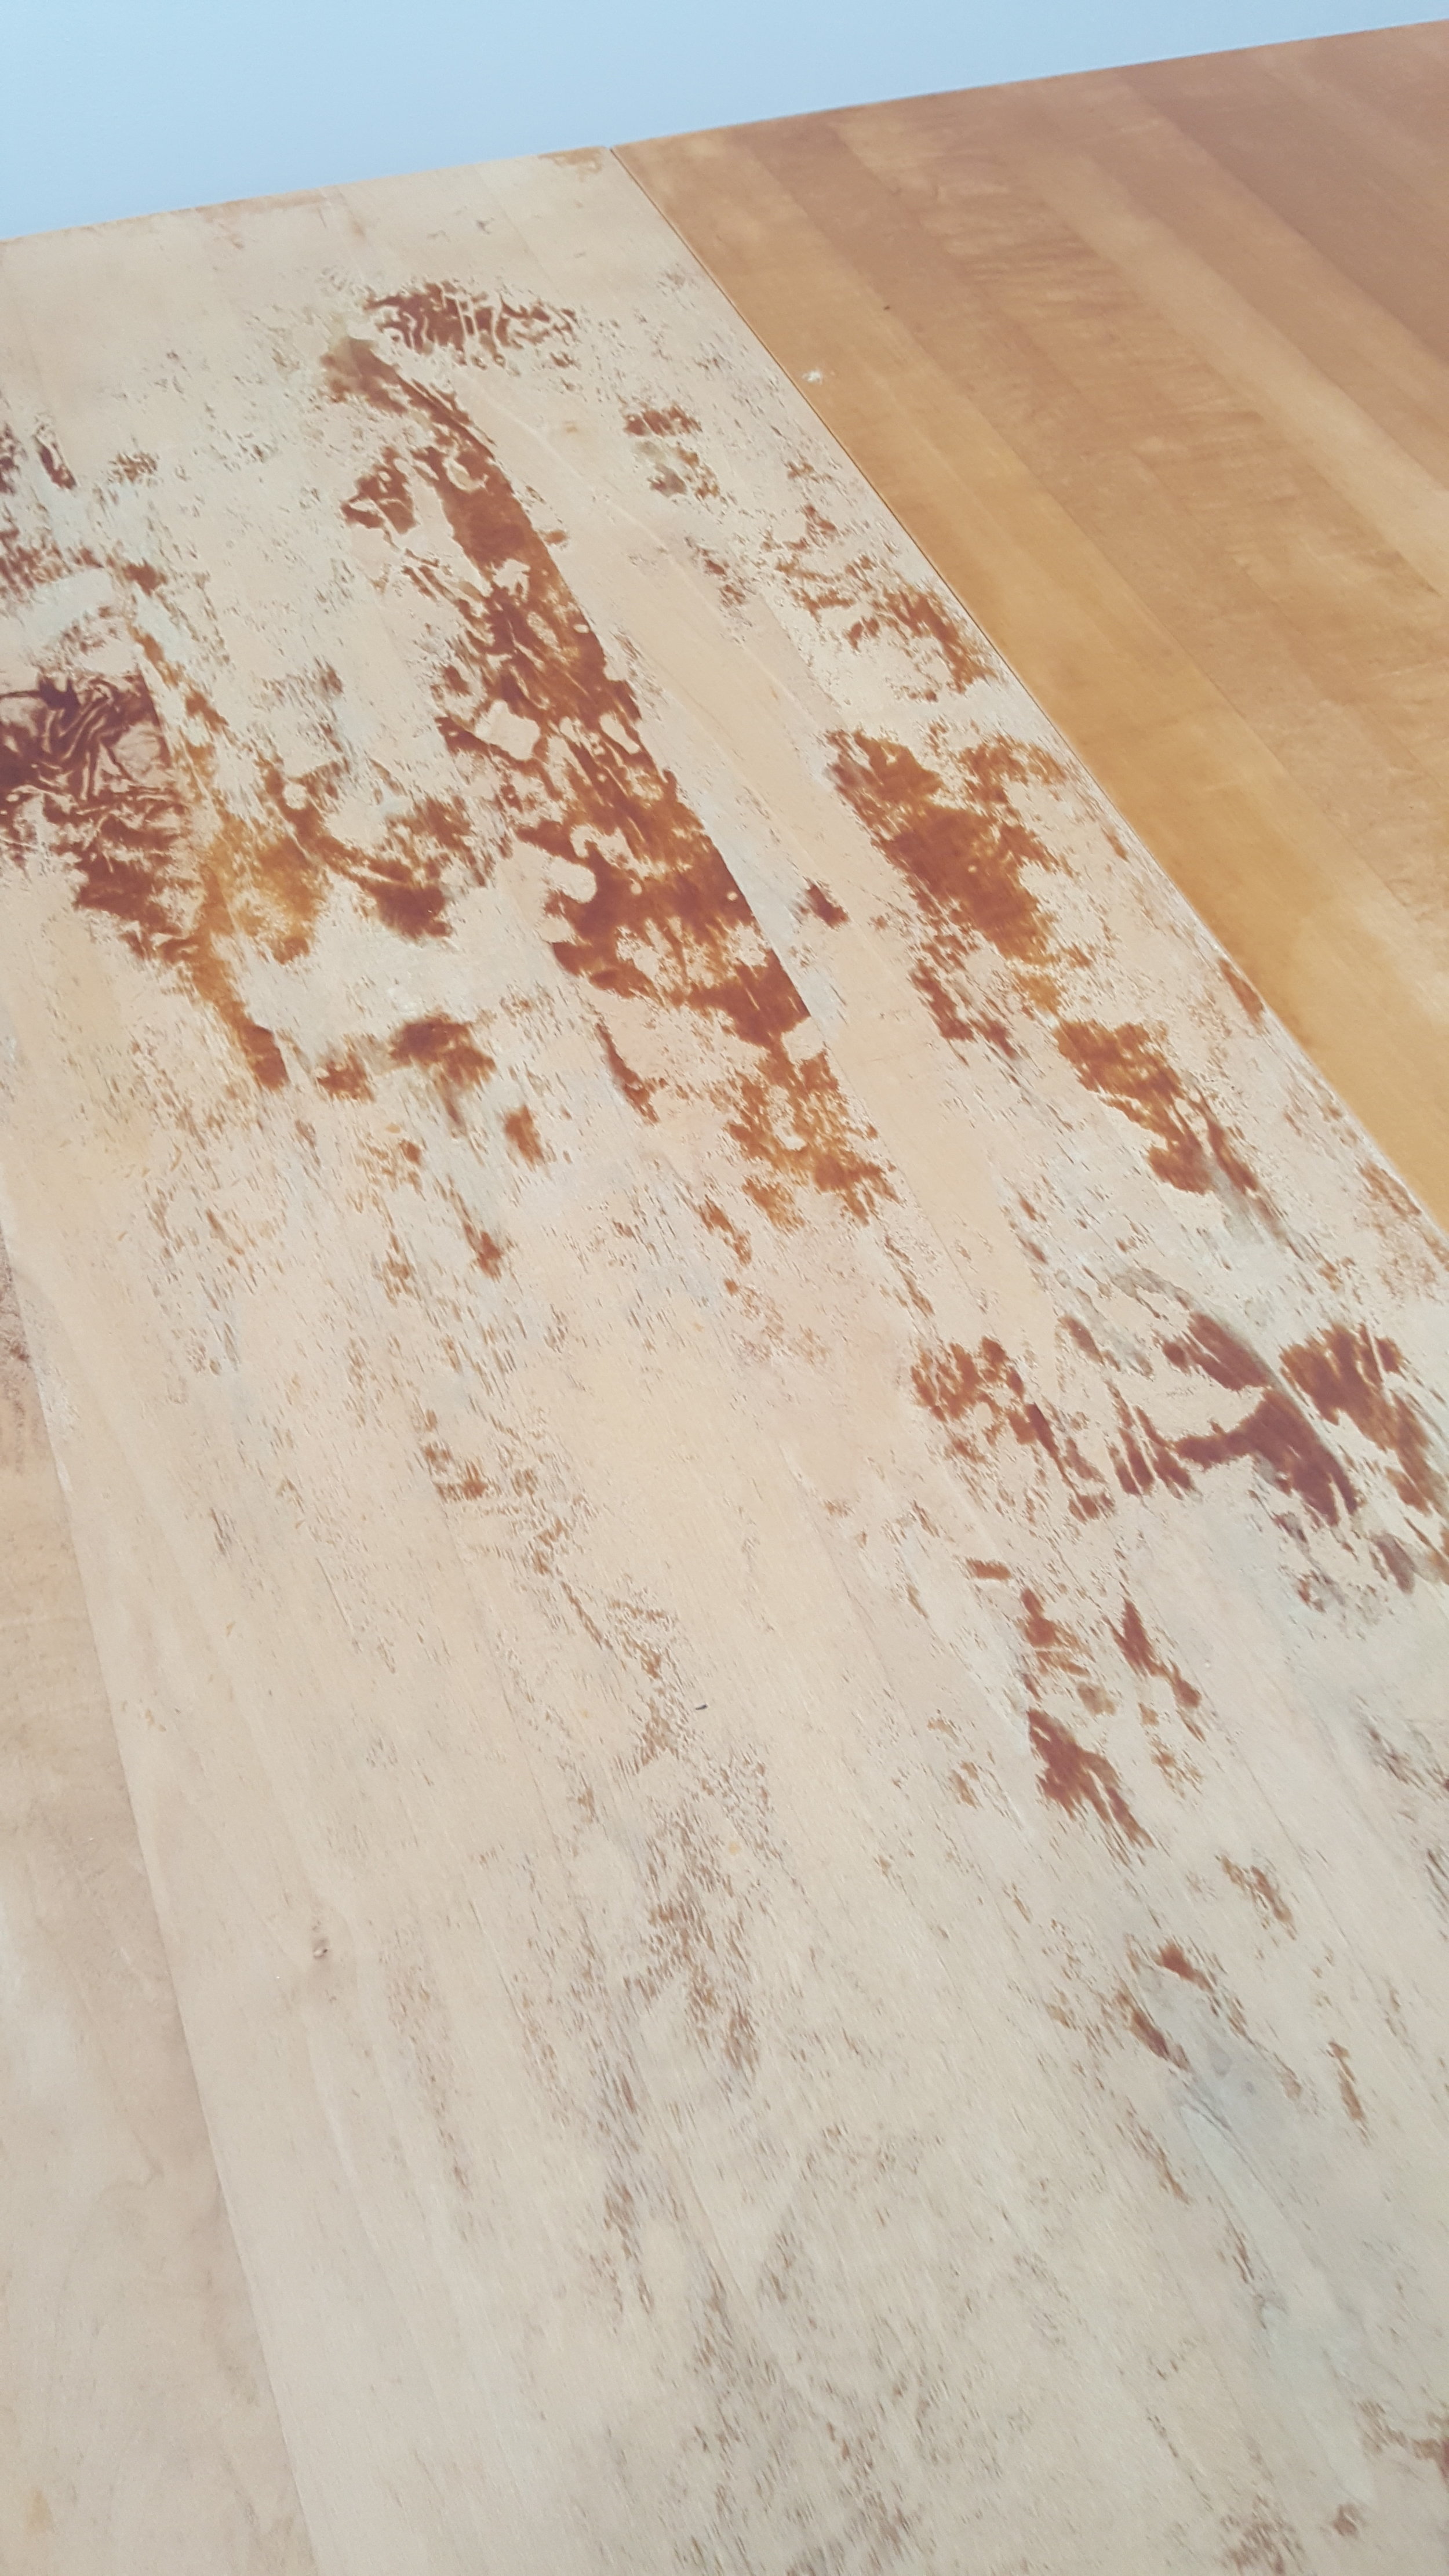
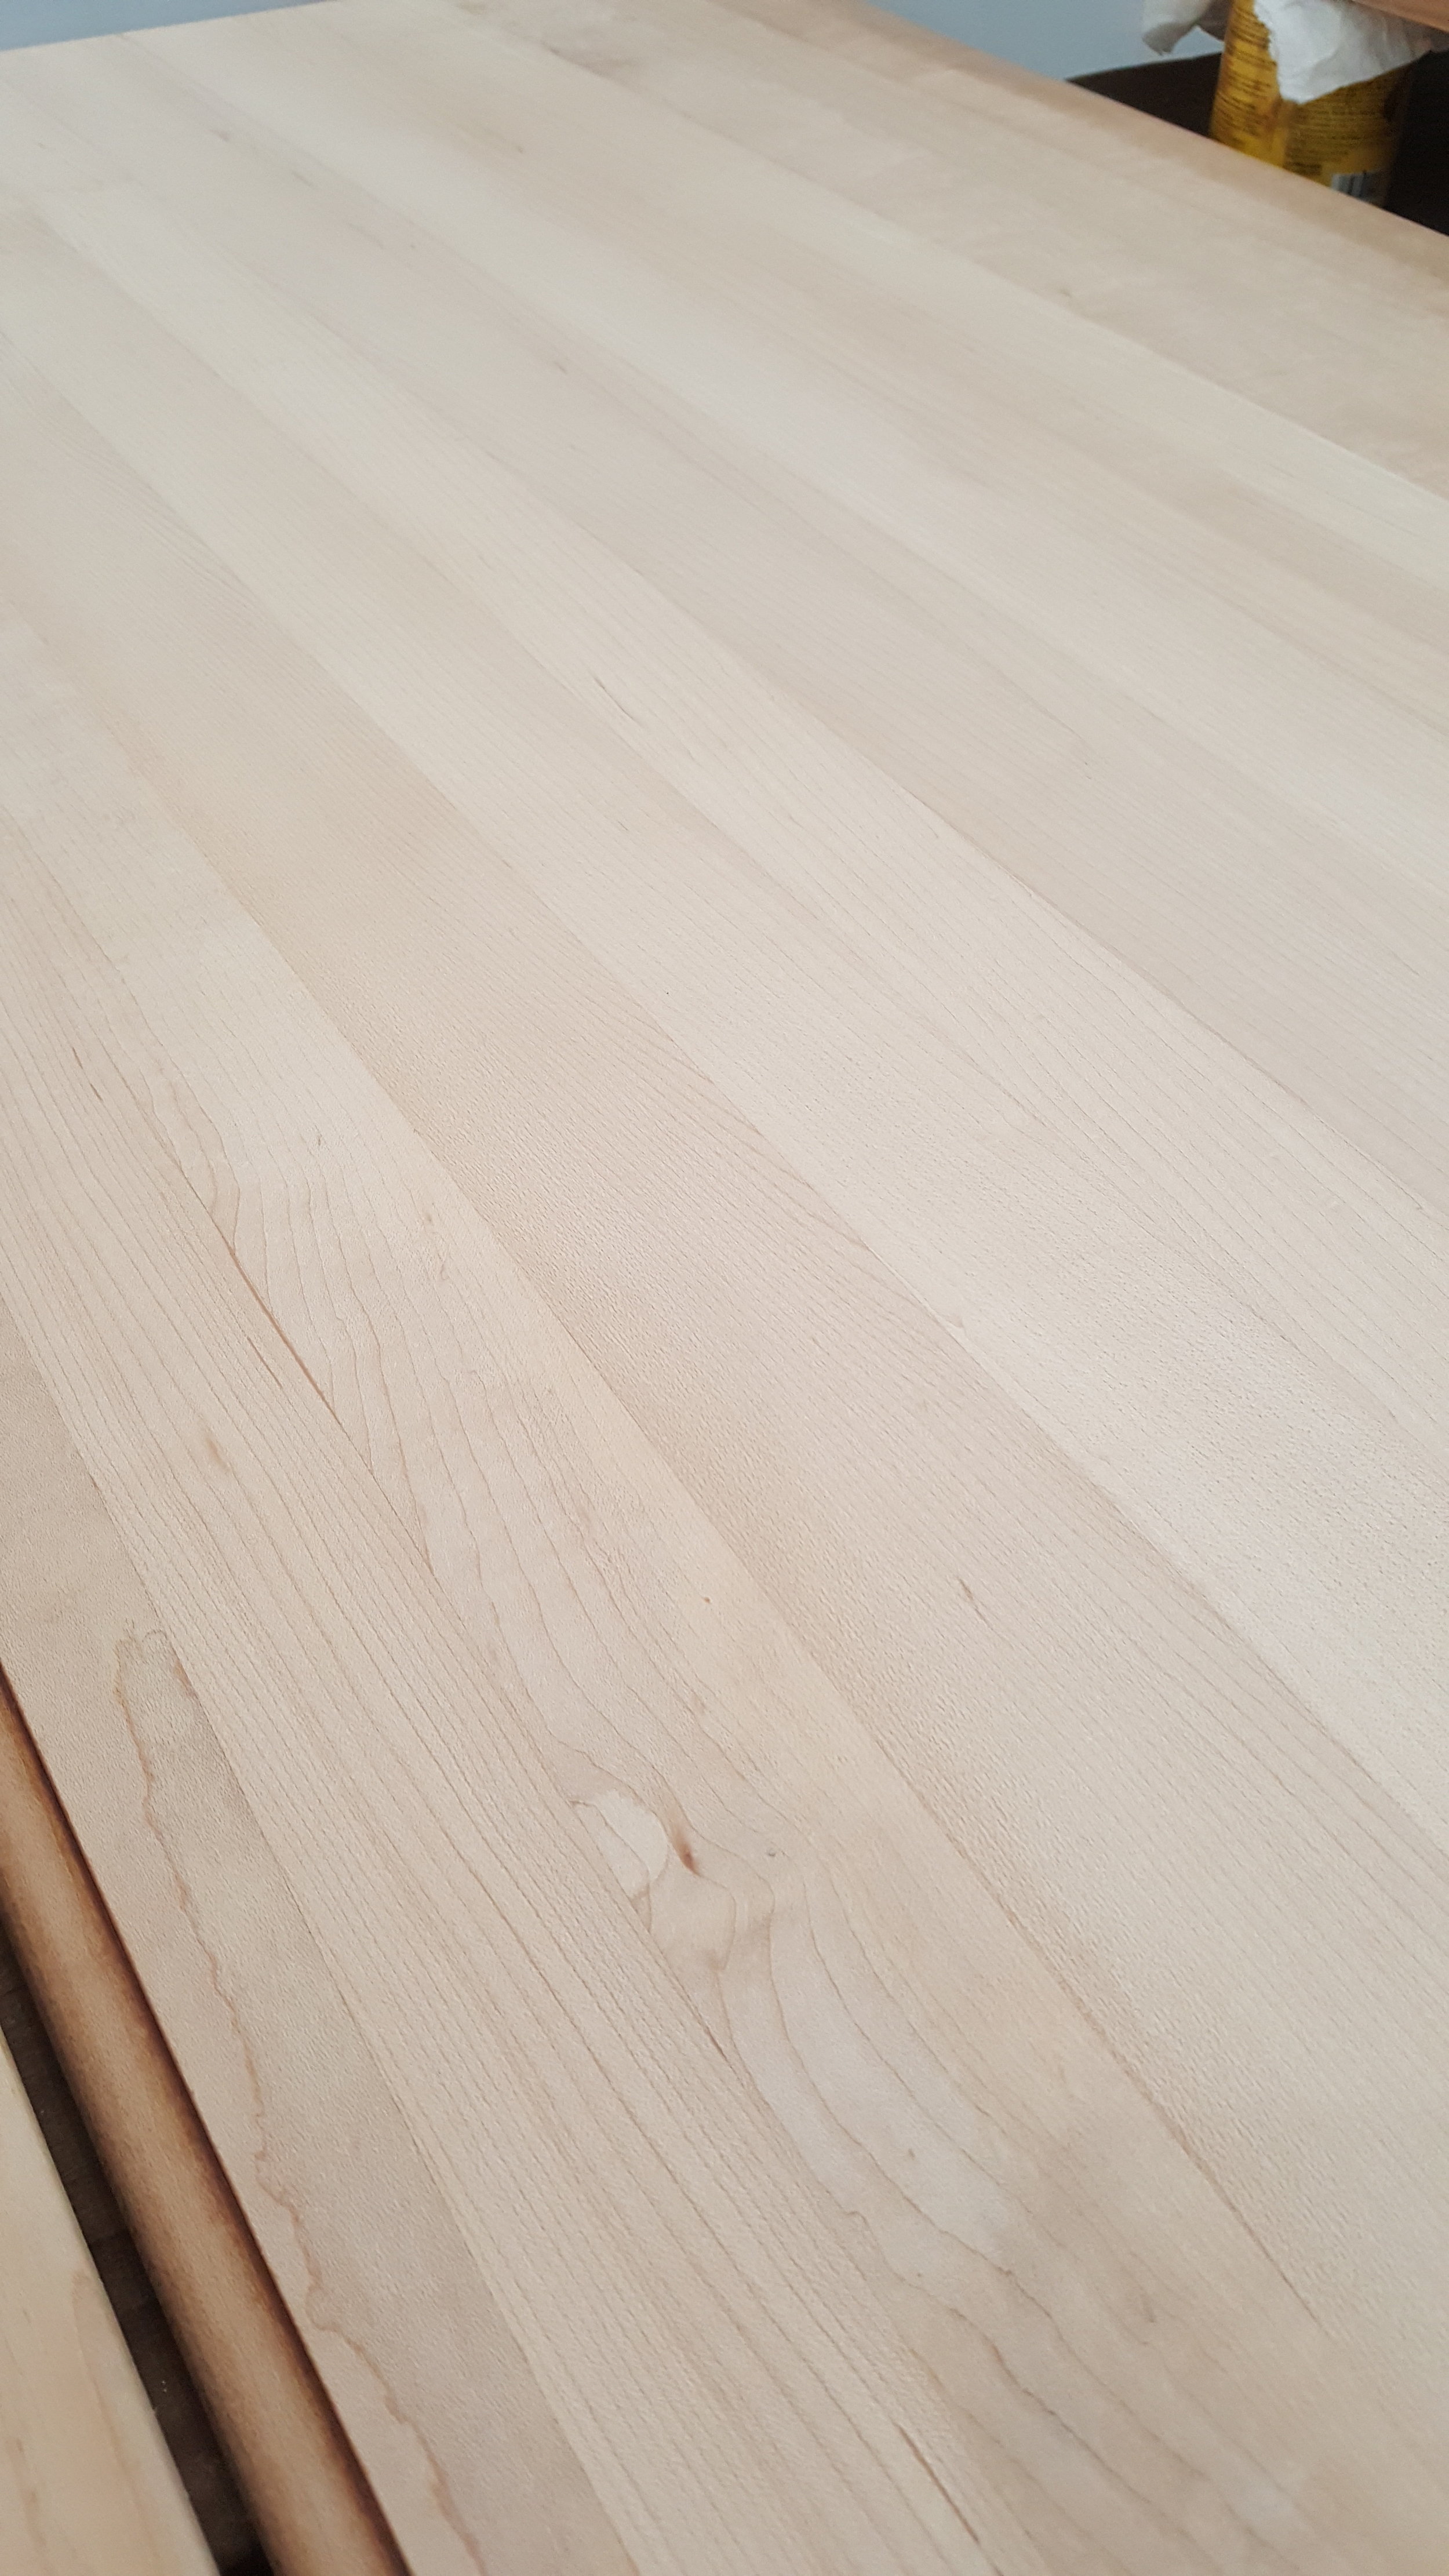
The Stripping Process: I went through my normal process of how I strip stain/paint. I brushed on a coat of CitriStip with a chip brush and covered it up with Saran Wrap. I let it sit for about 6 hours before I checked it. Sometimes I let the CitriStrip sit for up to 24 hours, checking it about every 6 to 12 hours to make sure everything working as it’s supposed to. This time when I pulled back the Saran Wrap I noticed it looked different than it normally does. So, I kept pulling it off and that’s about the time I kind of freaked out.
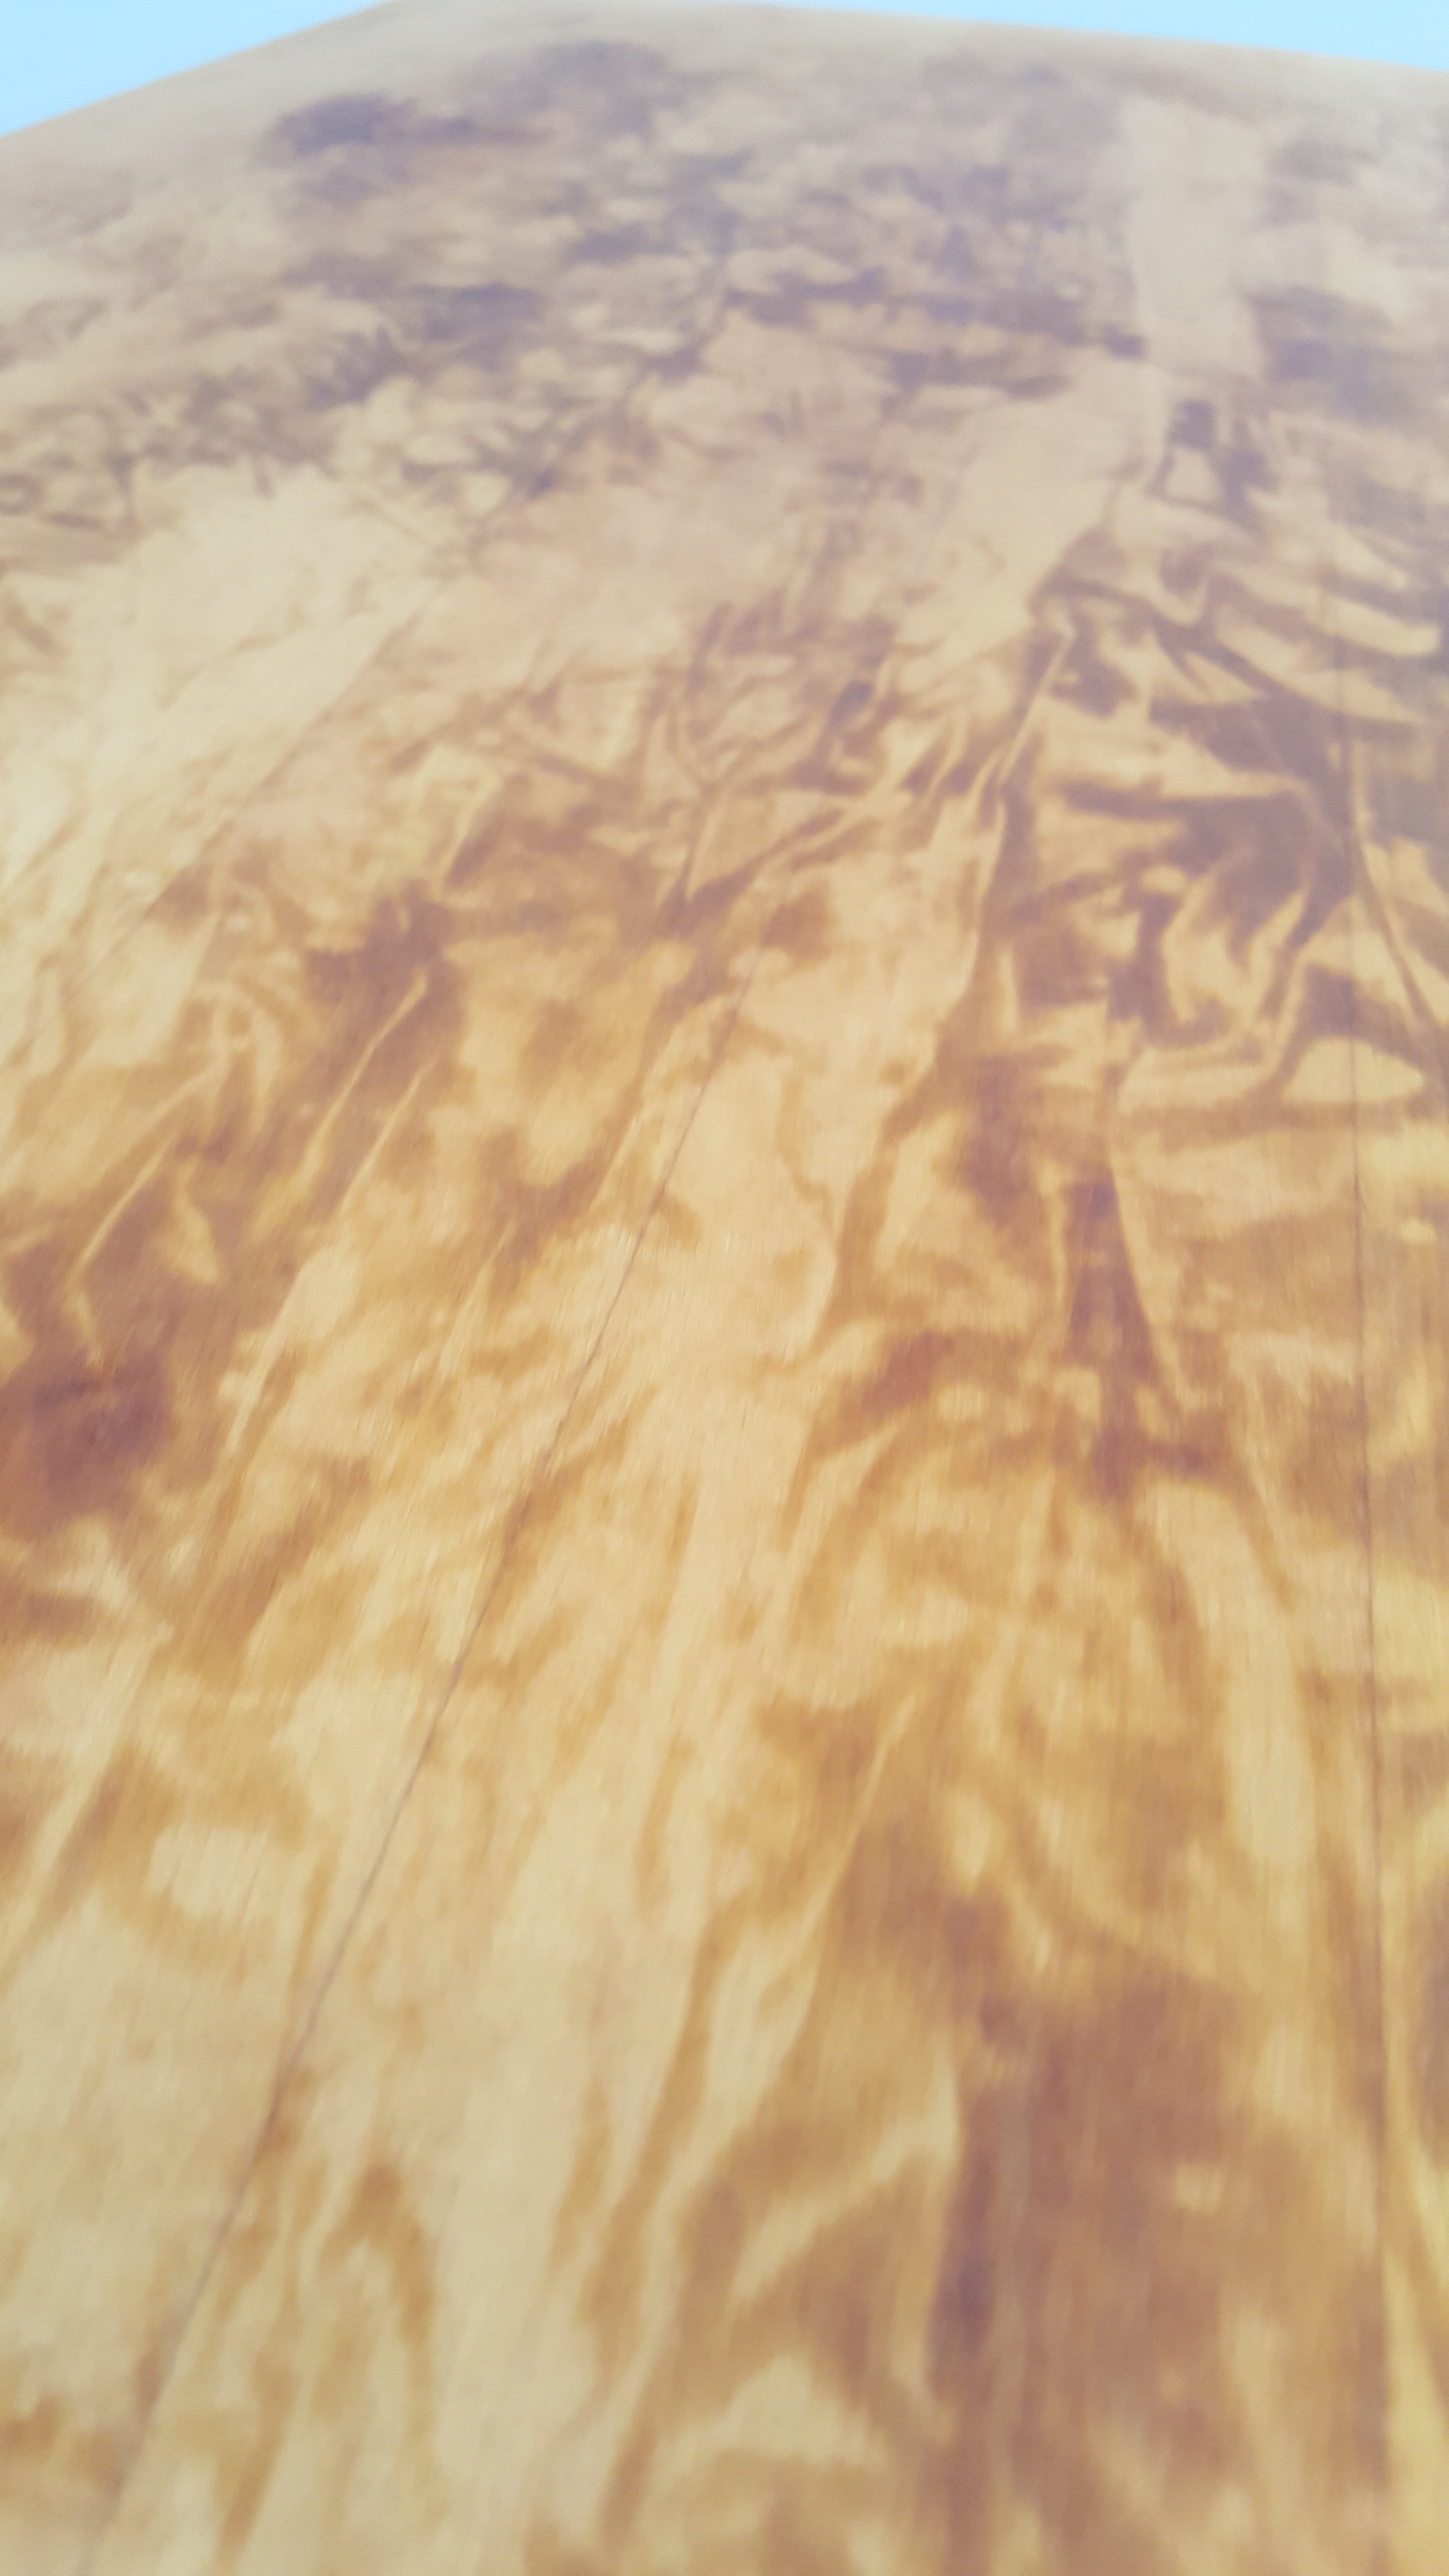
UMMM, what in the world happened!?
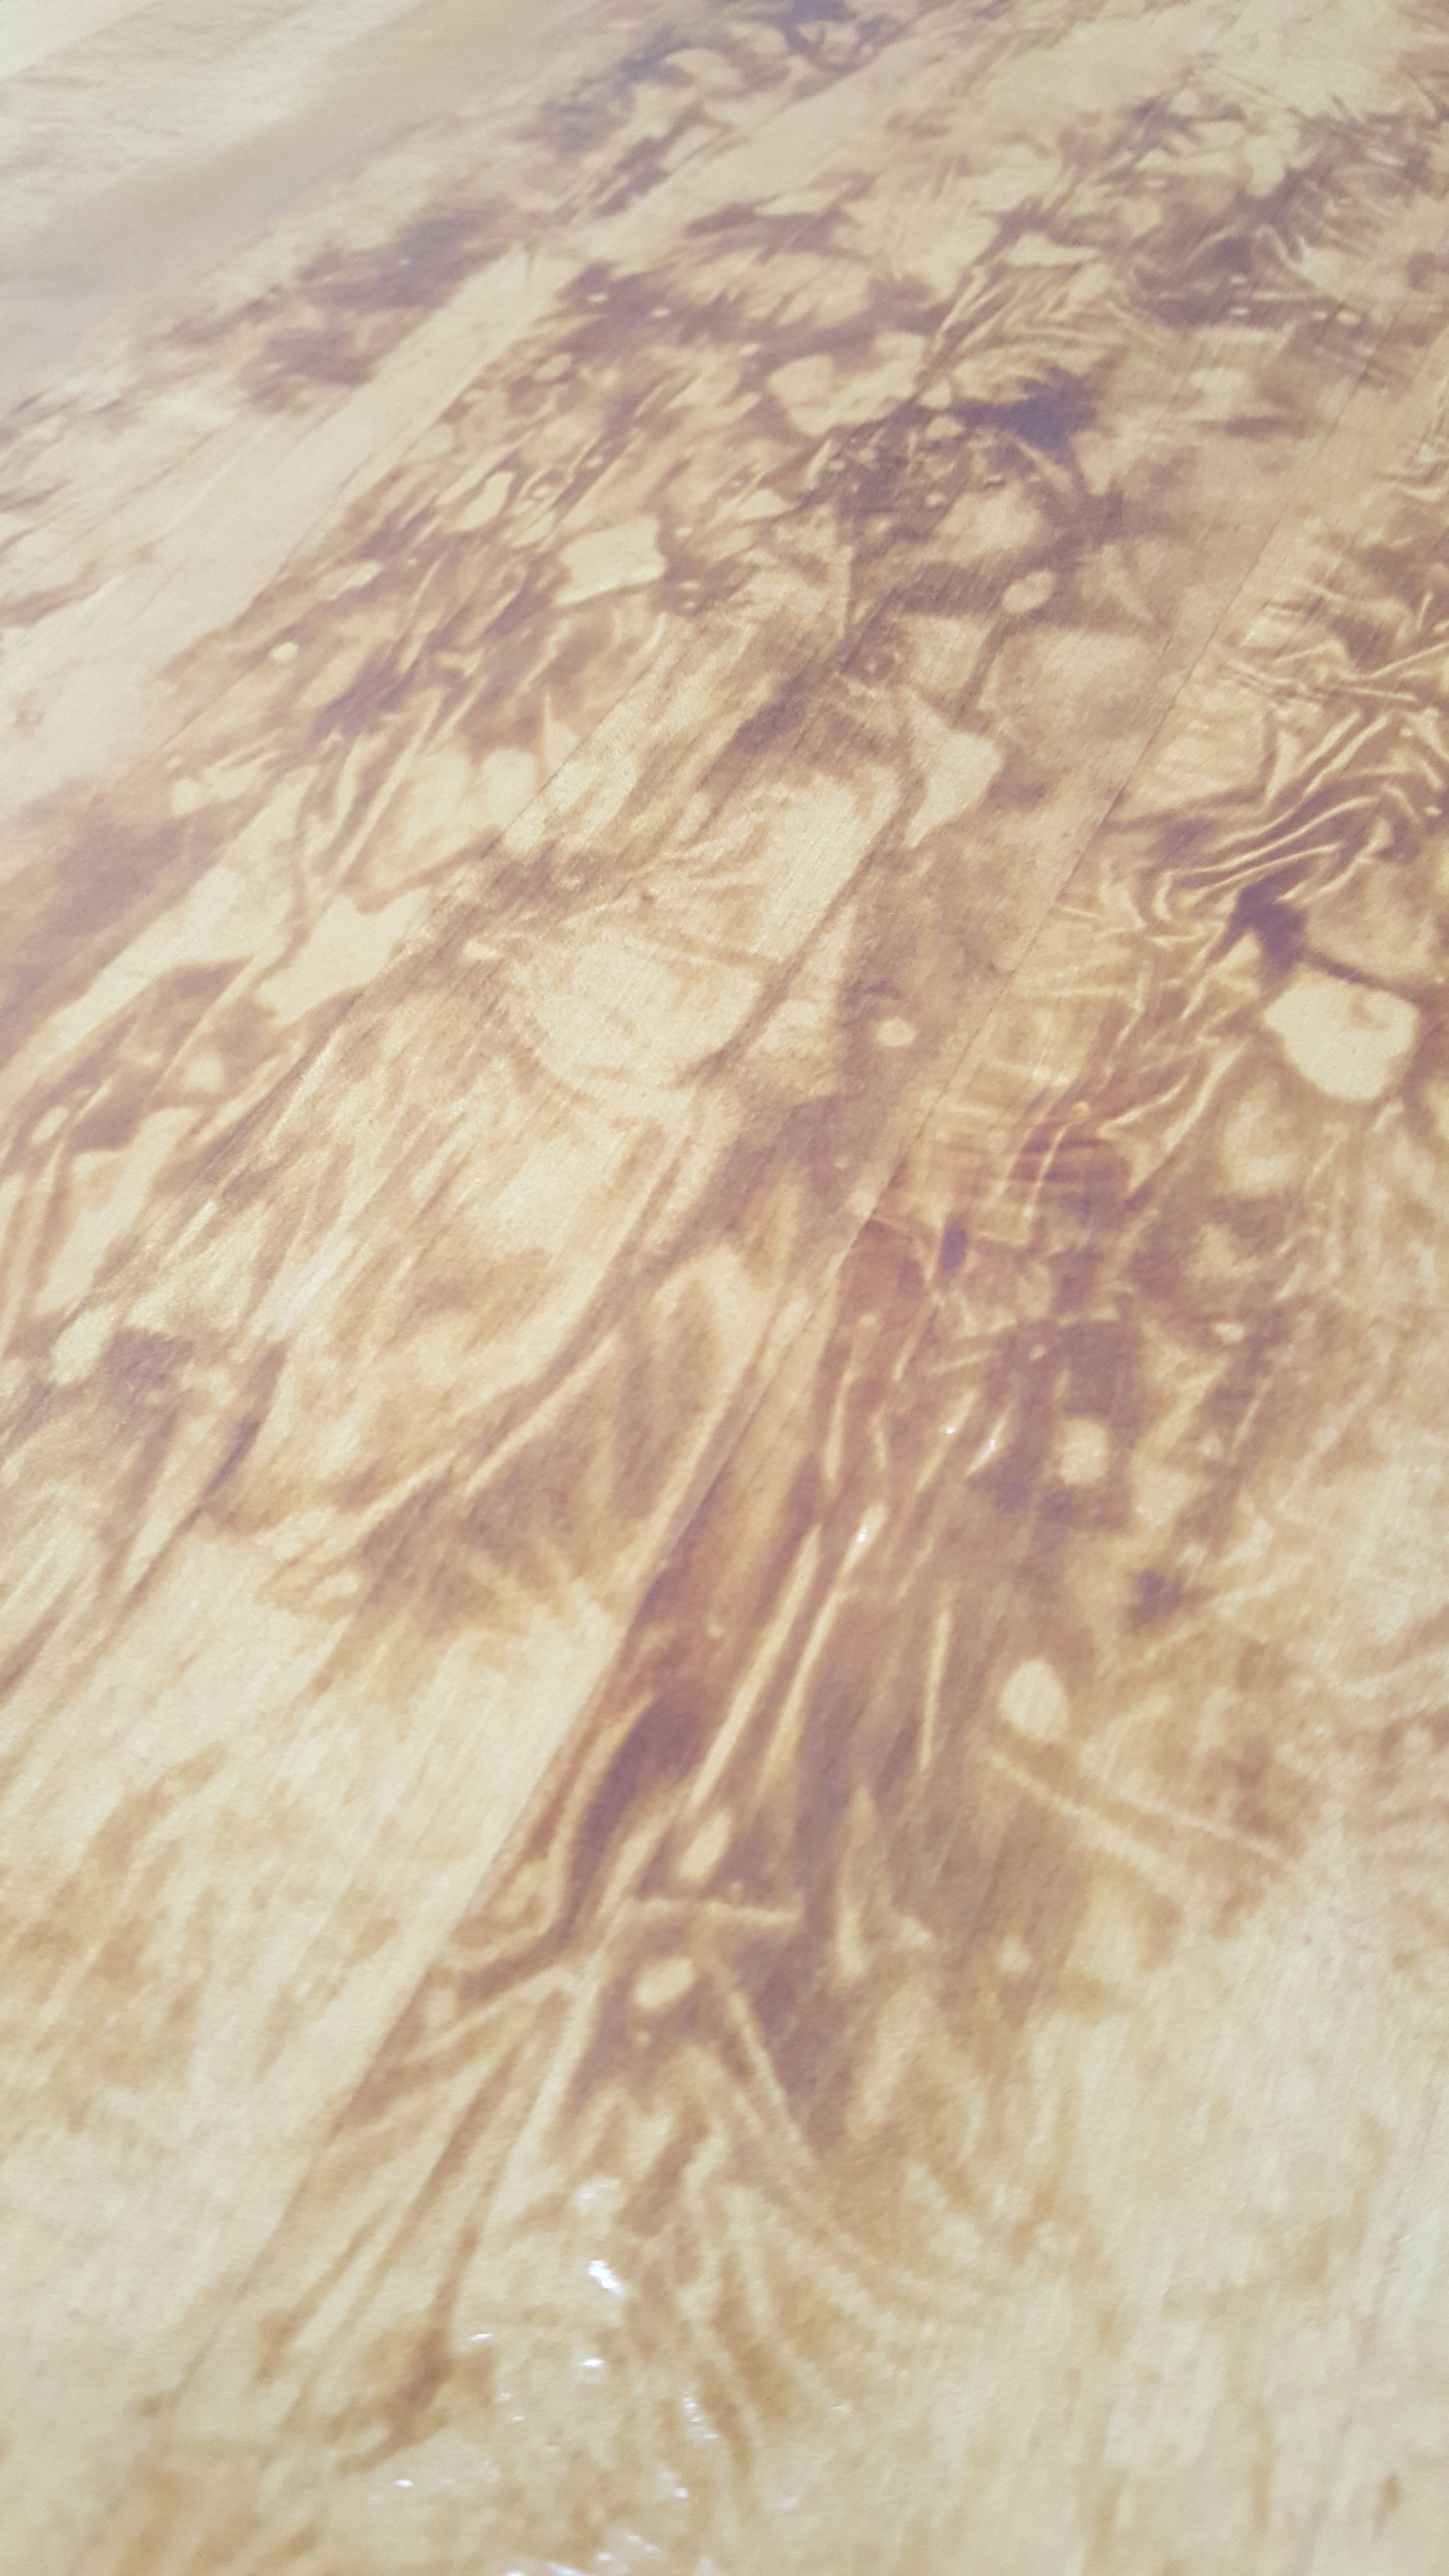
It looks like the stain “pooled” in areas, doesn’t it? Well, the super odd part is that after I cleaned all of the stripper off, leaving no CitriStrip on it (according to touch) all of that mess was still there. I could take a nail and scratch it across the top and nothing would come off on it. I was stumped. It was super weird. The only thing I could think to do was let it dry because maybe it was just damp deep down in the wood, but it wasn’t, so unfortunately that didn’t work. In the segment of pictures below, the 5th and 6th pictures are almost a week after this occurred.


I contacted a few of my professional painter friends and sent them this video! Bare with me, I originally had no intention of doing a blog post on this, so the video isn’t the best. I just want you to have a view of the table “live” if that makes sense?!
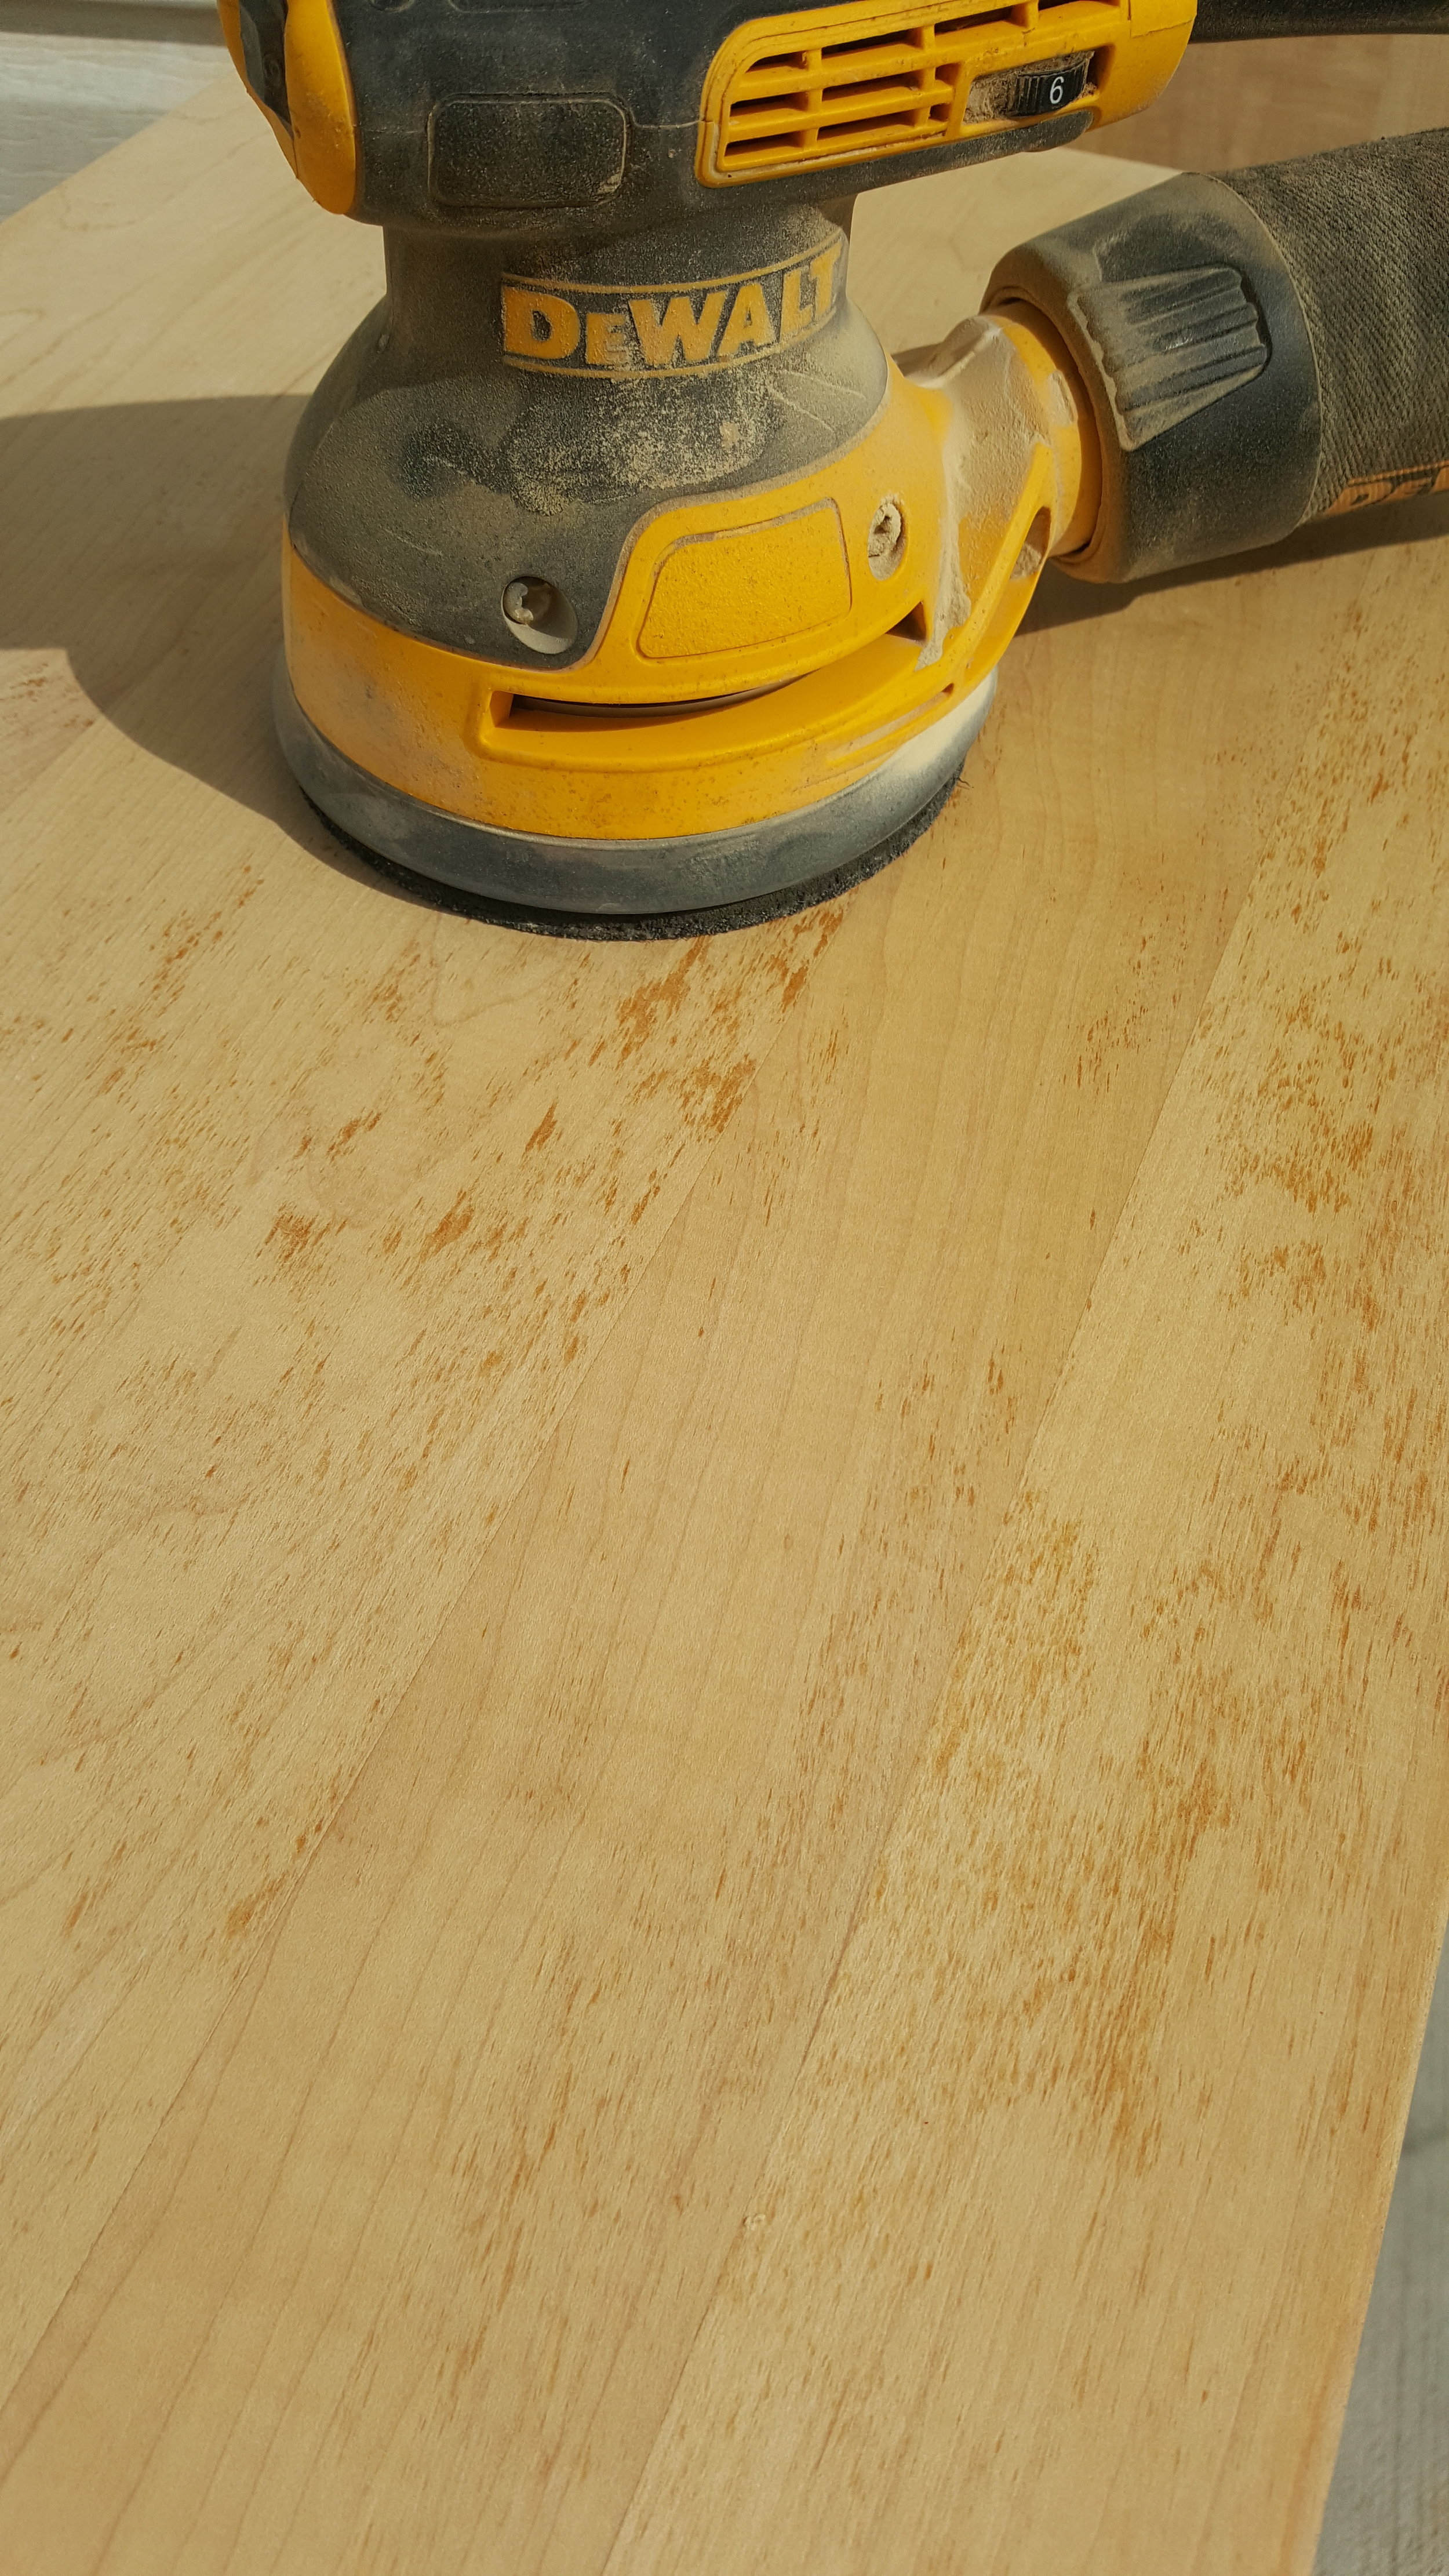
I tried everything I could think of to get the mess off of the top. I cleaned it. I sanded the heck out of it. I tried to strip small areas again. I tested other stripping products…nothing worked. Maybe it was sap or tannins, but, I honestly think the wood reacted in an odd way causing the CitriStrip to burn it.
For some odd reason this particular piece did not want to be stripped down, so the only thing I thought I could do was just sand it really hard. HA! Maple is a hard wood and this stuff wasn’t budging, so after I made it about three inches across the table and I went through at least 5 sanding discs I knew I was going to burn out my sander and I needed to call in the big guns.
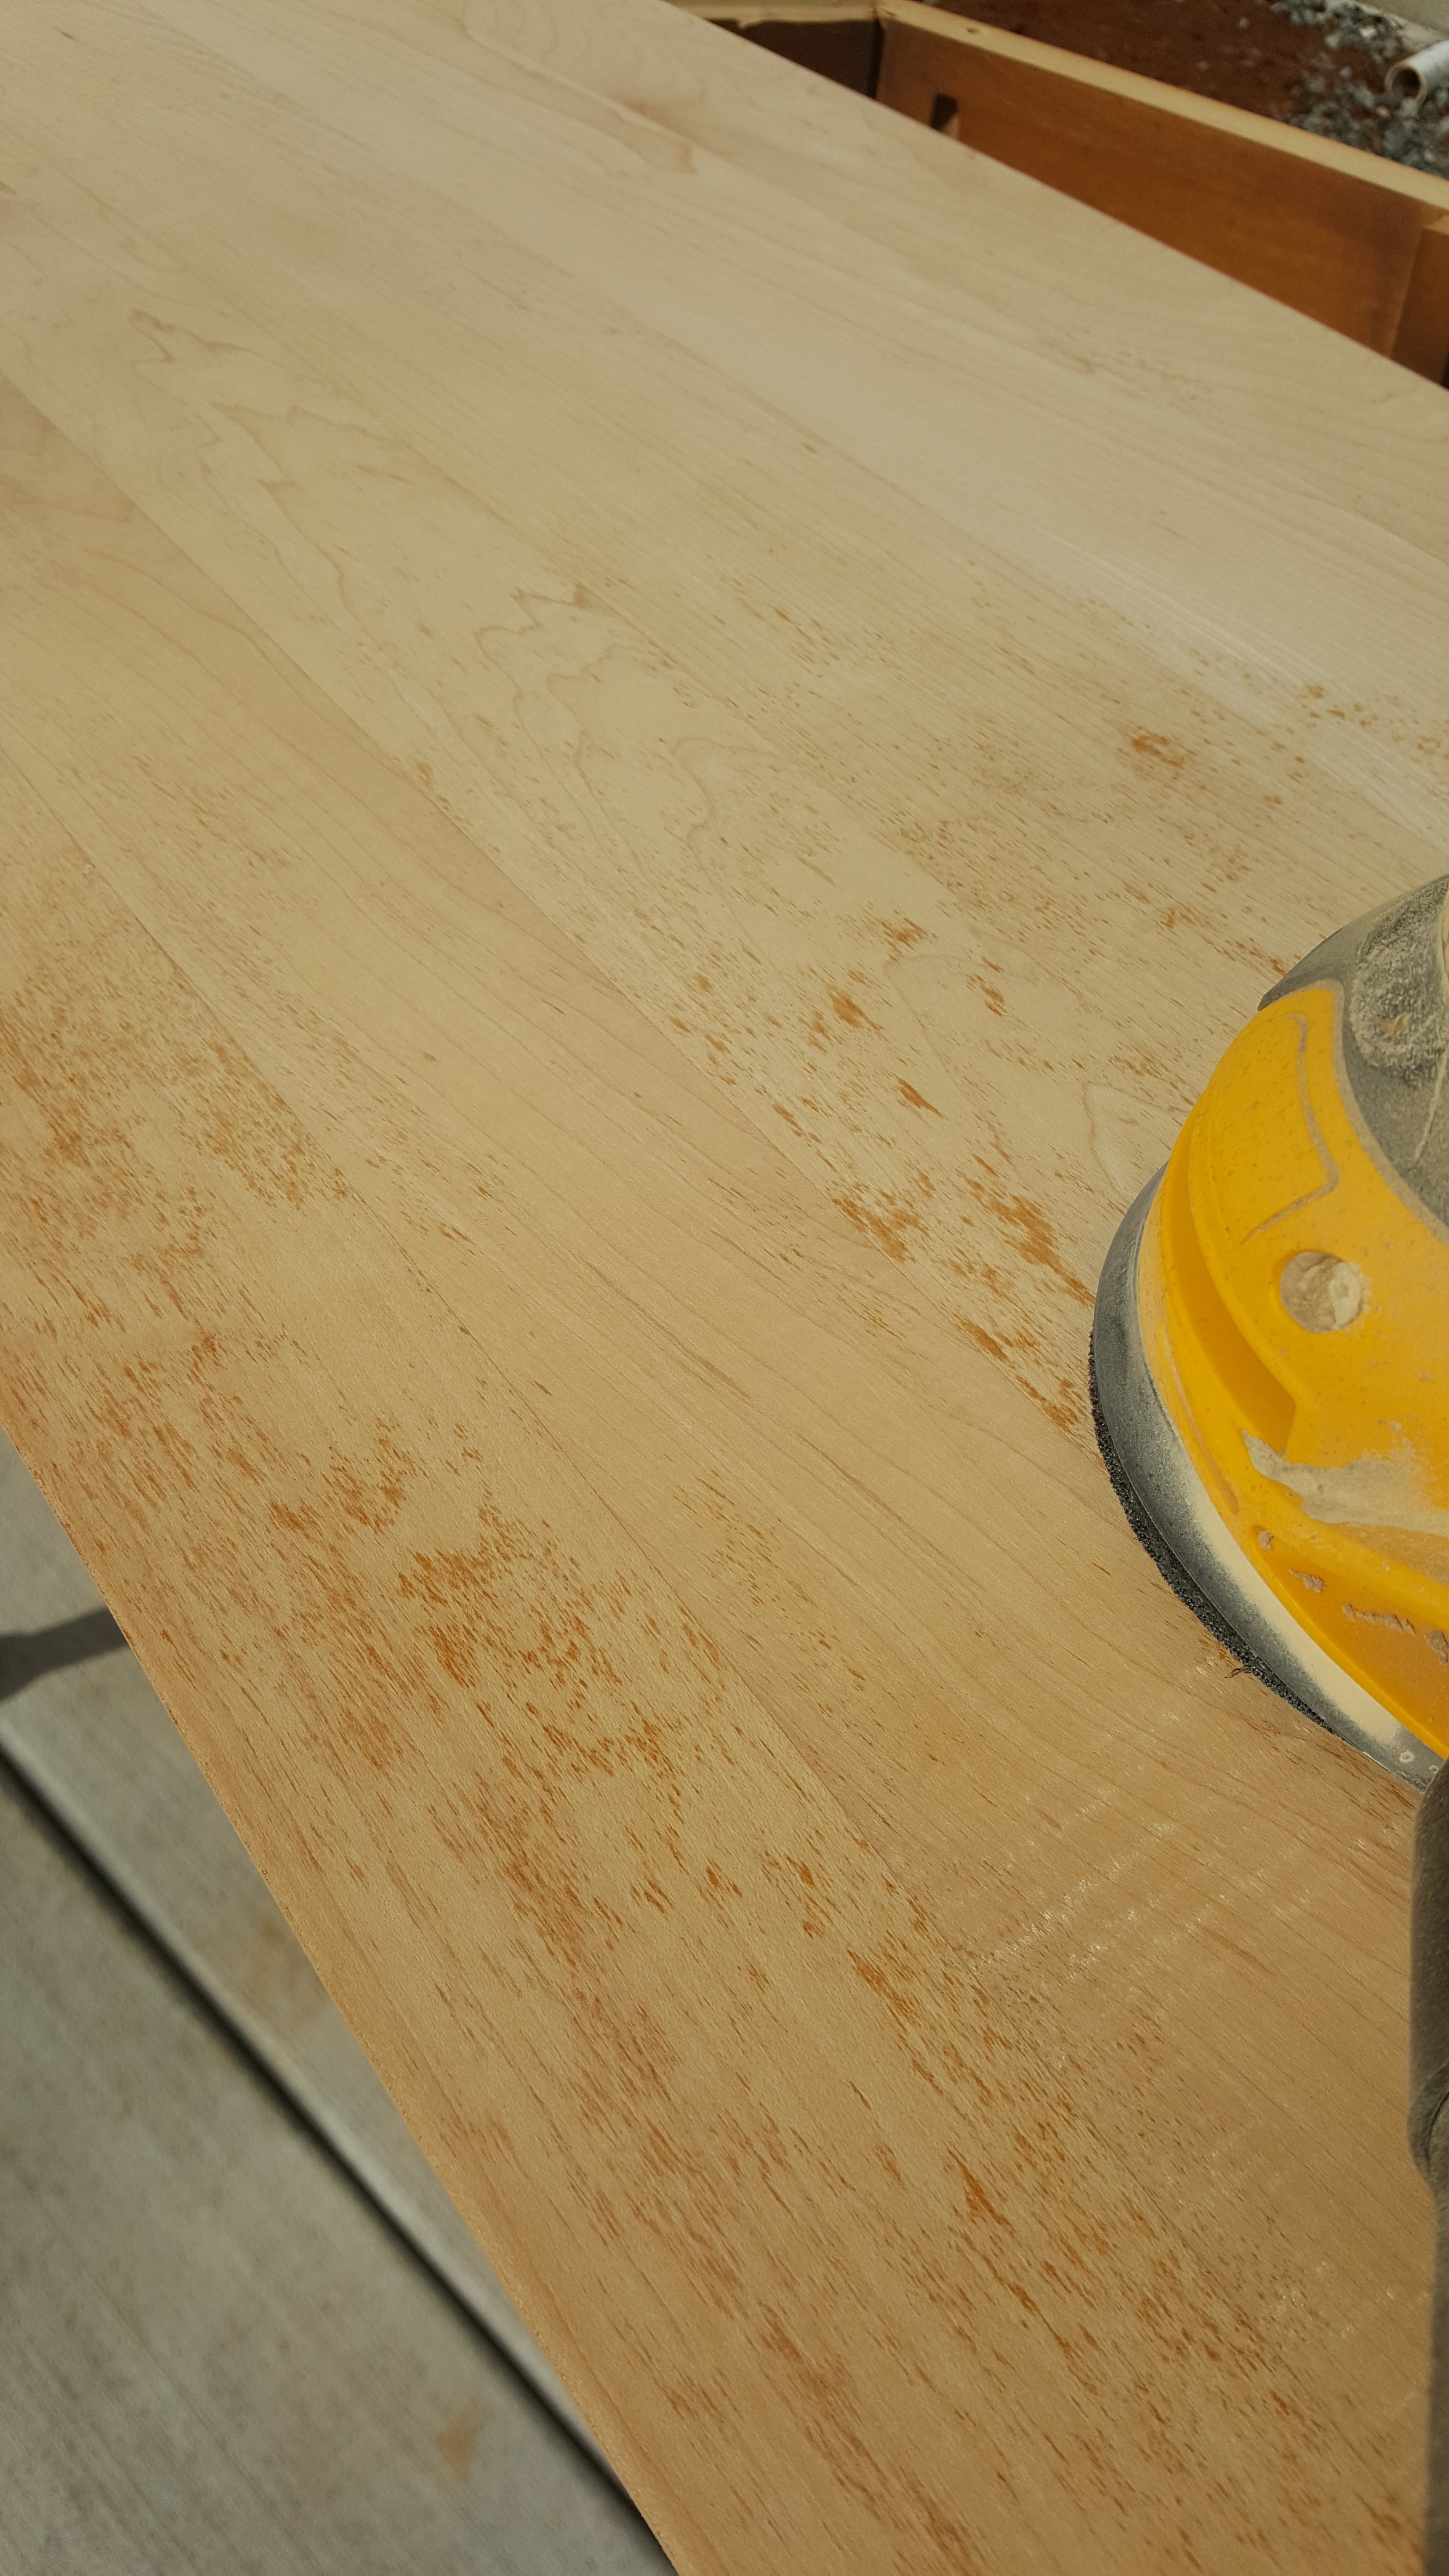
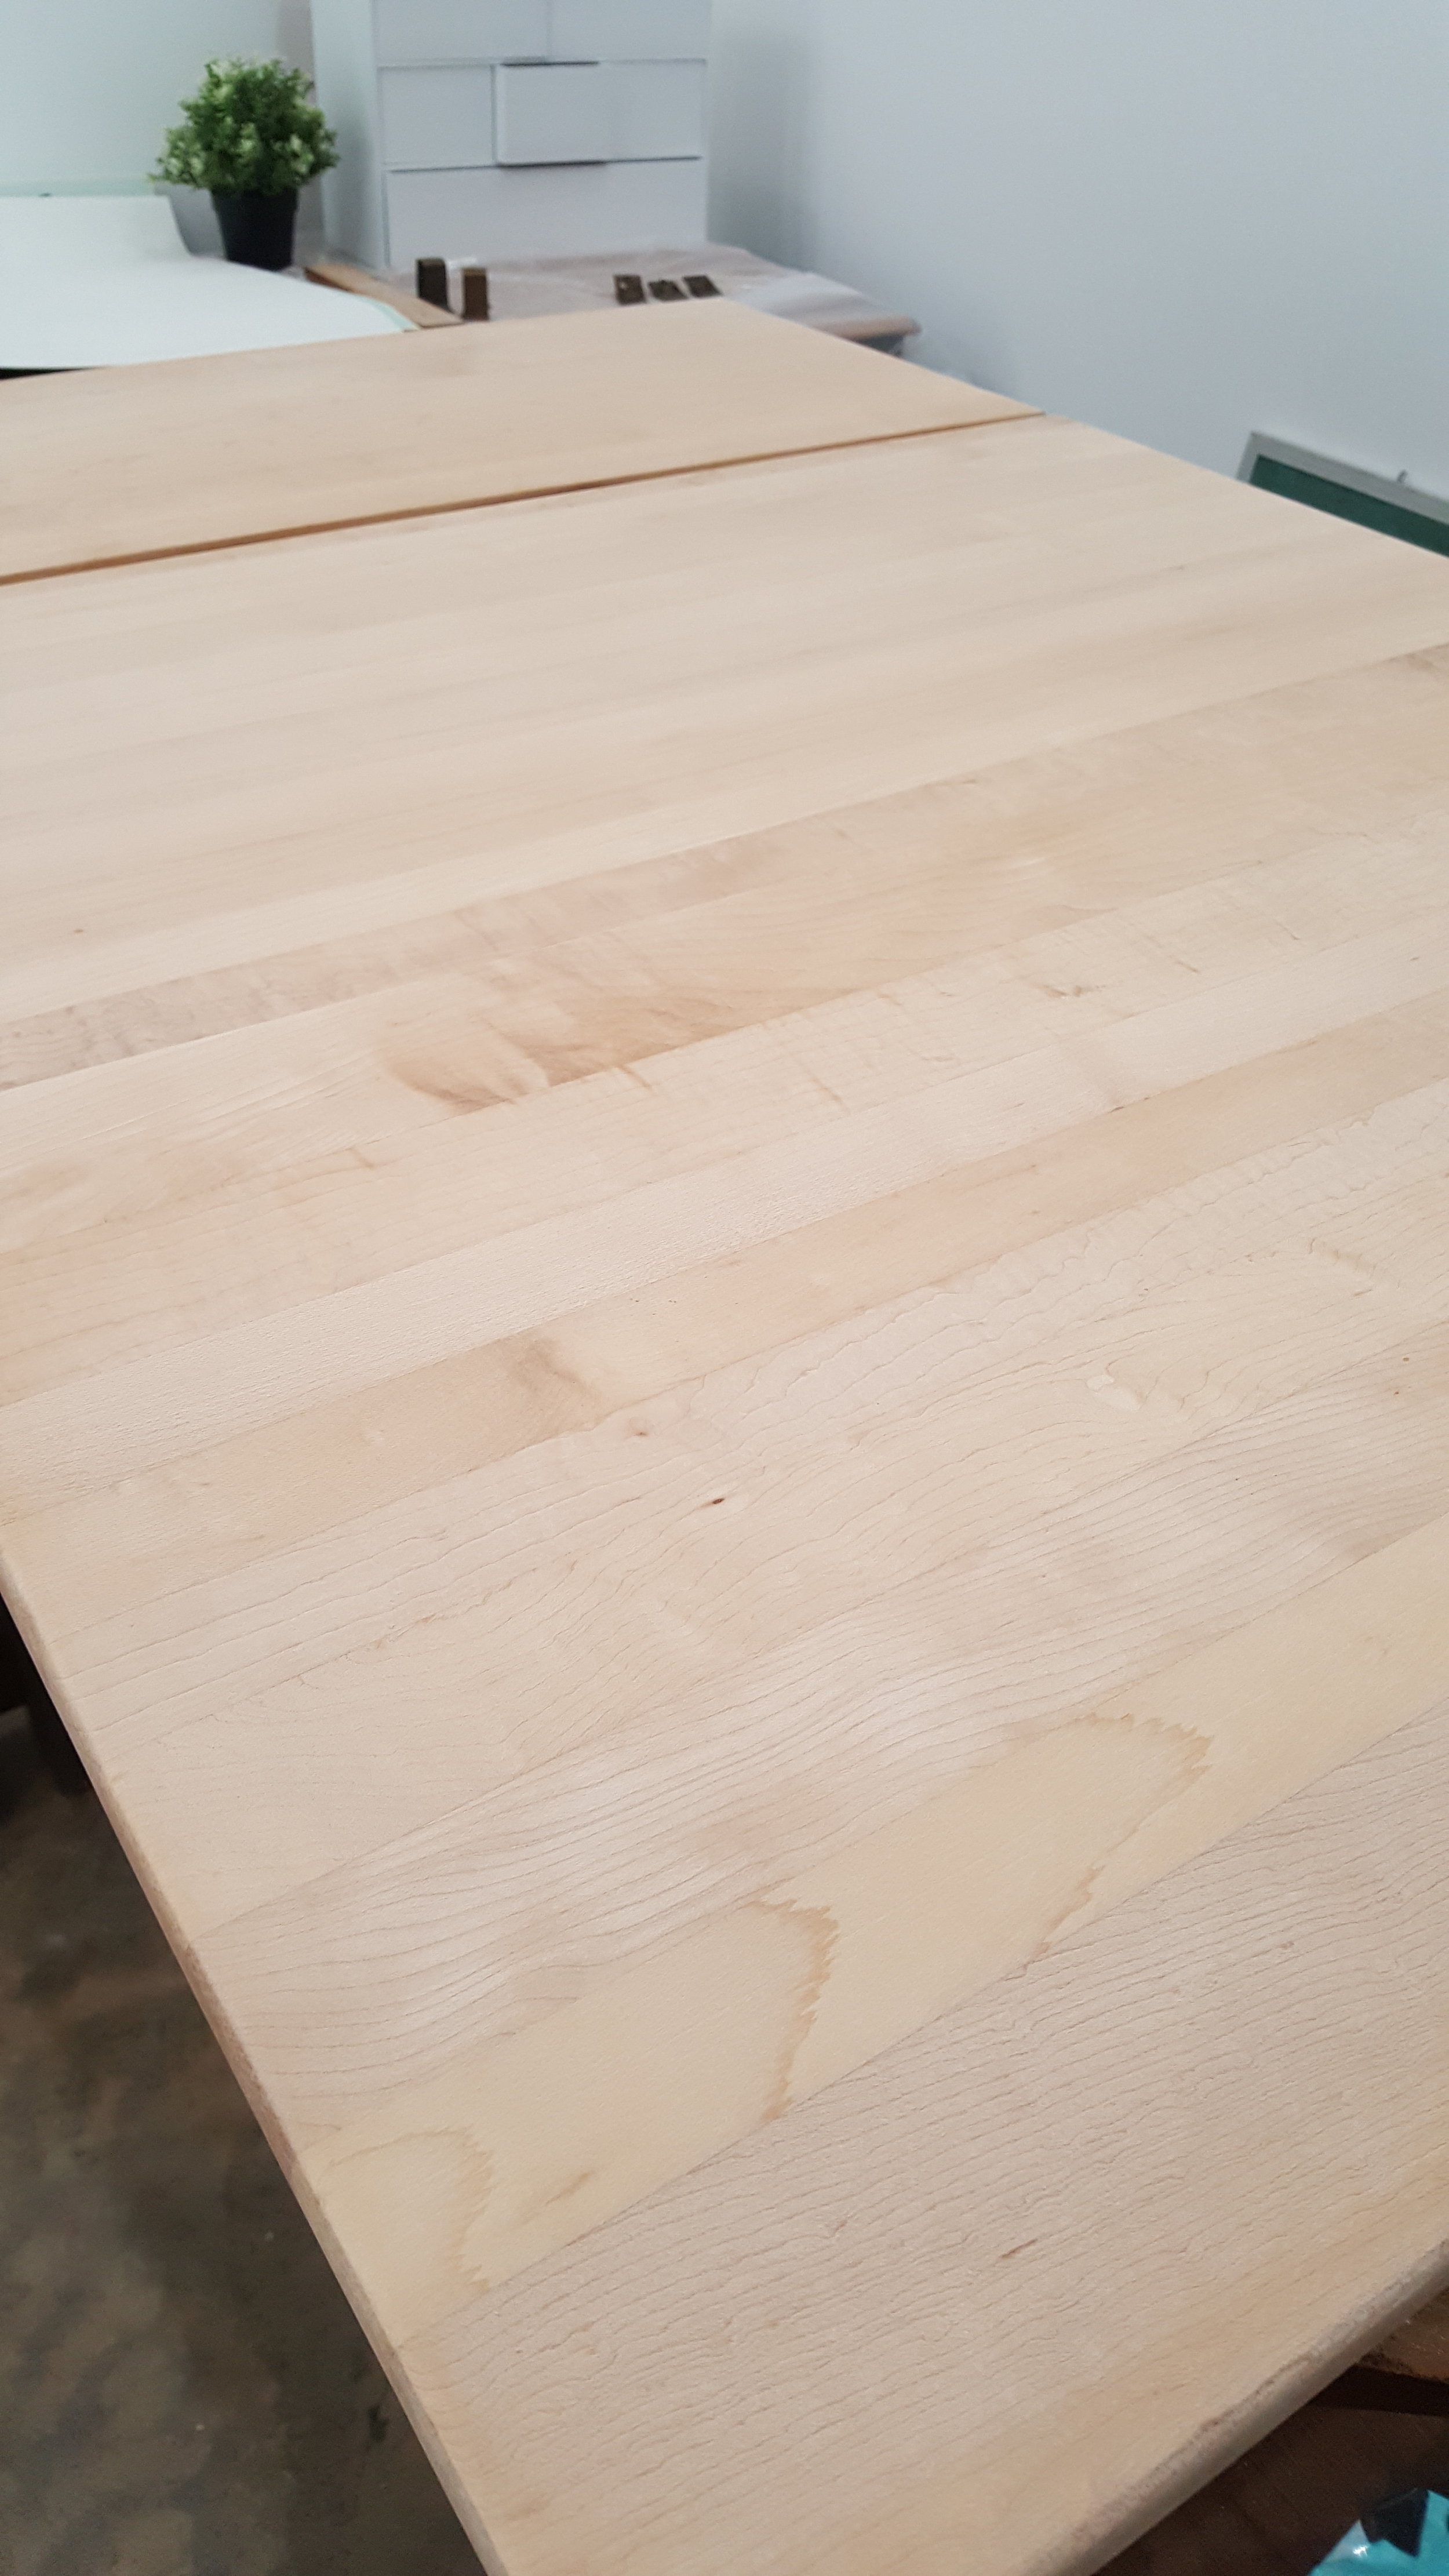
I had to take the pieces to a professional sawmill and get an 1/8 of an inch planned off the top. In the pictures below you can see how much better it looked, but even after getting an 1/8” taken off, there were still some spots coming through so I had to spend a few more hours and sand those off with my orbital sander.

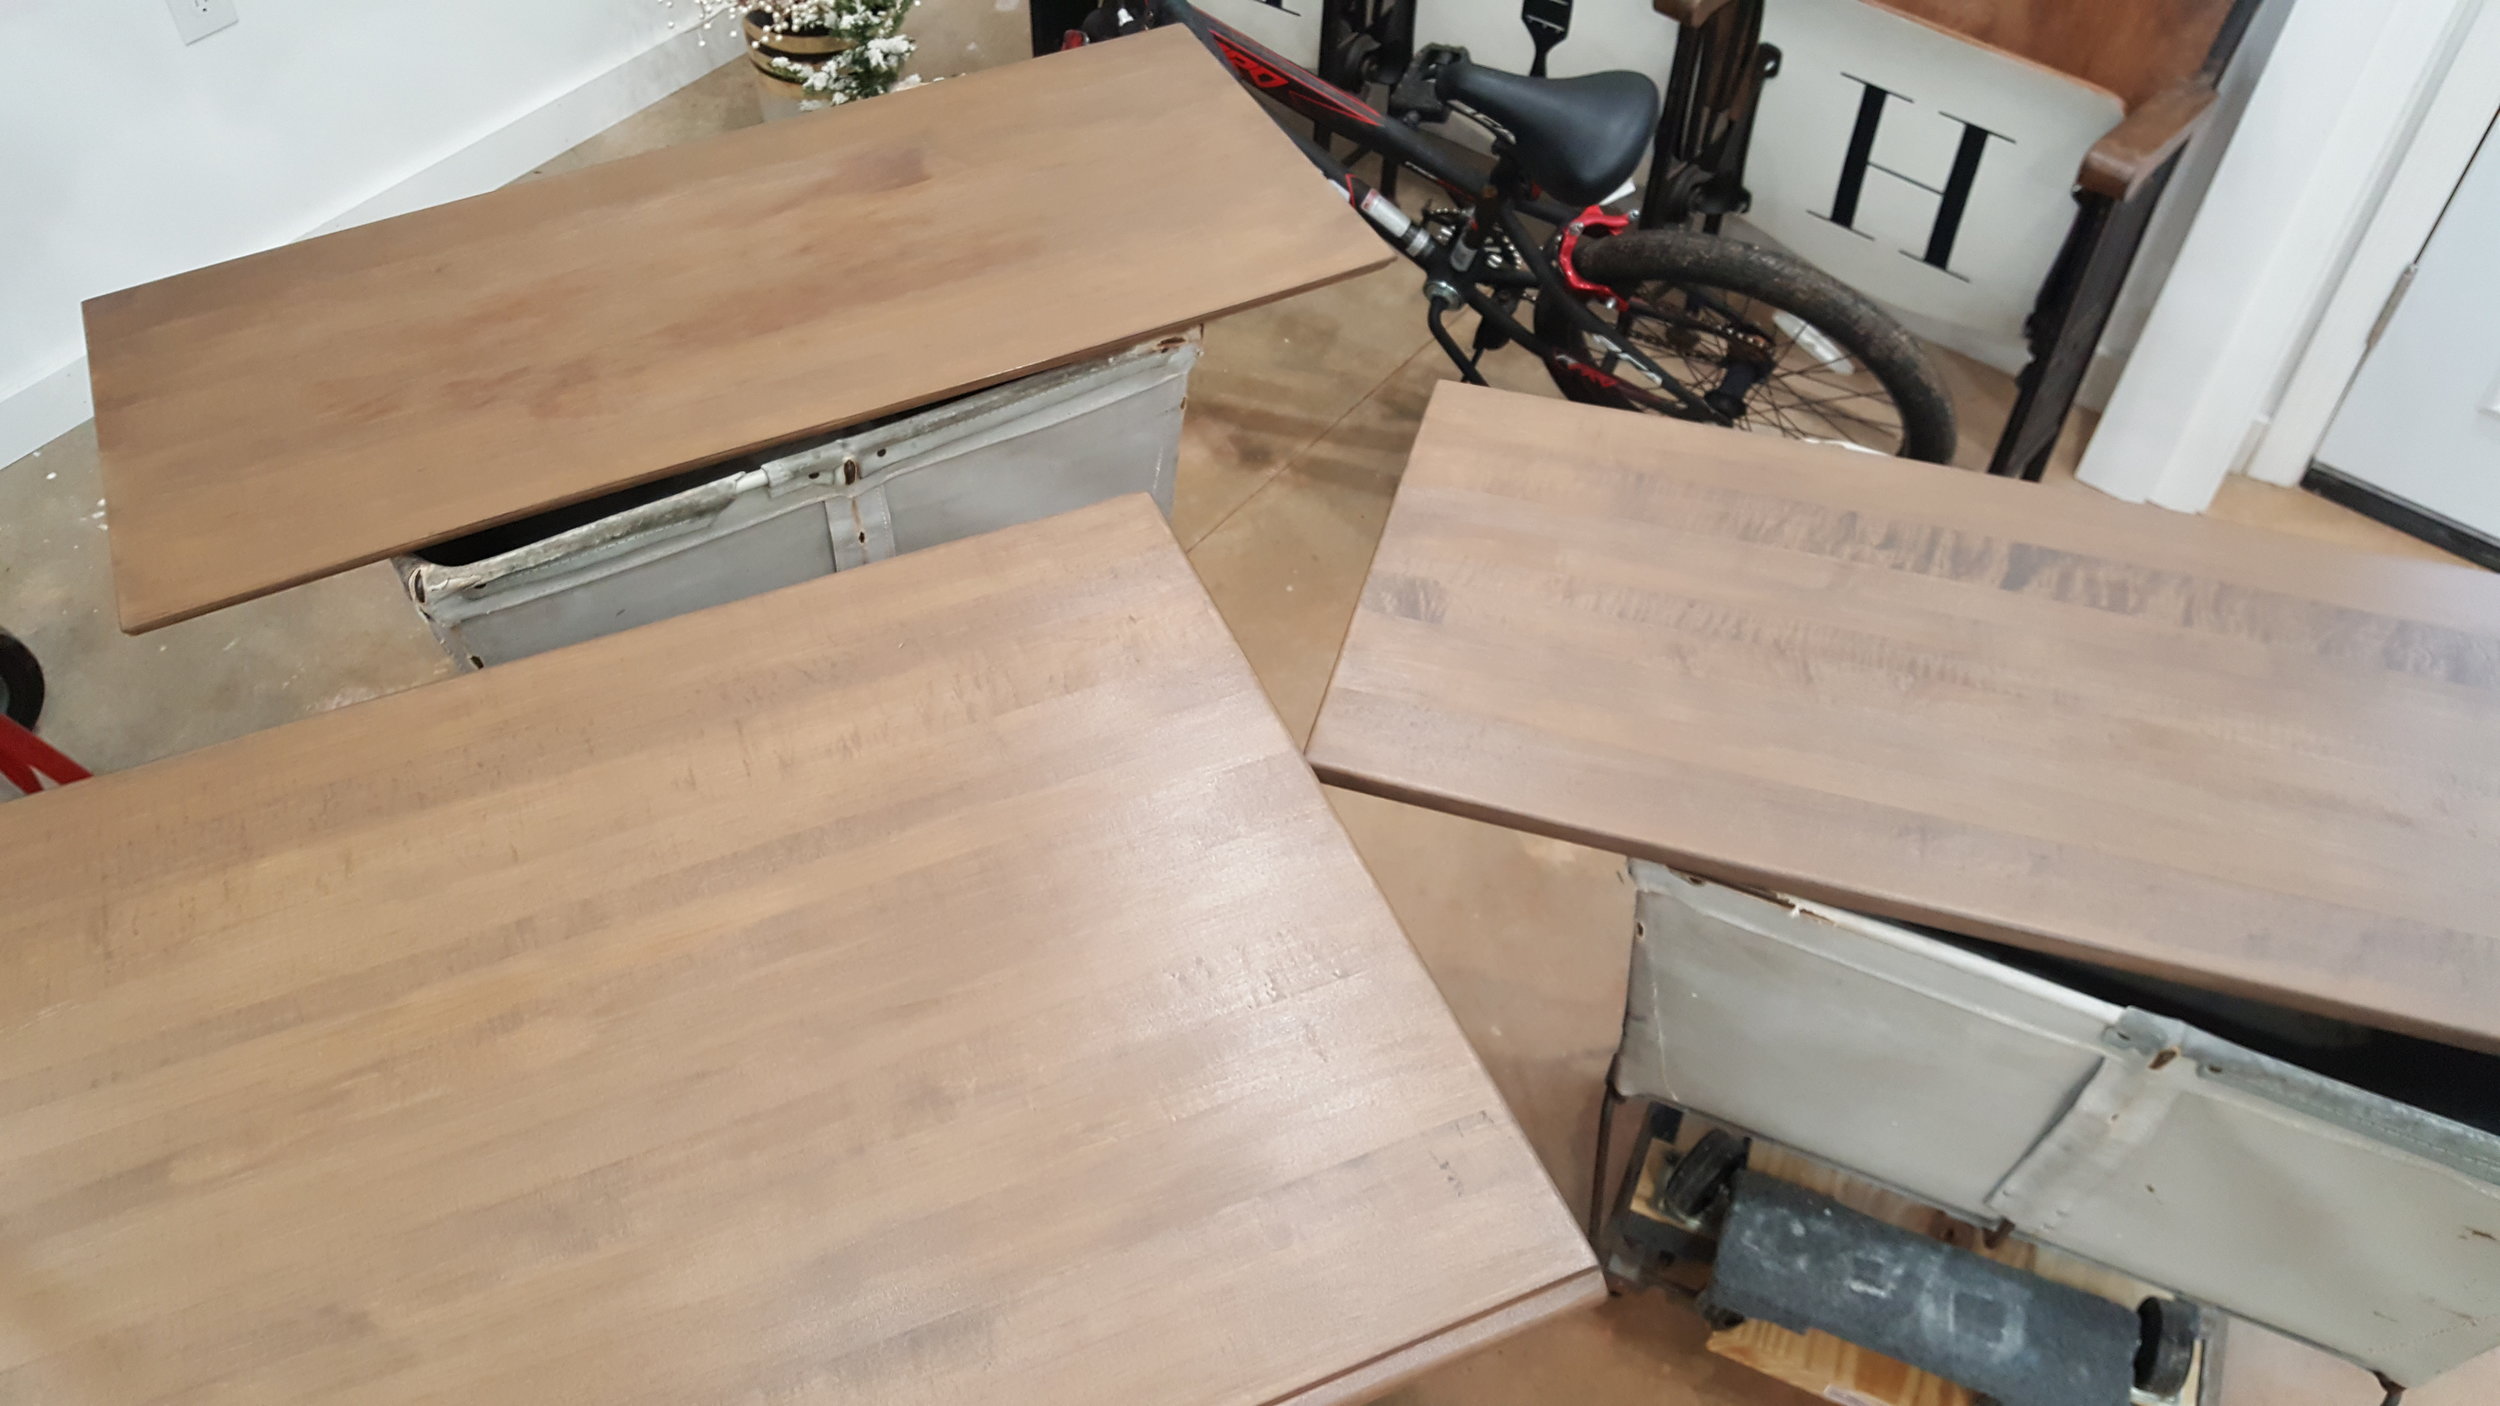
You may be wondering, did she try all 3 pieces? Yes, because curiosity had the best of me. I wanted to know if all three pieces would react the same way and they did. However, I didn’t use Saran Wrap on the other two pieces. Instead, I just brushed the CitriStrip on and let it sit for about 30 minutes. It was okay though because at that point I knew I was going to get them planned down and in all honesty, I wanted to have all 3 pieces planned at the same time because I wanted everything to match well.
WOW! So the stripping process took a lot longer than I anticipated! Now, I can finally paint and stain everything!
THE STAINING PROCESS:
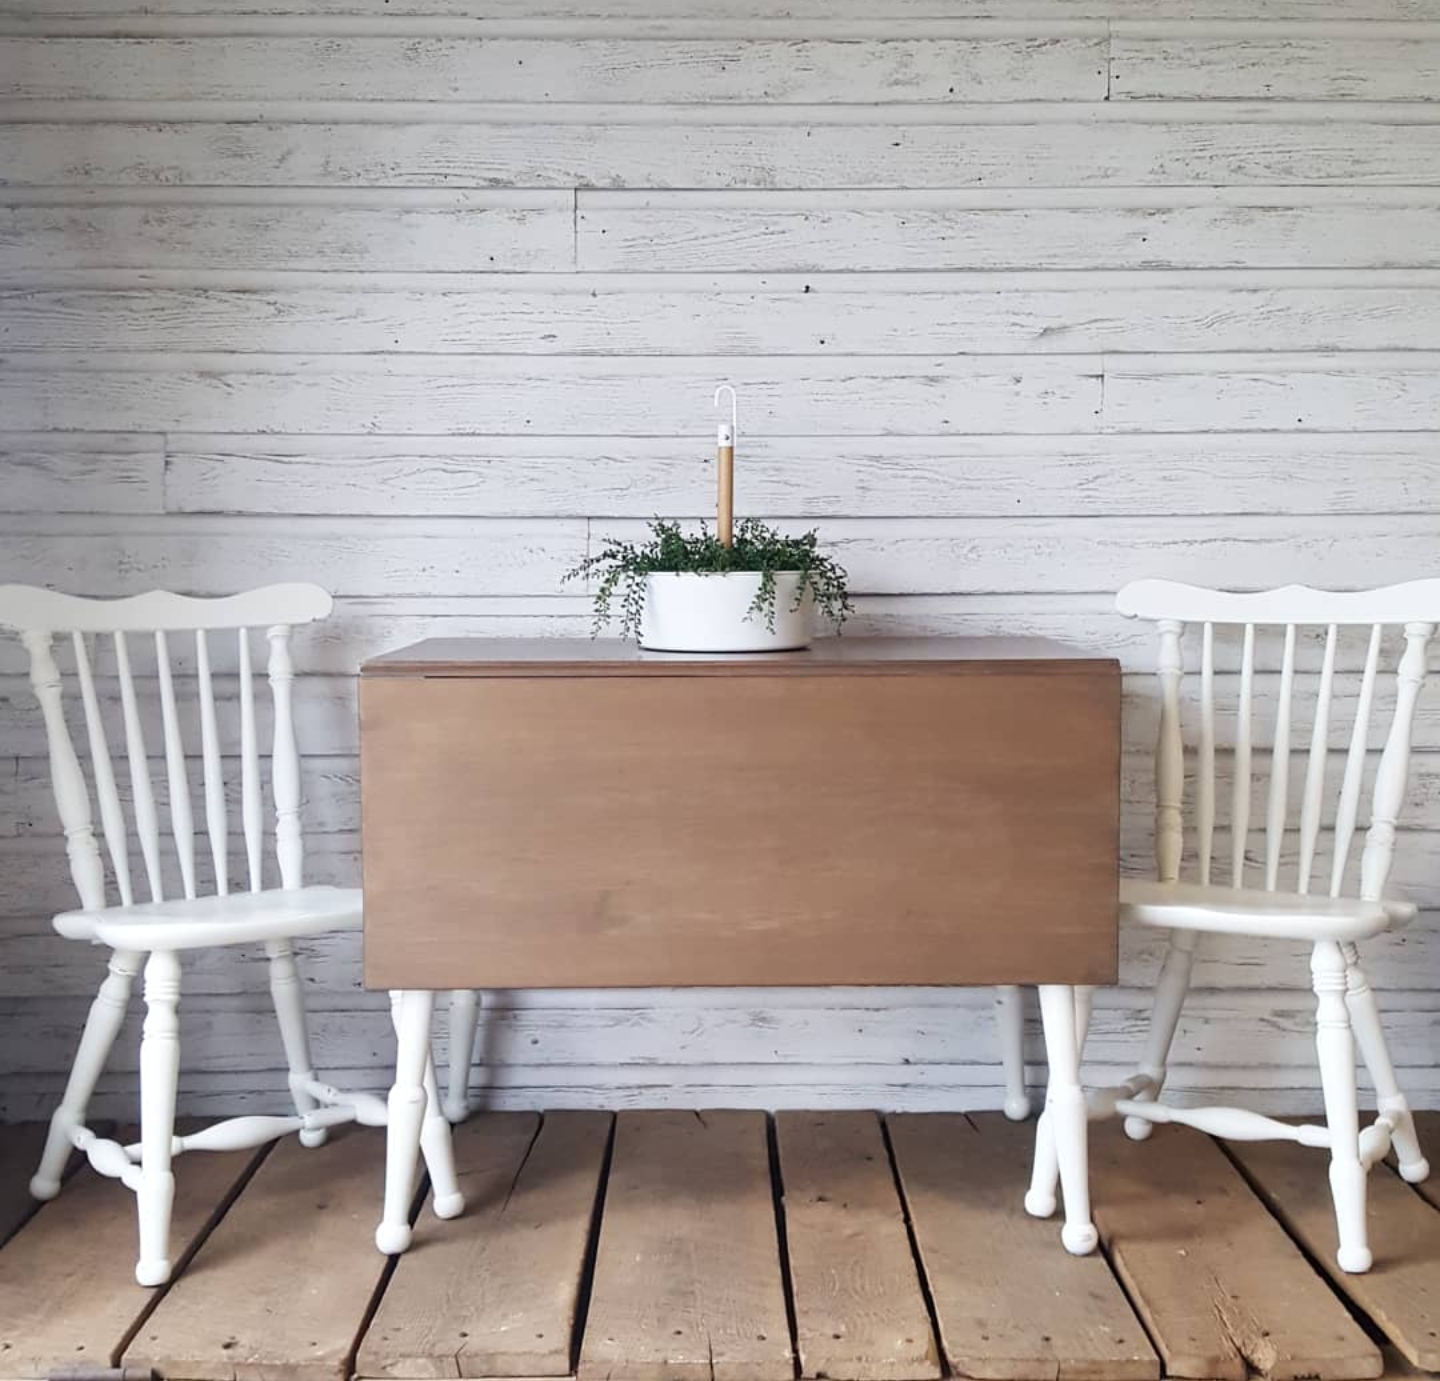
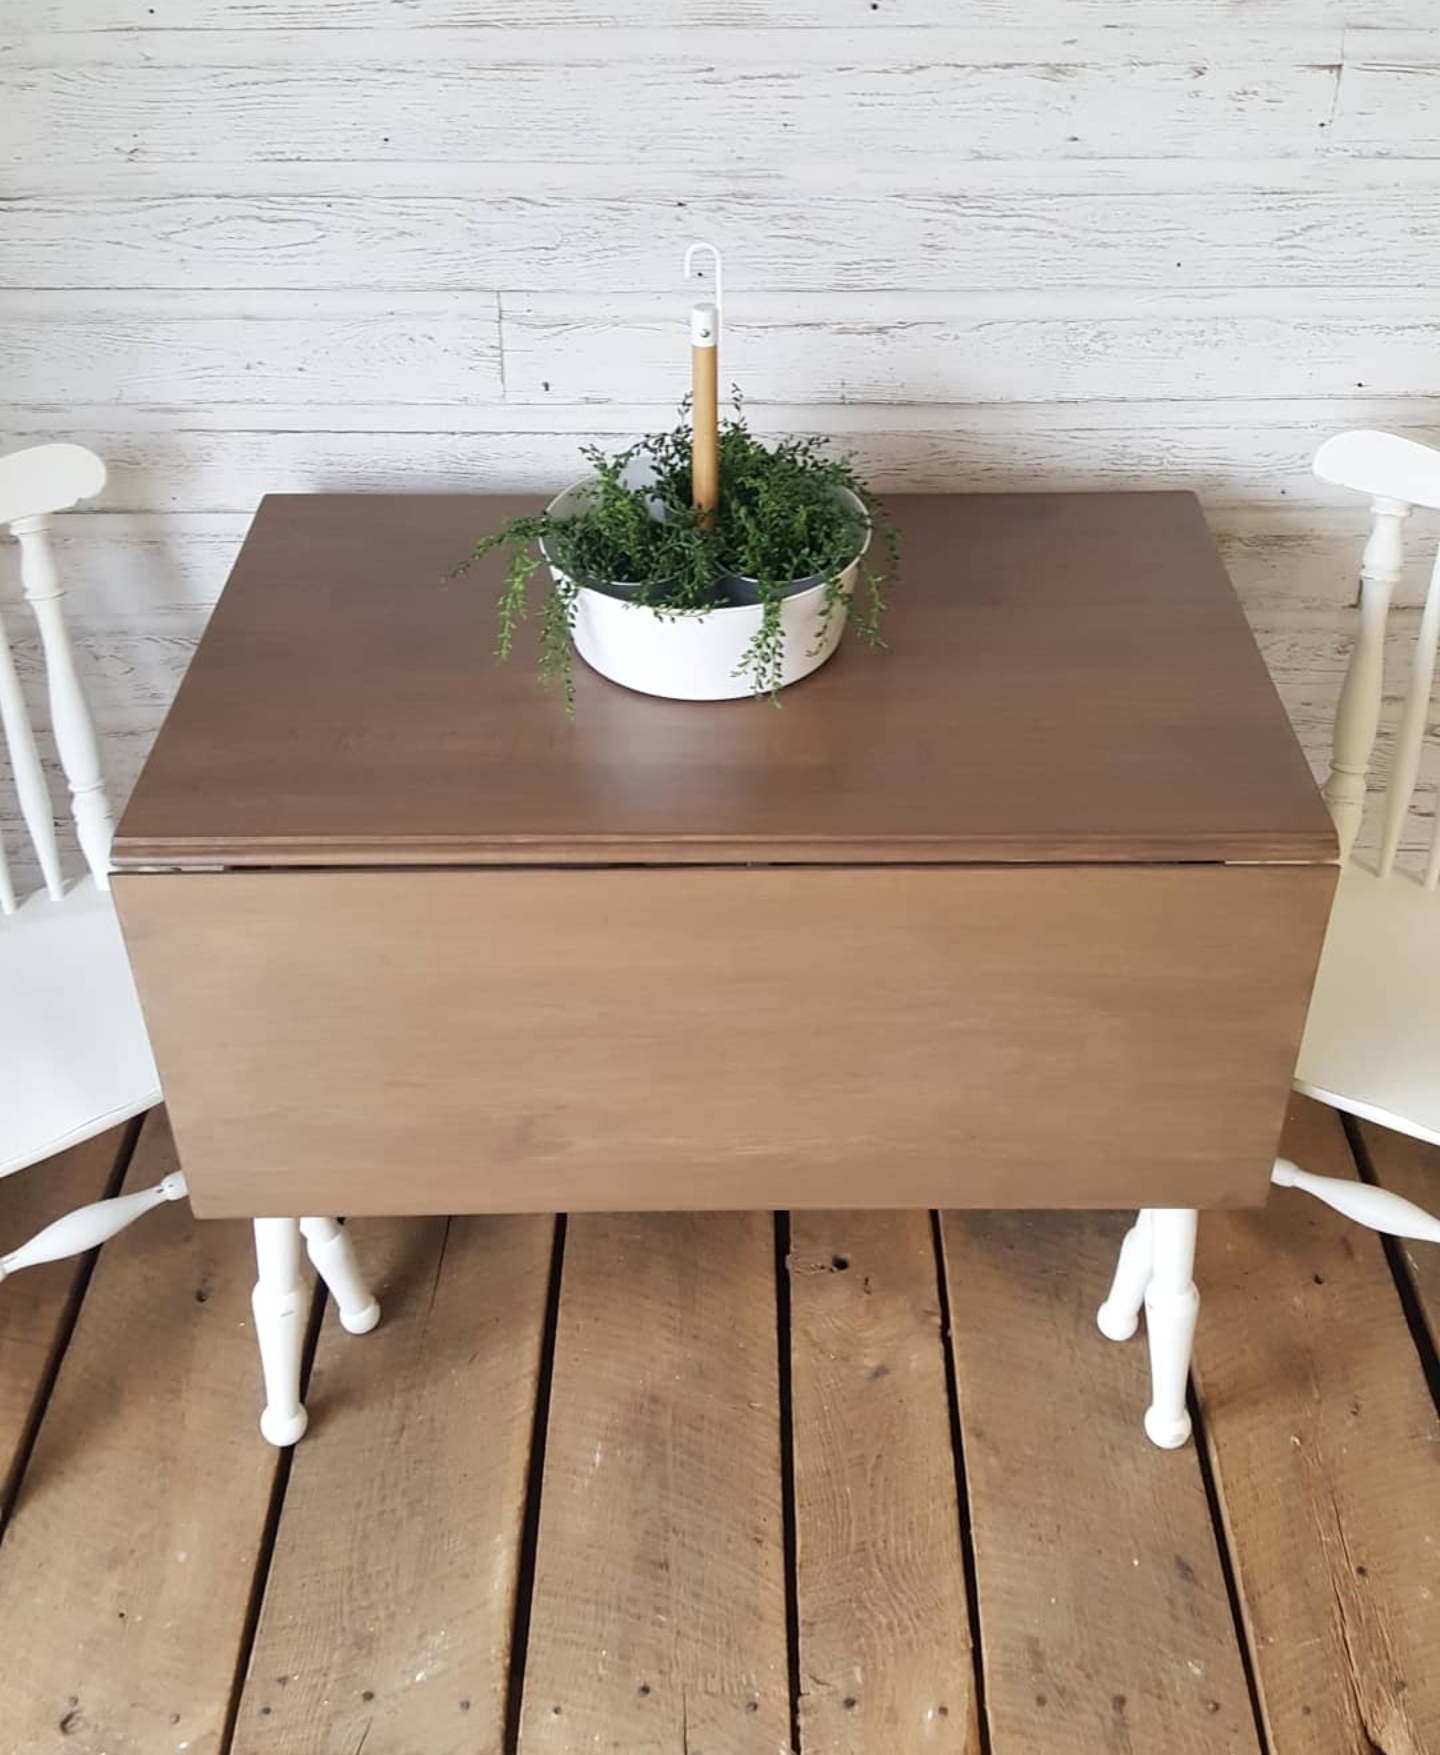
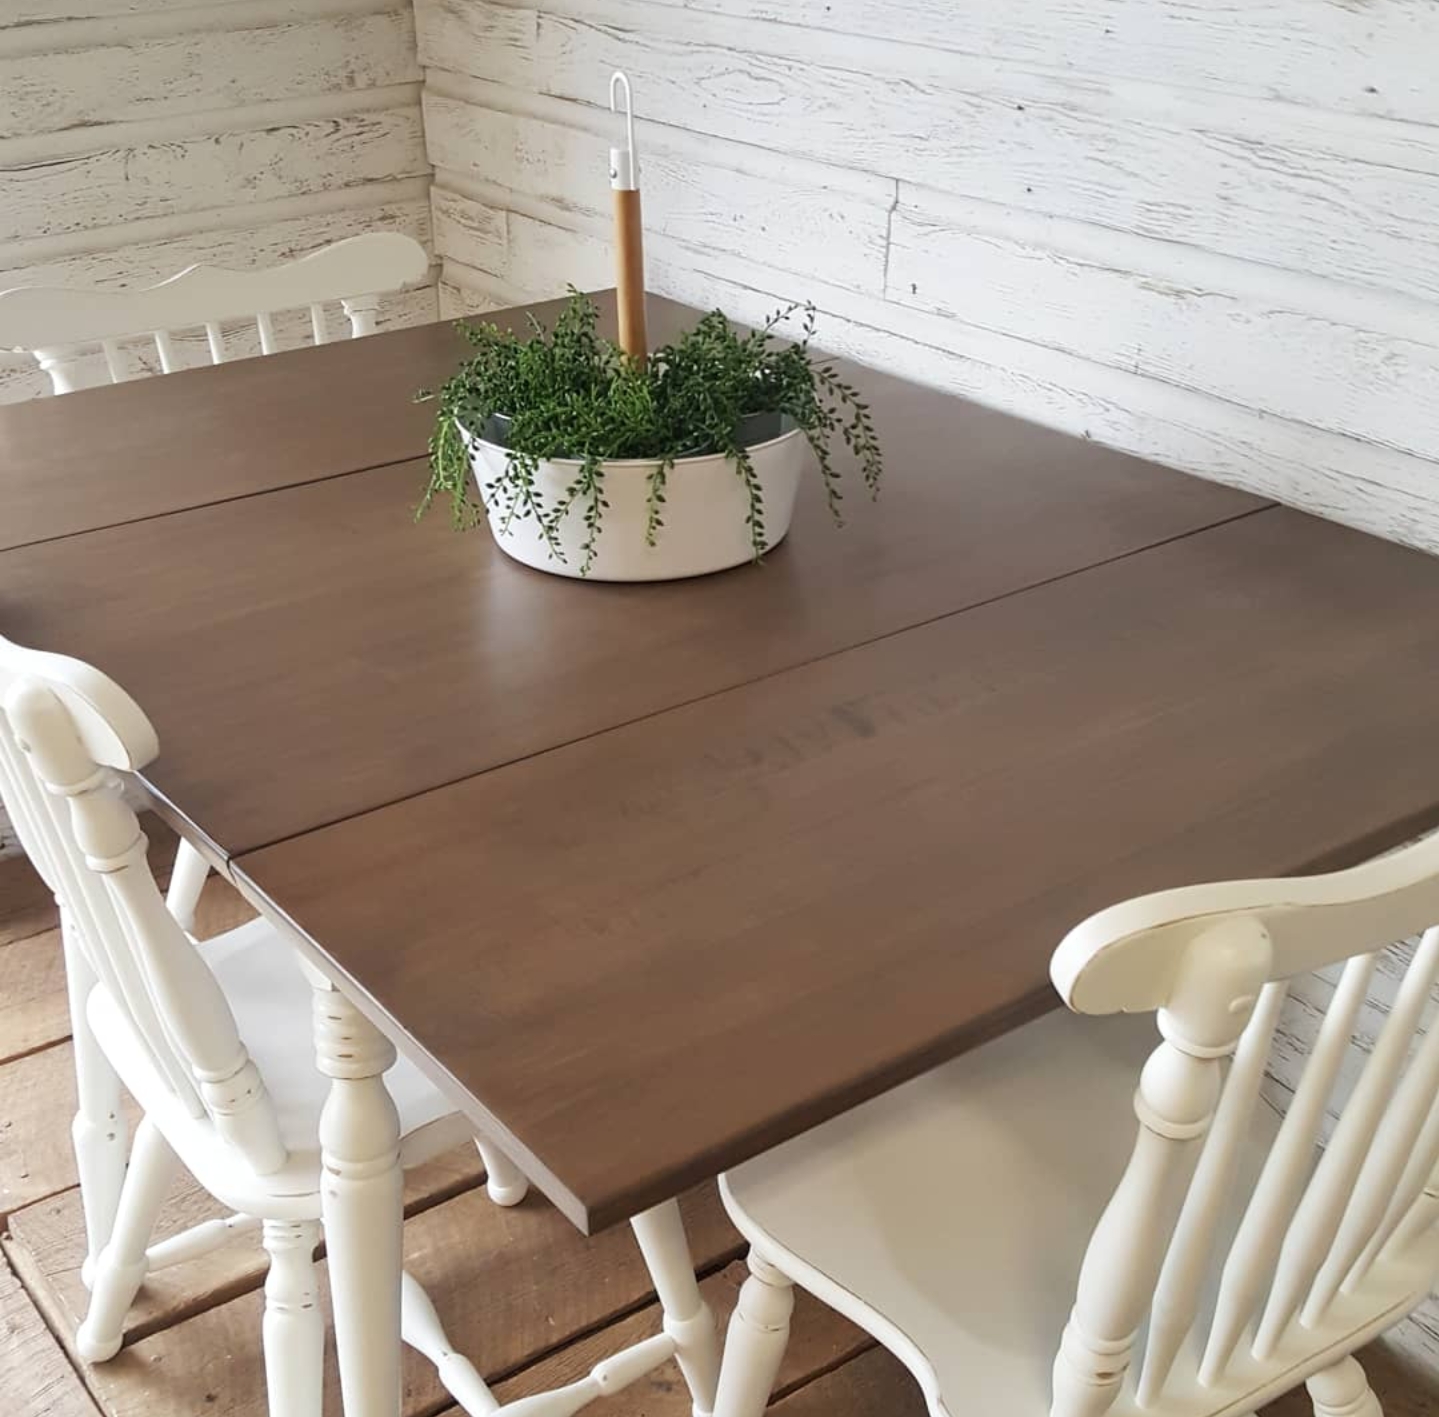
I stained the top (and underside of the drop leafs) with three coats of Weathered Stain by Old Barn Milk Paint
I sealed the top of the piece with High Performance Top Coat in Flat by General Finishes, letting each coat dry really well in-between. I applied 4 coats because I knew the top would be getting a lot of use.
THE PAINTING PROCESS:
I primed the whole piece with 2 coats of BIN /Shellac to prevent any potential bleed through.
Once the Shellac was dry, I lightly hand sanded the piece with 220 grit sandpaper to smooth out the primer, dusted off all of the primed areas and a ran a tack cloth across it to make sure everything was nice and smooth.
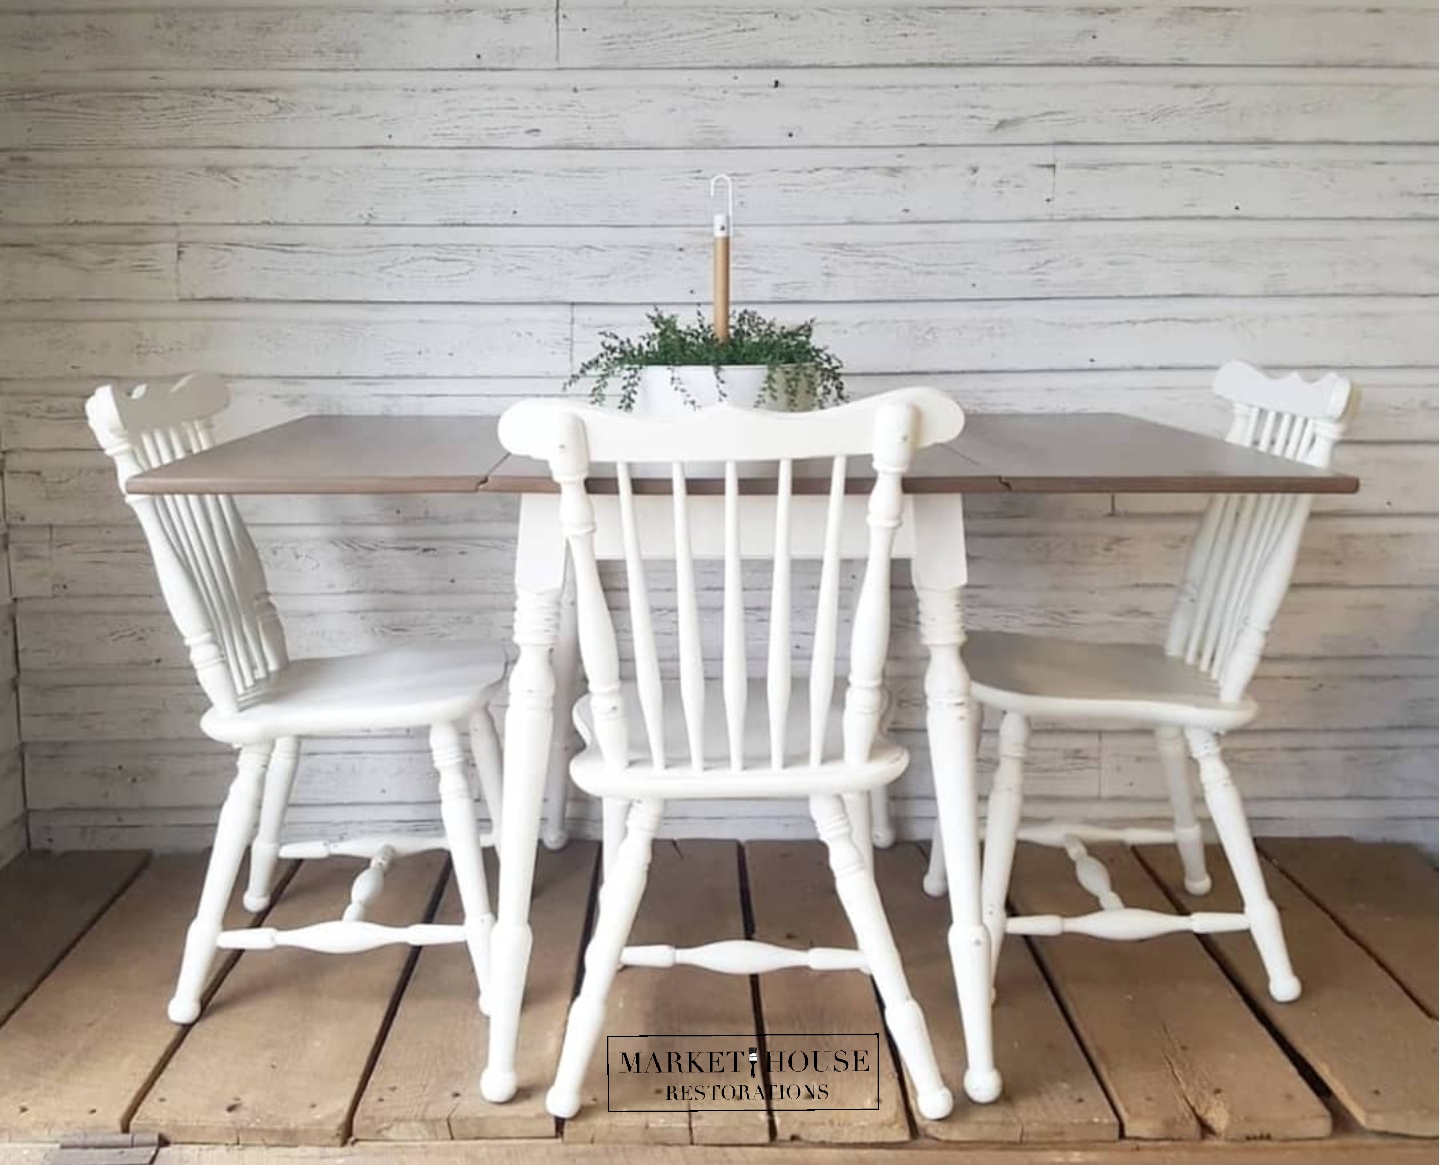
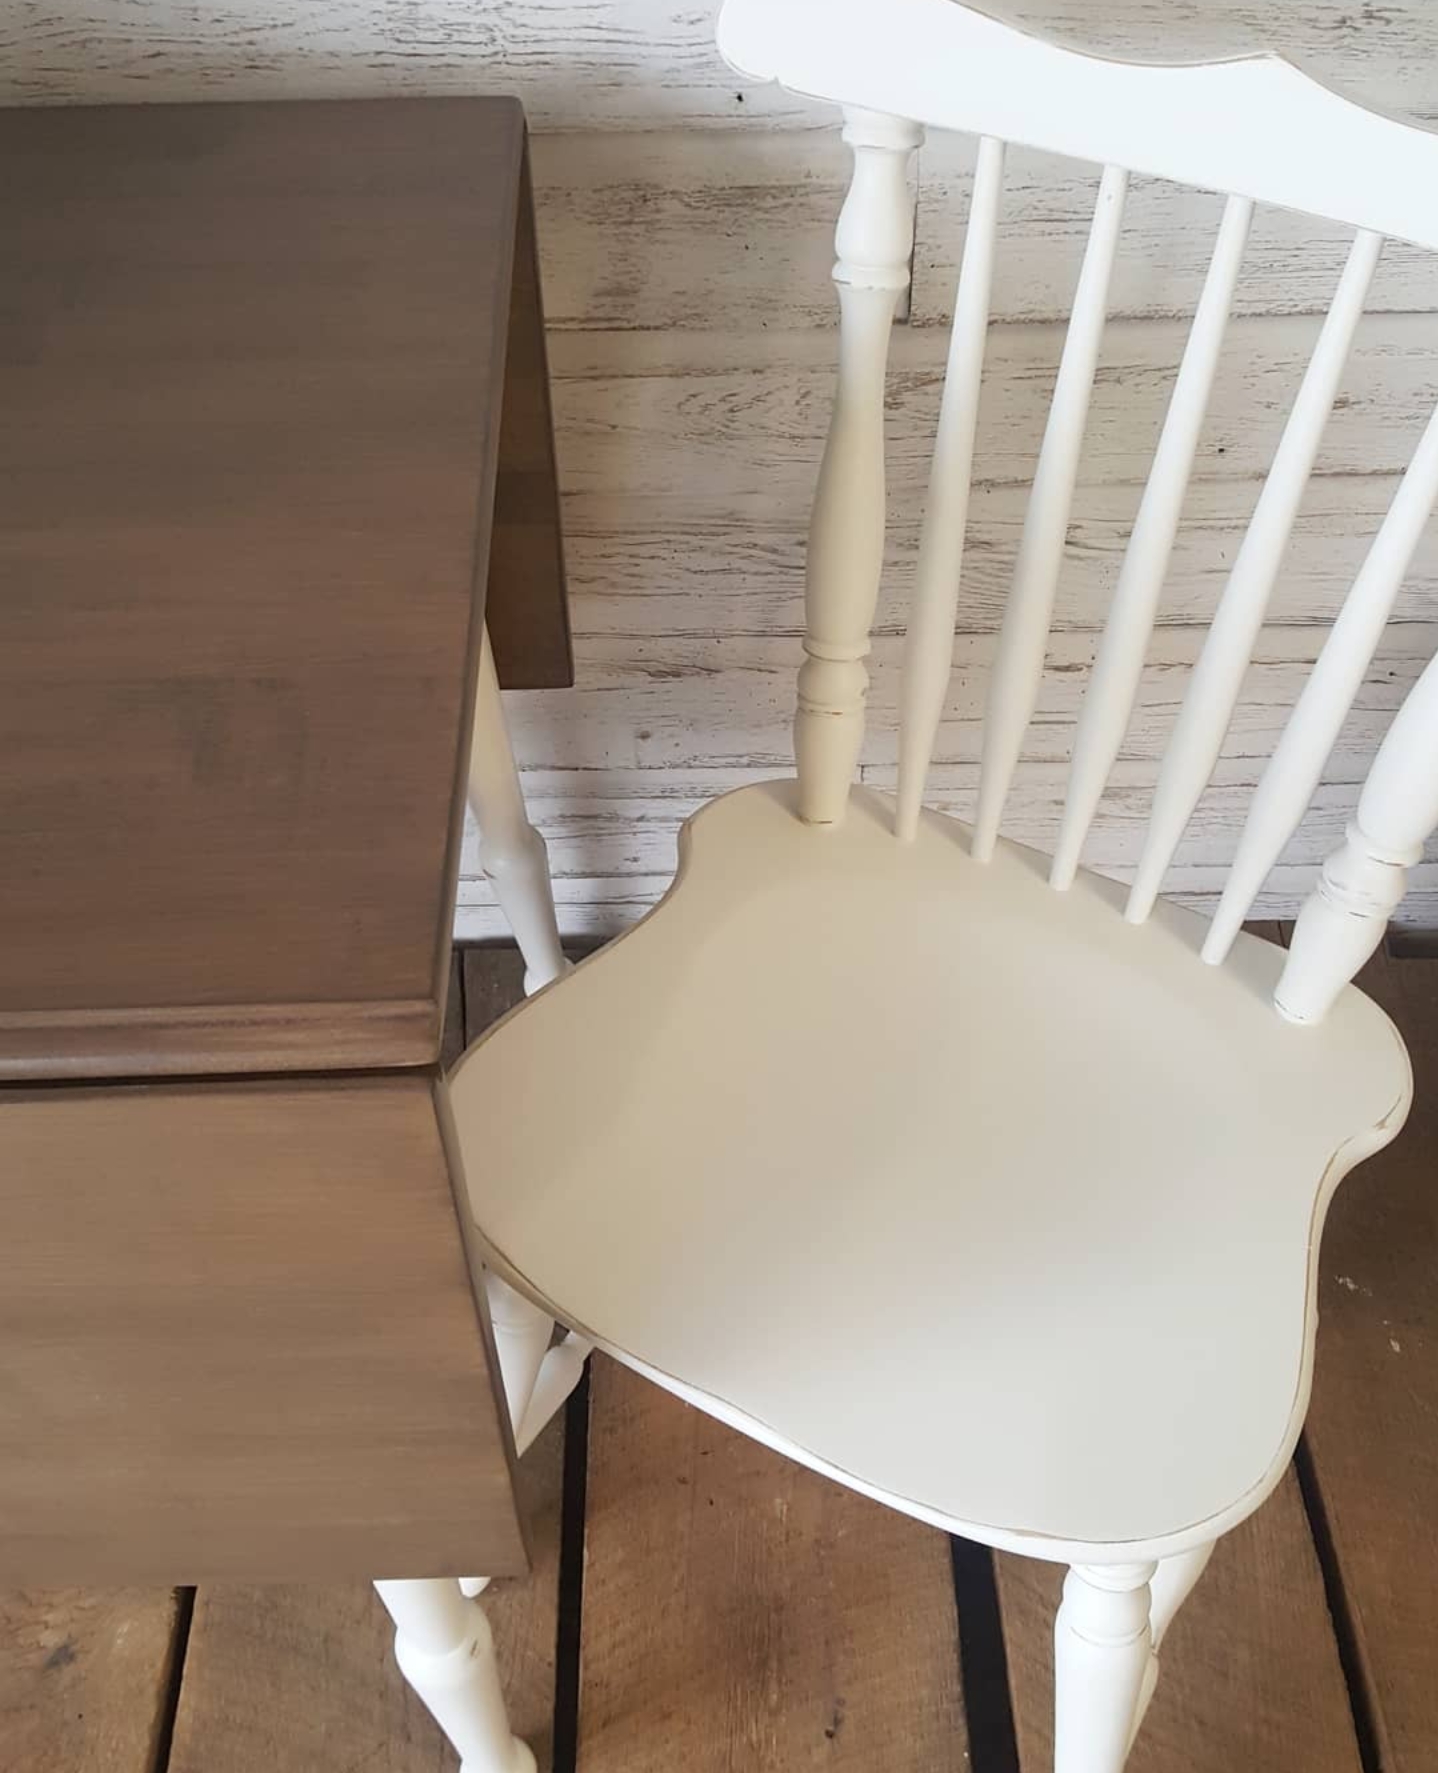
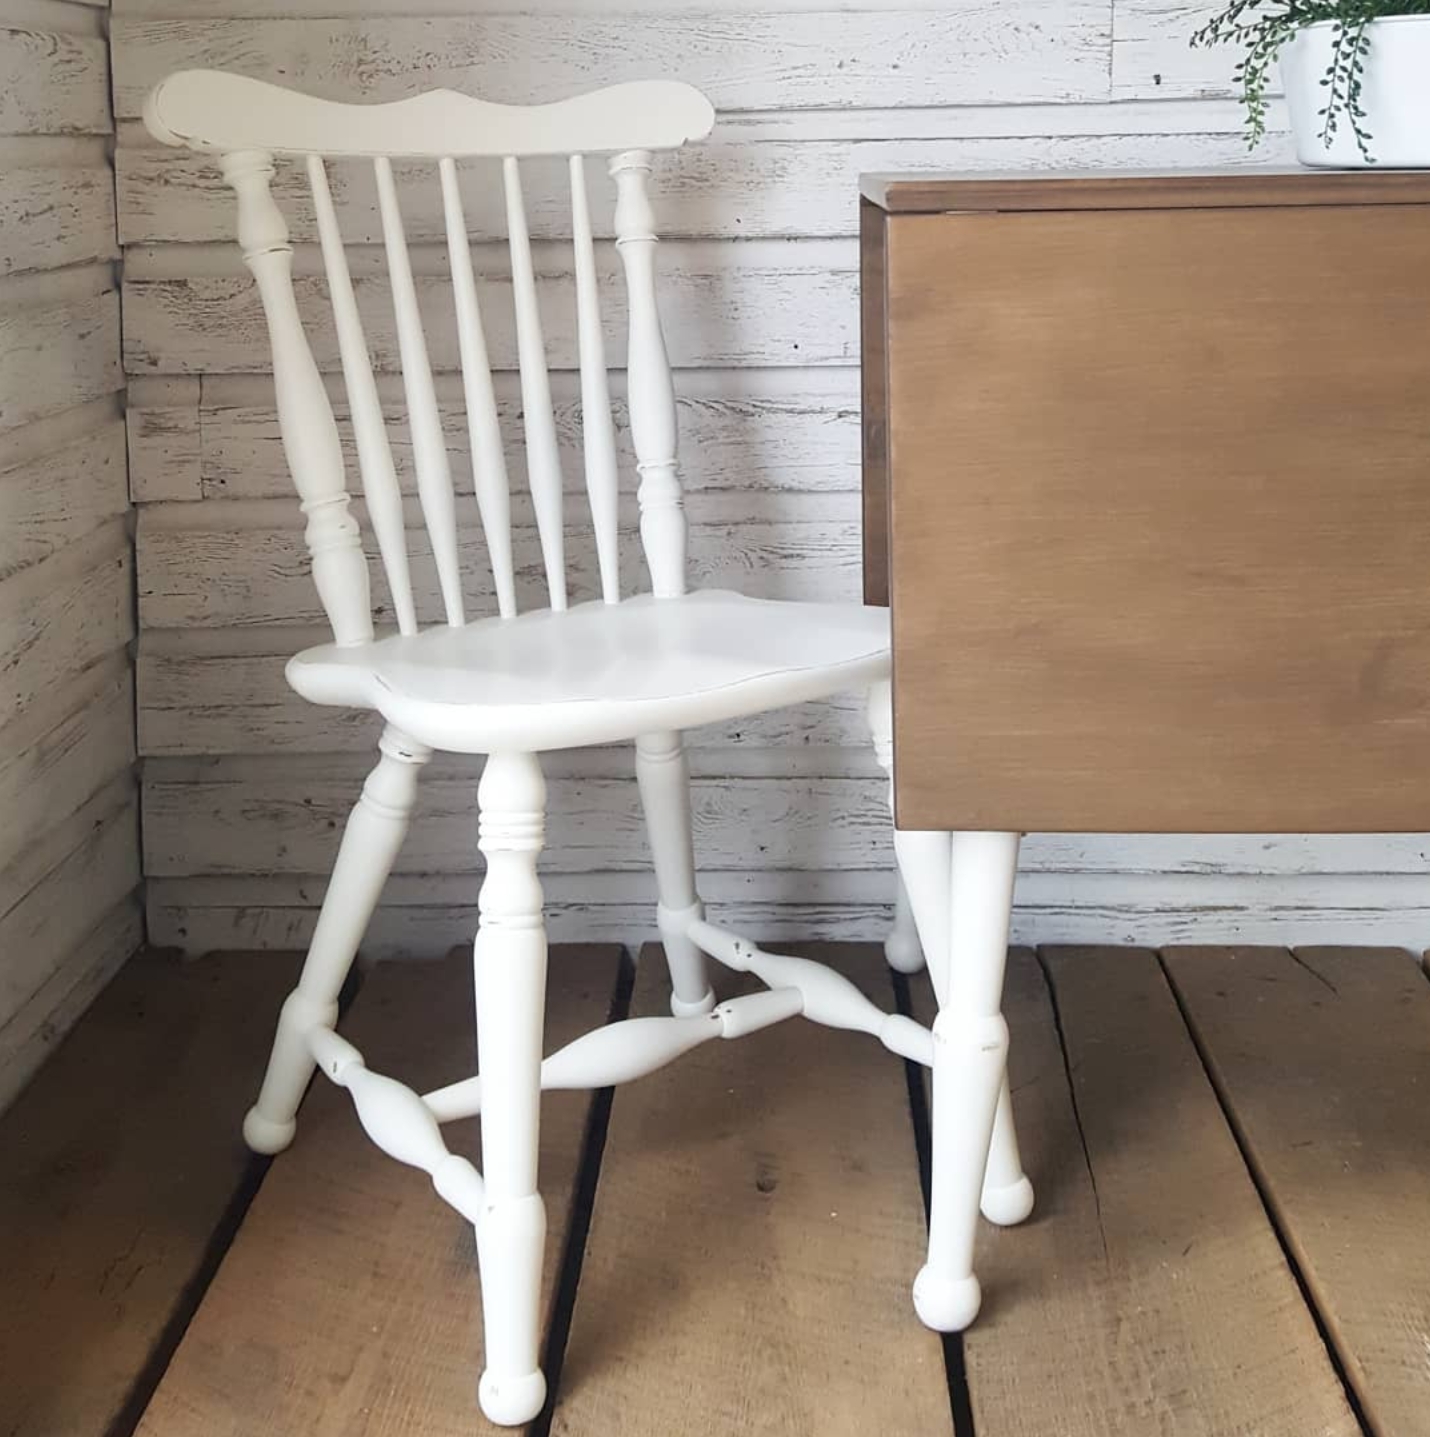
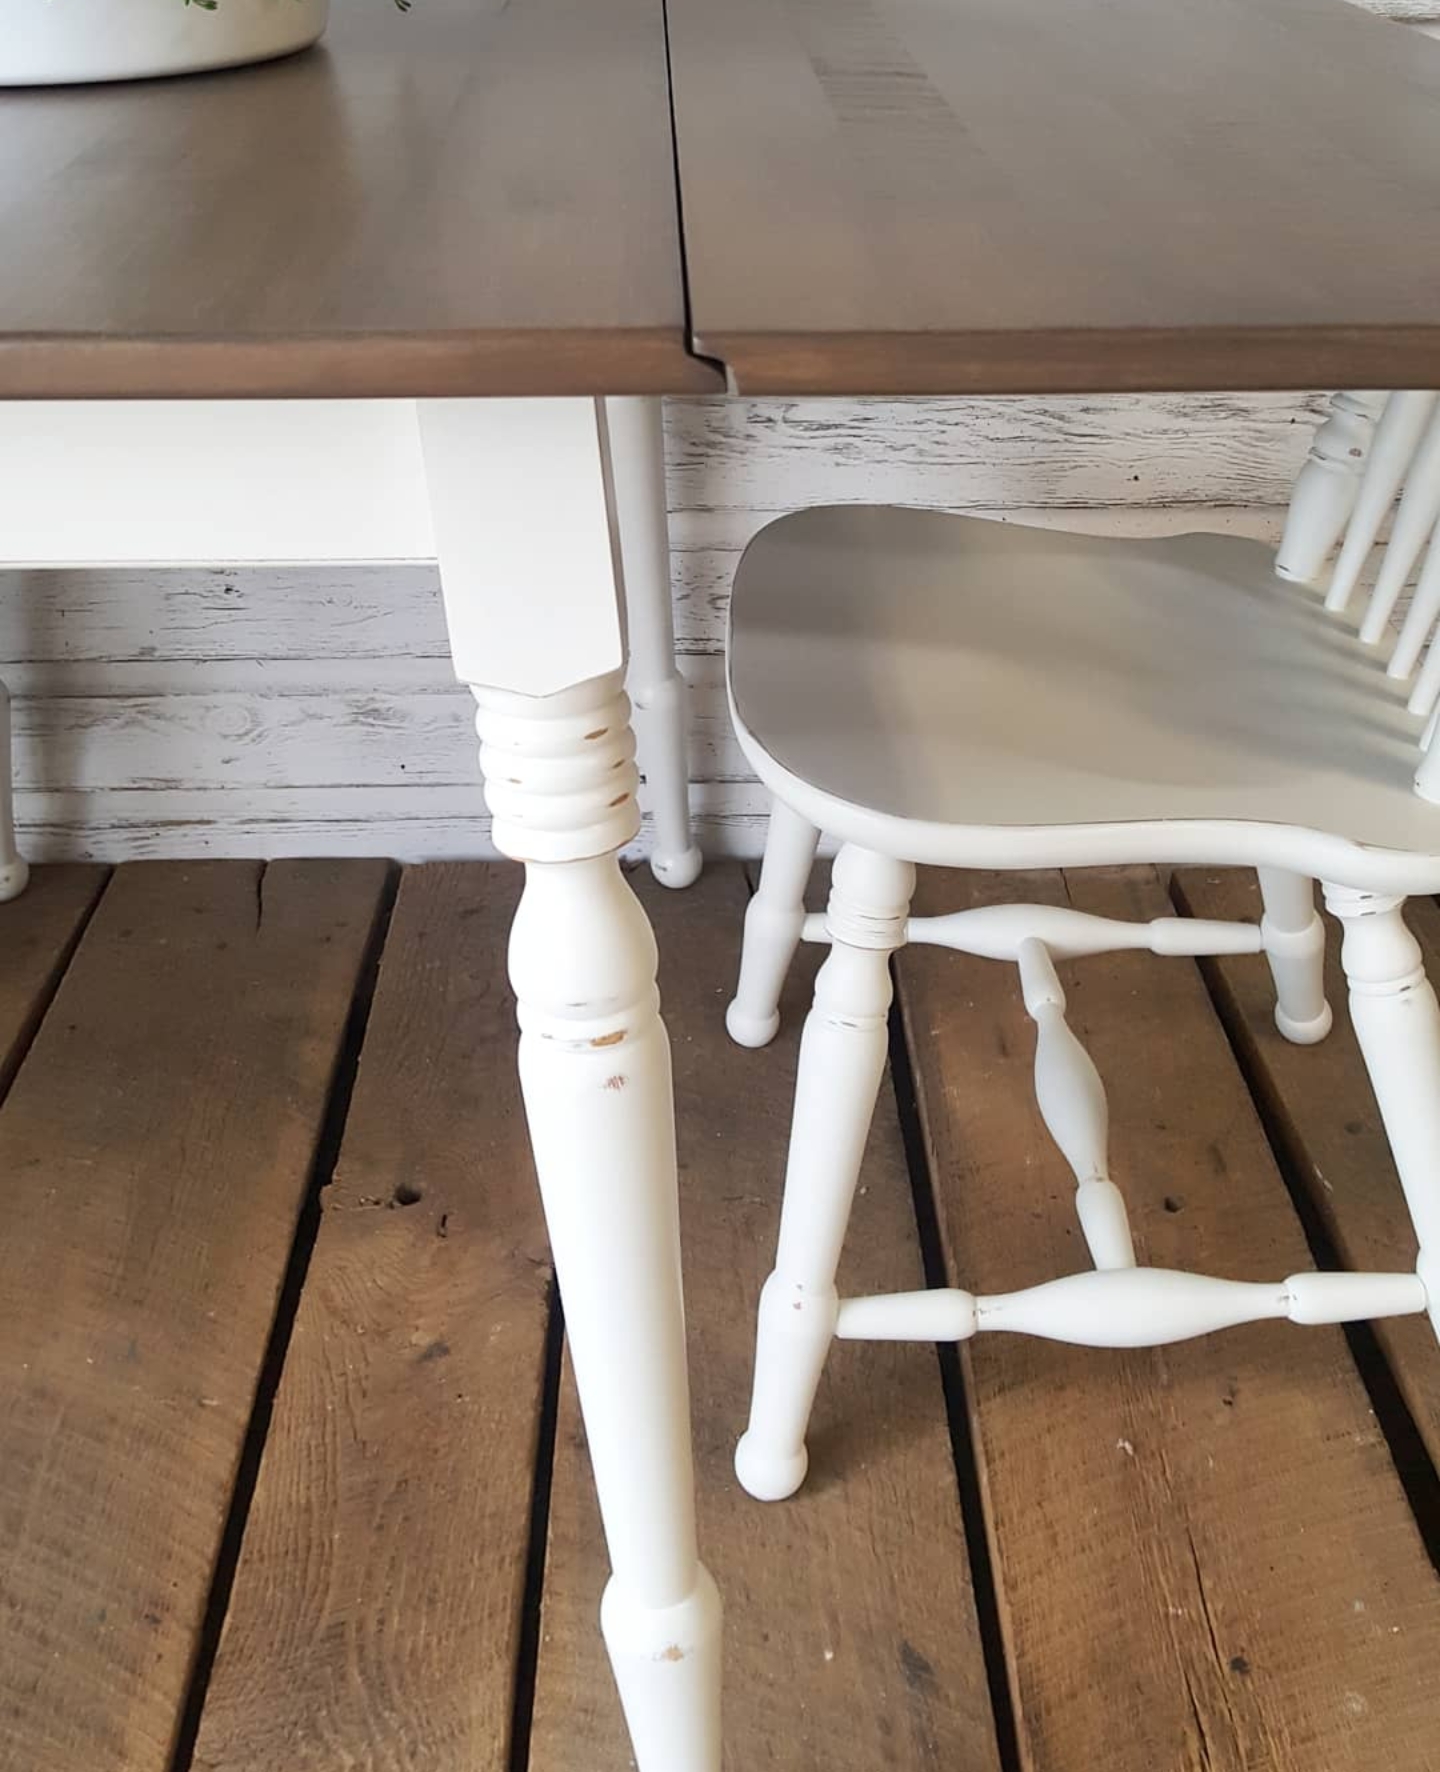
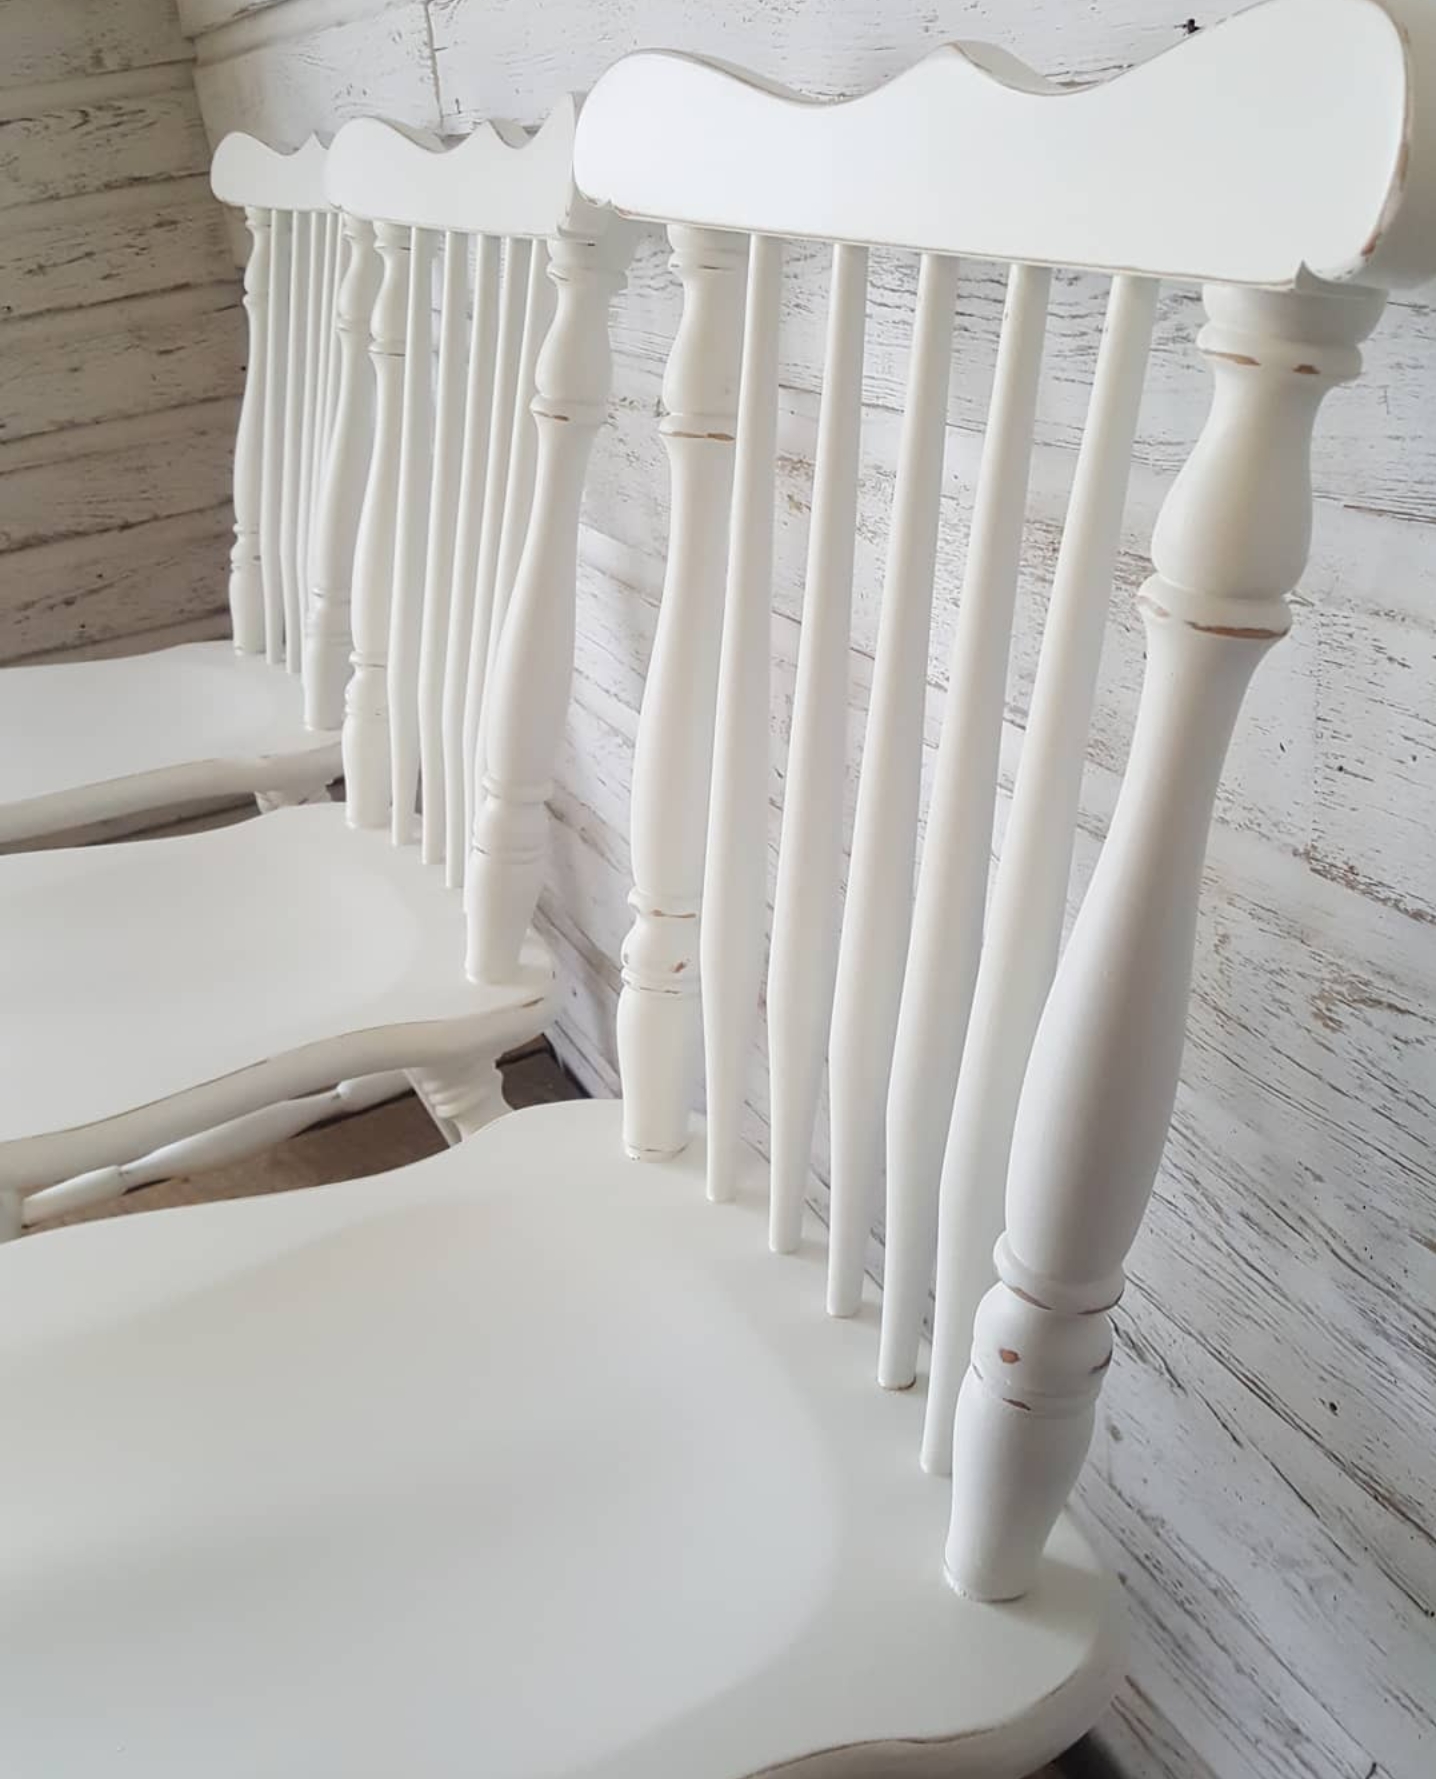
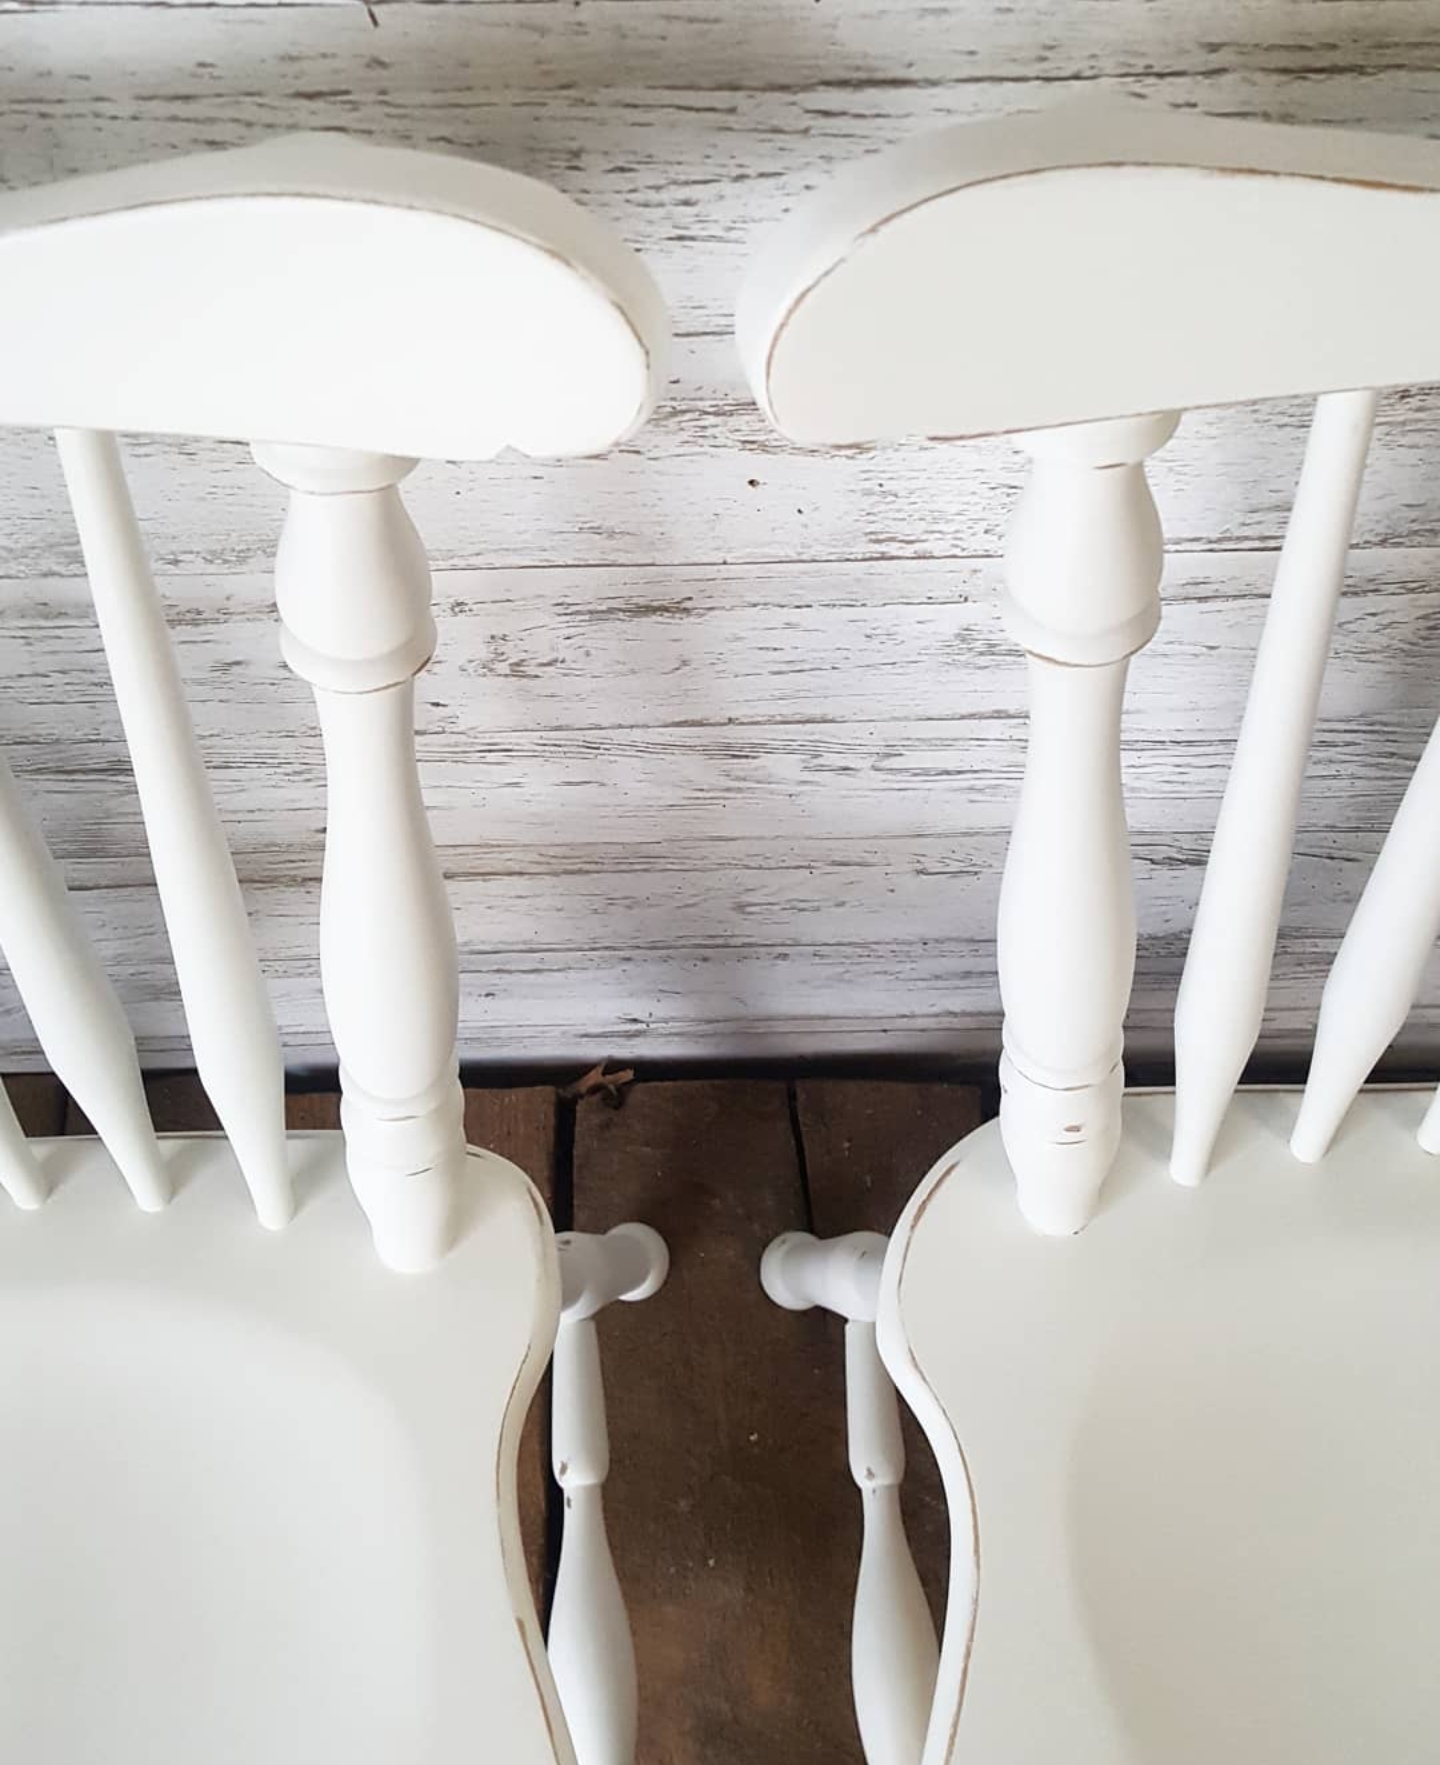
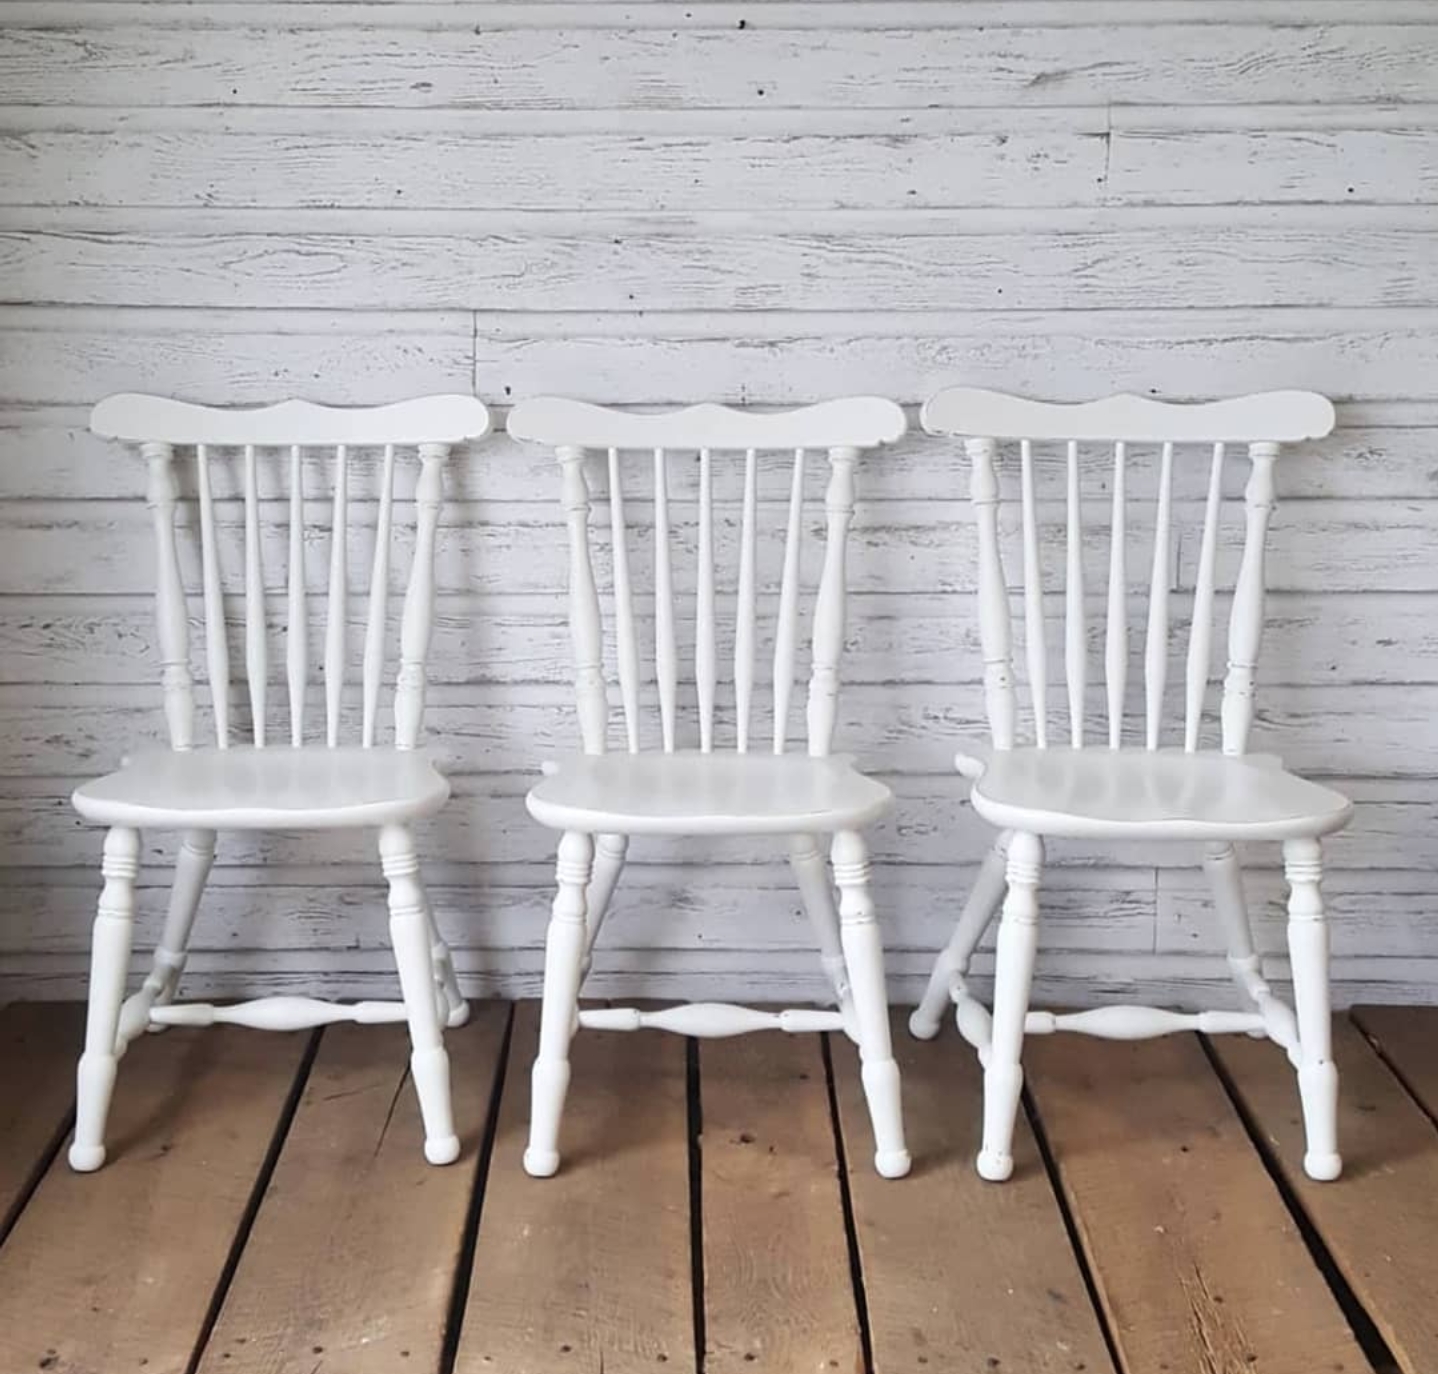
I applied 3 coats of a custom mix of General Finishes Snow White and Antique White using my Zibra 2” Palm Pro. on the flat areas and my Zibra Round Brush on all of the spindles..
Once the third coat of paint was nice and dry, I distressed the edges with a 220 grit piece of sandpaper
I vacuumed the sanding dust
I applied 3 coats of General Finishes High Performance Top Coat in Flat.
Okay, so what did we learn from this!? Tables are finicky! While this case was extreme, I don’t think I have ever worked on a table that didn’t have some type of issue. They have been cleaned so many times compared to regular pieces of furniture because people eat off of them and I think over time all of the chemicals take a toll on the wood and cause it to react in different ways.
Again, out of all the tables and pieces of furniture I have ever stripped, this is the first time something this extreme has happened. That’s good news, right? If you’re hesitant to strip a piece or afraid something like this could potential occur, test a small area on the top or the underside of the piece first.
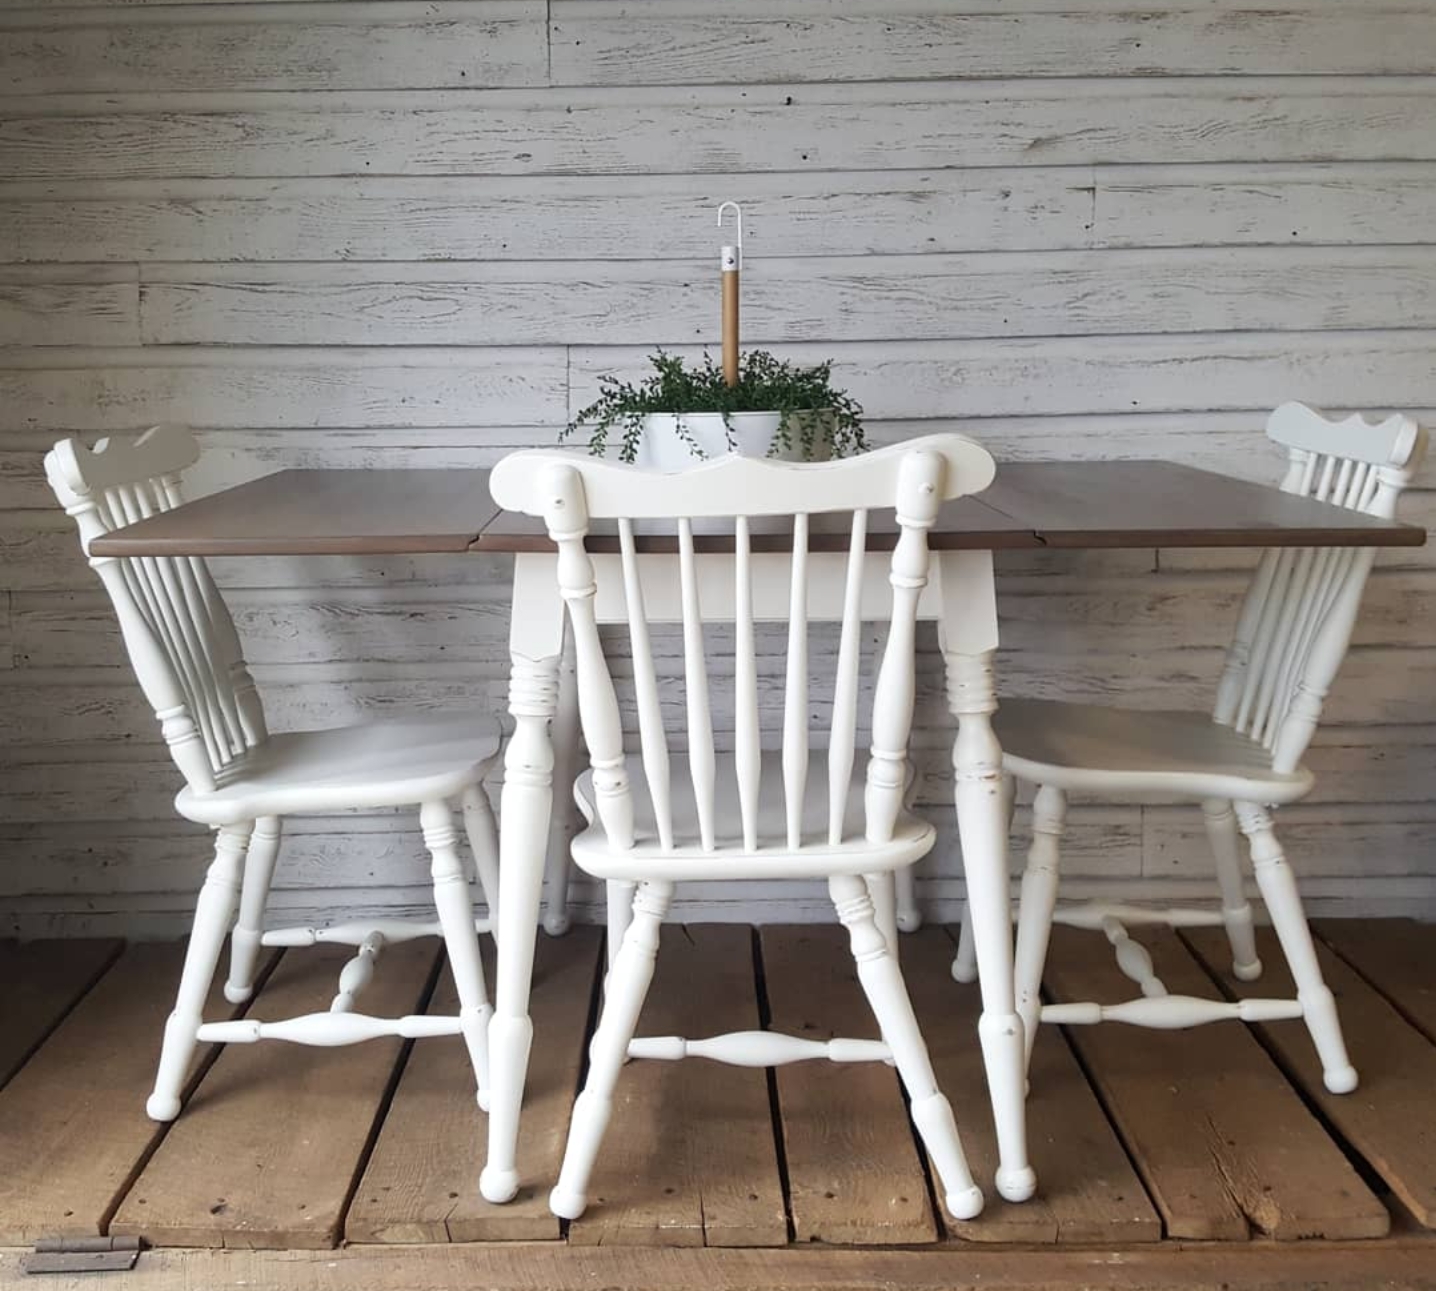
In the end, my client was extremely happy with the results. I had to tell her what happened, otherwise she would have never known. Thankfully, it turned out great and it was exactly what she wanted!
As always, thank you so much for tuning in this week for #MondayMakeoversWithFallon. If you want to save this blog post so you can refer back to it, make sure you pin it to your Pinterest page and/or feel free to share it elsewhere. I look forward being with you next Monday and don’t forget to tune in tomorrow for my educating video tutorial/tip for #TuesdayTipsWithFallon!!
*Please note, this post does contain affiliate links.
Make sure you check out my other #MondayMakeoversWithFallon blog posts below!