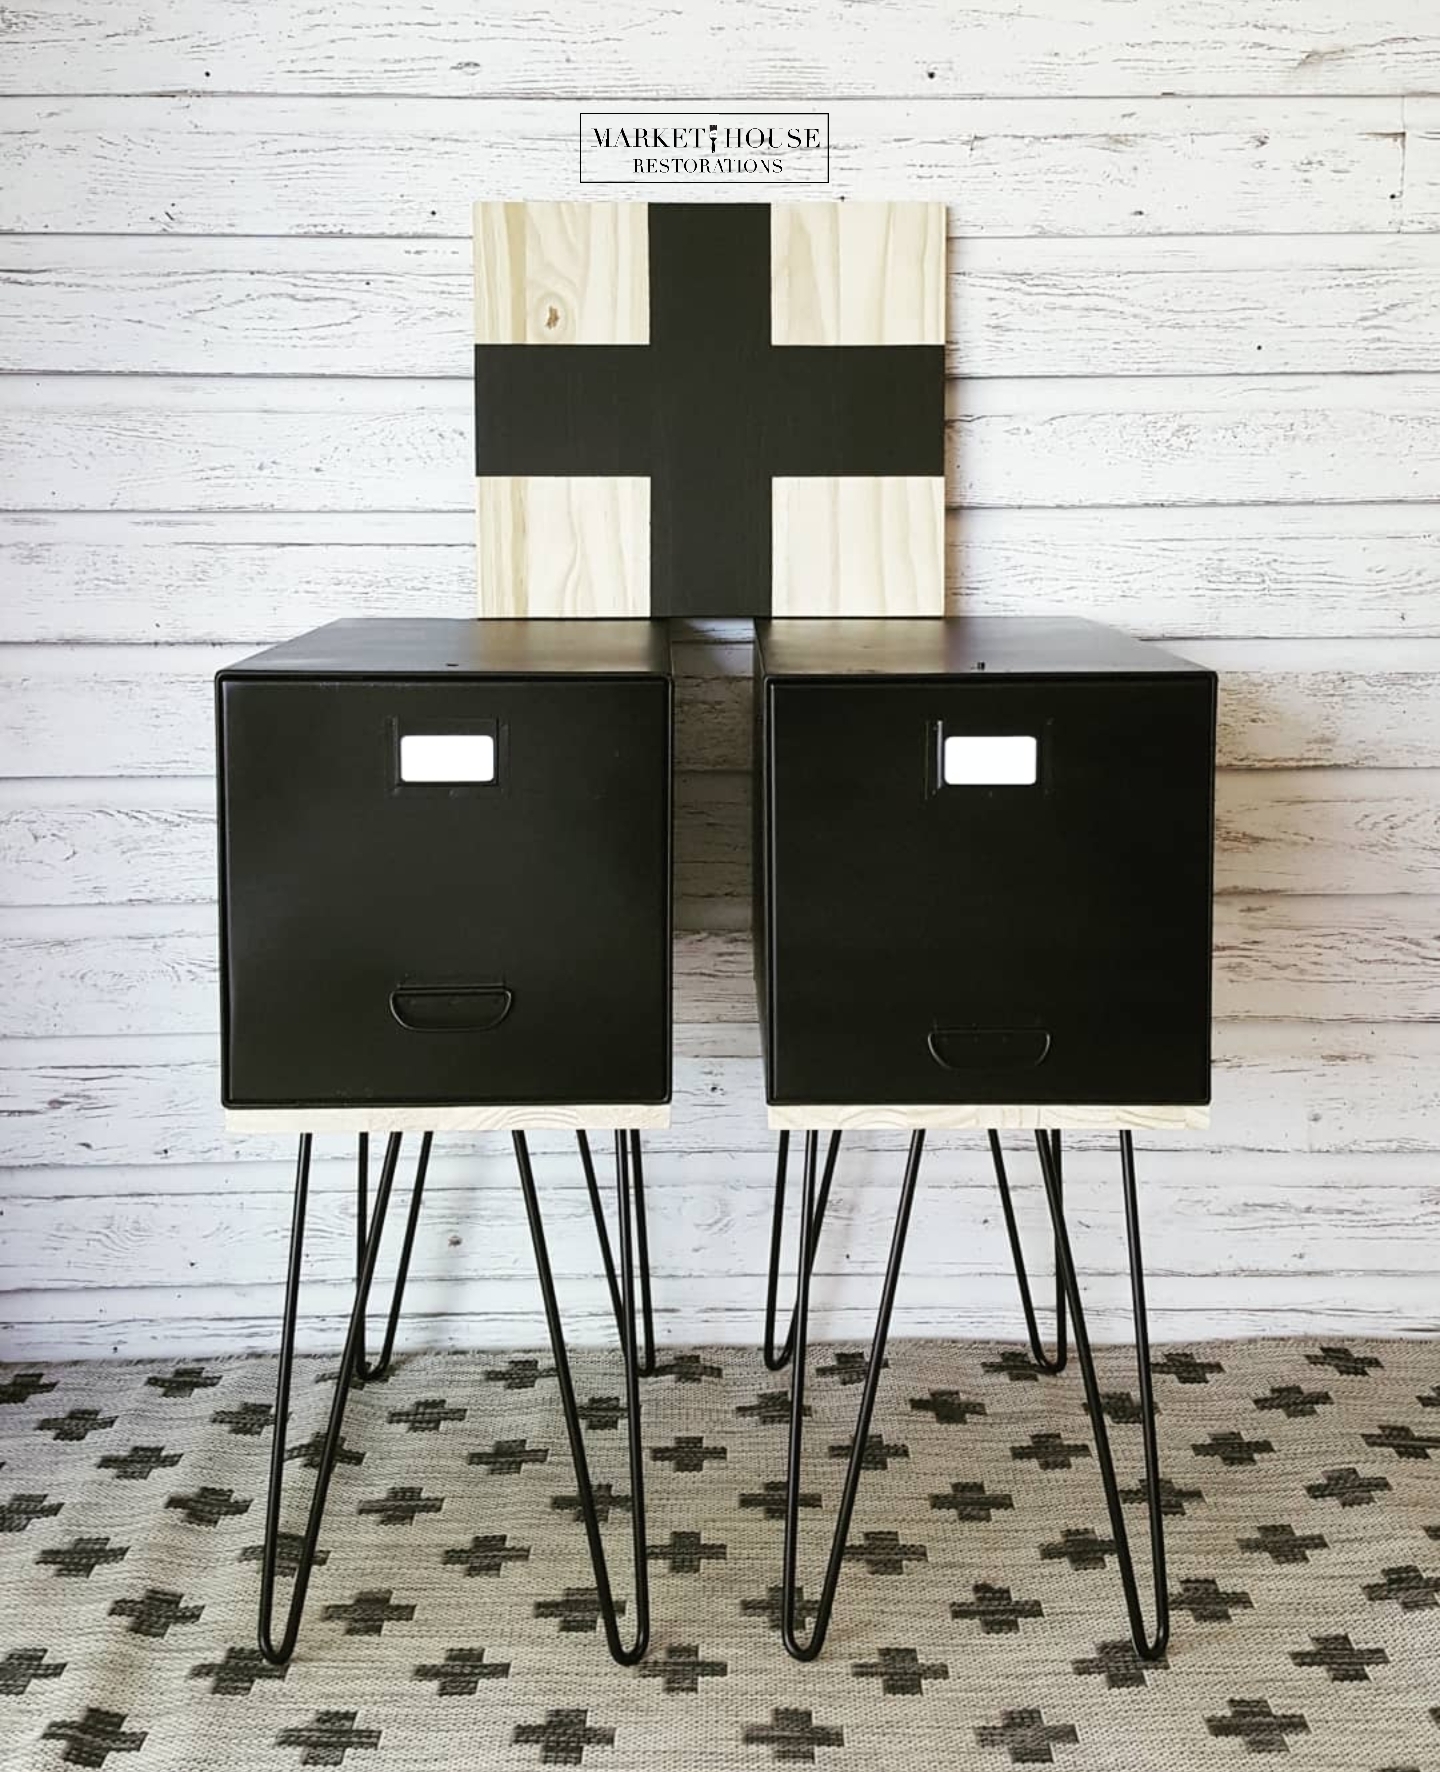
Industrial Filing Cabinets to Side Tables Makeover #MondayMakeoversWithFallon
/#MondayMakeoversWithFallon
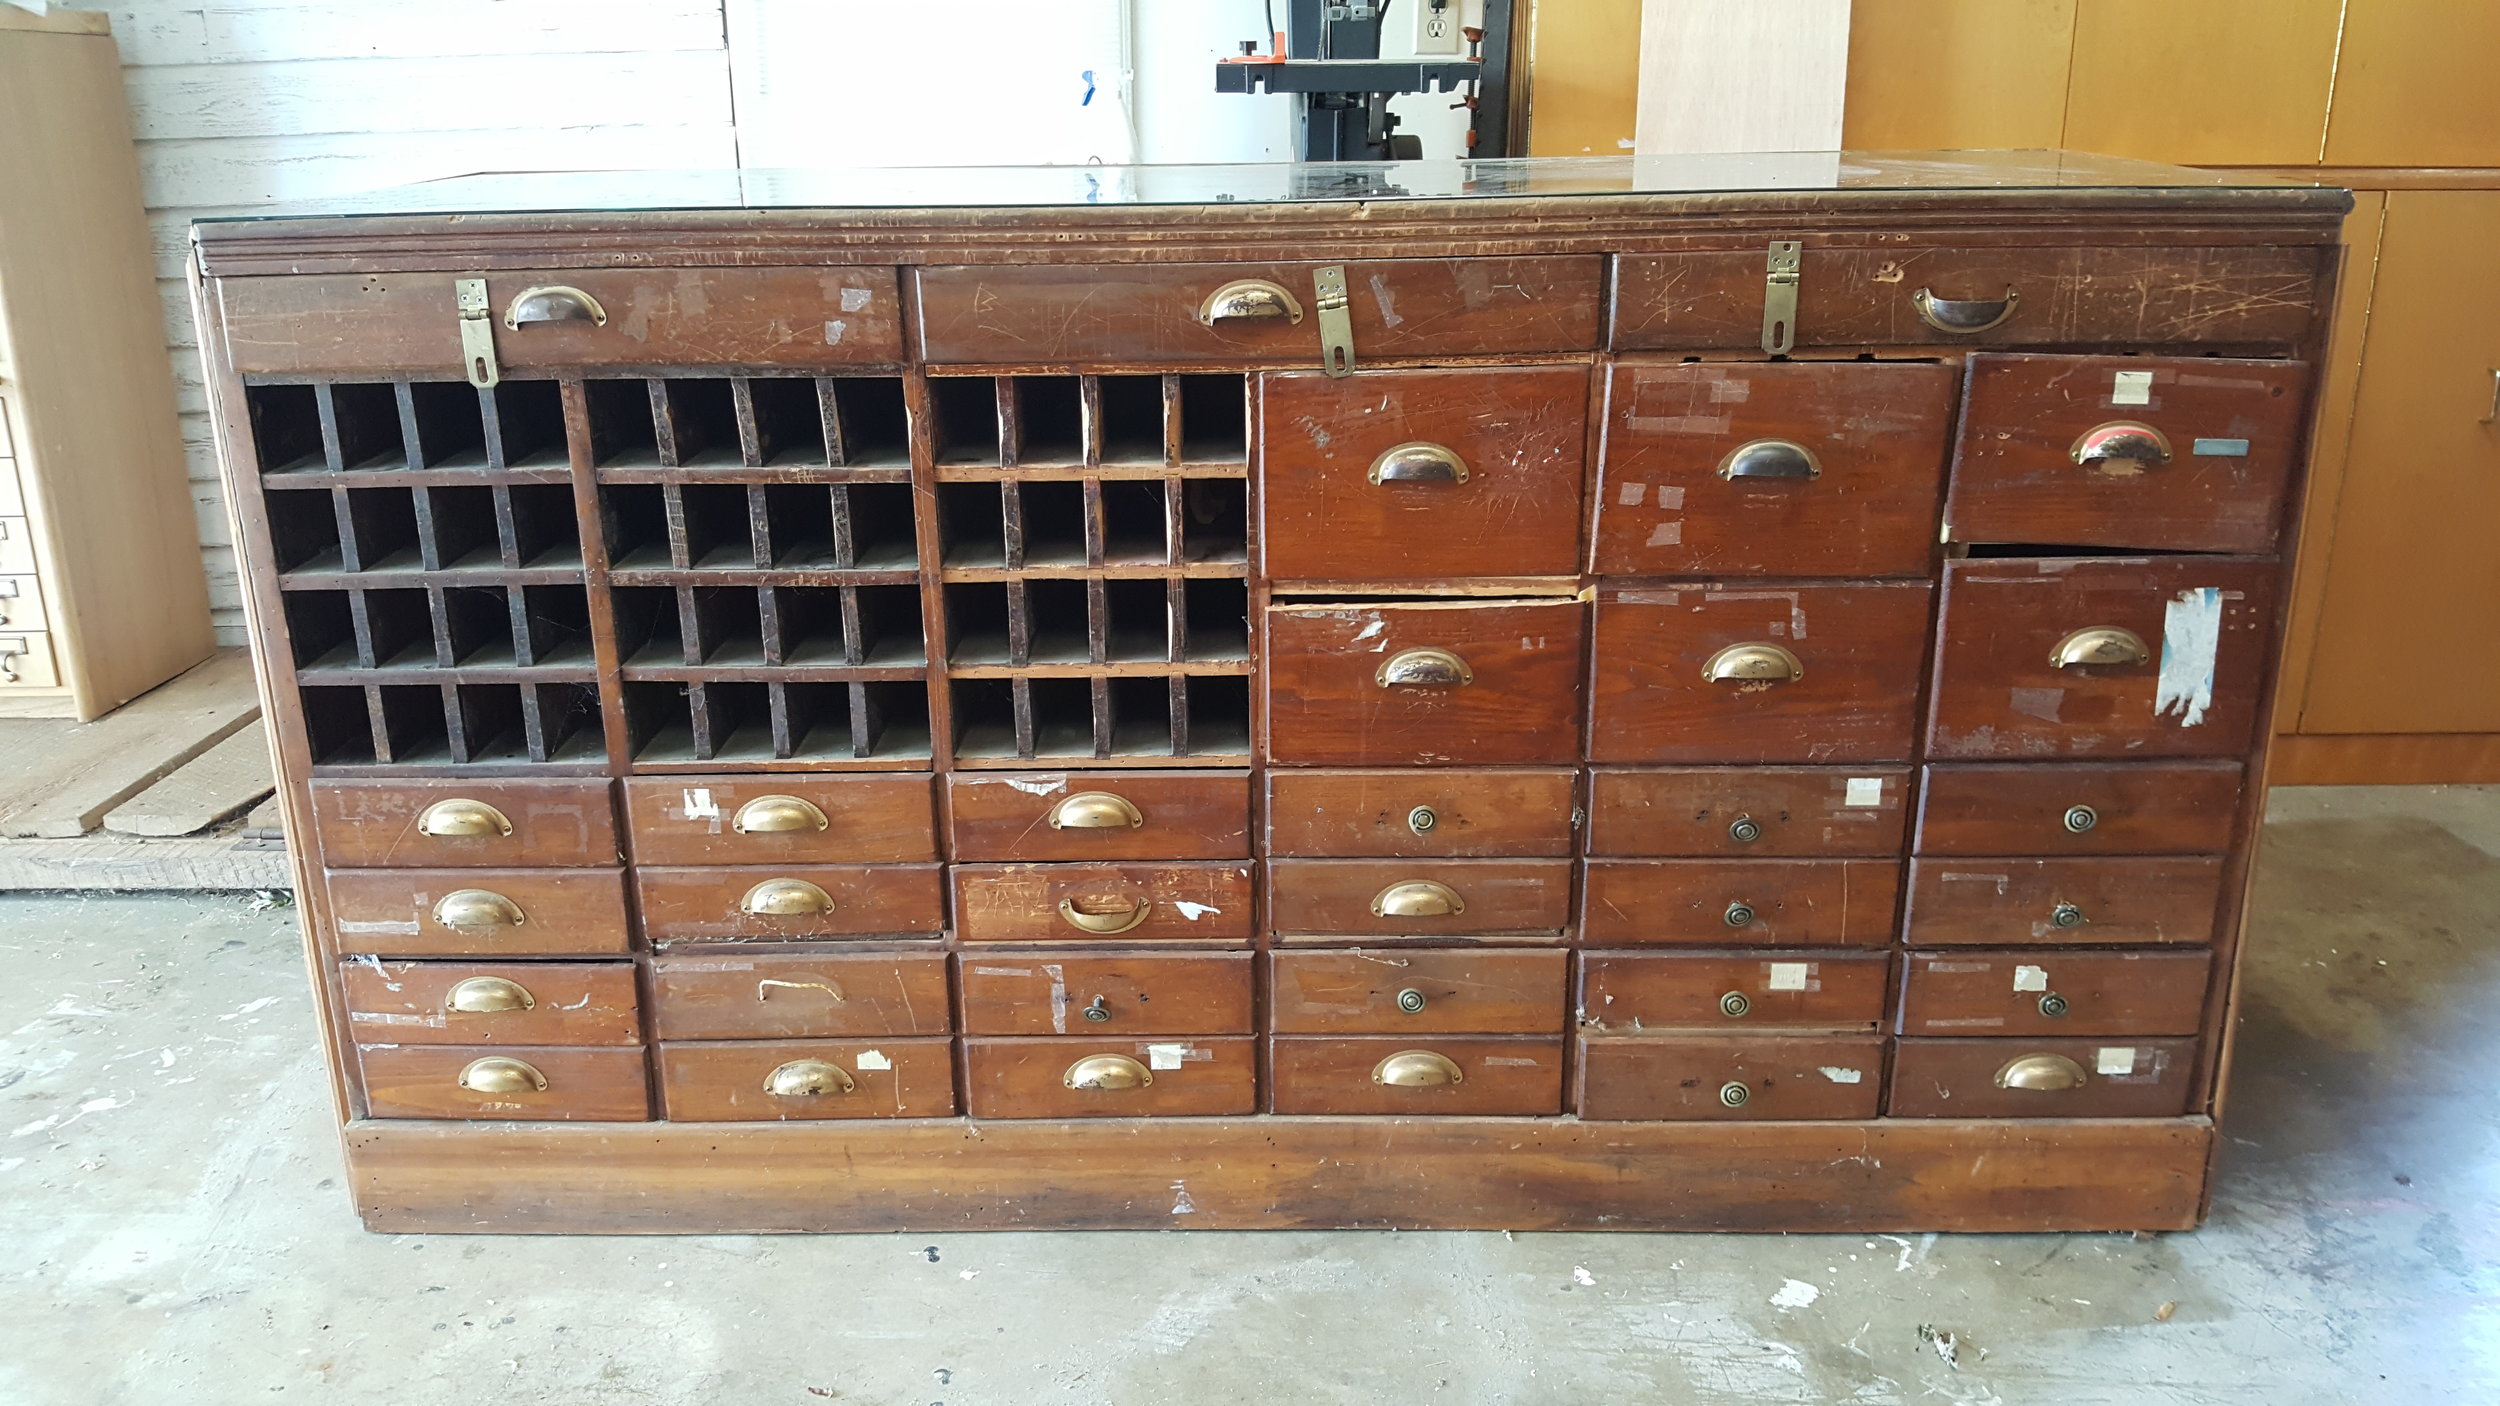
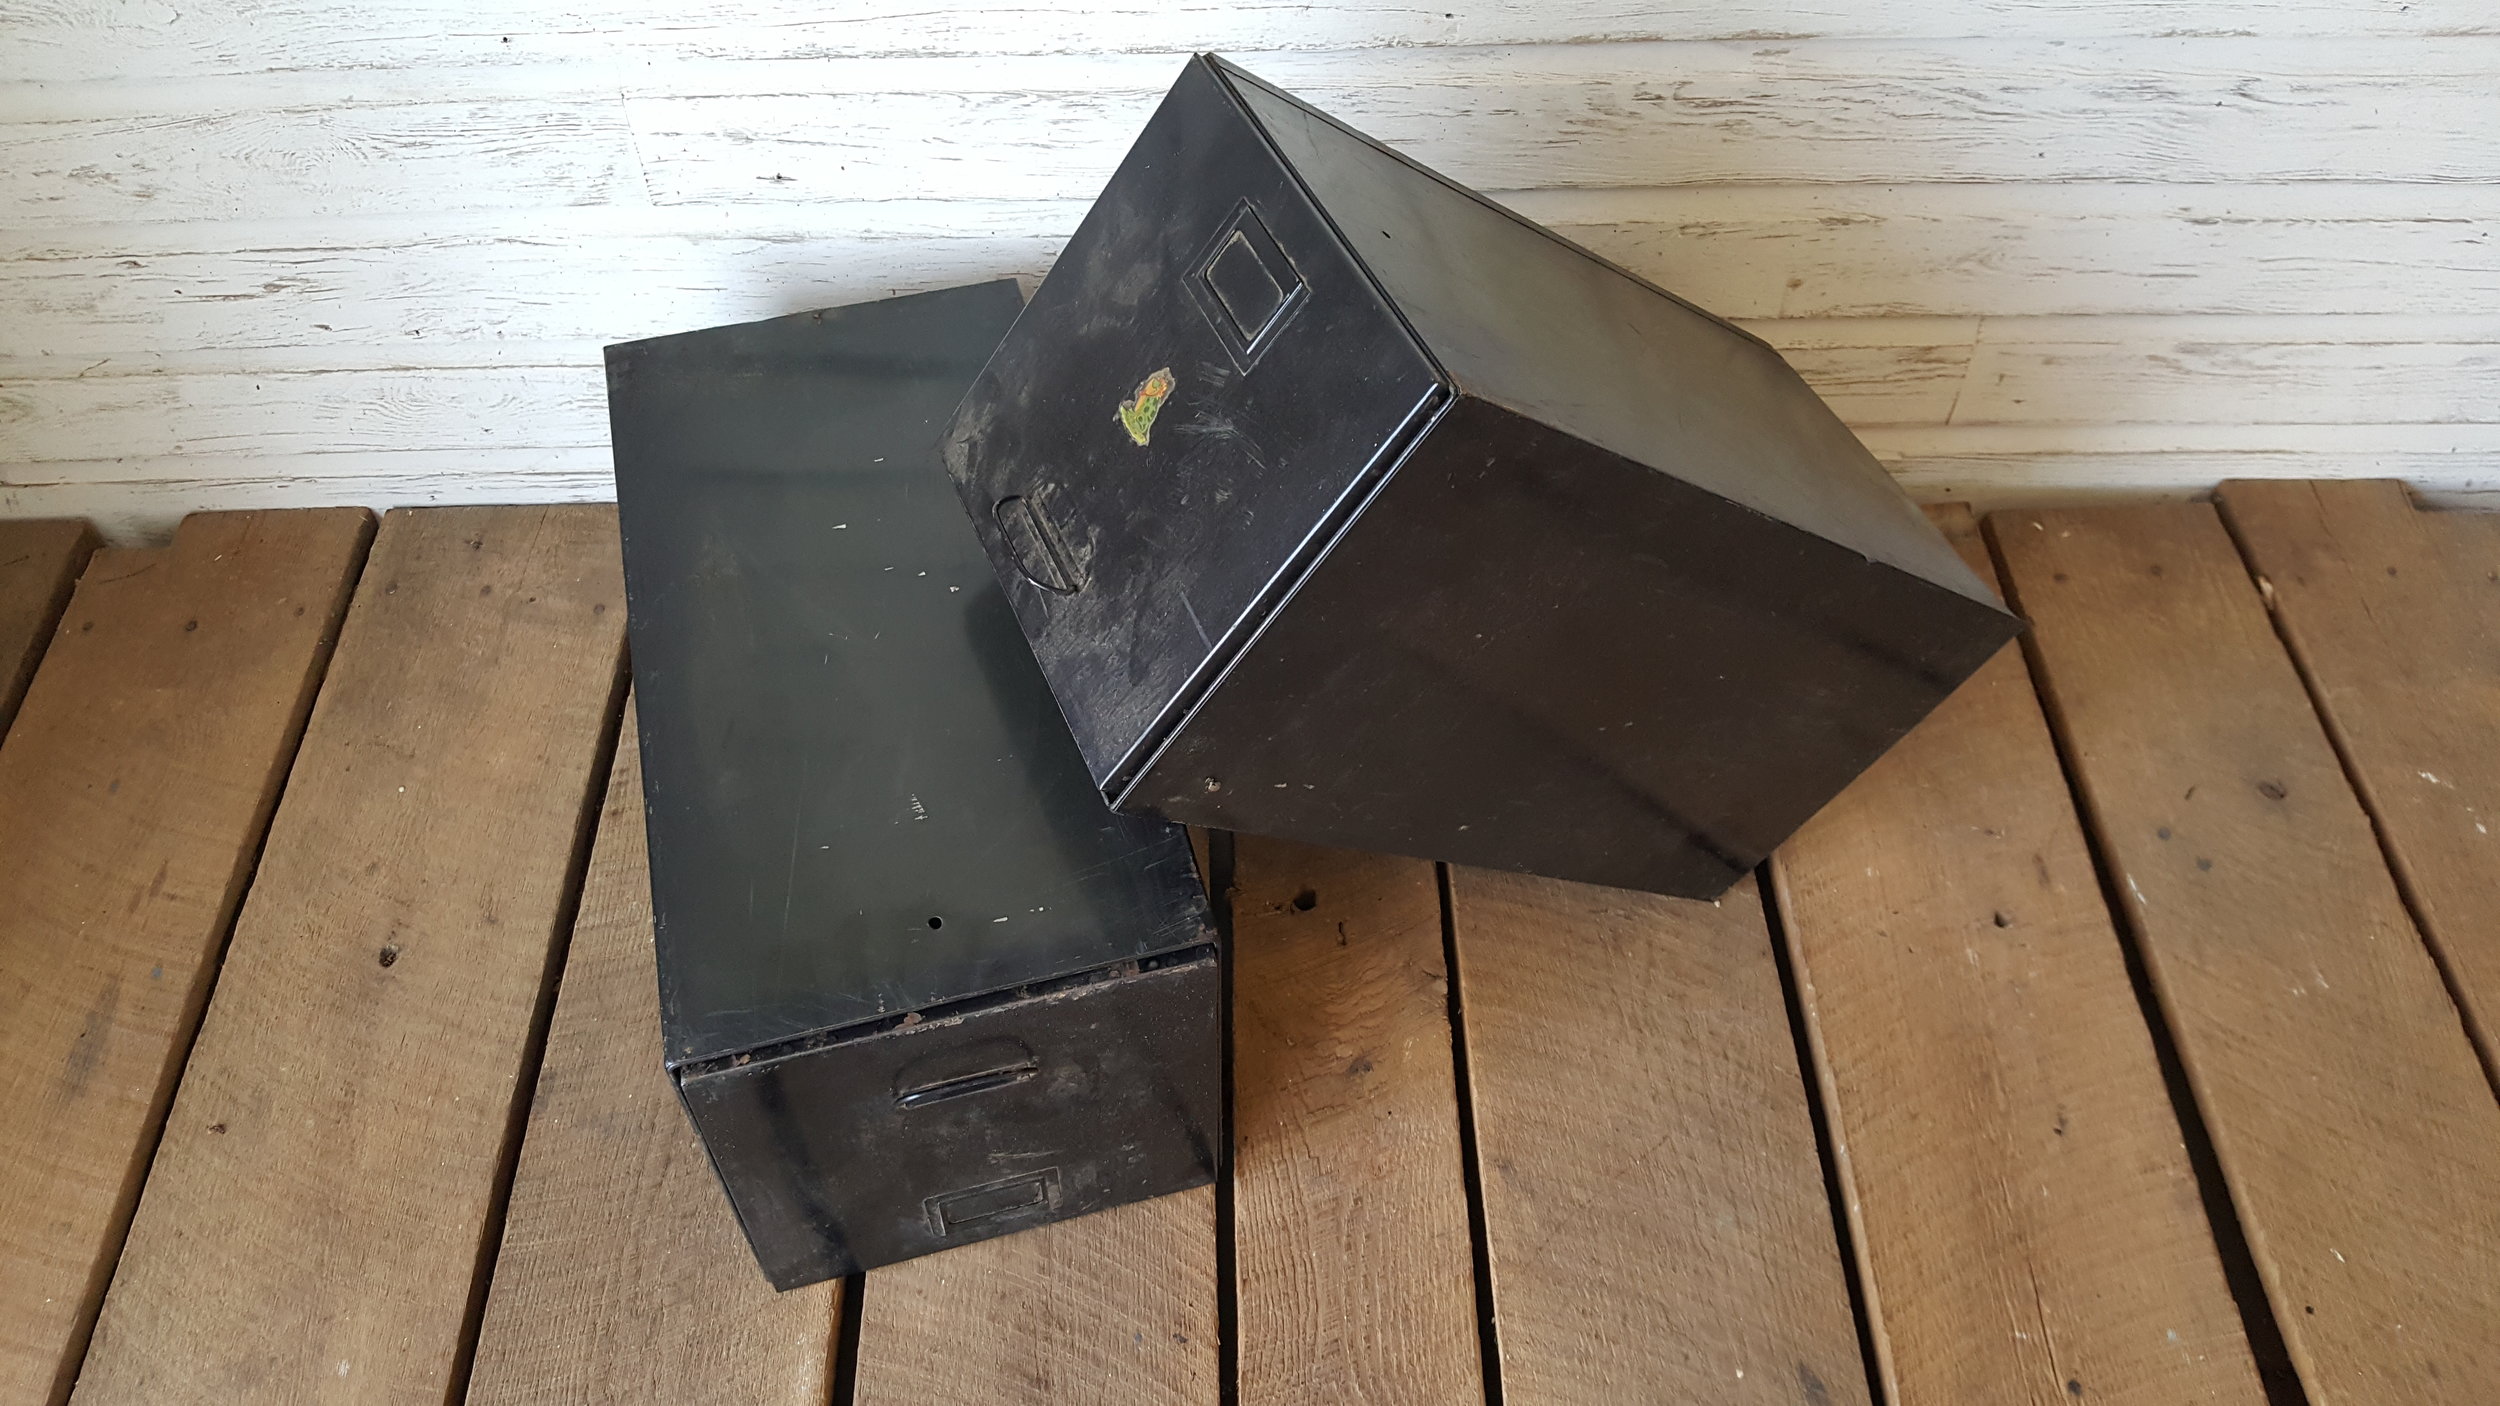
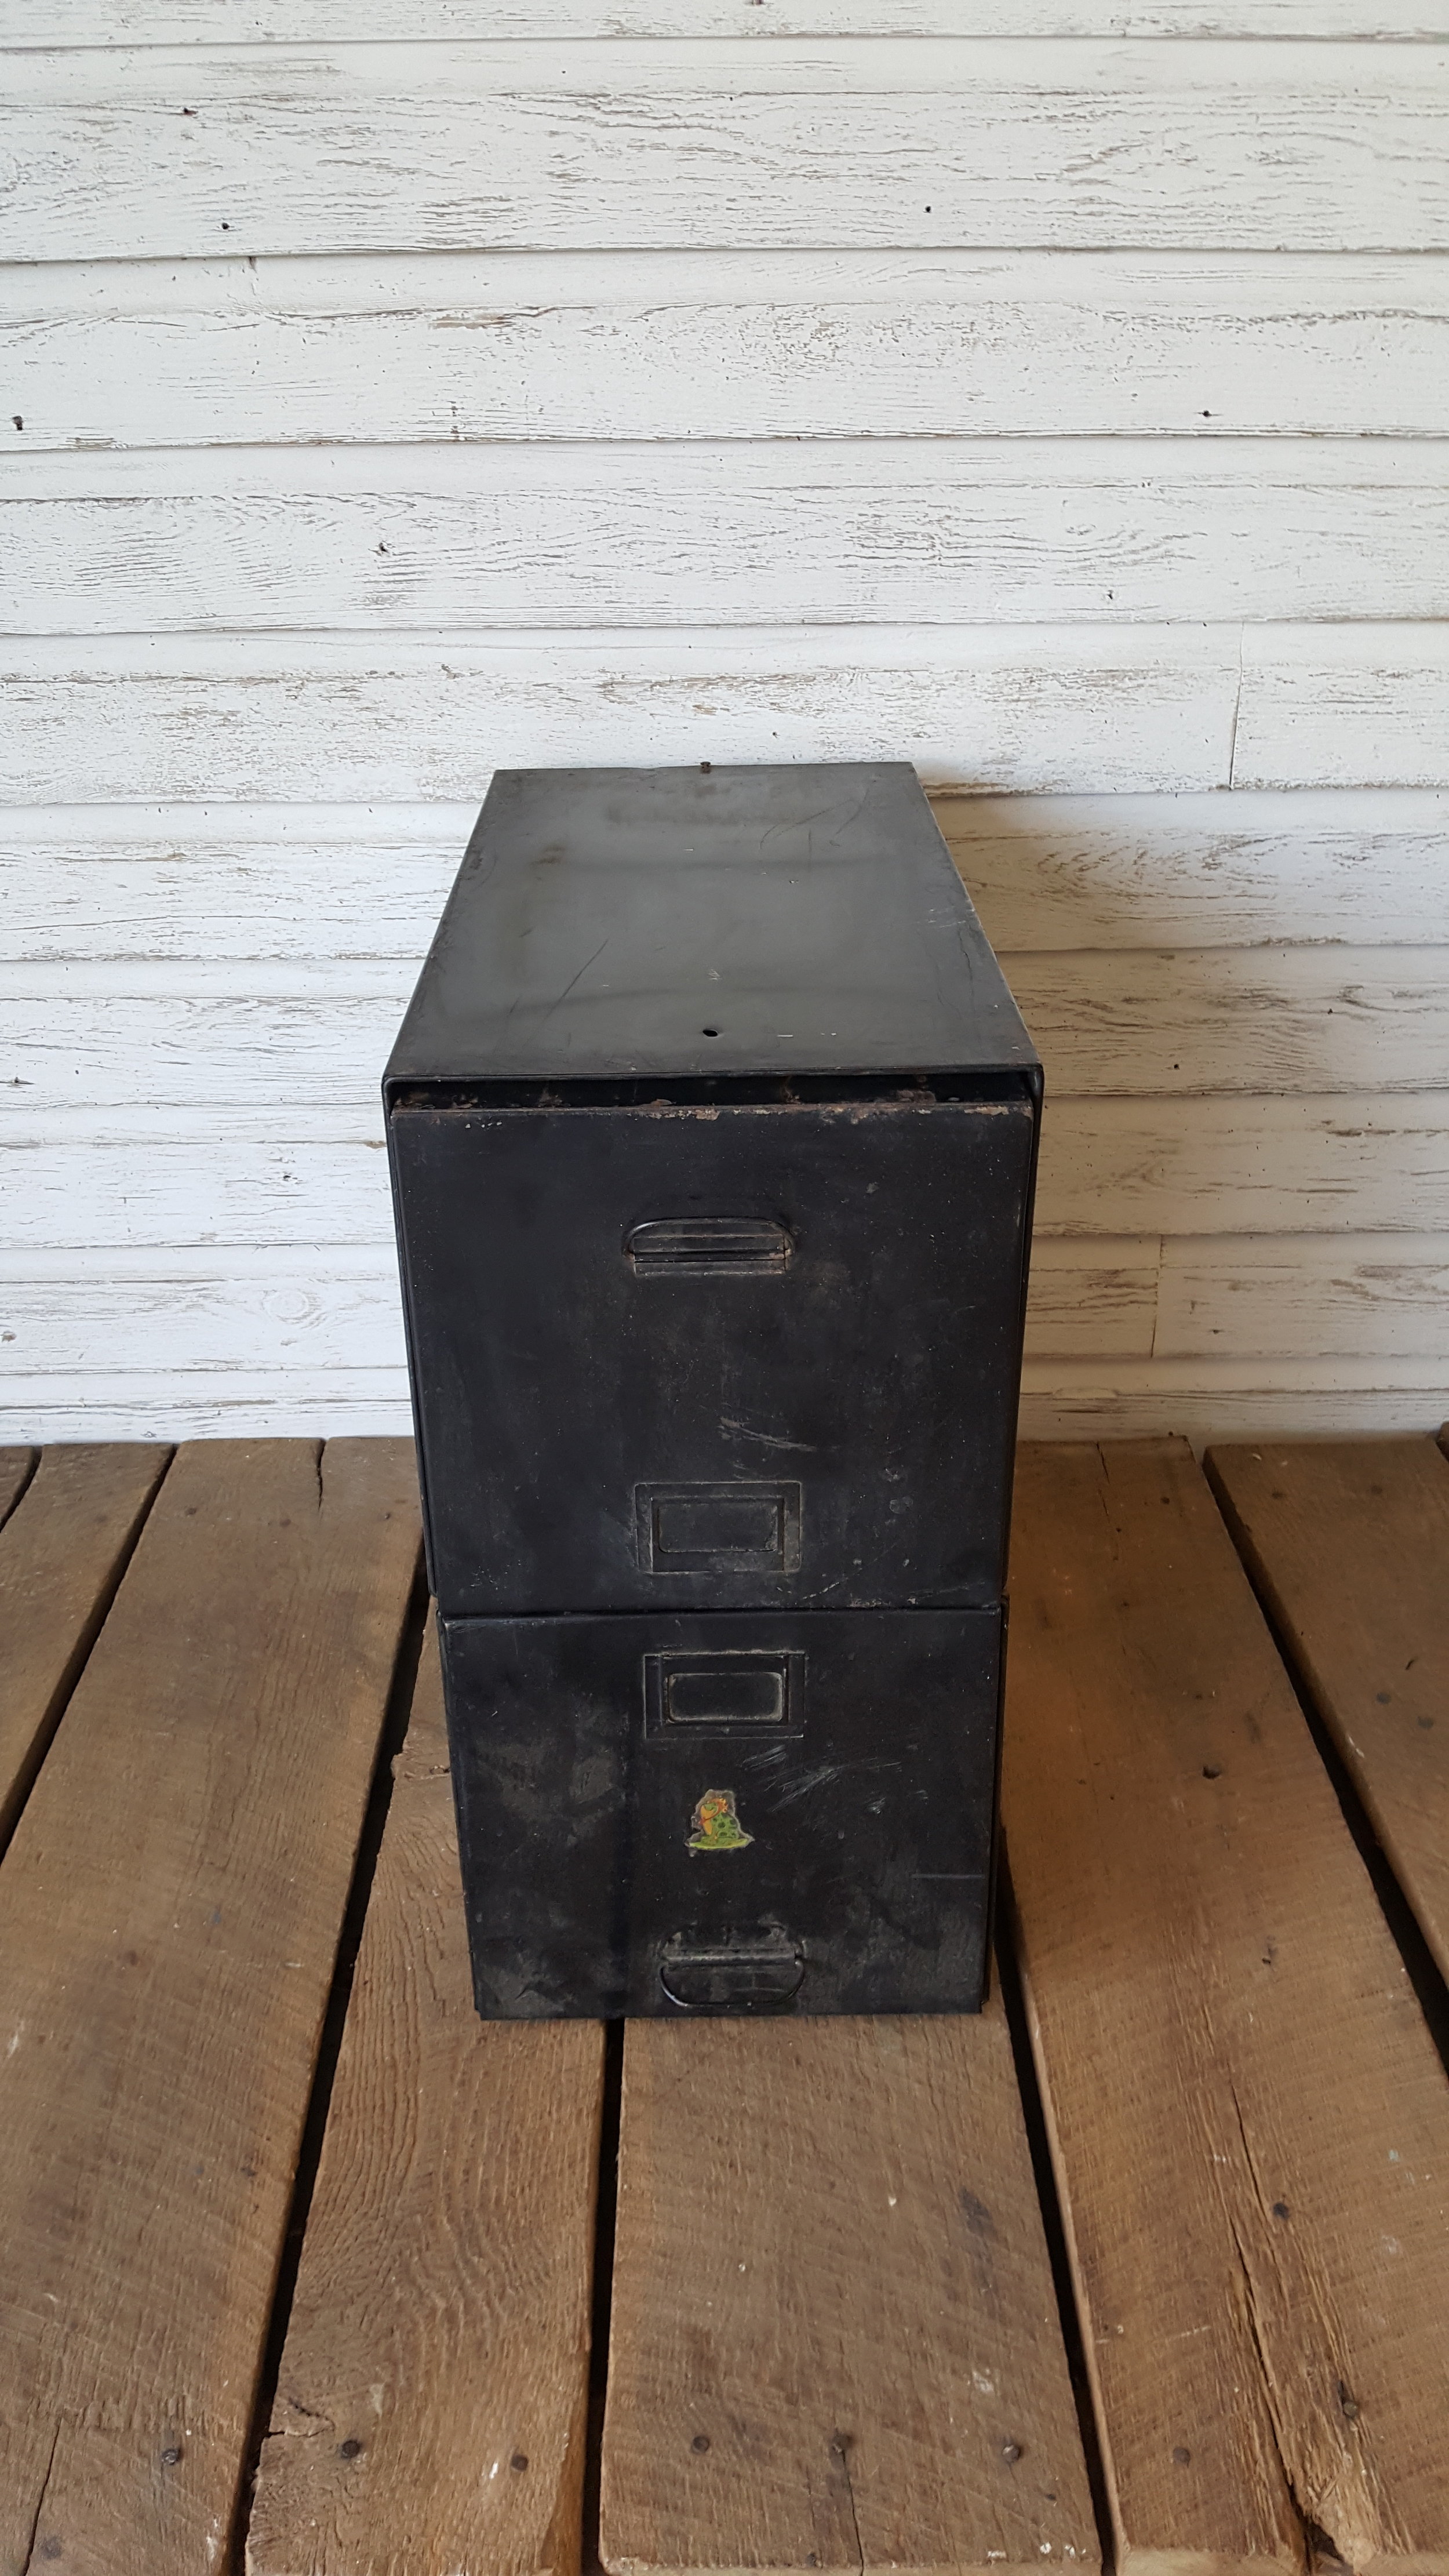
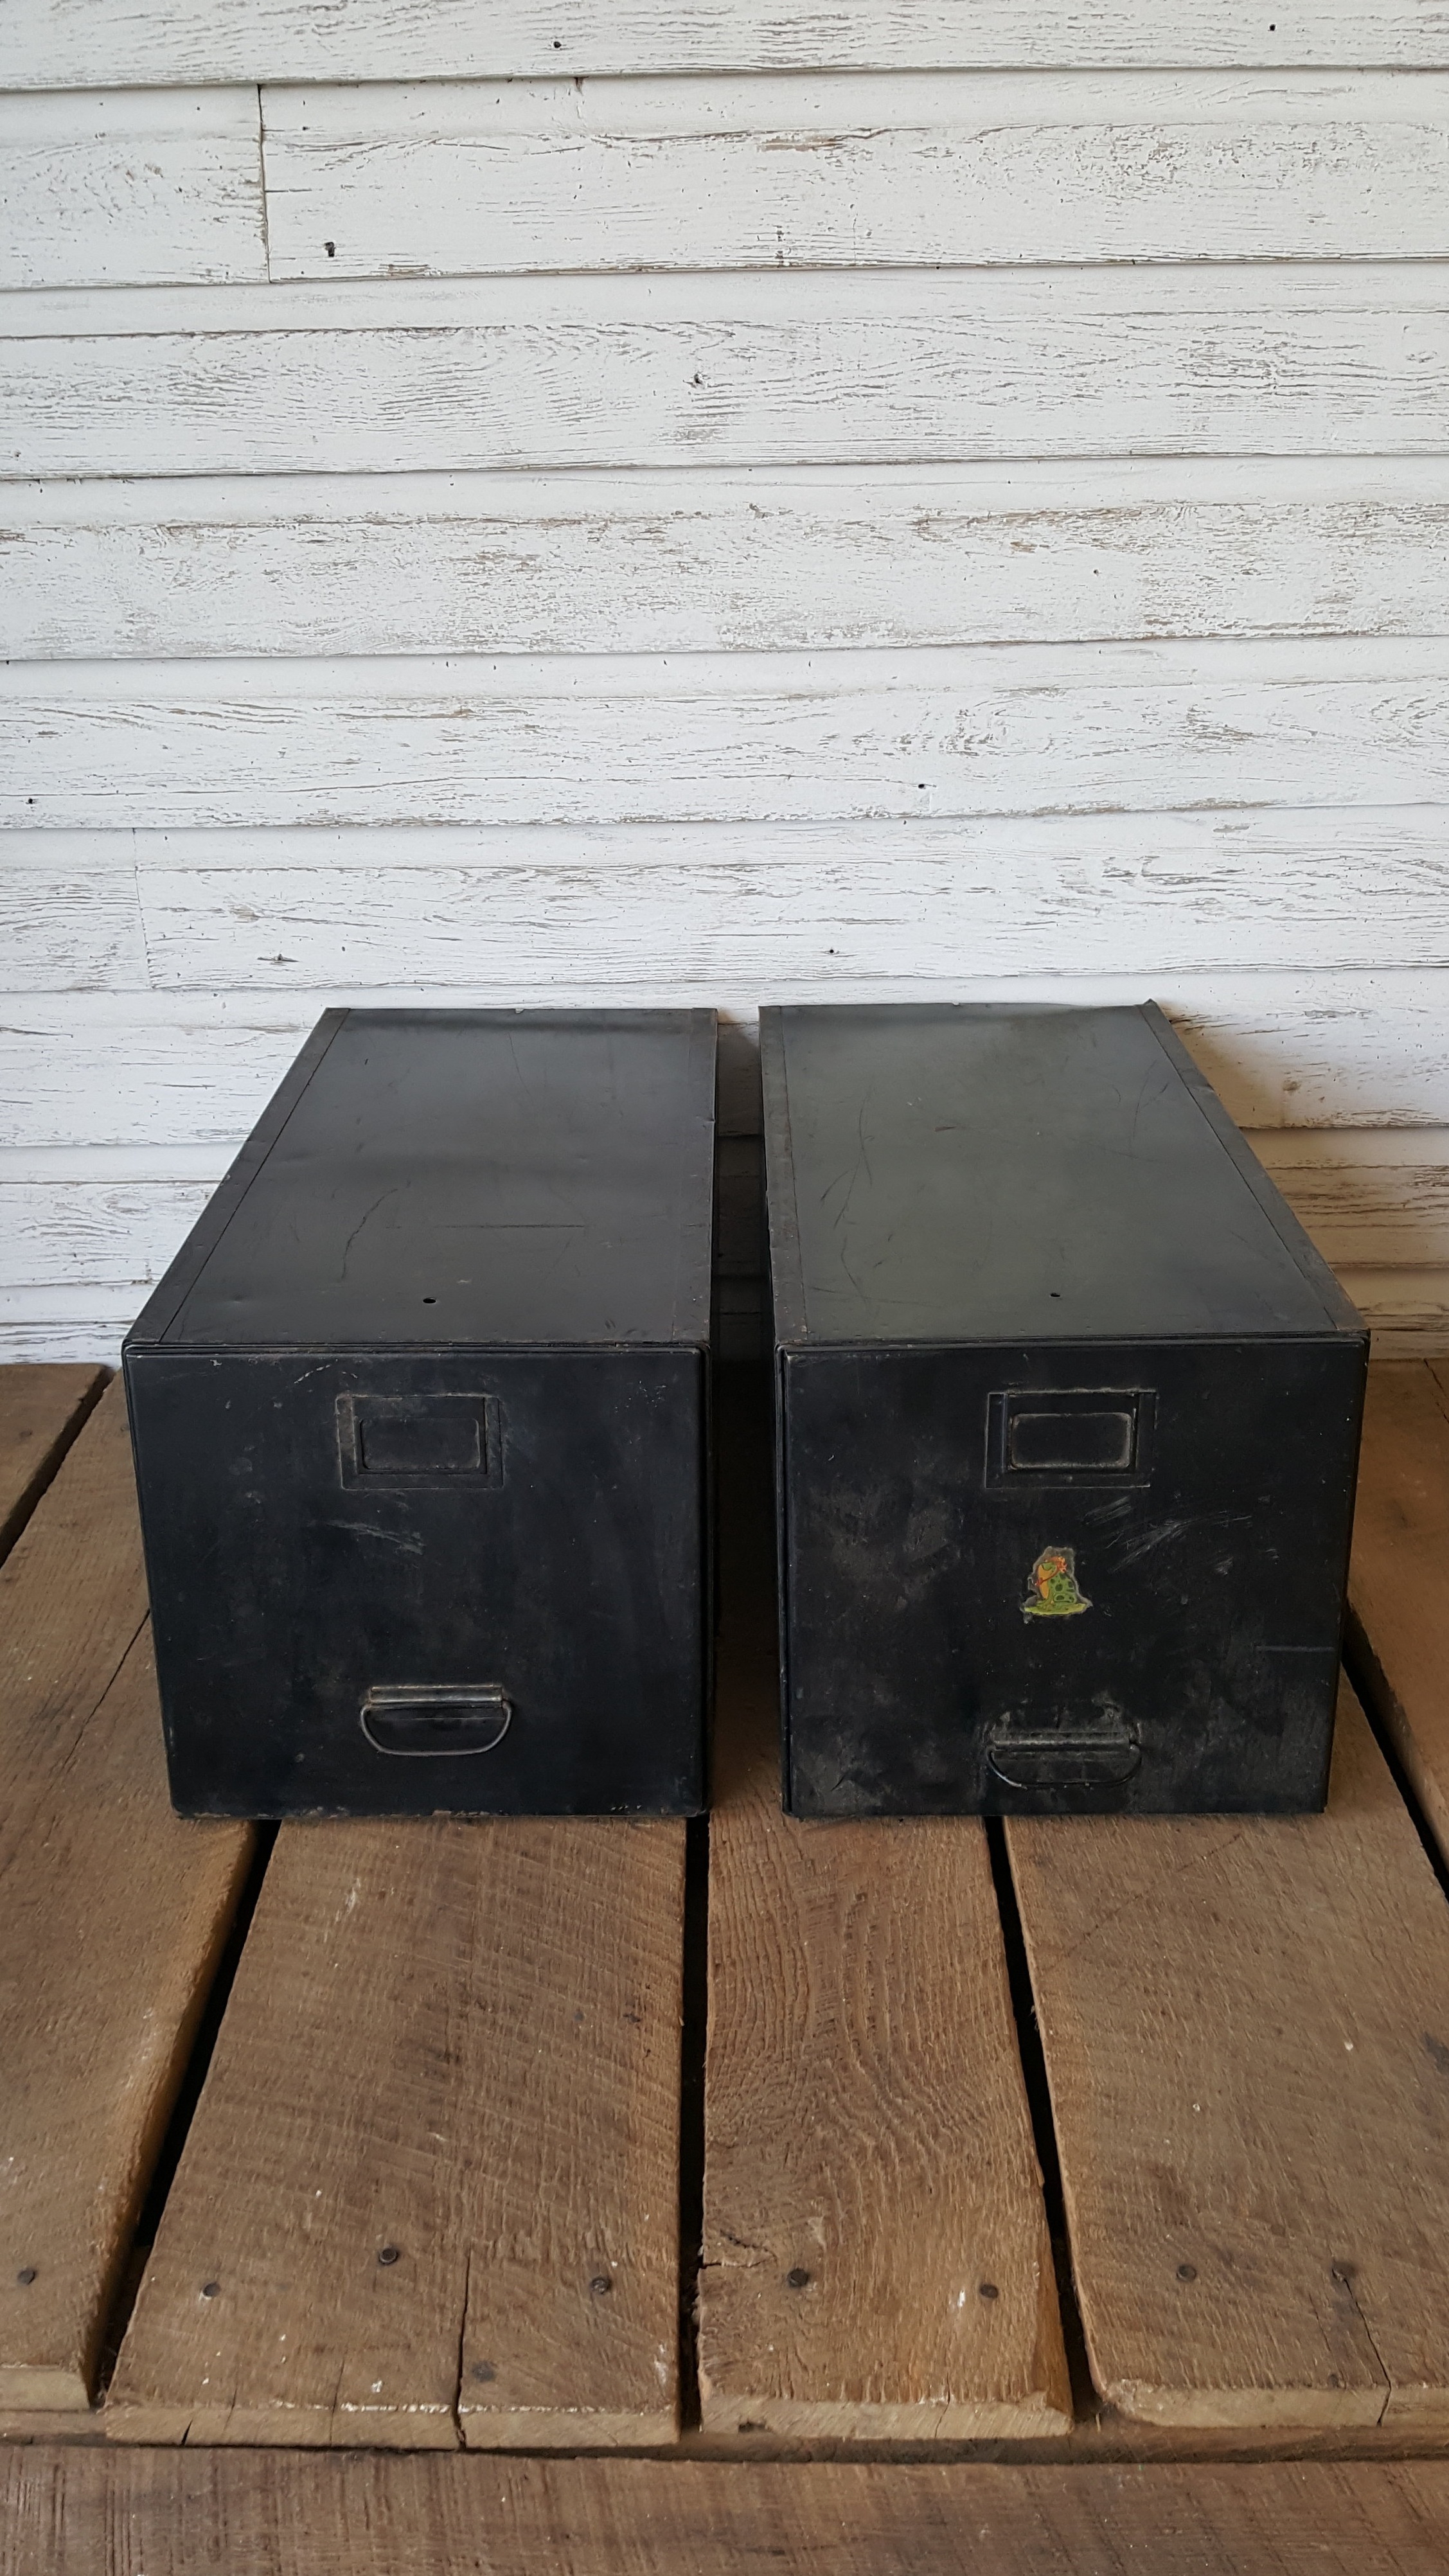
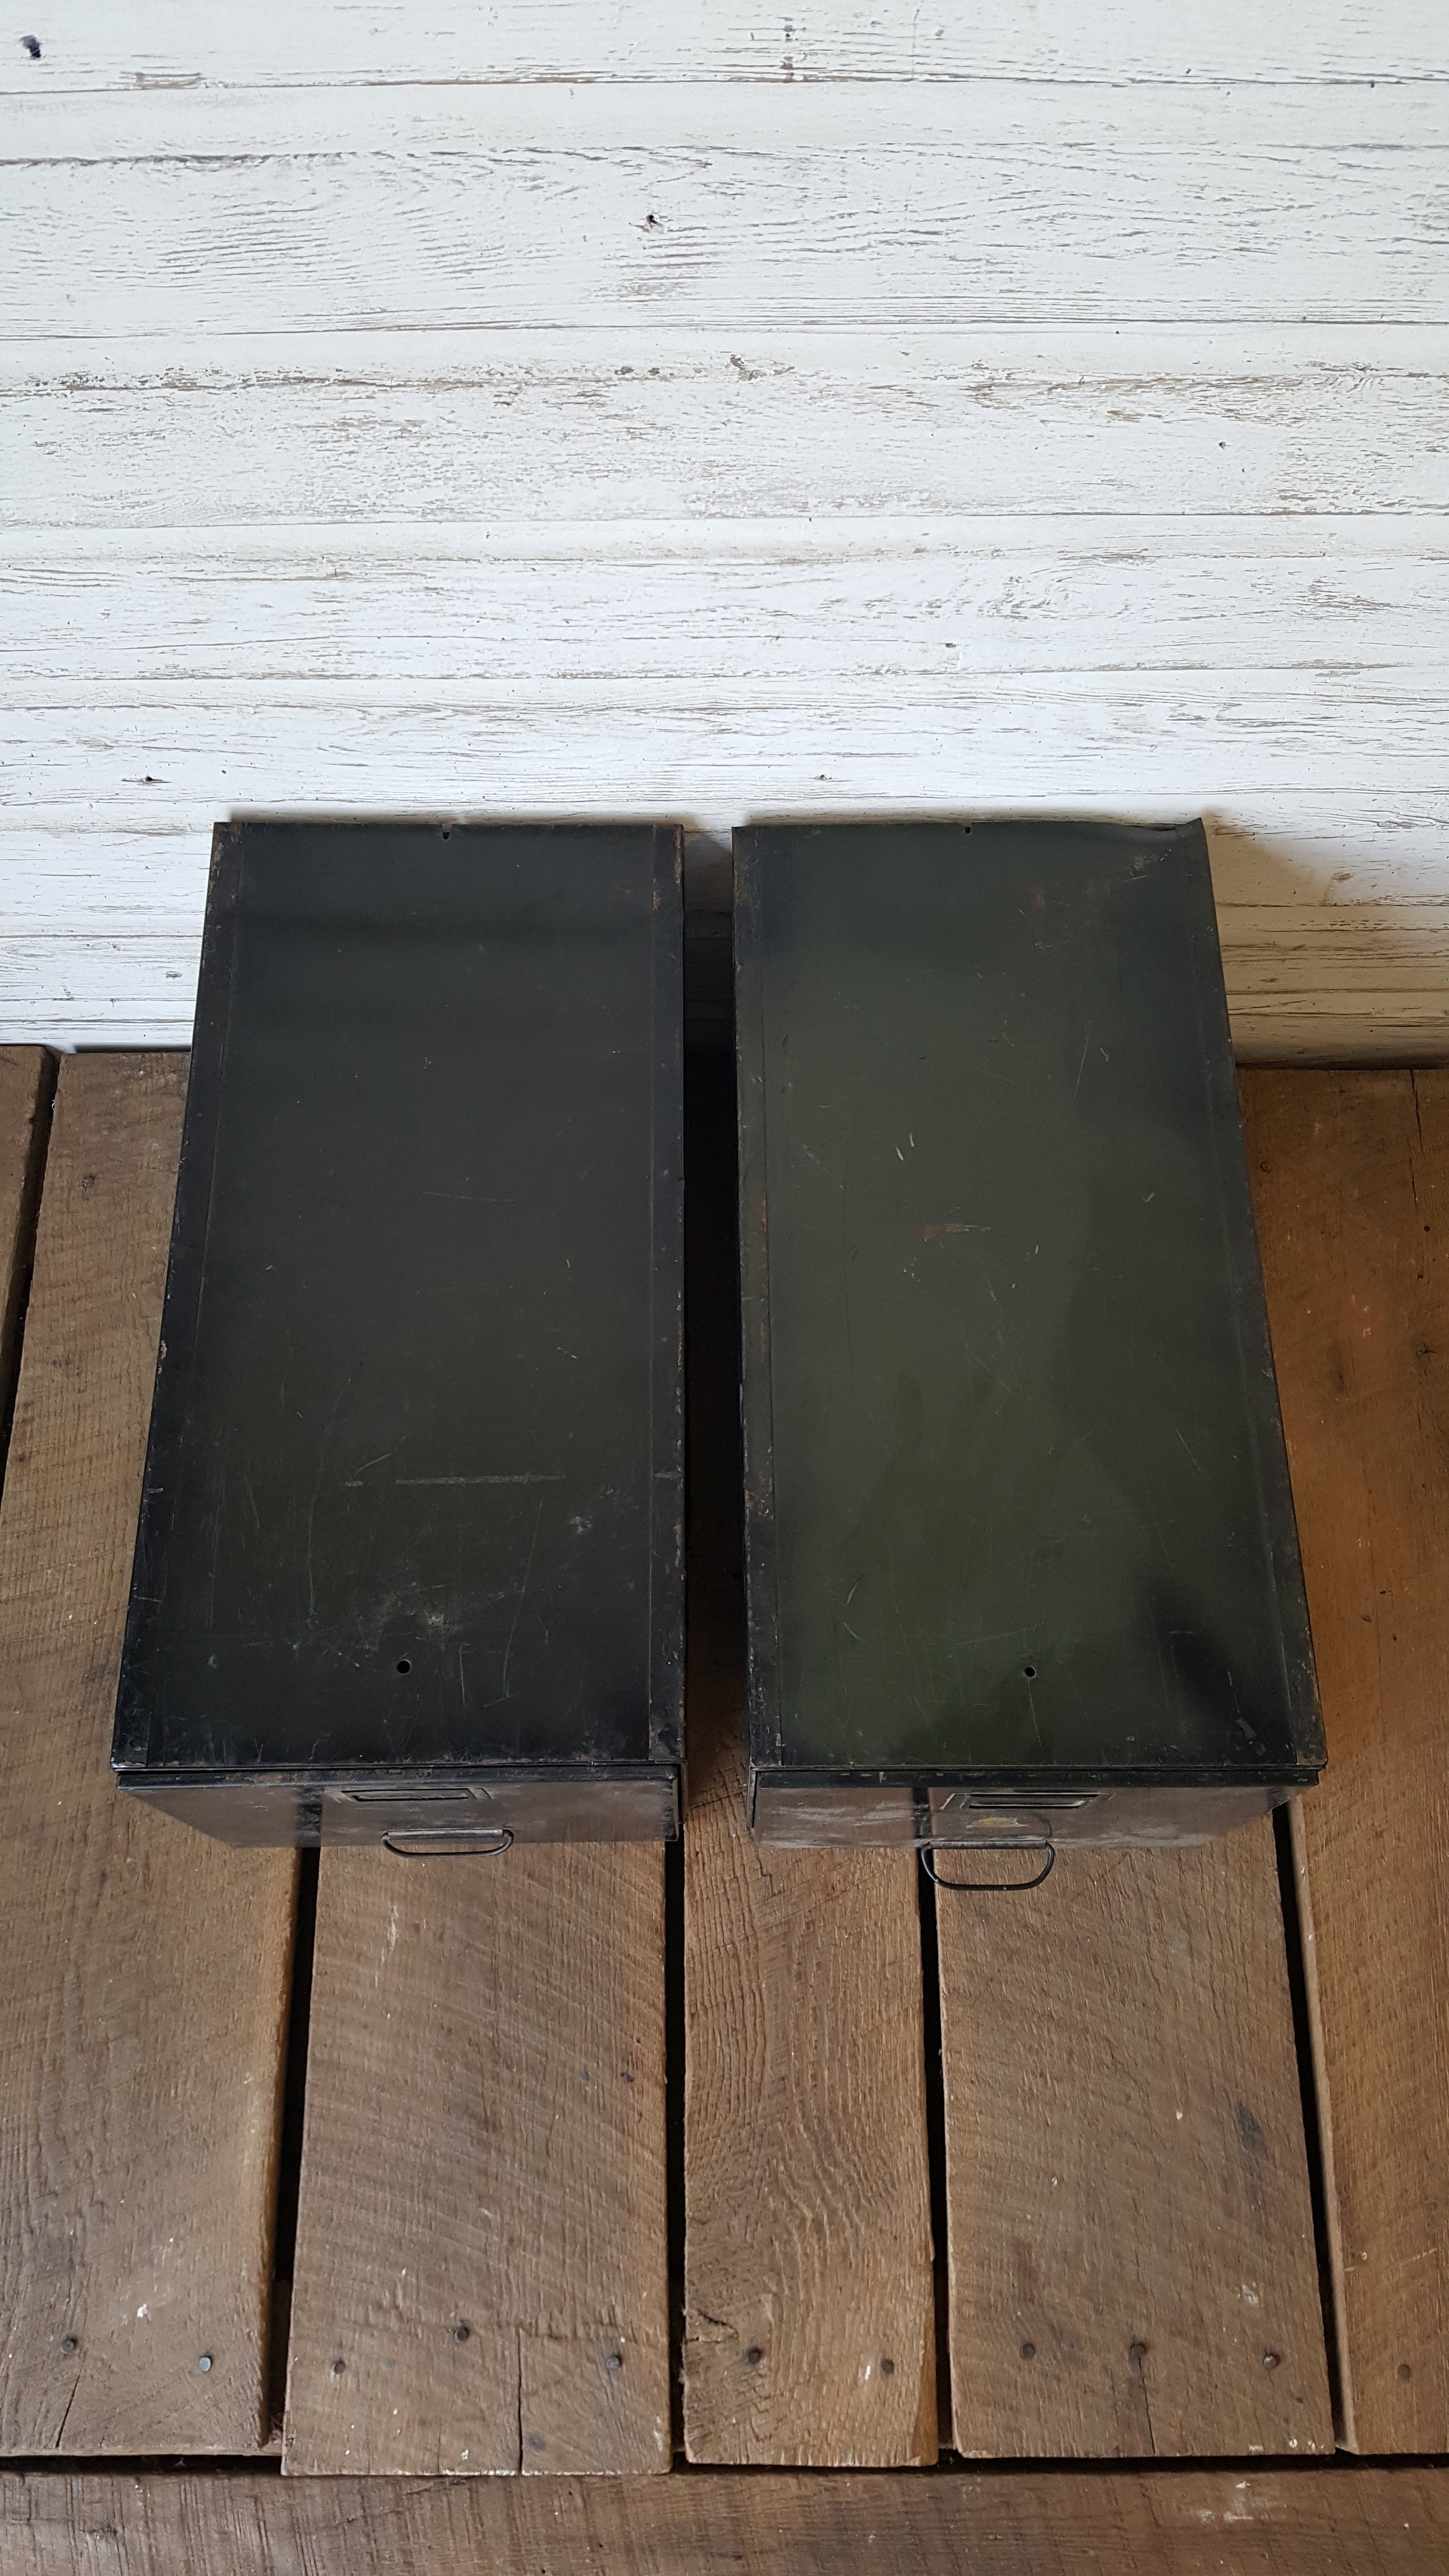
I’ve been on the hunt for a couple of unique filing cabinets so that I could transform them into something cool. These were the perfect fit and you can do so many different things with them. You can make them into side tables/nightstands, set them apart and add a piece of wood to the top to make a desk, or of course, they could be used as filing cabinets! I love when pieces serve so many different purposes. Anyway, when I saw these two I snatched them up and got to work! See the process below.
THE PREP PROCESS:
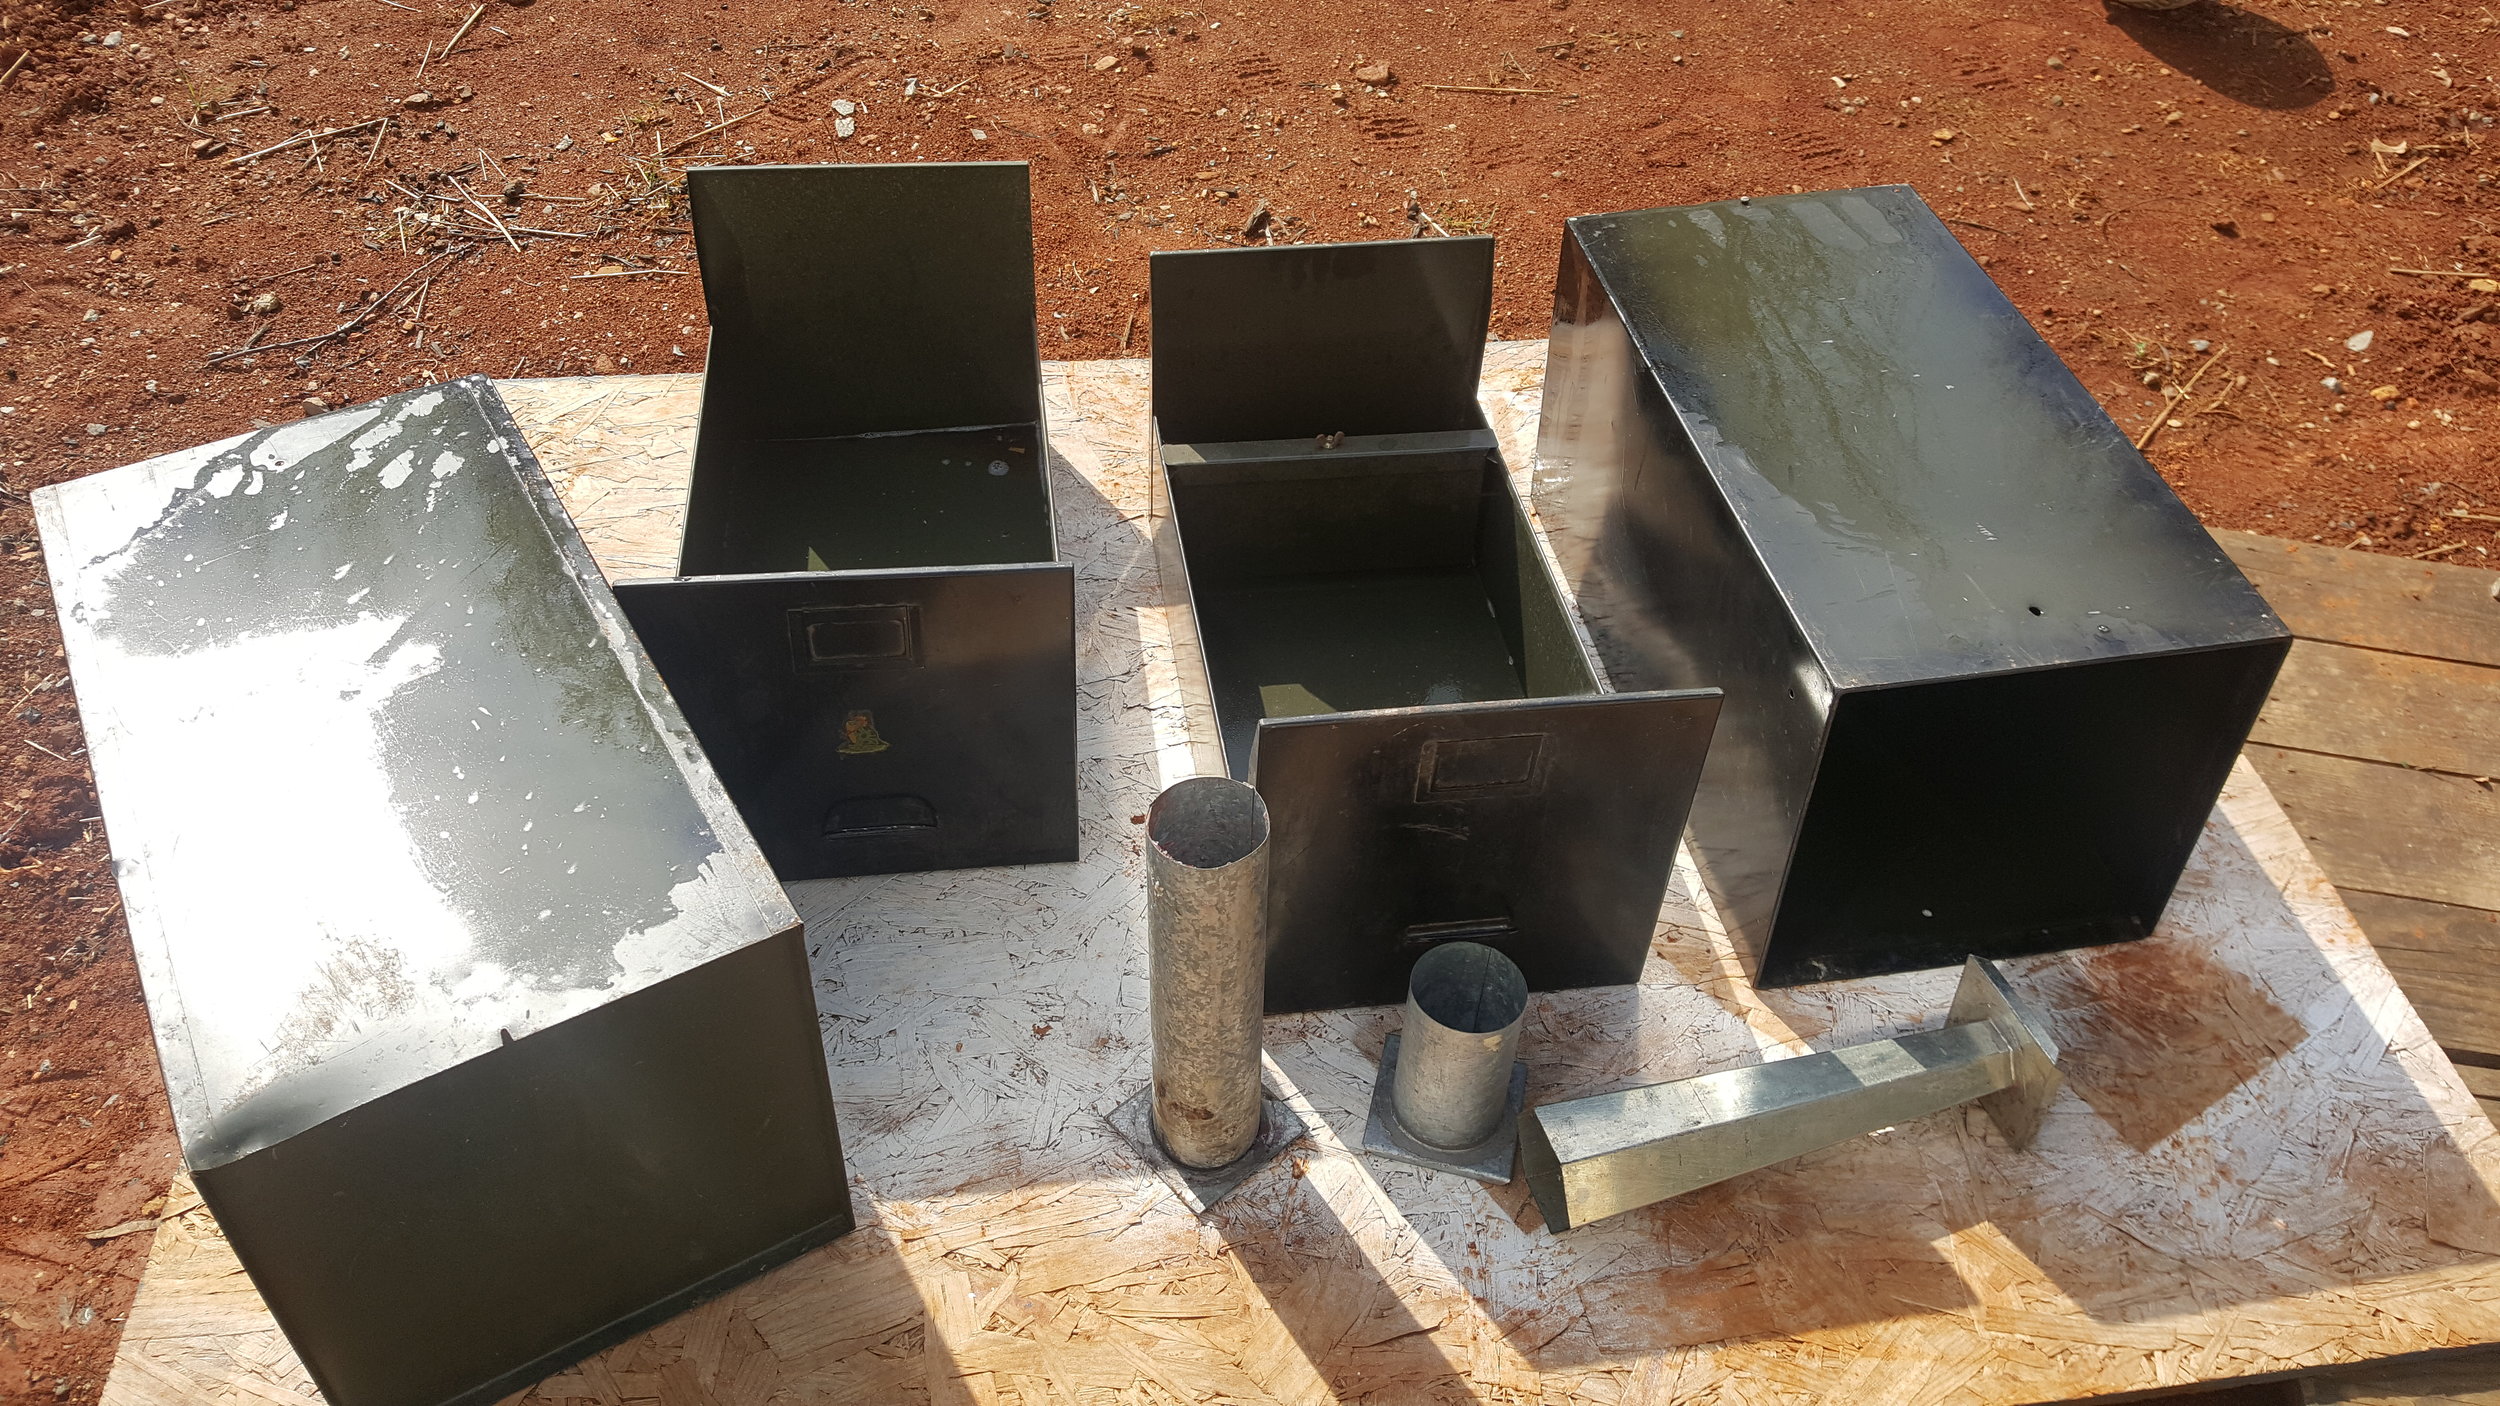
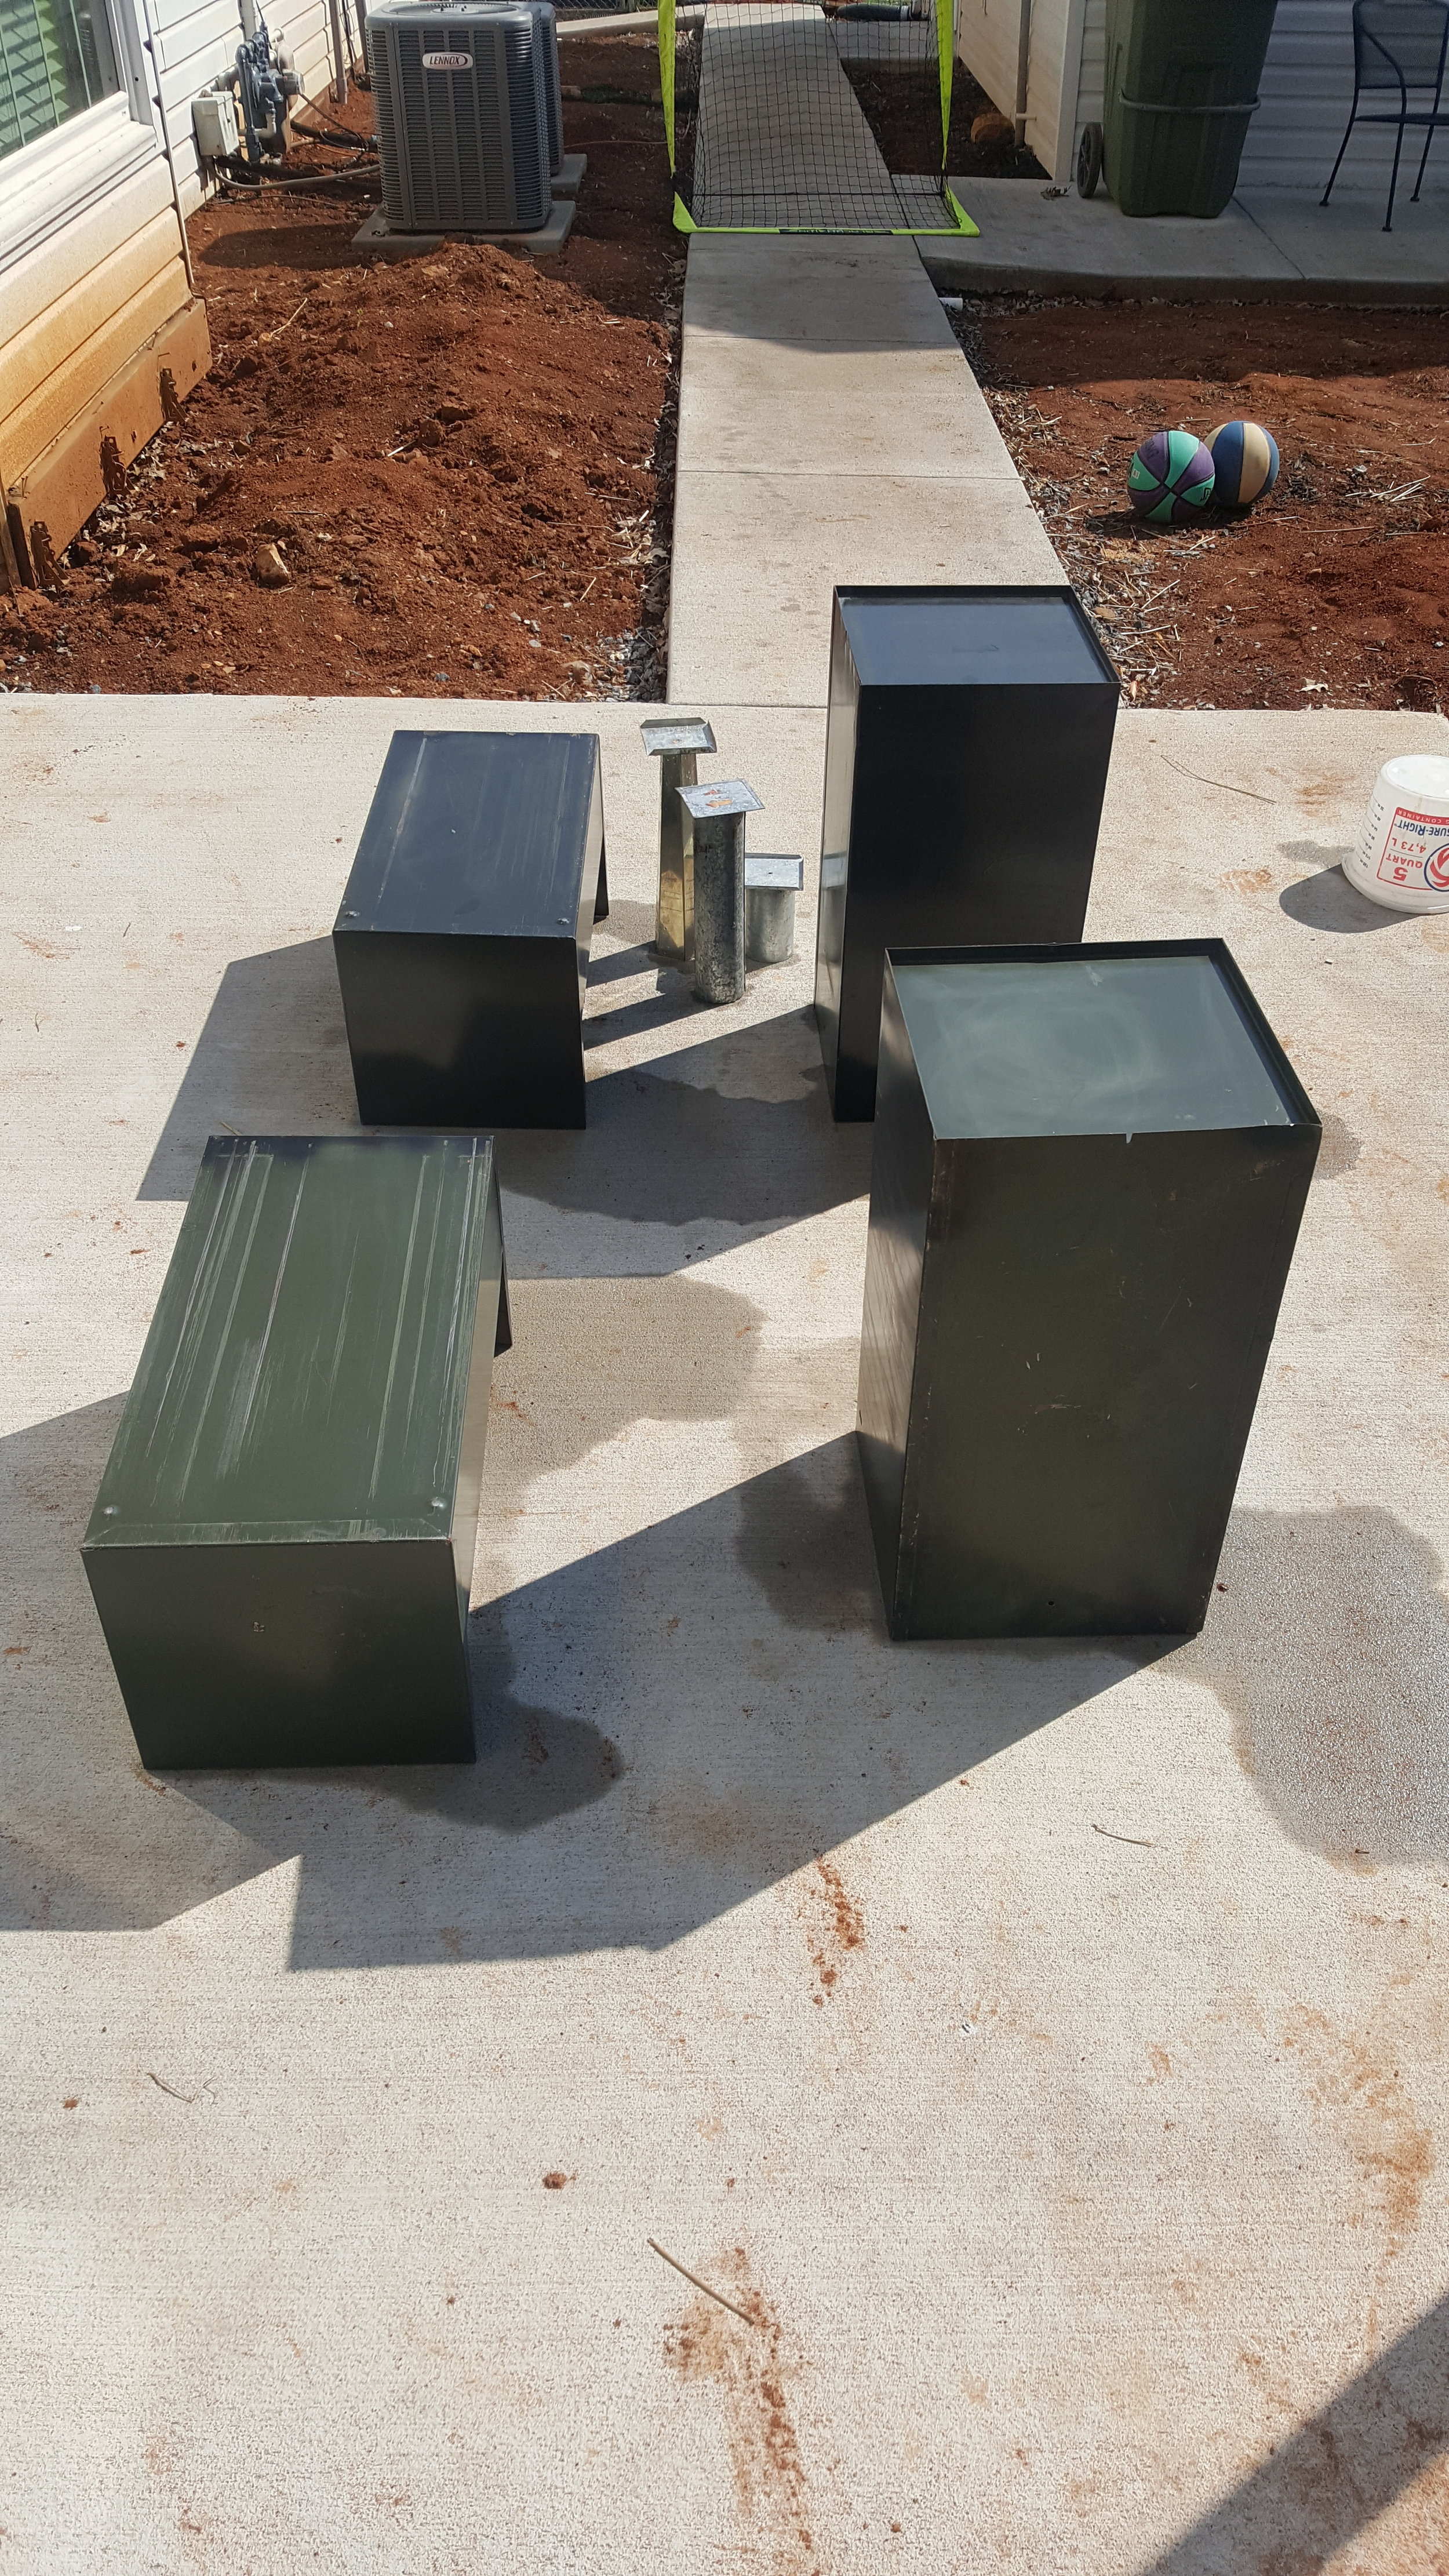
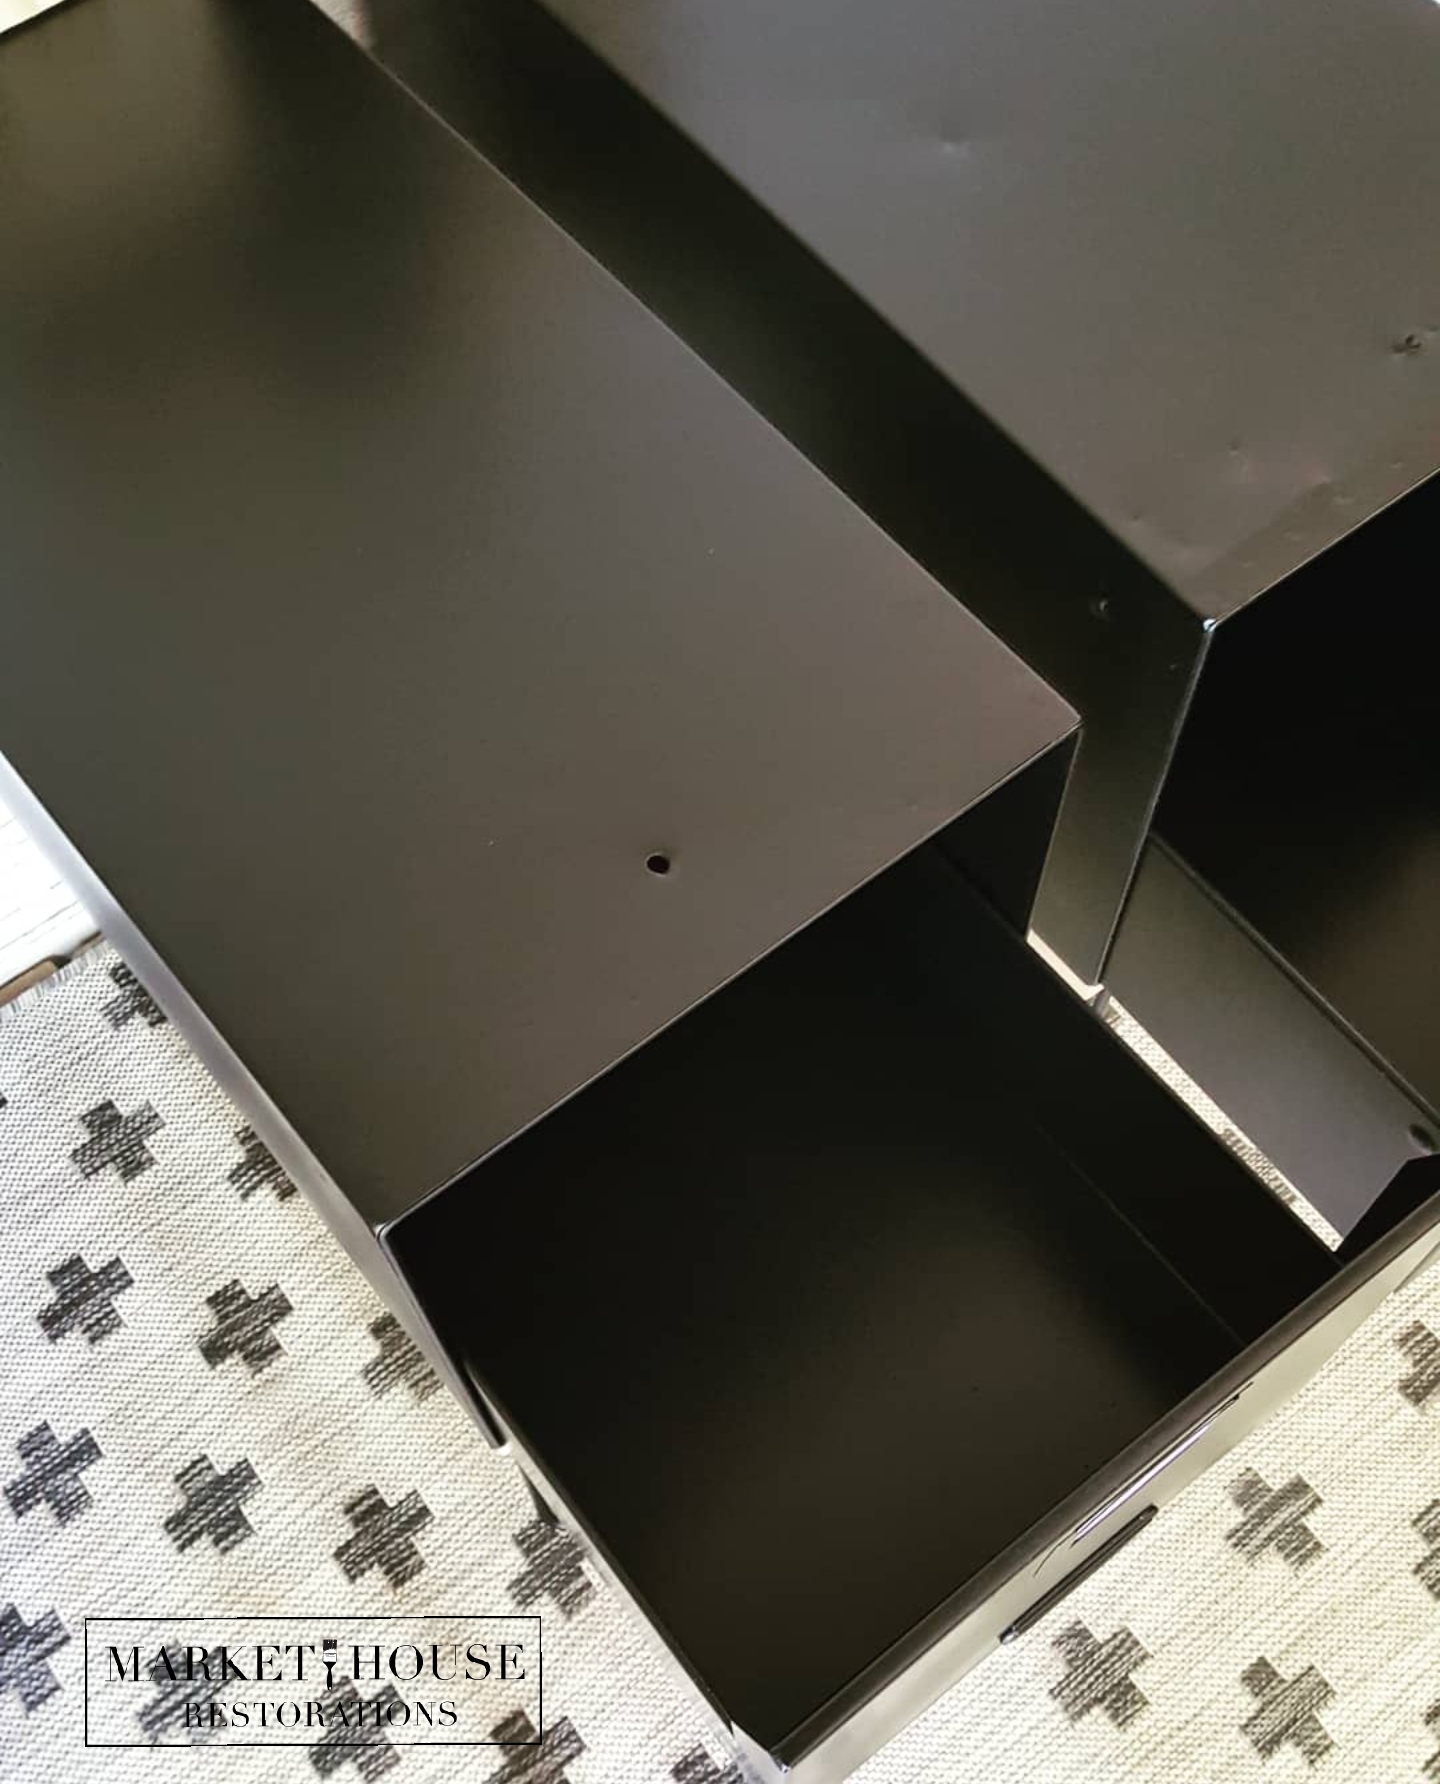
I removed the drawers and laid everything out so I could have easy access to each piece during the cleaning process.
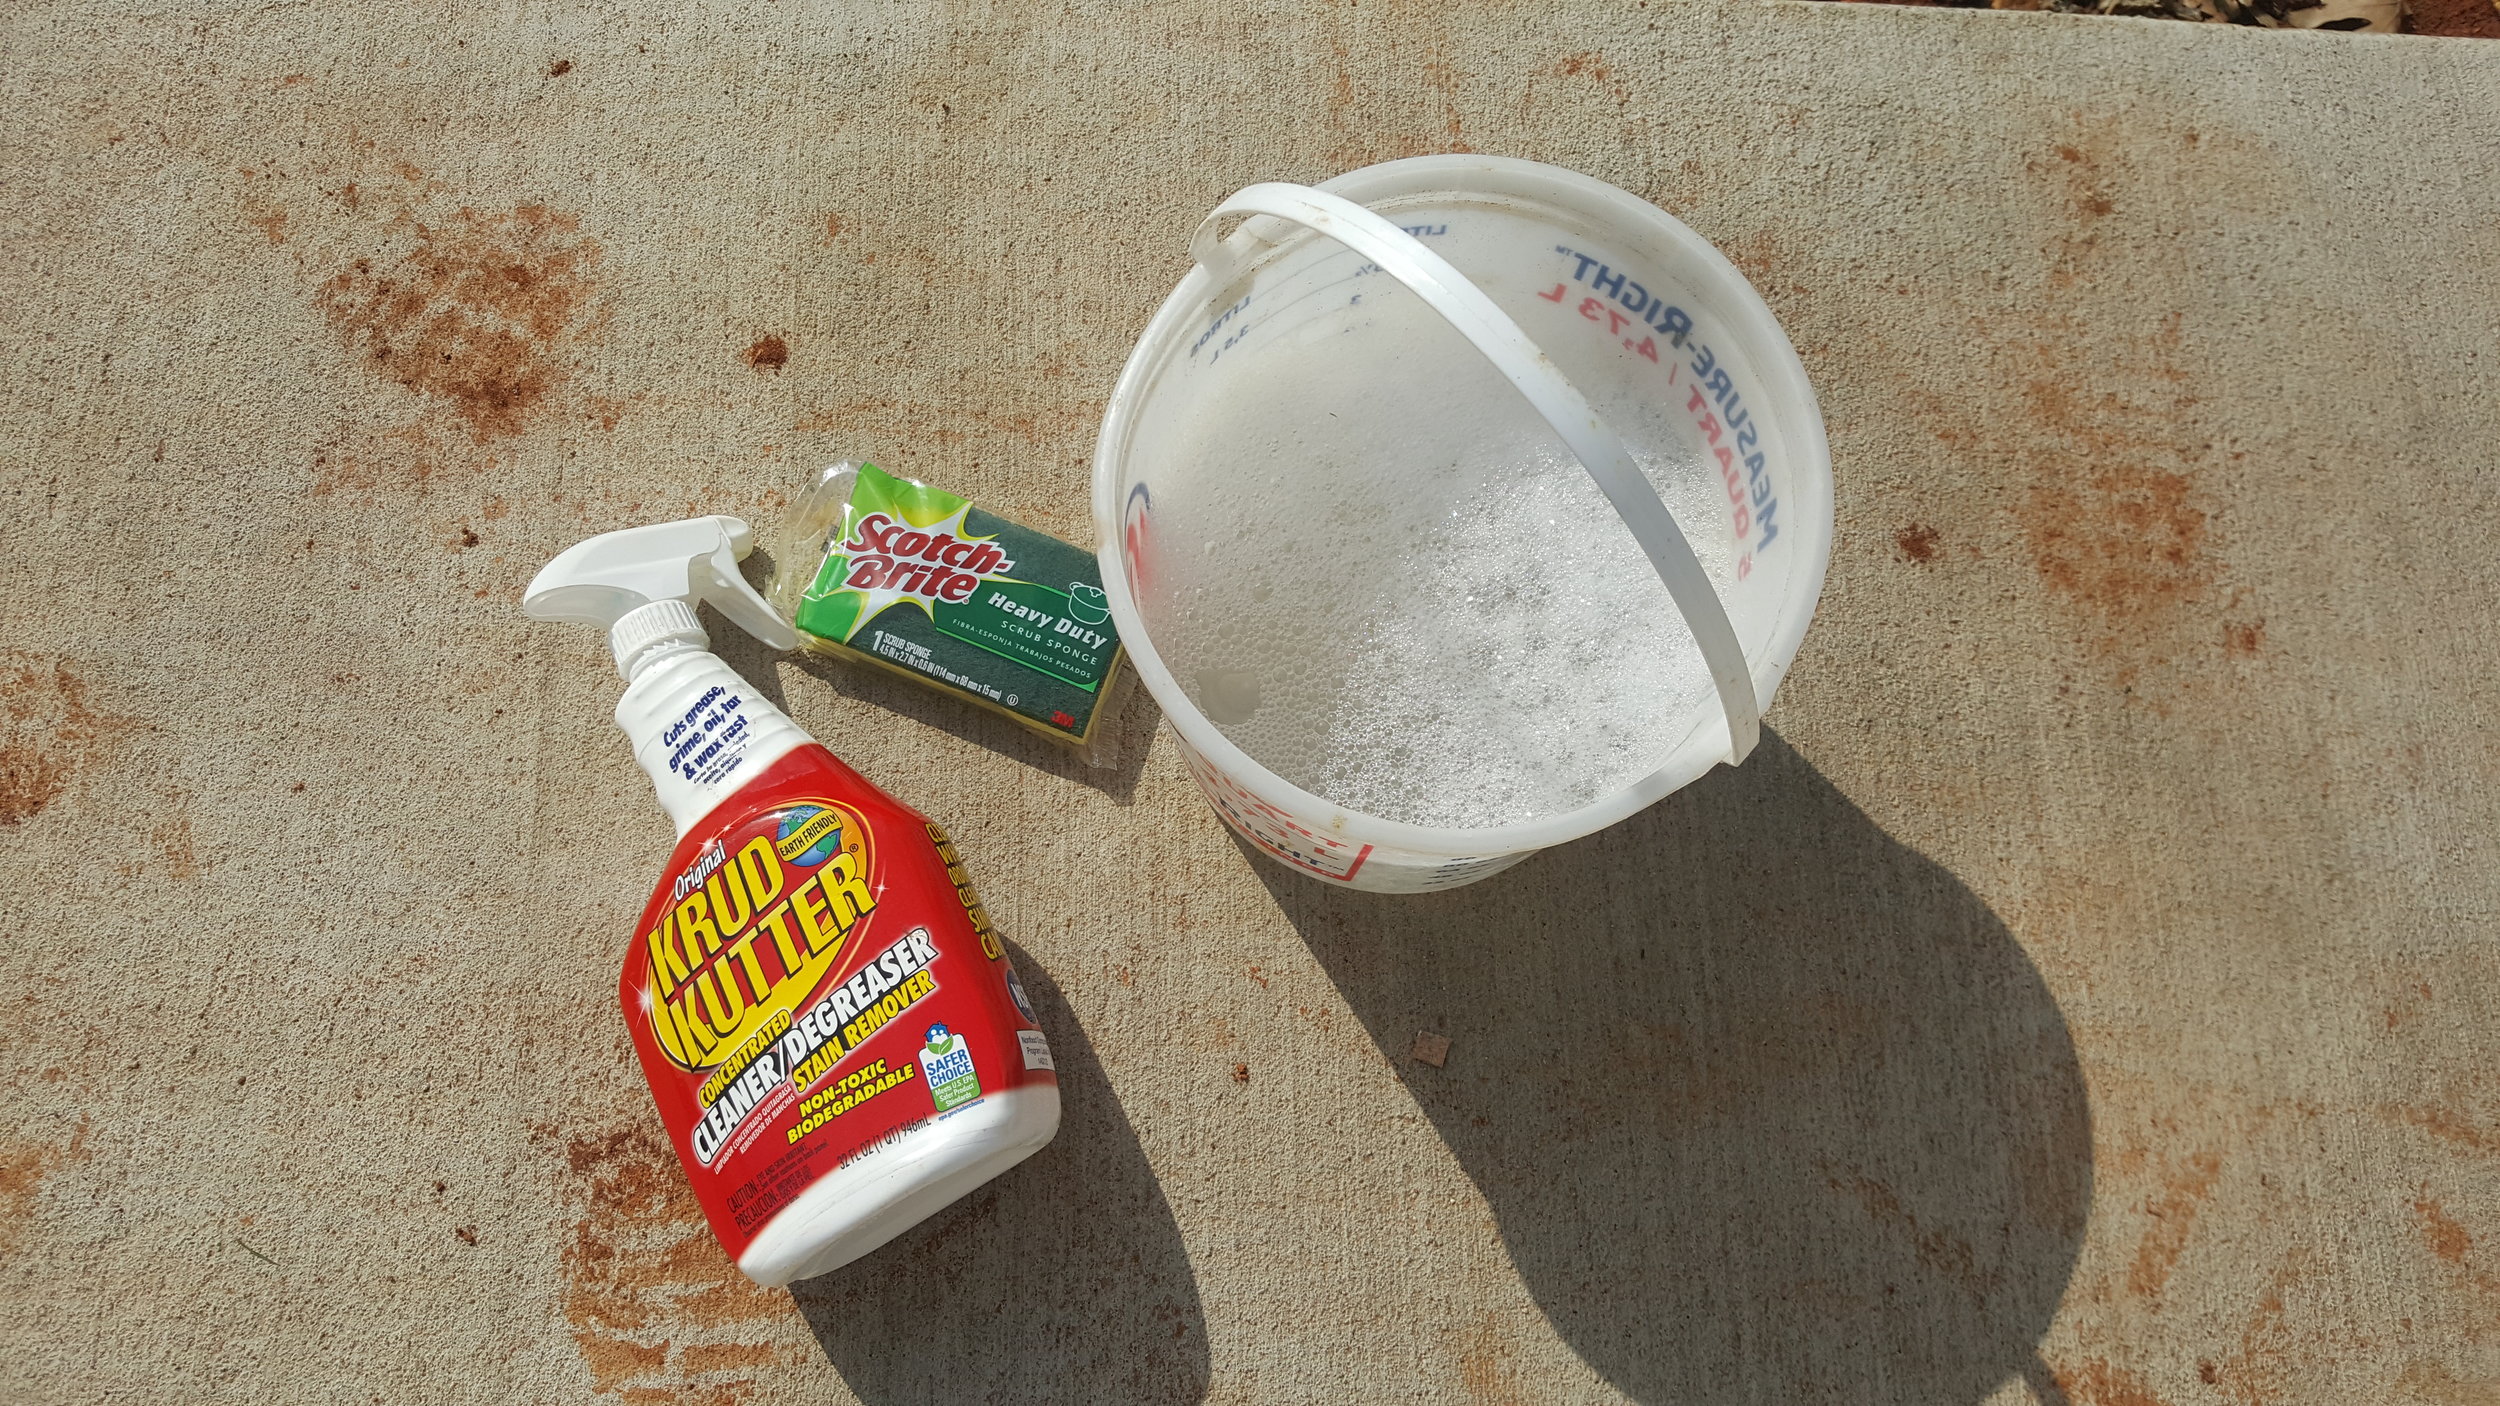
I cleaned and scrubbed the cabinets inside-and-out with Krud Kutter and a Scotch Brite pad.
I let the cabinets dry really well in the sun, HOWEVER, I did not let the metal get hot because I knew that it would affect the application of the spray paint. I made sure that they dried well (about 30 minutes), but then moved them to the shade.
THE PAINTING PROCESS:
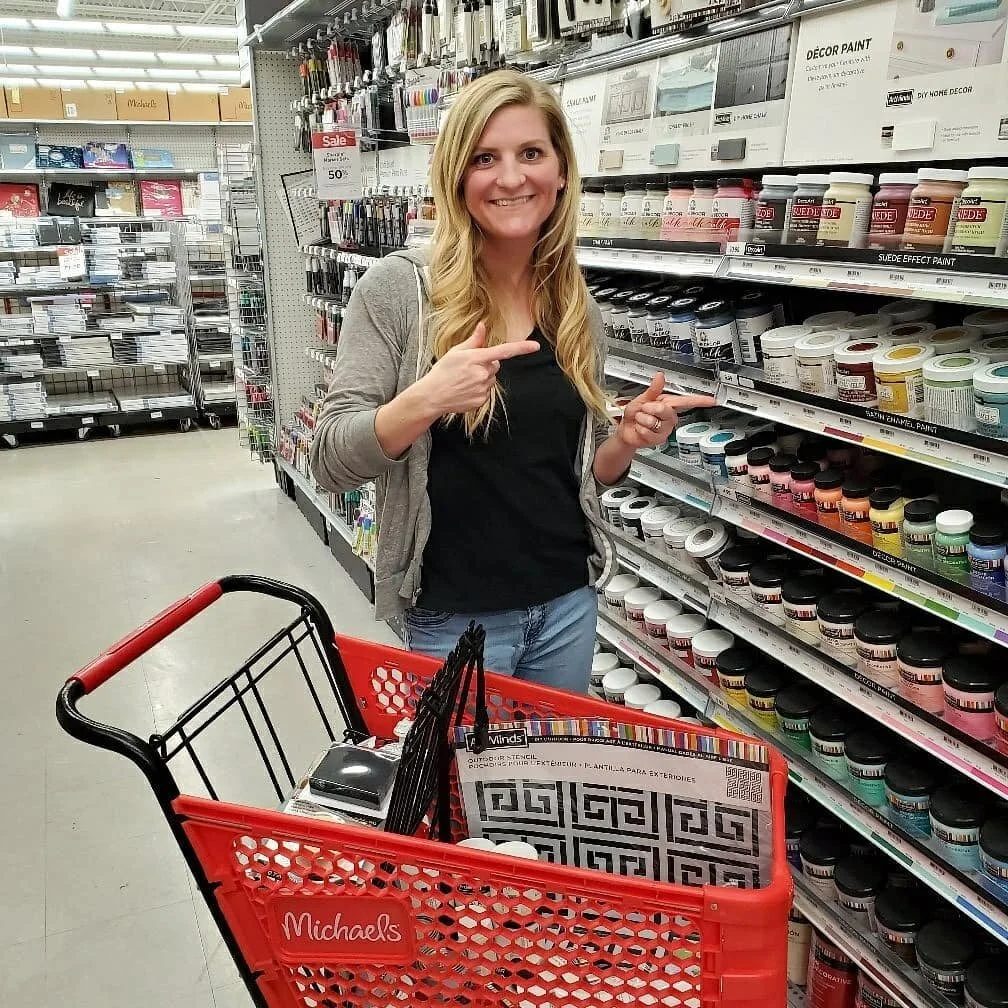
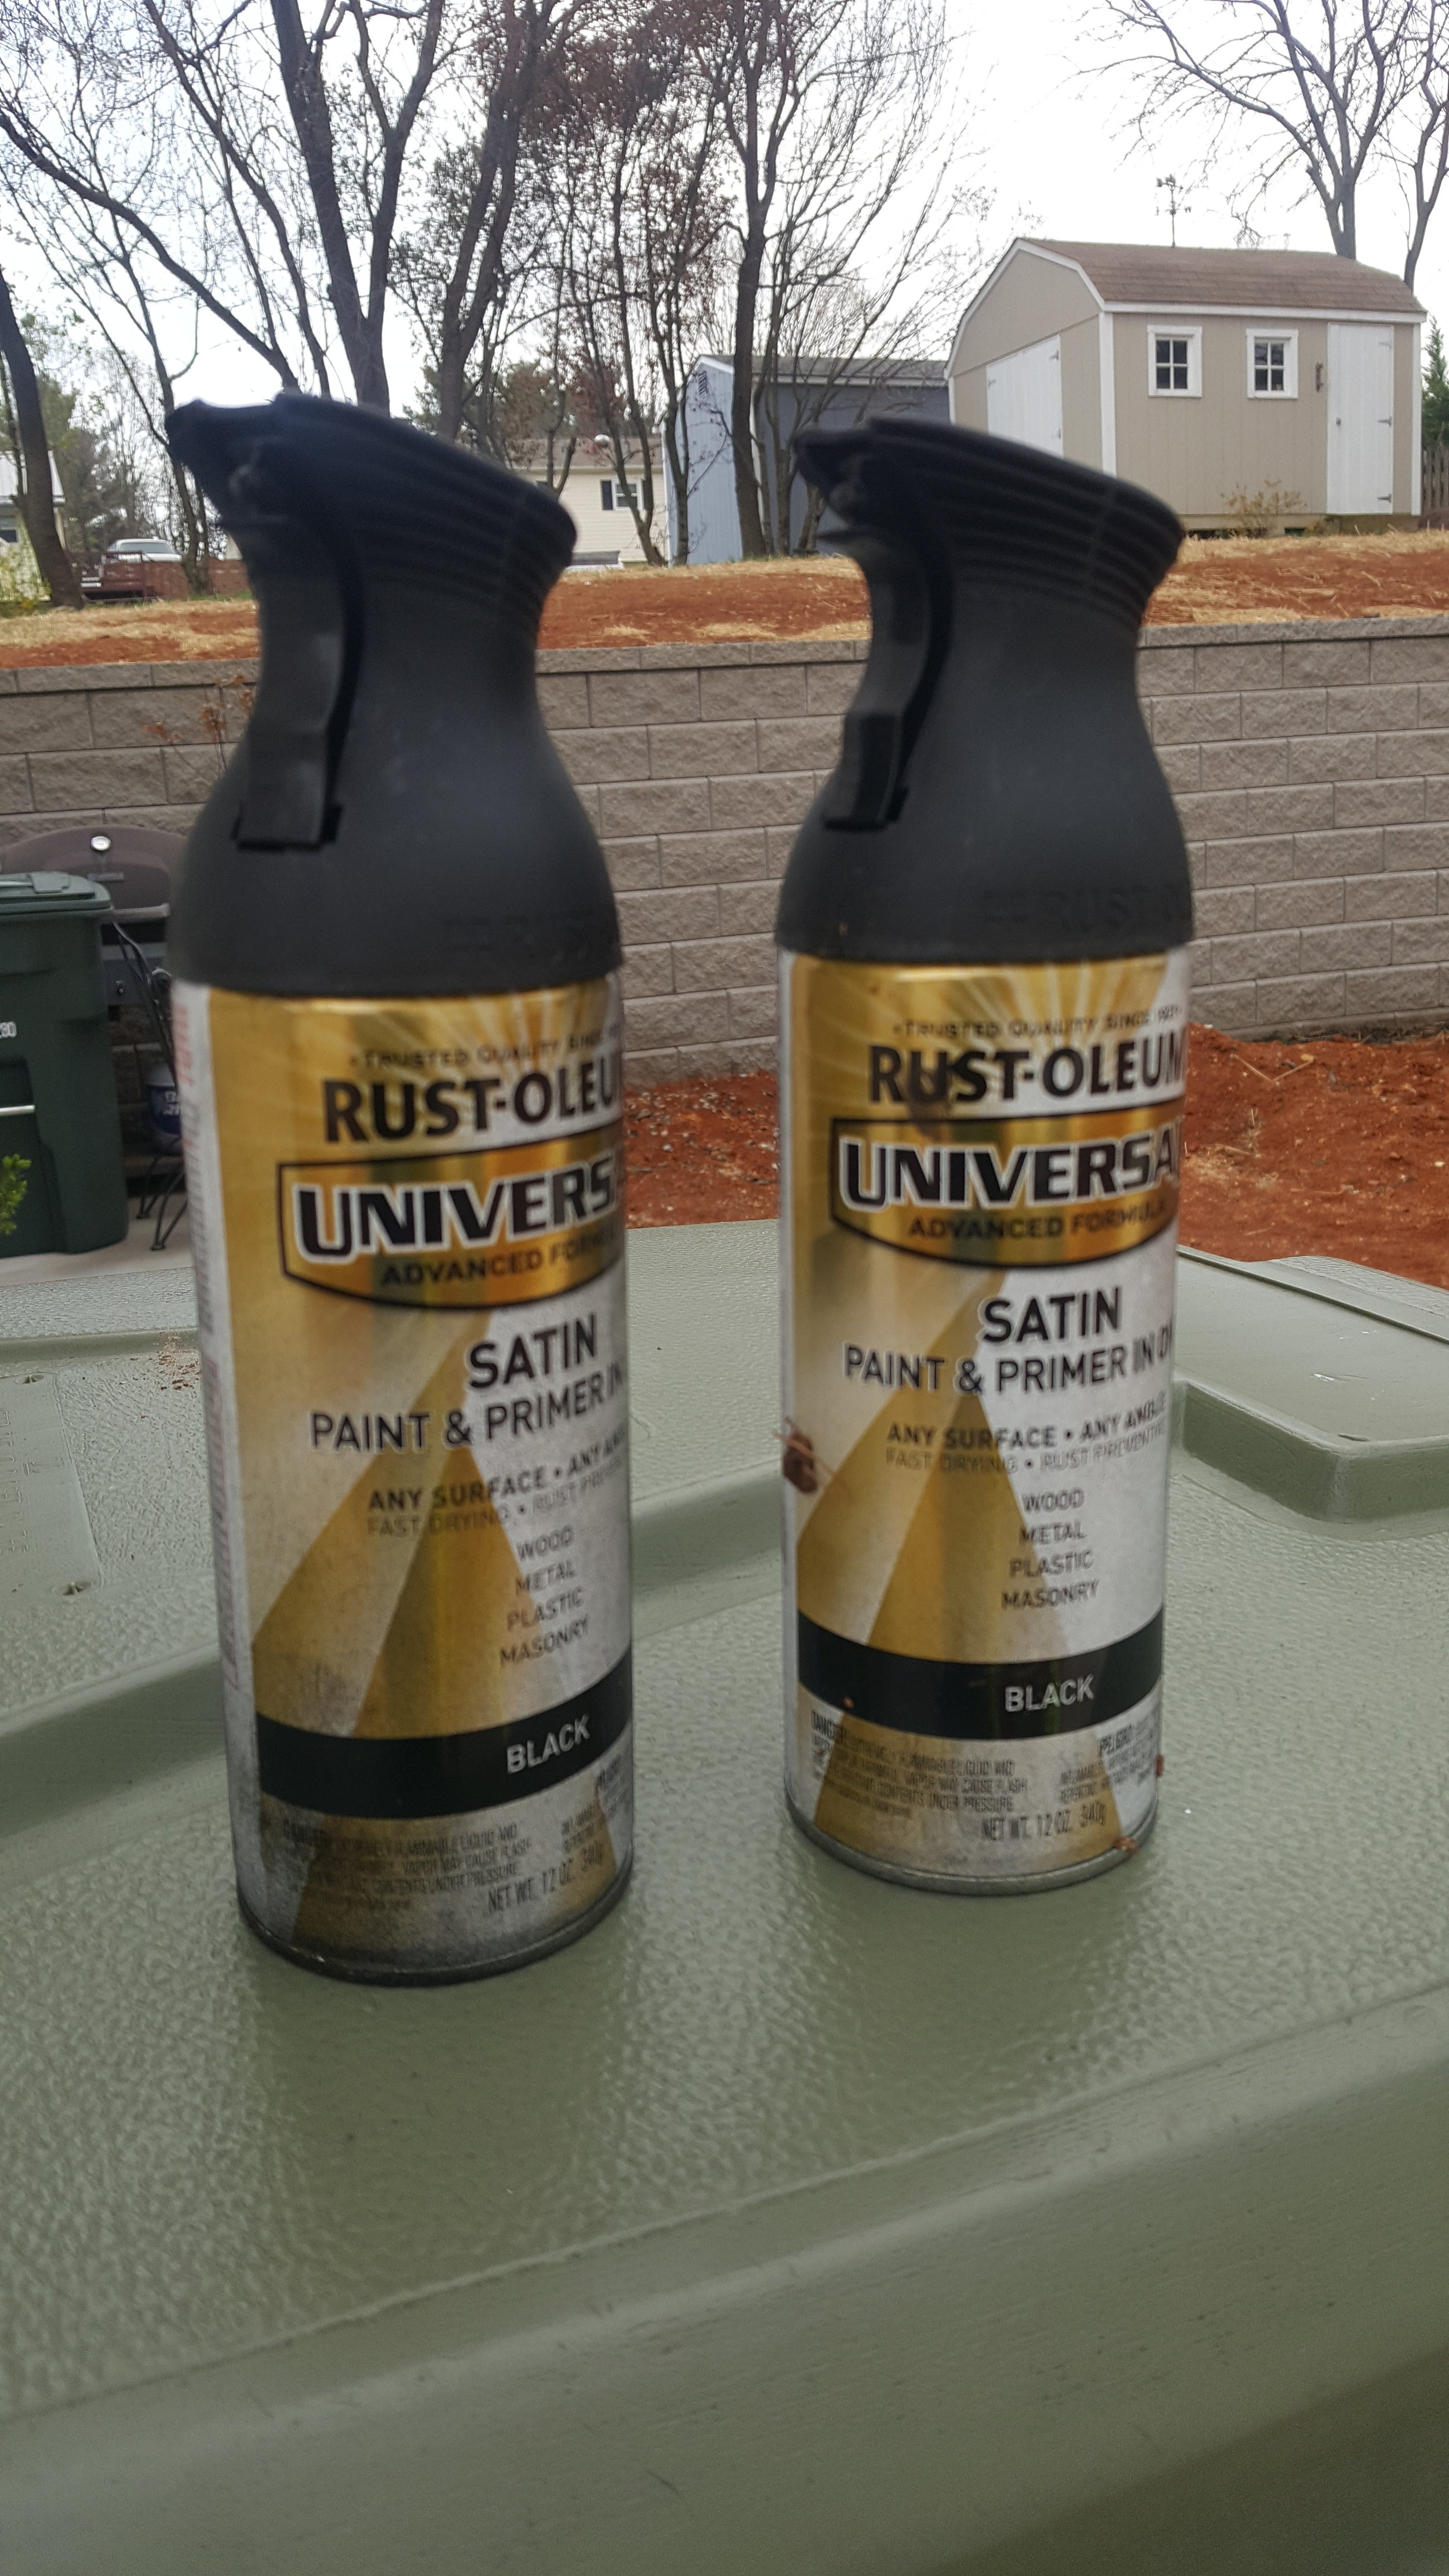
The painting process was pretty simple. I found a well ventilated area (not in the direct sunlight) and started spraying! My absolute favorite product to use on metal is Rust-Oleum spray paint. It goes on smooth and holds up really well over time. I probably could have gotten away with (2) cans of spray paint, but being the perfectionist that I am when it comes to painting, I actually used (1.5) cans on each cabinet, so I went through (3) cans total. I wanted to make sure I covered every square inch, inside-and-out.
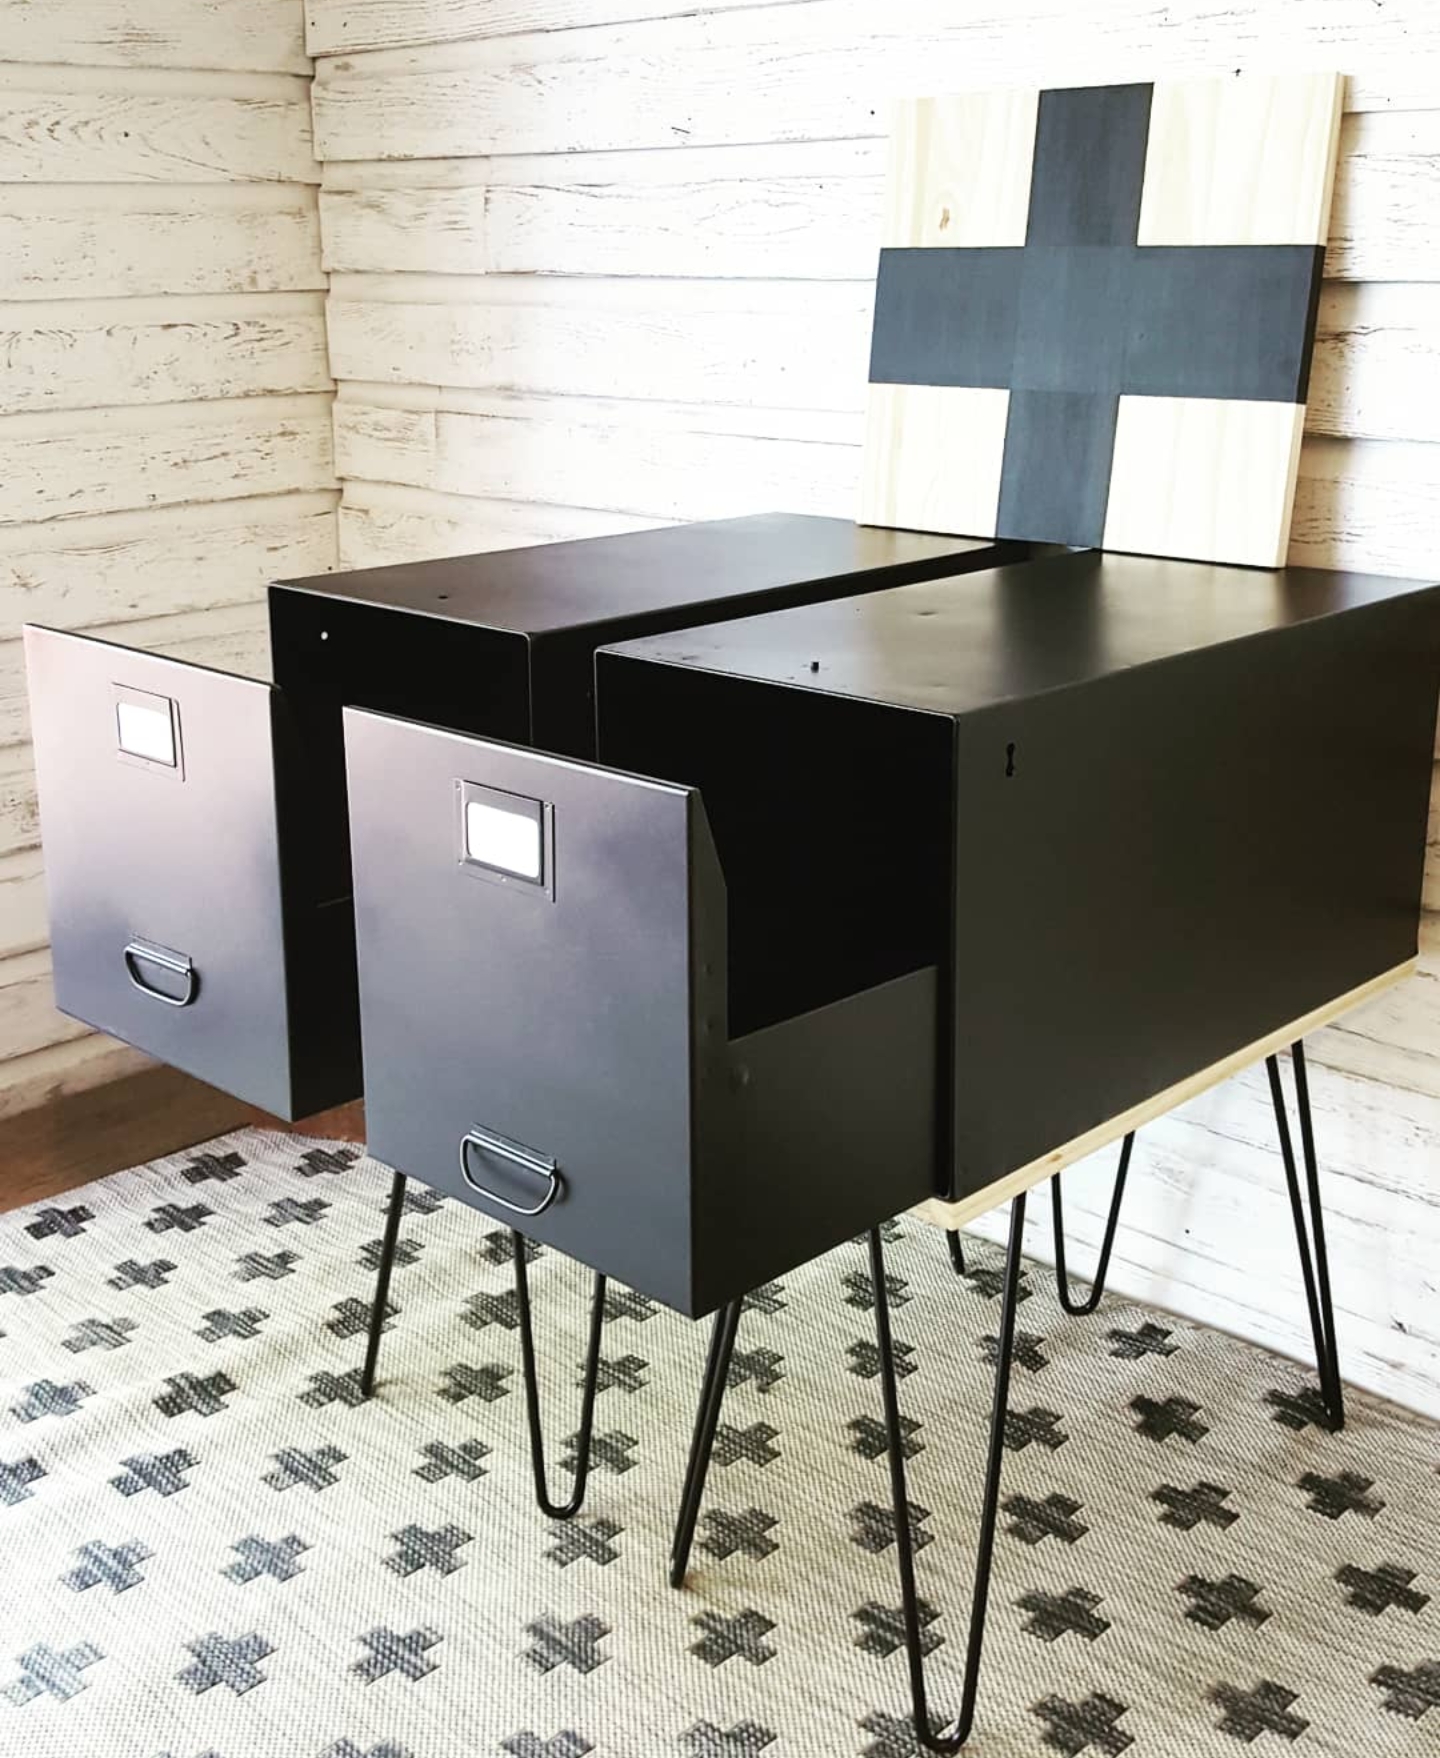
ADDING WOOD BASE:
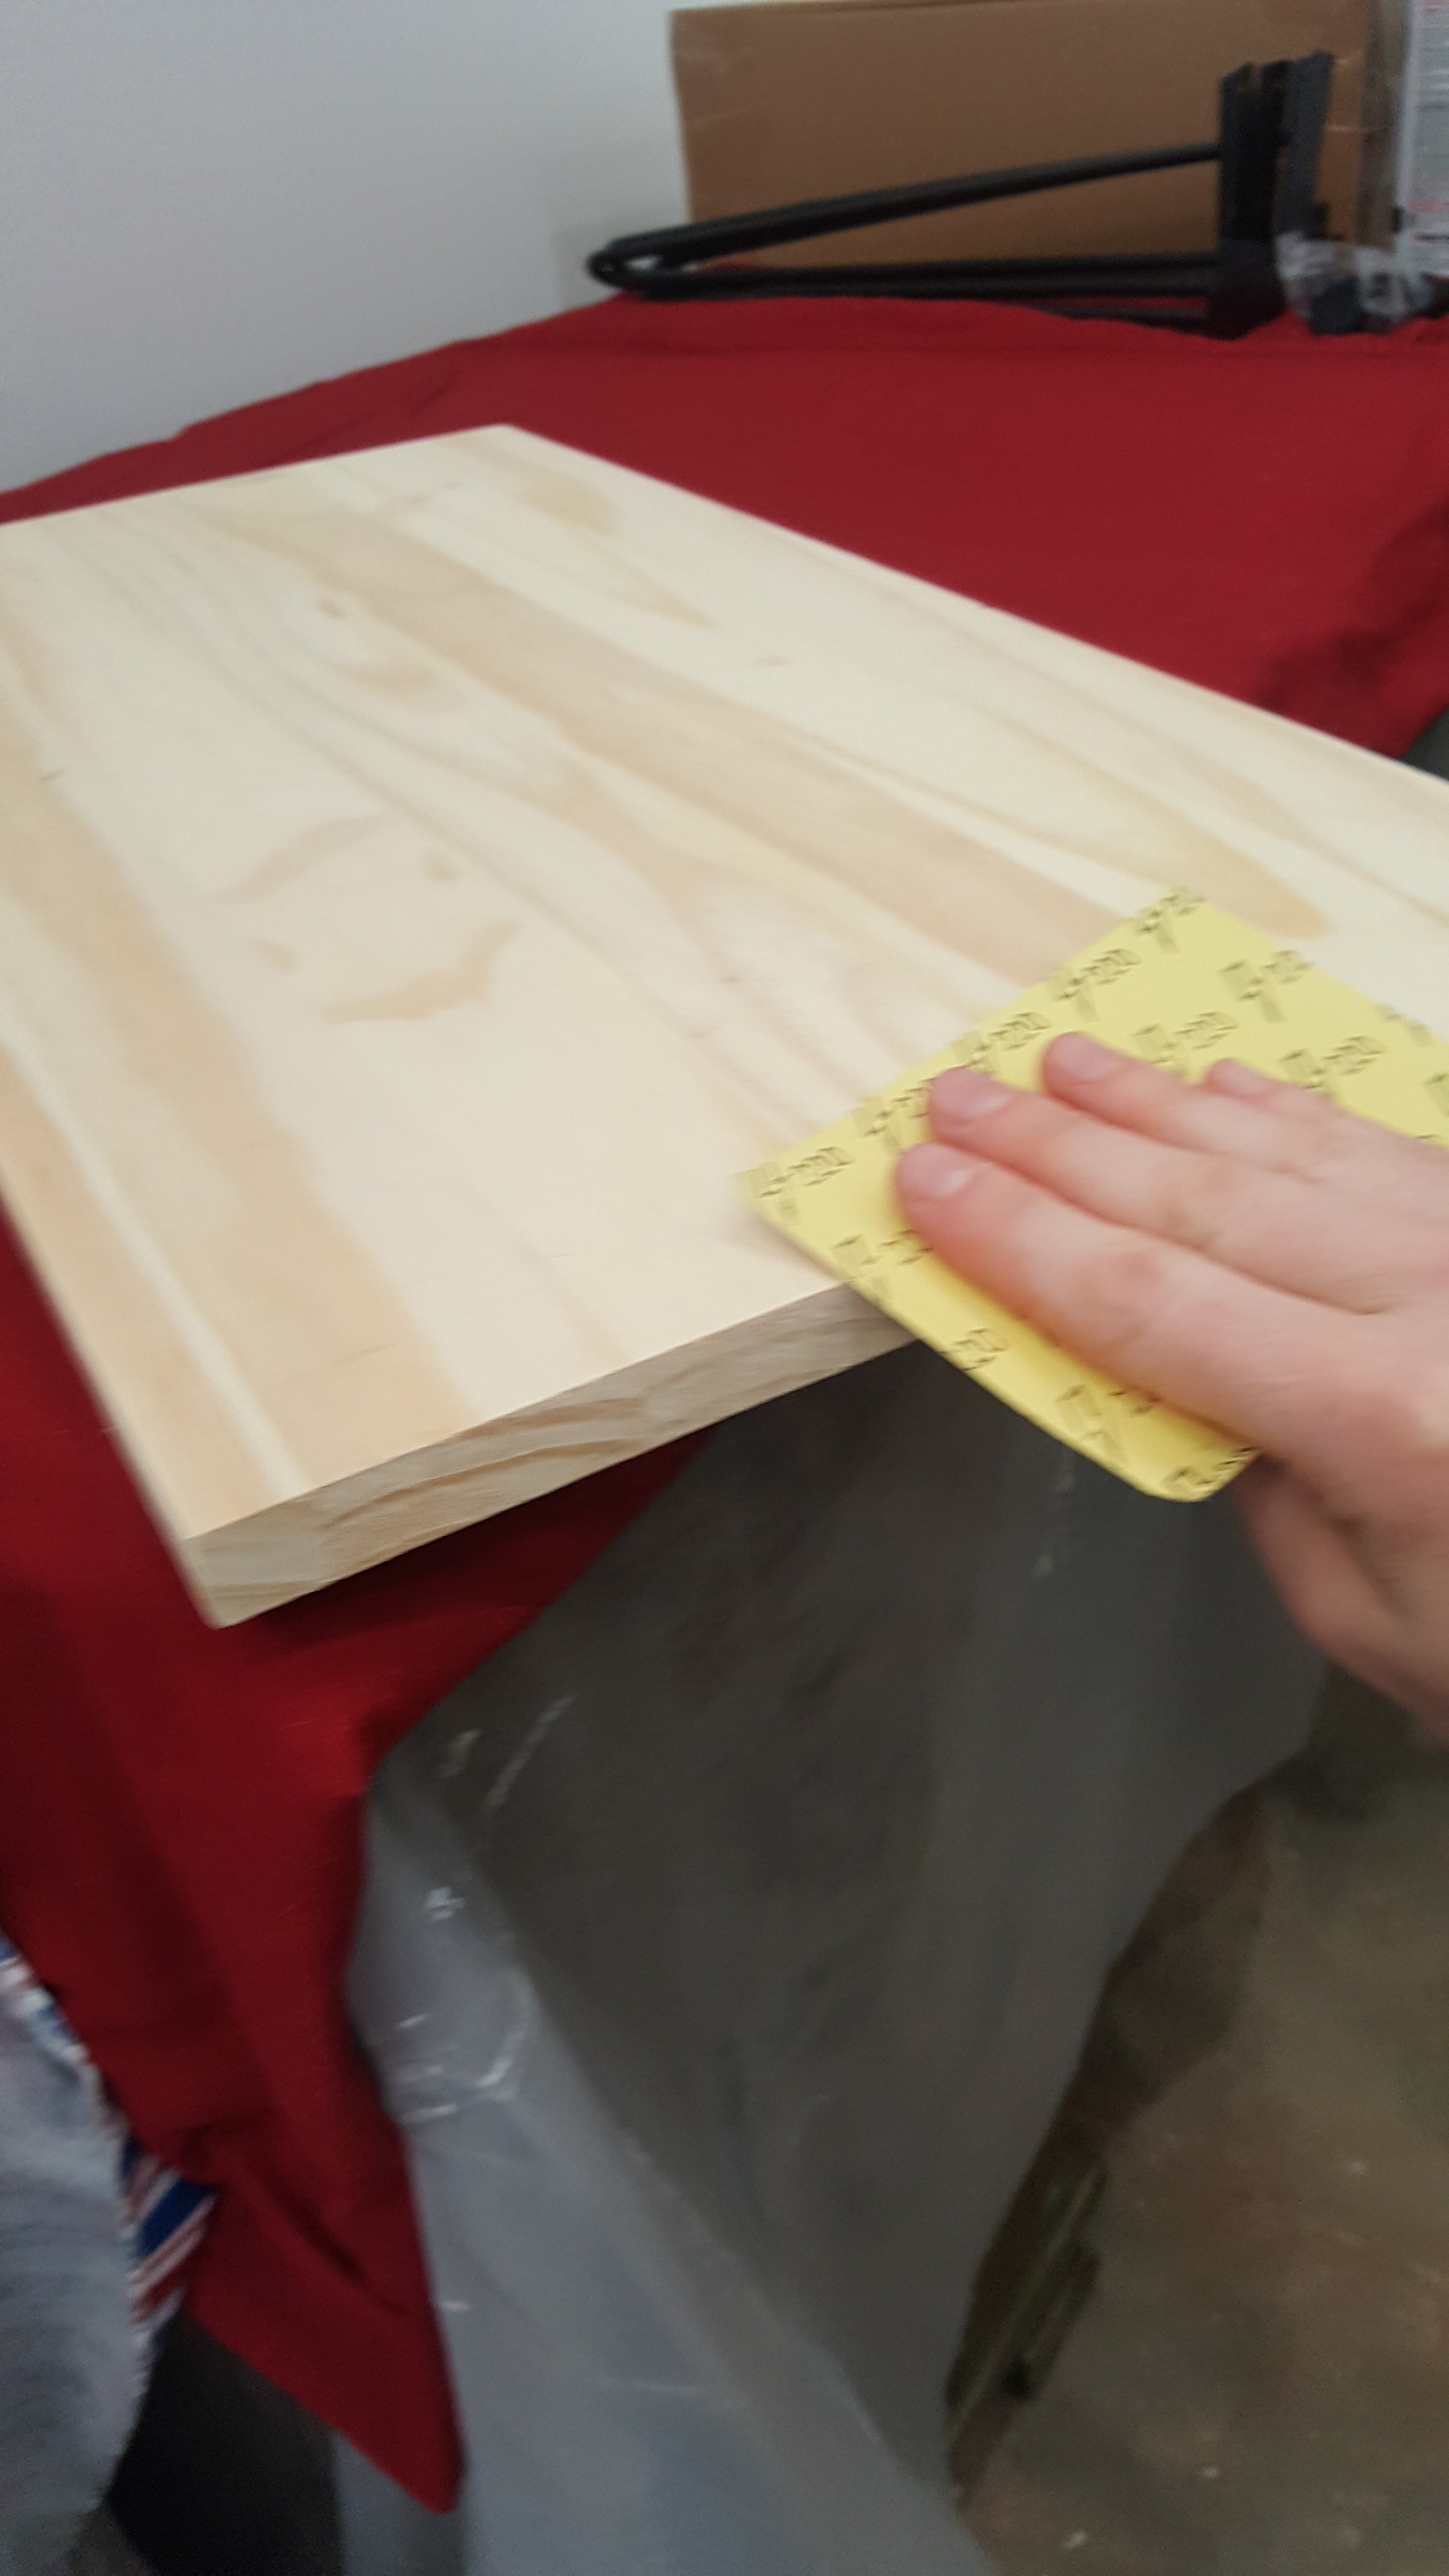
The base of the filing cabinet measures 12 x 24, so I had a to buy a large board from The Home Depot and cut it down to fit the base.
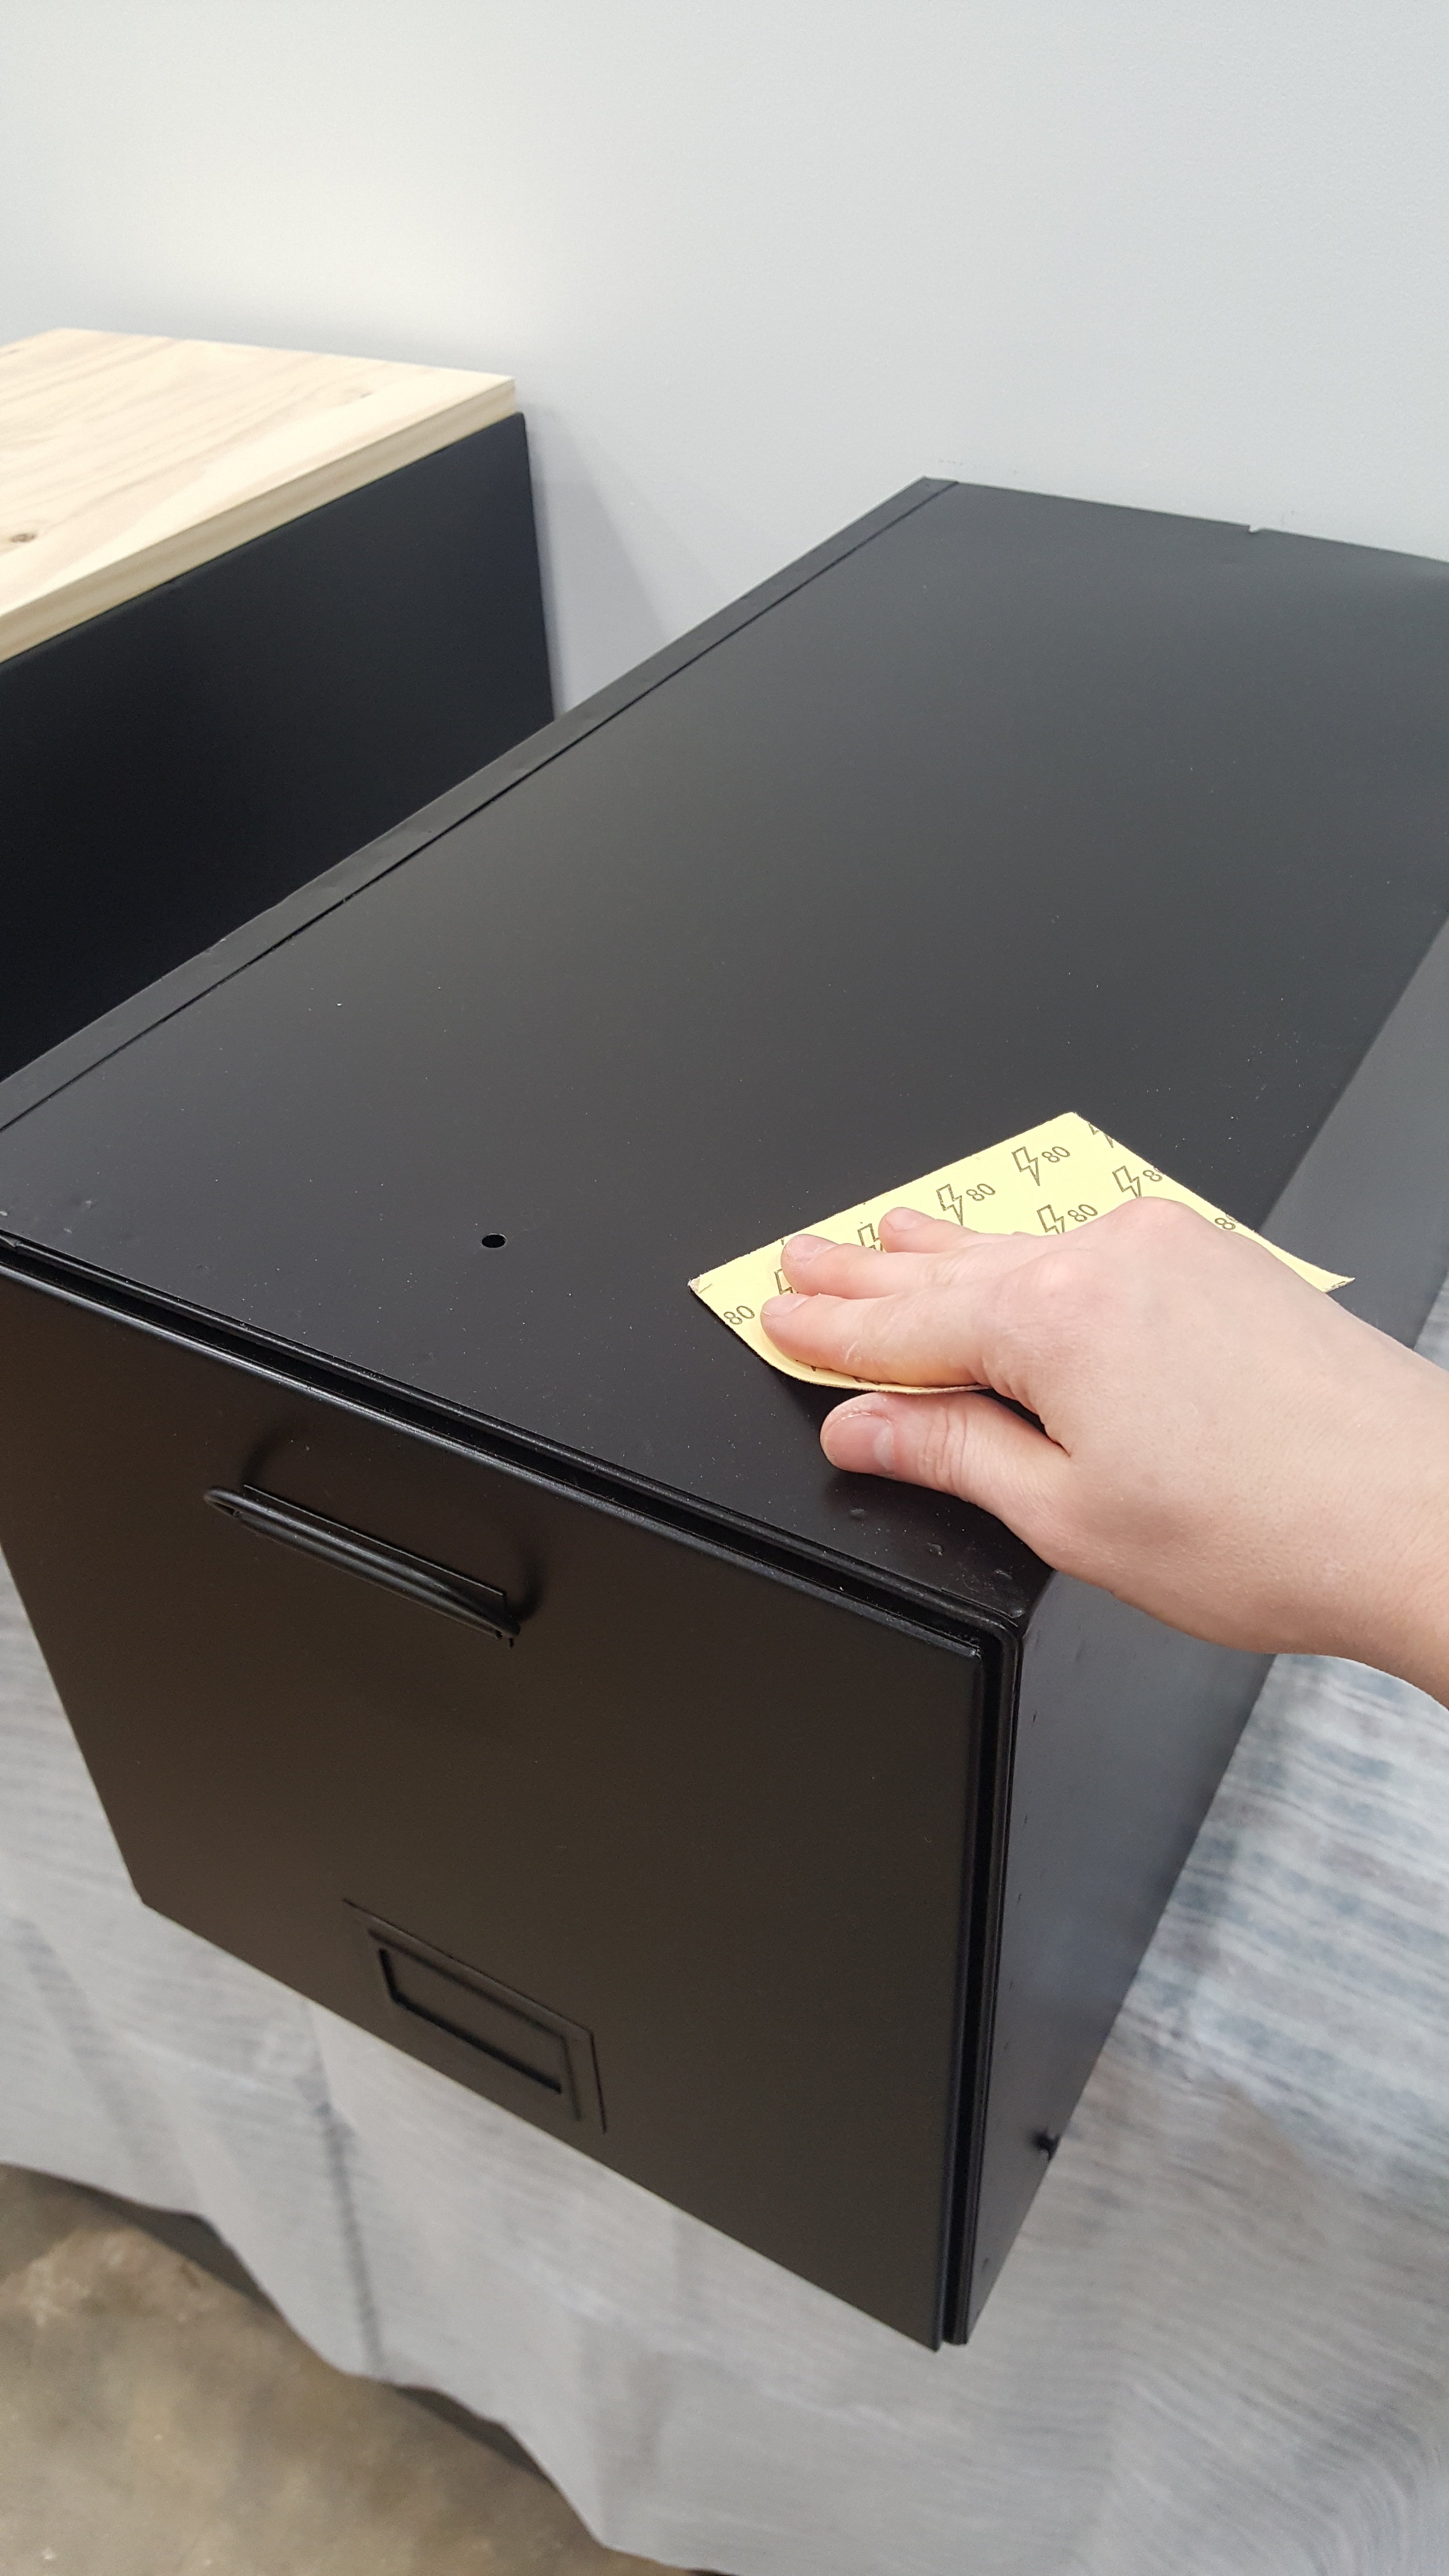
I smoothed out the cut board with a piece of sandpaper then I scuffed up the bottom of the filing cabinet so the glue would adhere well.
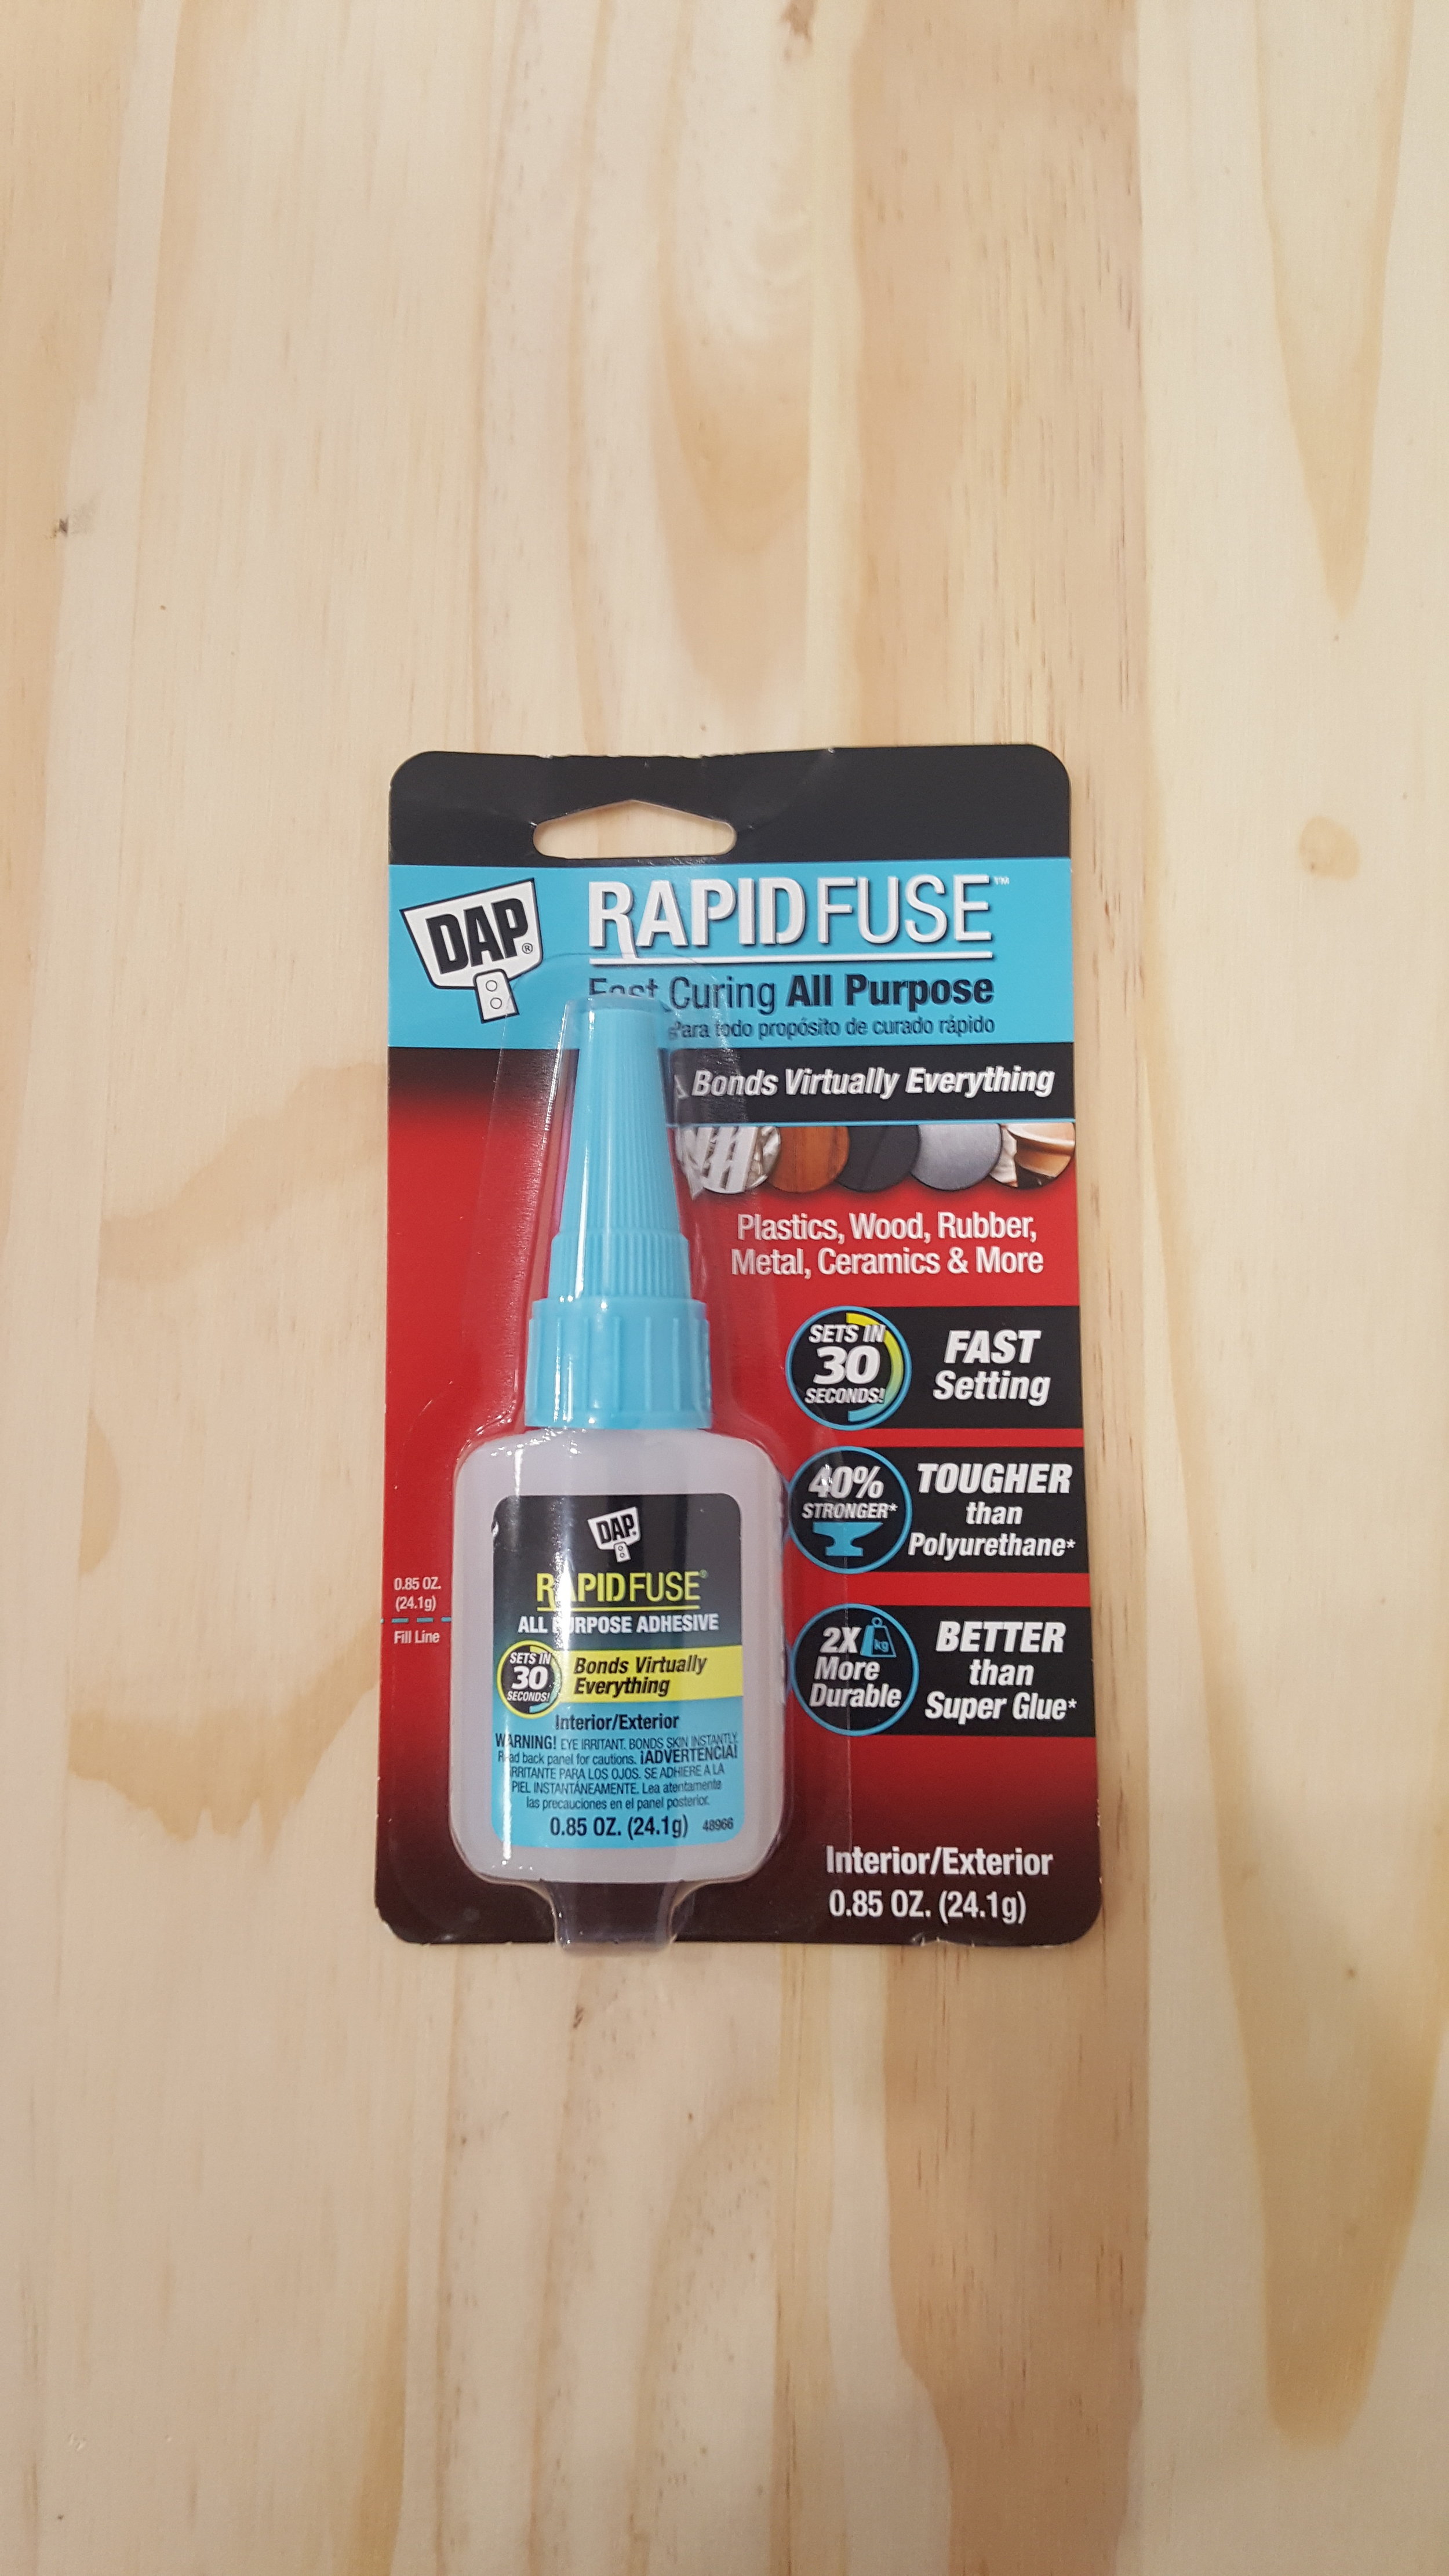
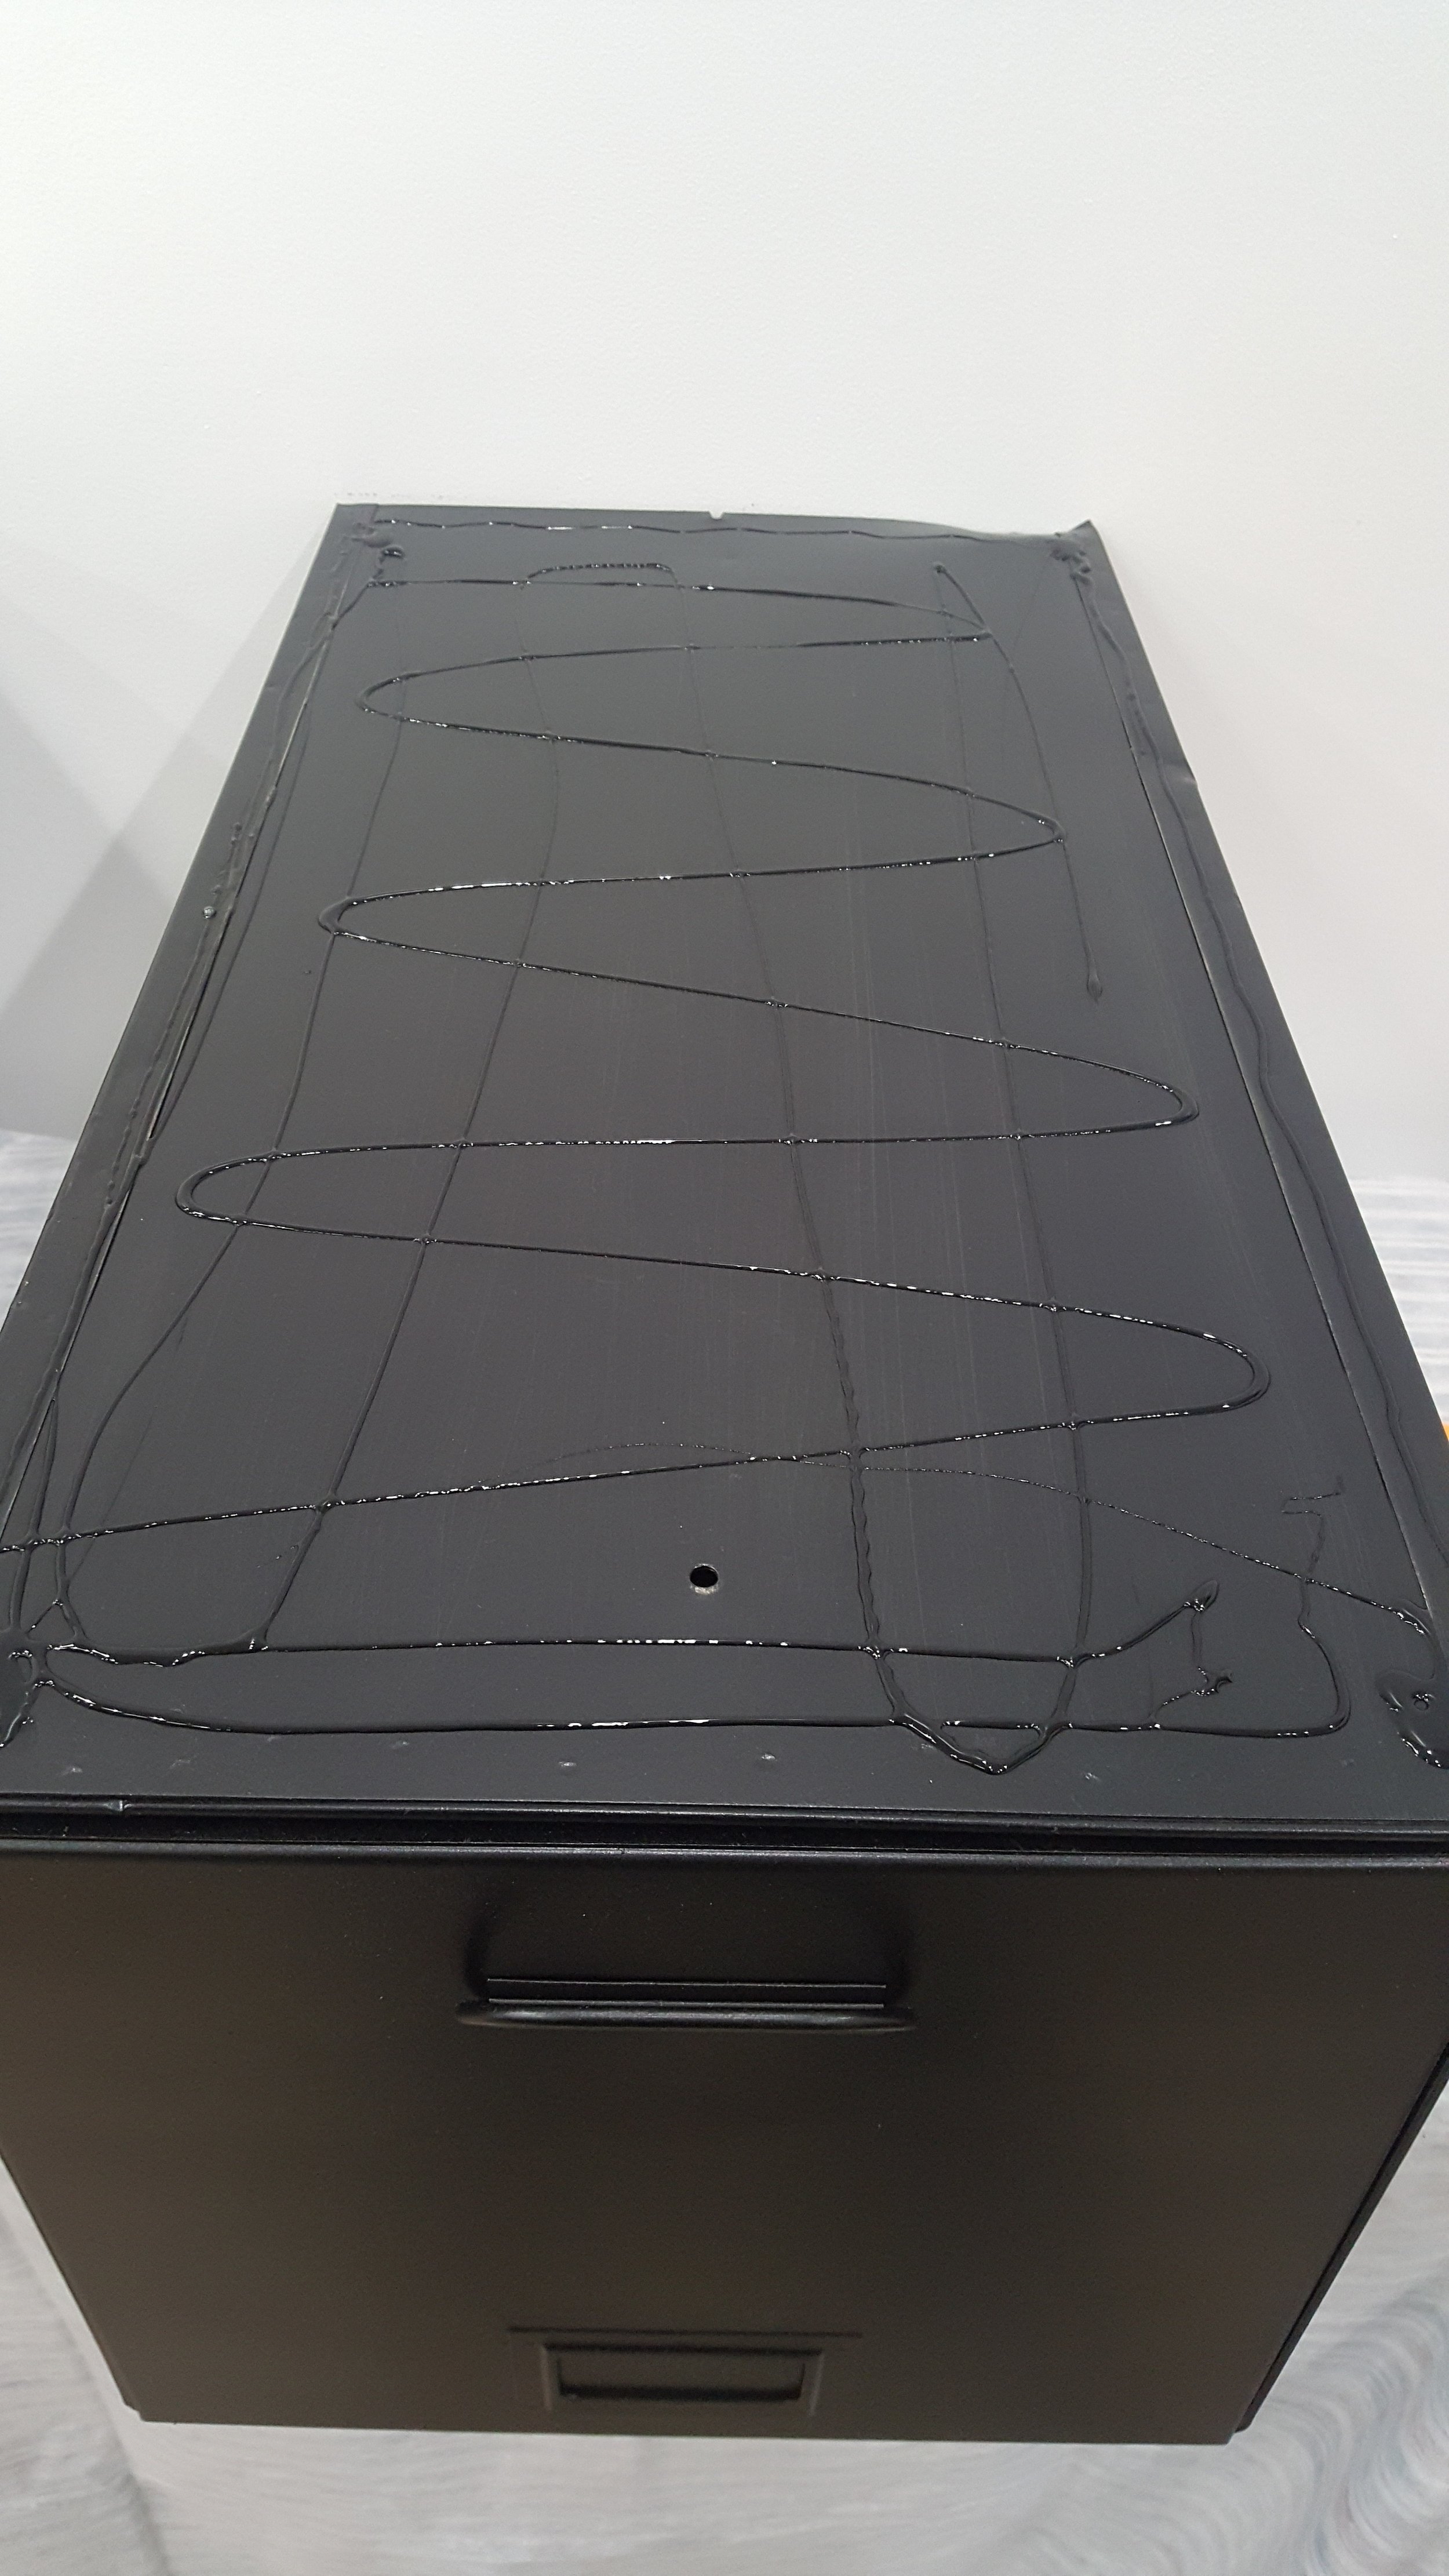
I just Rapid Bond Super Glue and spread it all over the bottom of the filing cabinet.
I quickly placed the cut board on top of the glue. Instead of clamping the board down with clamps, I just added some books and weights to the top to apply pressure.


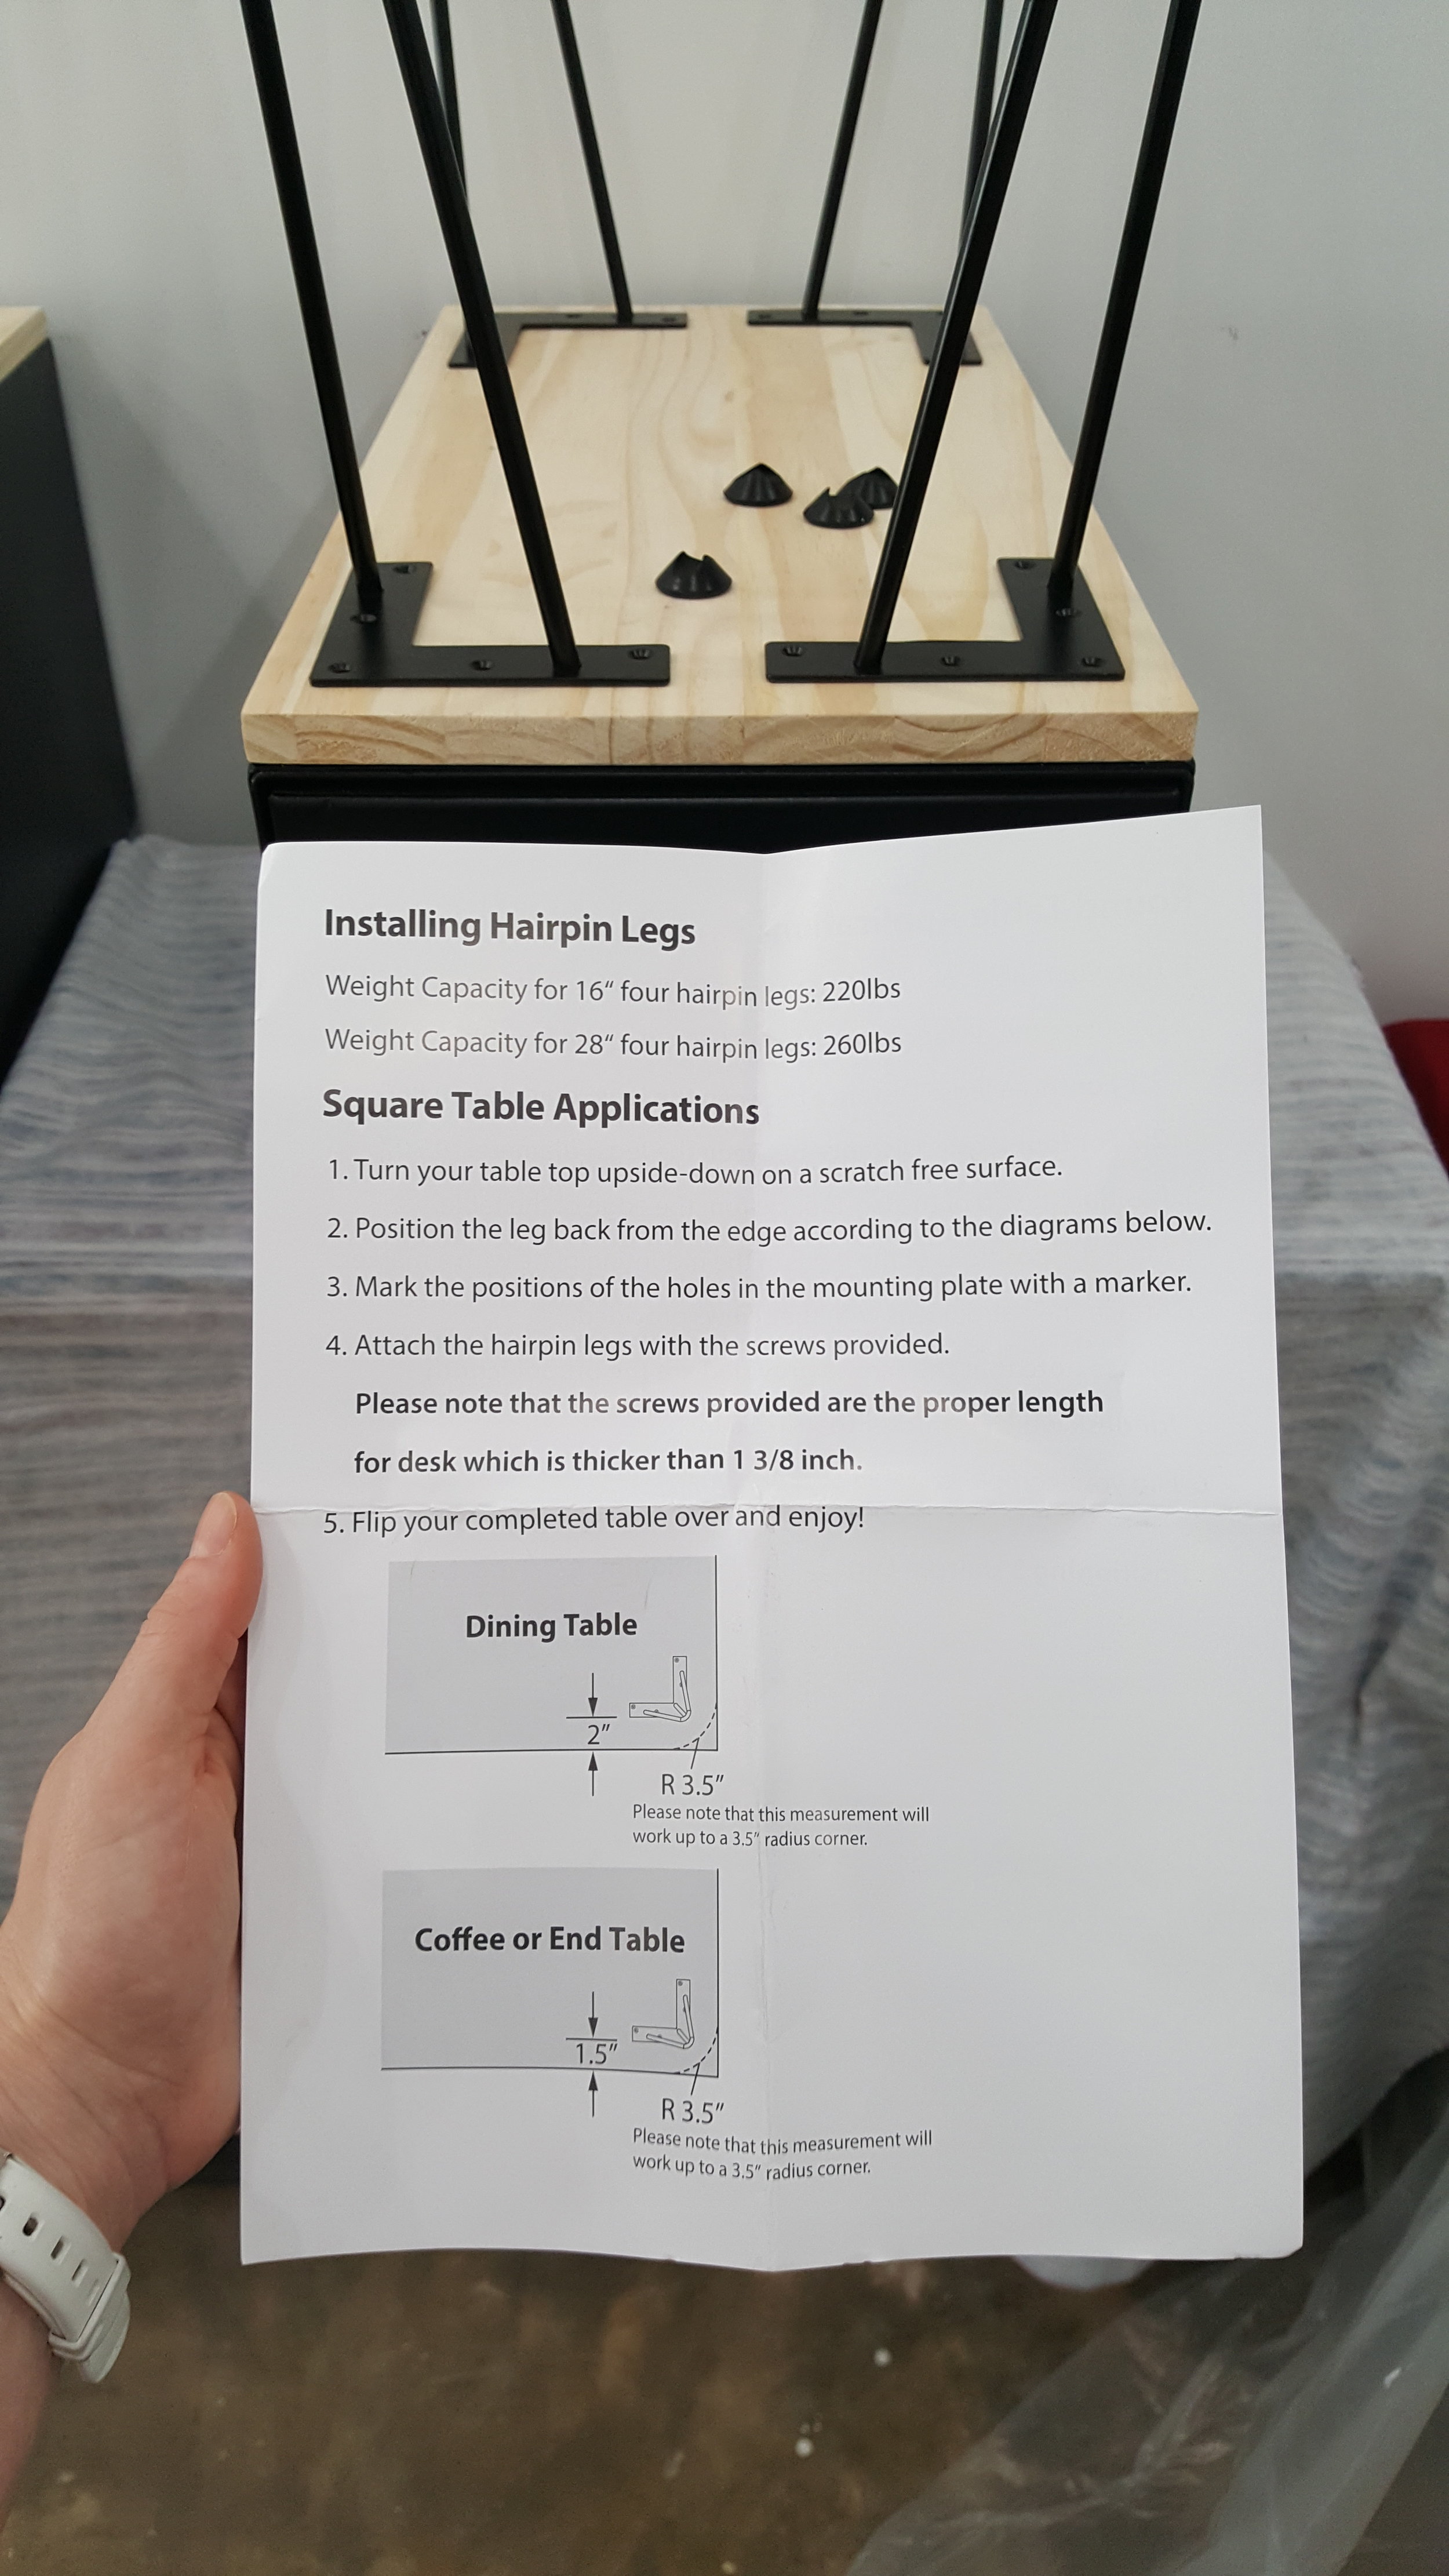
ADDING HAIRPIN LEGS:
I purchased these Hairpin Legs off of Amazon.
The instructions recommended screwing the legs in 1.5” from the edge, so that’s what we did!
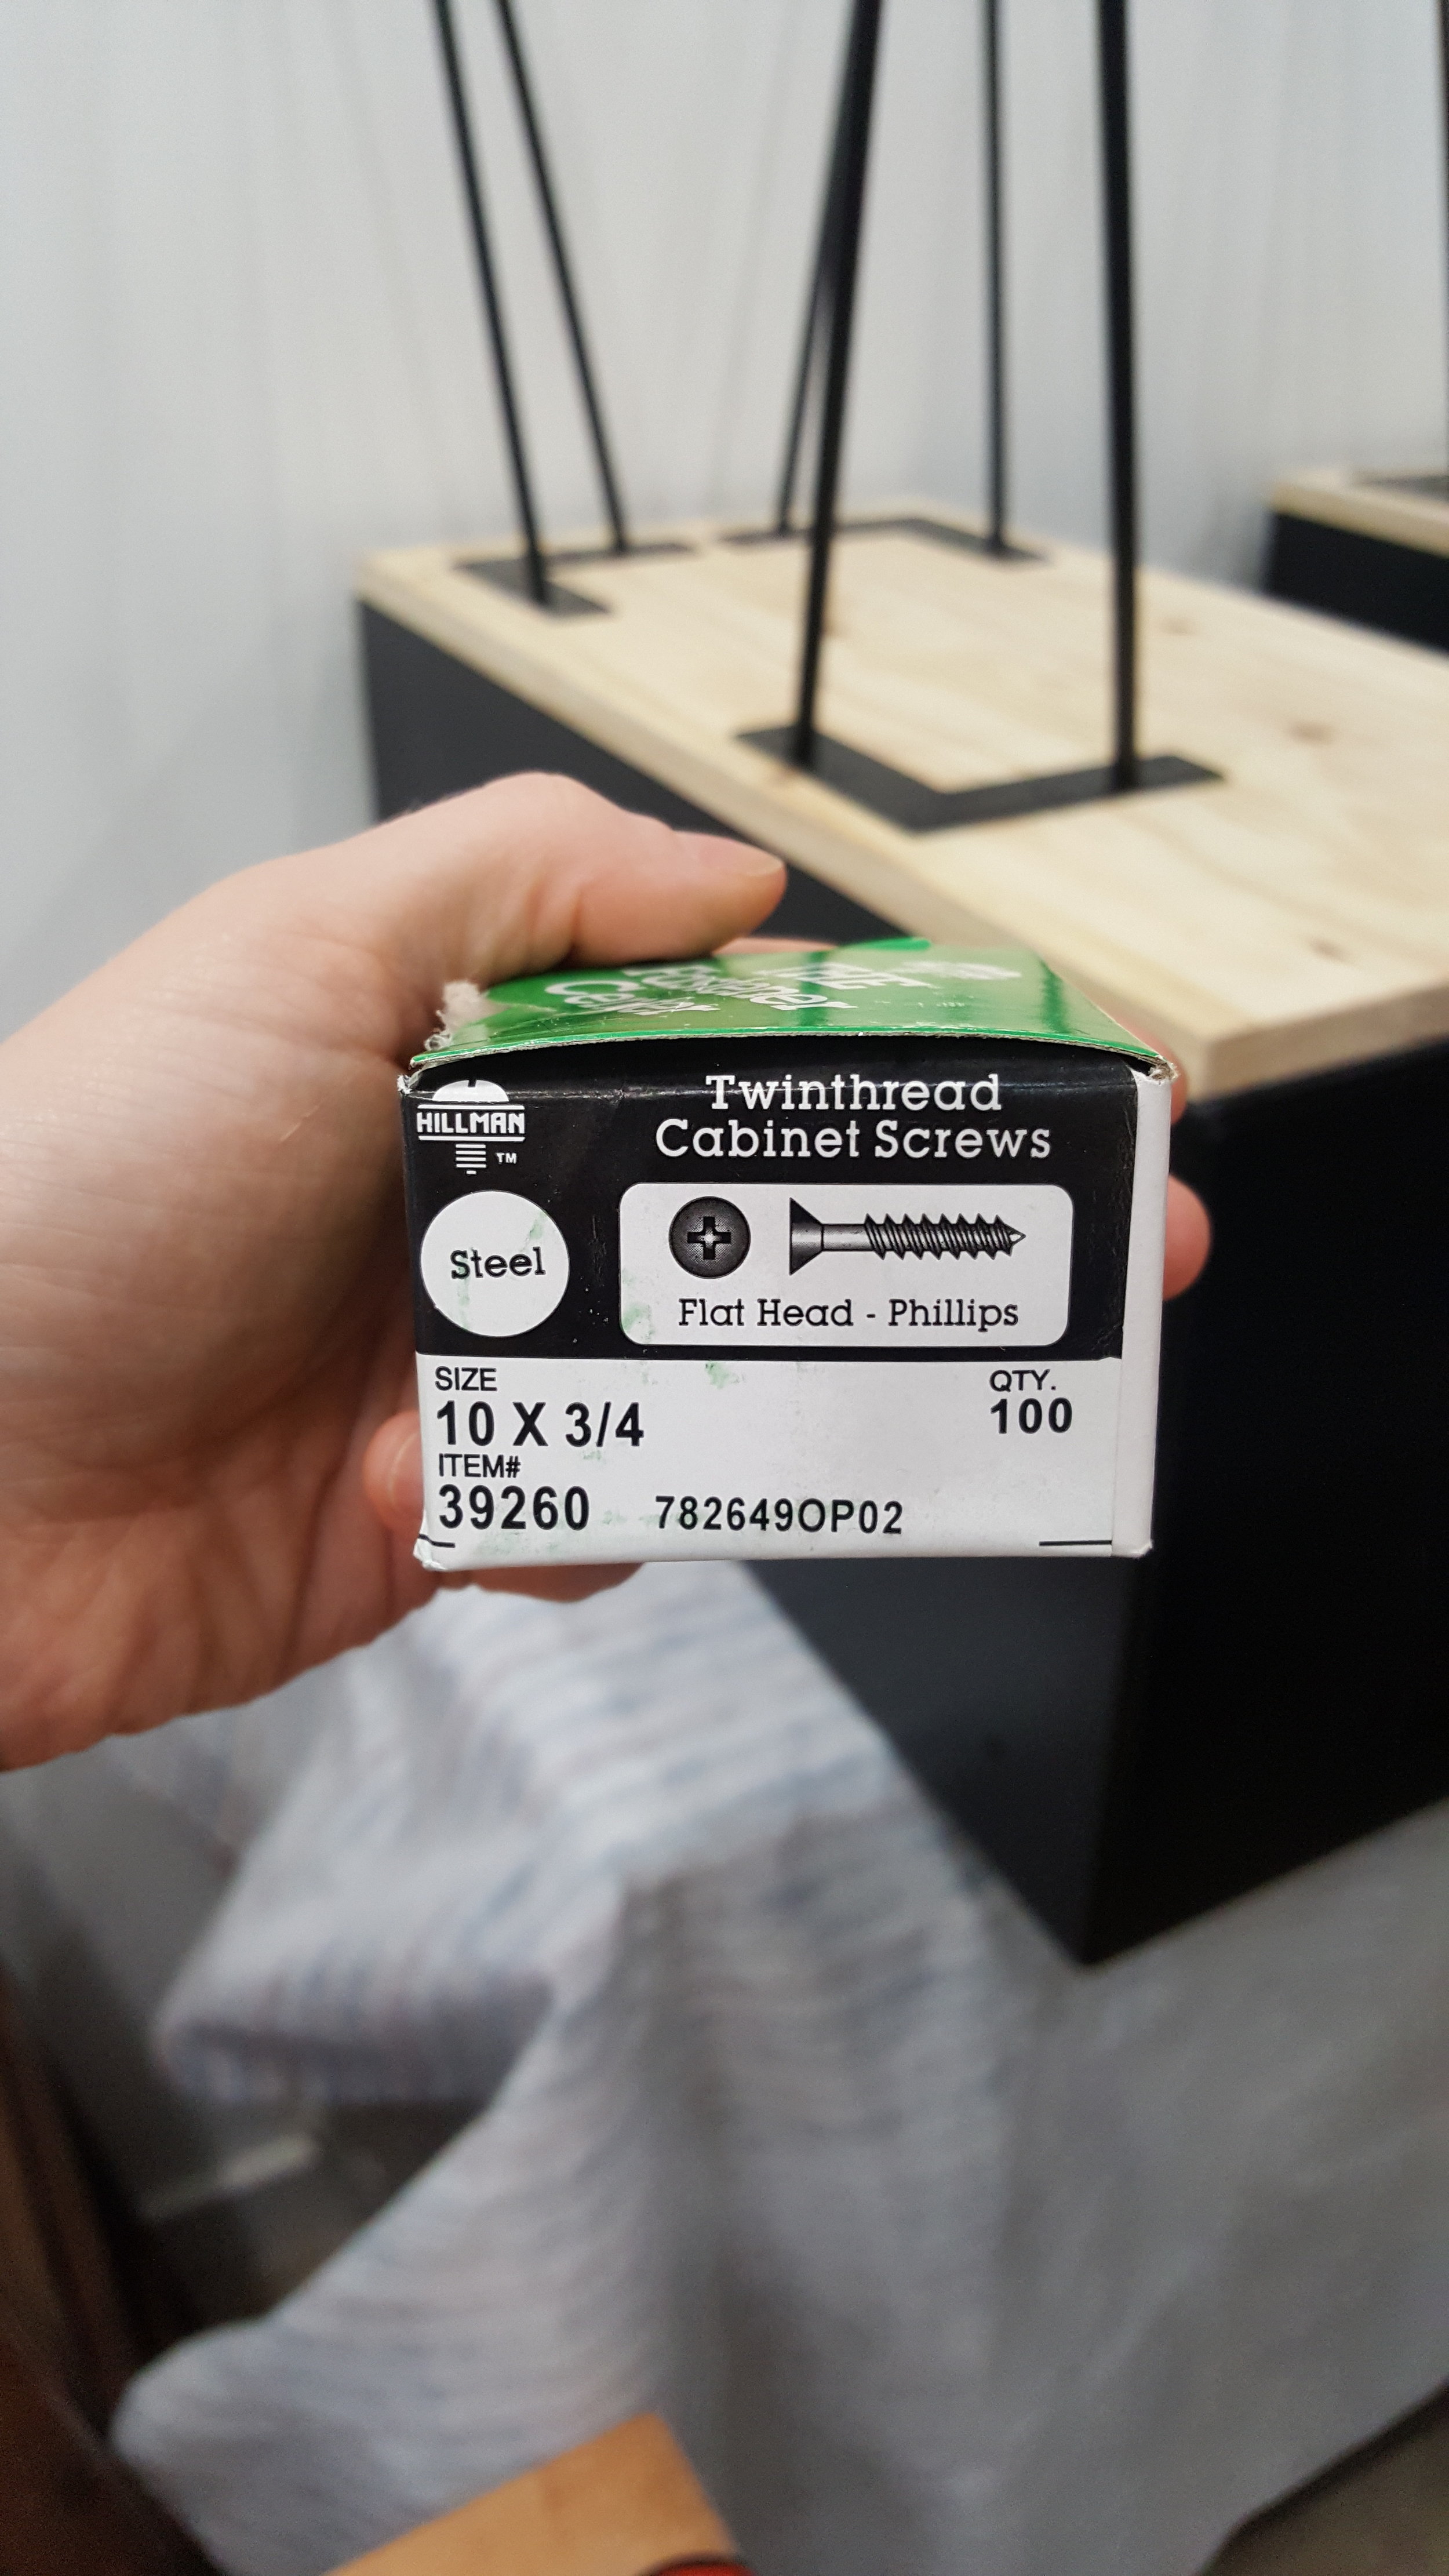
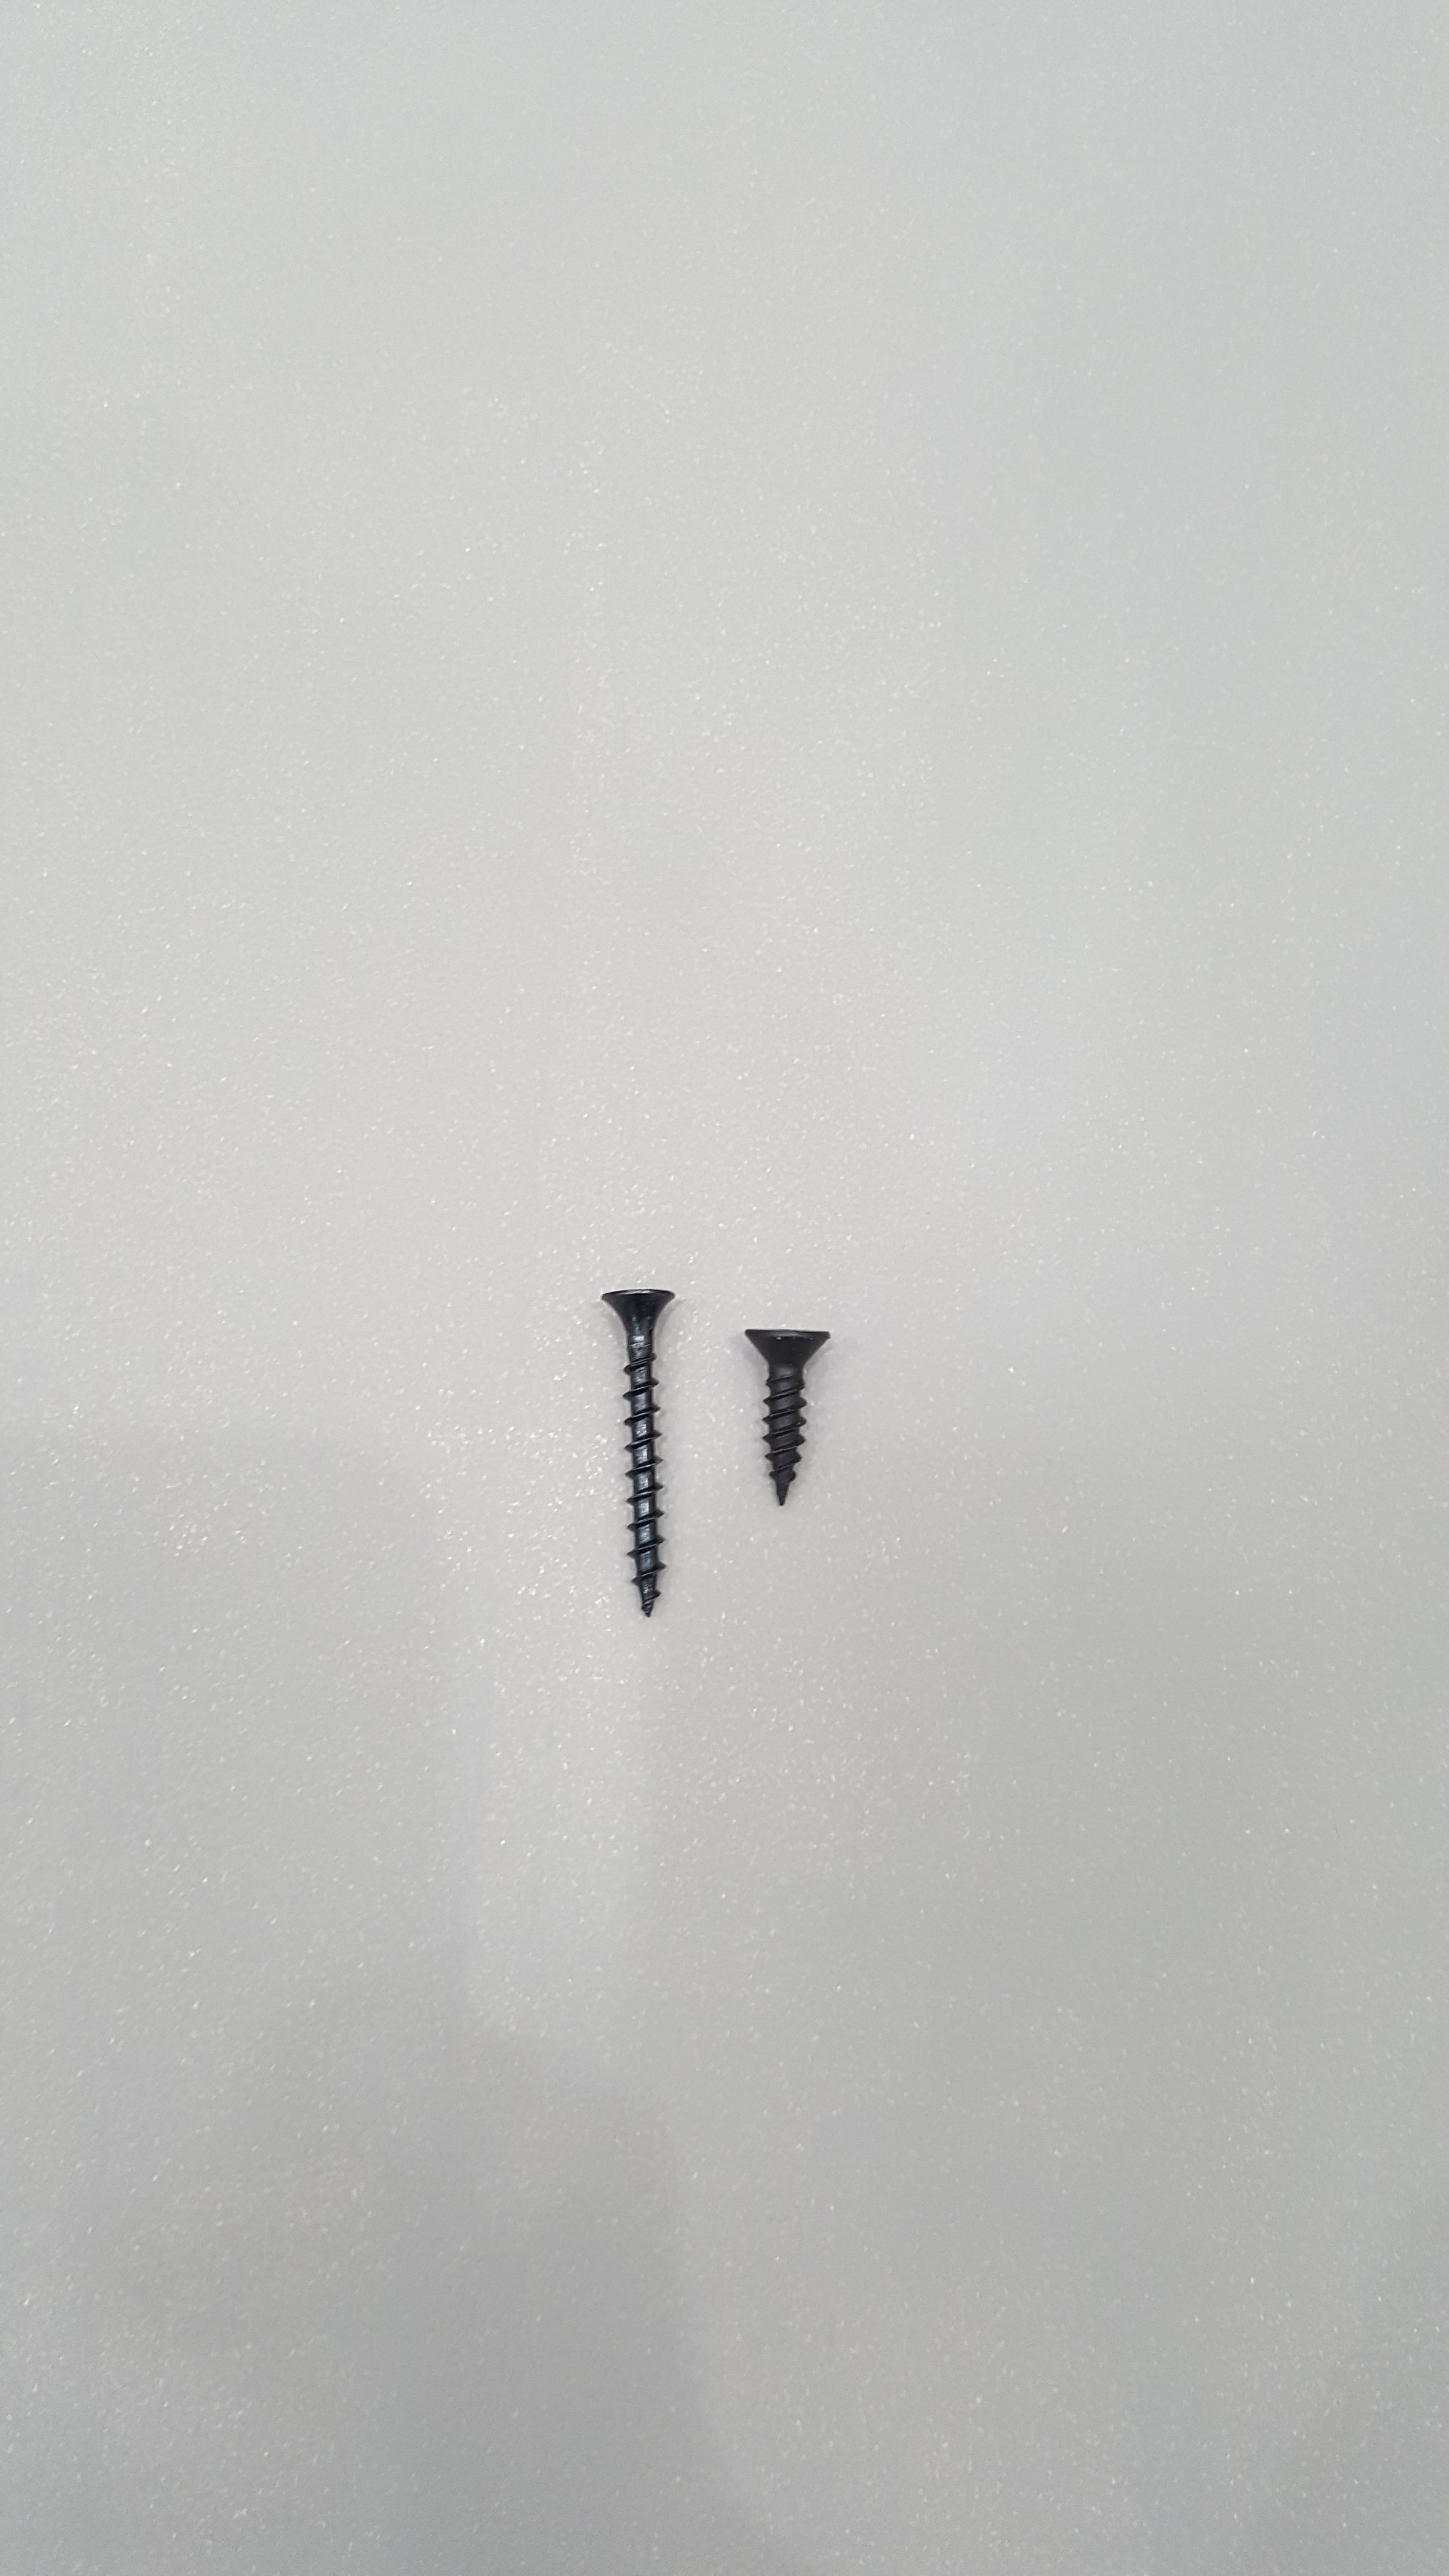
The screws that came with the legs were too long, so I had to purchase new ones (pictured below)
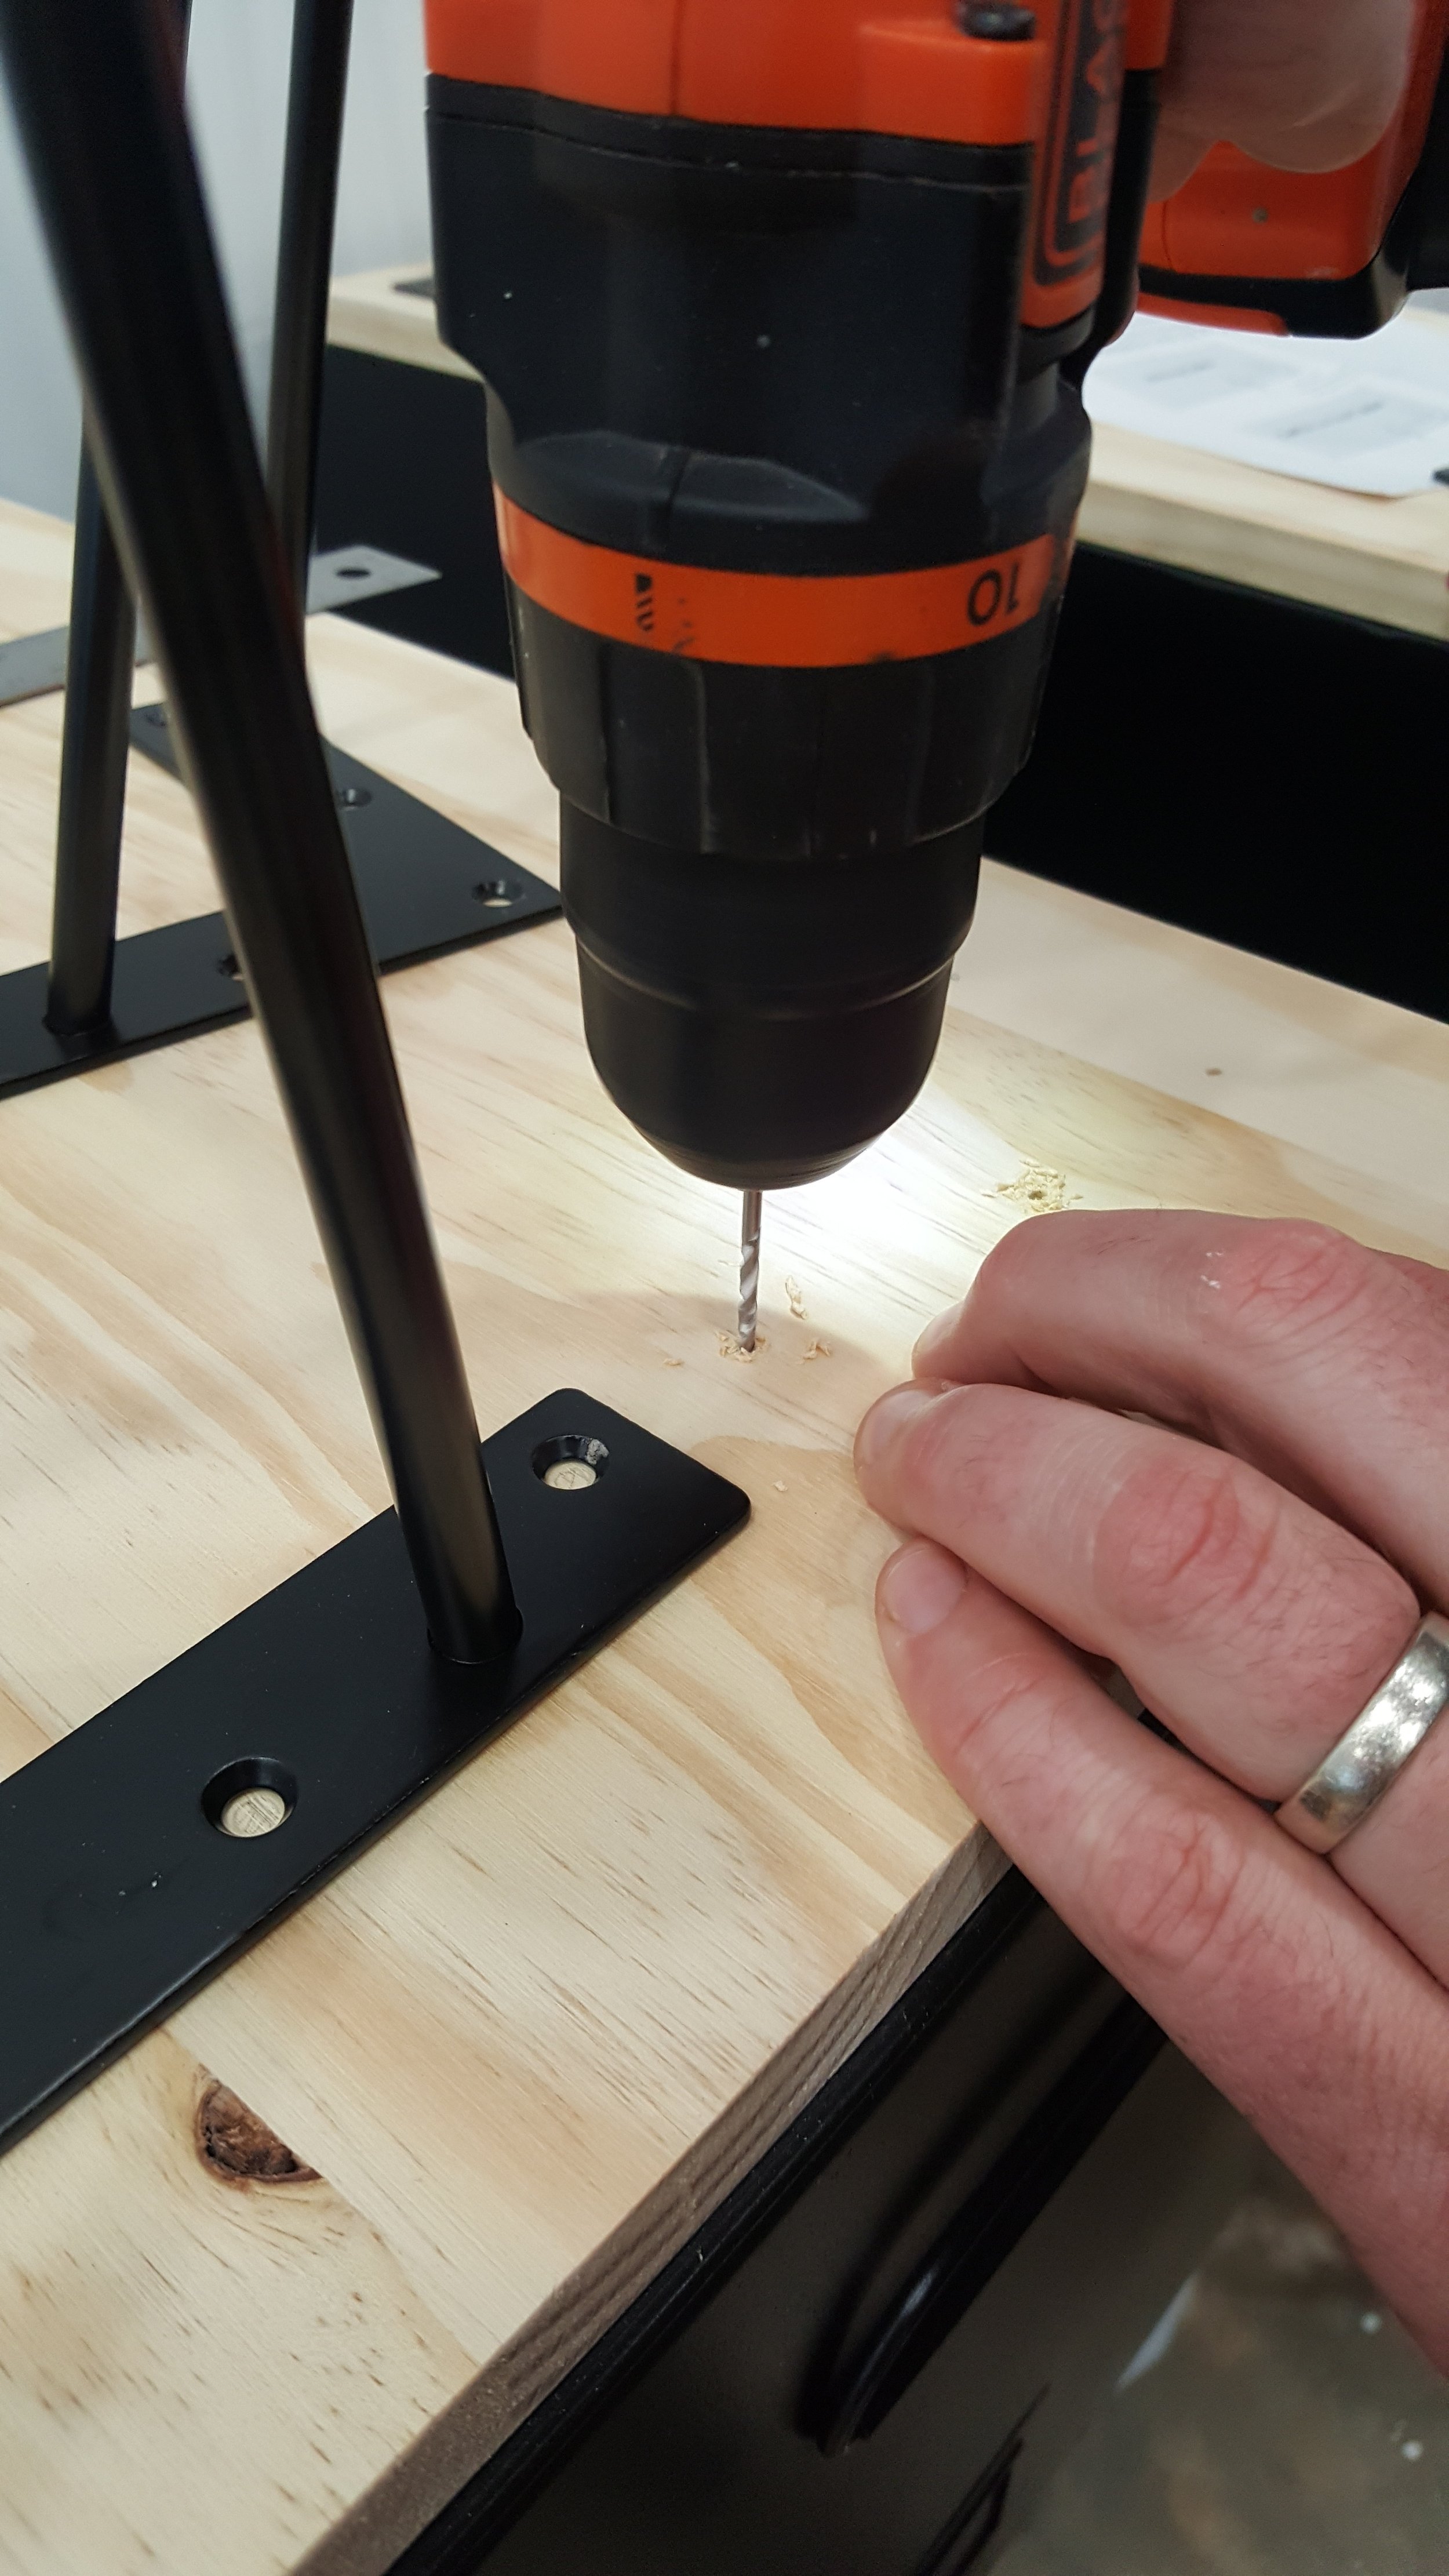
I measured and marked each hole then my husband pre-drilled and screwed them in for me.


BEFORE-AND-AFTER PHOTOS: I love the way these turned out! They were just as I envisioned. They can serve many different purposes and are one-of-a-kind!!


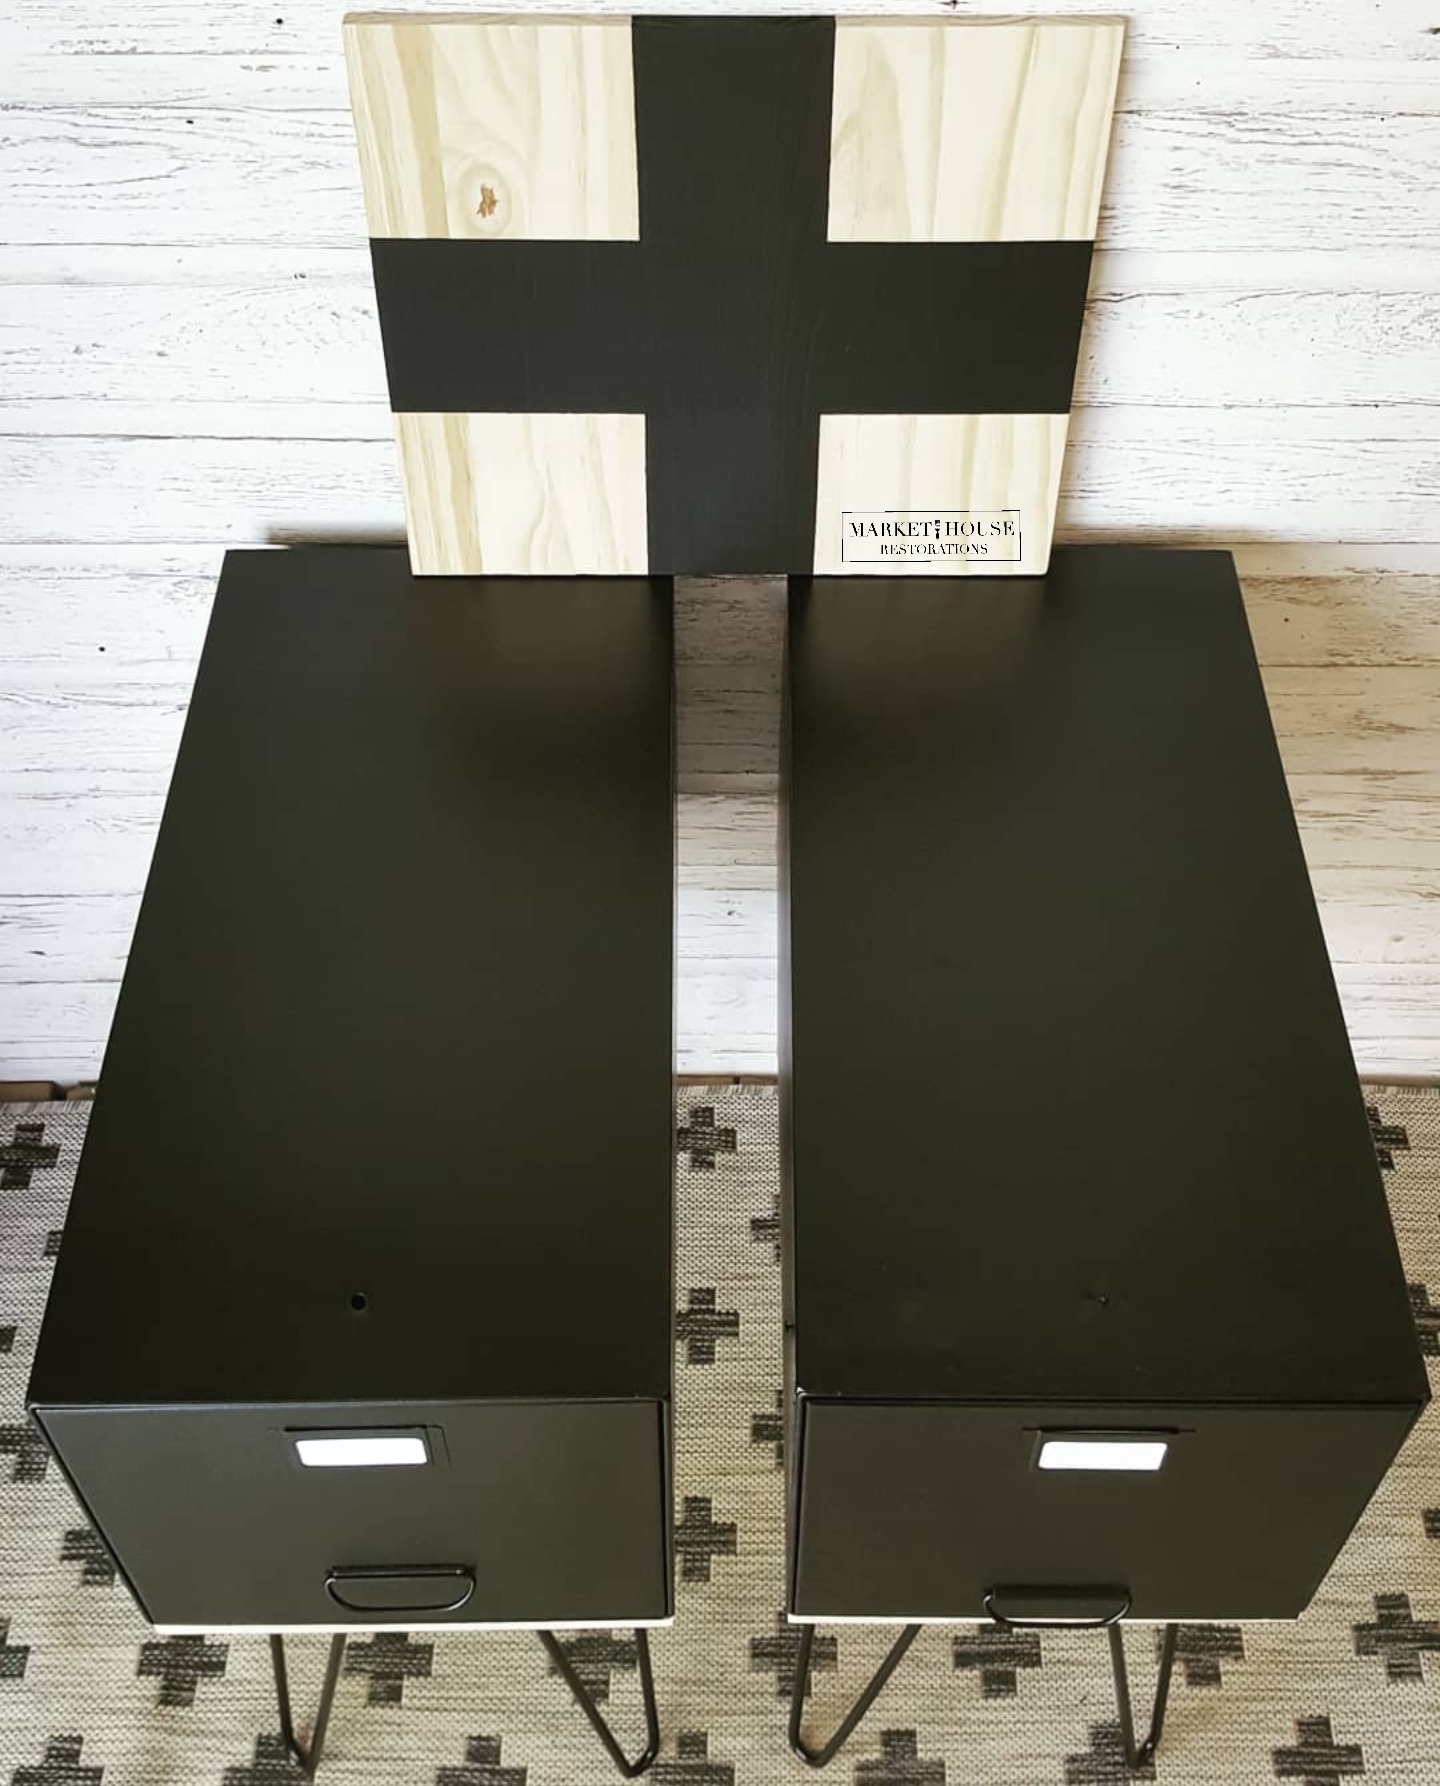
Guess what!? These are for sale, too!! Here is the listing: Industrial Filing Cabinets/Side Tables. If you aren’t local and would like a shipping quote, just let me know!
As always, thank you so much for tuning in this week for #MondayMakeoversWithFallon. If you want to save this blog post so you can refer back to it, make sure you pin it to your Pinterest page and/or feel free to share it elsewhere. I look forward being with you next Monday and don’t forget to tune in tomorrow for my educating video tutorial/tip for #TuesdayTipsWithFallon!!
*Please note, this post does contain affiliate links.