Step-by-Step Guide, Antique China Cabinet Makeover!
/#MondayMakeoversWithFallon
Welcome to #MondayMakeoversWithFallon!! I am so excited to get this going and look forward to providing you with great information while hopefully inspiring you along the way! Every piece of furniture is different, so most of the time the prep, painting and/or sealing process will be different. With that being said, make sure you take a look each Monday so you can learn and understand why I have taken different steps for each piece. I am self-taught, therefore I have spent countless hours and money experimenting over the years to figure out what works well and what doesn’t. That does not even include the long hours I have spent reading articles, information pamphlets and DIY books….and yes, this was before social media really took off, so I really had to learn the hard way. Lucky for you though, you don’t have to do that! You can tune in each week and learn something new without having to do all the things I did to get to where I am today!
Just so you know up front, I am going to include some affiliate links throughout my posts/blog. I hope that you will use my links so that I can continue to provide you with my knowledge at no cost to you!! Yes, this Momma has to put food on the table, but I sincerely want to provide you with as much great information as possible because I really do think it will be of value to you. So helping me in this area will help both of us!! Thank you in advance for this!
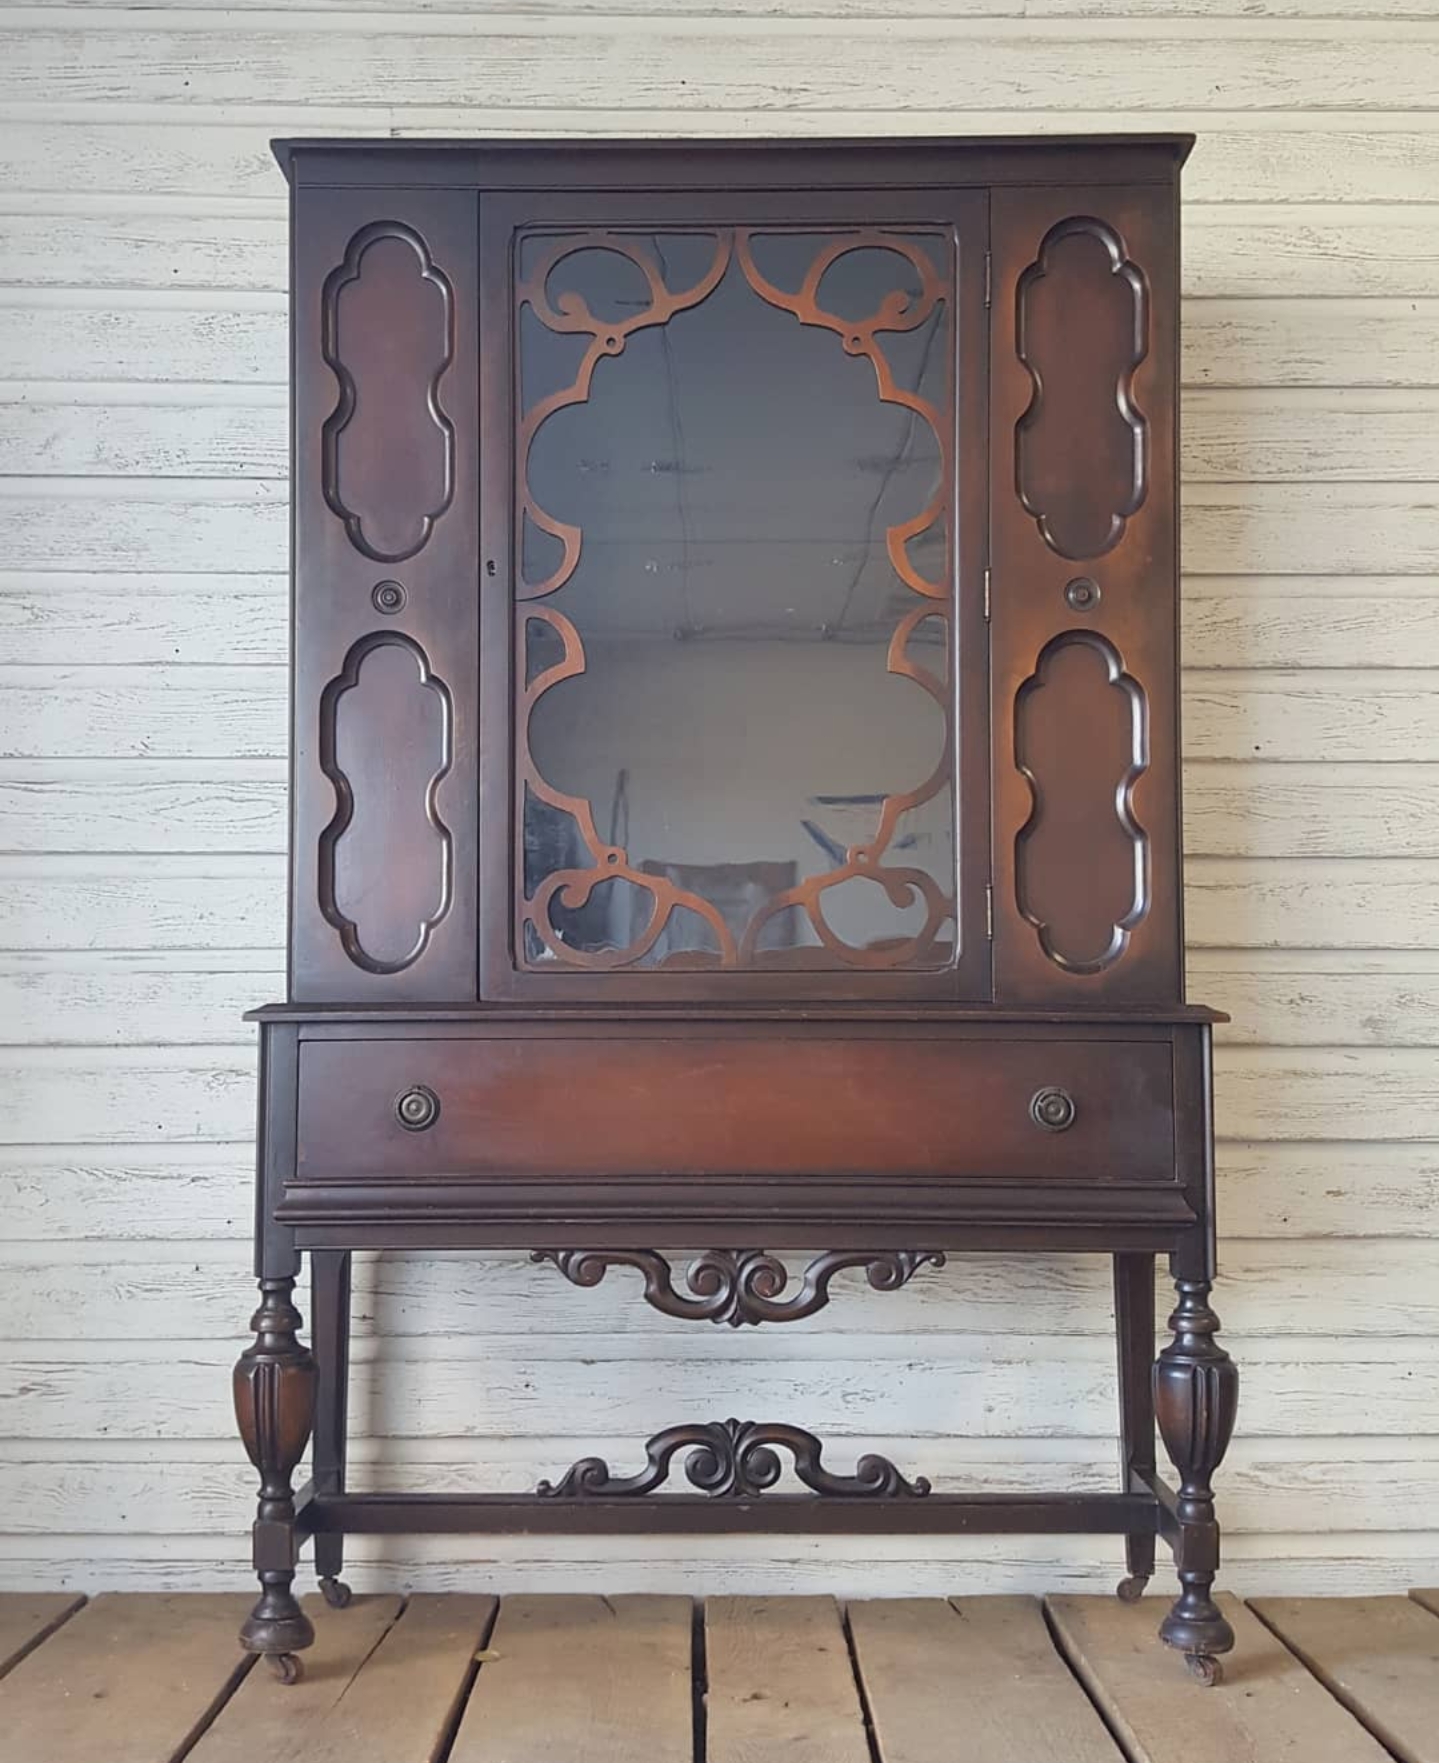
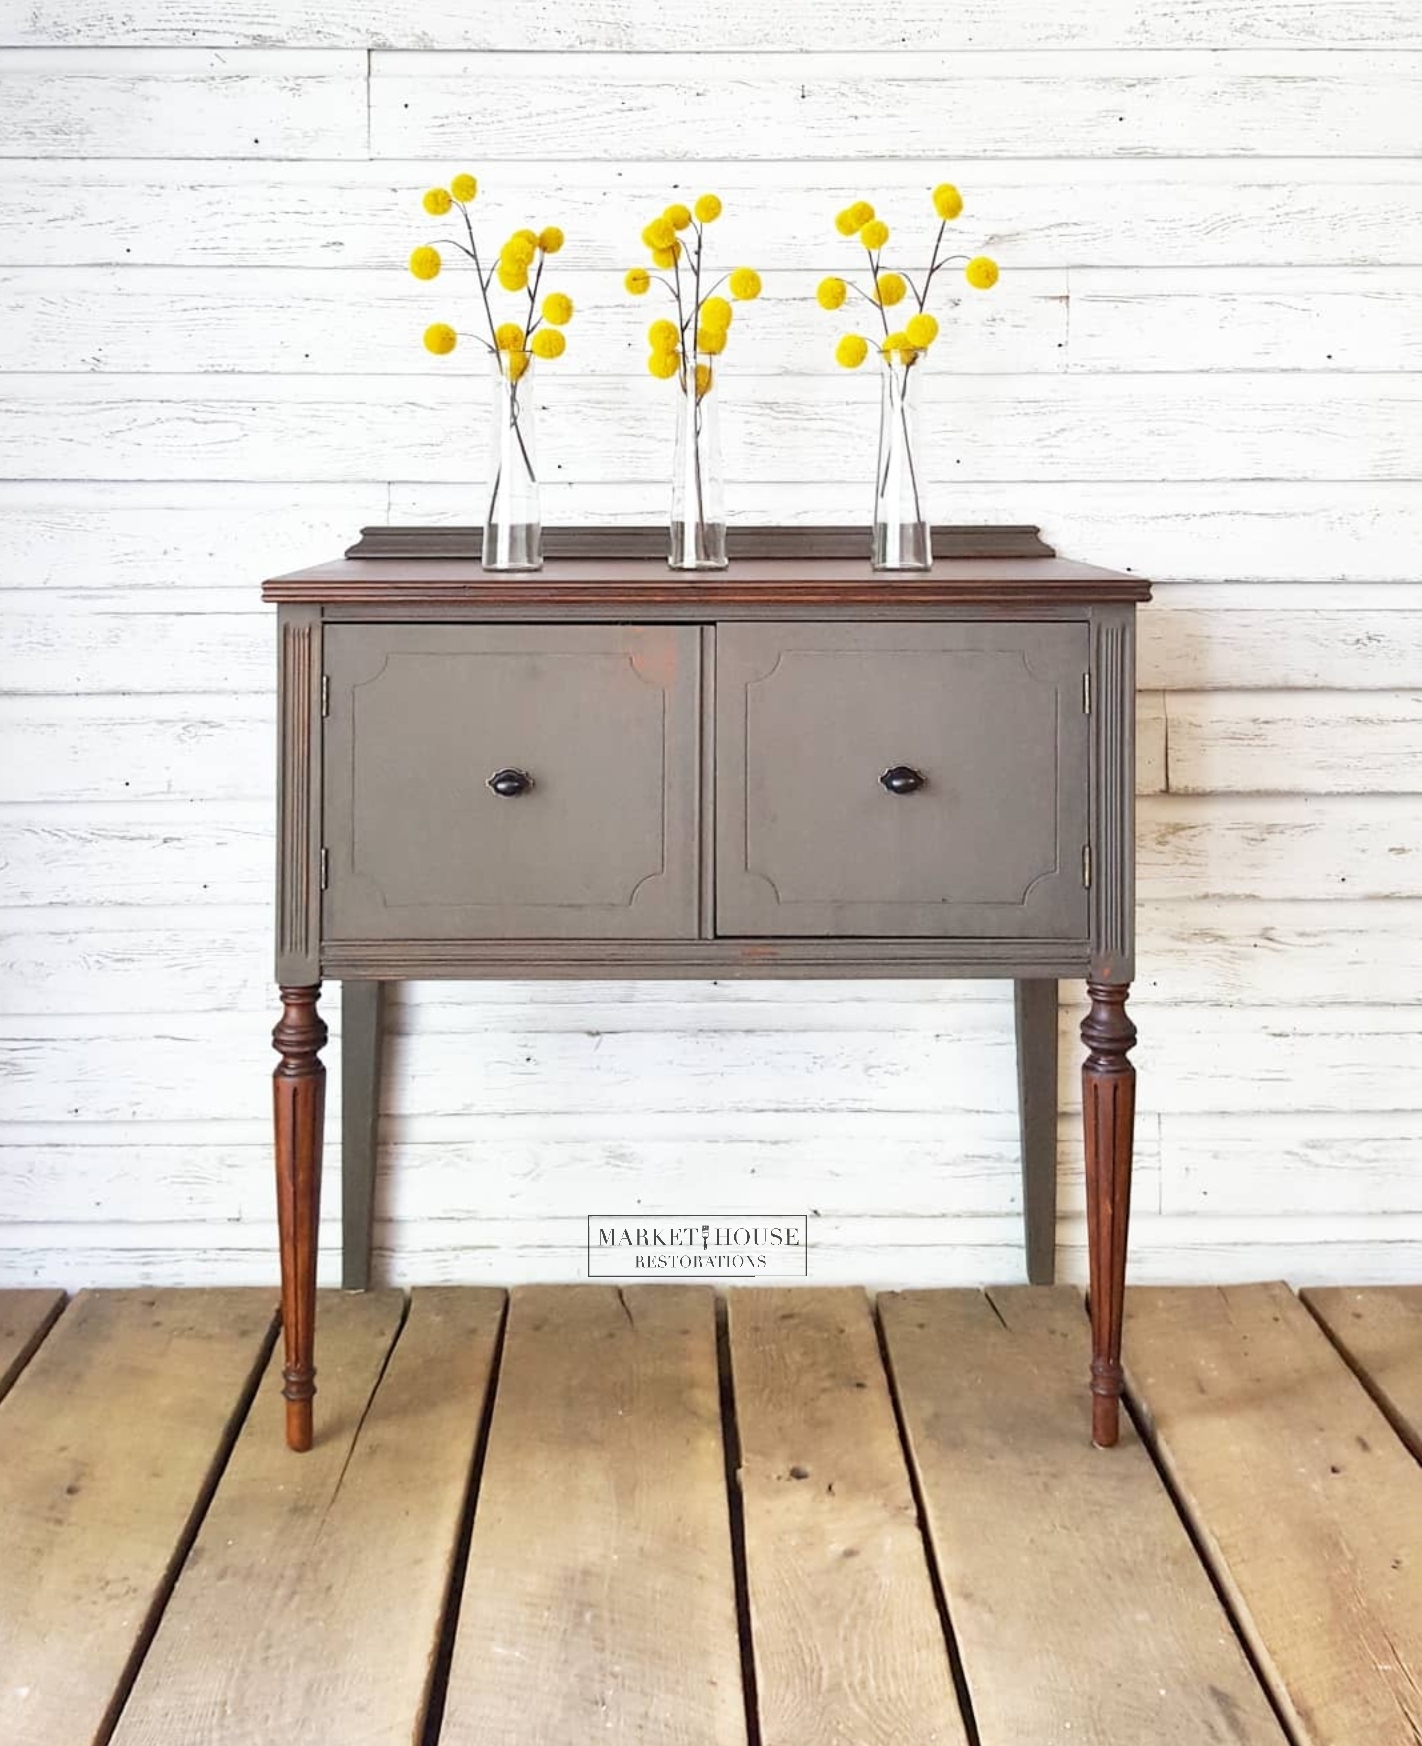
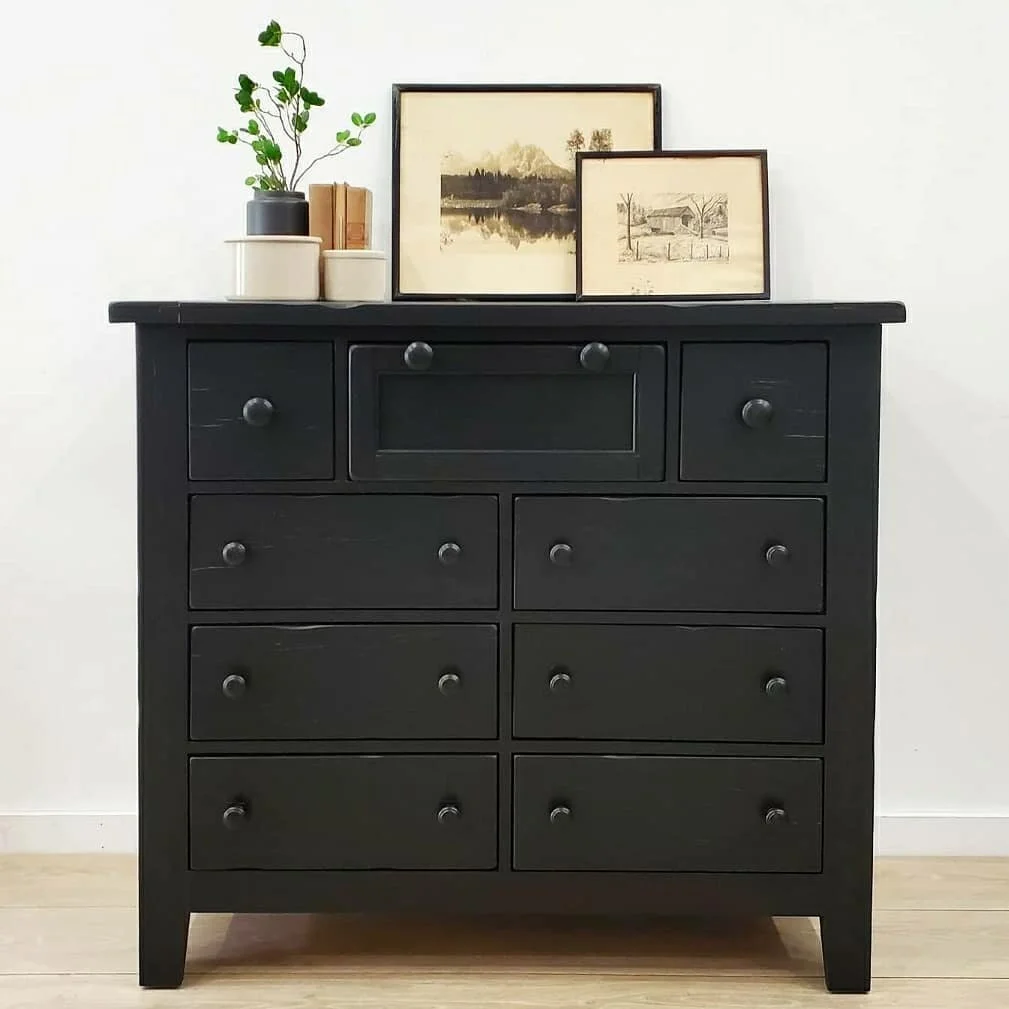
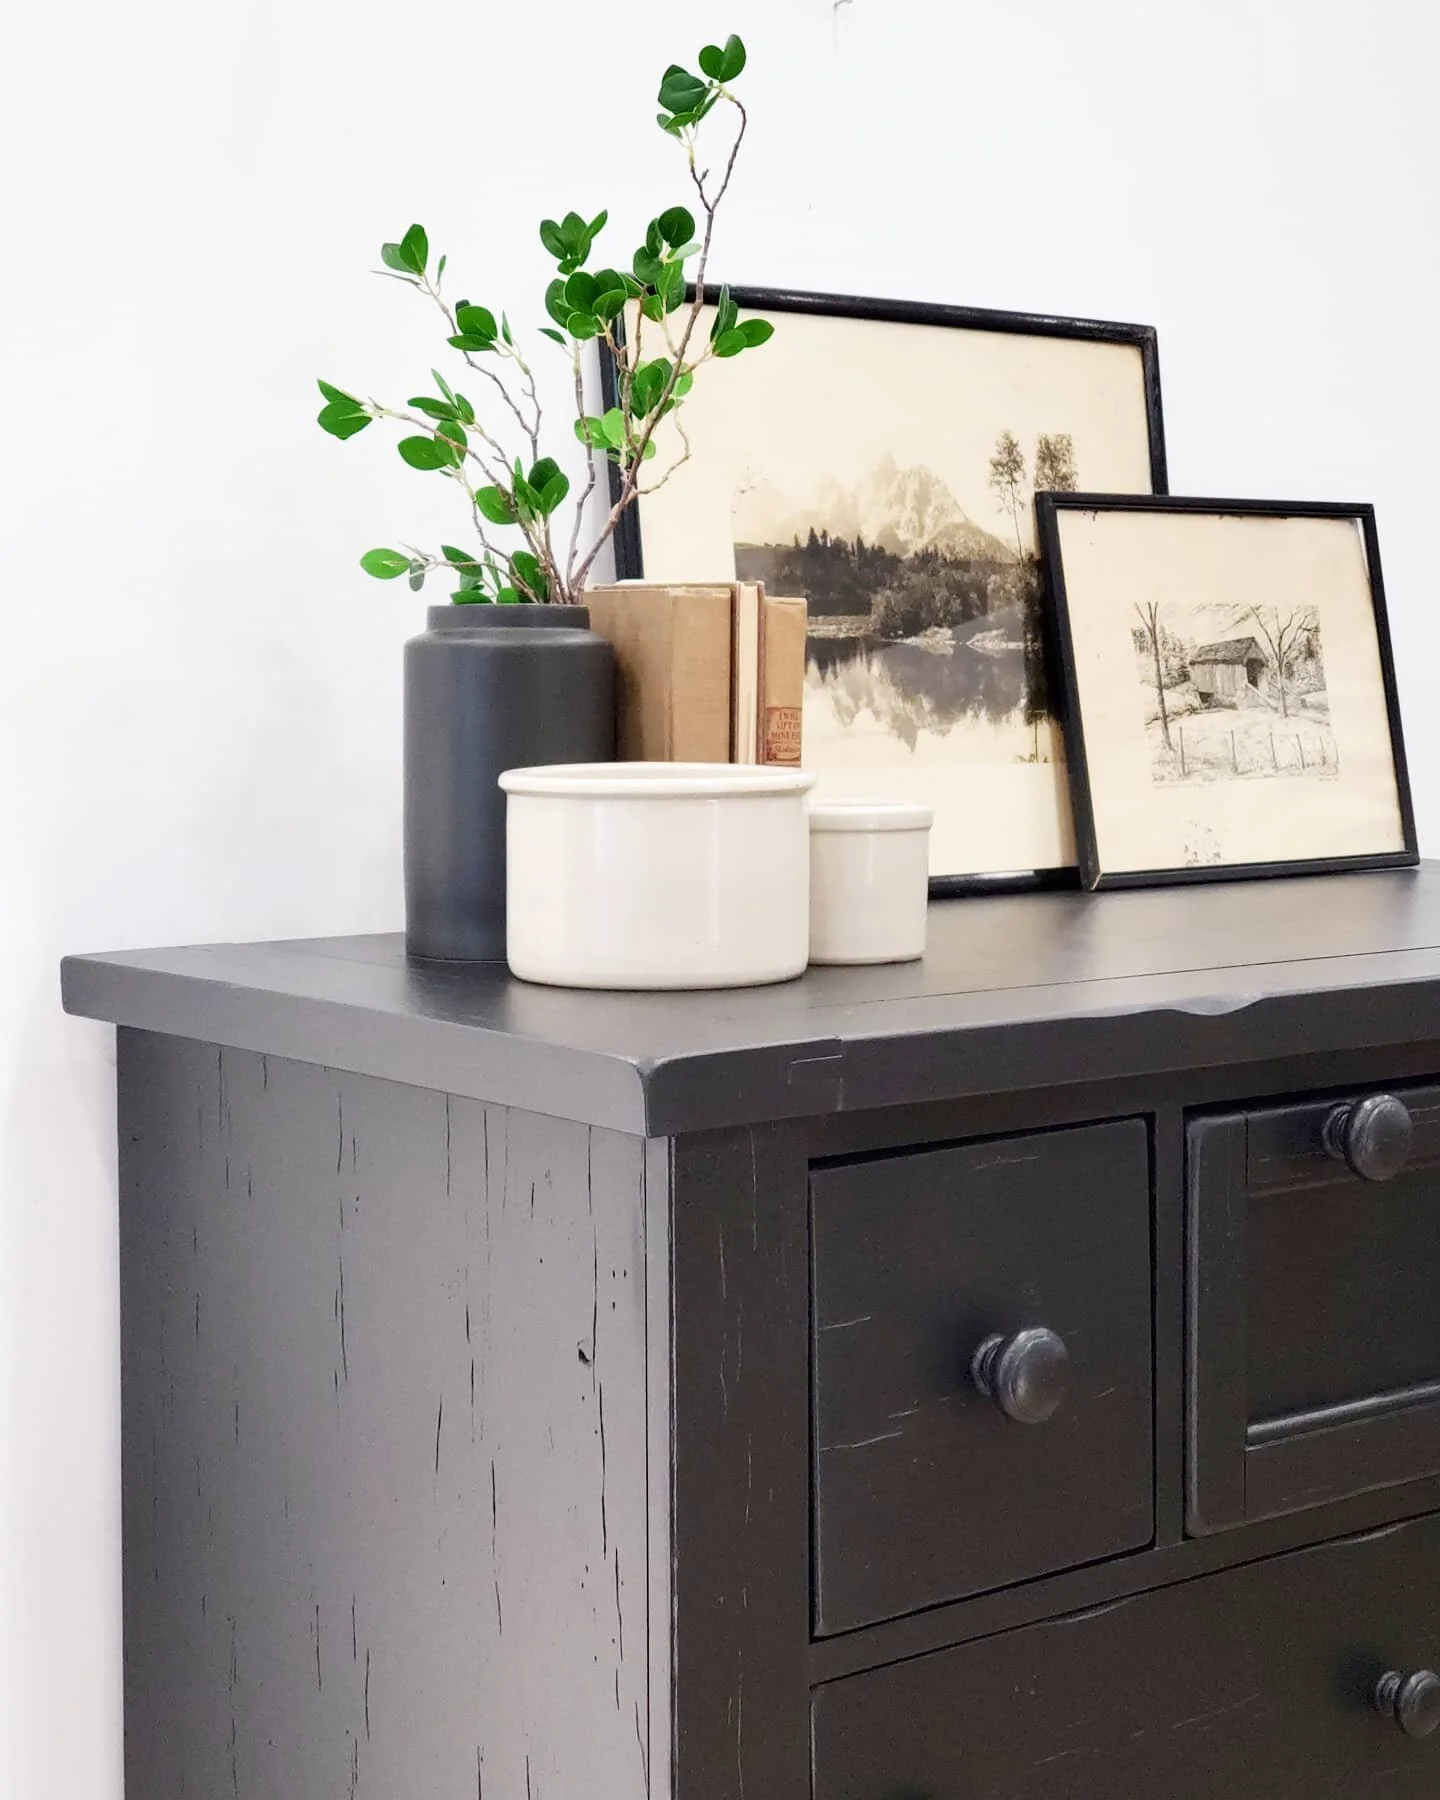
Alright, let’s get down to business! This black china cabinet is fresh in everyone’s mind since I shared it a little over a week ago, so I thought it would be a great way to kick off #MondayMakeoversWithFallon . To the untrained eye this piece looks like it just needs to be lightly sanded and then you can start painting, but from a professionals point of view, “just a little sanding” is never good enough in my book. I want to do the best I can and know that I am giving my client’s the best refinished piece possible and I want the same for you! Here is the process I took for this specific piece:
THE PREP PROCESS:
I removed all of the hardware and placed it in a Ziplock bag so I wouldn’t lose any pieces
Removed drawer and inner shelves
Cleaned the entire piece with Mineral Spirits and a soft scrubbing sponge
Once the piece was completely dry, I sanded the outside and inside (any area that I was planning on painting) with 220 grit sandpaper. Since this piece was covered with veneer, I did not want to go any lower on my sandpaper grit. The veneer was in great shape and I did not want to take any chances and accidentally cause any scratches or imperfections with a low-grit sandpaper.
Vacuumed every inch possible (inside-and-out)
I then wiped down the entire piece with shop towels and Pre-Paint Krud Kutter
That was just the top of the piece, now onto the legs! I used 120 sandpaper and hand sanded the two front legs. I sanded-and-sanded until the legs were raw.
Once all of the stain was removed I cleaned up the legs with the Krud Kutter I mentioned above and wiped them down really well
FYI: I would typically remove the glass before I start the prep work, but I could not remove this particular glass without tearing out all of the glue and nails, so I decided to work around it this time.
THE PAINTING PROCESS: I wanted to be 100% sure that none of the cleaning products I used were still active, so I waited 24 hours to make sure the chemicals had time to evaporate and dry really well before I applied my first coat of paint.
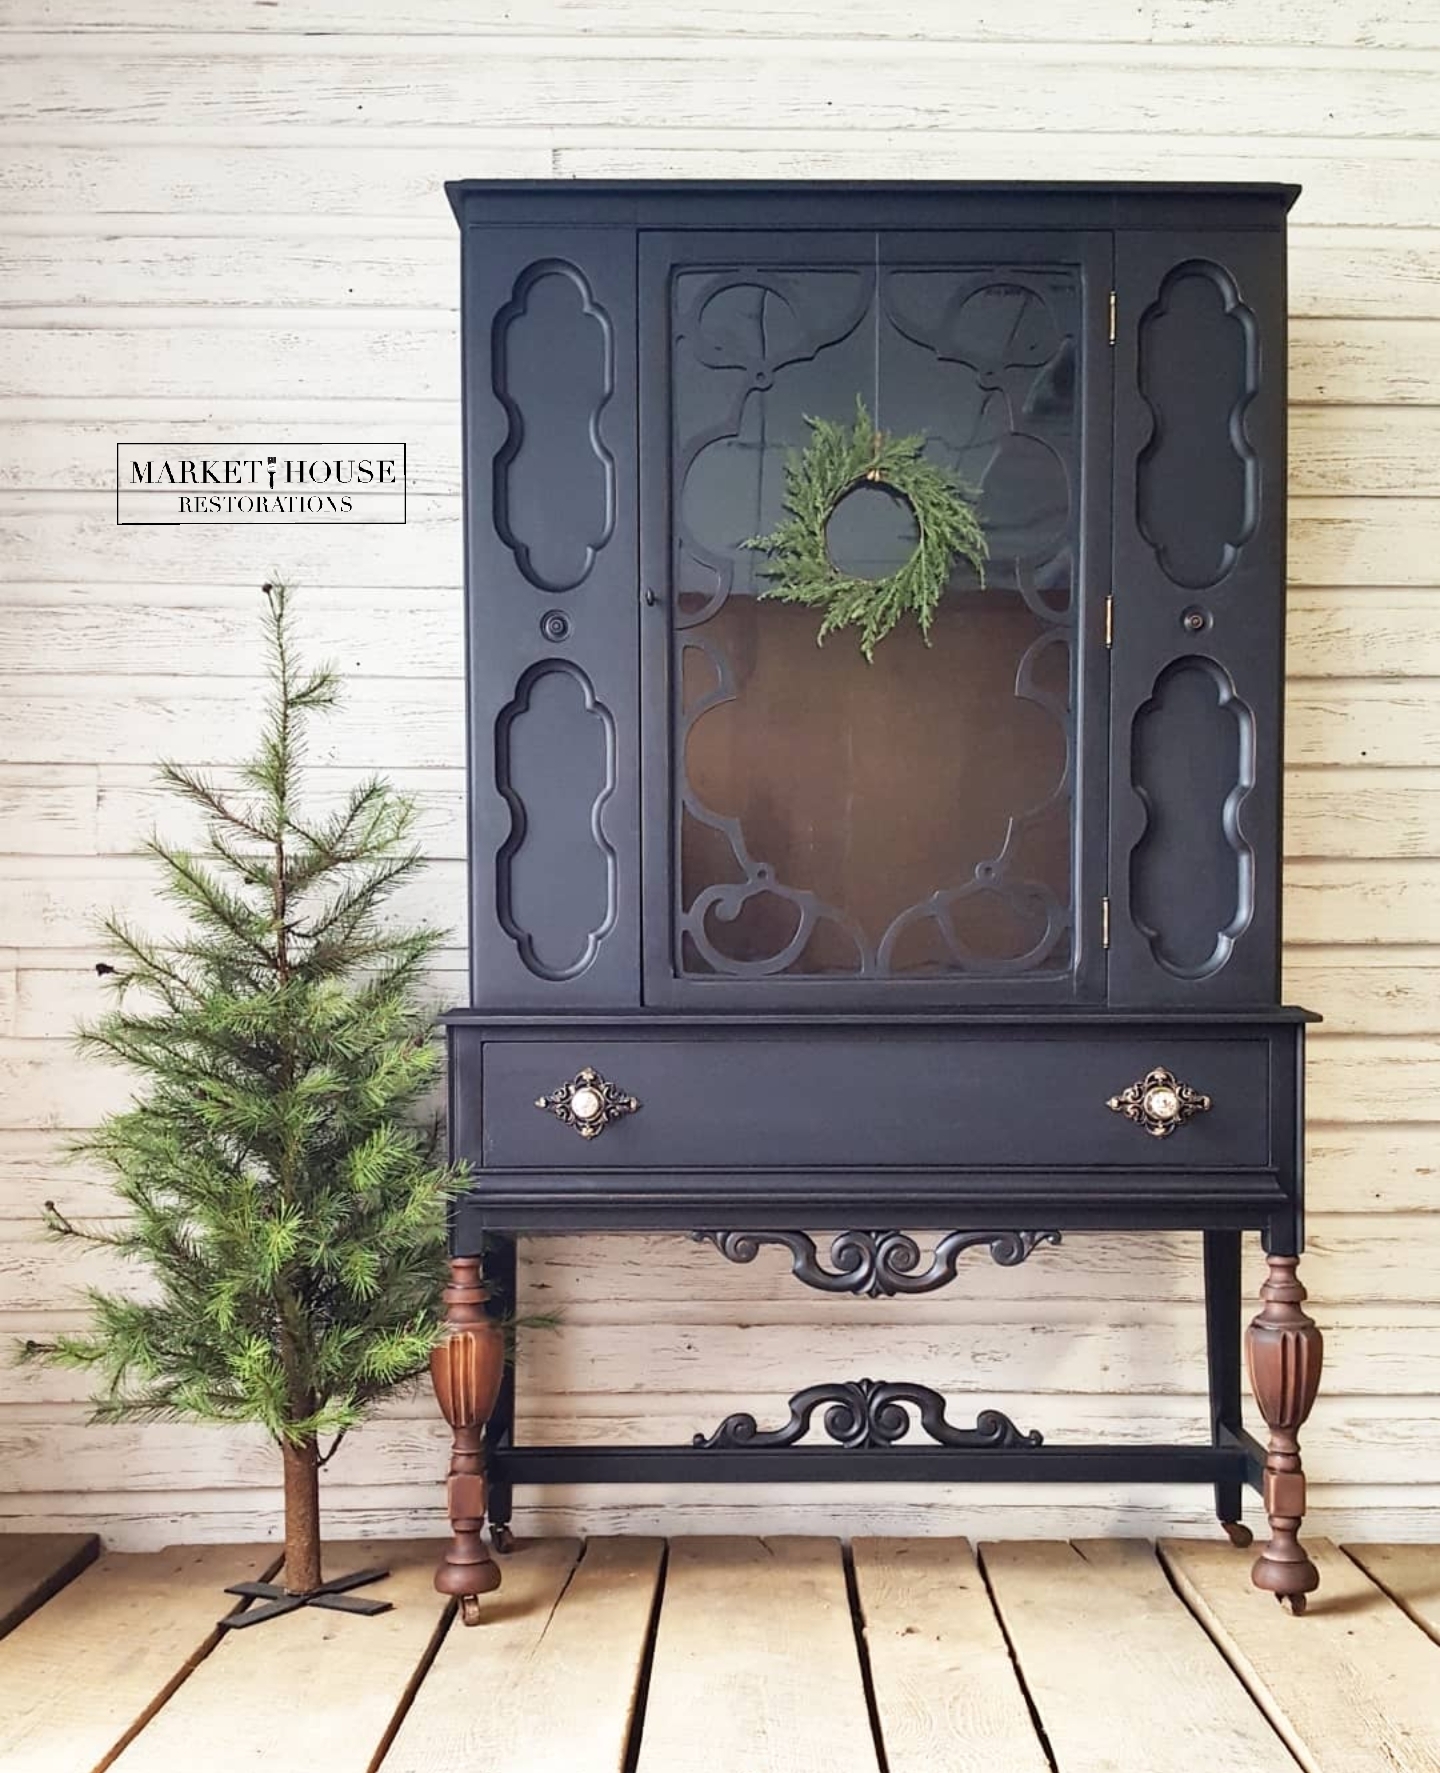
I used my Zibra Paint 2” Palm Pro and painted 3 coats of General Finishes Lamp Black on the entire piece
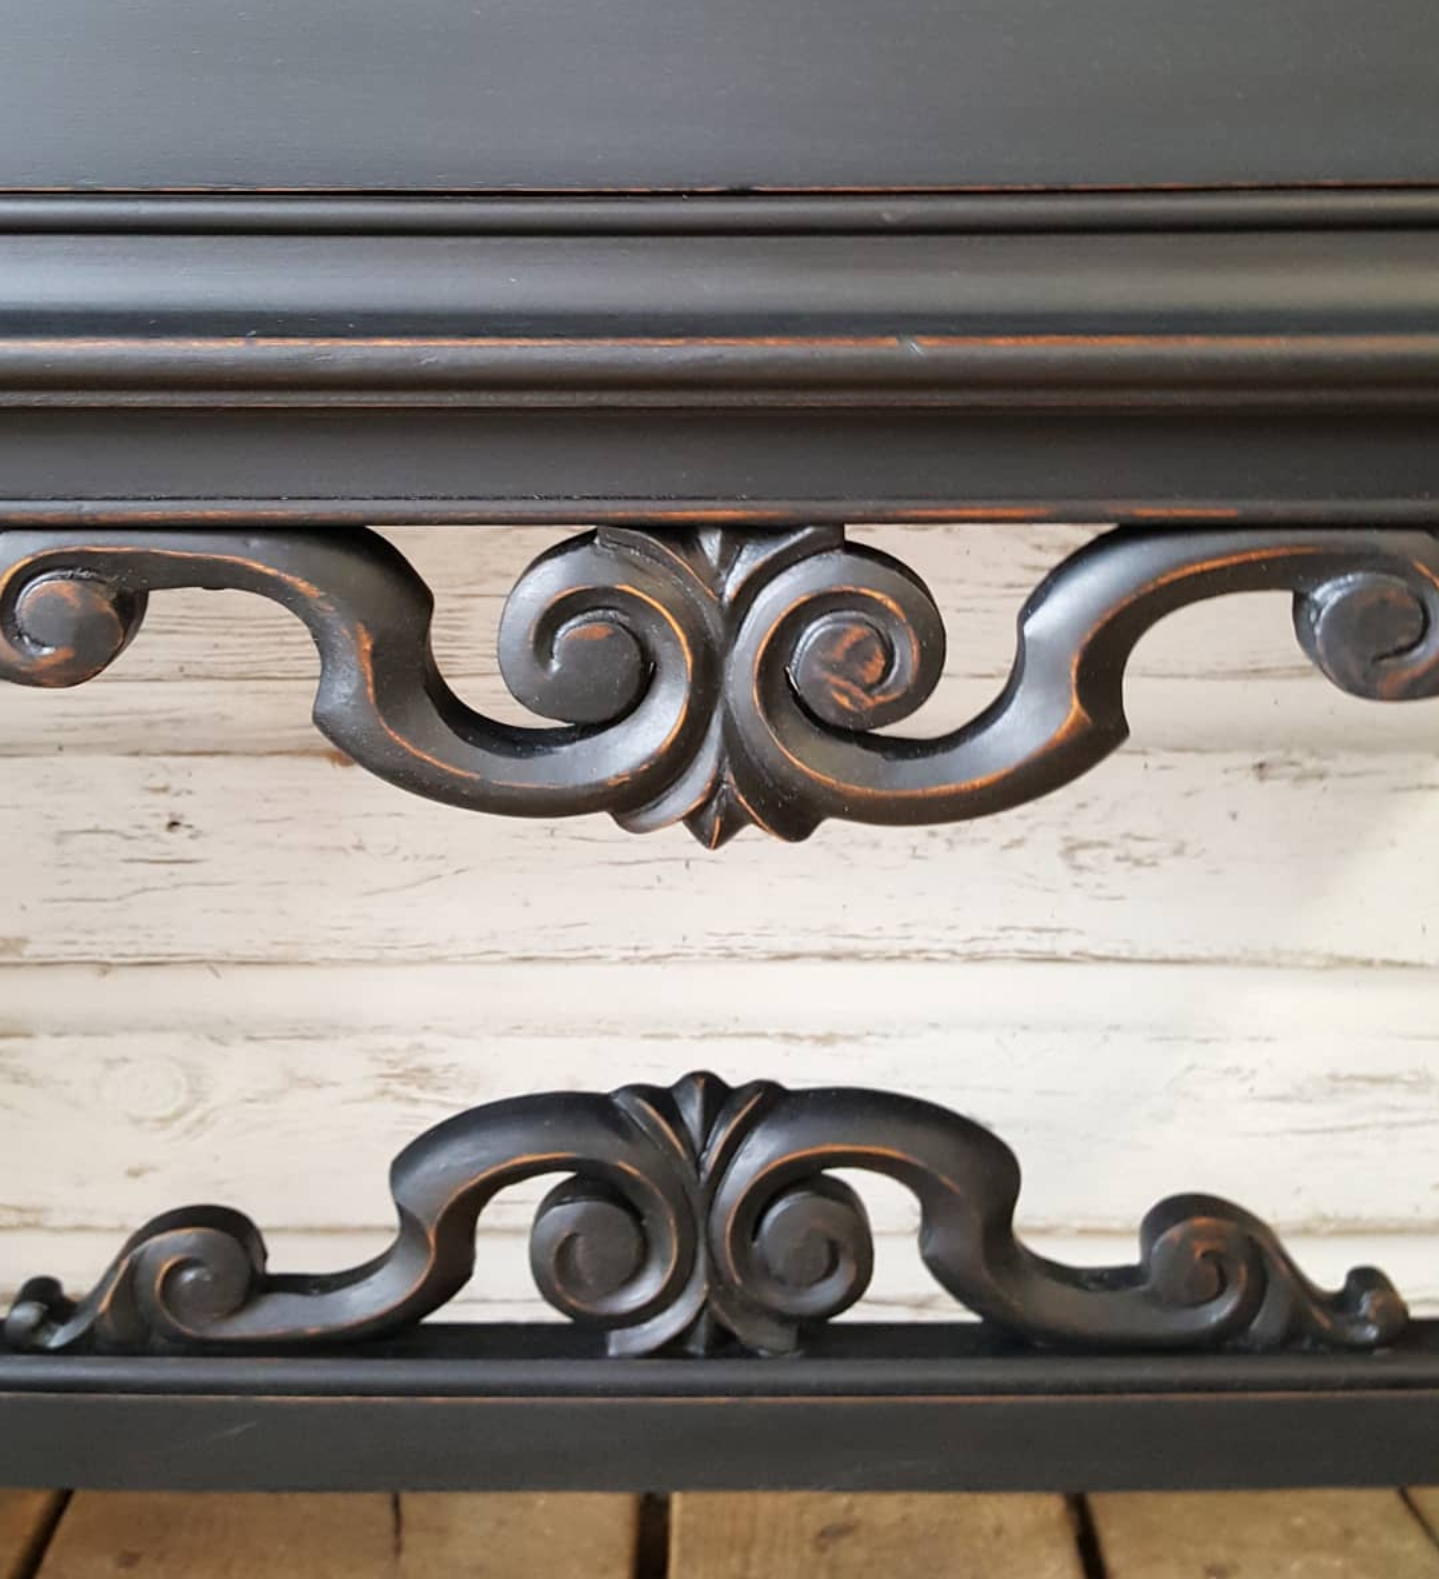
The next day I distressed the edges with 220-grit sandpaper
I then vacuumed the lose sanding dust and made sure the piece was completely dust free
Next, I sealed the piece with Hemp Oil and buffed it with shop towels to give it a smooth shine
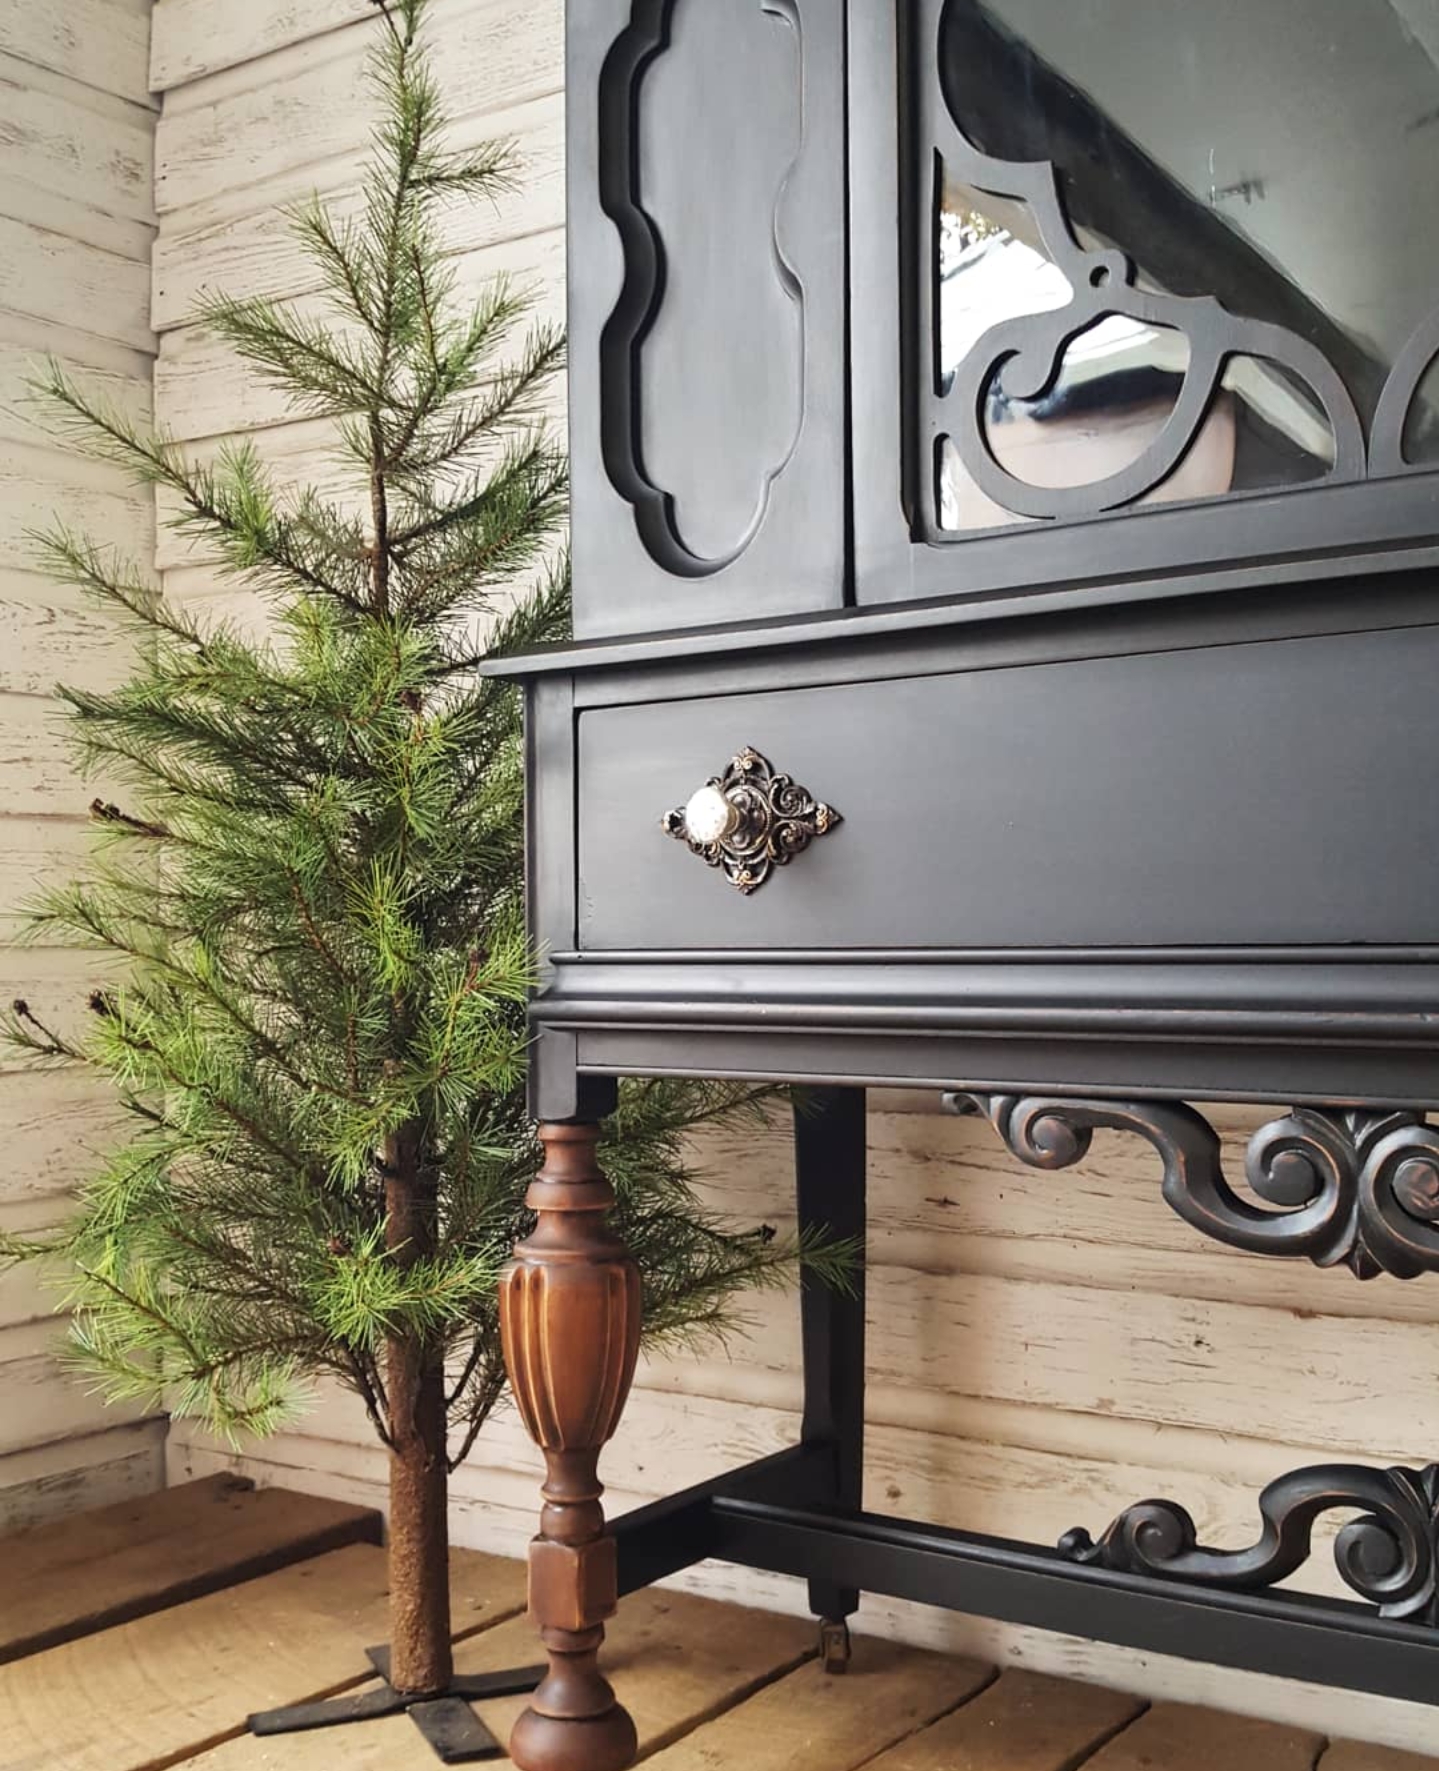
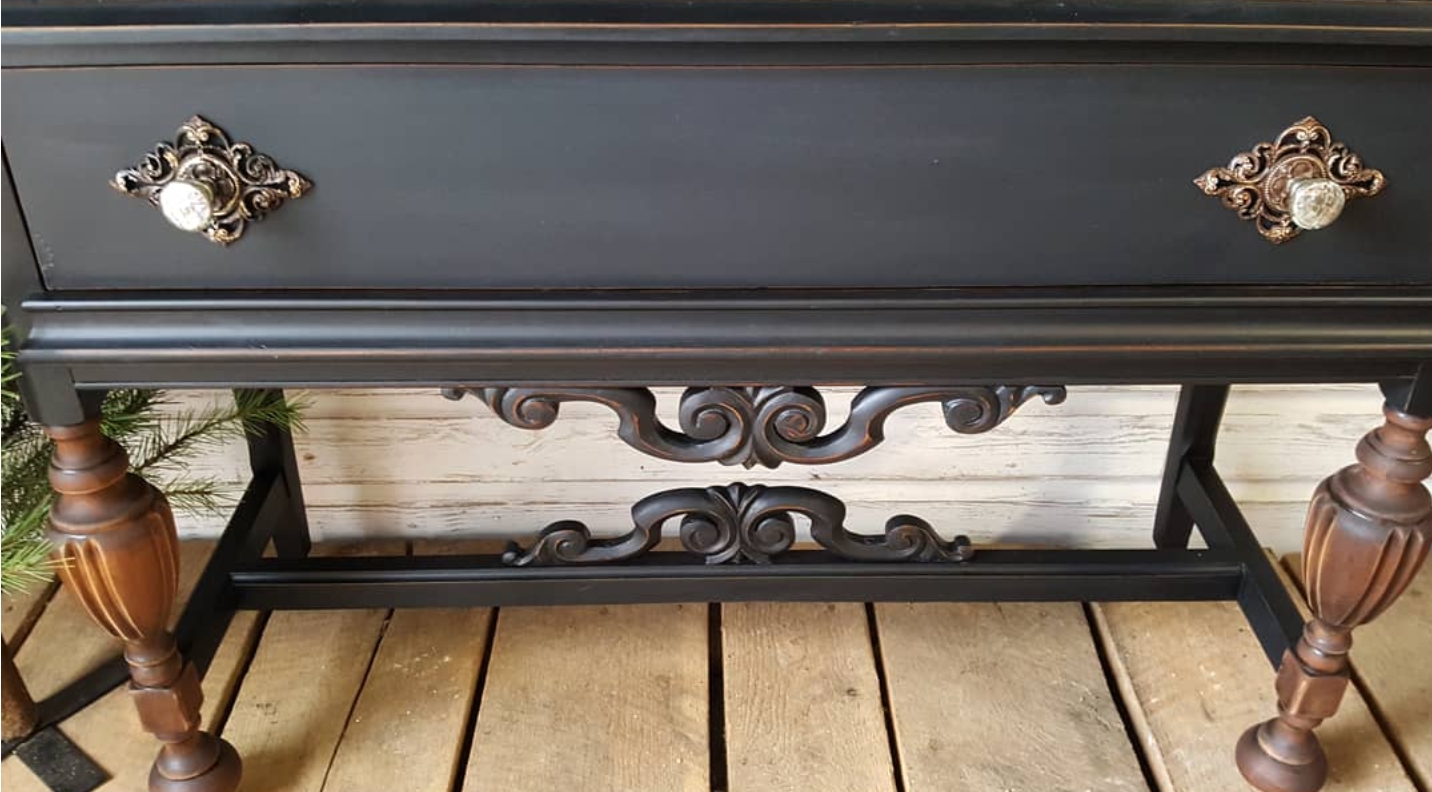
I stained the two front legs with Nutmeg Gel Stain by General Finishes. I did one light coat of the gel stain, then sanded it down a little bit to go along with the distressed edges on the top of the piece
THE HARDWARE: The hinges were in nice shape so I kept them as-is. I changed out the pulls on the drawer with new ones from Hobby Lobby. The new pulls were two separate pieces. One was a textured glass knob and the other was a brown metal knob with a back plate. I could not find the exact brown metal knob that I used on Hobby Lobby’s website, but here are some other ones in case you want to try and find something that looks similar. Here is the textured glass knob that I used.
I removed the brown metal knob and replaced it with the textured glass knob to give the hardware a “wow” factor
I didn’t want the back plate to look like heavy brown metal since the glass is so delicate and shiny, so I sanded it down little bit with 220 grit sandpaper
I then brushed on some of the General Finishes Gel Stain that I used on the legs so it would blend nicely
Once the stain was dry, I highlighted some of the raised areas with a touch of gold to give it some depth and tie the whole piece together


Again, thank you SO much for tuning in this week for my first #MondayMakeoversWithFallon. If you want to save this blog post, make sure you pin it to your Pinterest page and/or feel free to share it elsewhere. I look forward being with you each Monday and don’t forget to tune in each Tuesday for my educating and inspiring #TuesdayTipsWithFallon!!
*Please note, this post does contain affiliate links.


Did you know I have an eBook plus three different staging and styling guides that help you stage your furniture!? Between all three guides you receive over 500 different ways to style and stage different pieces of furniture. Yes, 500!! They are not just for the furniture artist either. Maybe you are planning on selling your home and need help staging your furniture so it doesn’t look cluttered or maybe you just have no clue how to style the furniture that you currently have and you want it to look nice?! No worries! These are for you!! Between all three guides and my second edition eBook you get over 200 pages of information! You do not have to worry about staging and styling your furniture ever again!!Here is the link to my eBook, Your Virtual Storefront. The Complete Guide to Staging Painted Furniture. It jammed packed information that will help you take your staging to the next level! I also have three separate staging and styling guides that help you stage specific pieces of furniture.
Here is a breakdown of my eBook and Guides:
*Your Virtual Storefront. The Complete Guide to Staging Your Painted Furniture. 2nd EDITION: Everything you need to know to help you stage your furniture from, photography, the photo editing process, lighting, staging areas/locations, information about logo/watermarks…just to name a handful of the topics.
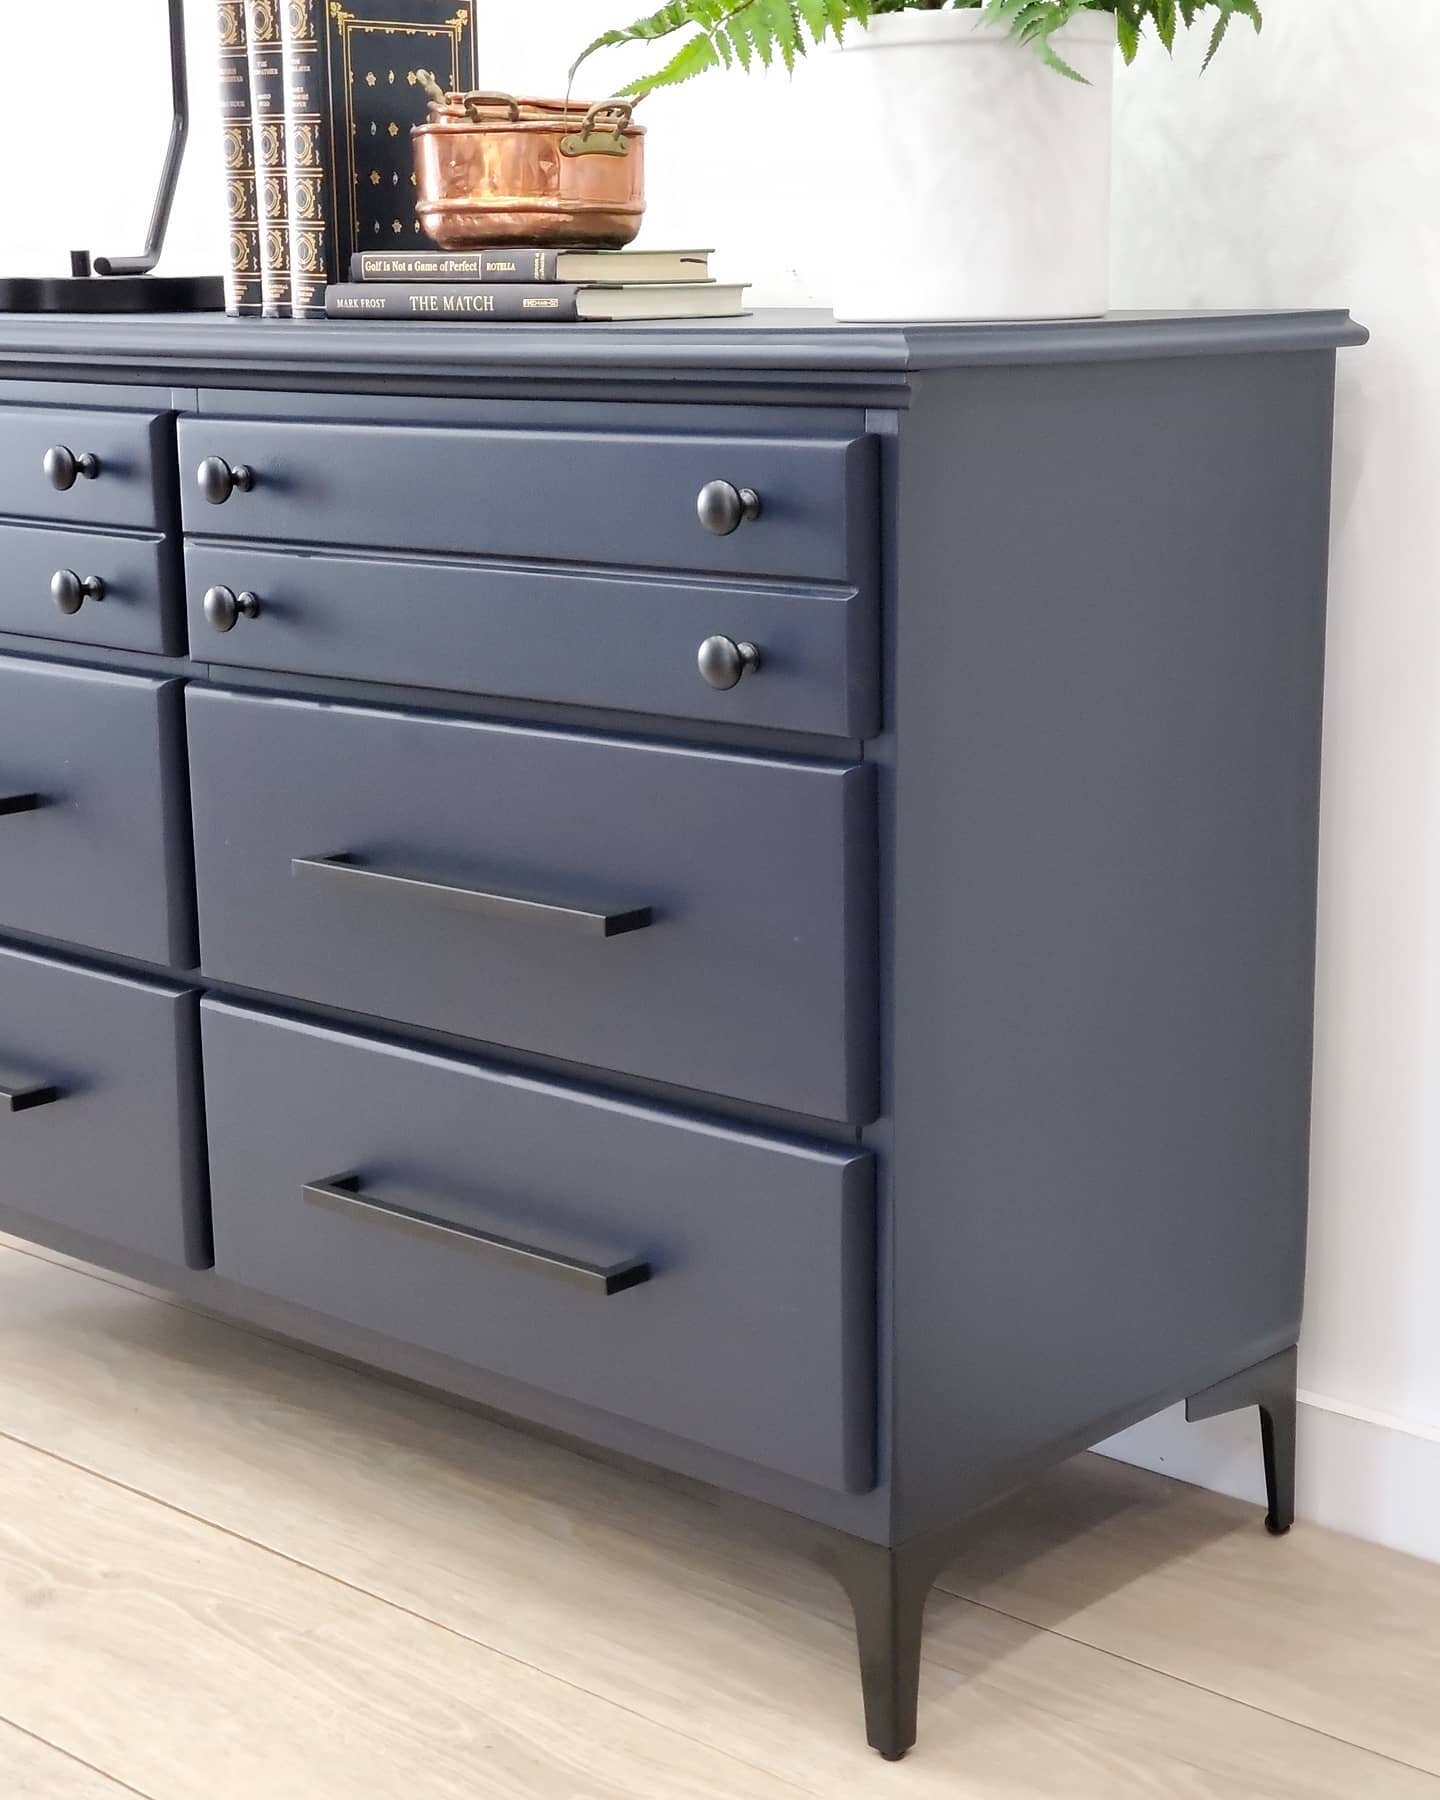
*The Bedroom Furniture Guide: Staging and Styling Chest of Drawers, Dressers, Nightstands, Wardrobes, Blanket Chests, Vanities, Beds and Bedroom Sets)
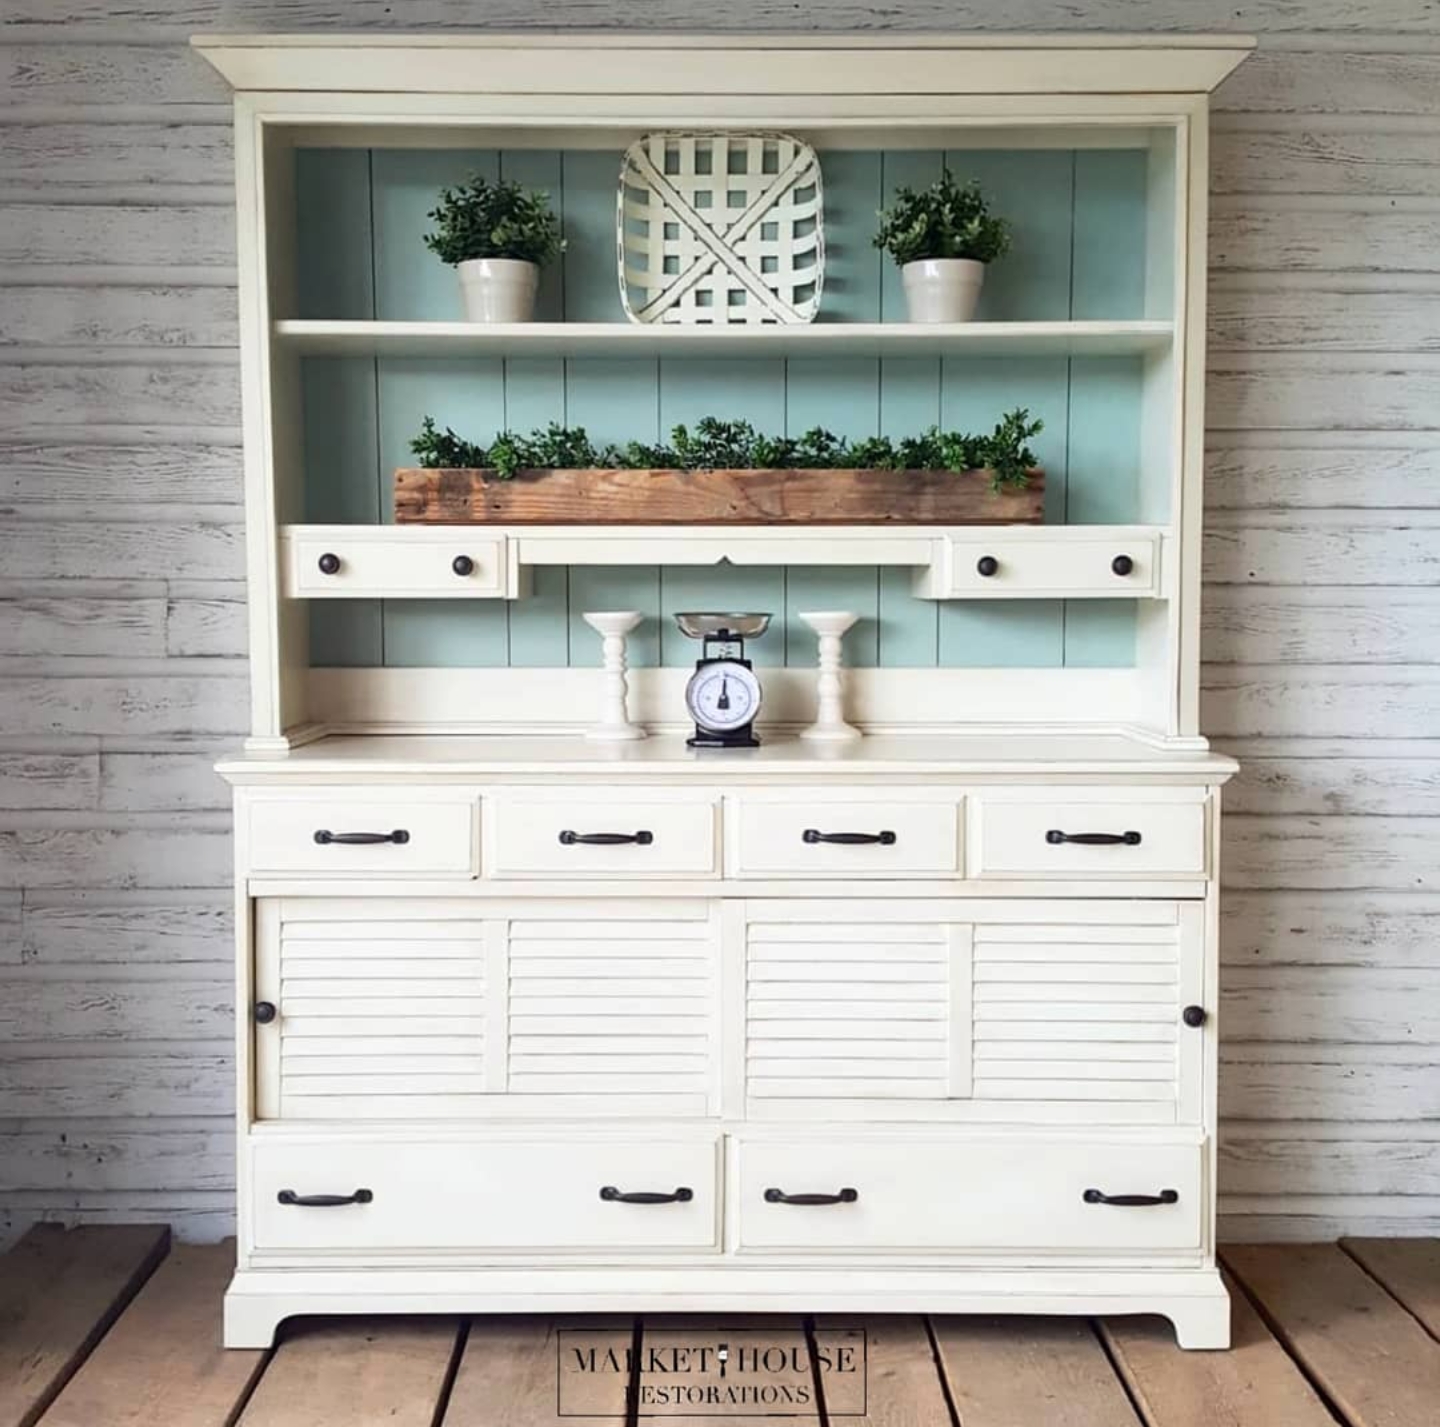
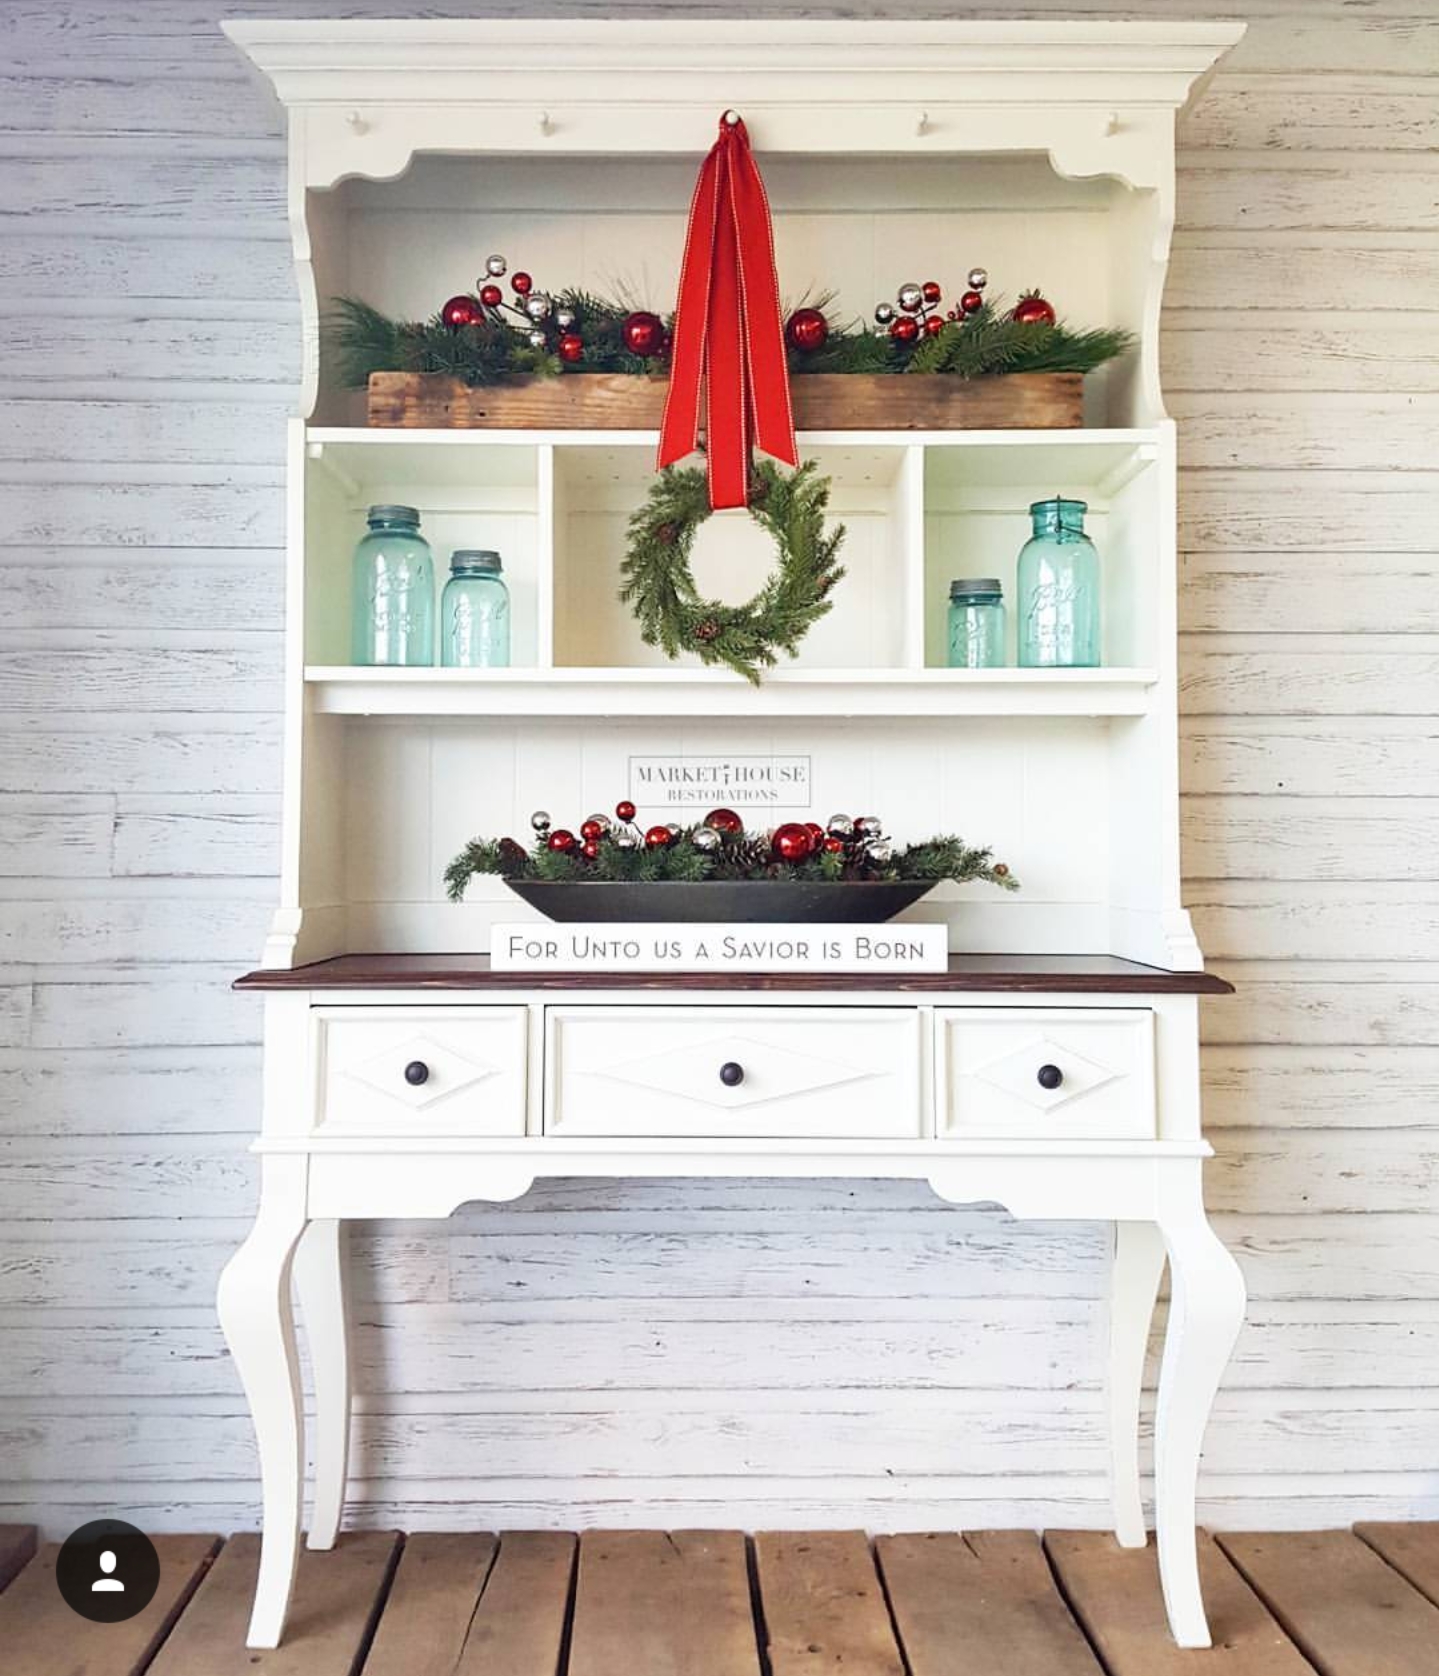
*The Dining Room Furniture Guide: Staging and Styling Buffets/Sideboards, China Hutches, Glass Front China Cabinets and Tables & Chairs
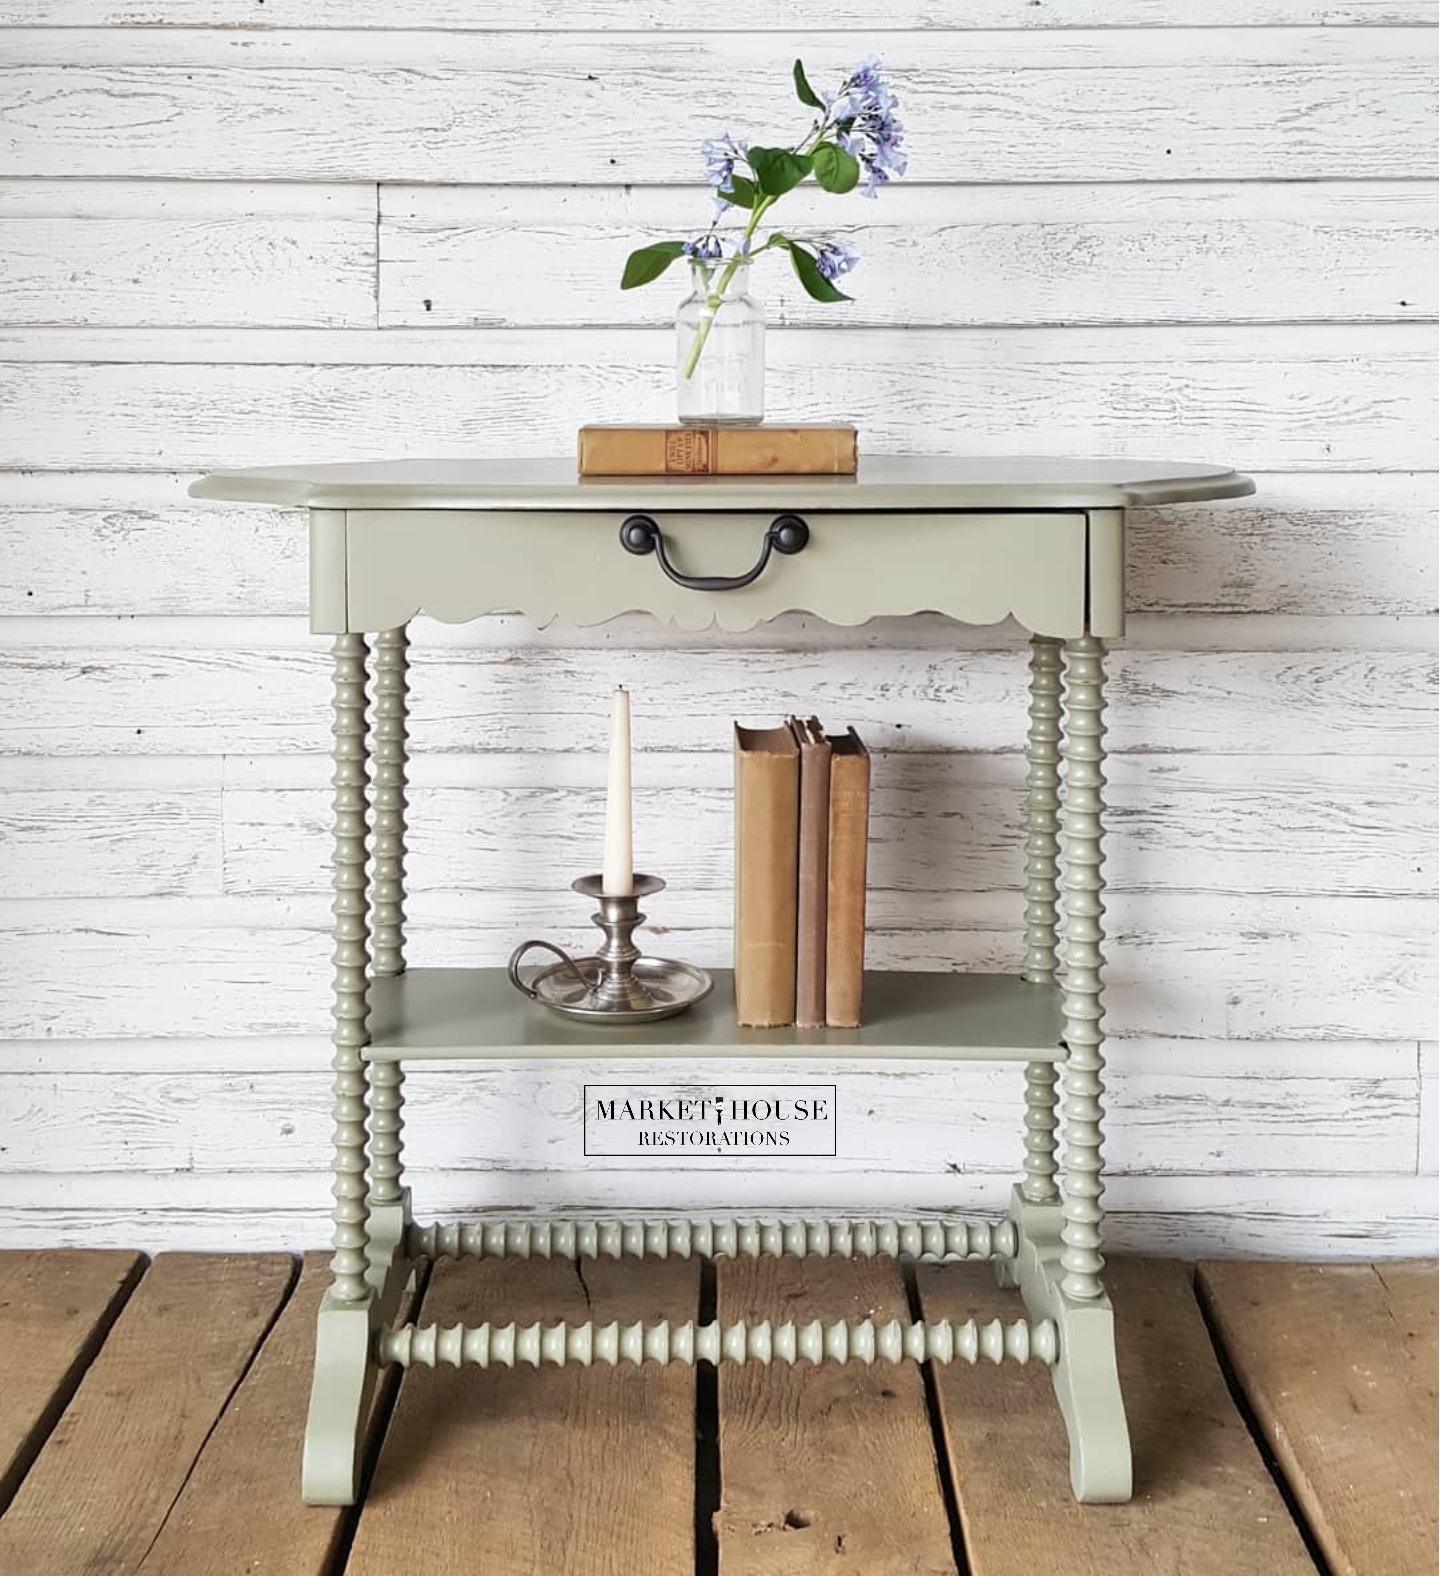
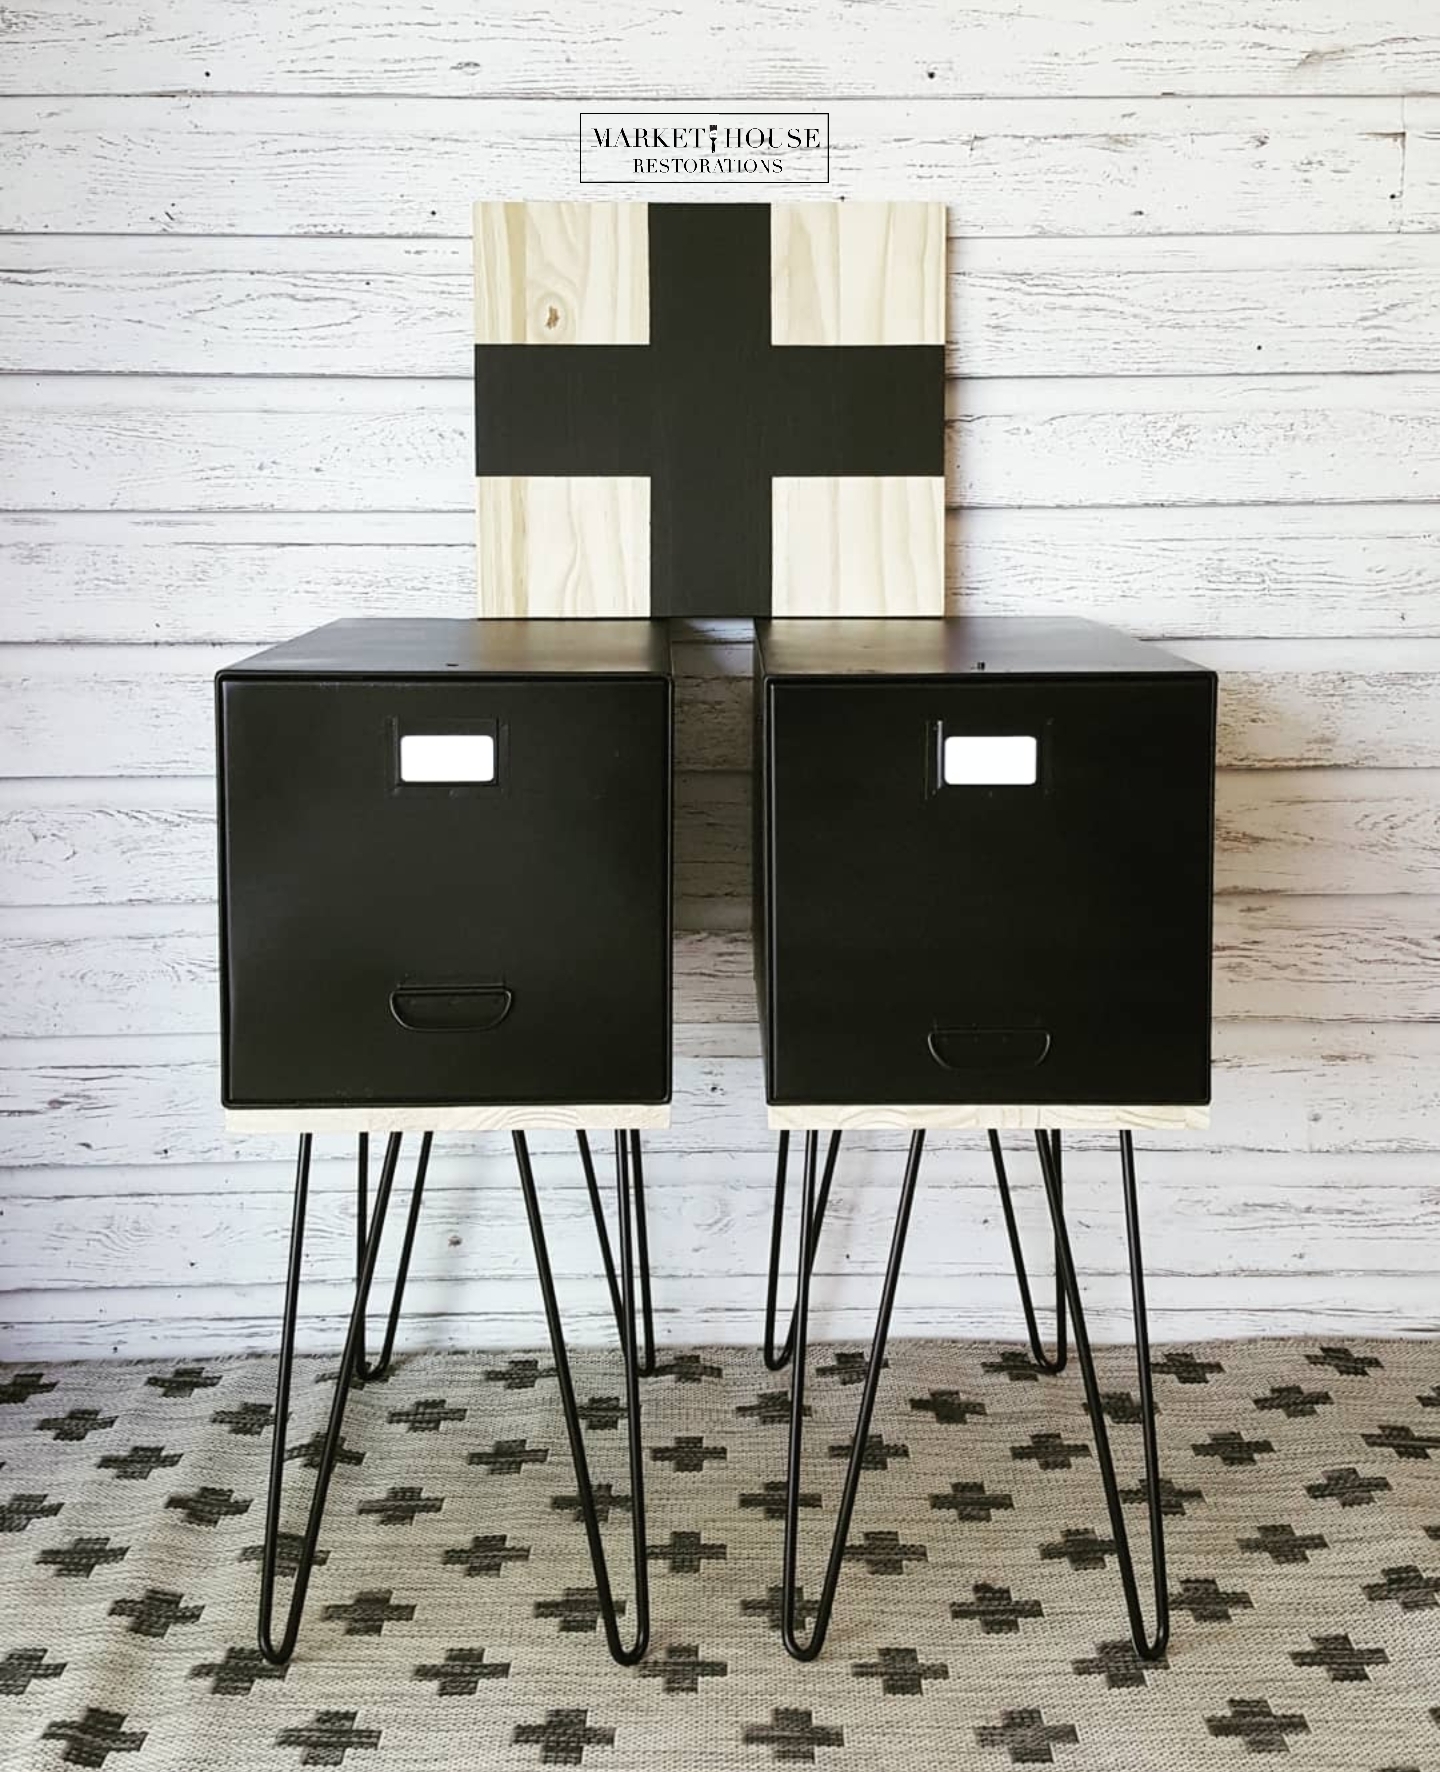
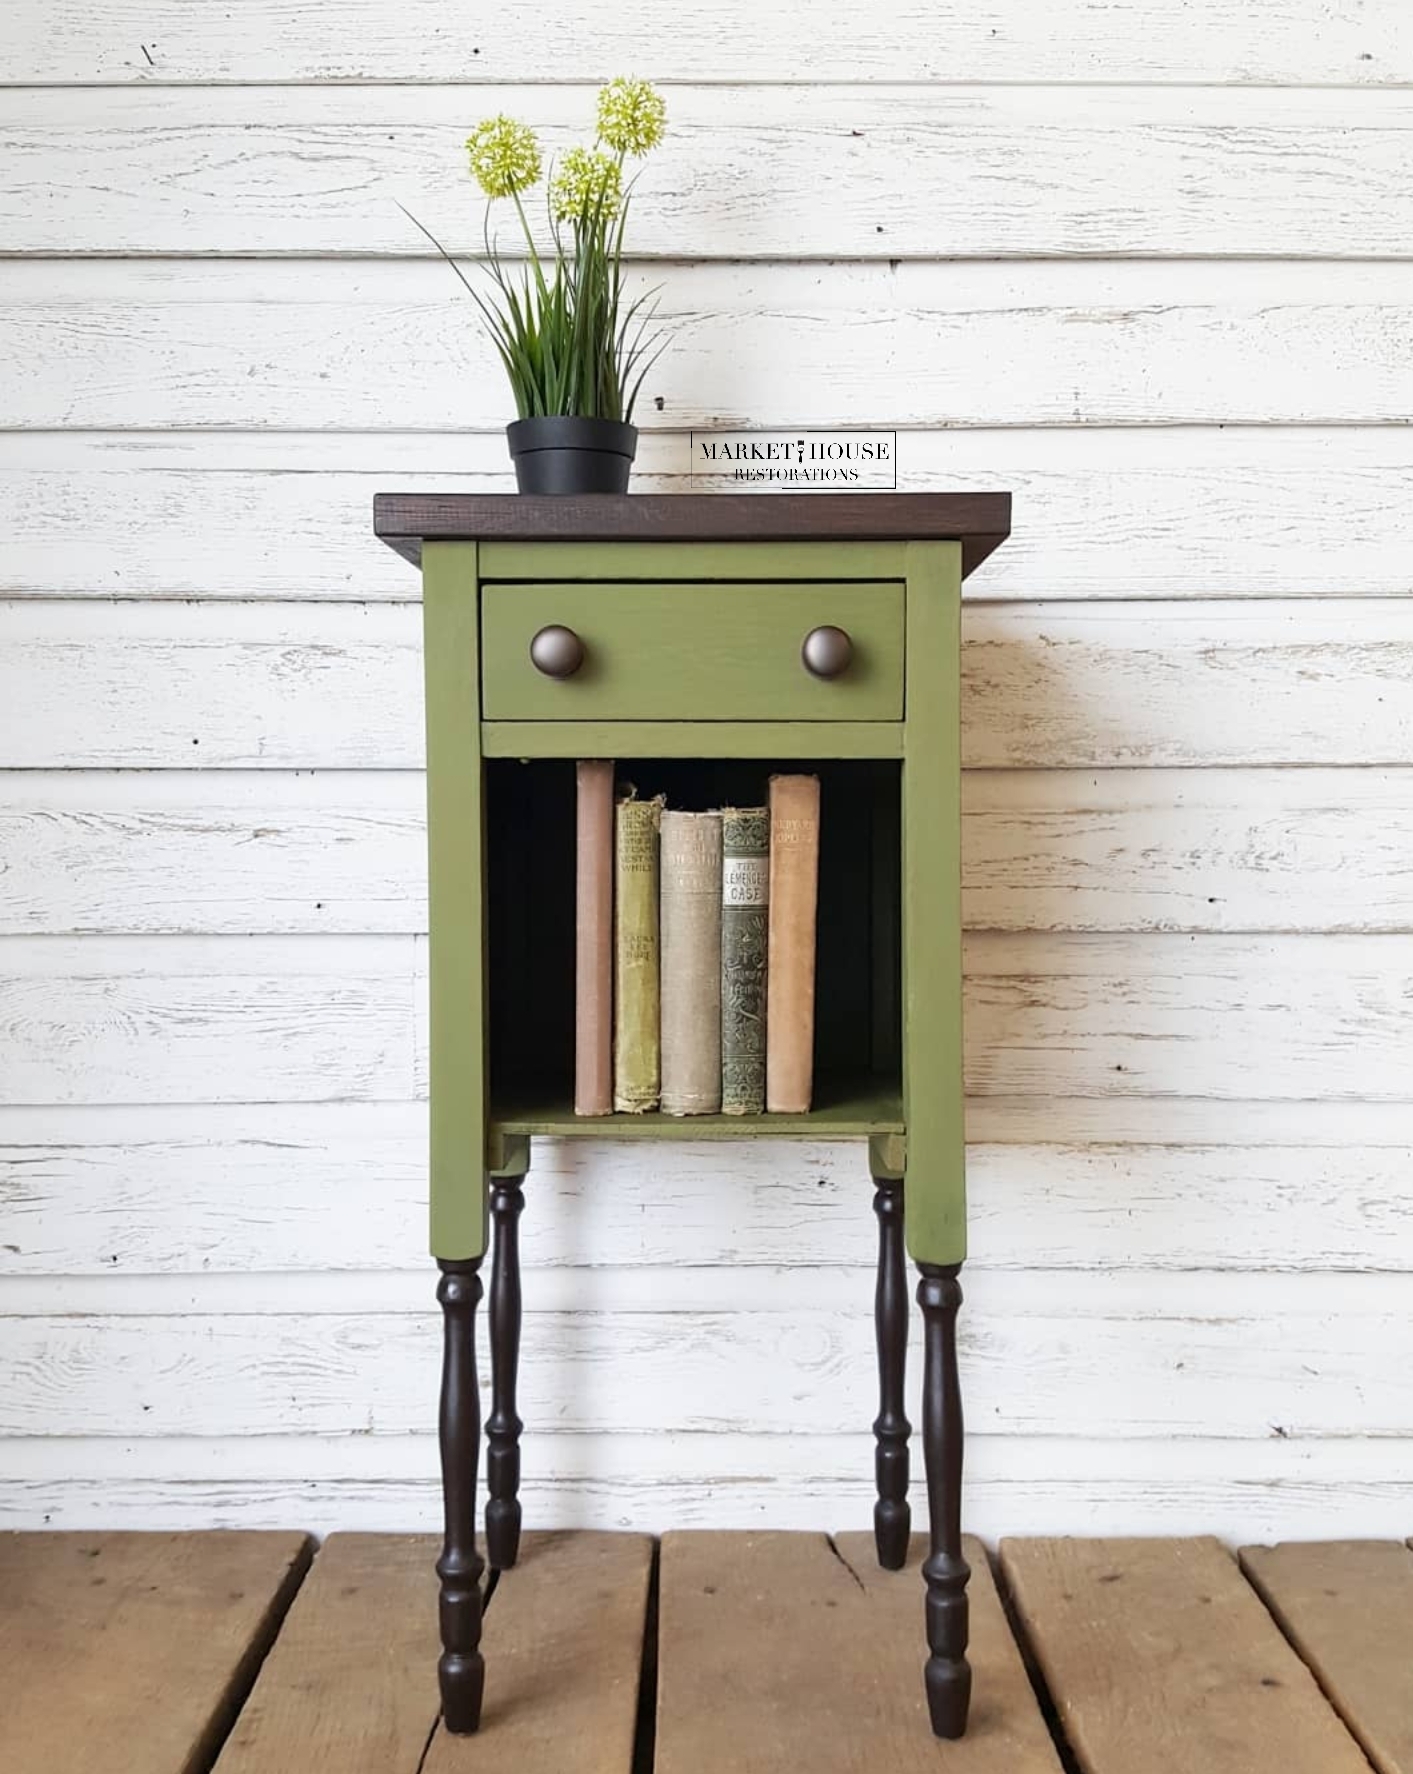
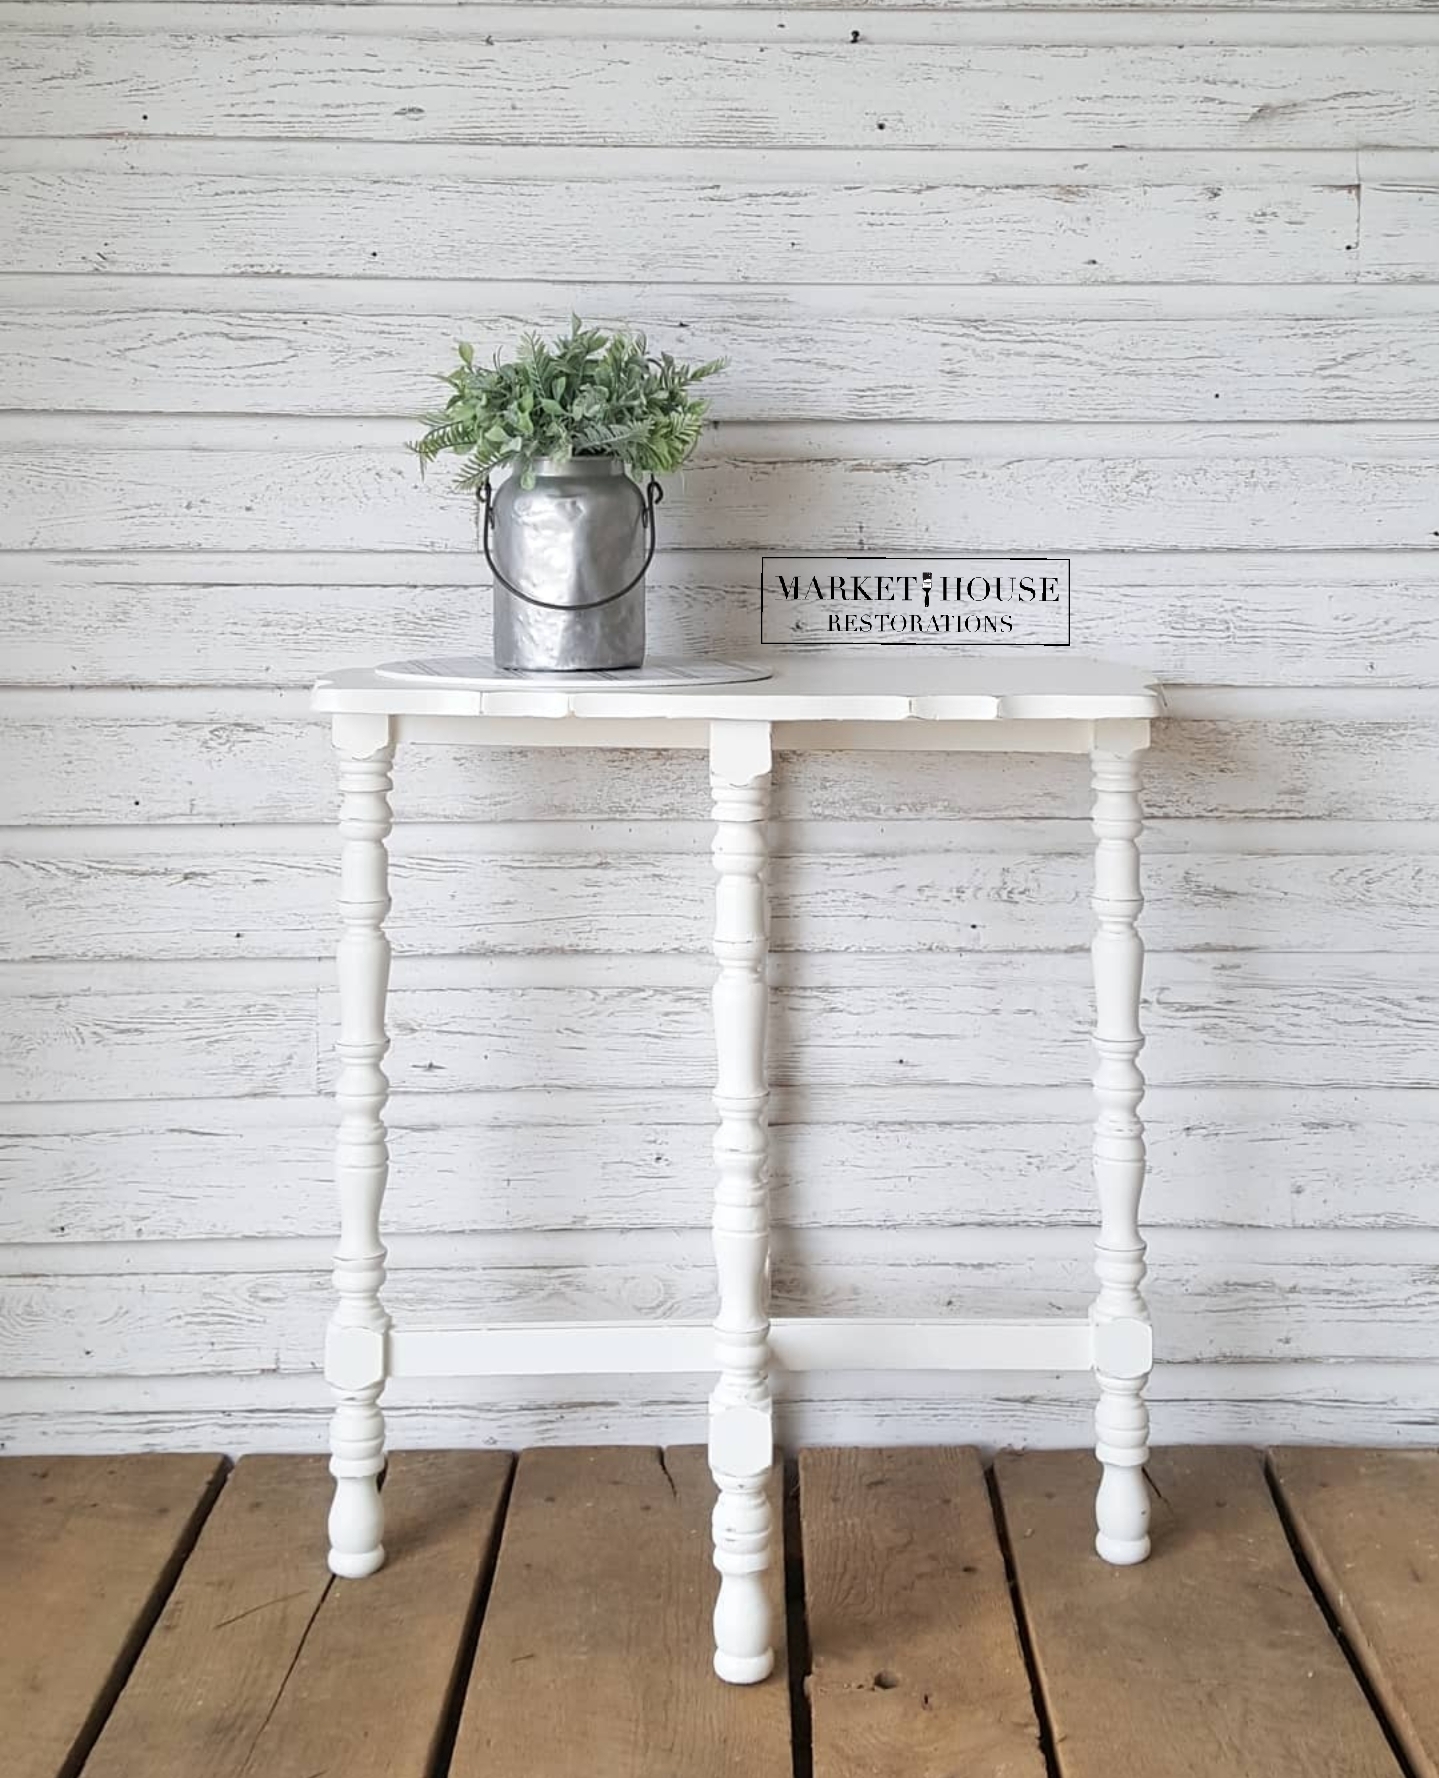
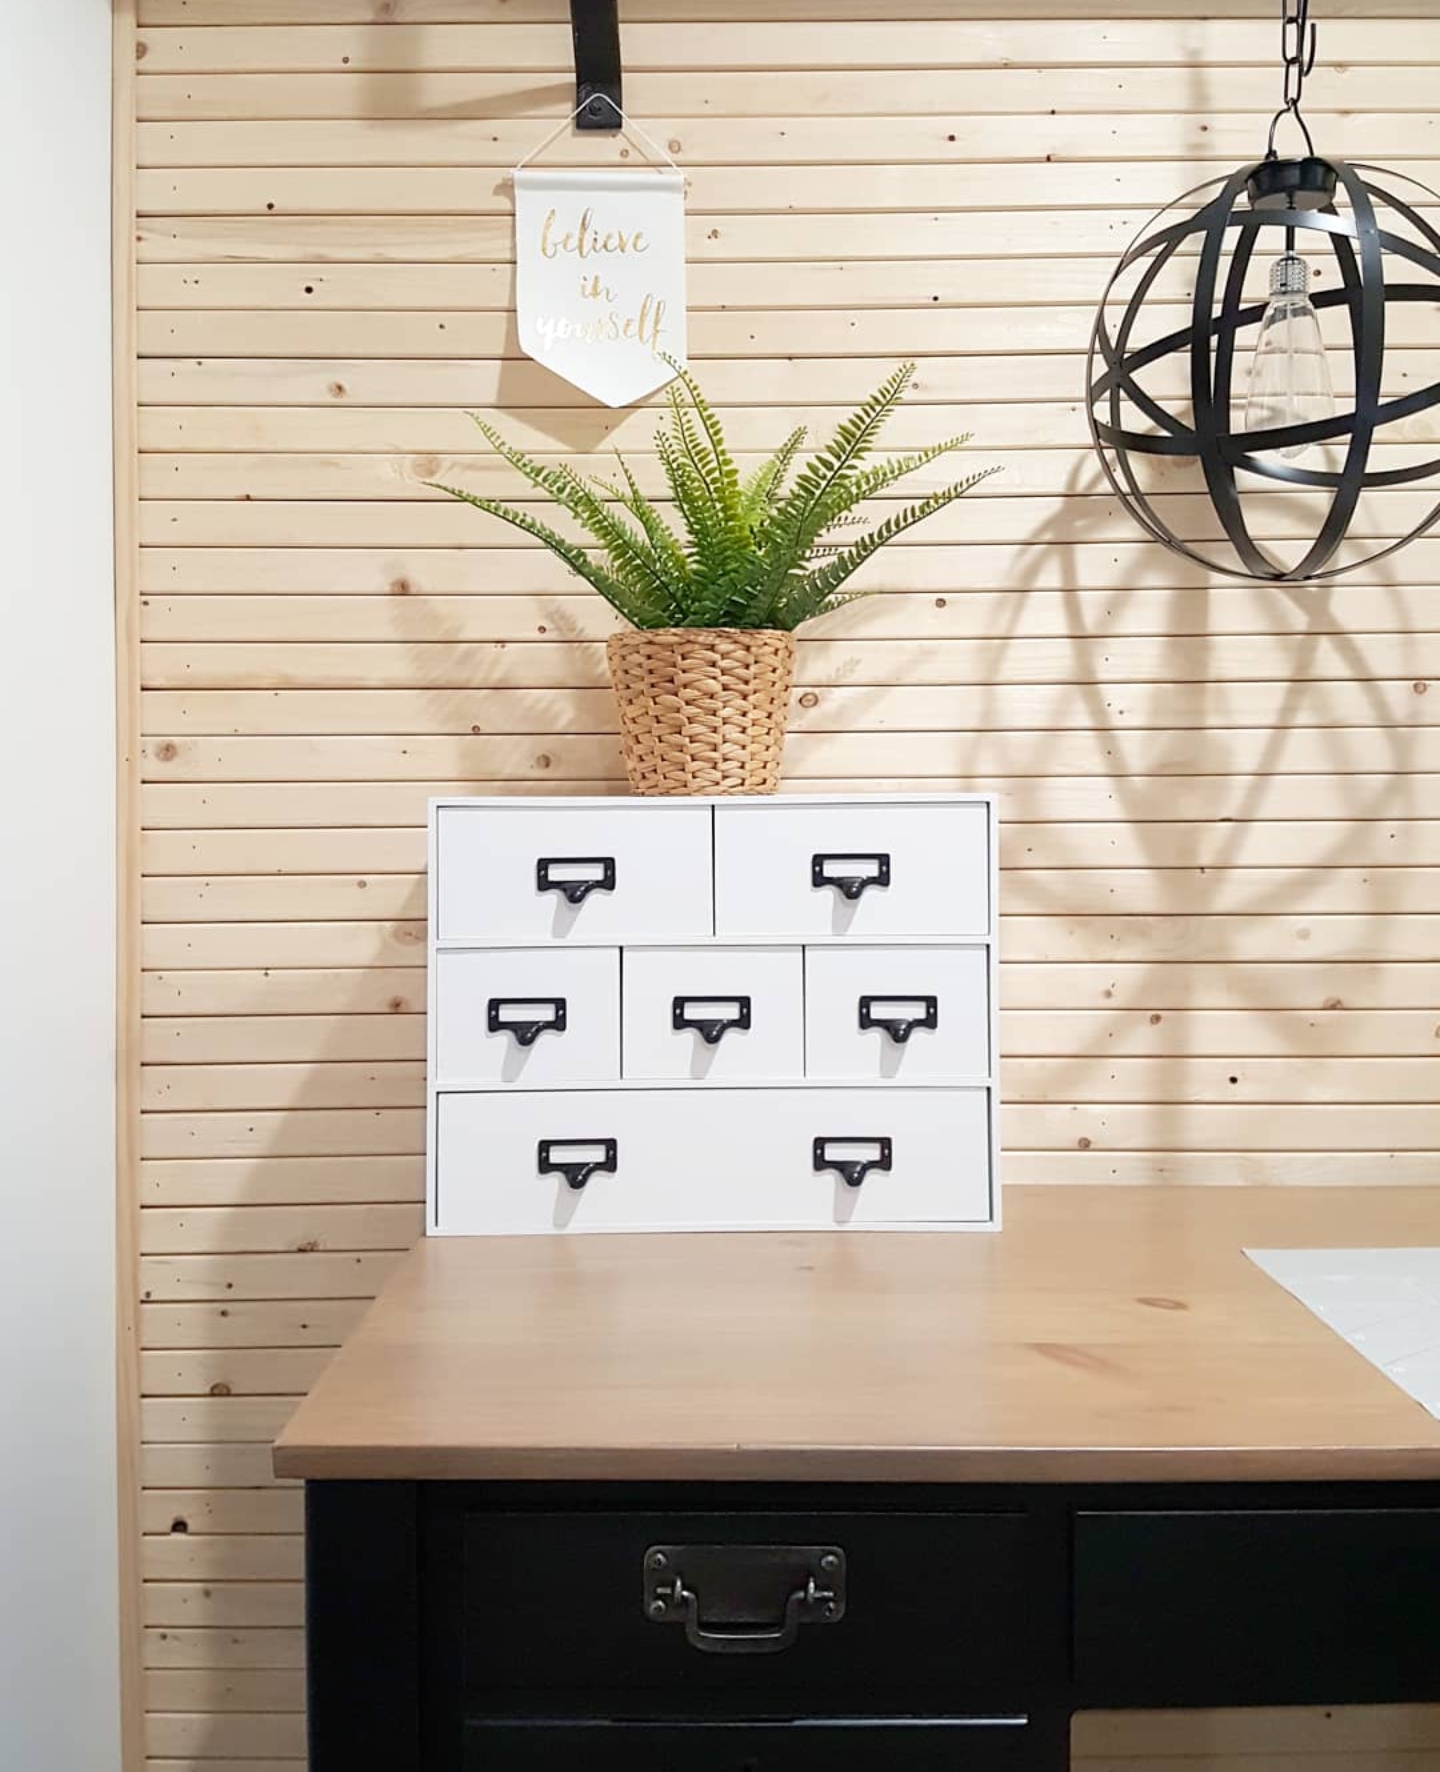
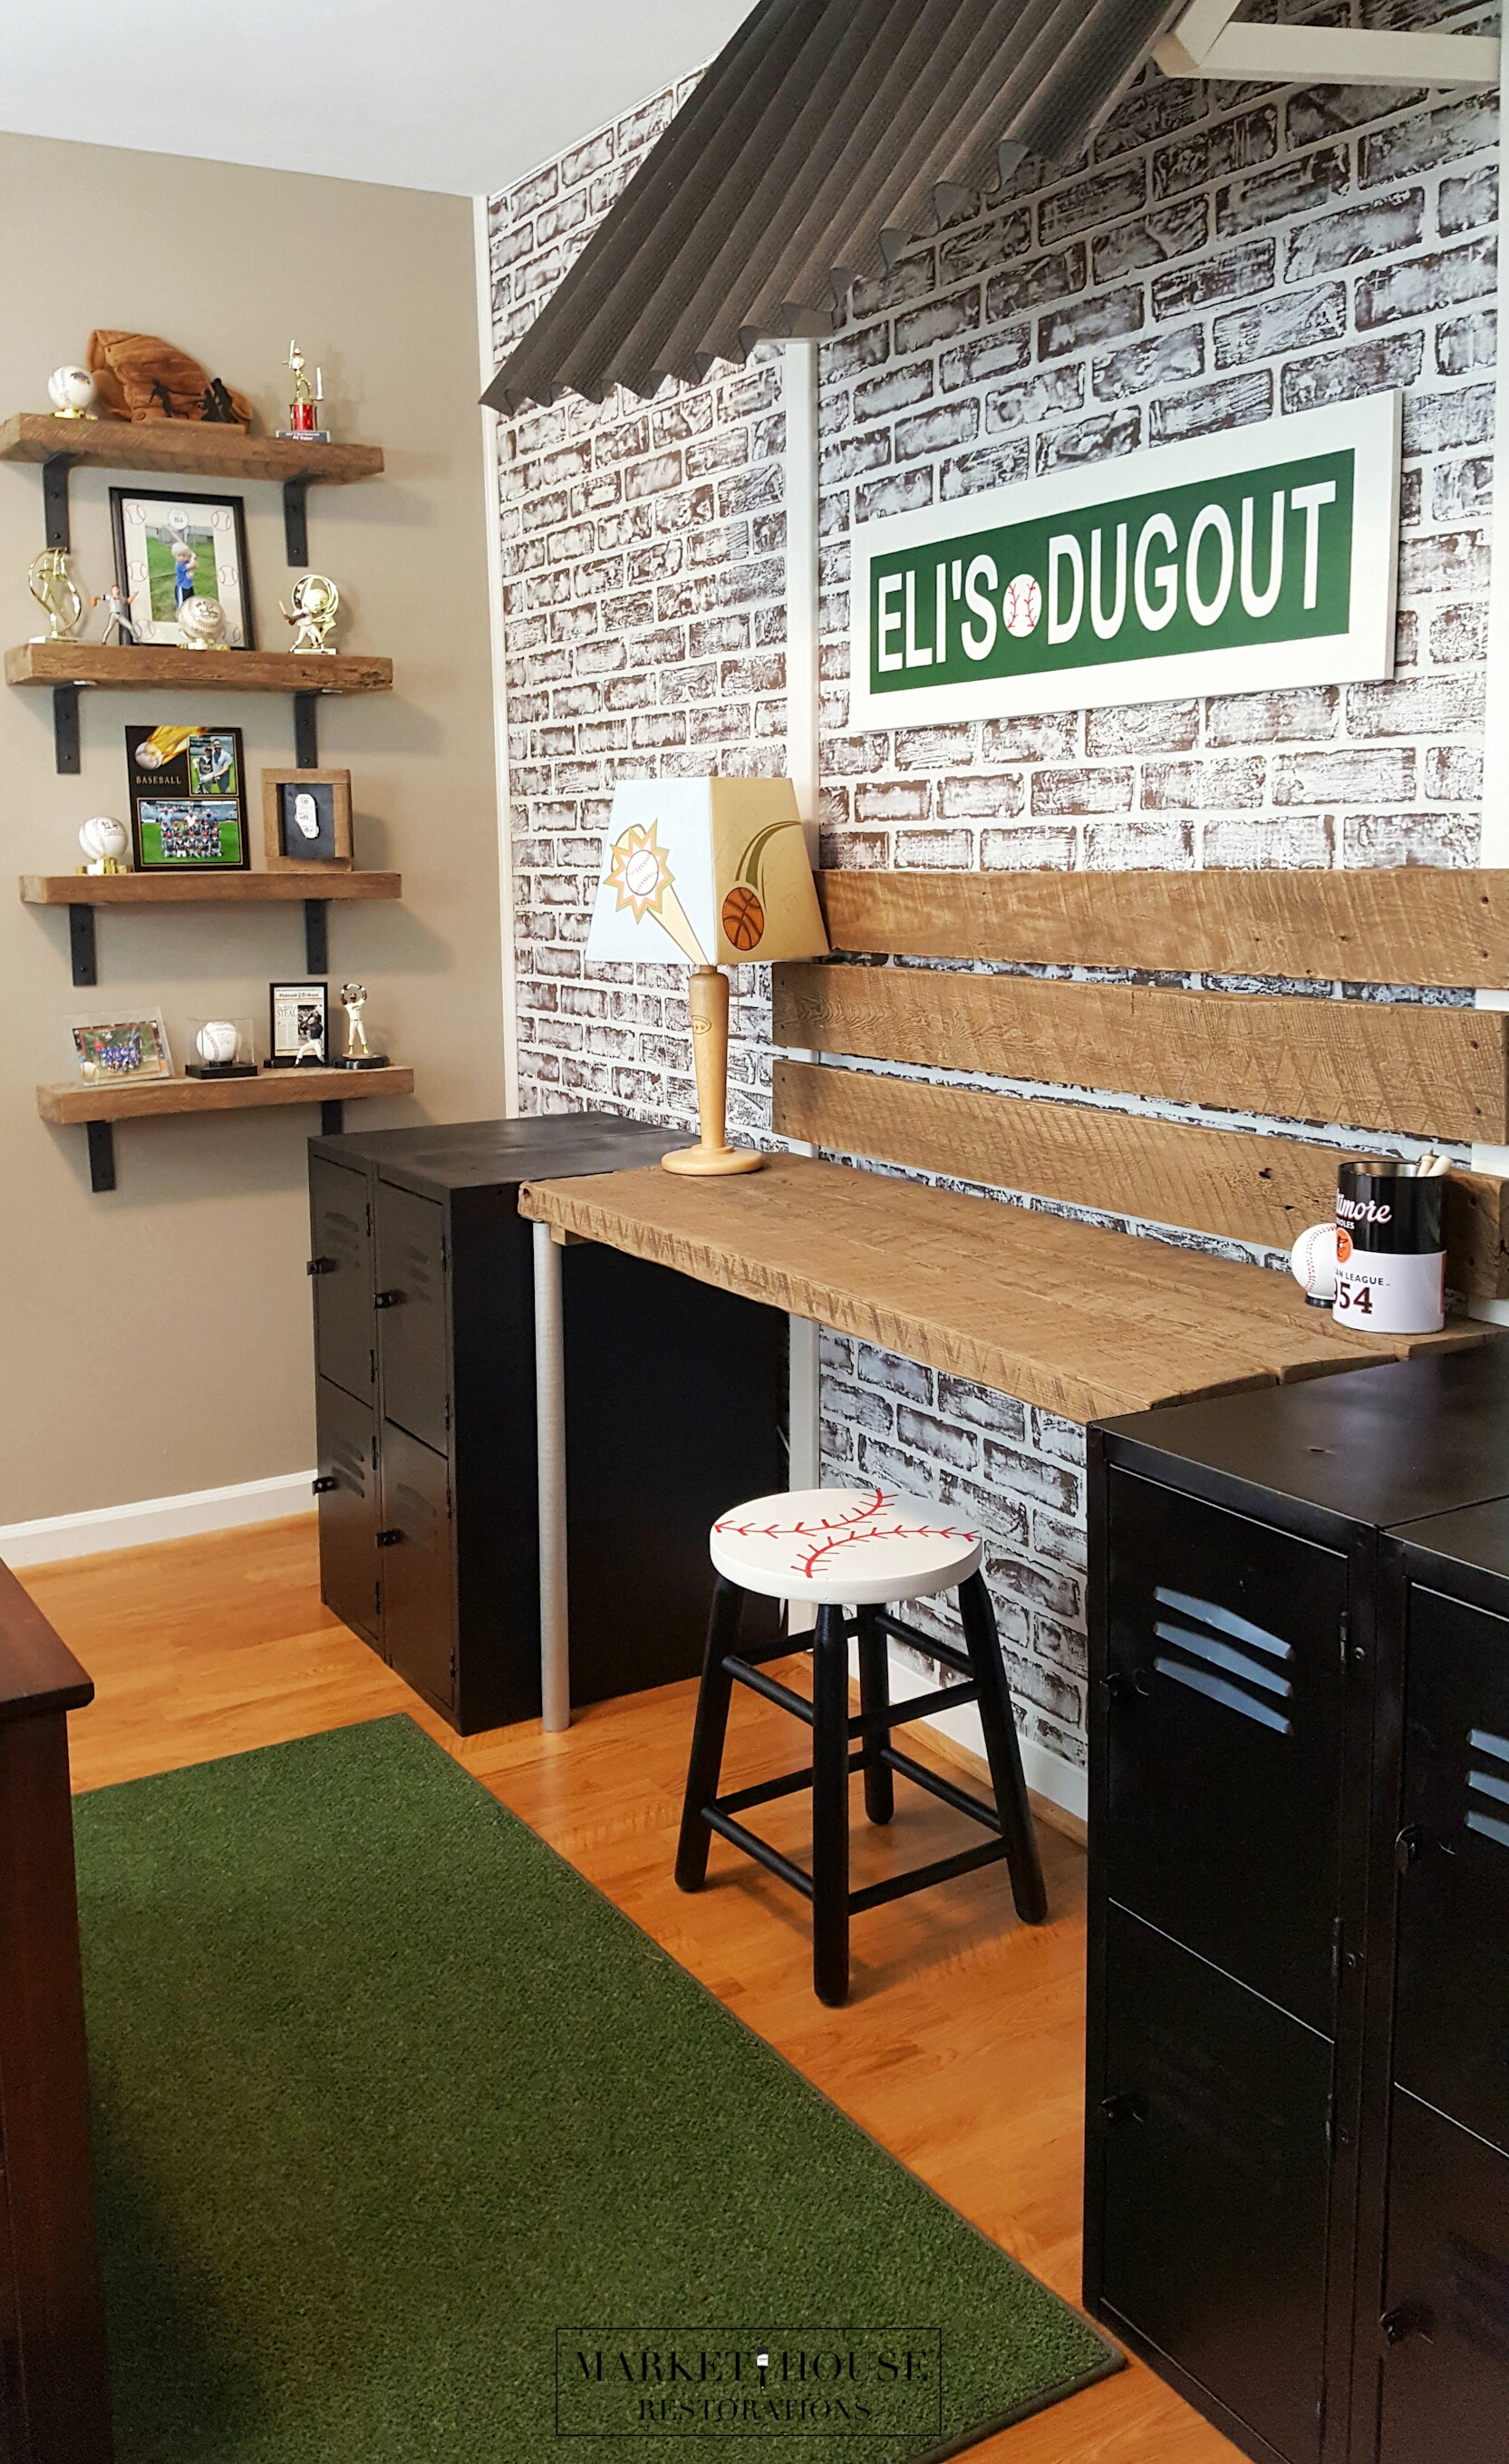
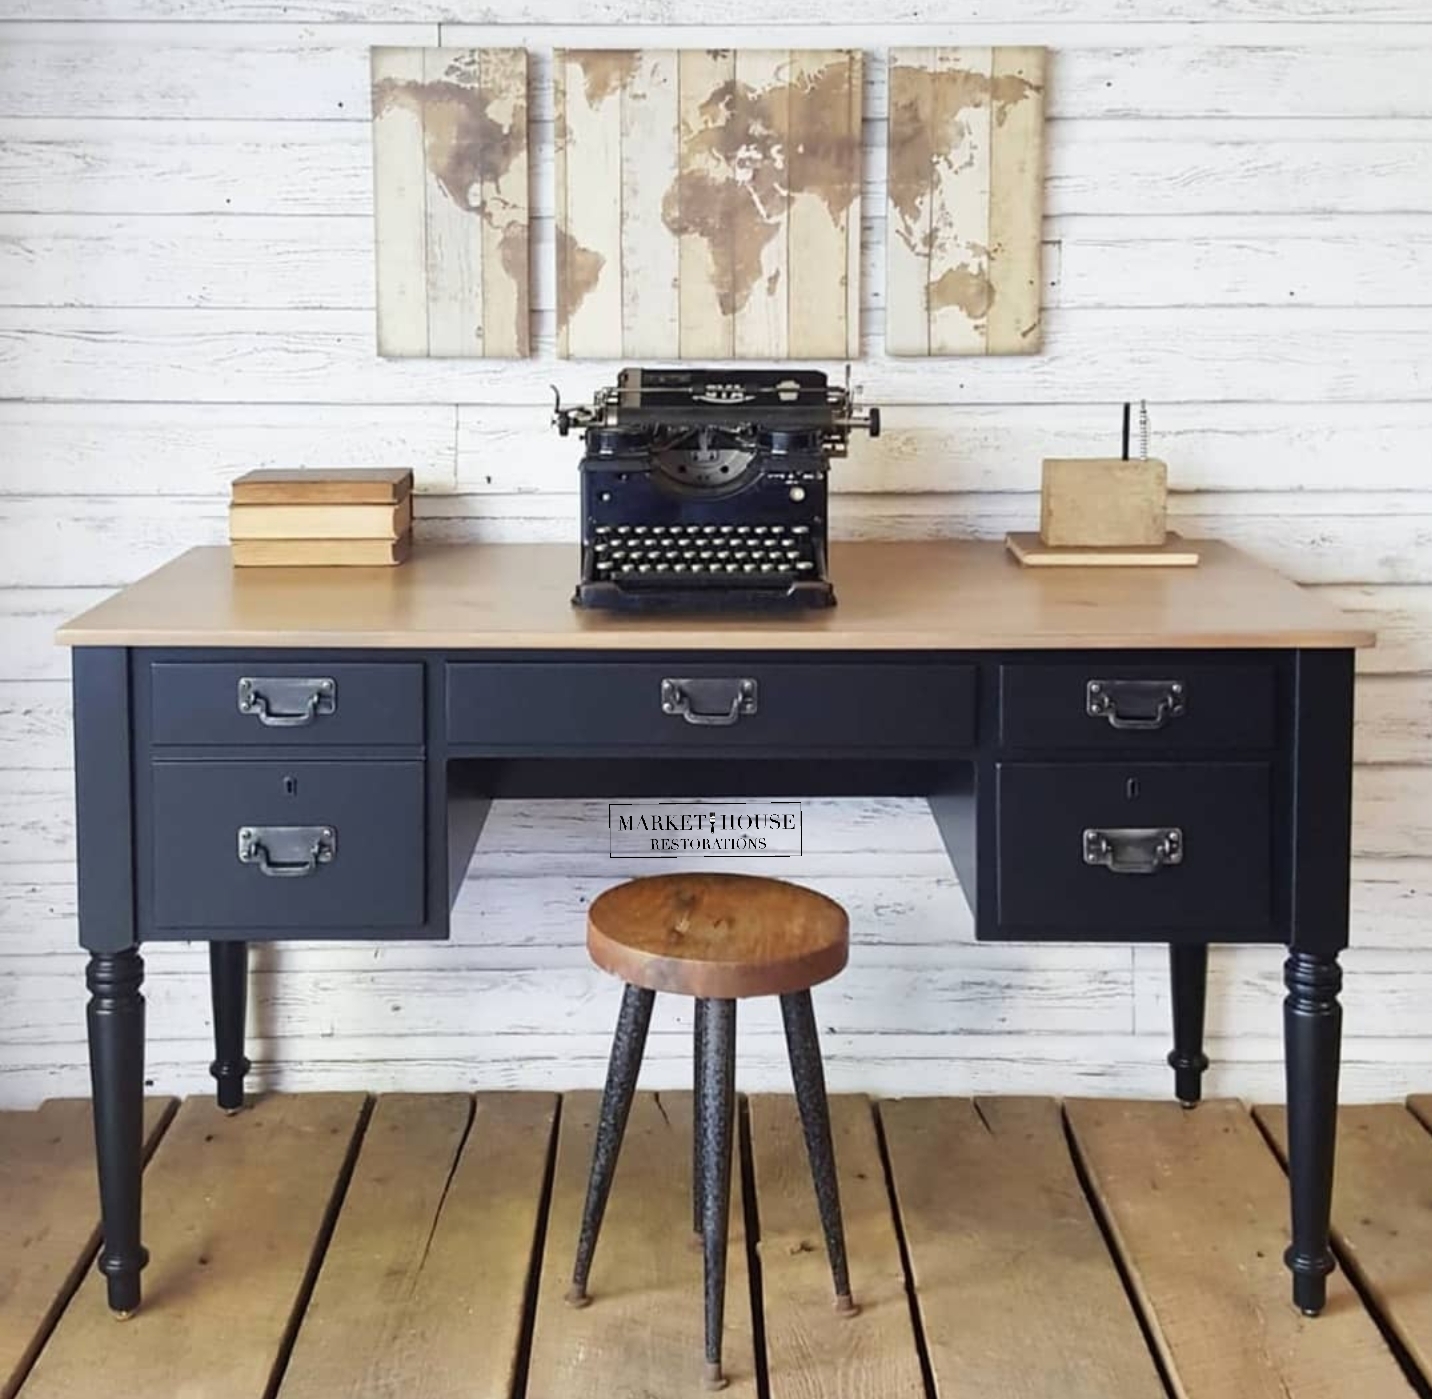
*The Everyday Living Furniture Guide: Staging and Styling Desks, Multi-Purpose Pieces, Sofa Tables, TV Stands, Side Tables, Coffee Tables, Benches and Bookshelves
I appreciate you stopping by!
Make sure you check out my other #MondayMakeoversWithFallon tutorials below!