How To Get This Look! Raw Dresser Makeover
/#MondayMakeoversWithFallon
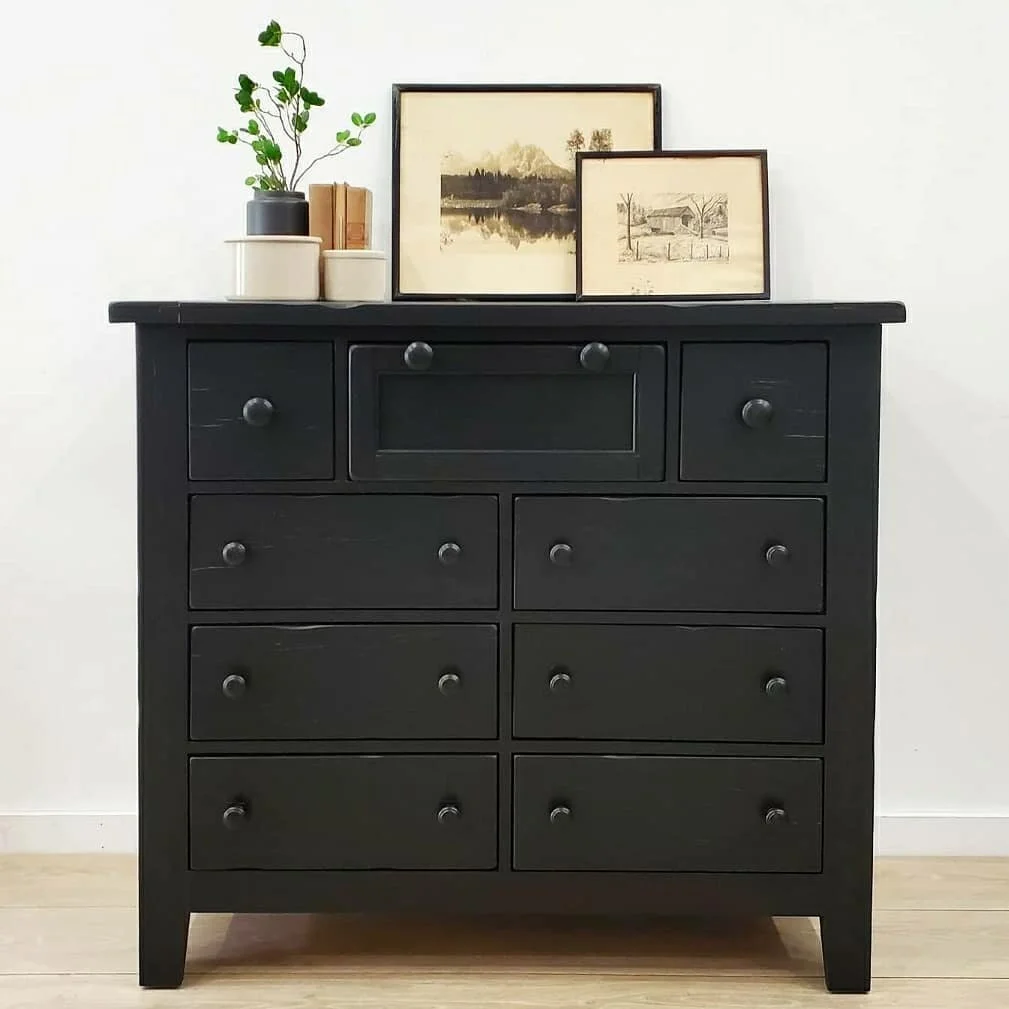
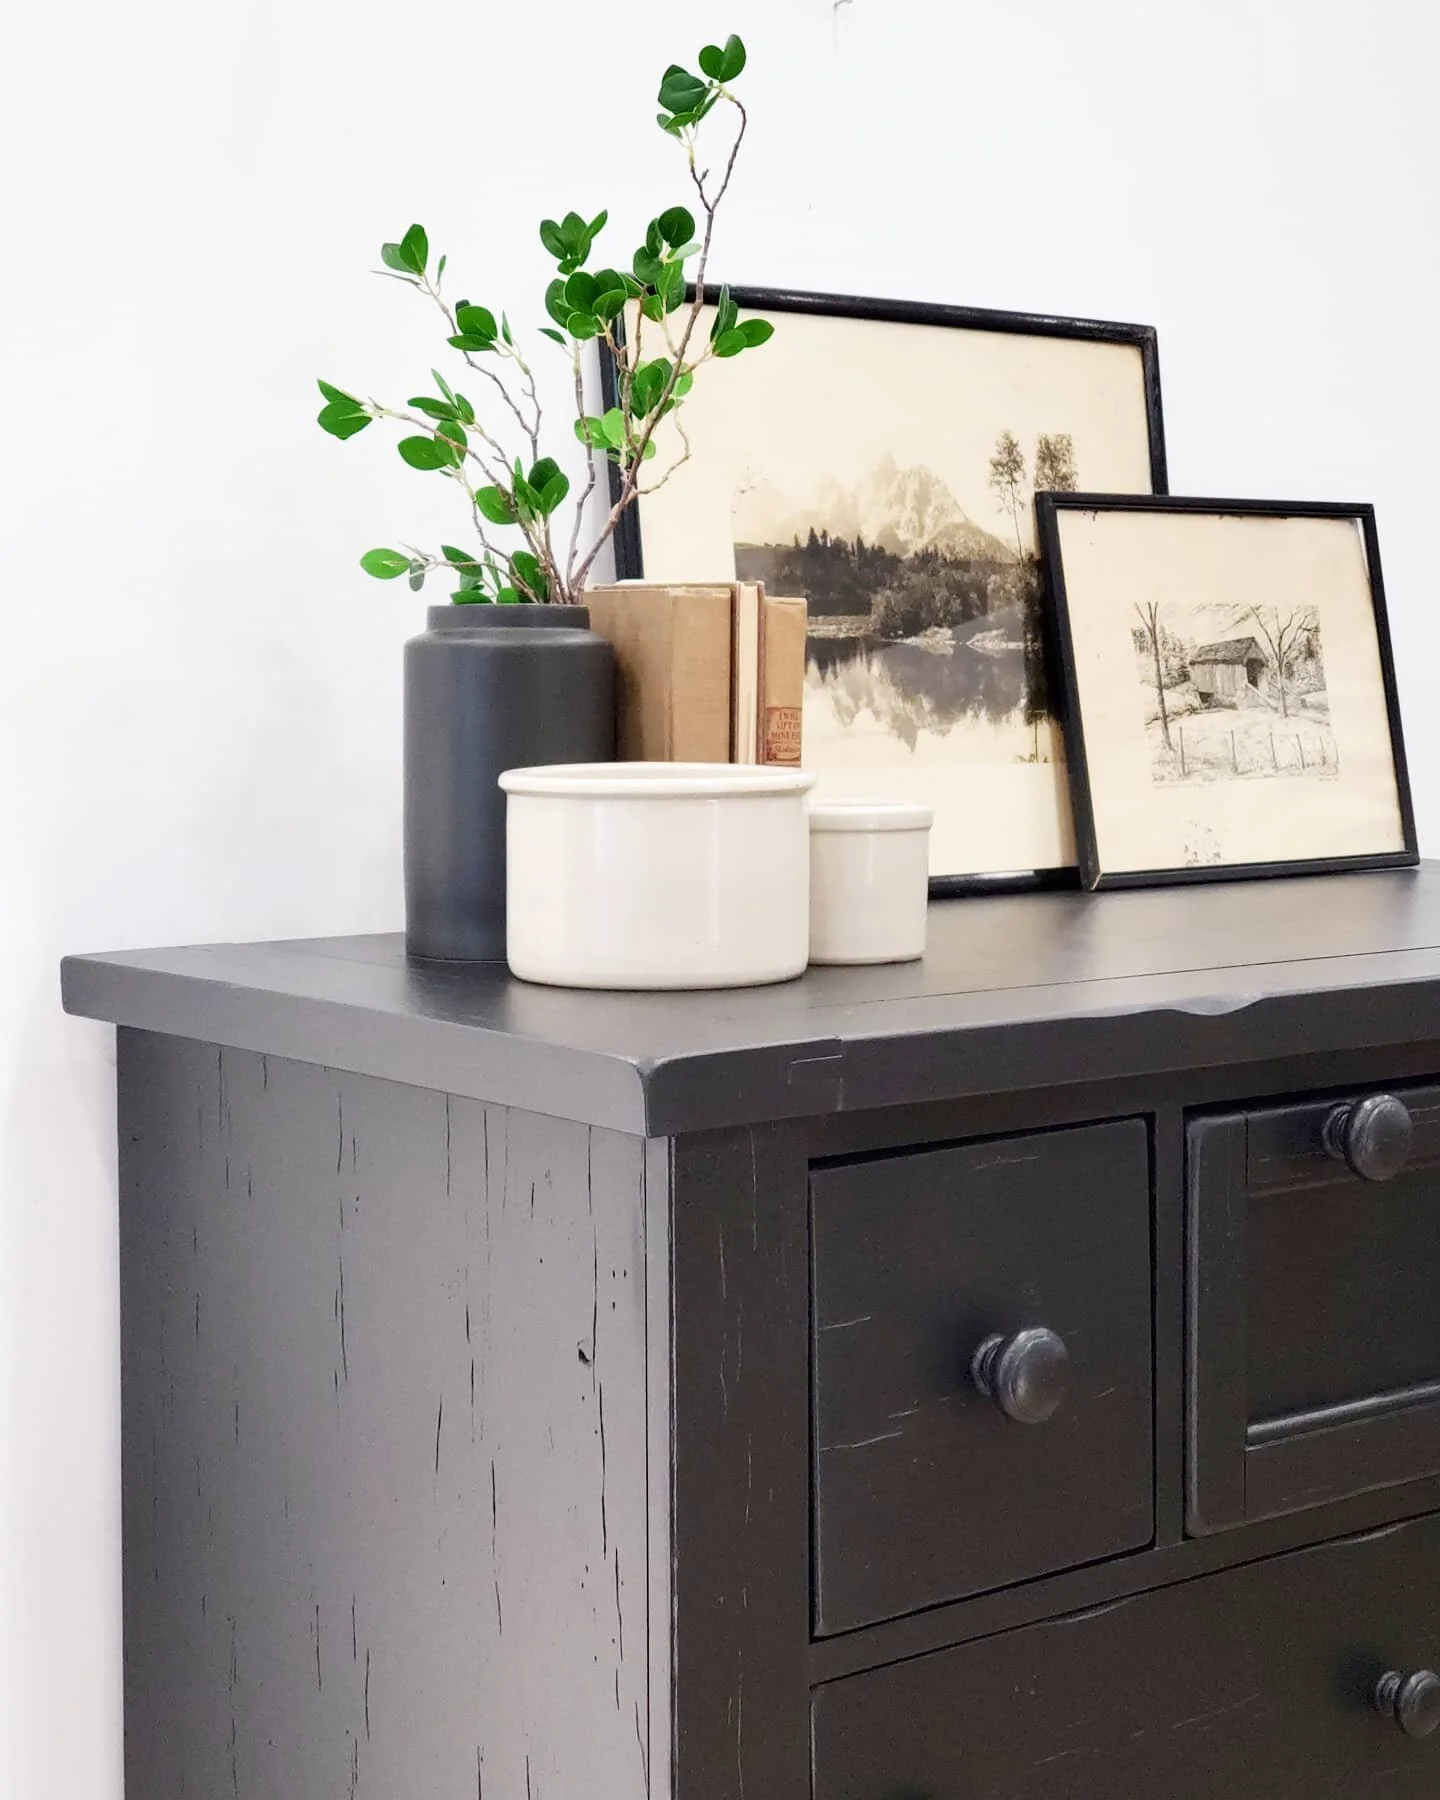
Happy Monday! I originally planned on a different makeover today but when I posted this dresser yesterday I received a ton of comments and questions, so I decided to write a blog post on it to help you guys out!
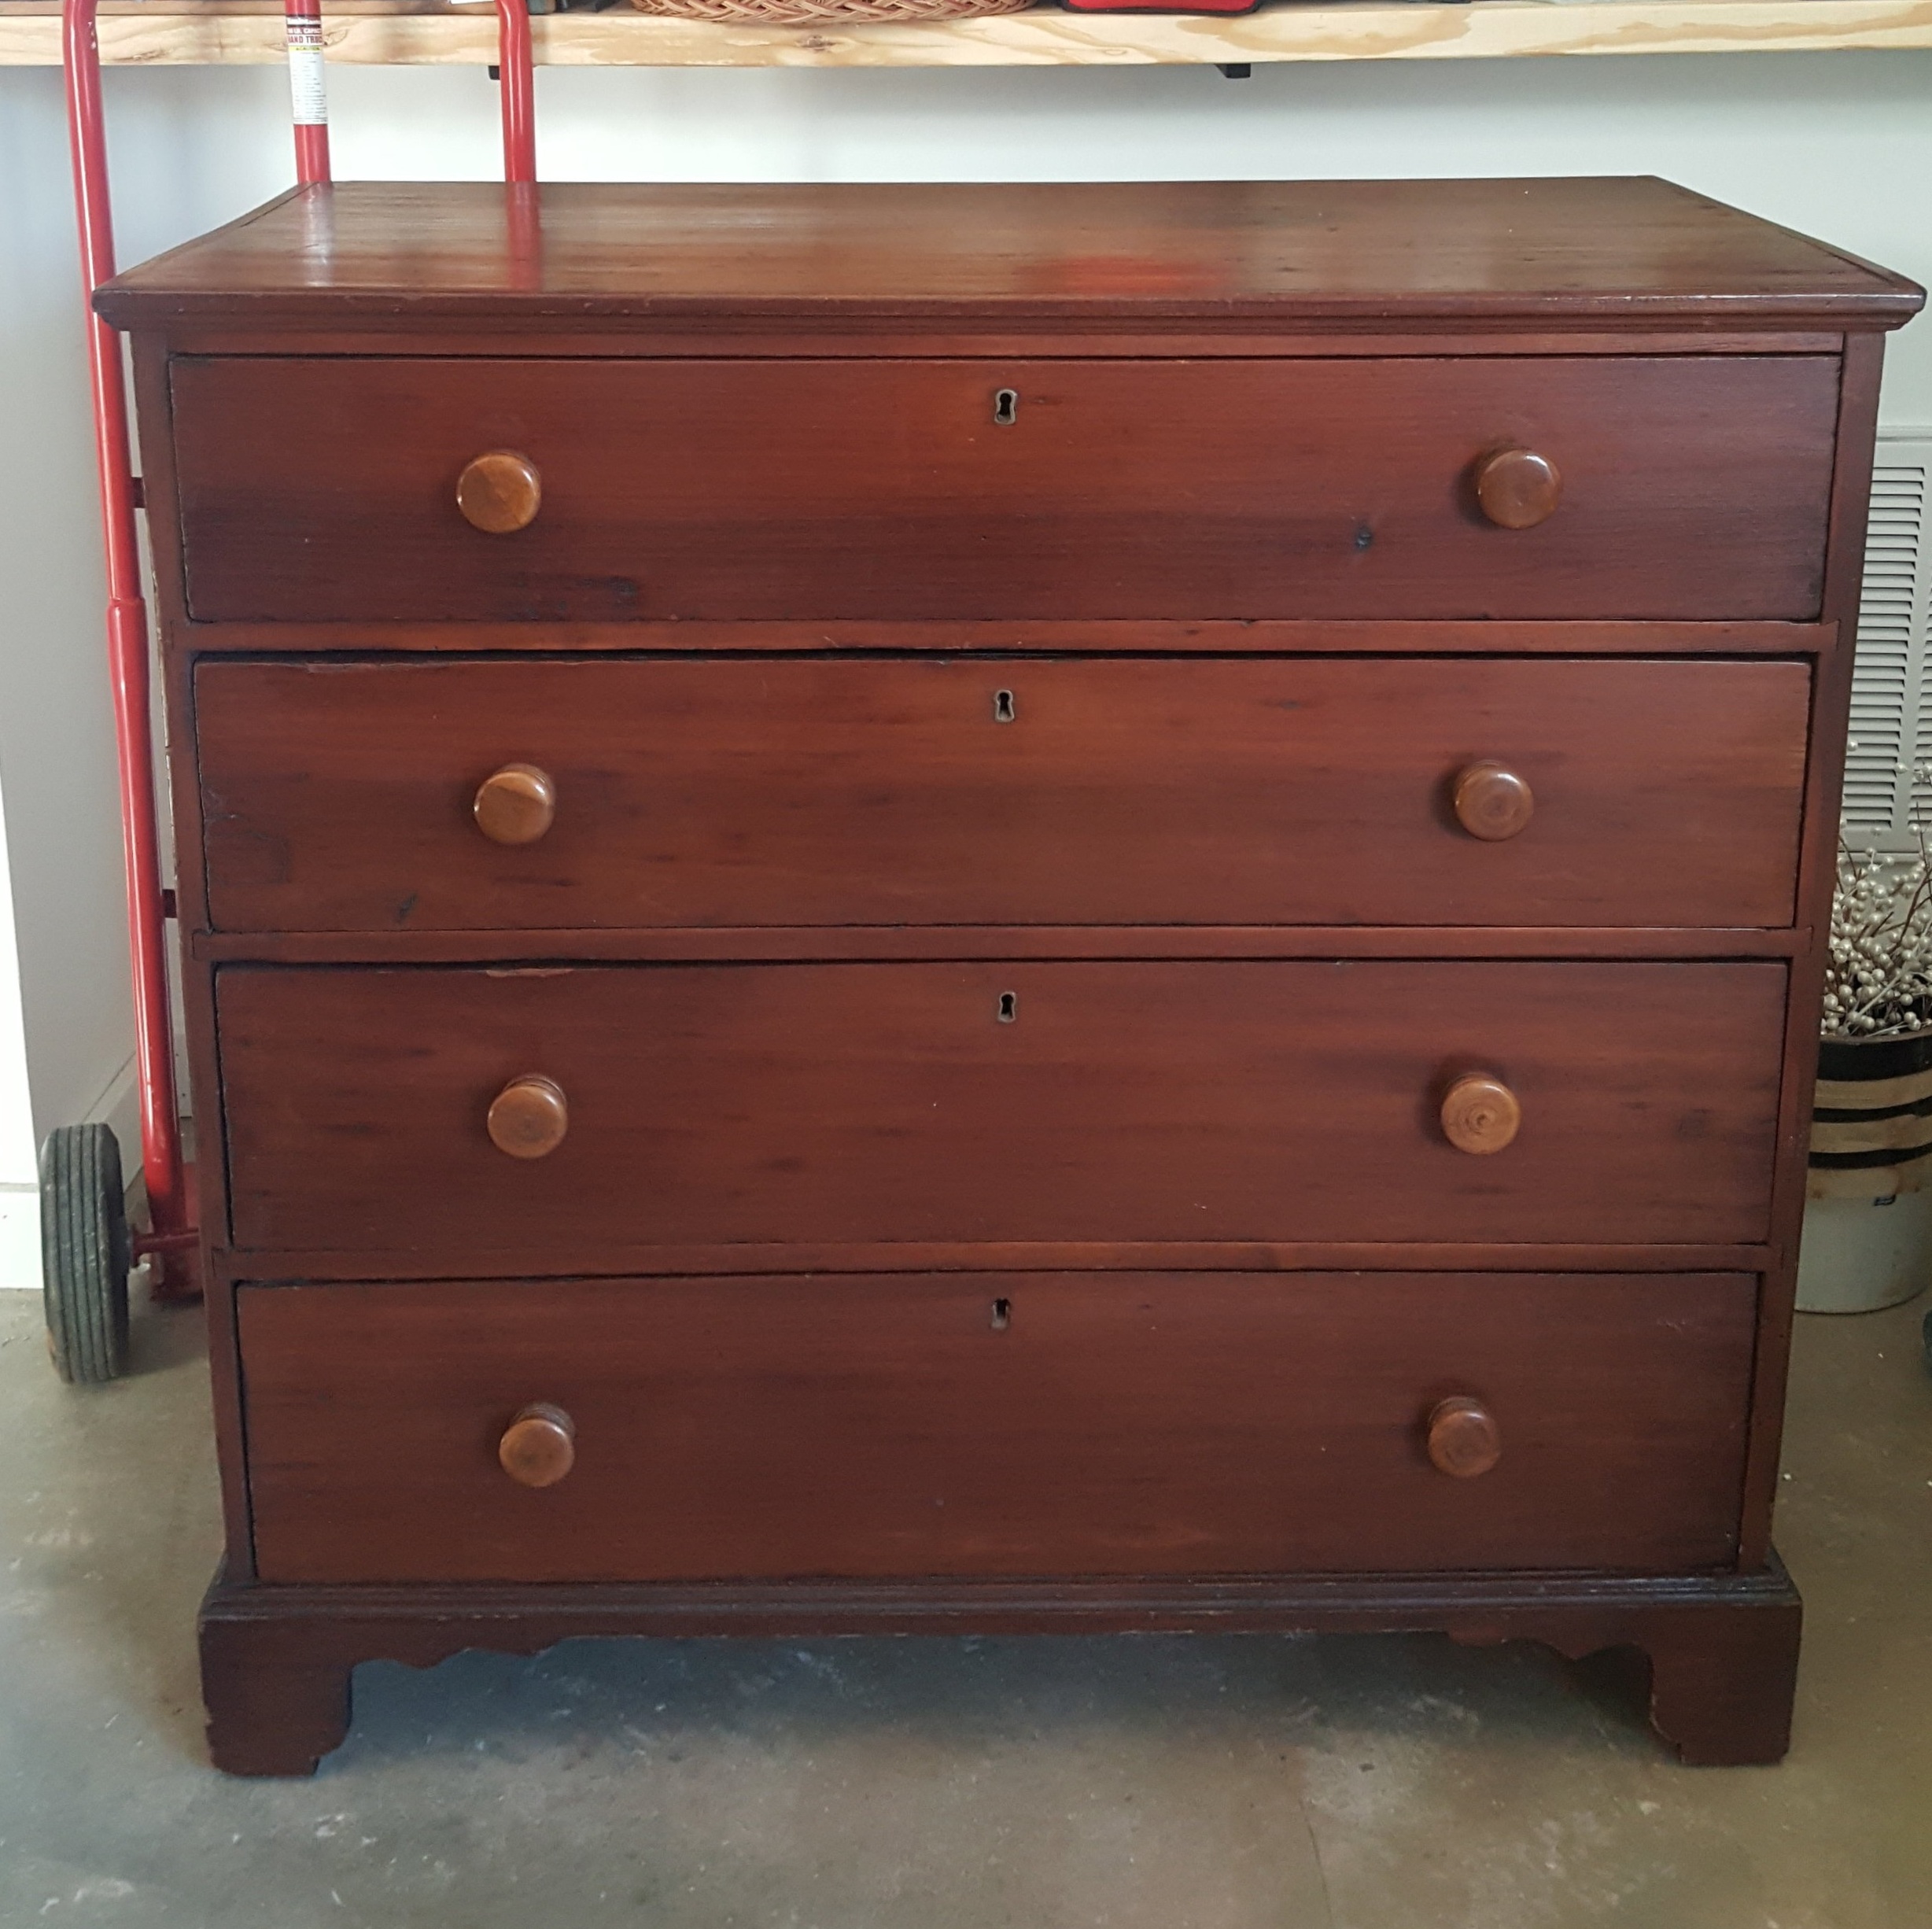
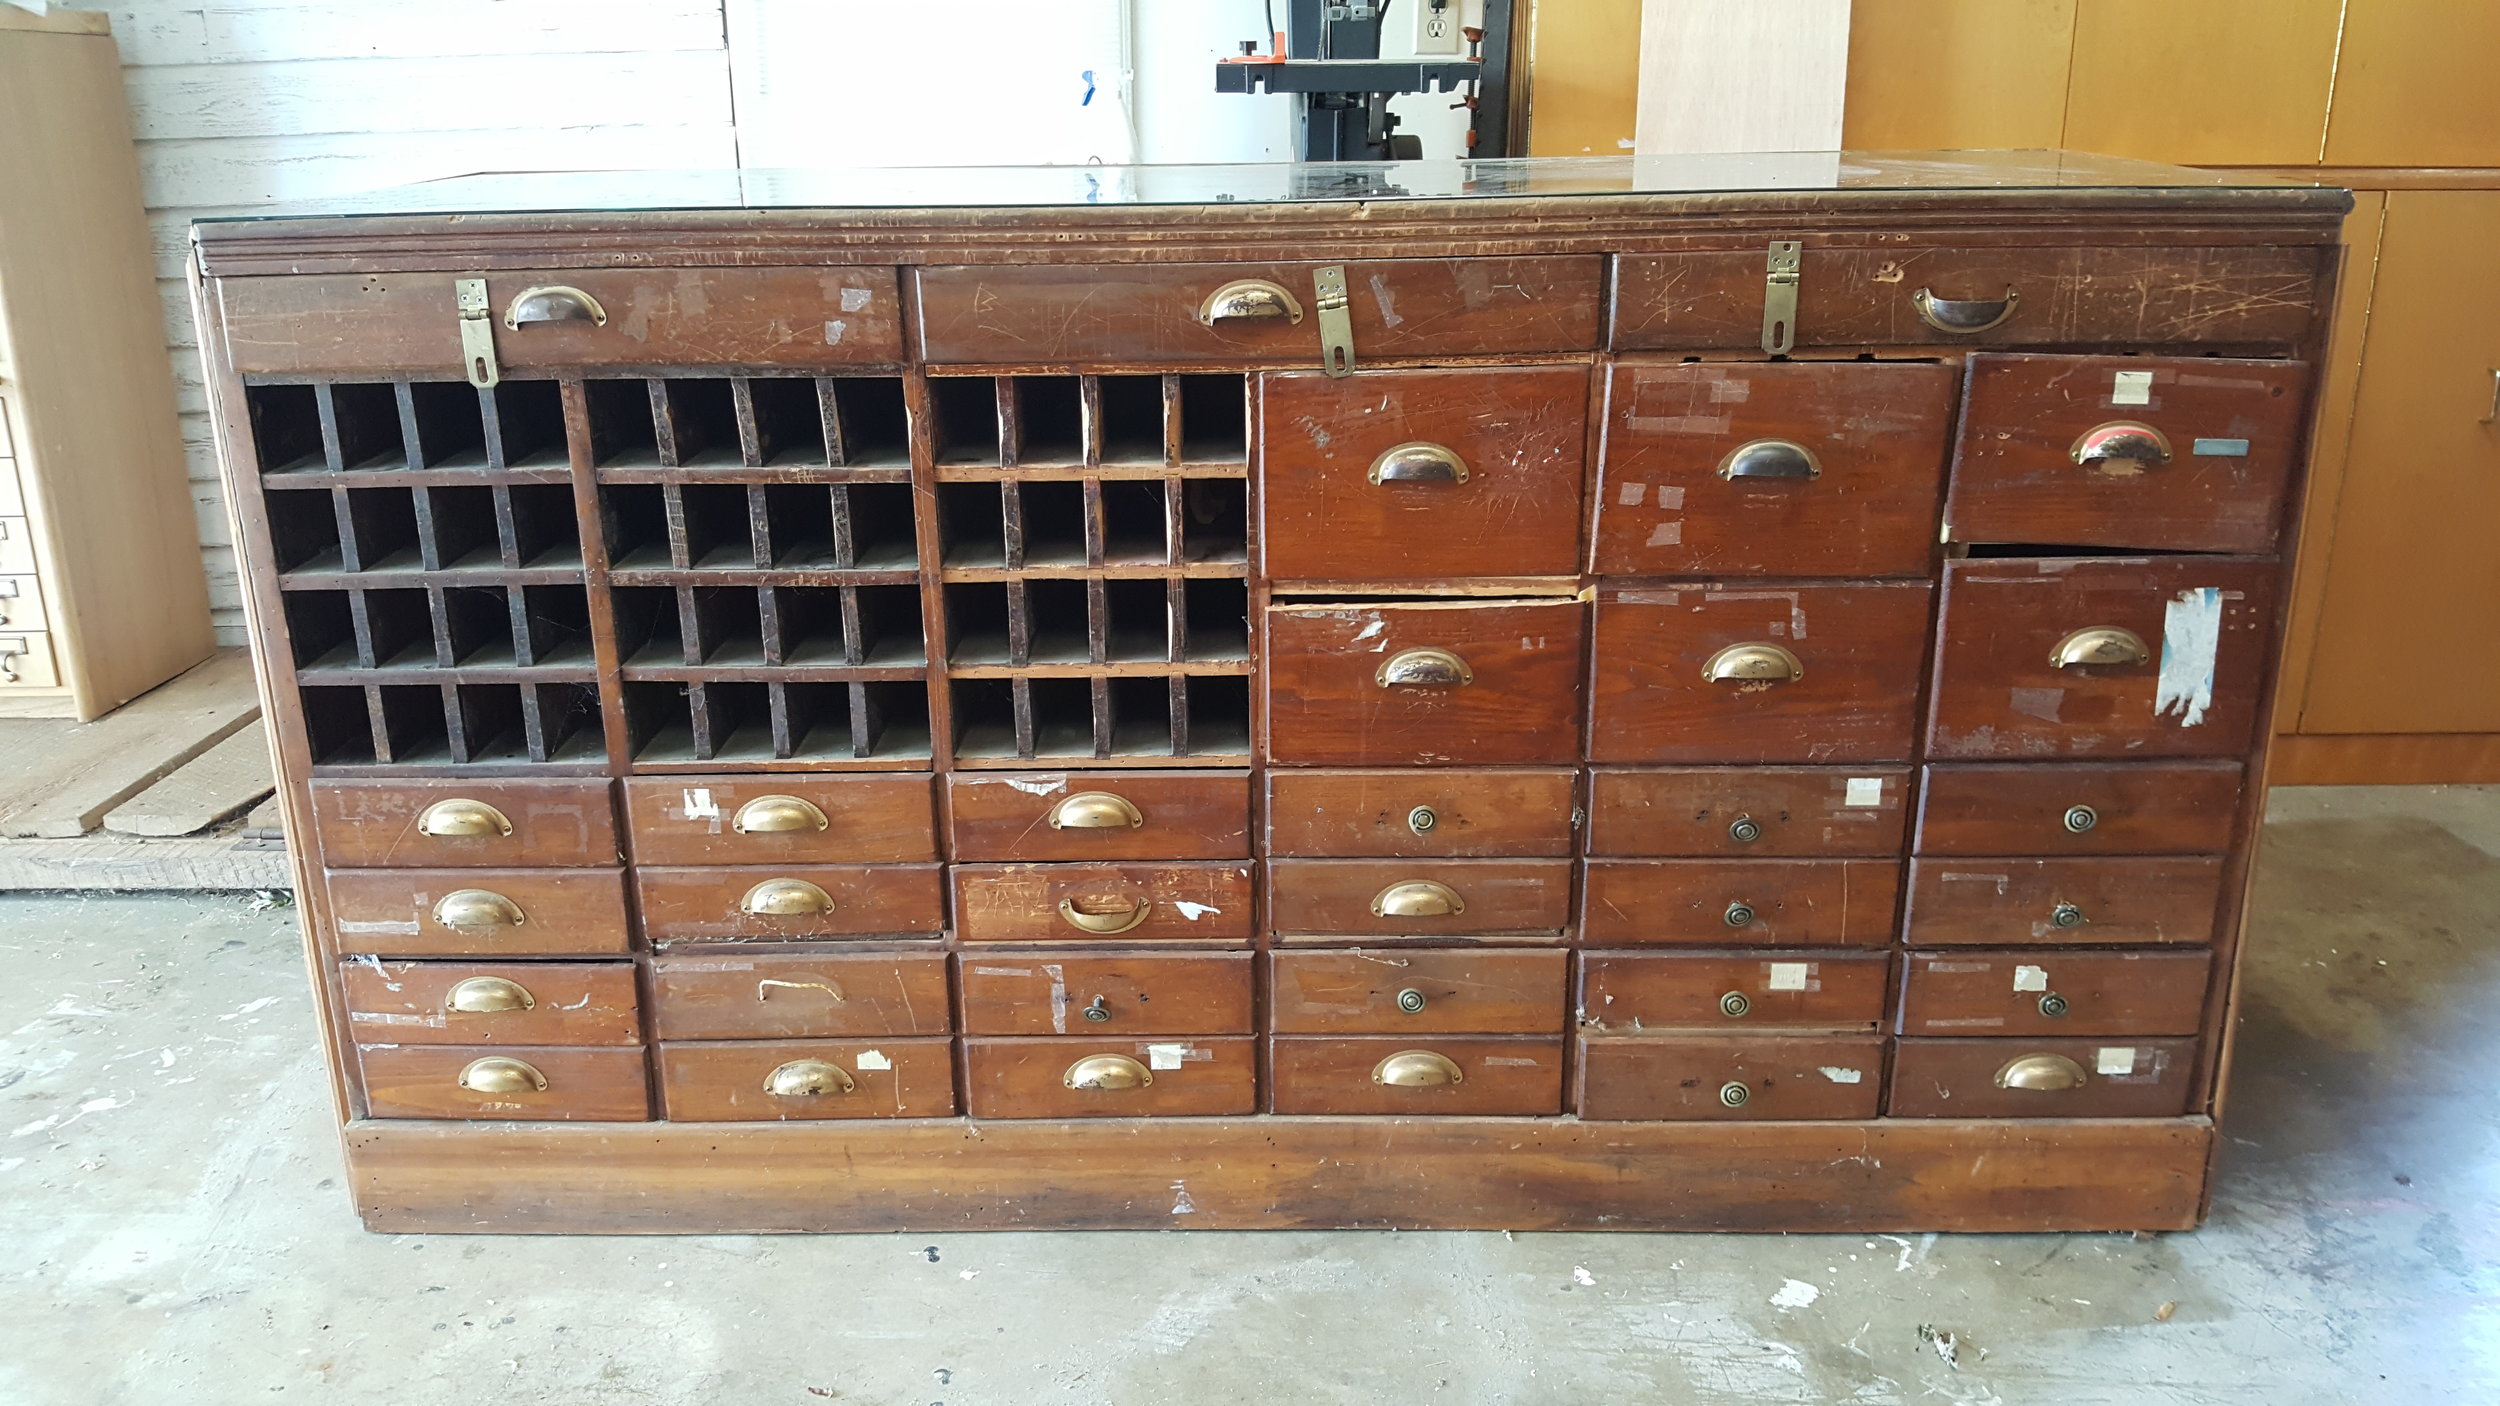
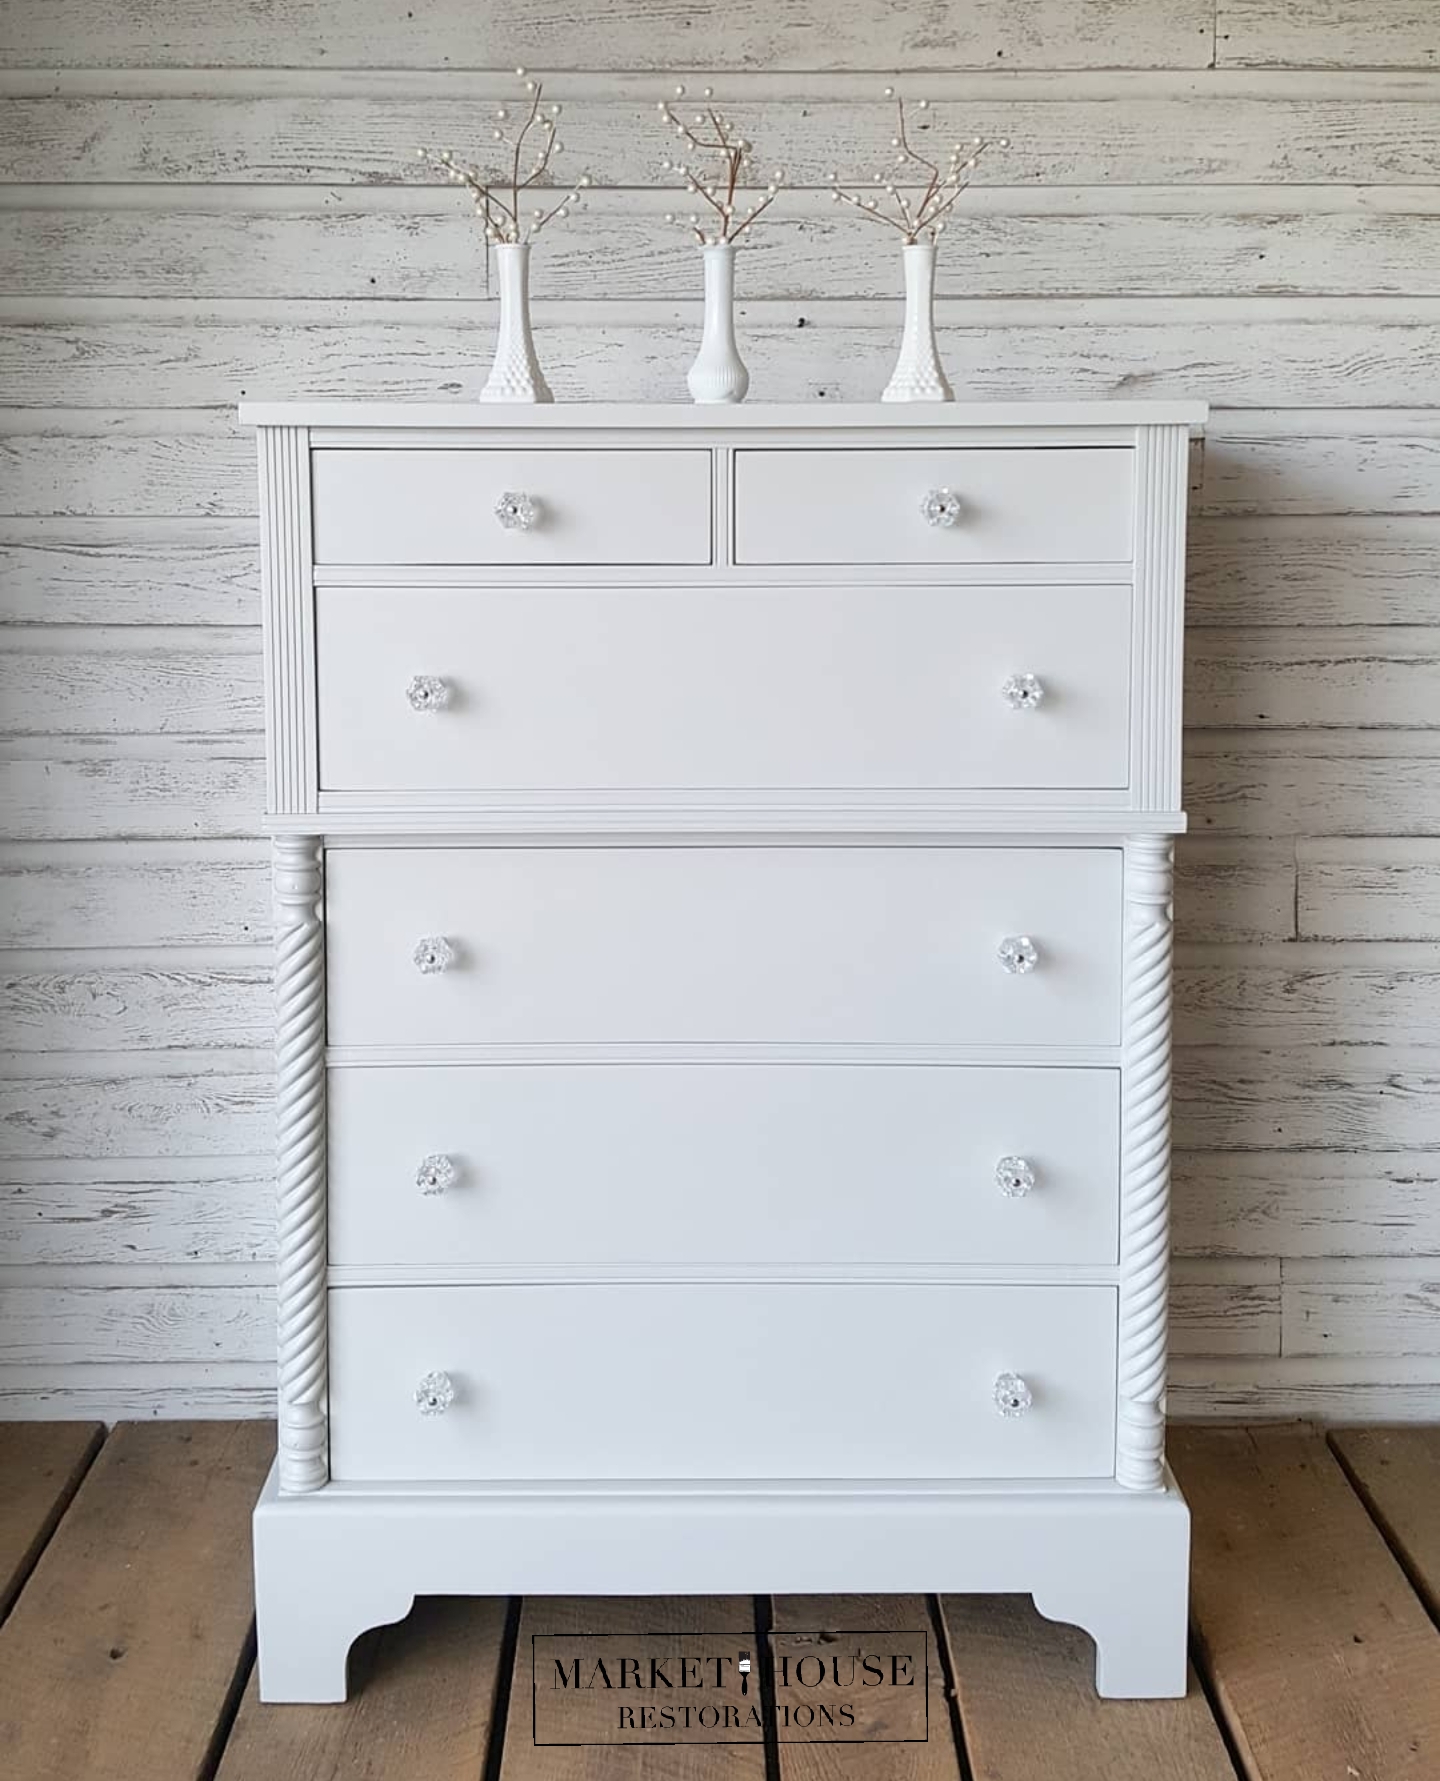
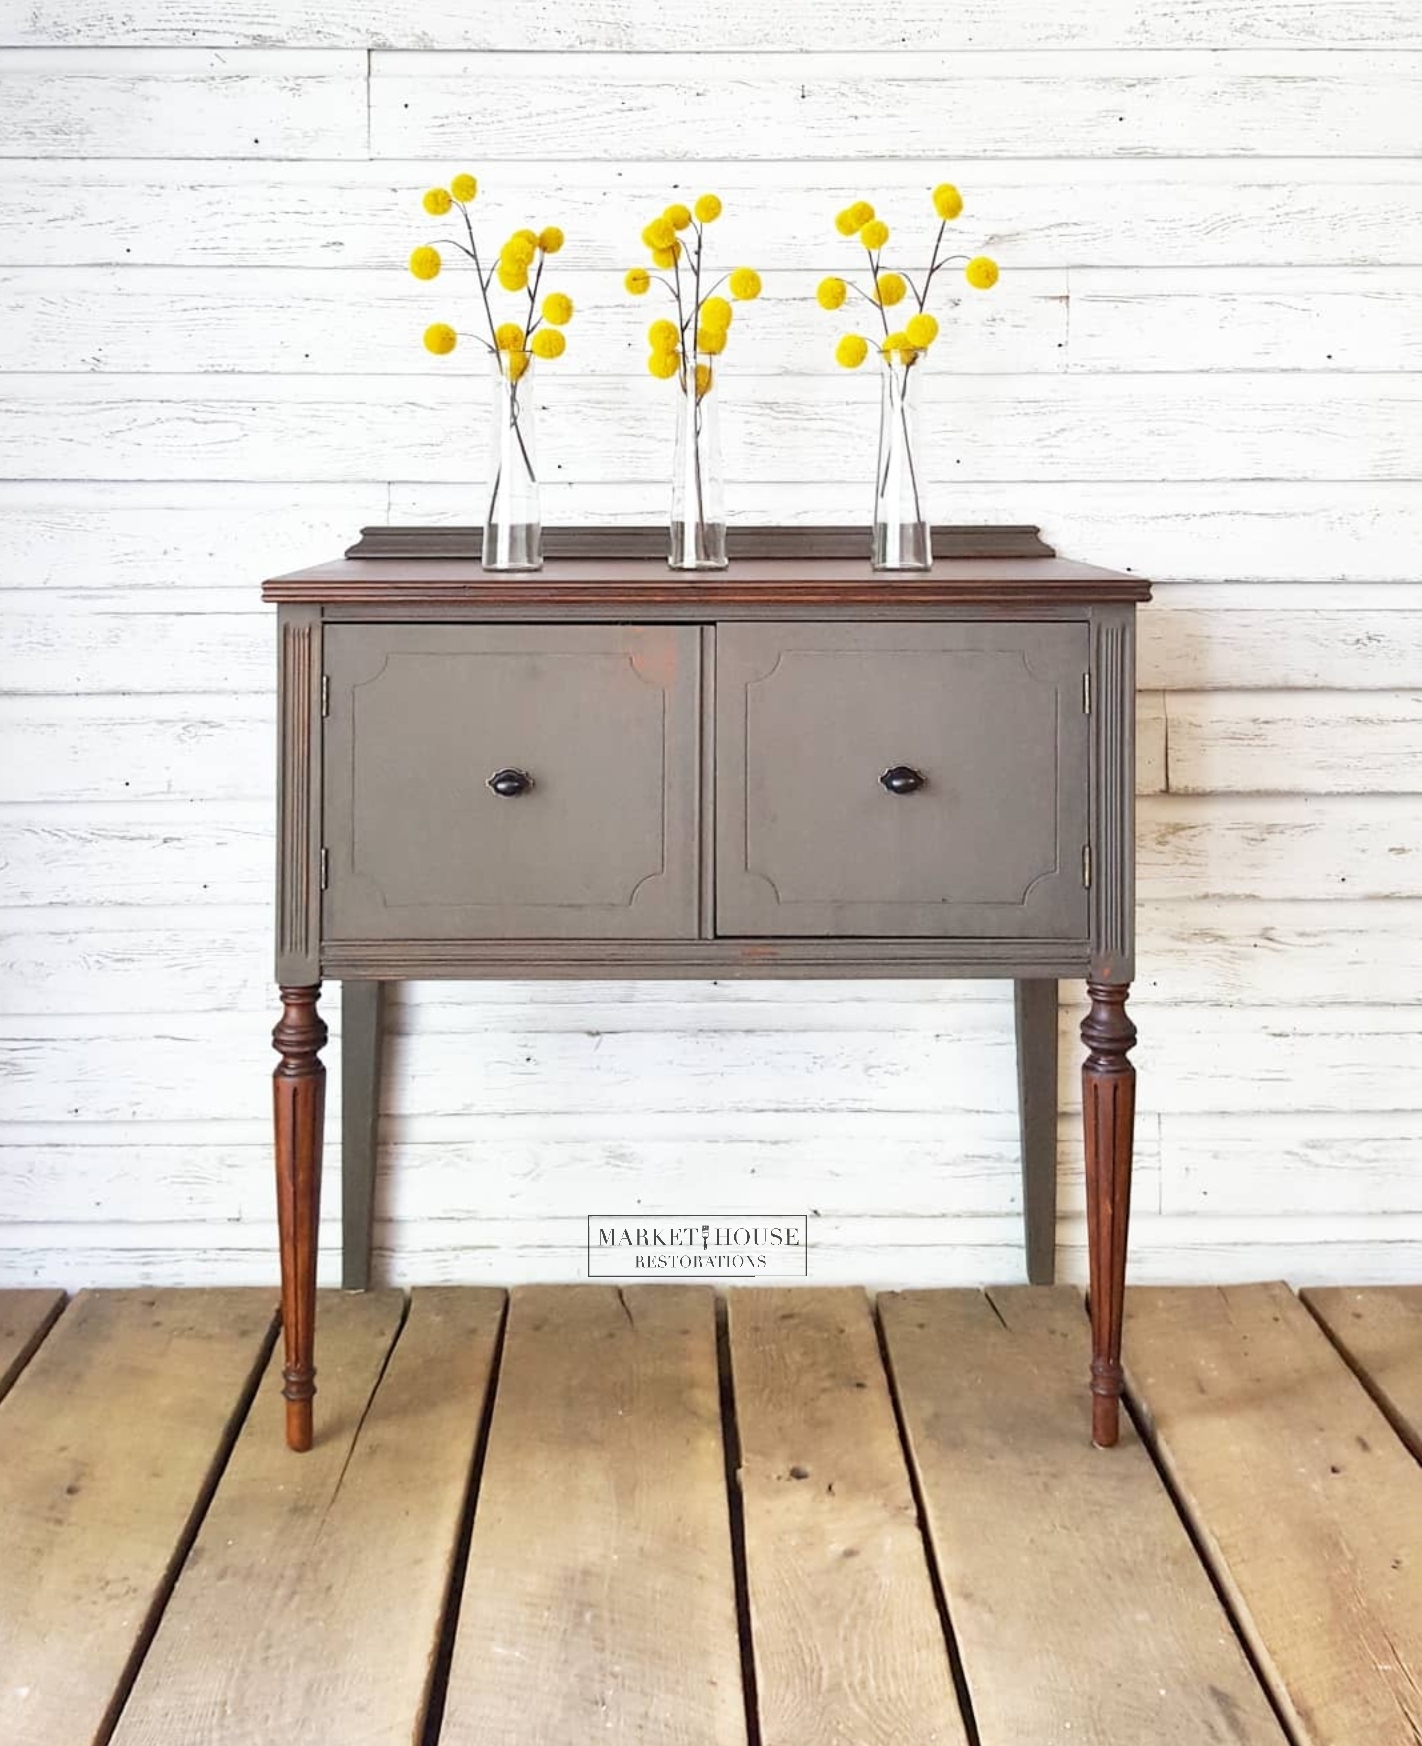
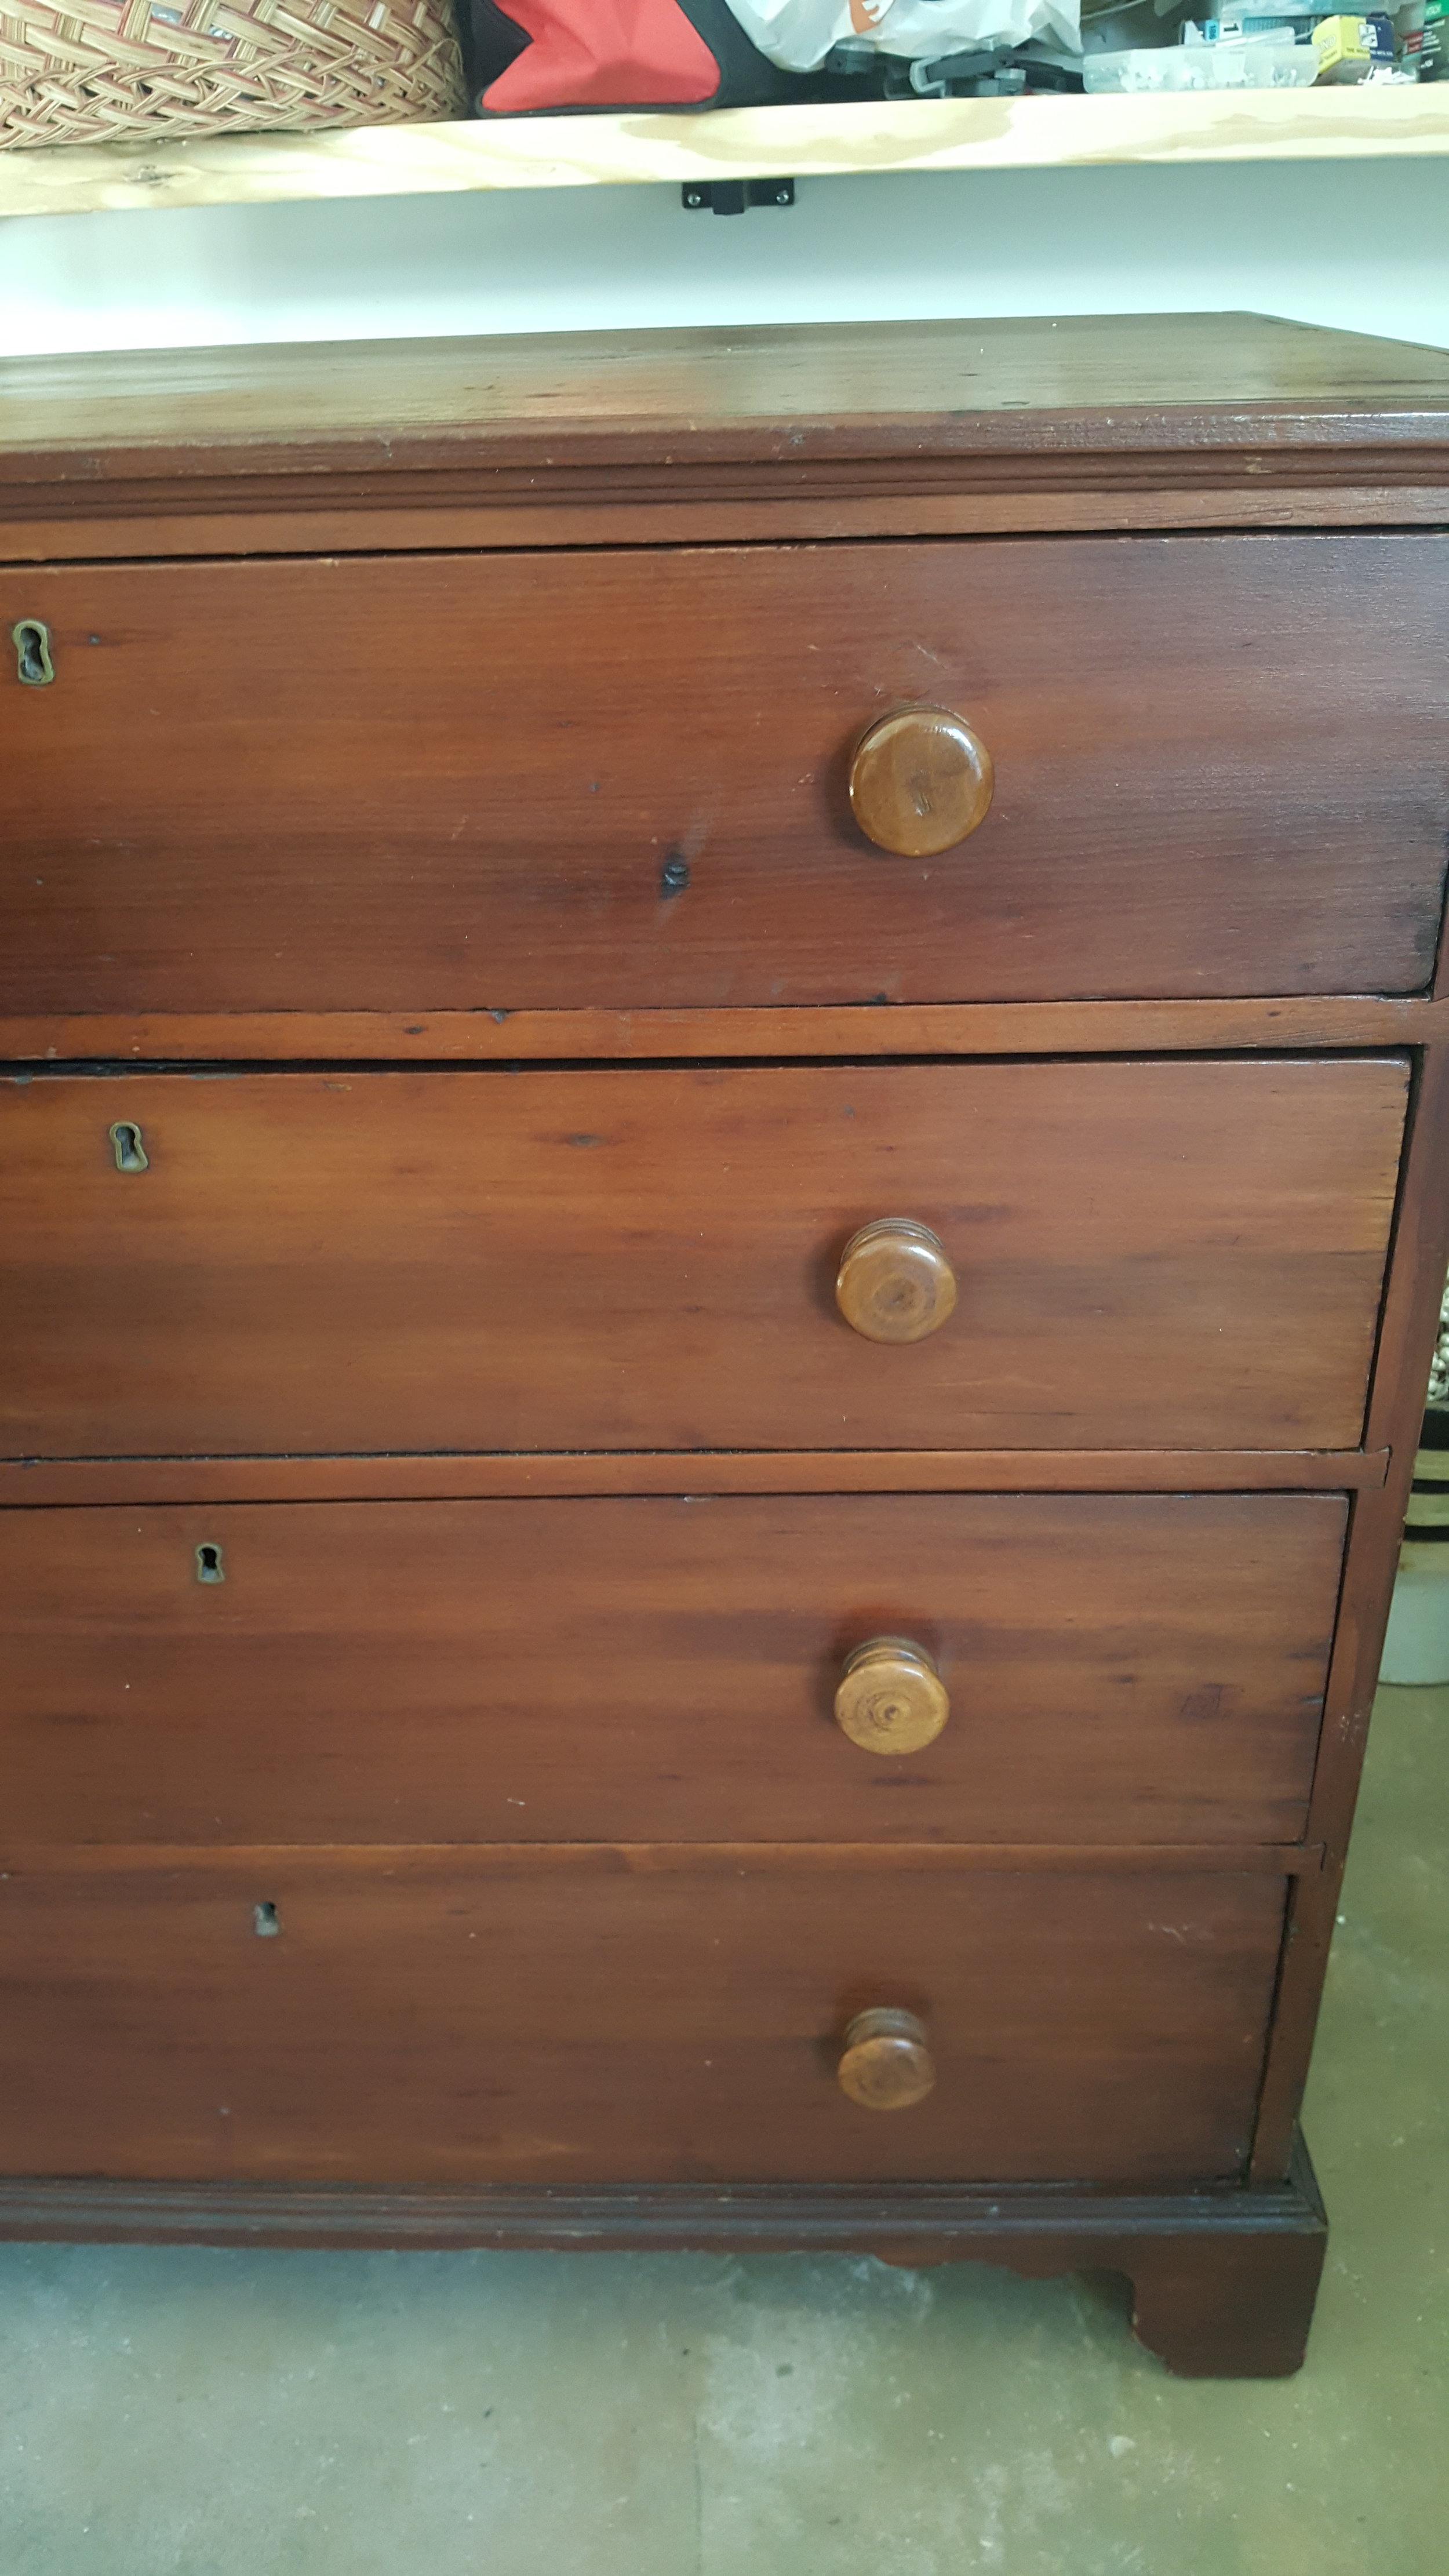
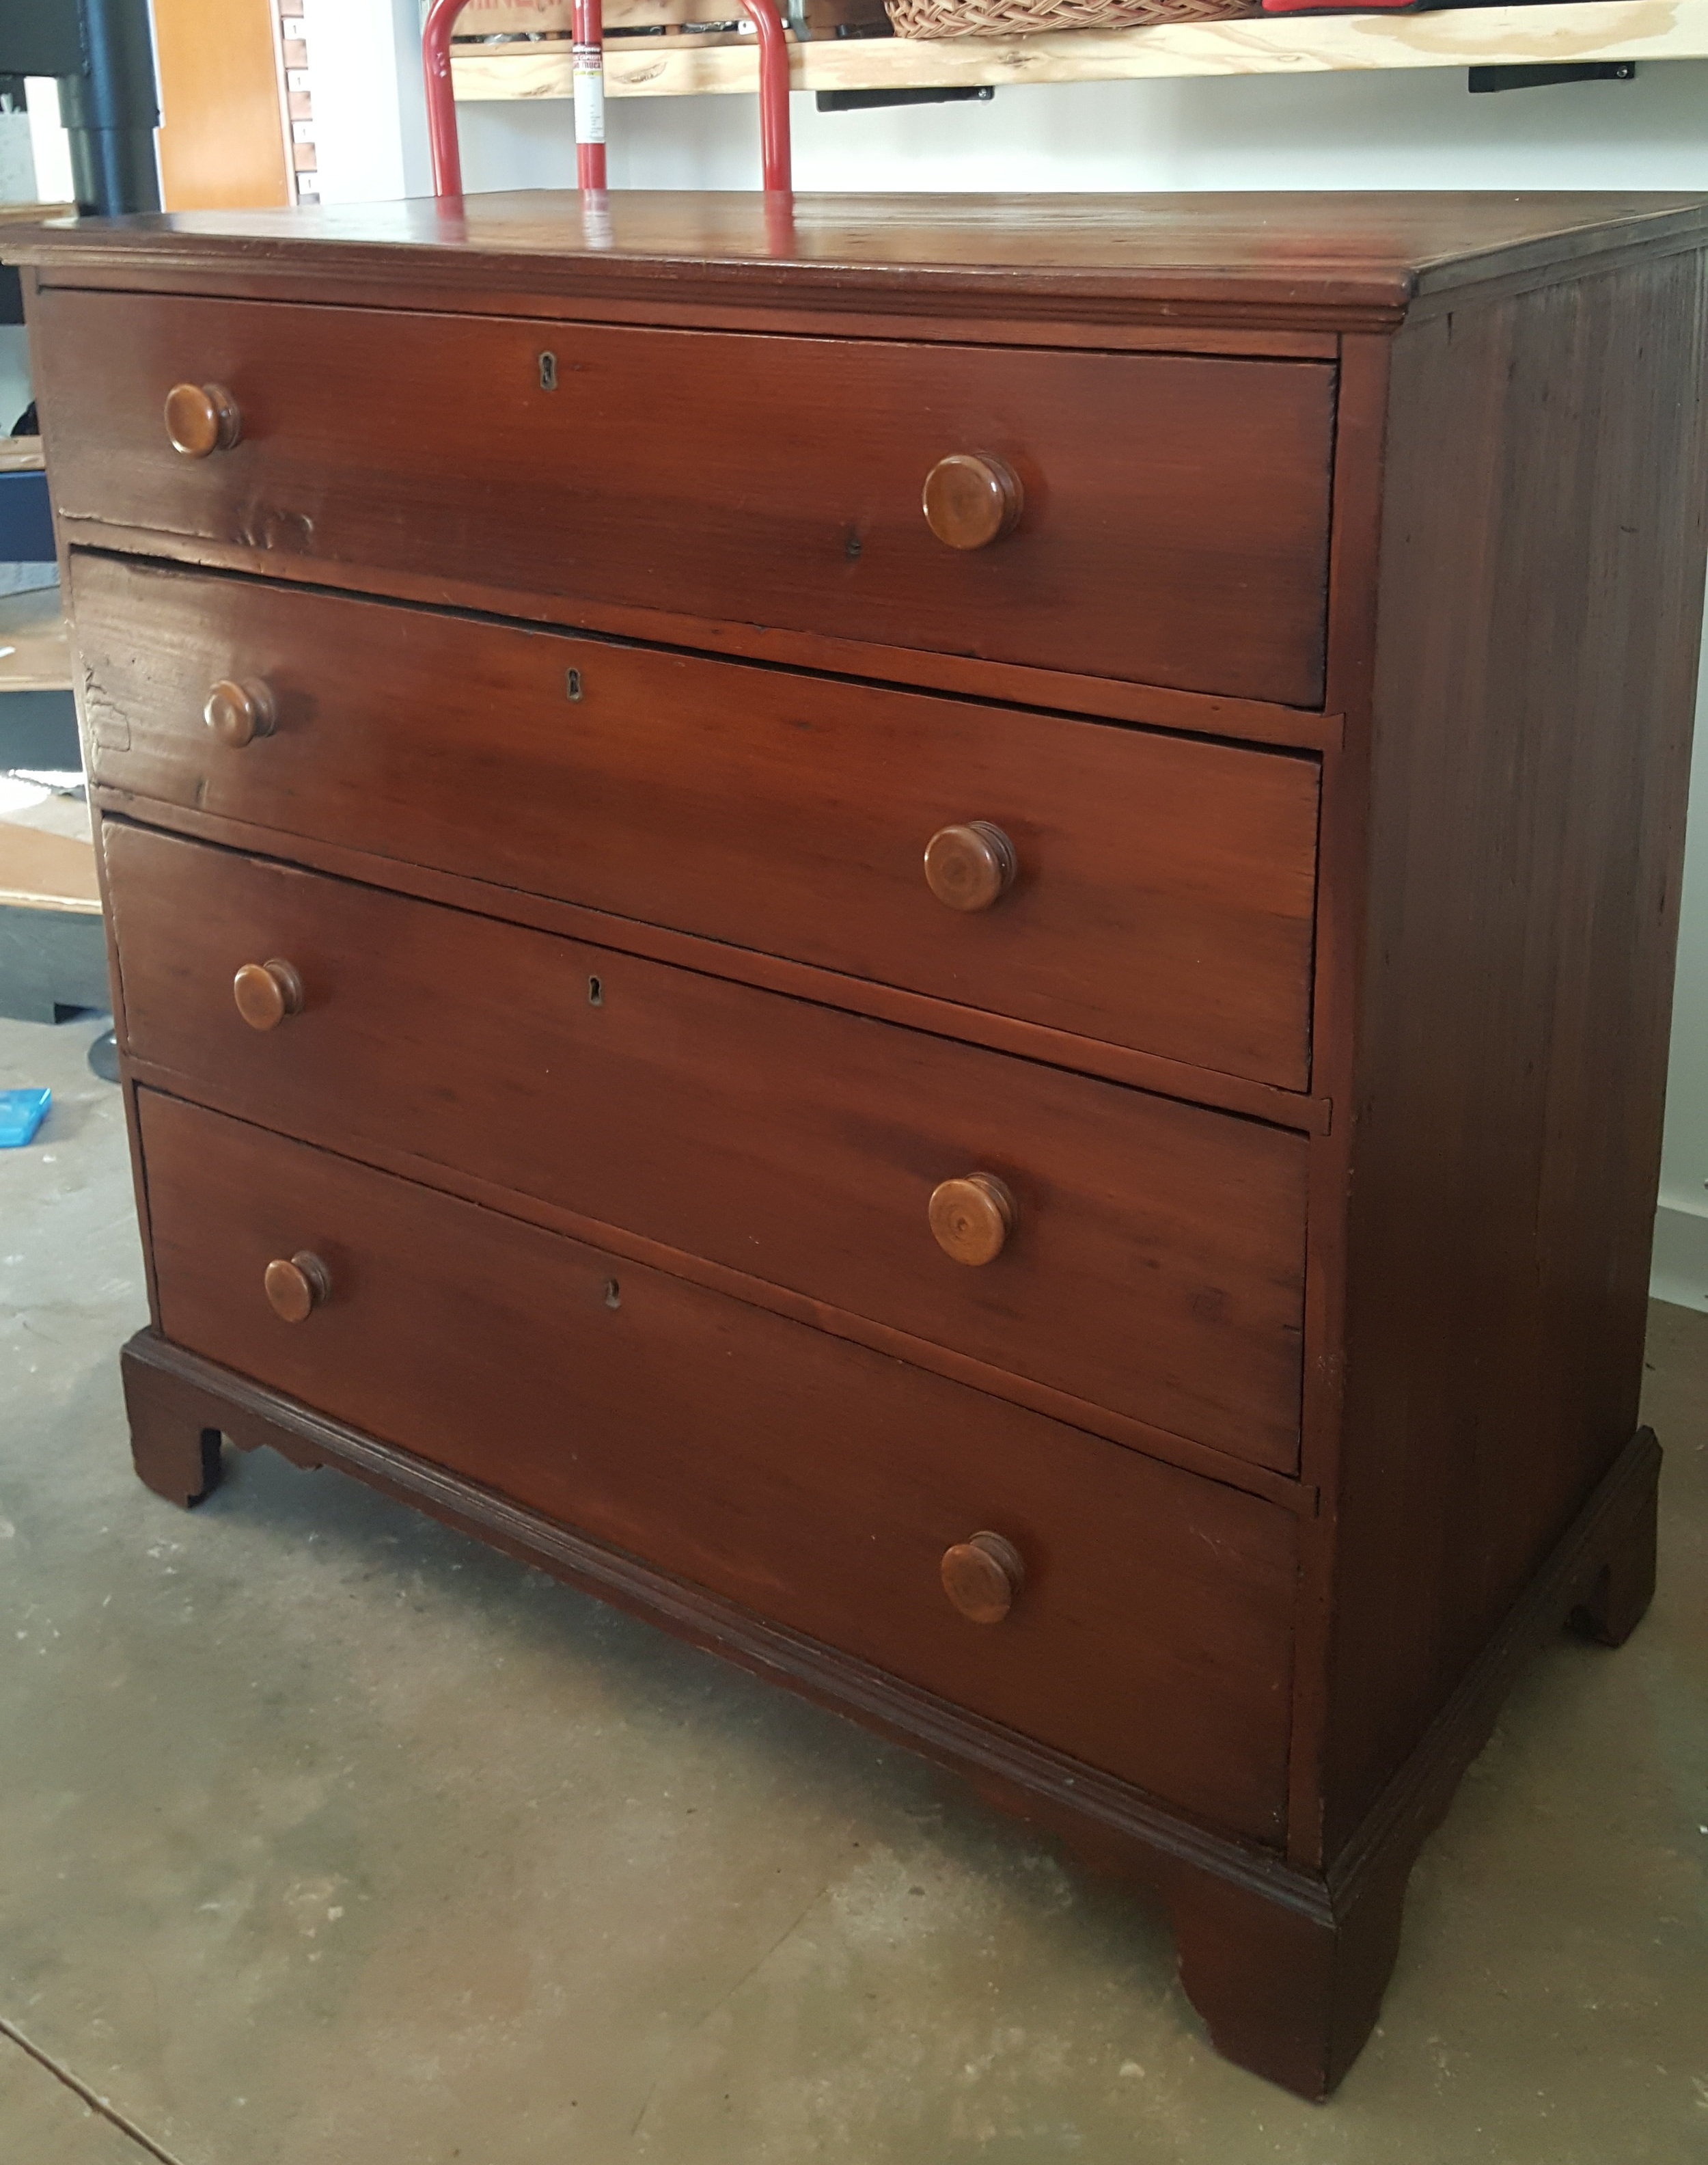
As I stated in yesterday’s post, our home was filled with other people’s furniture, my paint supplies, business paperwork and staging decor for so long I didn’t realize how empty our downstairs would be when I moved all of my business stuff out to the new studio. SO, I decided to keep this one because it has so much character. Plus, it was handmade in the 1850’s in my hometown and I have now poured my heart into the restoration so it’s a keeper in my book!
See the process below…
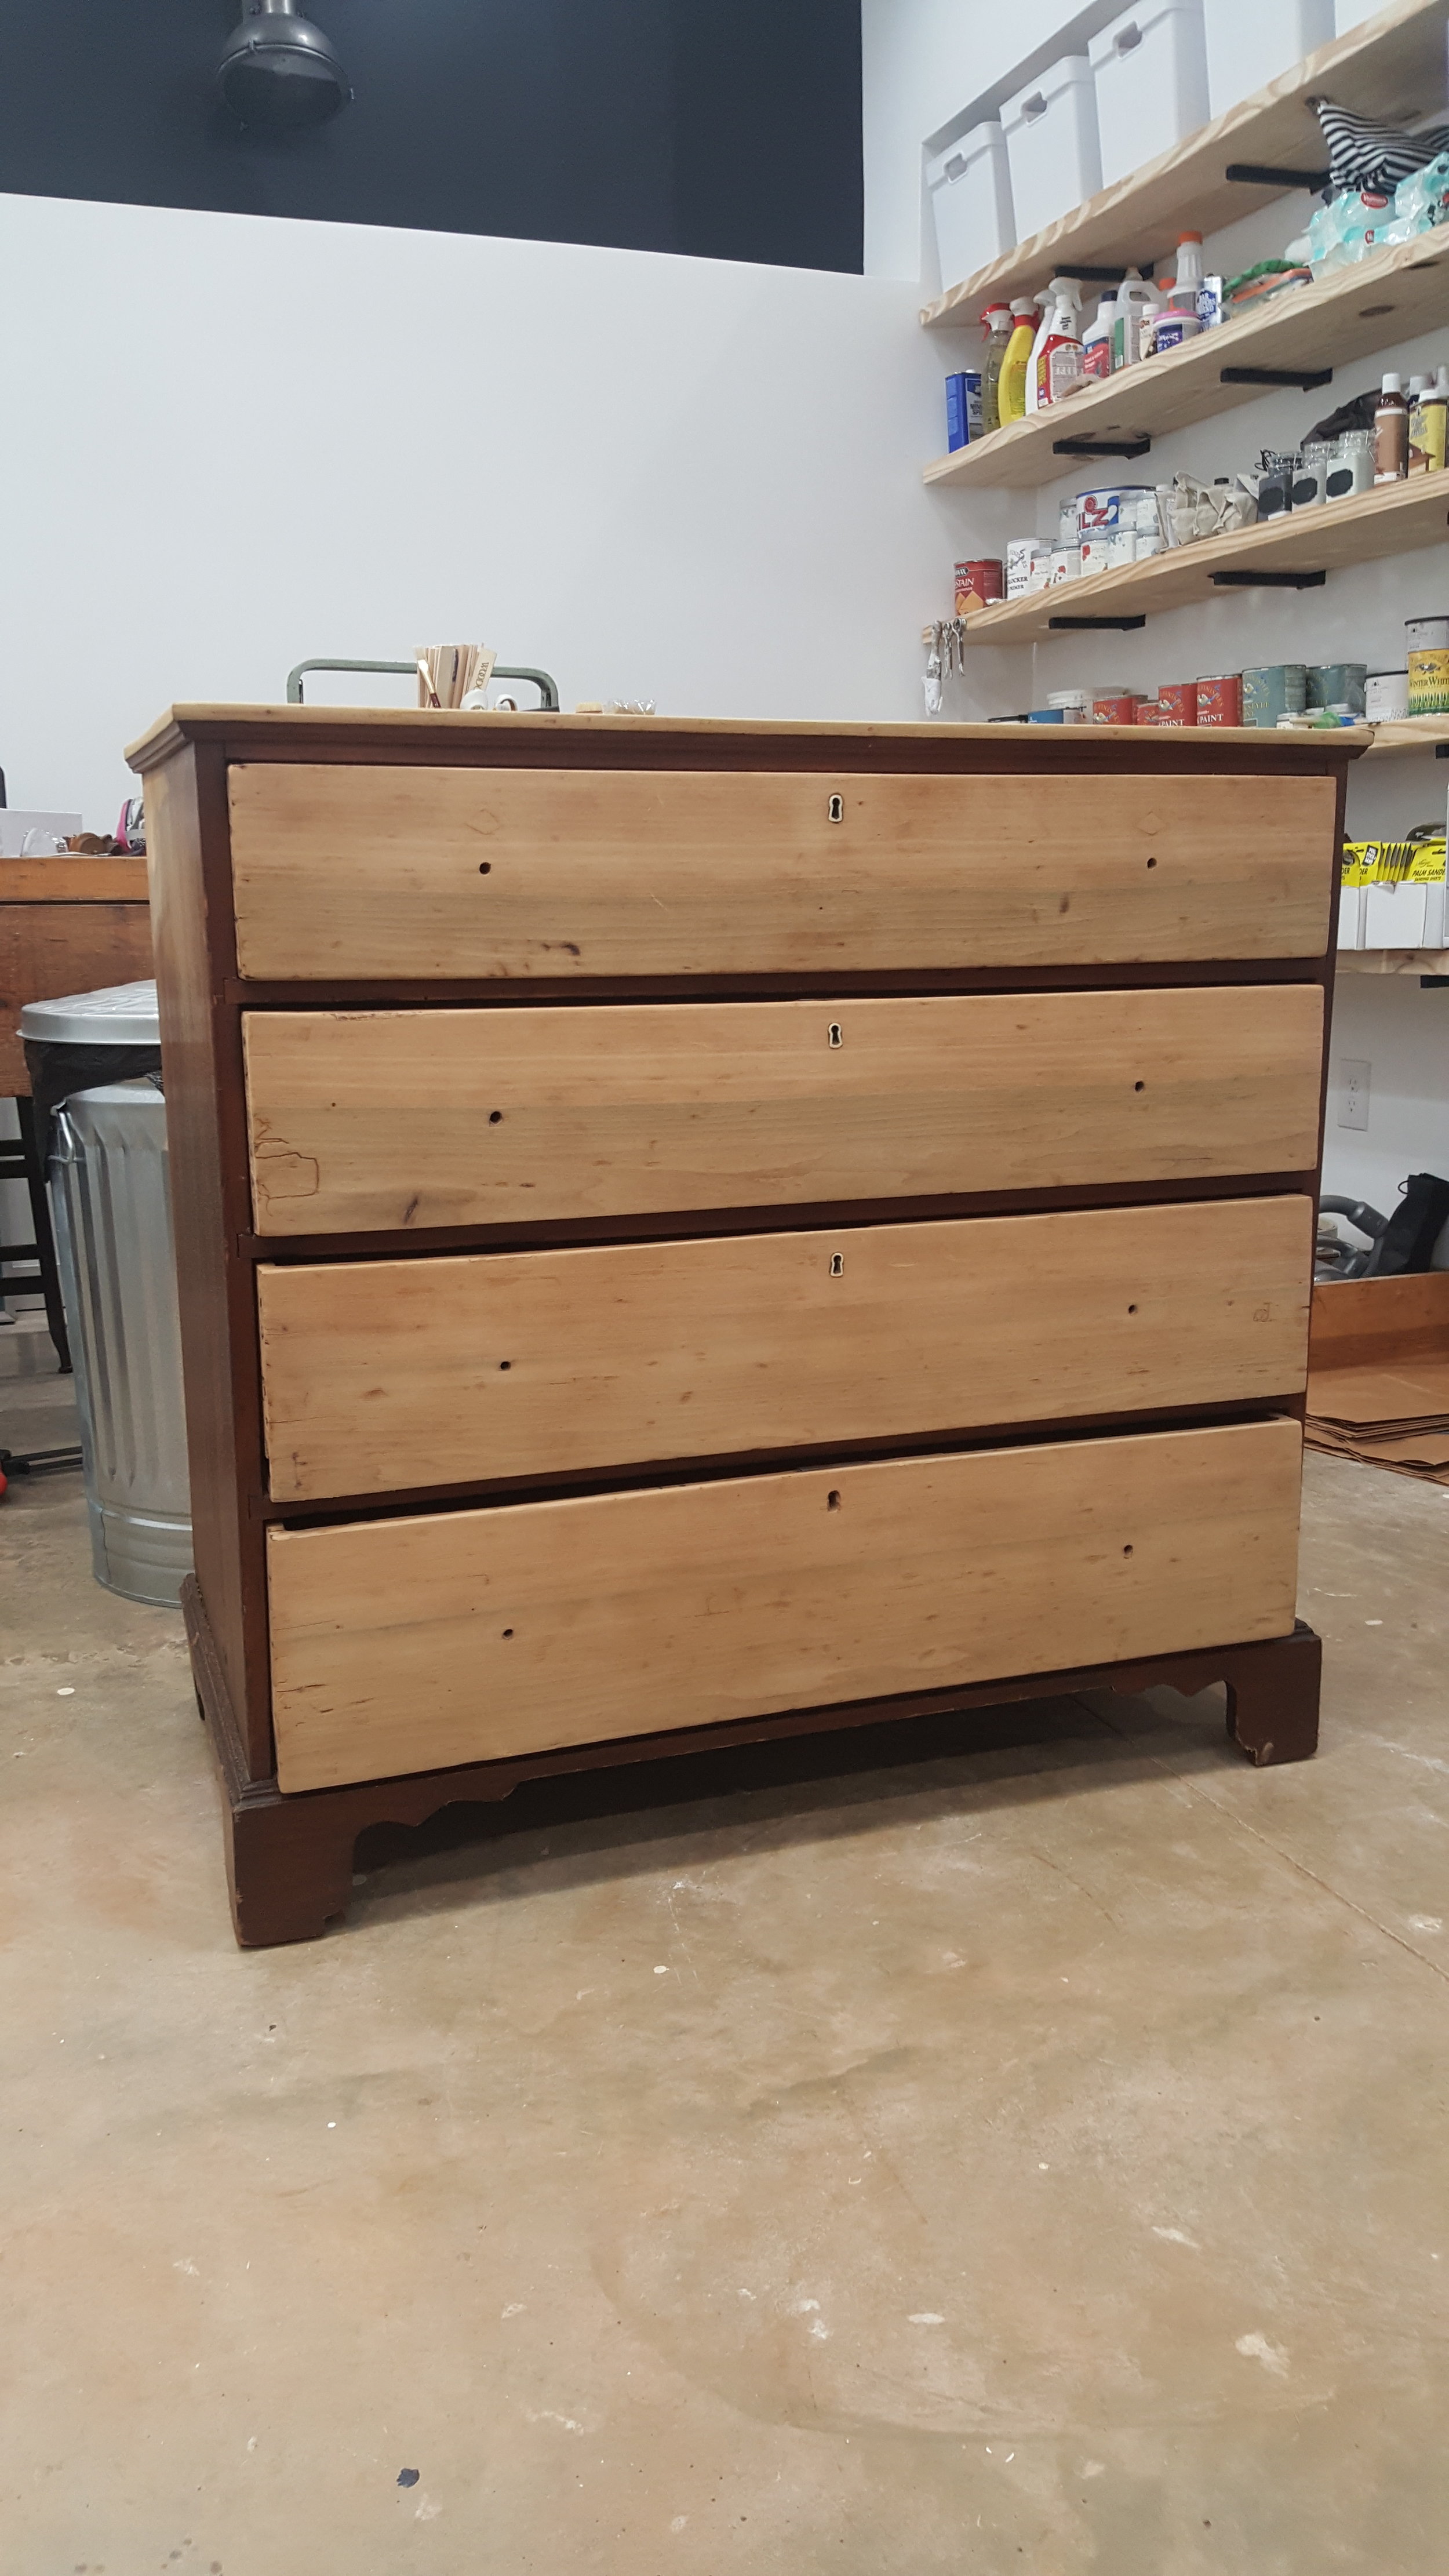
Now, the crazy part is that everyone thought this was the dresser that I was working on in my post where I am laying on the ground and I look flat-out exhausted, hahaha, but it’s actually a different one! I had to split the sanding up over a couple of days because this piece is a little larger than that one, but they are very similar in style! Ohhh, should I keep that one, too!? AHH! The struggle is real!!
The process was actual very simple, A LOT of work, but simple:
Vacuumed the whole piece inside-and-out
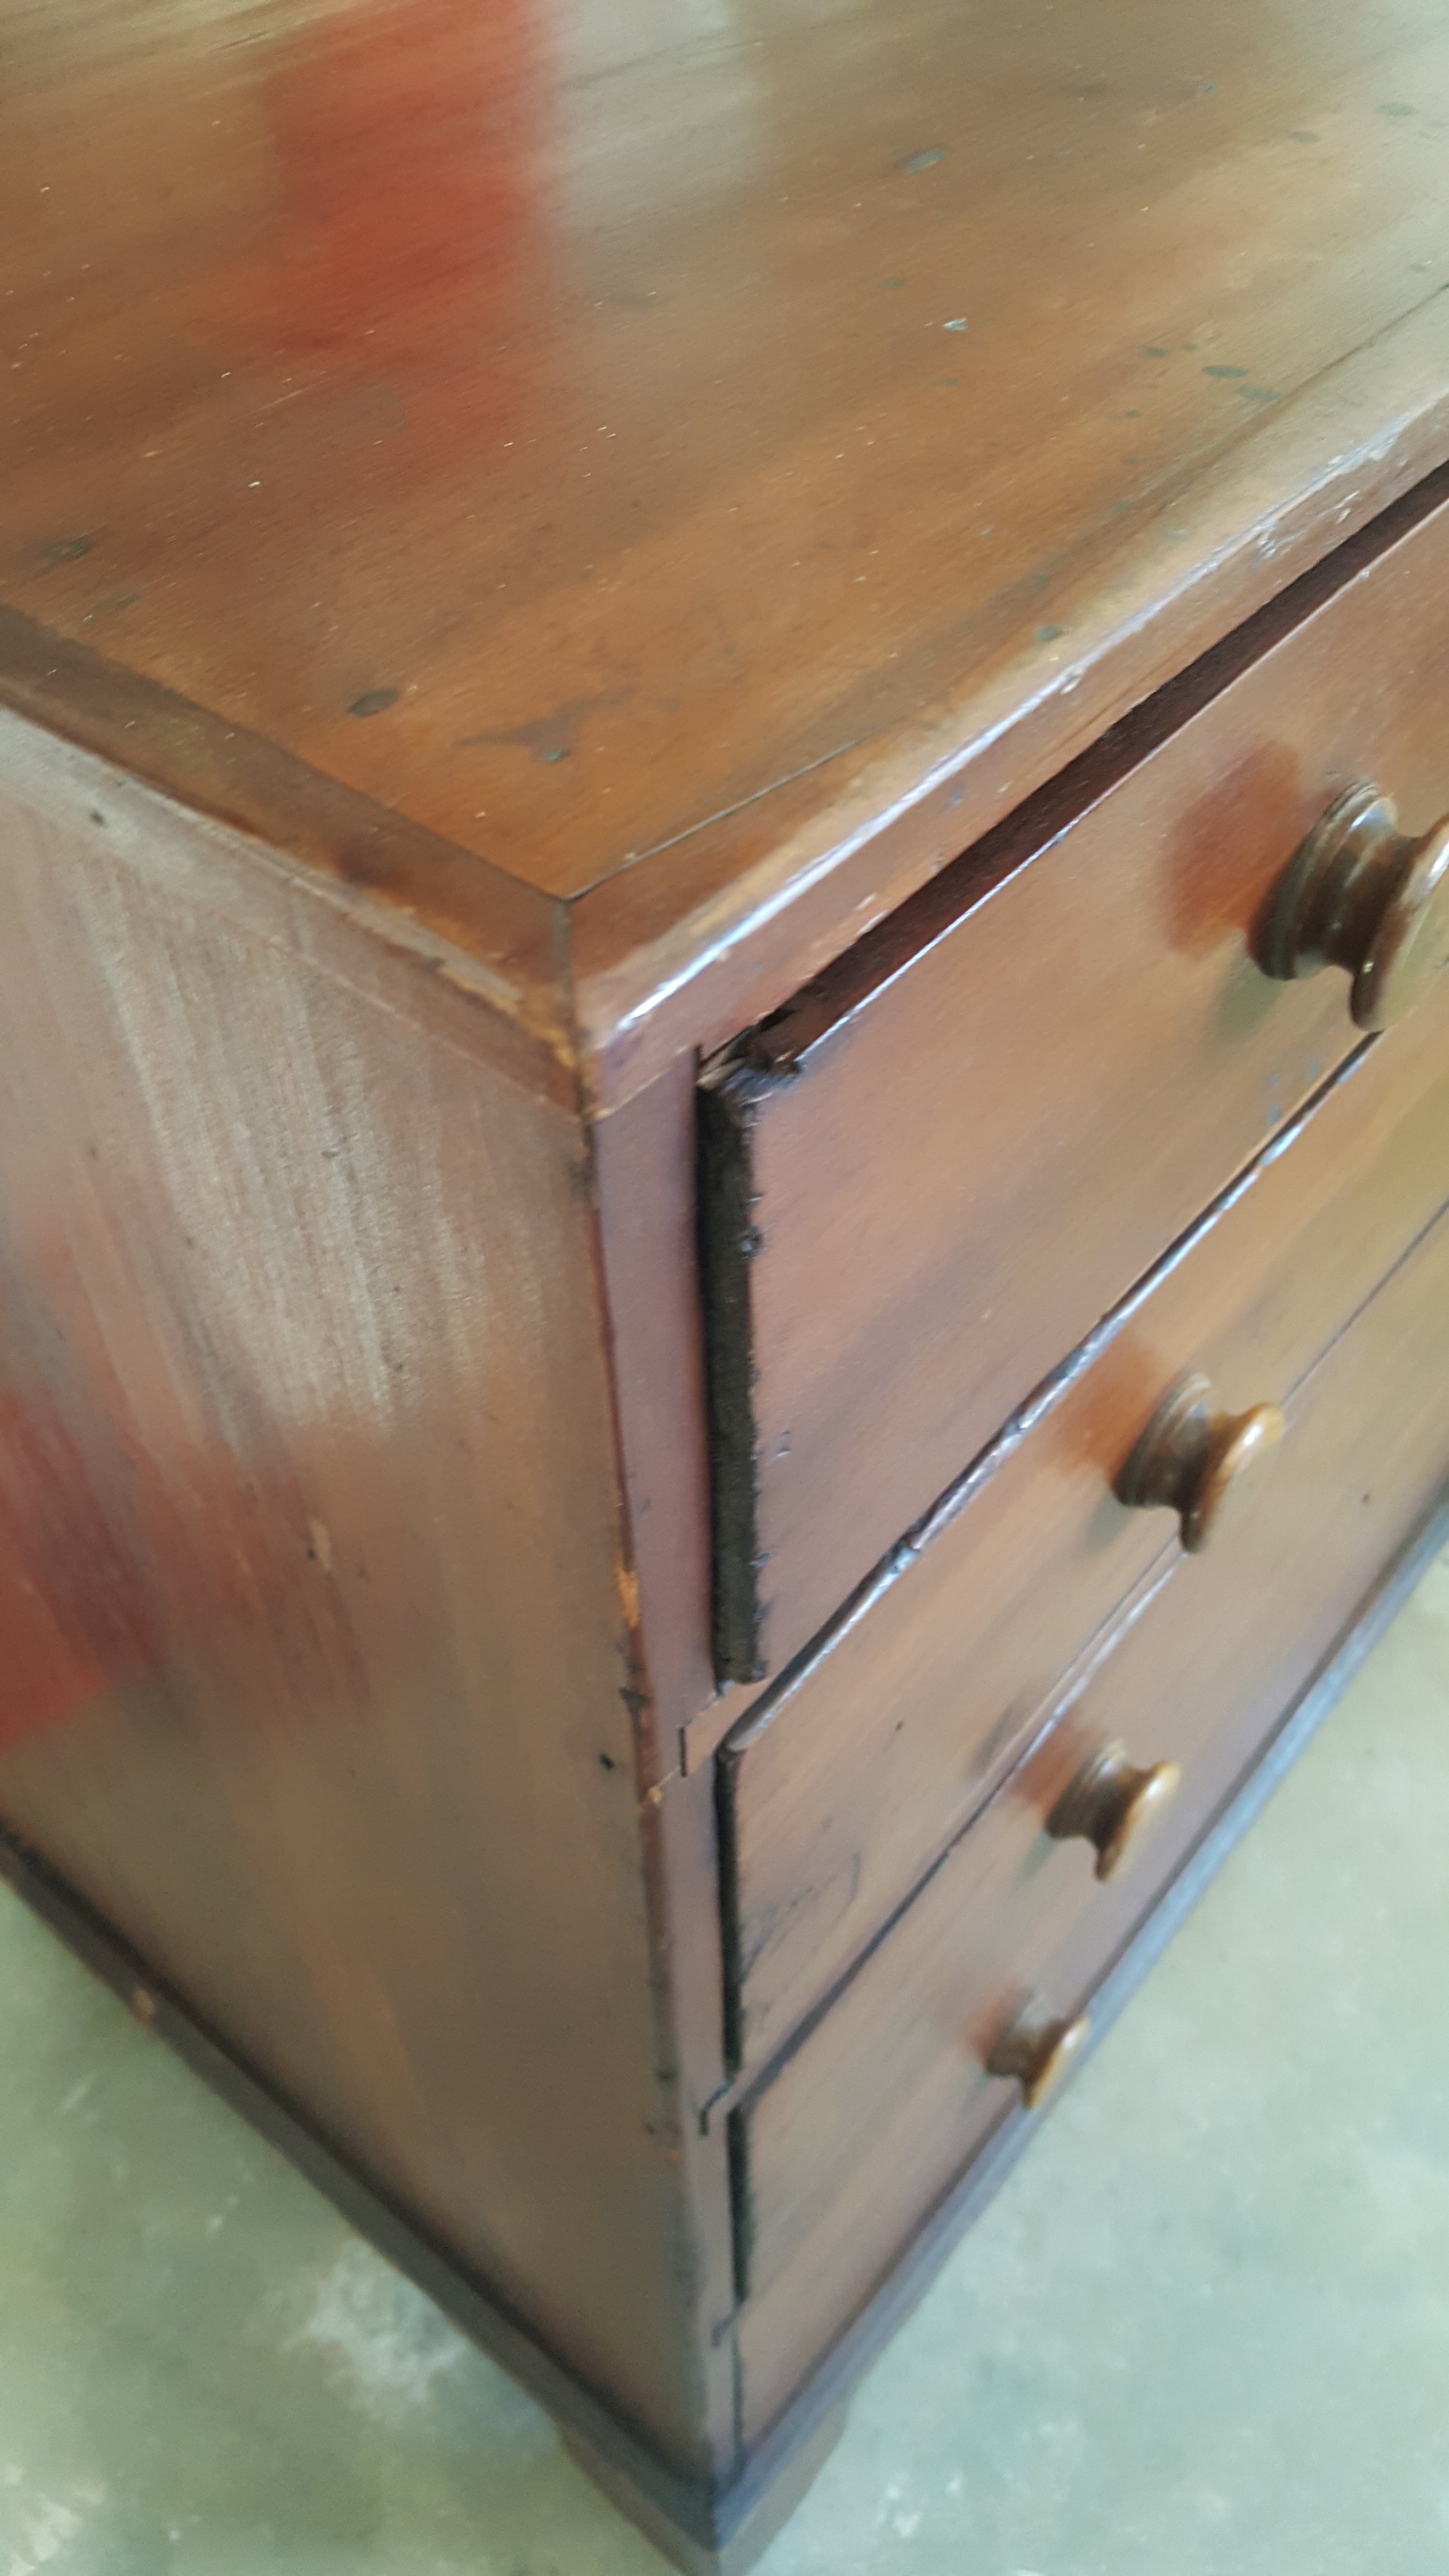
Fixed the loose areas with Titebond and made sure all the of the old square nails were still nailed in well and functioning properly
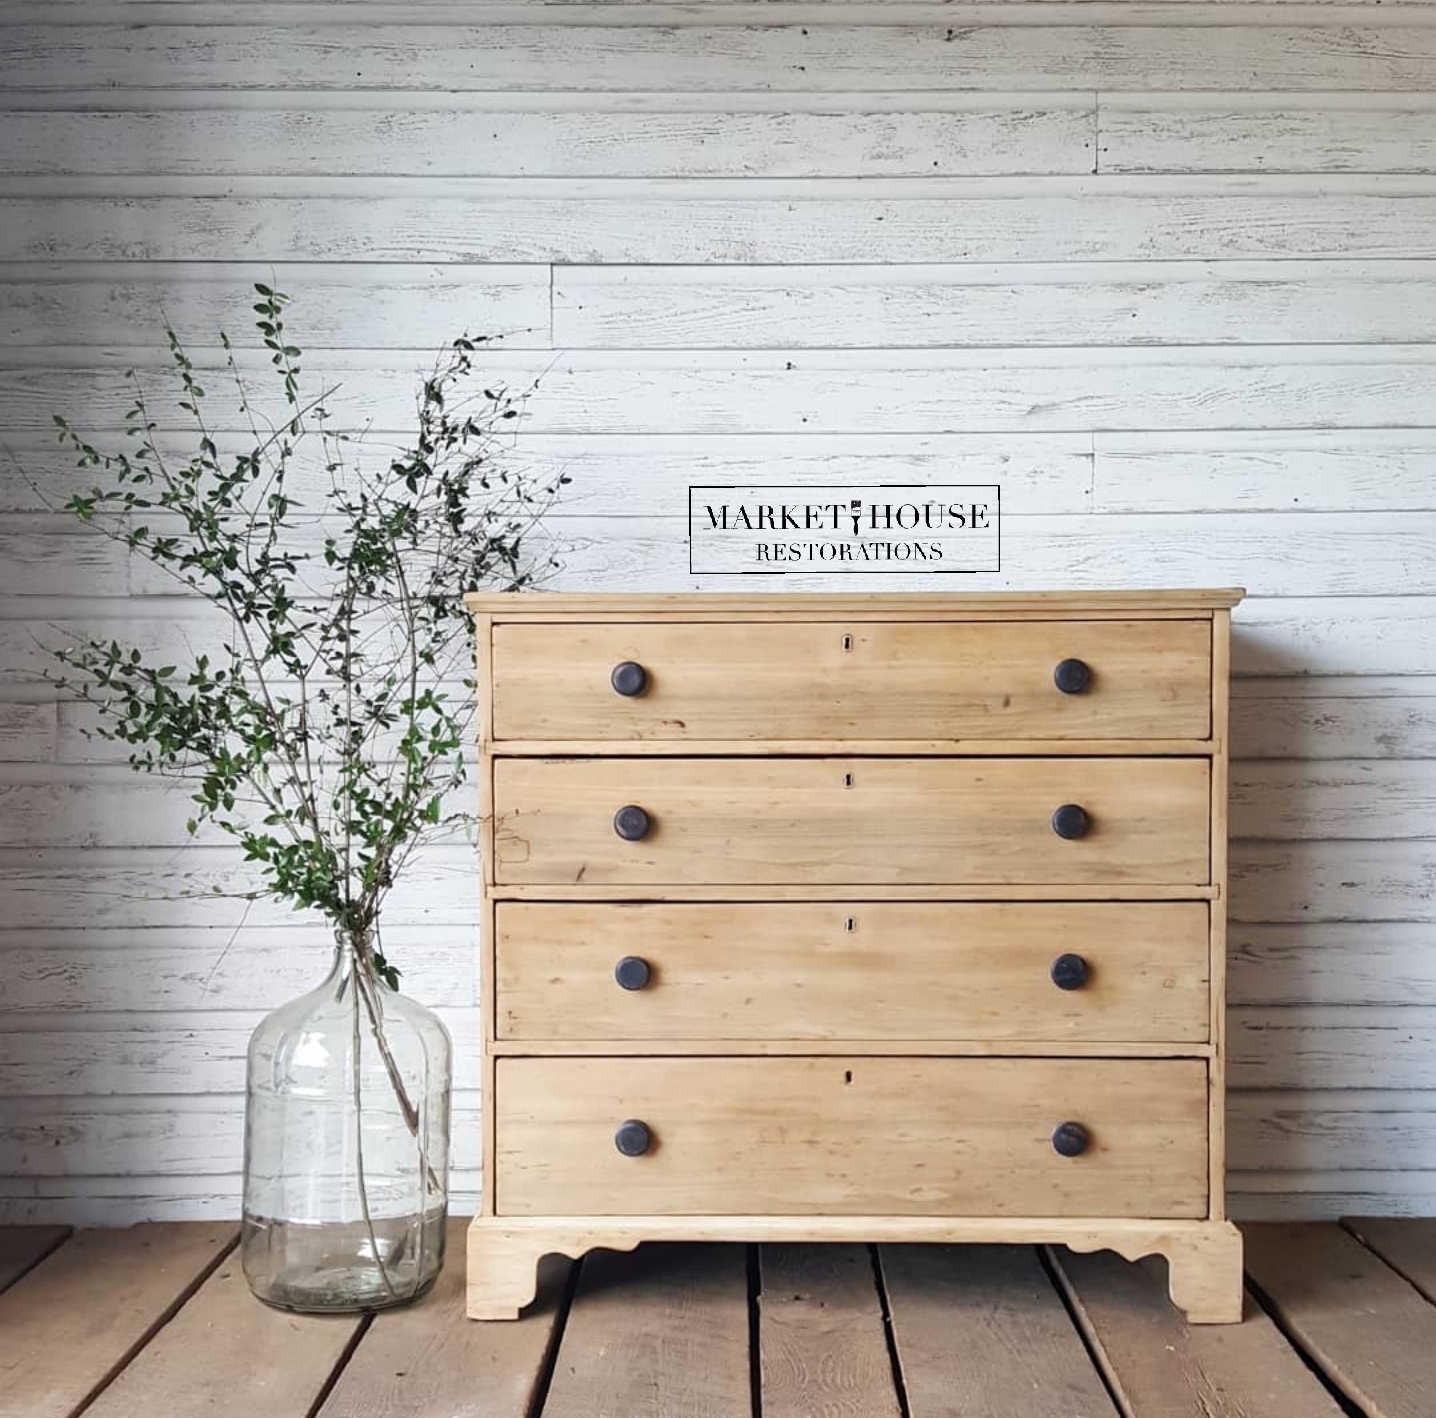
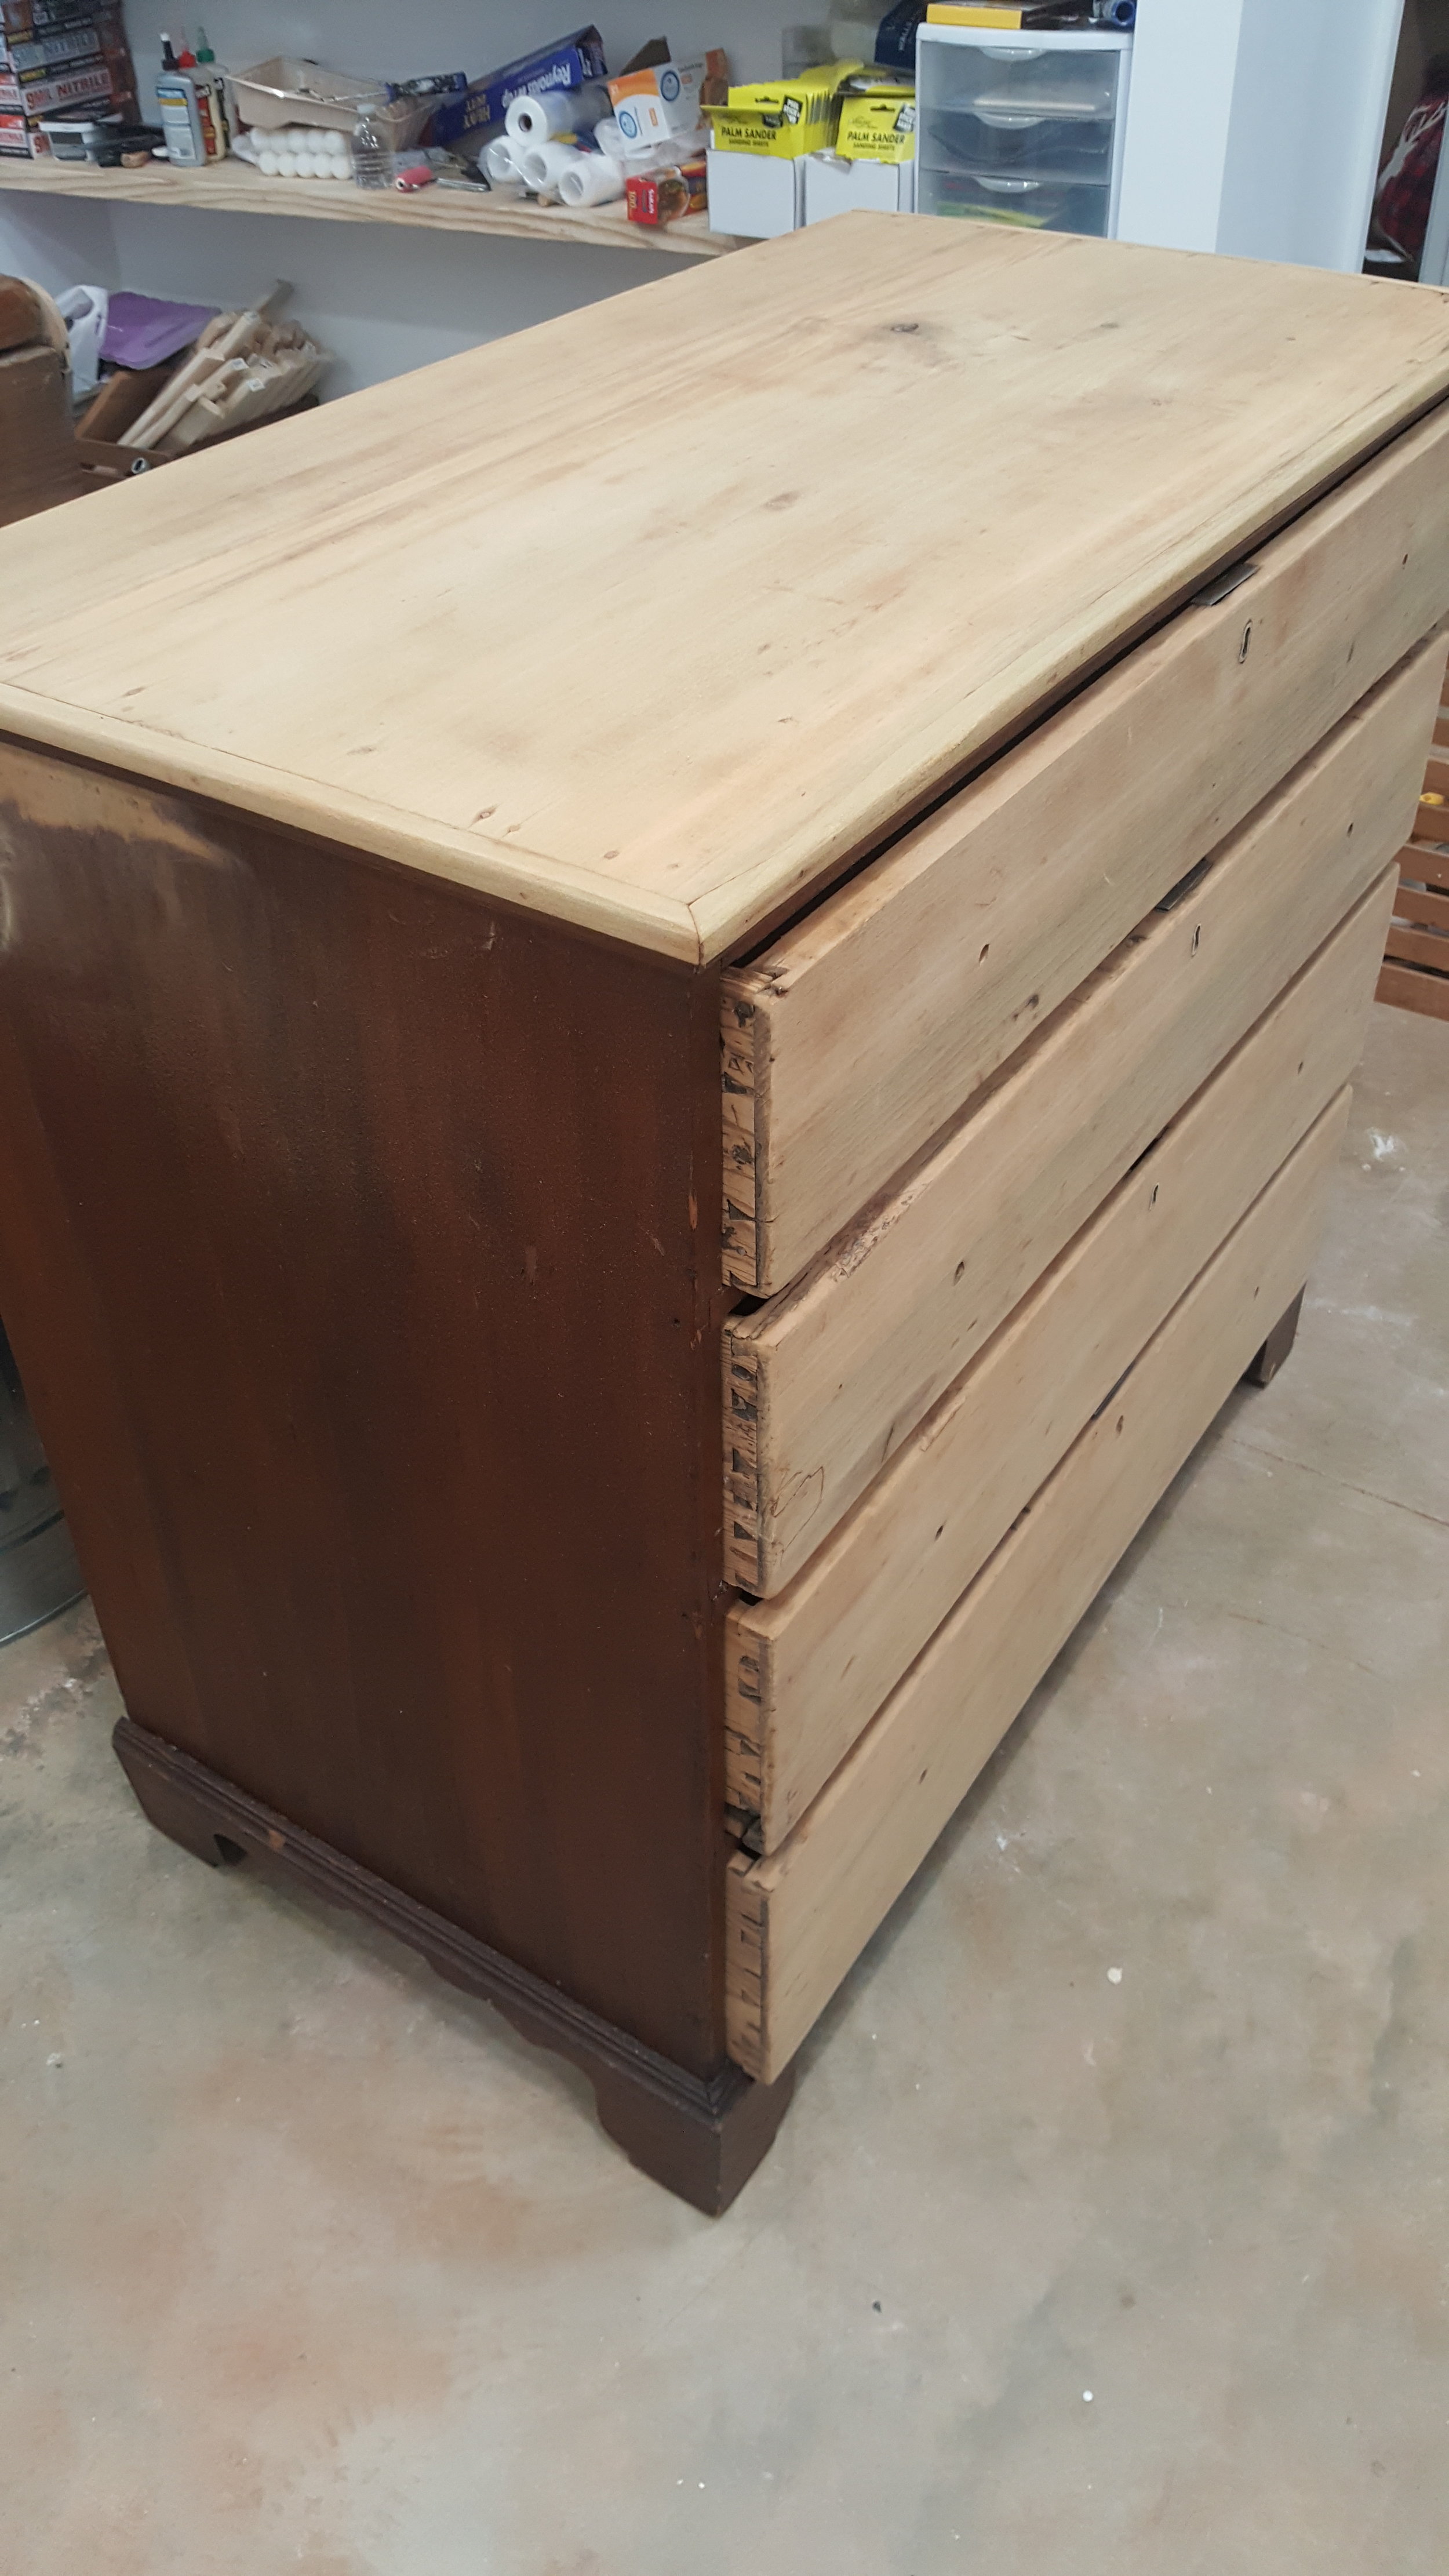
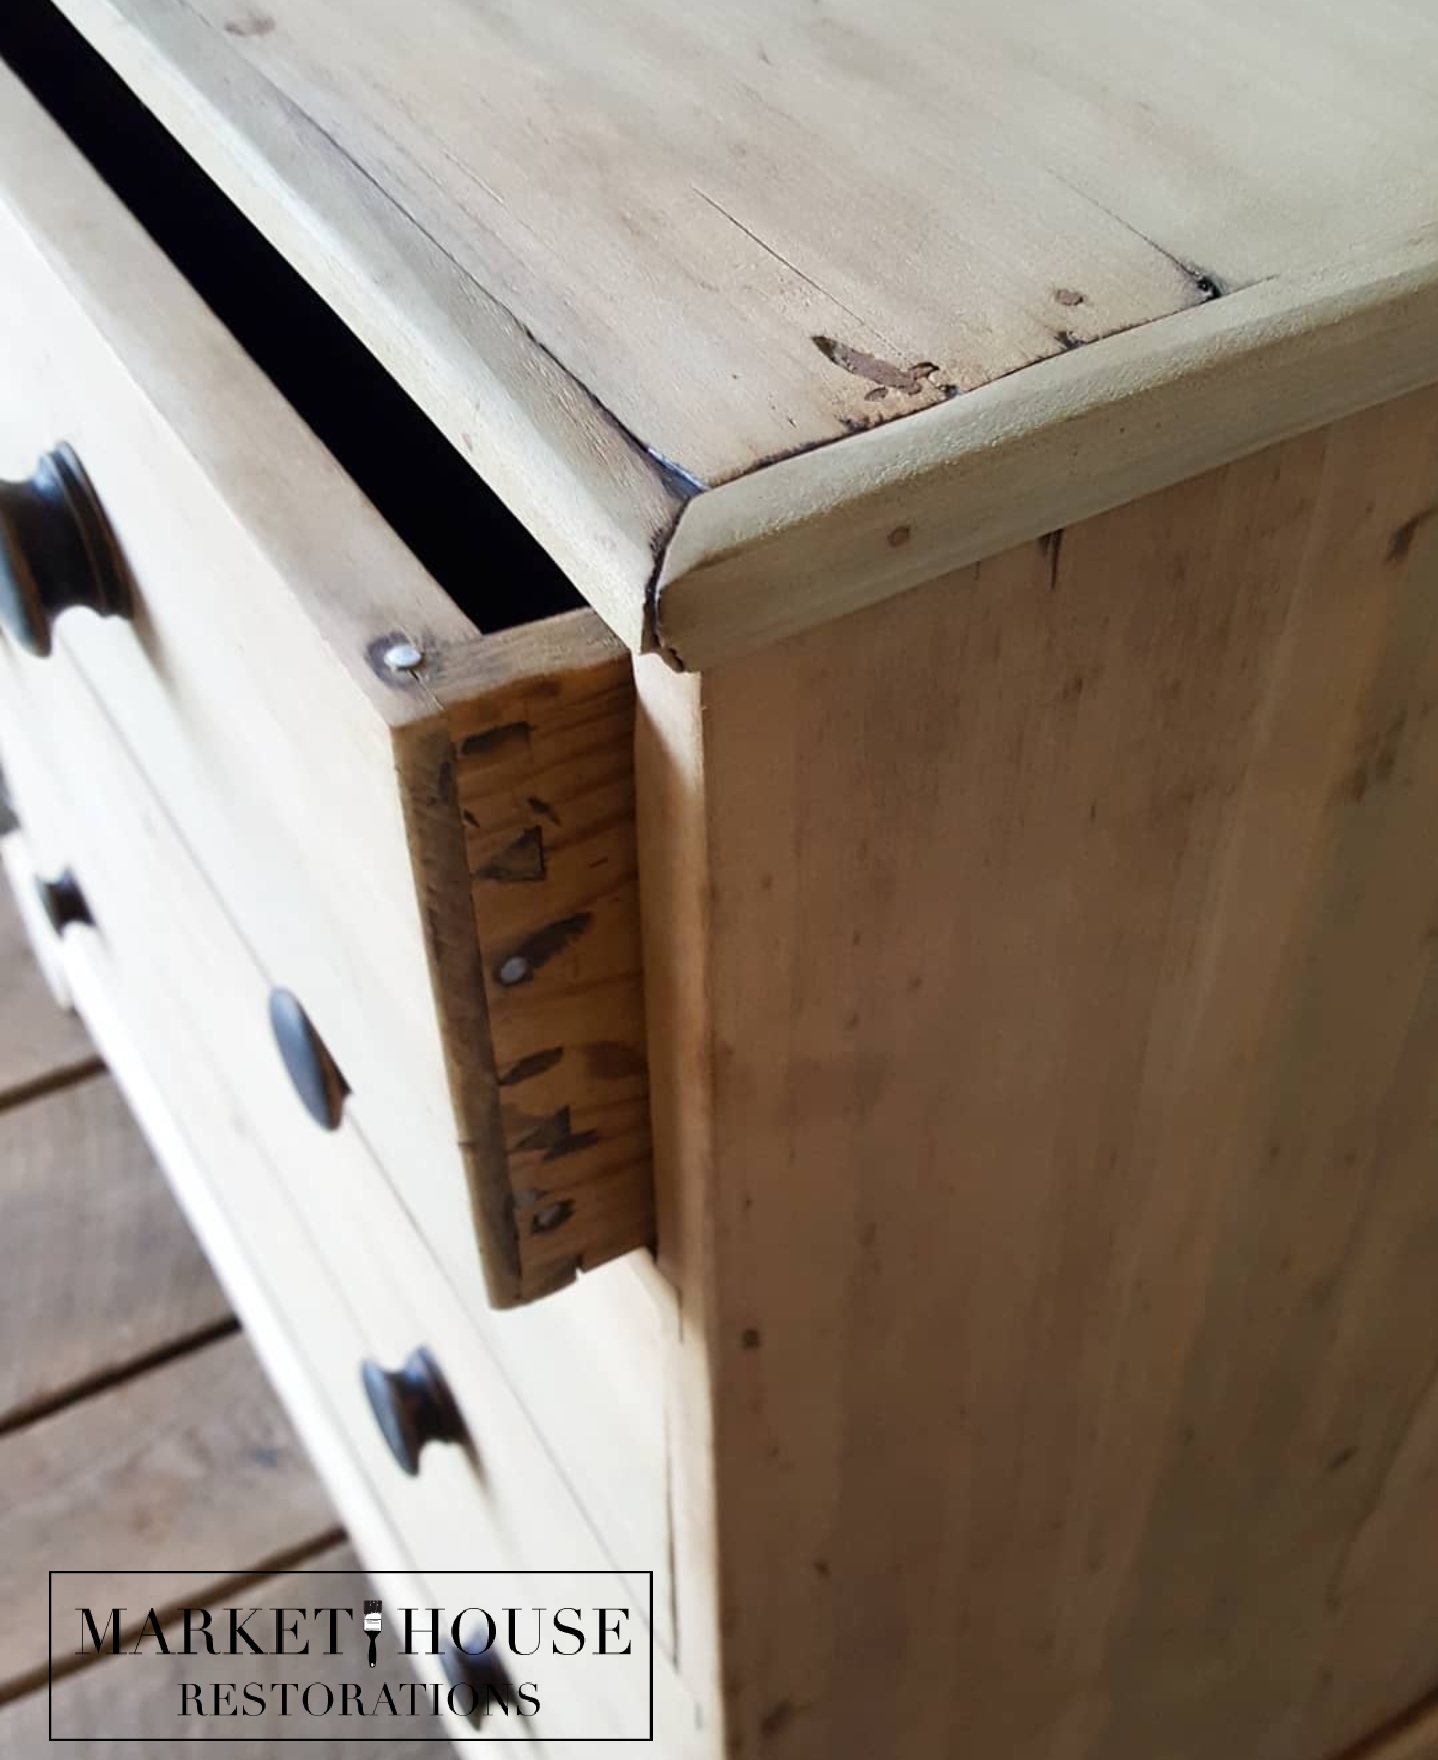
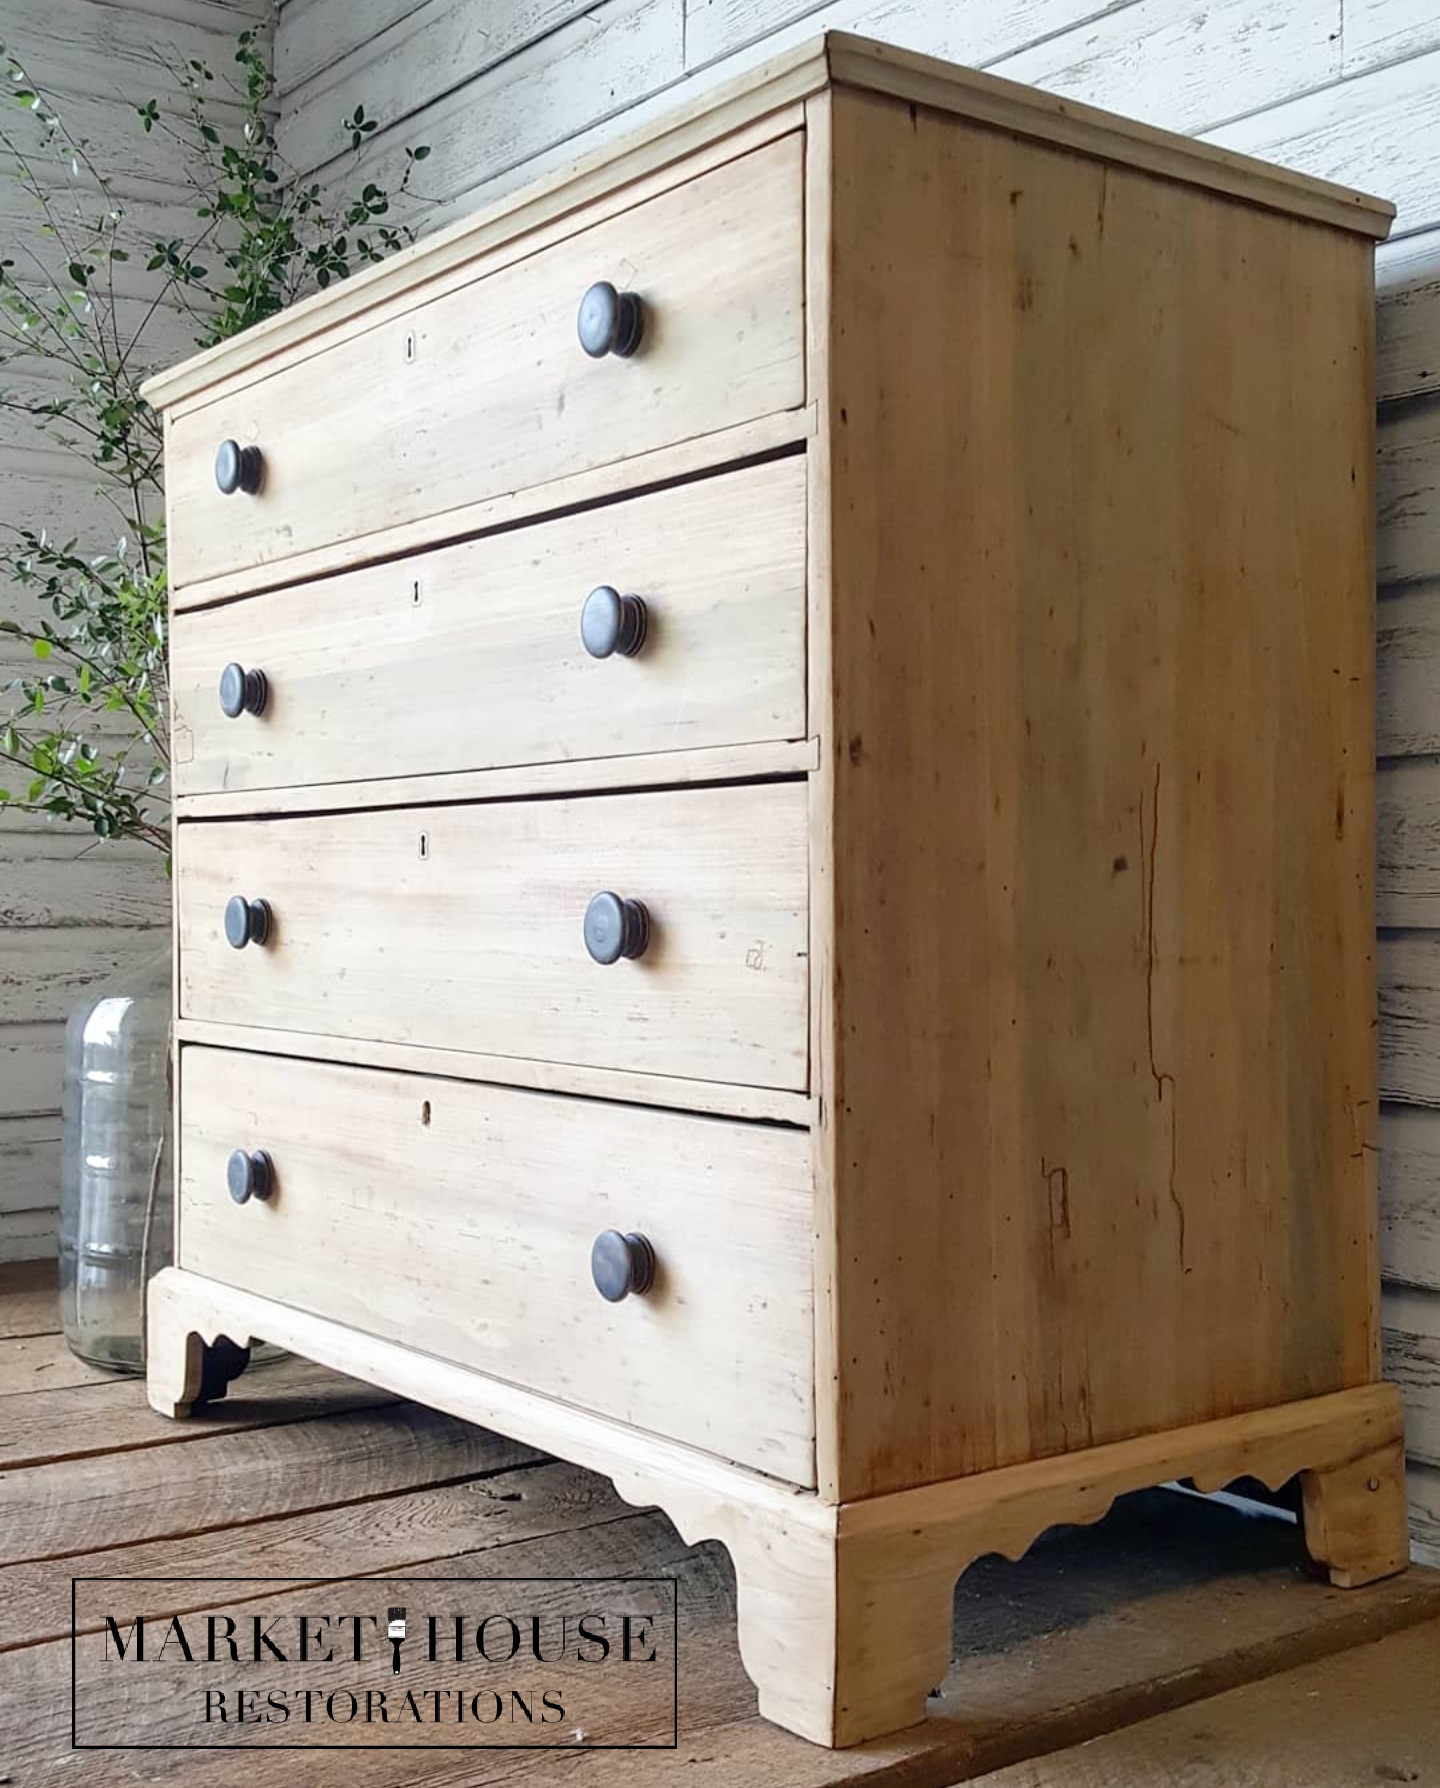
I then sanded and sanded and sanded and sanded with 60 grit sandpaper on my orbital sander. I intentionally did not sand out every single mark and scratch because I wanted to keep some of the original character. My goal was to just remove all of the old stain. I then followed up with 120 grit on my orbital sander to smooth everything out
I hand sanded with 220 grit (since I knew I wasn’t going to stain this piece I went with a higher grit to make it extra smooth)
Dusted off the piece with shop towels and vacuumed it really well
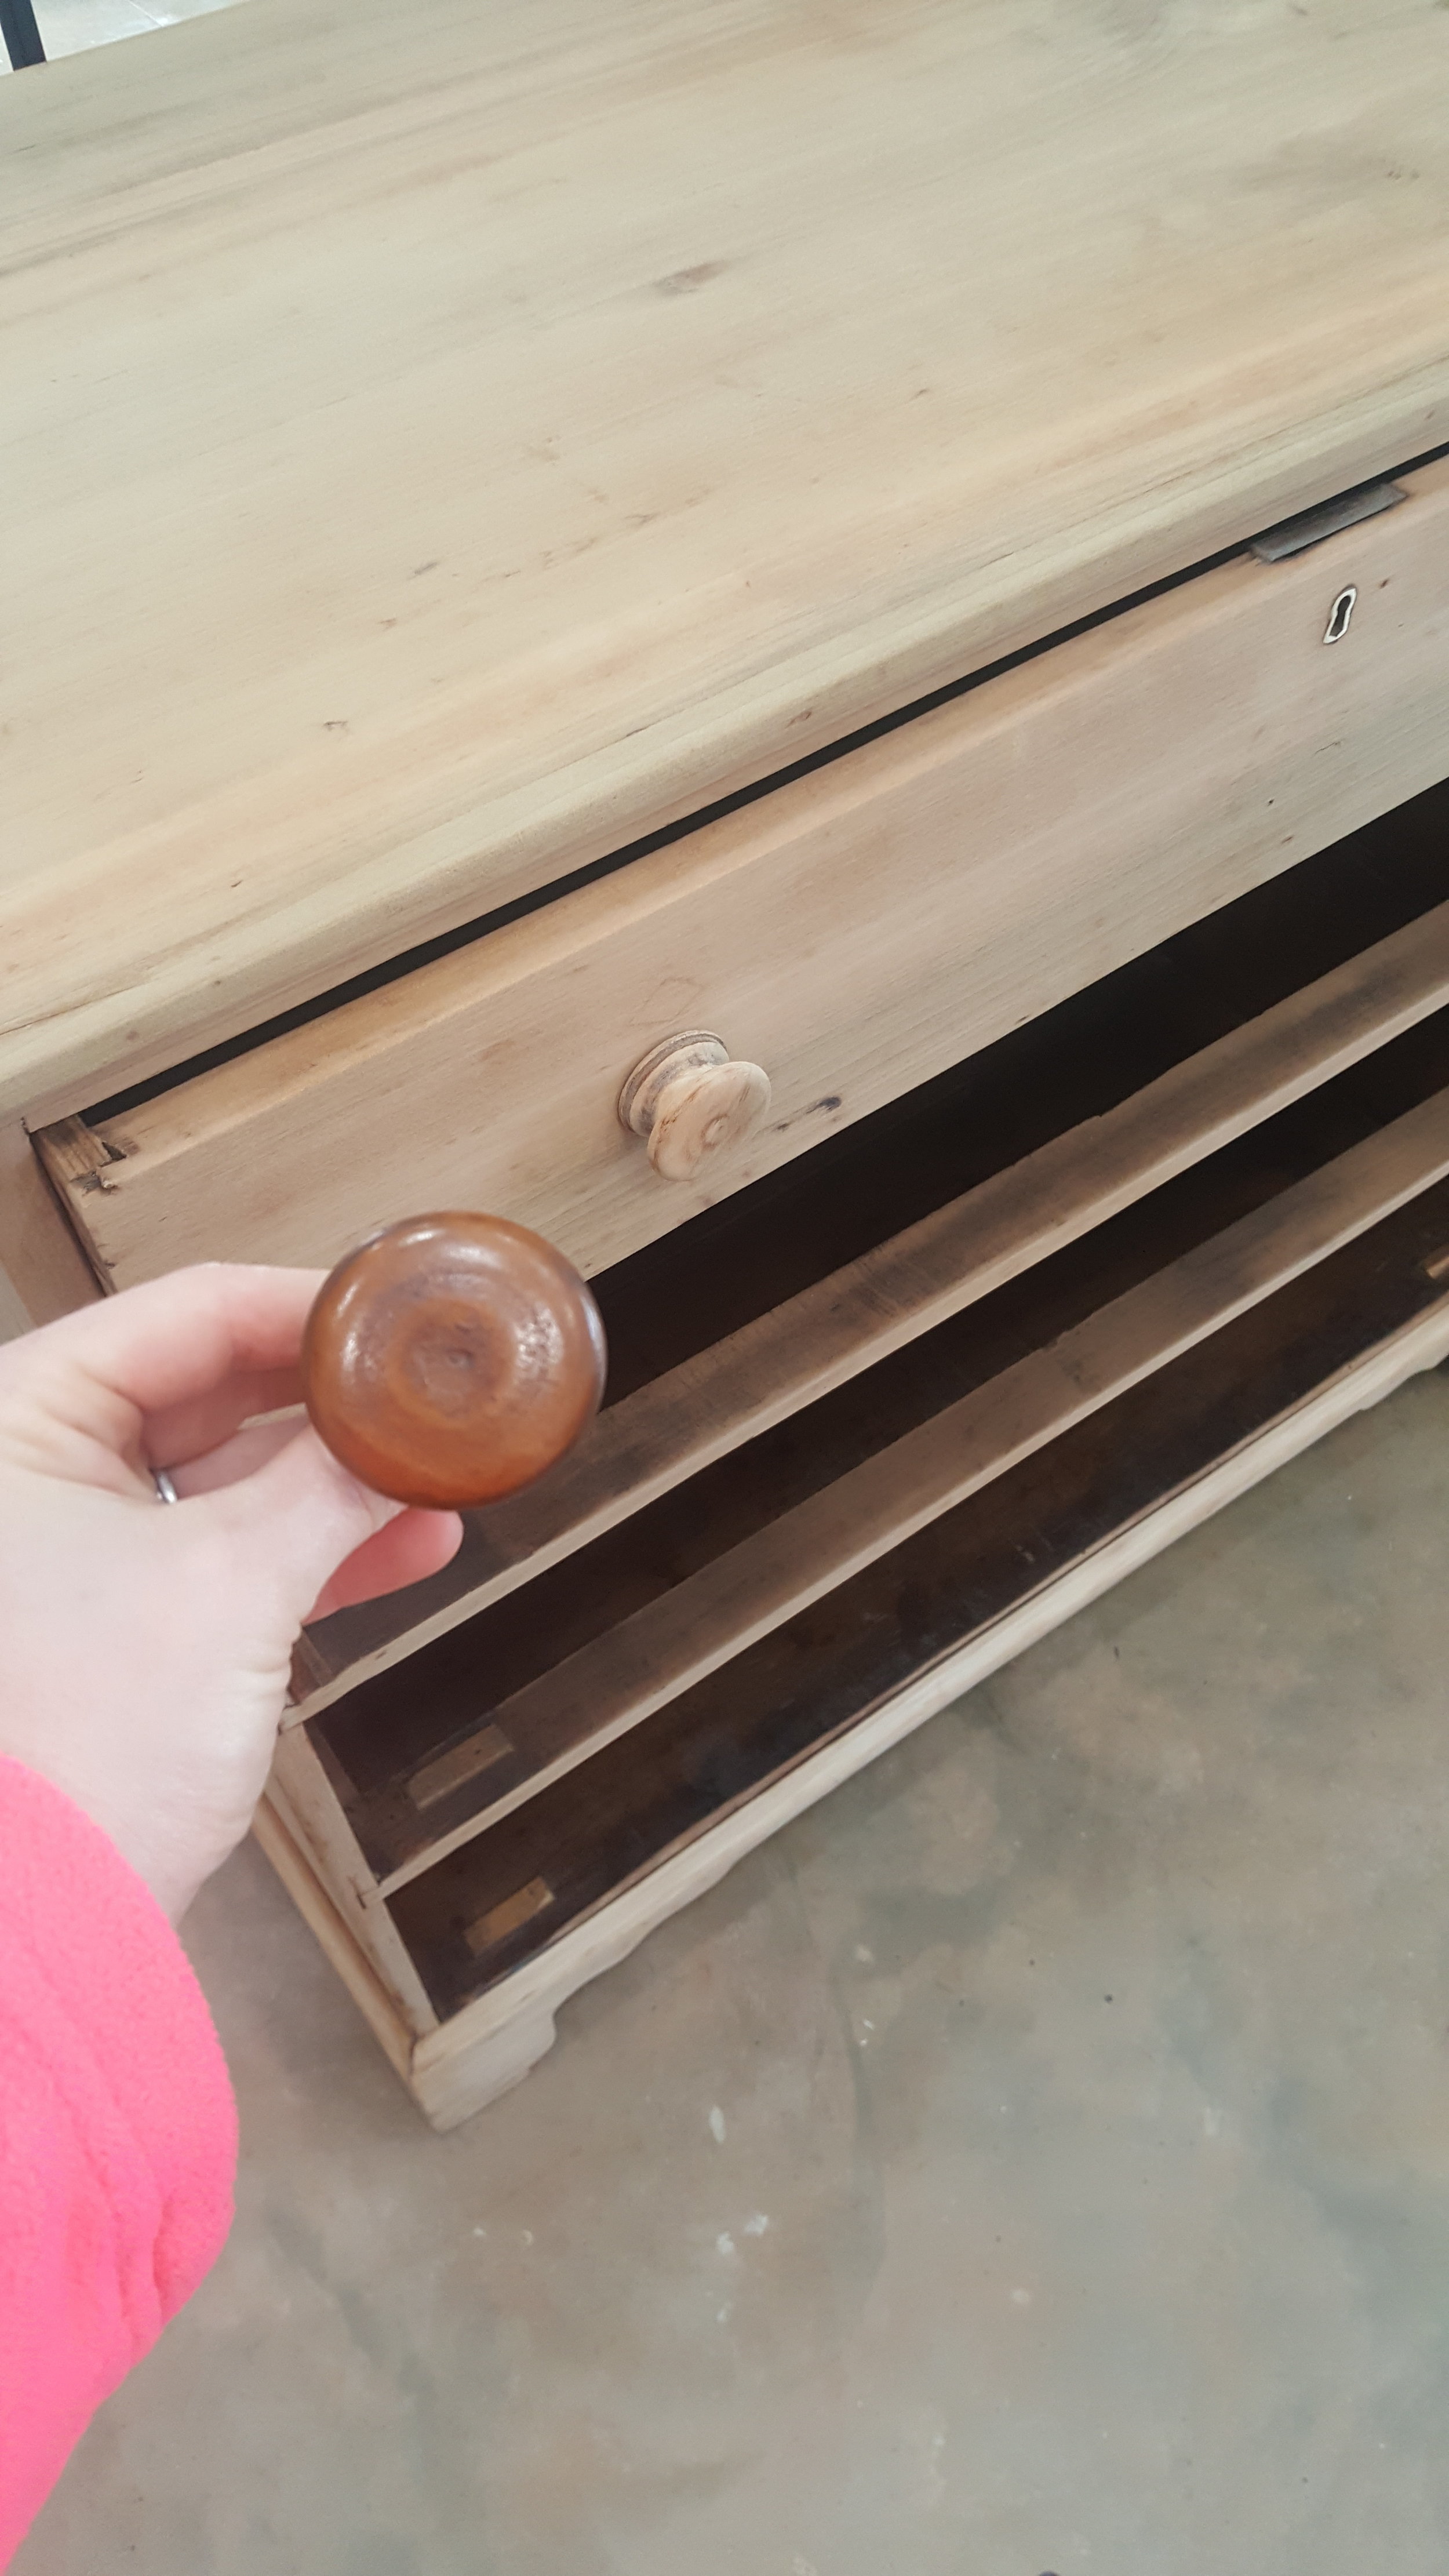
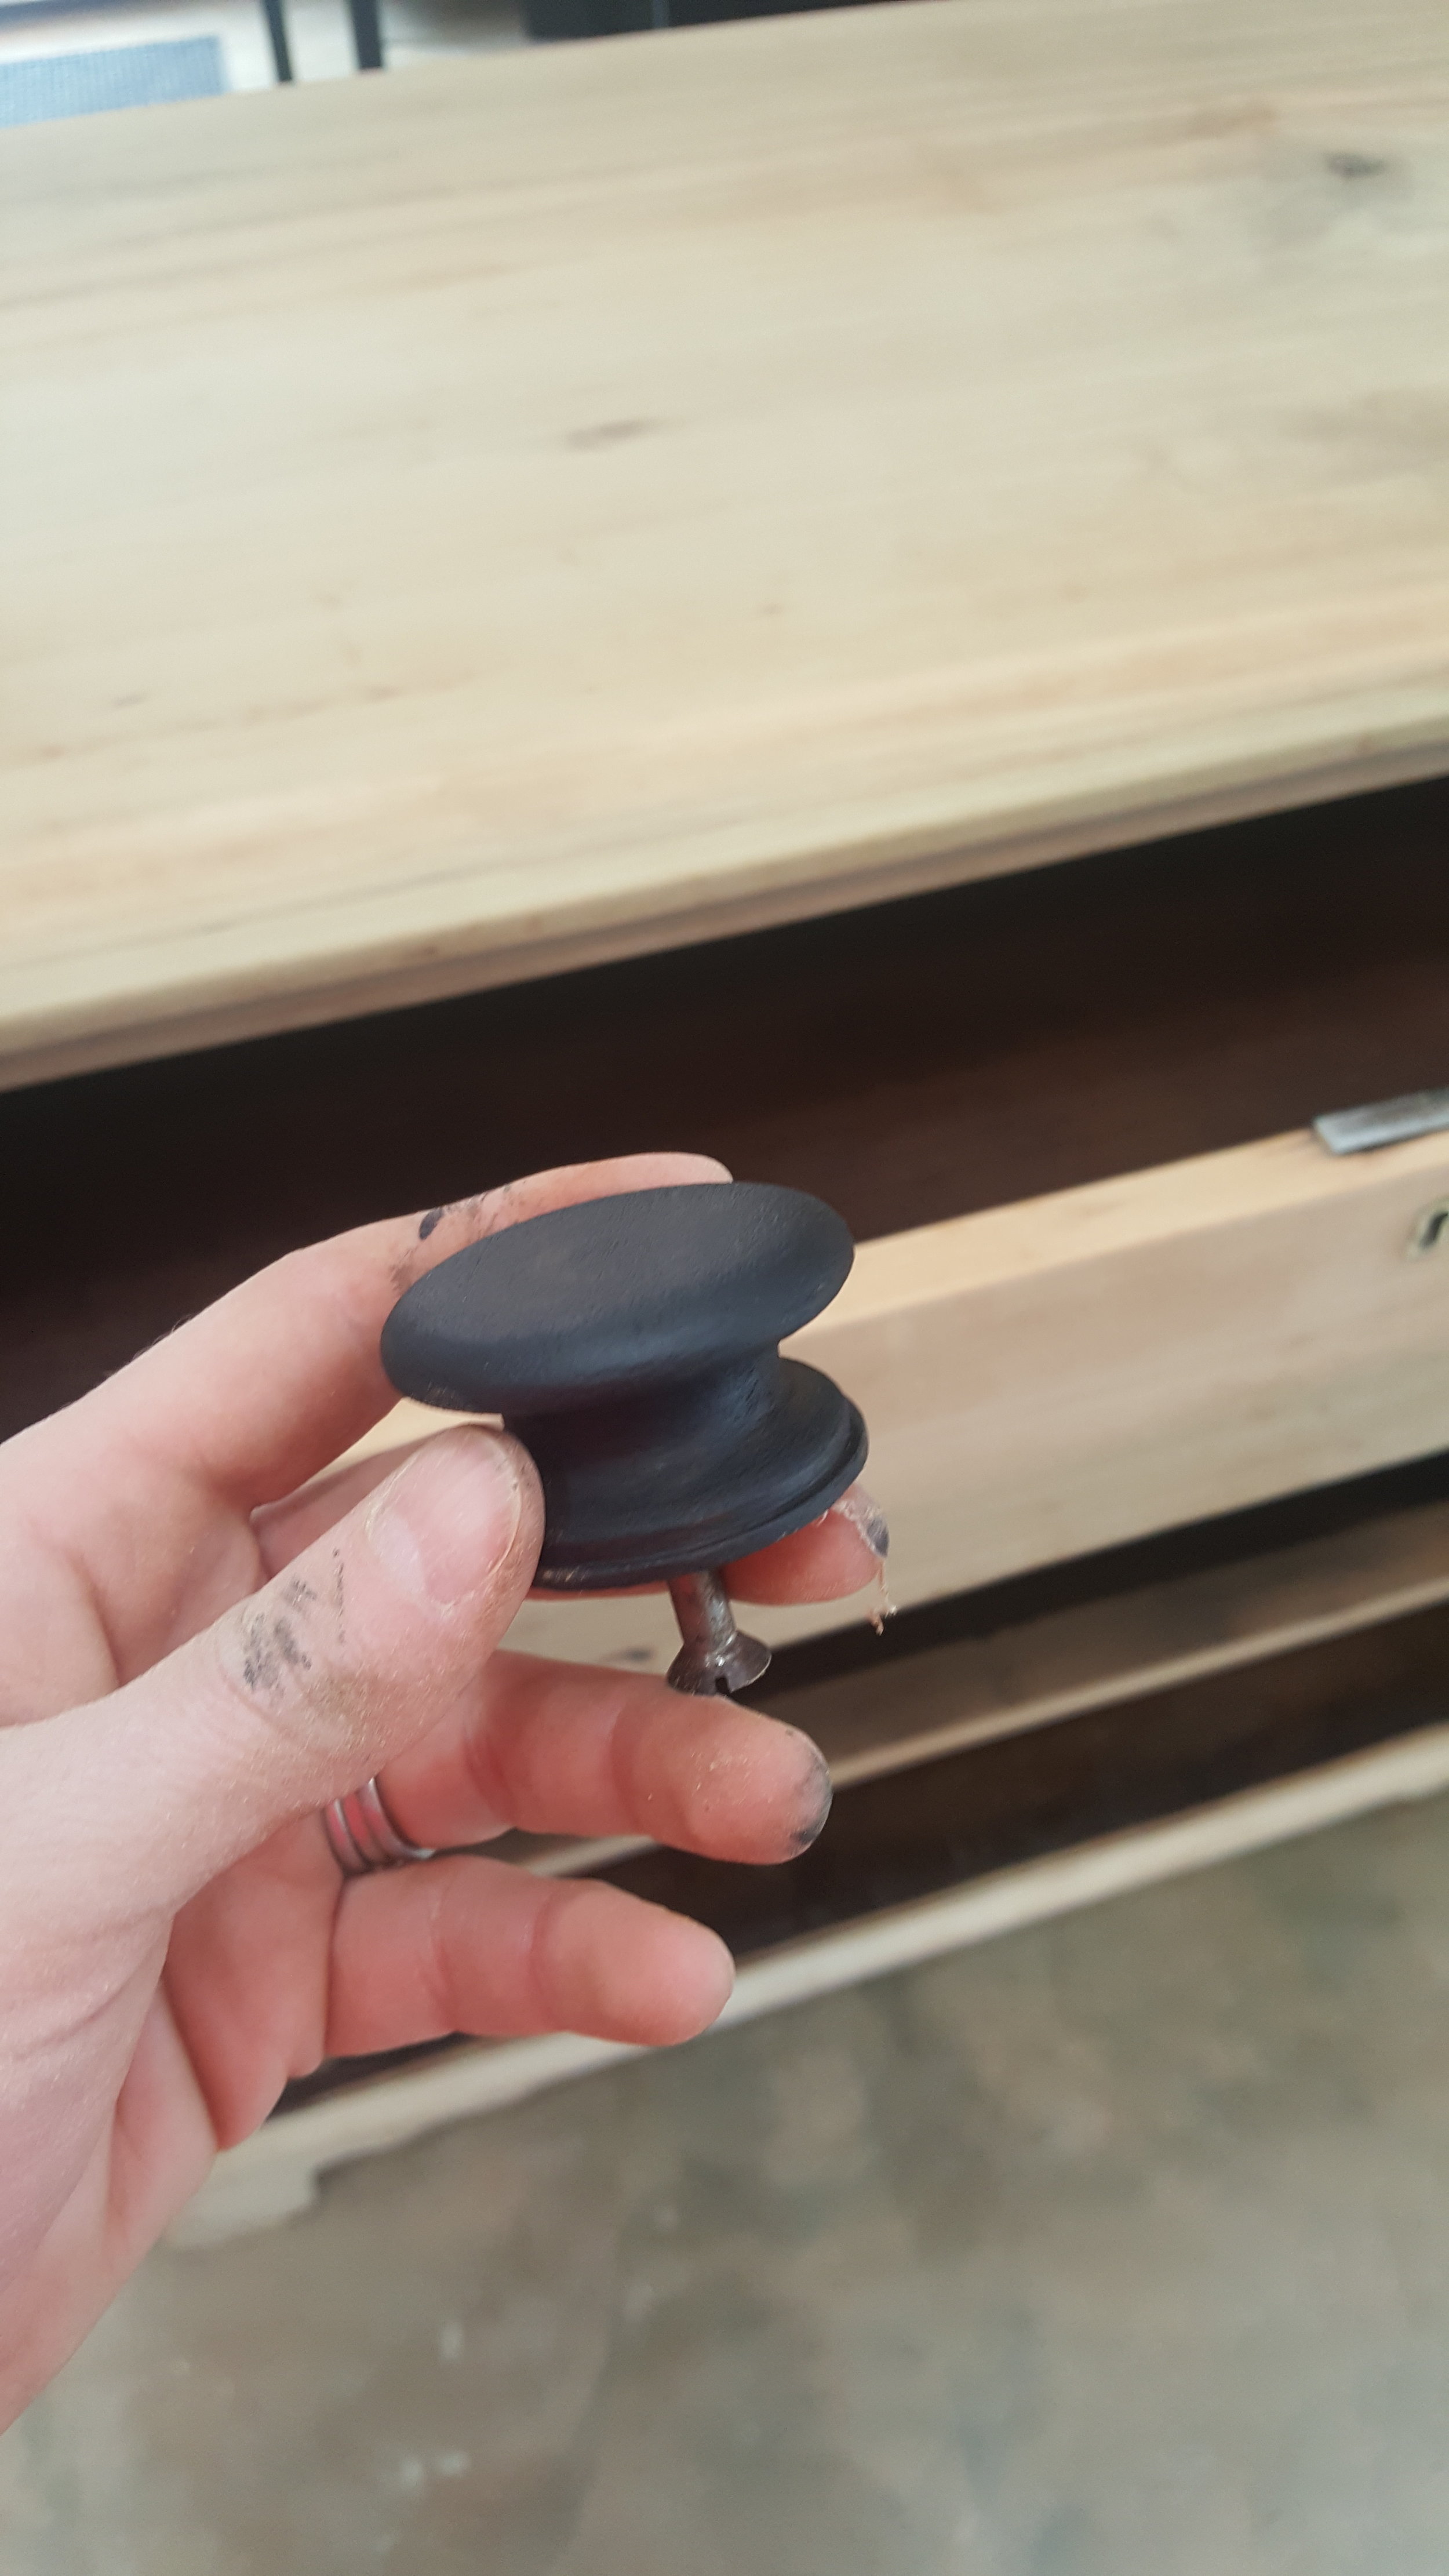
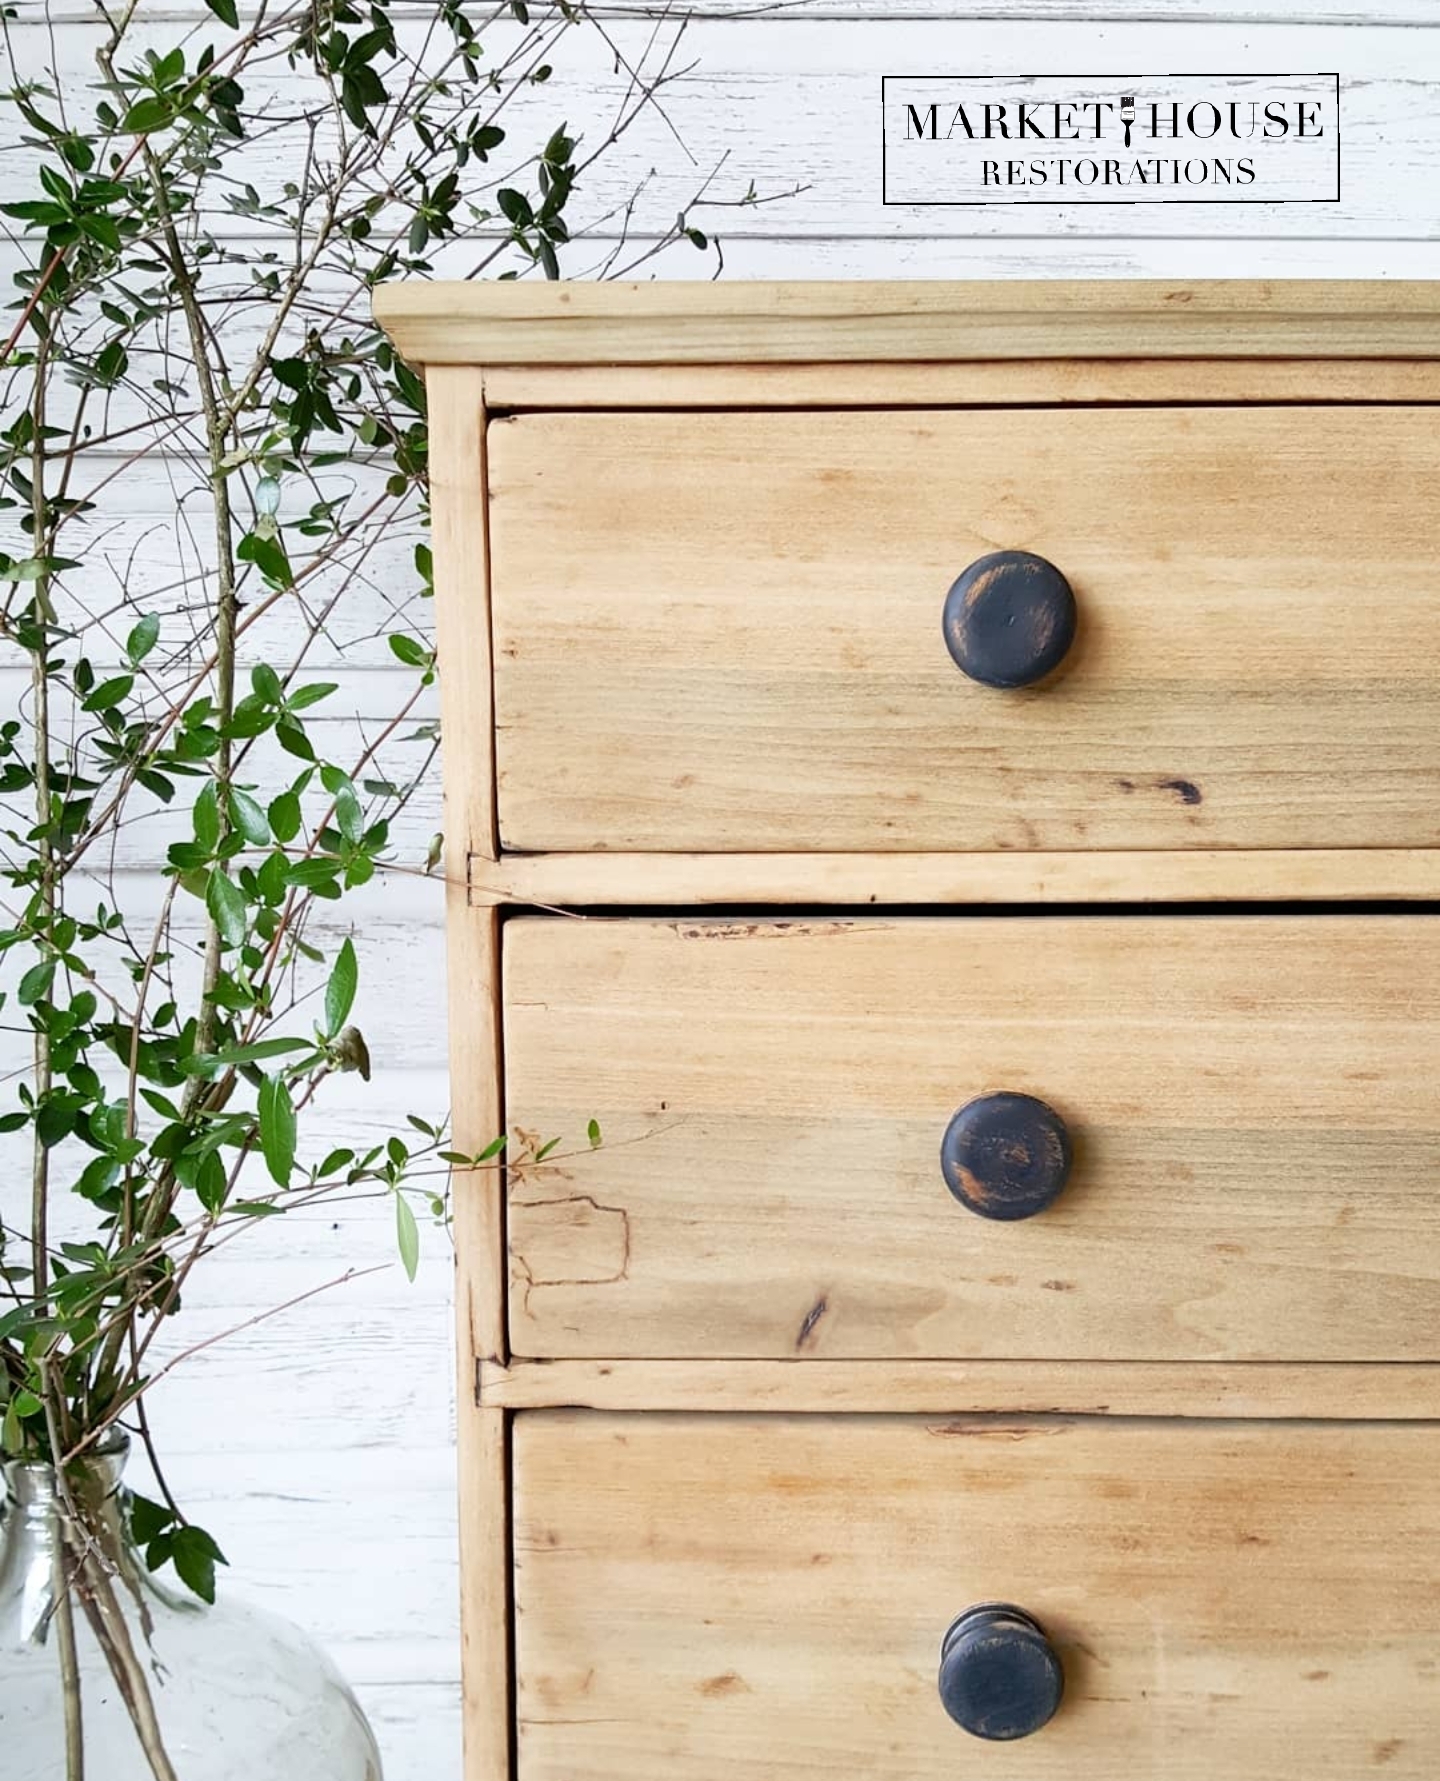
Sanded the knobs, painted them with General Finishes Lamp Black using my Square brush by Zibra, then distressed them with 150 grit sandpaper. I sealed the knobs with Country Chic Paint’s Natural Clear Wax (USE affiliate code: MARKETHOUSE10 to receive 10% off!)
Since the piece was so old, I went ahead and shellac’ed the inside of it, as well as the drawers
Finally, the sealing part. I’ve had a lot of questions about this and honestly, I did not seal this one. Since I’m keeping this piece for my own home and I know it’s not going to get a ton of use where I’m placing it, I did not top coat it. When you top coat or add a wax it tends to darken and change the color of the wood, so I didn’t want to take any chances of that happening because I was in love with the current look. HOWEVER, if I was going to use this piece in a bathroom or a high traffic area, I would definitely seal it with a poly or a clear wax. If for some reason it does get a dark spot on it and/or get’s dirty, I can just hand-sand it out!
*Just as a side note, make sure you always work in an open and well ventilated area Use a respirator mask, gloves and protective eye wear when necessary. Make sure your family and/or kids aren’t breathing in the harsh chemicals and dust either. Everyone’s health is more important than a piece of furniture!
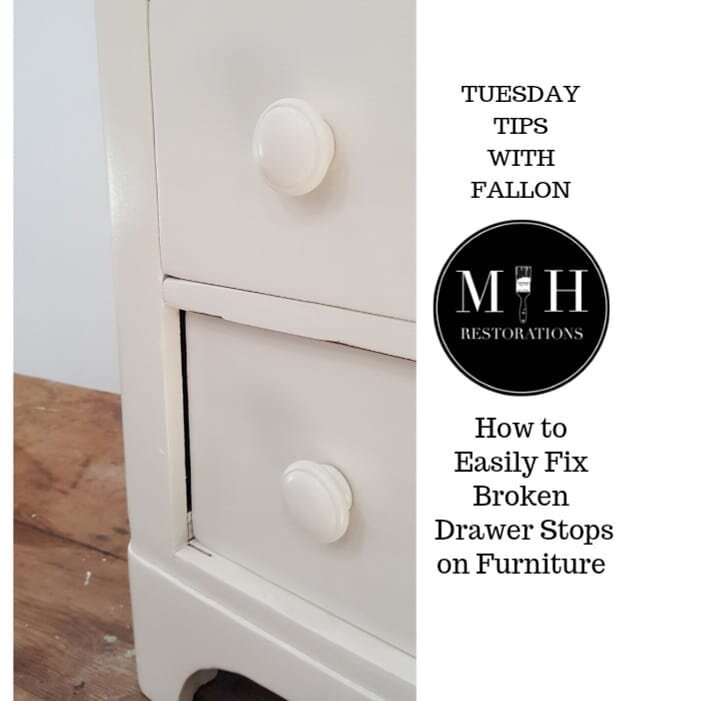
I hope this information helps!! Thank you so much for tuning in this week for #MondayMakeoversWithFallon. Make sure you sign up to get my email’s so you don’t miss out on my makeovers and FREE tips!! Also, if you want to save this blog post so you can refer back to it, make sure you pin it to your Pinterest page and/or feel free to share it elsewhere. I look forward being with you next Monday and don’t forget to tune in tomorrow for my educating video tutorial/tip for #TuesdayTipsWithFallon!!
*Please note, this post does contain affiliate links.

Did you know I have an eBook plus three different staging and styling guides that help you stage your furniture!? Between all three guides you receive over 500 different ways to style and stage different pieces of furniture. Yes, 500!! They are not just for the furniture artist either. Maybe you are planning on selling your home and need help staging your furniture so it doesn’t look cluttered or maybe you just have no clue how to style the furniture that you currently have and you want it to look nice?! No worries! These are for you!! Between all three guides and my second edition eBook you get over 200 pages of information! You do not have to worry about staging and styling your furniture ever again!!Here is the link to my eBook, Your Virtual Storefront. The Complete Guide to Staging Painted Furniture. It jammed packed information that will help you take your staging to the next level! I also have three separate staging and styling guides that help you stage specific pieces of furniture.
Here is a breakdown of my eBook and Guides:
*Your Virtual Storefront. The Complete Guide to Staging Your Painted Furniture. 2nd EDITION: Everything you need to know to help you stage your furniture from, photography, the photo editing process, lighting, staging areas/locations, information about logo/watermarks…just to name a handful of the topics.
*The Bedroom Furniture Guide: Staging and Styling Chest of Drawers, Dressers, Nightstands, Wardrobes, Blanket Chests, Vanities, Beds and Bedroom Sets)
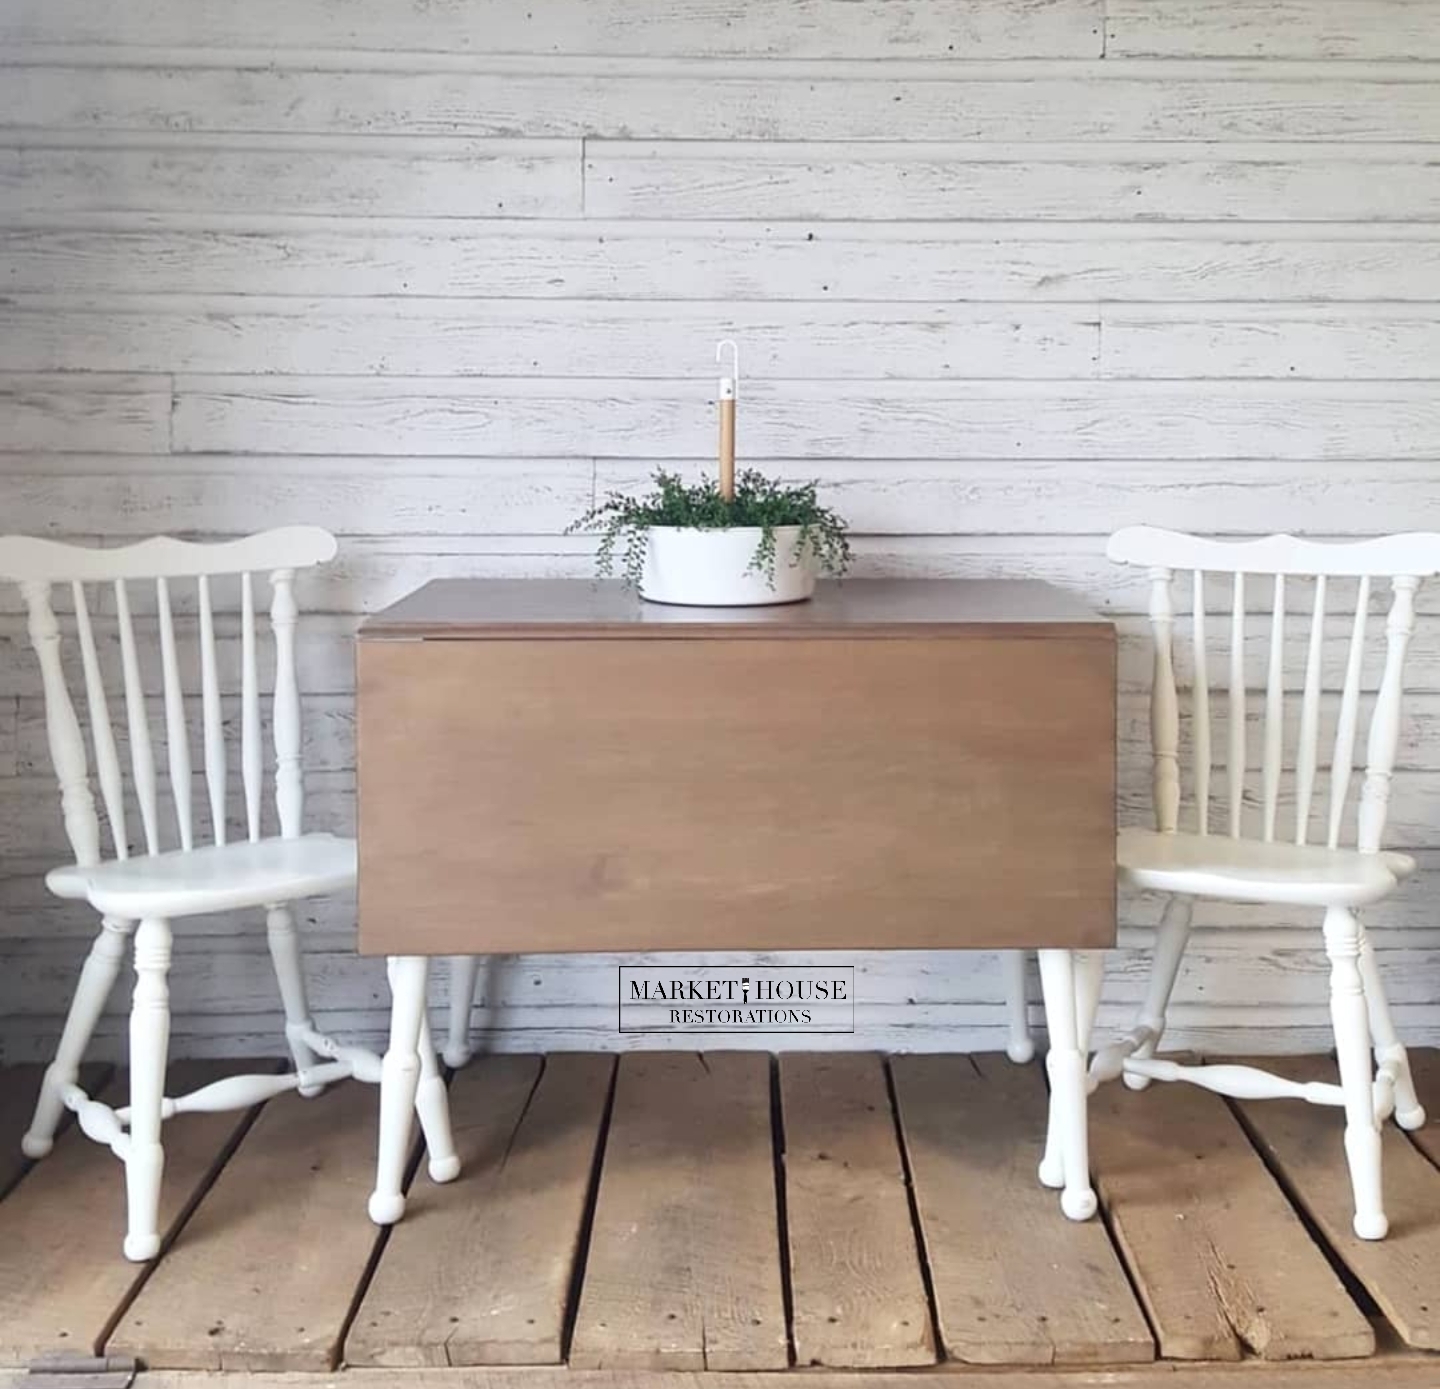
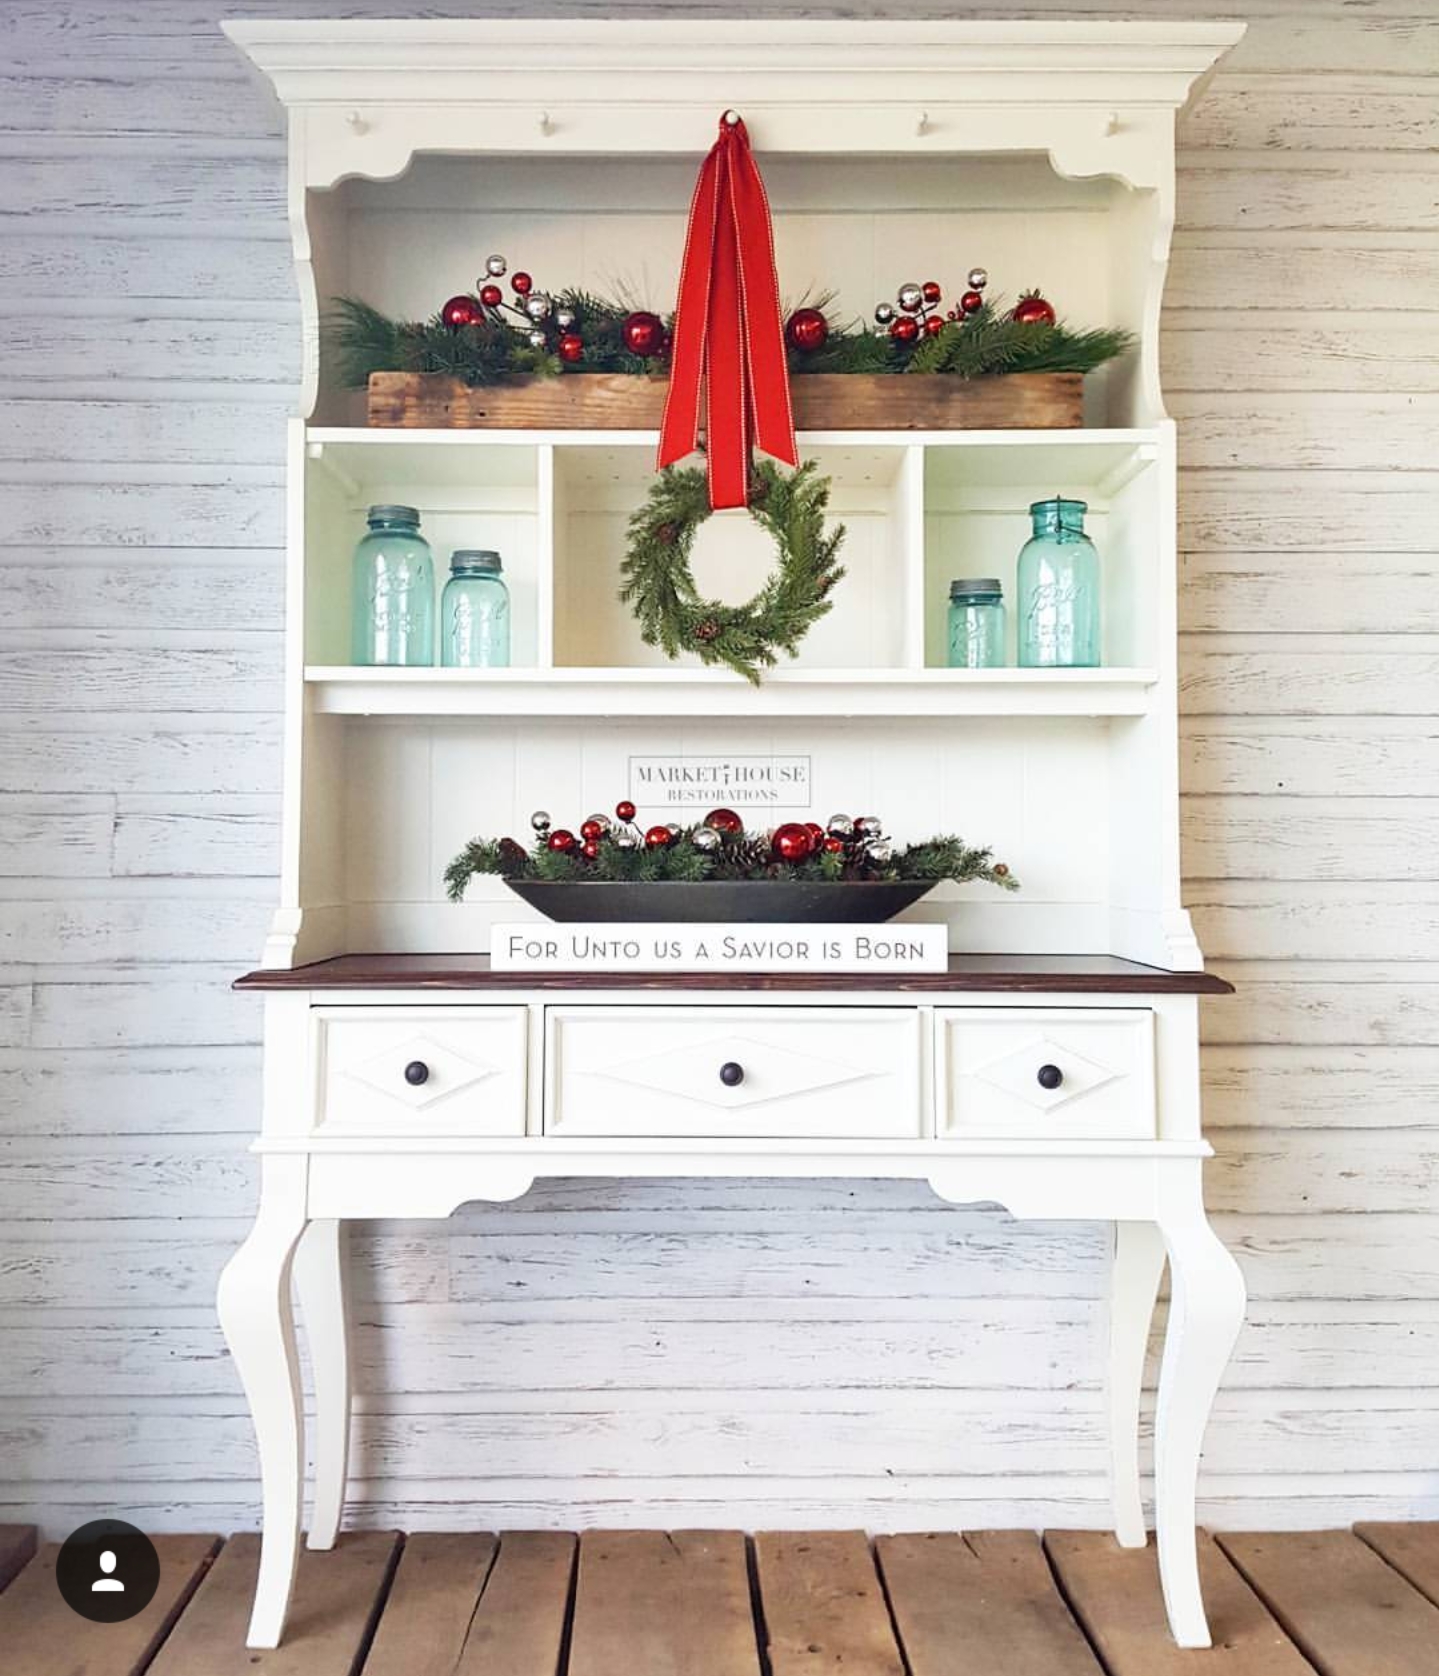
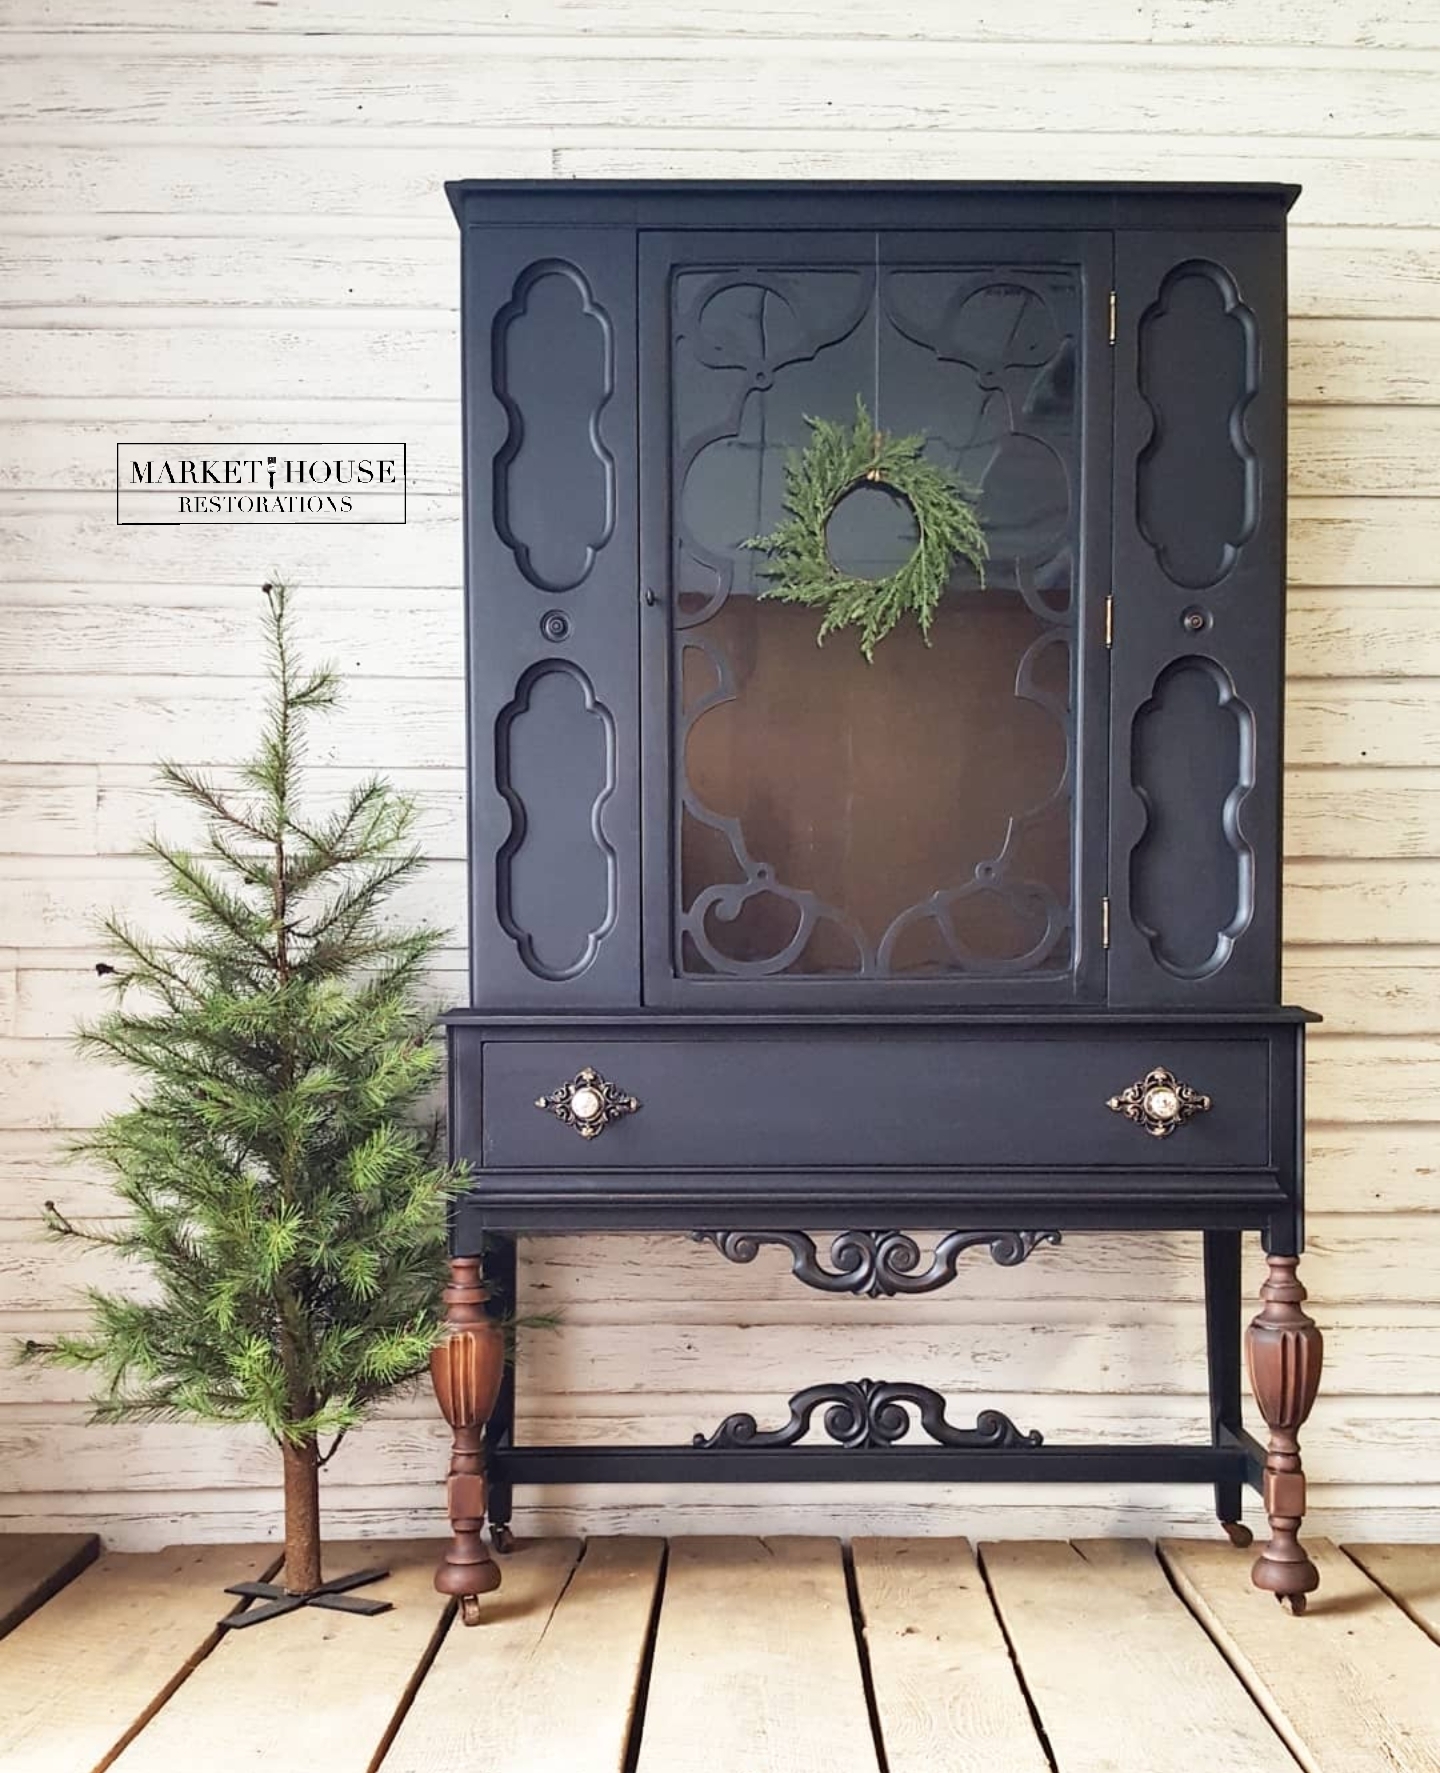
*The Dining Room Furniture Guide: Staging and Styling Buffets/Sideboards, China Hutches, Glass Front China Cabinets and Tables & Chairs
*The Everyday Living Furniture Guide: Staging and Styling Desks, Multi-Purpose Pieces, Sofa Tables, TV Stands, Side Tables, Coffee Tables, Benches and Bookshelves
I appreciate you stopping by


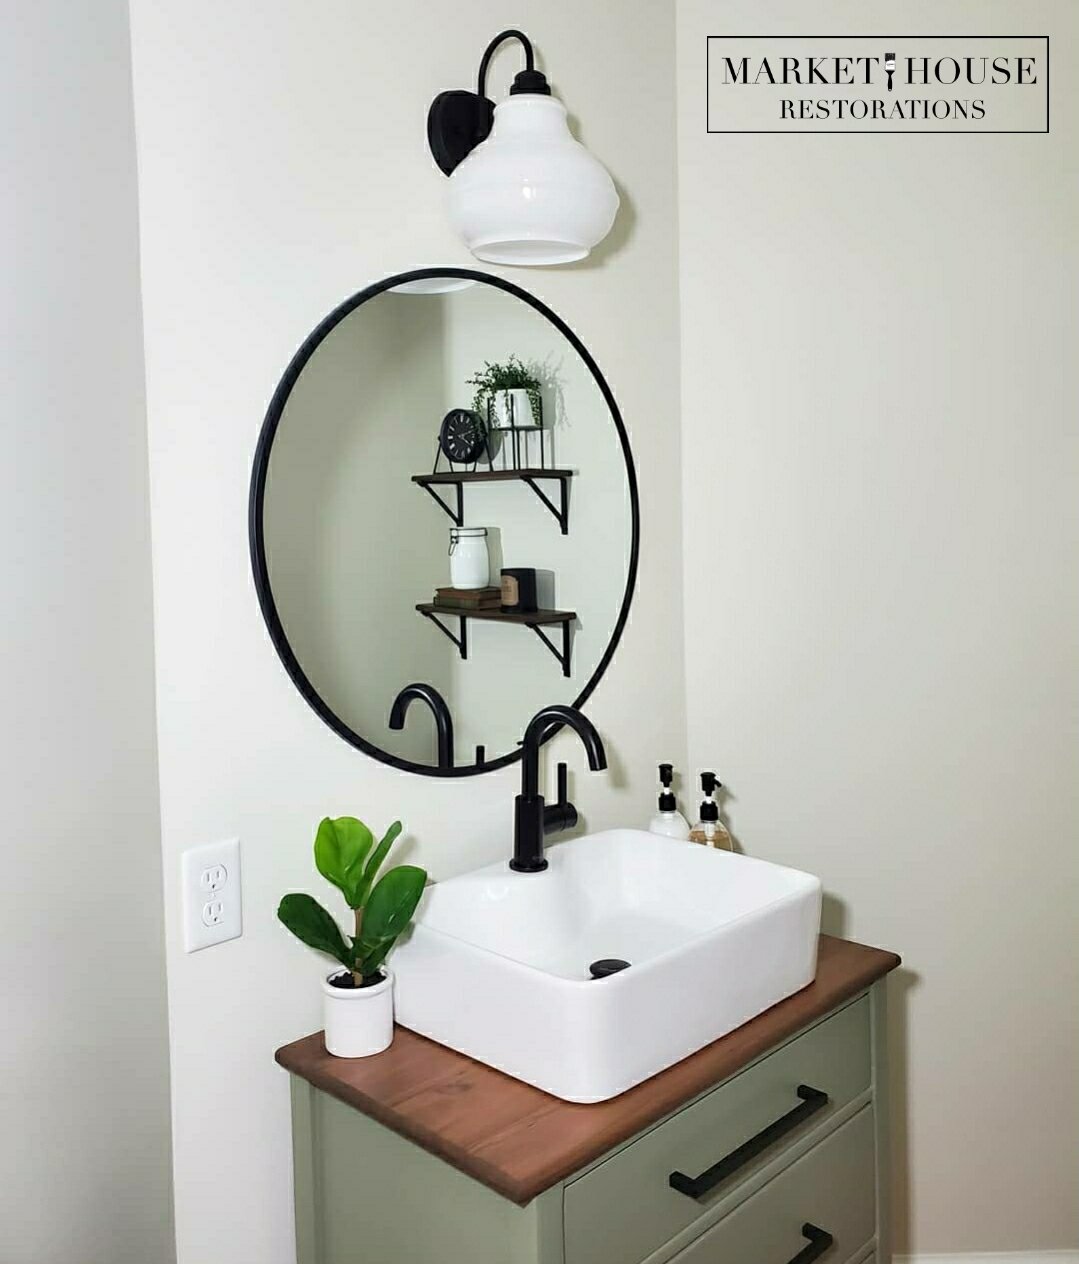
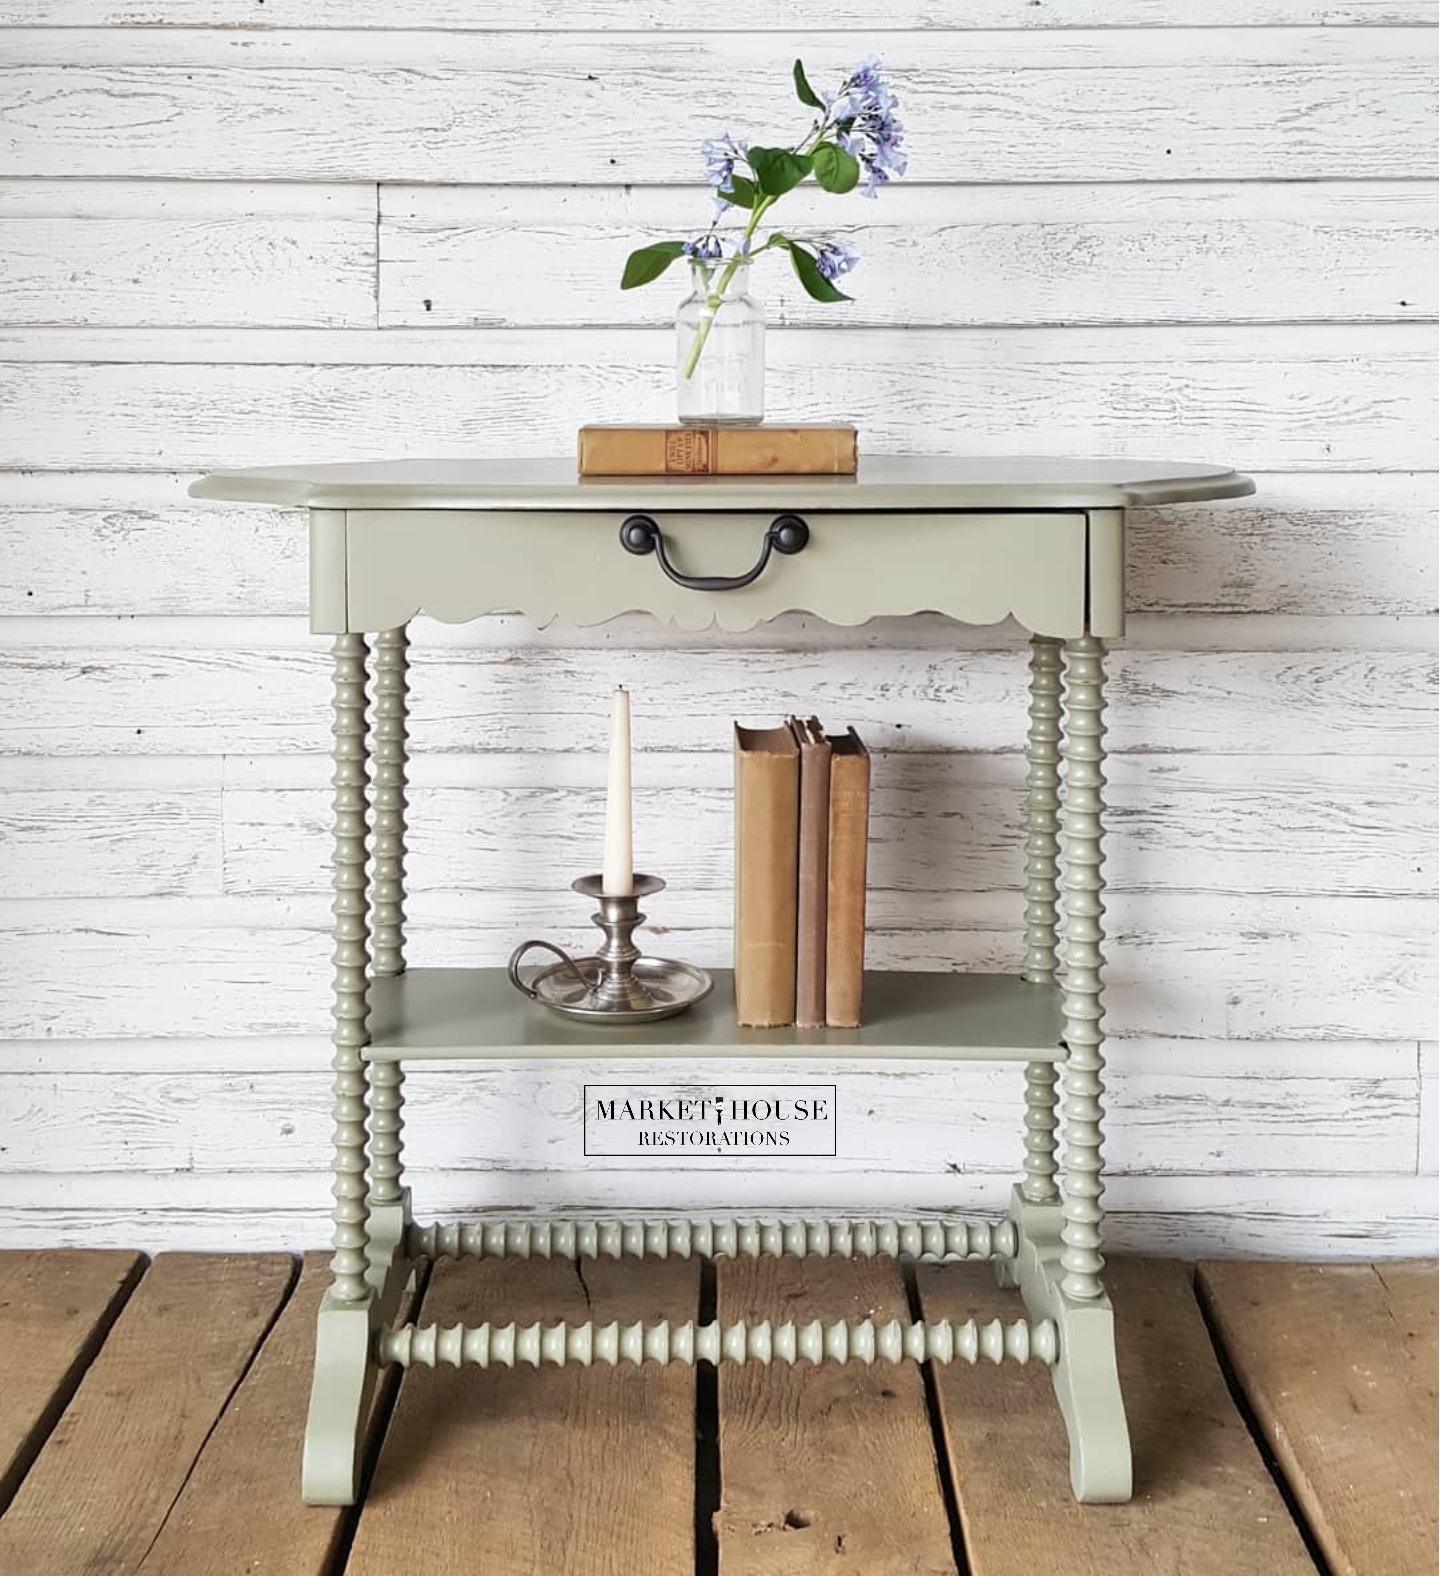
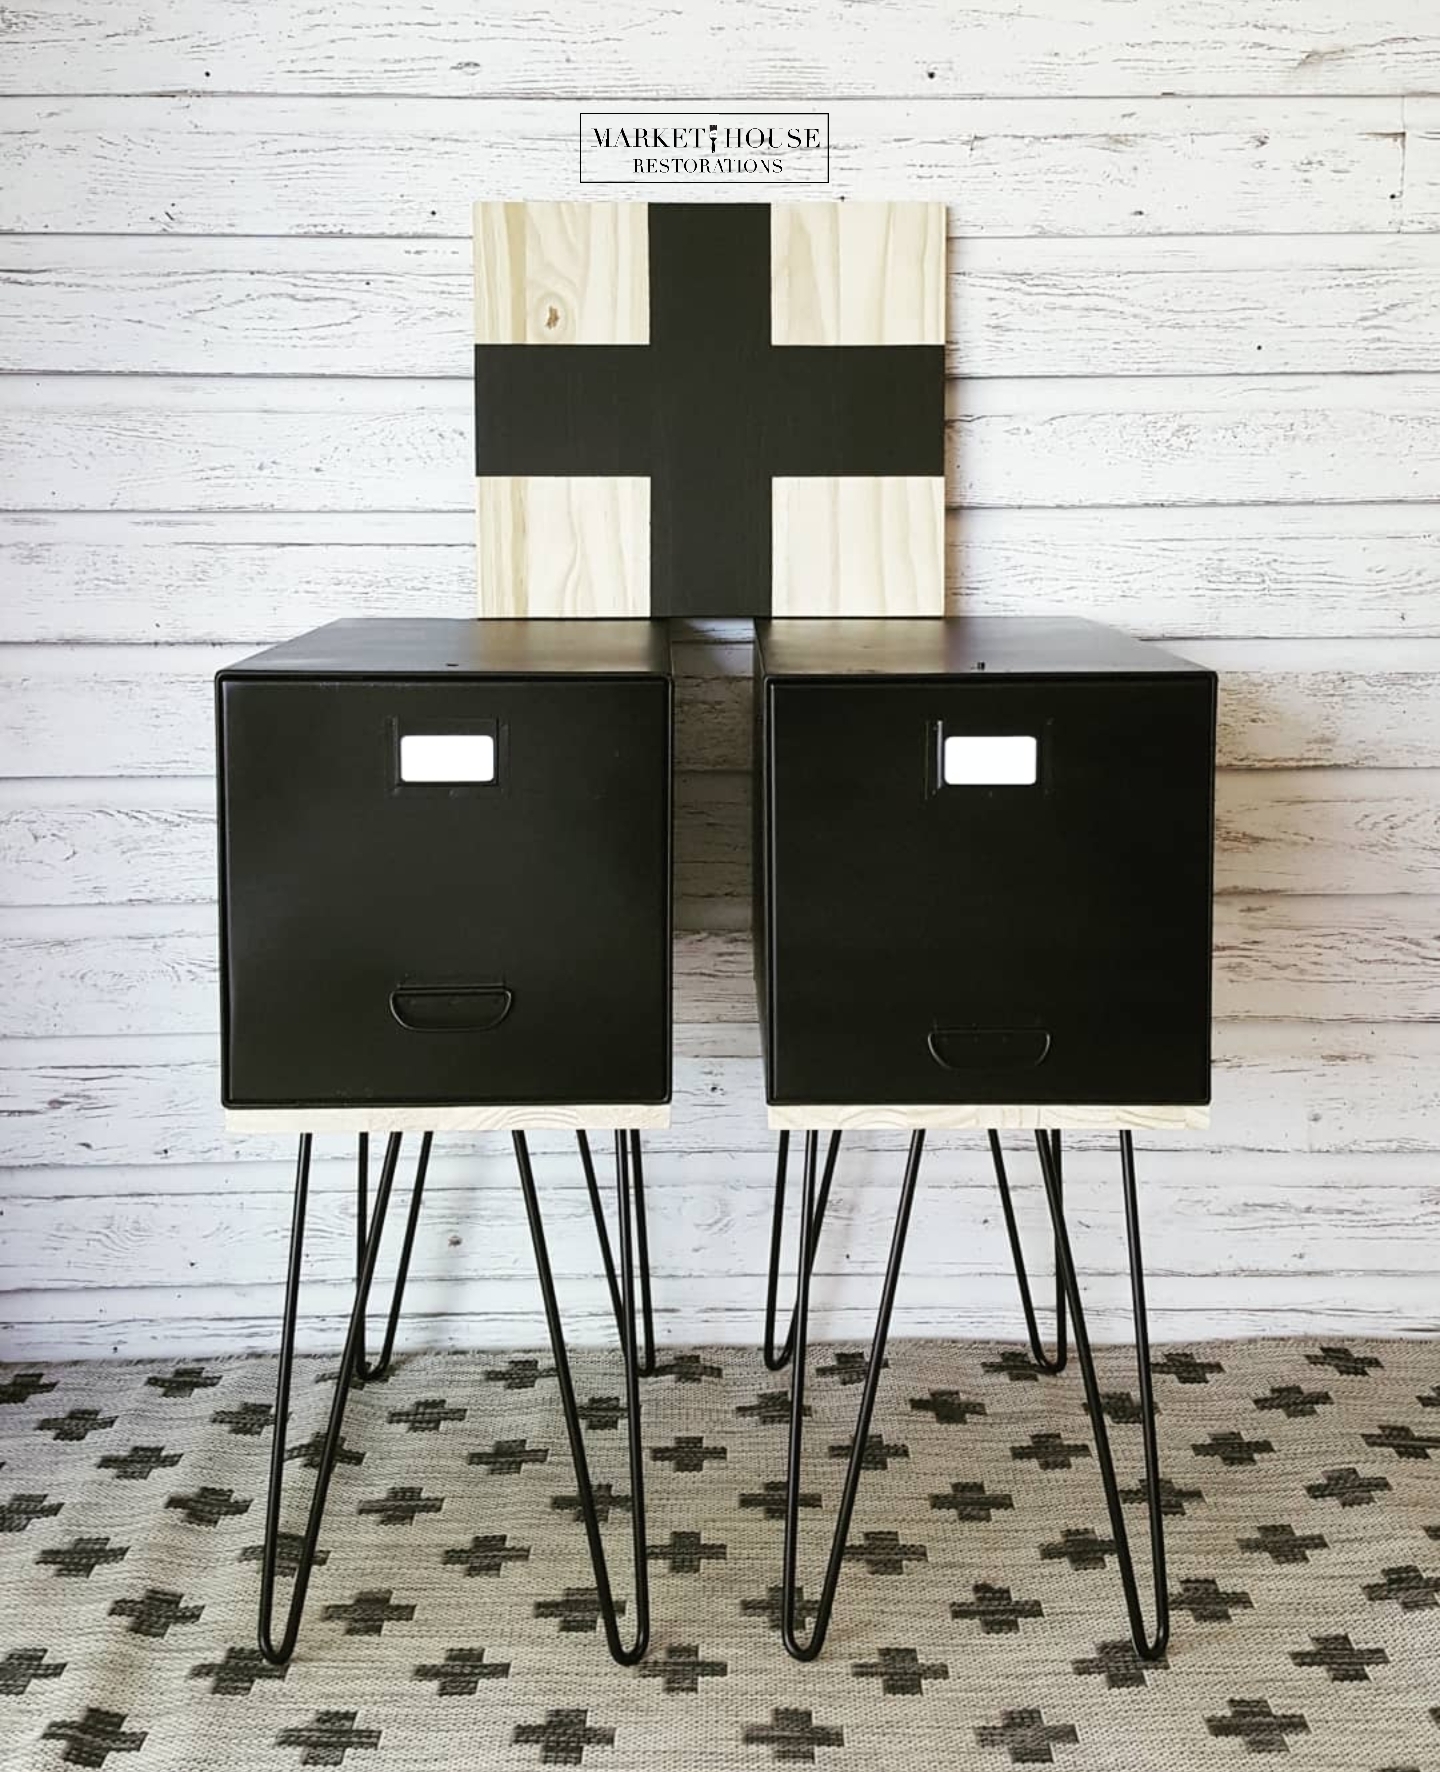
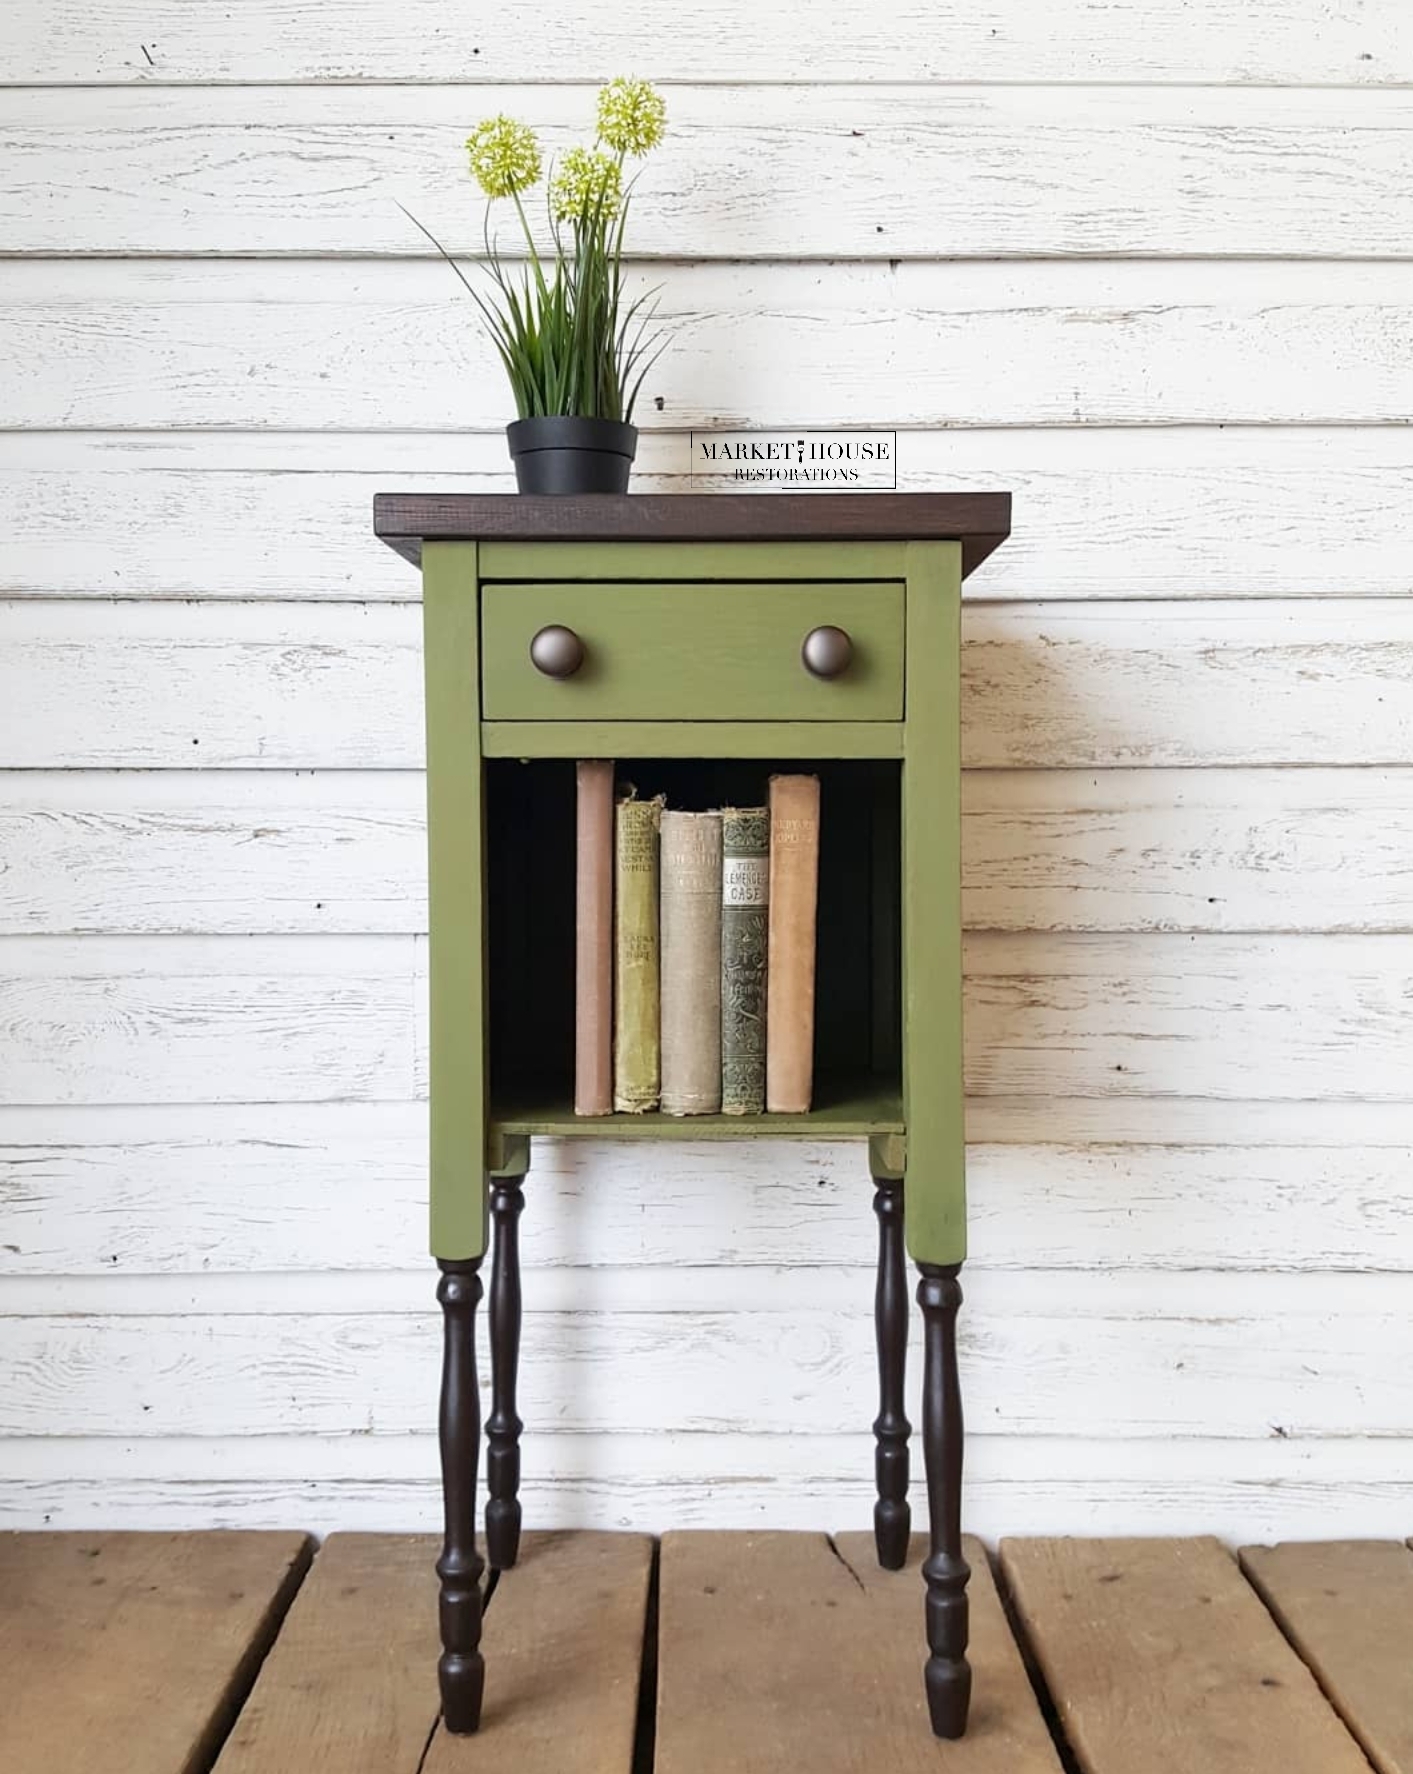
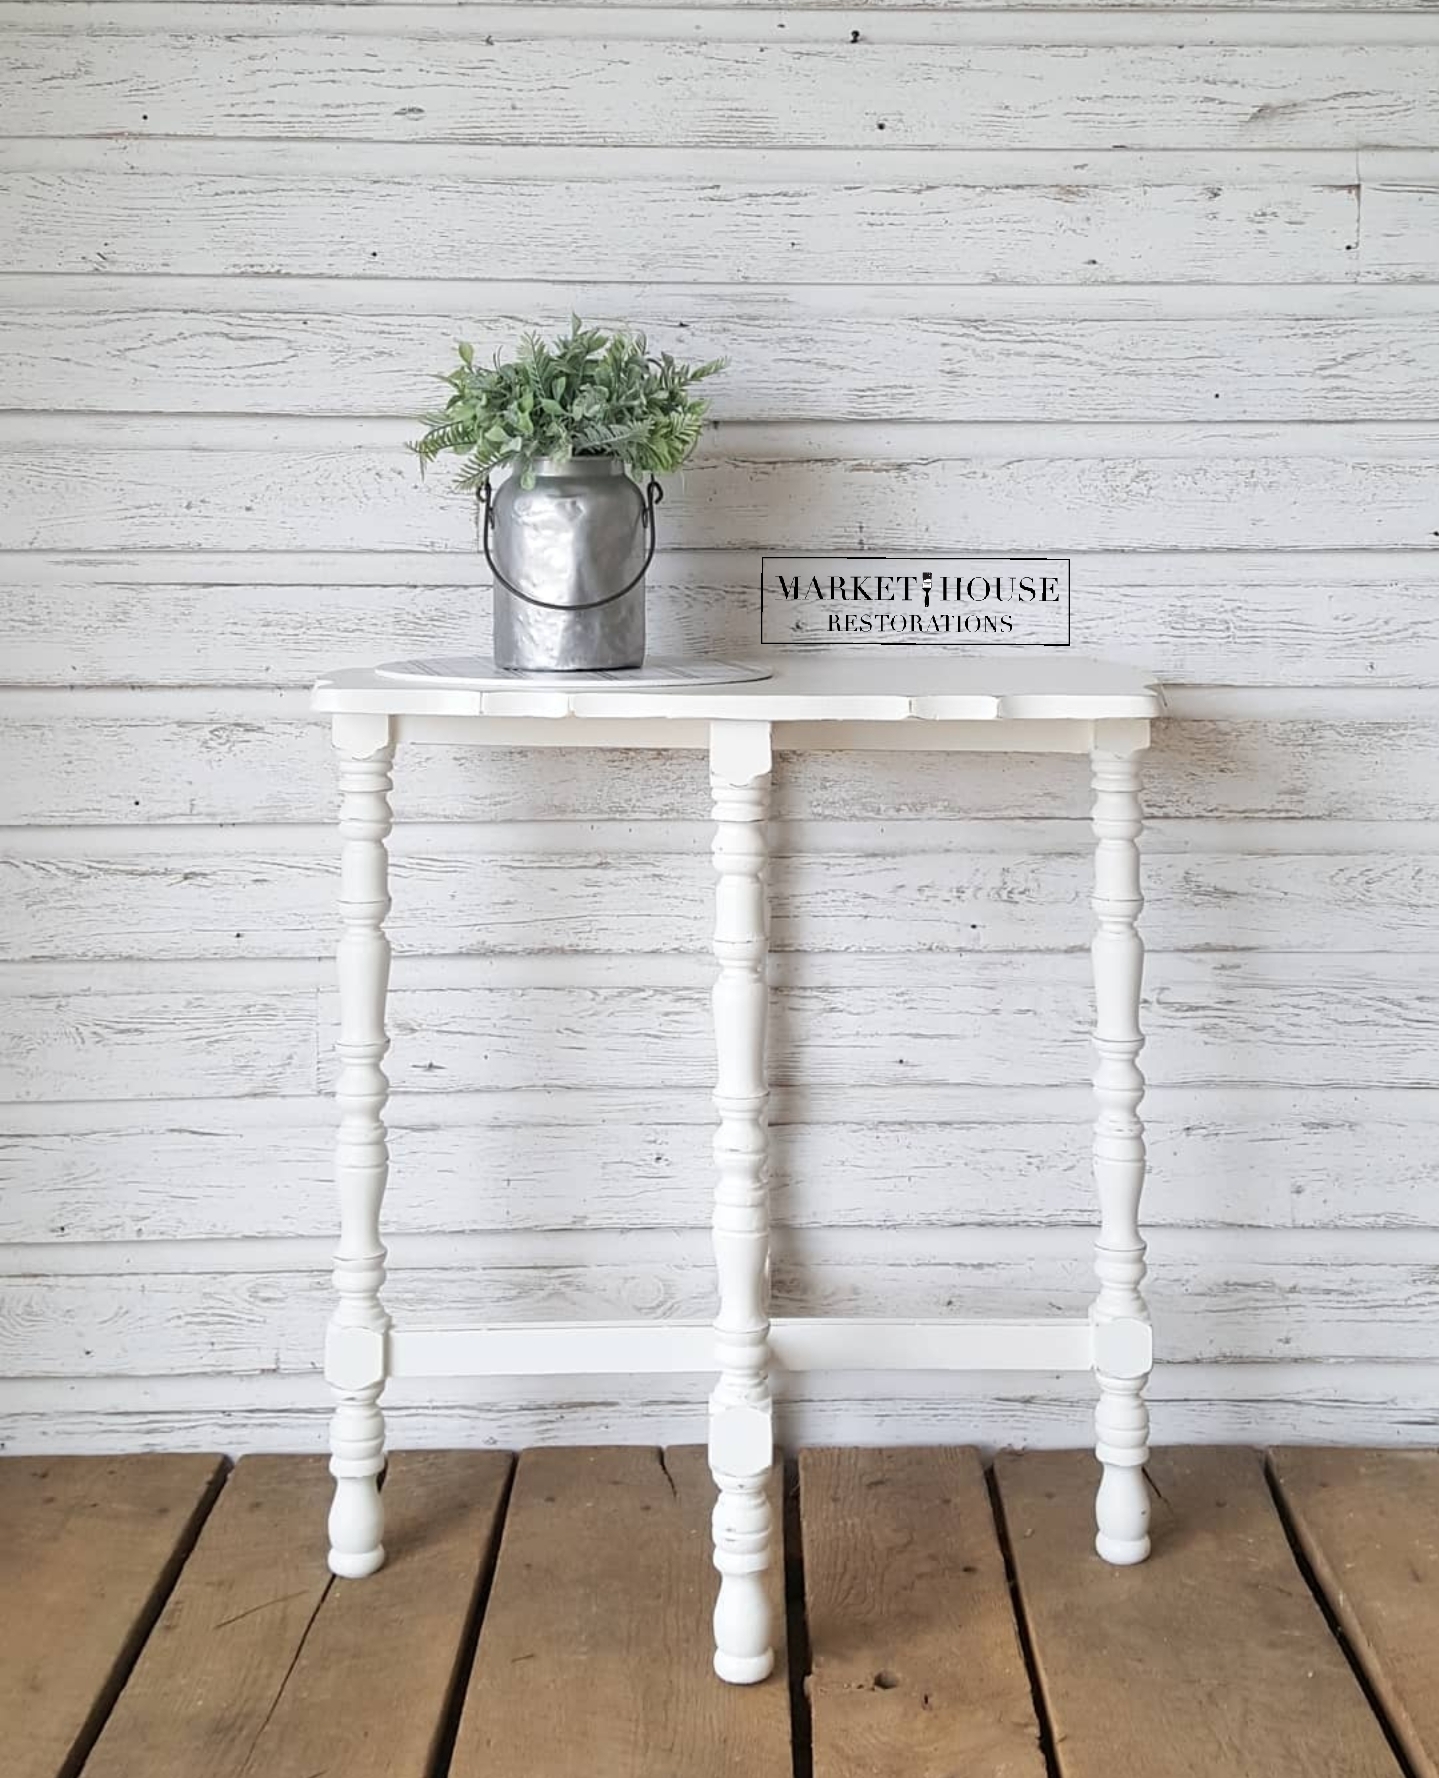
Want to see more #MondayMakeoversWithFallon with FREE step-by-step guides and tutorials!? Just click the pictures below!!